Let's Build A Mandolin (Page 20)
Previous - Next
1 2 3 4 5 6 7 8 8a 9 10 11 11a 11b 12 12a 13 14 15 16 17 18 19 20
Last Modified - January 2012 (©Alan Dunwell 2012)
In Page 19 we finished up getting the hardware, neck, and pickguard installed. Time now for the nut and bridge and final setup.
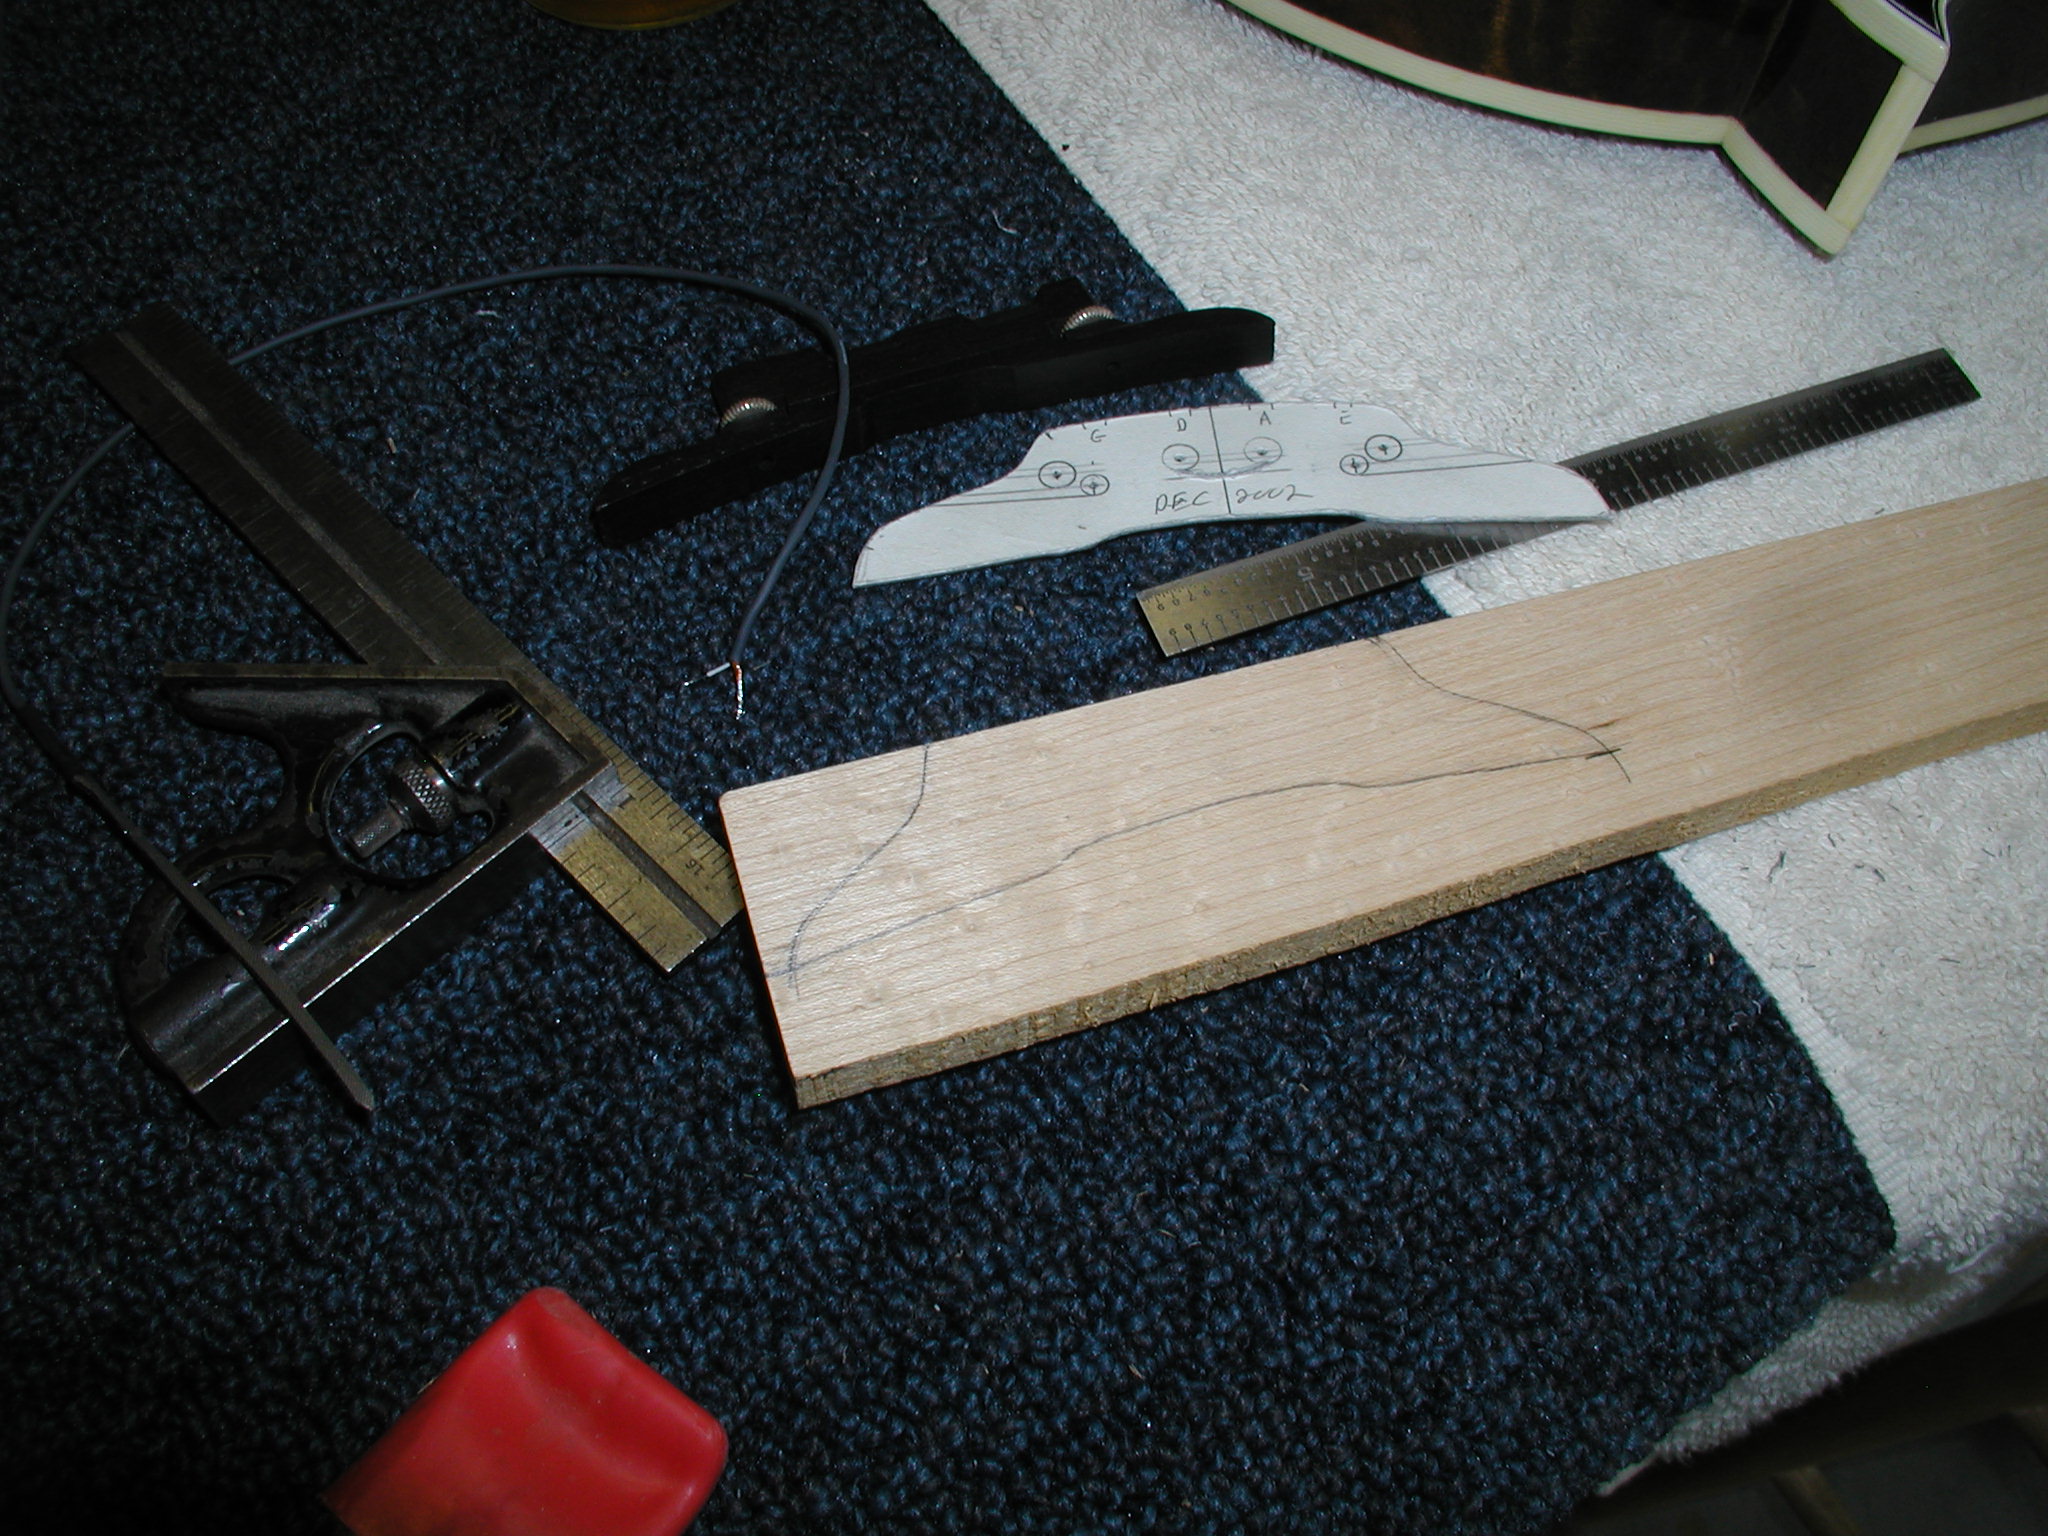
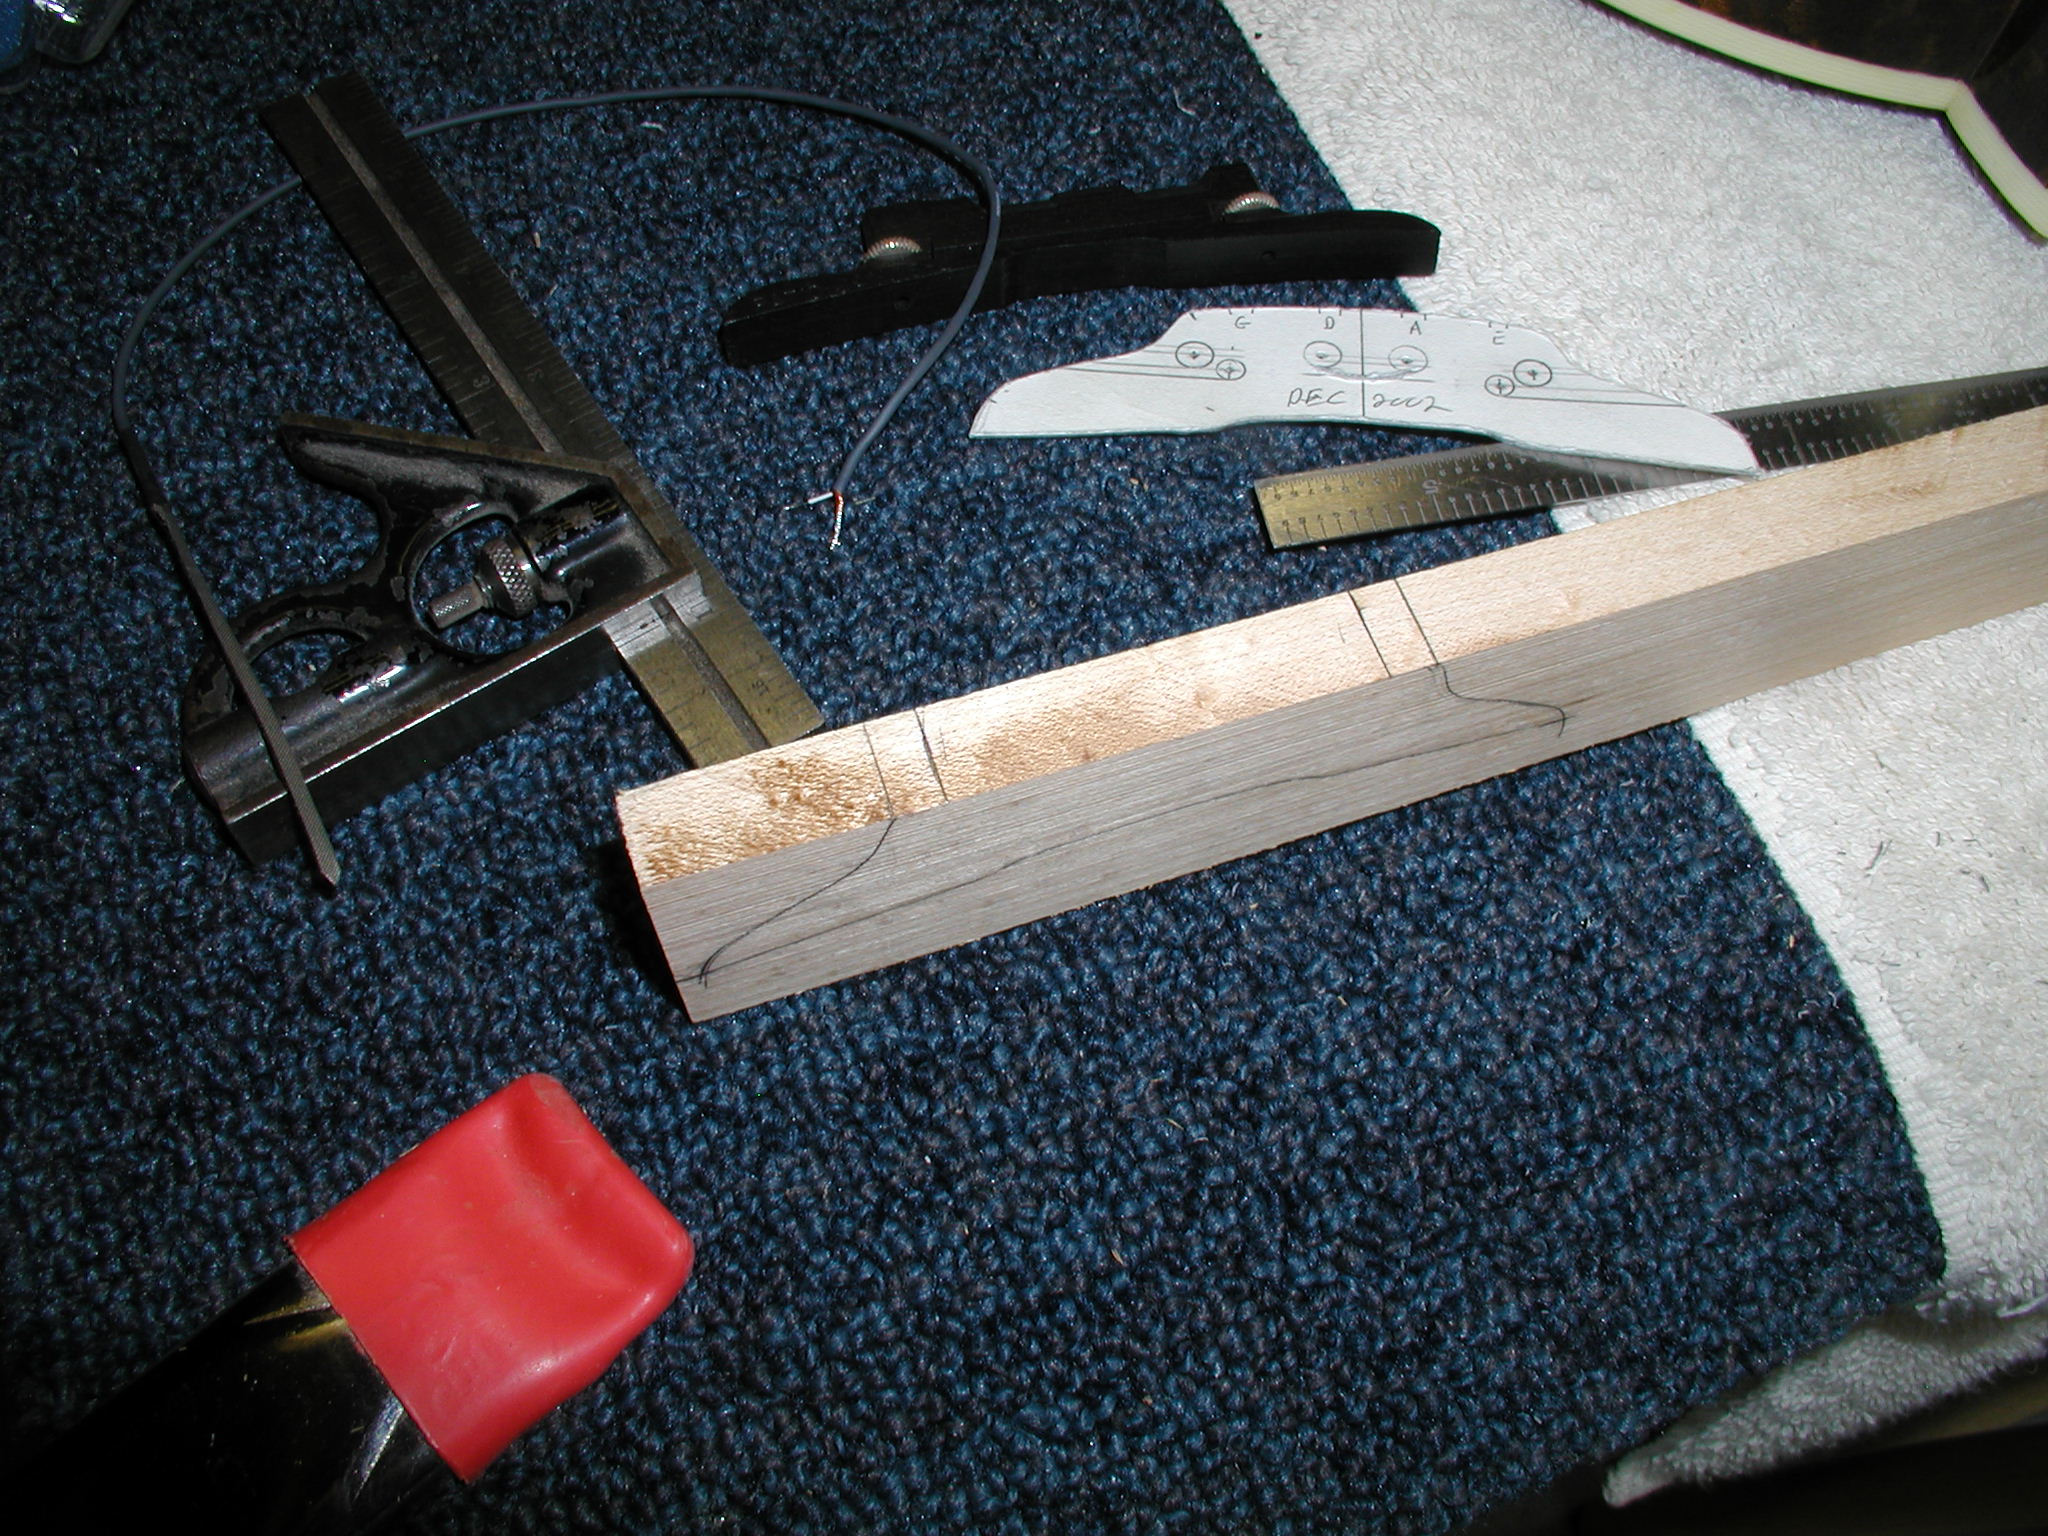
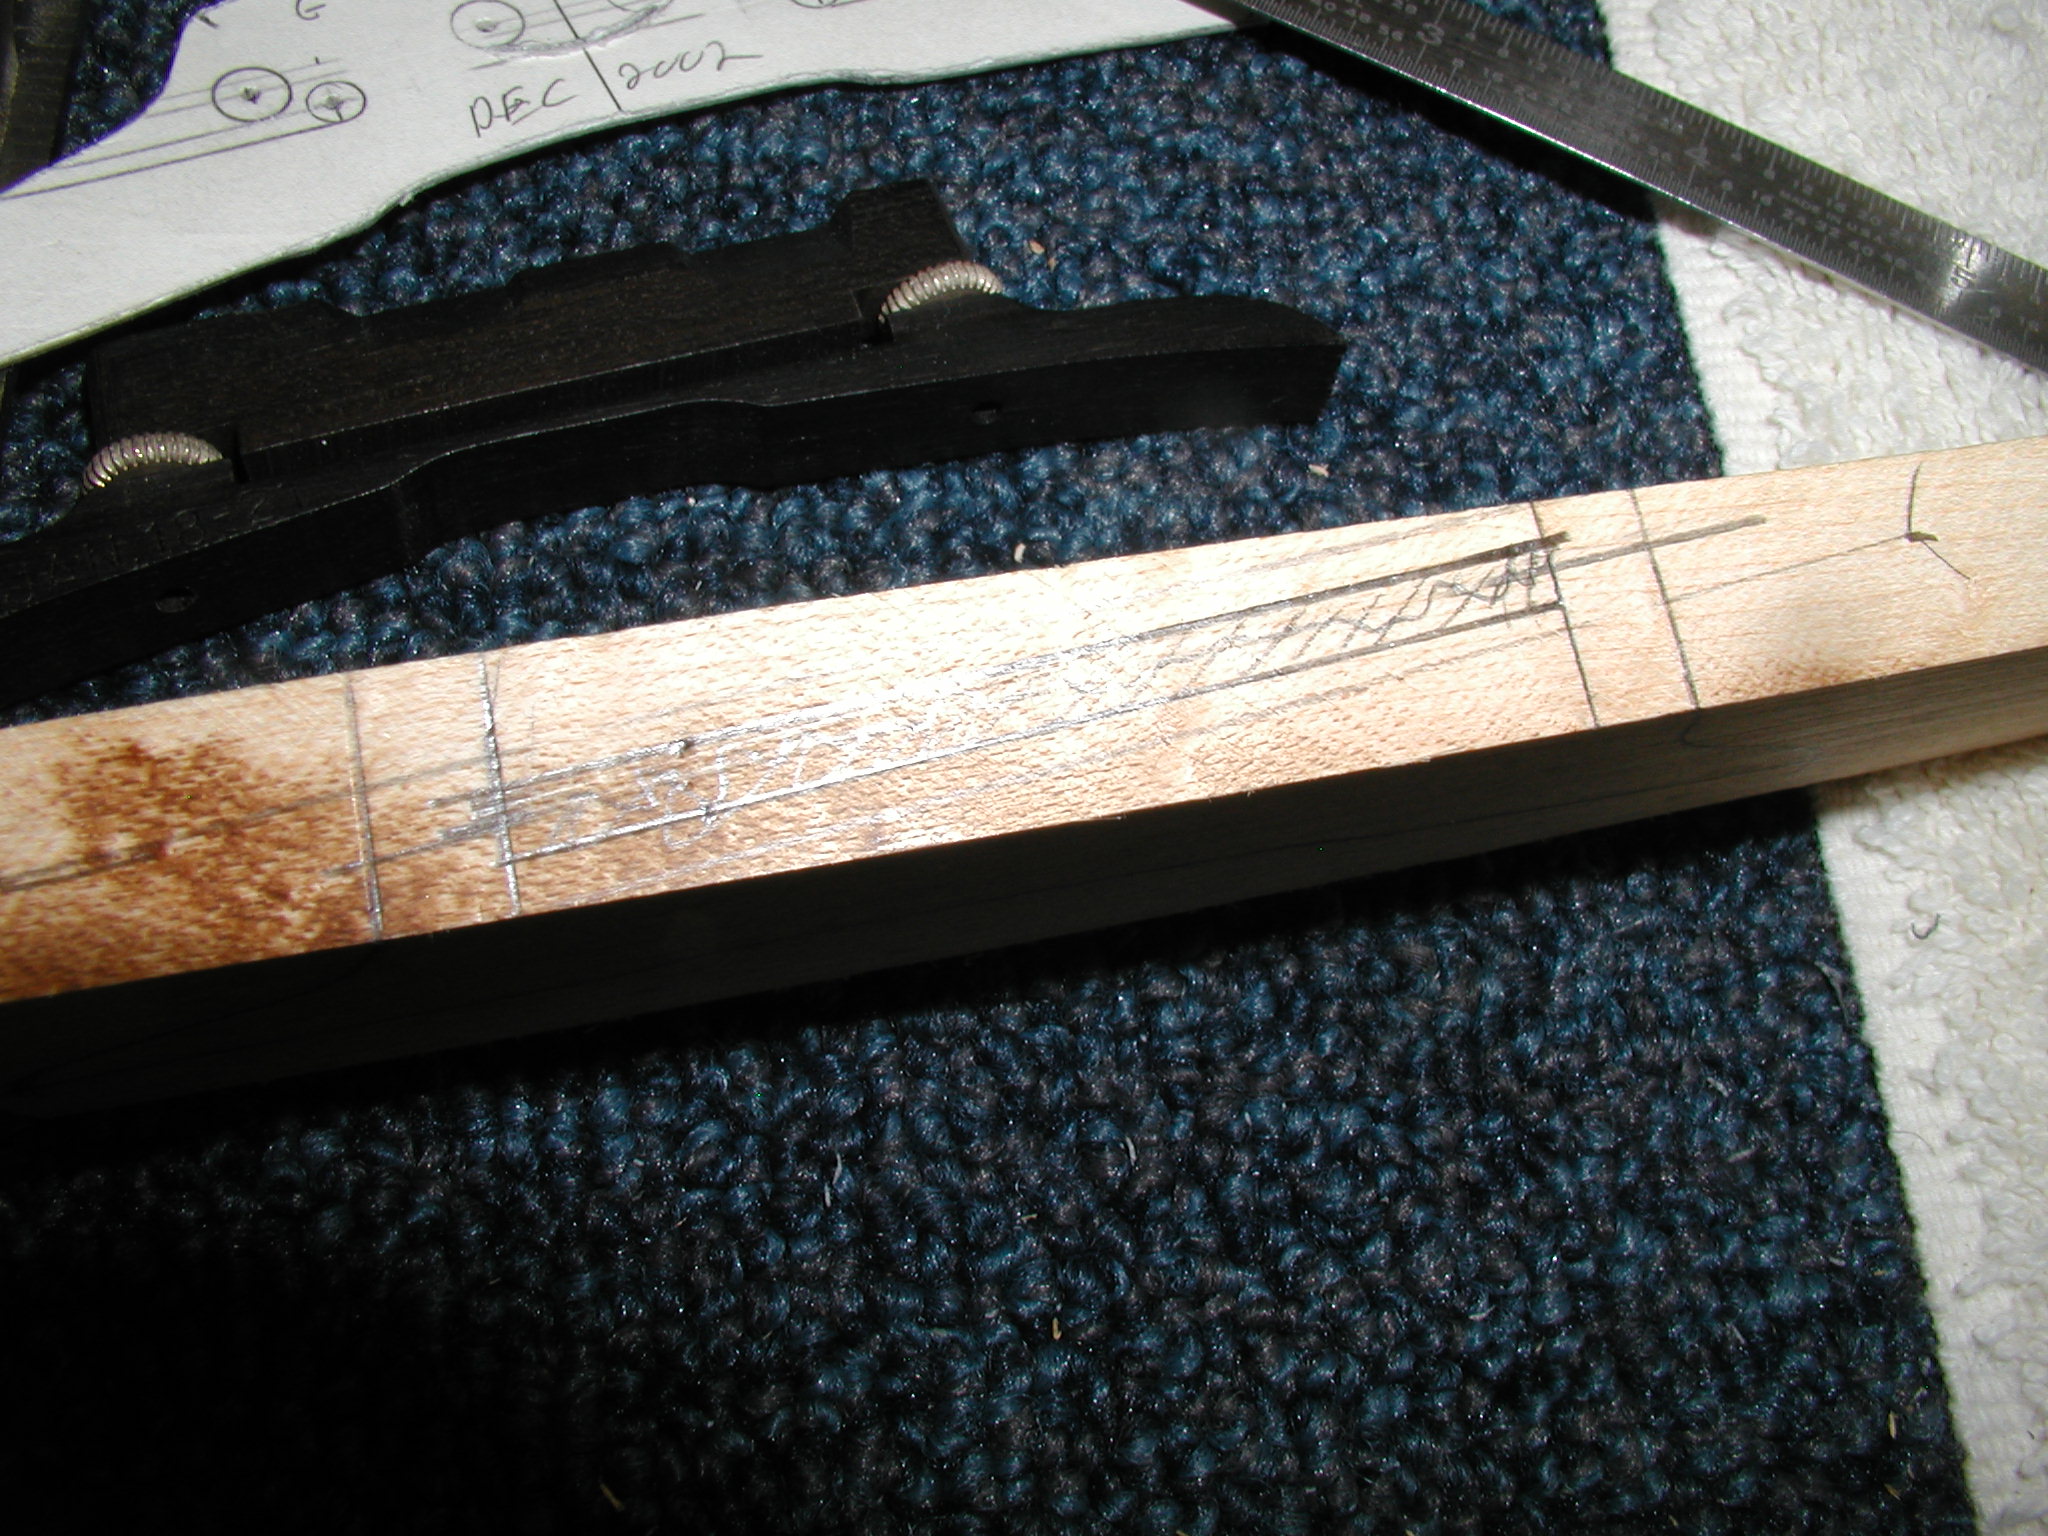
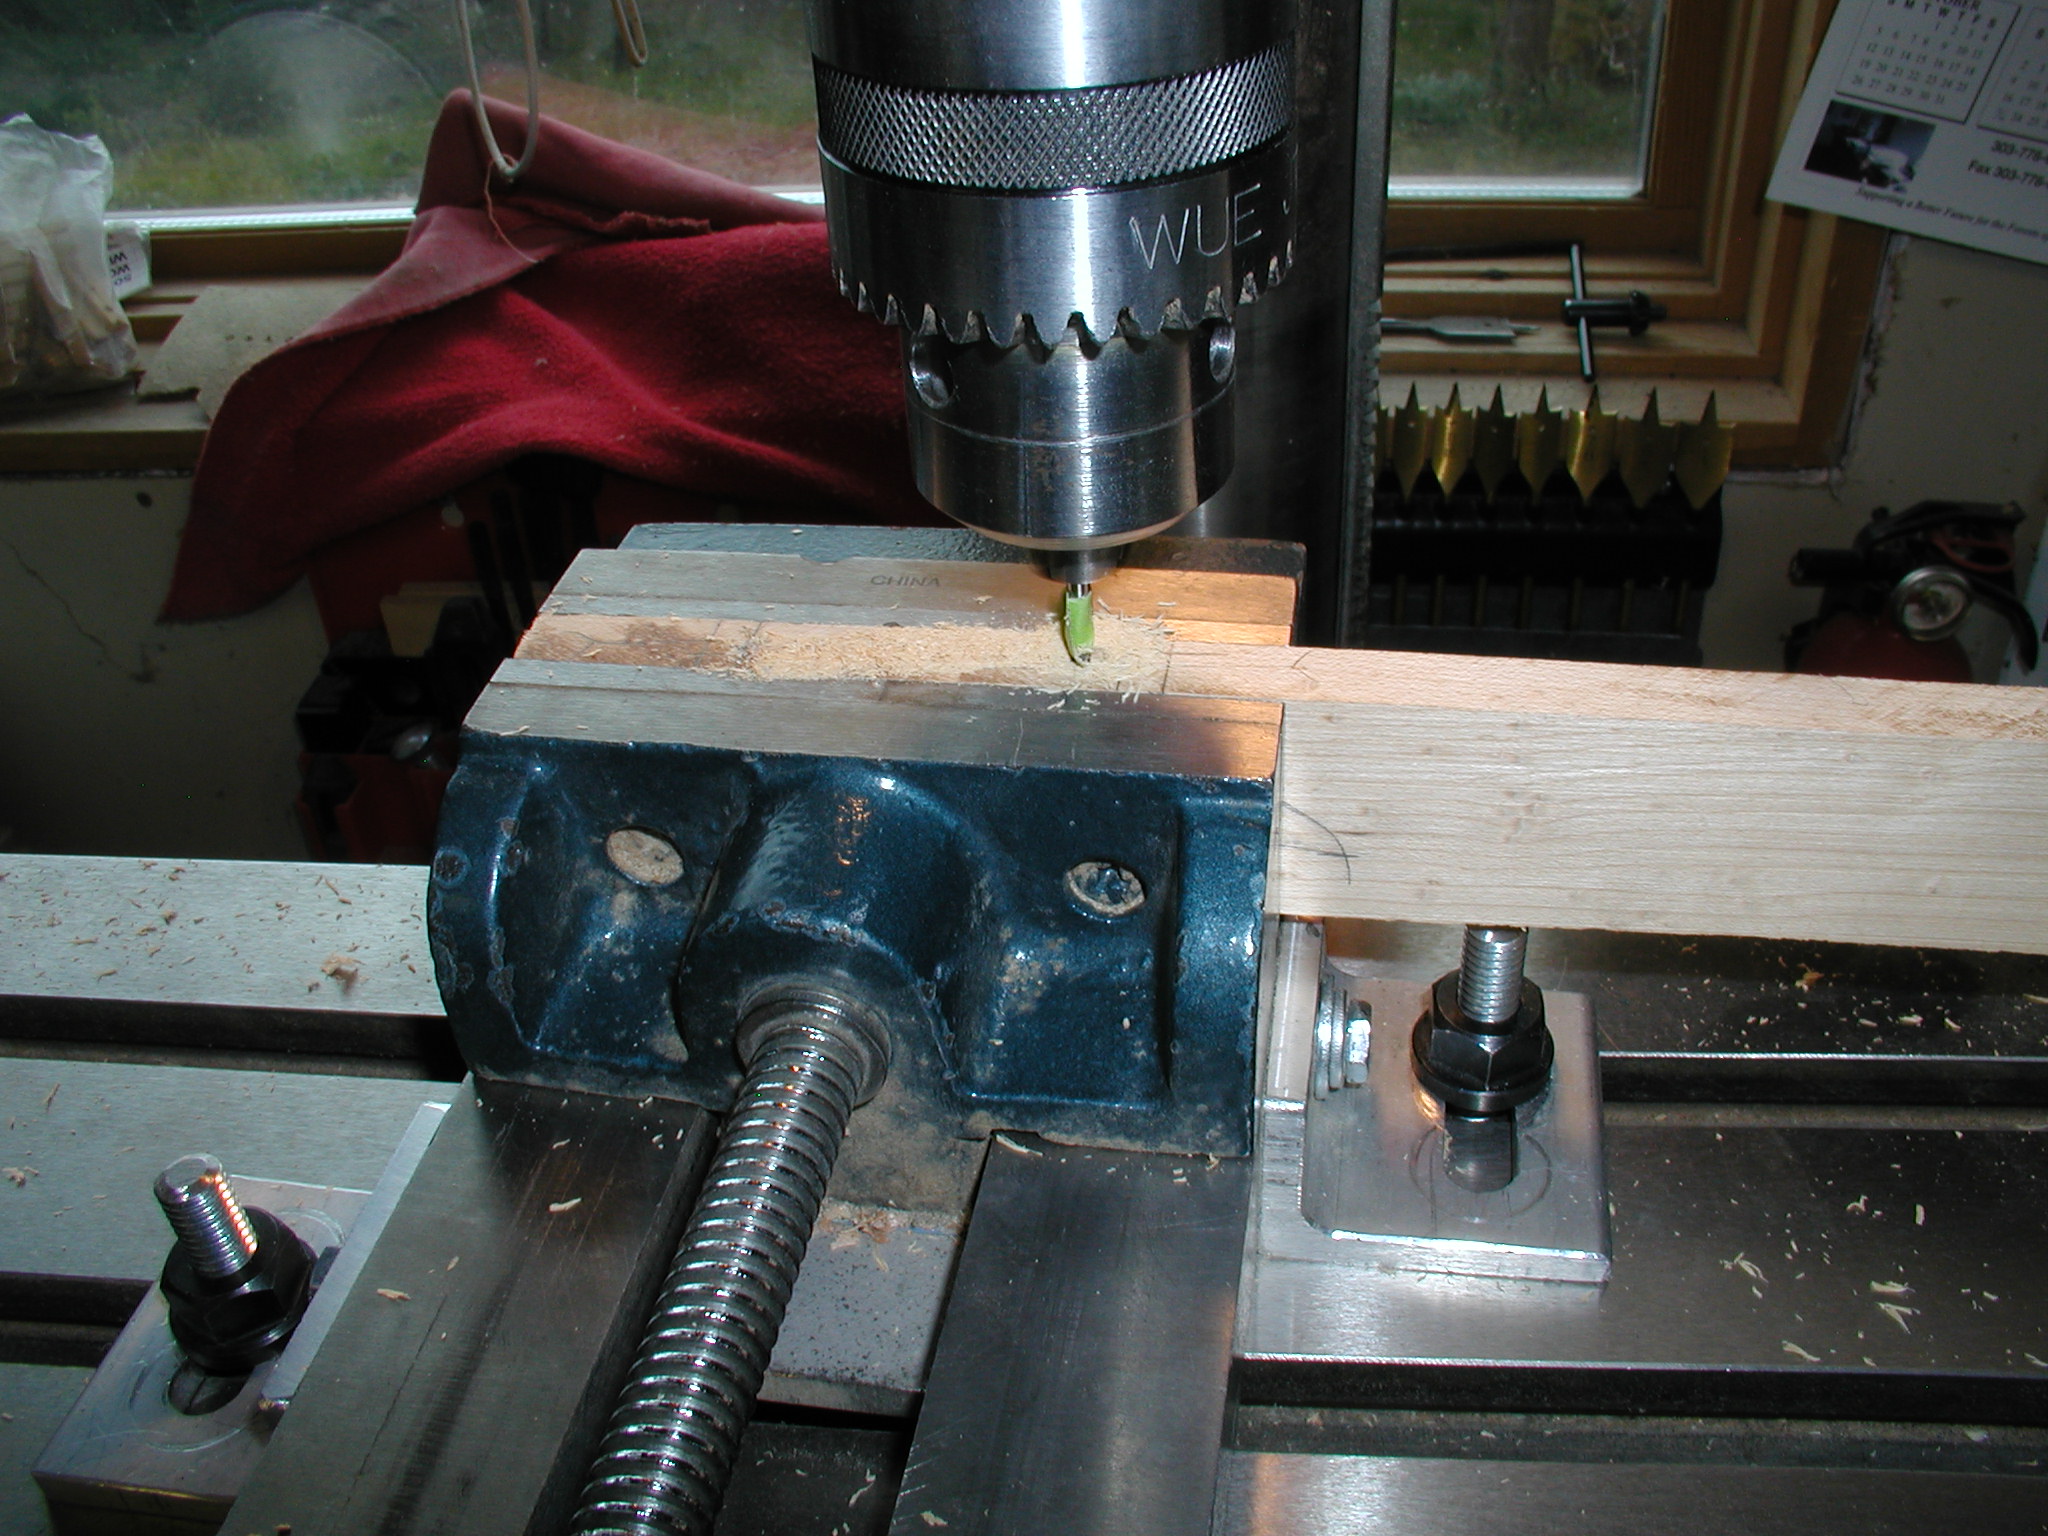
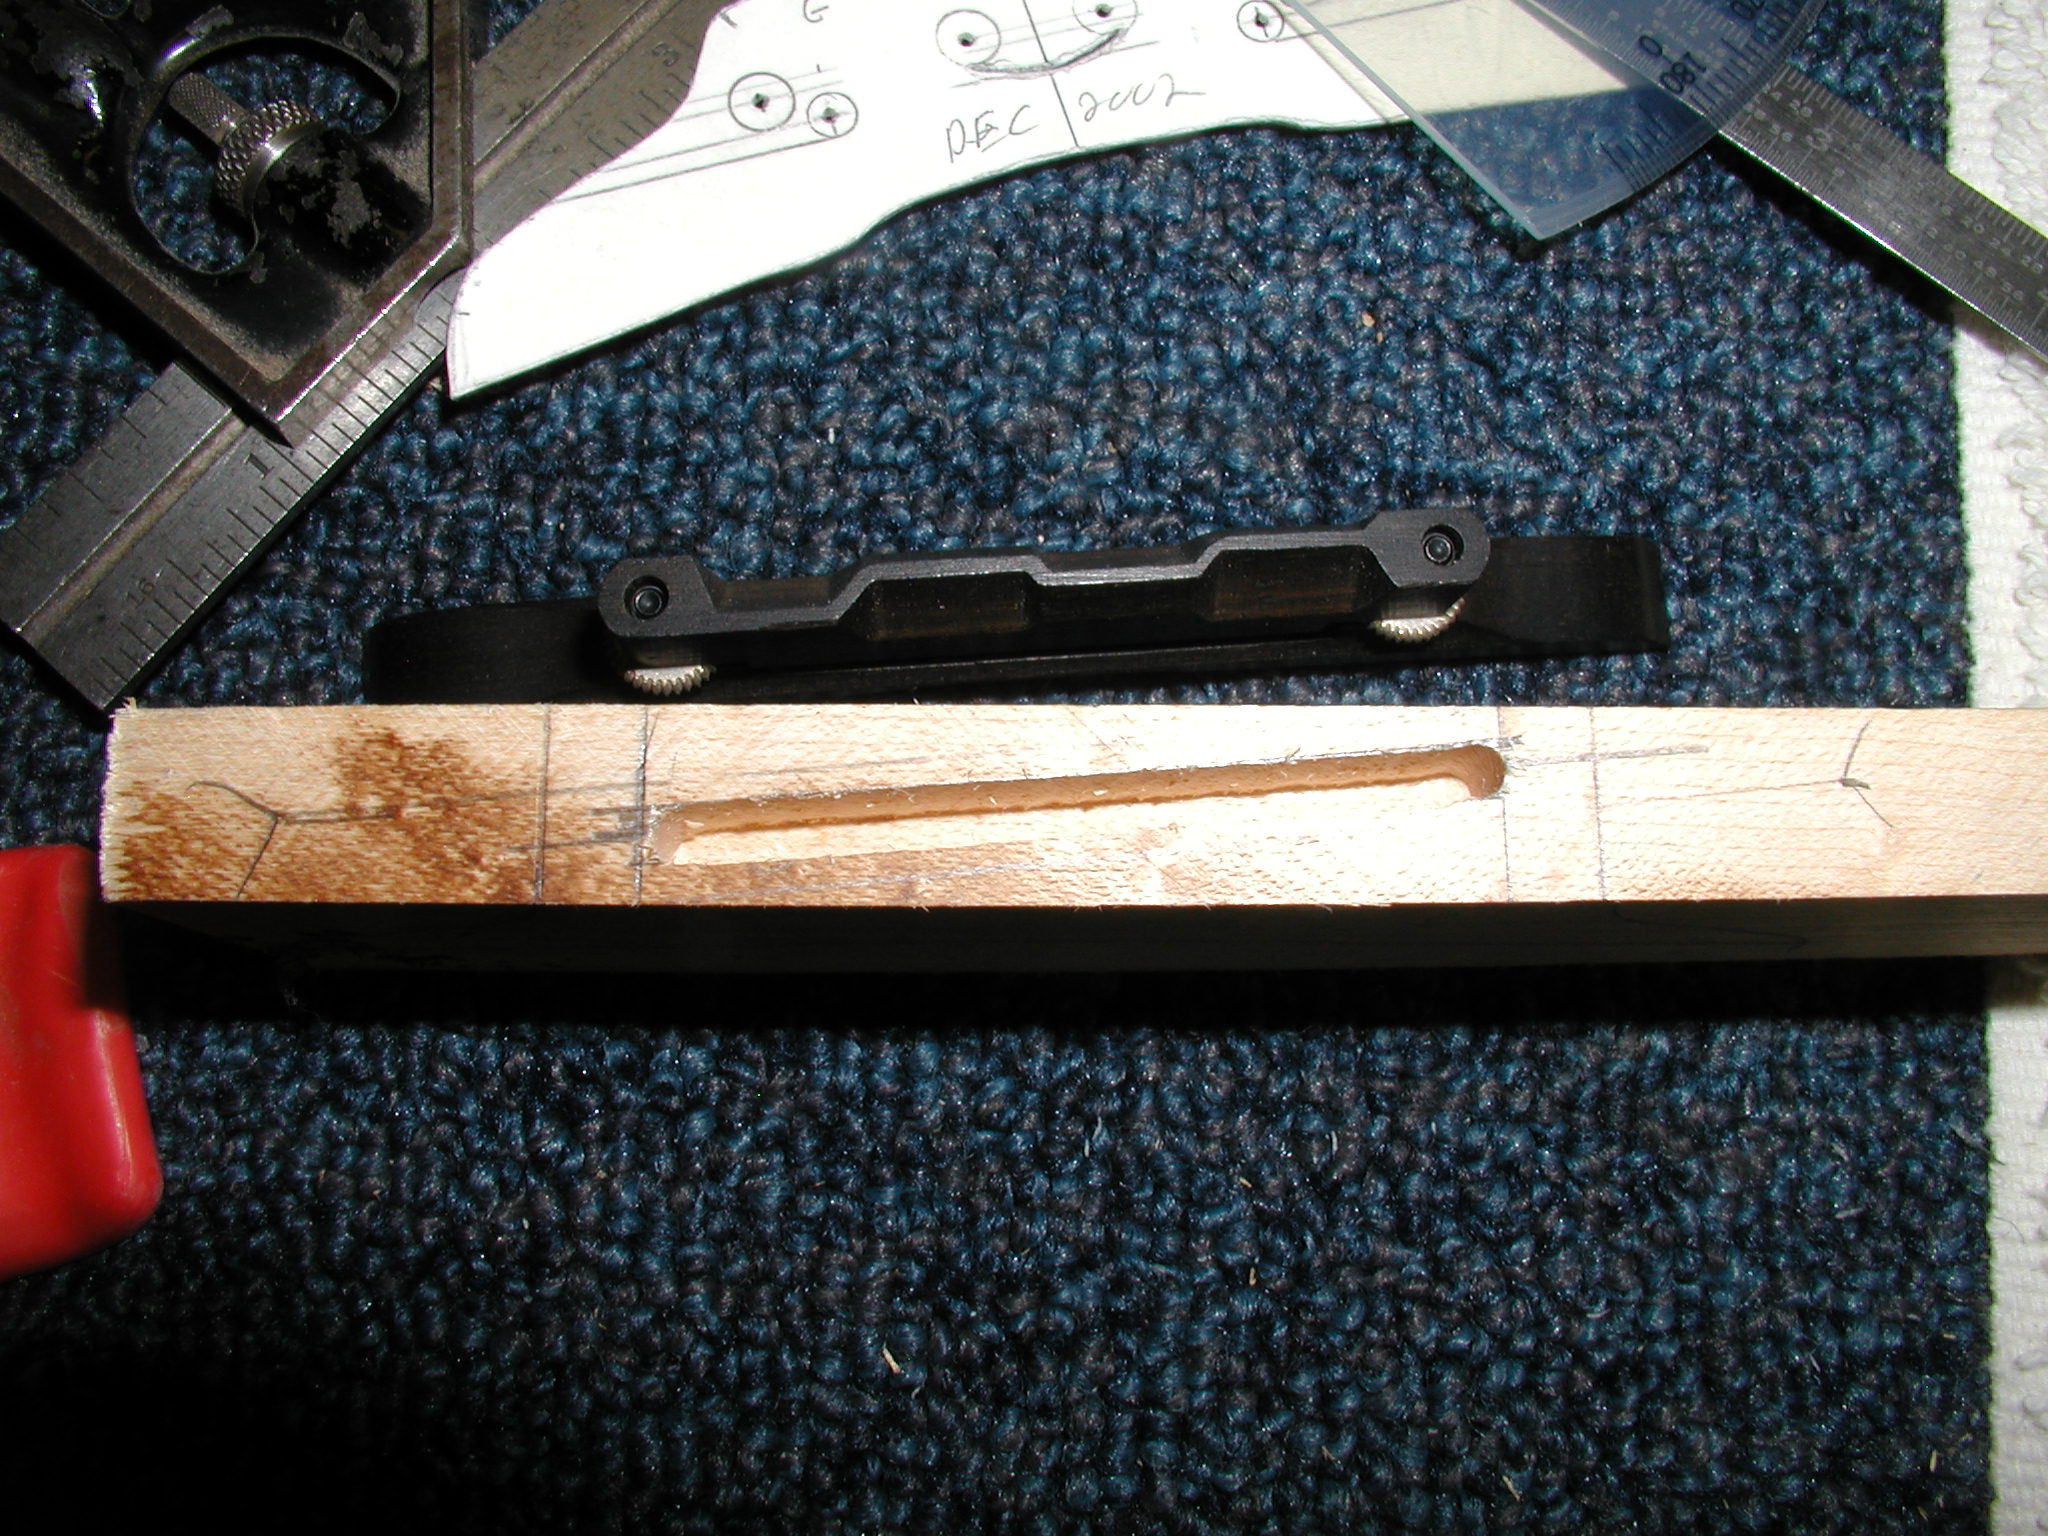
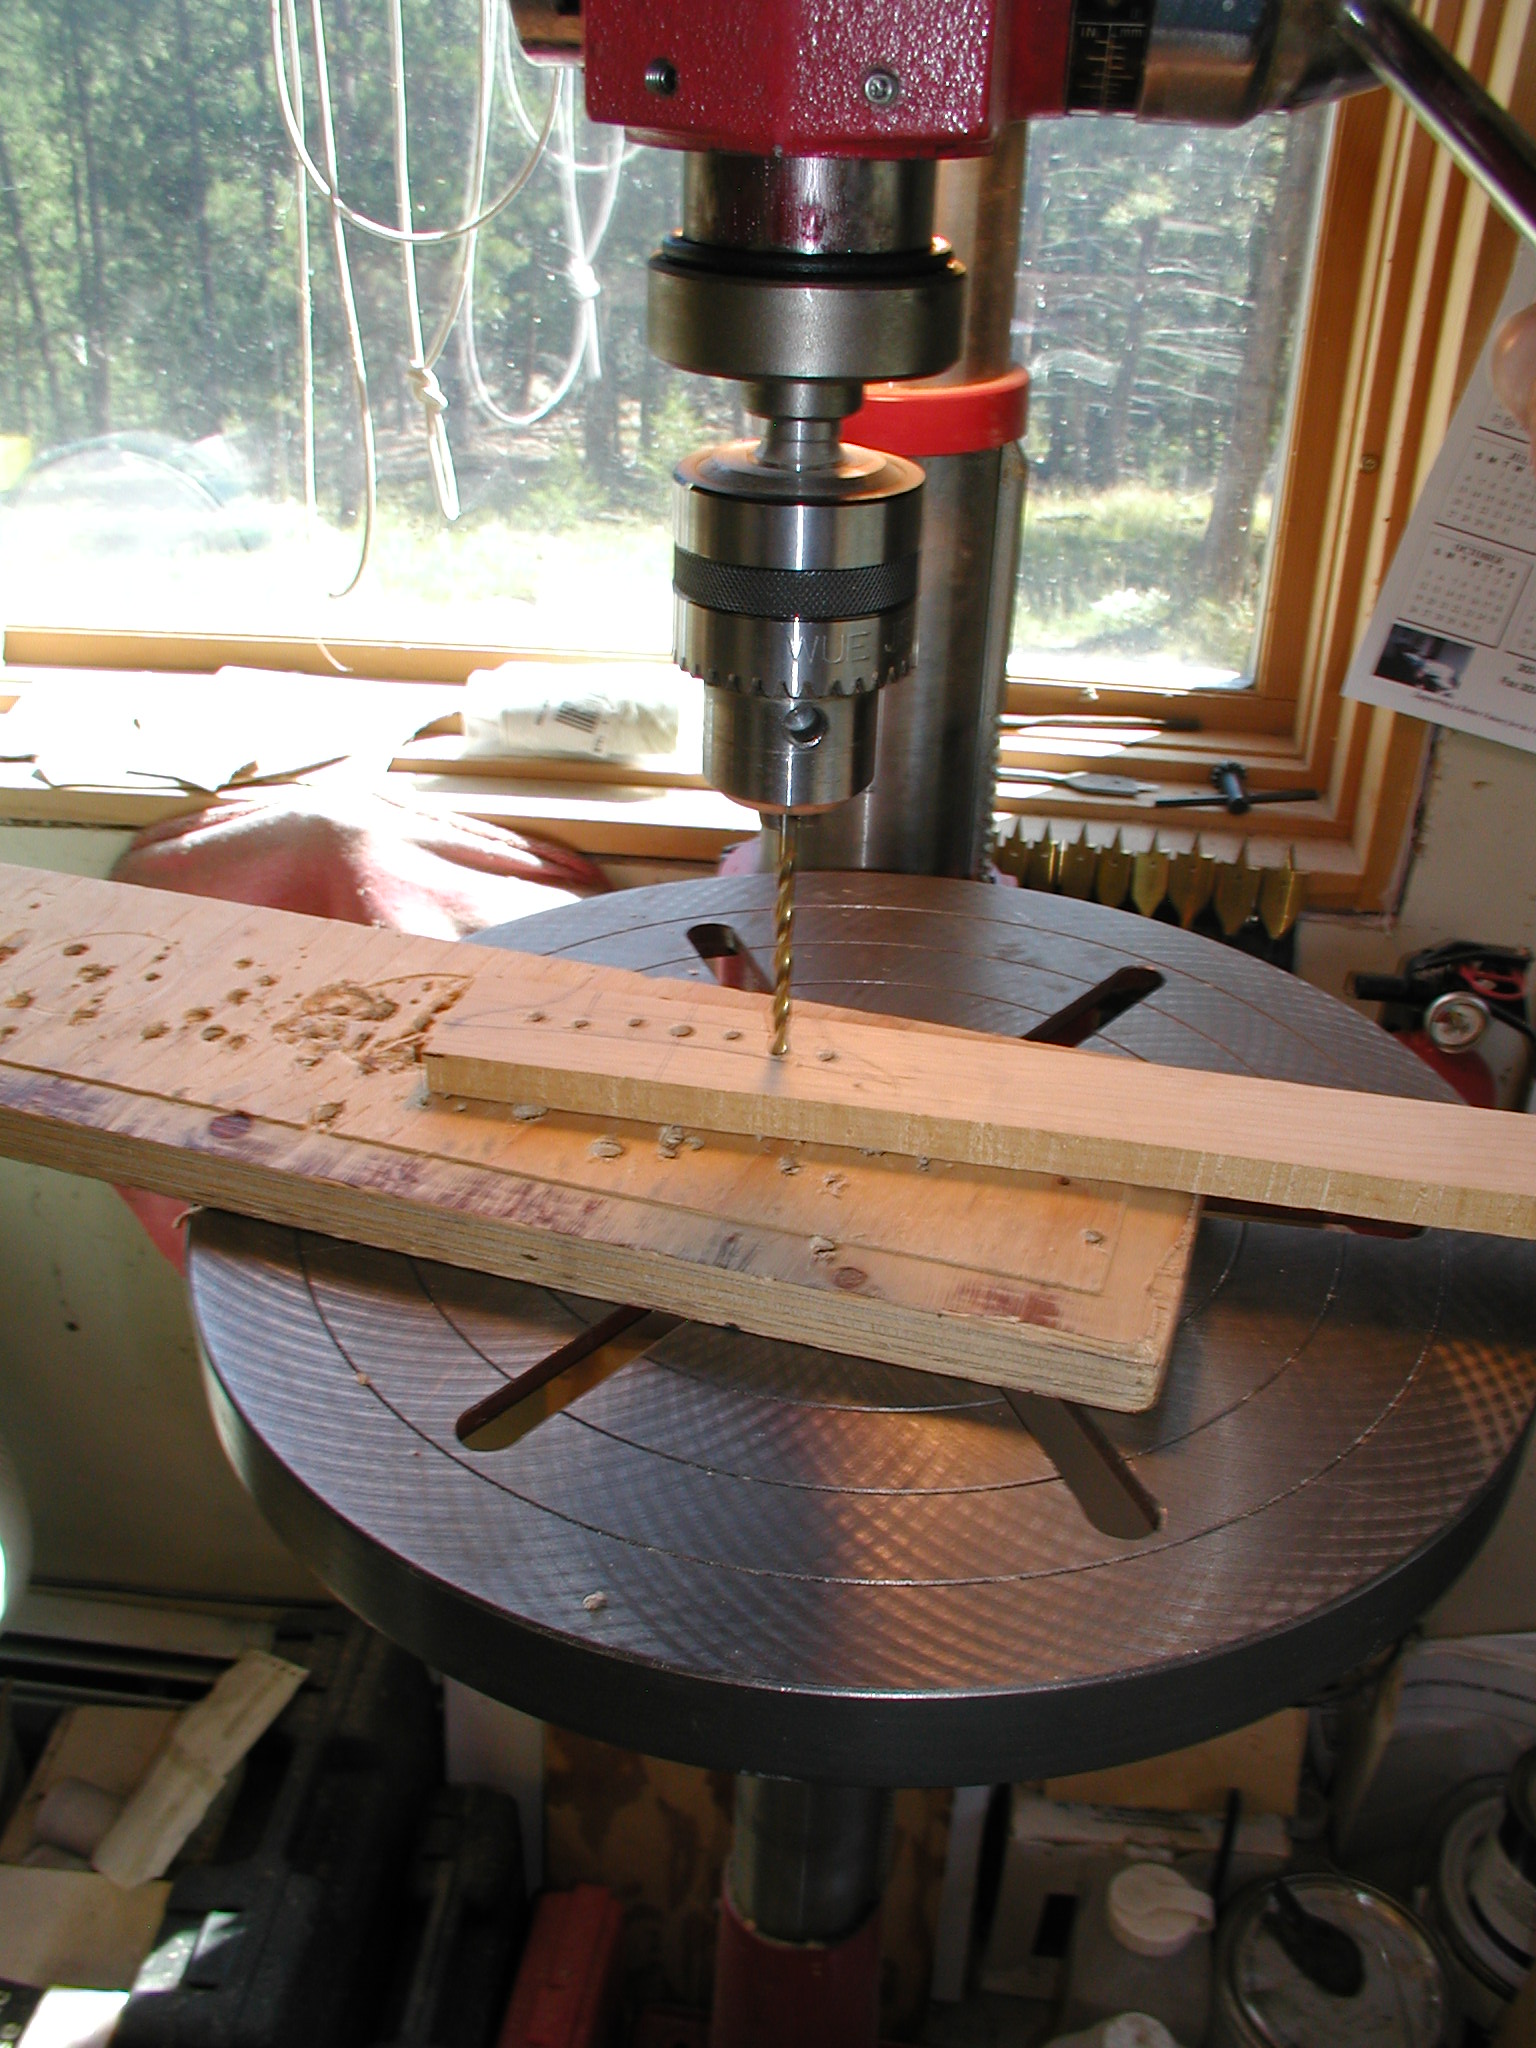
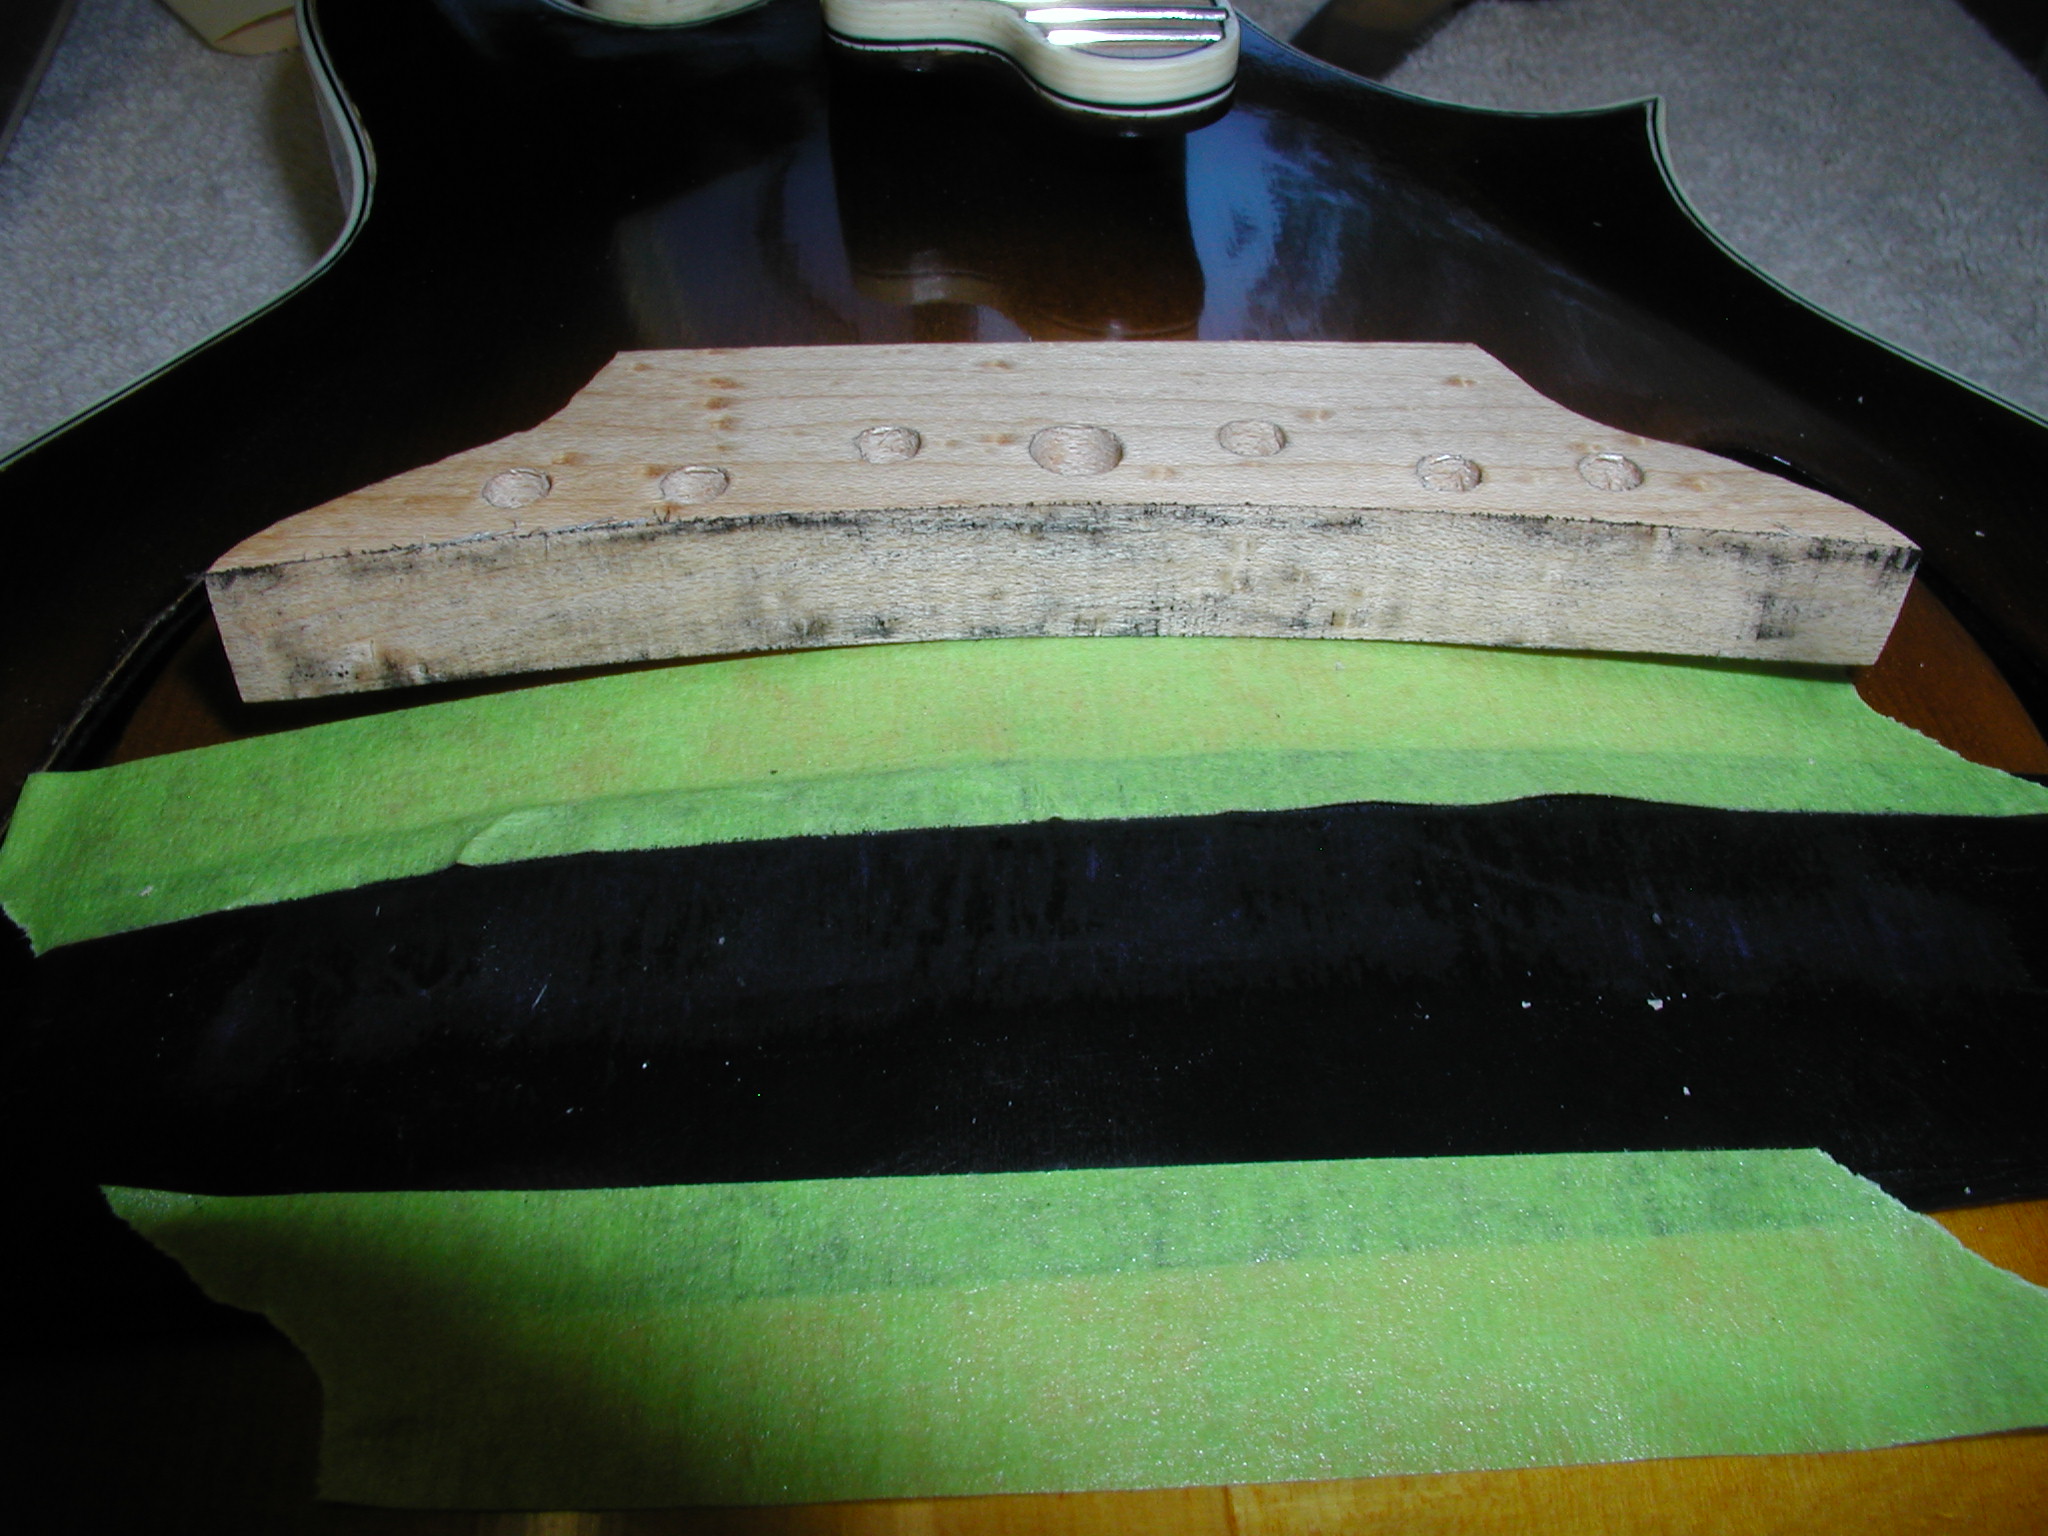
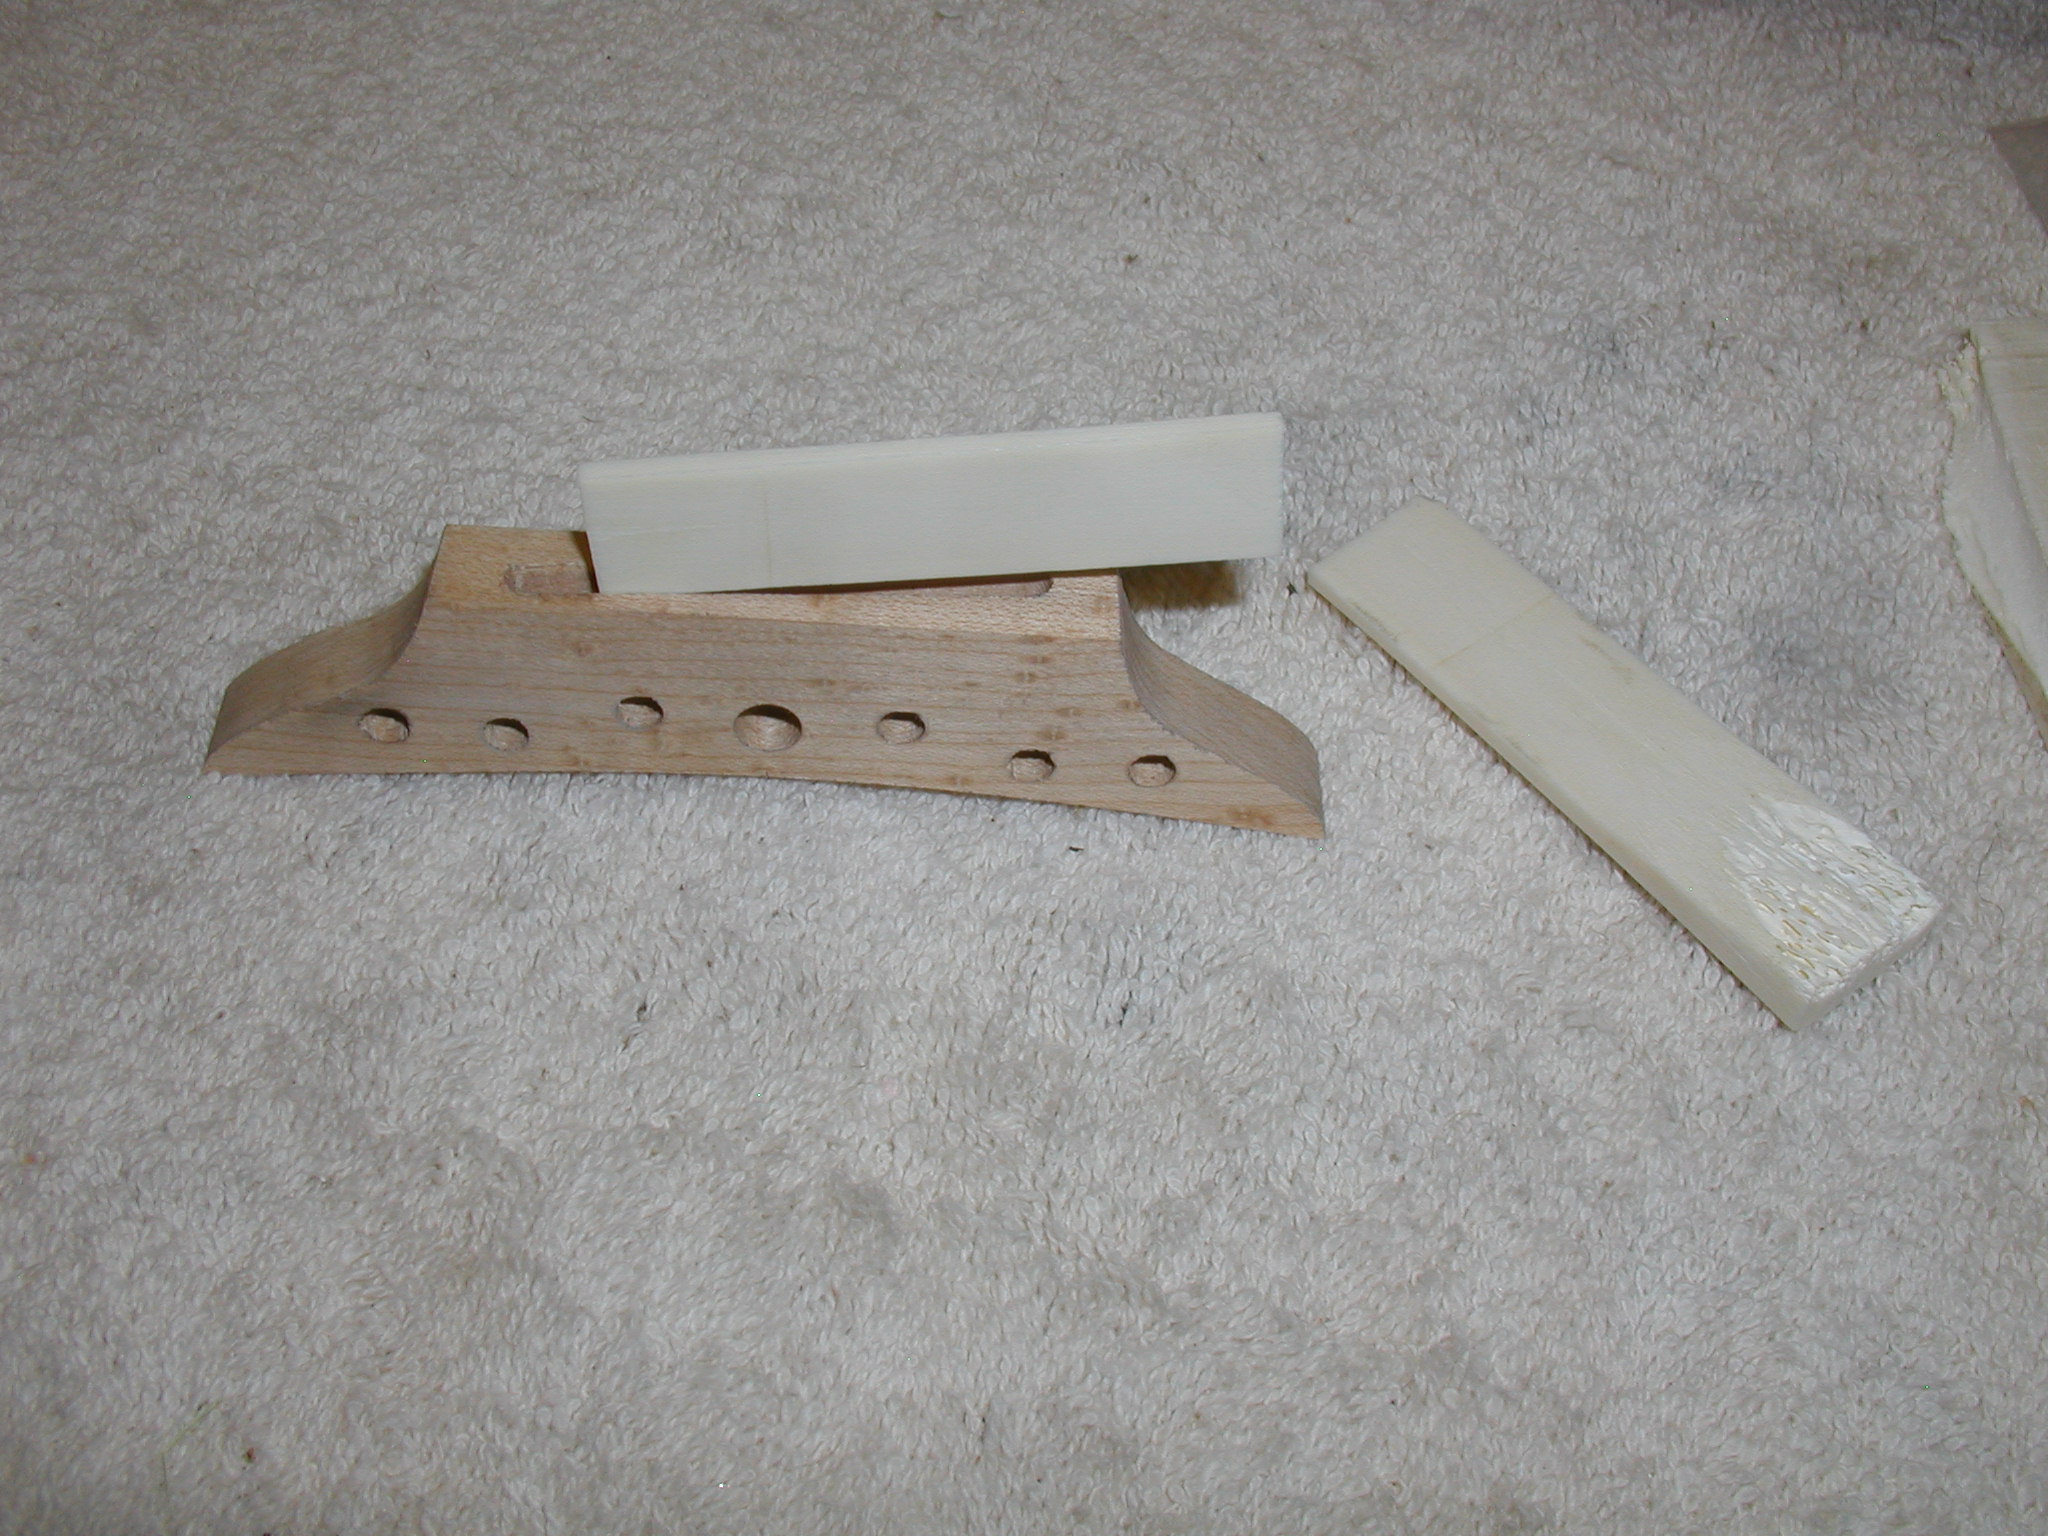
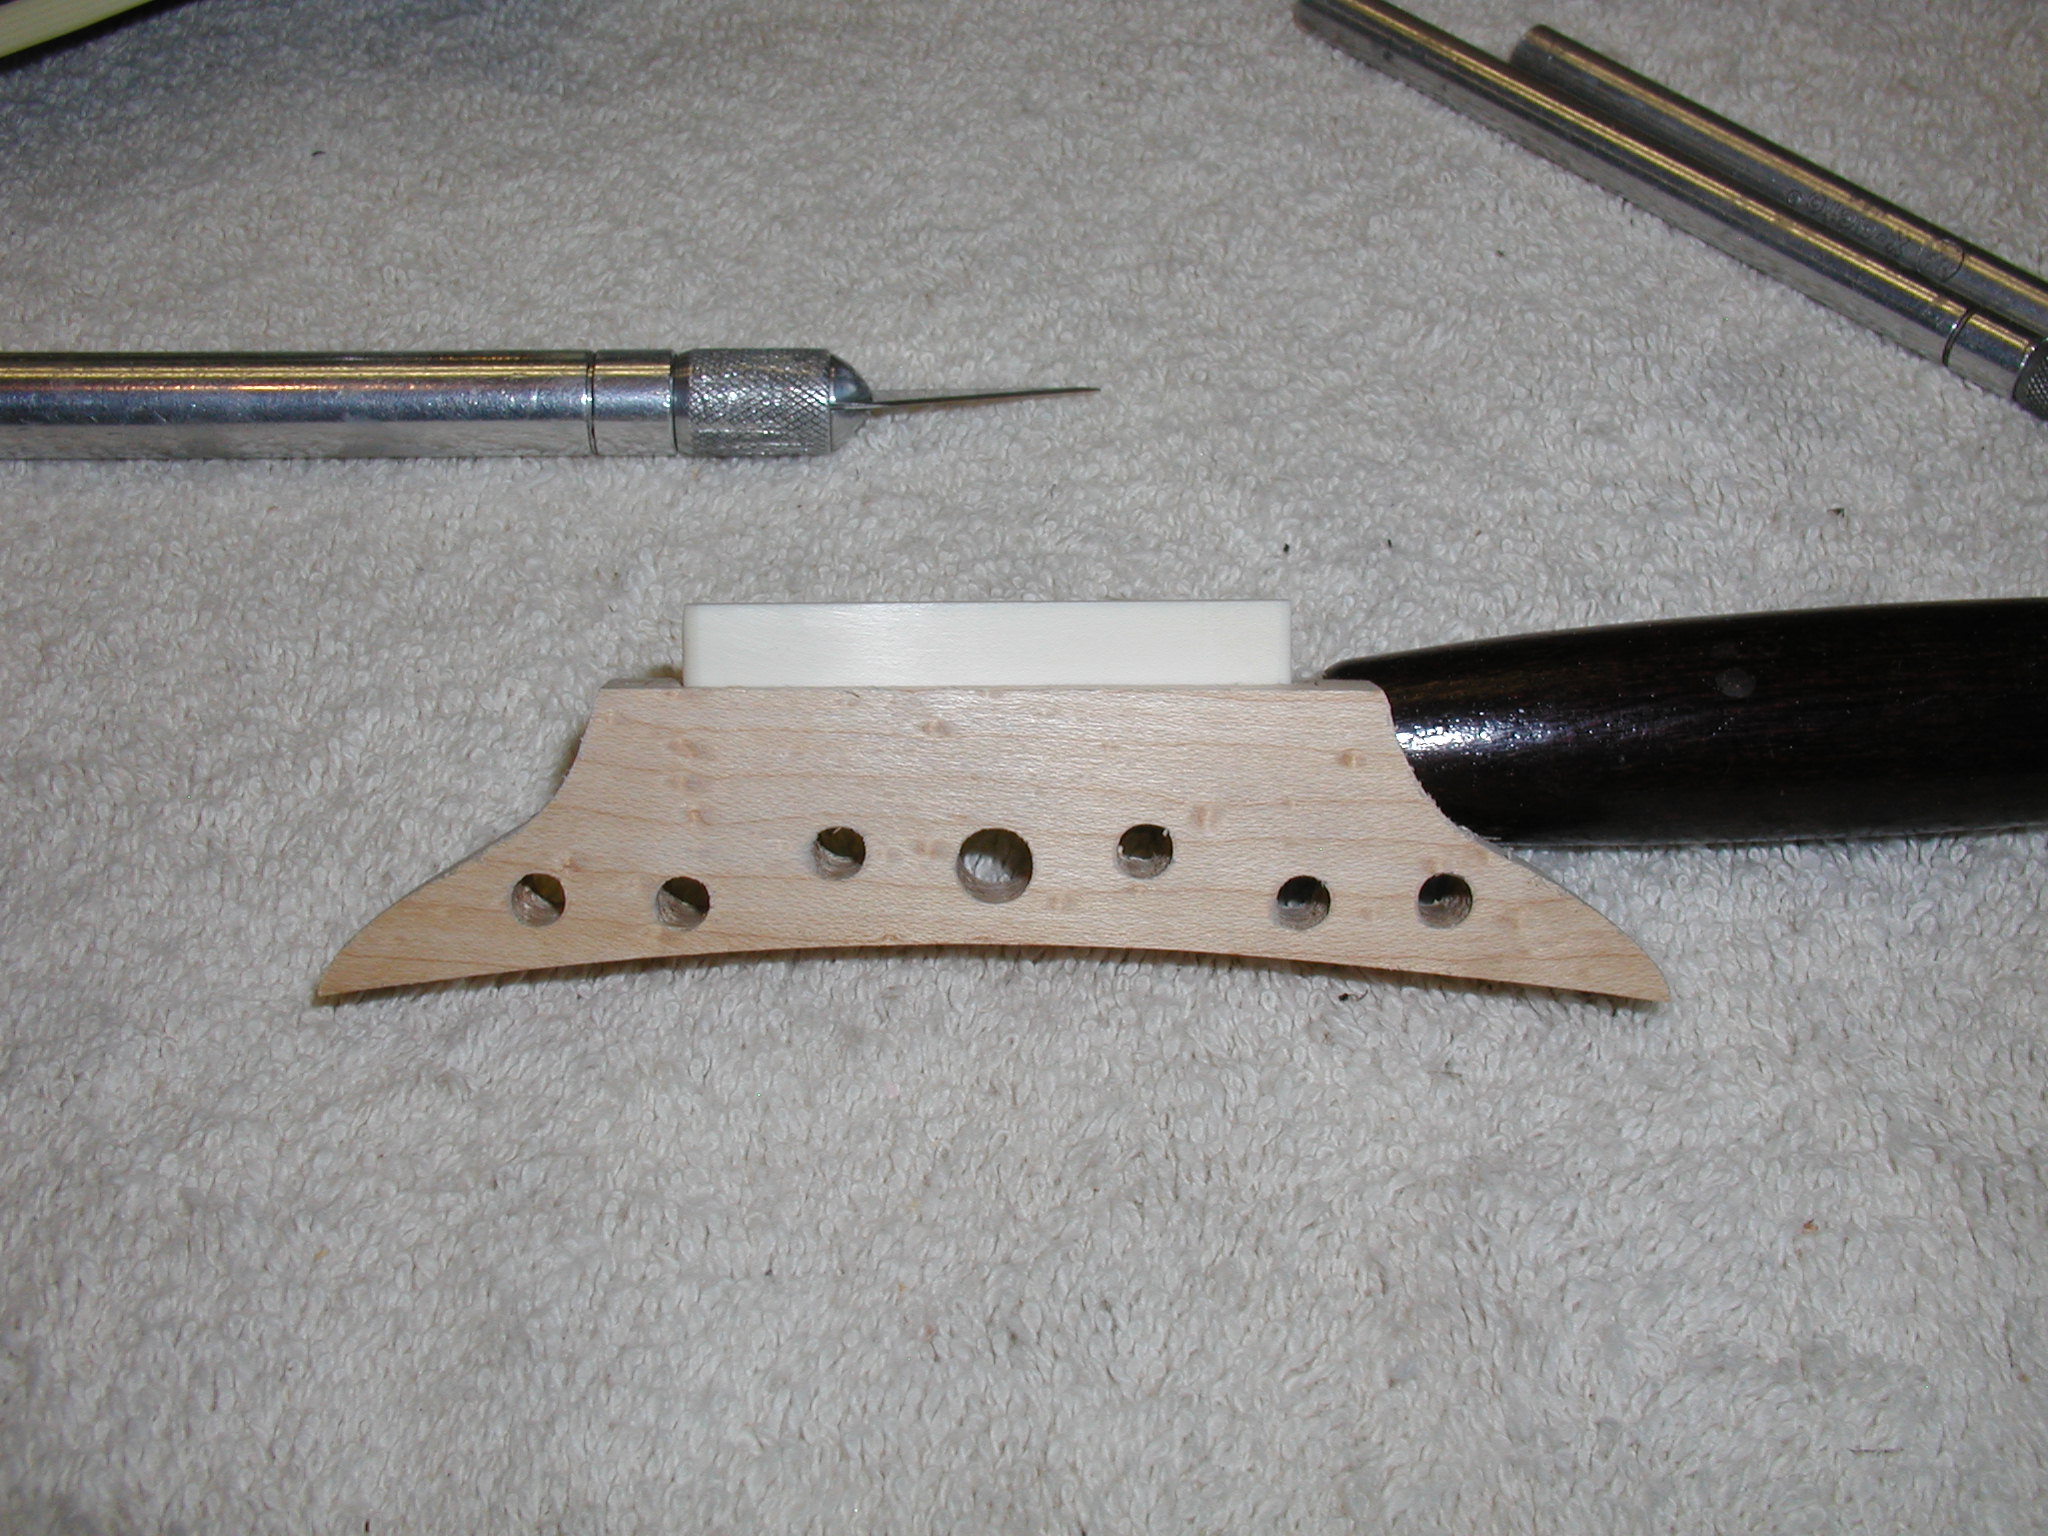
This one is getting a solid bridge made out of birds-eye maple to match the fretboard. If you are interested in more info on solid bridges look at my luthier page series on that HERE. I'm using my template for that but making a modified version that follows Red Henry's newer design with just holes and no slot. I lay out the location where the saddle will go and mill that out on my cross-feed table in the drill press. Then I mark and drill the cross holes. I do this by drilling a small marker hole, then drill half-way through from both sides so that it doesn't break through and splinter the surface.
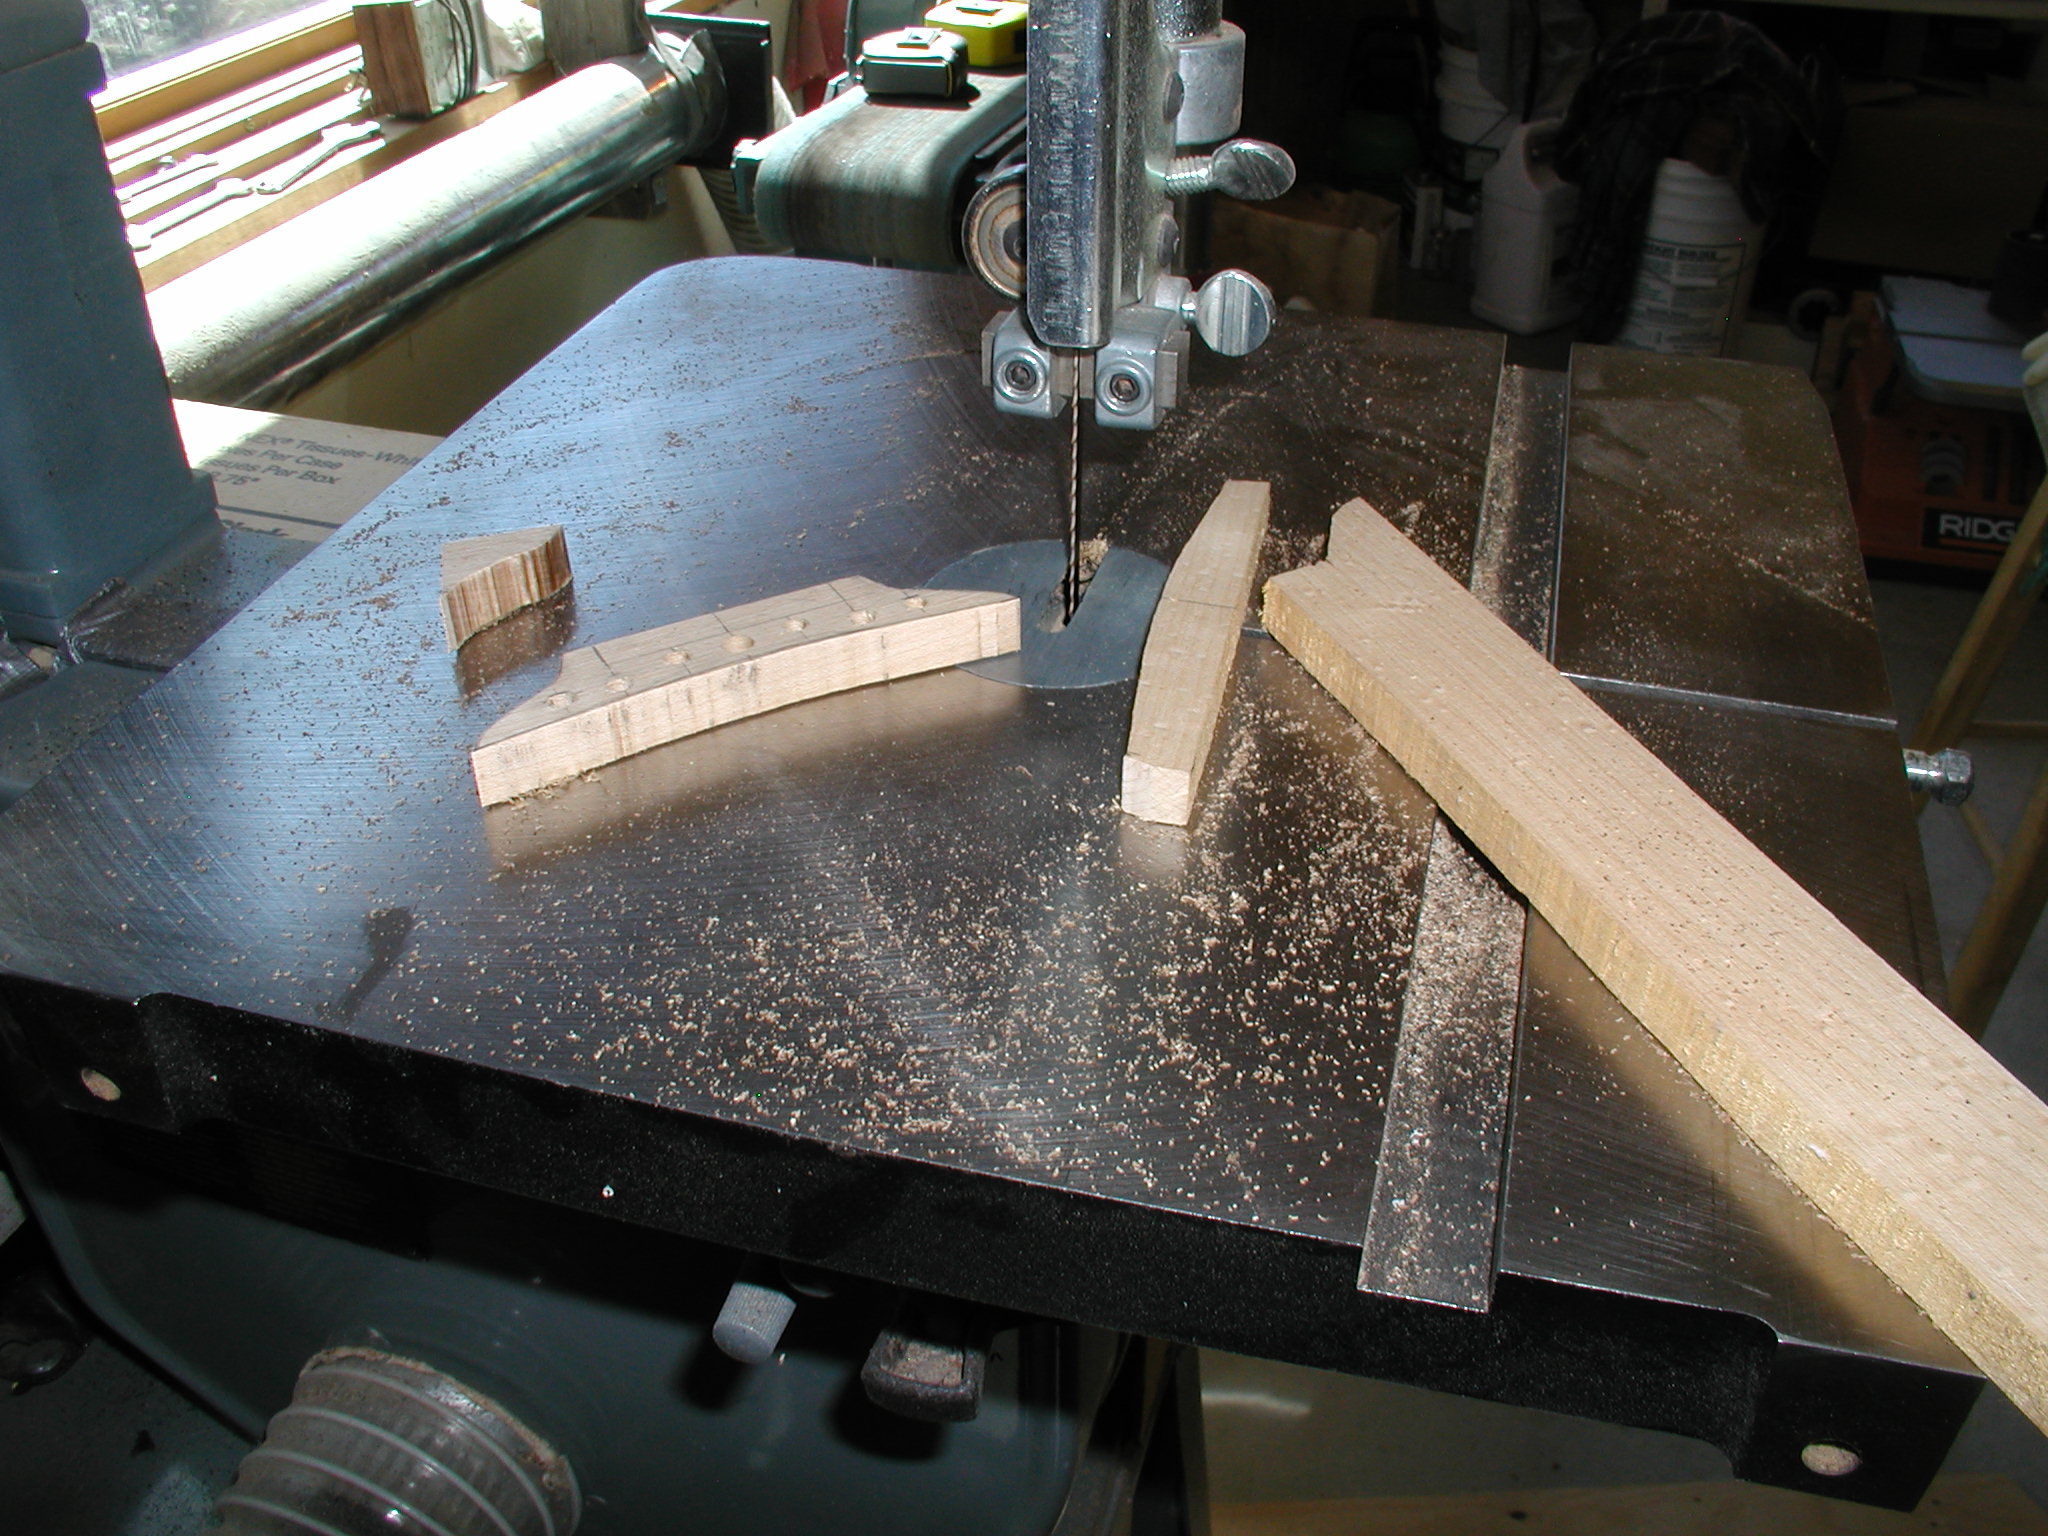
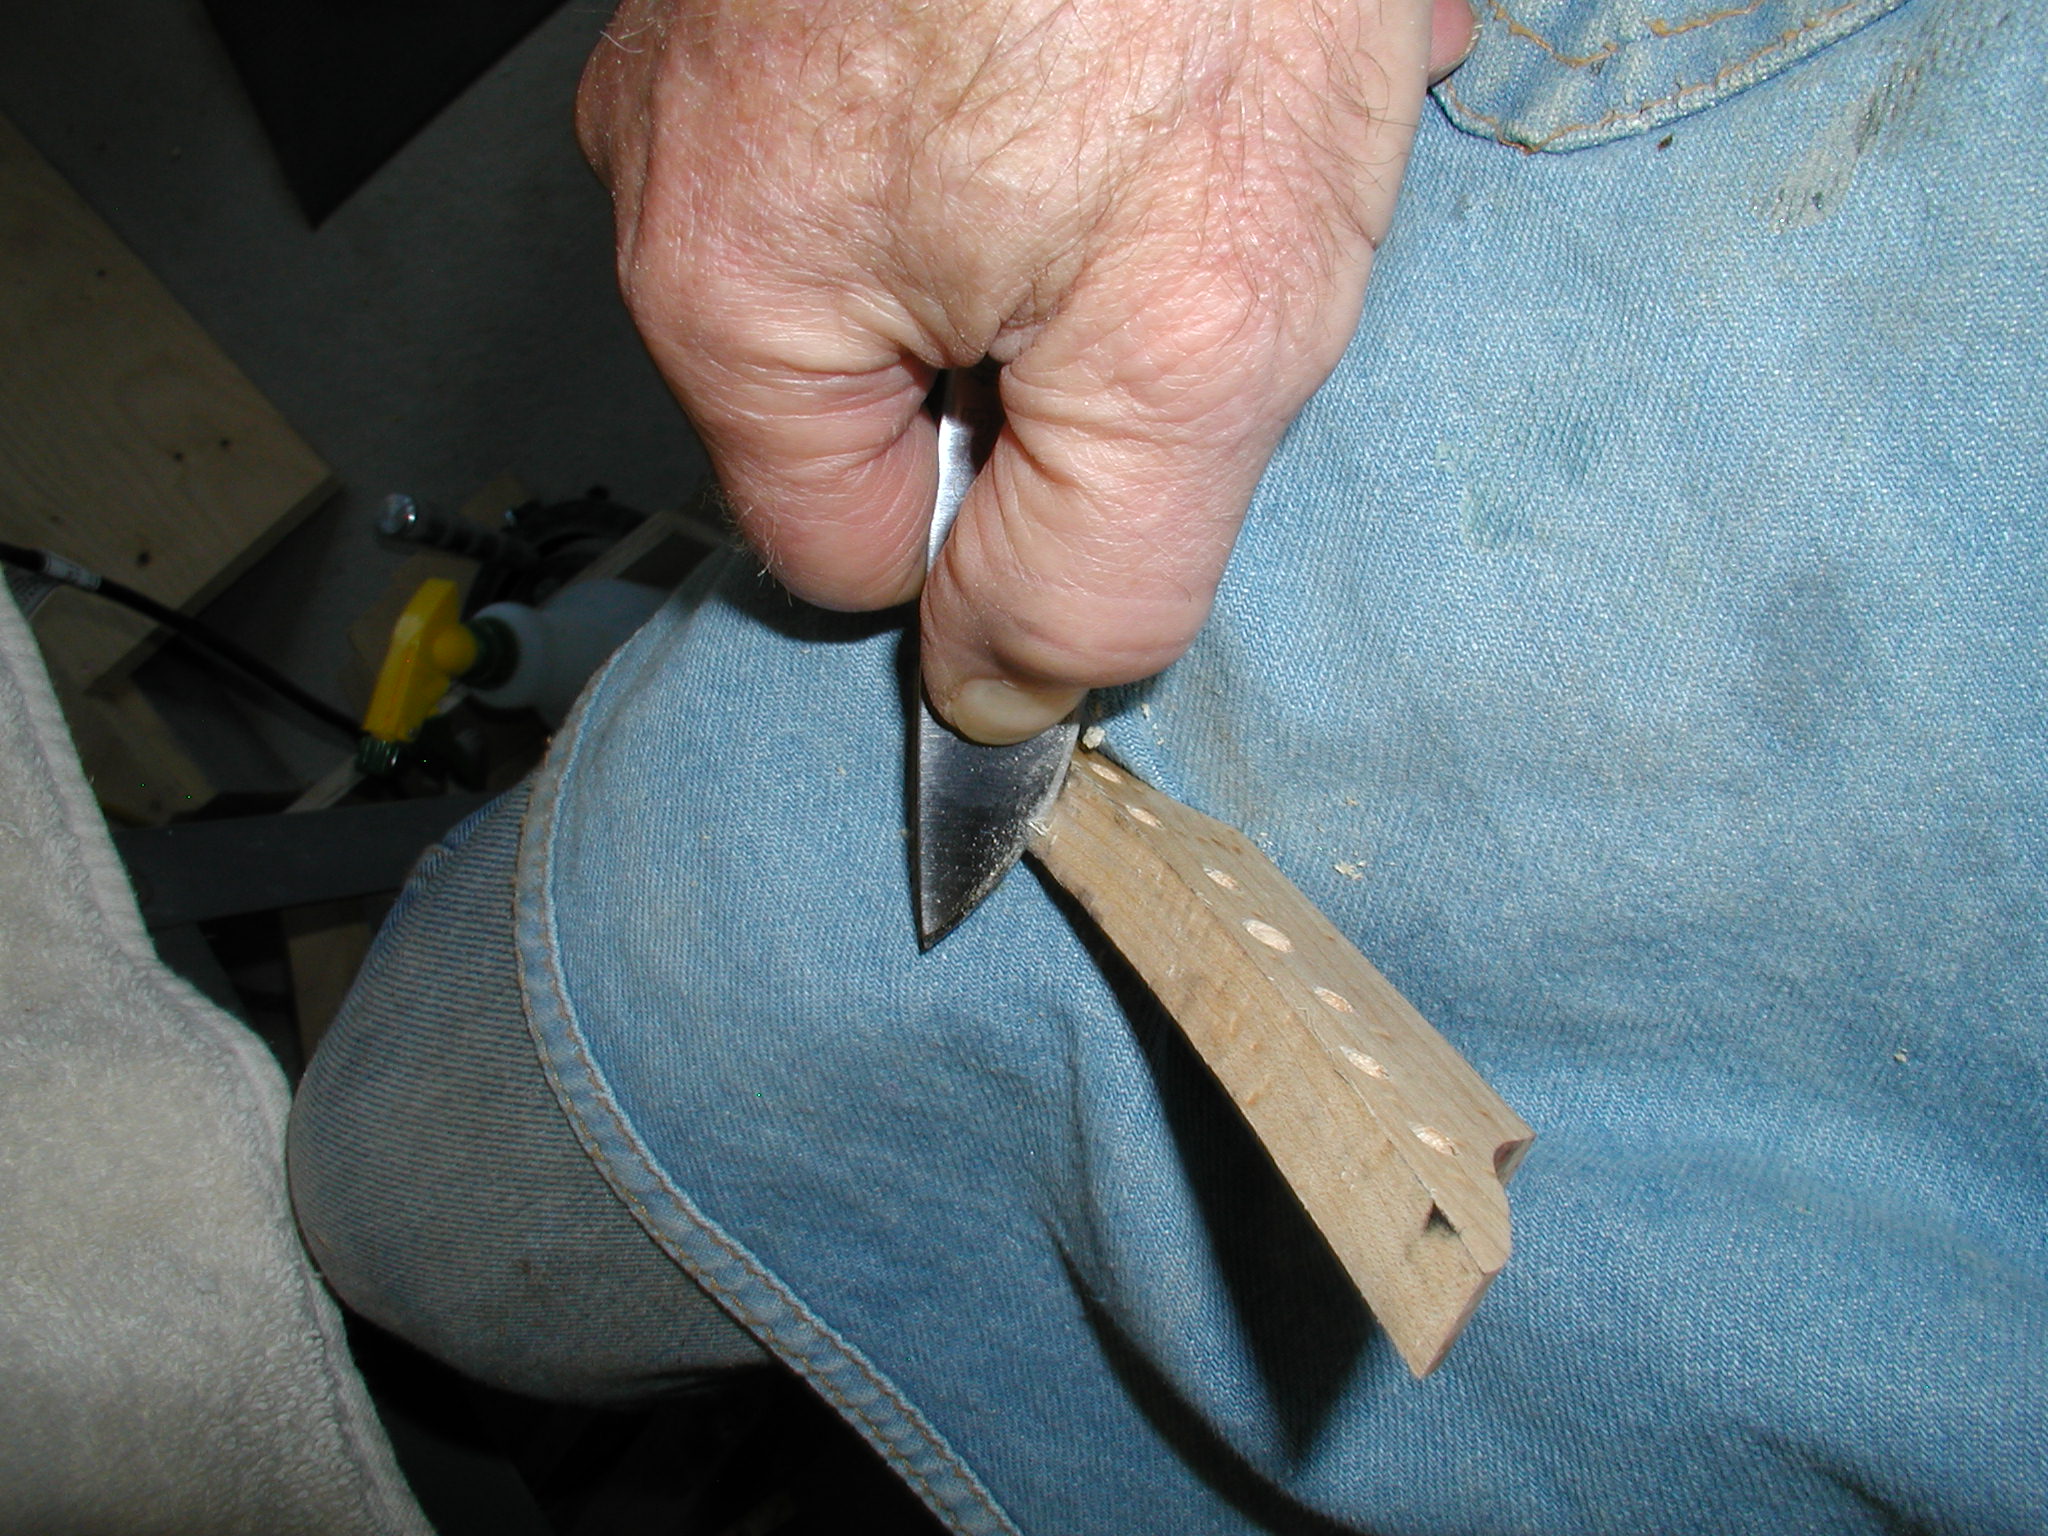
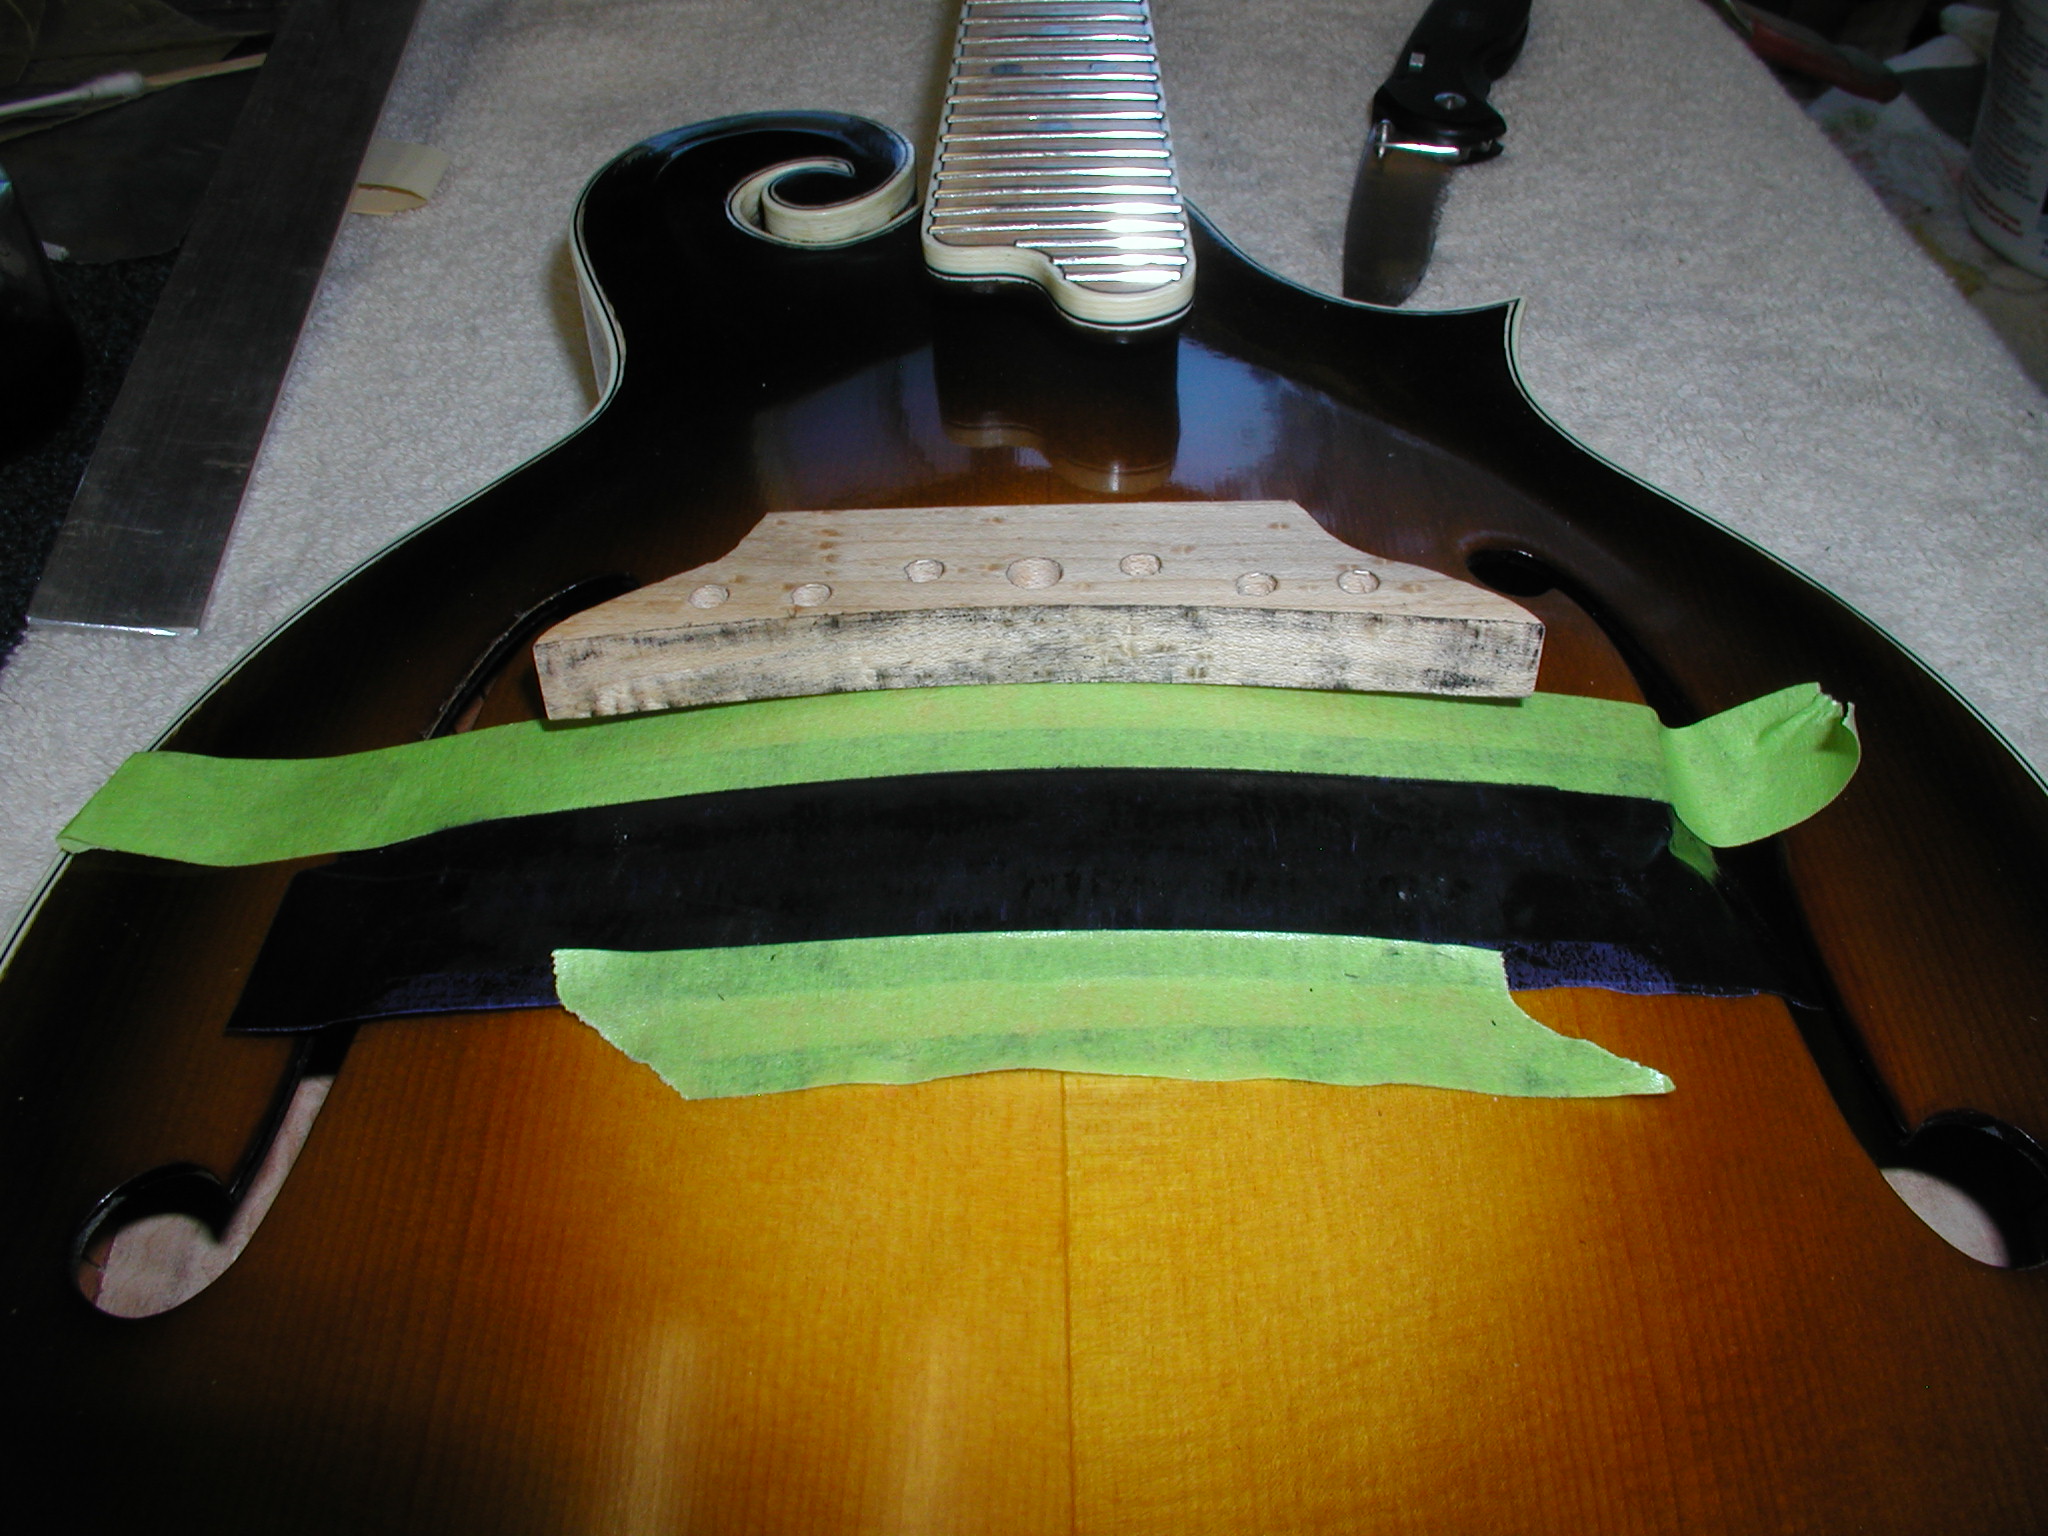
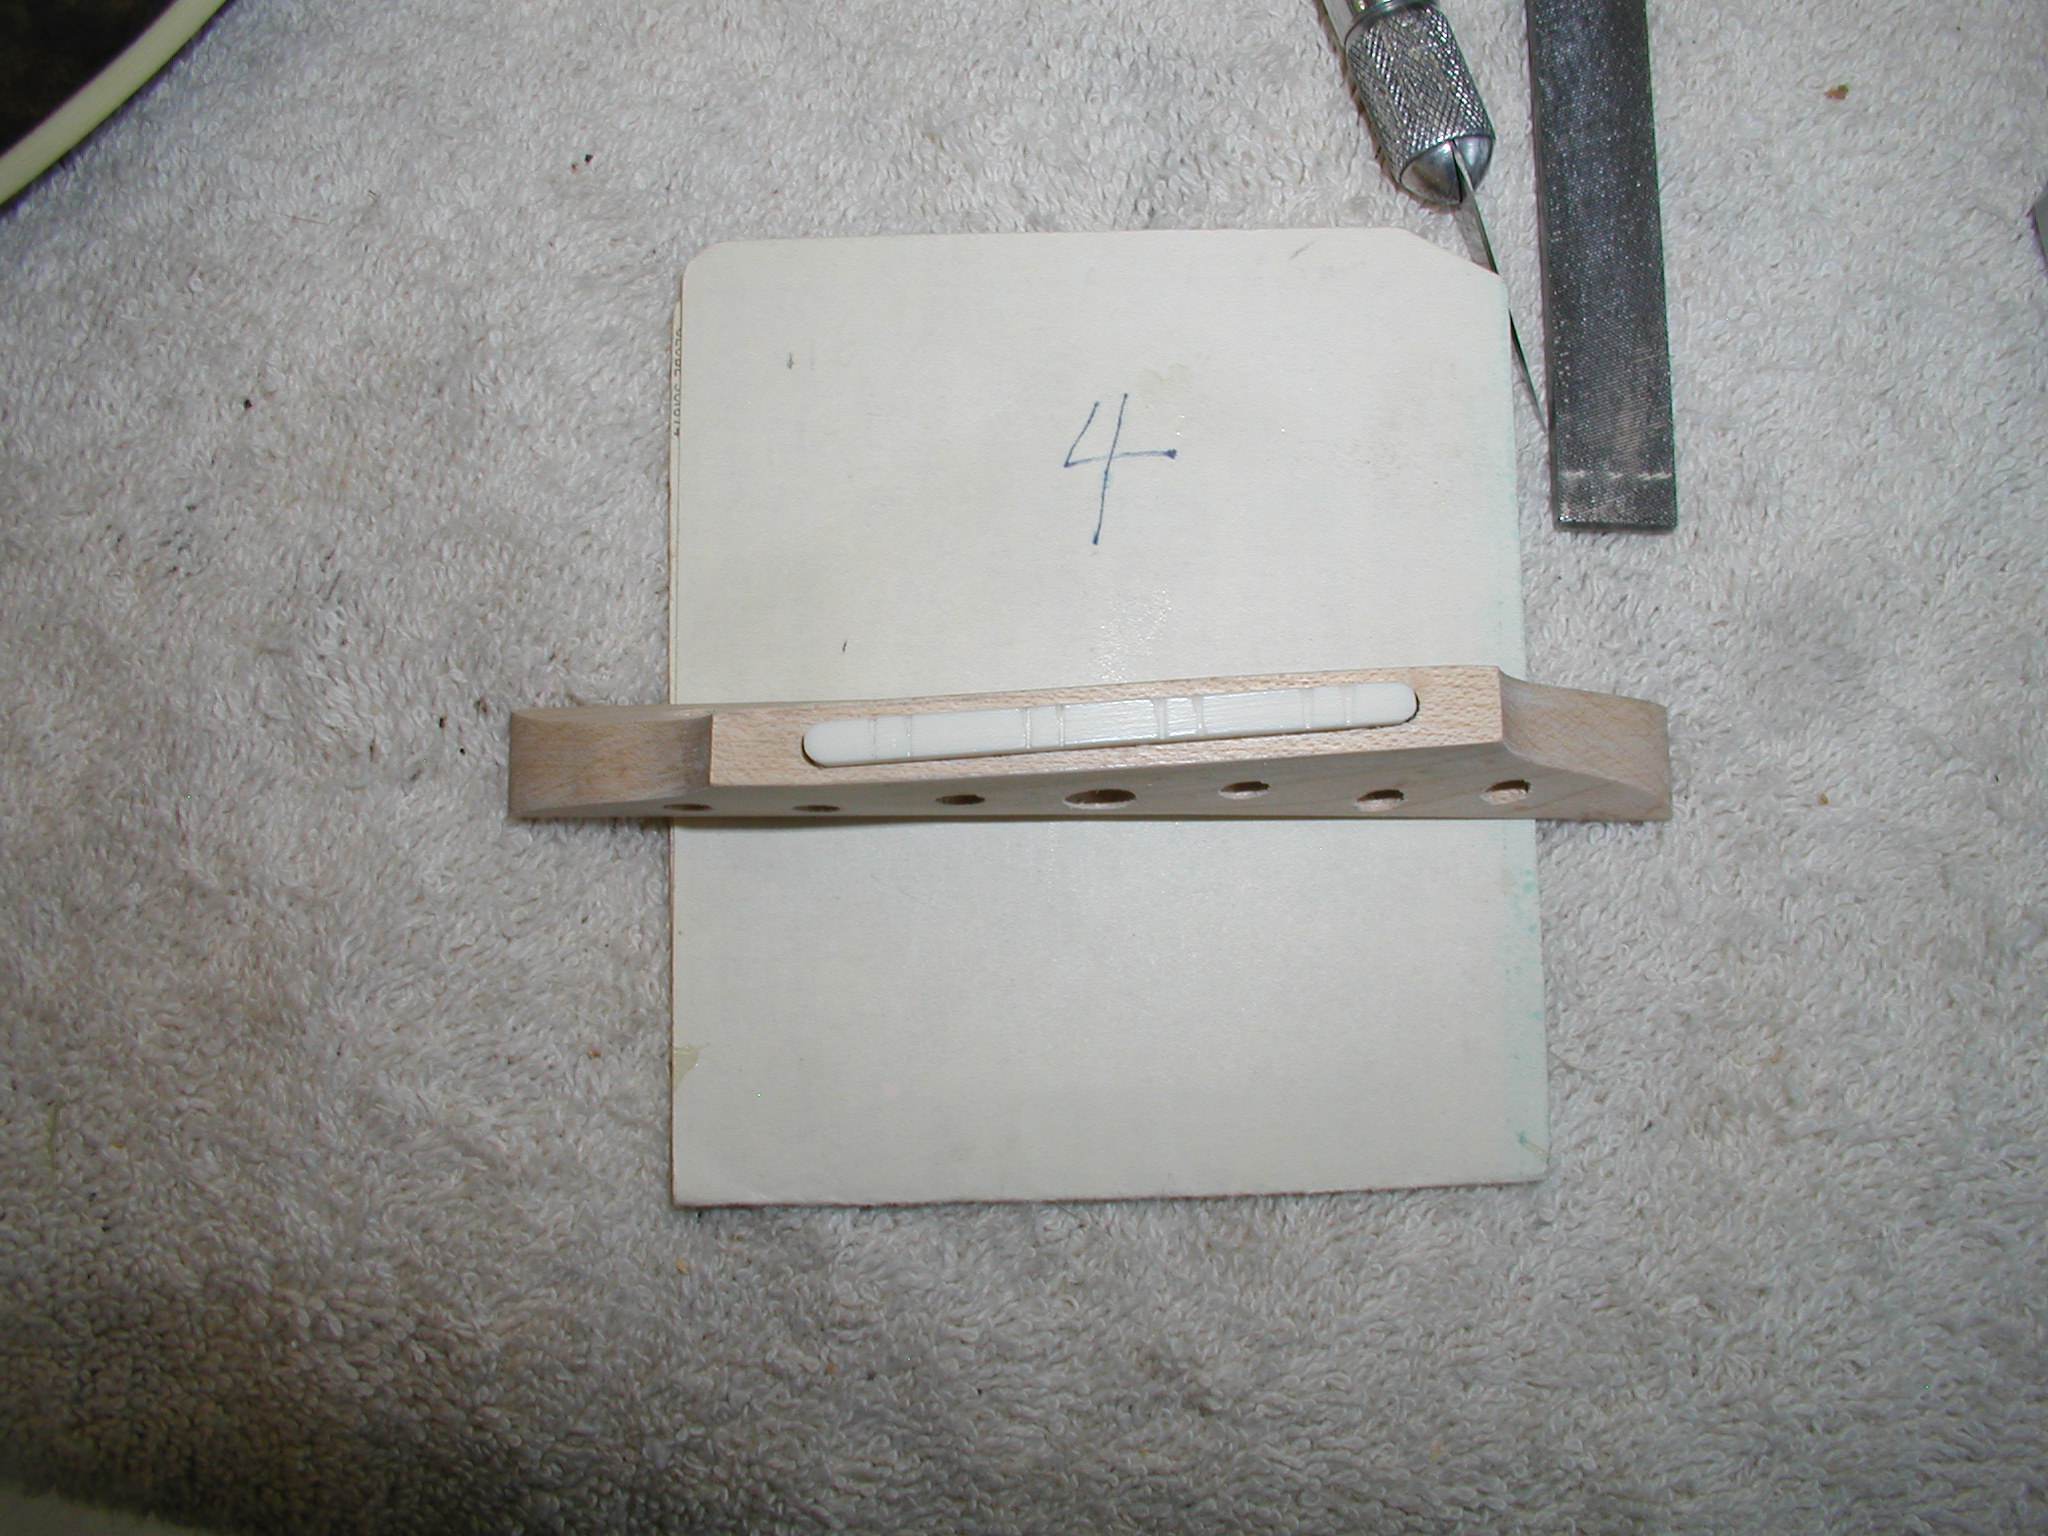
To the bandsaw and cut out the bridge. I clean it up and smooth it a bit with files and sanding tools but don't get to worried about it yet. I fit it to the top using carbon paper. This is getting harder to get, at least the real stuff, not the plastic fake carbon type. If you find some buy a bit and keep it in a sealed plastic bag to keep it from drying out. I tape a piece face up at the bridge location and then slightly wiggle the bridge on it. This marks any high spots. I use a curved blade pocket knife to scrape the bottom in the high spots. The curved blade tends to make it sort of "hollow ground" like an ice skate blade where the outer edges are higher than the center. You can see that in the fourth picture. Then I'll slowly use a flatter part of the blade to bring it down to where the whole bridge is getting marked. It is almost done in the fifth photo.
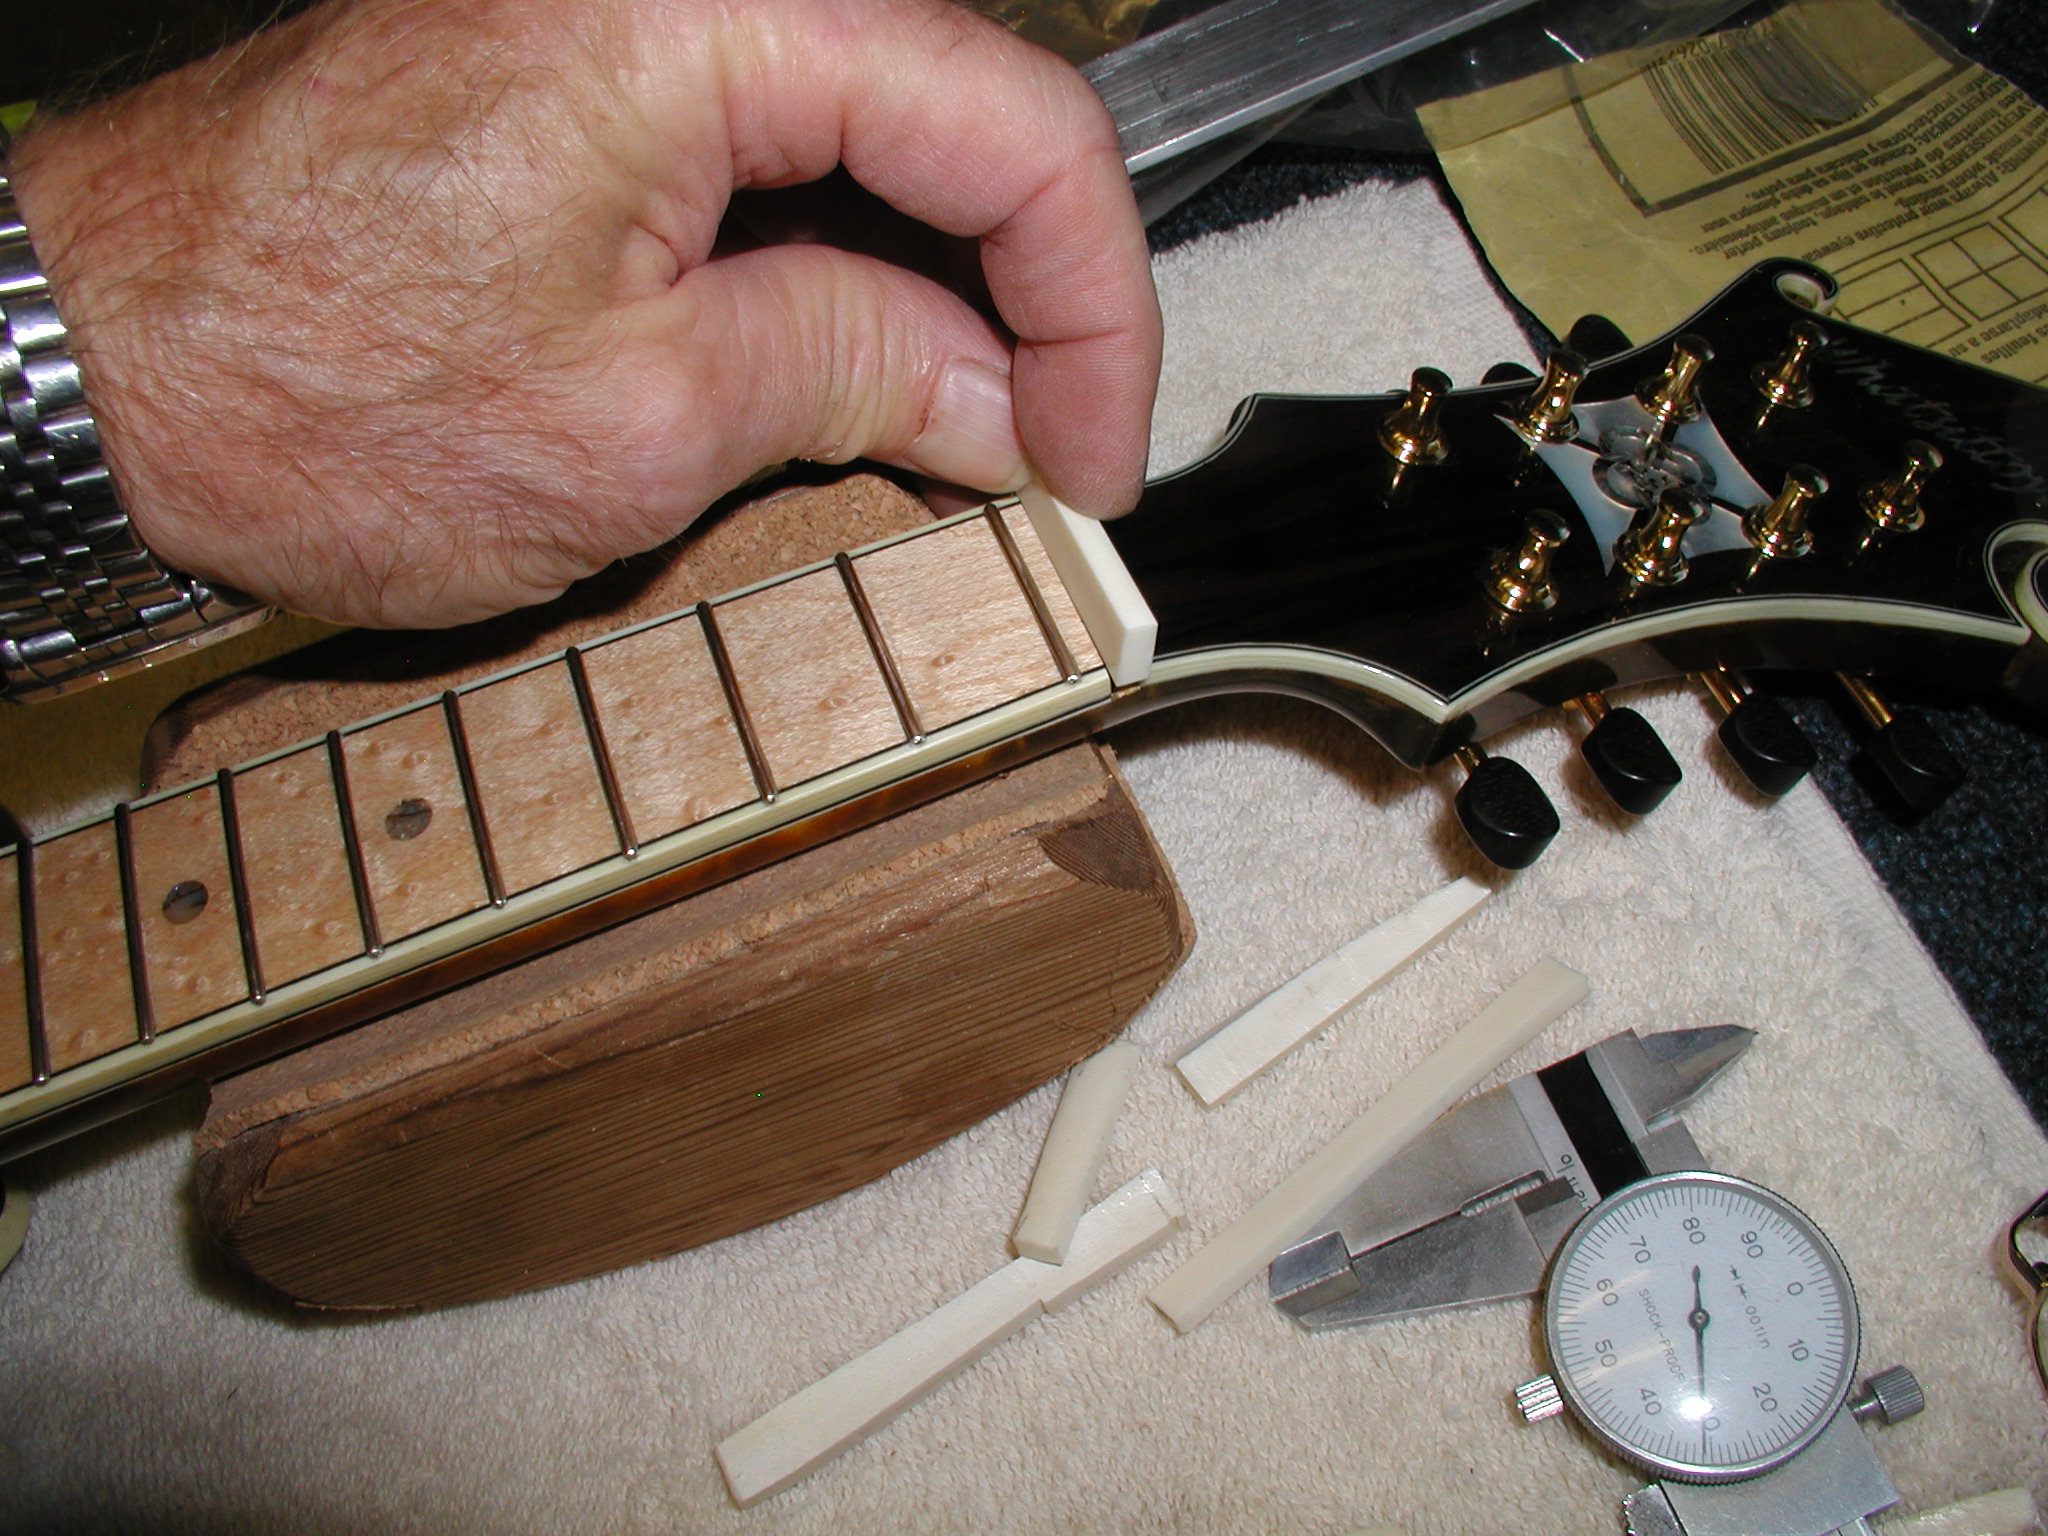
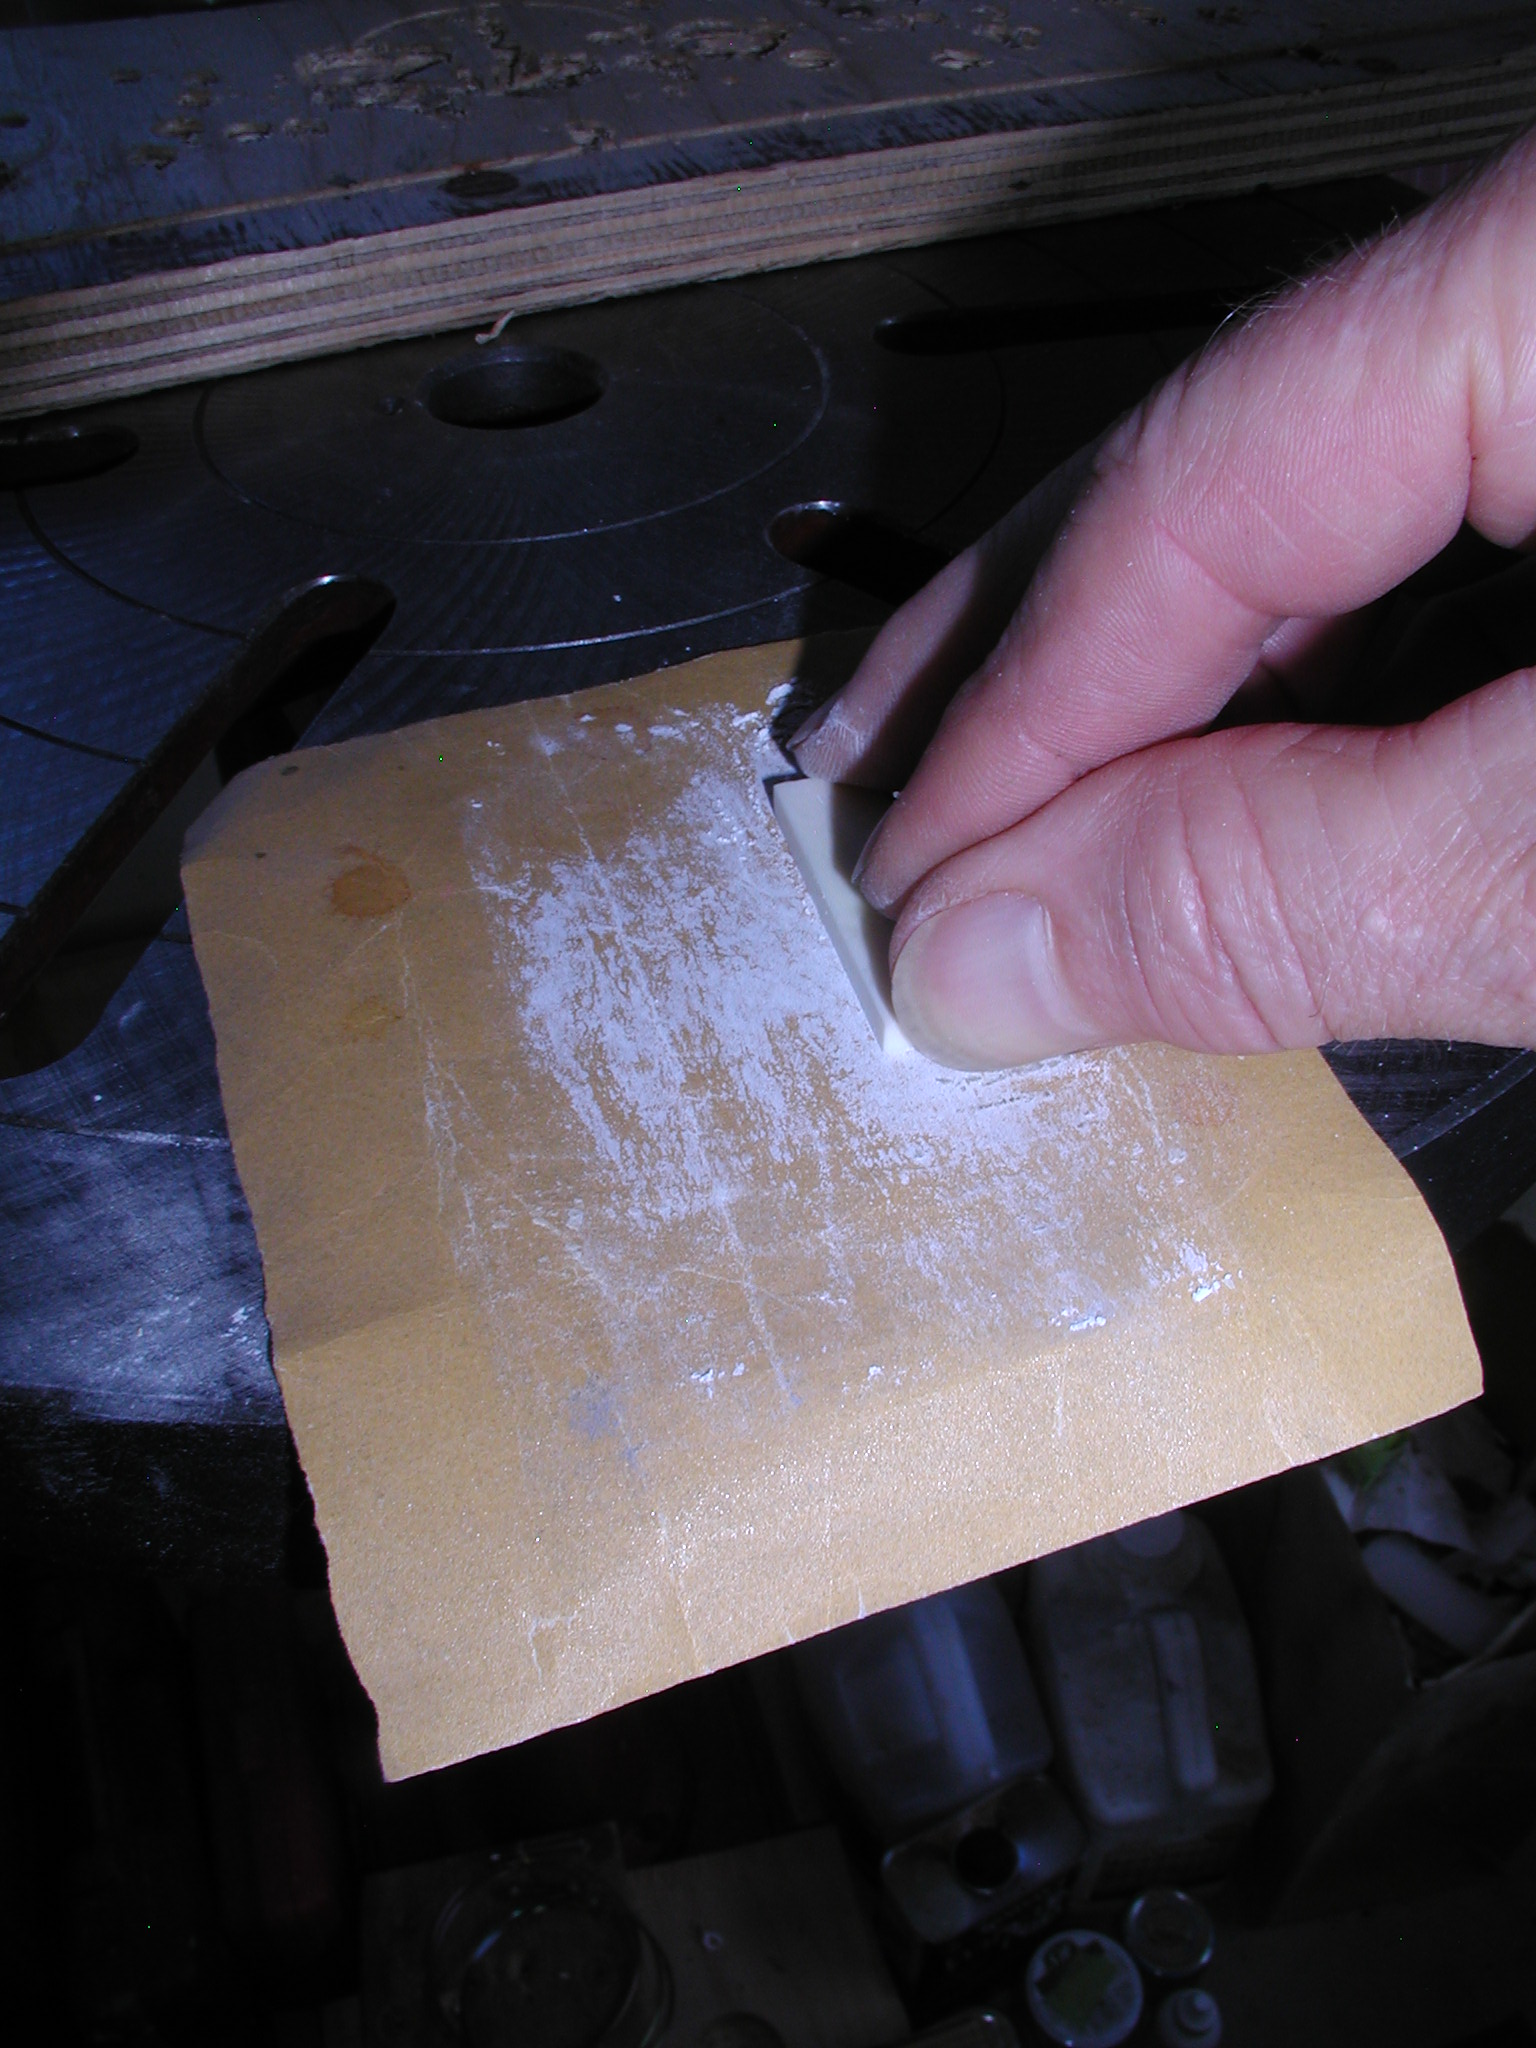
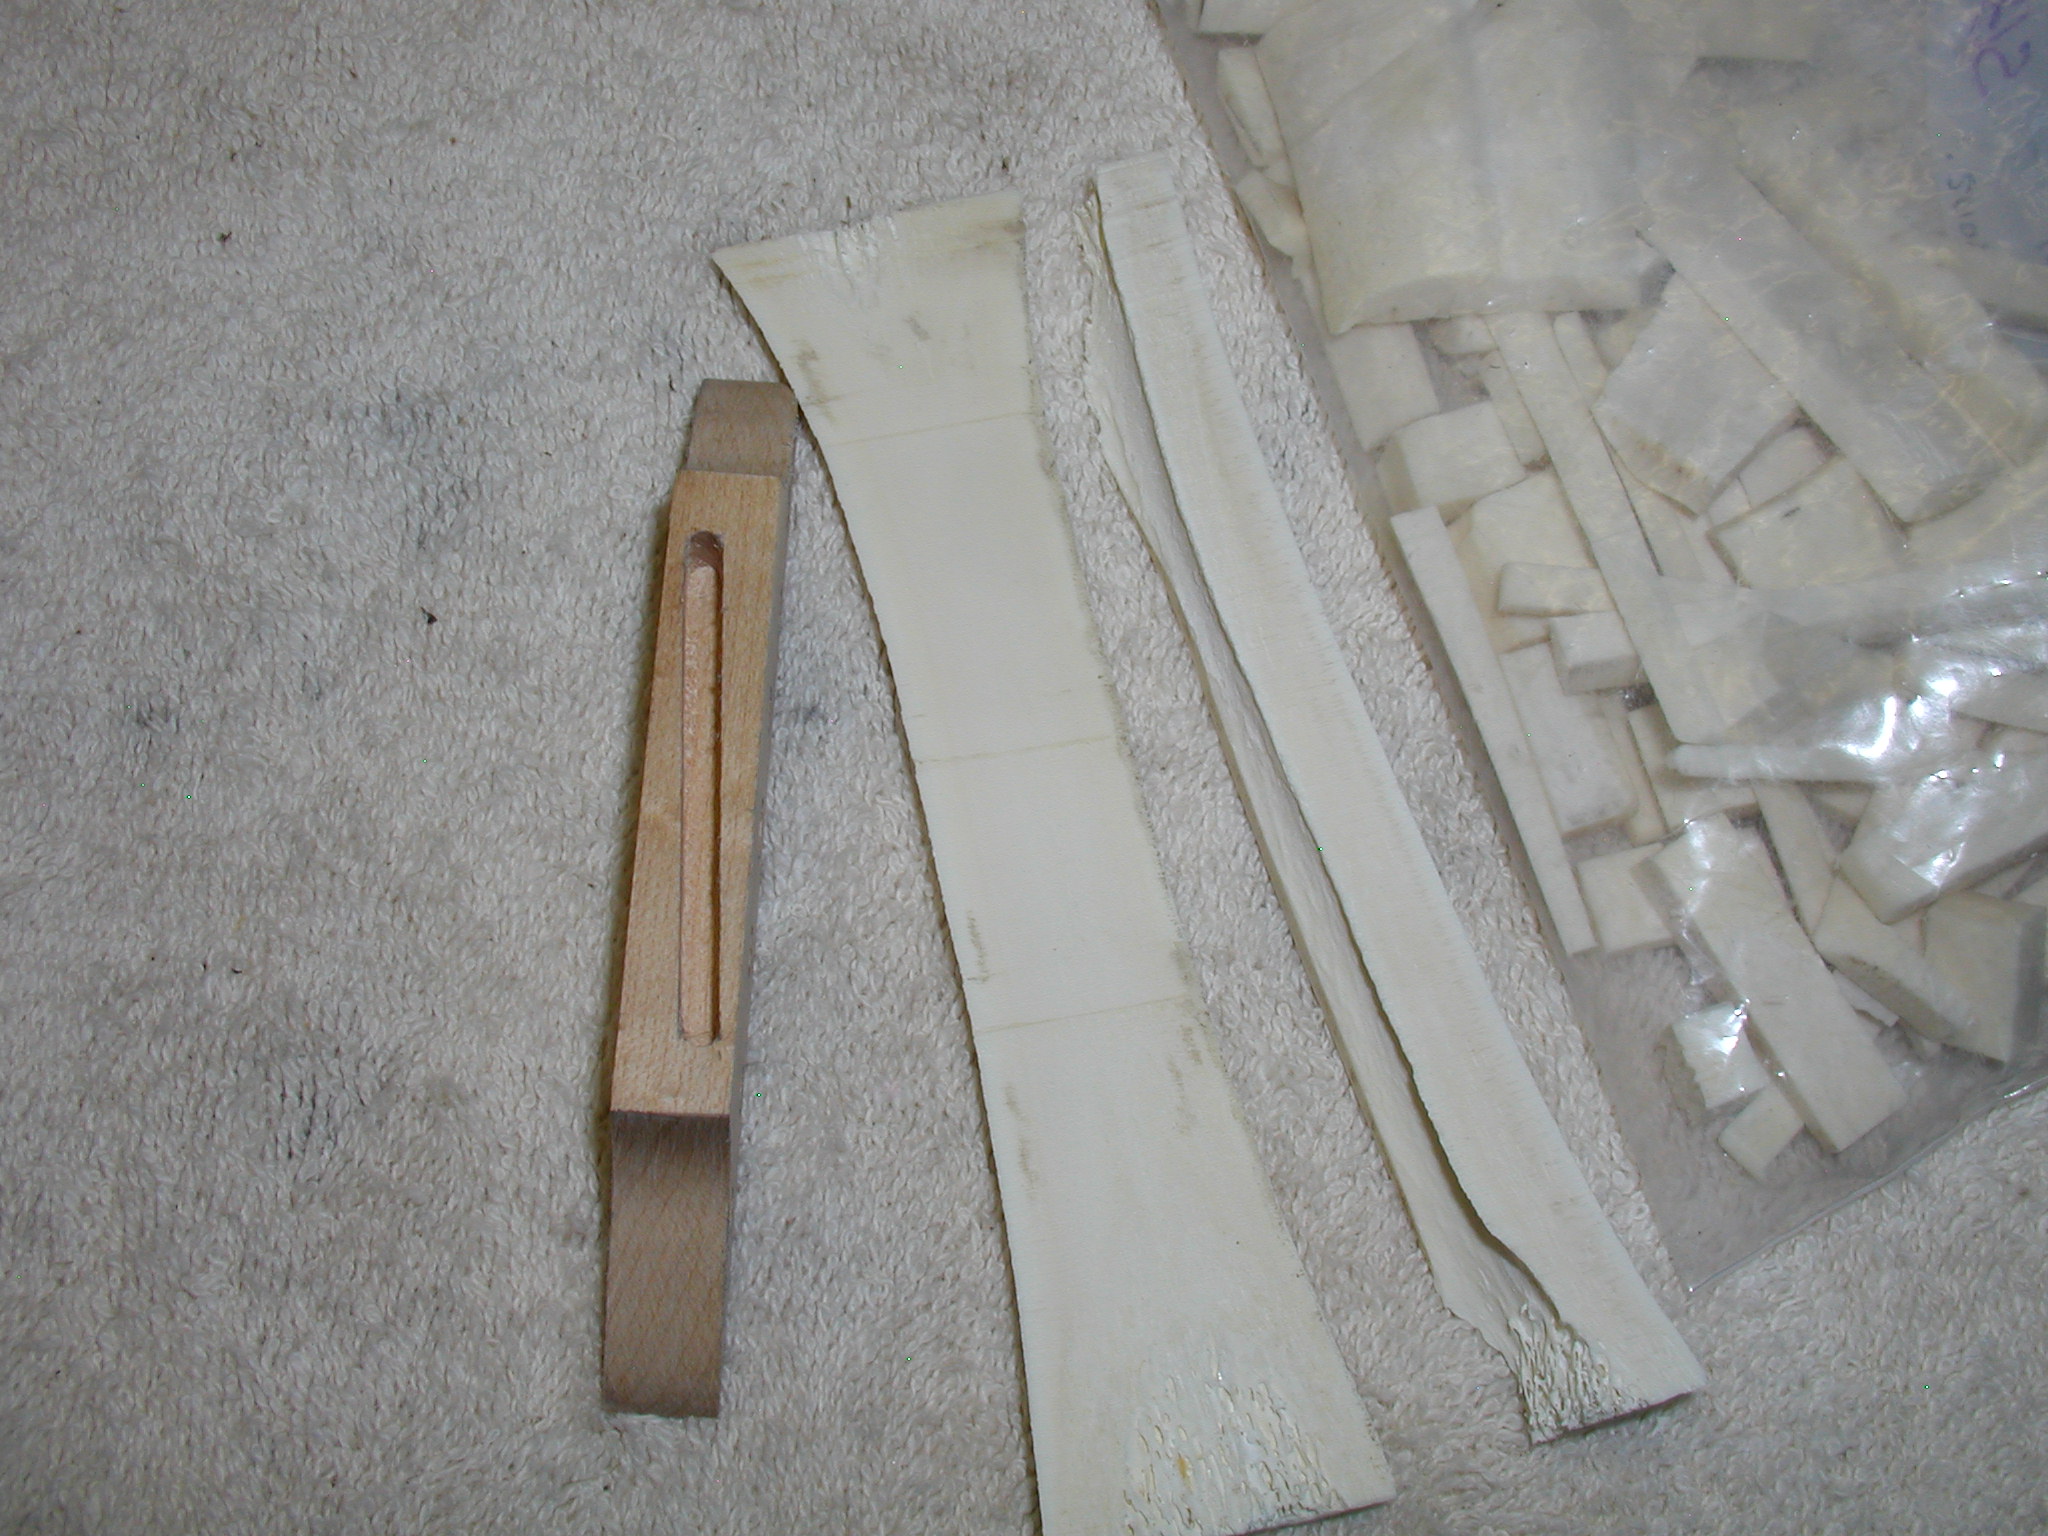
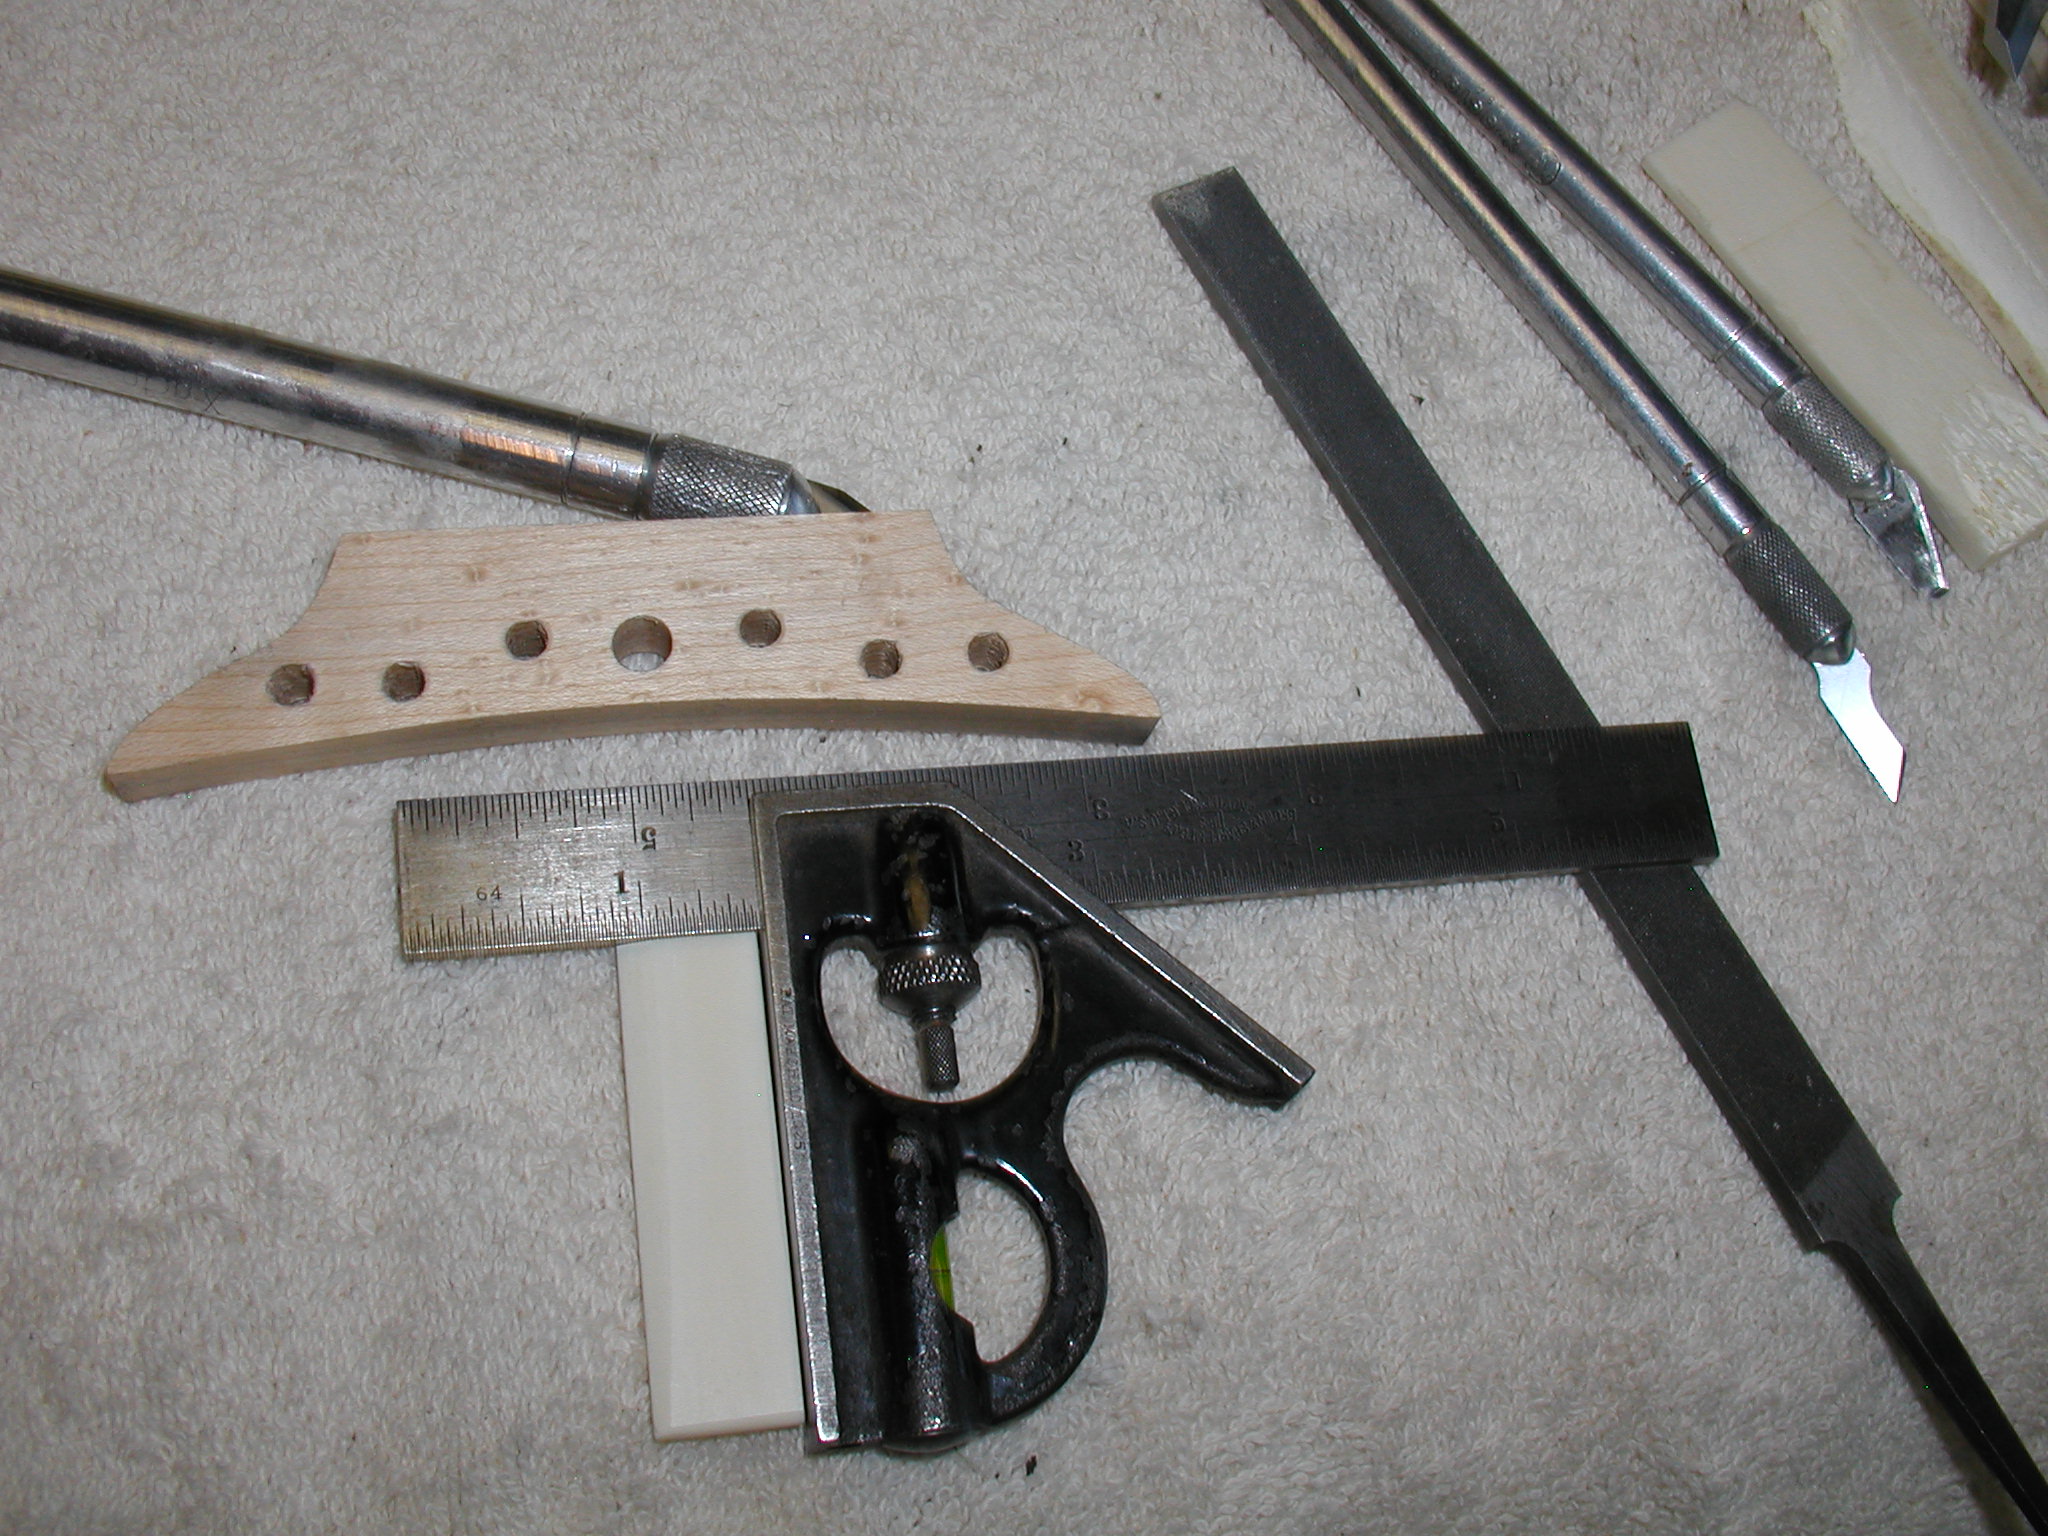
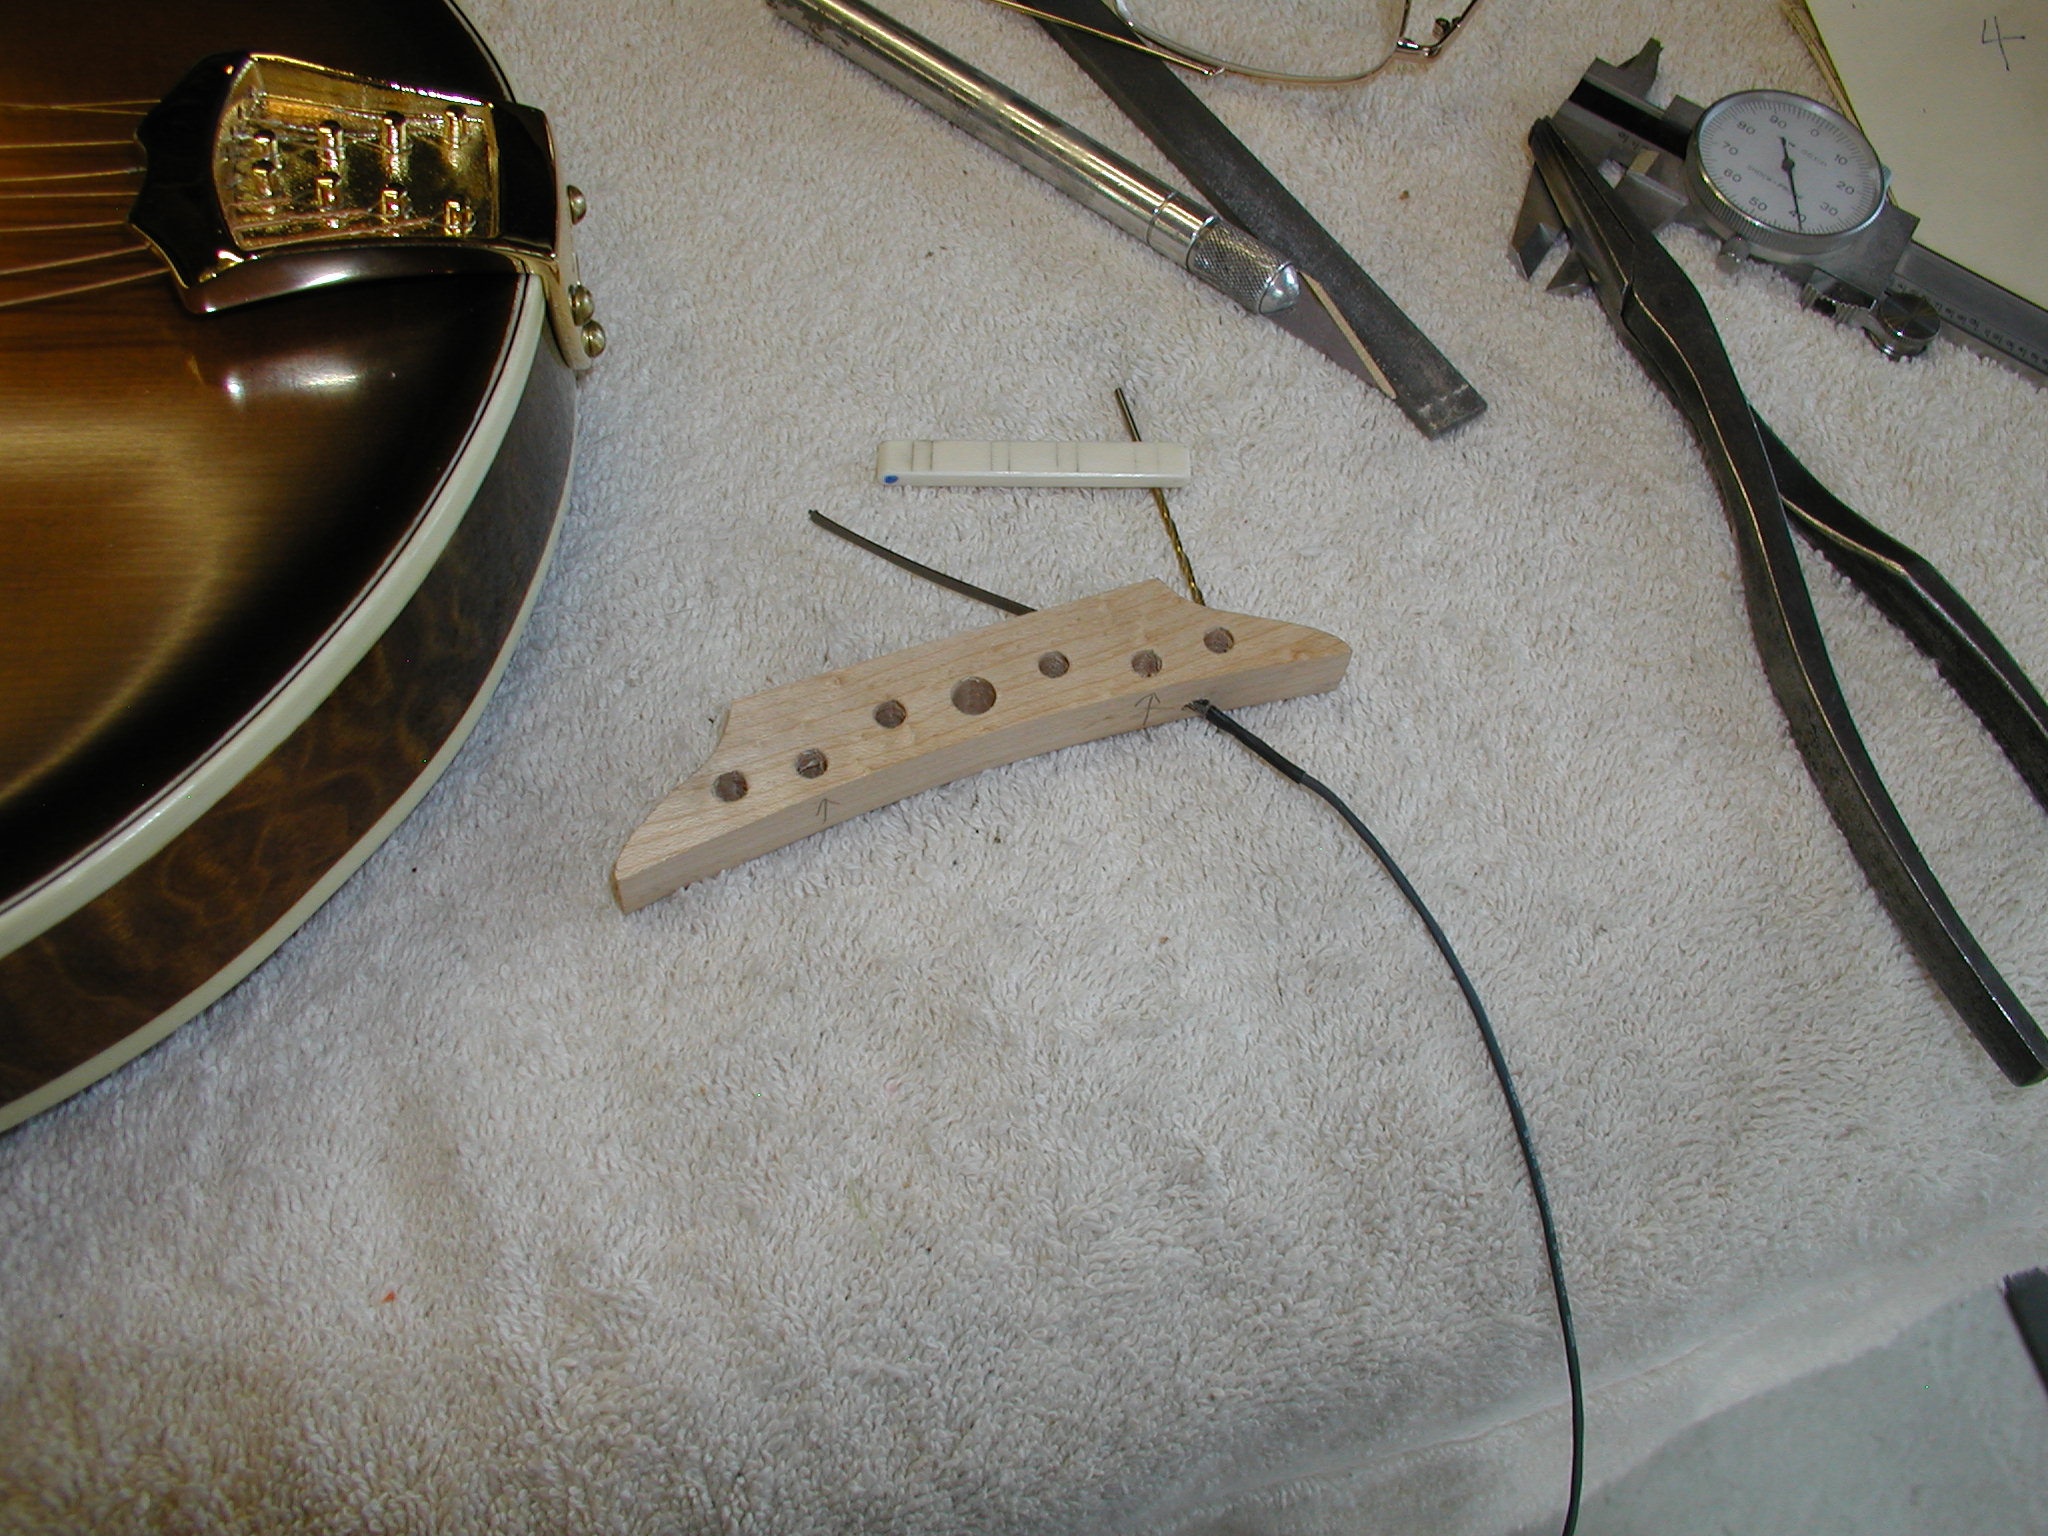
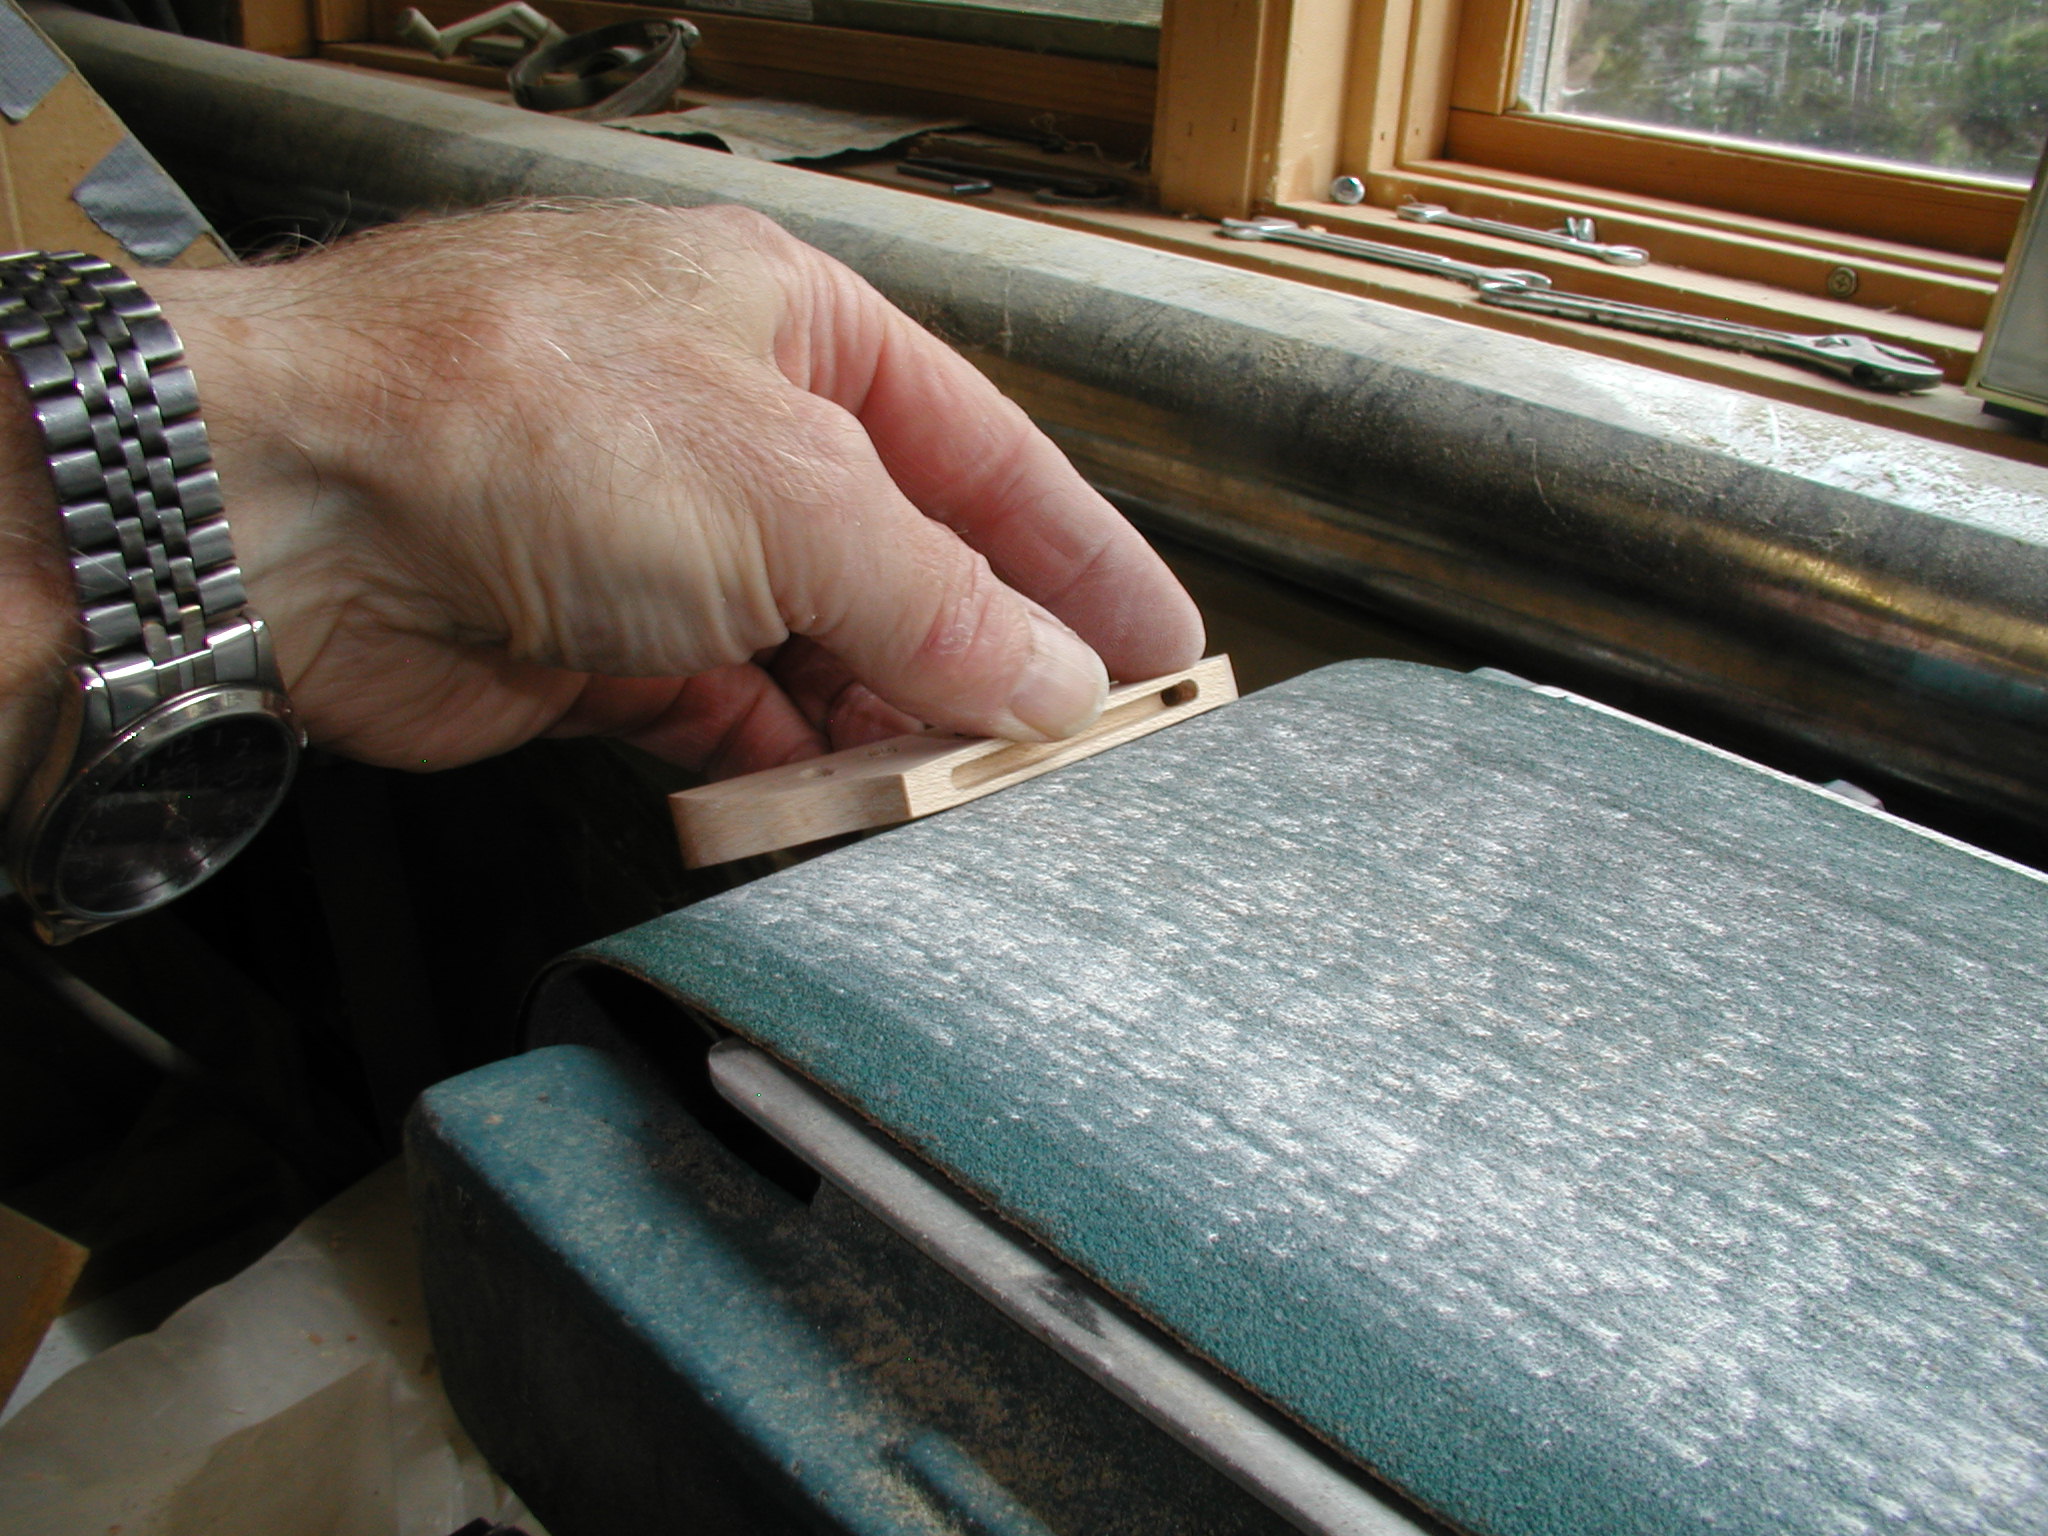
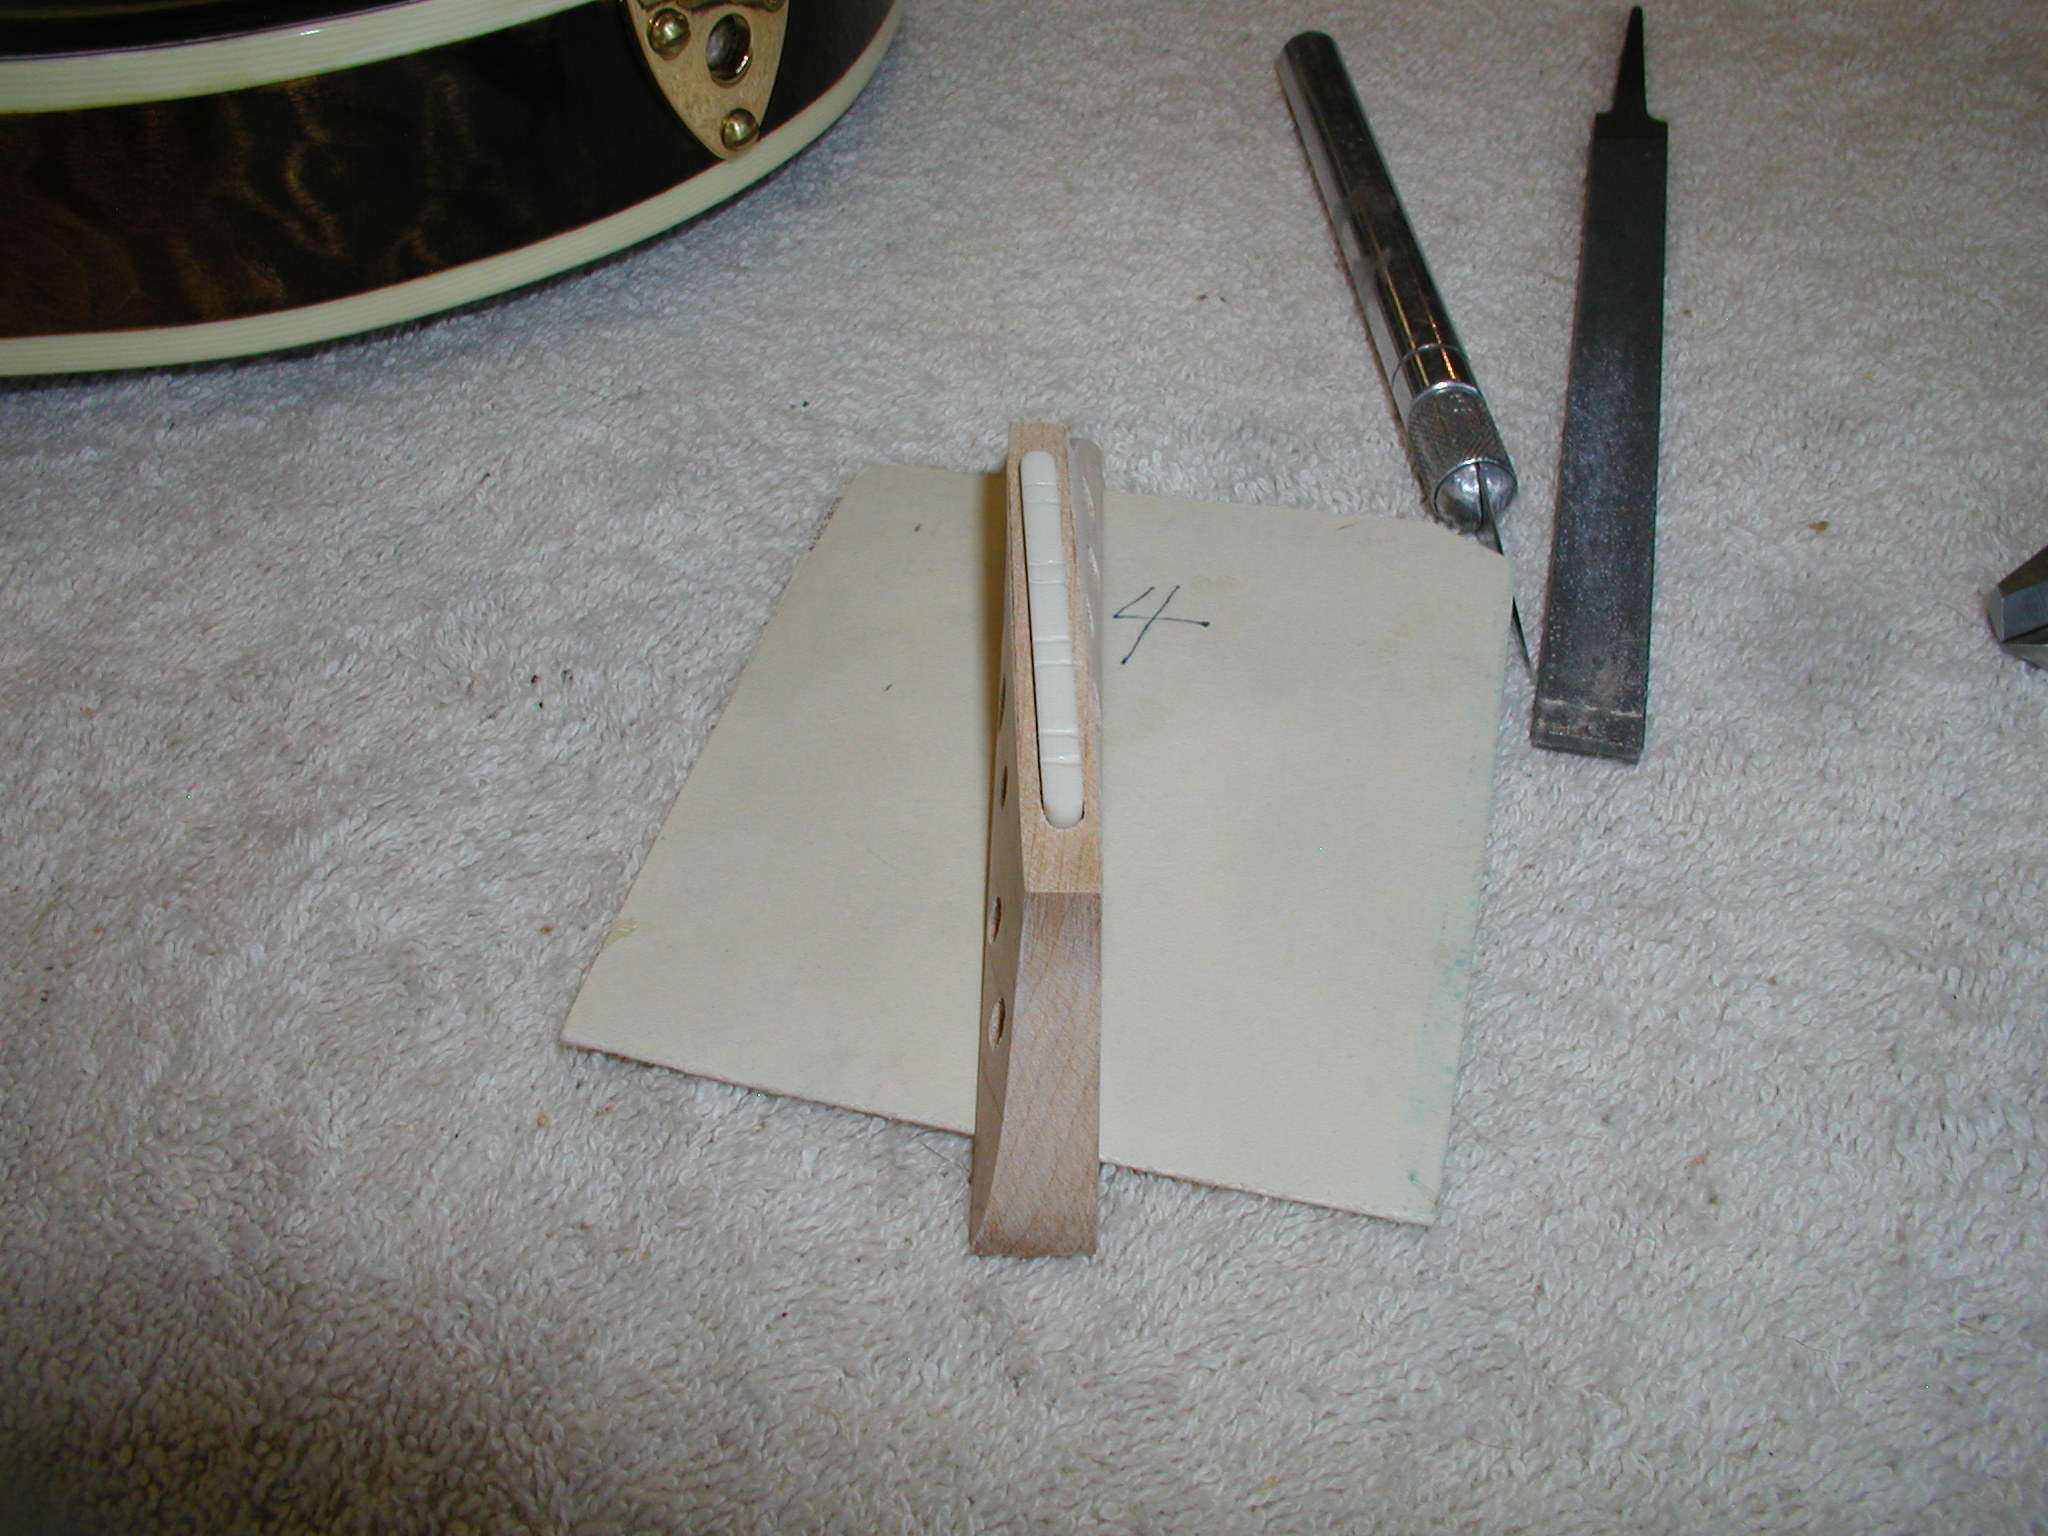
This will get bone nut and saddle pieces. I get my bone from the local pet store or mail order from the same. They come as sterilized cleaned bone for doggie chew toys, get the largest you can find. I then just resaw them in the bandsaw and shape them on the belt sander. A block of wood with double stick tape helps in the roughing out stage with coarse grits. Here for the nut I'm using some of those blanks to select pieces that are close and then final fit them. Use a small square and vernier calipers to keep the faces and bottom all true with 90 degree angles. I belt sand till it is close, then hand sand 220 grit till it fits tight. Then go to 400 grit till it is just snug. The final buff will actually take off a bit more to make a nice slip fit. I mark and trim and shape the ends to be a perfect fit to the neck. This is always some compound curvature angle, just go slow and get it to be a nice fit, again working down in the grits. I use a "half pencil", a great use for those stupid "mark-sense" pencils, and mark a line that is the same as the fret height. I also strike a line at the fretboard level. Then I mark a few millimeters above the fretboard level line and belt sand down to that line. That completes the rough nut.

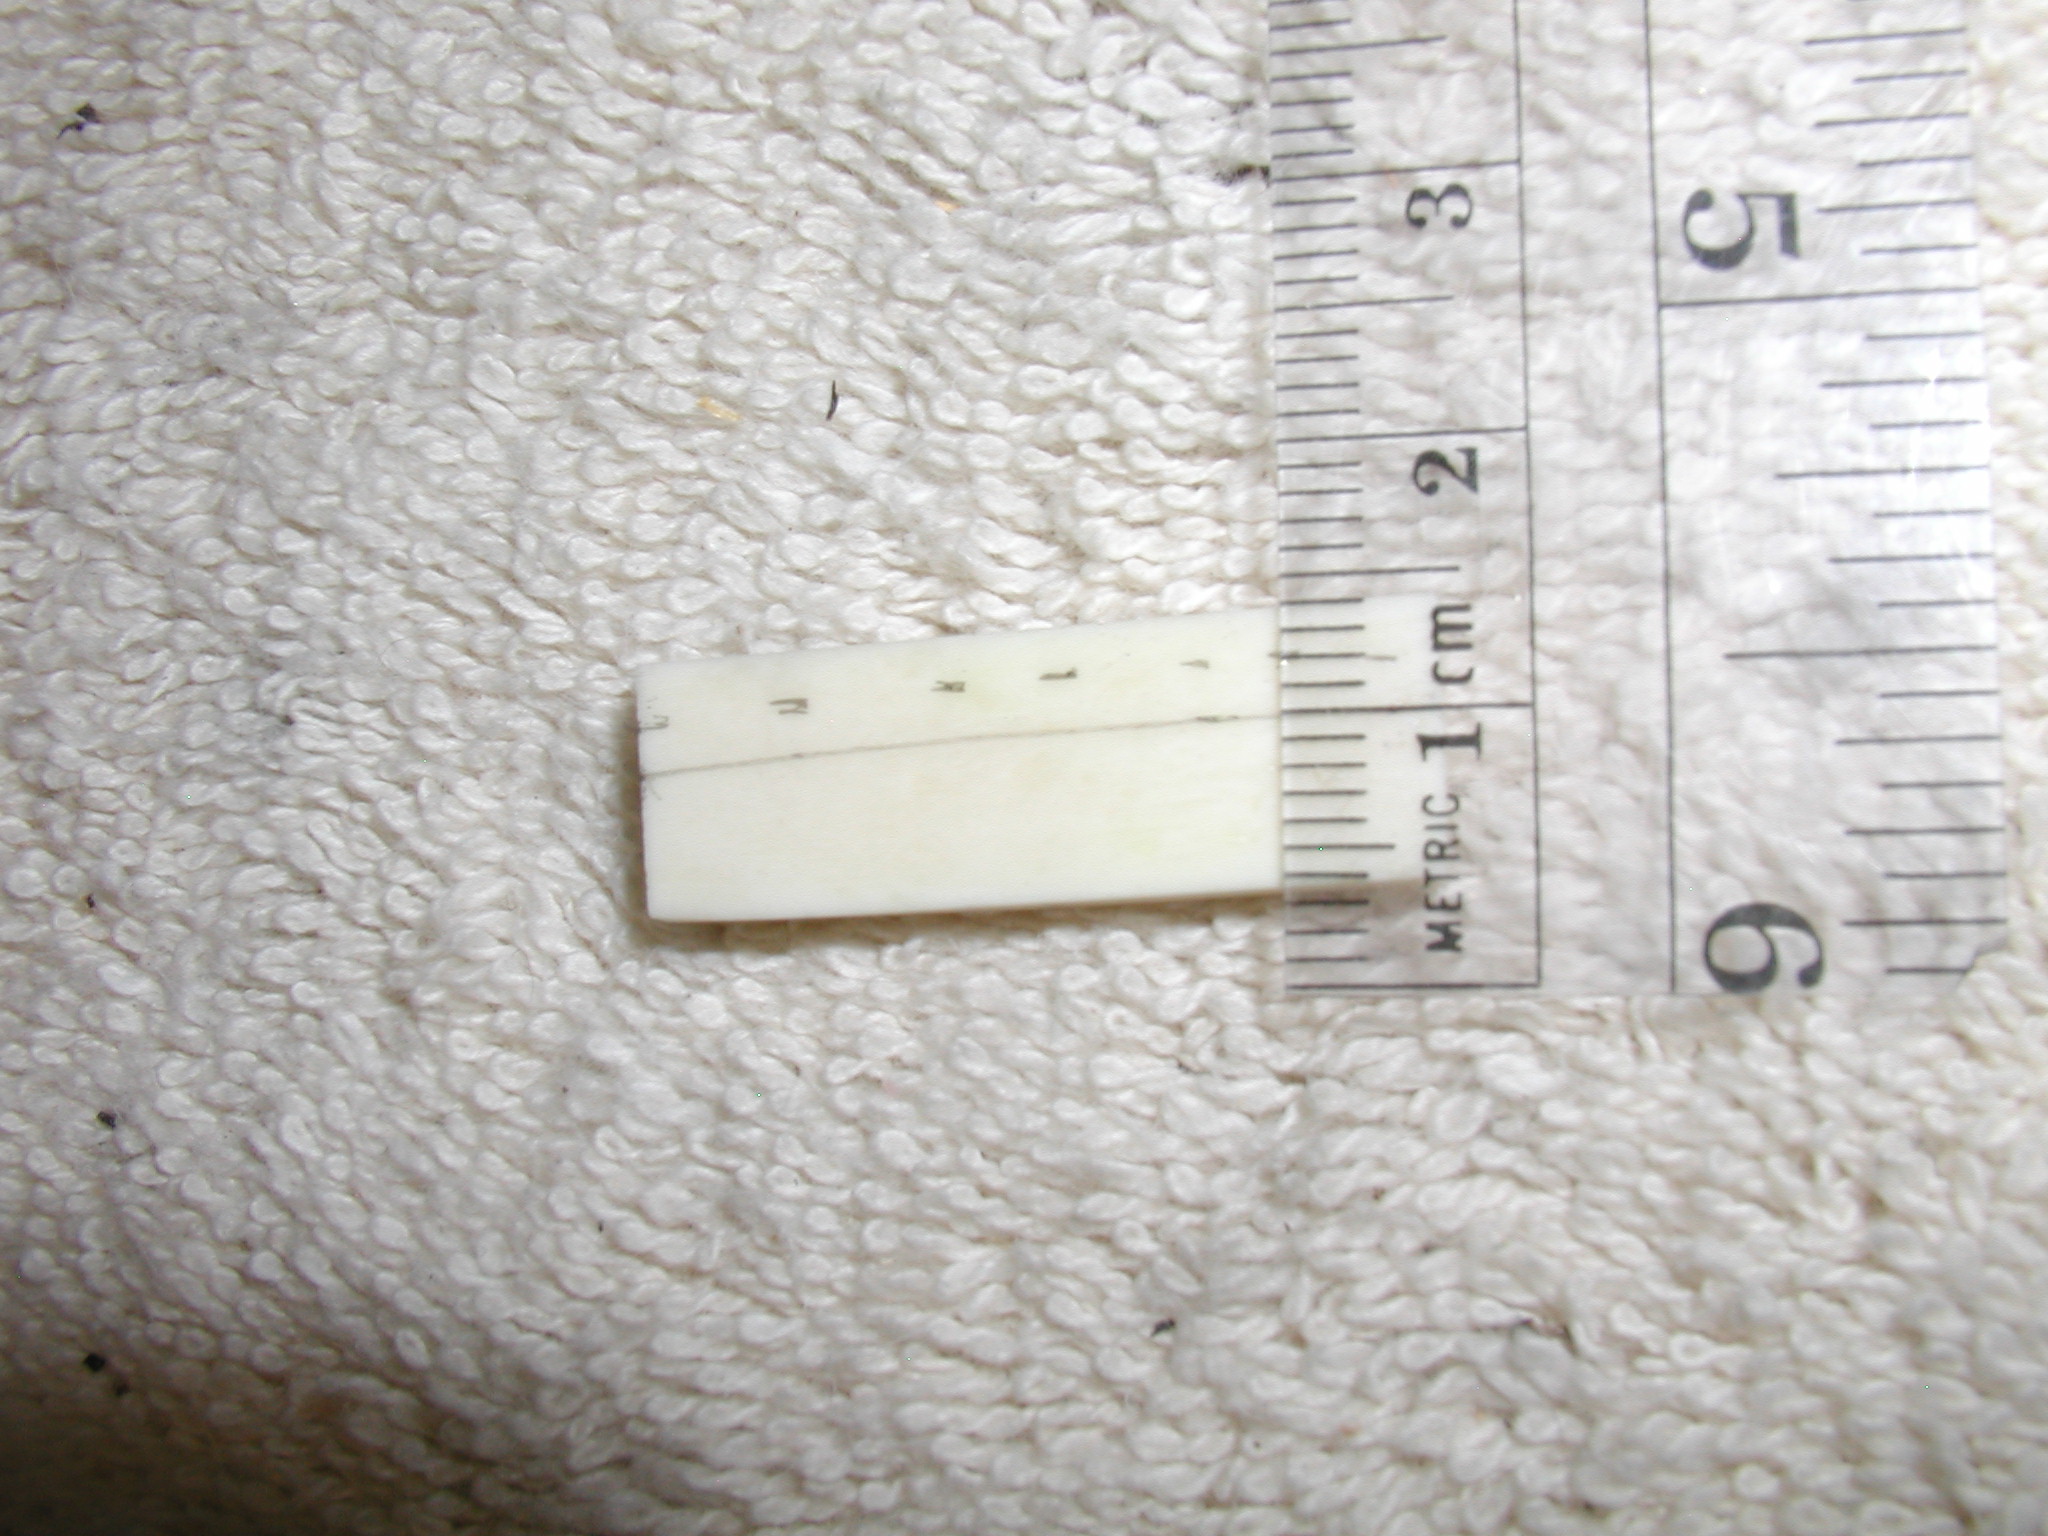
Same process for the bone saddle. You can see some of the rough slices you get off the bone from the bandsaw. Again, make a blank that is a bit too long and work down the thickness till it is a slip fit. Square off one end and round it over to fit the end of the slot. Then slowly trim the other till it is the proper length and square it up and round it over too. Sometimes it helps to have the ends not exactly square but taper a bit towards the top. This makes it a bit easier to get in and out. Sand it to at lease 400 grit at this stage. I like to put a colored dot on the treble end so I don't get confused as to which way it goes in.

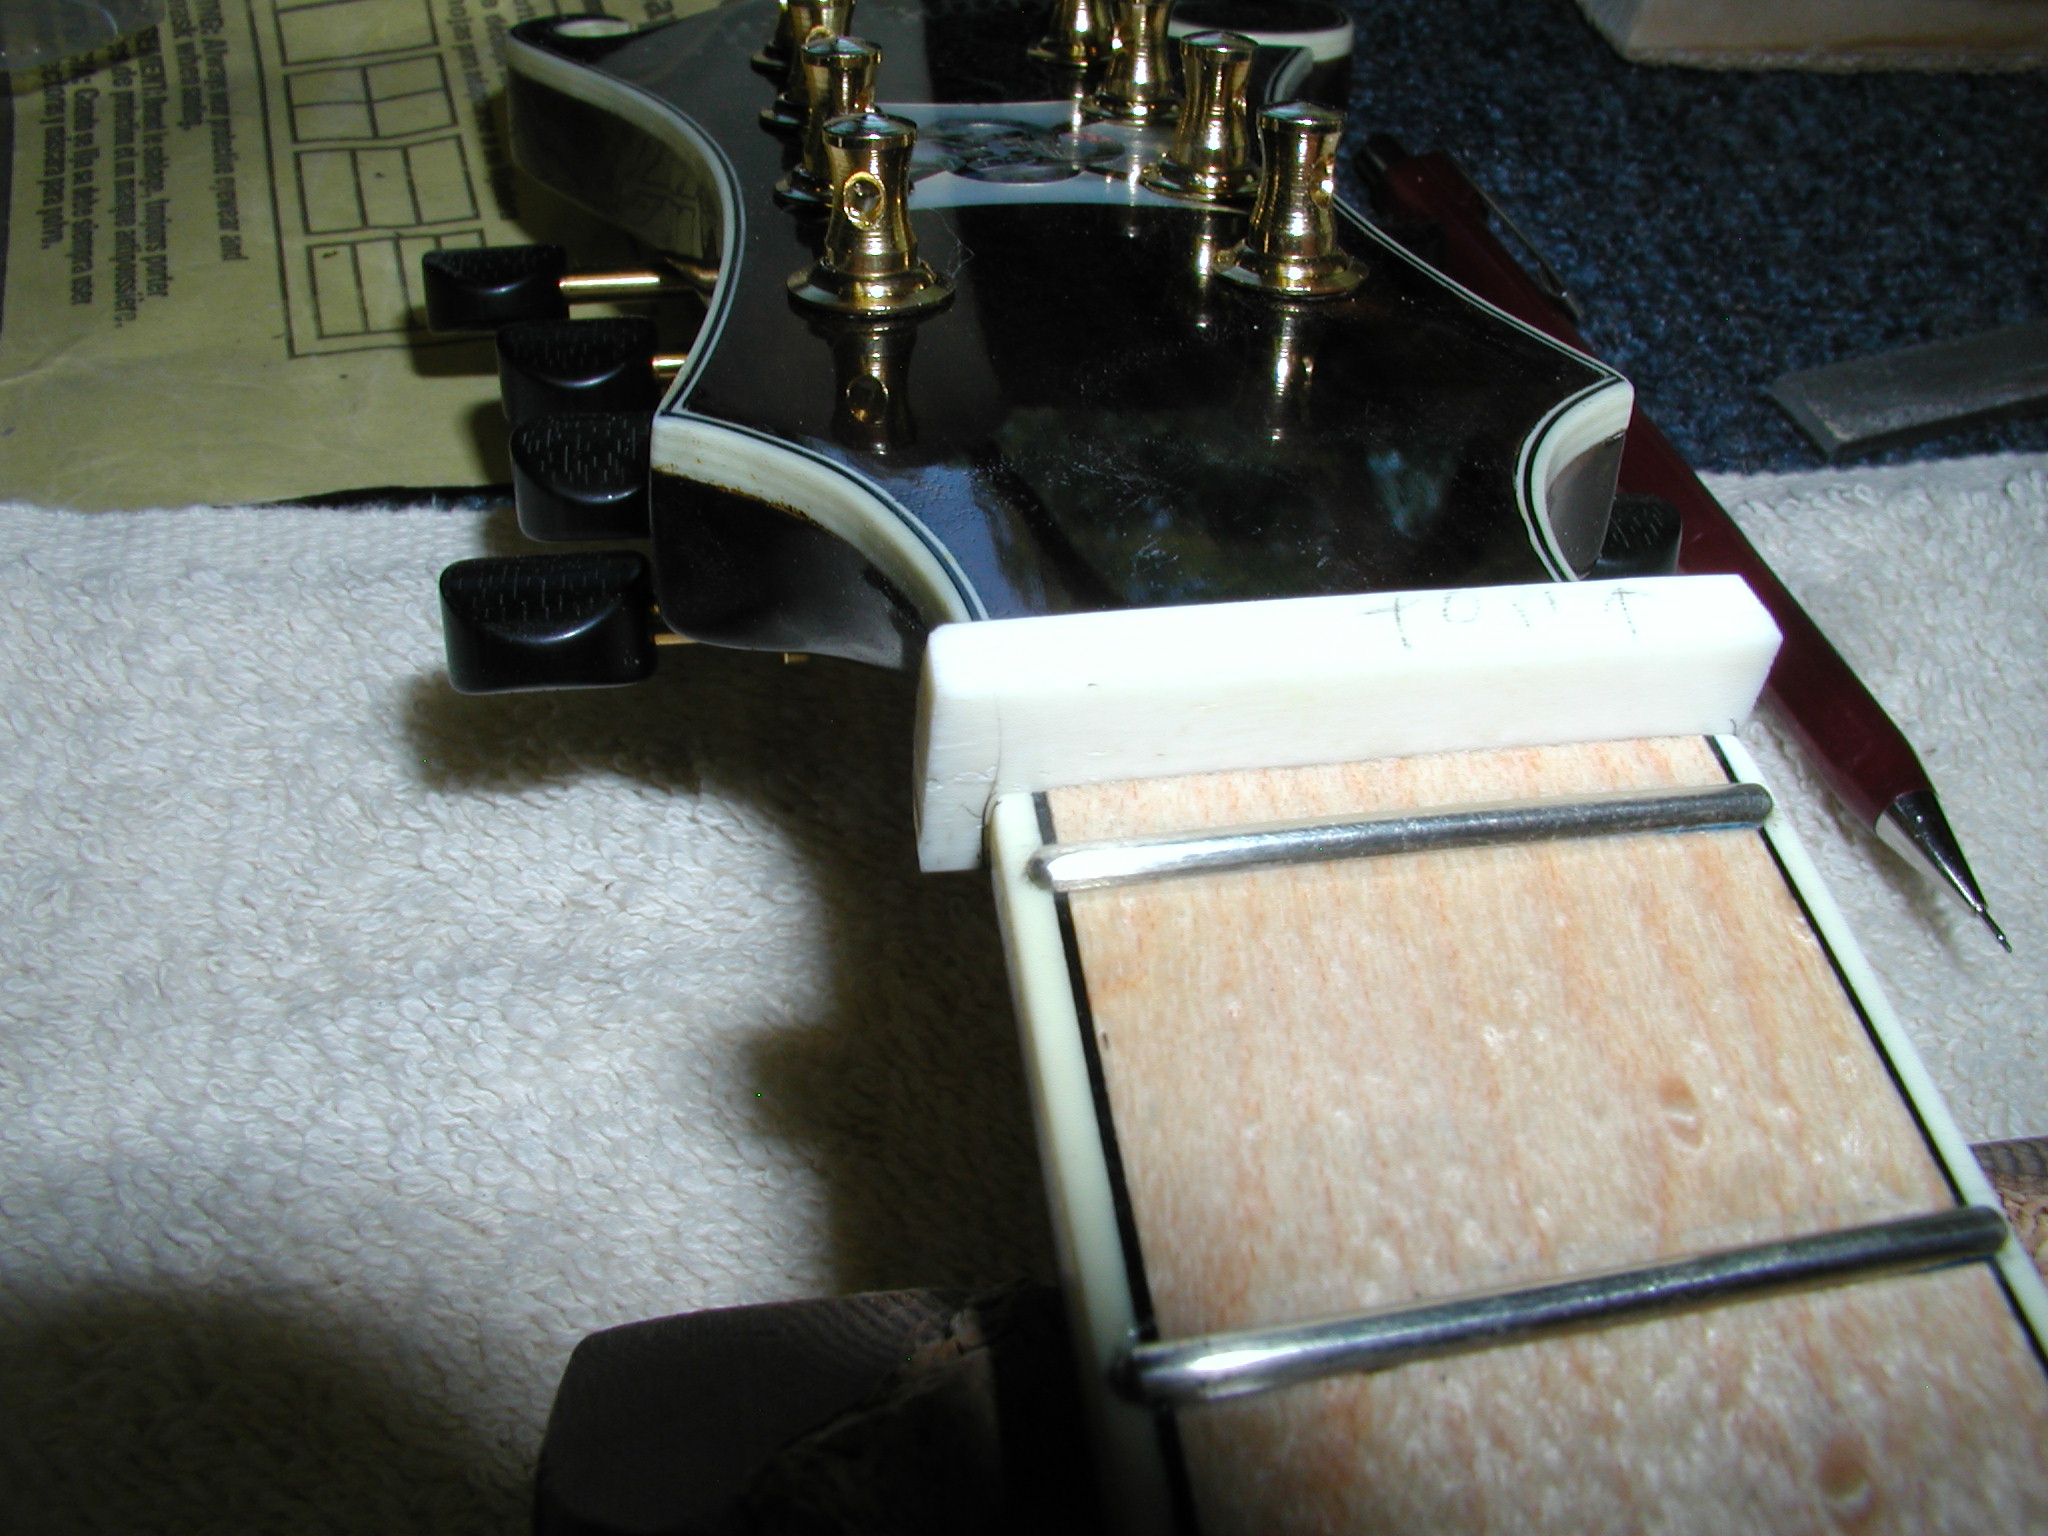
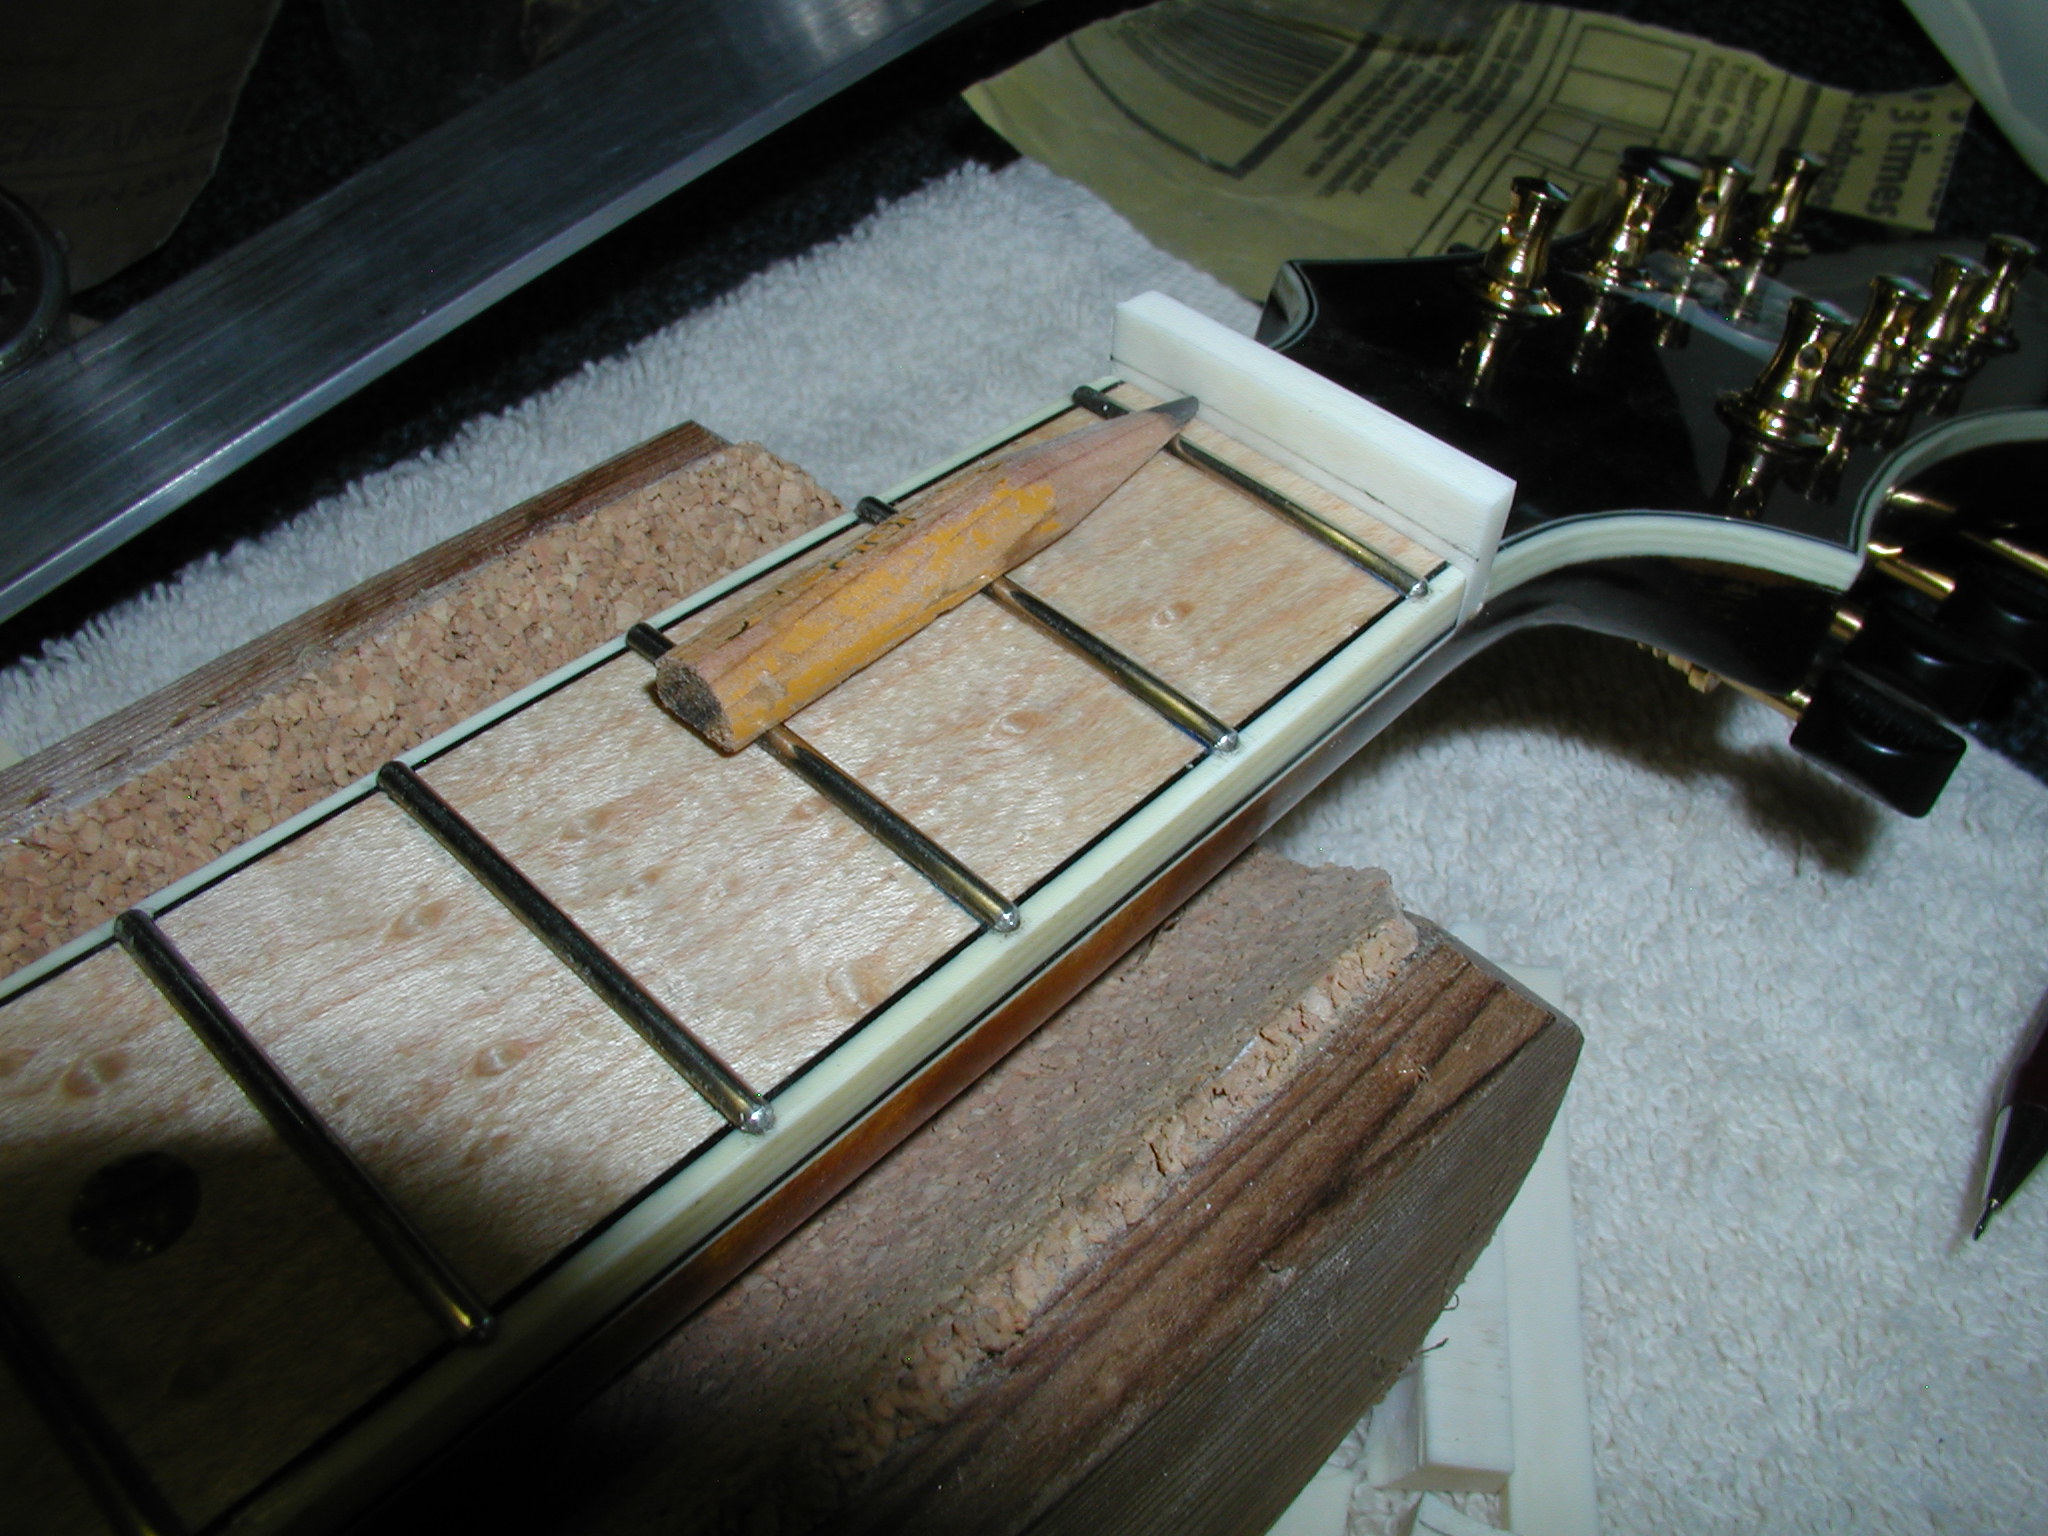
Not shown here is marking and sanding down the top of the saddle. I use a similar method as I did for the nut. I tape my half-pencil to the bottom of a board and lay the board on the frets with the pencil pointing at the saddle. Then, with the bridge held in place by hand, just slide the board back and forth on the frets to mark the fret height on the saddle. Again, mark up a few millimeters to add some height and mark a line. Sand the saddle down to this line.
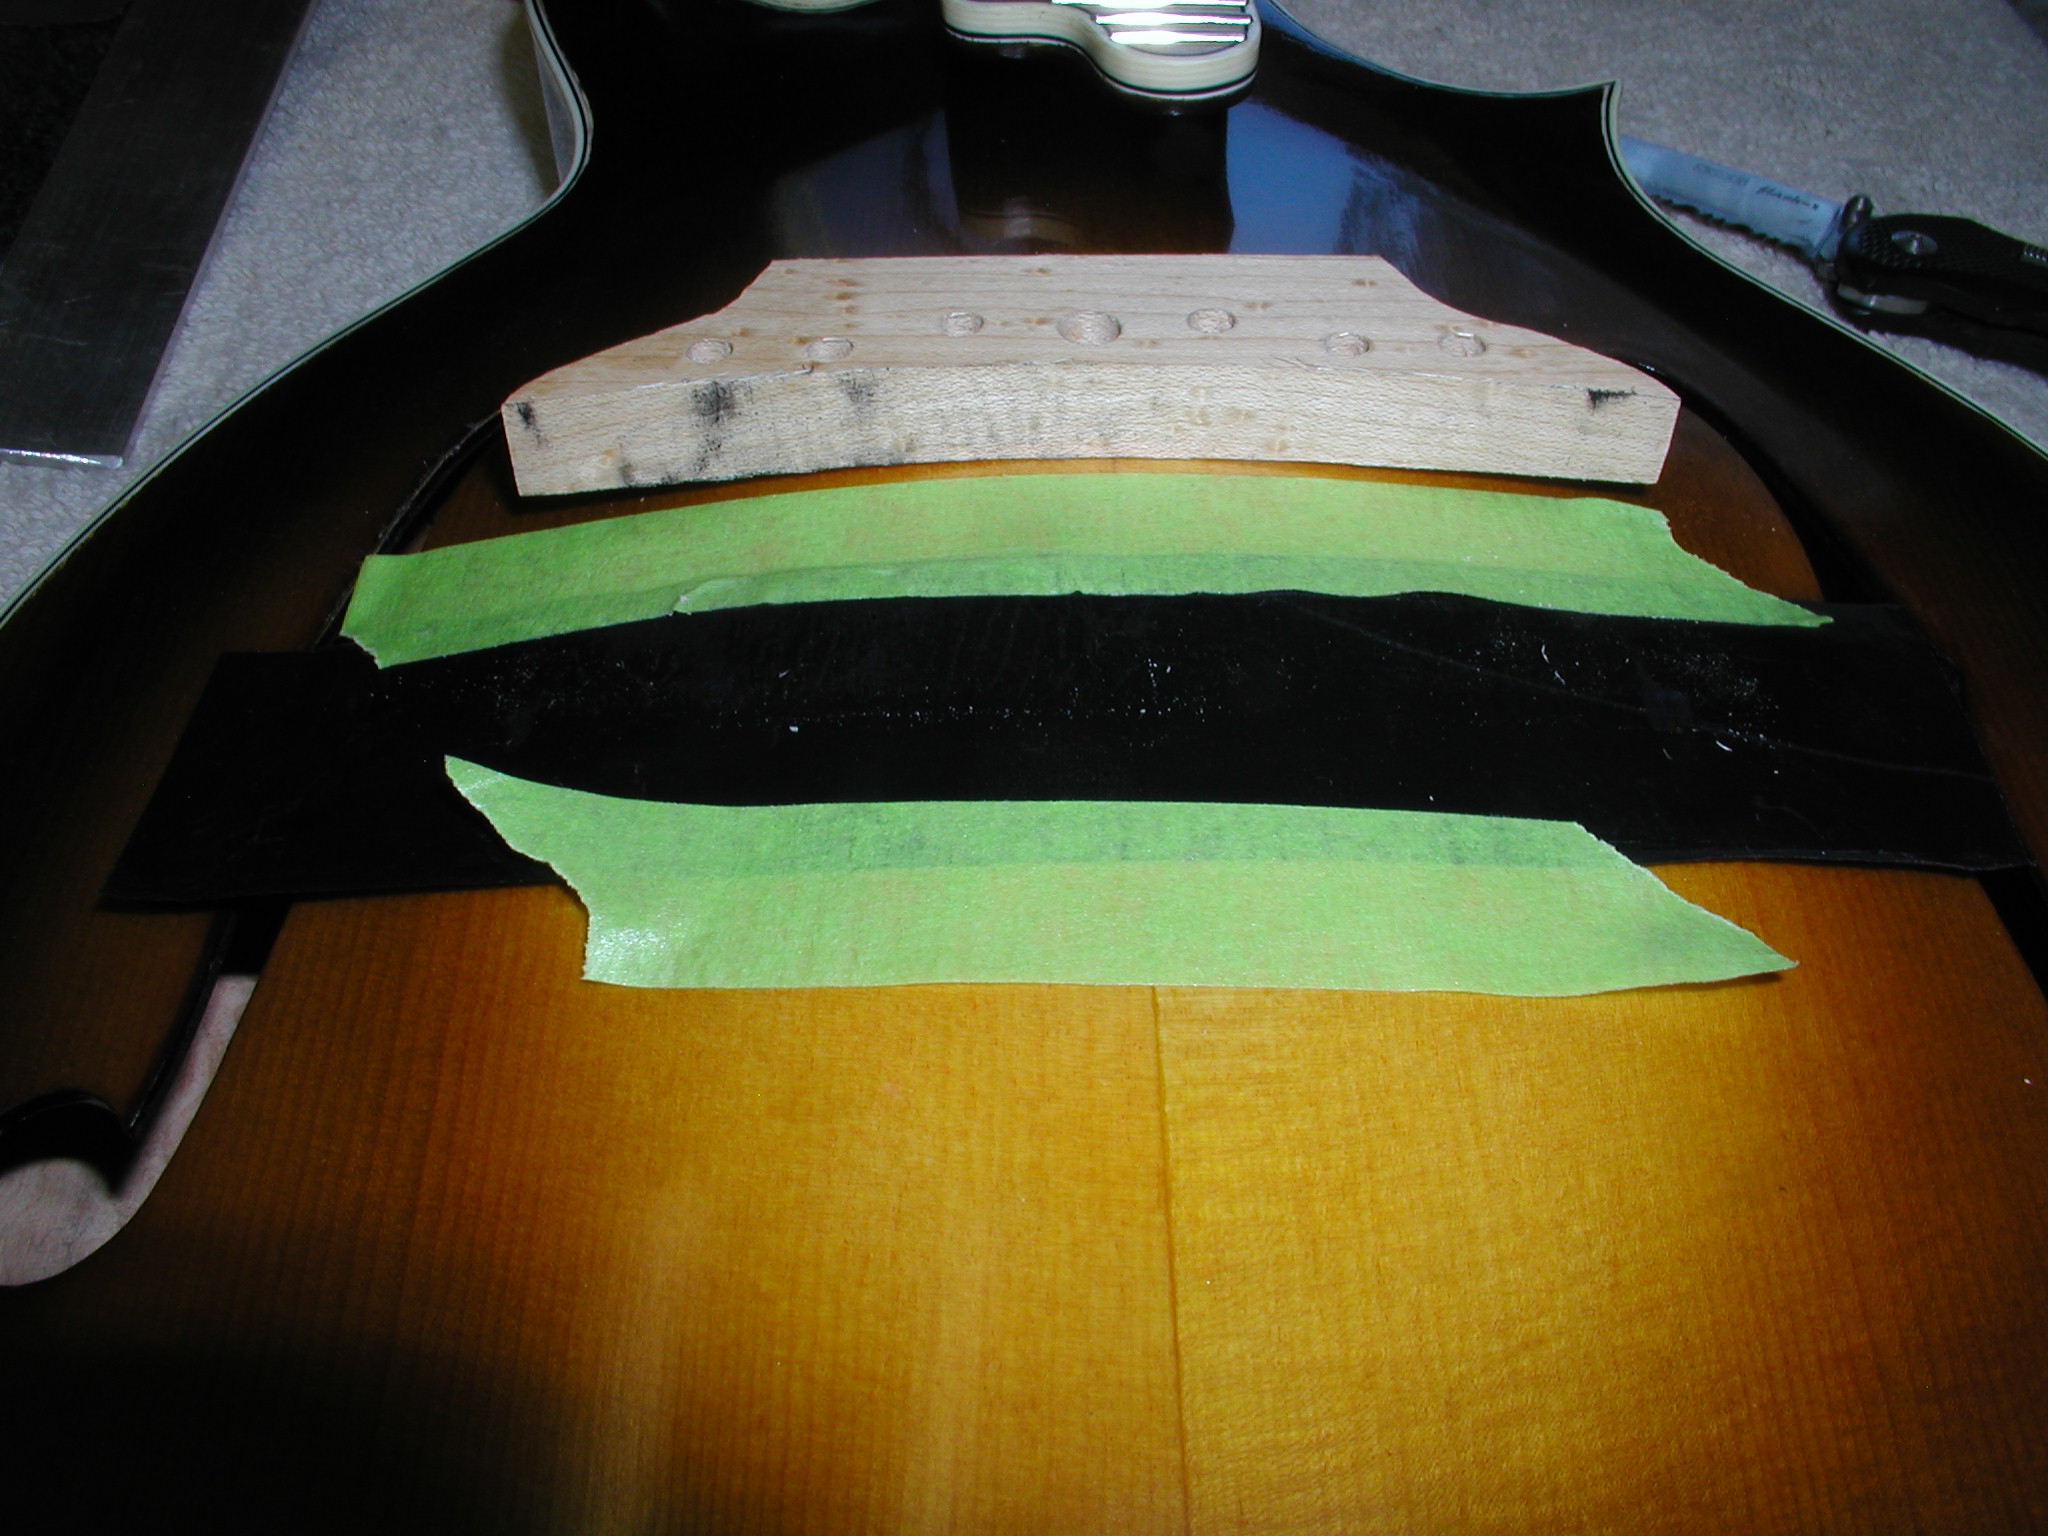
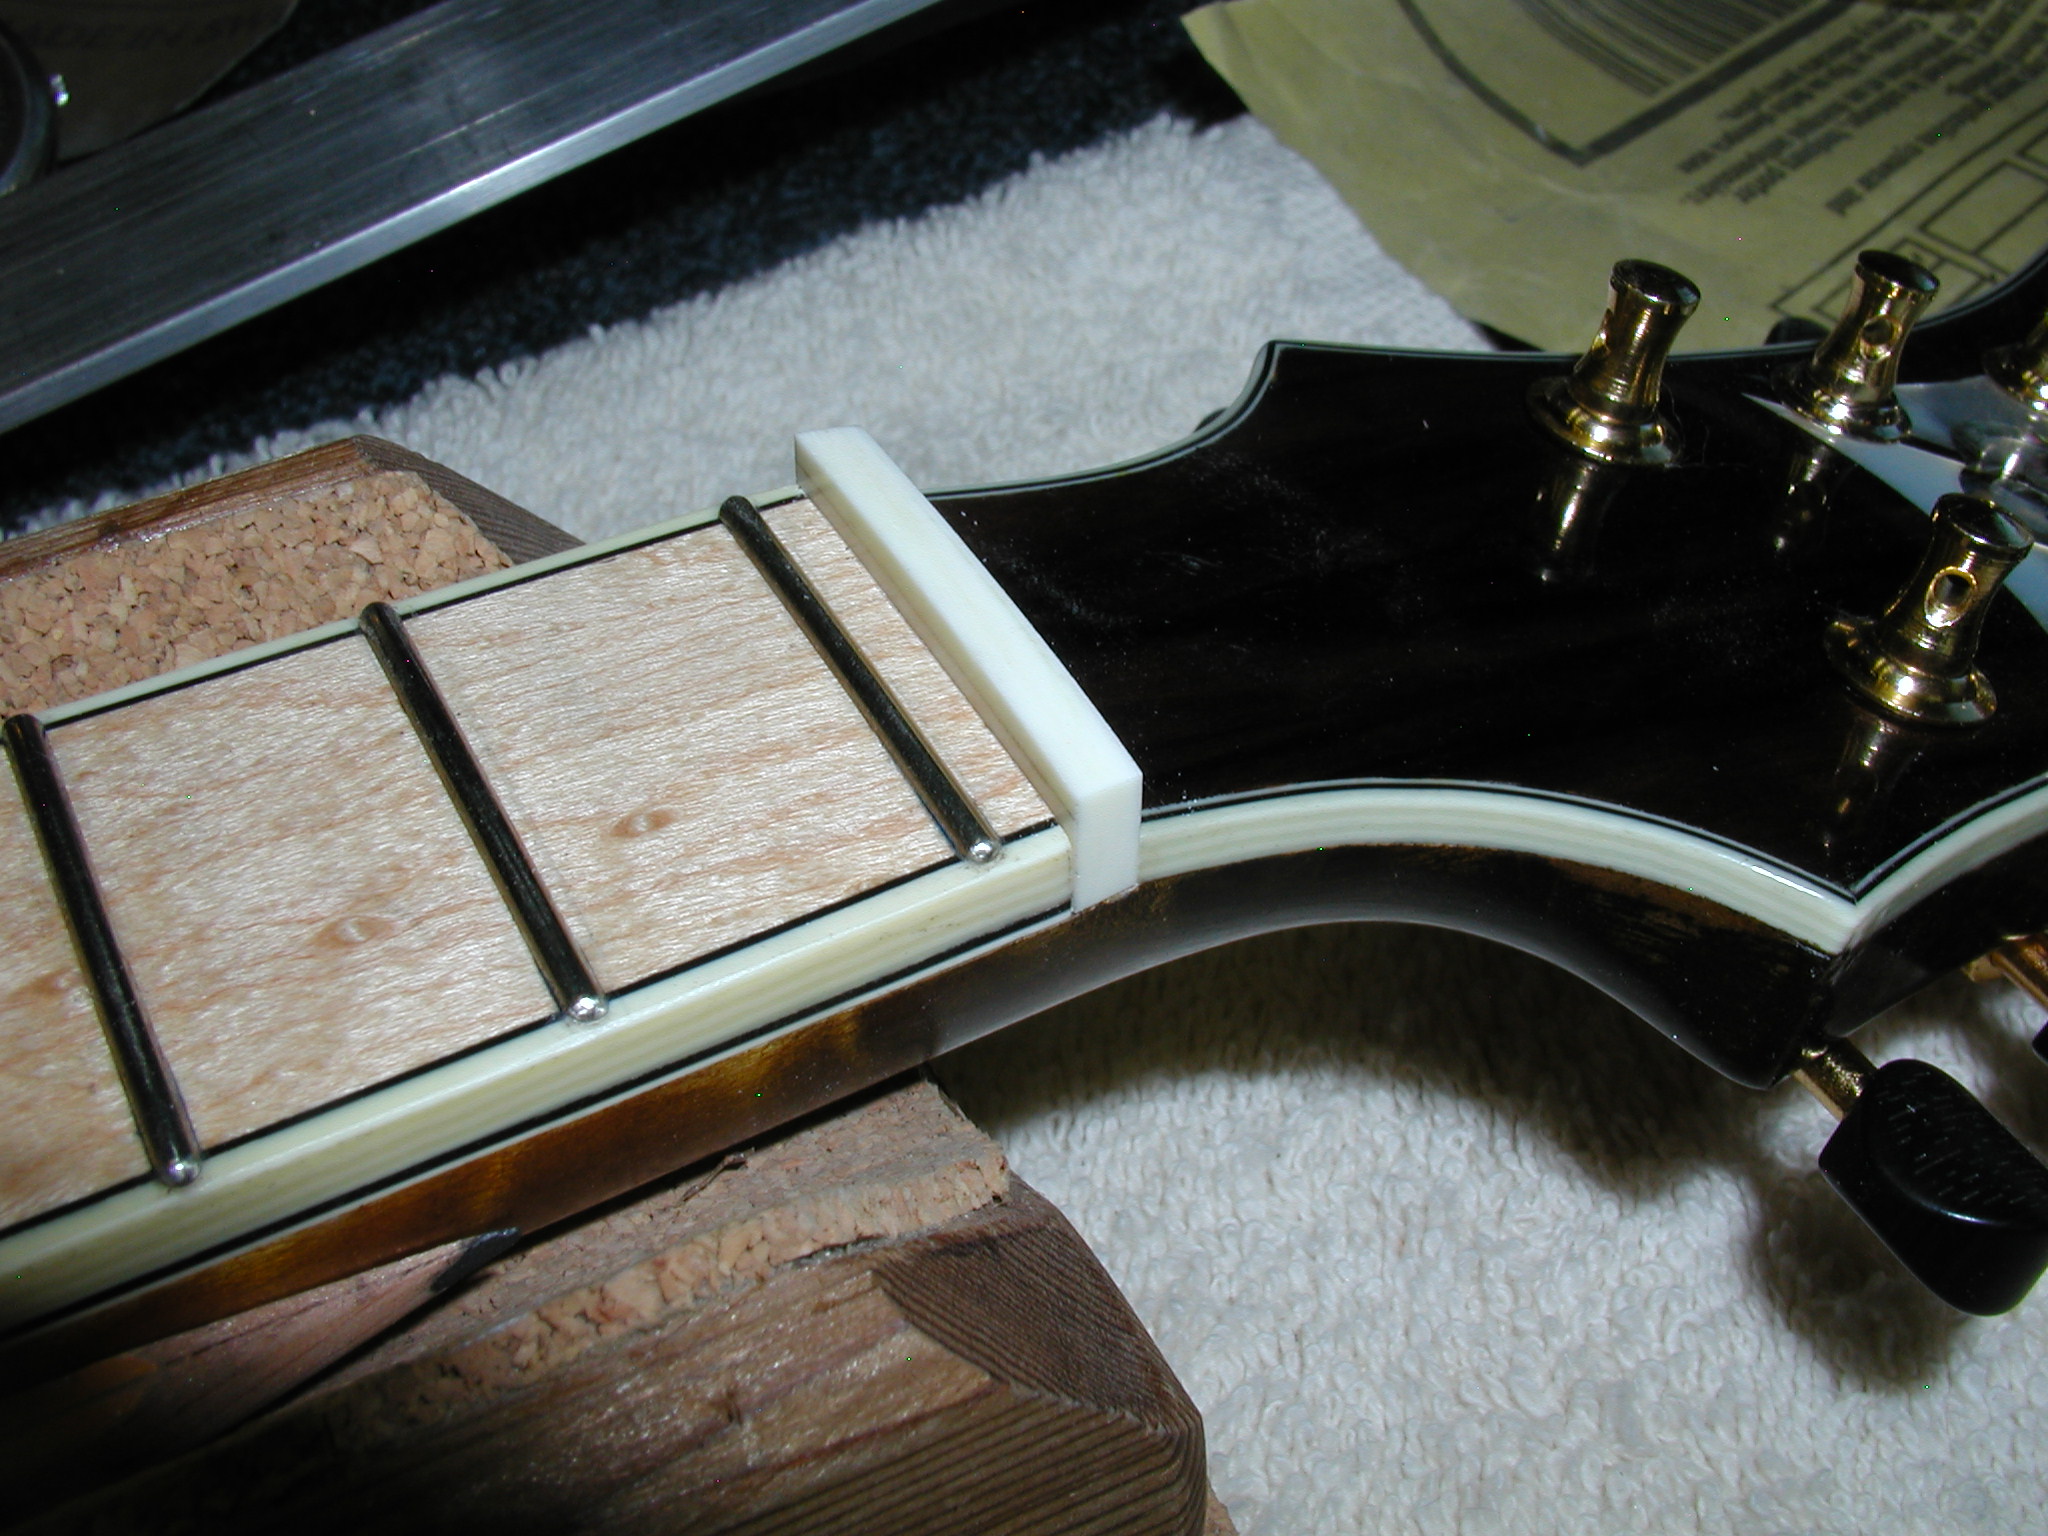
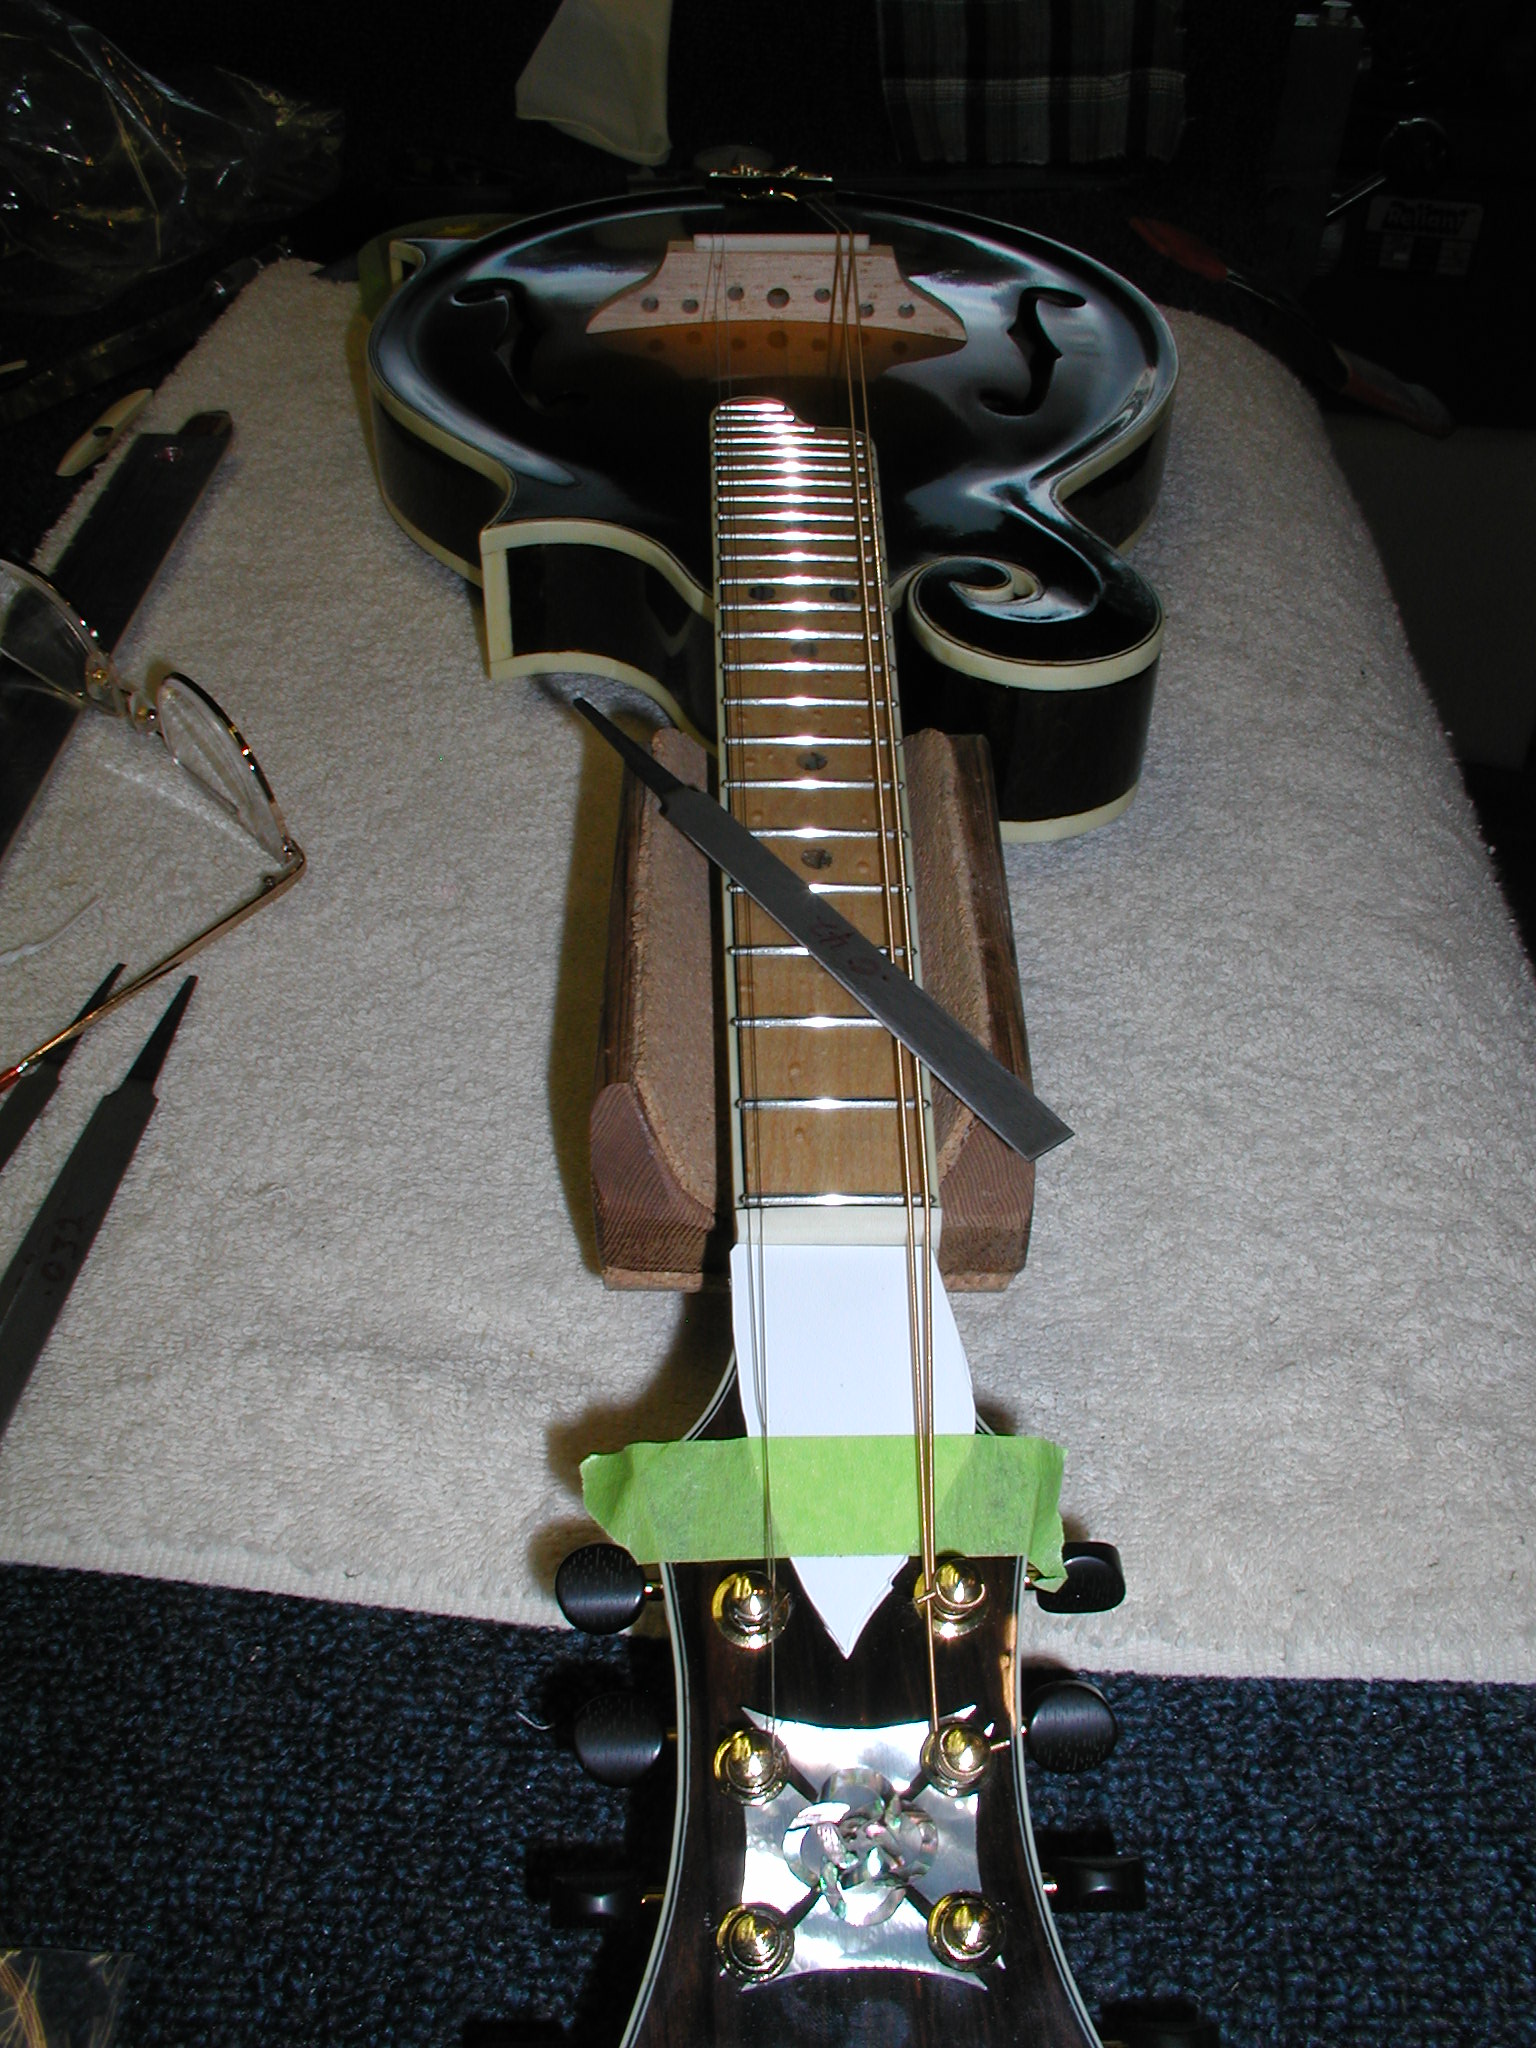
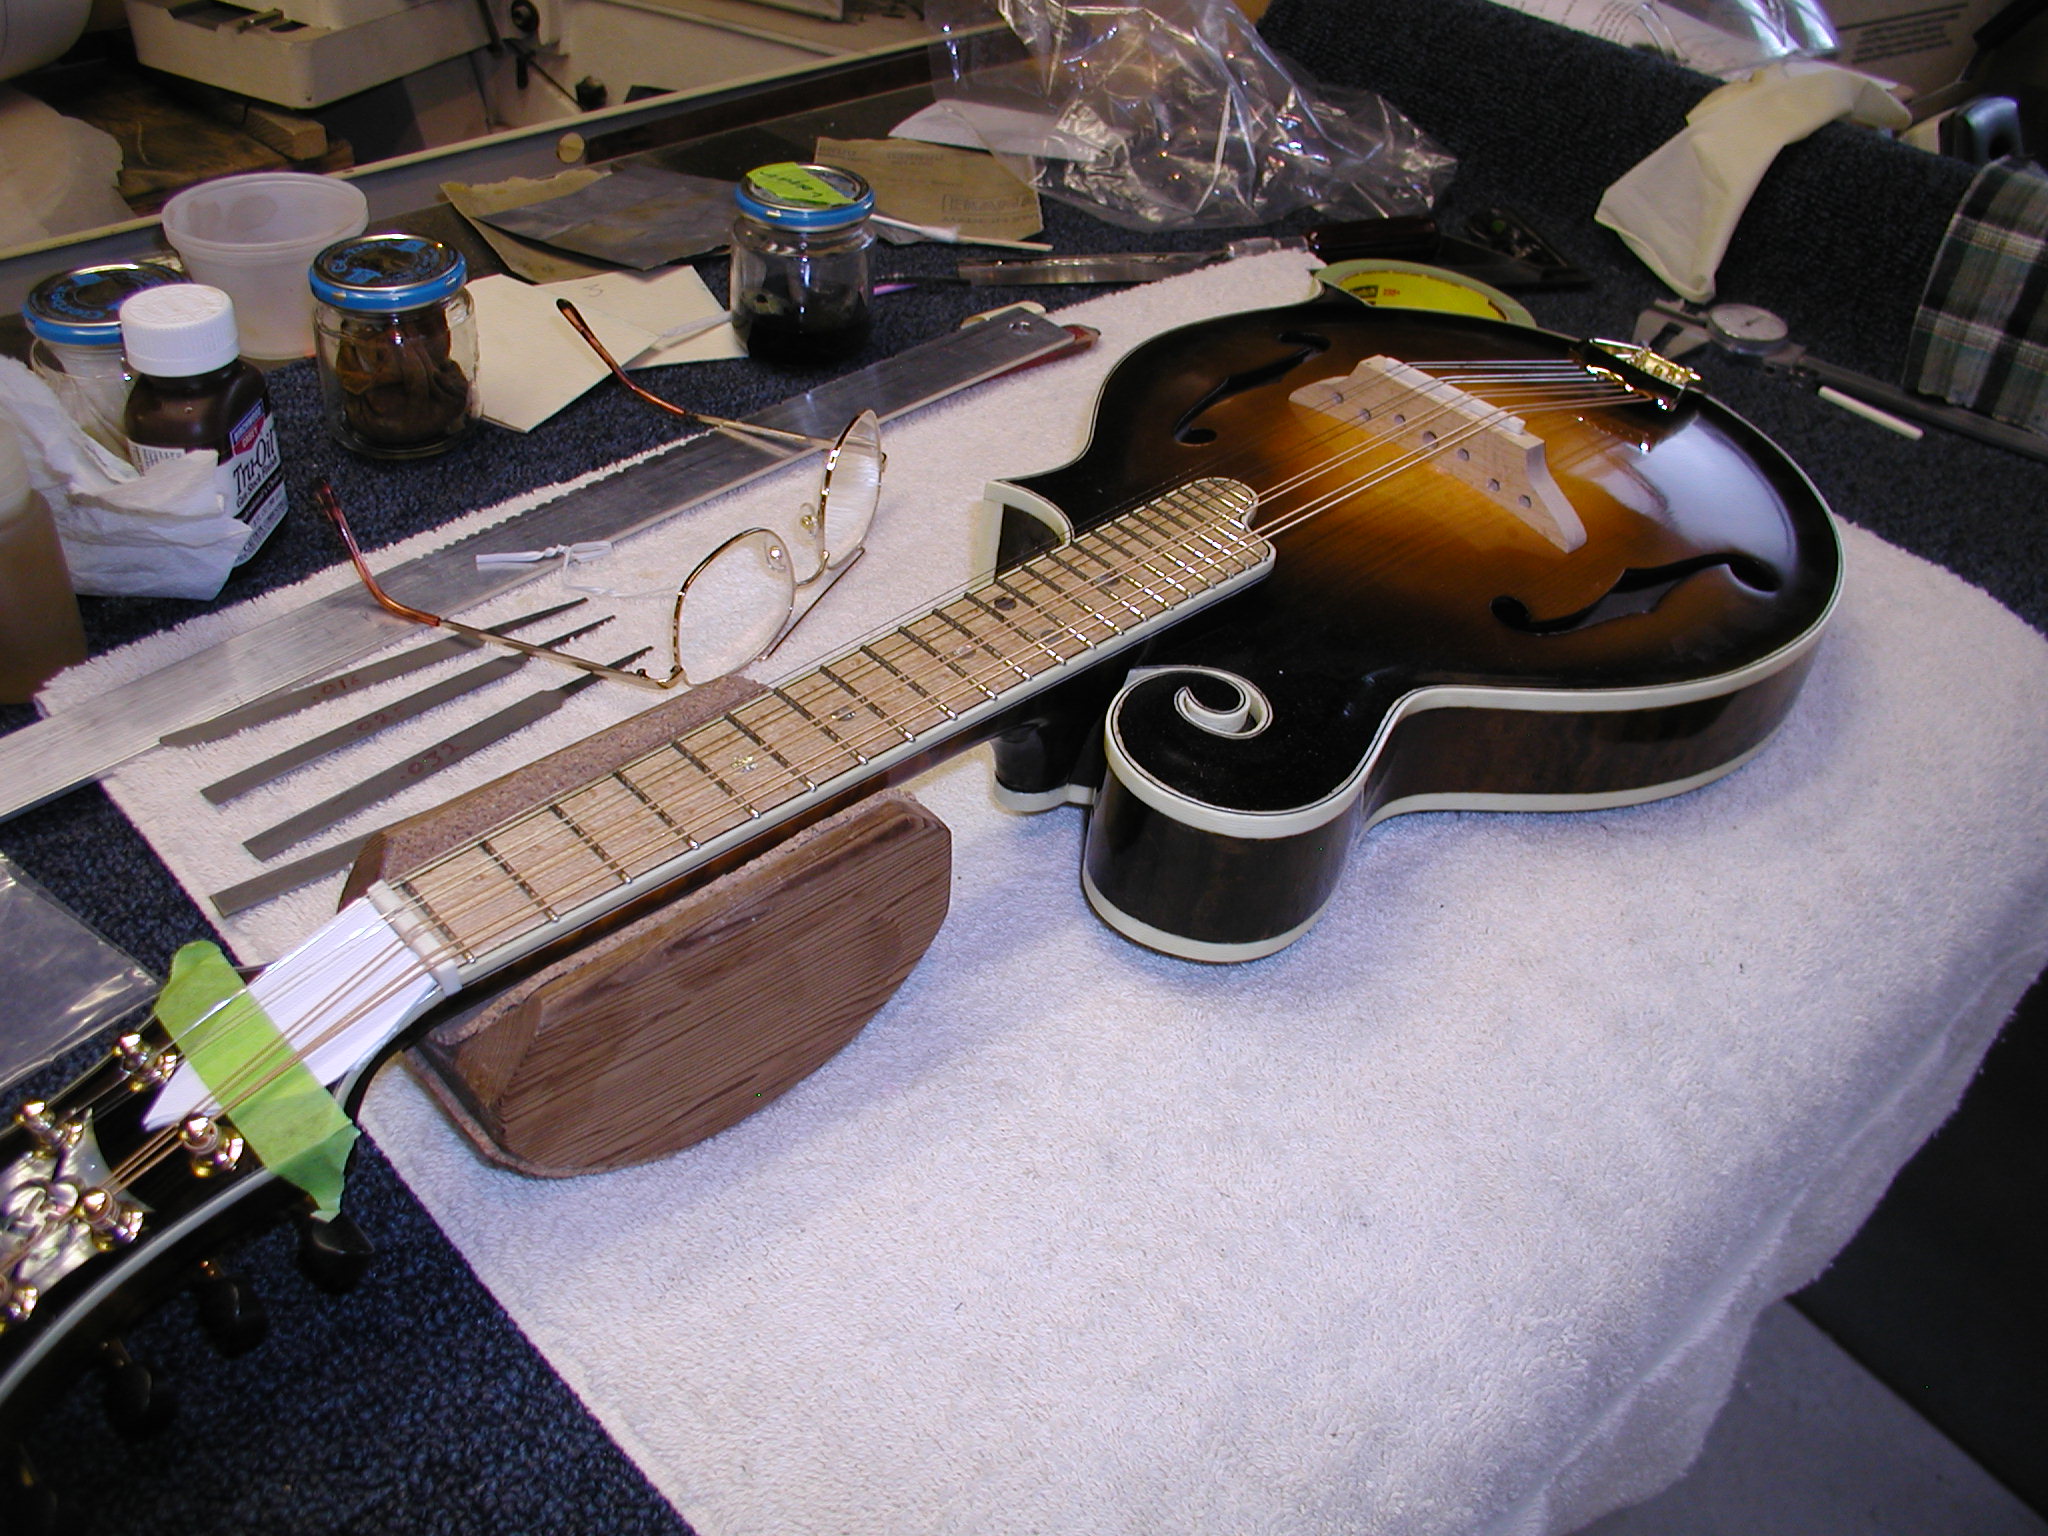
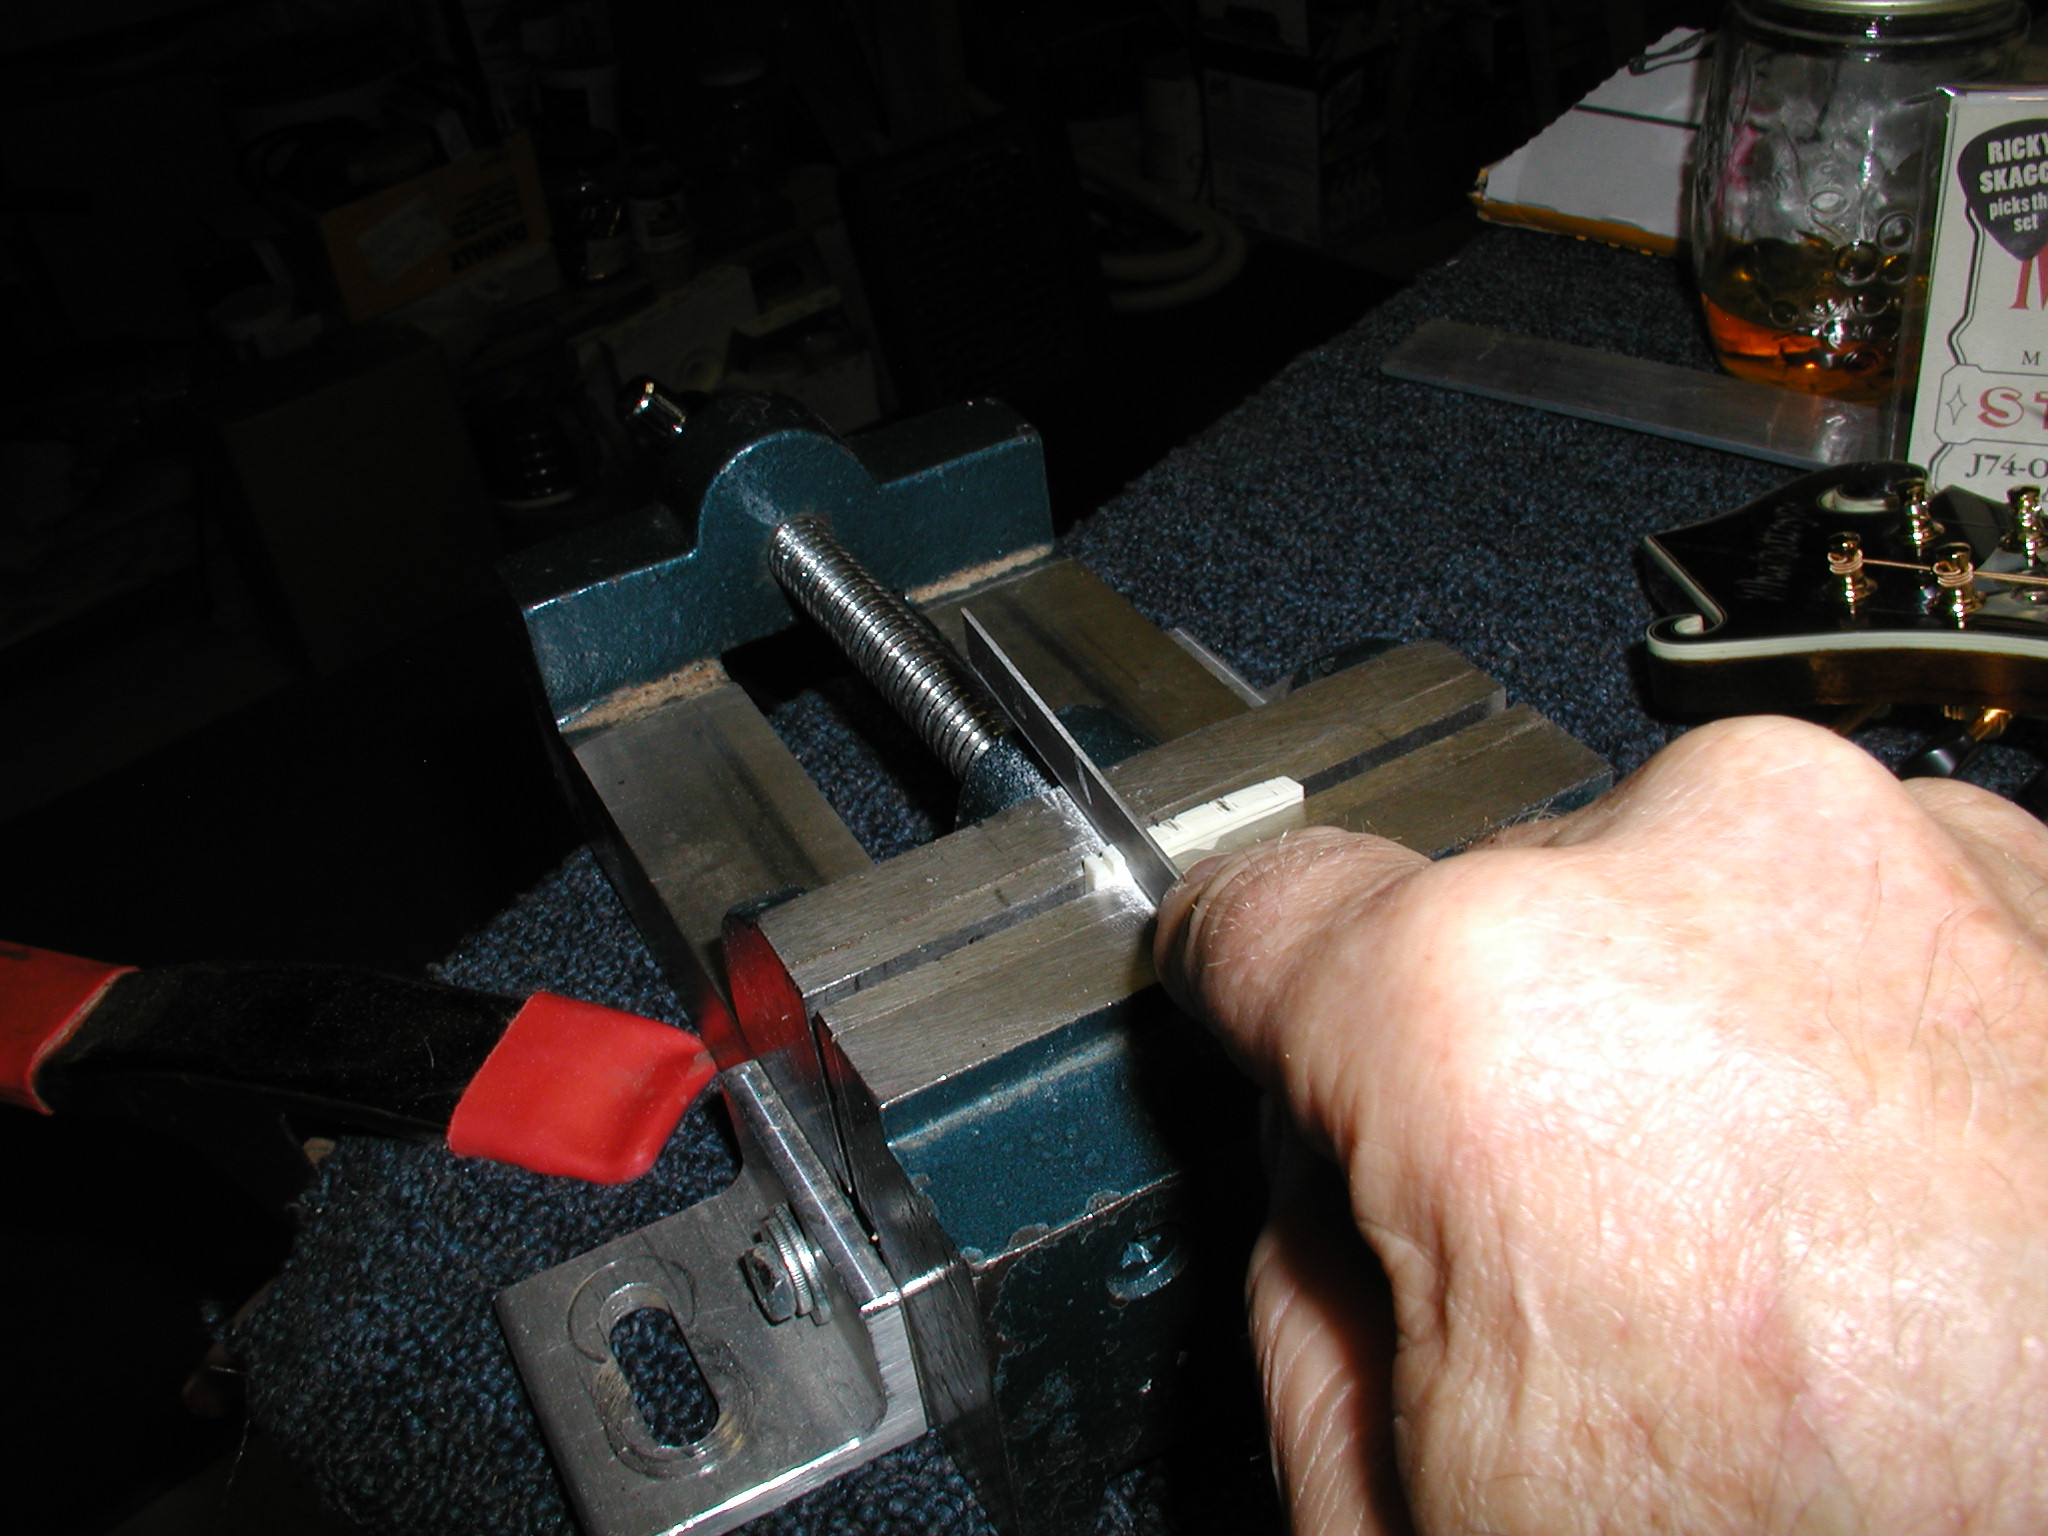
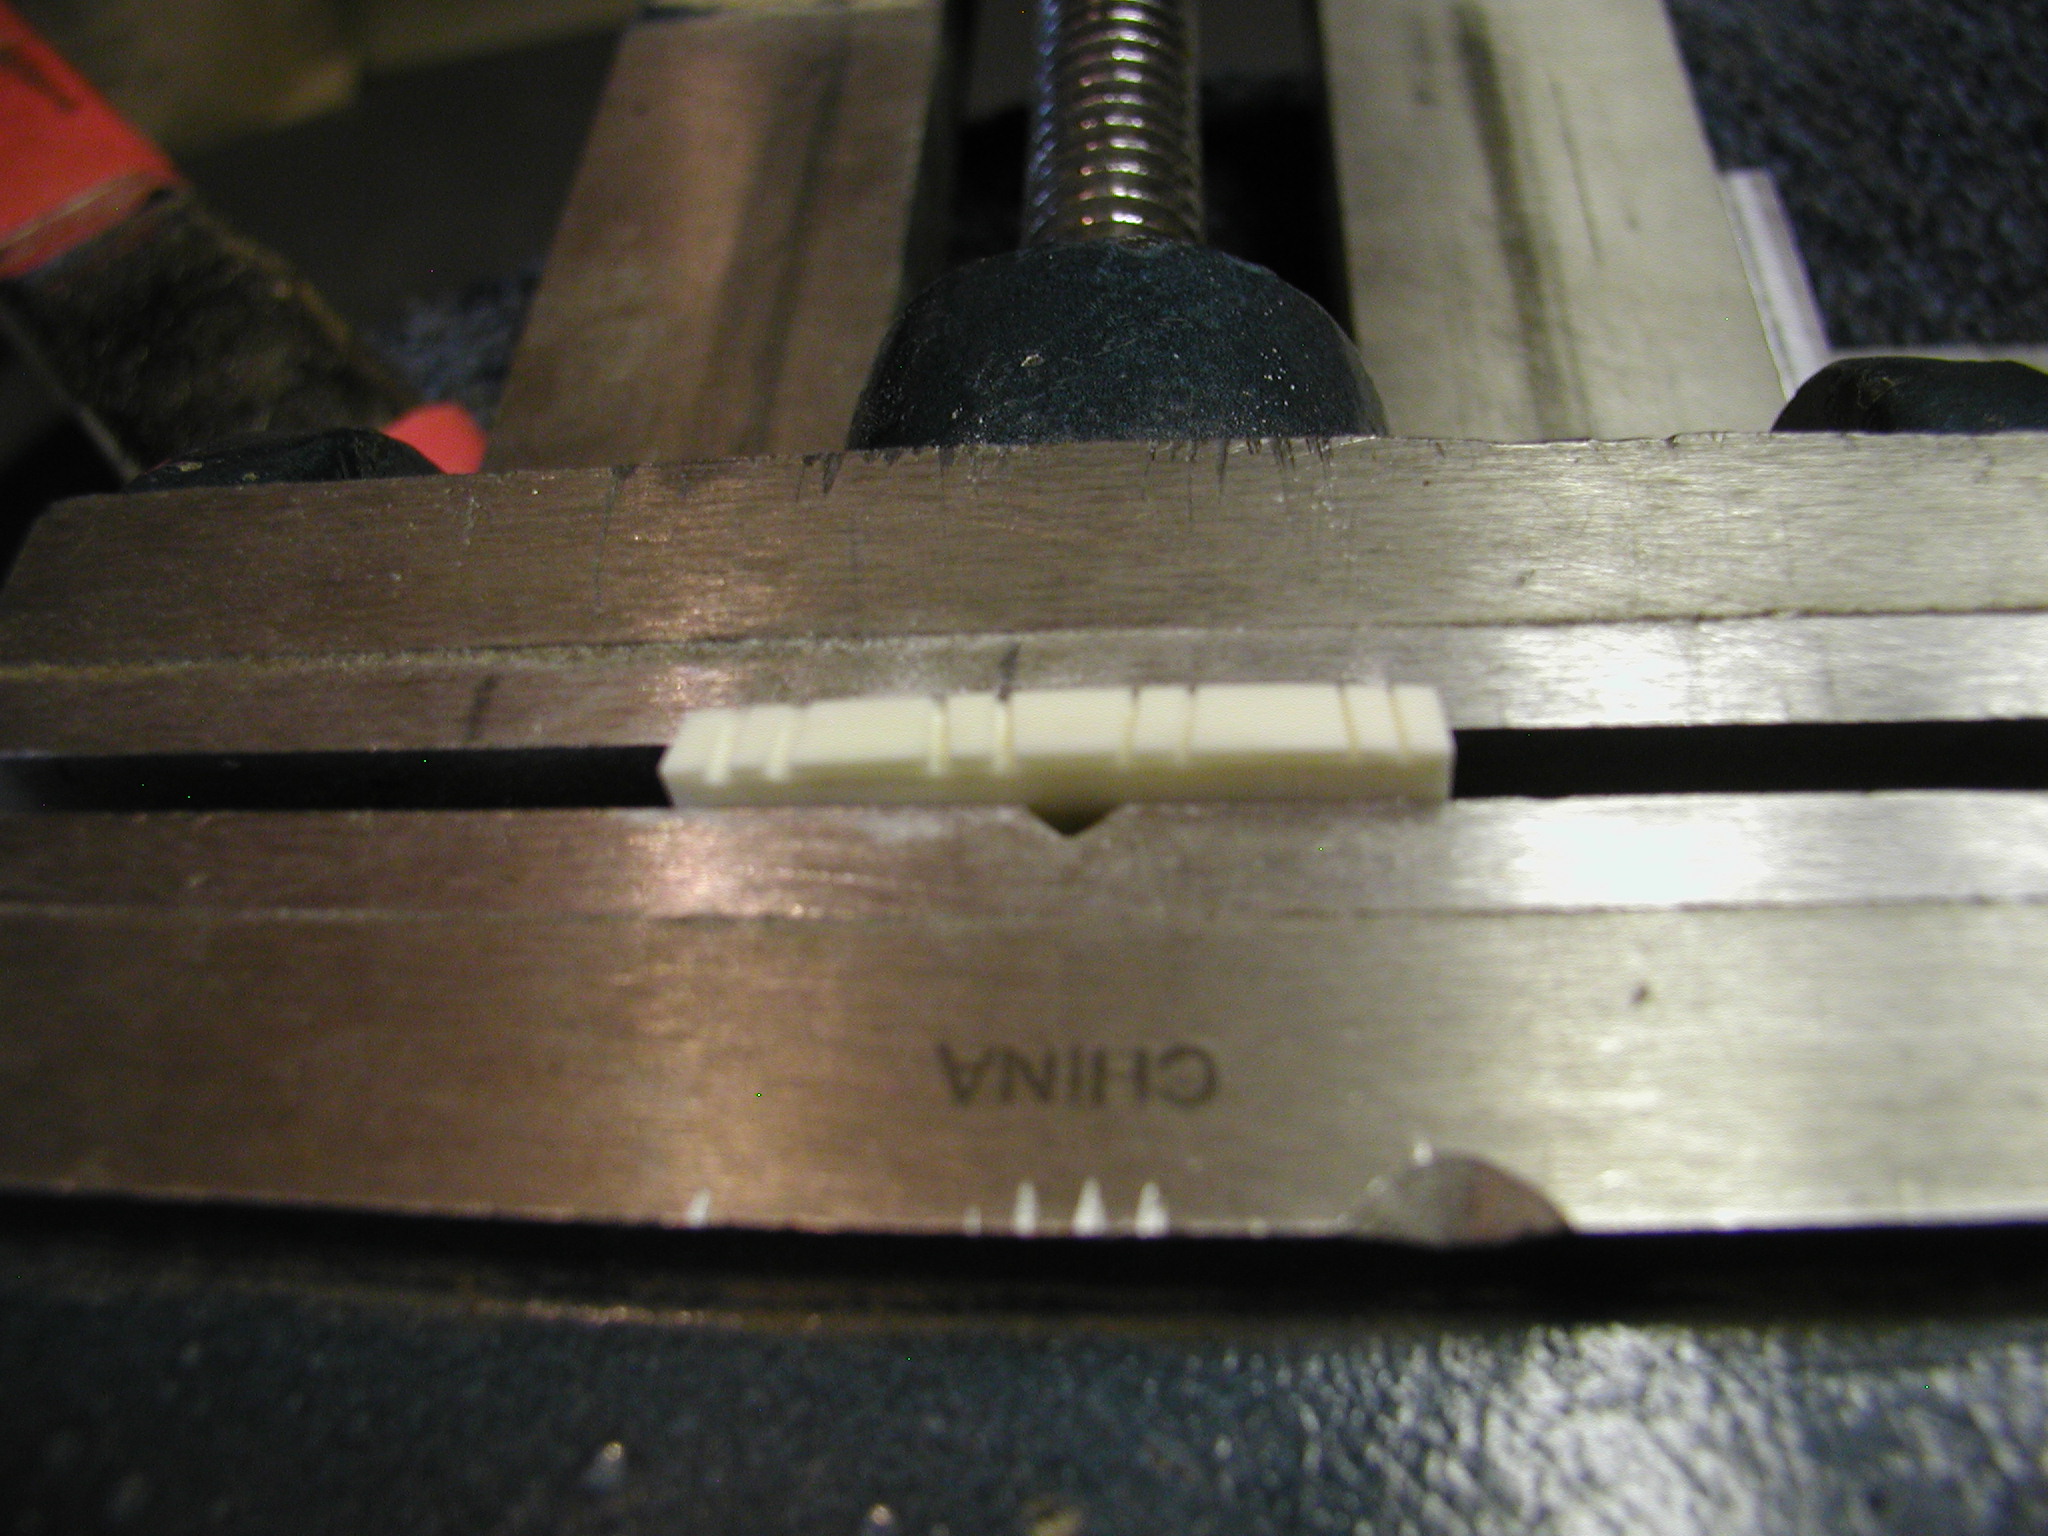
The string layout shown here is my method, others may do it differently, but this seems to work well for me. String it up and get just a little bit of tension on the strings. I start at the nut and measure in ~3/32" on the treble side and ~2/32" on the bass side and nick the nut enough to hold the outside strings. I then I go to the saddle end and slide each outside string sideways till they are exactly parallel with the edge of the fretboard. I mark each side of the string on the top of the saddle and again tick the saddle inside the marked area enough to hold the string. Back to the nut and mark and tick all the string locations. I have a method where I calculate the distance between the pair courses and between the pairs themselves. I use gauge blocks pressed against the already positioned strings to align the file and tick the next string location. This usually works quite well but sometimes there is some "by eye" cleanup to get it all just right. I am deliberately not saying what measurements I use since each one will be different depending on nut width and player preferences. In general I put about 3/32" between the G and D string pairs and 2/32" between the A and E pairs. This assumes regular medium strings. YMMV! Note that I'm protecting the face of the headstock while filing, having dagged it once with a nut file was enough to make do that every time now. Once I have the locations right at the nut, I pull it and file the slots to the right width for each string and down almost to the level of the fretboard line. A drill press vise is good for this process. This has a Zero Fret, so no need to adjust height, the zero fret takes care of all that. Just get the slots deeper than the fret level and above the fretboard level and slope them down a bit toward the headstock to compensate for the angle of the headstock. Make sure the strings slide in smoothly w/o binding. Re-string to get a bit of tension on and mark a line across where the top of the strings are now. Pull the nut again and belt sand to below that level a bit. Round over the ends and smooth everything out to 400/600 grit and buff with white compound on a hard felt wheel to bring it up to a good luster. Glue it in position with a single drop of Tightbond or fish glue.
Same game at the bridge. Tick the string locations enough to hold the string. Then string to pitch and do the intonation. I do this by slipping a scrap of high-E string under each string over the saddle and slide it forward/back till I have the intonation right. Mark this location for each string. Then pull the saddle and file ramps on either side of the marked location so the break point of each string is right at the marked location. The bass strings will need a bit wider ramp to keep them from digging into the bone. Smooth sand out to 400/600 grit and buff just like the nut.
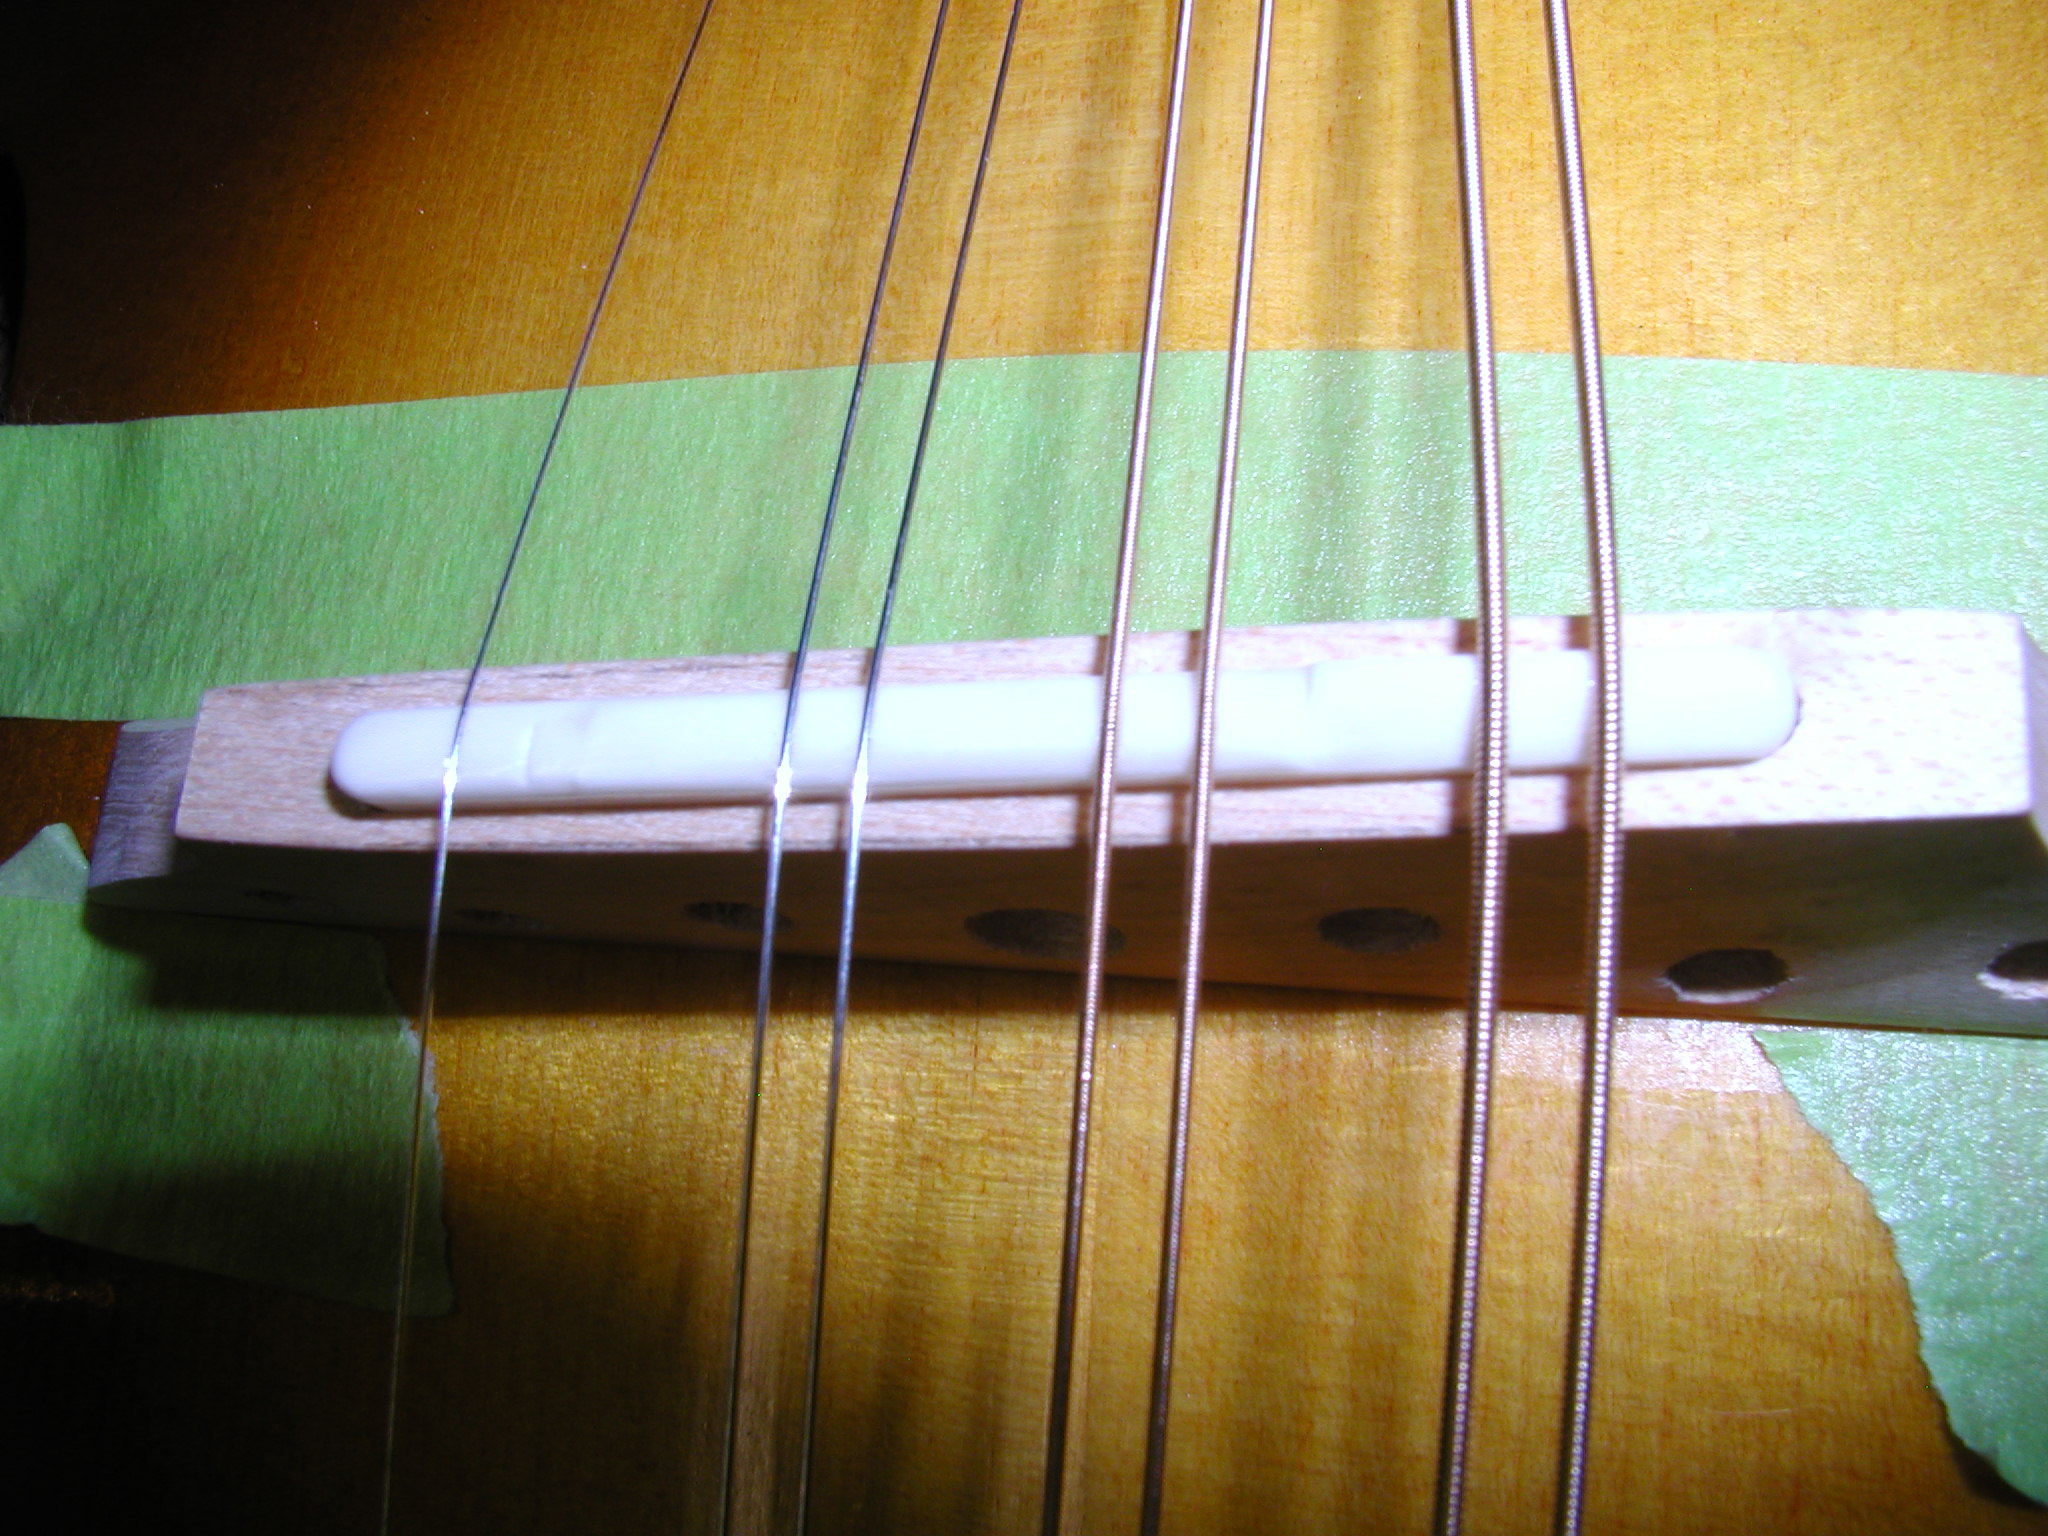
My first plan was install the under saddle pickup like David Enke has done and run the wire straight down through the top so it doesn't show at all. So I drilled from the end of the saddle slot down through the leg of the bridge. You will see that this plan changes just a bit later on. The top of the bridge was looking too blocky to me and there was un-needed mass there so I sanded it into a curved profile that follows the line of the angled saddle slot. The maple bridge is pretty light anyway so I just took off enough to make it look better, I didn't want it to get too light. The last shot shows it partly strung up and you can see the compensation in the saddle break points.
If you were doing your action setup before adding in the pickup you may need to sand off the bottom of the saddle again to get that right since it will probably be high.
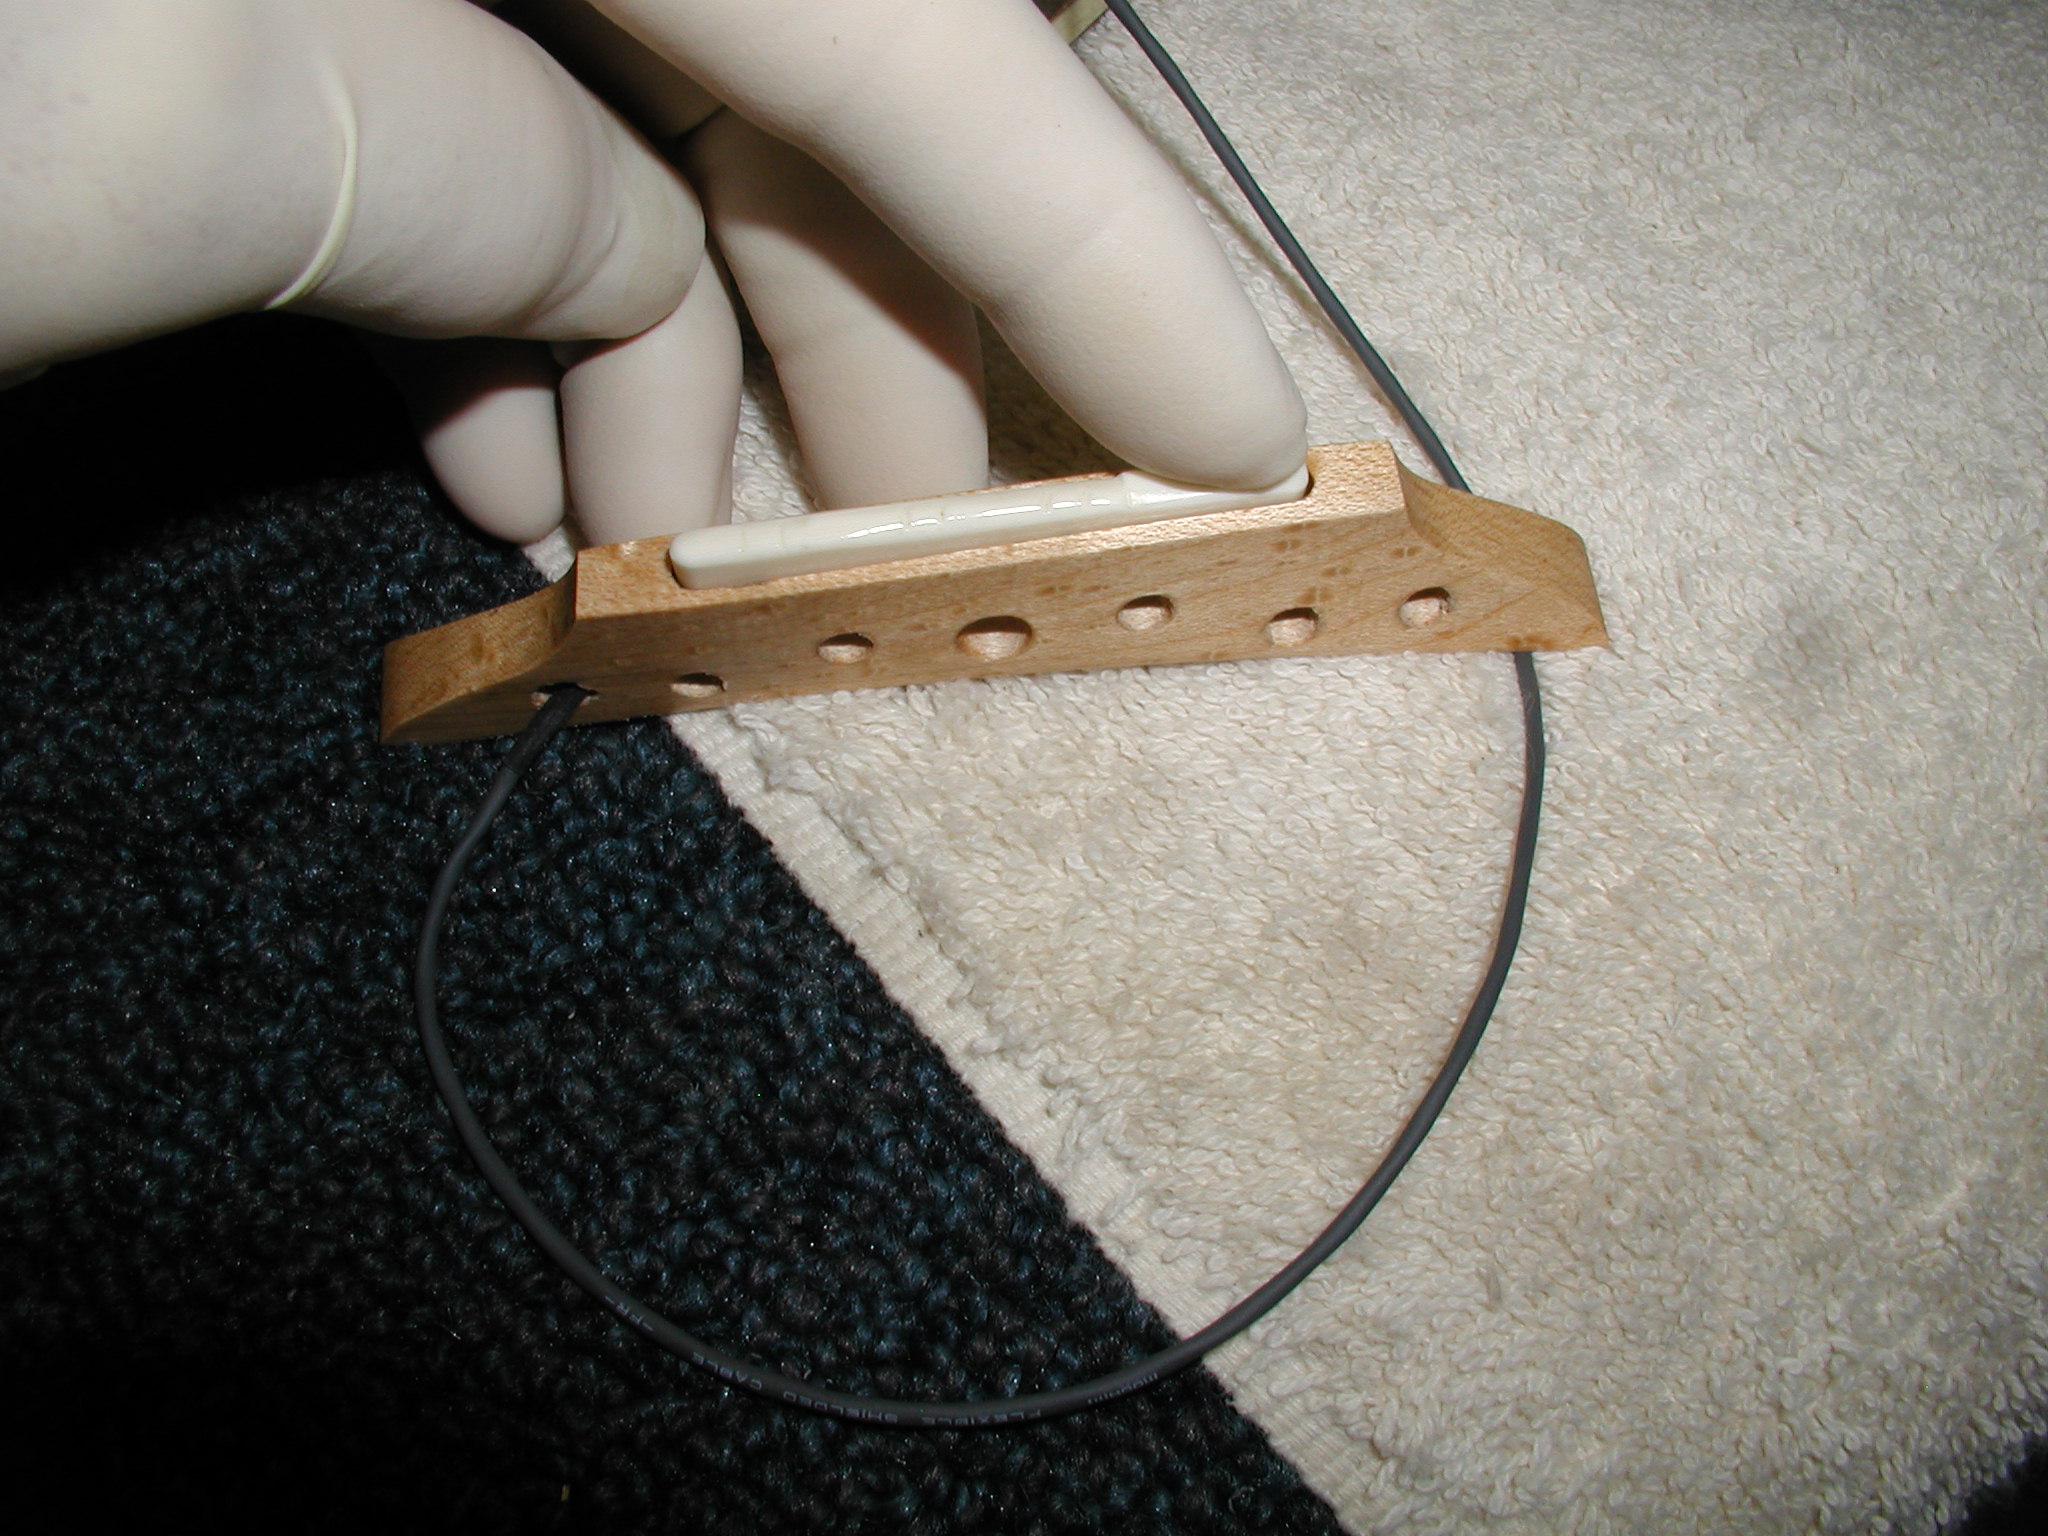
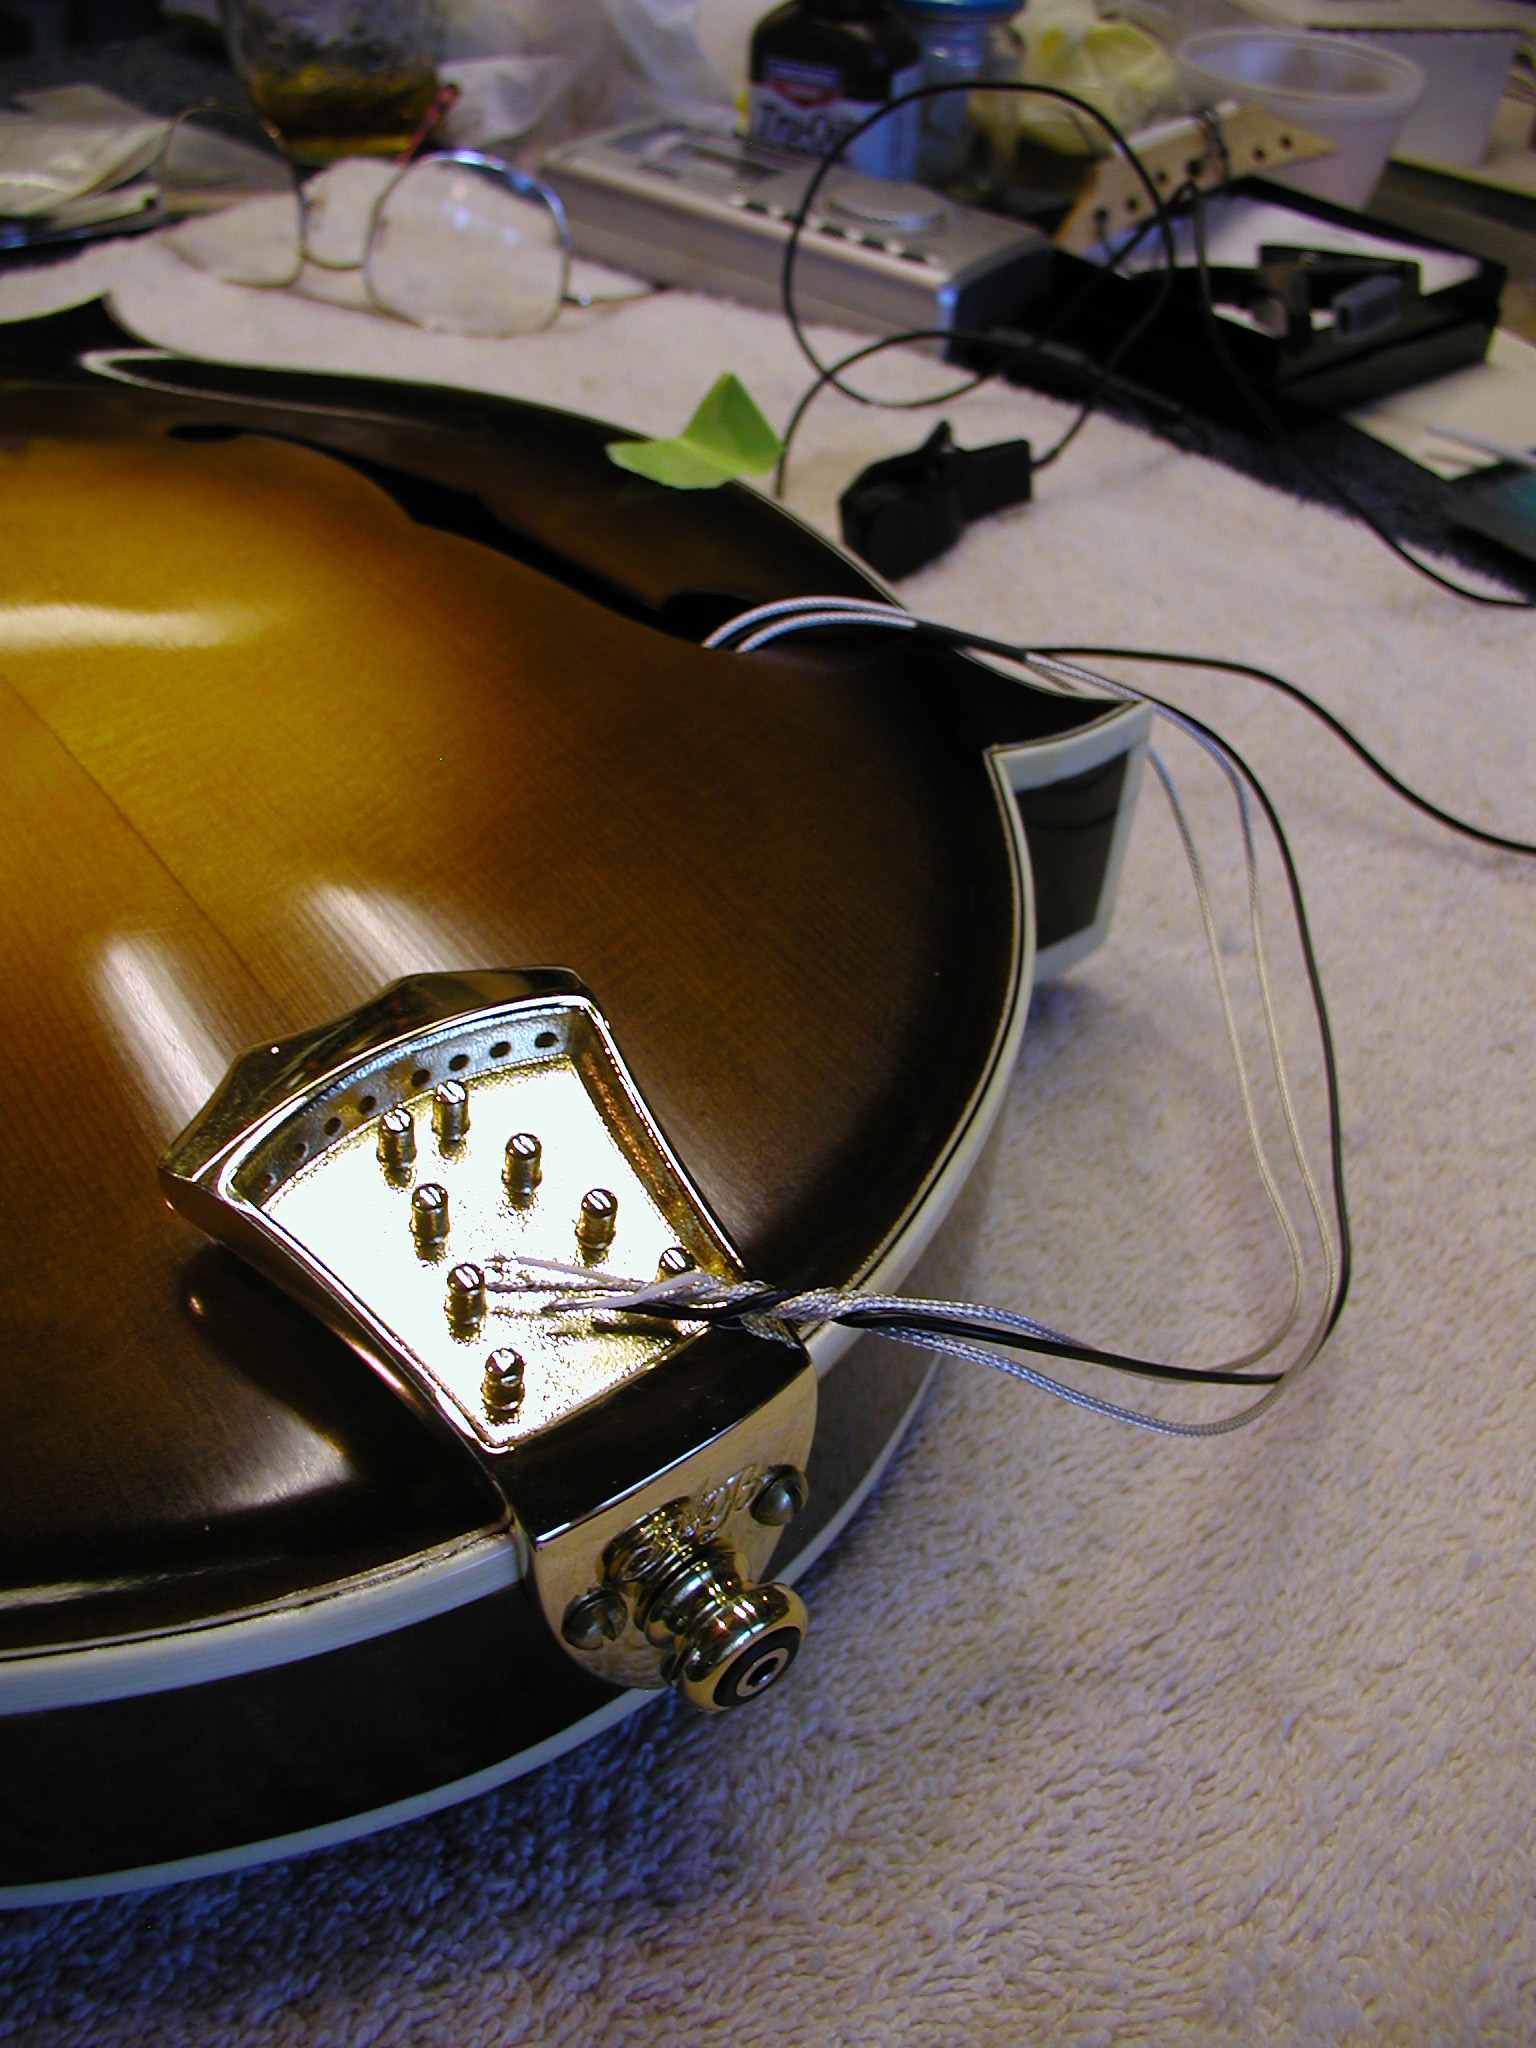
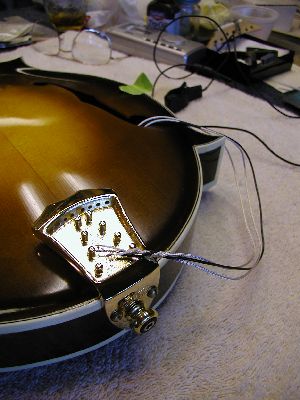
About this time I decided I didn't like David's idea of drilling the top. I'm sure that works, I just didn't want to do that and the owner also agreed to this. So I drilled treble end of the saddle slot down to the end cross hole on the treble side and chamfered the hole ends. Notice also that now the pickup itself doesn't need to be cut. Although David says it is OK to do that, I just threaded the extra 1/2" or so down the hole I had earlier drilled. I also stuffed a small wad of cotton down with it to make sure there would be no rattles. Now the wire threads down and out the hole but is hidden by the pickguard. It goes into the top part of the F-hole and is held snug against the bottom rib on the inside using the 3-M Red "Gummy-bear" tape. Great stuff for holding wires and such inside an instrument. It doesn't seem to damp the tone even when used on a bridge plate in a a guitar.
Now the end-pin wires and the pickup wires get pulled up
out of the lower part of the F-Hole, trimmed to length, soldered, insulated,
and tucked back snug against the lower rib with the gummy-bear tape. This
tailpiece I really like, it is nice and heavy, but it does have the drawback
of having to thread the strings through the holes. If you aren't careful
the
string ends can dag the top, so it is a good idea to slip a string envelope
in there while threading. Do some final intonation and check the action
one
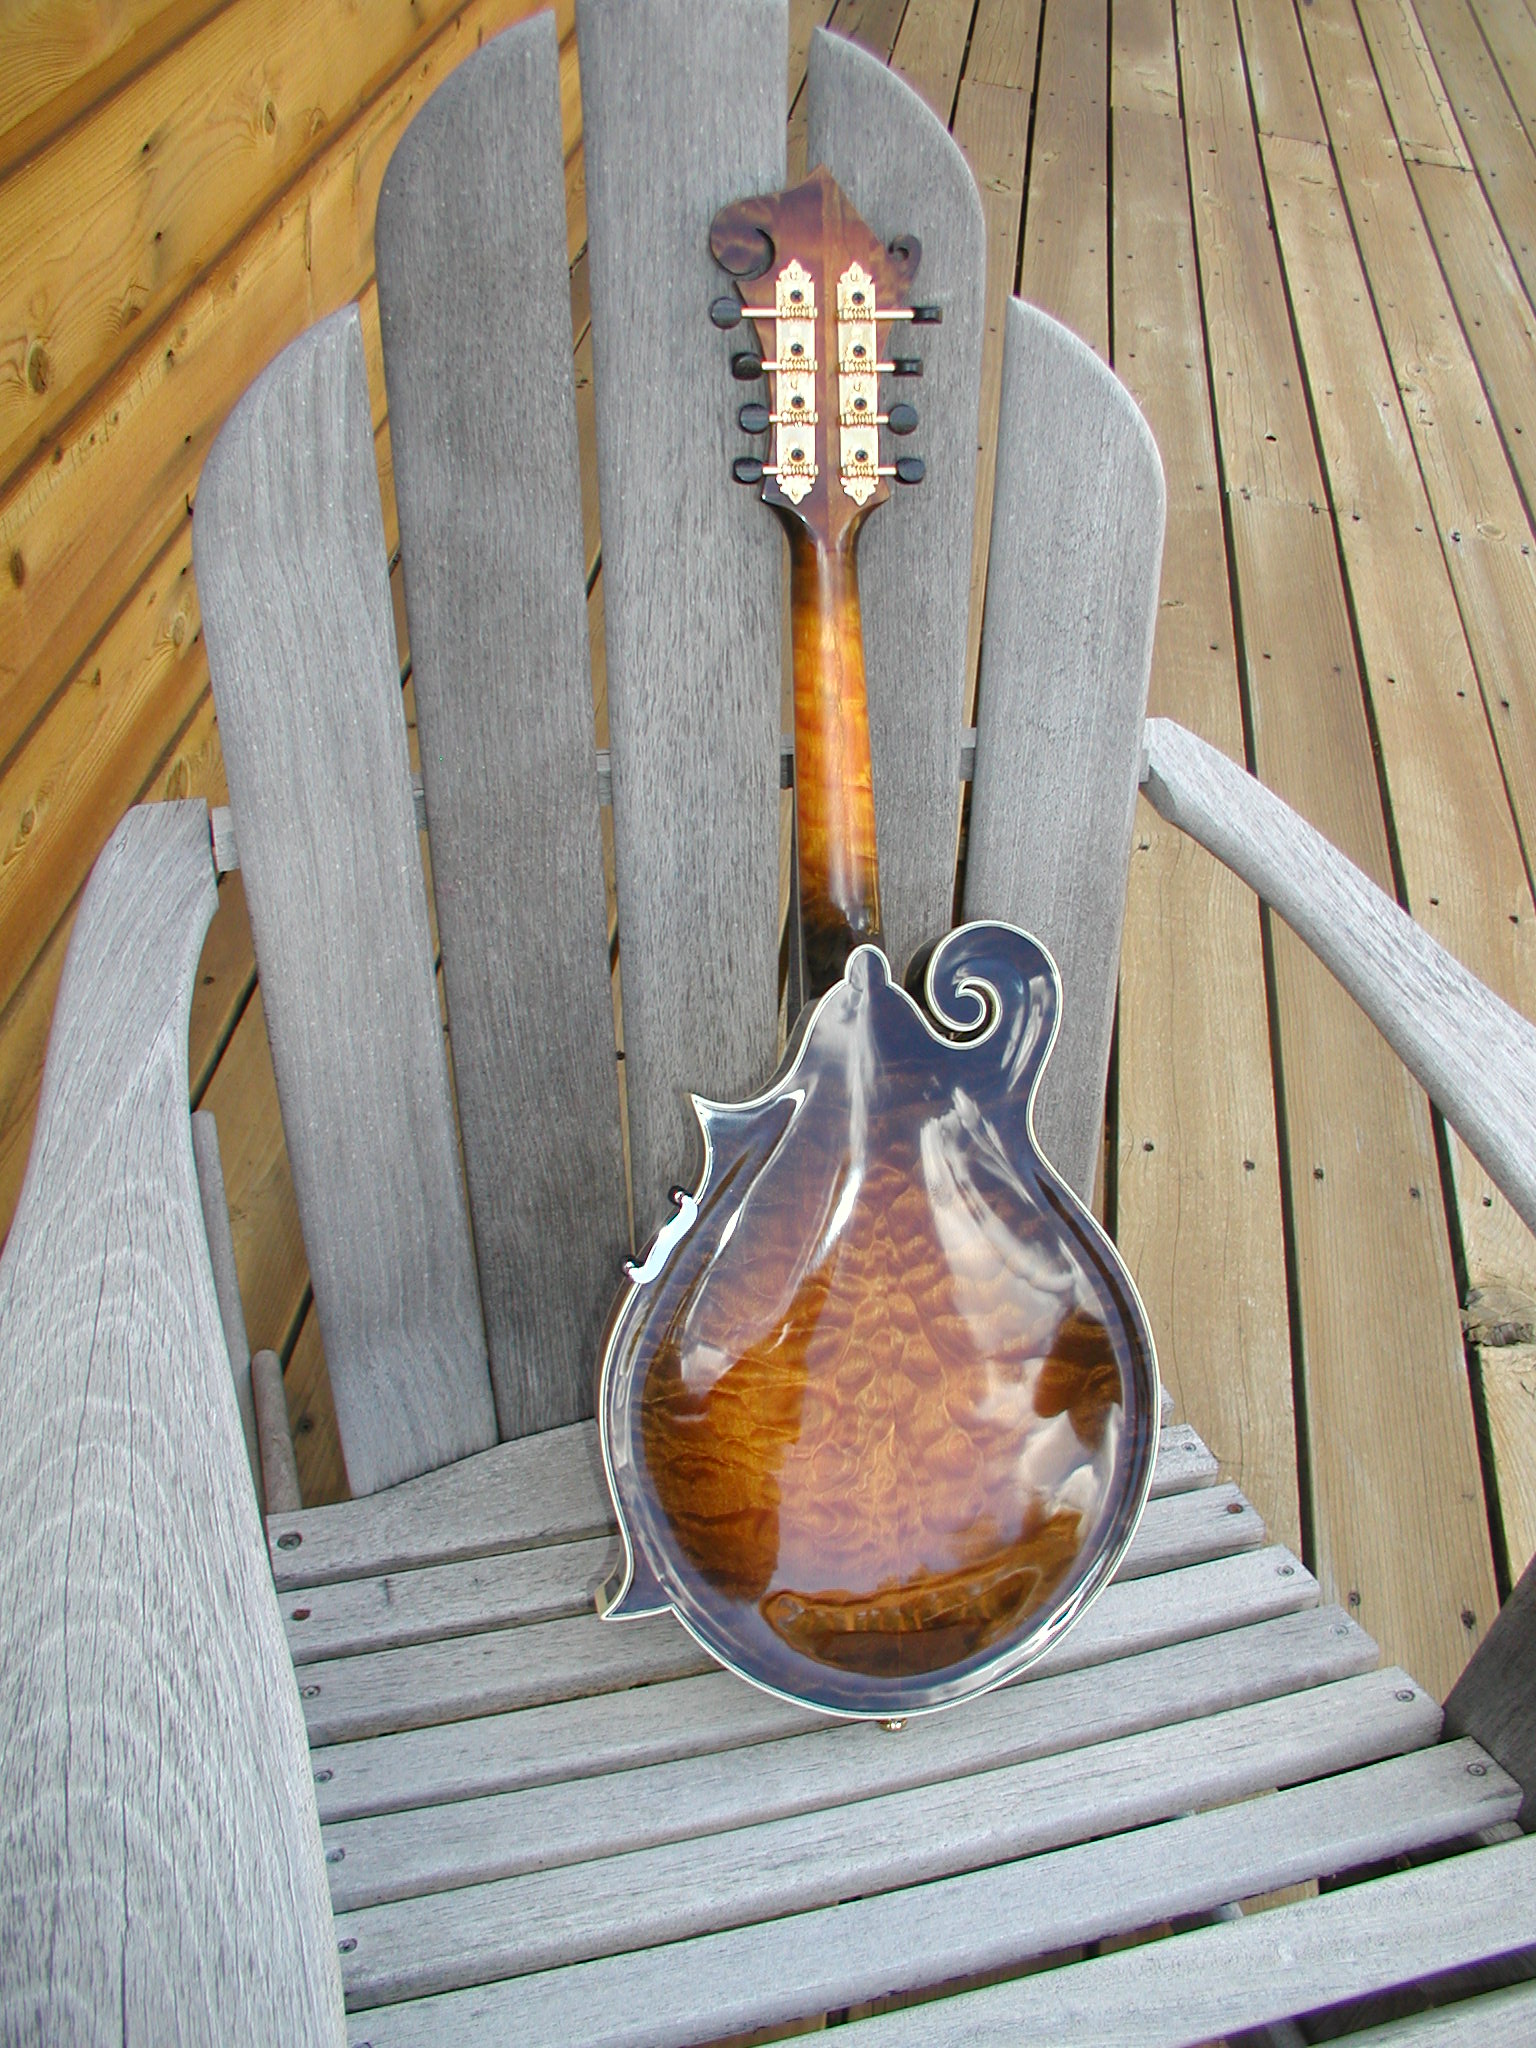
last time, final cleanup and polish out with a soft cloth and it is ready
to go. A few snaps on the back porch, what Tom called "Adirondack
sittin' on Adirondack". 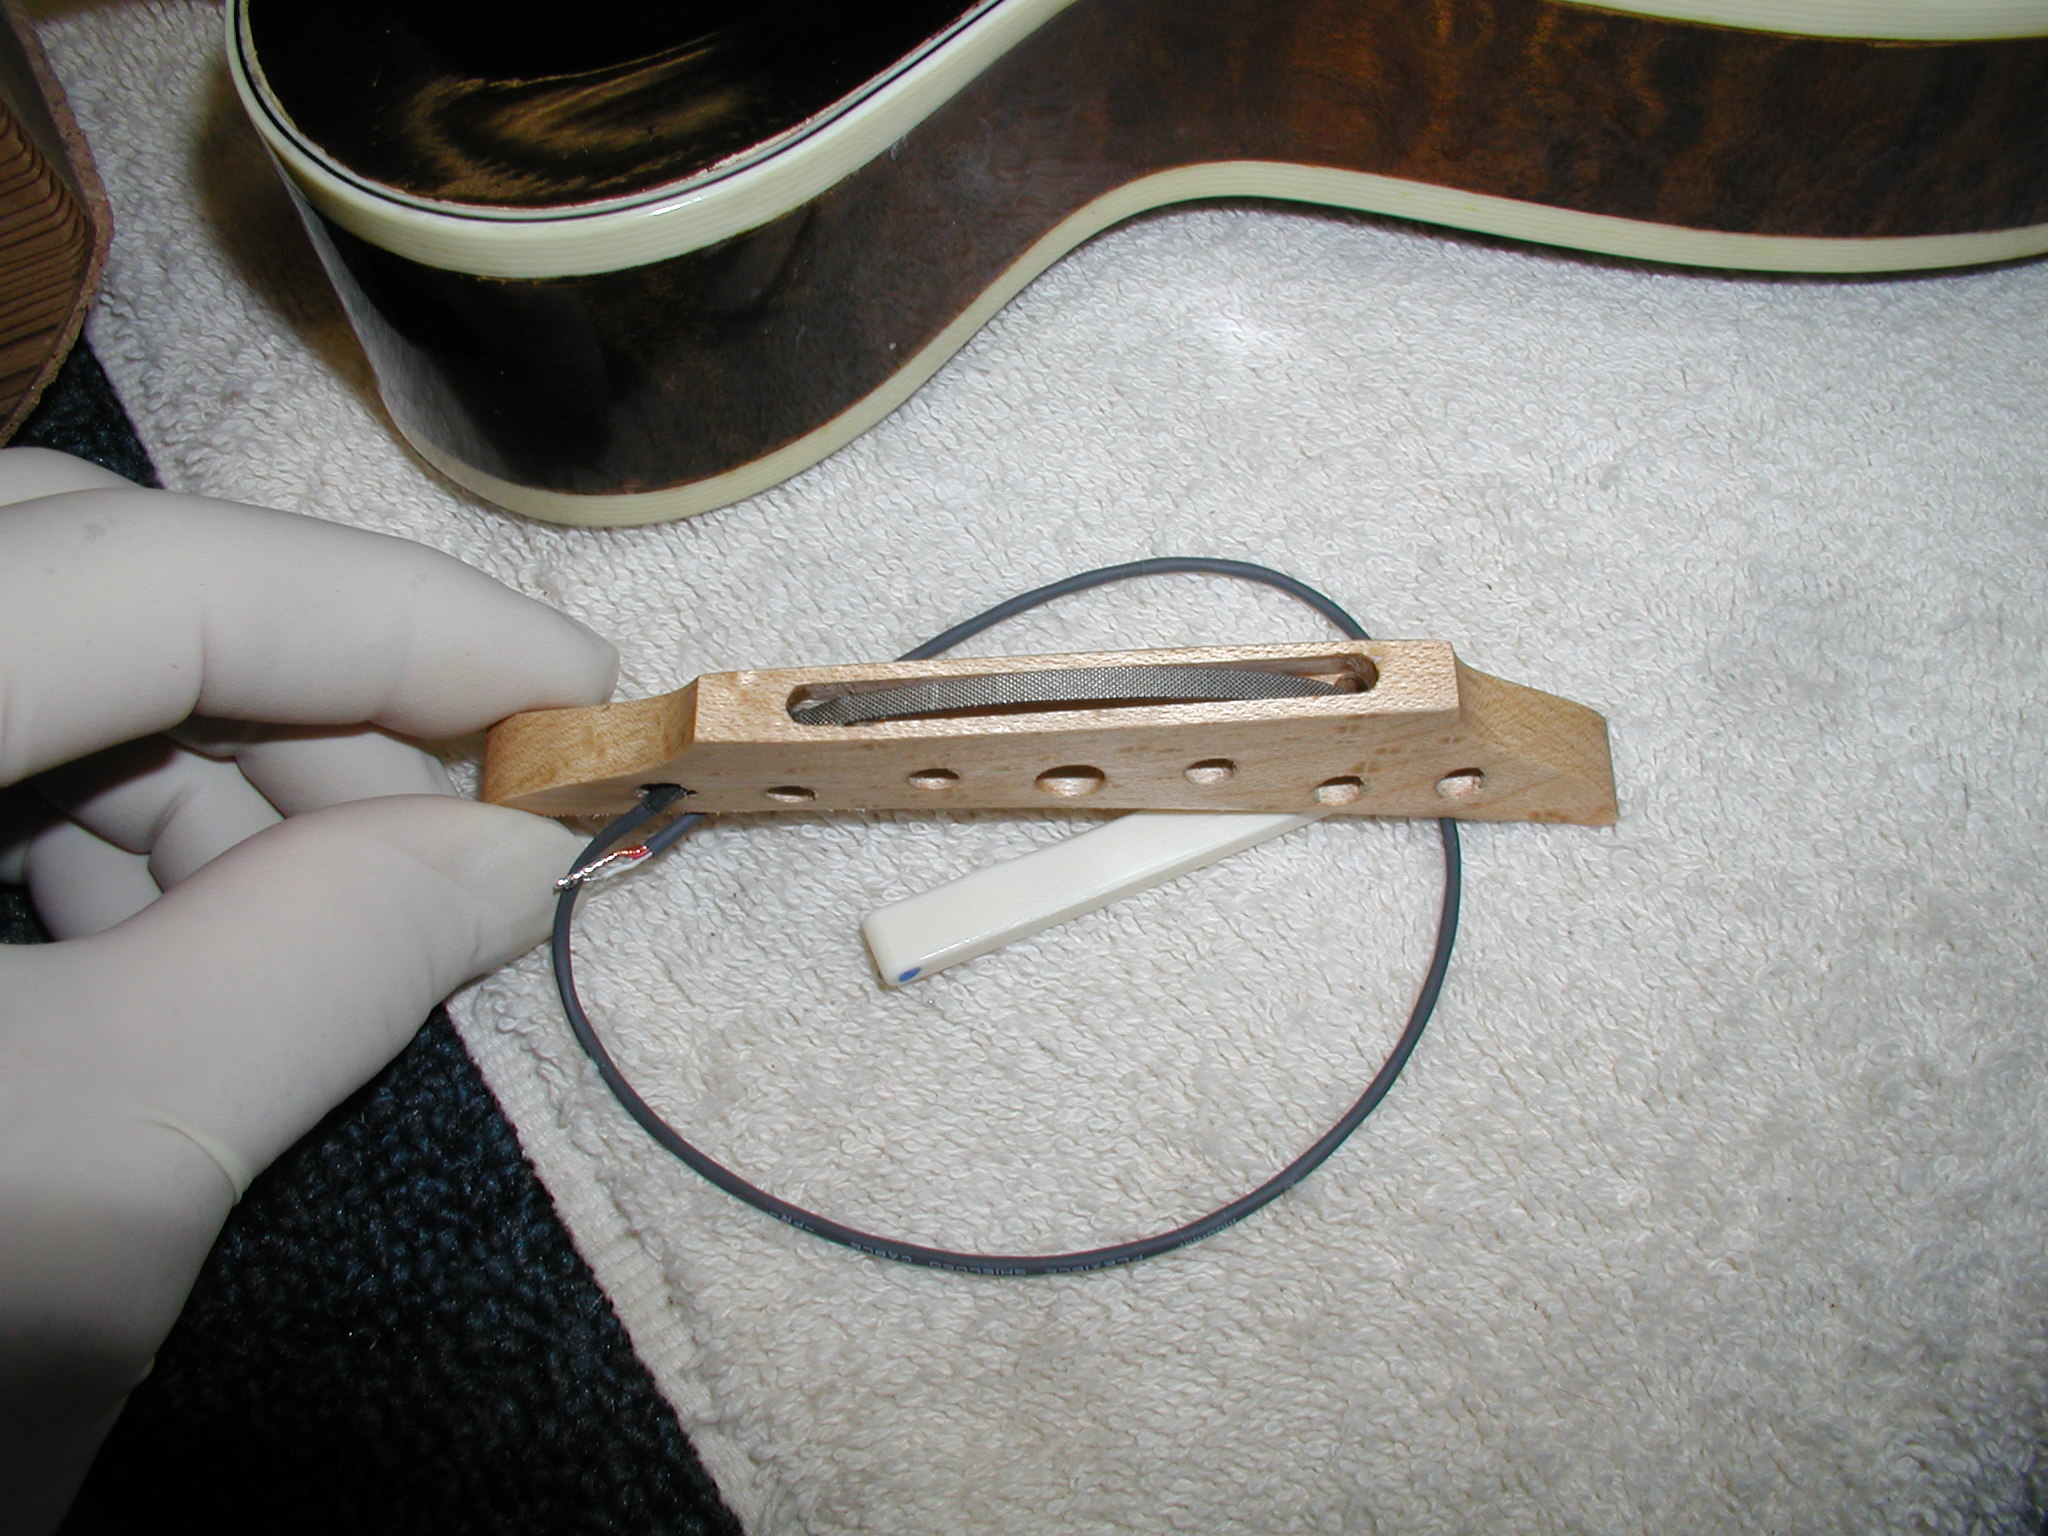

I hope you enjoyed this tutorial and got something useful out of it. If you see any errors/typos/problems please drop me an email and let me know.
Previous - Next
1 2 3 4 5 6 7 8 8a 9 10 11 11a 11b 12 12a 13 14 15 16 17 18 19 20