Let's Build A Mandolin (Page 9)
1 2 3 4 5 6 7 8 8a 9 10 11 11a 11b 12 12a 13 14 15 16 17 18 19 20
Last Modified - Jan 2012(©Alan Dunwell 2012)
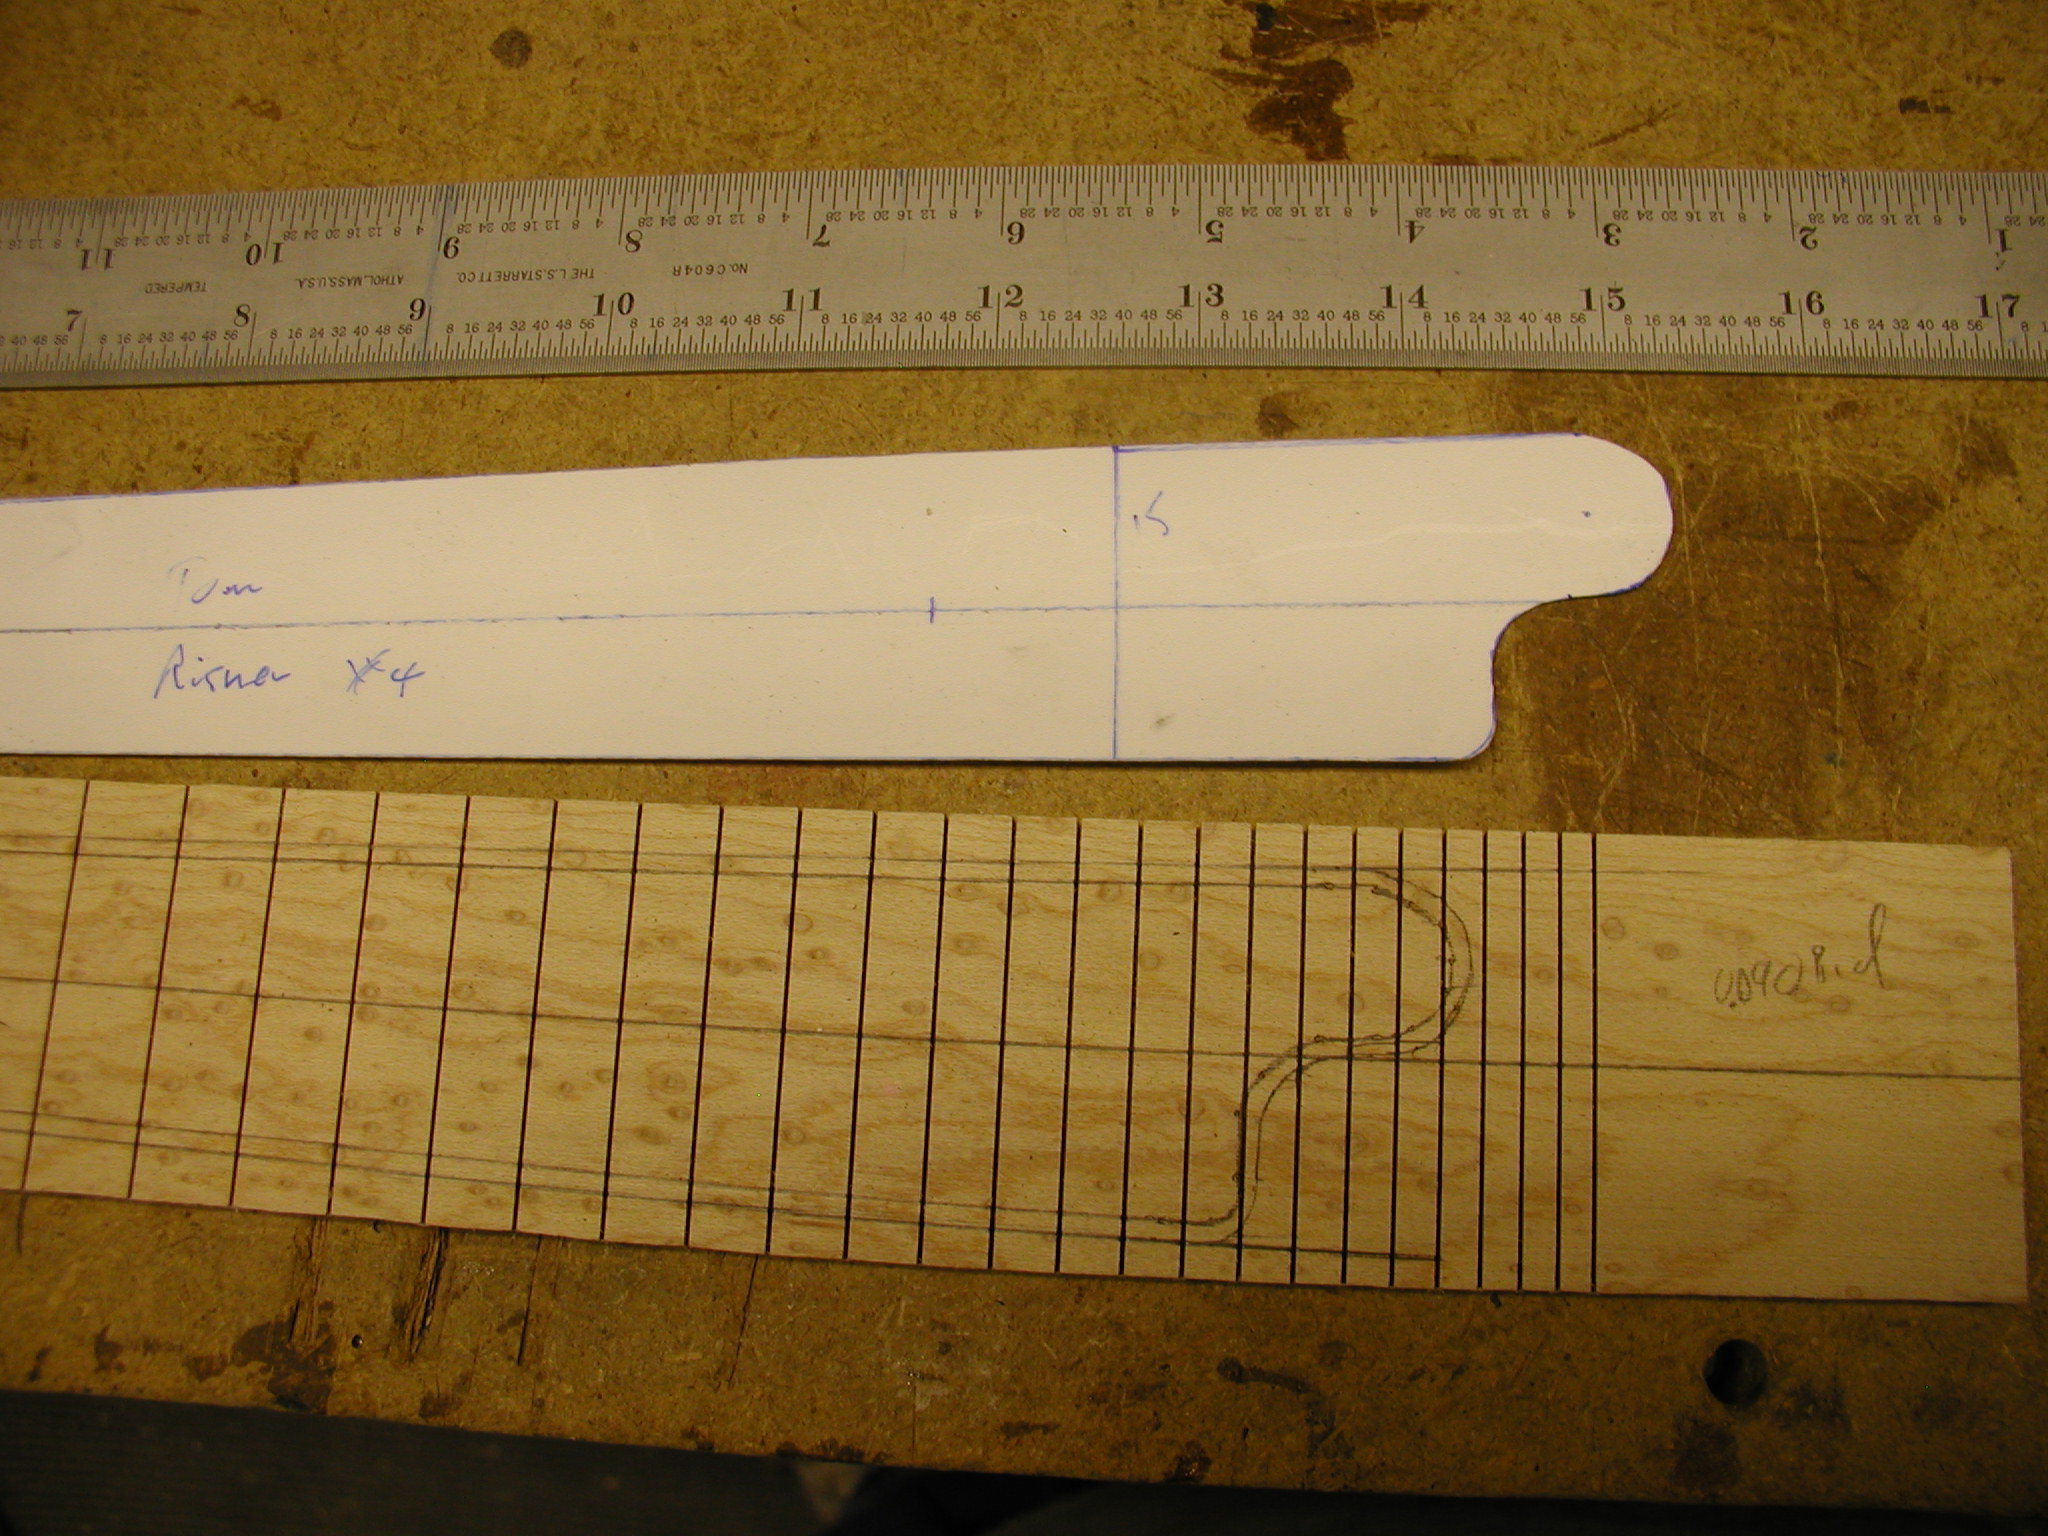
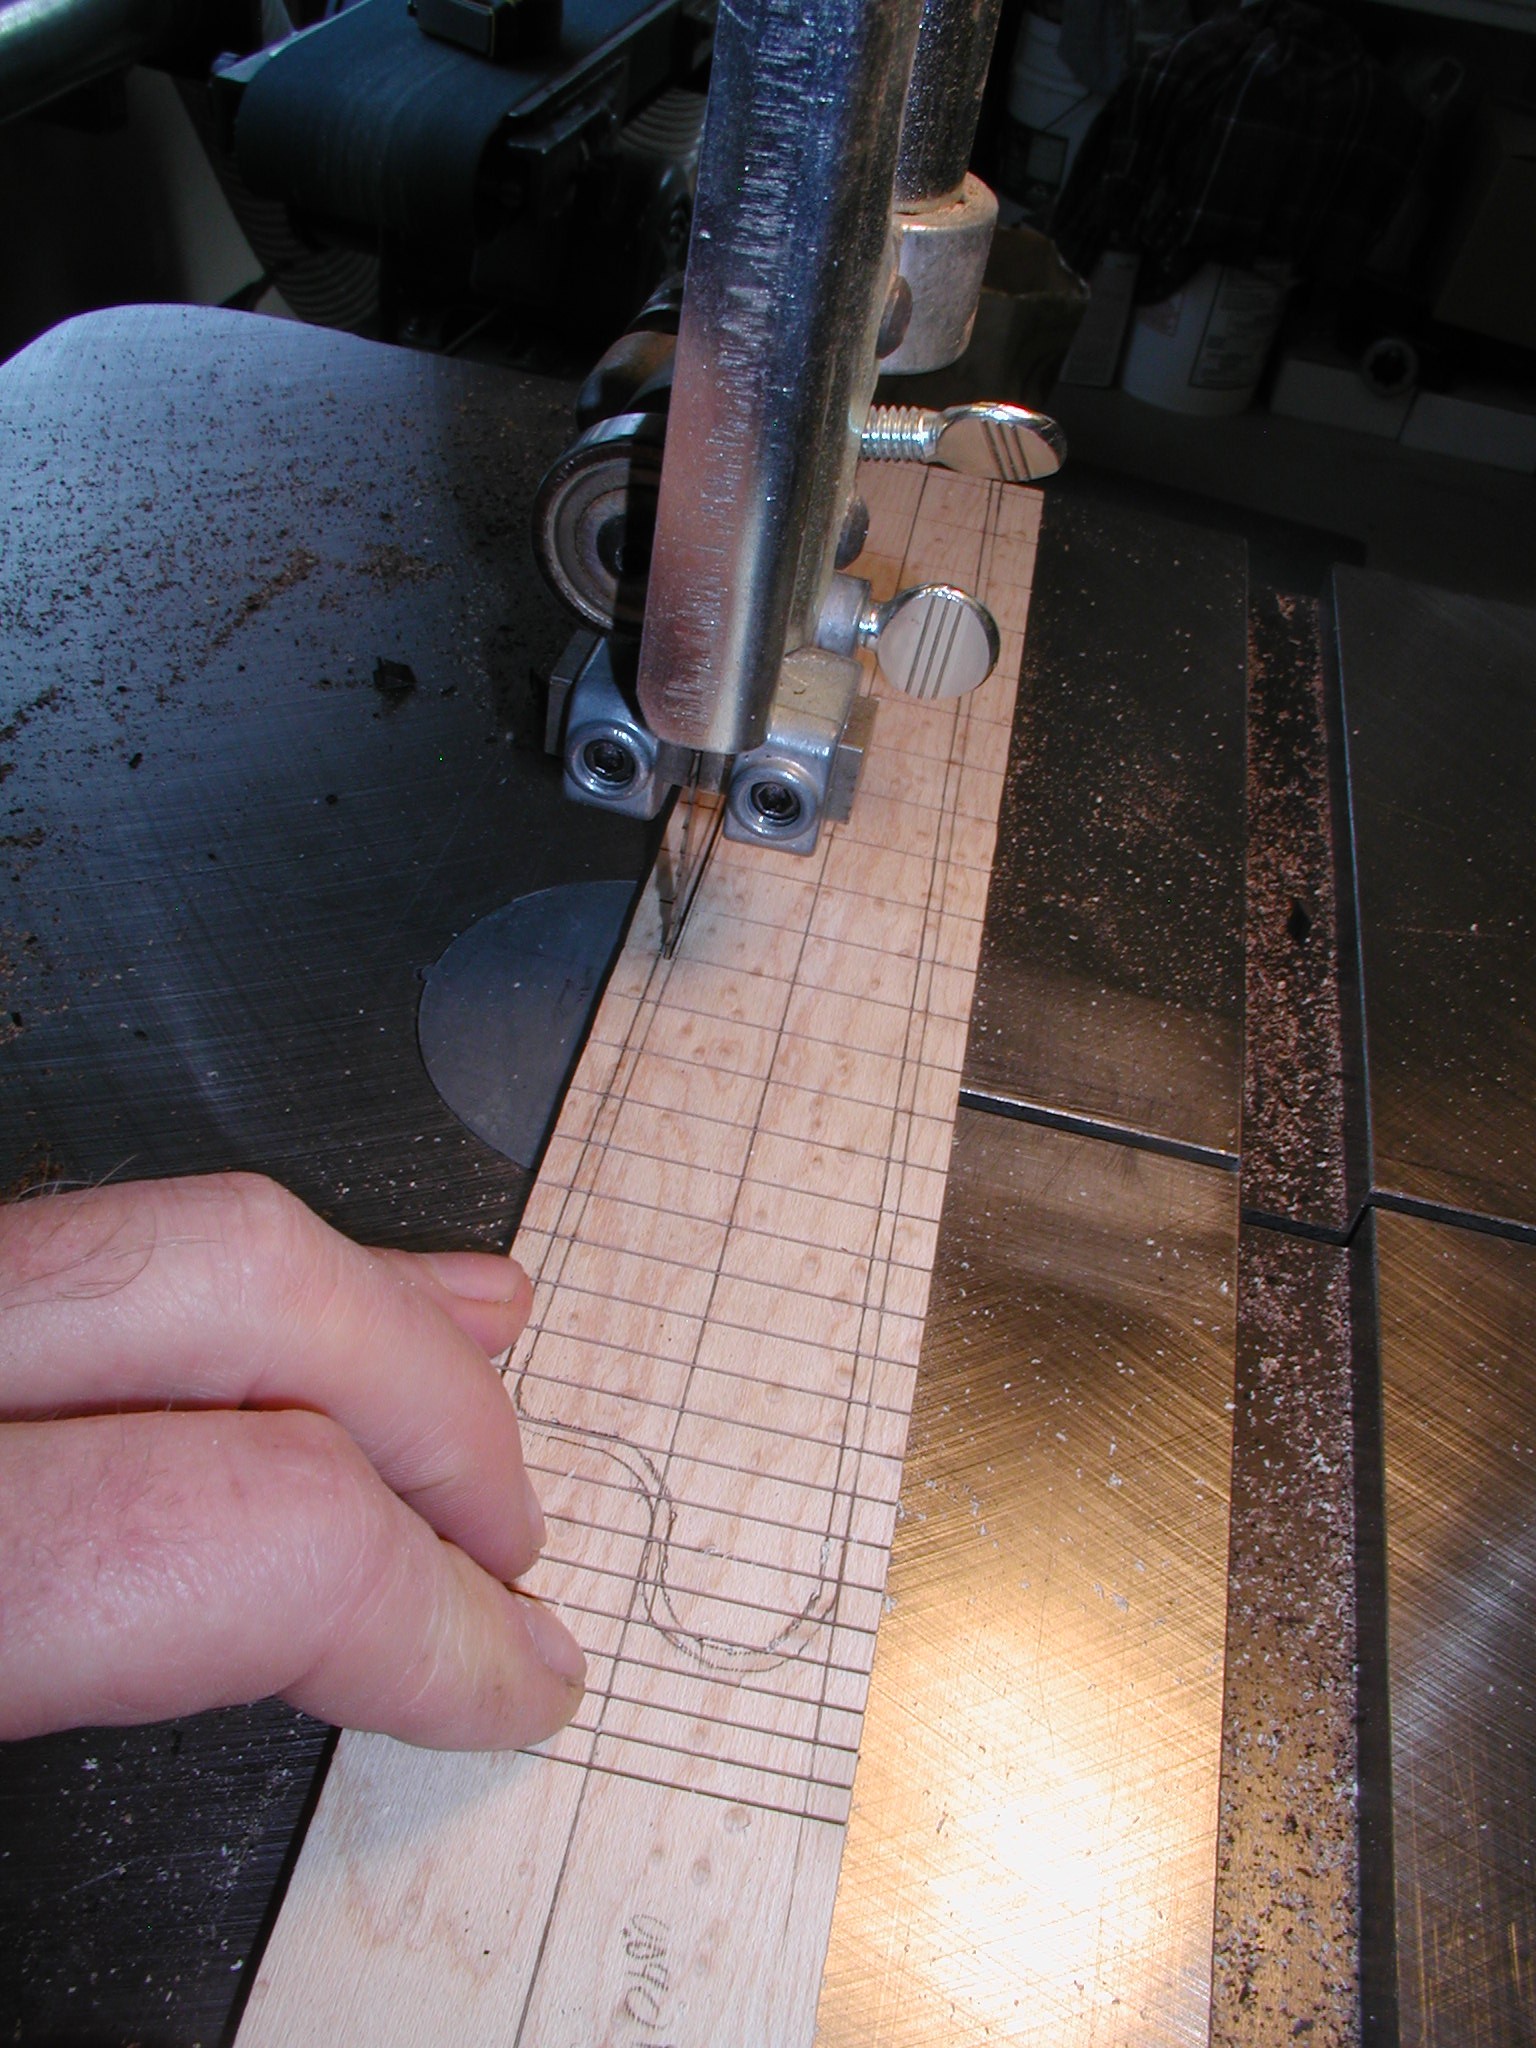
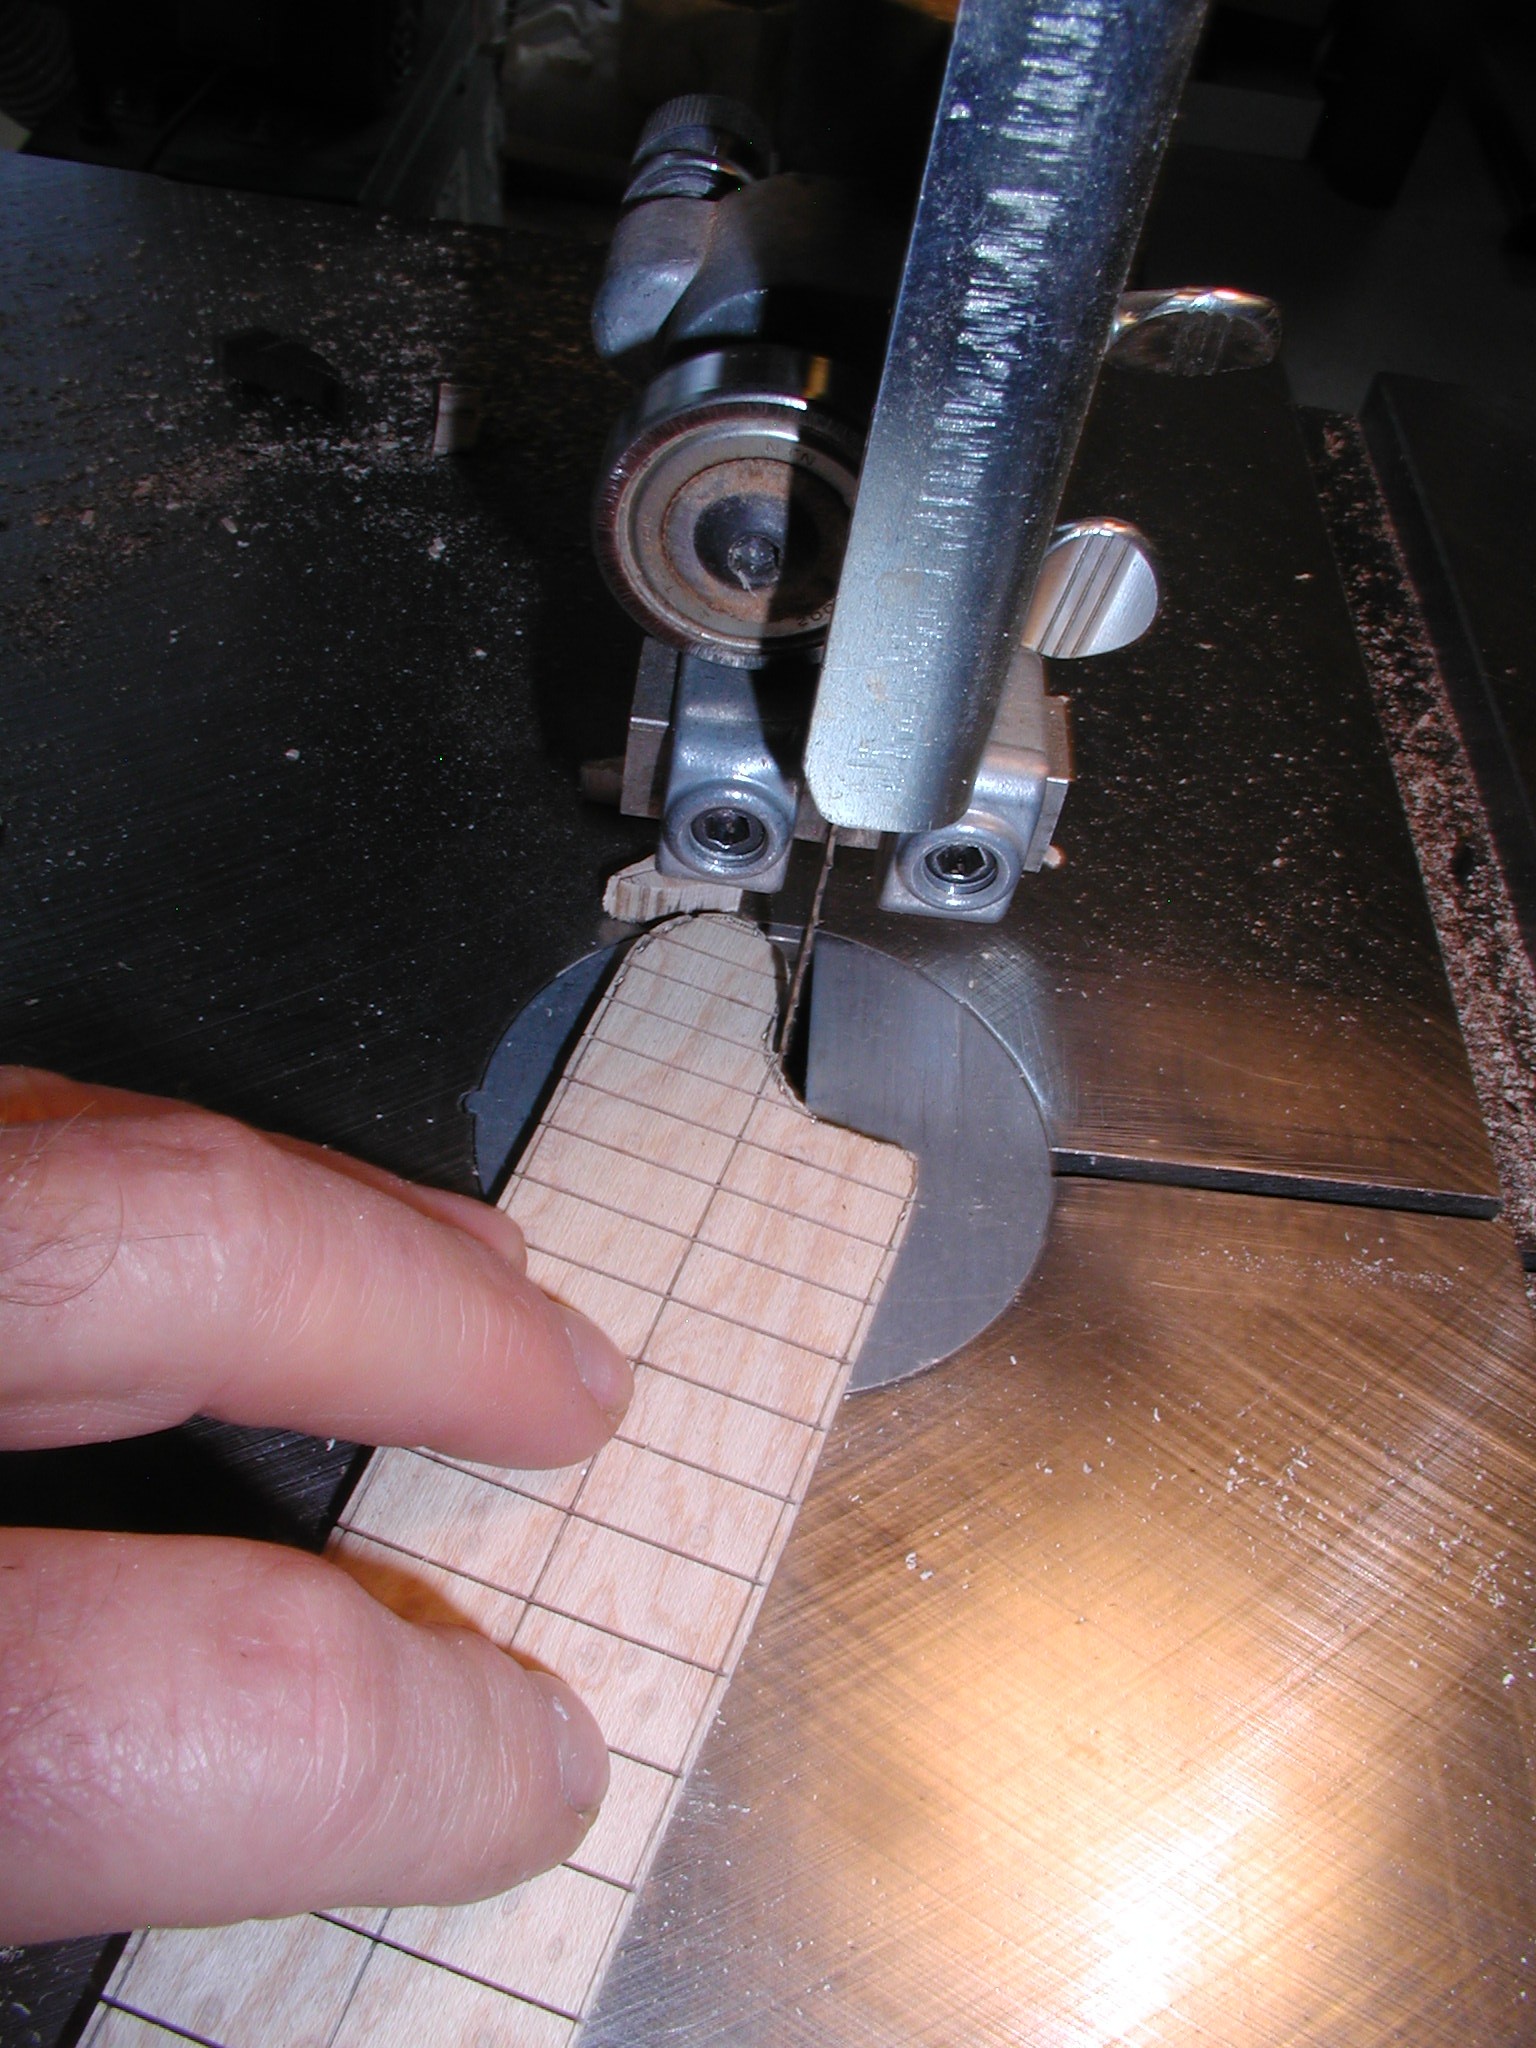
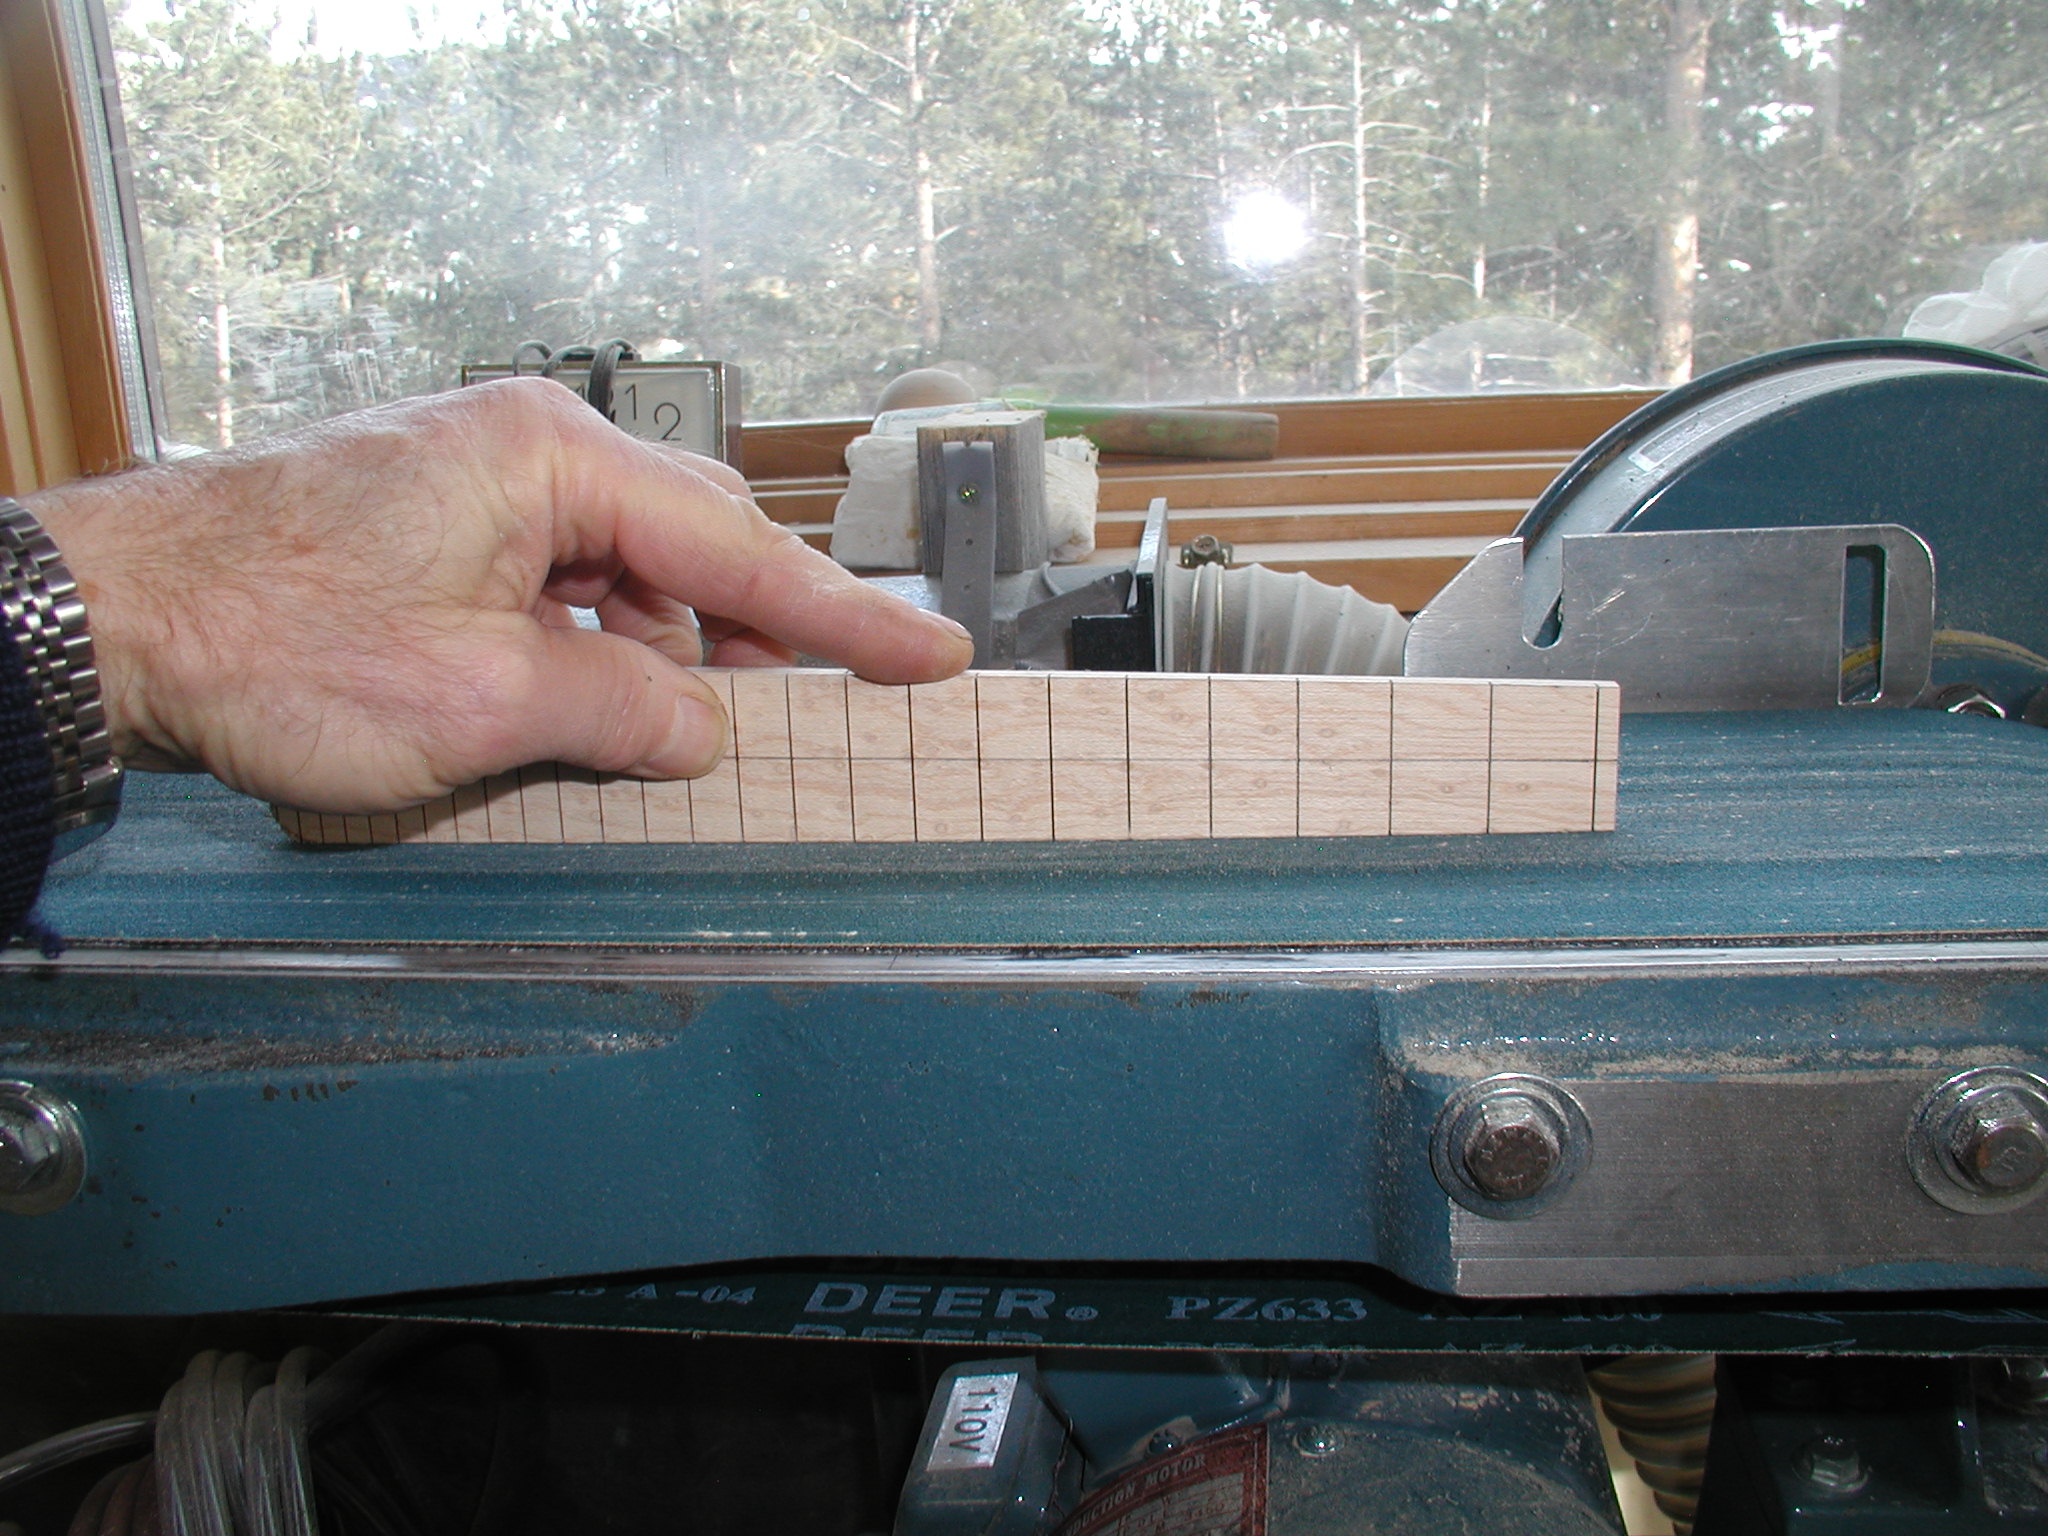
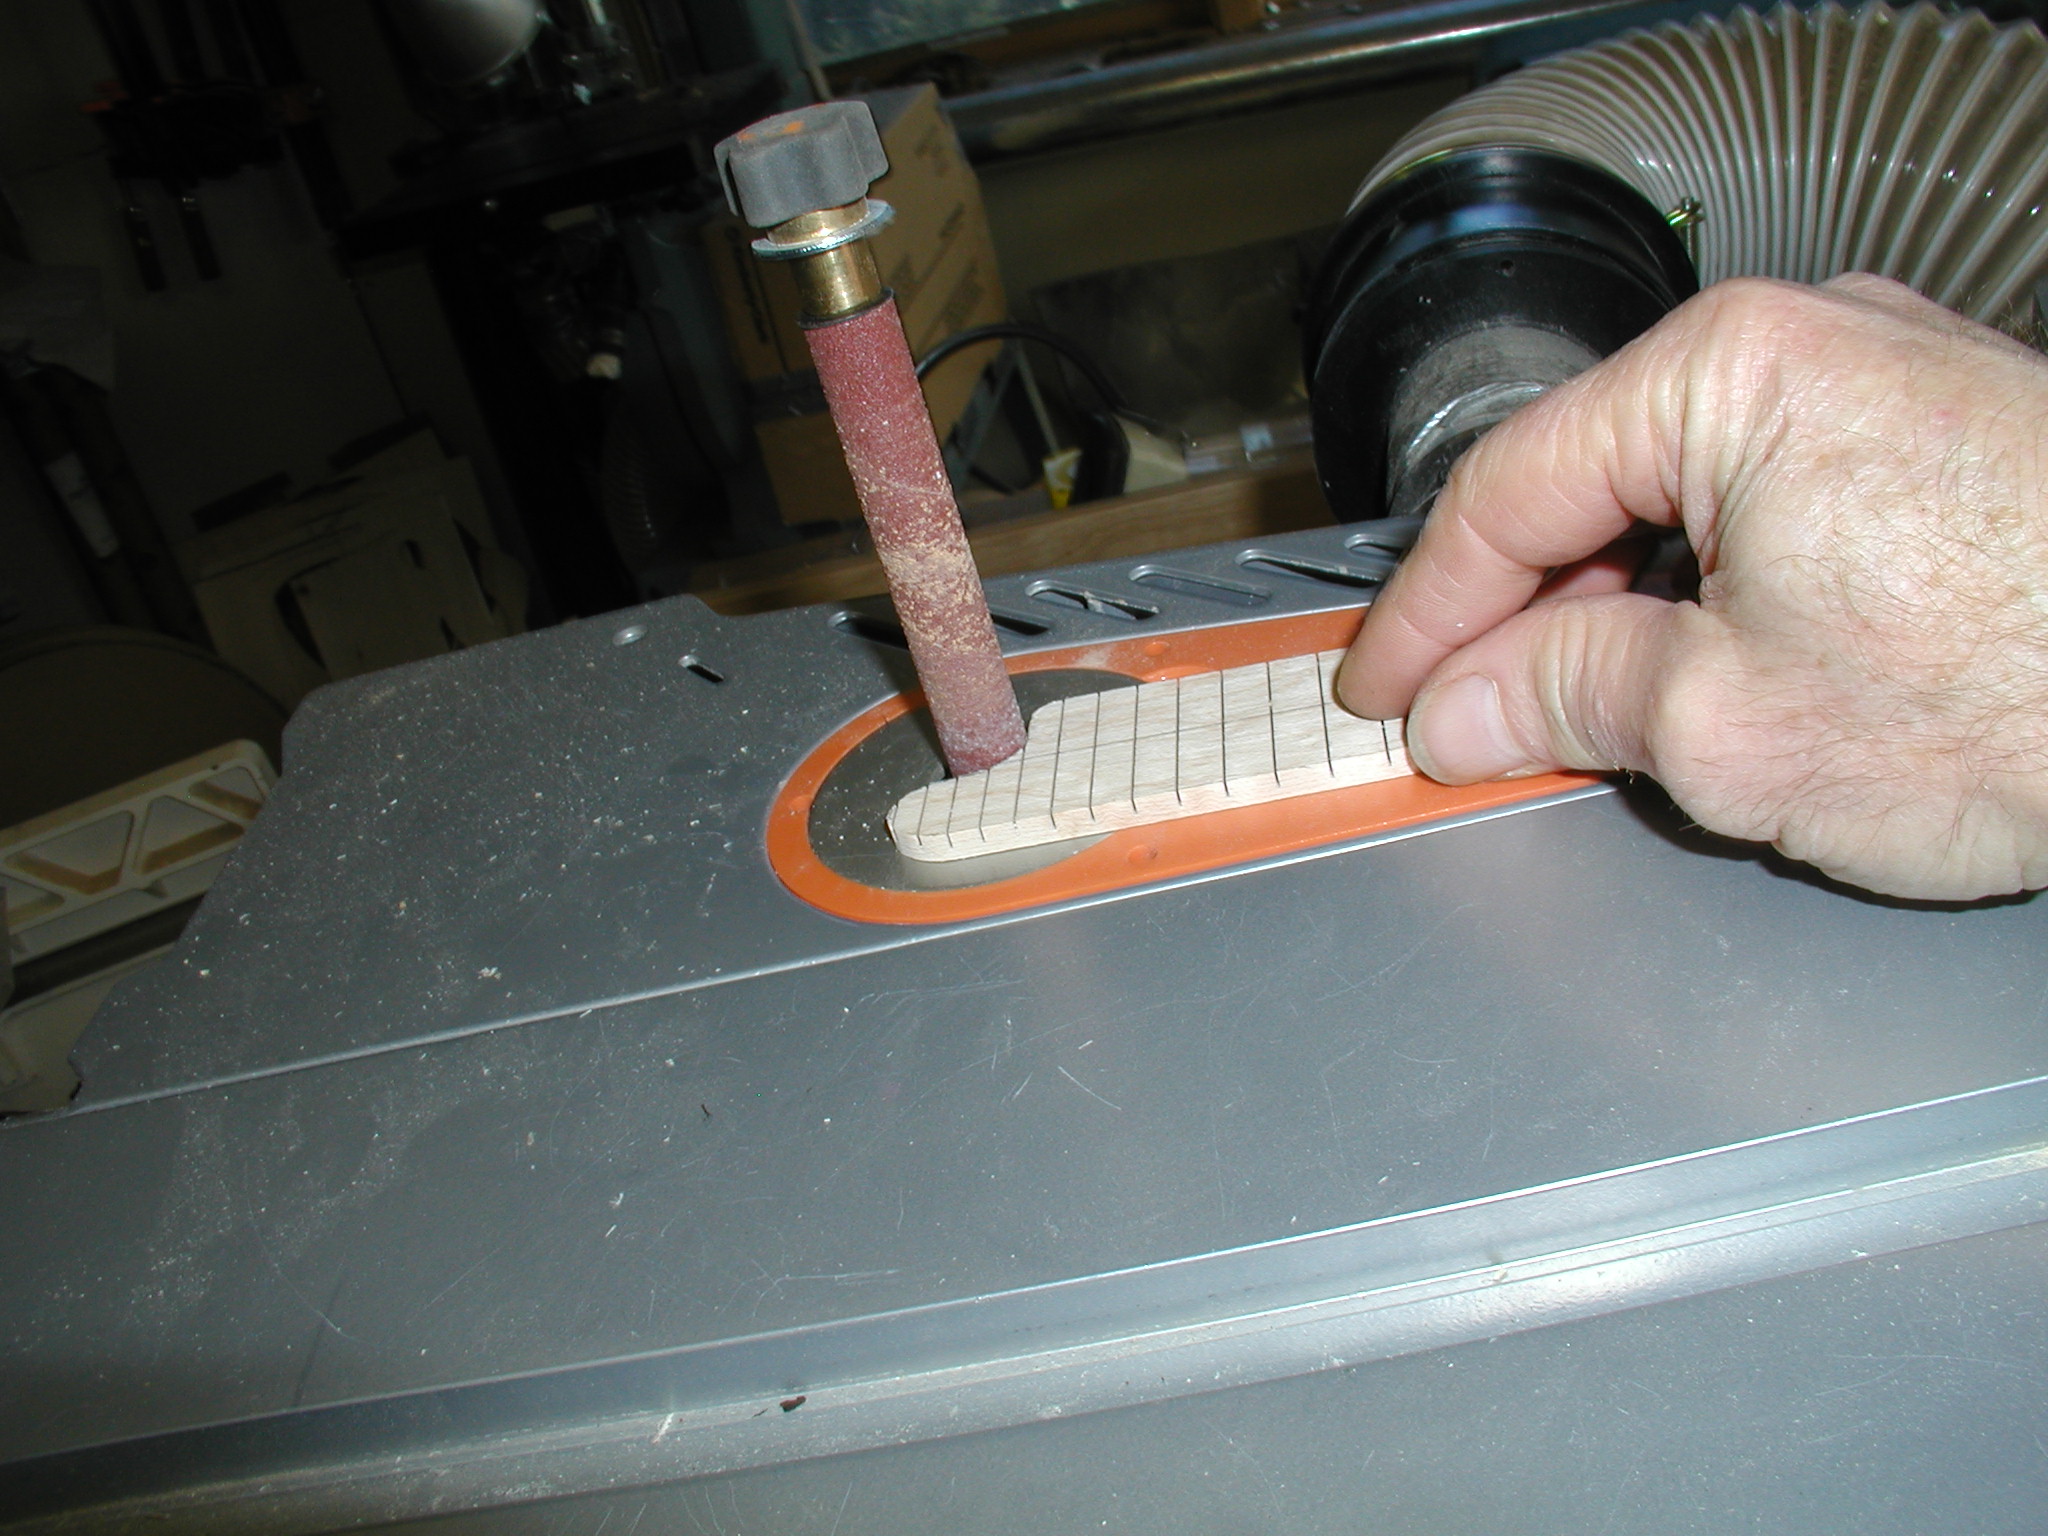
In Page 8 we finished prepping the neck blank. Now it is time to prepare the fretboard. I use pre-slotted boards from Randy Allen but you can look at my other building tutorials to see how to slot fretboards if you wish to do it yourself. There are many other suppliers as well. This board is a nice bit of bird's-eye maple requested by the buyer. First I get a good centerline and then use my full-width template to lay out the board. I then subtract the thickness of the binding and any purfling and draw another perimeter line inside the full size lines. Cut close but leave the line on the bandsaw. Then I true the flat edges on the belt sander. You could do this with a good low-angle block plane if you wish but with the bird's-eye I was worried about chipping near the edges. This board doesn't have a full "Florida" extension, just a smoothed short extension as per the buyer's design. That part gets sanded on the oscillating spindle sander. Have I mentioned that I really like that tool? No? Sand both the sides and extension right up to the point where the lines are just removed.
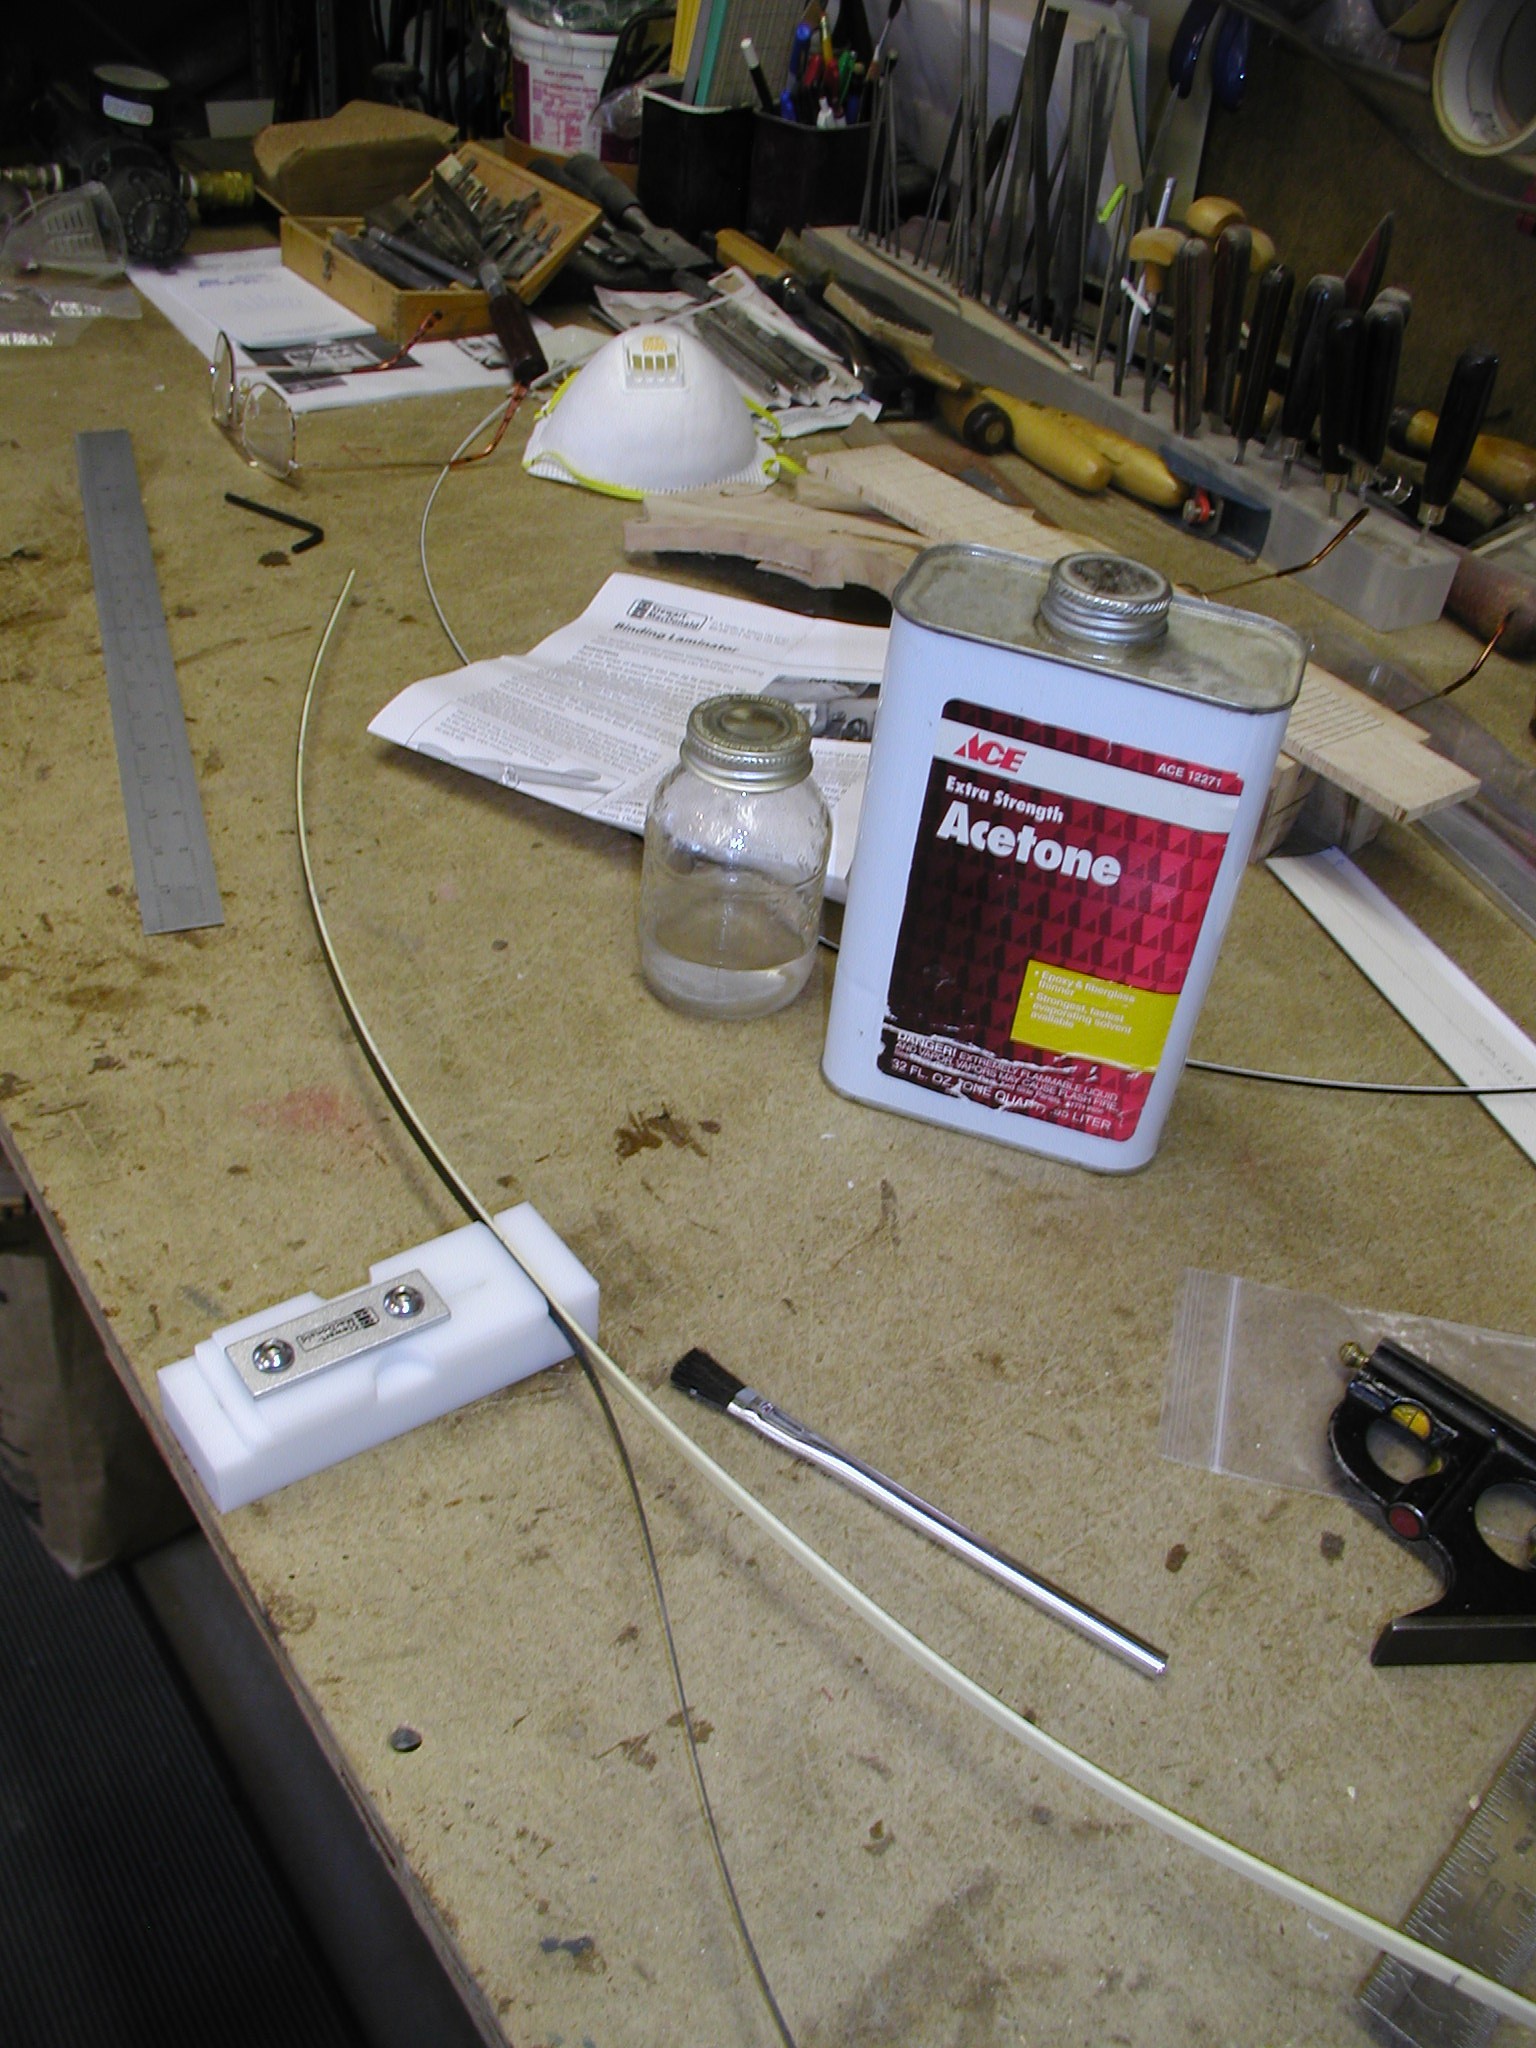
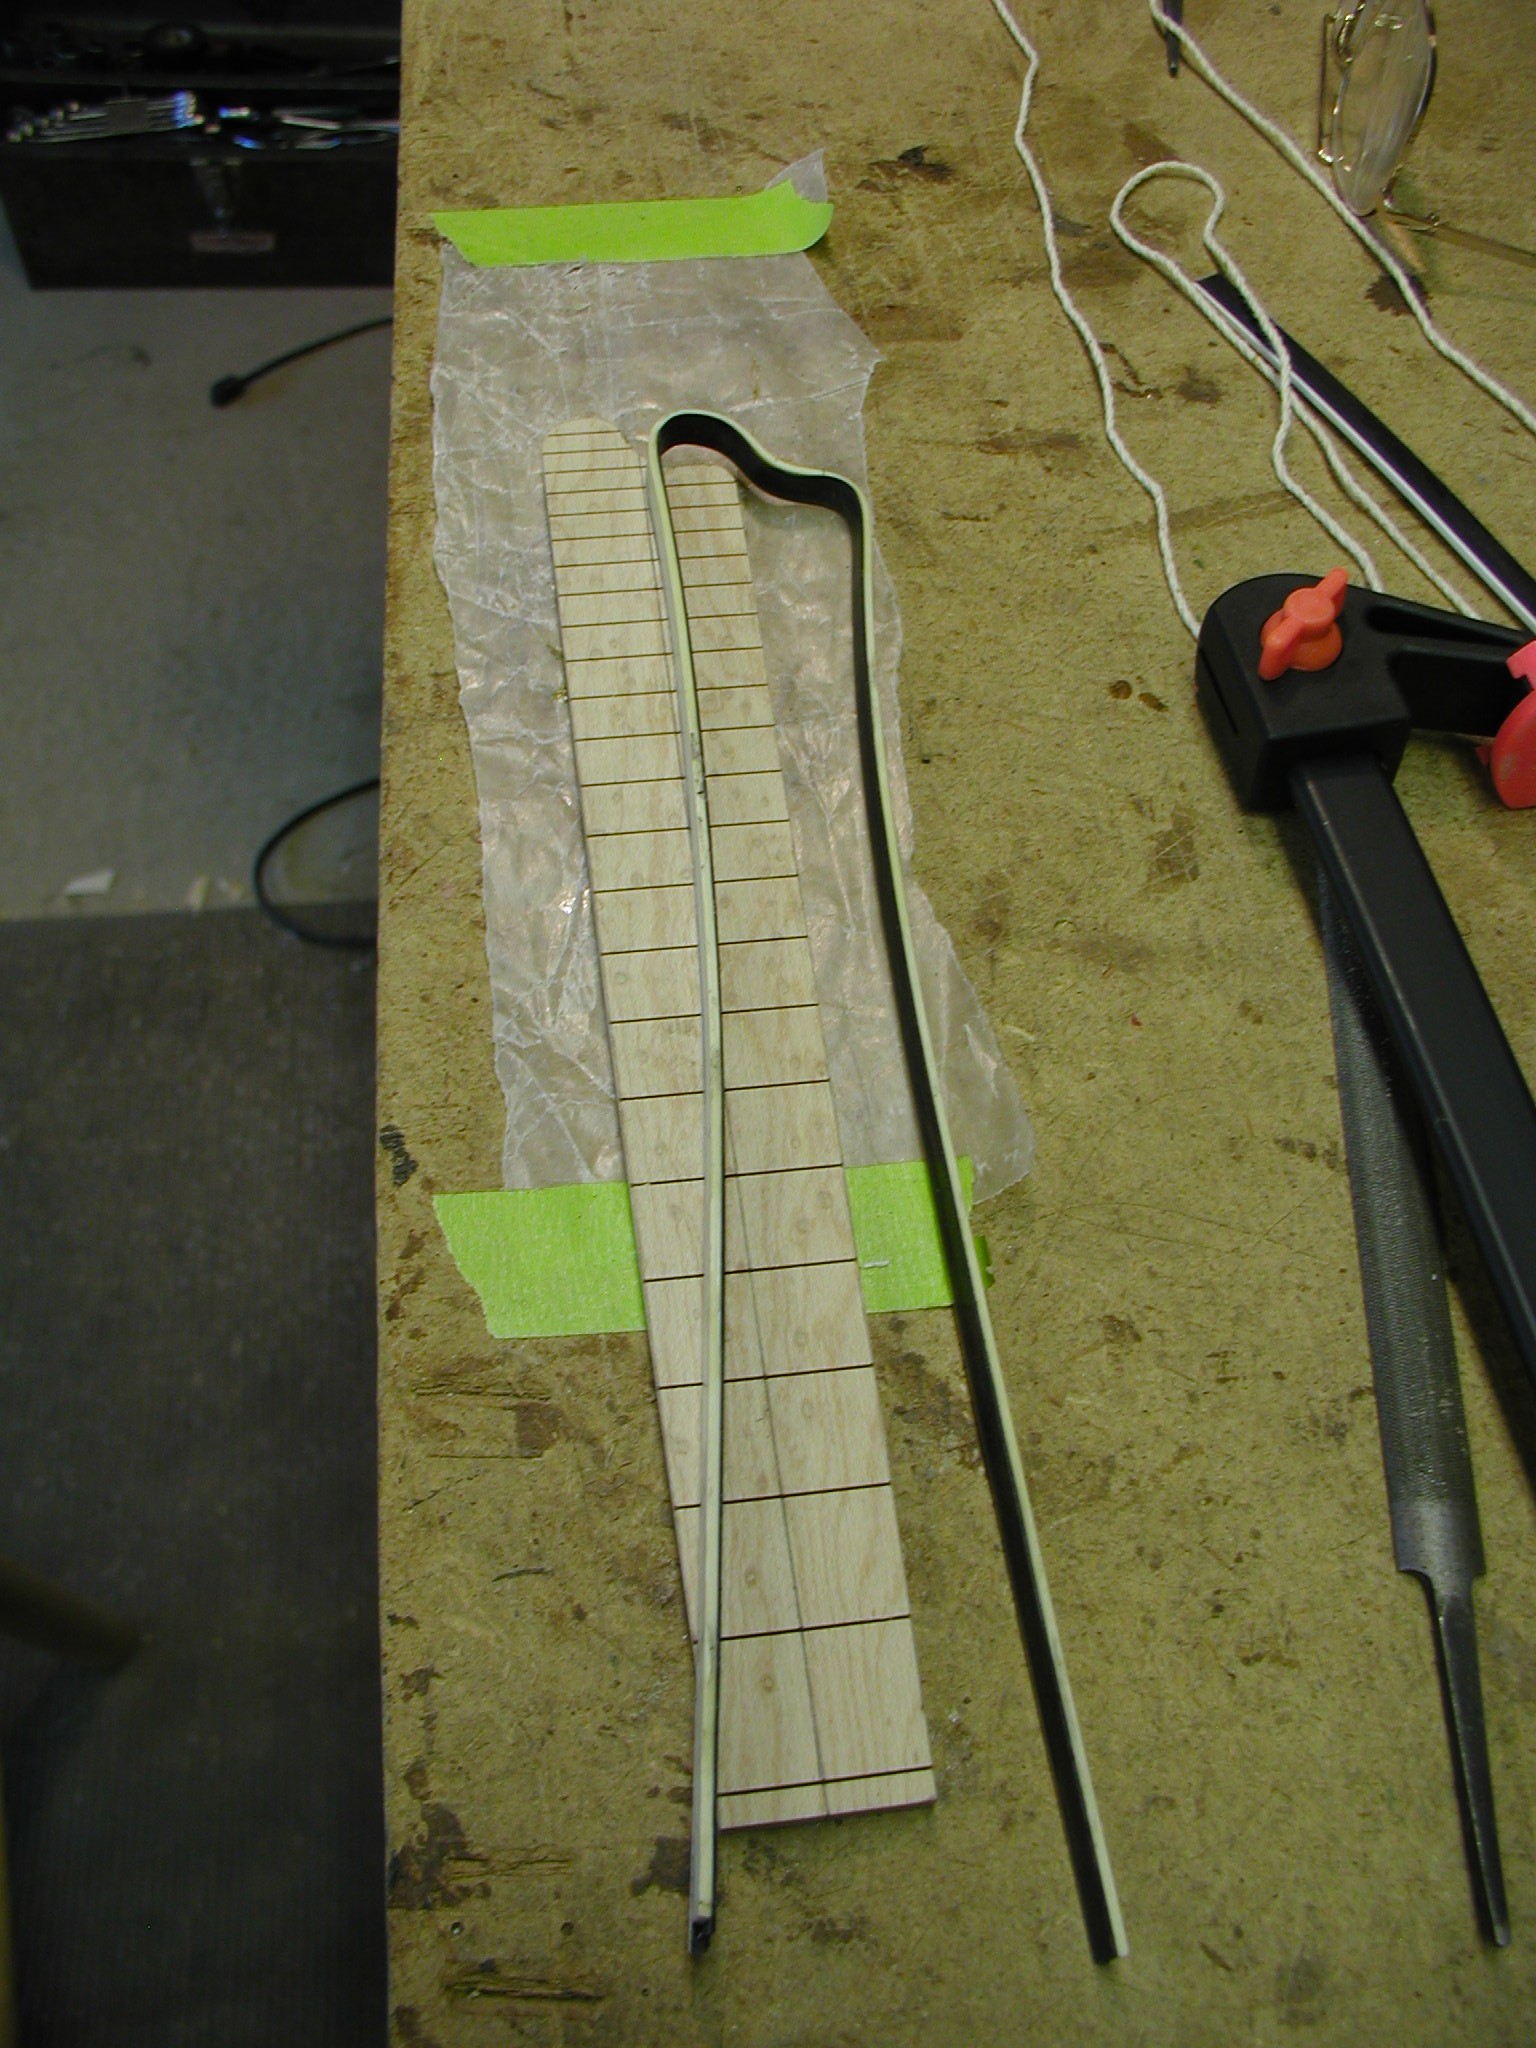
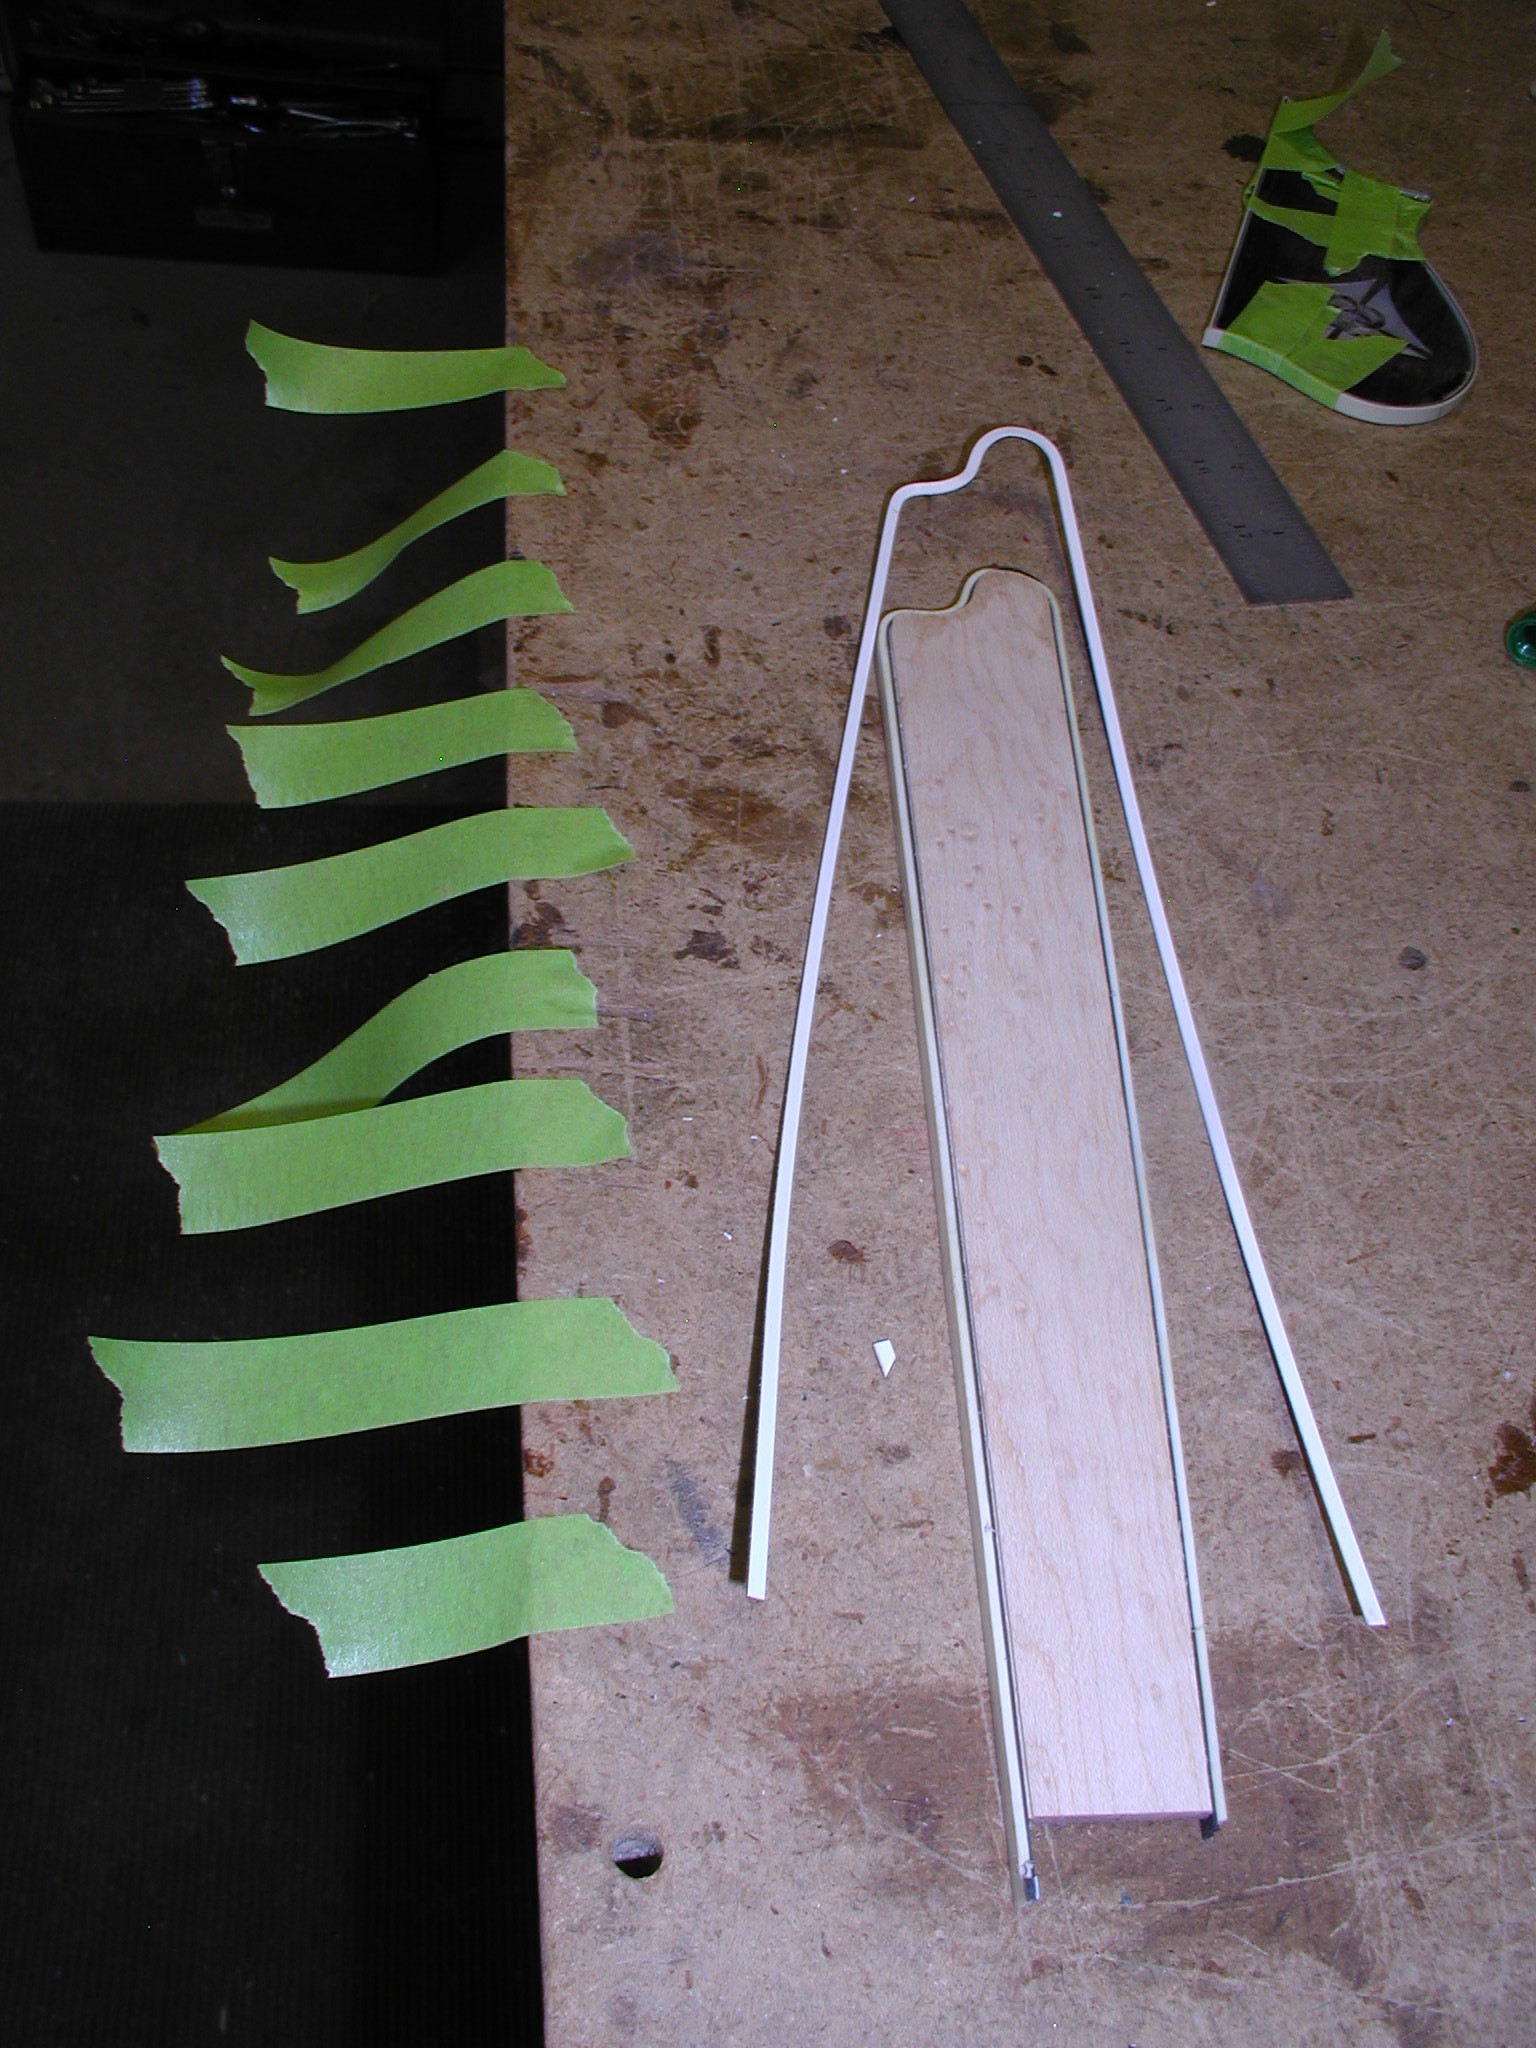
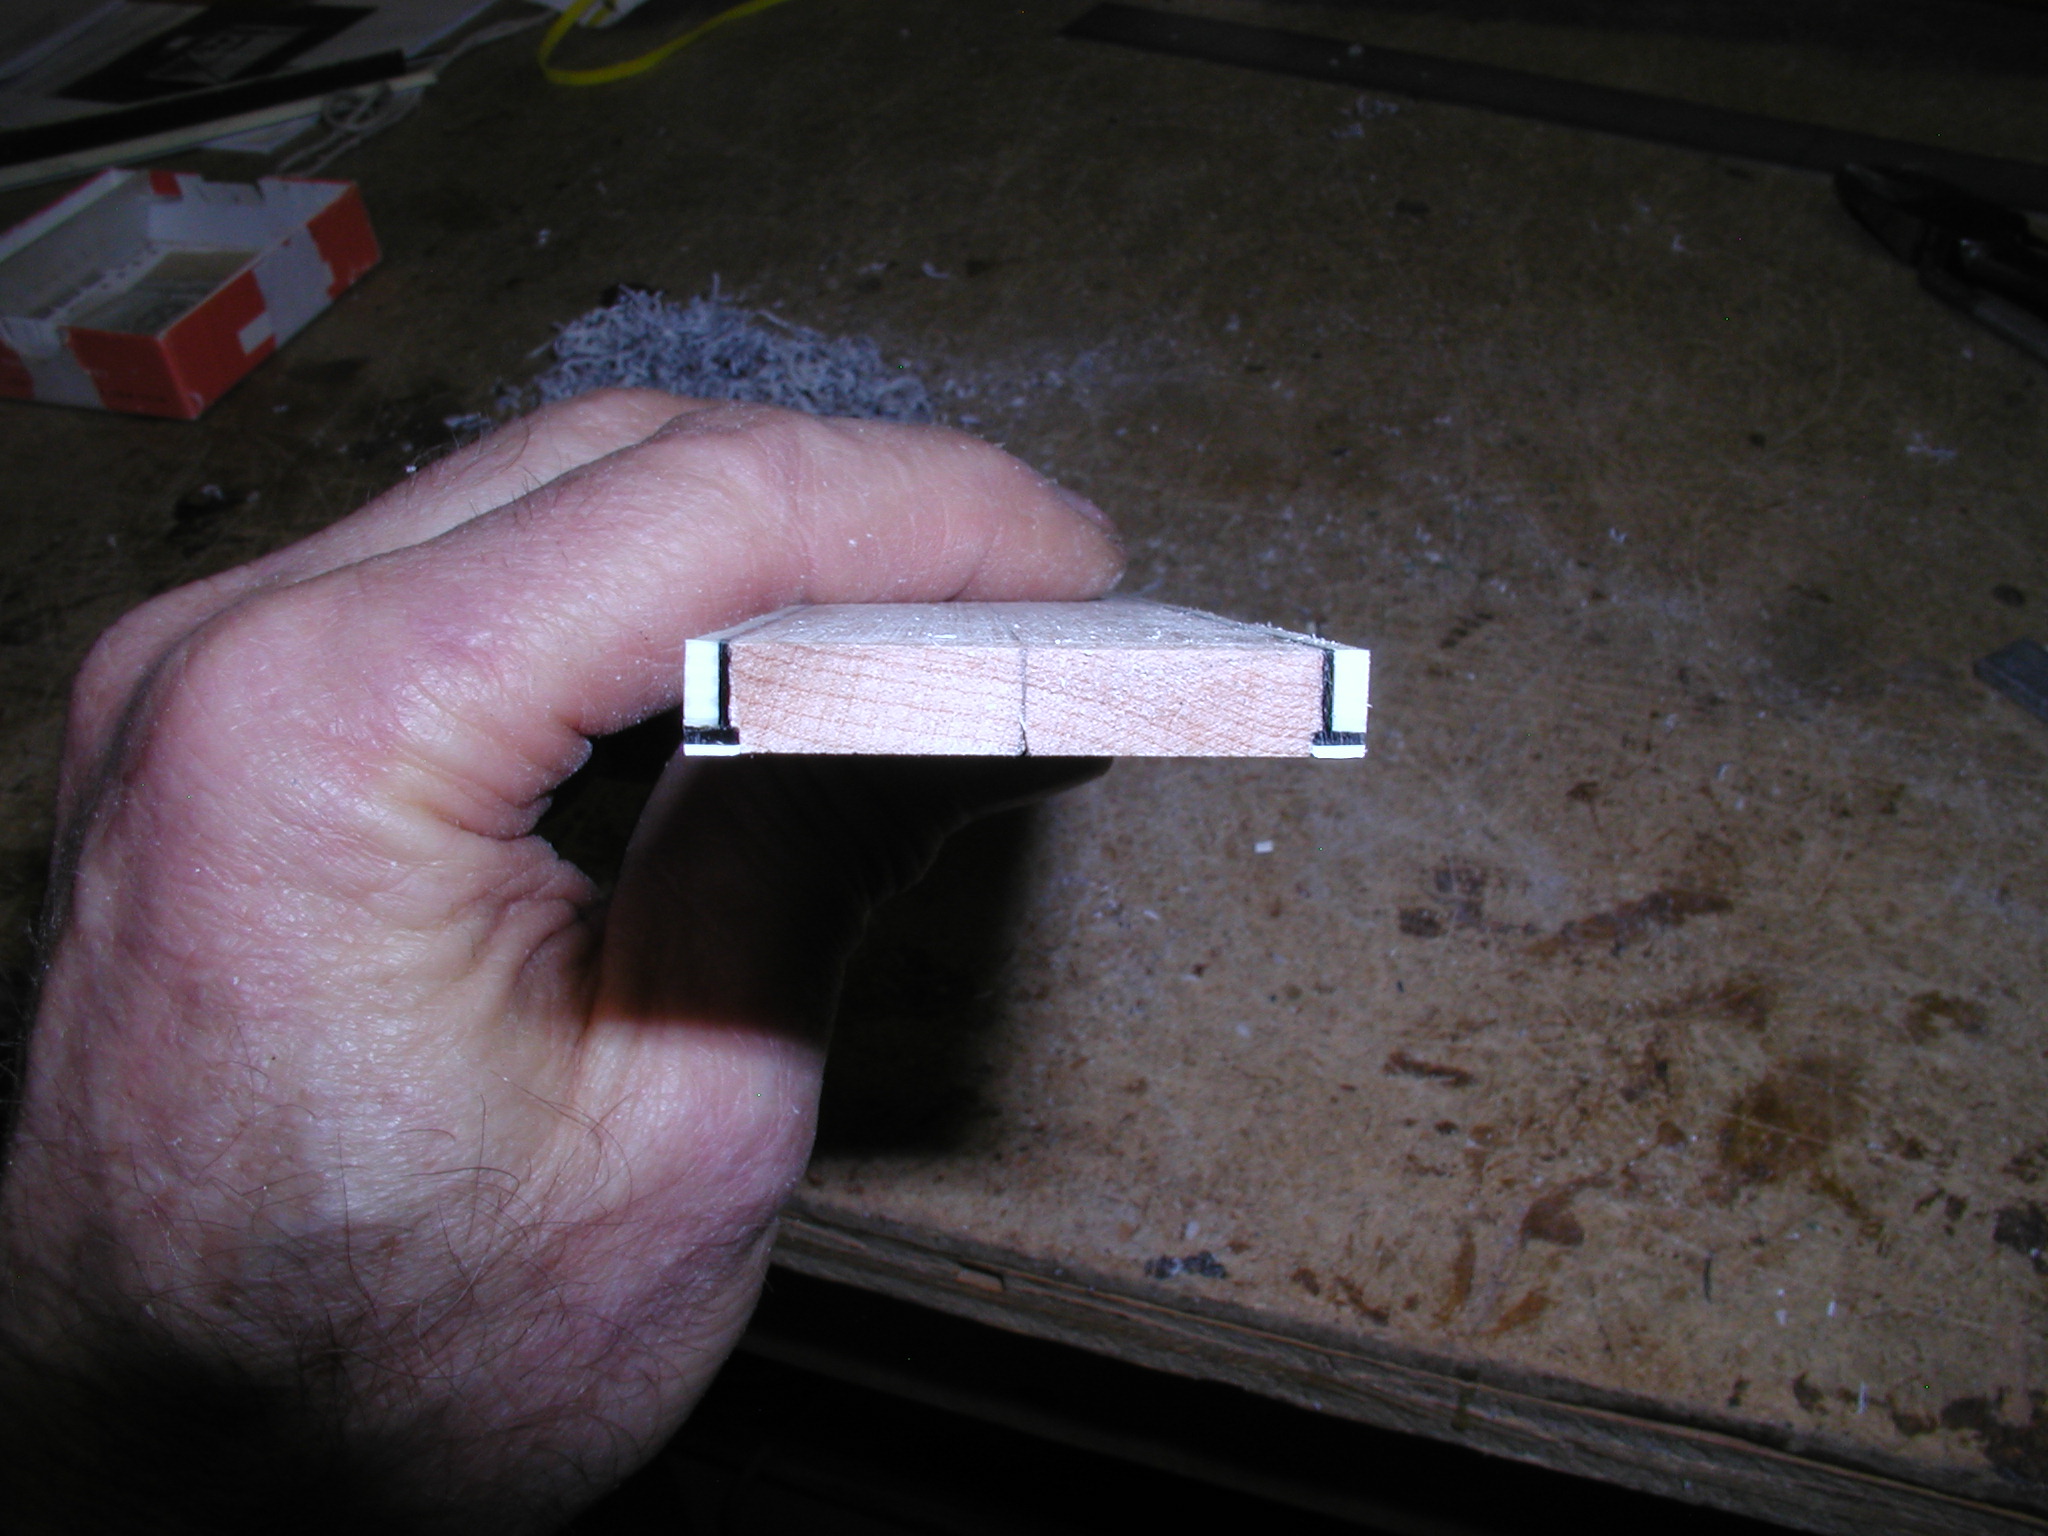
Here I'm using StewMac's cool little UHMF binding gluing jig. This is one instance where buying their jig was cheaper/better than making my own. I did (of course) modify it so I can bolt it to the bench top through one of my multiple jig holding holes in the bench. I use a flux brush, available in the welding department of hardware stores or bulk packs from Harbour Freight or similar places. You just brush on some Acetone to both surfaces so it is well wetted and then slip it smoothly through the jig to apply pressure. Repeat as above till you are done. The acetone flashes off quickly and the strip can be done in a minute or less. Then the assembly is bent with the hot sand just like we did for binding the body. I use Duco cement to glue it to the board, applying the glue to the binding, not the board. This minimizes the amount that gets into the fret slots. I locate it with the green tape but use the twine to actually apply pressure. I find that binding the binding works better than tape for the fretboard non-uniform surface. For the F-style with the full Florida extension it is necessary to do the binding as two pieces joining them at the little point with a nice miter. Make sure that the binding is glued proud of both the face and bottom surfaces. Take a thin hook and clean any glue out of the slots, the bound method allows you access to do this.
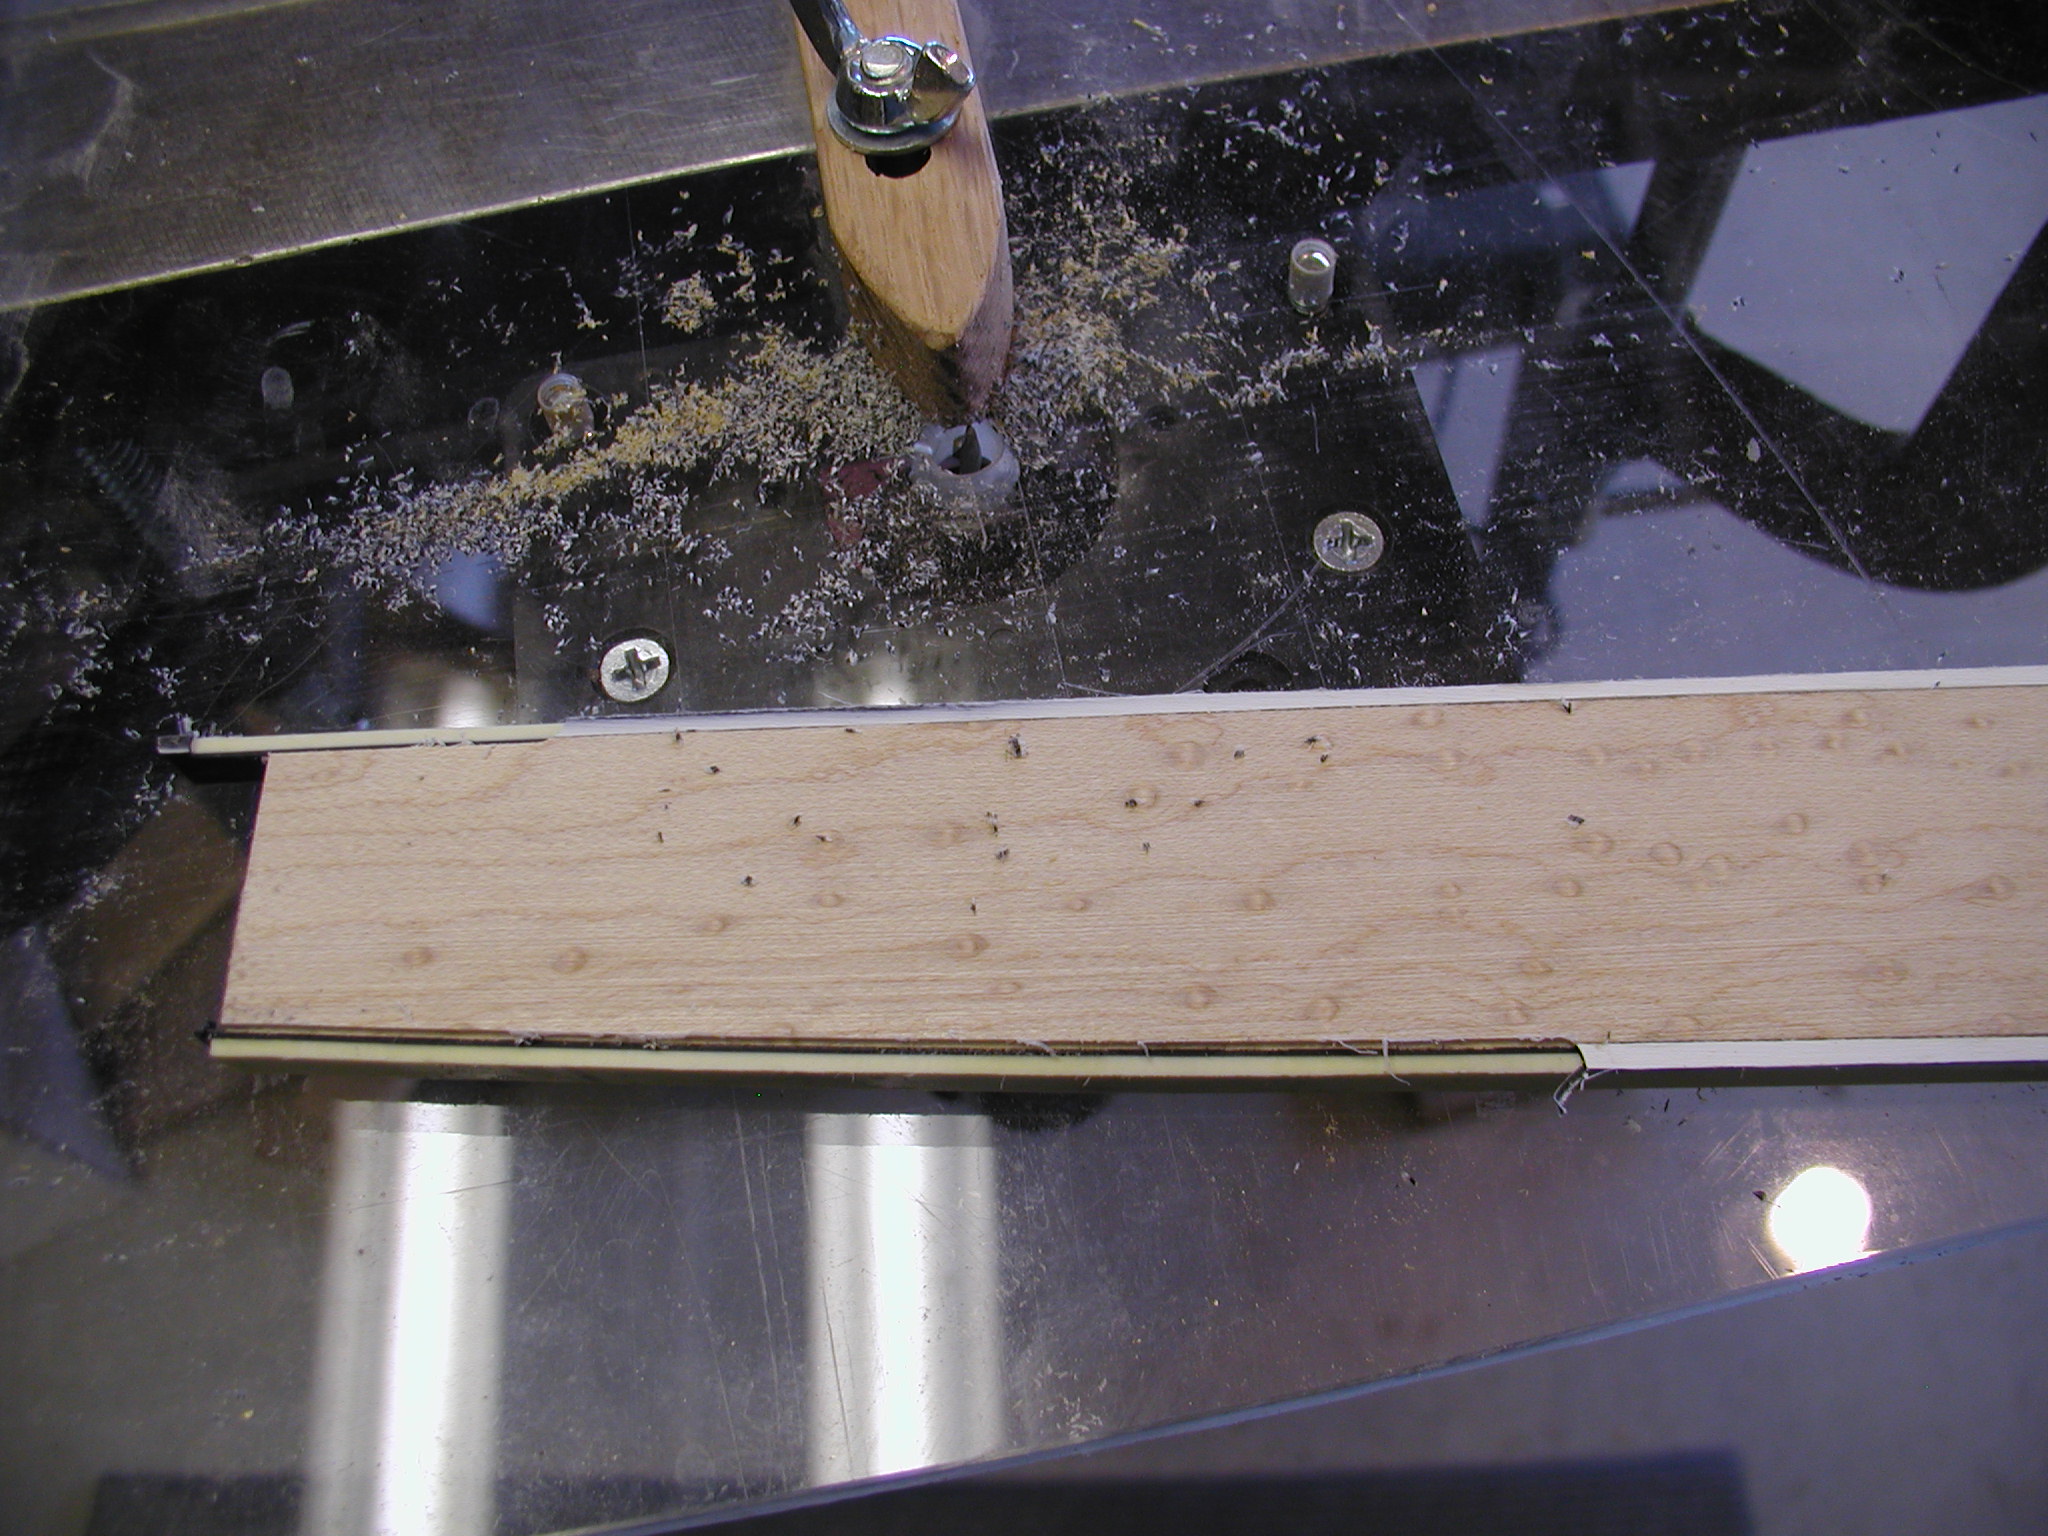
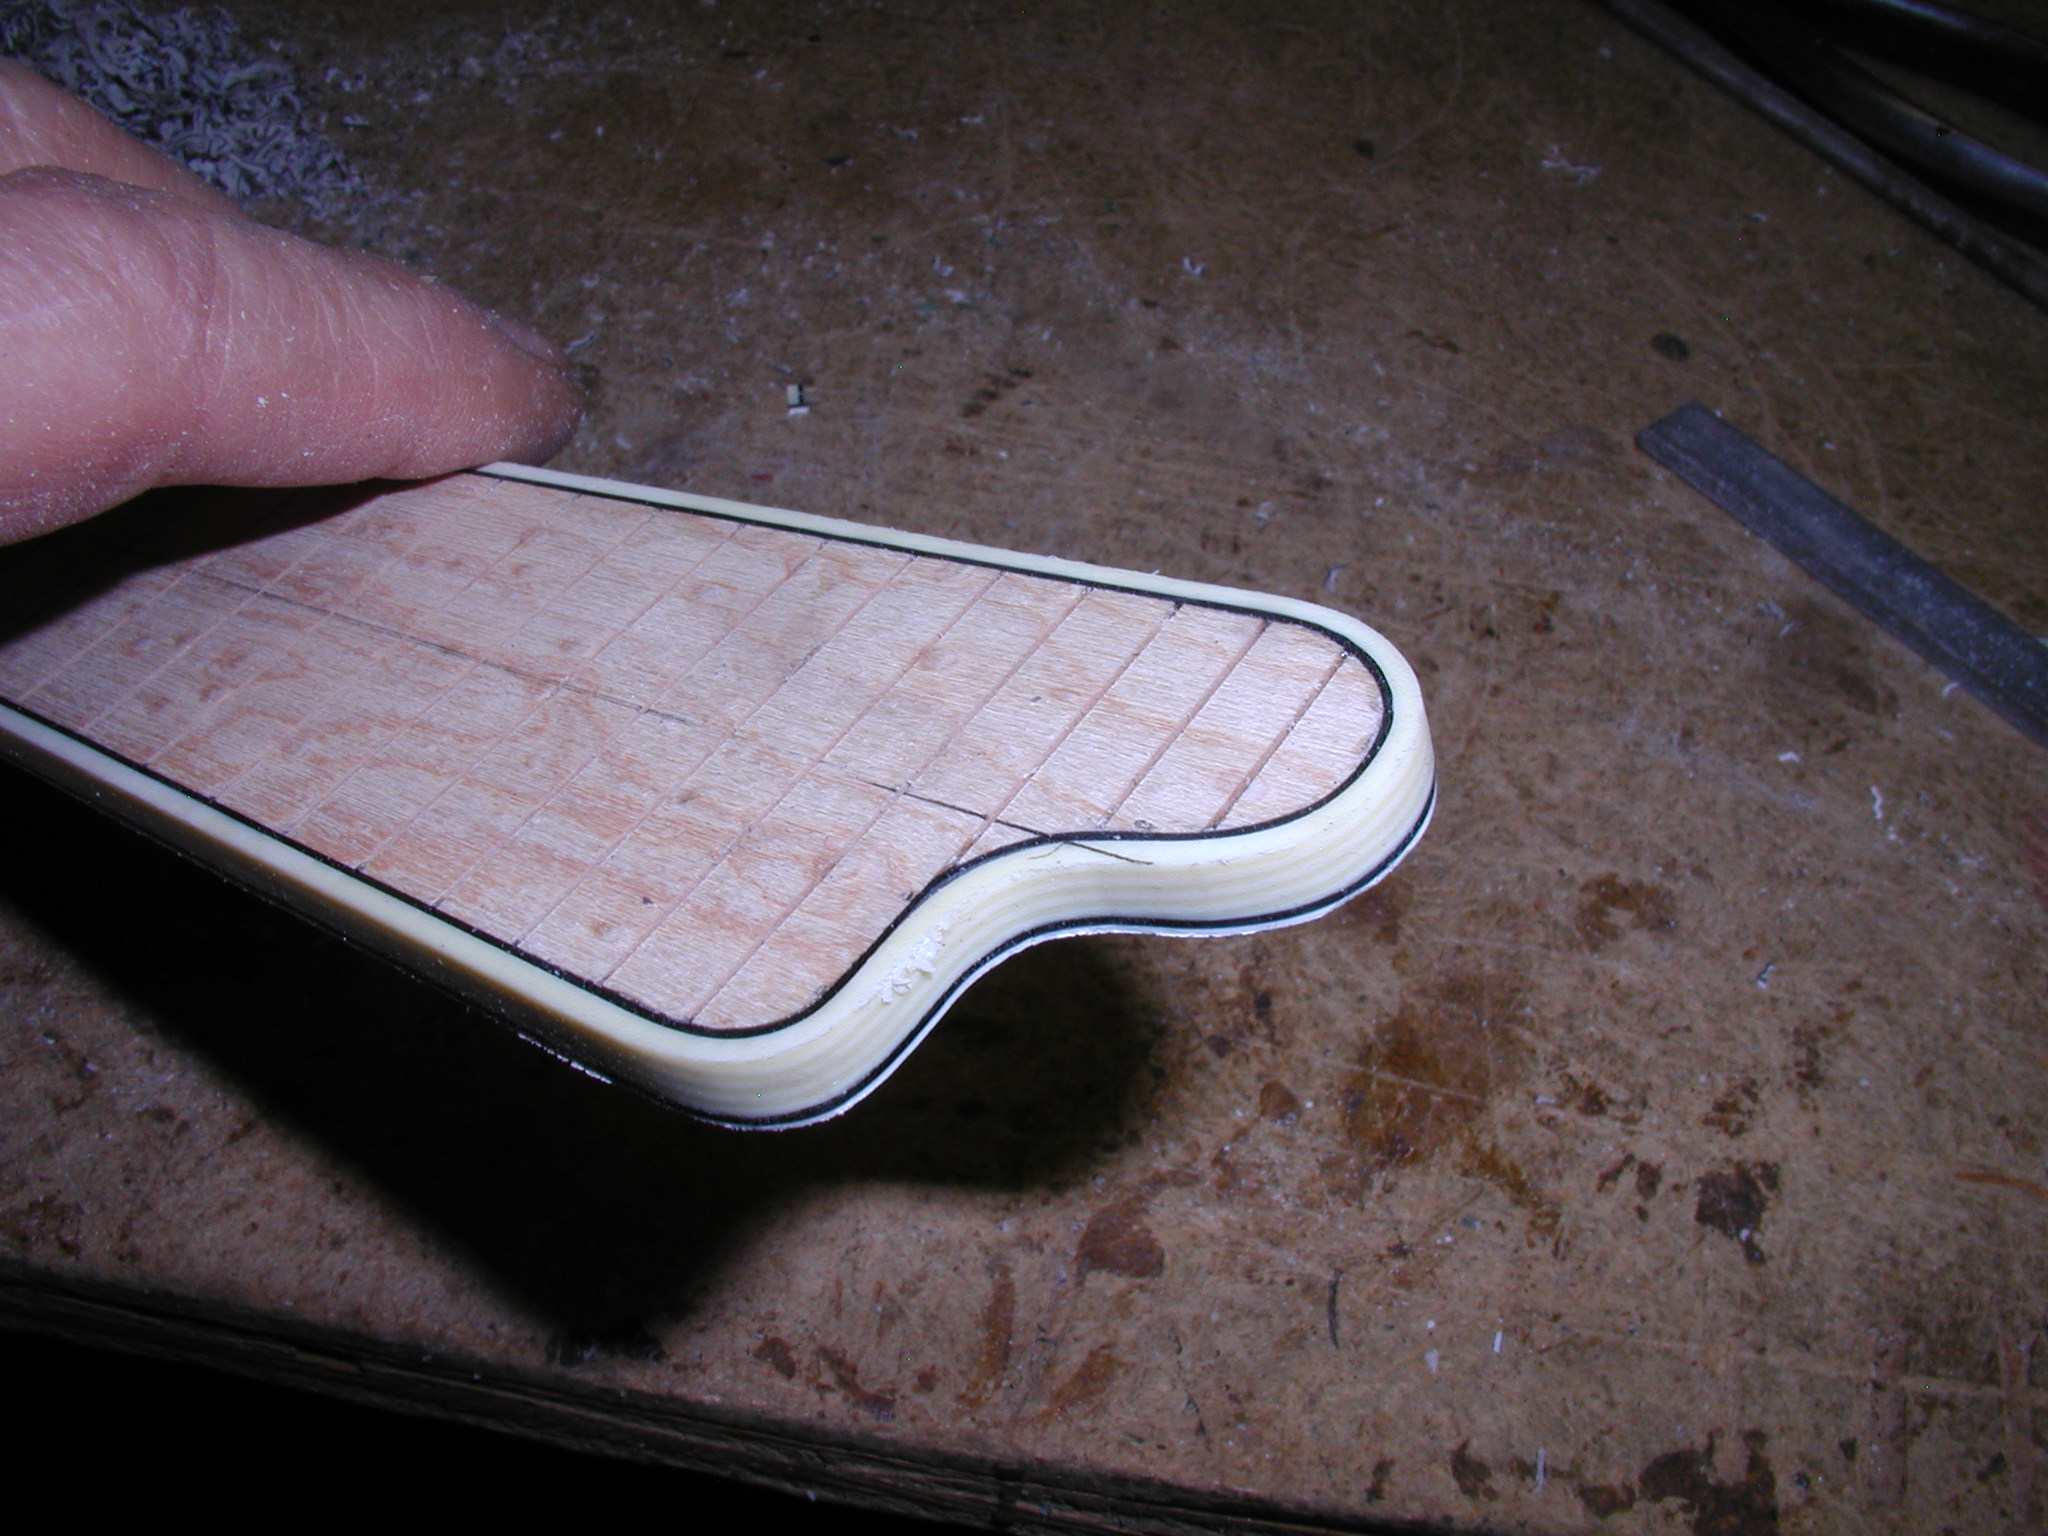
After it is dry I do a quick whack-job on the belt sander to flat the bottom surface and bring the binding flush there. This fretboard is being double bound, with purfling both on the face and the bottom edges. I use a little mini router table jig with a Dremel tool to under-cut the binding just enough to take the bottom binding piece. It just has the Dremel mounted below the plexiglas sheet and has an adjustable stop on the top to control the depth of cut. As usual, take test cuts on scrap to get it just right for the bottom binding leaving the binding just a shade proud. If you look closely you can see I am routing away an earlier attached piece of bottom binding. I thought I'd try pre-attaching that before bending and that worked well. But getting it glued perfectly true to the bottom of the fretboard was a disaster. So I just routed it away and installed a new on like I usually do. Never hurts to try new techniques though. Now I know.
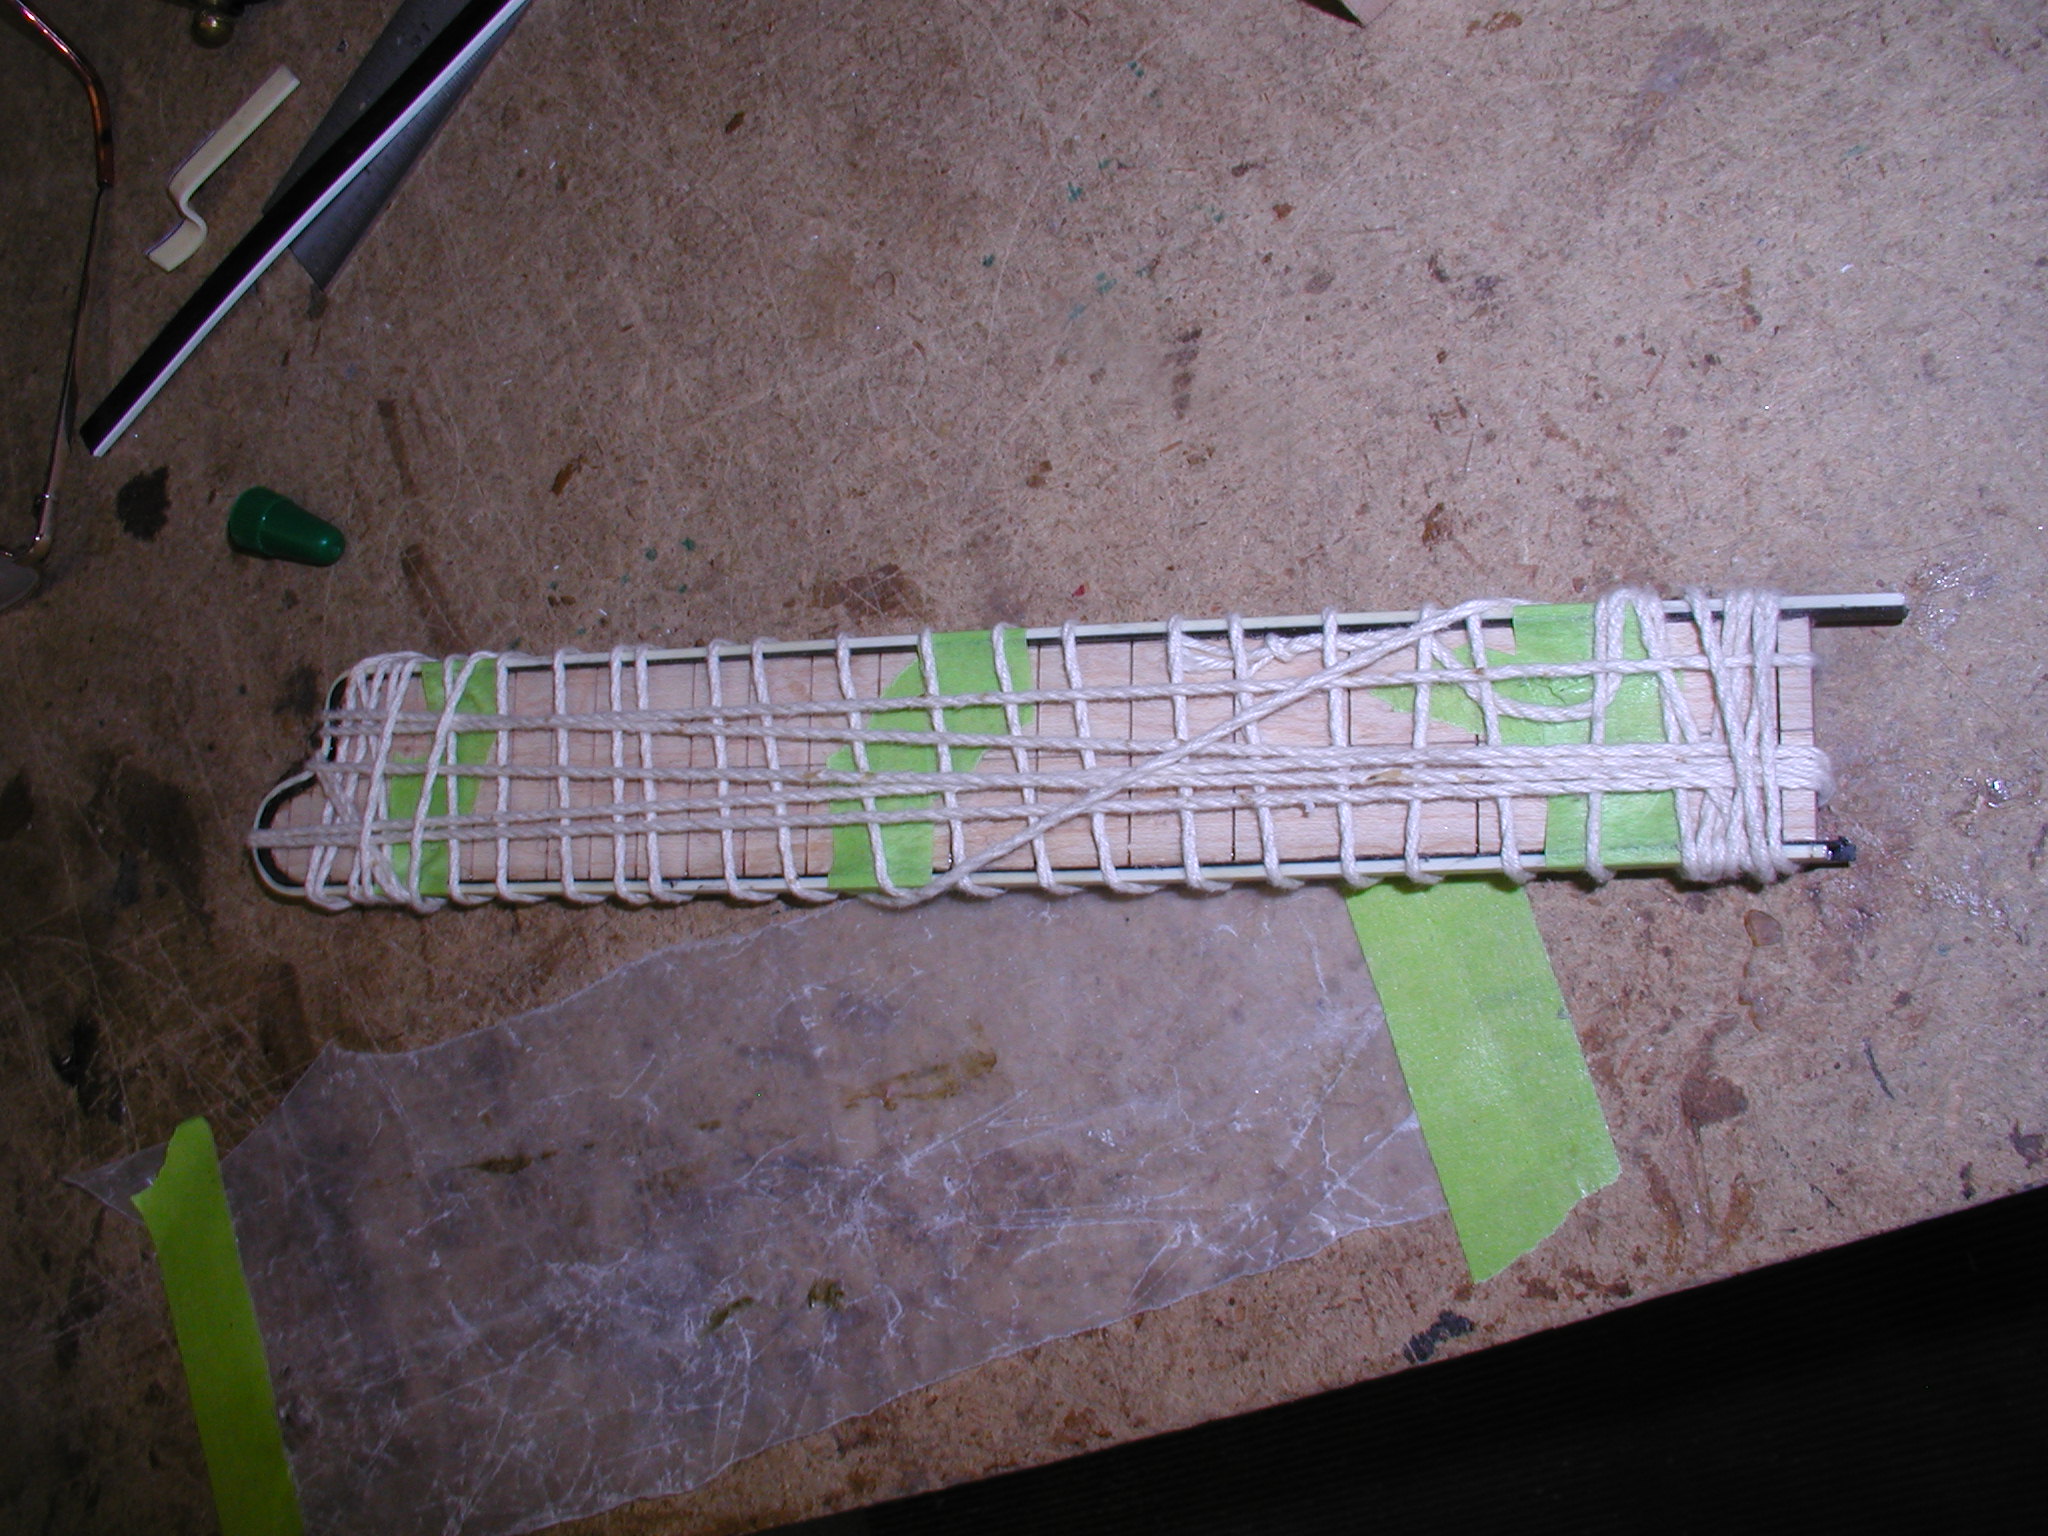

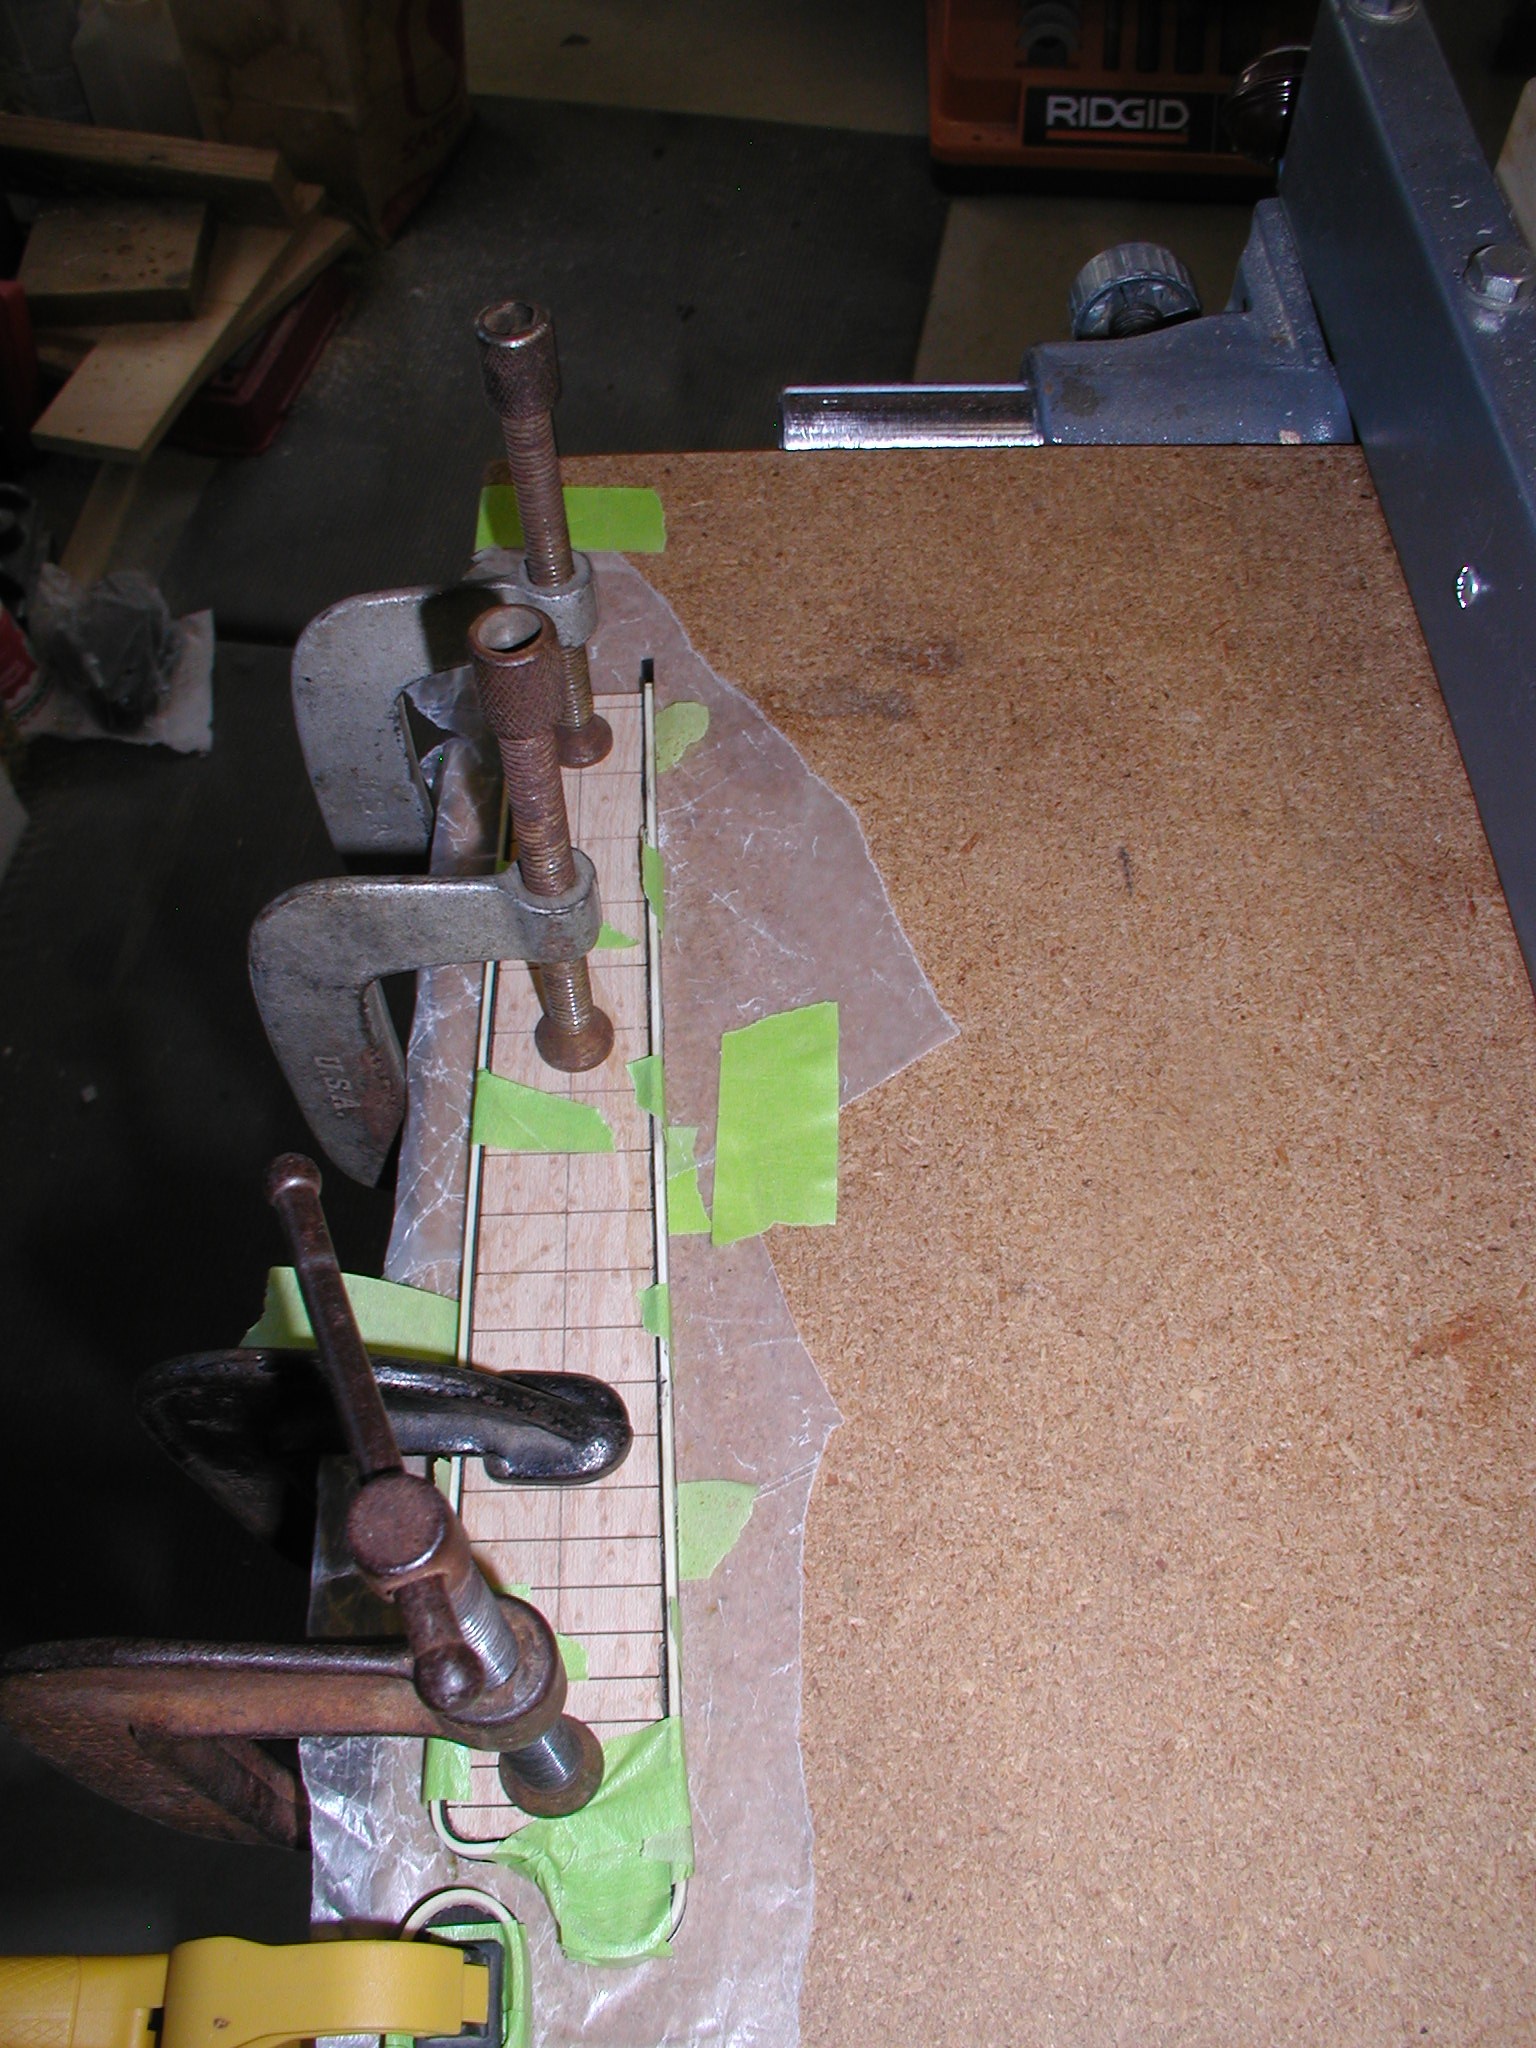
Bend the bottom purfling. That is a bit tricky since you are bending against the width of the strip. Just go slowly and you will get it . It is possible to nip little bits out of the inside to make some of the tight turns but it really shouldn't be necessary if your material is good. Duco it in place and tape snug. The clamp to the bench top to keep it all flat to the bottom surface. Note the waxed paper, you don't want to glue it to the table. No cauls are needed since the face needs to be surfaced and profiled. Last of all, I use microscope slides to scrape the to edge down true. Hold the slide or scraper at an angle so that it doesn't click over the fret slots and notch the binding. Clean up any glue left in the slots.
1 2 3 4 5 6 7 8 8a 9 10 11 11a 11b 12 12a 13 14 15 16 17 18 19 20