Let's Build A Mandolin (Page 1)
Previous - Next
1 2 3 4 5 6 7 8 8a 9 10 11 11a 11b 12 12a 13 14 15 16 17 18 19 20
Last Modified - May 2012(©Alan Dunwell 2012)
At the top and bottom of each page you will find Previous and Next links. These go directly to the previous or next page following the numbering system shown in the long string of number. Some of these pages are "asides" so the Next Previous may not take you where you planned. You can also click directly on a page number. To help you in case you want to go directly to a specific step or detail, I include a decoder table here.
1 - Plates, Blocks, Start Body Construction |
2 - Body Construction -linings, points |
3 - Top plate outside |
4 - Top plate inside and F-holes |
5 - Tone bars, Chladni Modes top |
6 - Glue top to ribs, cut top binding slot, start
neck work - glue up and trim |
7 - Bend top binding, fit and glue top binding |
8 - neck carbon bar slot, headstock ears, reinforcement,
cut out, and thickness. Heel trim and butt angle |
8a - Alternate headstock with angle cut |
9 - Fretboard - create and bind |
10 - Fit neck to body, neck bolts and anchor, fretboard
extension, glue graphite bar |
11 - Attach headstock face plate. Fretboard dots,
glue fretboard |
11a - Headstock back plate |
11b - Scooping the "Florida" on a traditional fretboard
extension |
12 - Bind headstock, radius fretboard, Install
and finish frets, drill tuner holes |
12a - Binding an angled headstock |
13 - Shape the neck shaft |
14 - Scrape top binding, Carve back plate |
15 - Deflection test plates, Chladni modes on back,
endpin hole, trim heel to body thickness, sign and label, attach neck
bolts, glue back to ribs |
16 - Trim back to ribs, carve back binding slot,
fit and glue back binding, mix shellac, scrape back binding, raise
grain and sand all body |
17 - Spray color |
18 - Spray lacquer, french polish top, wet sand
and buff |
19 - Attach neck, mount hardware, make and attach
pickguard |
20 - Make solid bridge w/bone saddle and pickup,
make/fit nut, pickup electrical |
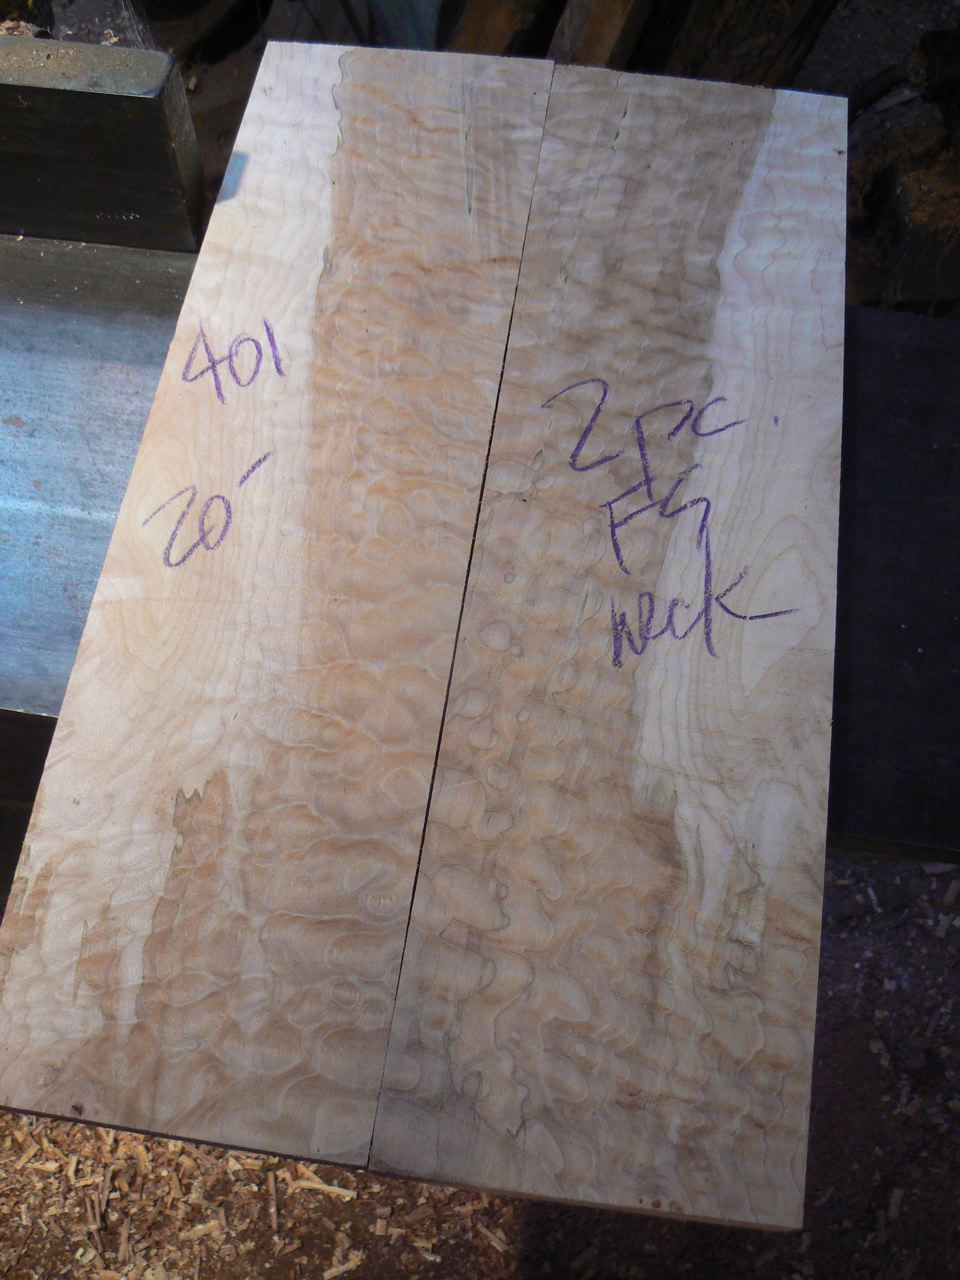
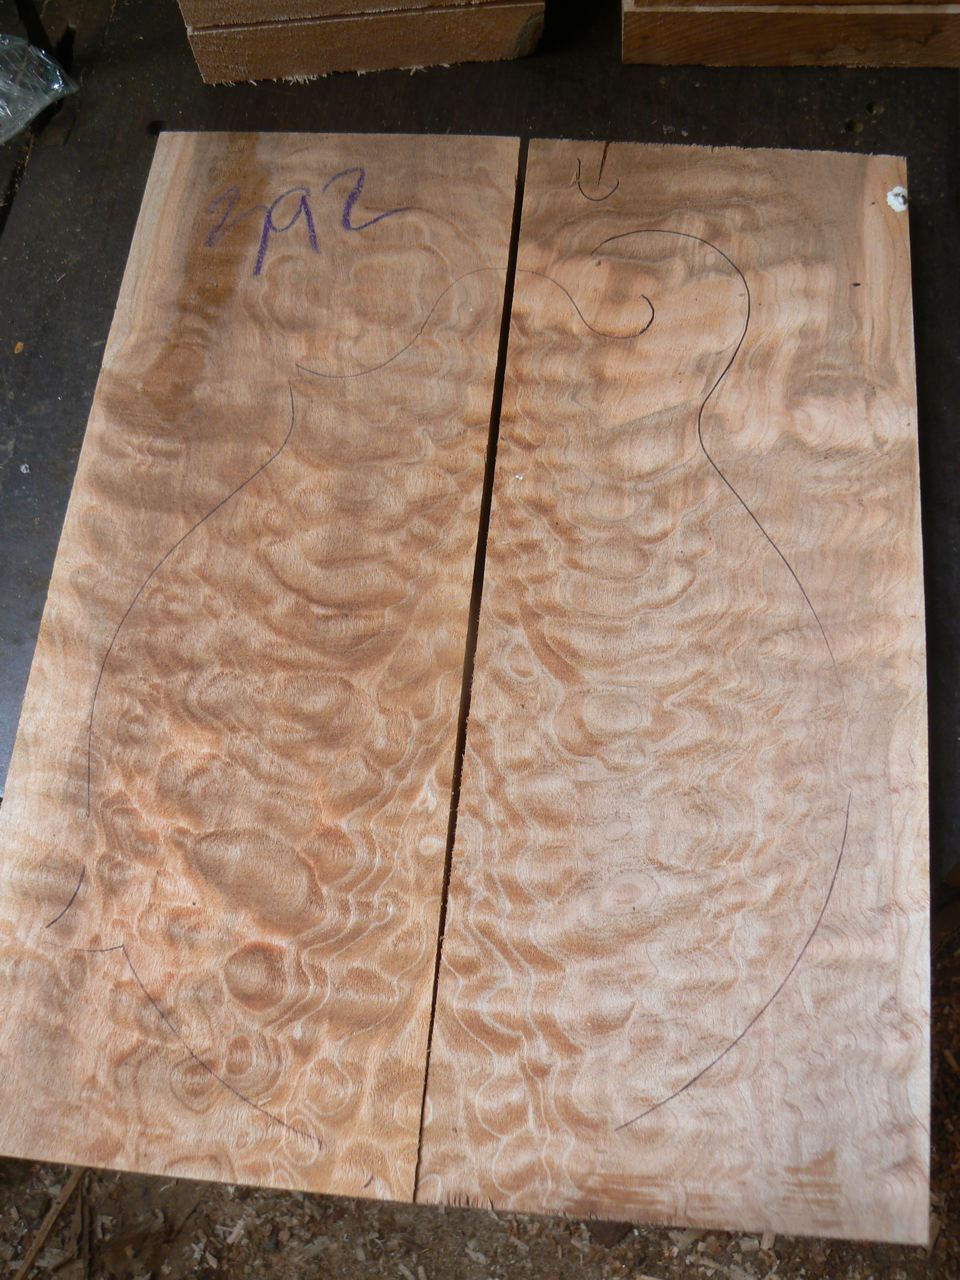
OK, let's get started! I won't cover the ordering materials and organization steps here, each shop has it's own way of doing that. Suffice it to say that I try to purchase everything I need for a build ahead of time if it isn't standard shop materials or items I already have on the shelf. In this case, Tom wanted some outrageous quilted Maple and we found some from one of my suppliers who went through his stashes and kept sending me pictures till we saw what we wanted. The down side of that is that there was so much eye-candy that I bought even more than I needed and put it on the shelf for "the next one". We ended up with some chocolate quilt and I think you can see it's potential even in the rough. The one on the left is for the neck wood the other for the back. Similar side wood not shown.
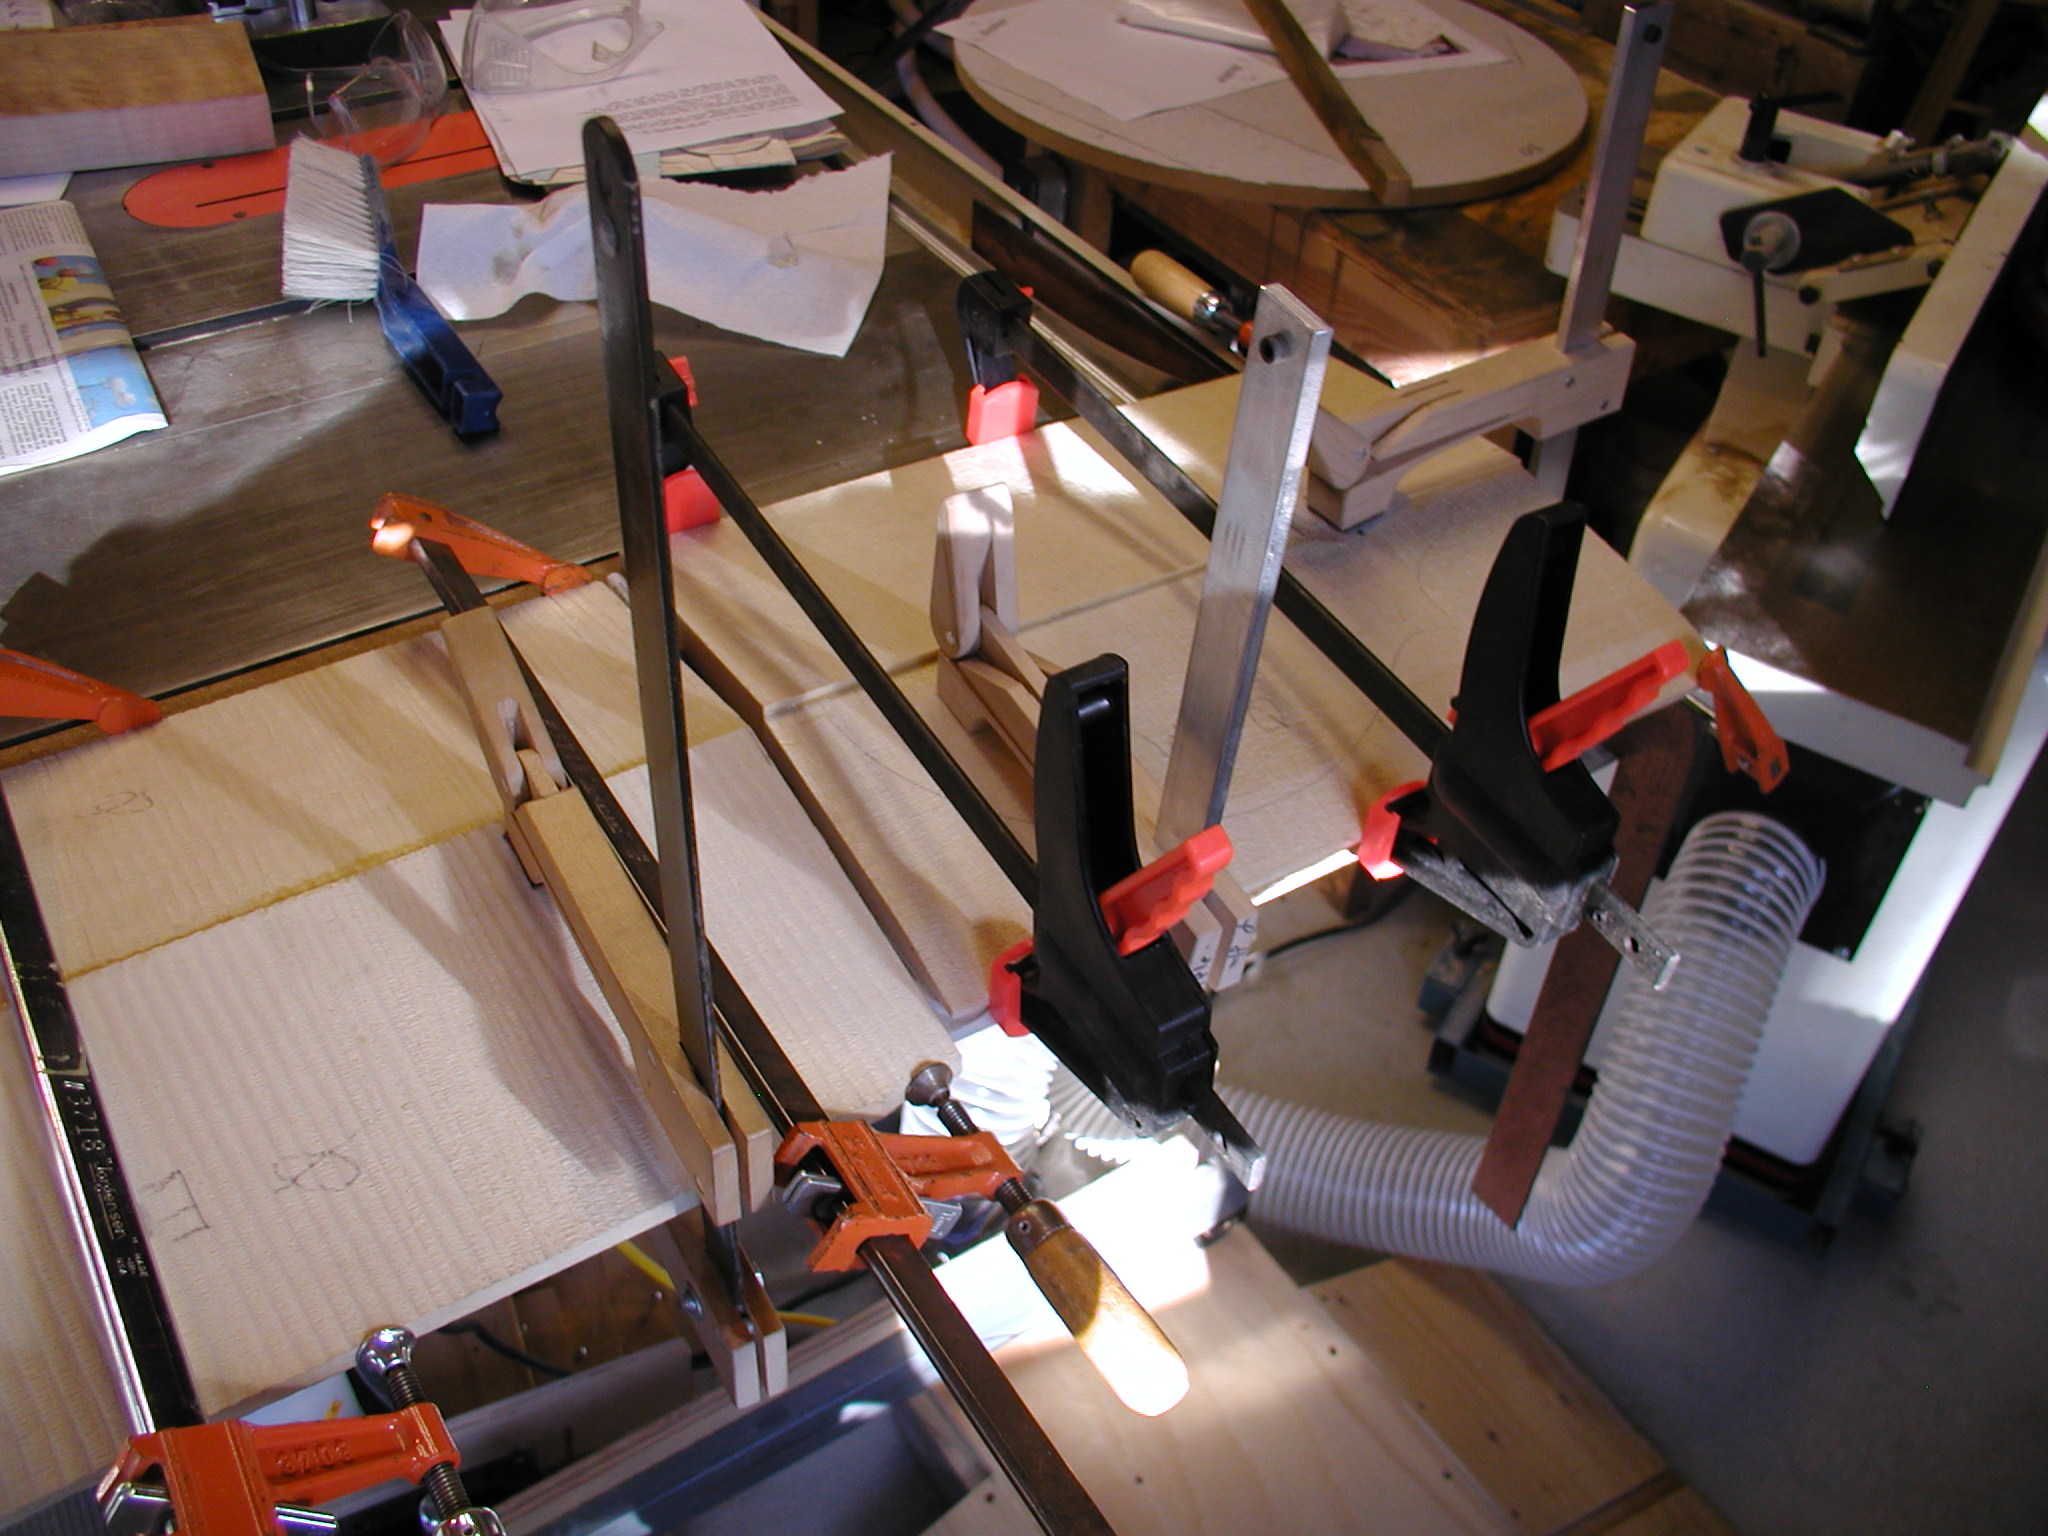
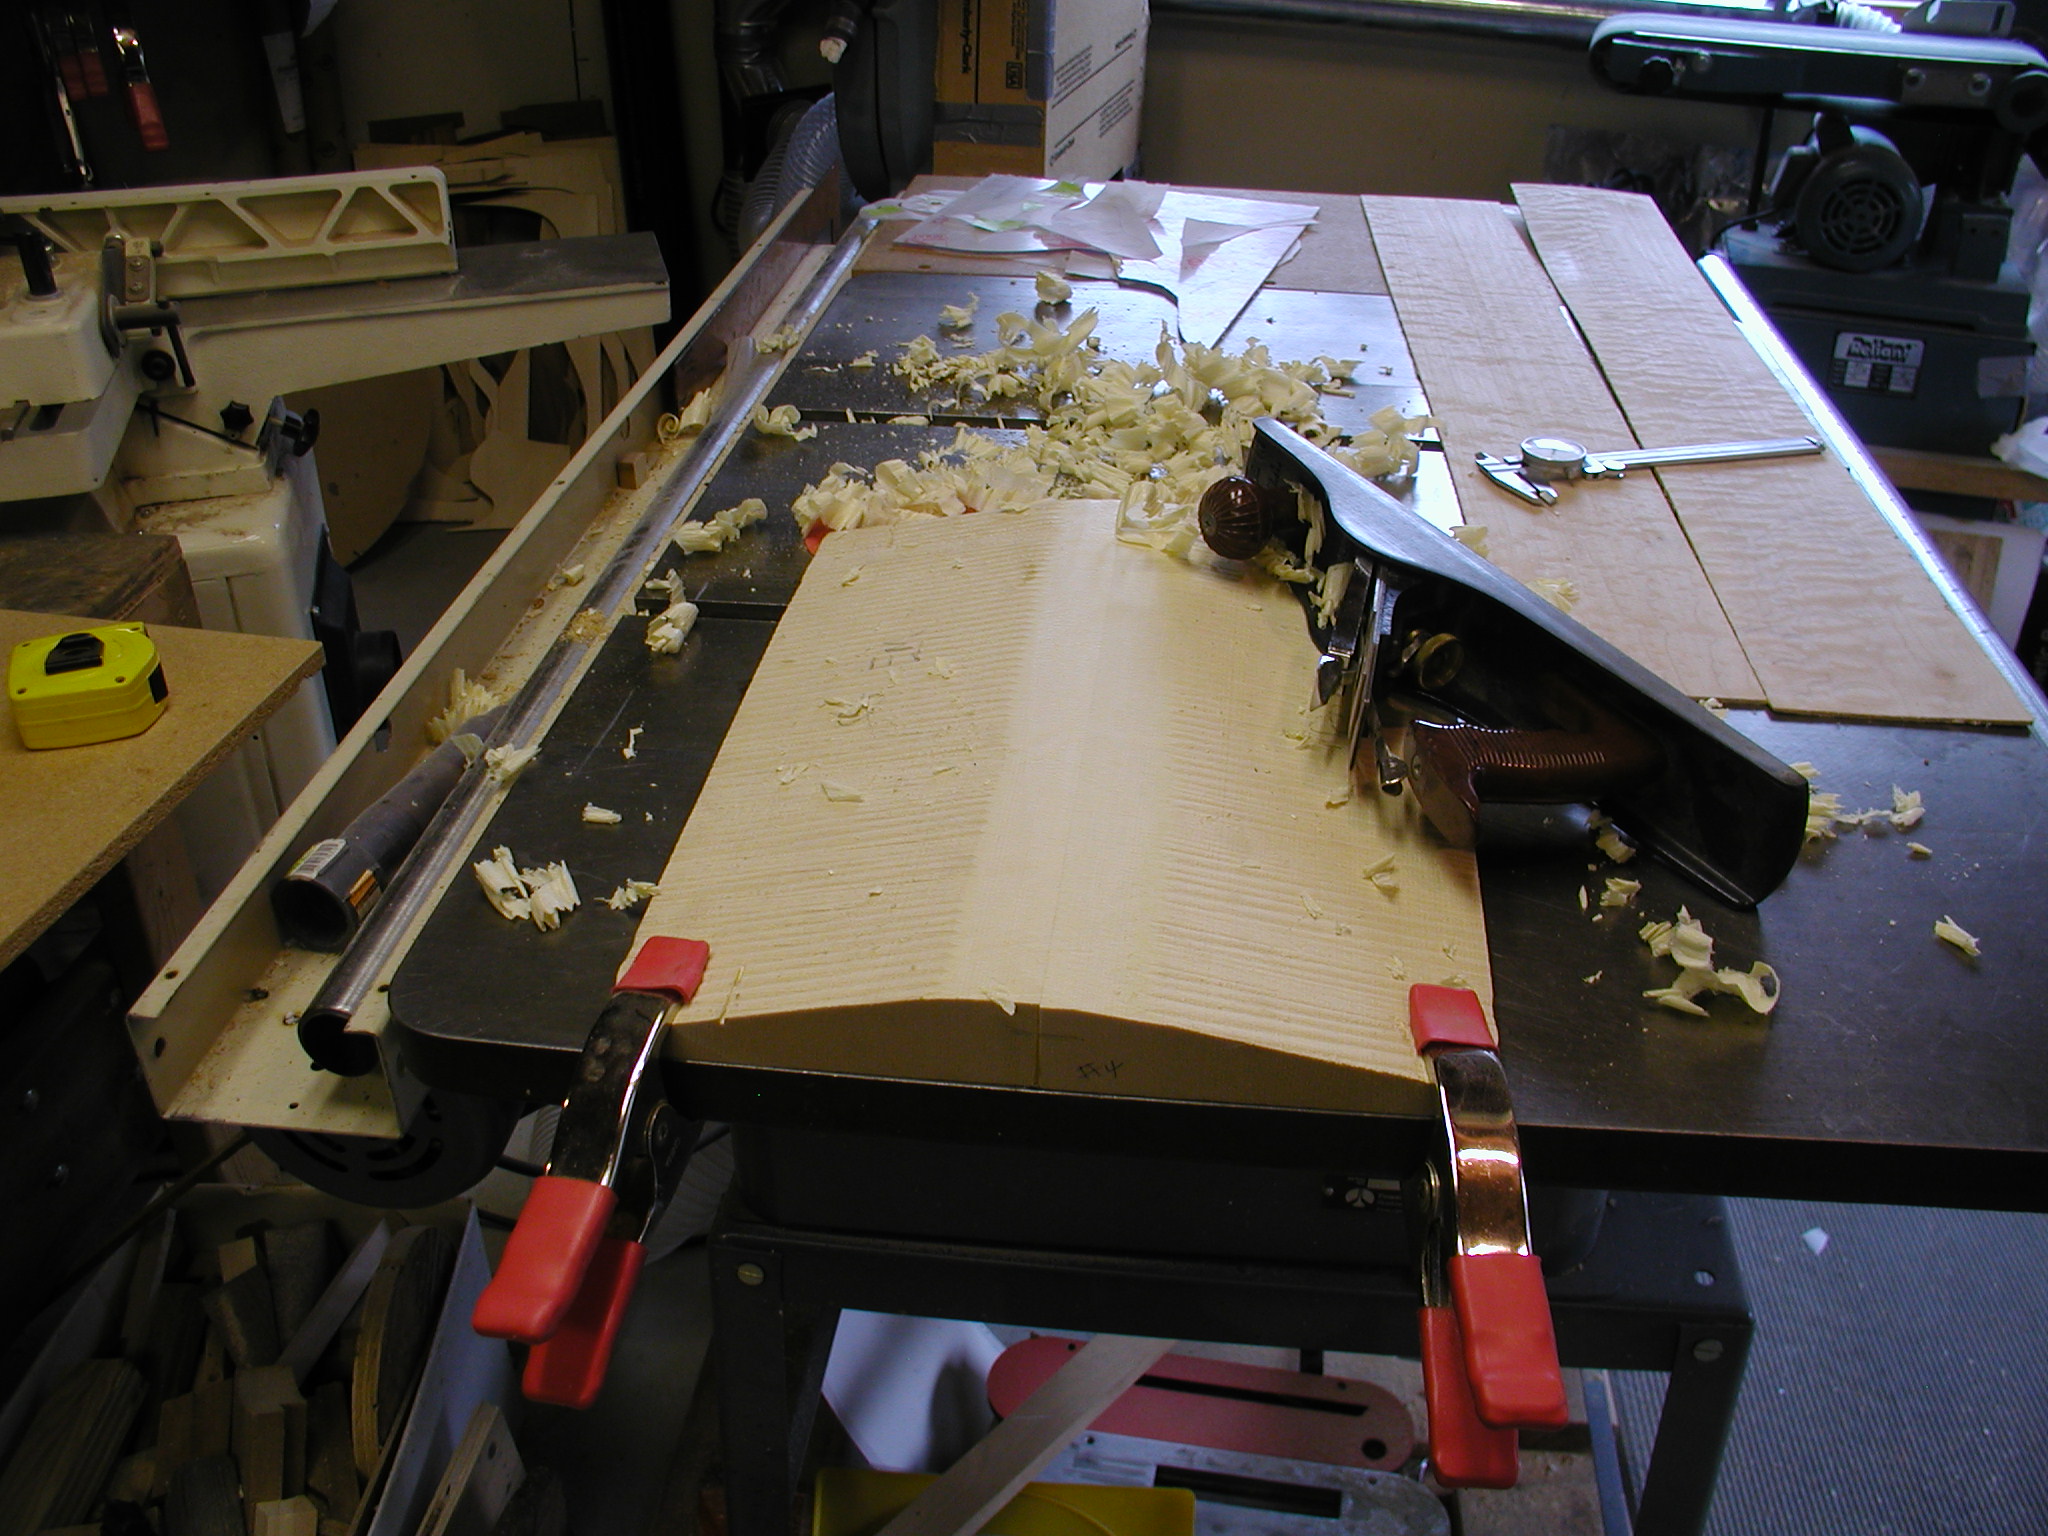
The first steps I do are to join the wedges. I use a jointer to get the edges true but sometimes will use a shooting board and plane. Notice that I'm clamping down as well as in to make sure that they don't bow up.
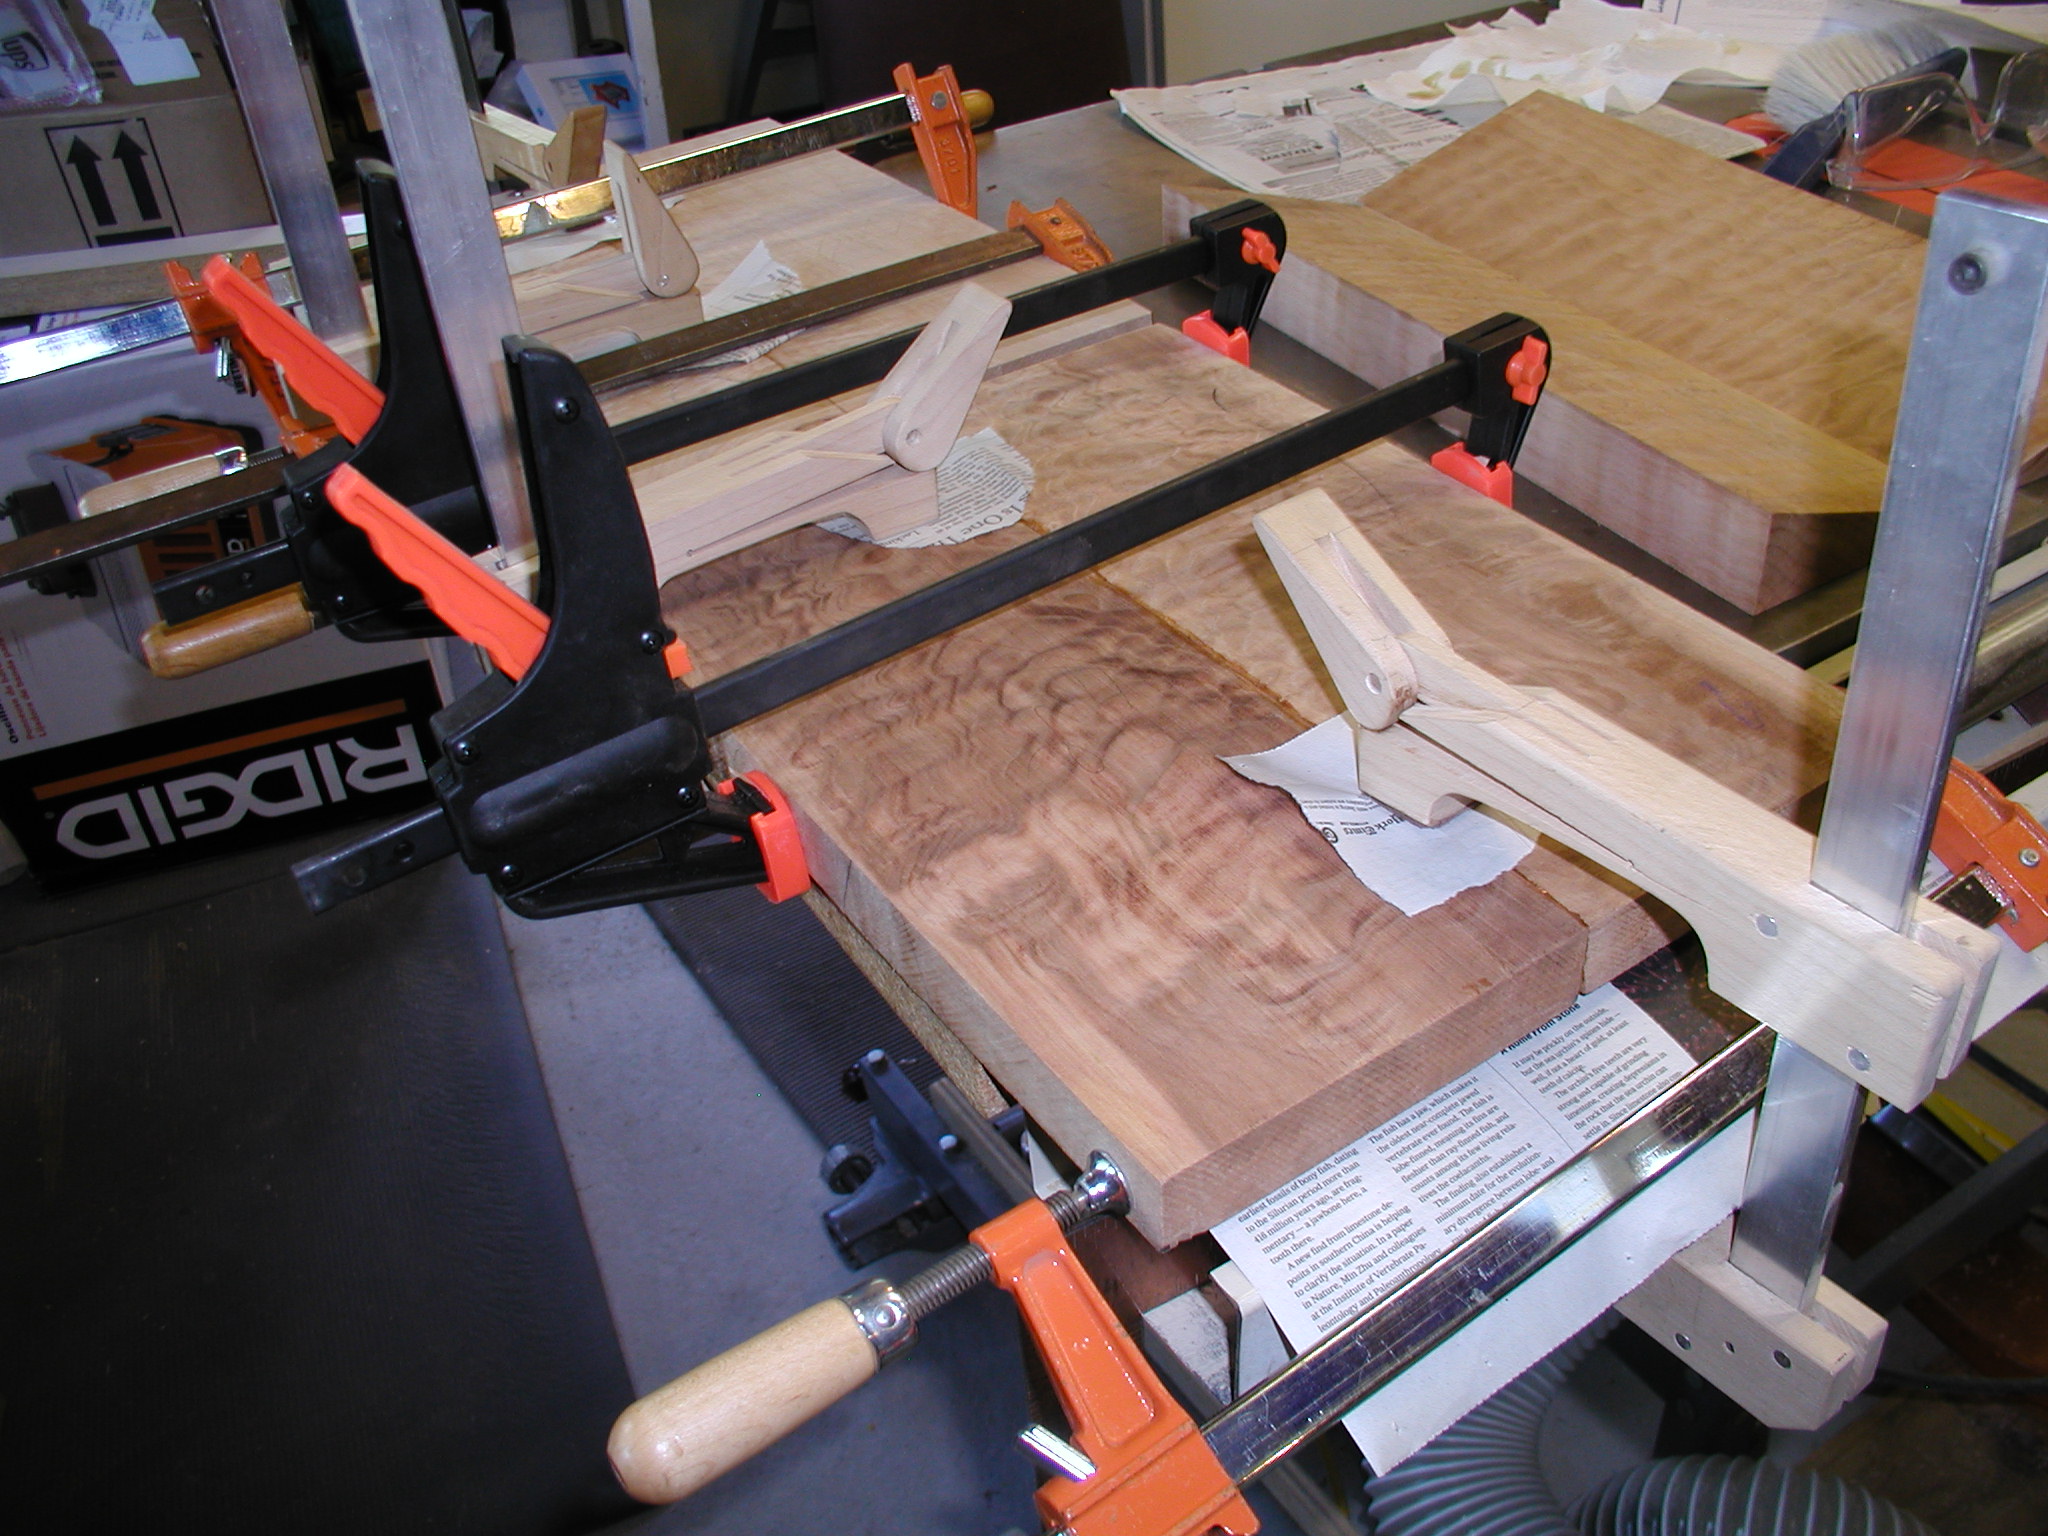
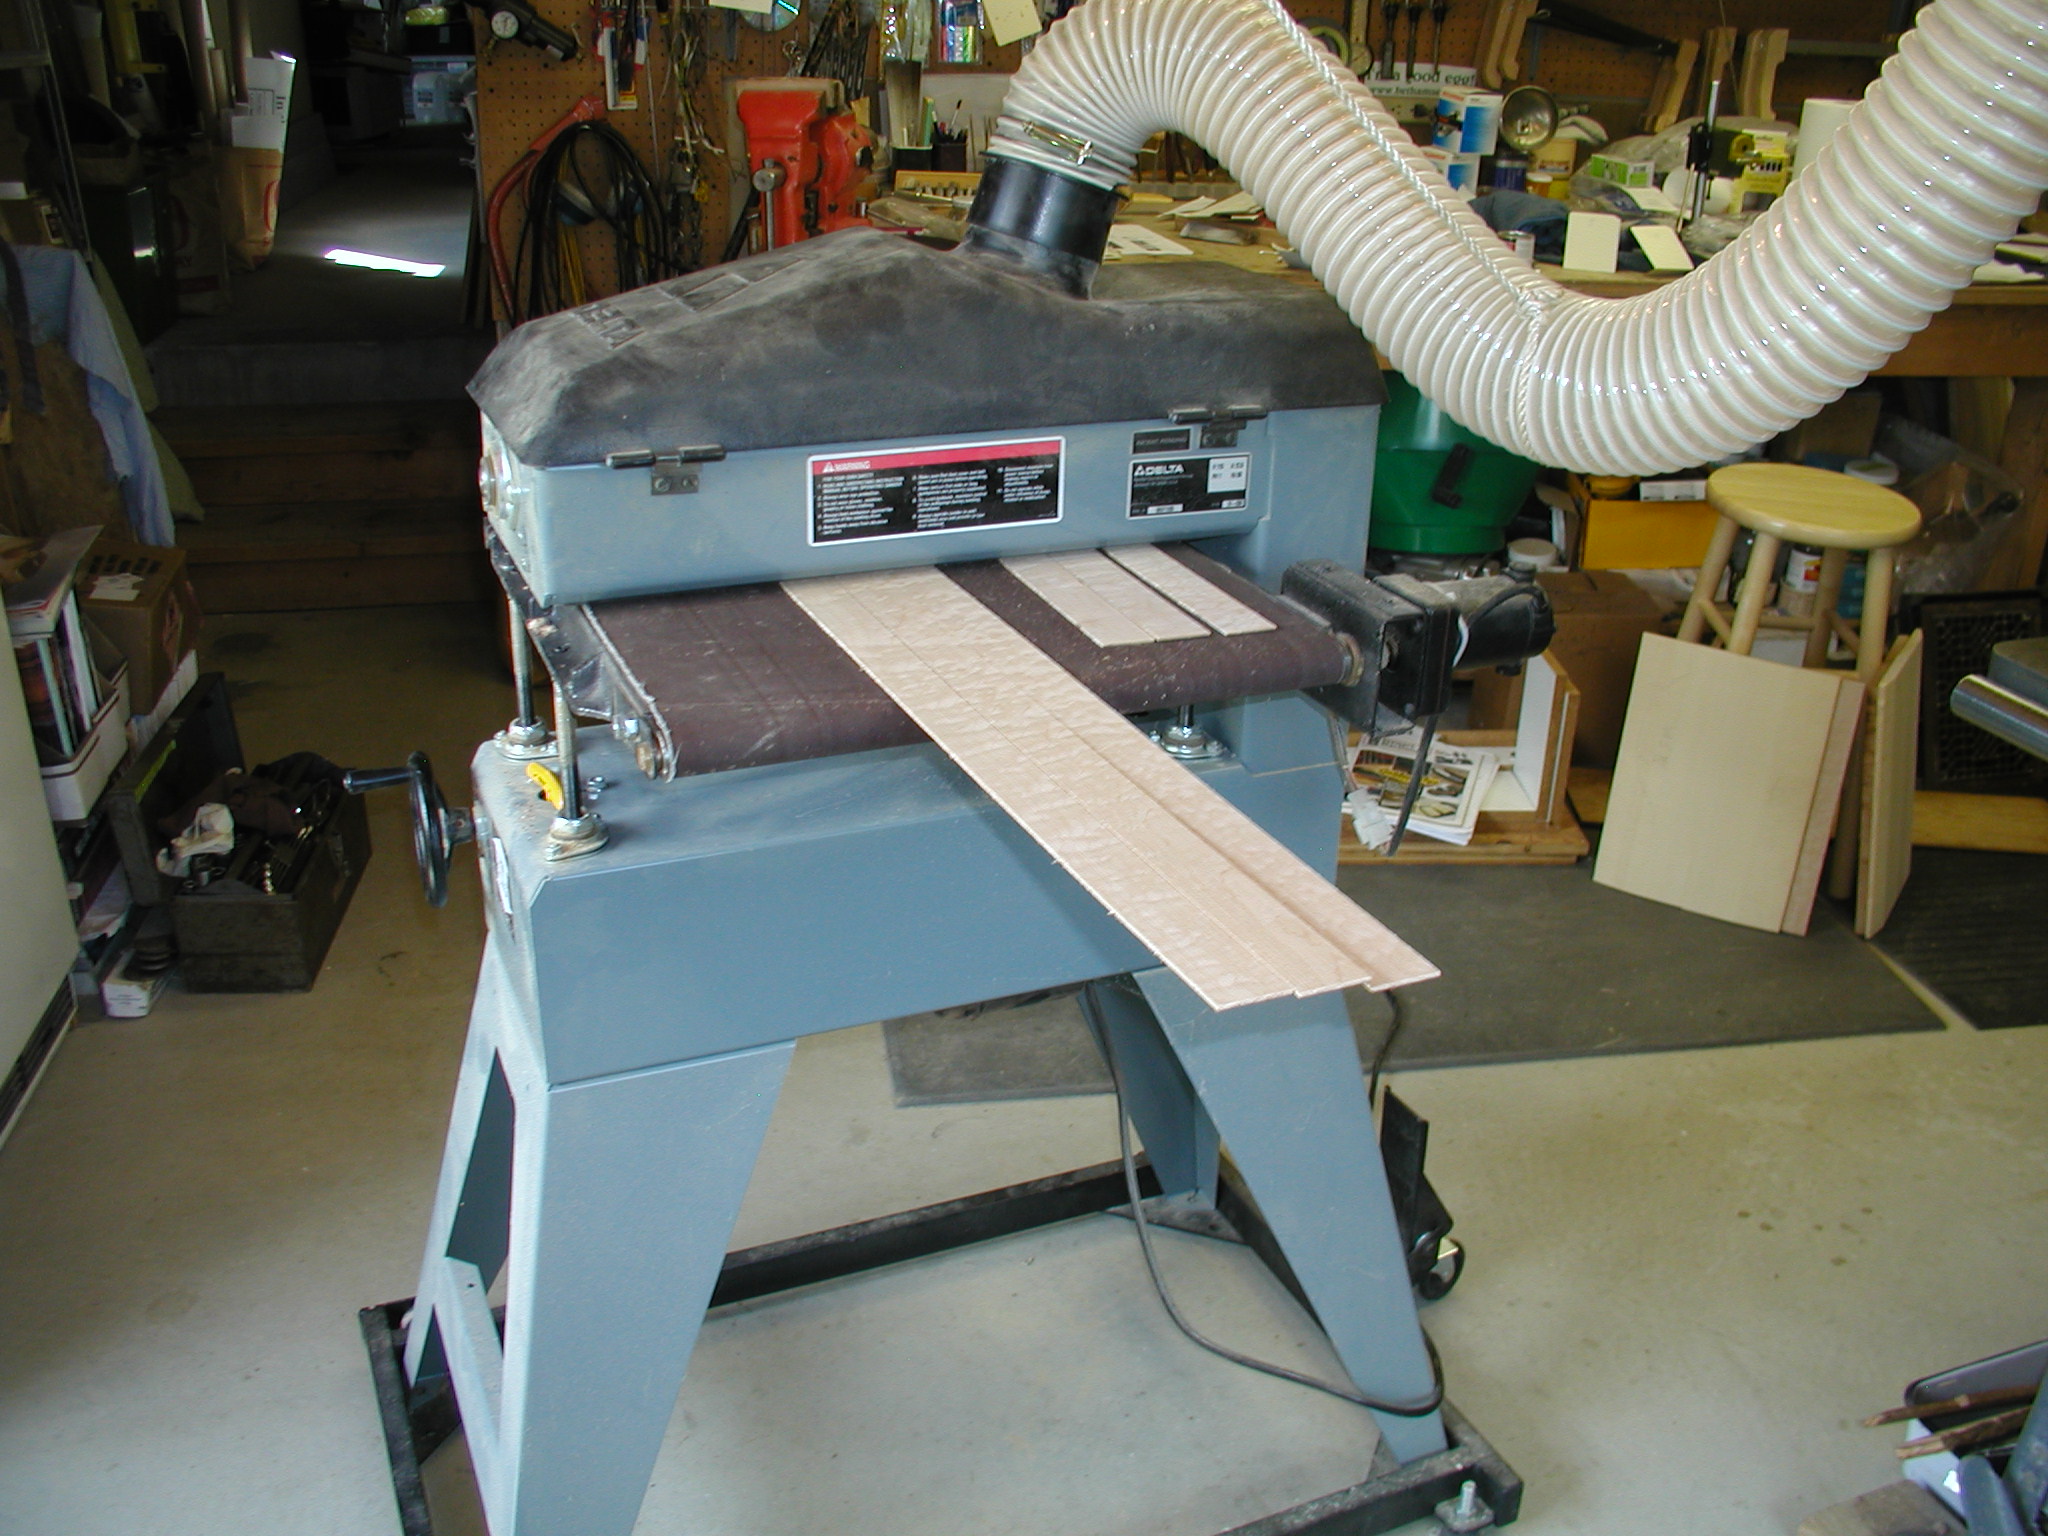
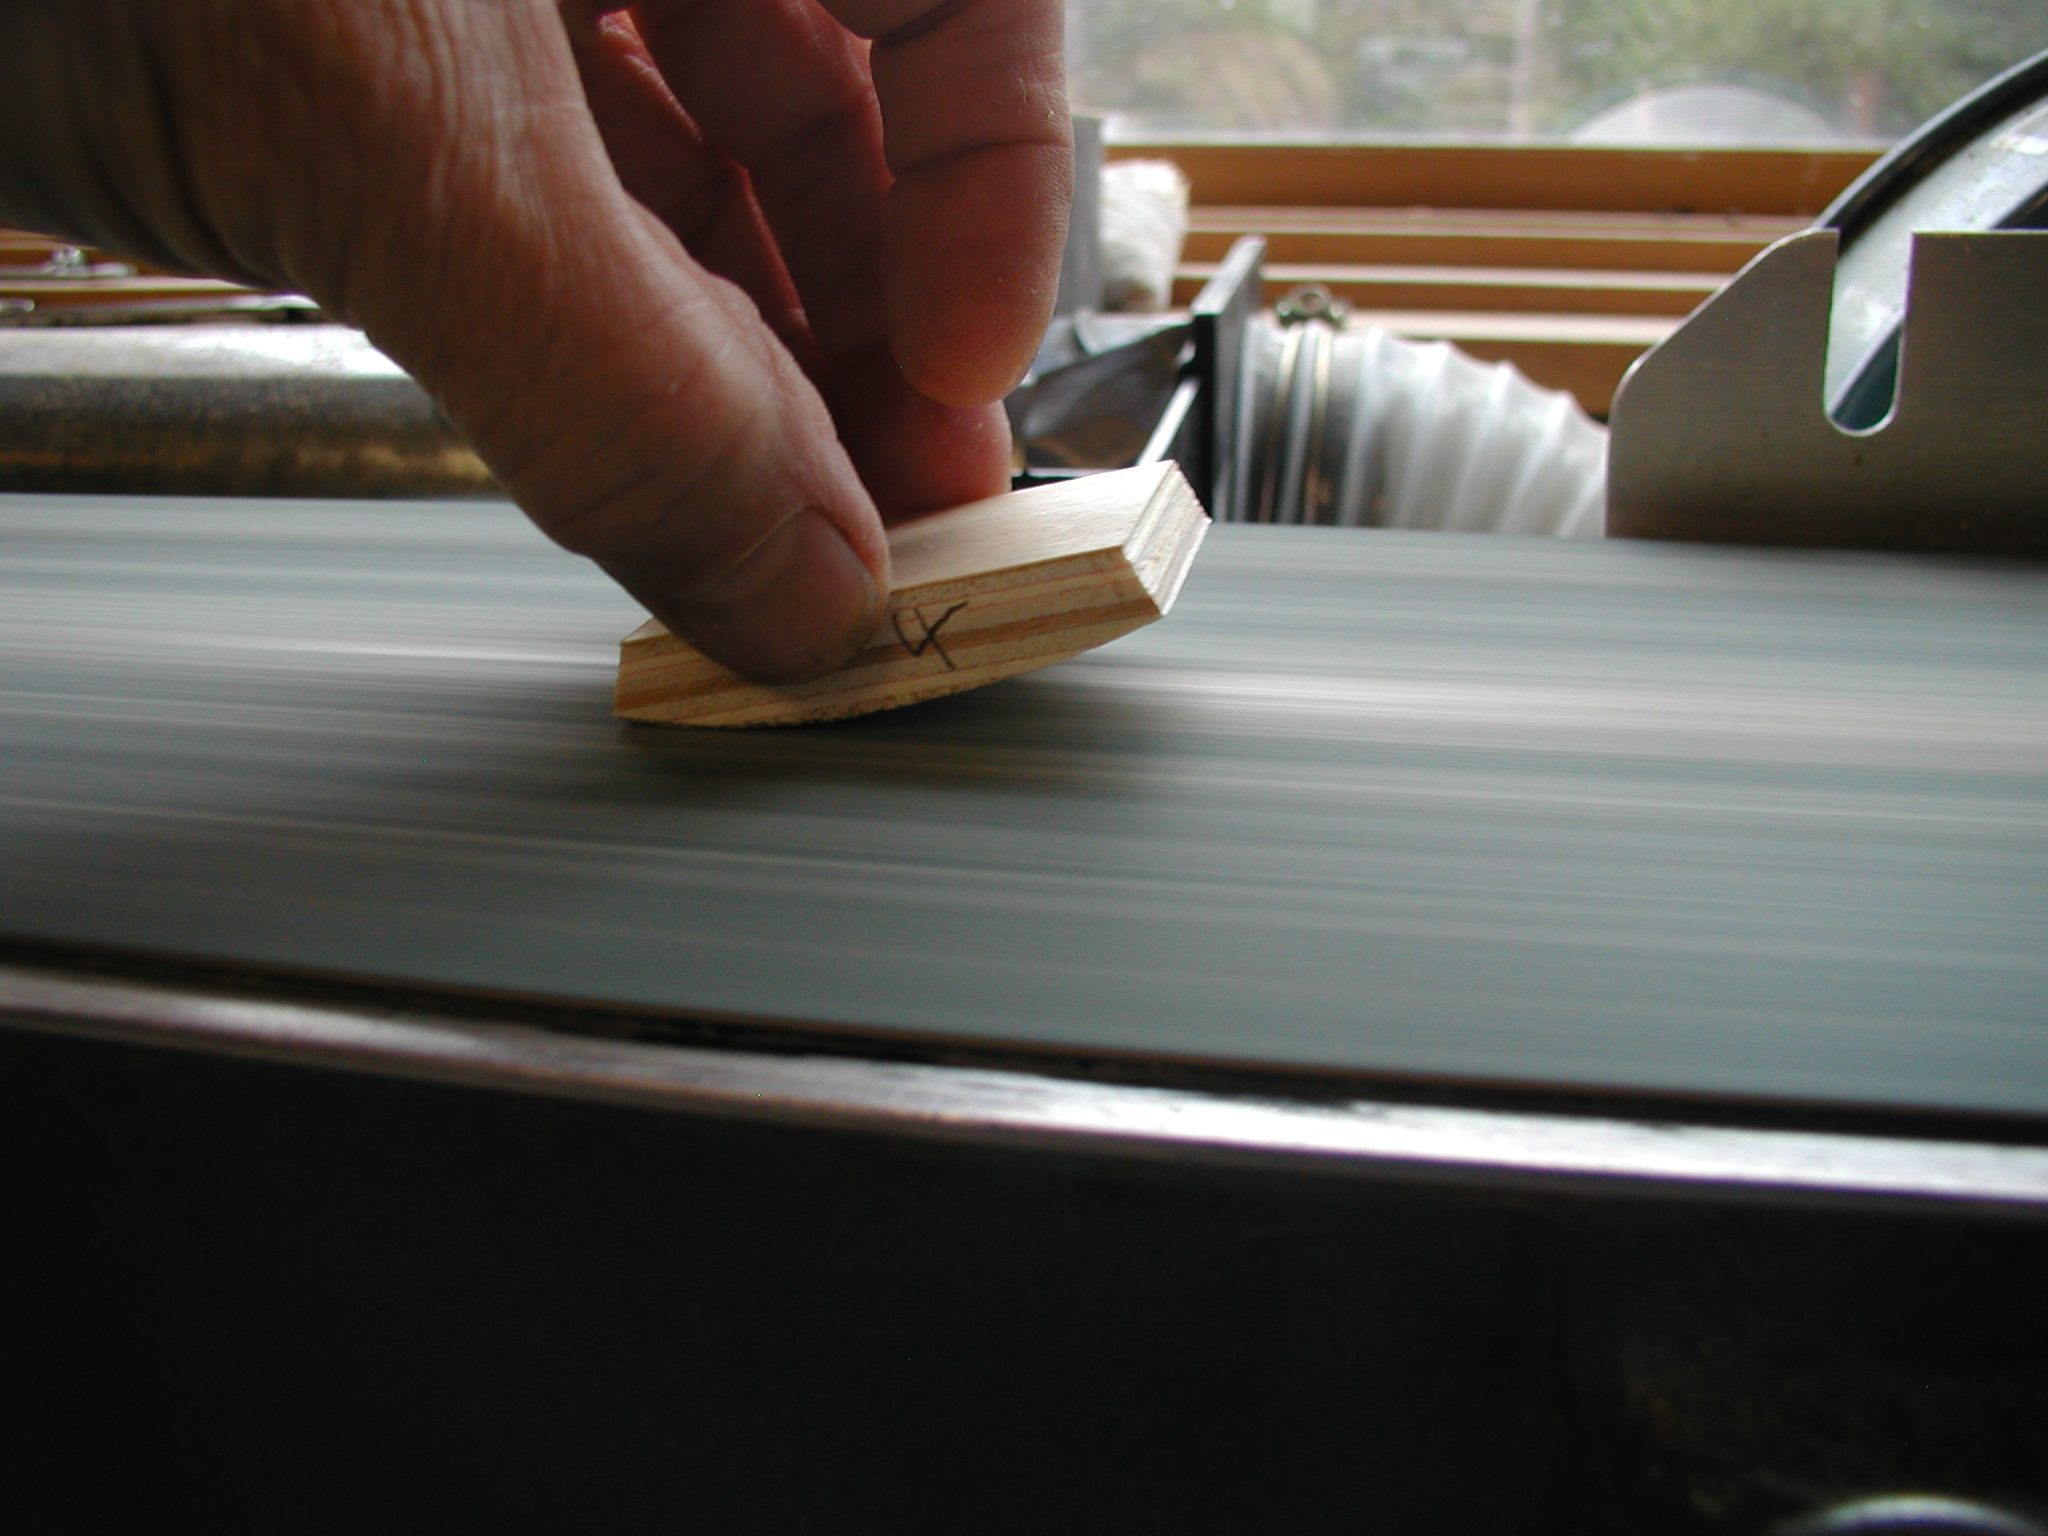
After they are together I need to bring them down to just a tad, maybe 1/8", over the final thickness. The top the wedges were pretty thick to begin with so I whack off a bunch with a jack plane first. Then into the drum sander with coarse paper to bring them down. Note how I flat the bottom/inside part of the top wood first, then thickness to the flatted inside surface. The back was not wedged so it was just thickness on both sides as needed.
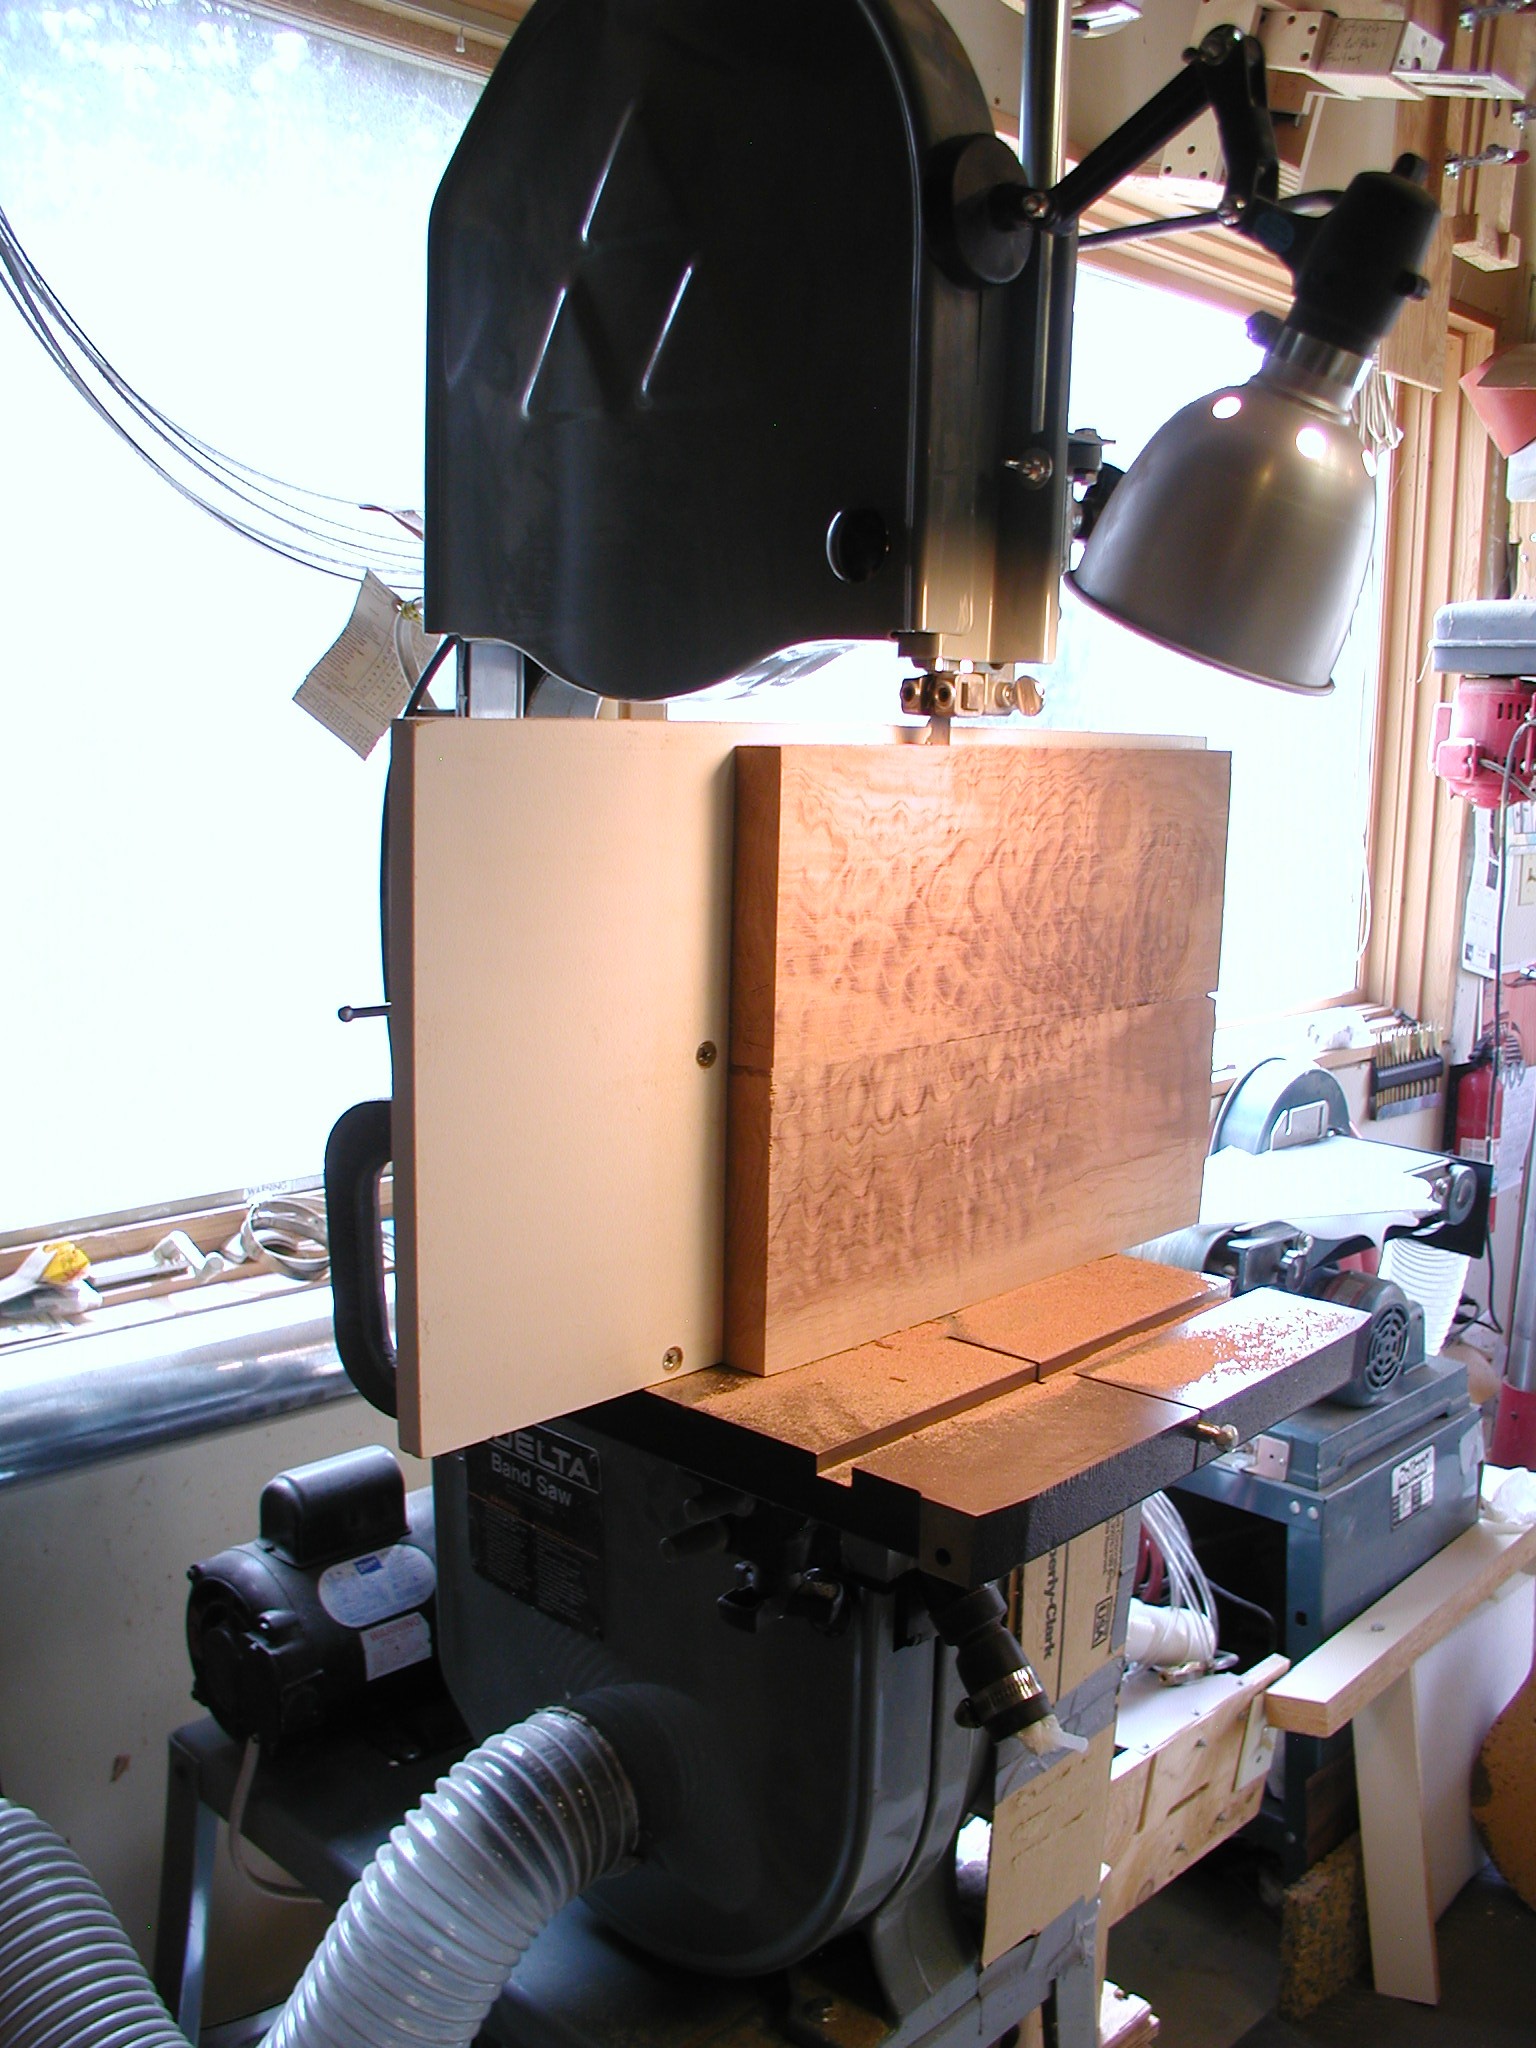
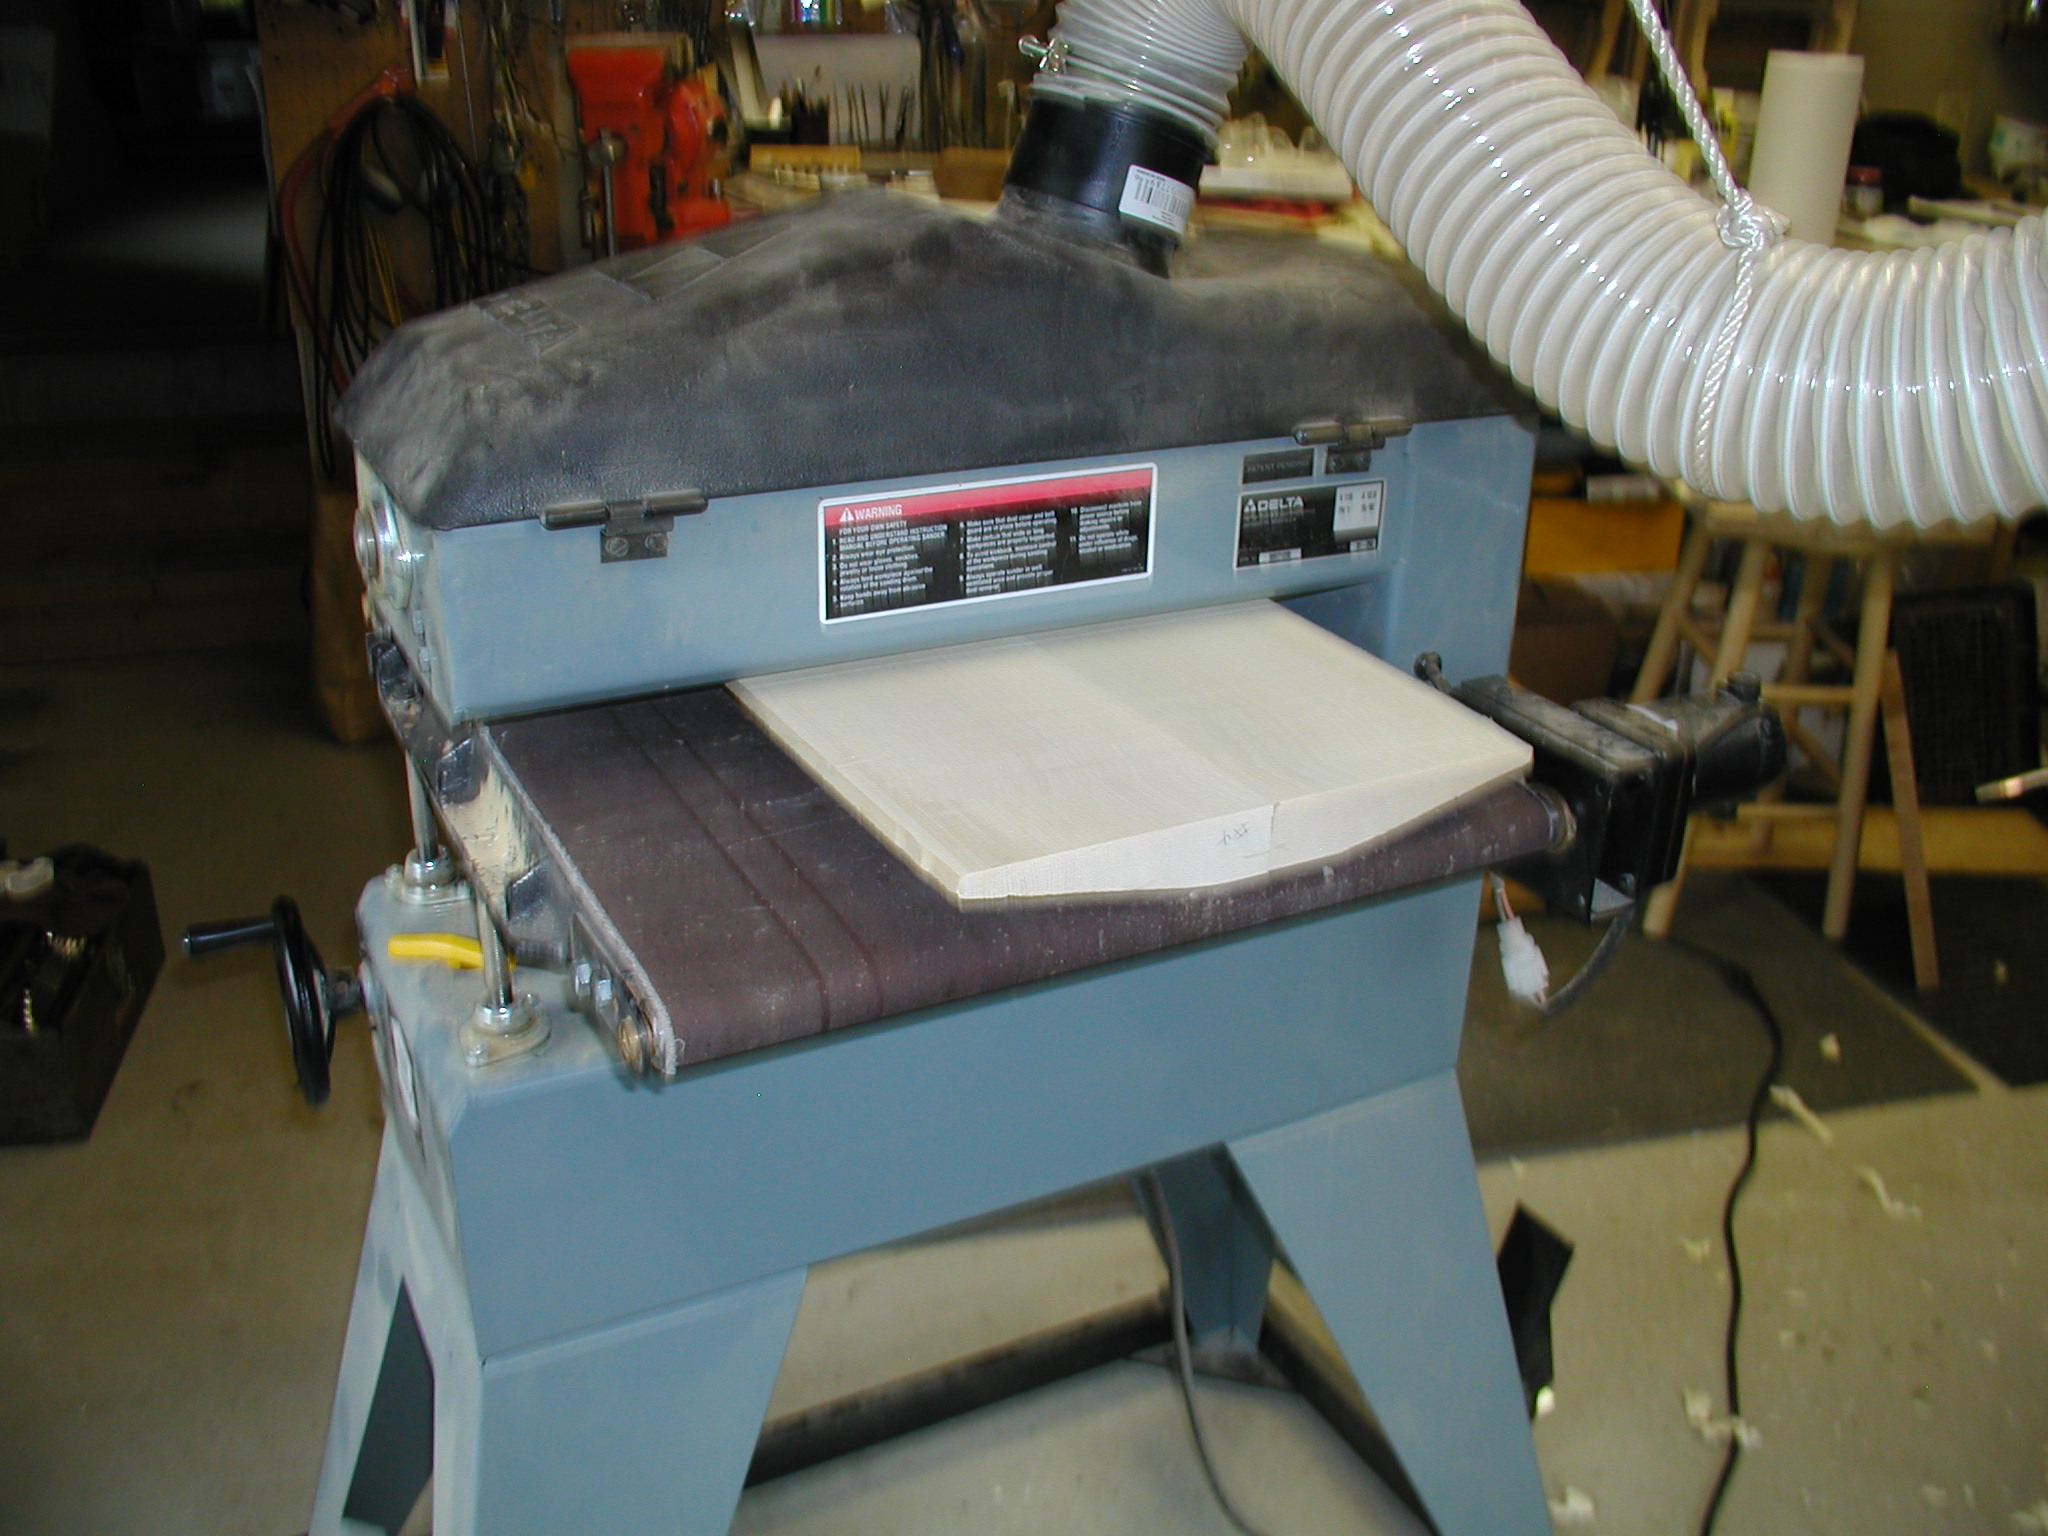
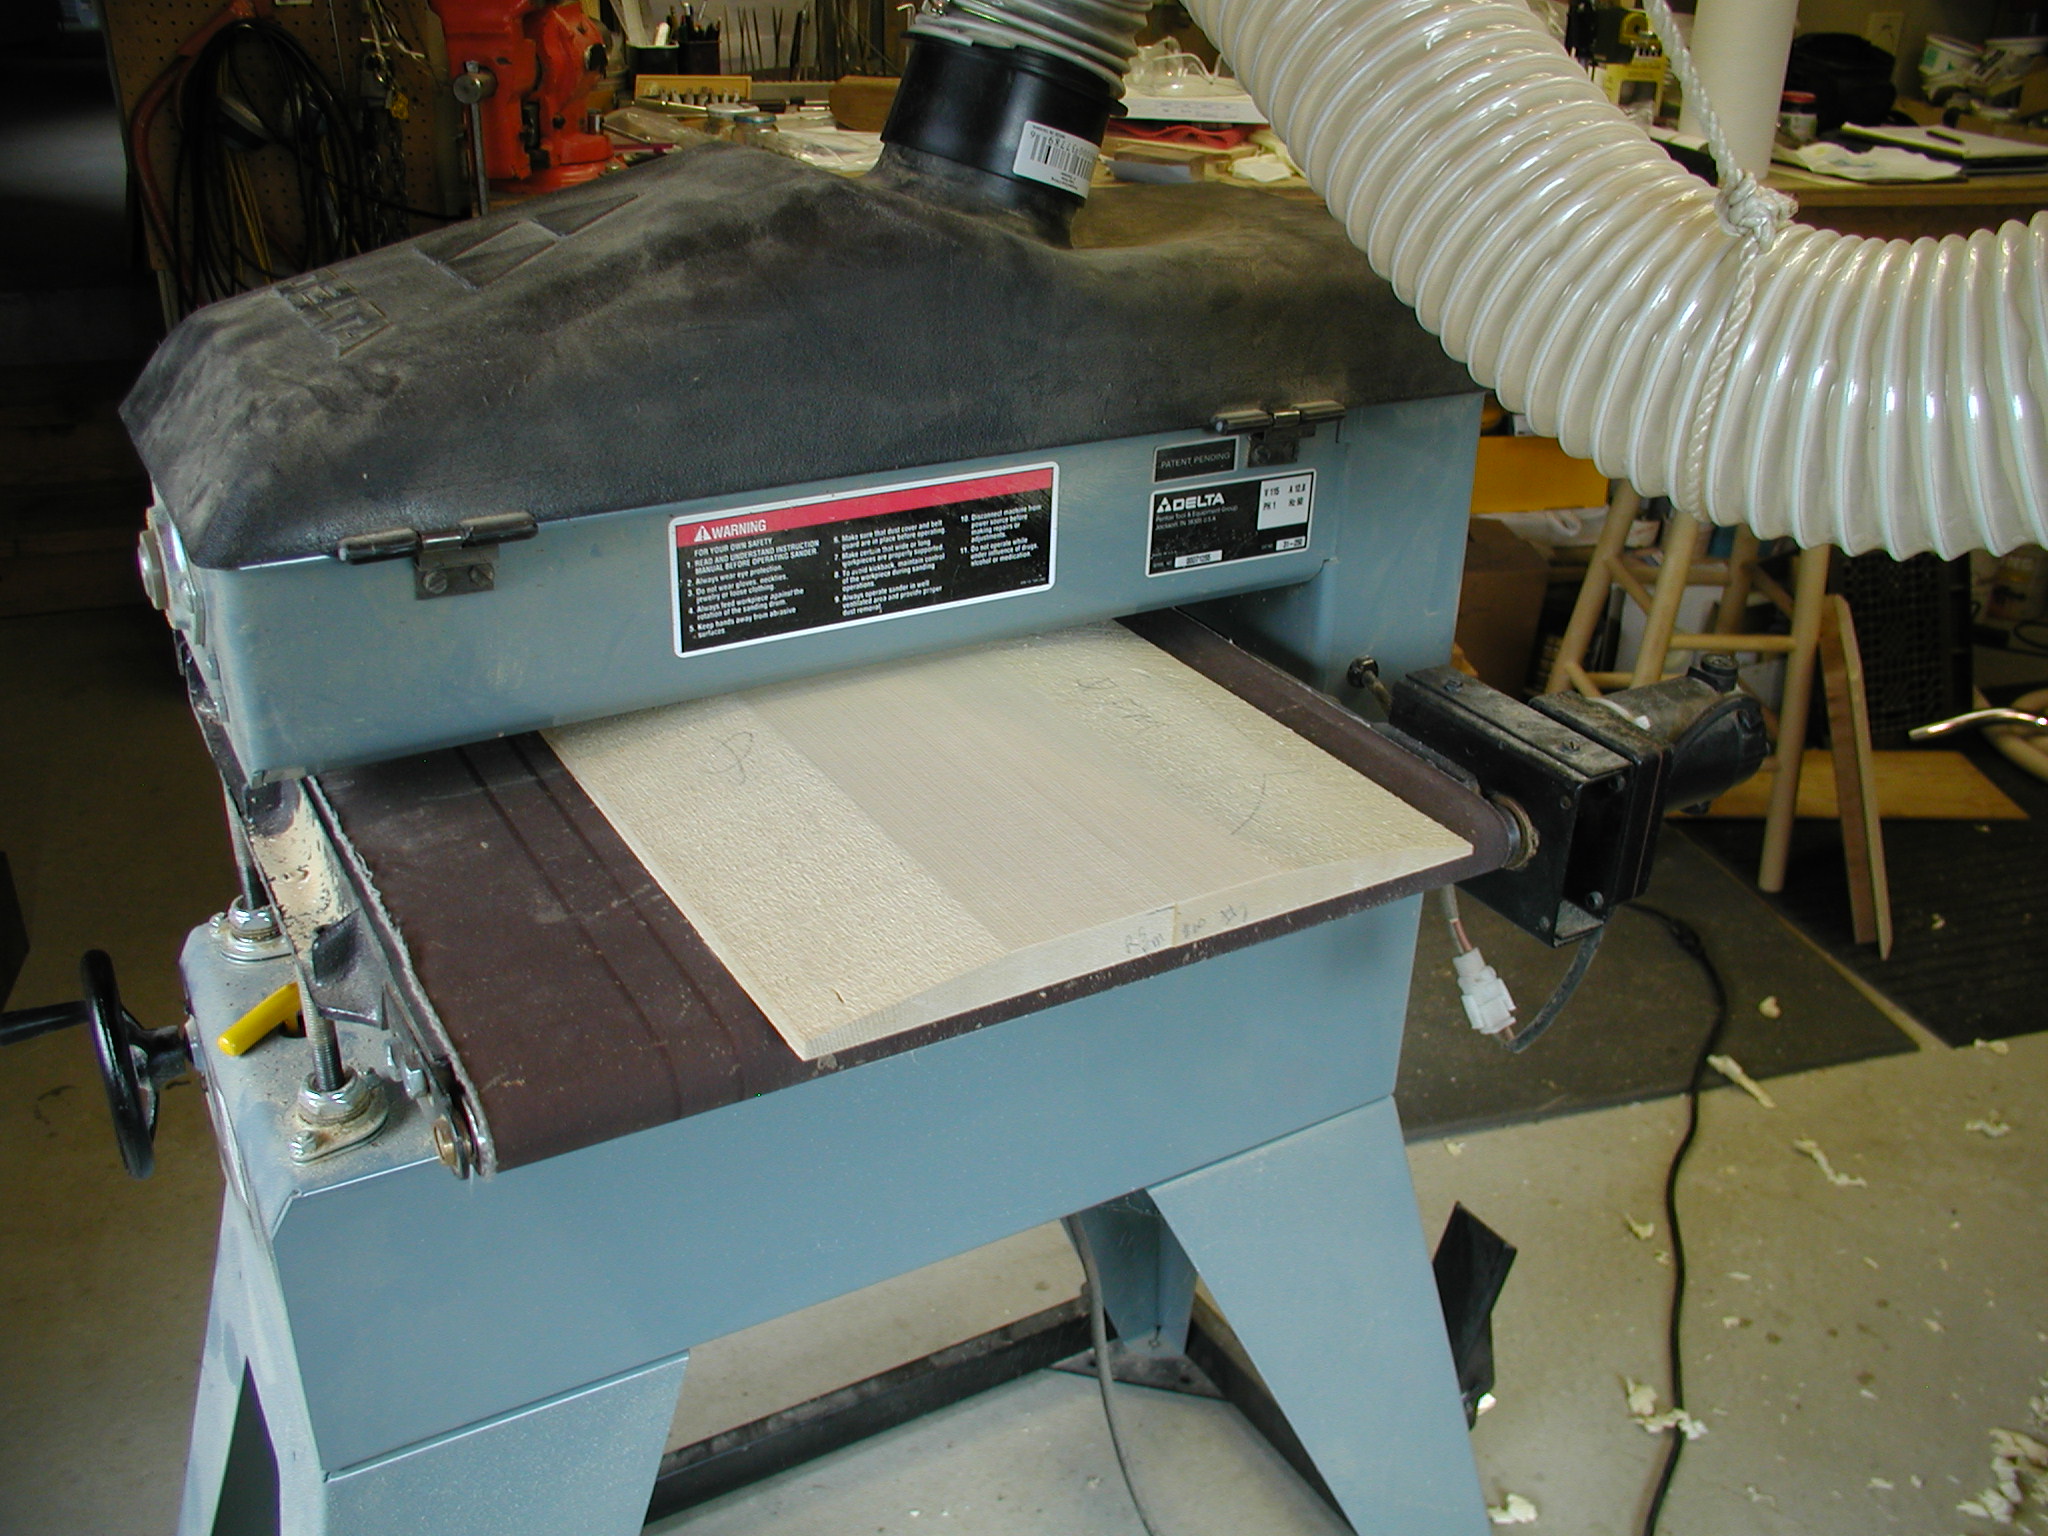

The side wood gets the same treatment but here I run it right down close, change paper to 120 grit and sand it to 0.090" or so.
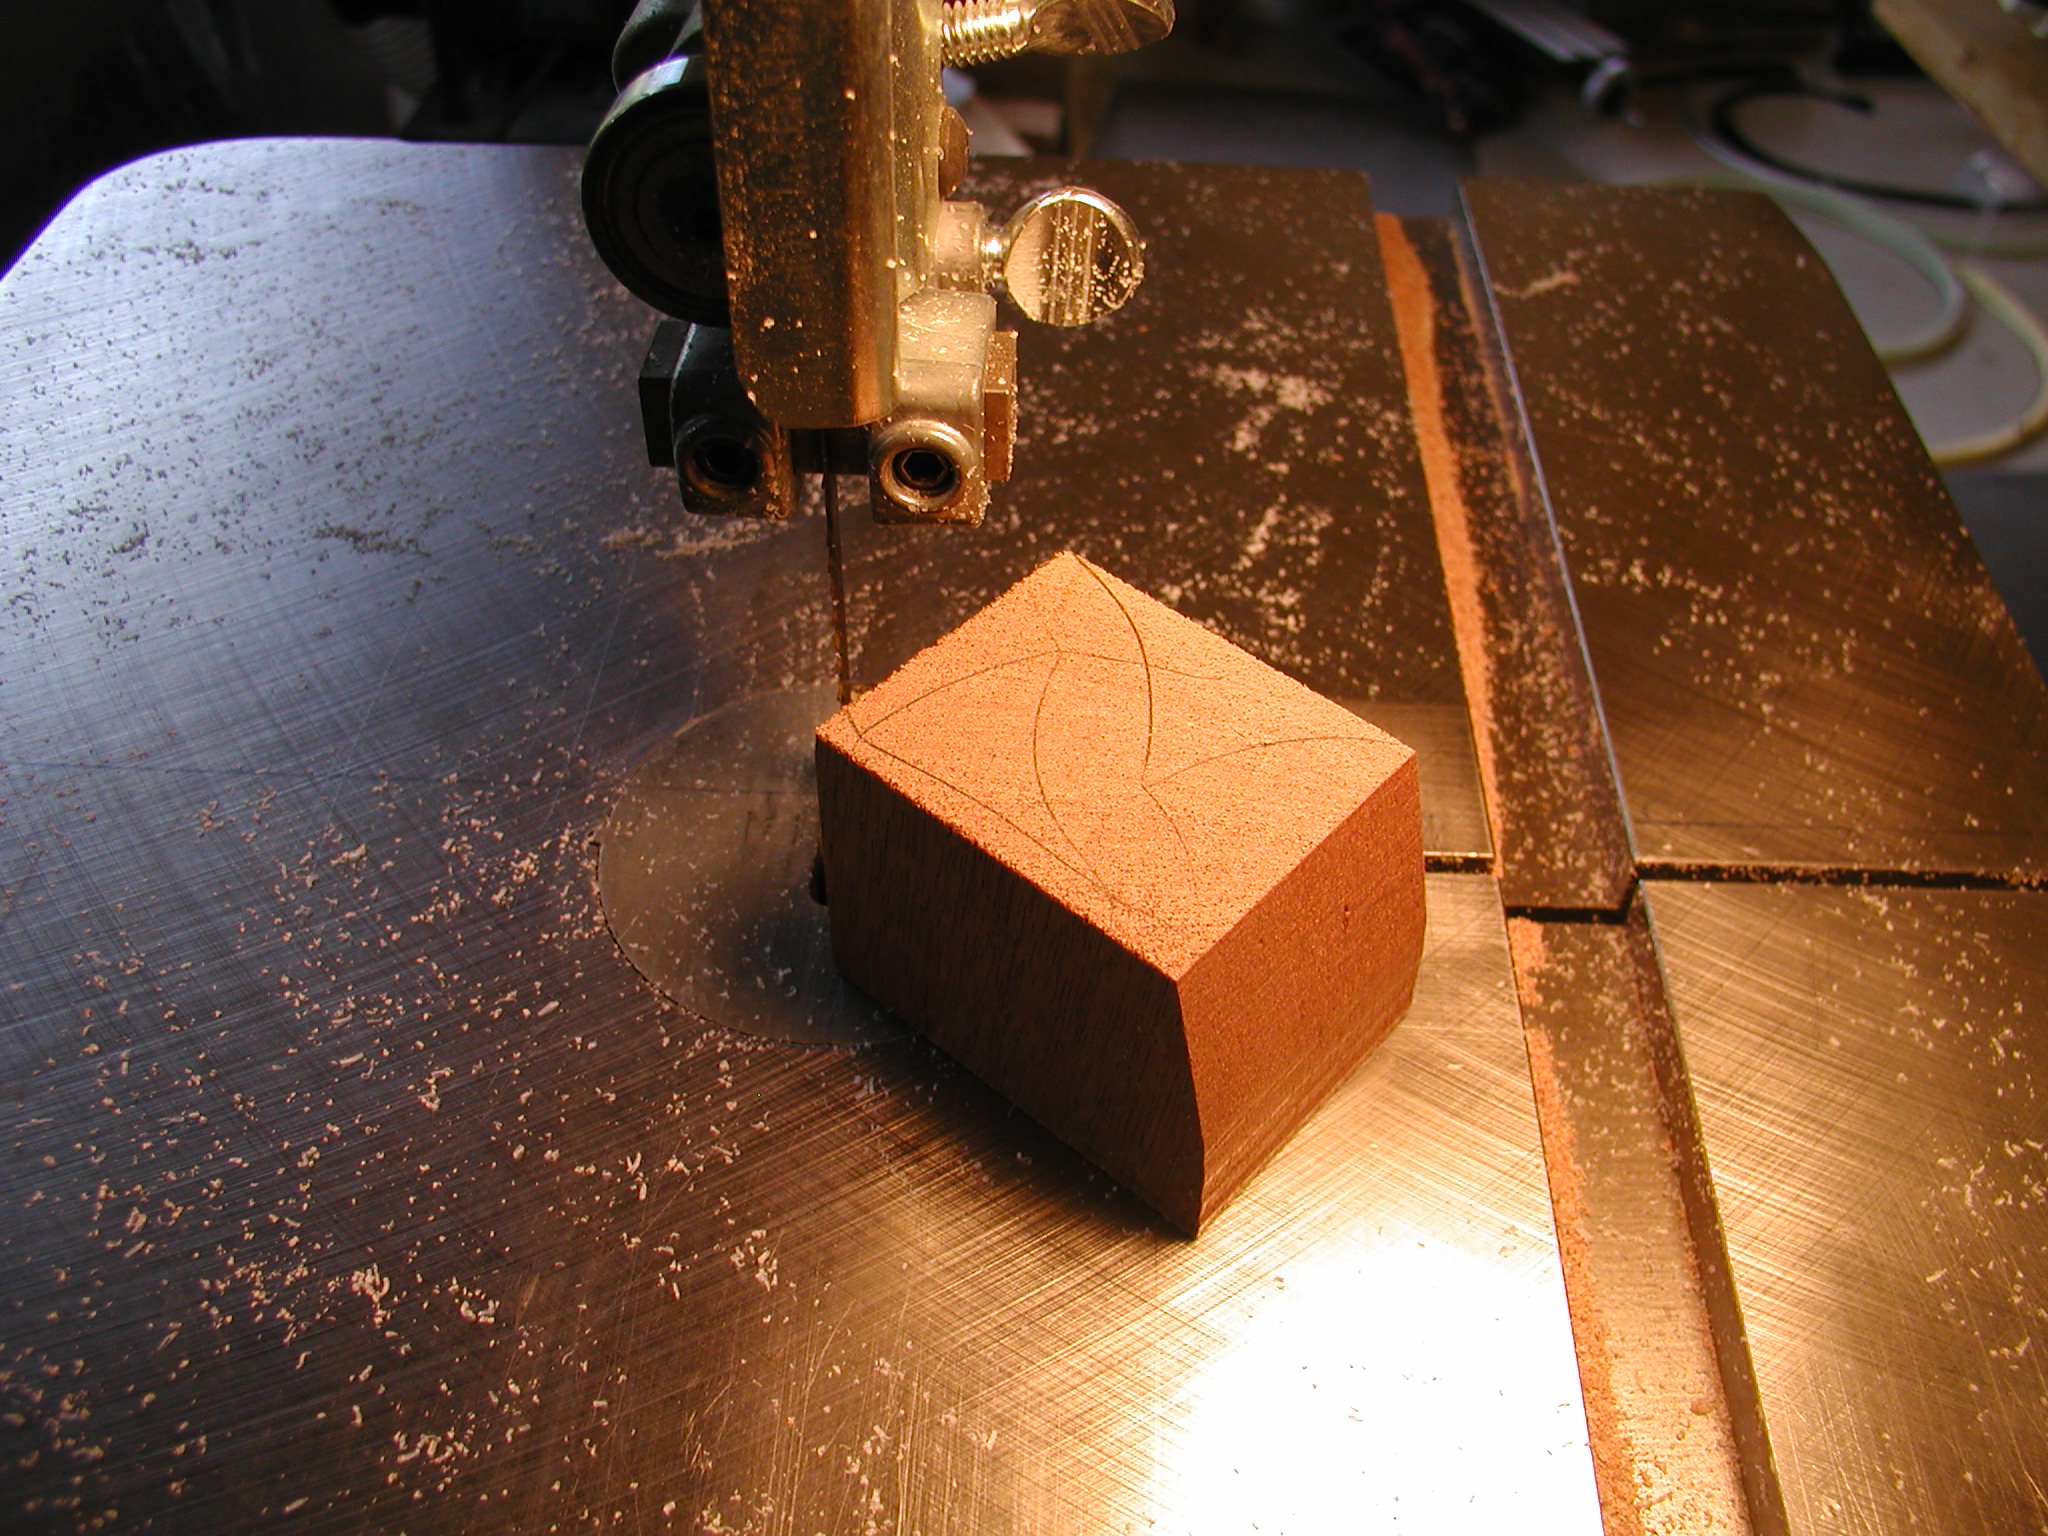
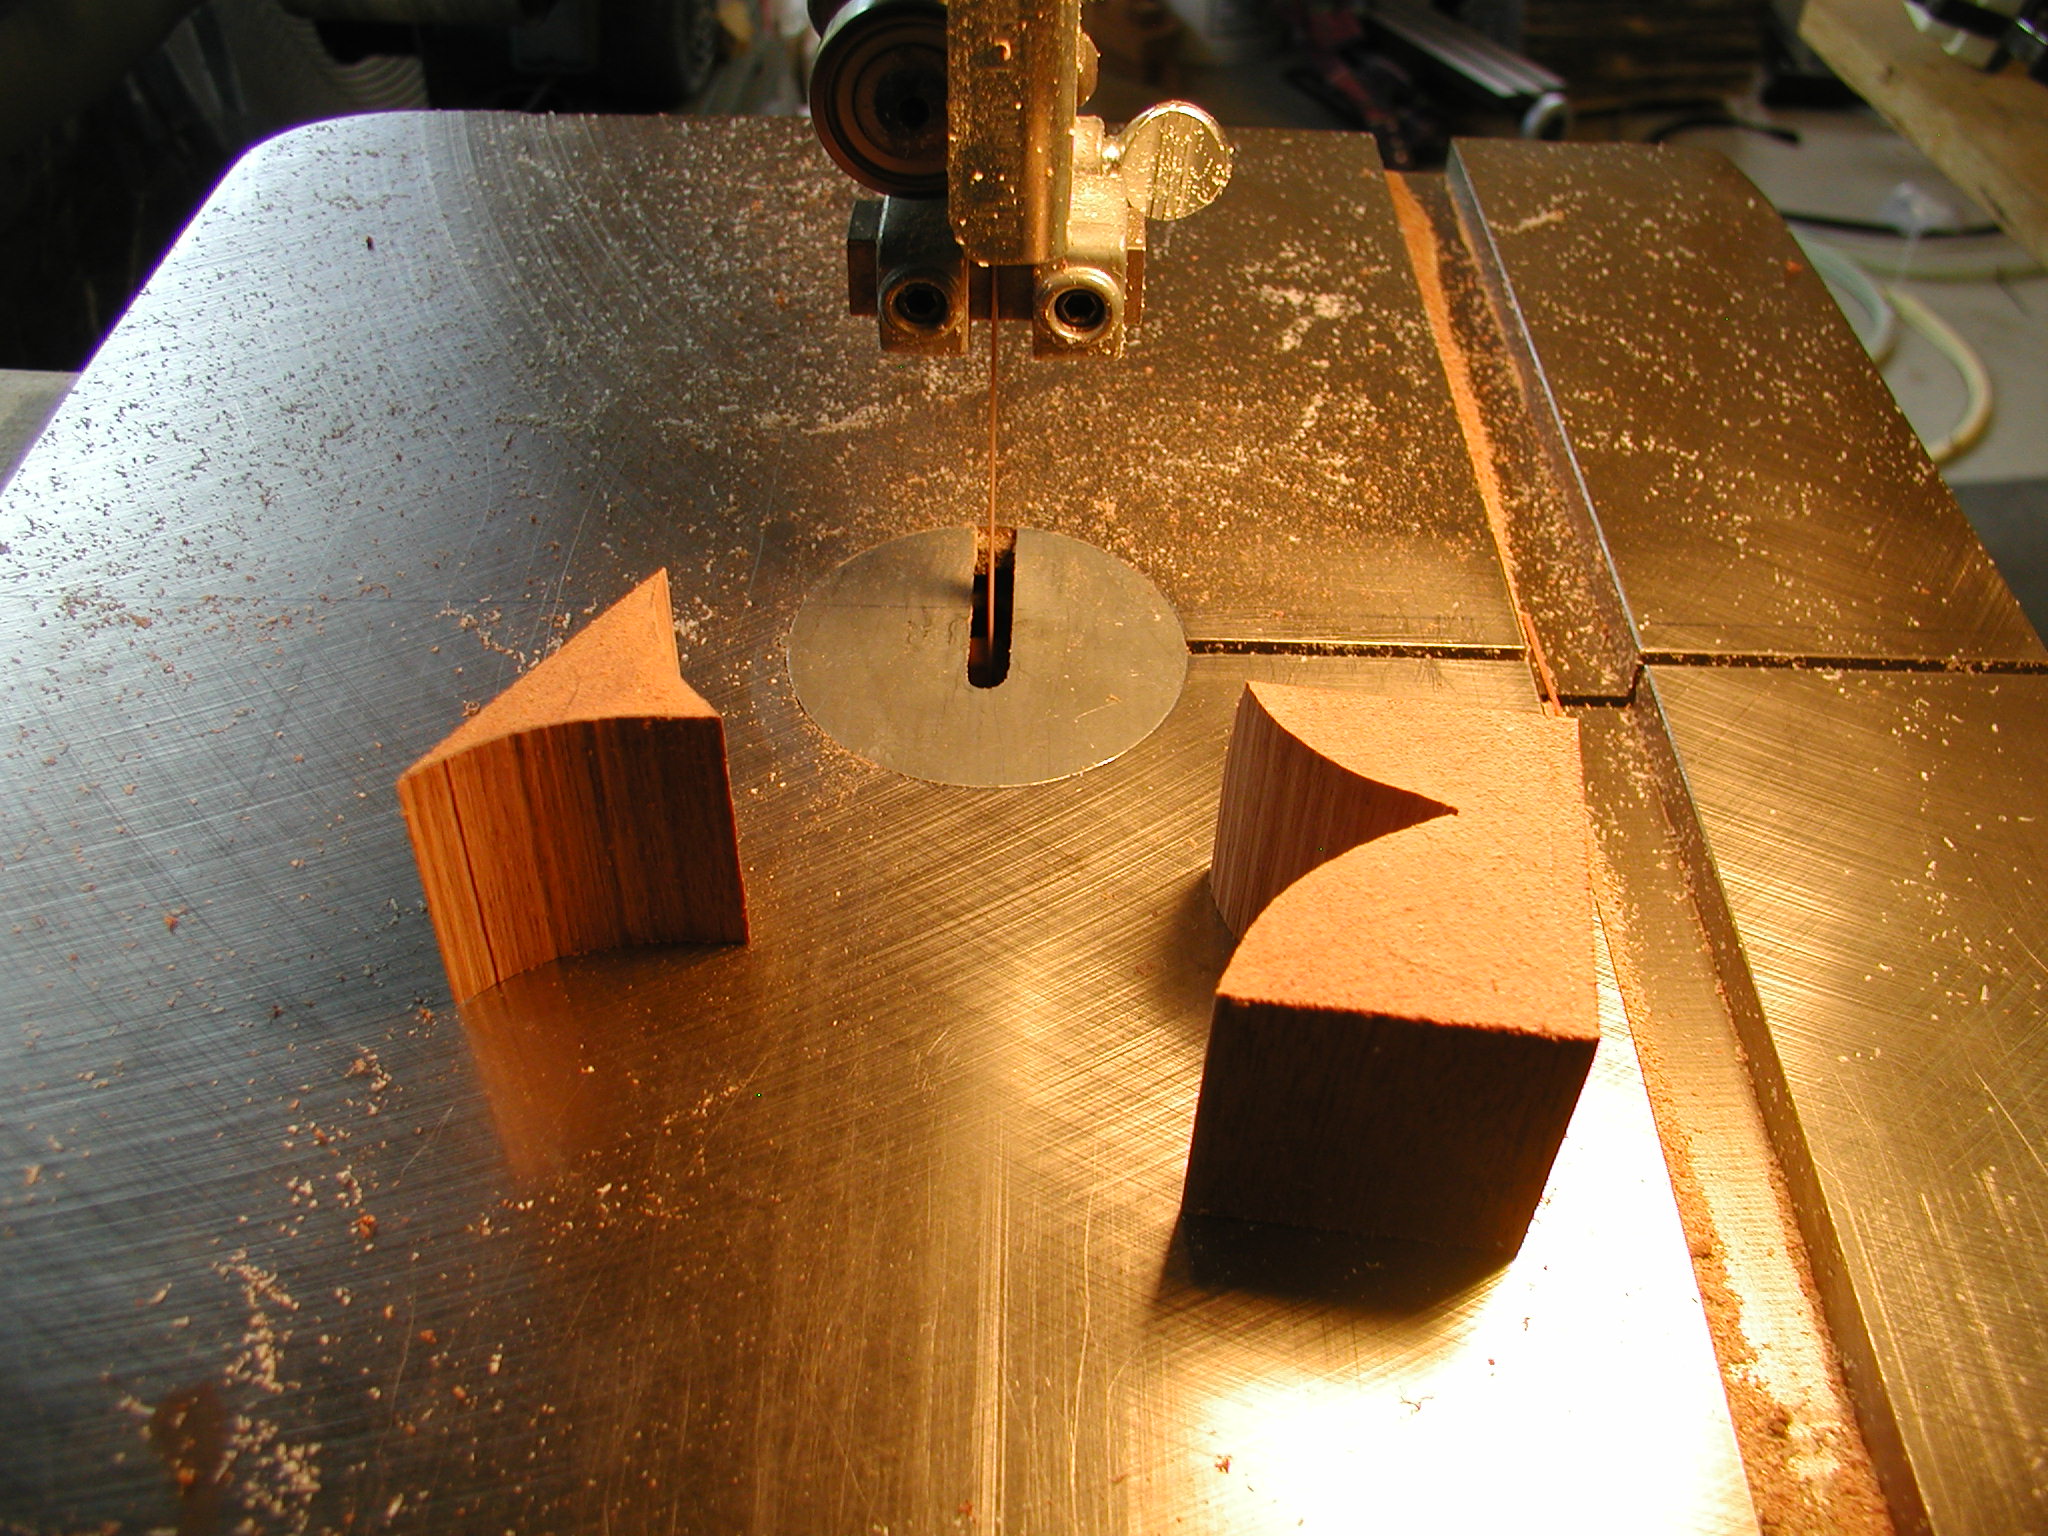
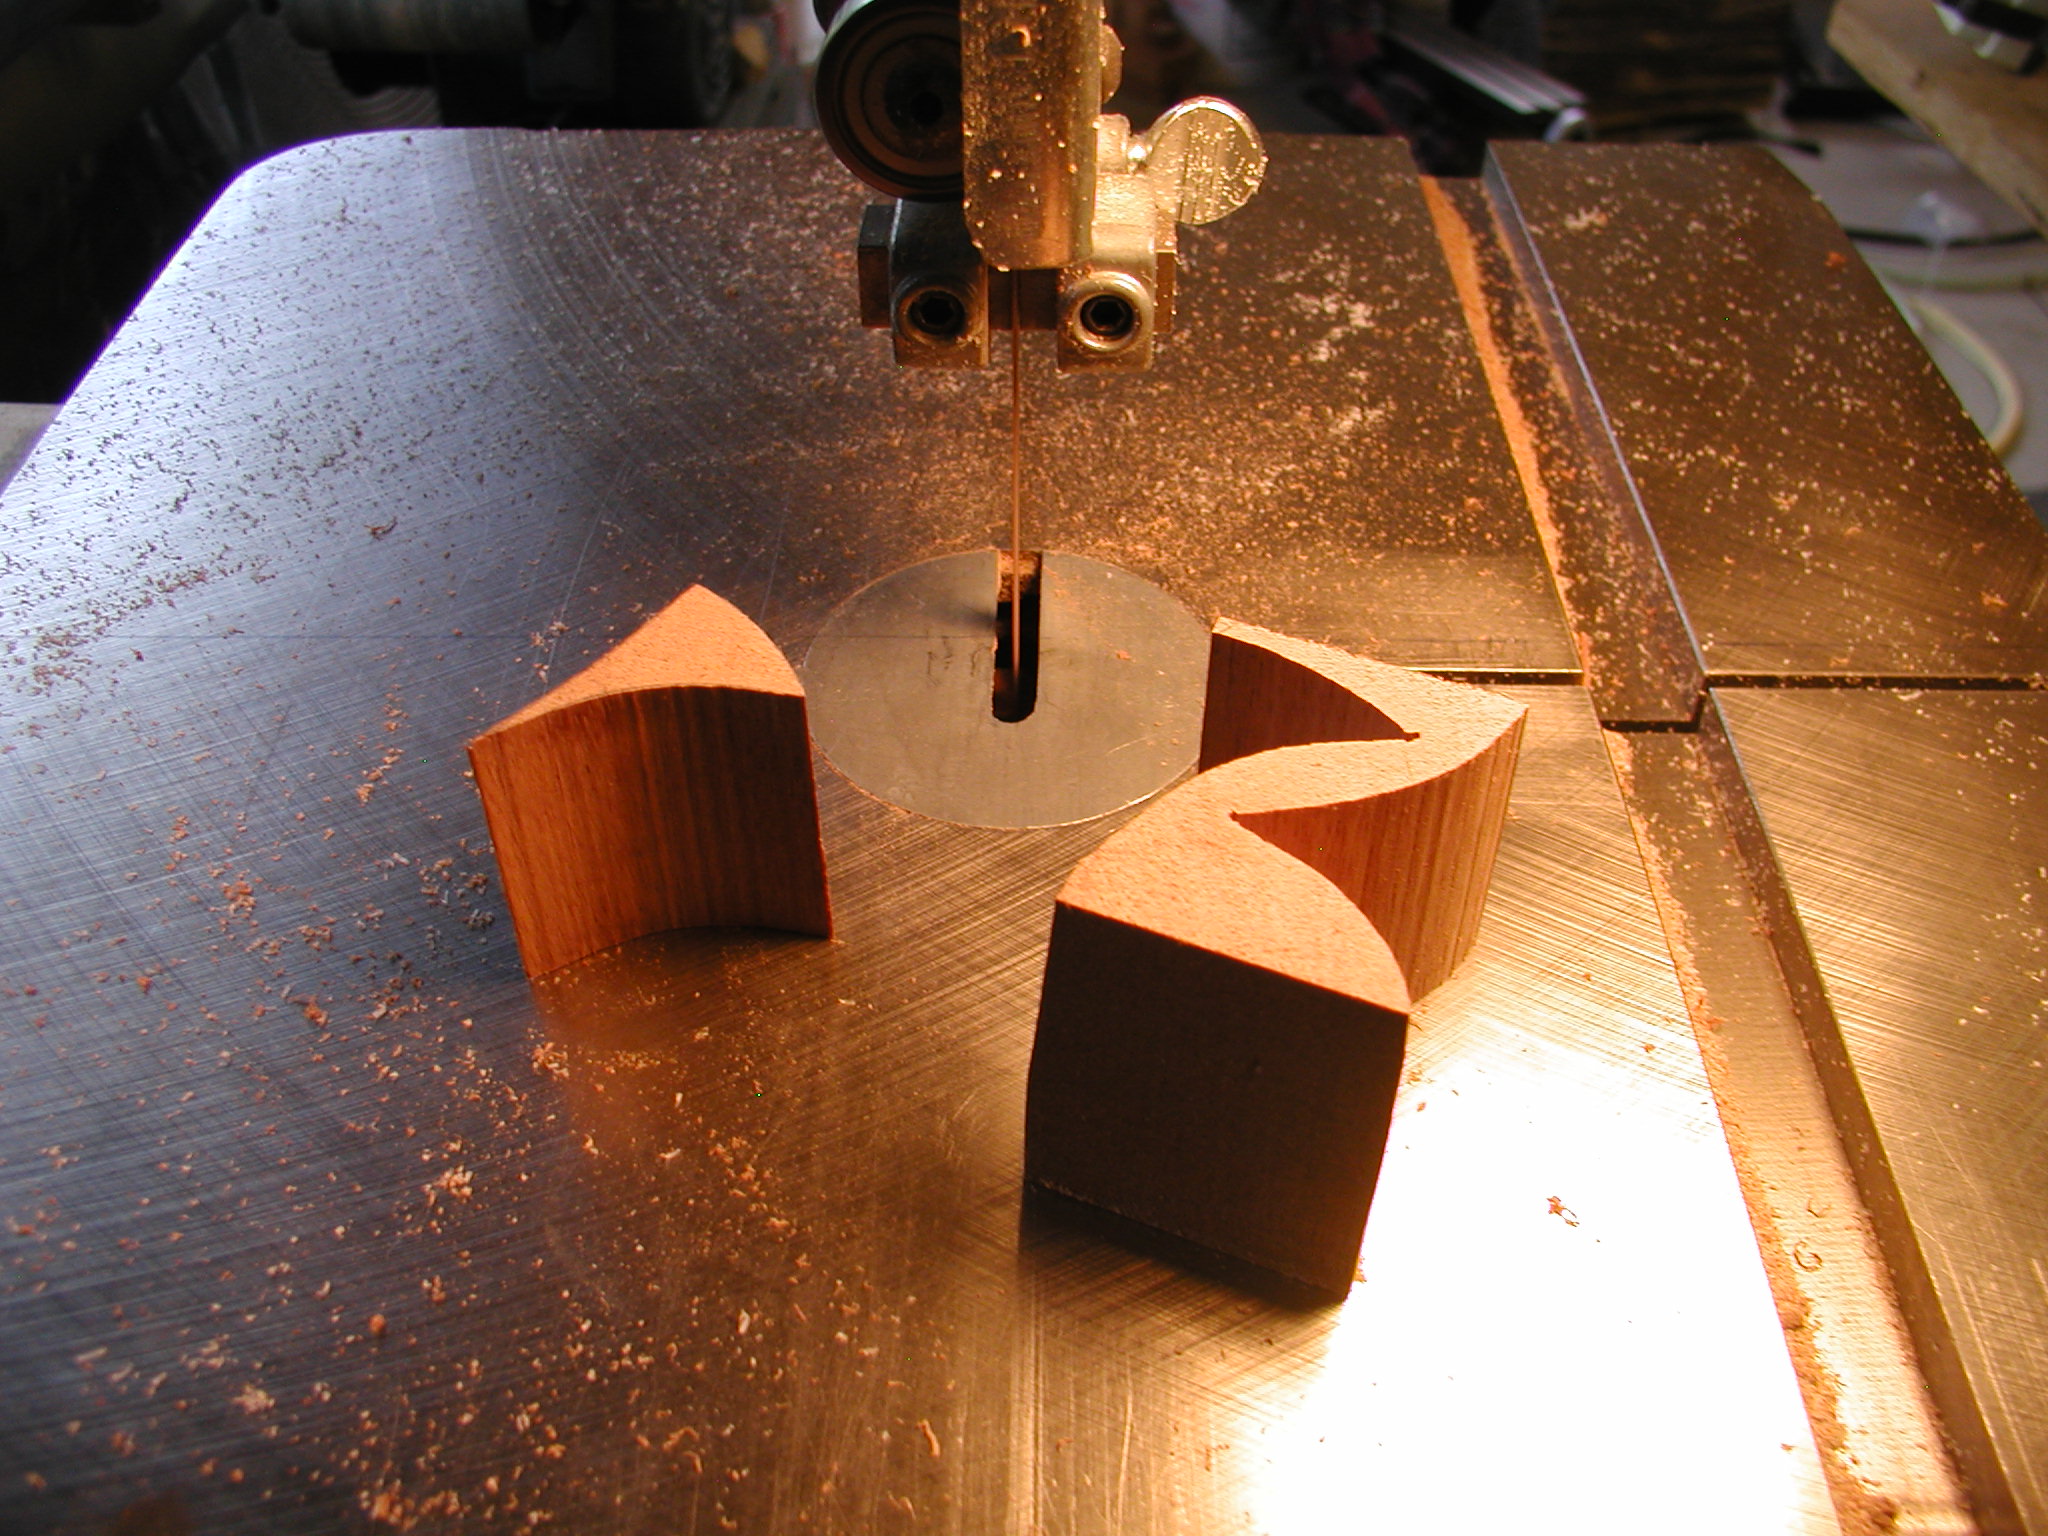
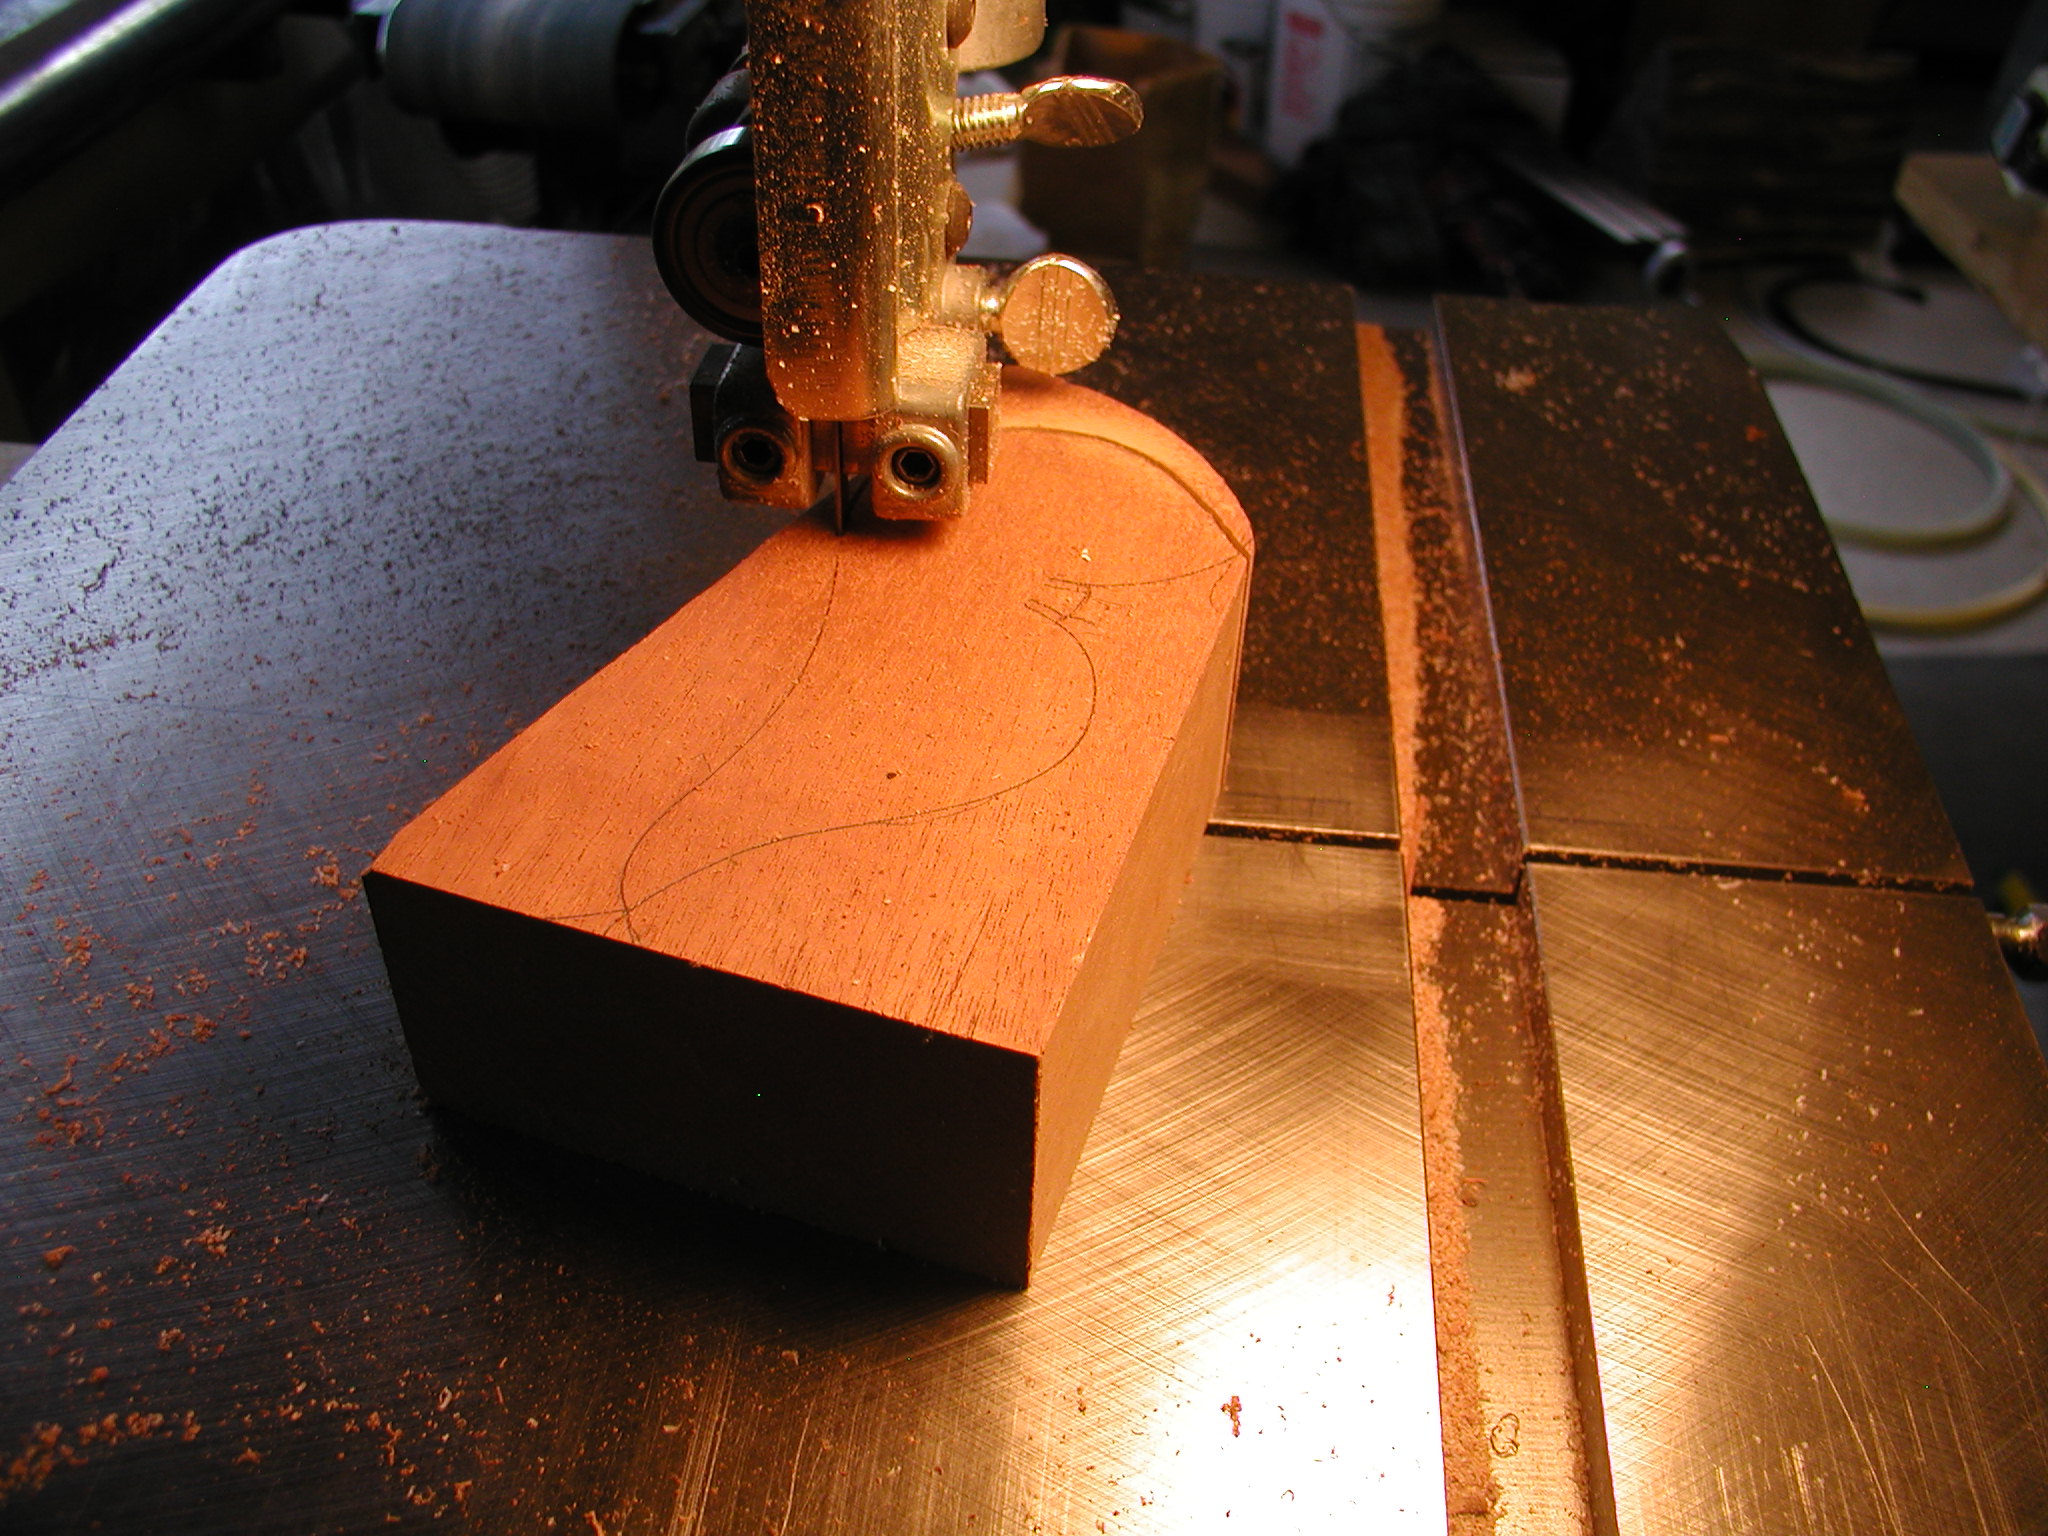
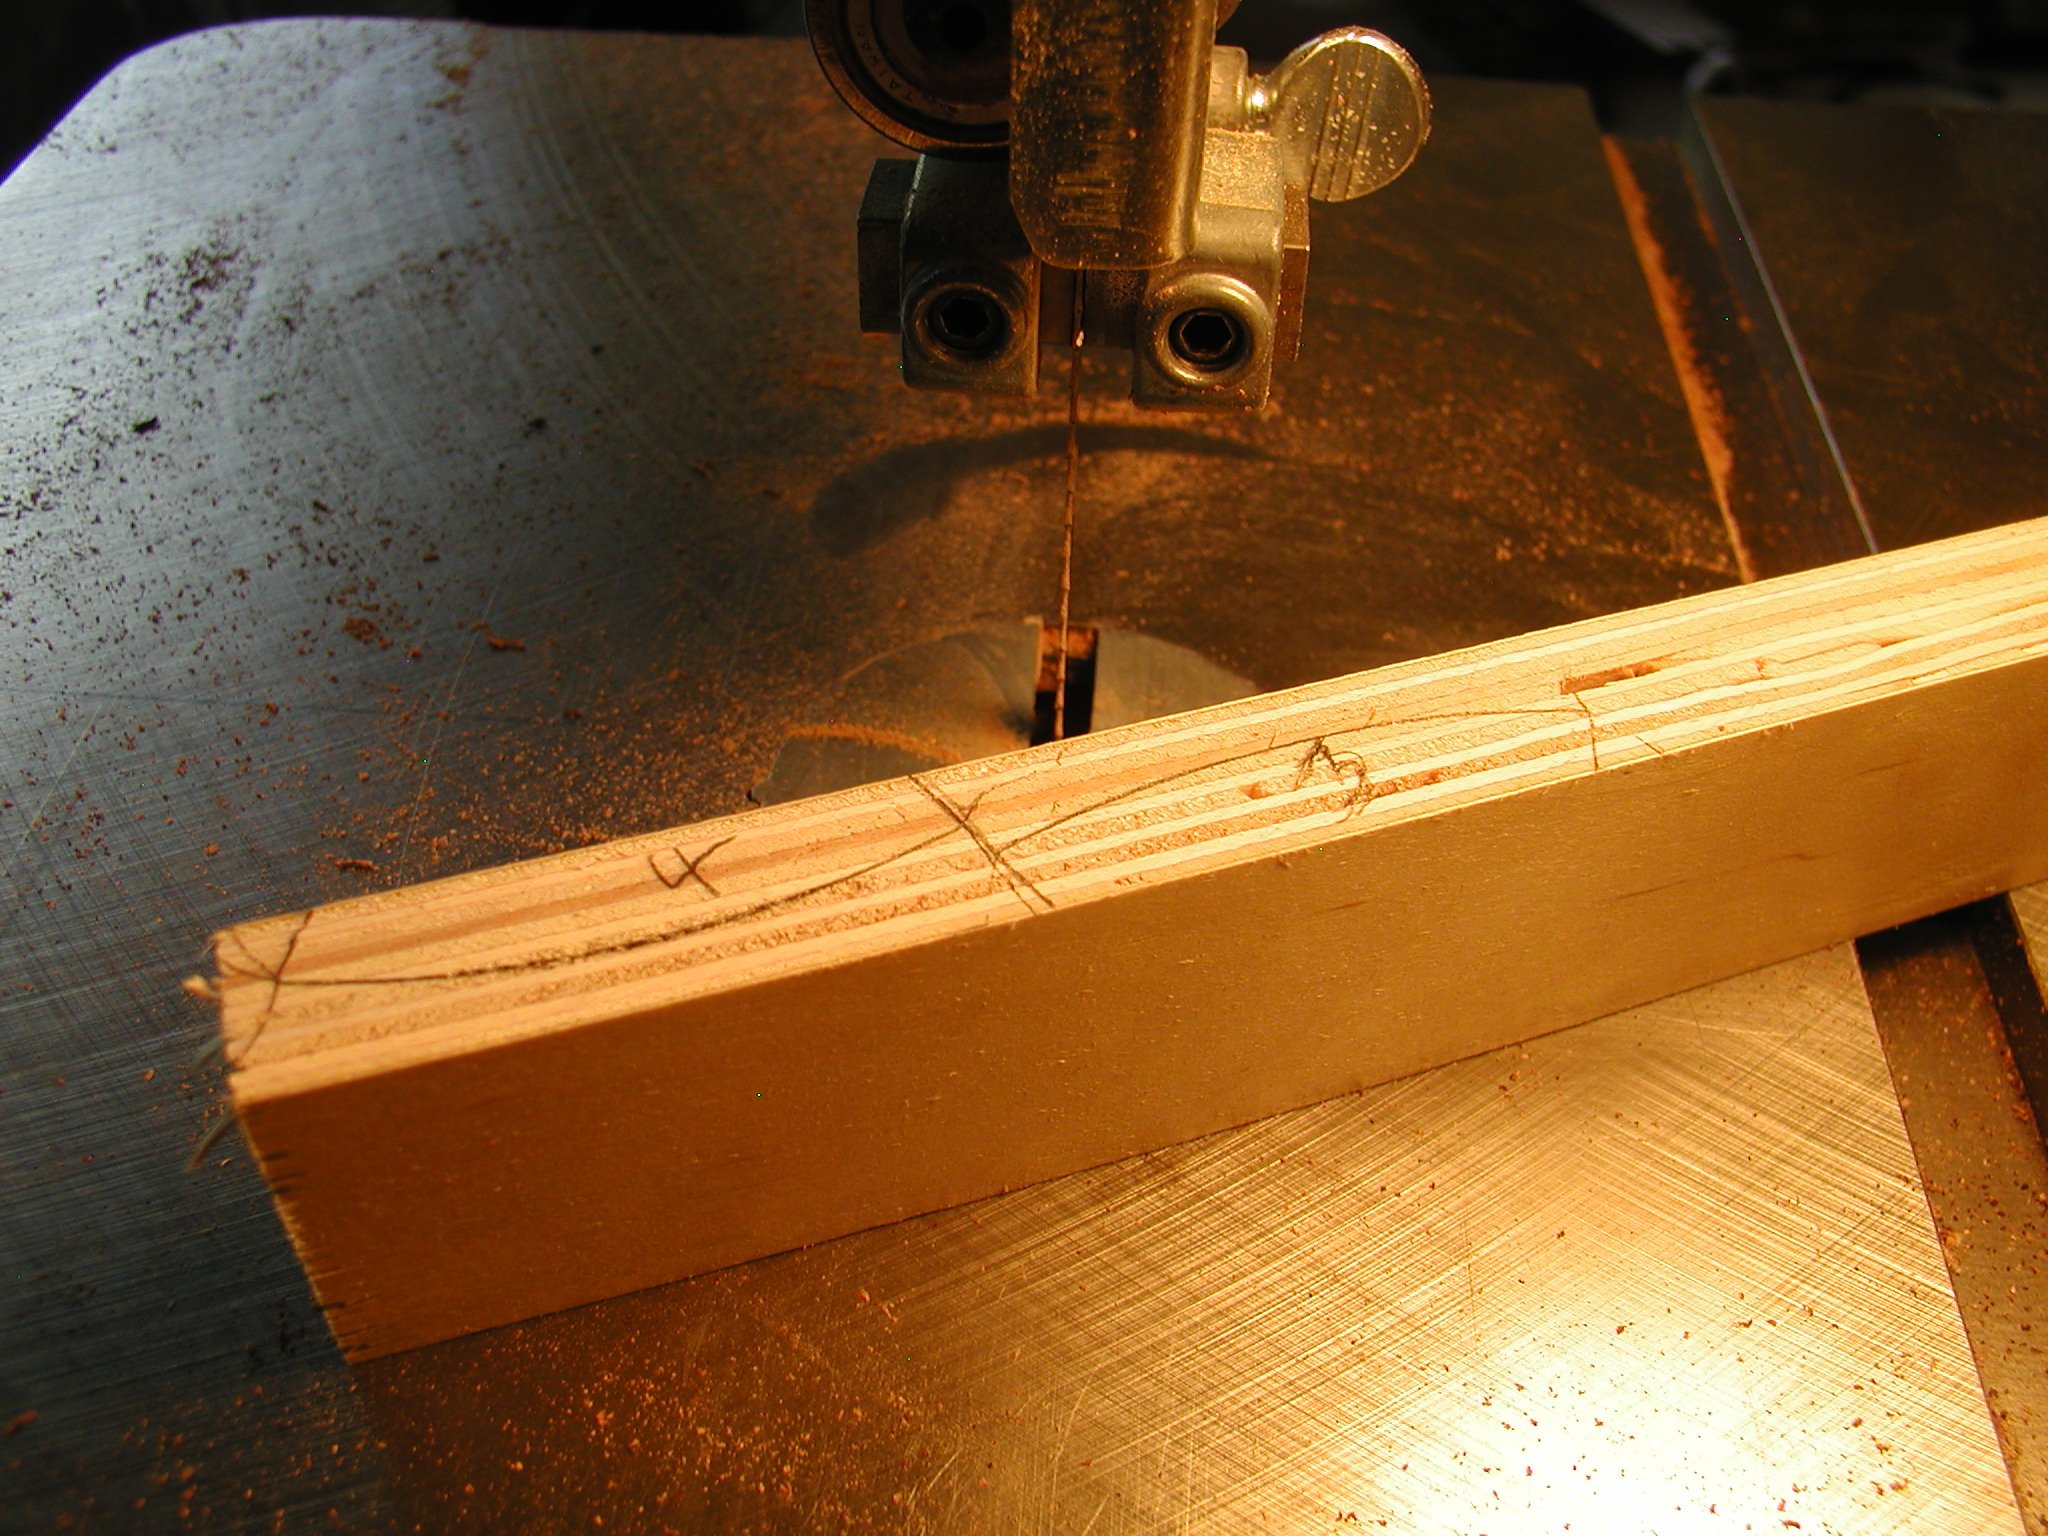
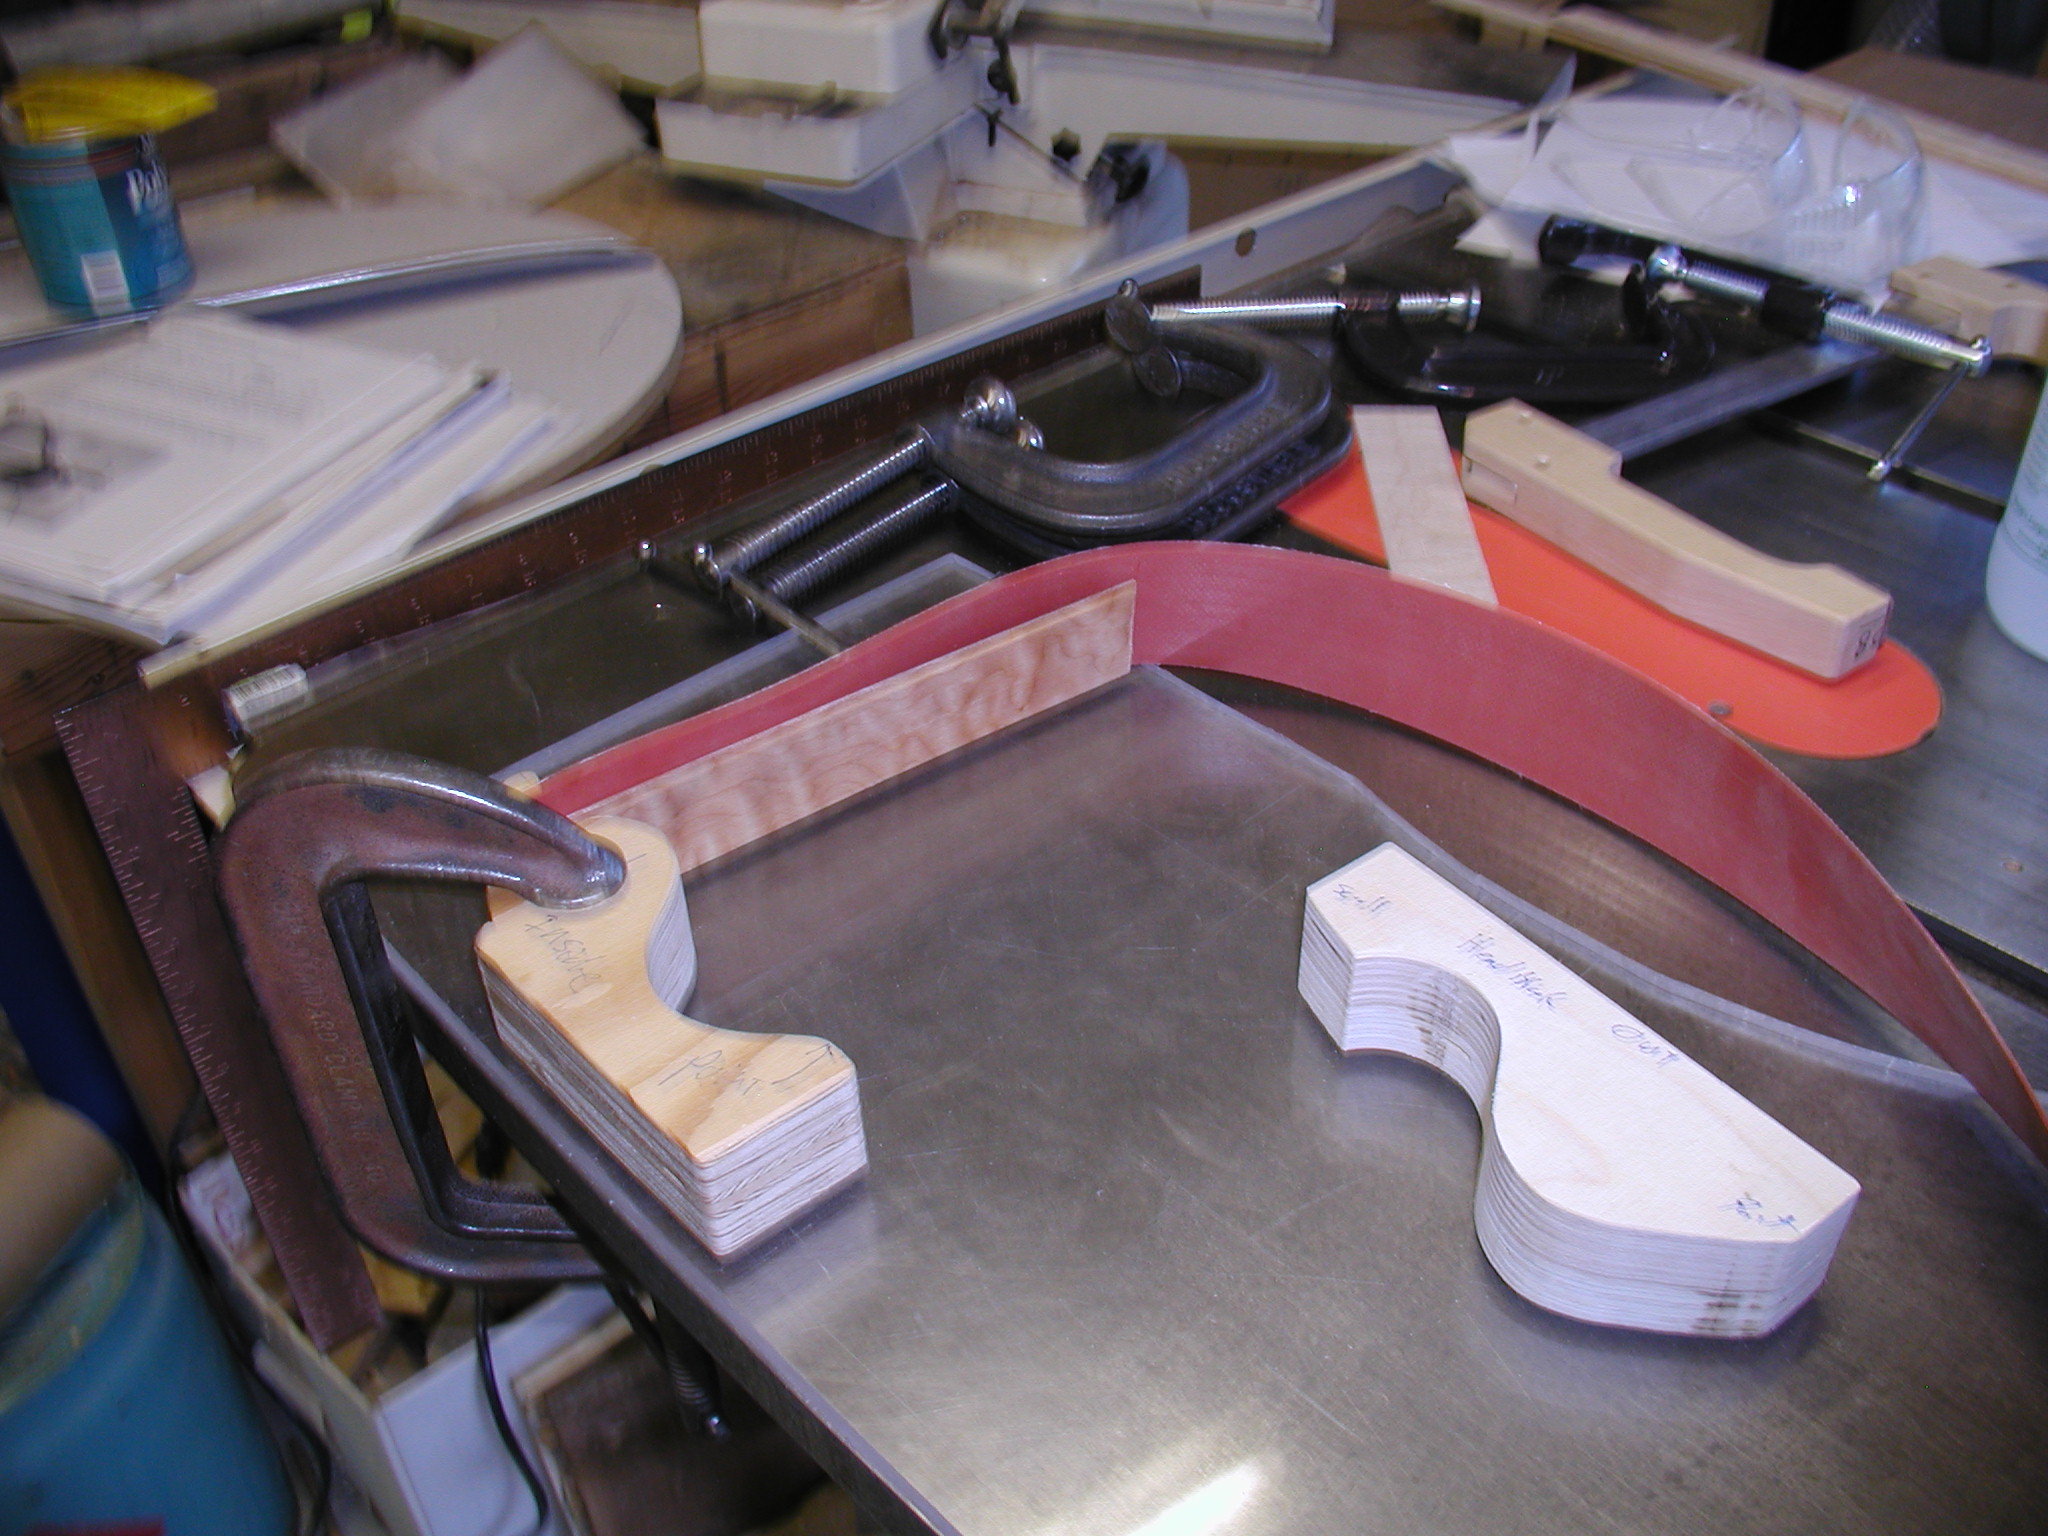
I make my blocks out of True Mahogany. This used to be called Honduran Mahogany but there are actually multiple species of central american mahoganies that get grouped into that heading so my local supplier now just calls it True Mahogany to clarify it is not an Asian substitute. Photos are pretty self-explanatory, points, headblock, and tail block. Tail block is from aircraft/birch ply avoiding all the grain issues when it come time to drill an endpin hole into it.
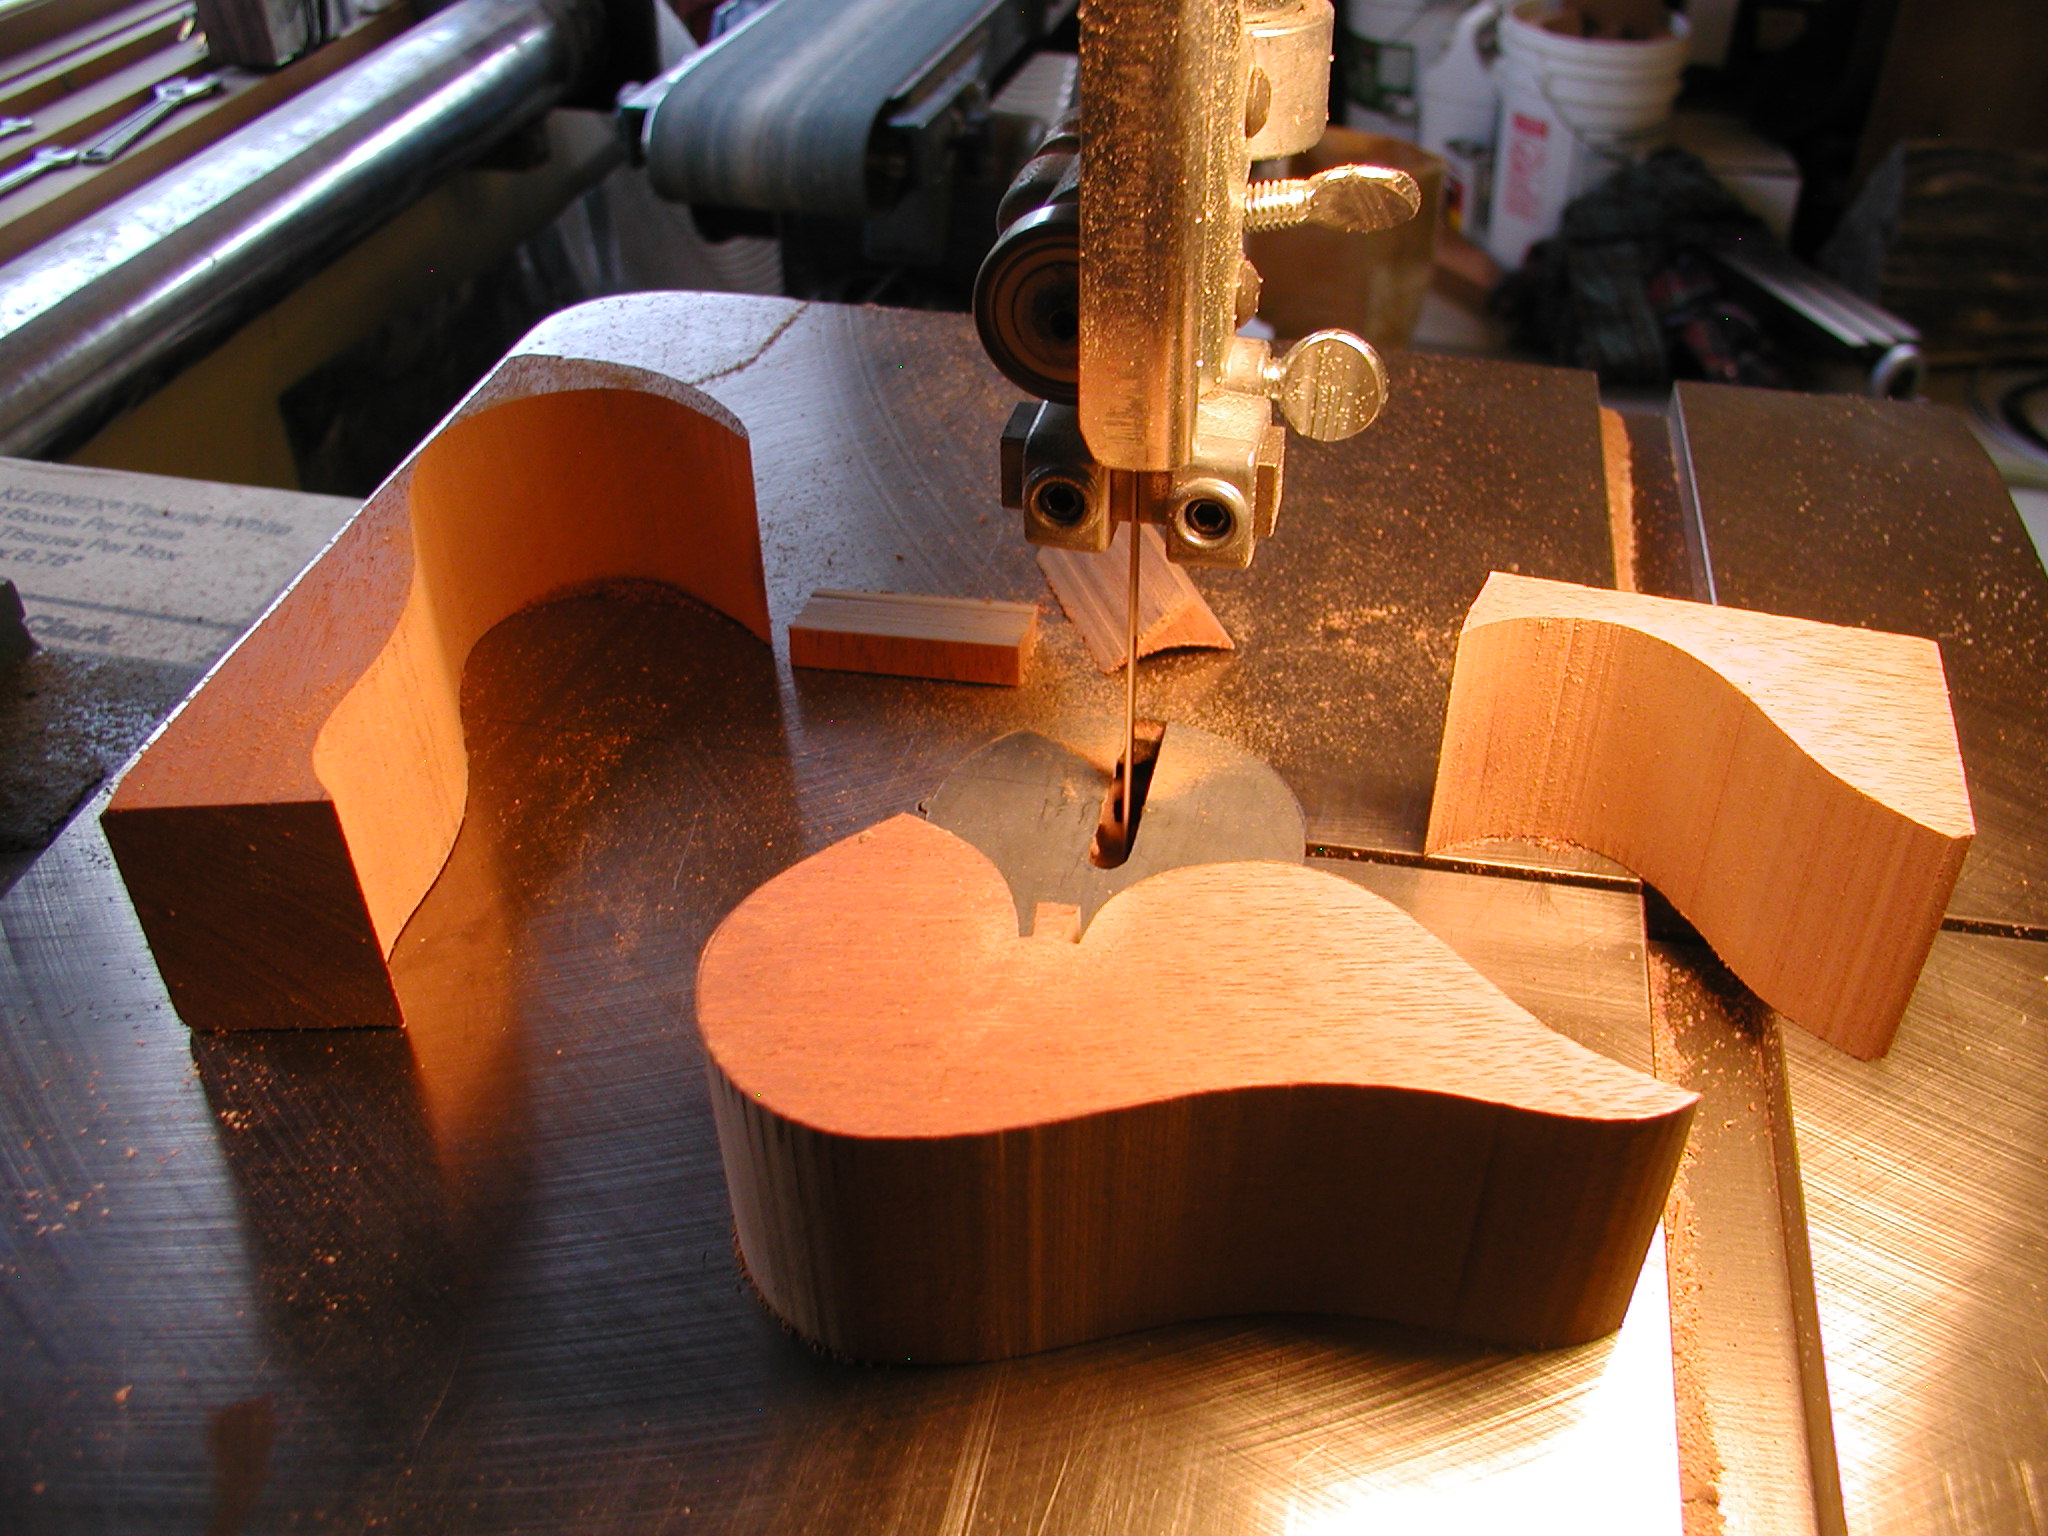
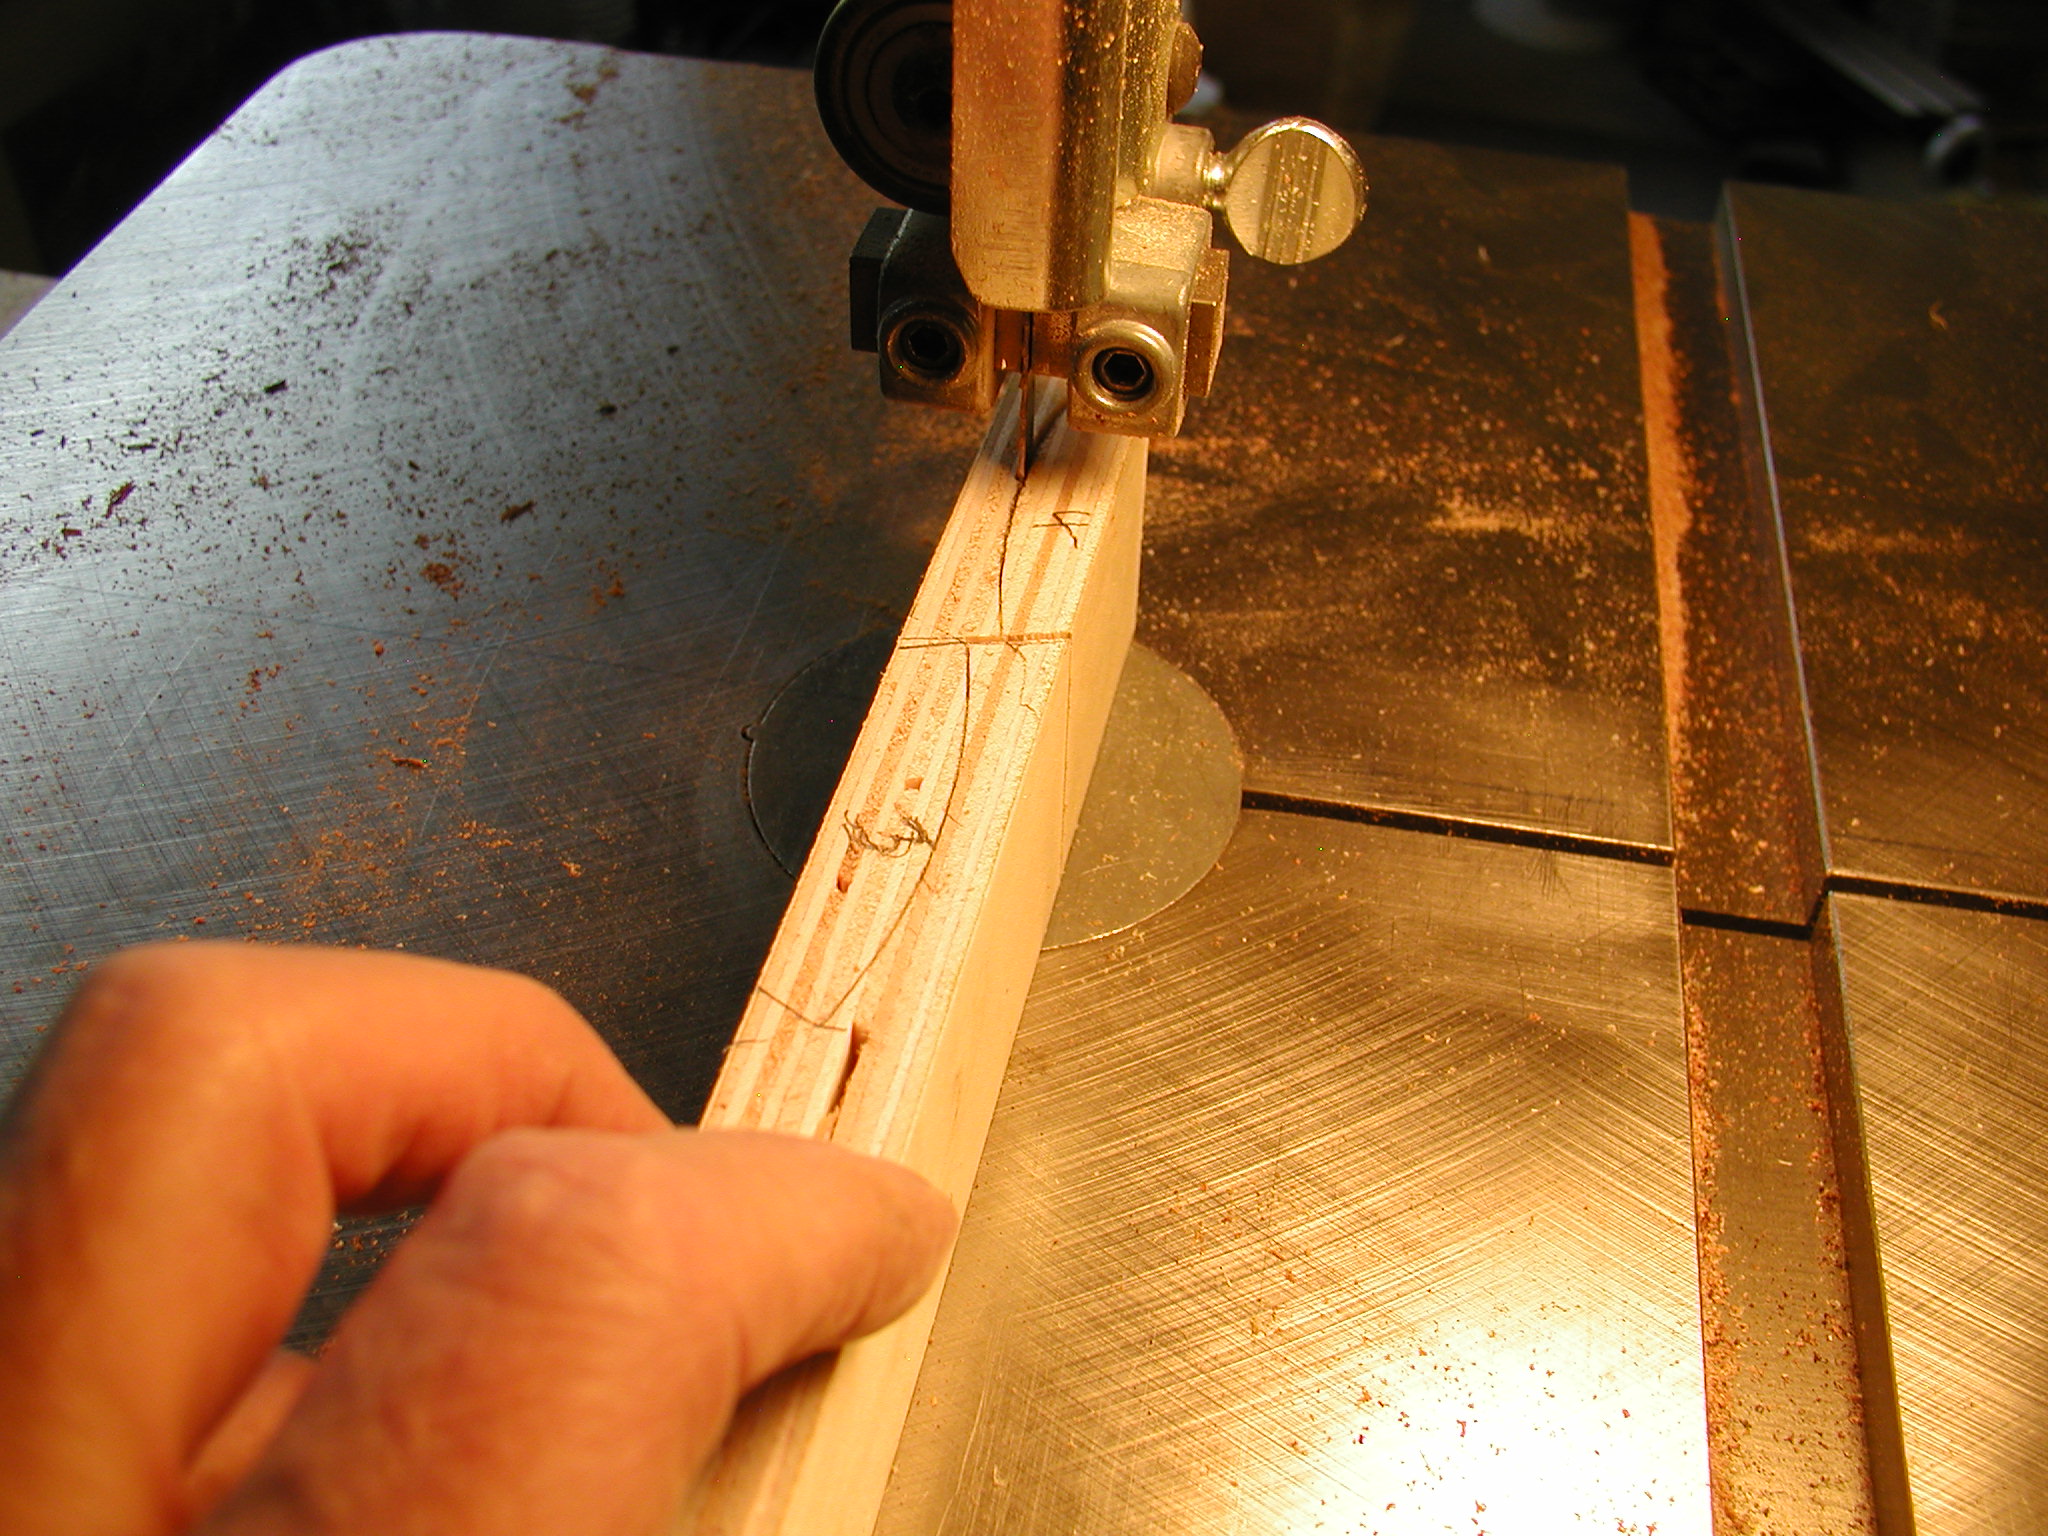
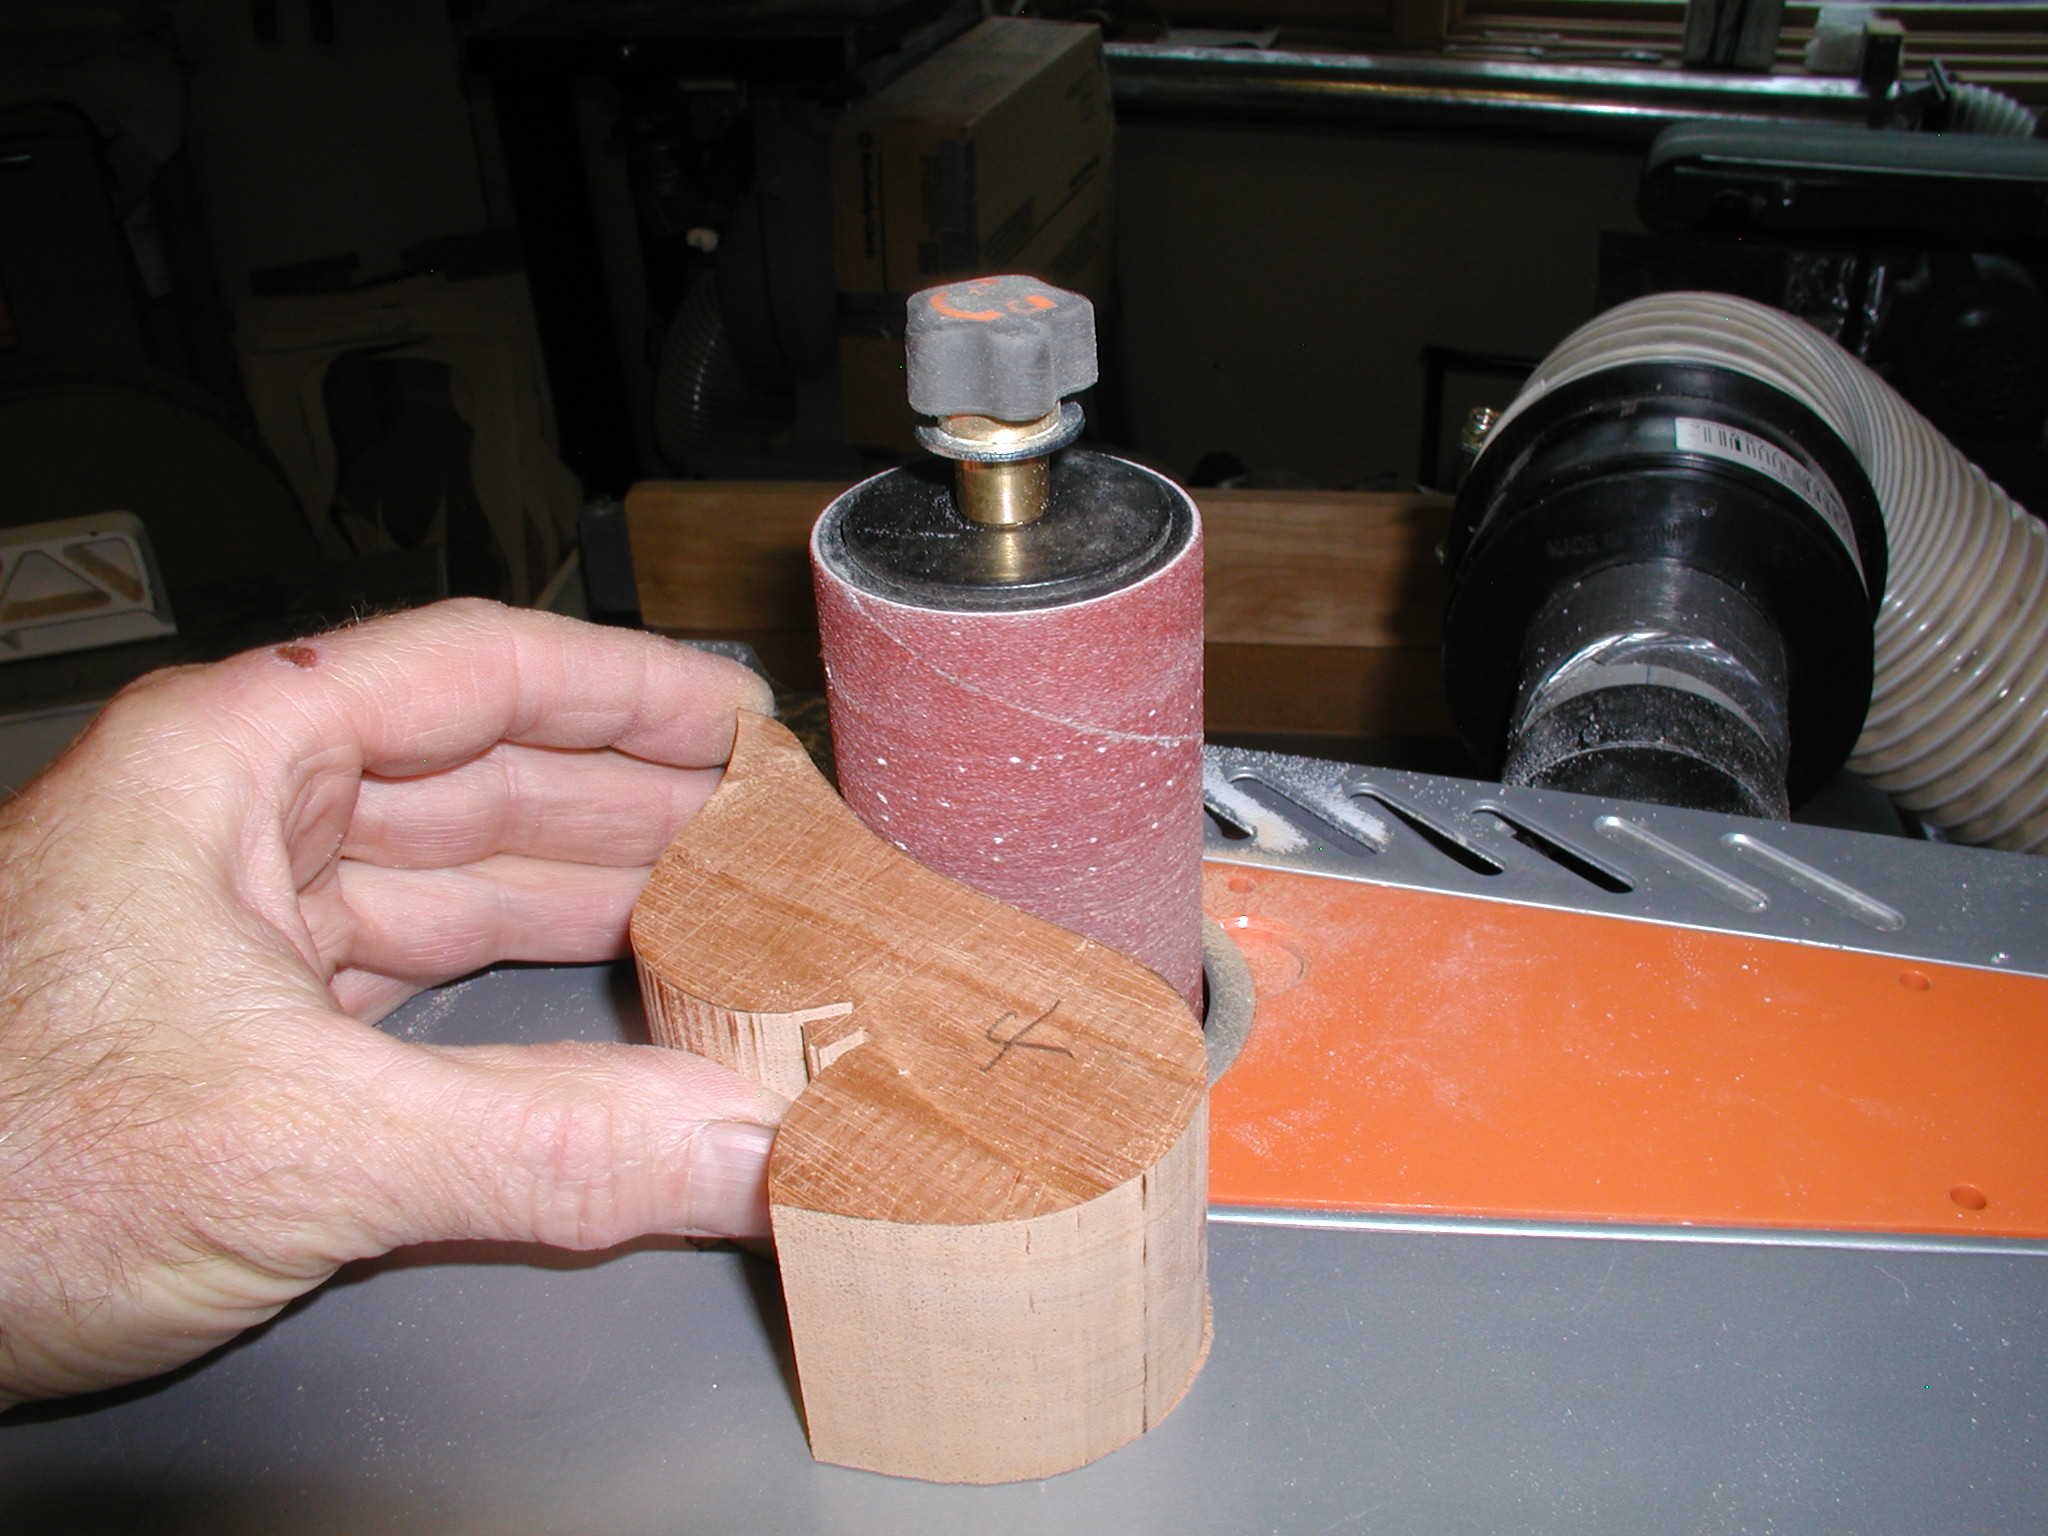
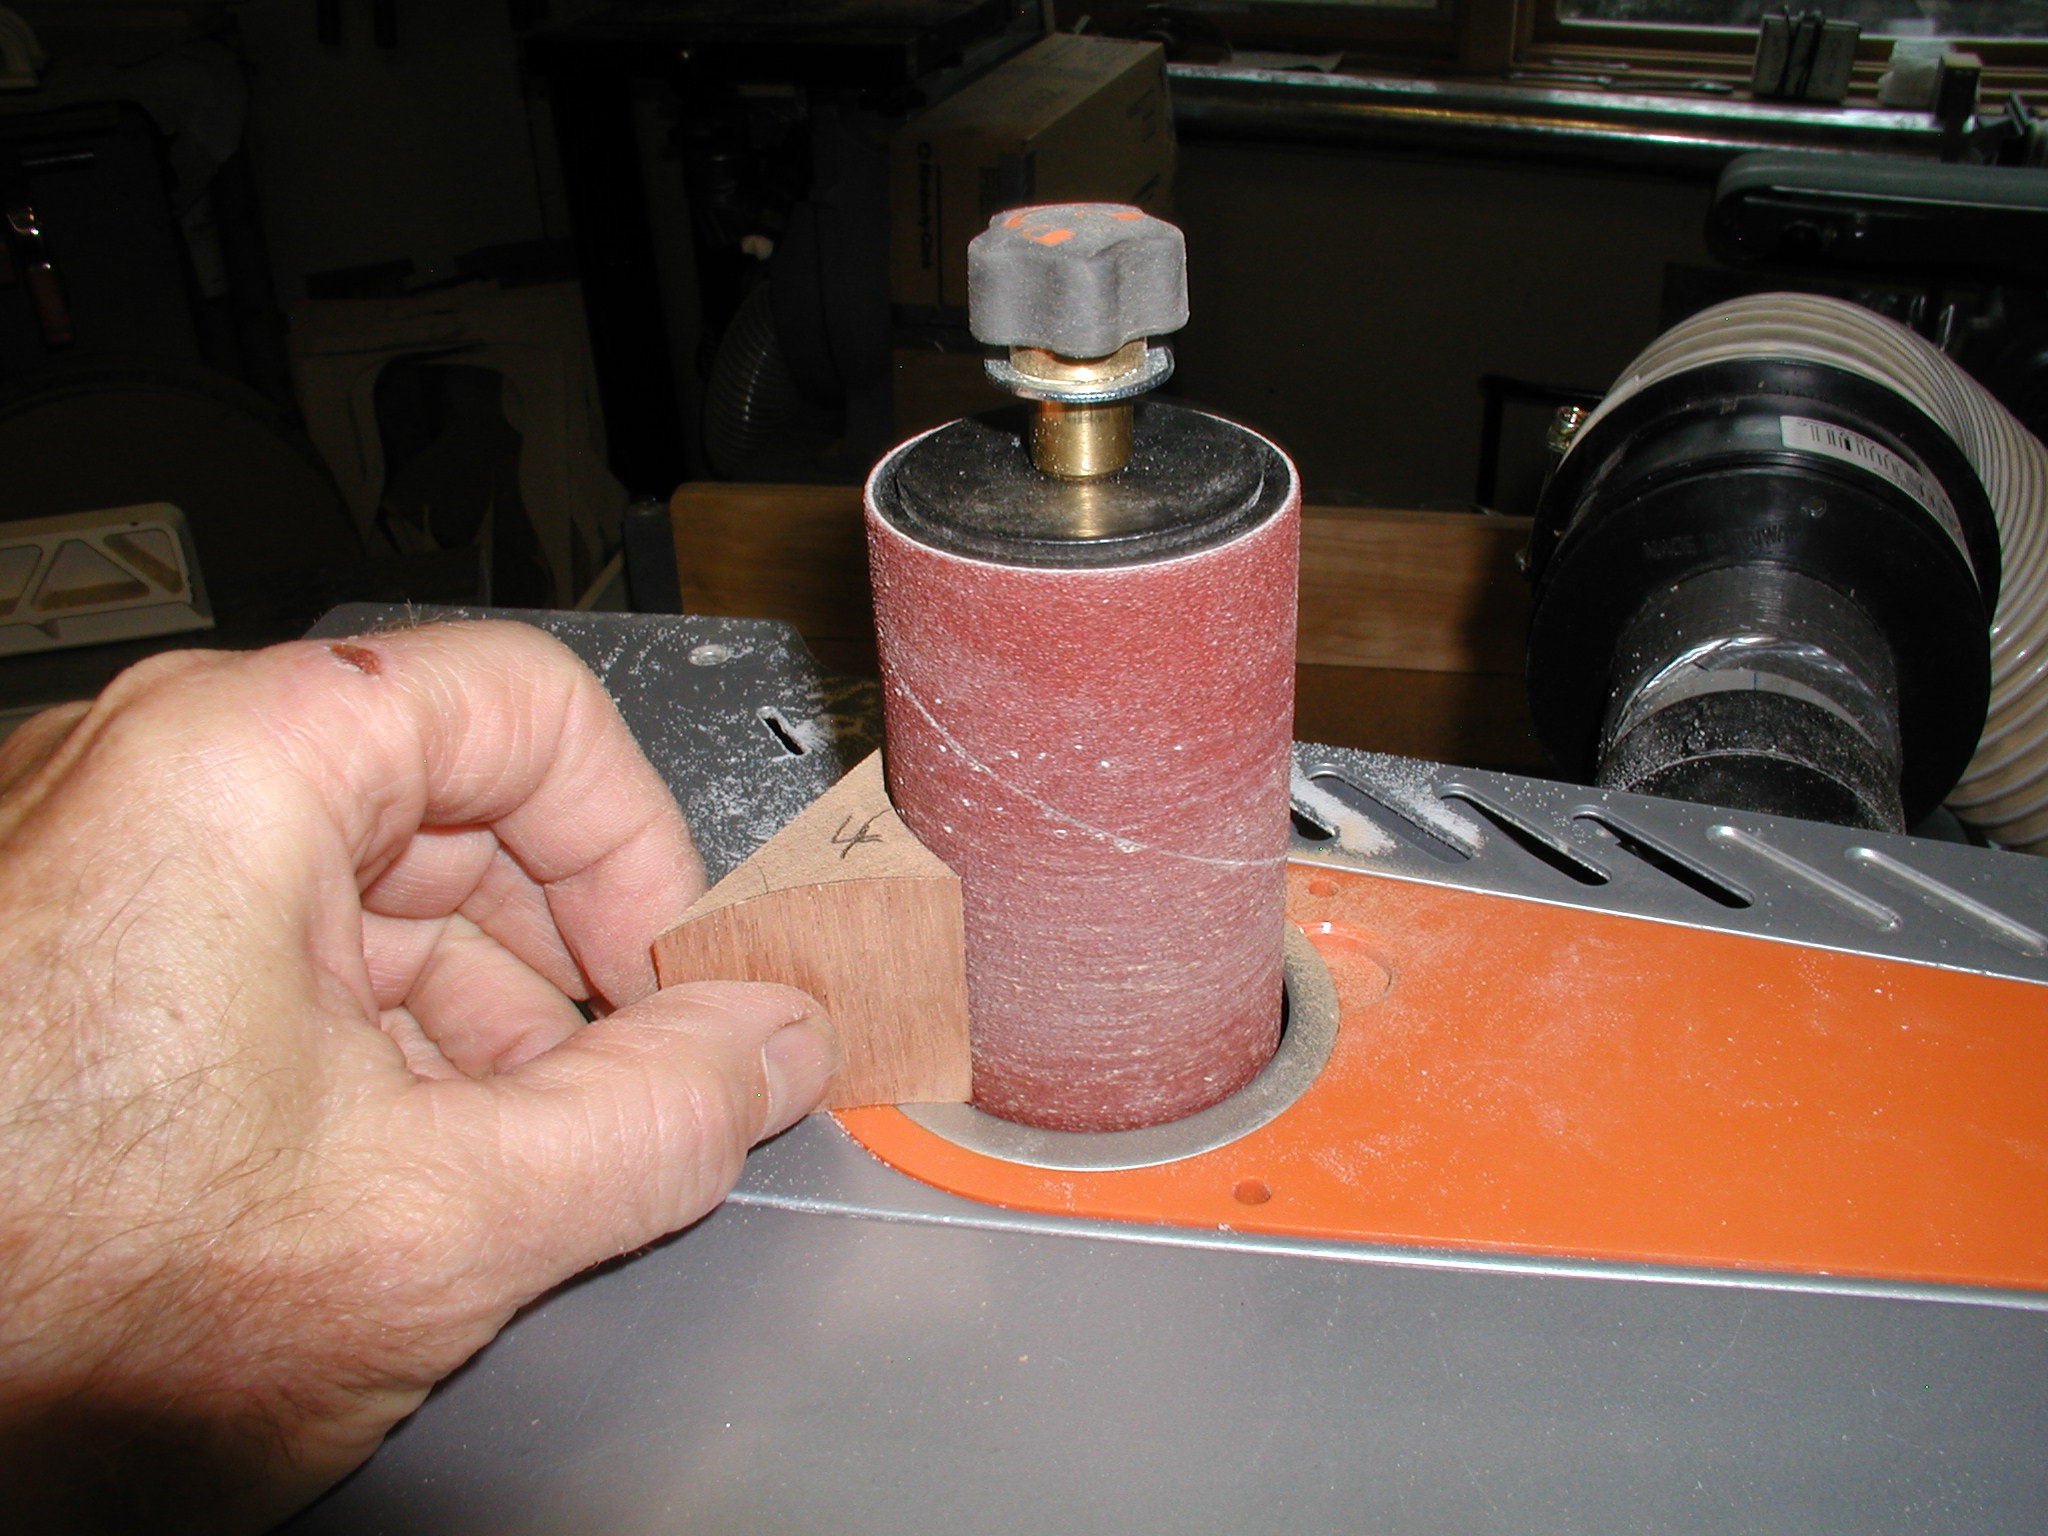
All the blocks get trued up and squared so they stand straight. The spindle sander is just great for this and so many other jobs in mandolin building. I just recently got this tool and wonder now why I waited so long. Recommended.
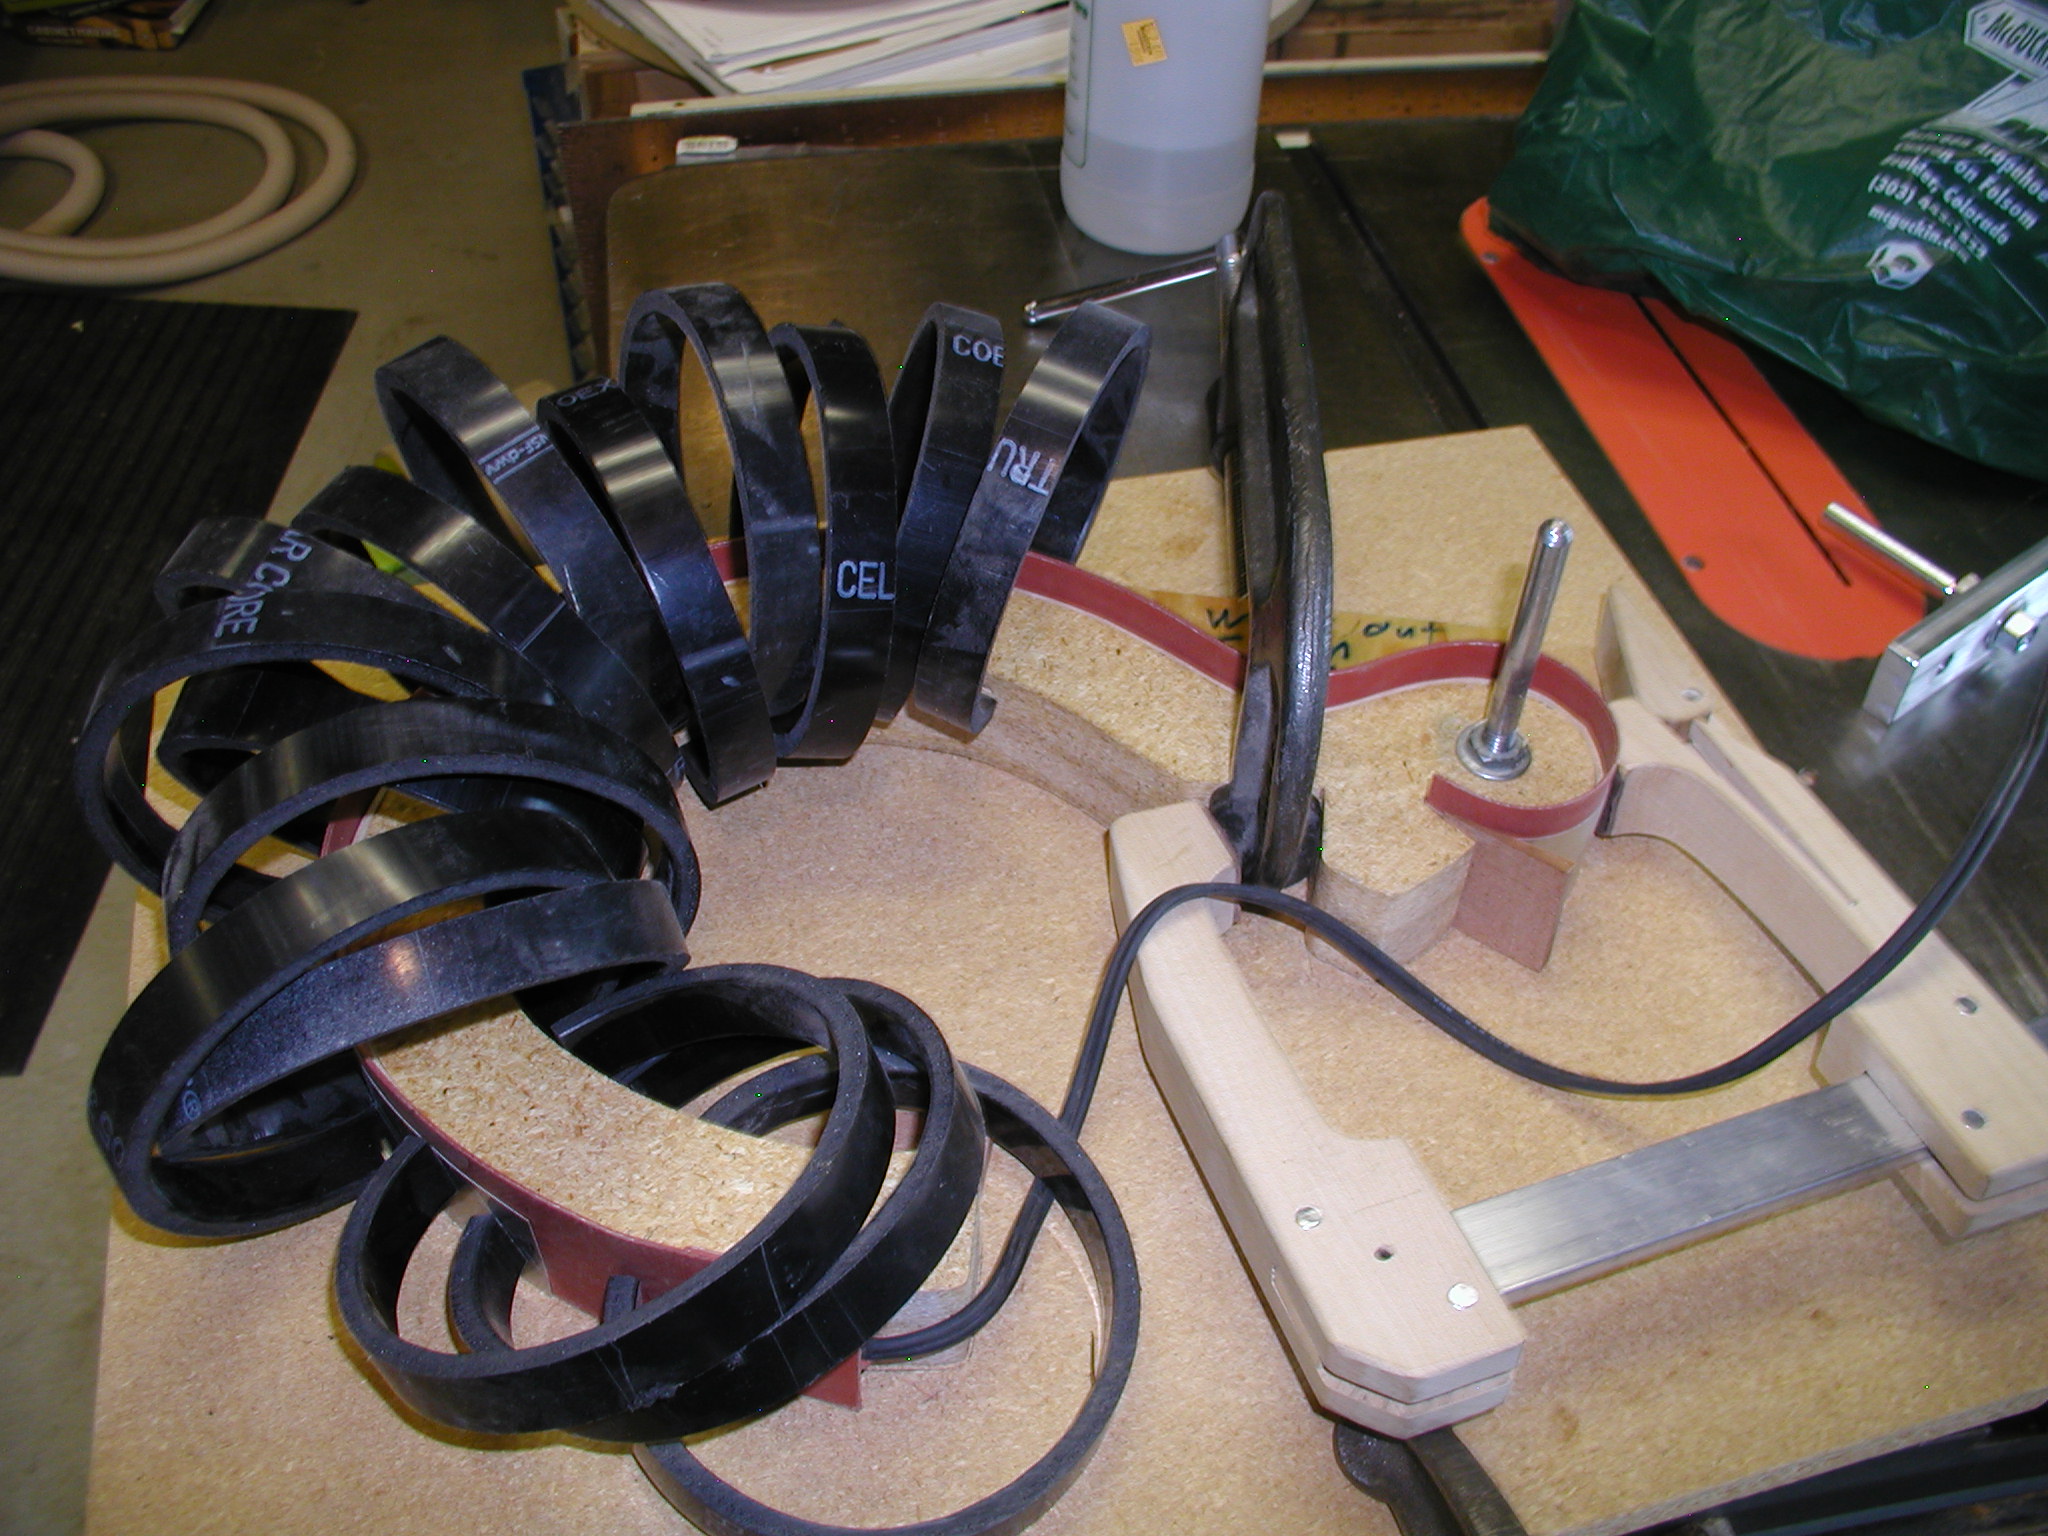
The sides are cut to length but a bit long and then bent. There are three sides with the way I build, the scroll to front point, front to rear point, and long scroll to rear point one. I used to just bend freehand on a hot pipe and that works well but I get better consistency and a smoother result using the forms I've made. This is not my invention but is relatively common with mandolin builders. I sprits the wood with distilled water and use a 2" wide heat blanket for the heat source, the forms are designed with space for the bending slat and the blanket. The form for the long side is a bit interesting and needs a few comments. First, since the scroll area will be backed by the headblock and is a strong curve anyway, I thin that end of the side down to about 0.070" or so so it bends more easily. The side, heat blanket, and the slat get held in place with a wedge, then I use a lever with a pin to help wrap the side around the form. This is followed with clamps all over the place to hold it in place. Note the special clamp piece in the waist to pull it tight around the scroll and keep it in place. I'm thinking of adding another that goes to the scroll area rather than all the Sloan type lever clamps. The black clamps are just pieces of PVC pipe cut off in 3/4" or 1" strips and split. They make nice quick spring clamps. This application tends to melt the ends a bit though.
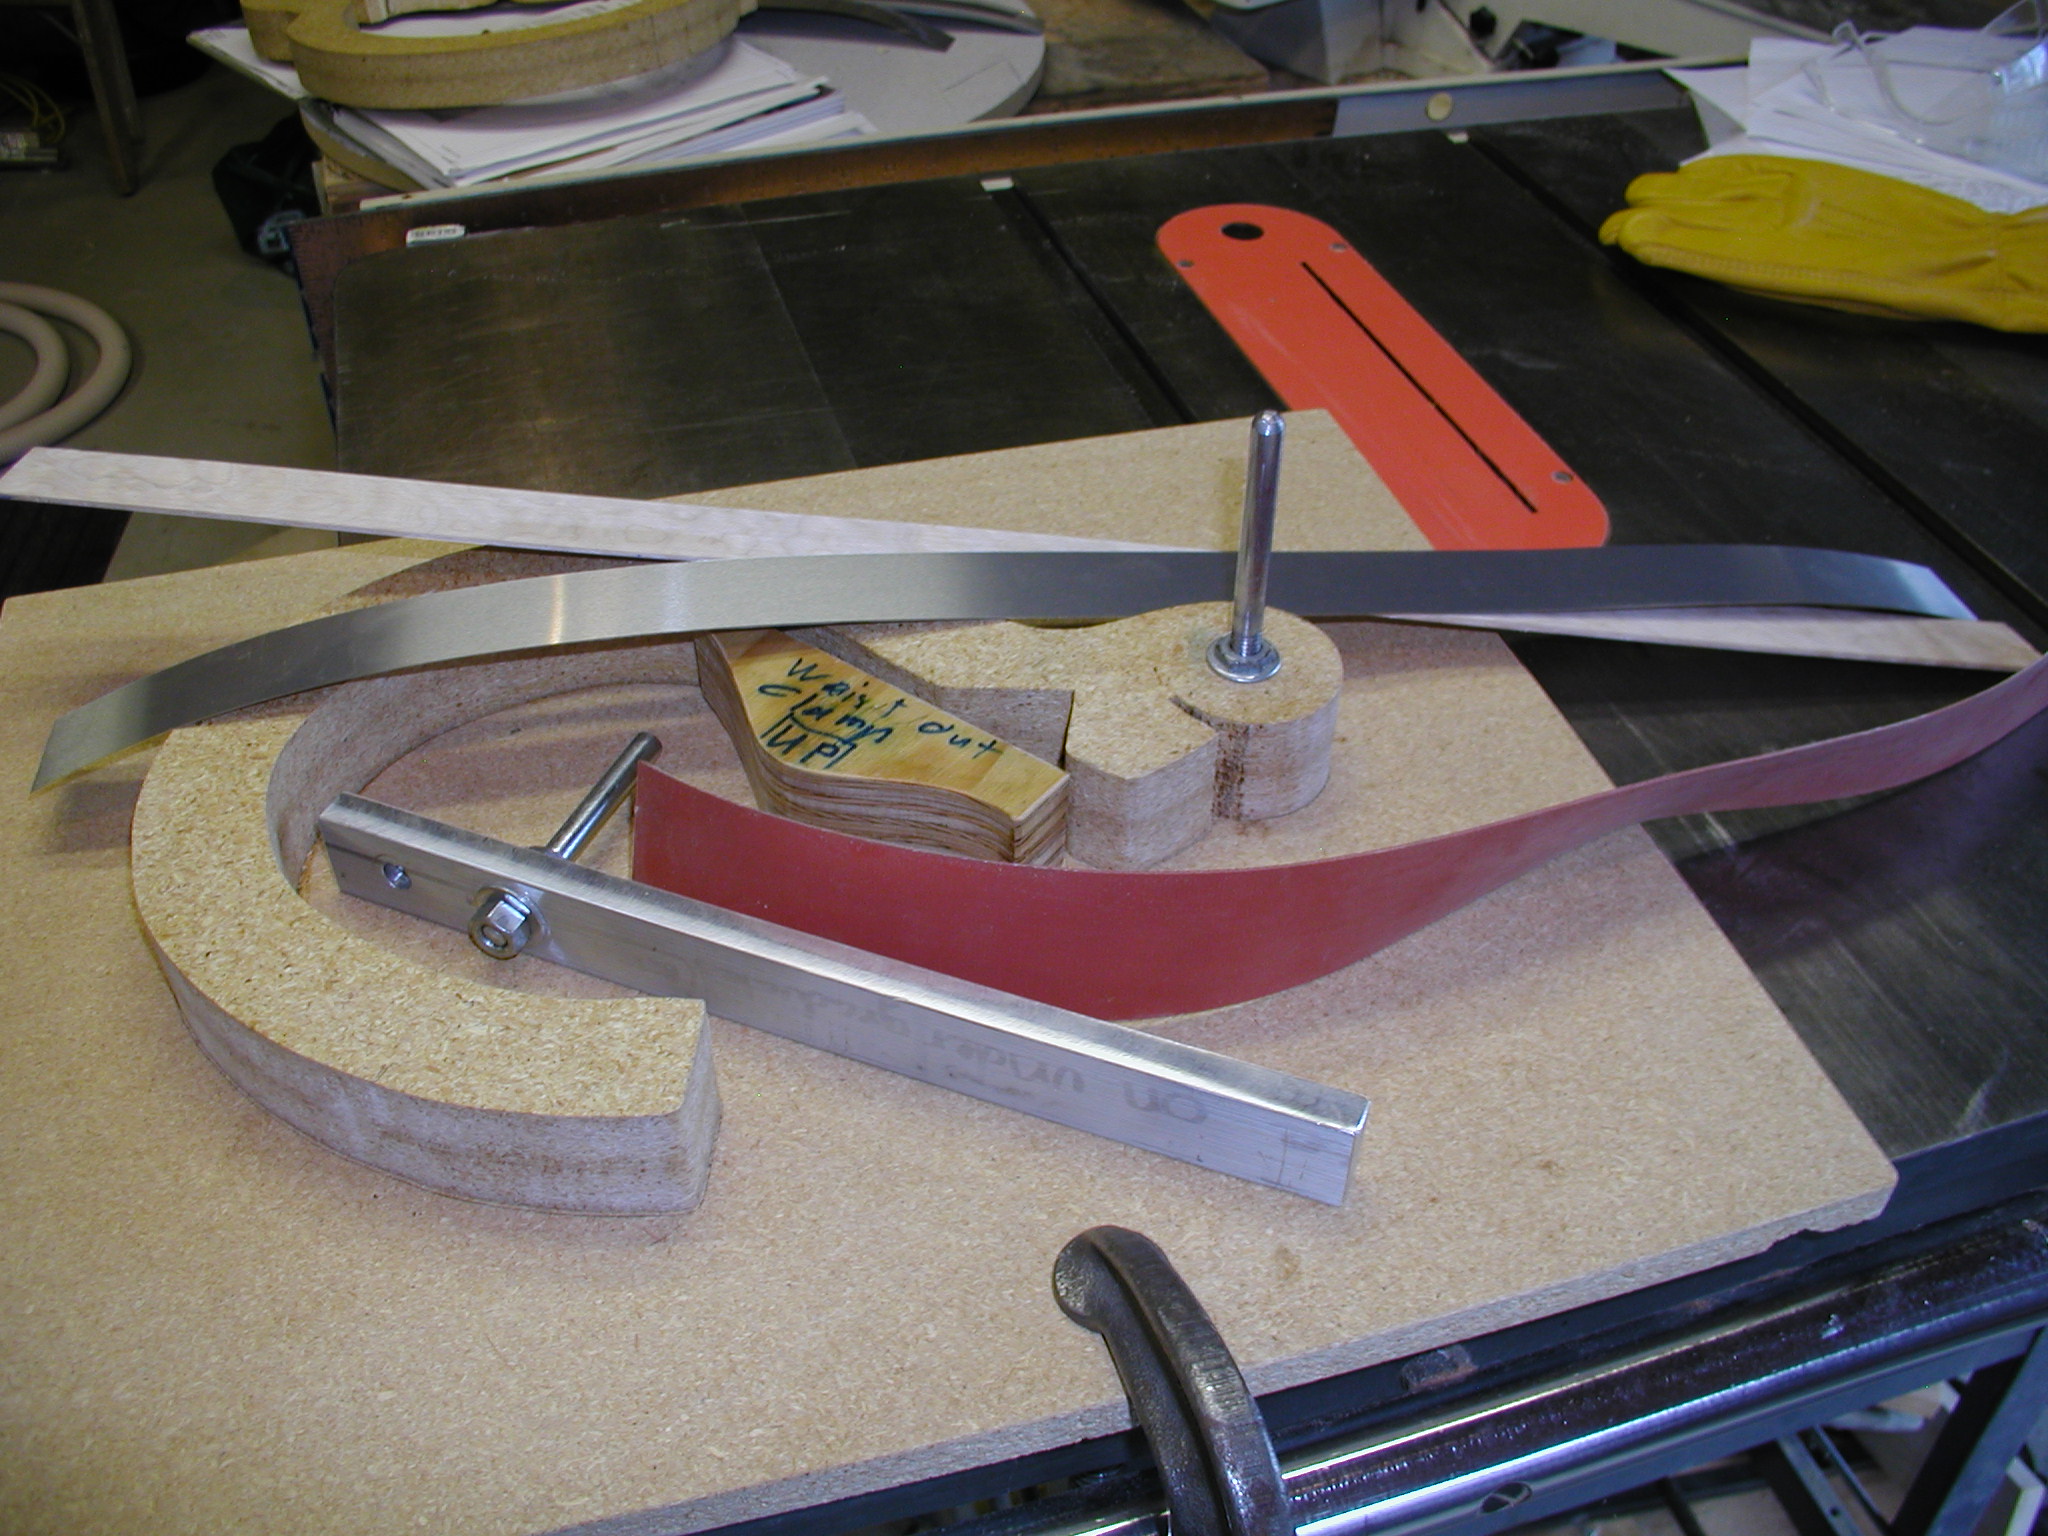
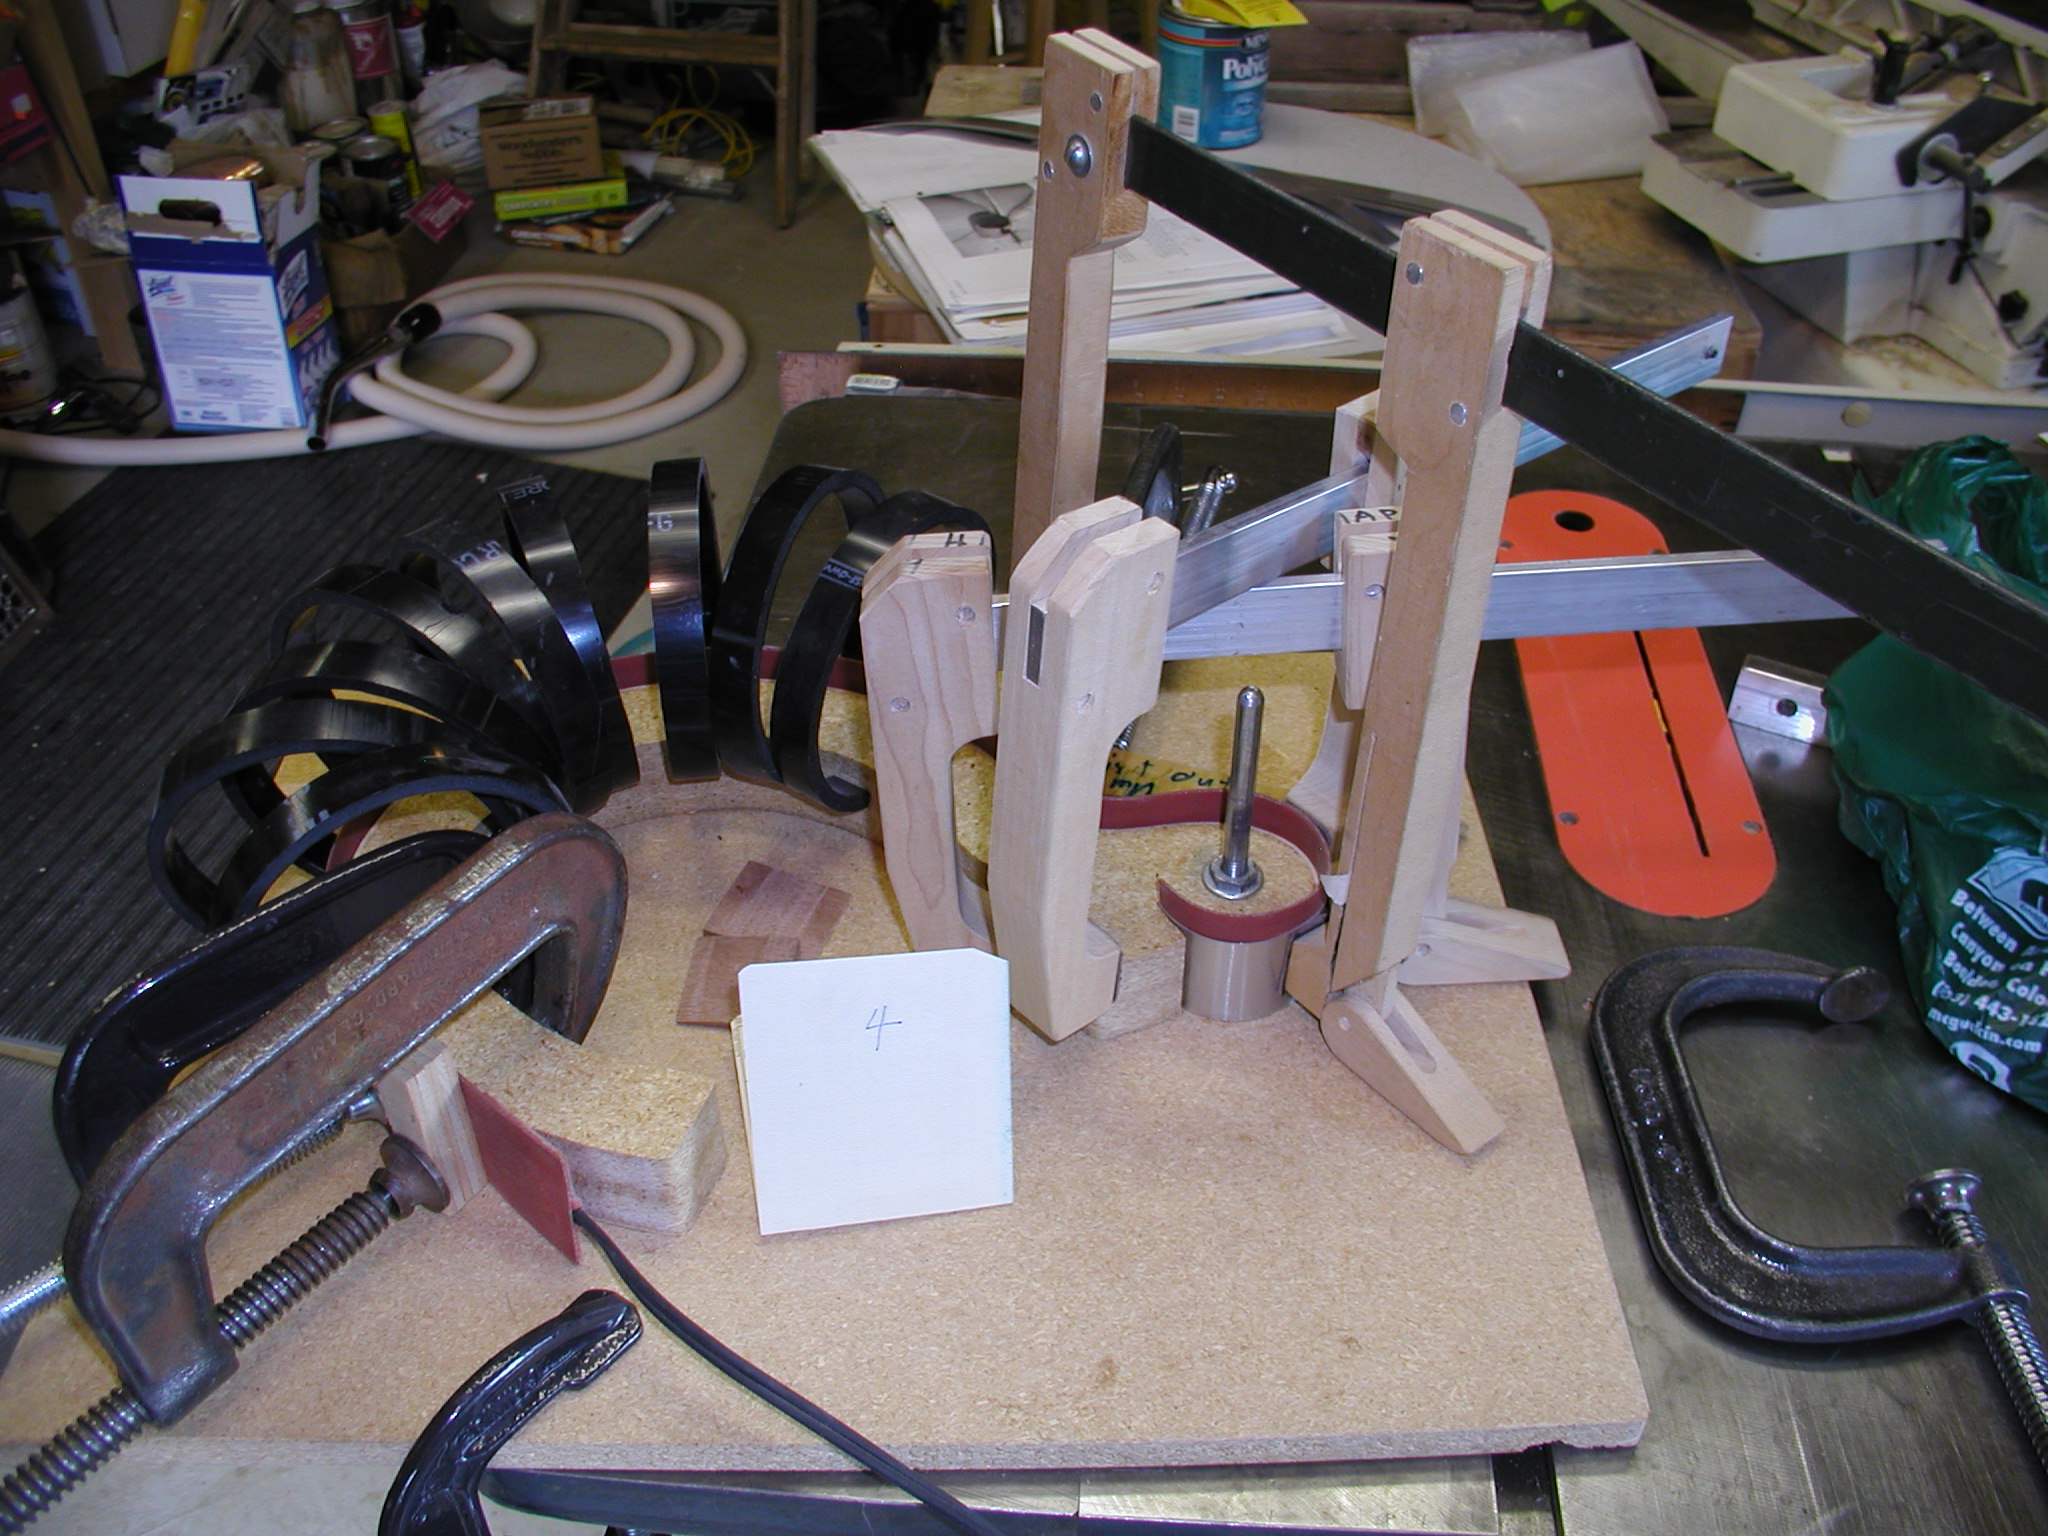
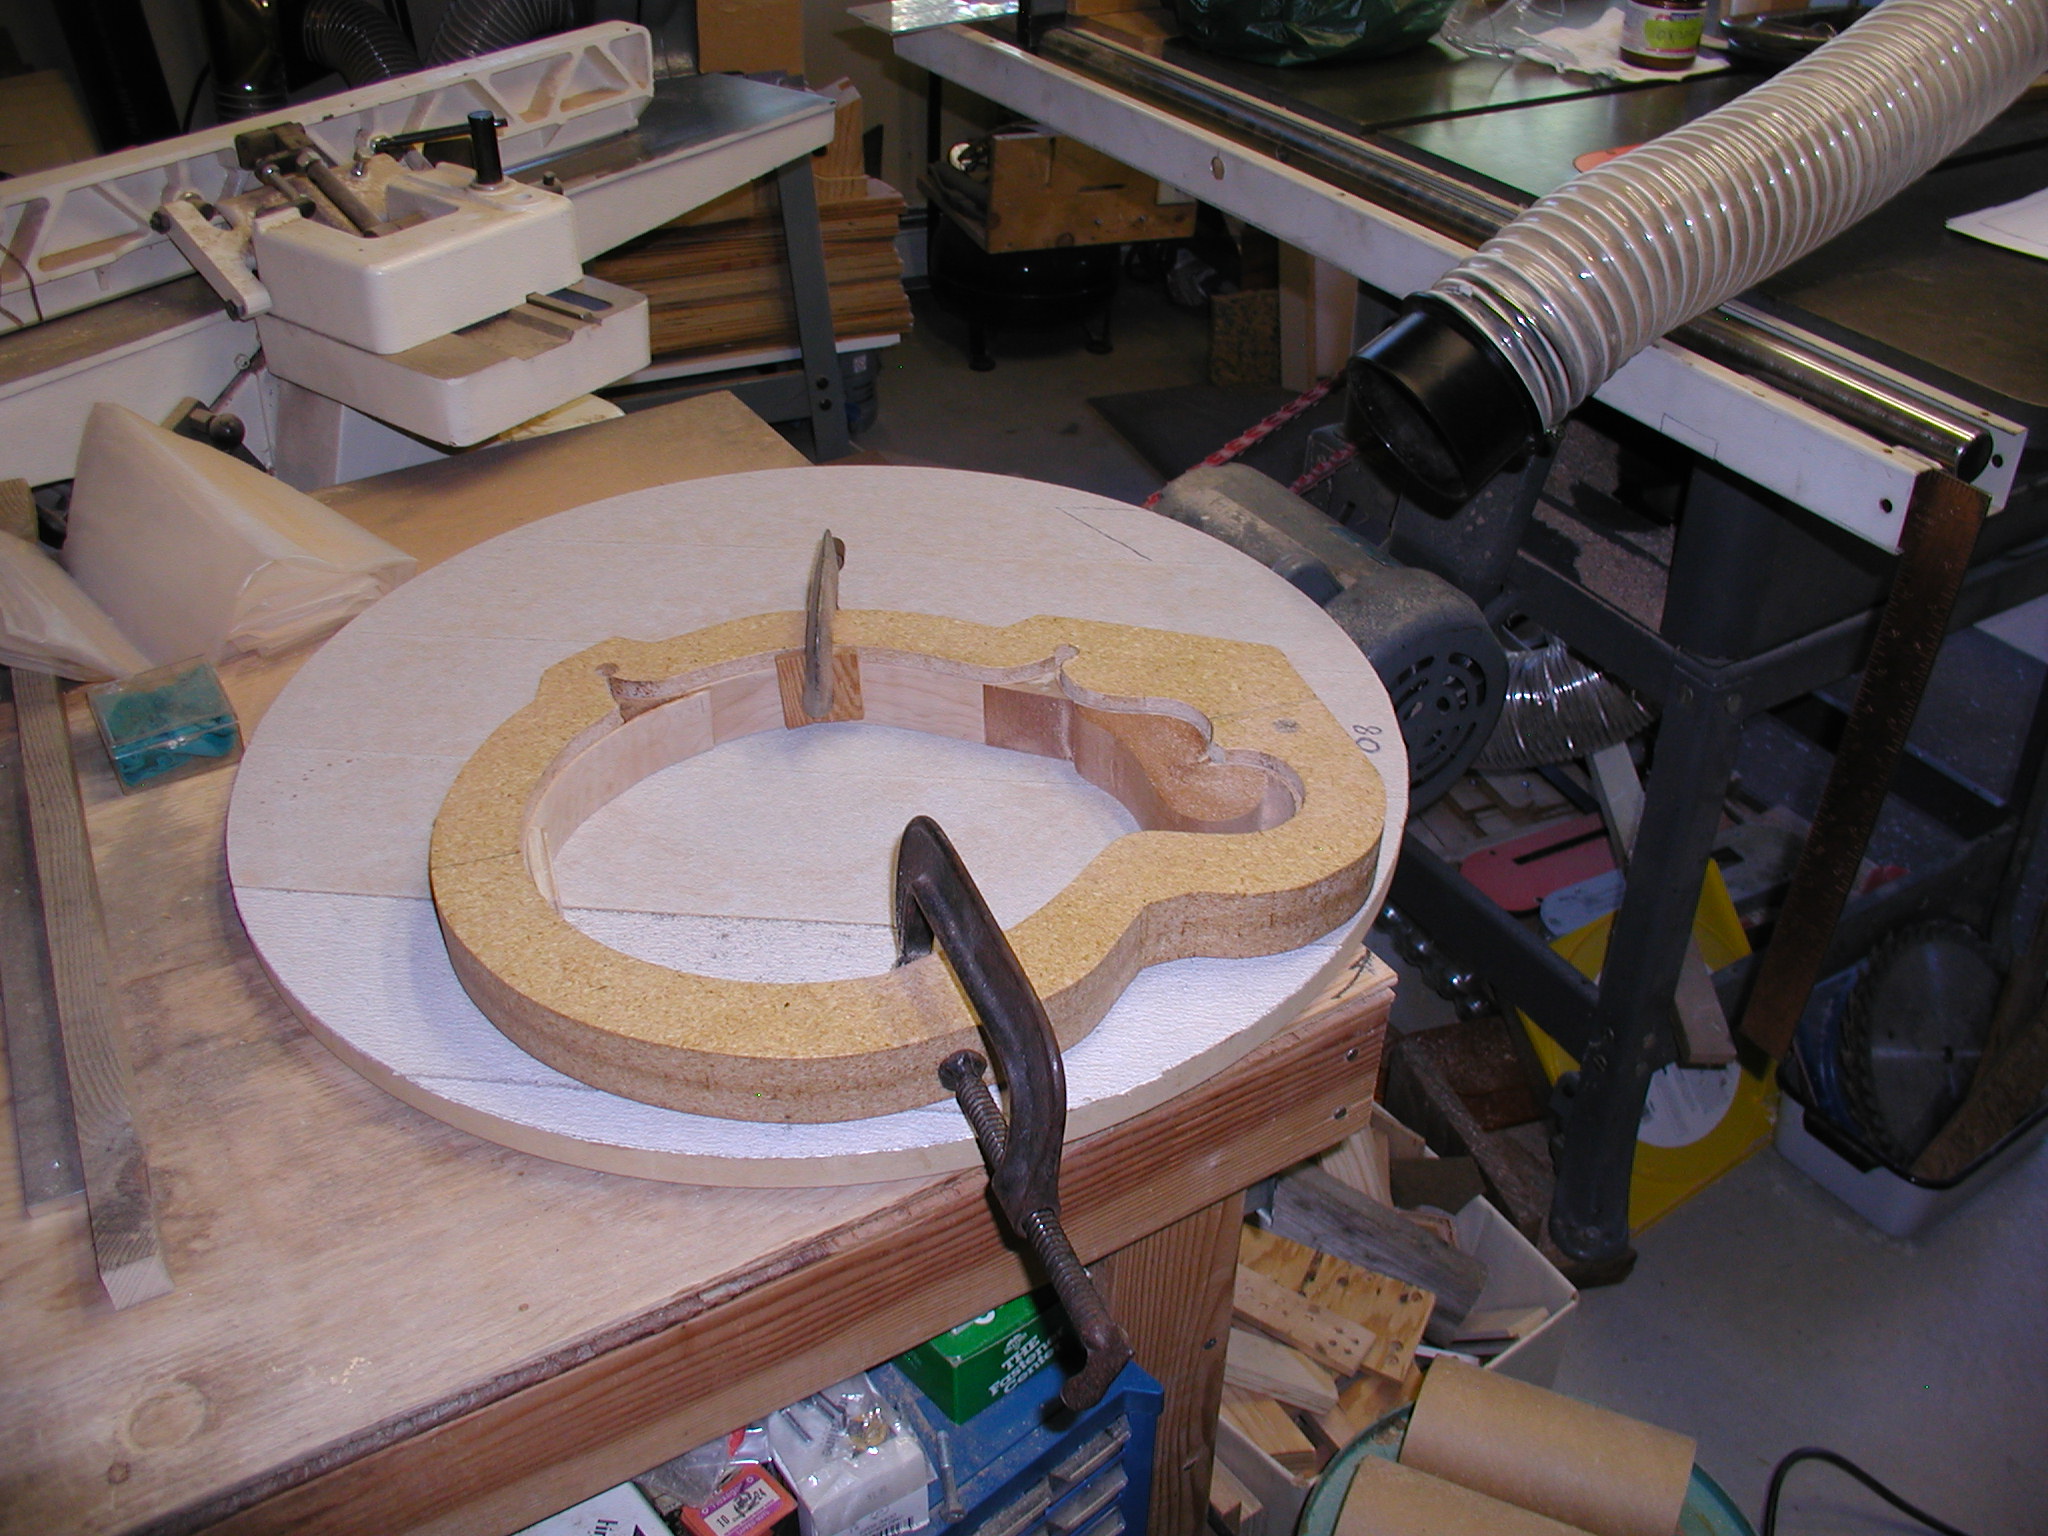
Once the ribs are bent and close to true they get assembled with the blocks. While I tend to build guitars on a semi-open form, I use an outside mold for mandolins to make sure that all the fiddly little bits got together square. Notice that the headblock end of the form has a bolt clamp so it can be loosened later if necessary to extract the body.
I start at the headblock so that captures the headblock side and the long scroll side. The headblock itself has two slots in it that accept the sides but the sides need to be cut exactly to length so they seat into these slots. Later the part of the headblock between the sides will be cut away to form the scroll slot so the sides need to seat into the bottom of the slots well and square. The area at the points have largish holes drilled in the form, so initially the sides just get trimmed close but left long and they don't bind against the form because of the space in the hole. Note the use of waxed paper to make sure that you don't glue the body to the form. Second I glue in the bottom side and the front point block. I don't glue the long scroll side to the bottom side at this step.
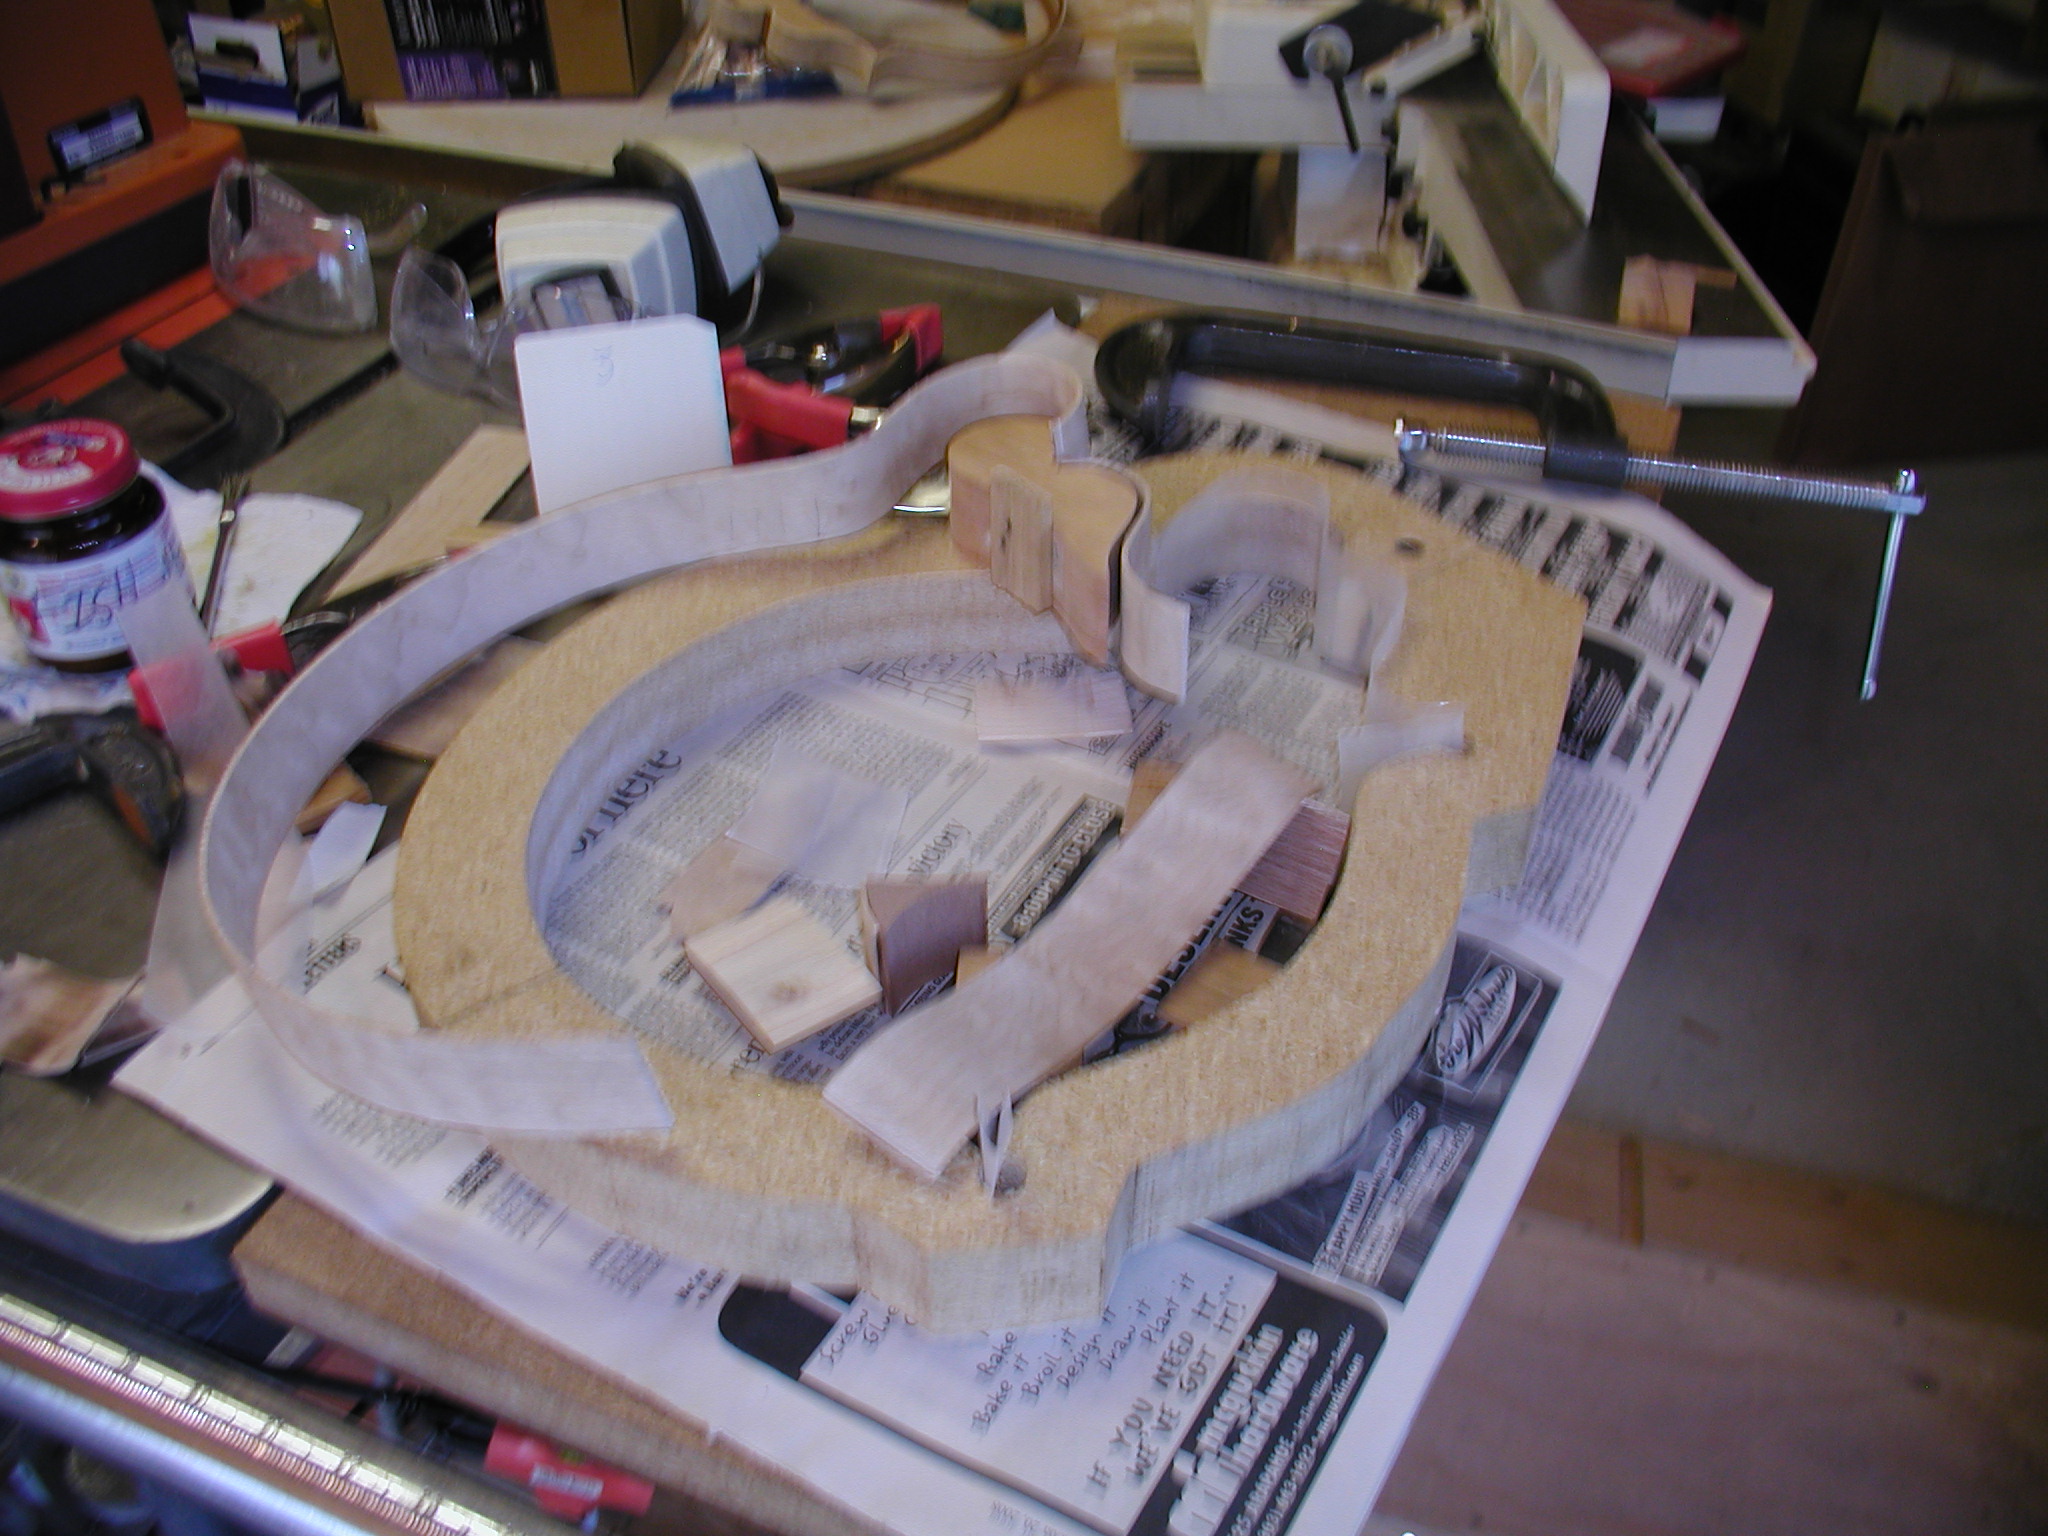

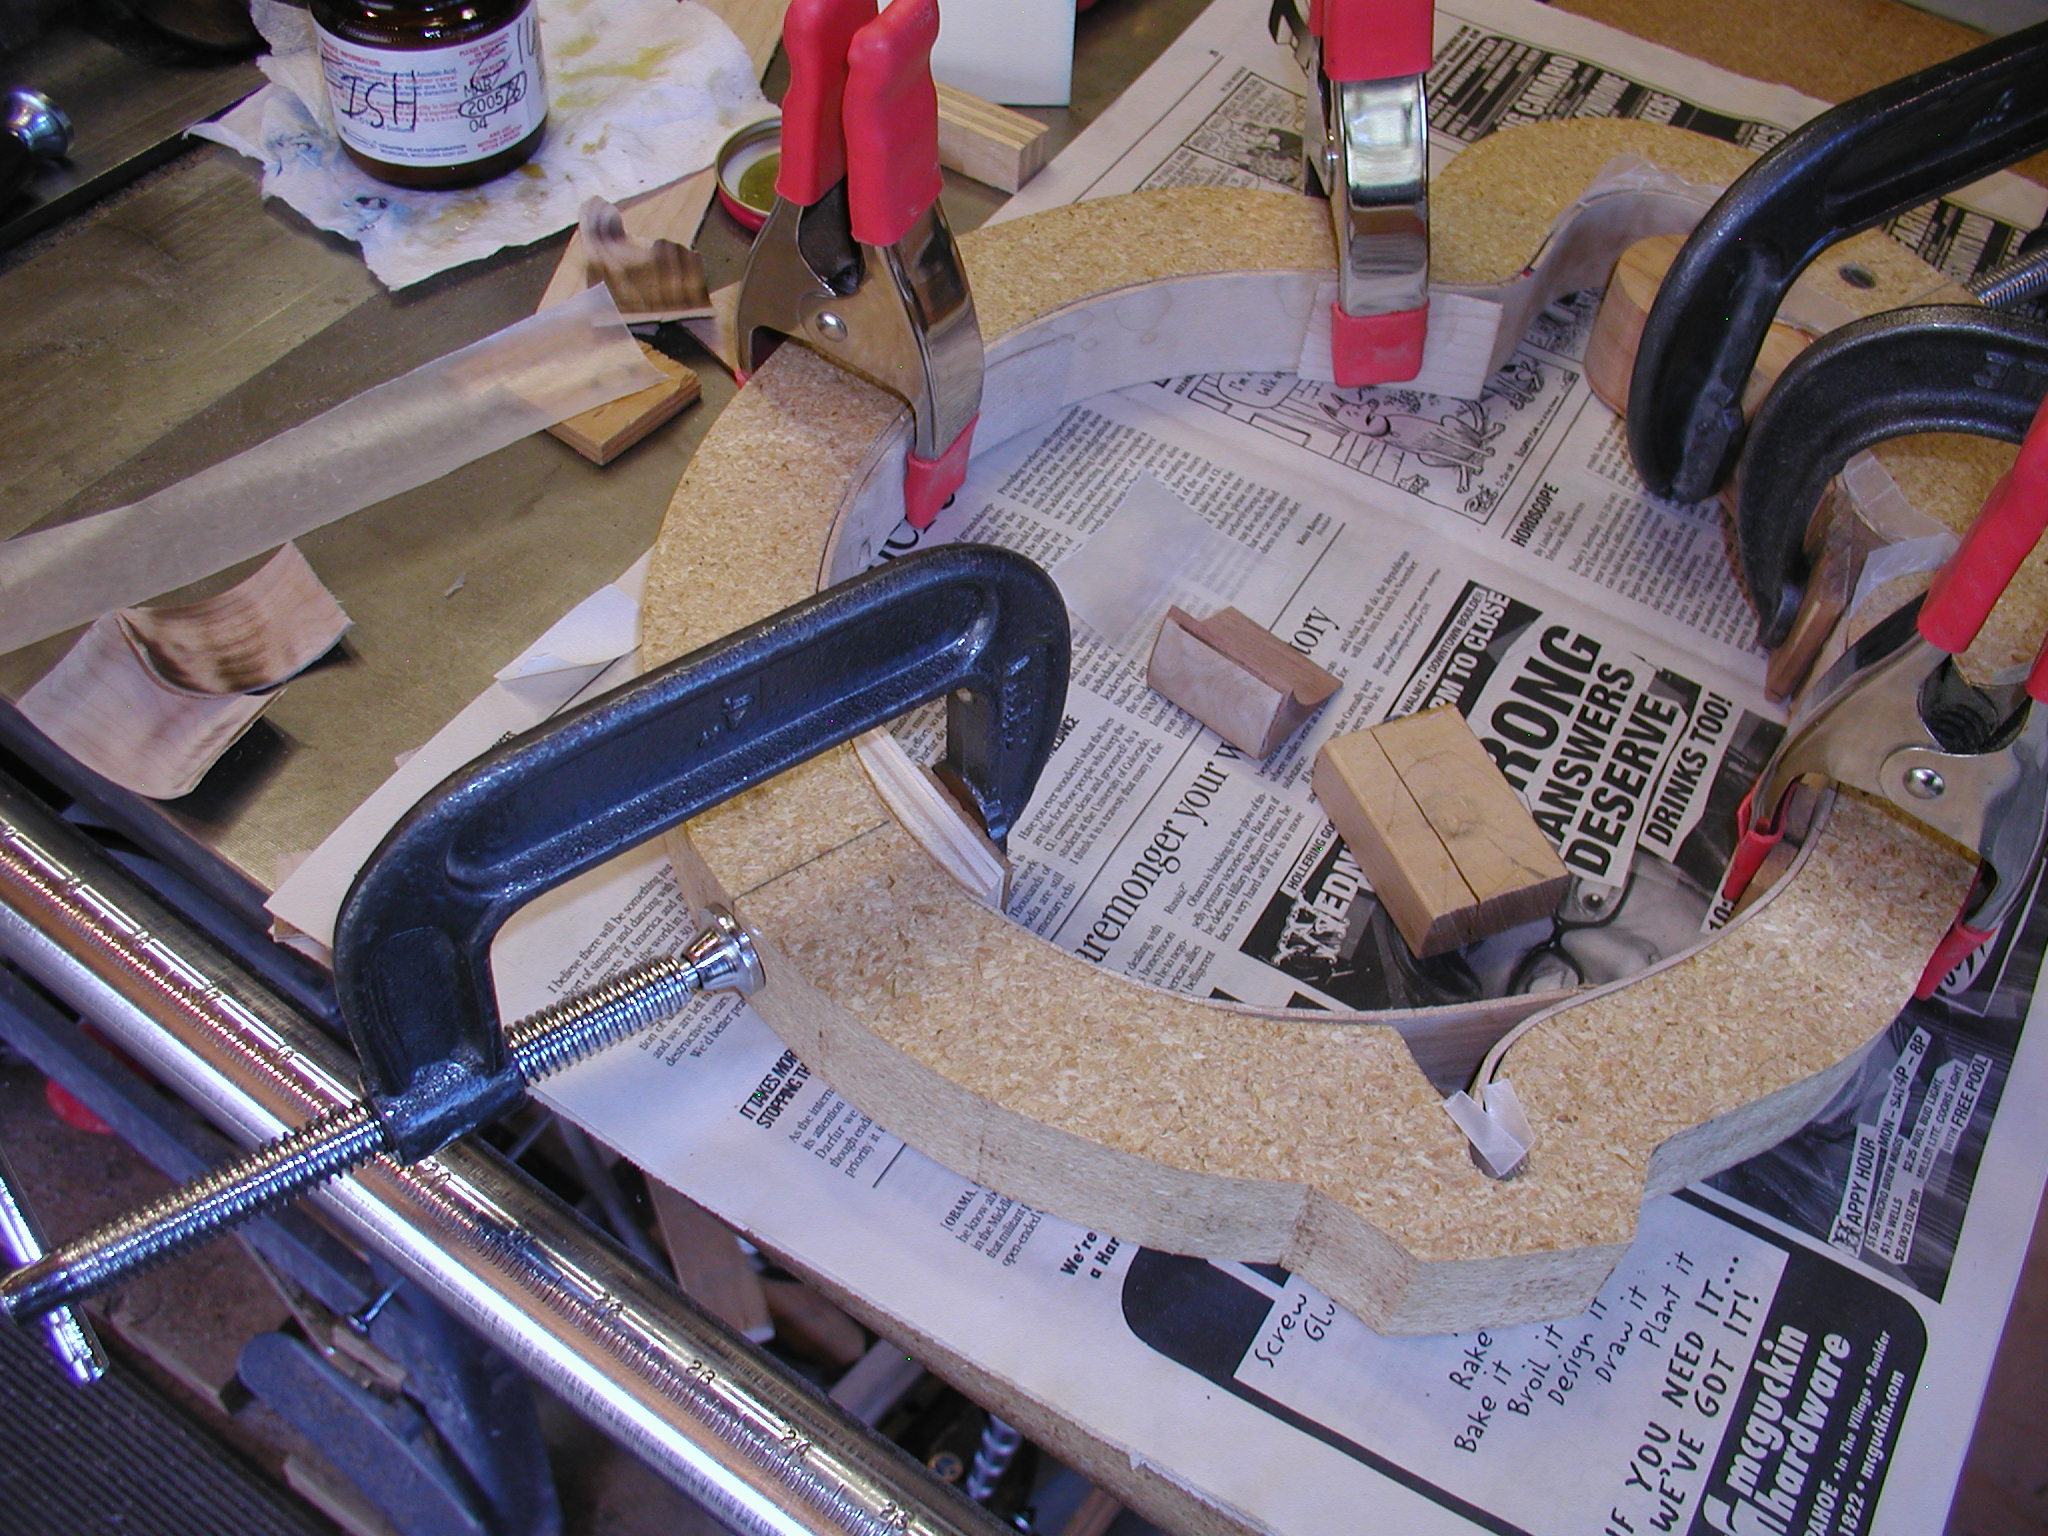
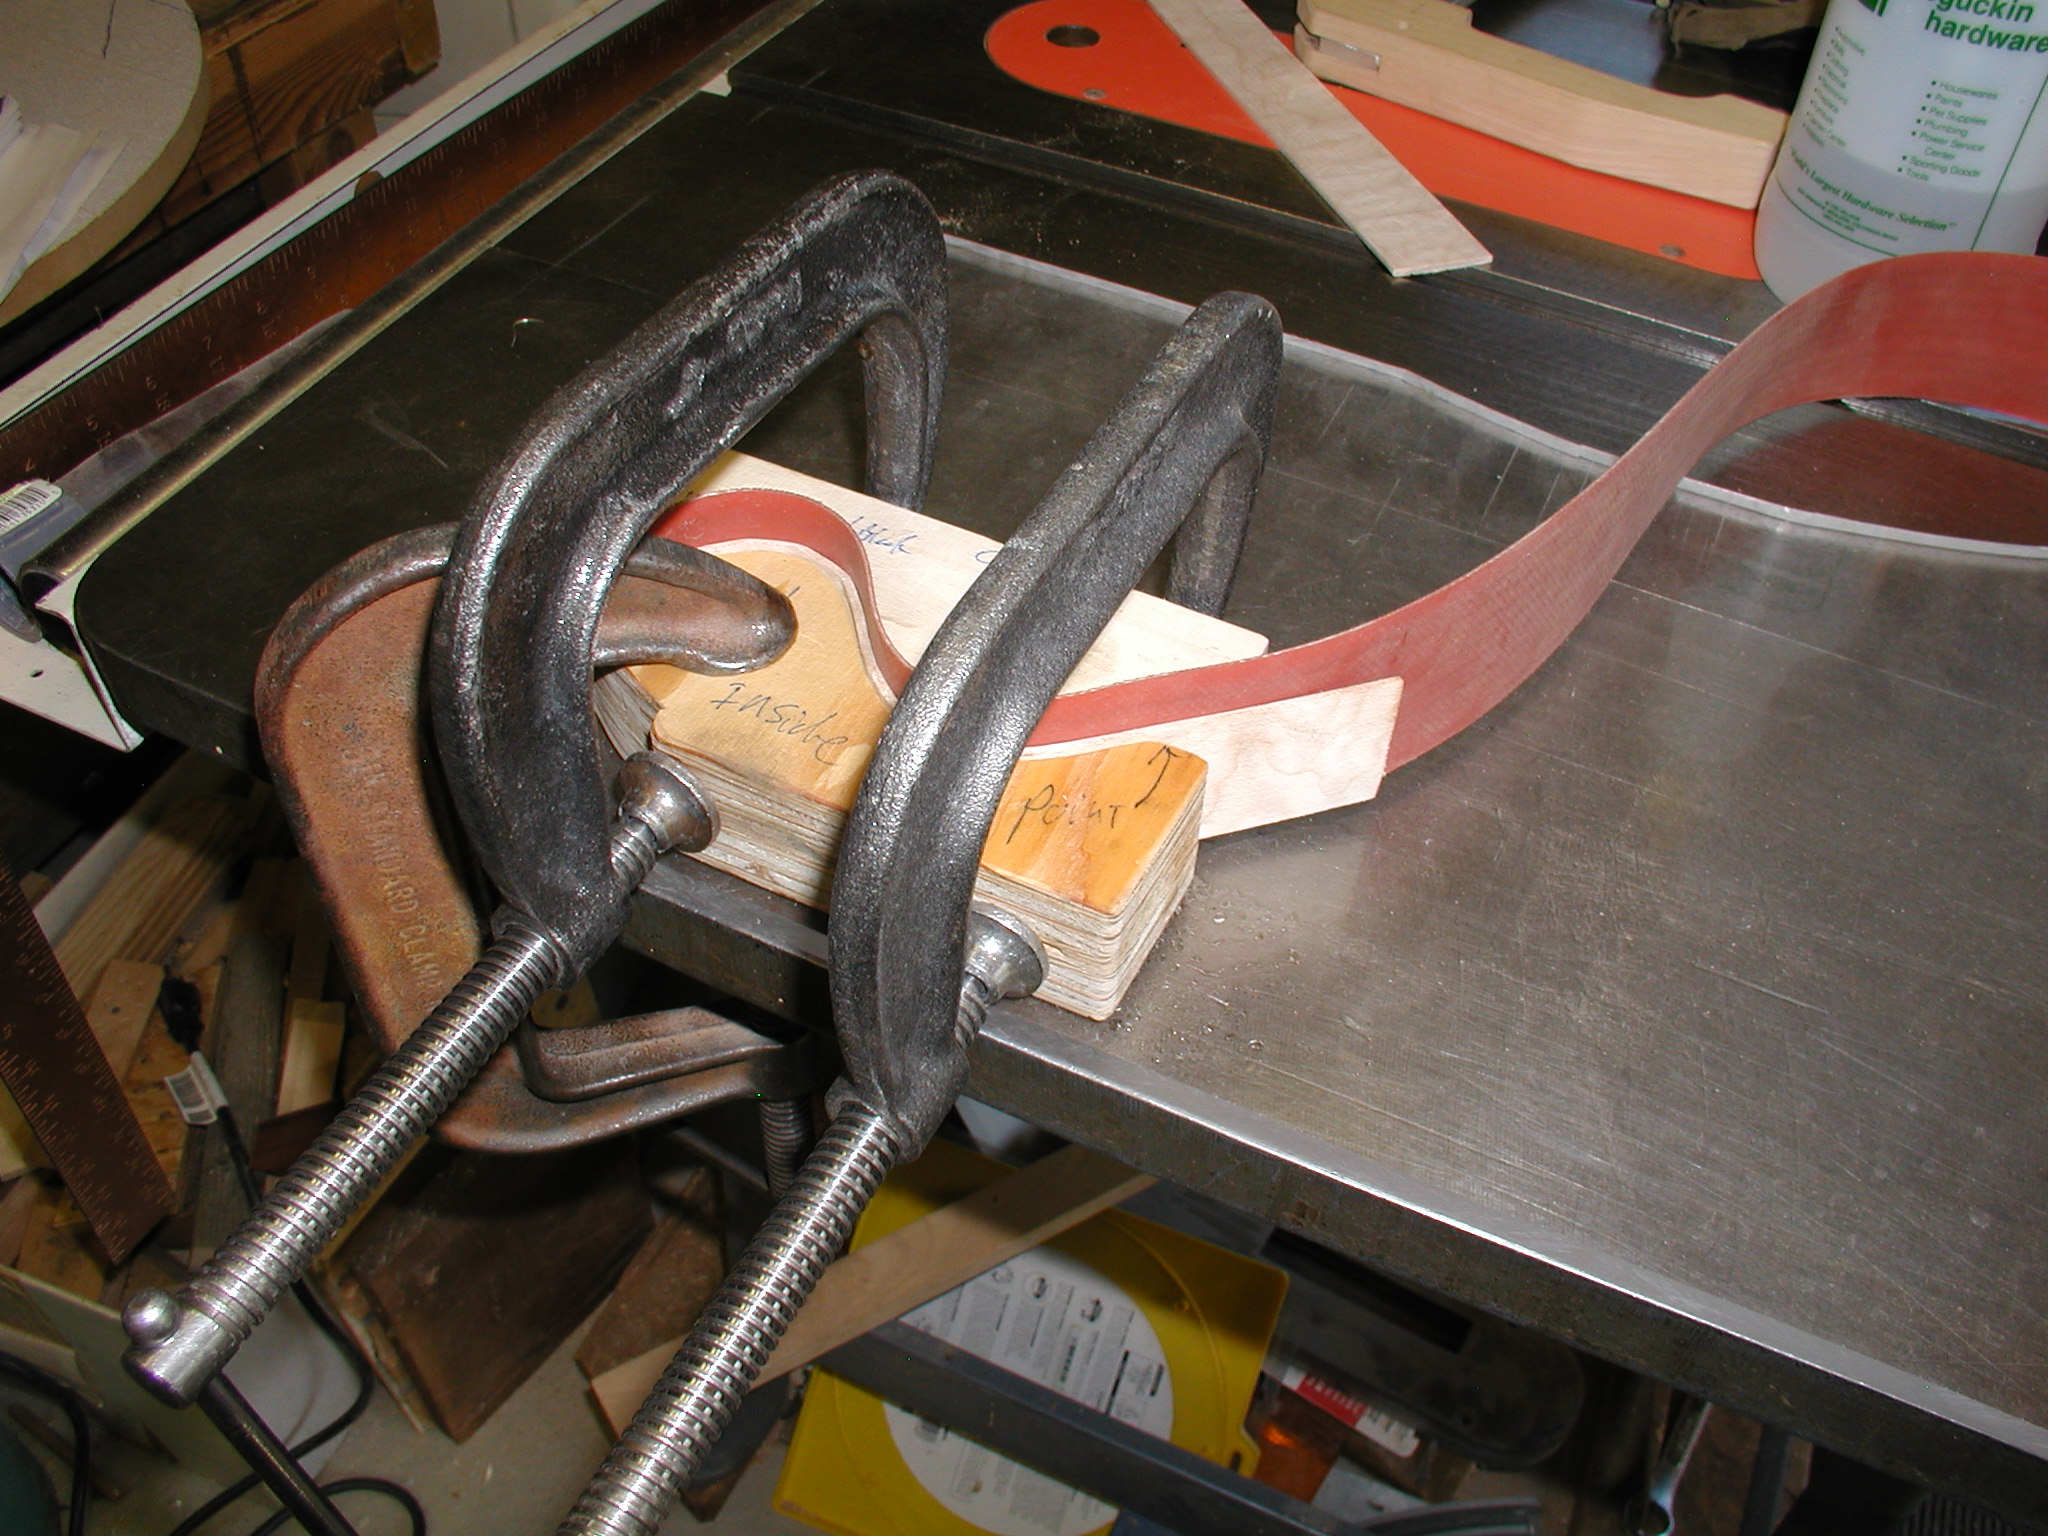
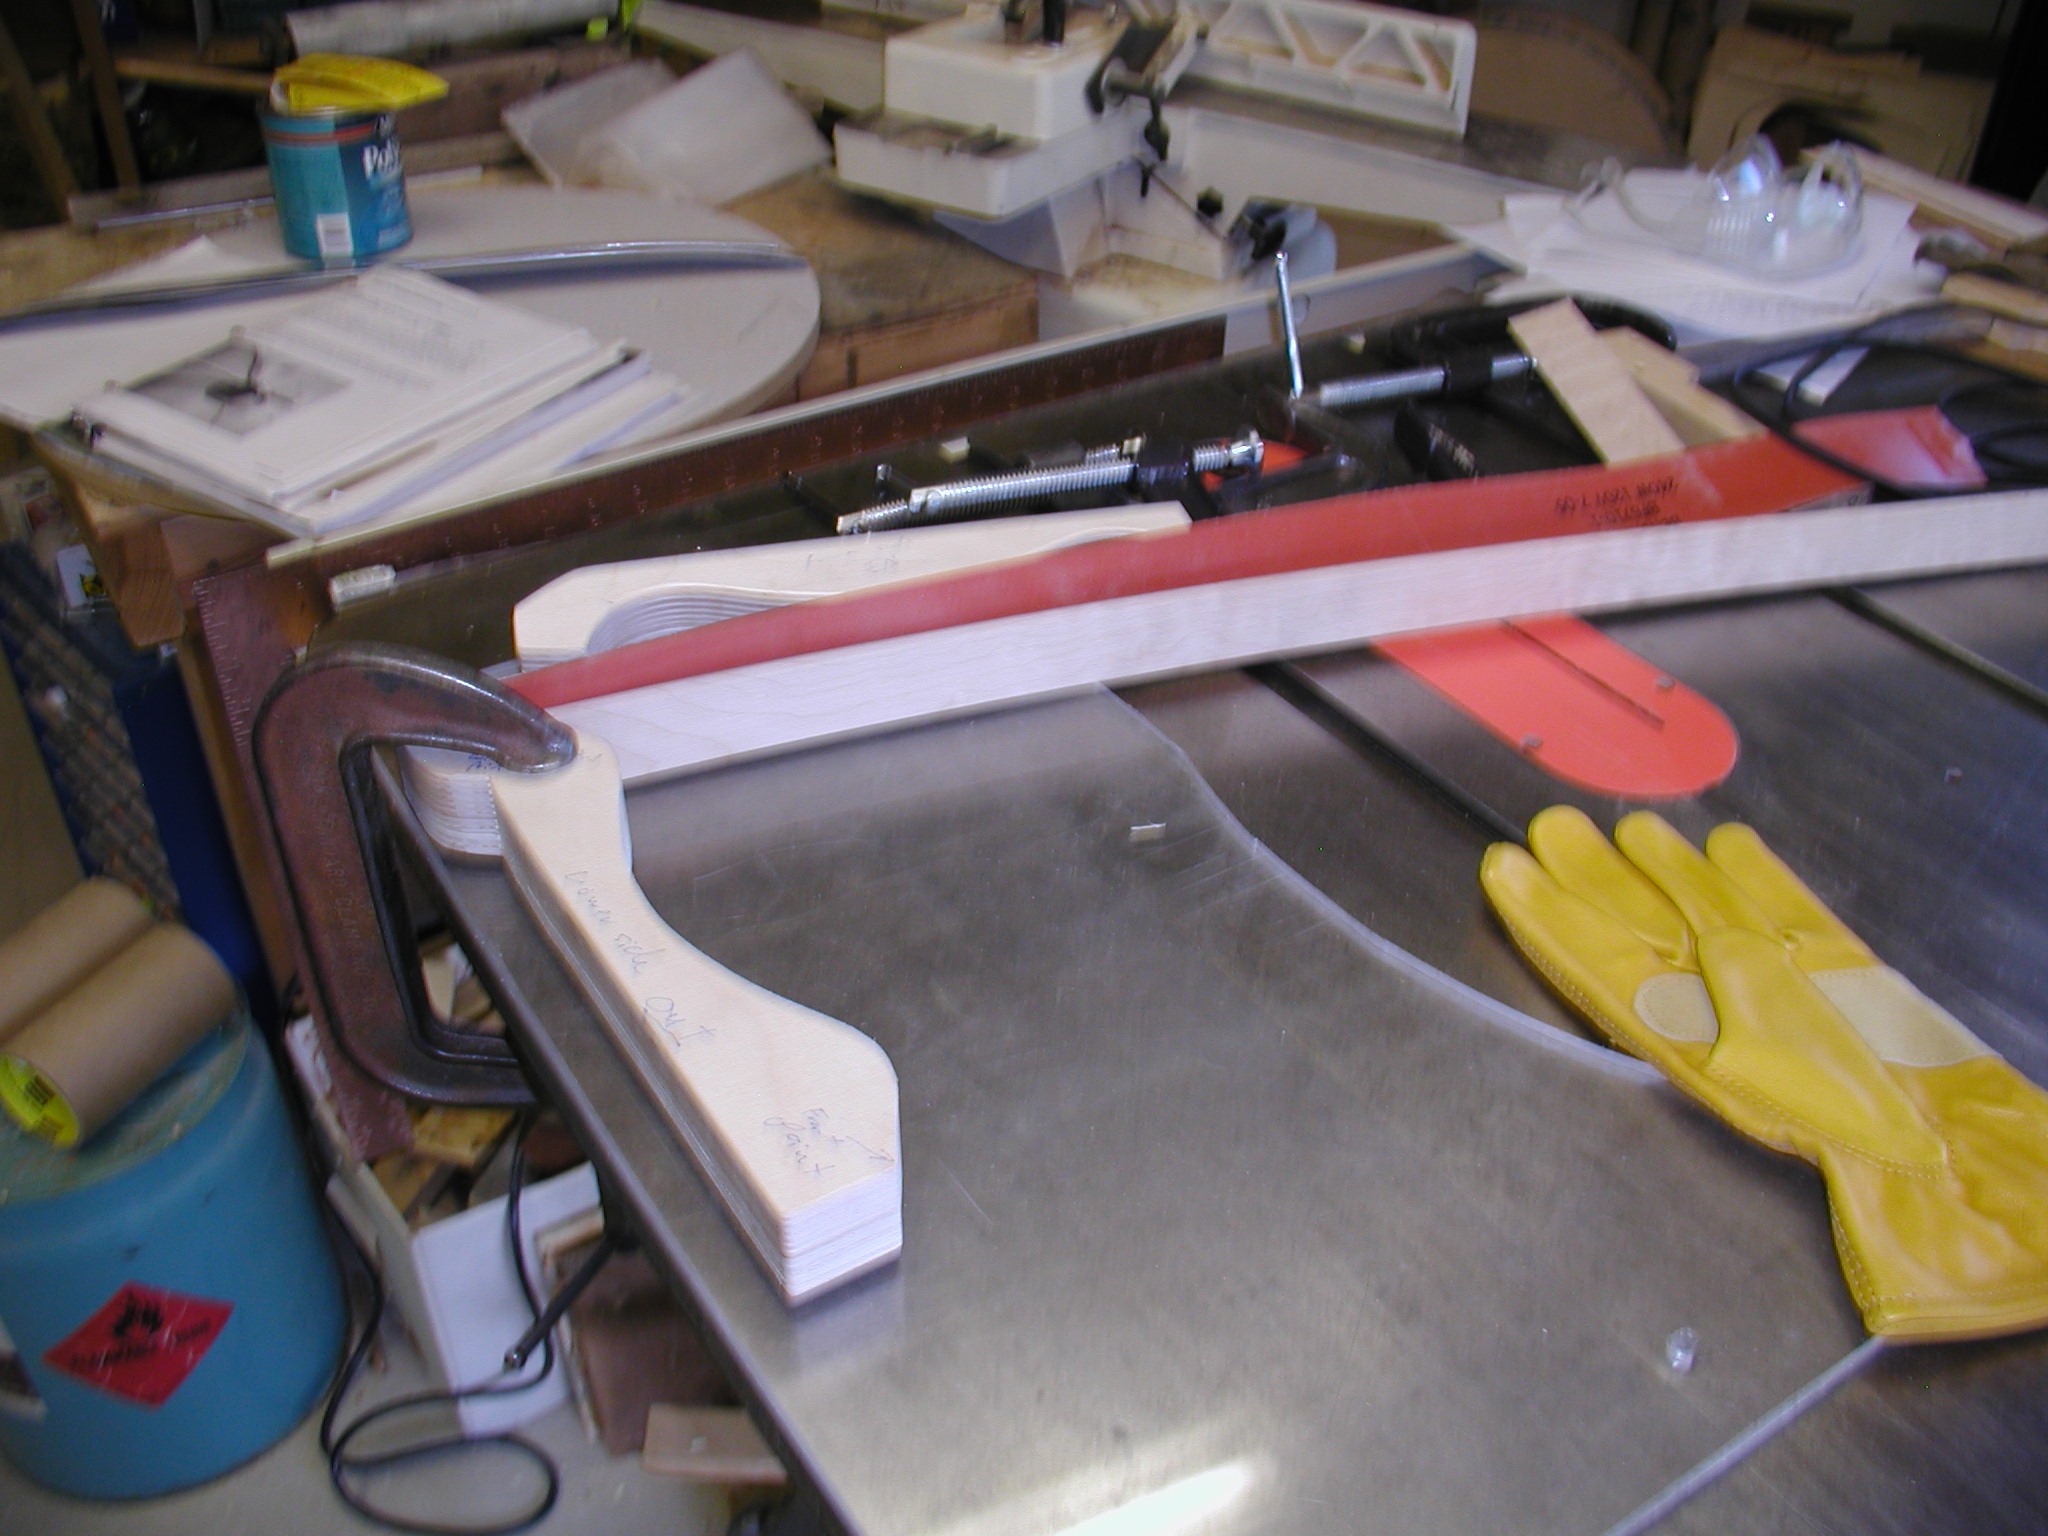
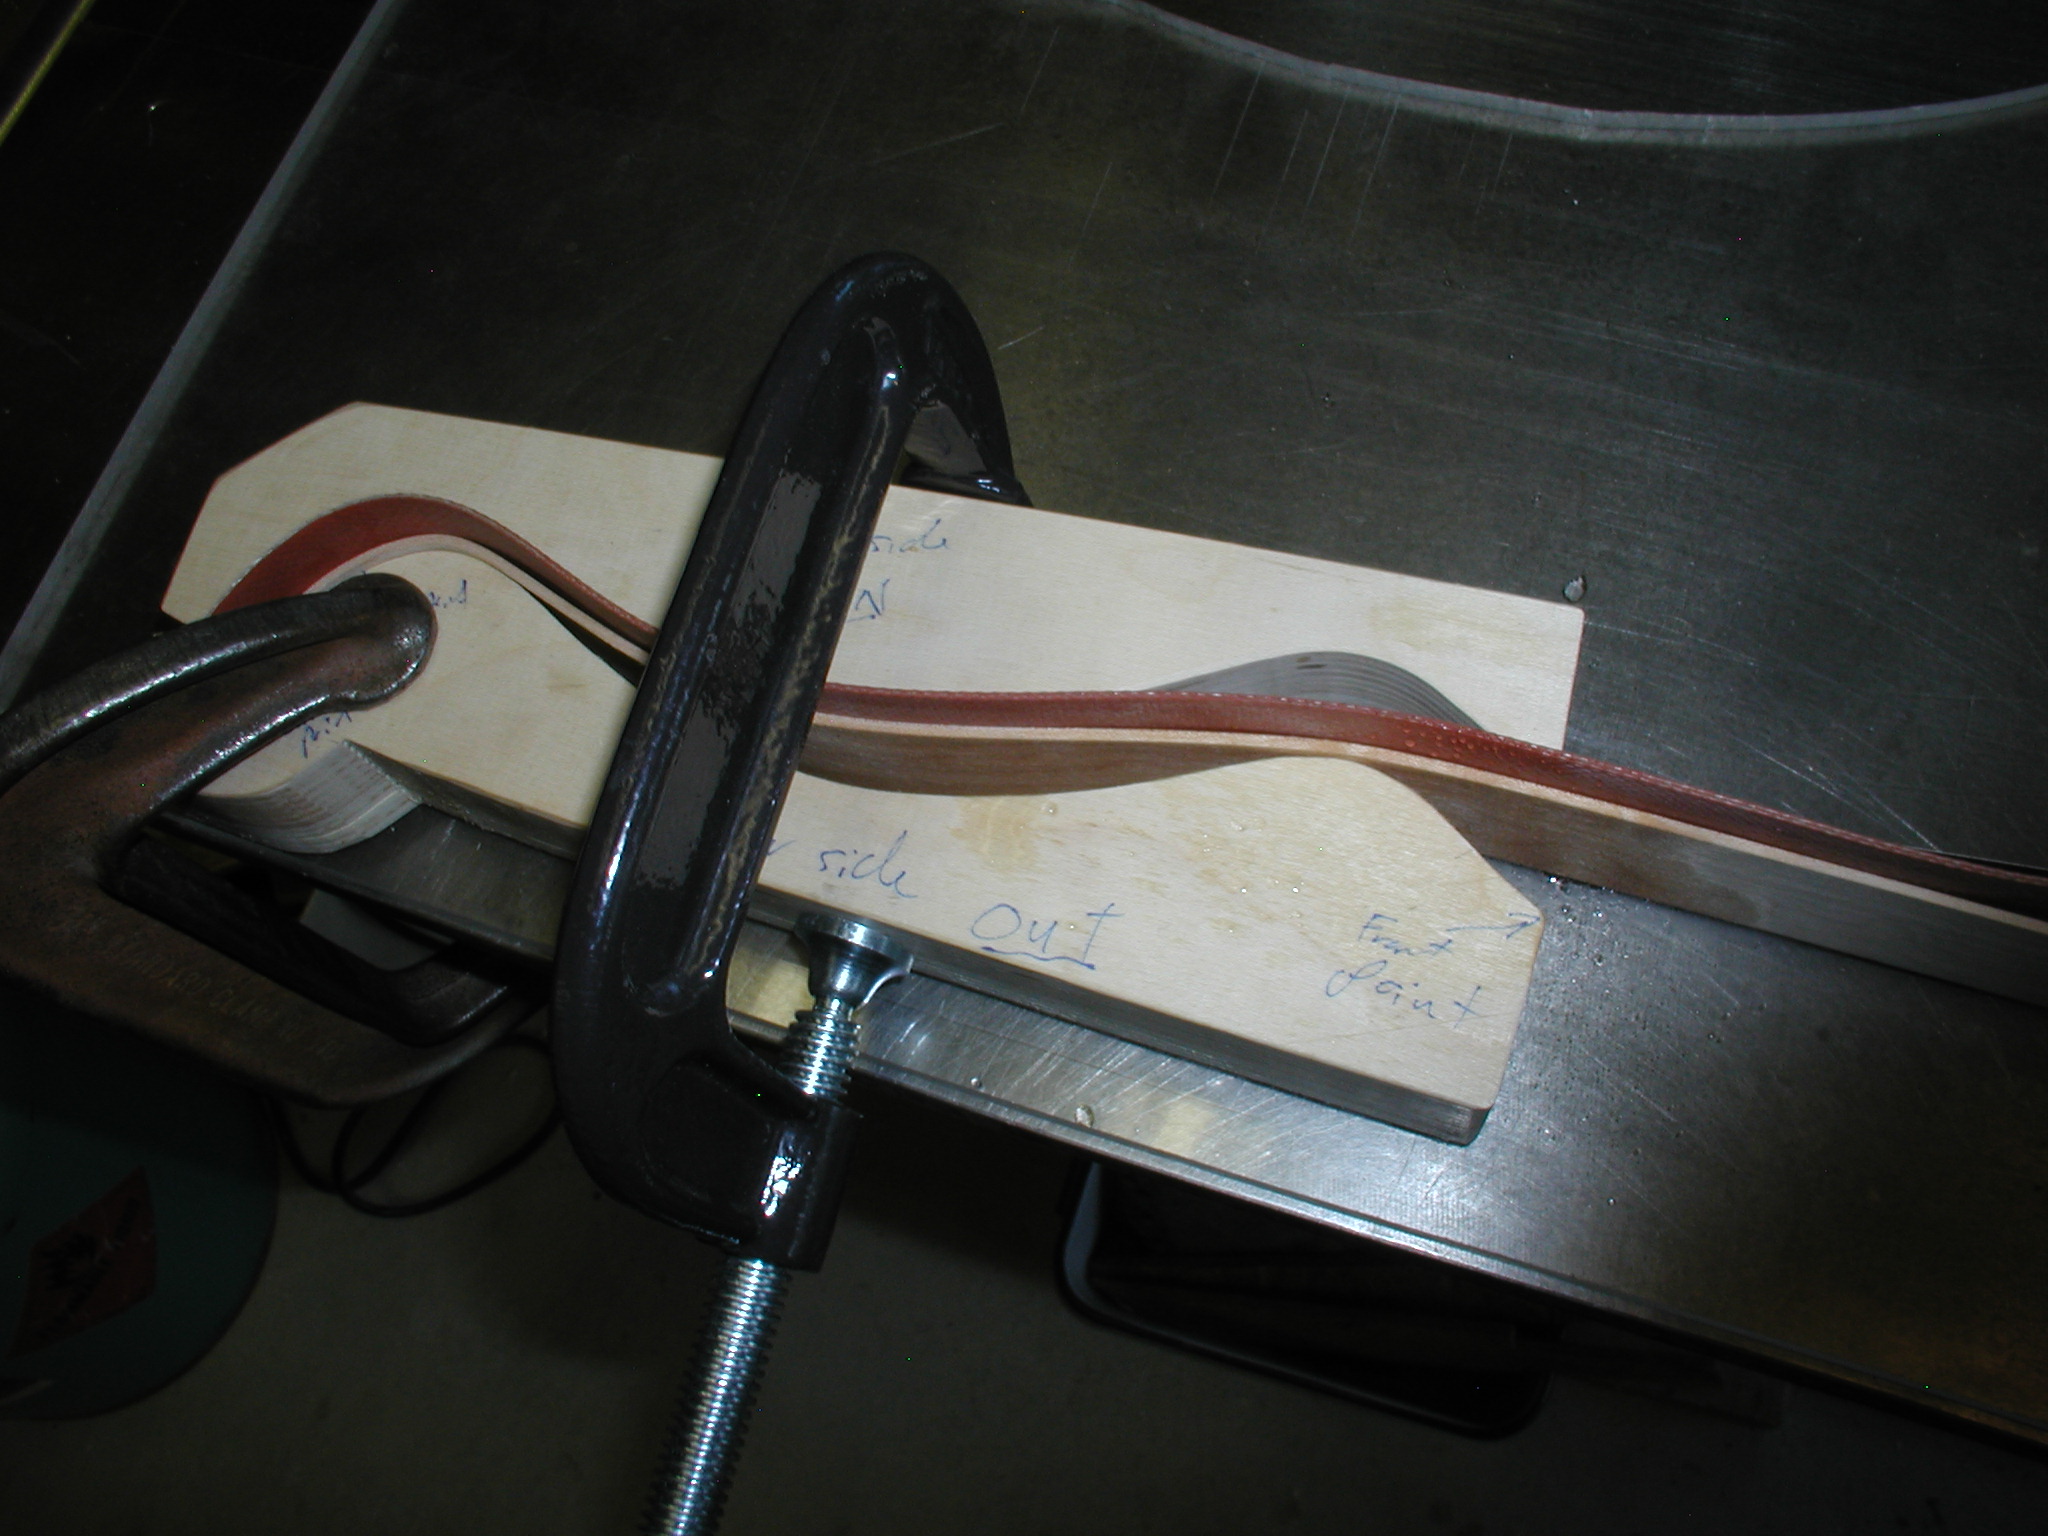
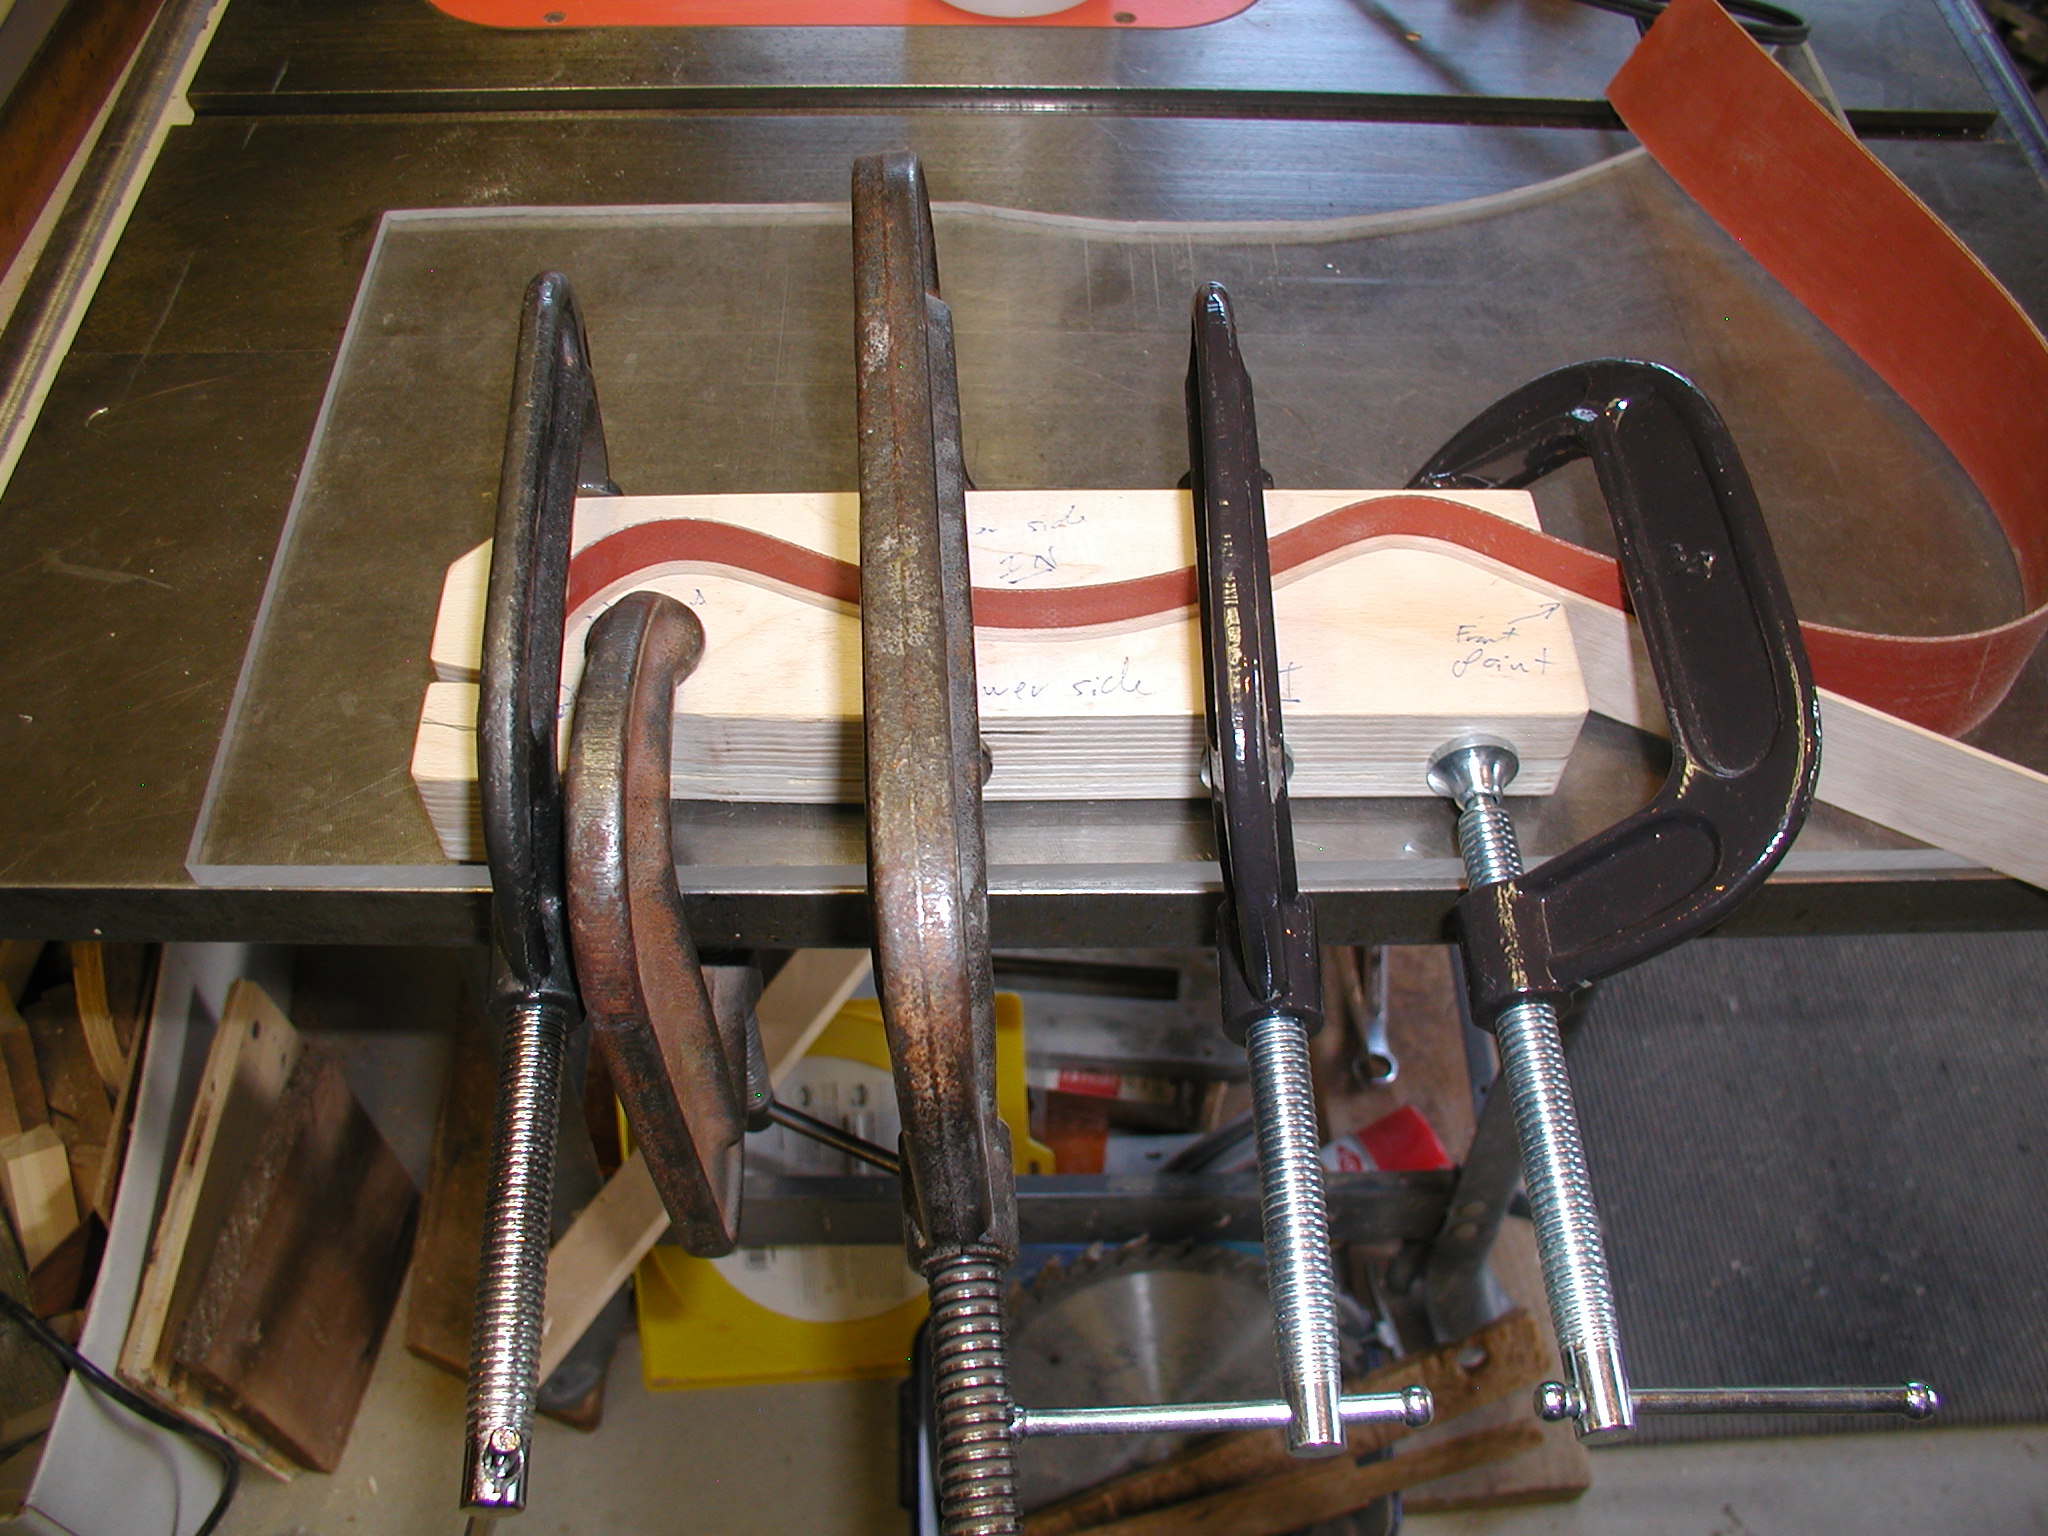
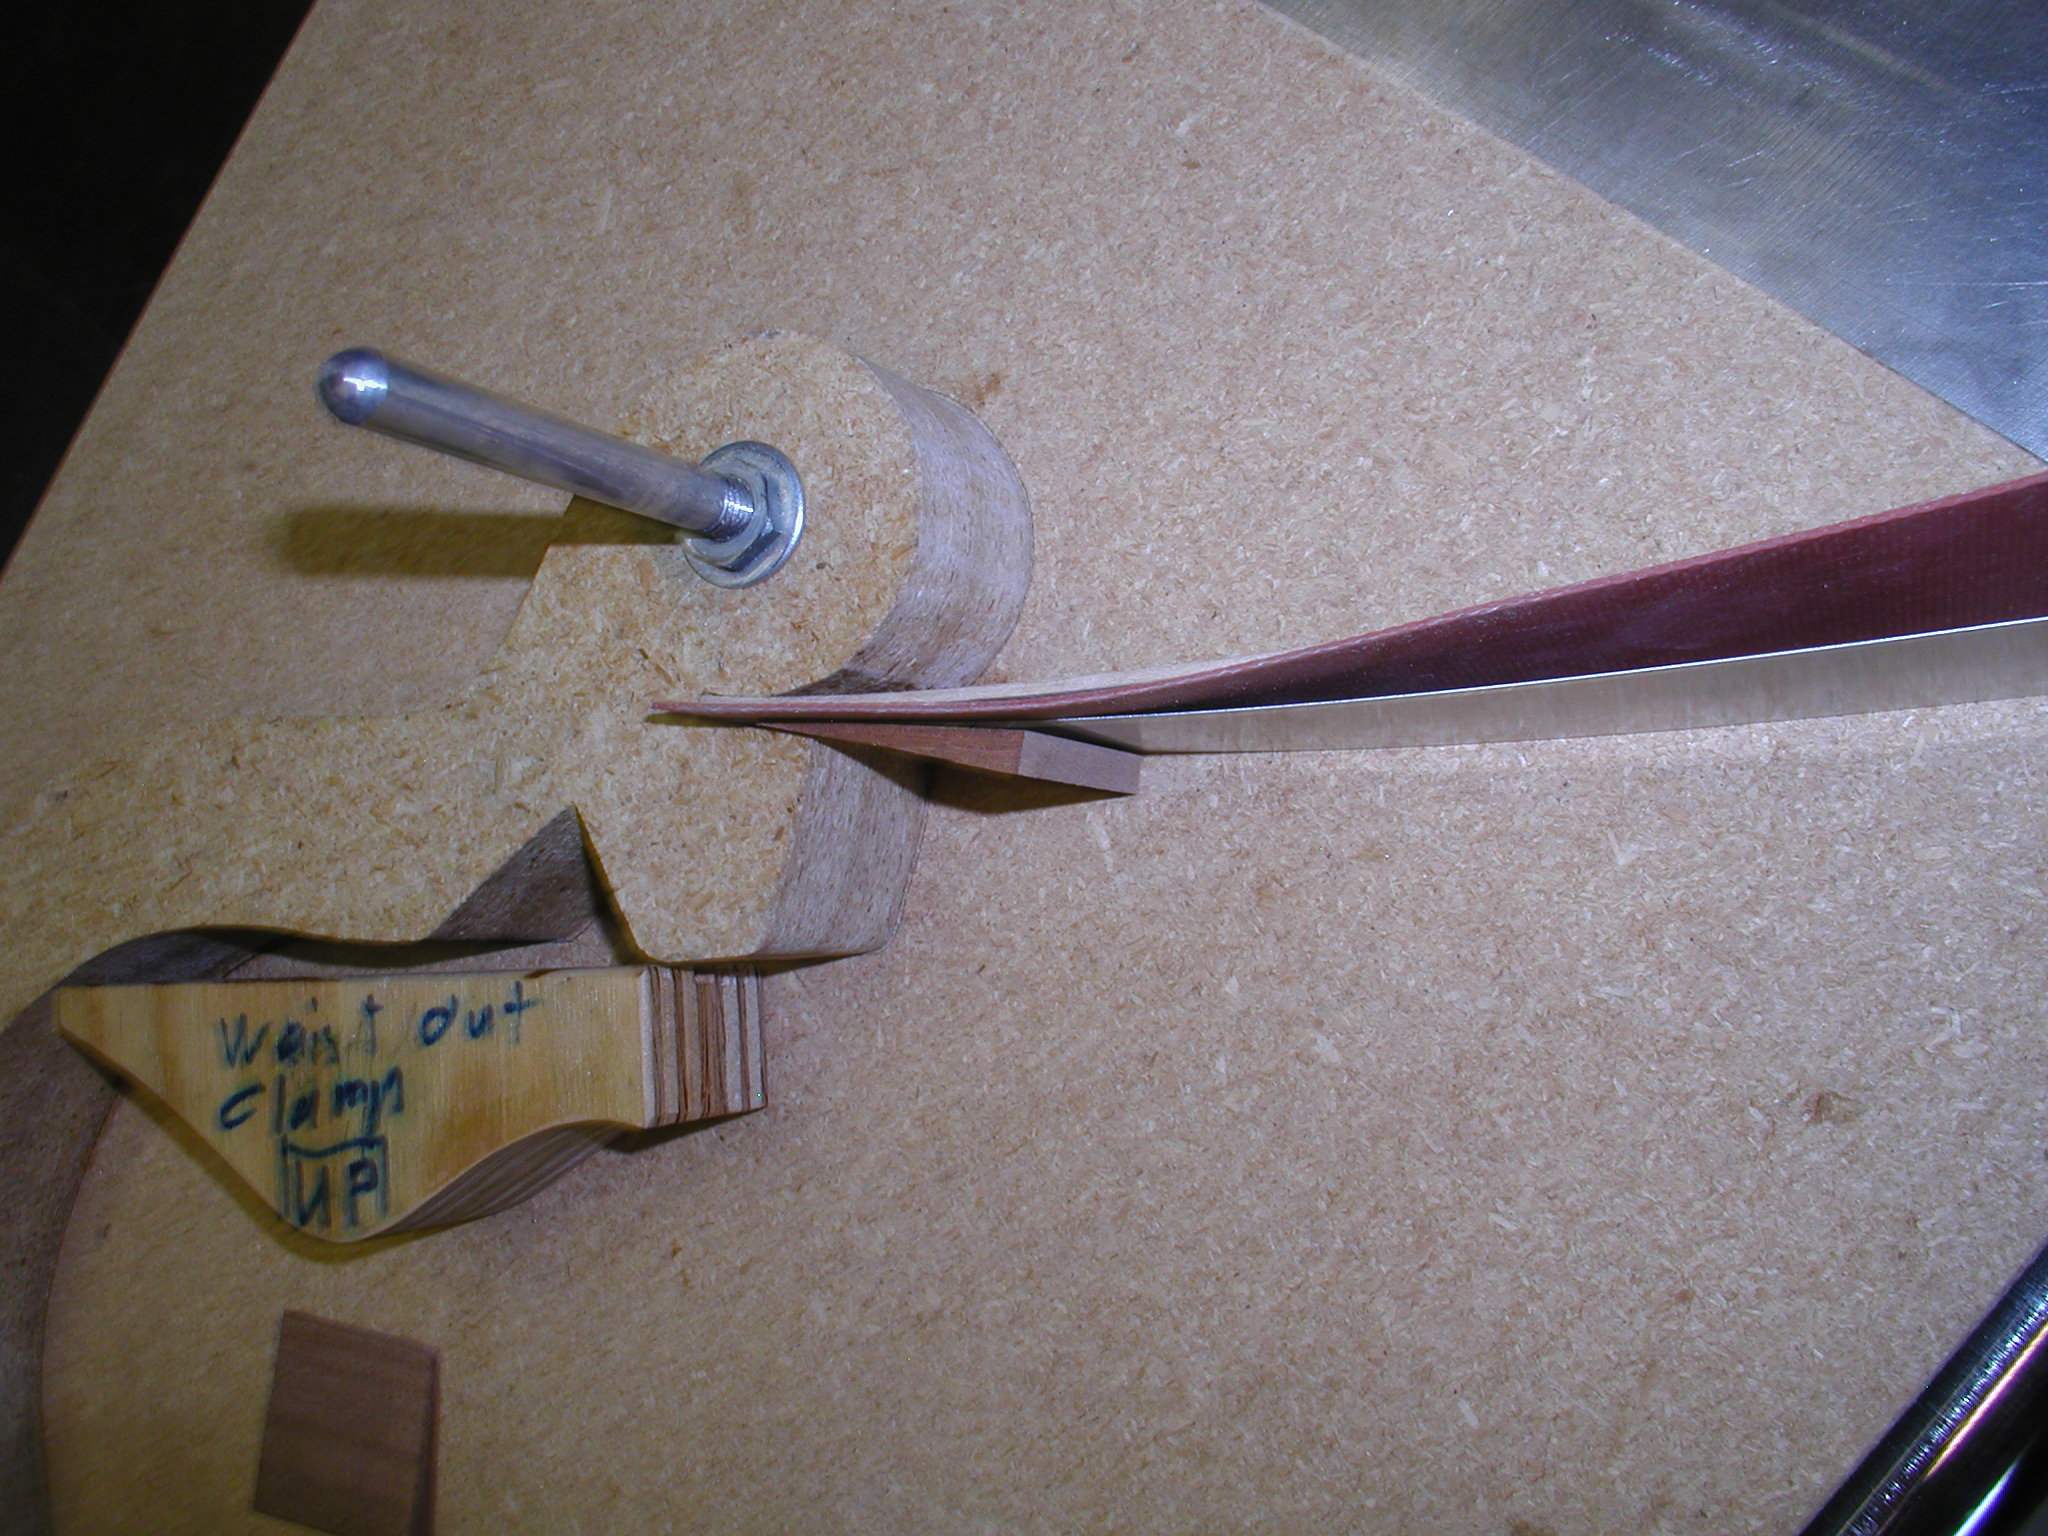
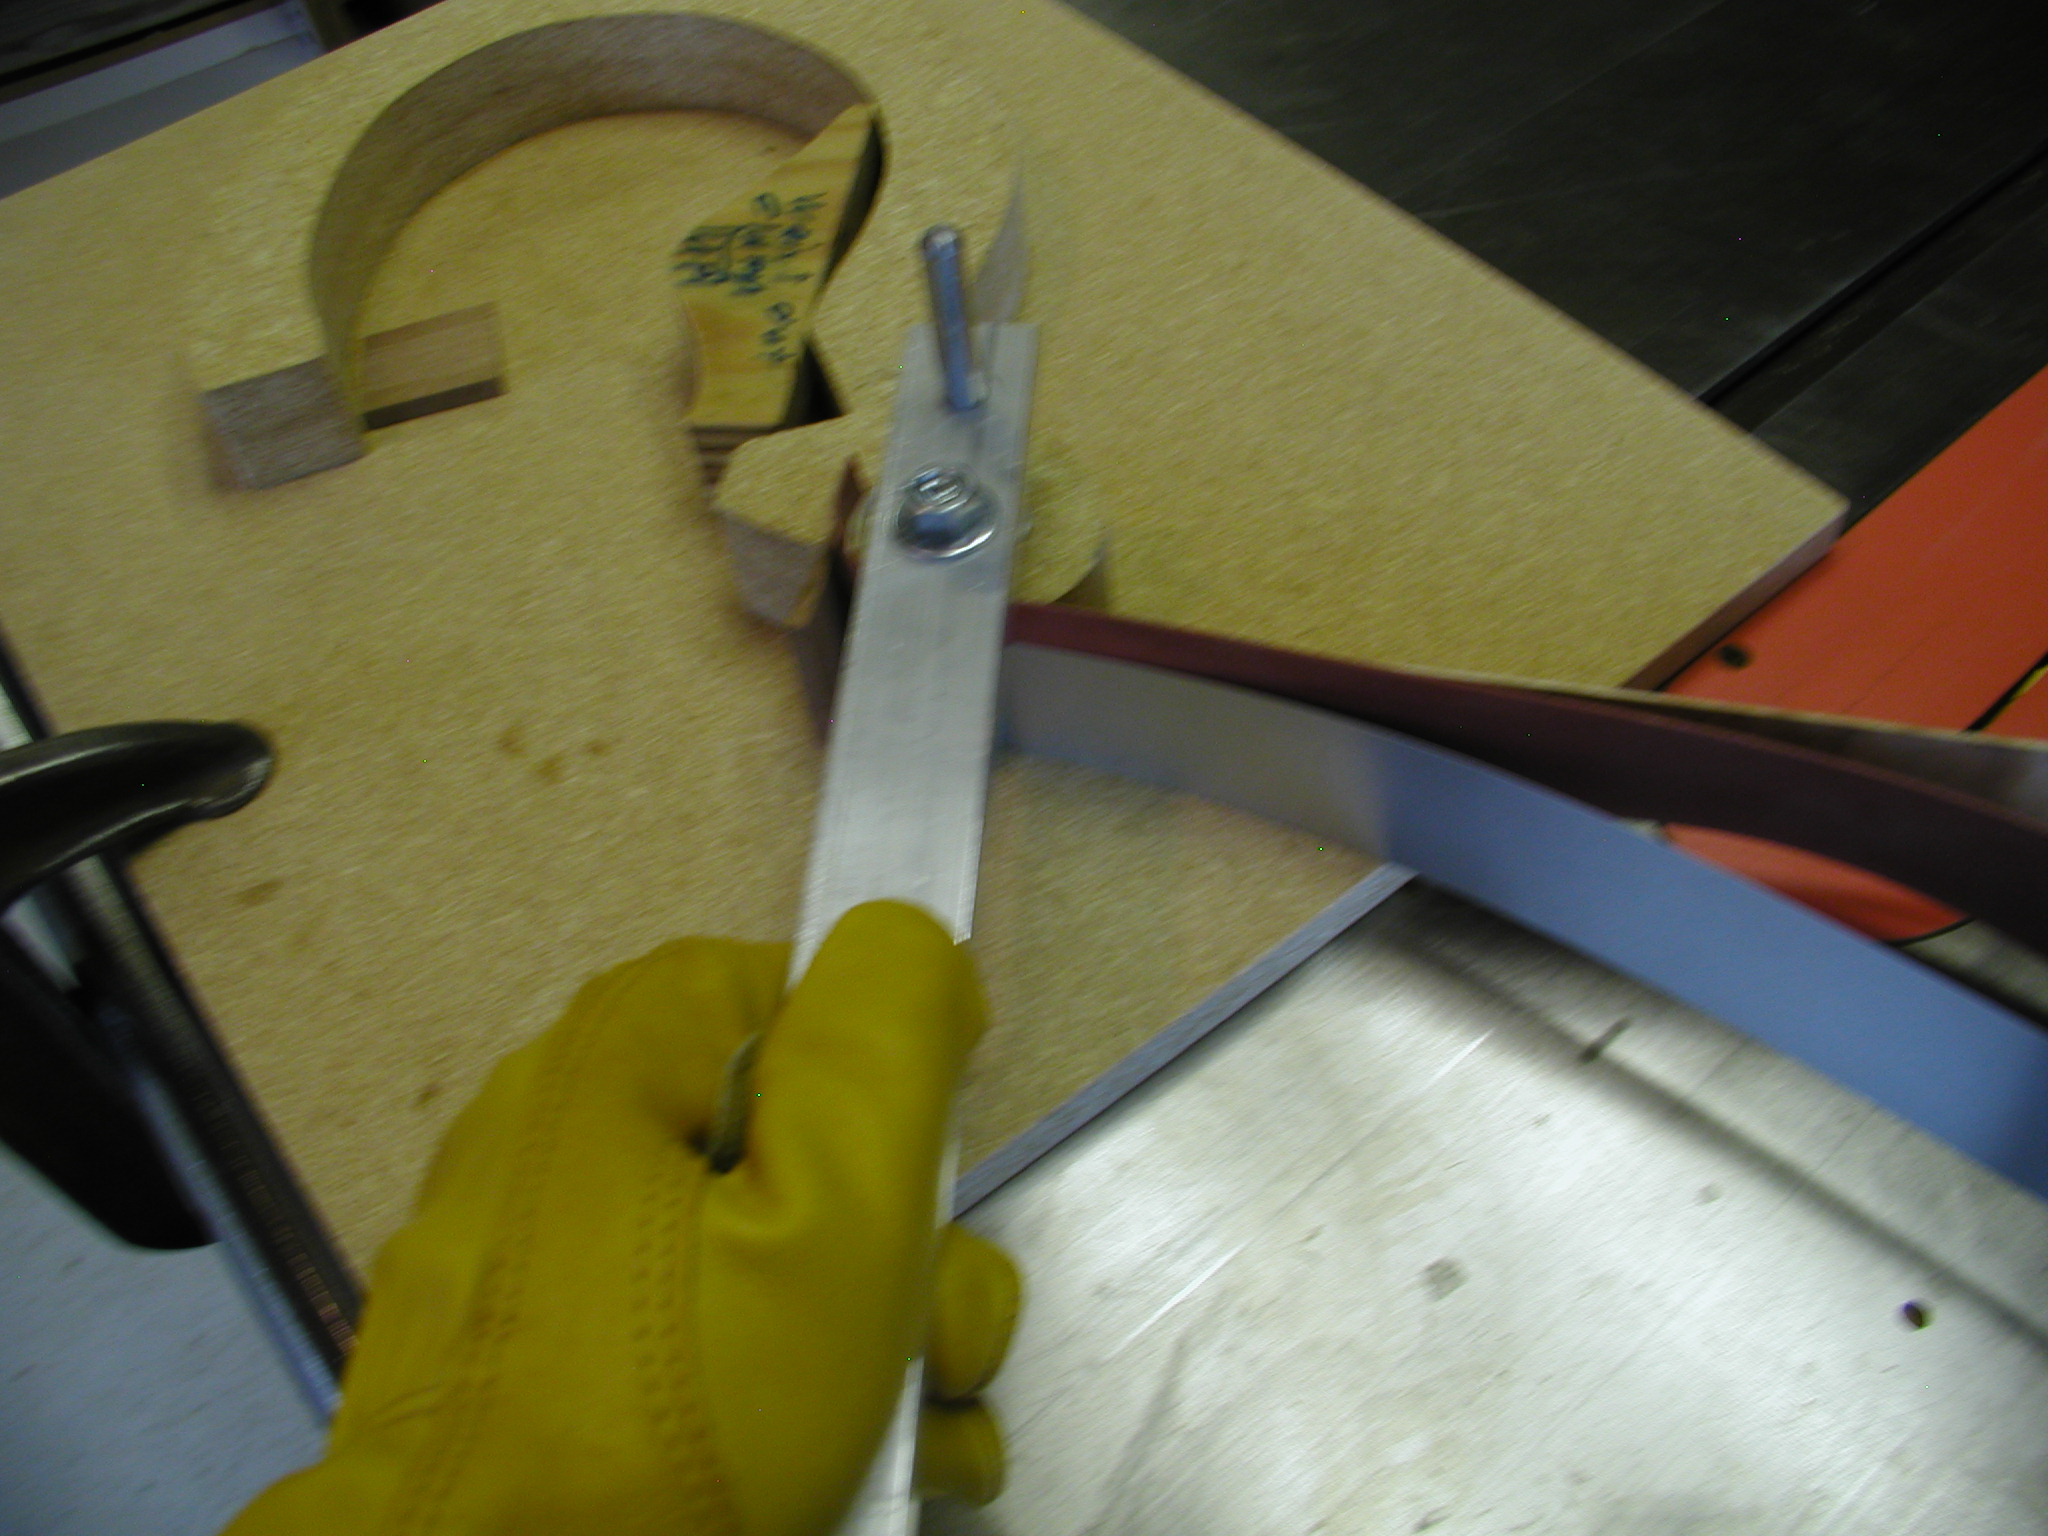
The lower point is a bit tricky. I used to try to glue the block, the short little back-side piece and the two sides all in one step and the little back-side piece loved to get skewed and mess the whole thing up. A tip from someone on the Mandolin Cafe' put me onto this way of doing it. I double-stick tape a scrap off-cut piece to substitute for the back-side piece. This piece is cut to be too short to get involved in the gluing, it just acts as a spacer. The glue goes onto the two faces of the block to contact the long side and the bottom side. The long side get cut about an inch longer than the block and gets glued to the lower side here.
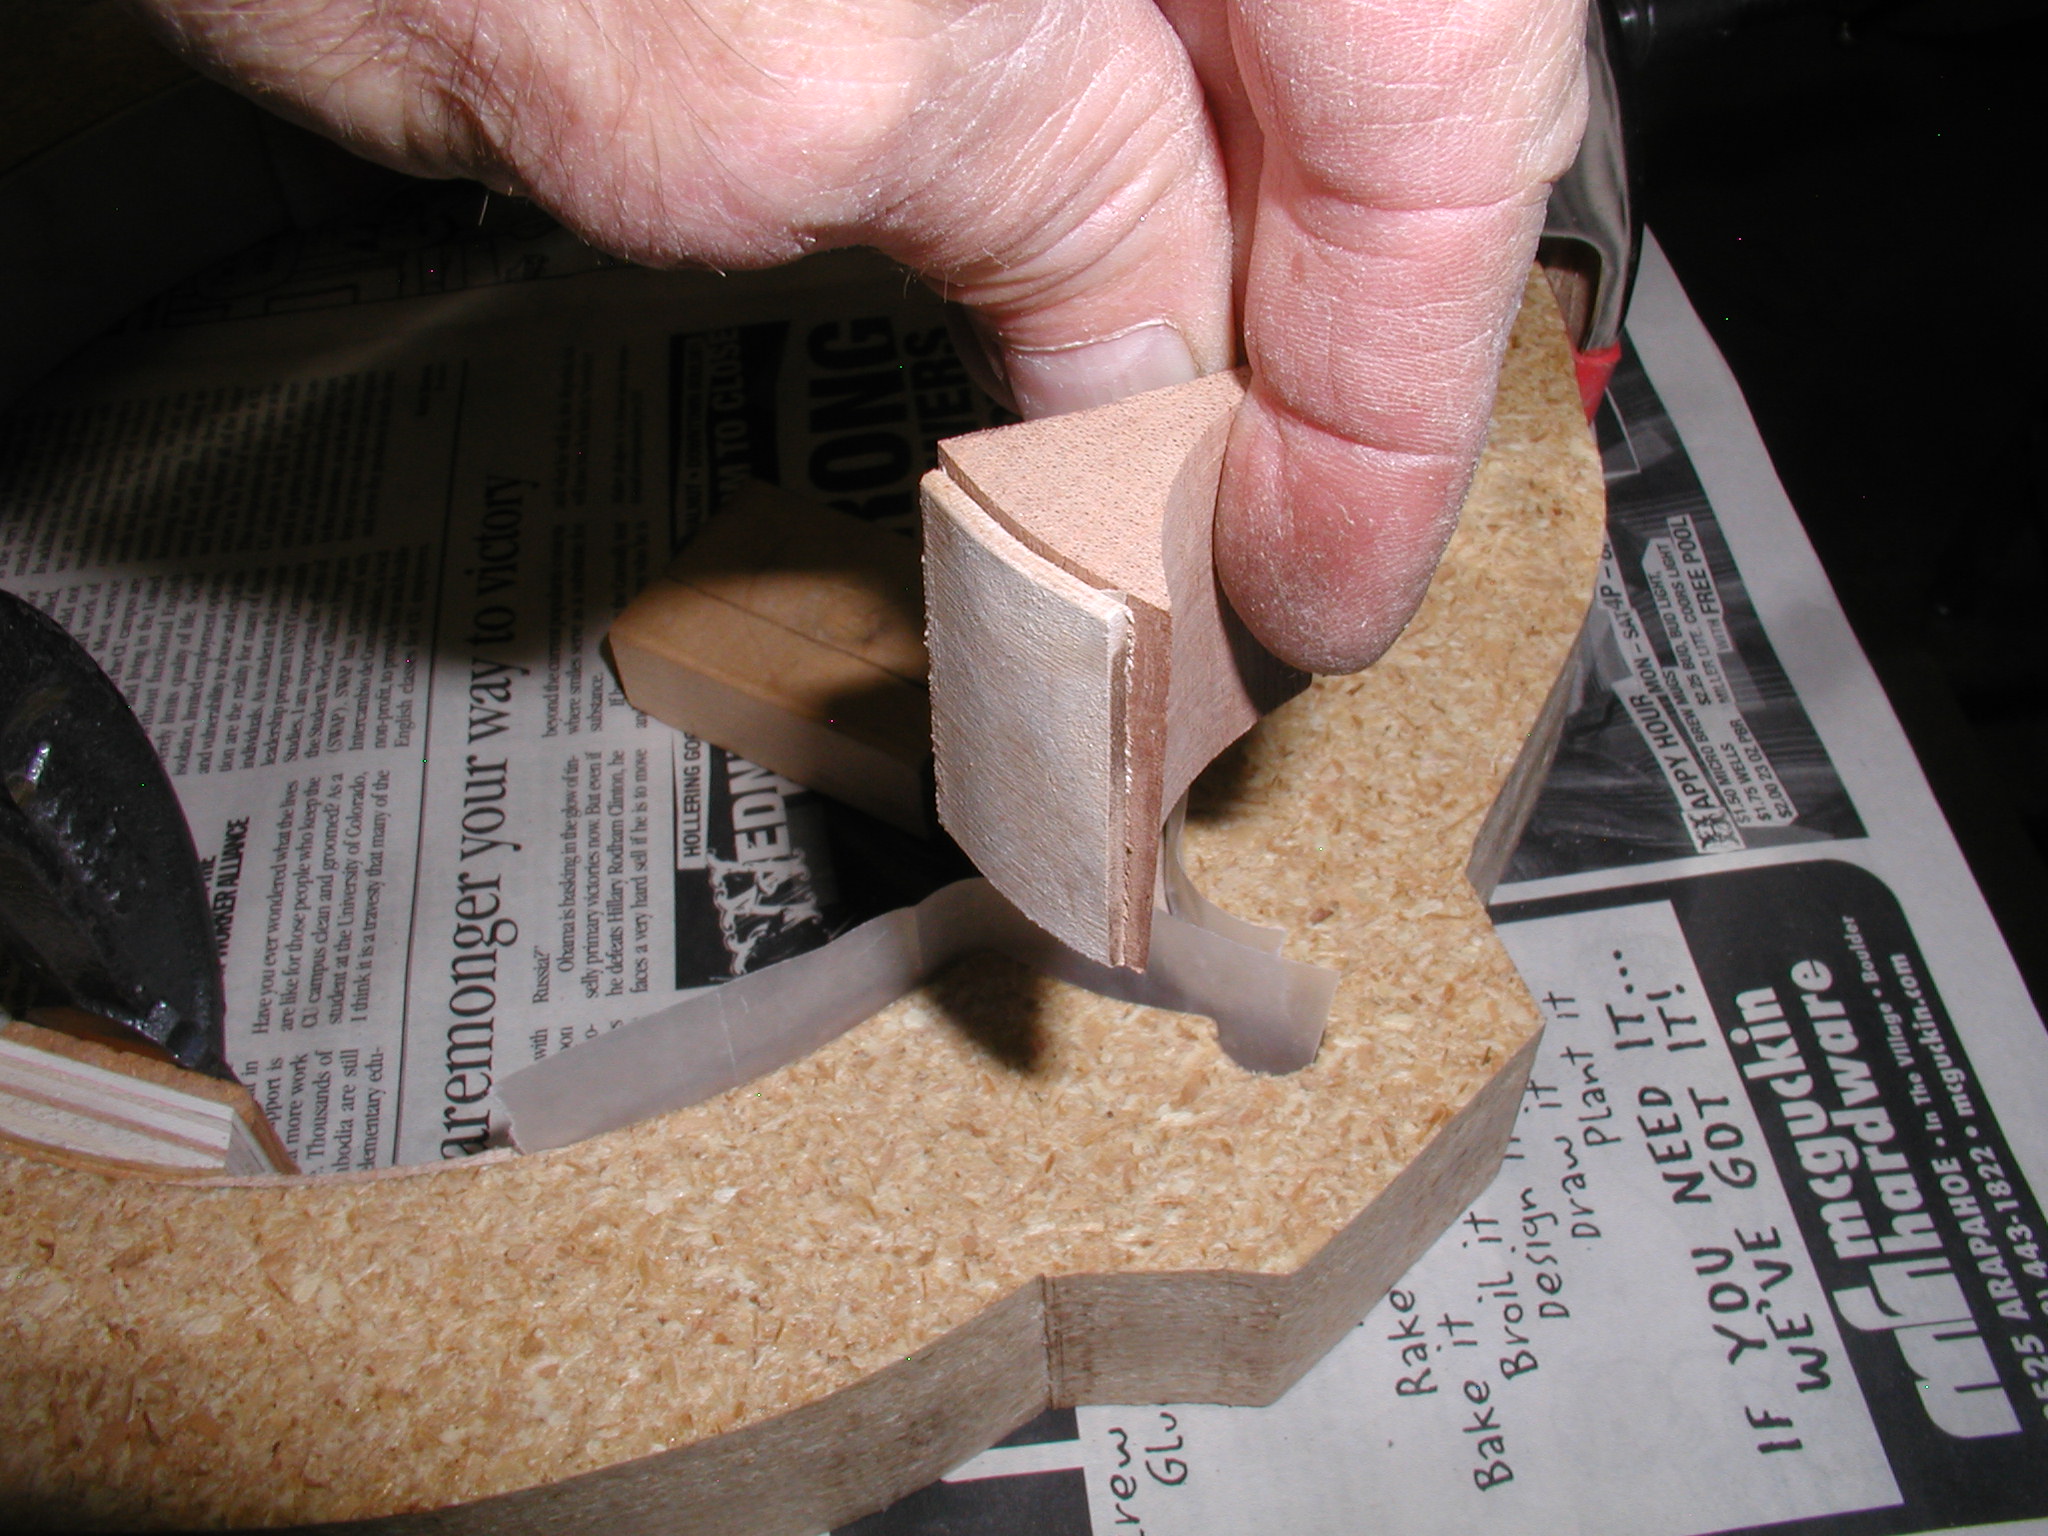
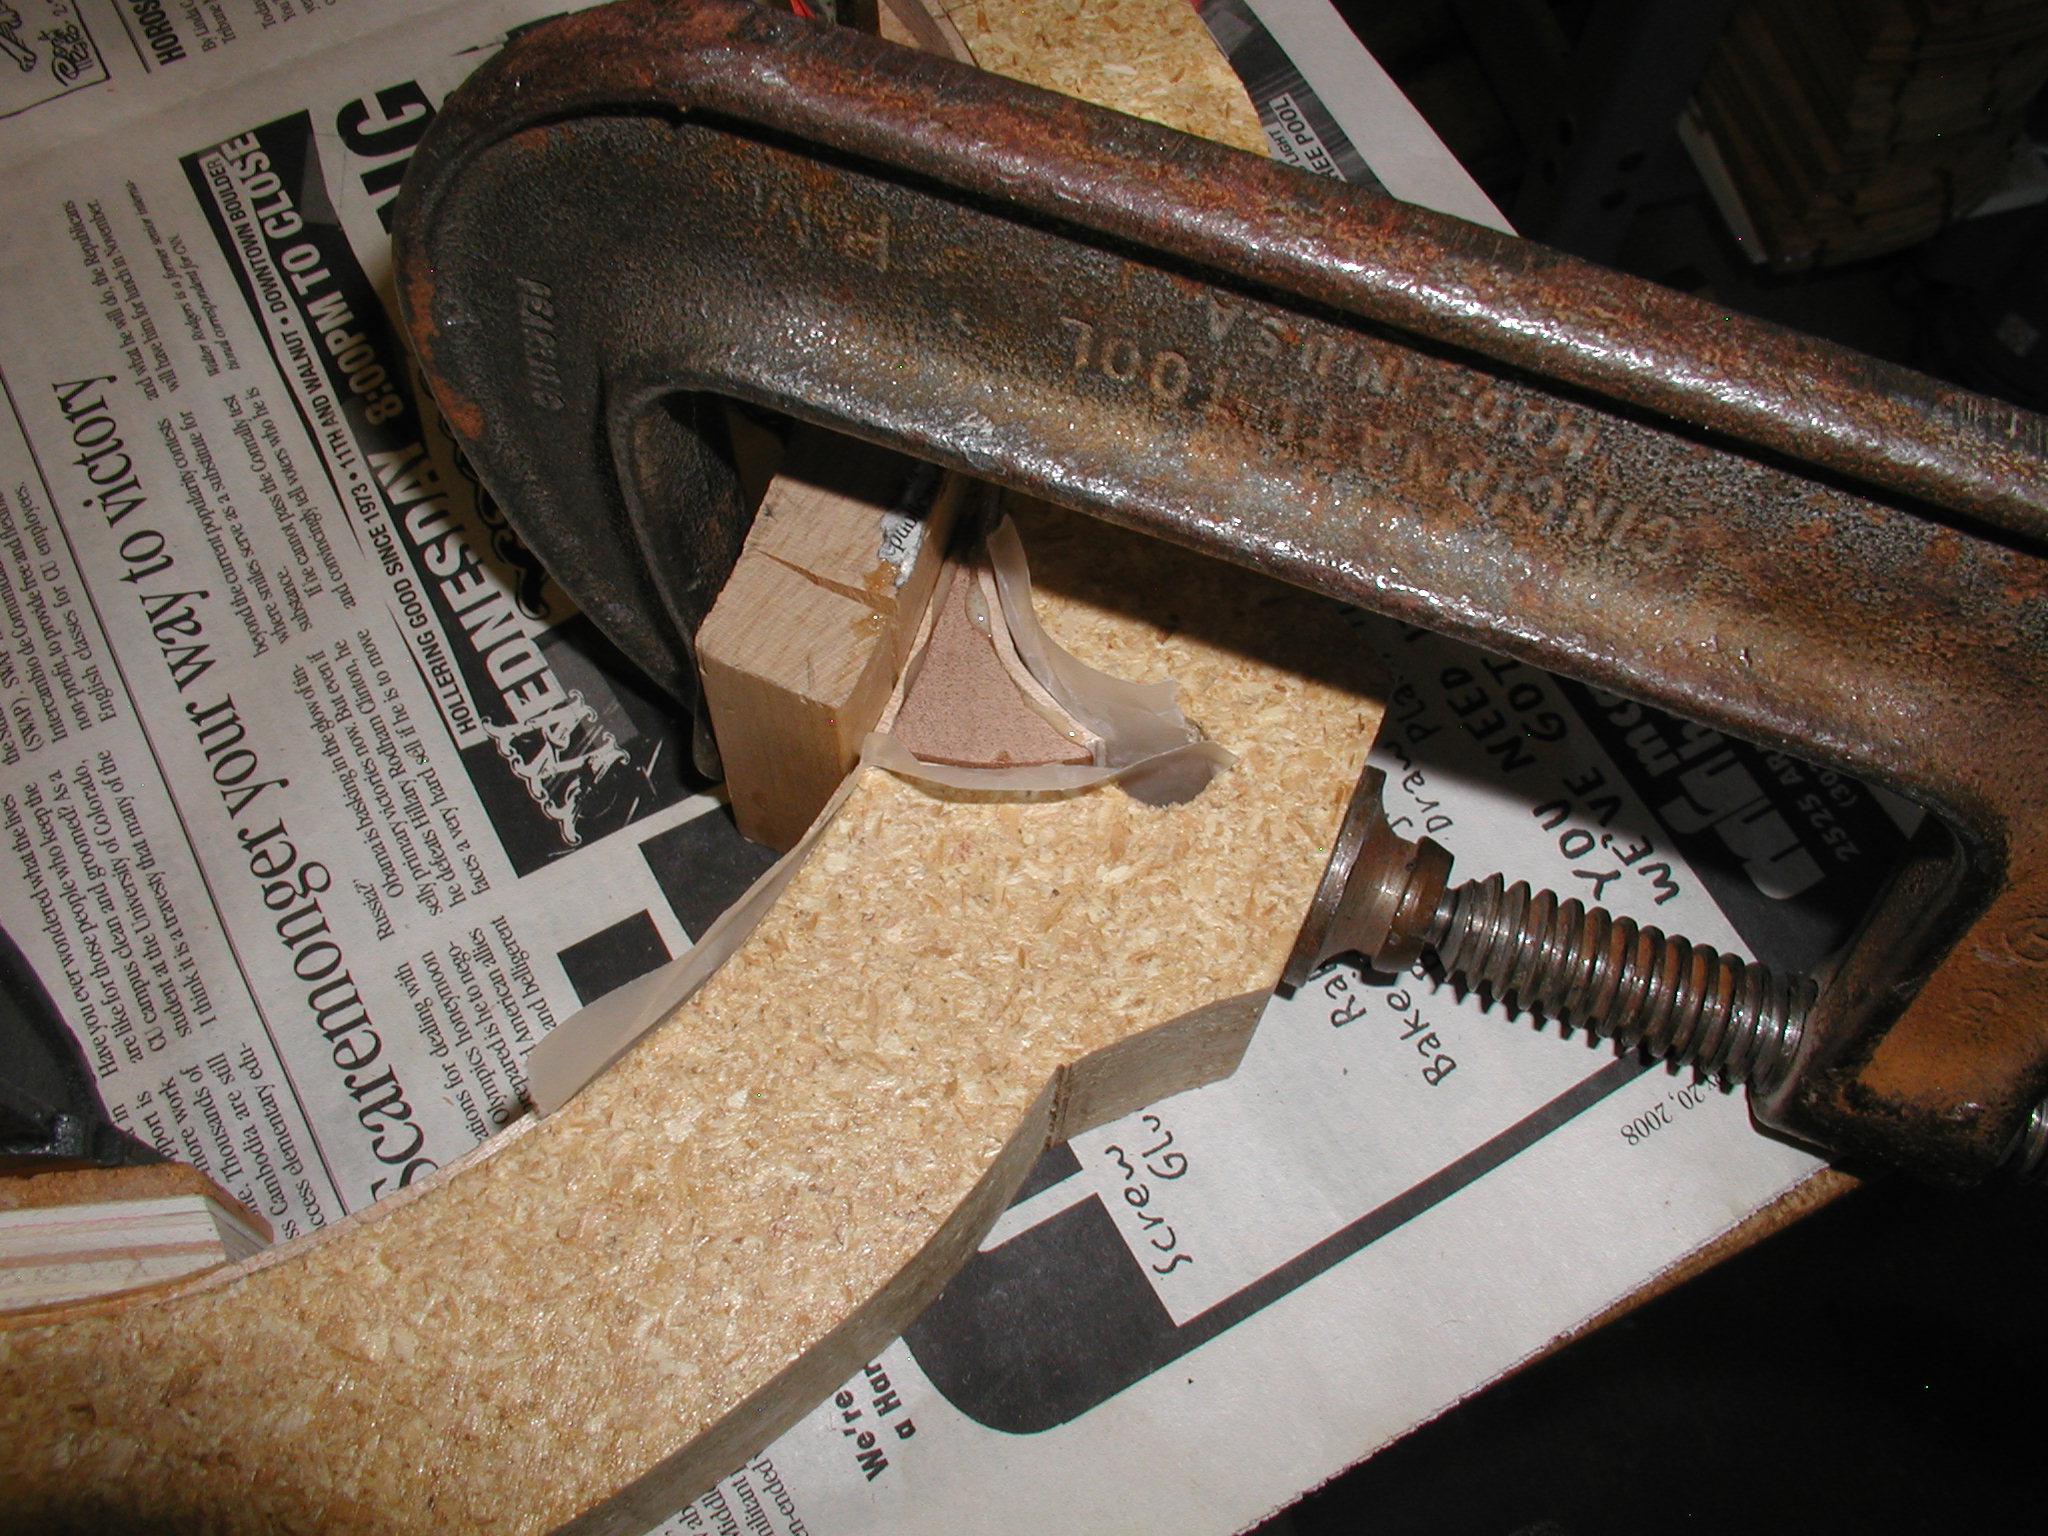

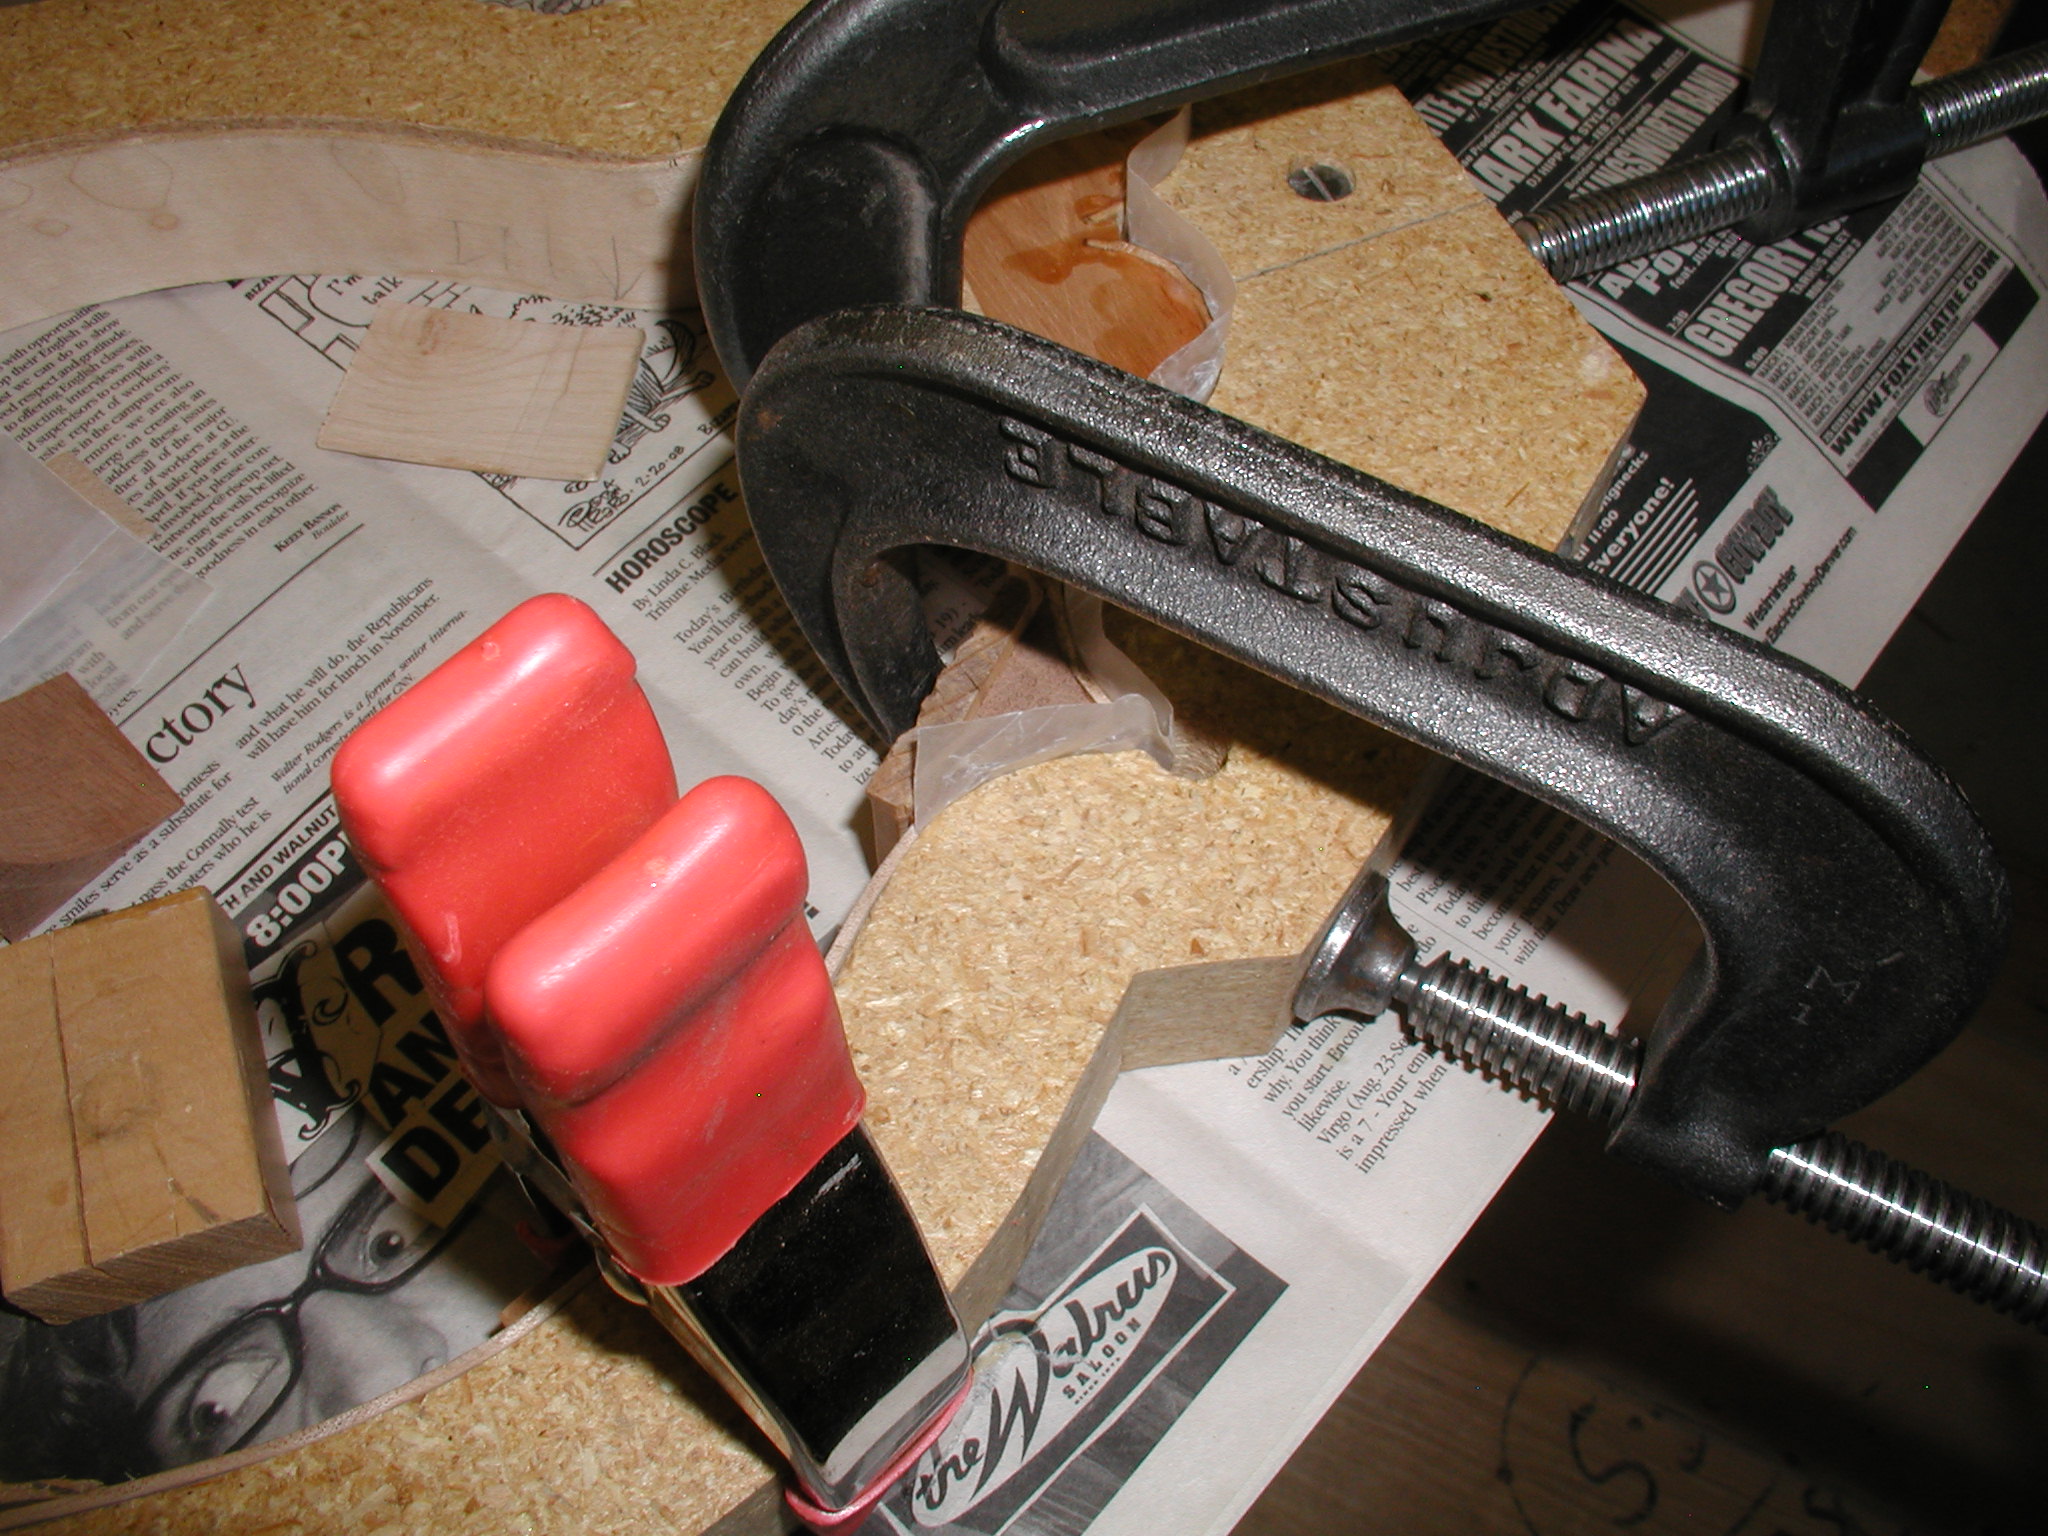
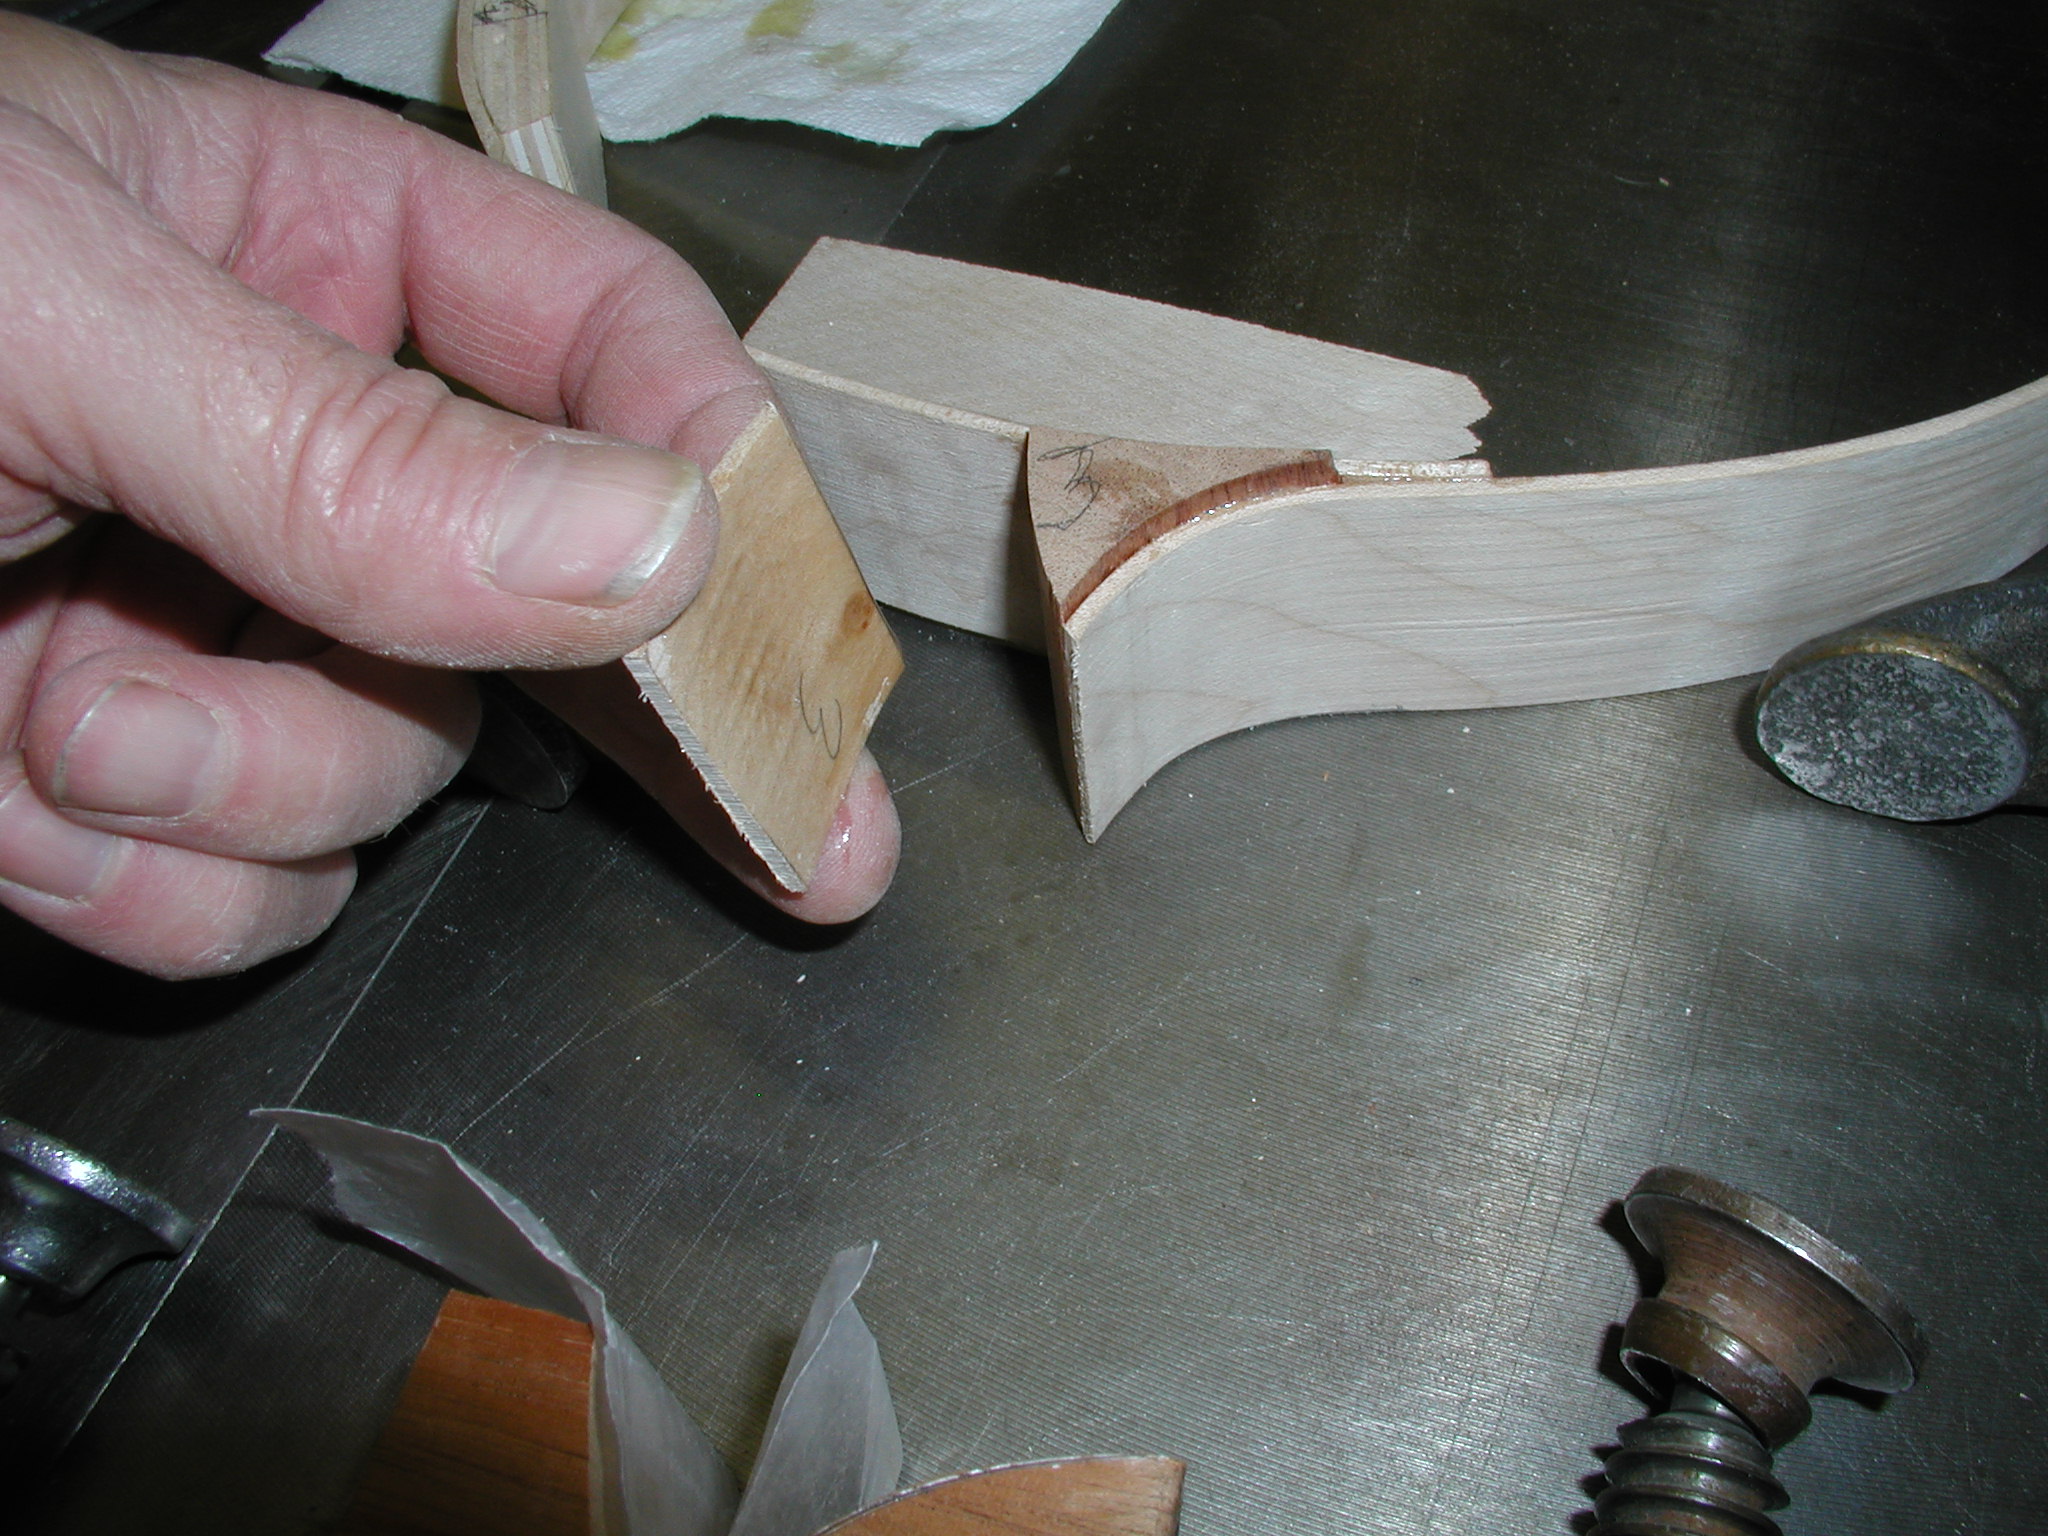
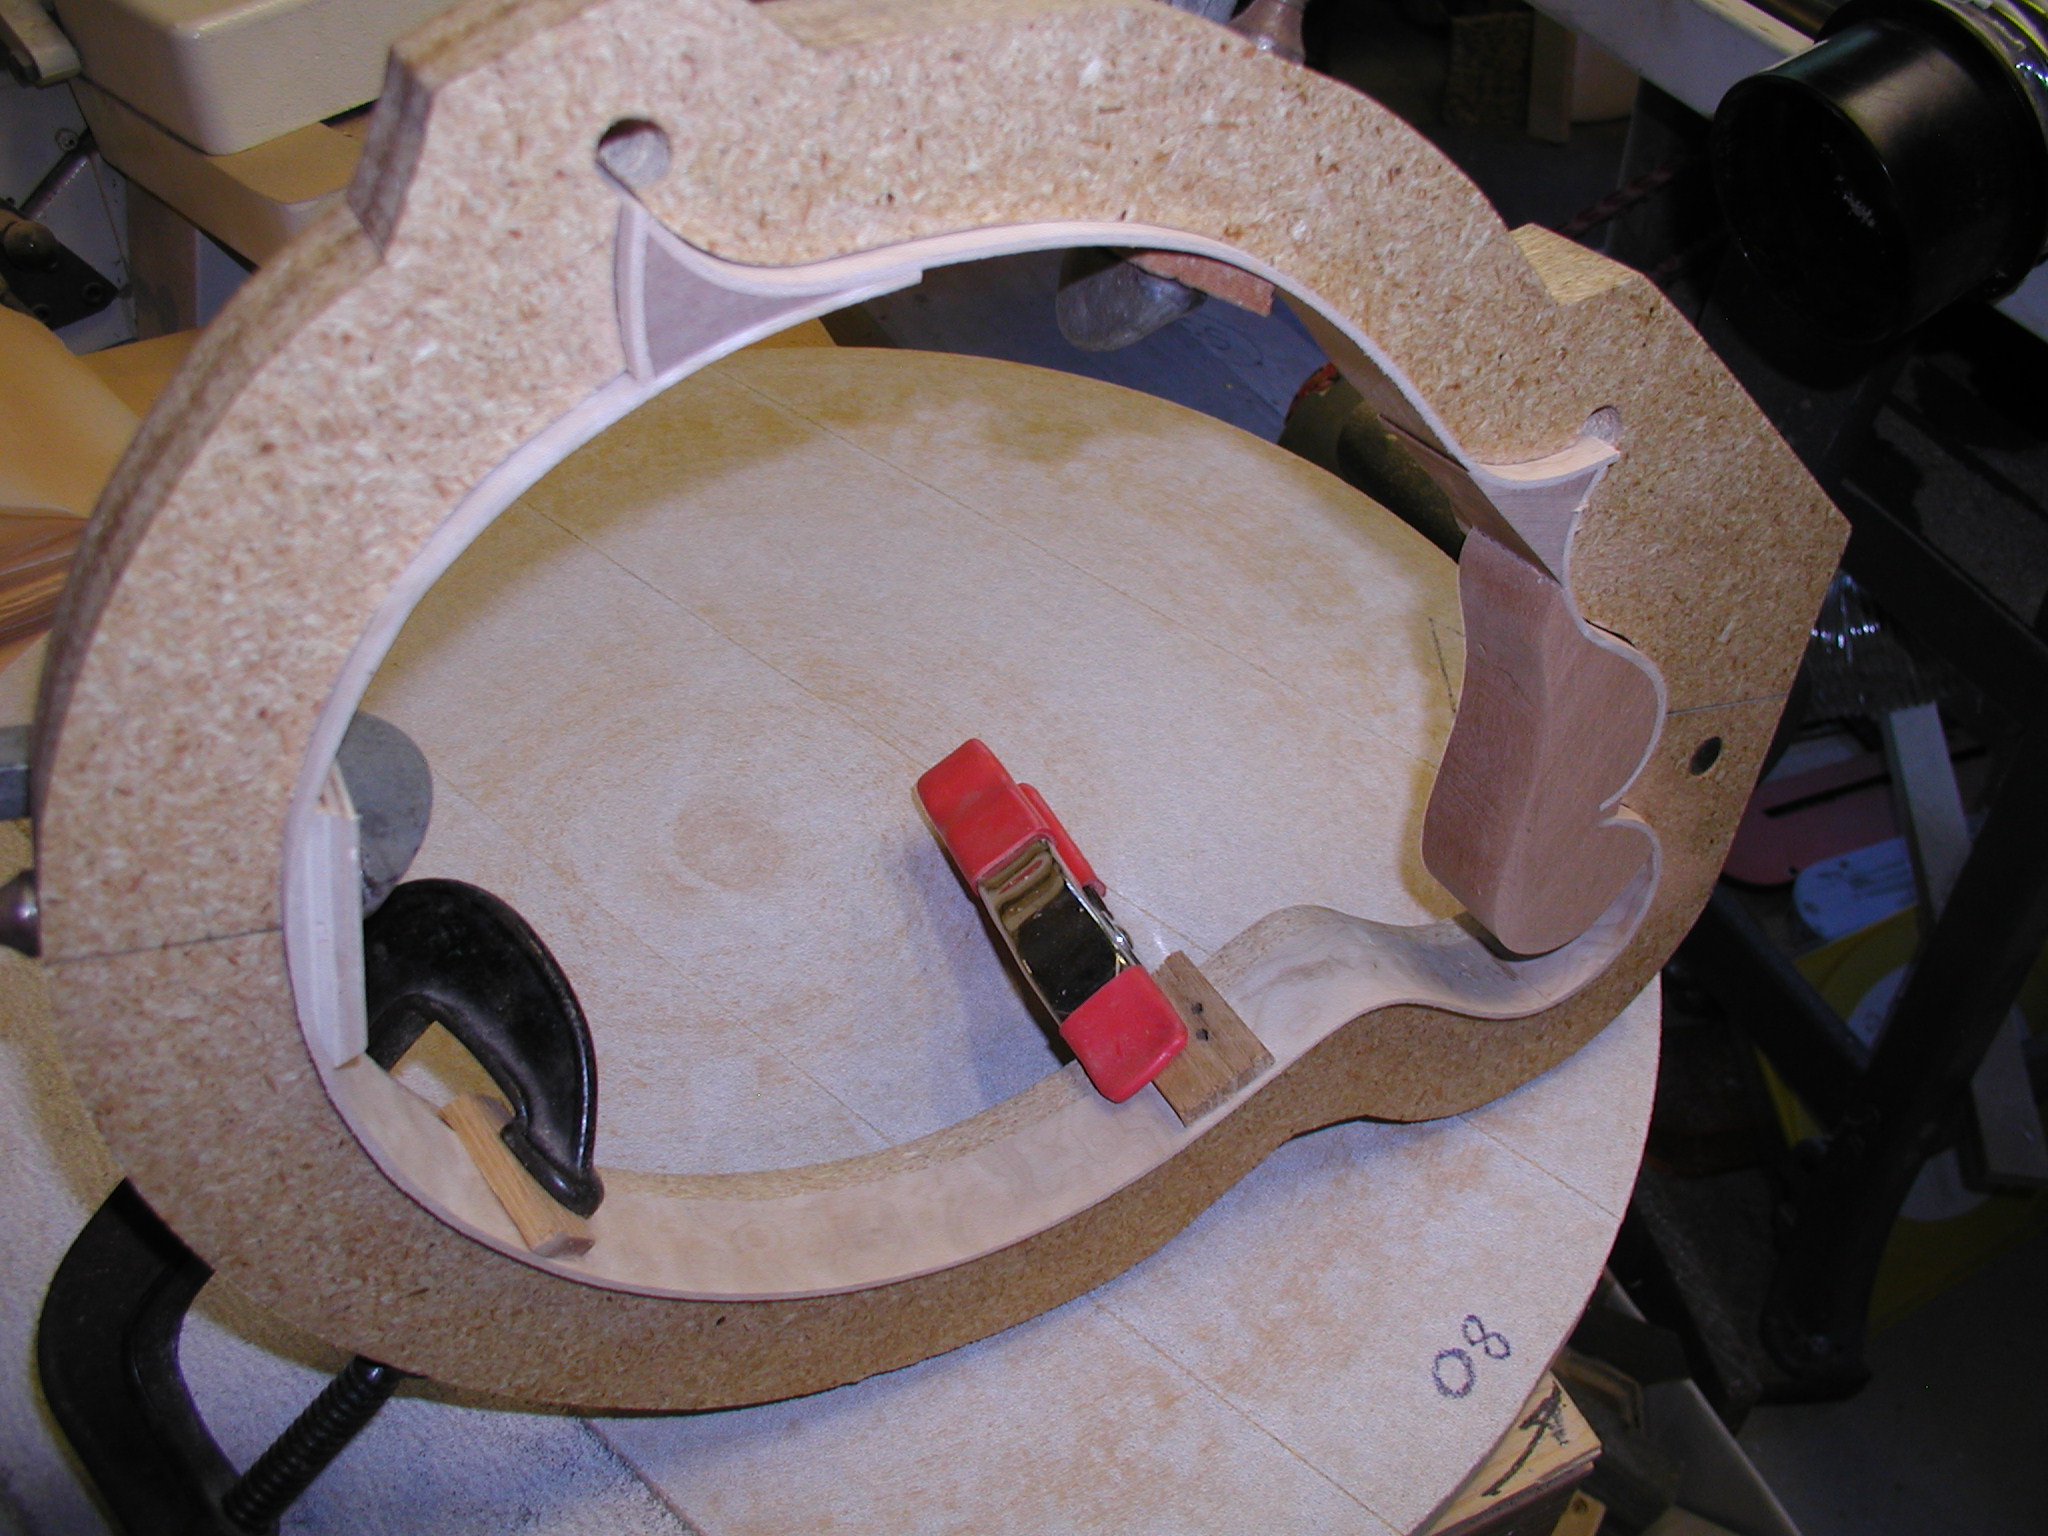
The body gets pulled from the form and the little back-side piece now gets glued by itself. I first rim the bottom side off at the same angle as the block. Fit is not important here since this will get cut off for the ivoroid points. Then fit back-side piece to the long side with a nice tight angled cut using a chisel. Get a good fit here or it will show. You can use a sheet of sandpaper taped to a flat surface if you prefer but get it so the side is square and true to both the block and the long side. It gets glued in place with a clamping block that is cut to the same shape as the point but just a bit short so it doesn't contact the long or bottom side. Instead it wedges the back-side piece tight against the long side and the block.

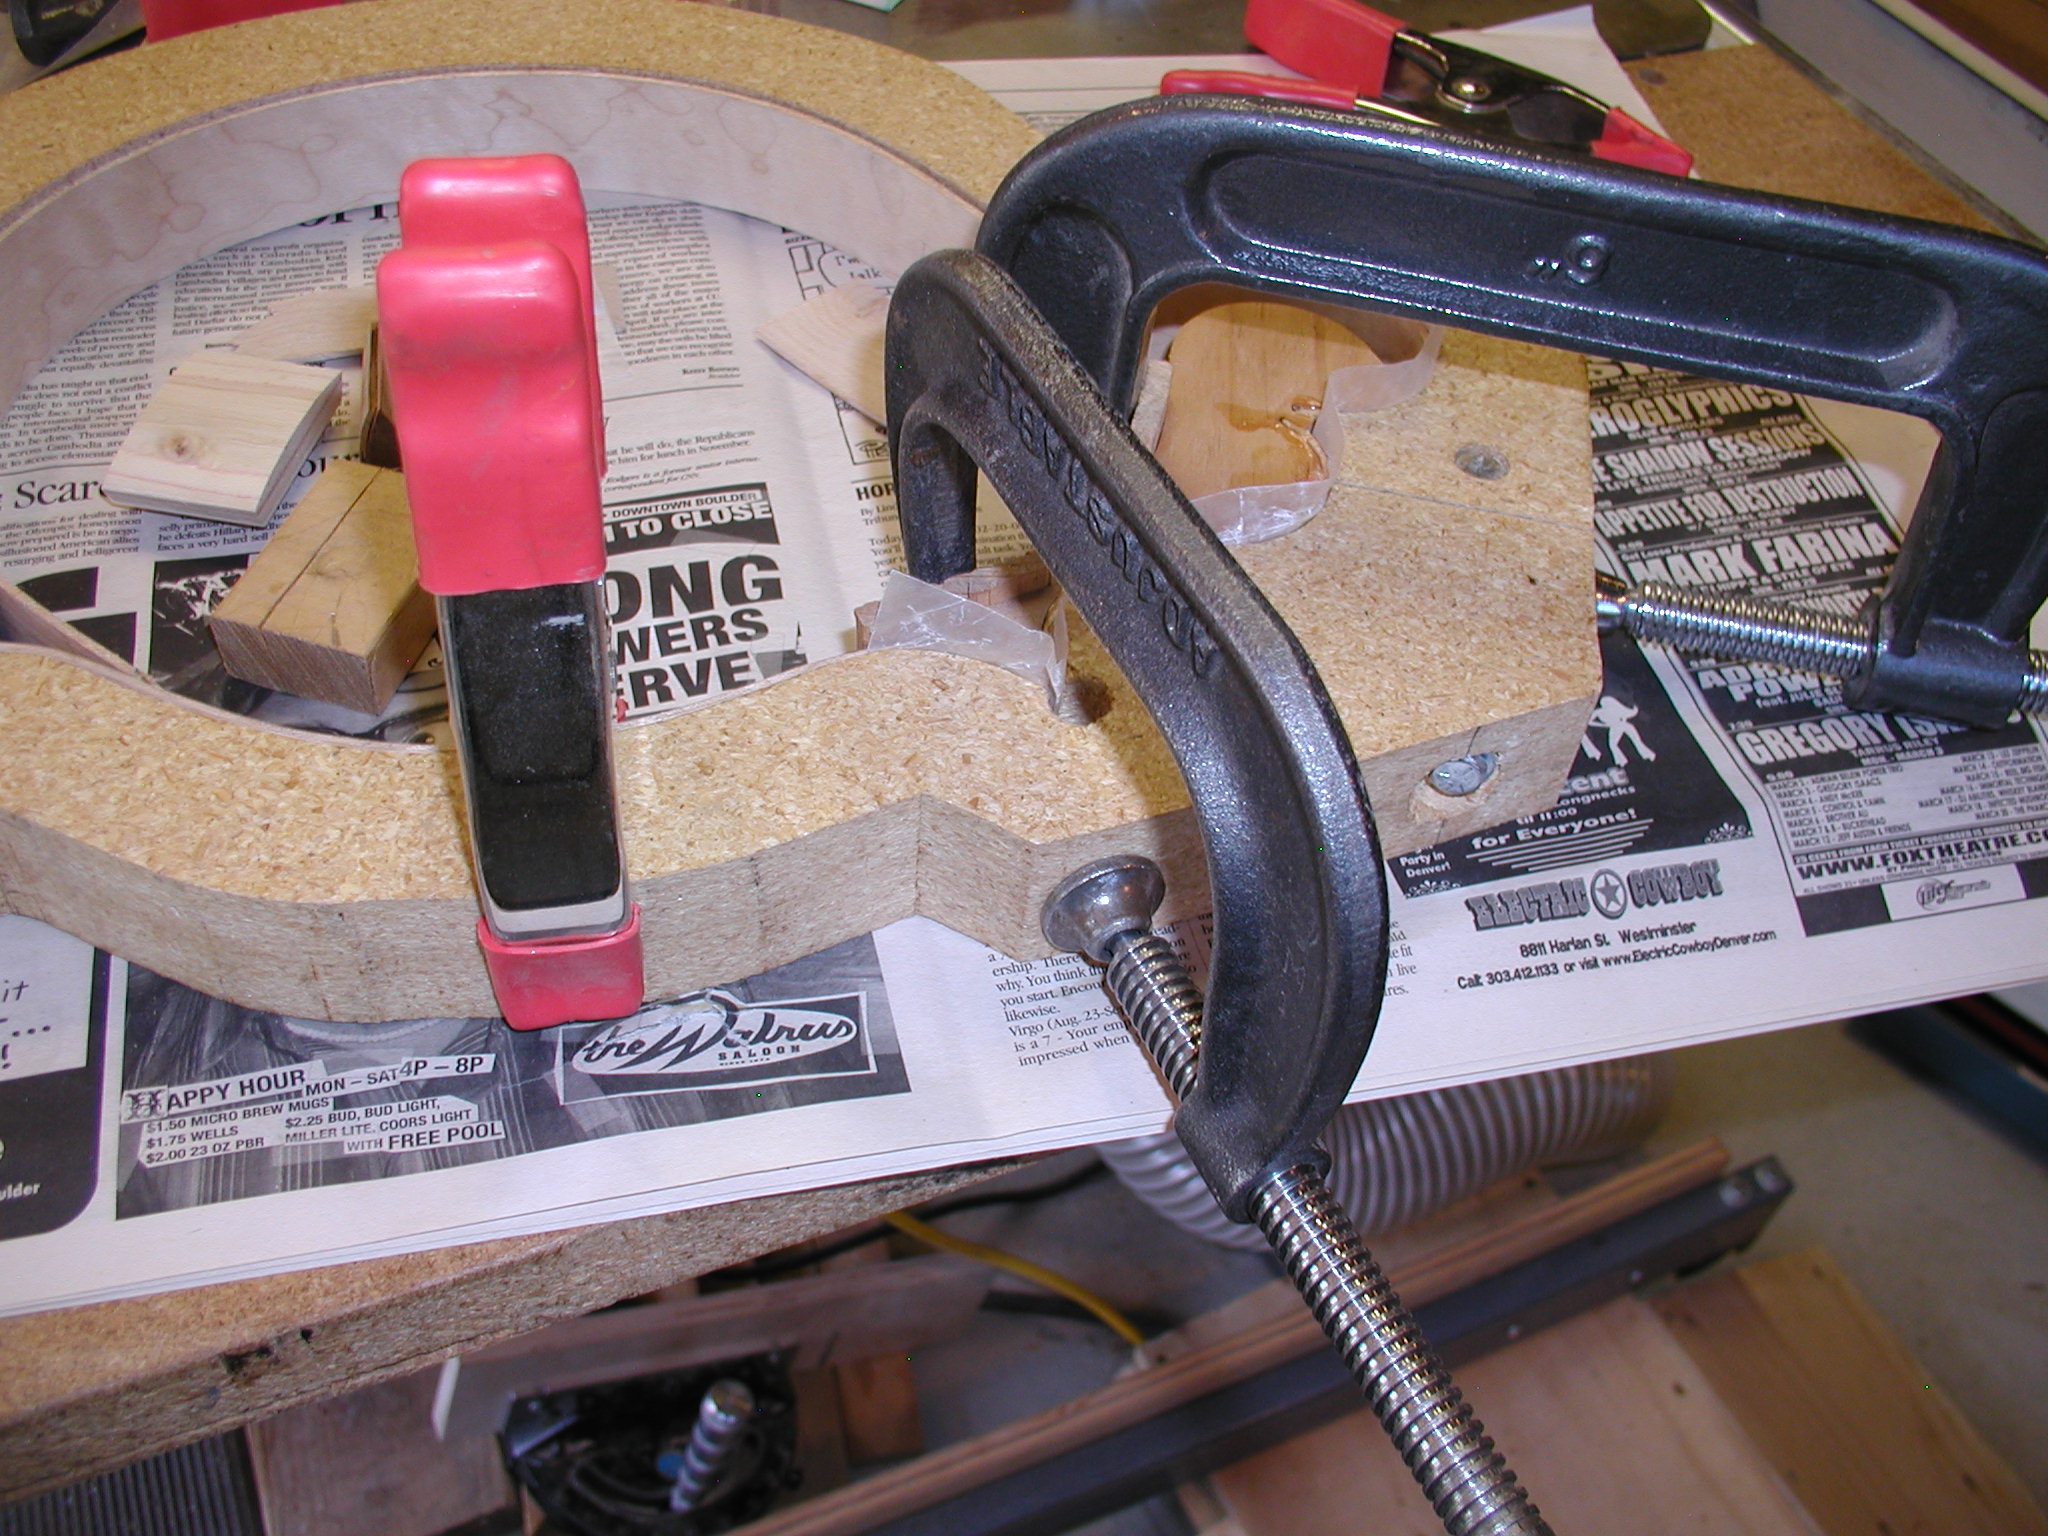
Once the body is all glued up I sand the sides and blocks true and flush. I use my Powered Hollow Form Sander and a dead-flat dish for this, but you can do the same using any form of flat sanding disk or a long flat board with sandpaper glued to it. I slip the body back into the form to hold it true and slip it so it is exposed on one edge. Make sure that you have an even amount of side showing all the way around. I use a few clamps to hold it in place. Note the use of clamping cauls to protect the inside surface of the body. Sure, it won't show if there is a ding there, but YOU will know it is there. For the rest of your life... forever nagging you...
Then flip it over and center it on the sander and slowly and carefully sand it all down evenly. Keep checking with a ruler against the form to make sure it is even. Note the dust collection hose! You are gonna' want that with the powered sander, it will spew a lot of dust. When you have one side done, just slip the body to the other side and repeat. If you are going for an exact body thickness, slip it out of the form, mark it in a few places. Then slip it in the form to the marks and draw a pencil line all the way around. Then slip more to expose the line and clamp and sand down to your line.

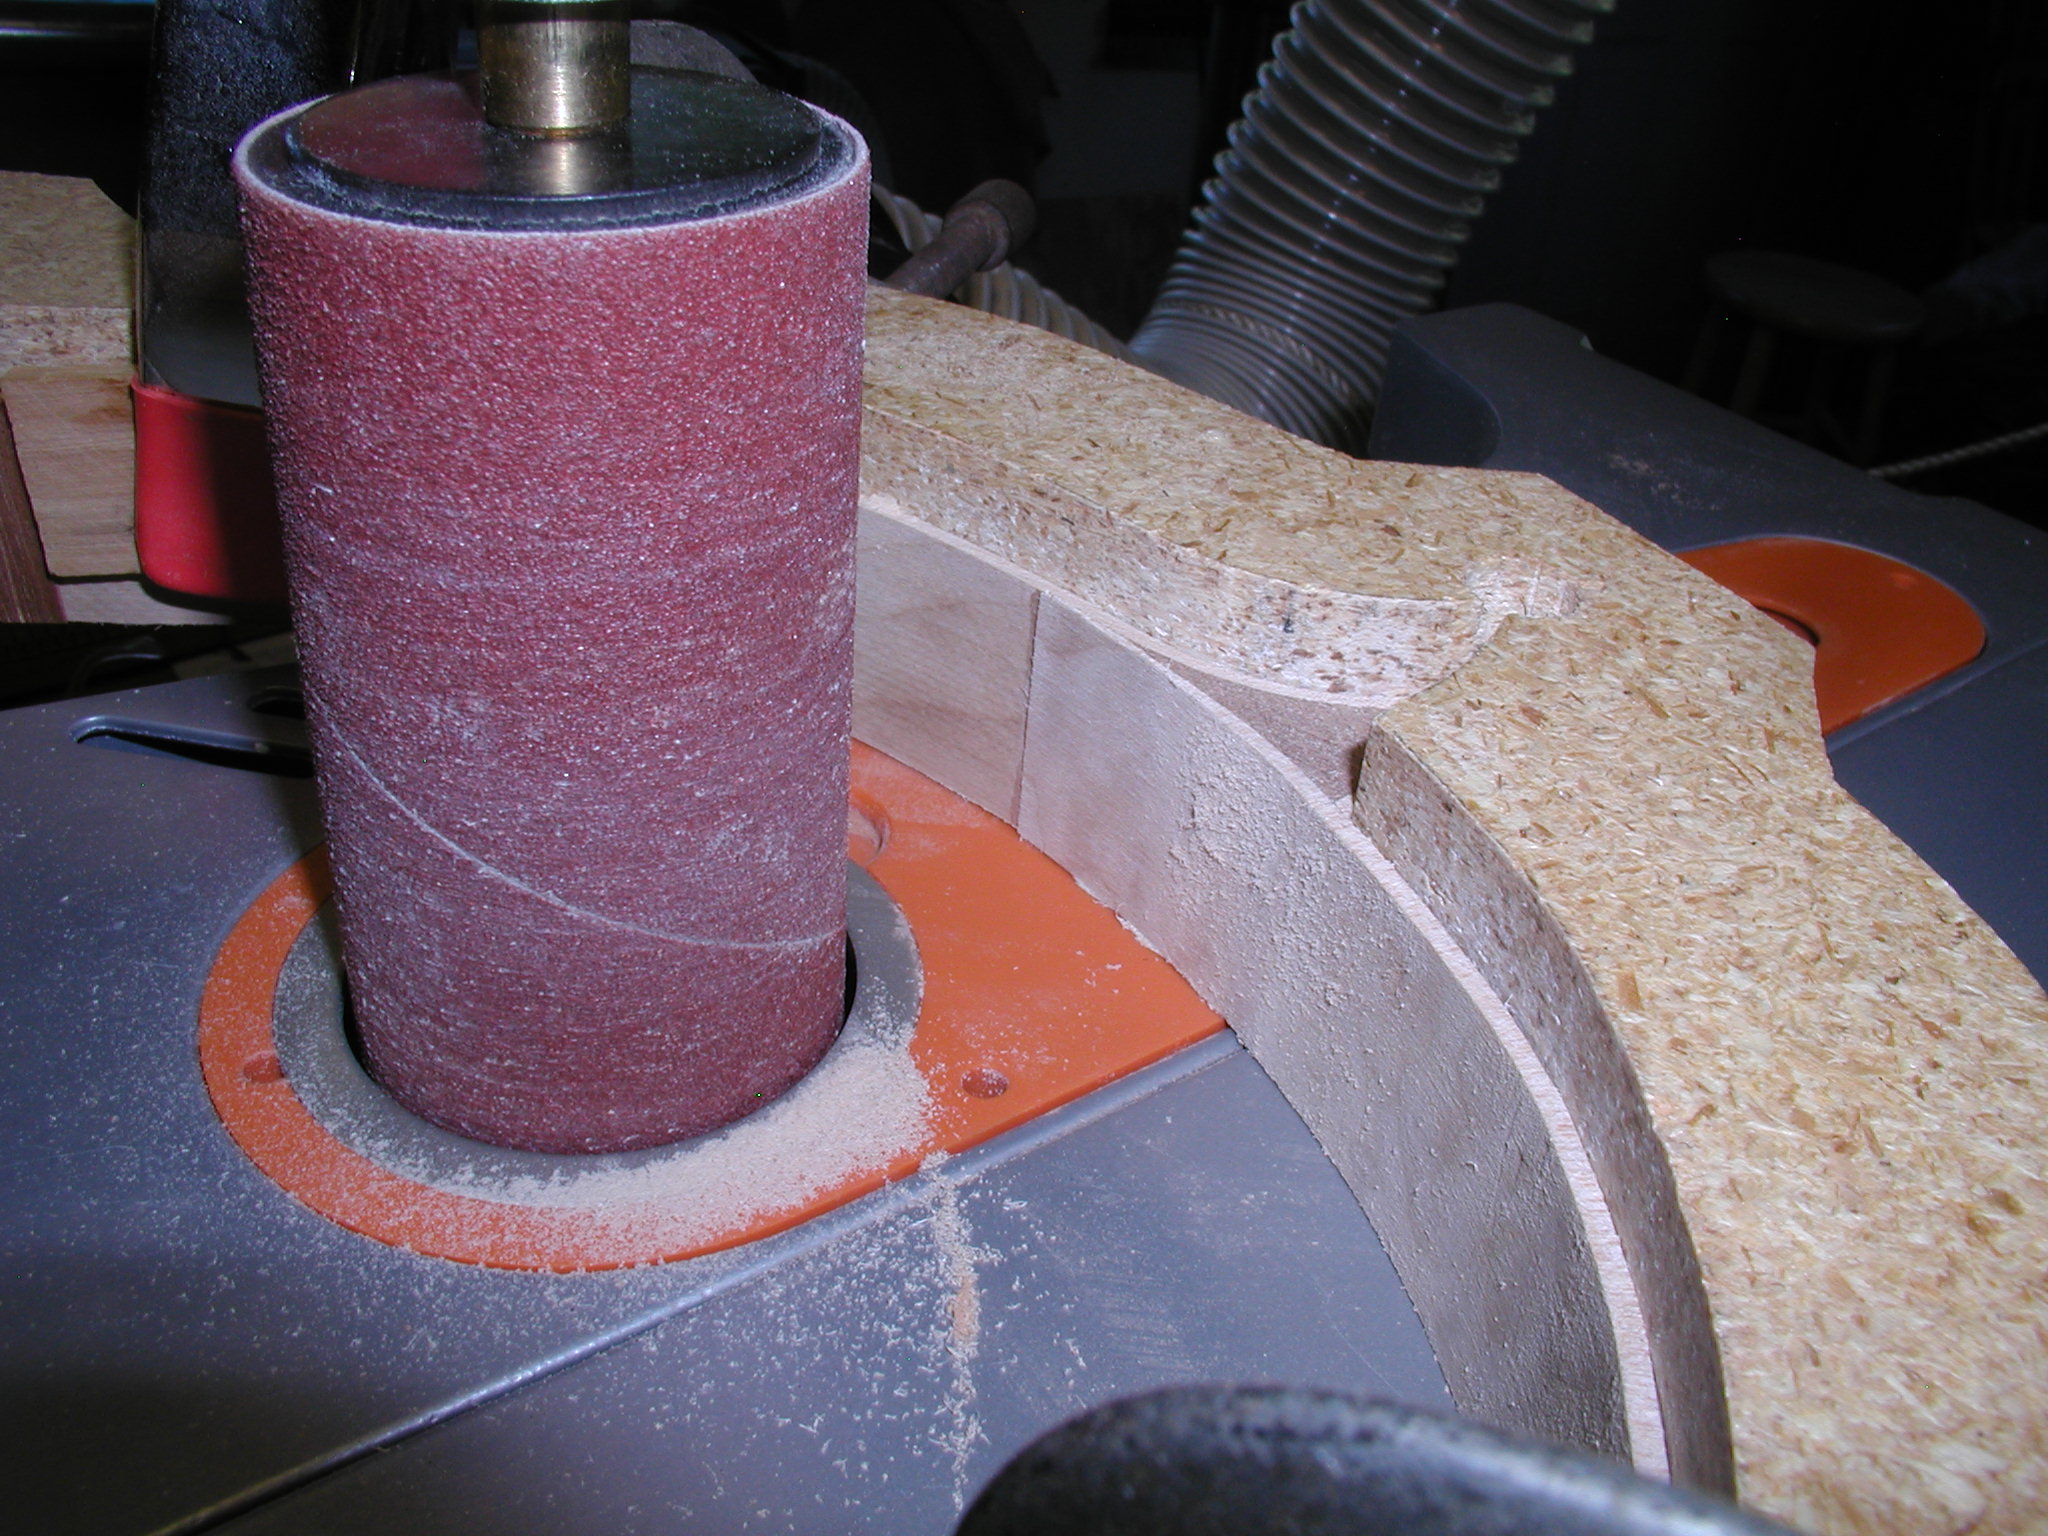
Last of all, smooth off the tail end of the long side till it is flush to the bottom side. I get it close with the spindle sander but finish it out with a flexible sanding block to get a nice smooth joint. The linings have to go over this and you don't want a bump.
Previous - Next
1 2 3 4 5 6 7 8 8a 9 10 11 11a 11b 12 12a 13 14 15 16 17 18 19 20