Let's Build A Mandolin (Page 13)
1 2 3 4 5 6 7 8 8a 9 10 11 11a 11b 12 12a 13 14 15 16 17 18 19 20
Last Modified - April 2012 (©Alan Dunwell 2012)
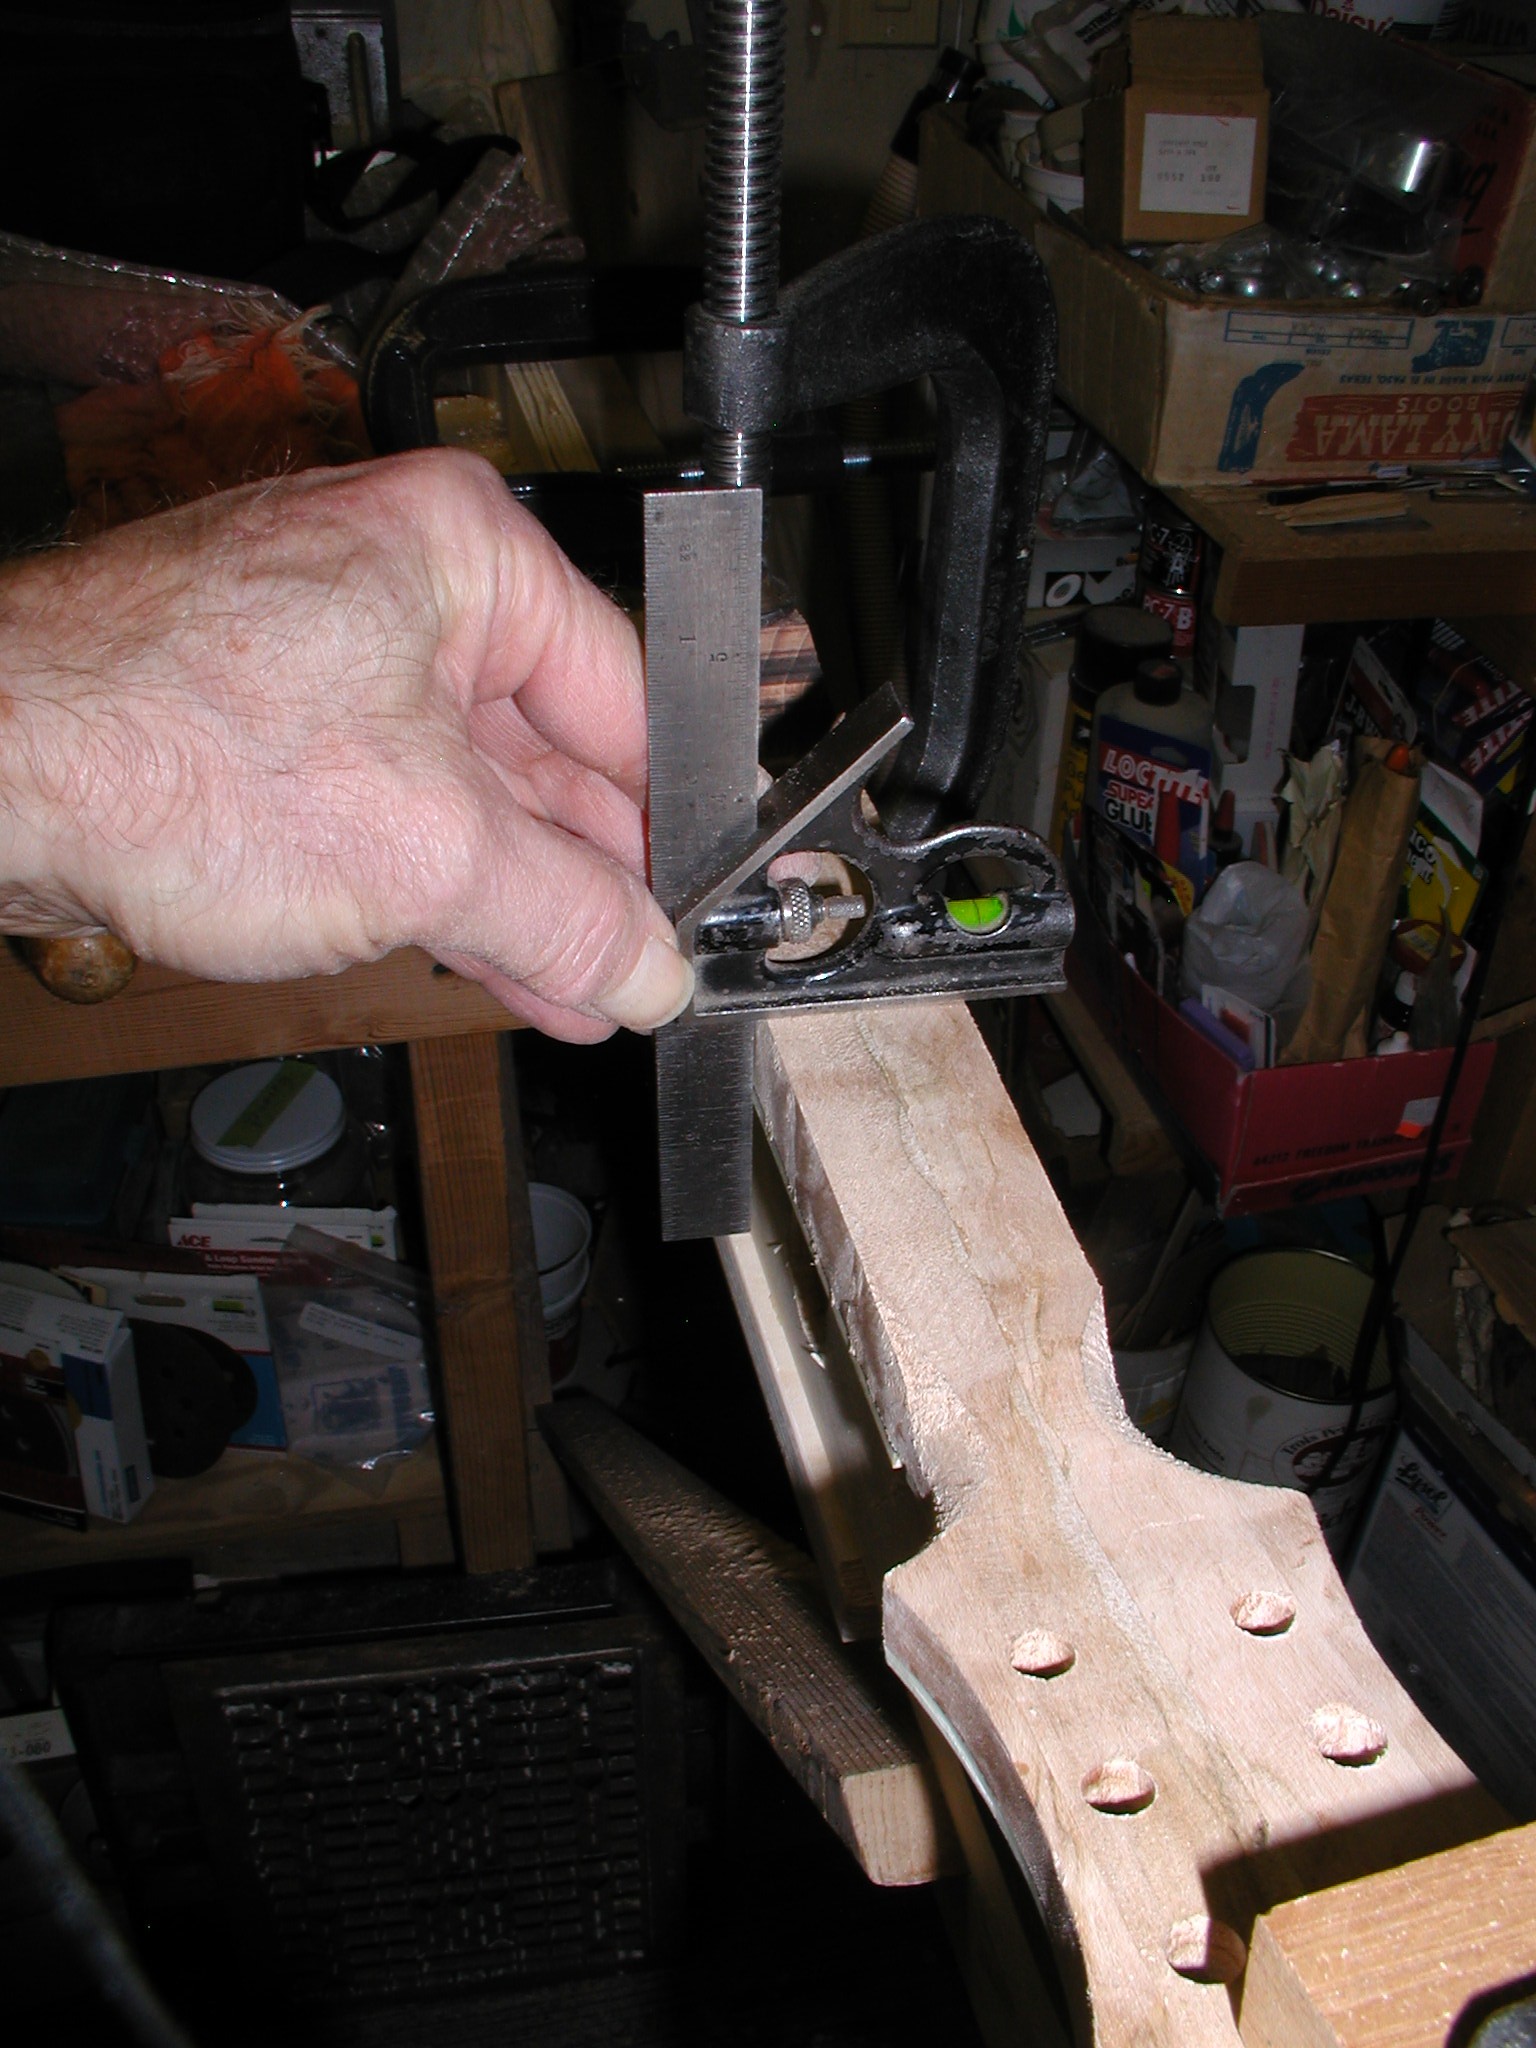
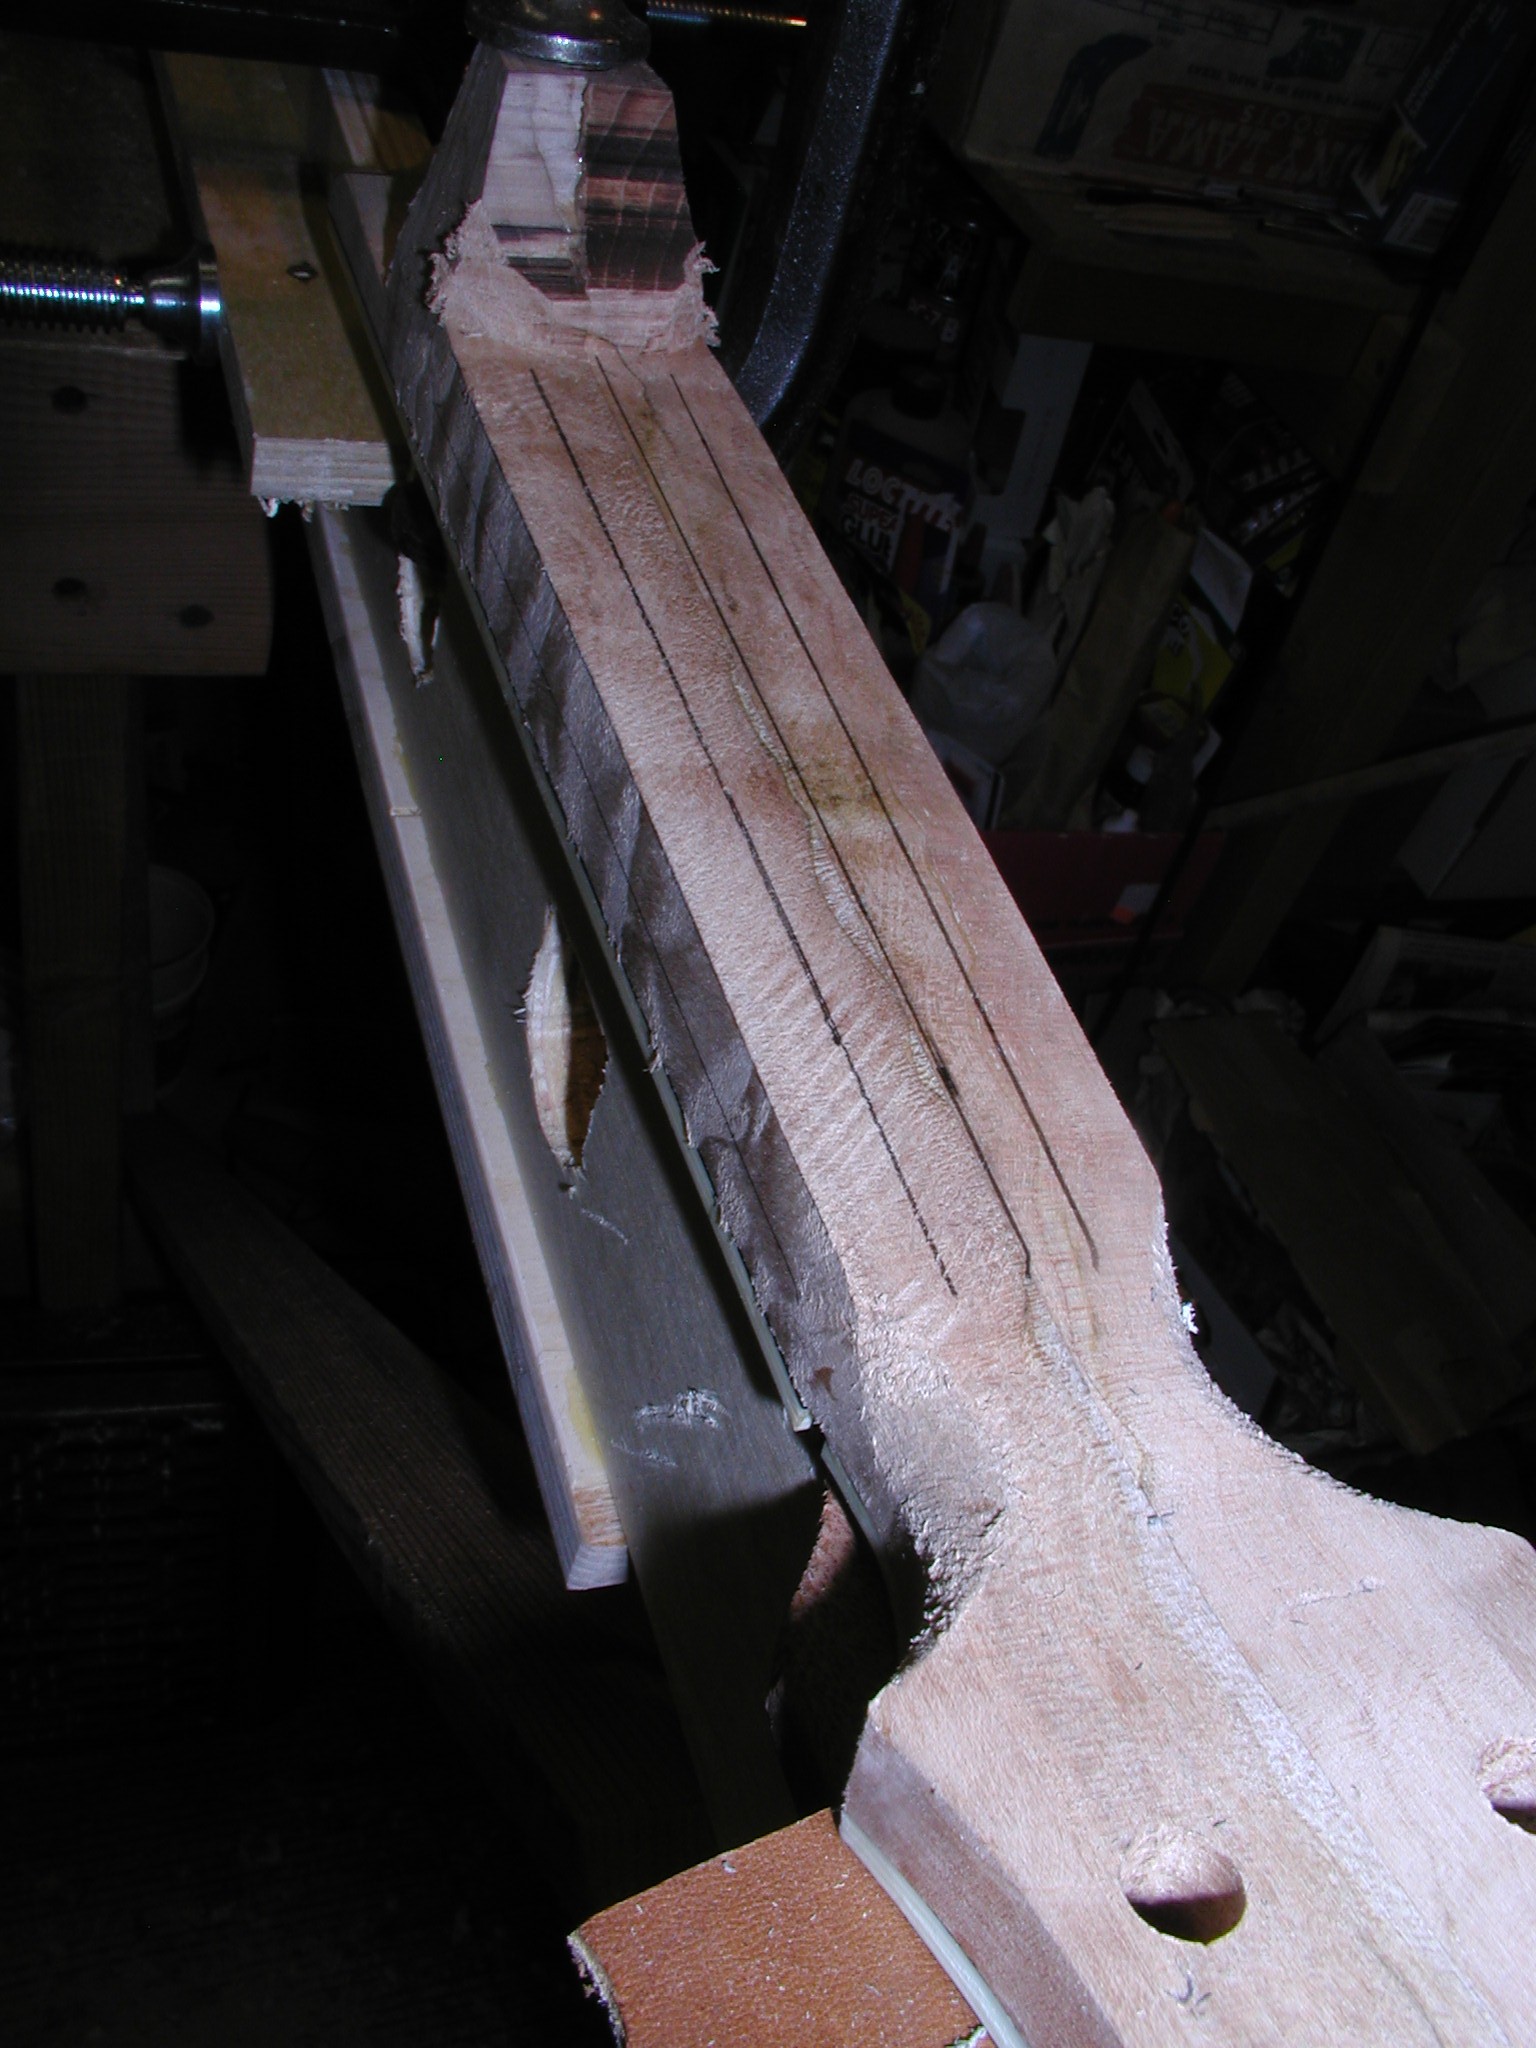
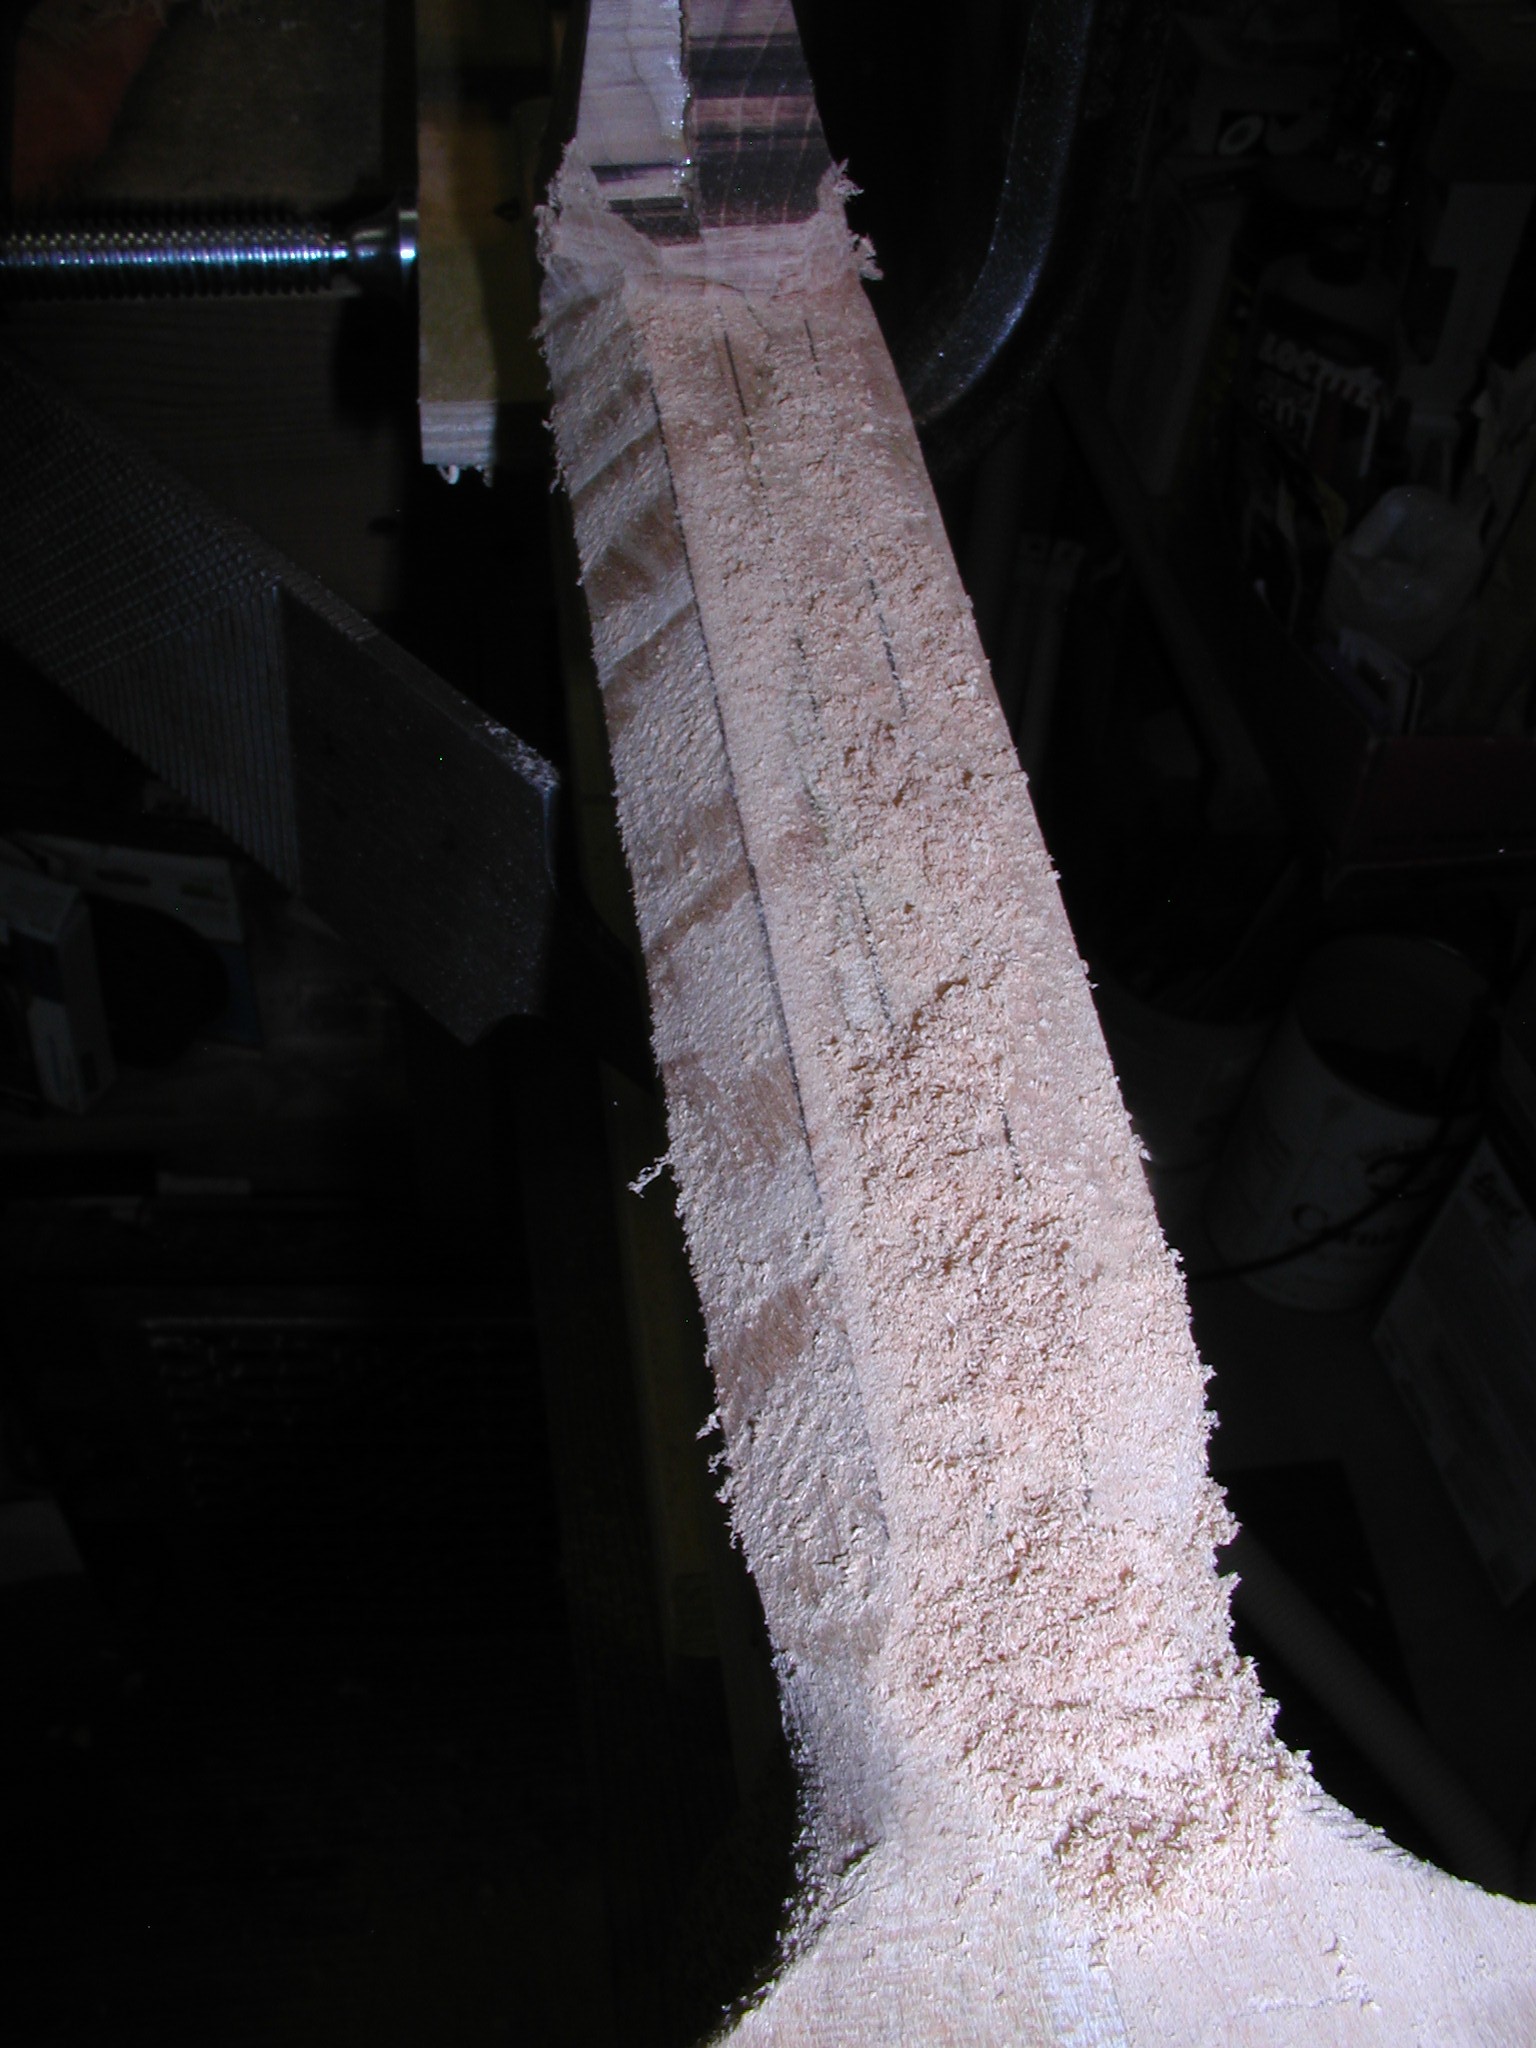
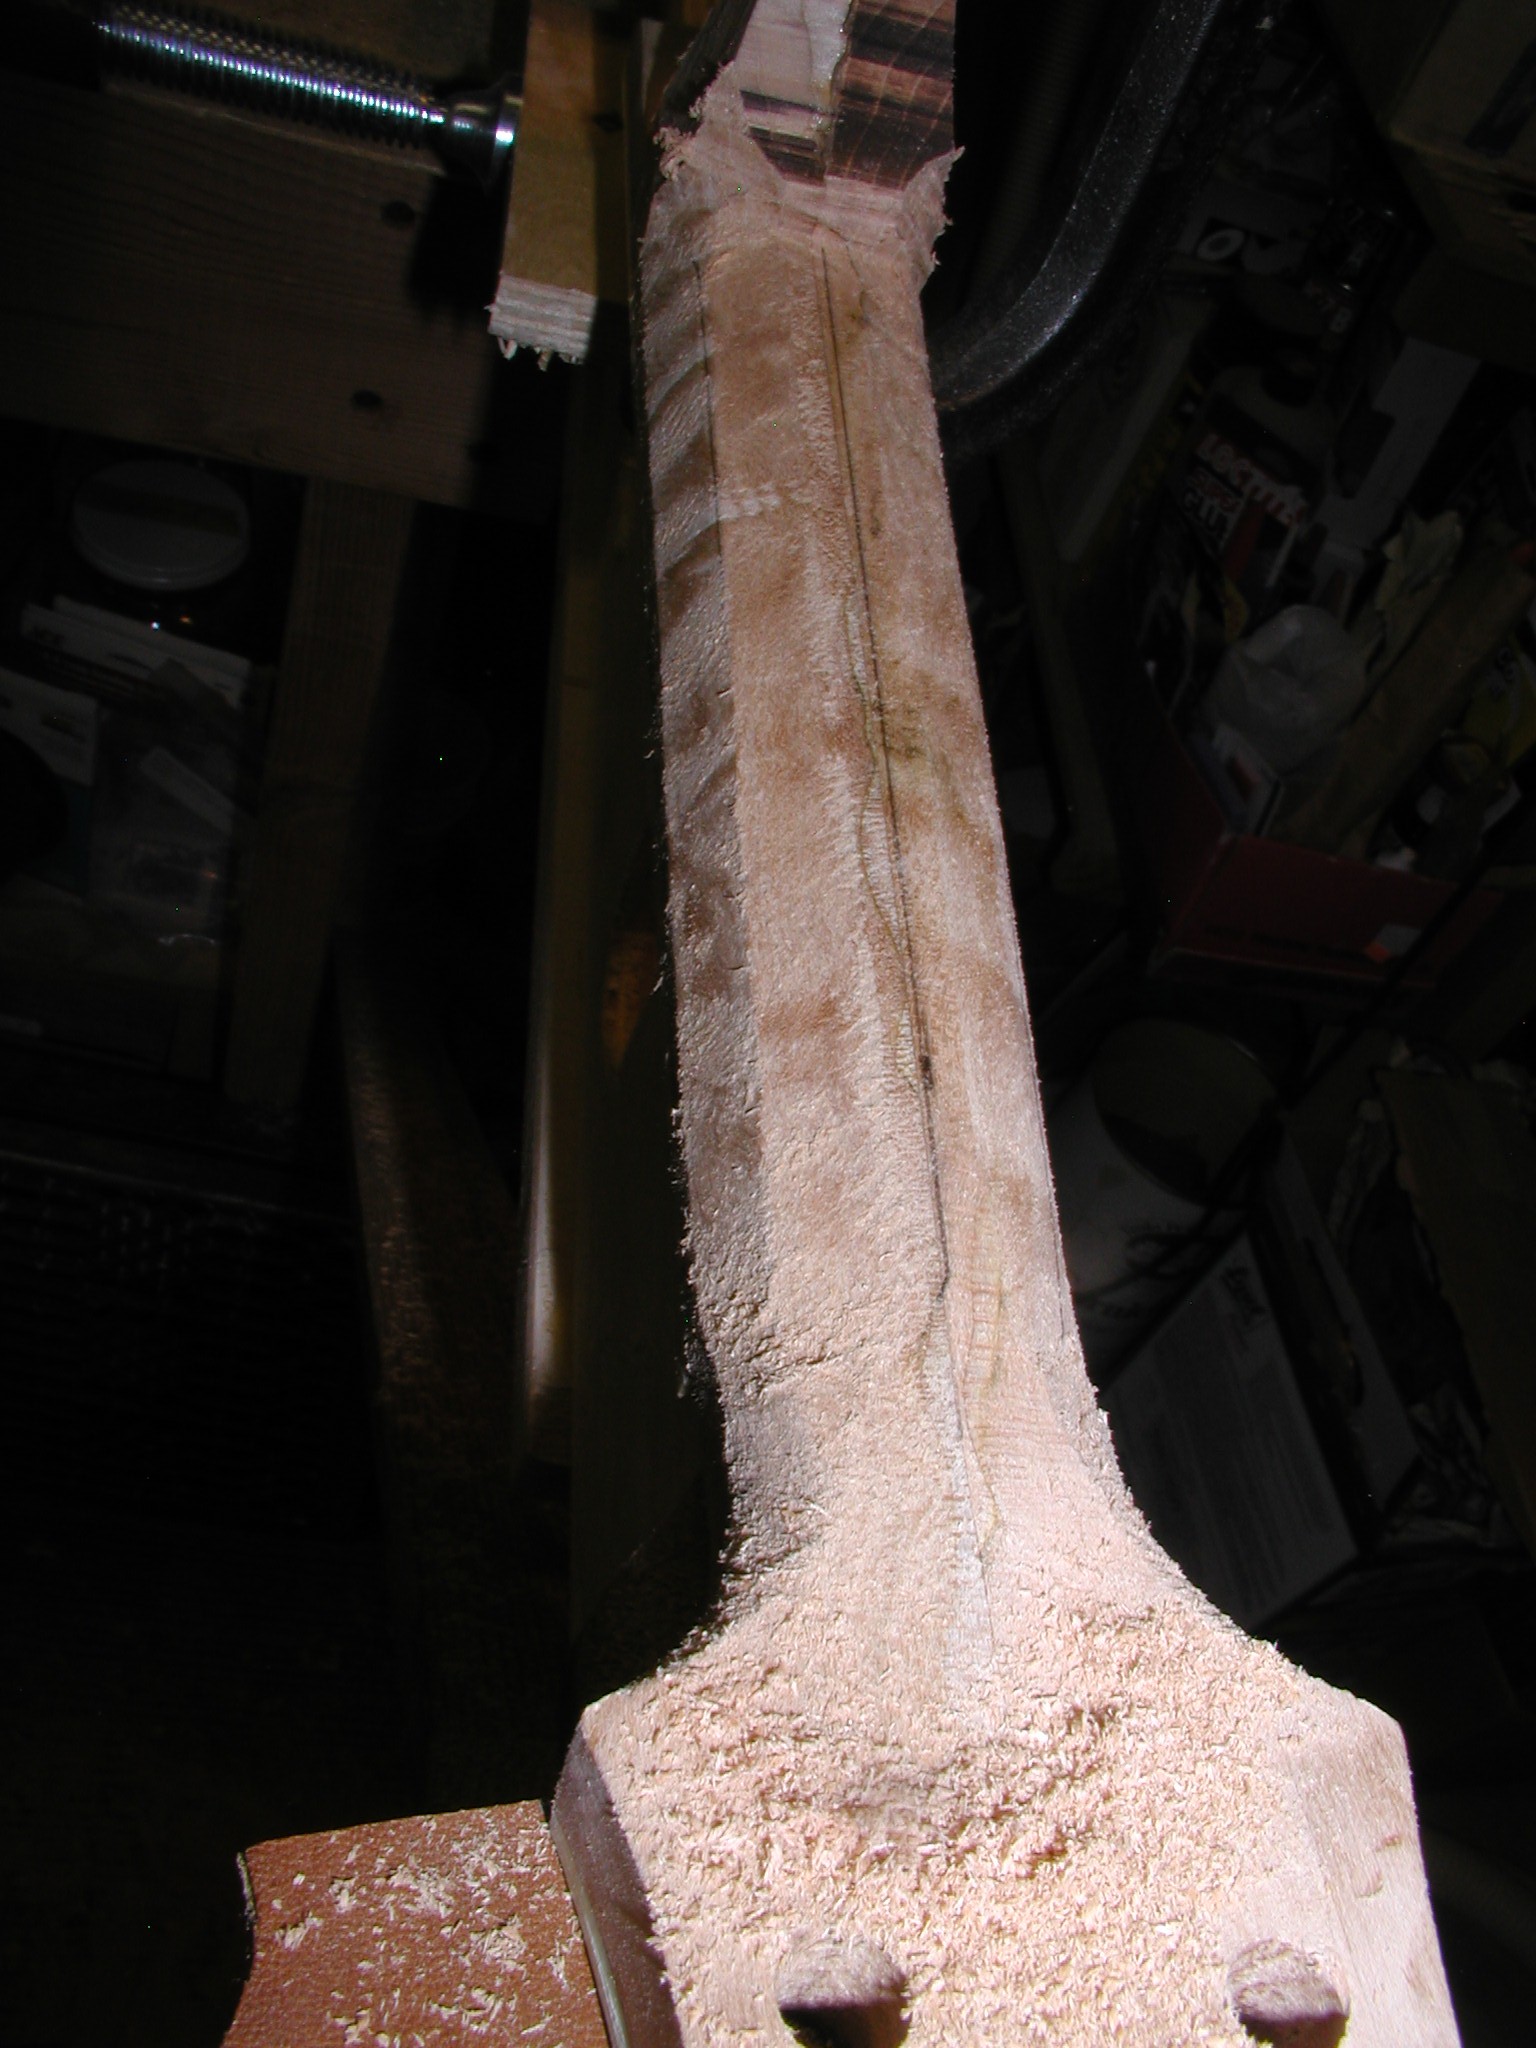
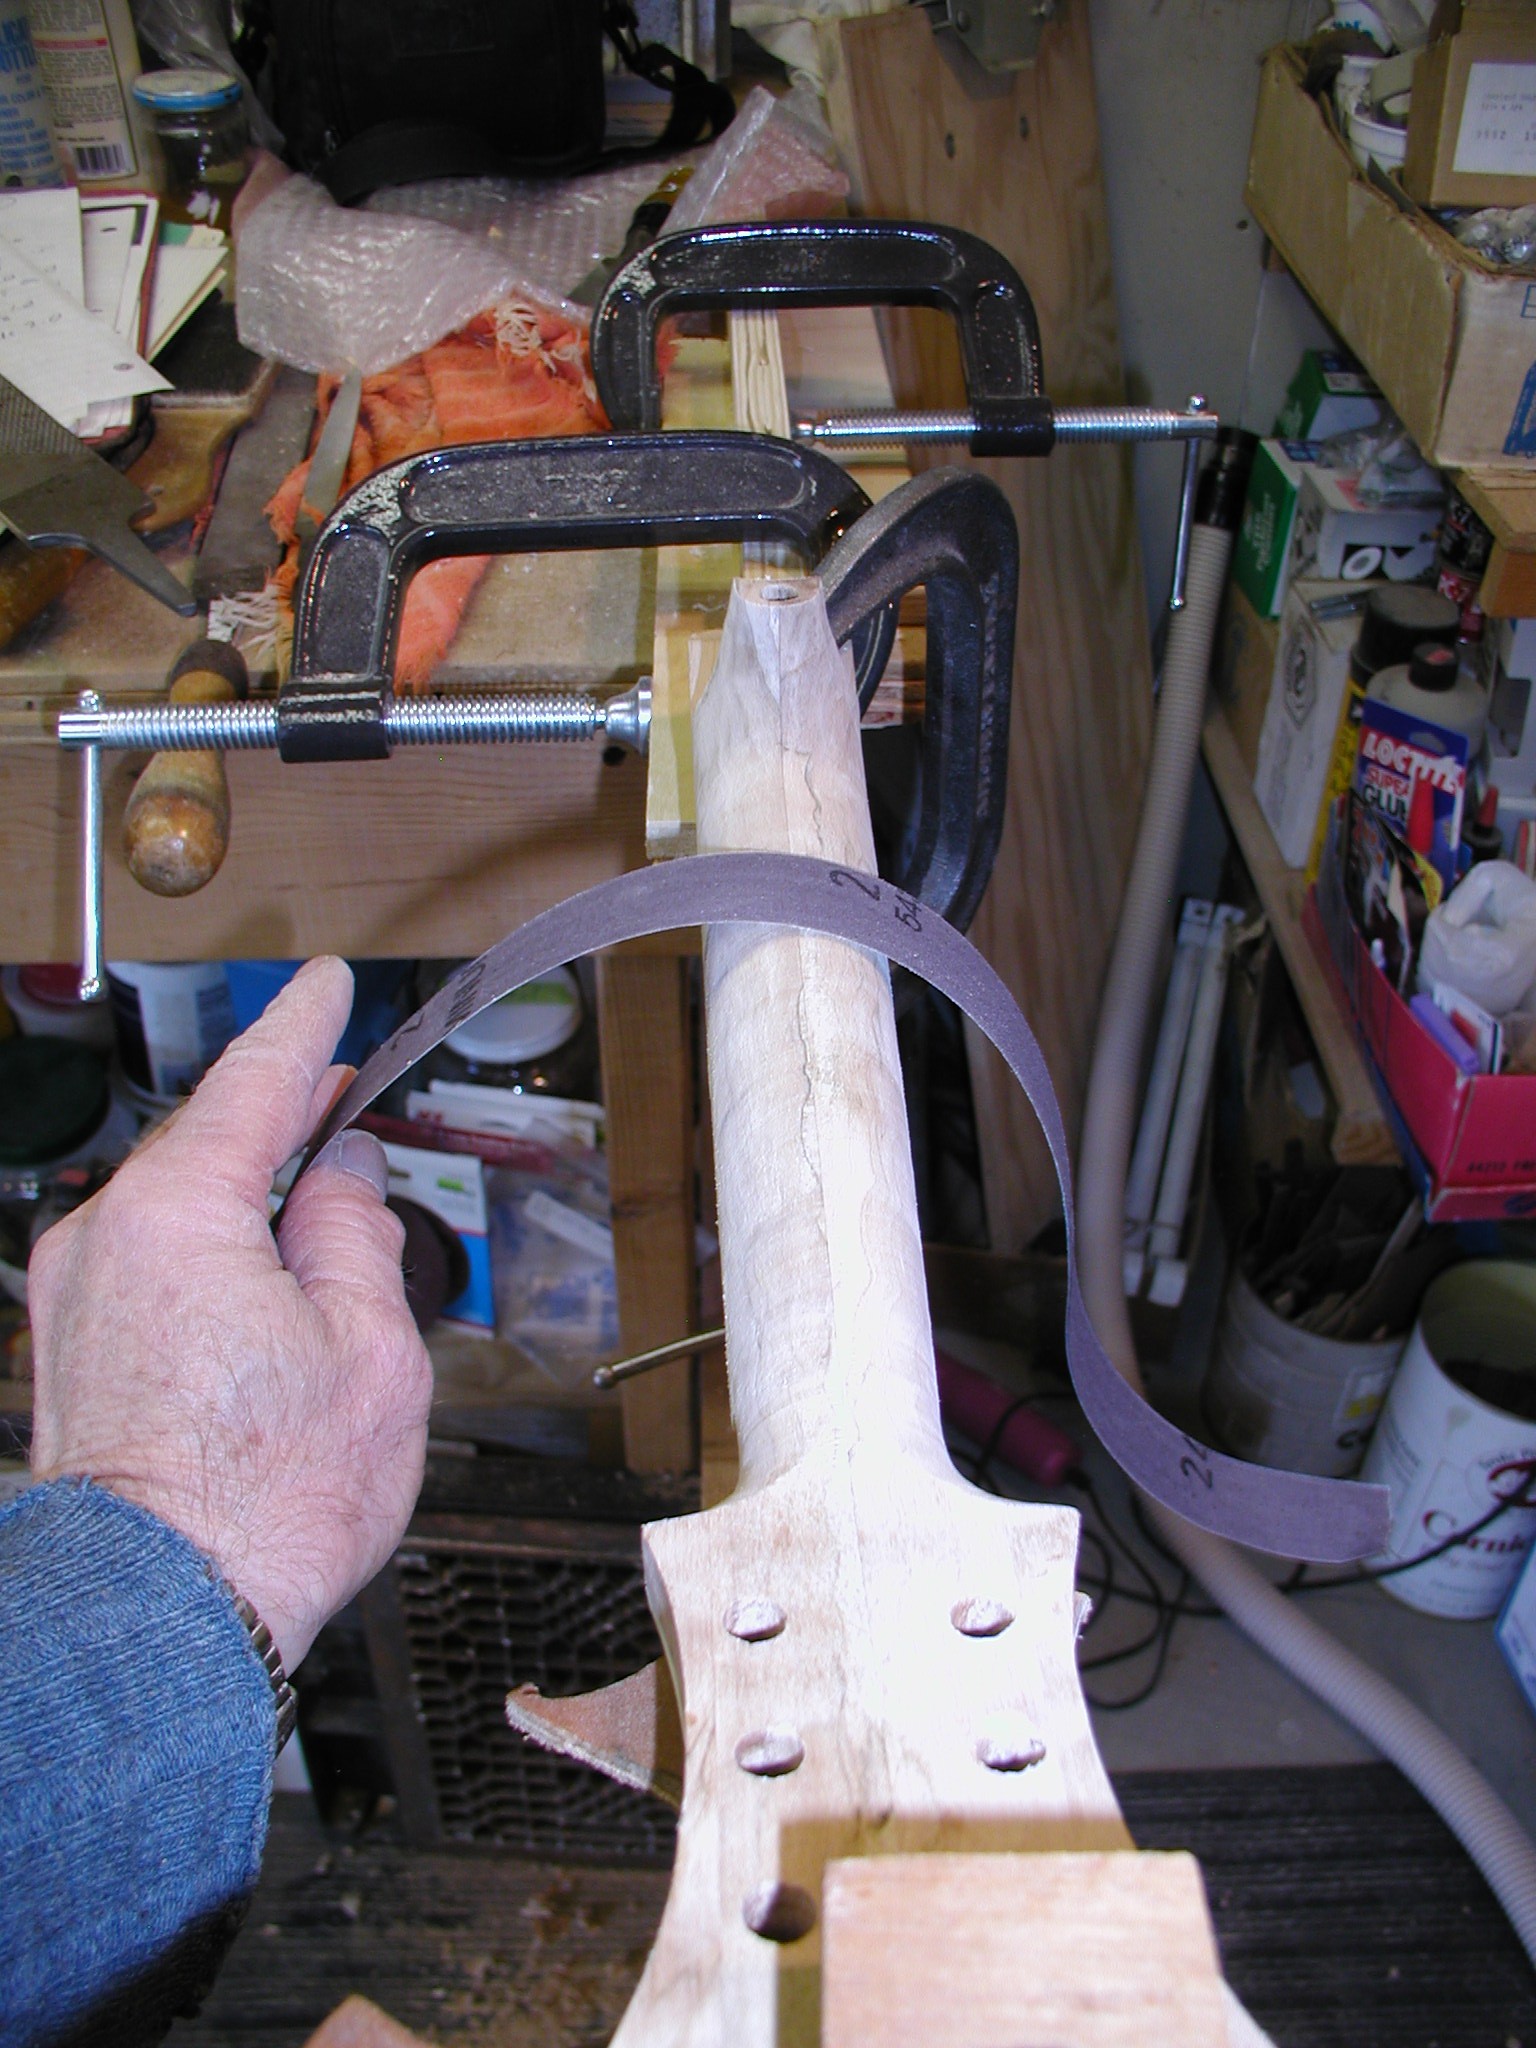
In Page 12 we finalized the fretboard and headstock. Now it is time to carve the neck profile. First I square off the back and sides of the neck and bring the sides in to match the edge of the fretboard. I leave just a little bit there to protect the fretboard till I get to the final fitting. Then I mark a center line and lines half way between the center and the edge. I come up halfway on the side measured from the bottom edge of the fretboard and draw a line there too. Then I use a spokeshave and farier rasp to cut of the flats between the lines. In this case, no spokeshave since it is quilted maple and there is too much chance of damage with the shave. Then I draw half-way lines again on the new flats and cut even smaller flats, kind of a progressive approximation to the curve of the neck but keeps everything even. Then finally smoothing strokes along and over the neck to take off the small remaining corners.
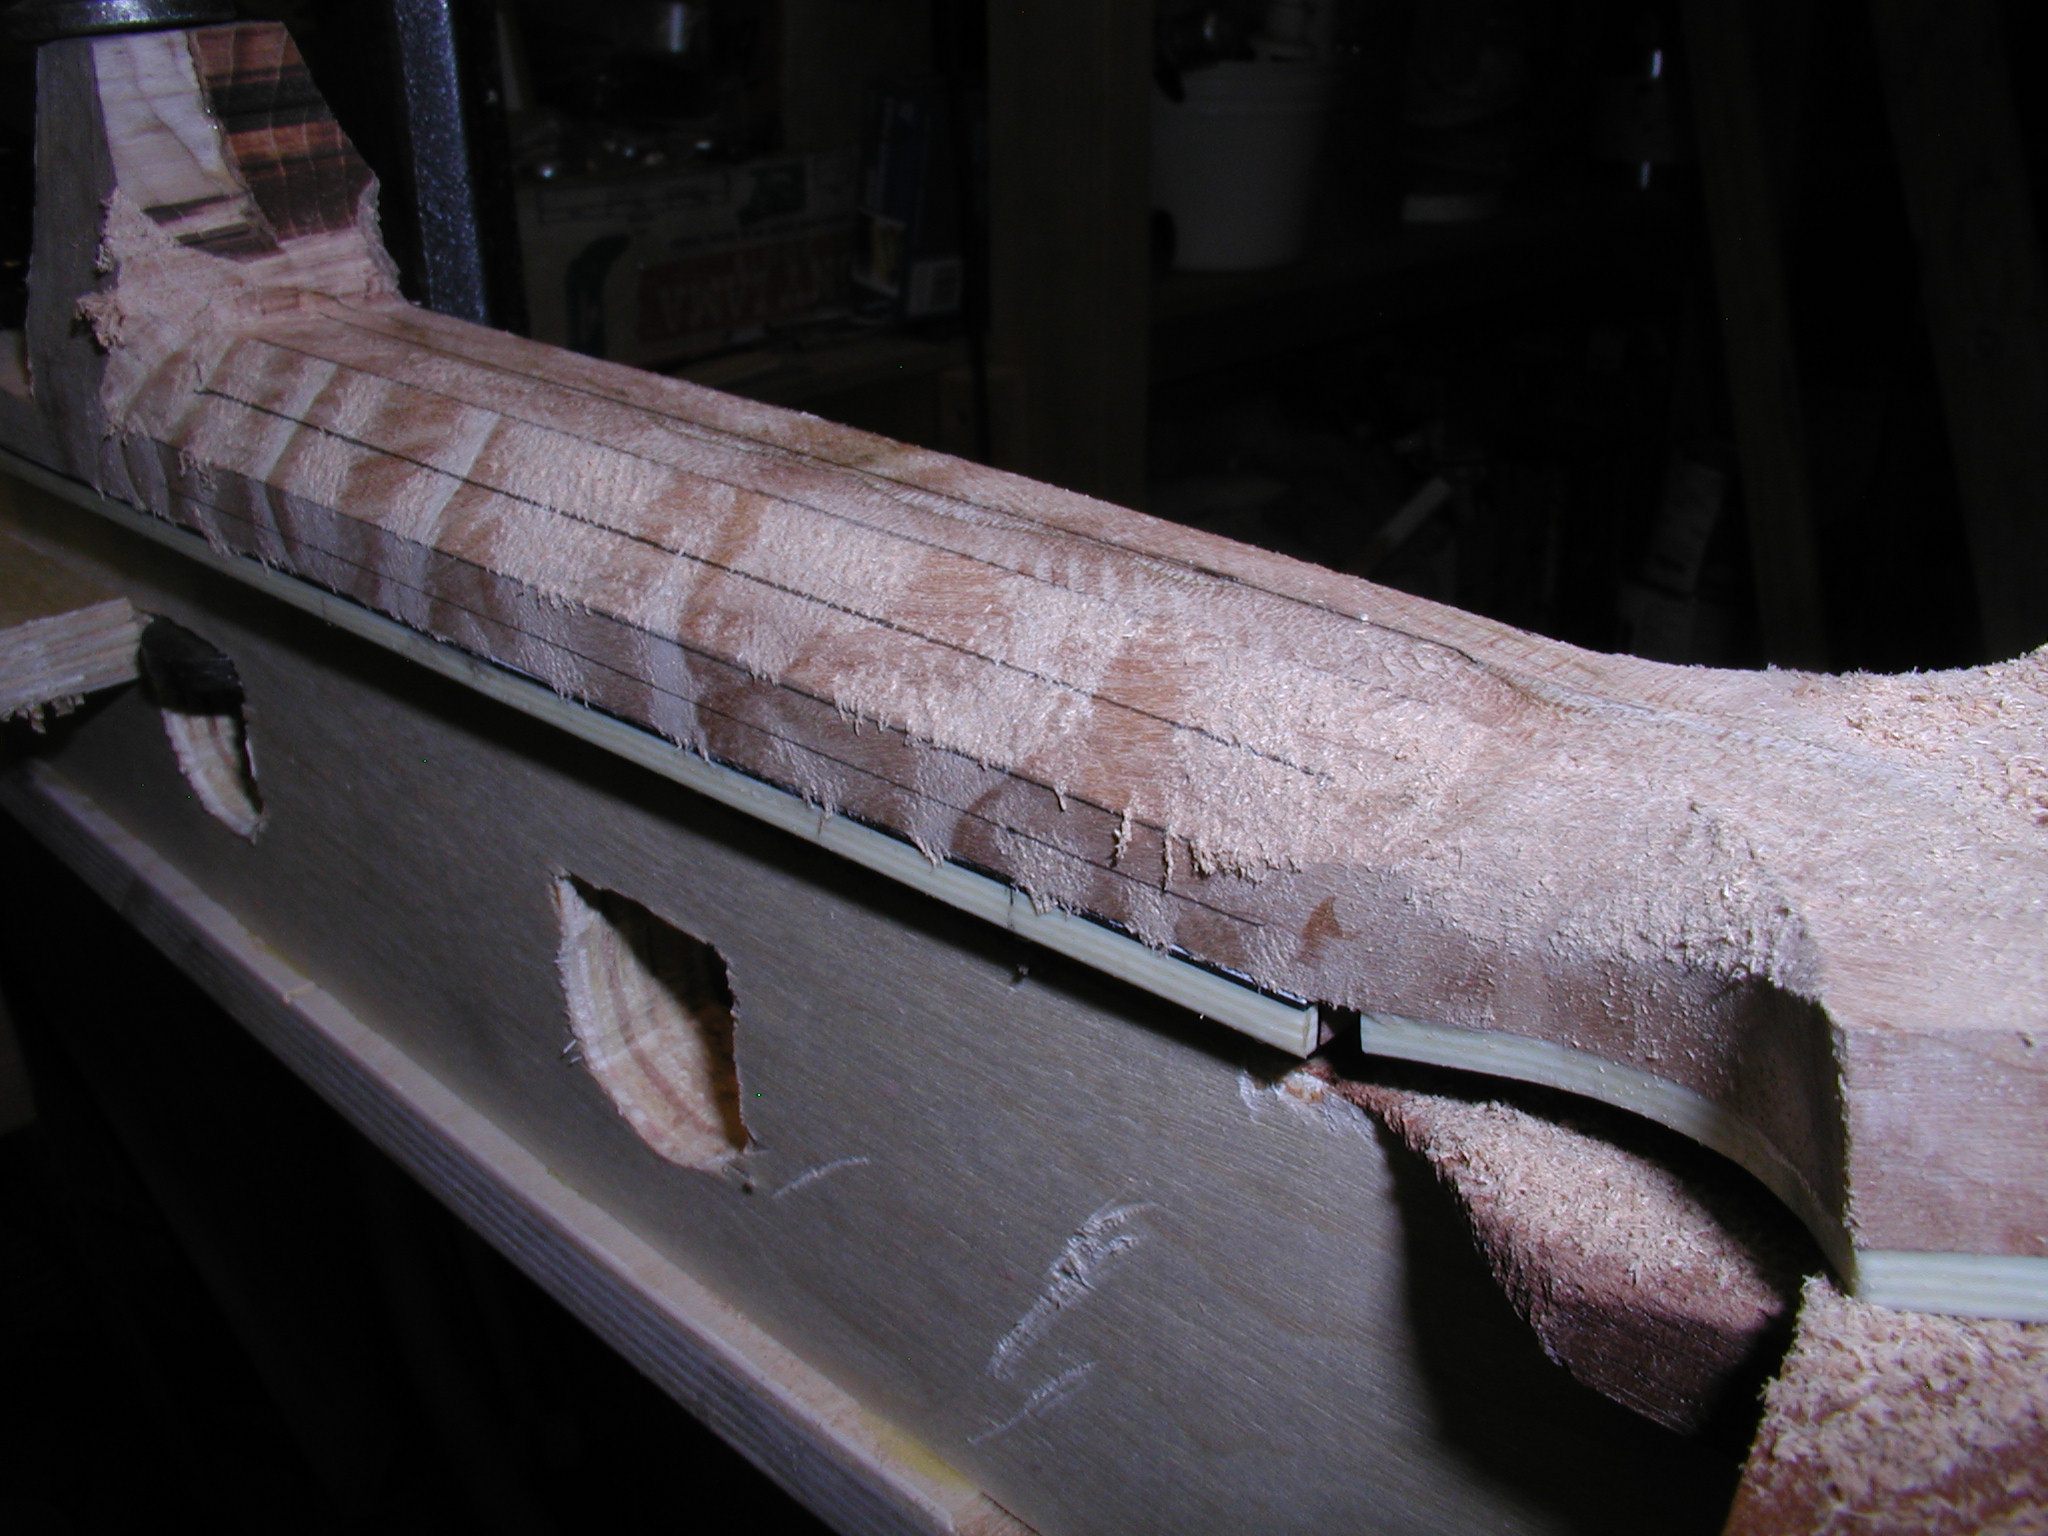
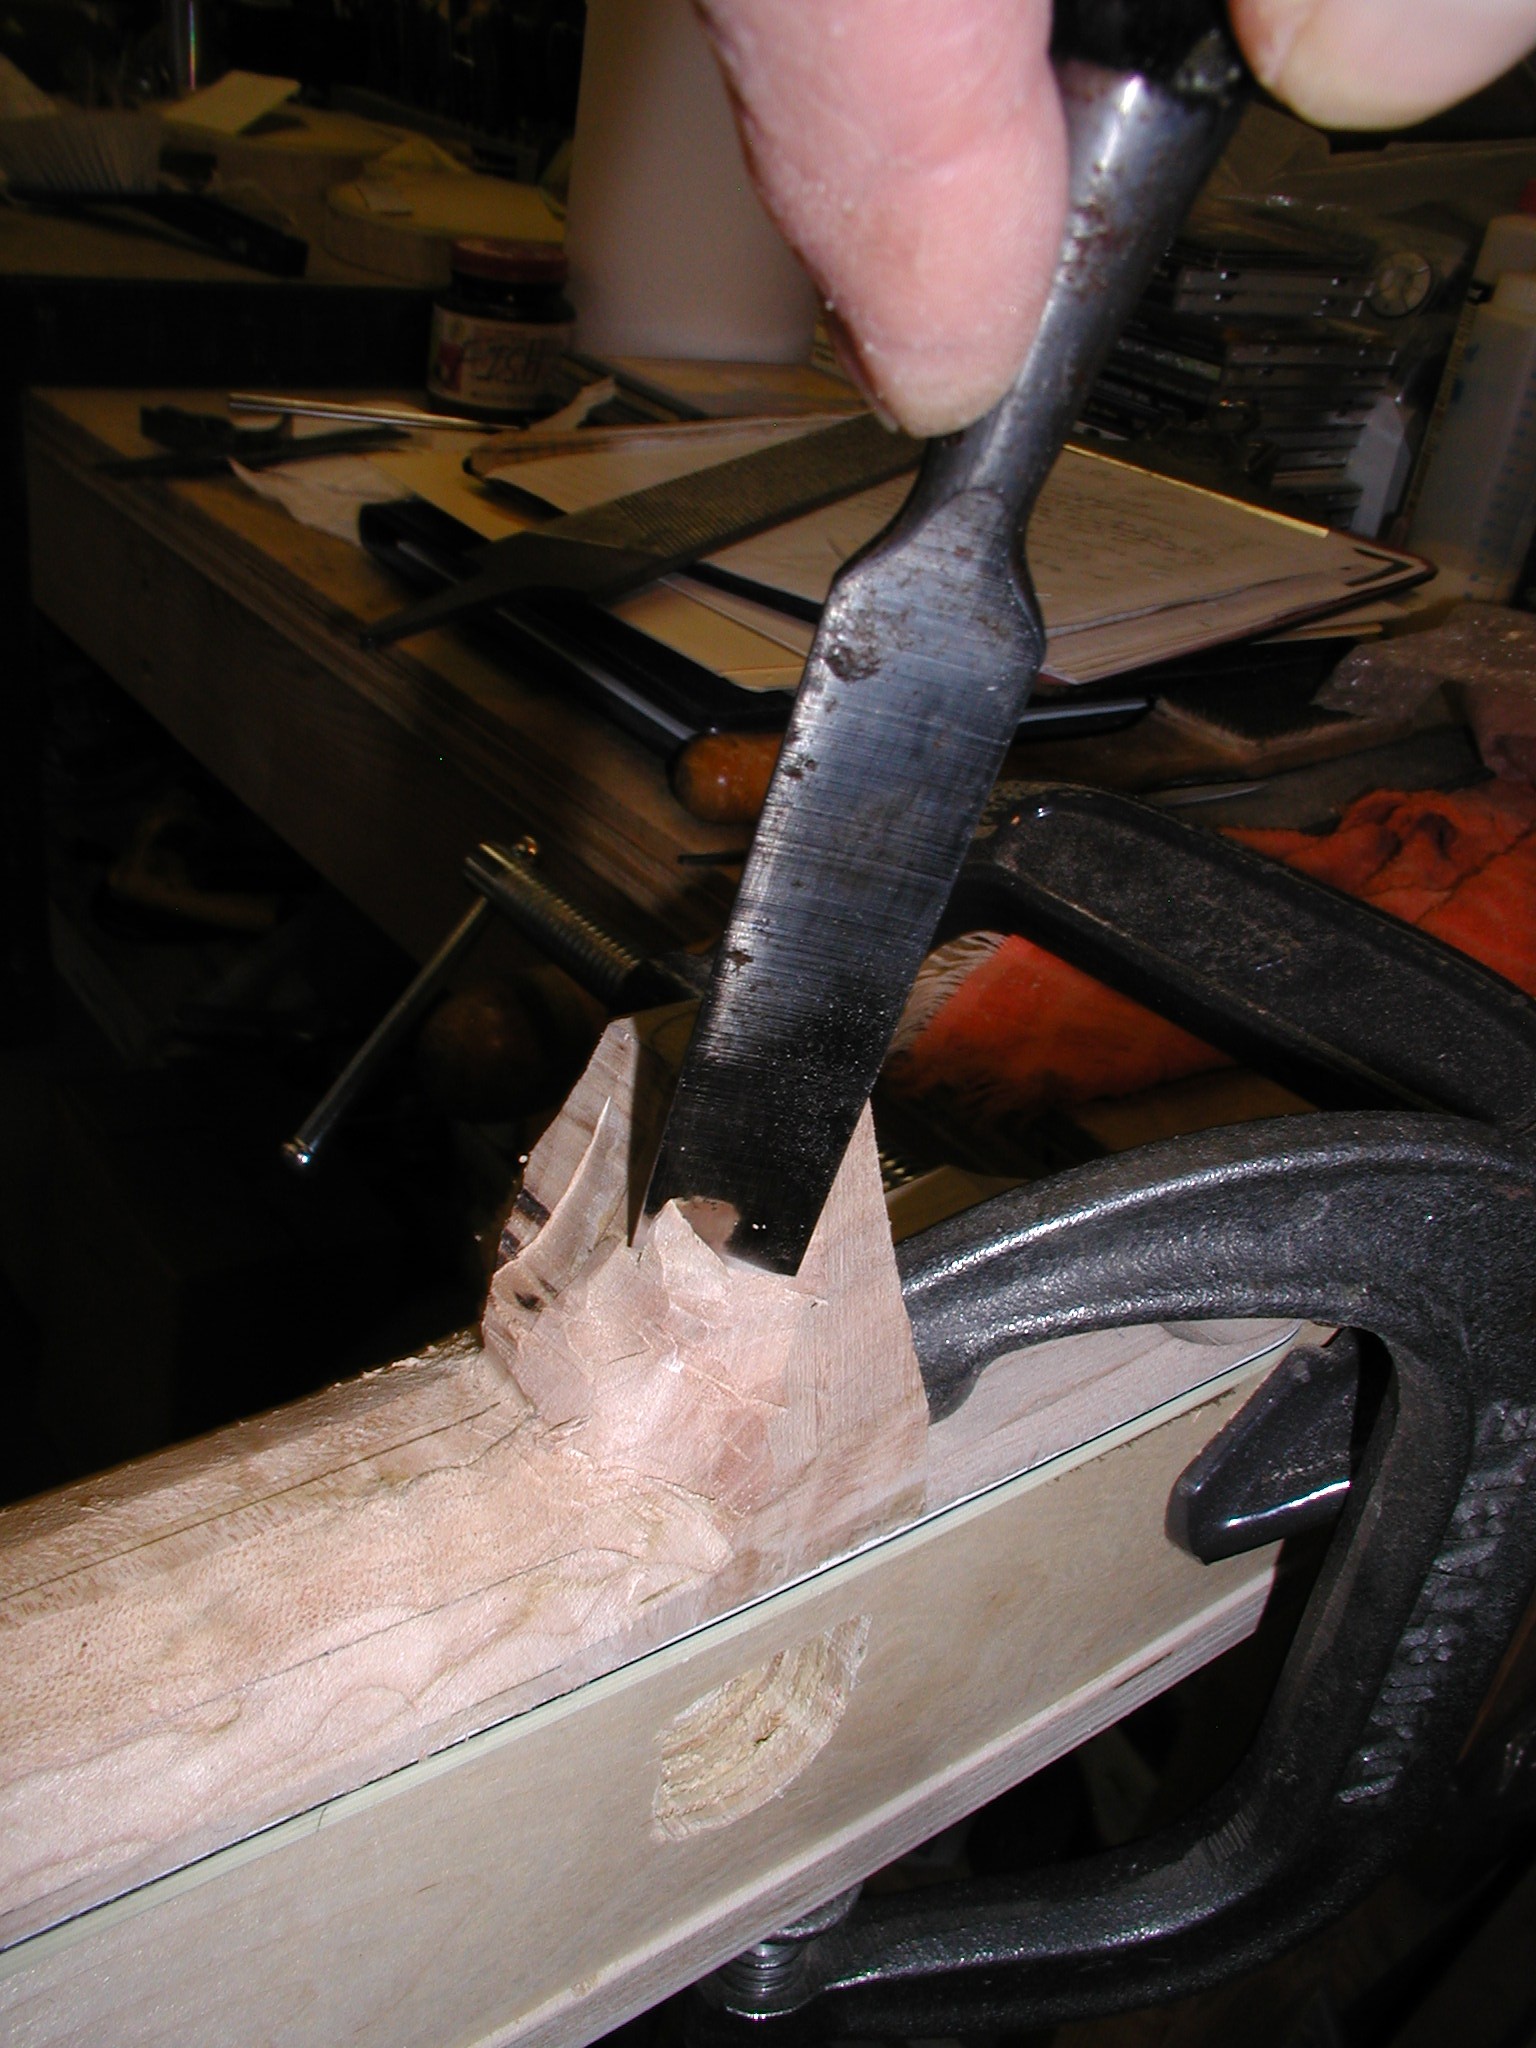
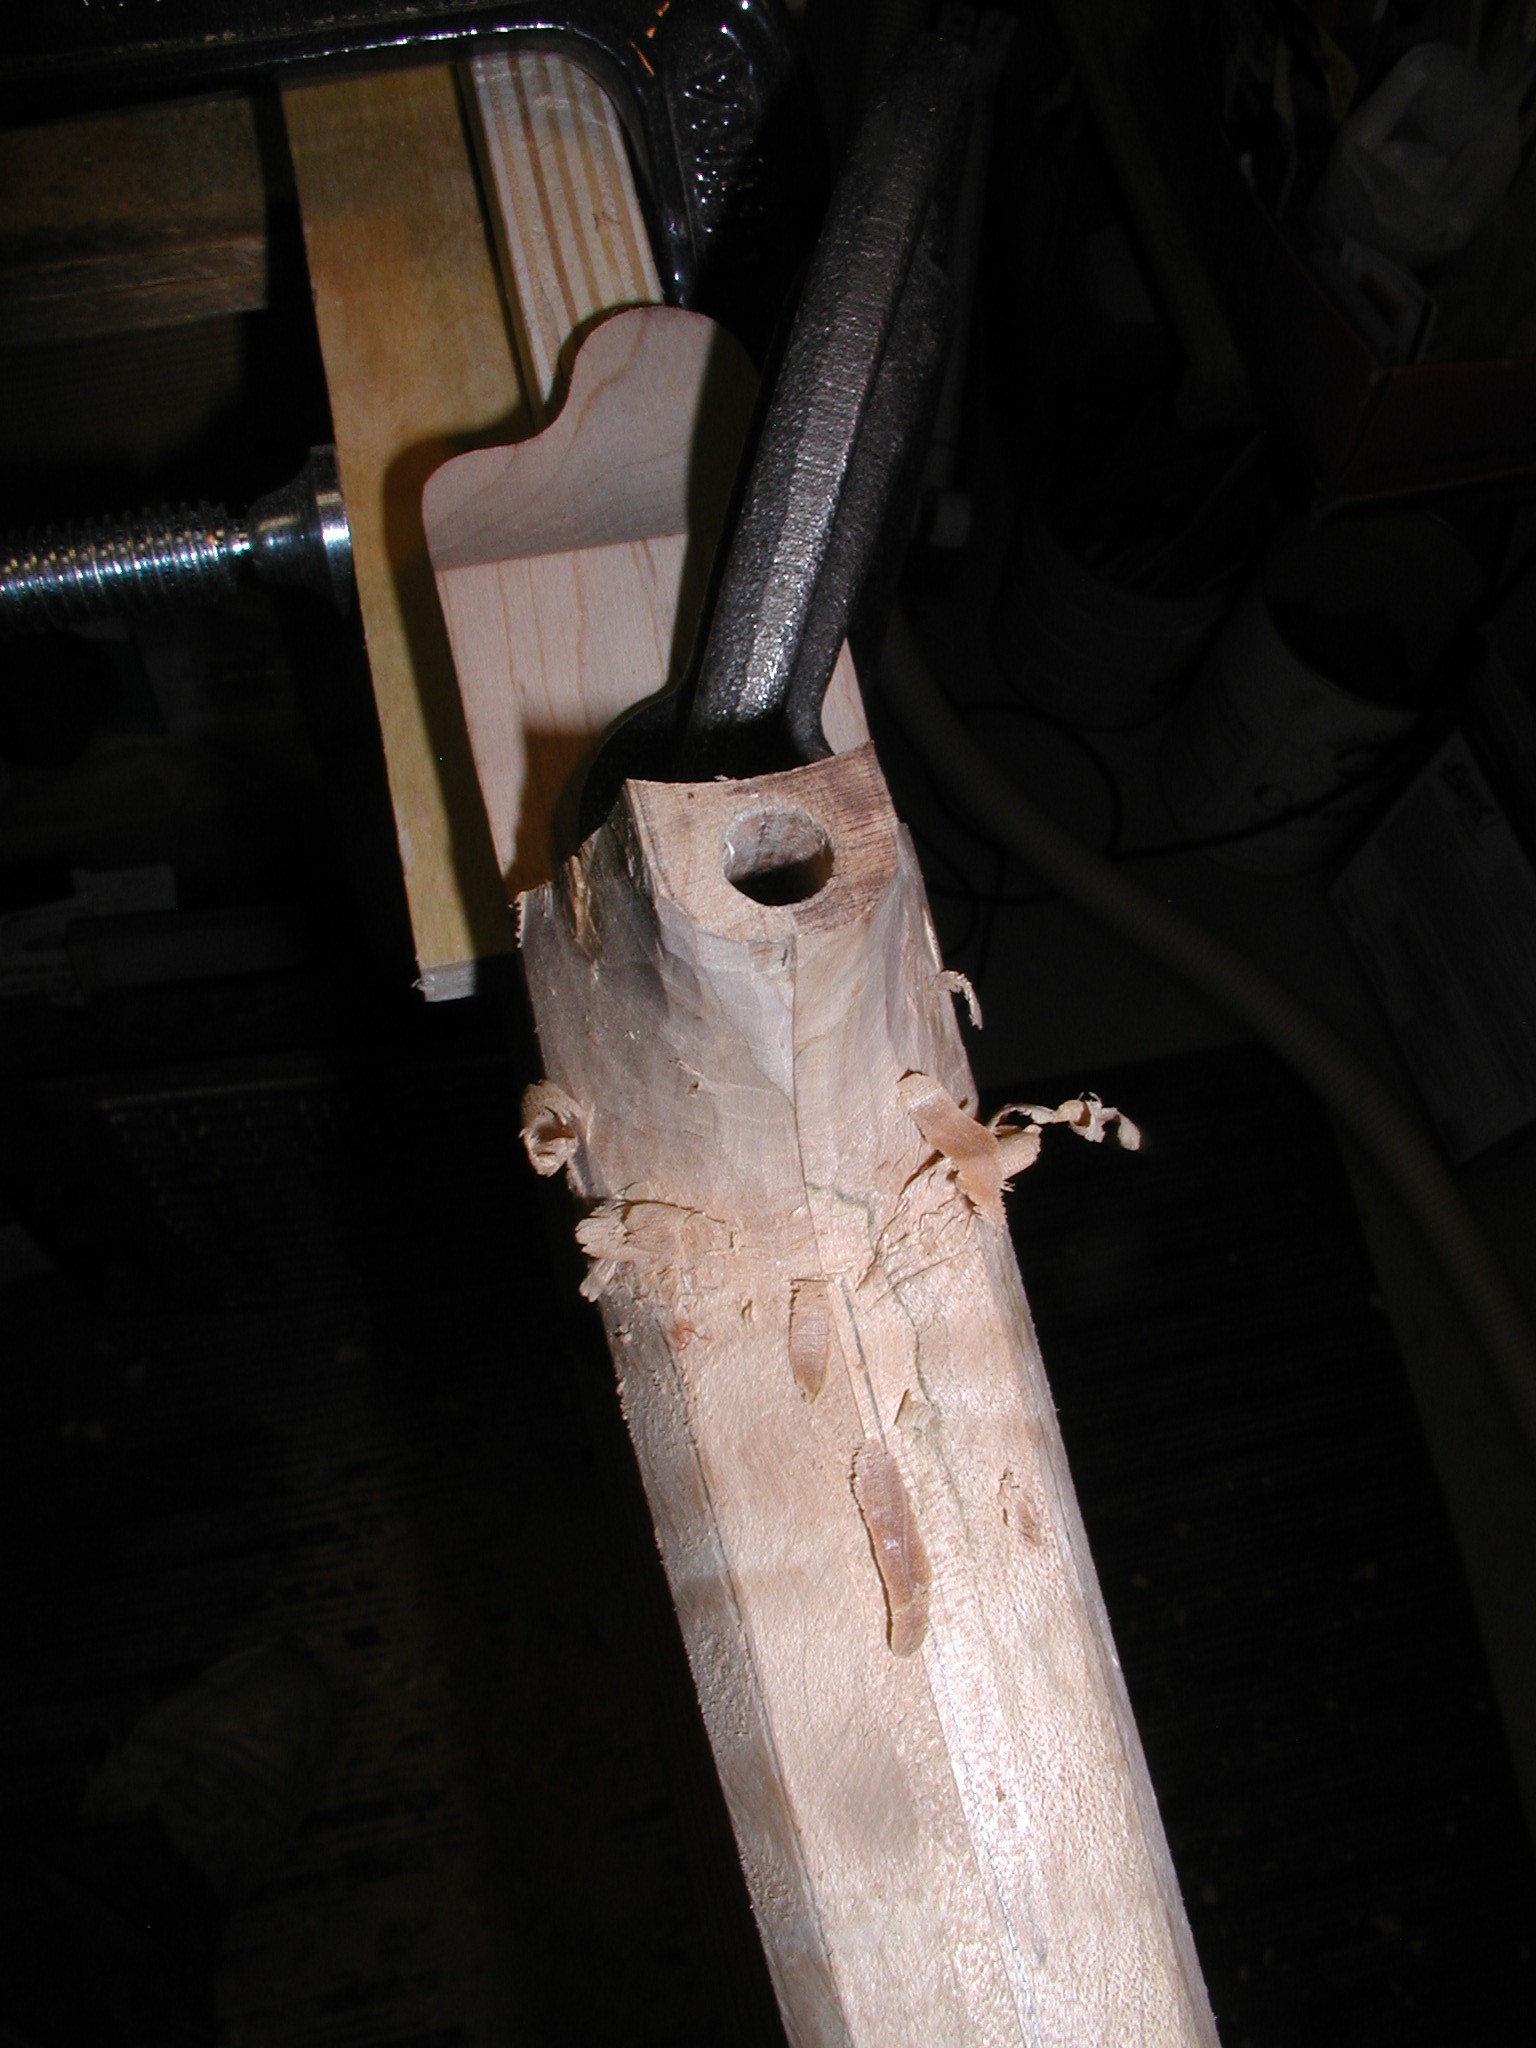
For carving the heel I first mark where the back button will overlap using my template as the guide. Then carve up to but leave the line. That leaves a bit of meat for final fitting when we join the neck and body. I do the heel and headstock to neck areas by eye and feel till they have a nice pleasing sweep and shape. I can not describe this in detail, it is something that each builder does for him/her self. Do pay attention to the grain here. You may need to do fine shaving and side sweep type carving to avoid digging in too much. You should be able to carve with a sharp chisel to almost complete looking profile and use sandpaper just to take off the last little bits of carving marks. Fair the curves into the neck shaft with care so you don't get any dips or bumps. Go slowly here and do a lot of looking and feeling.
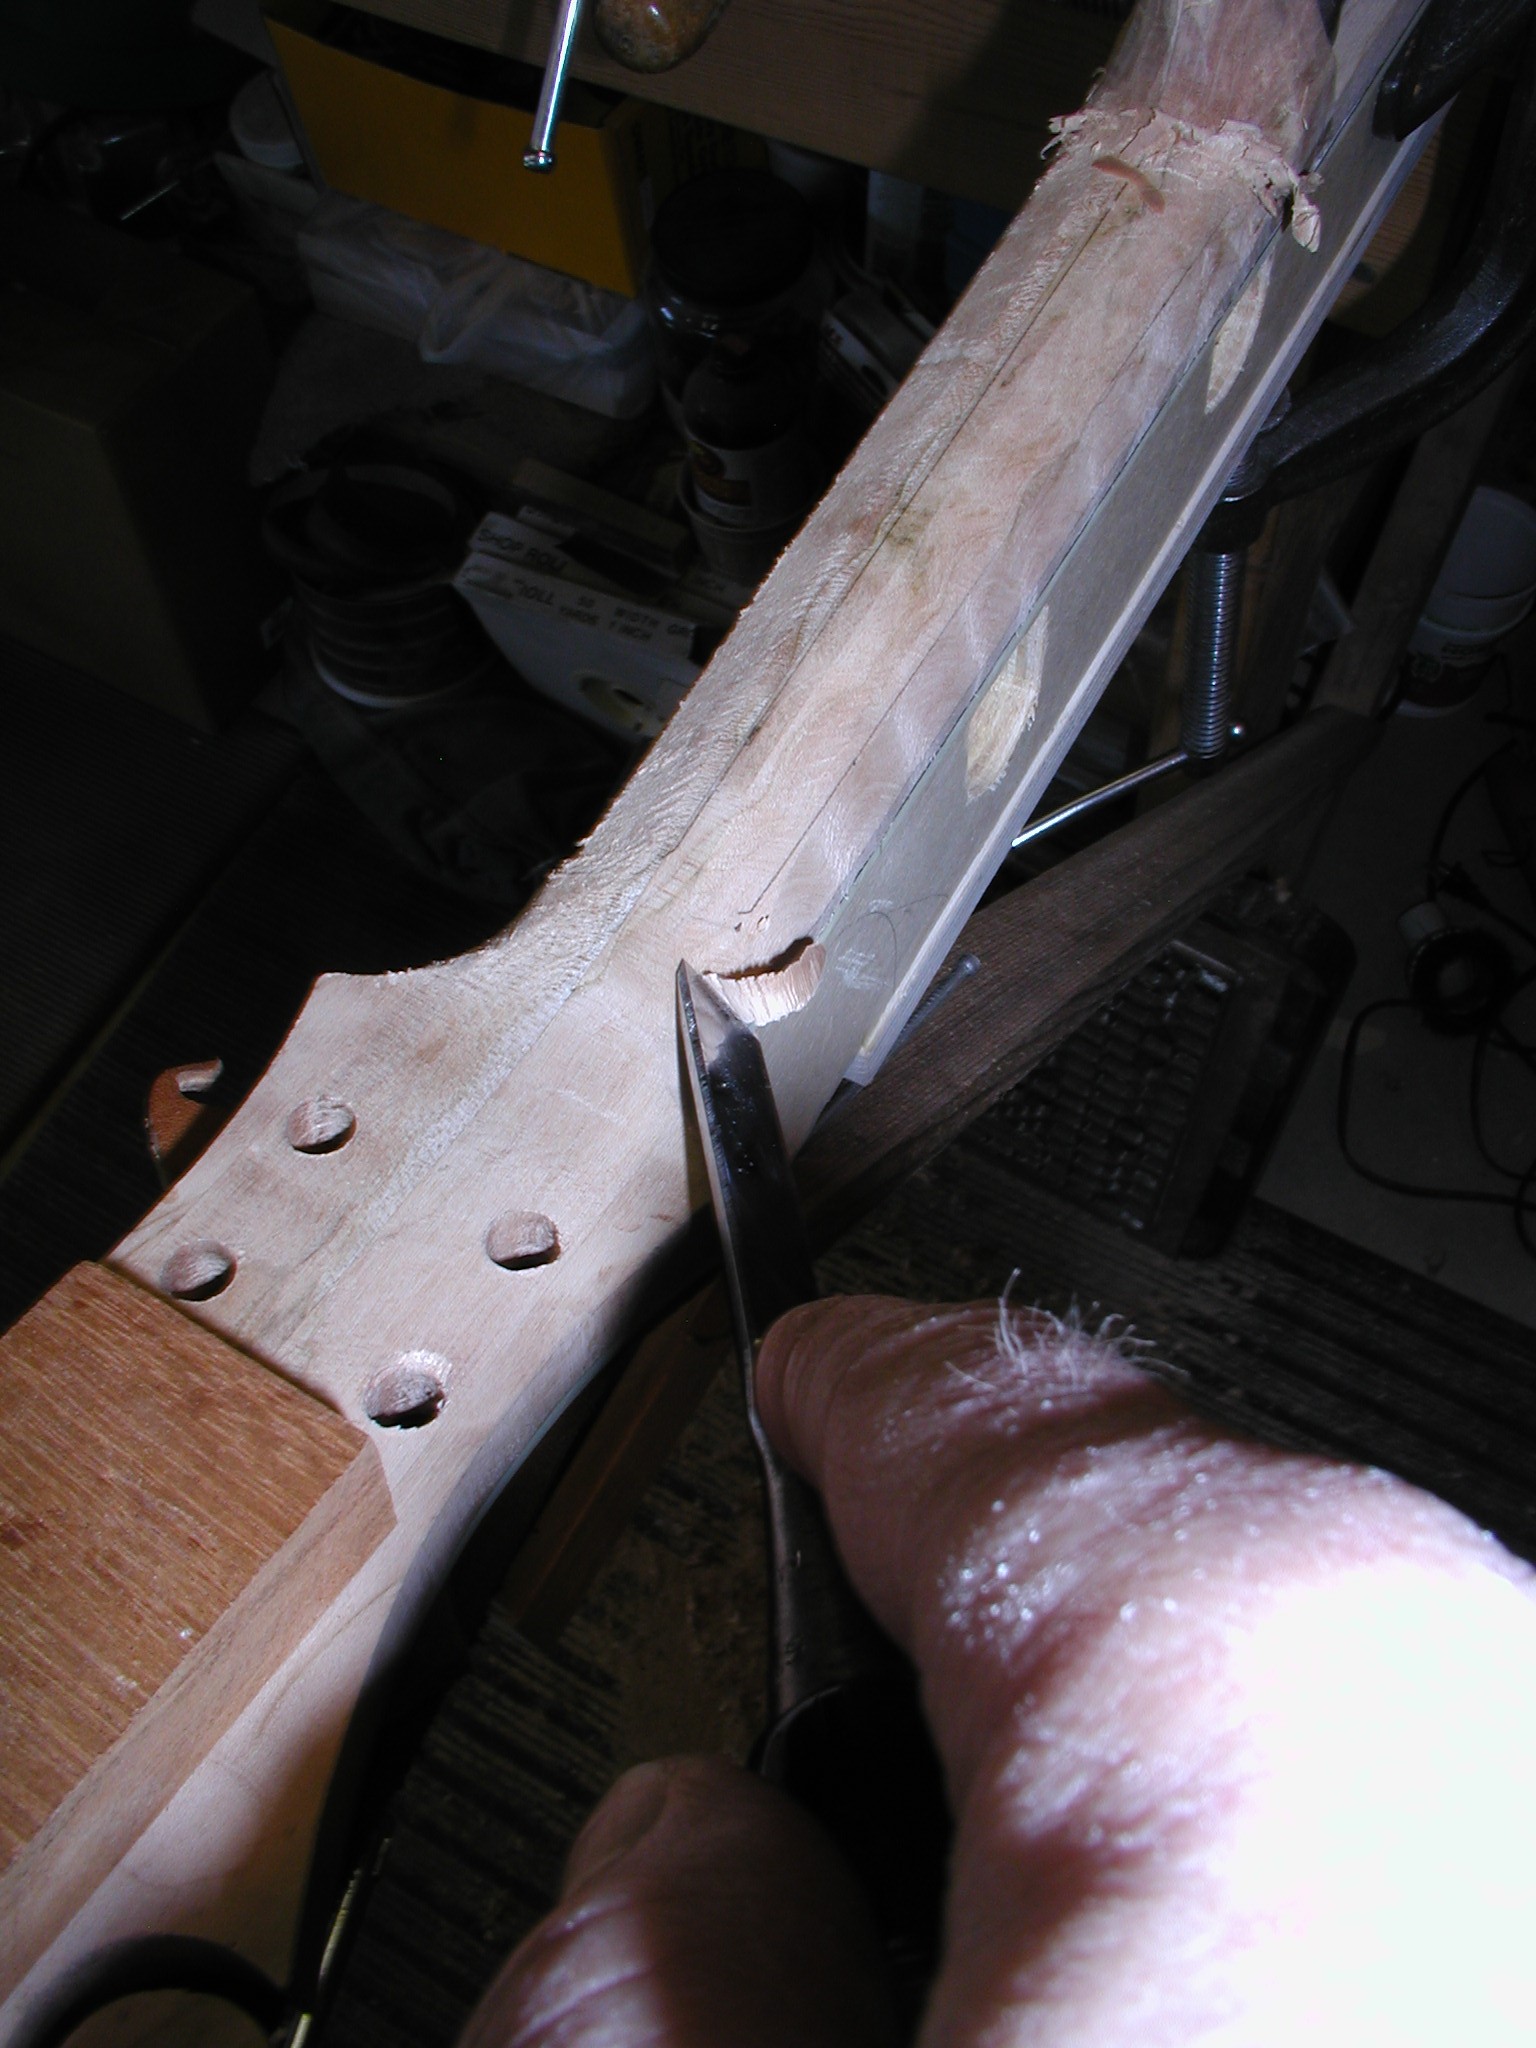
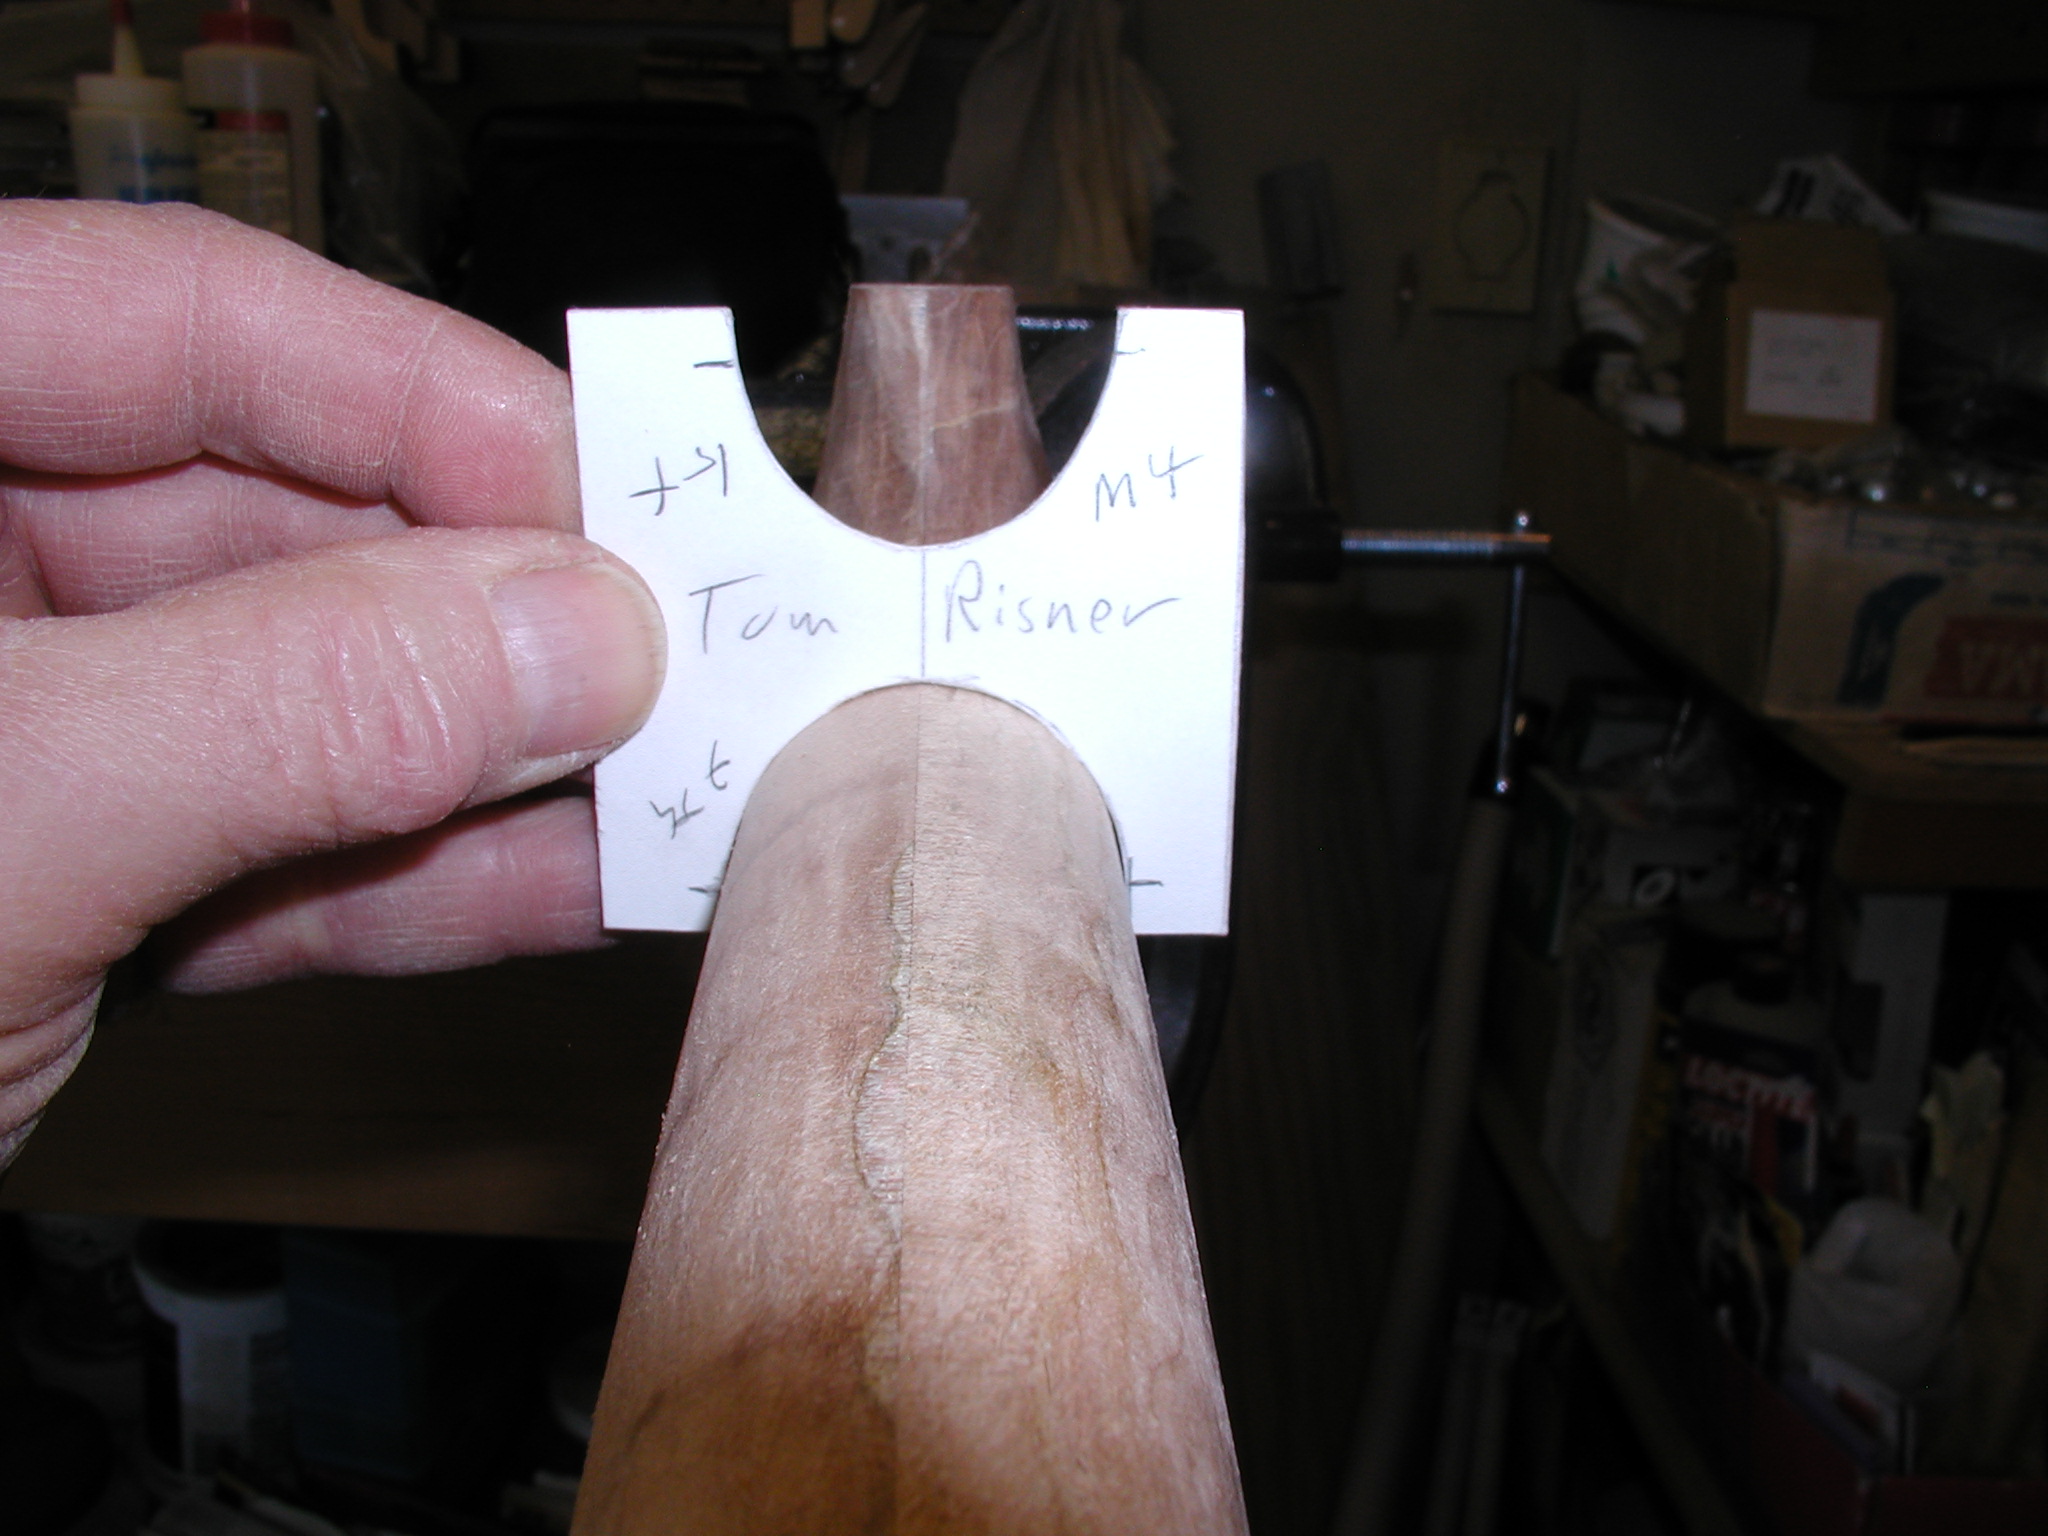
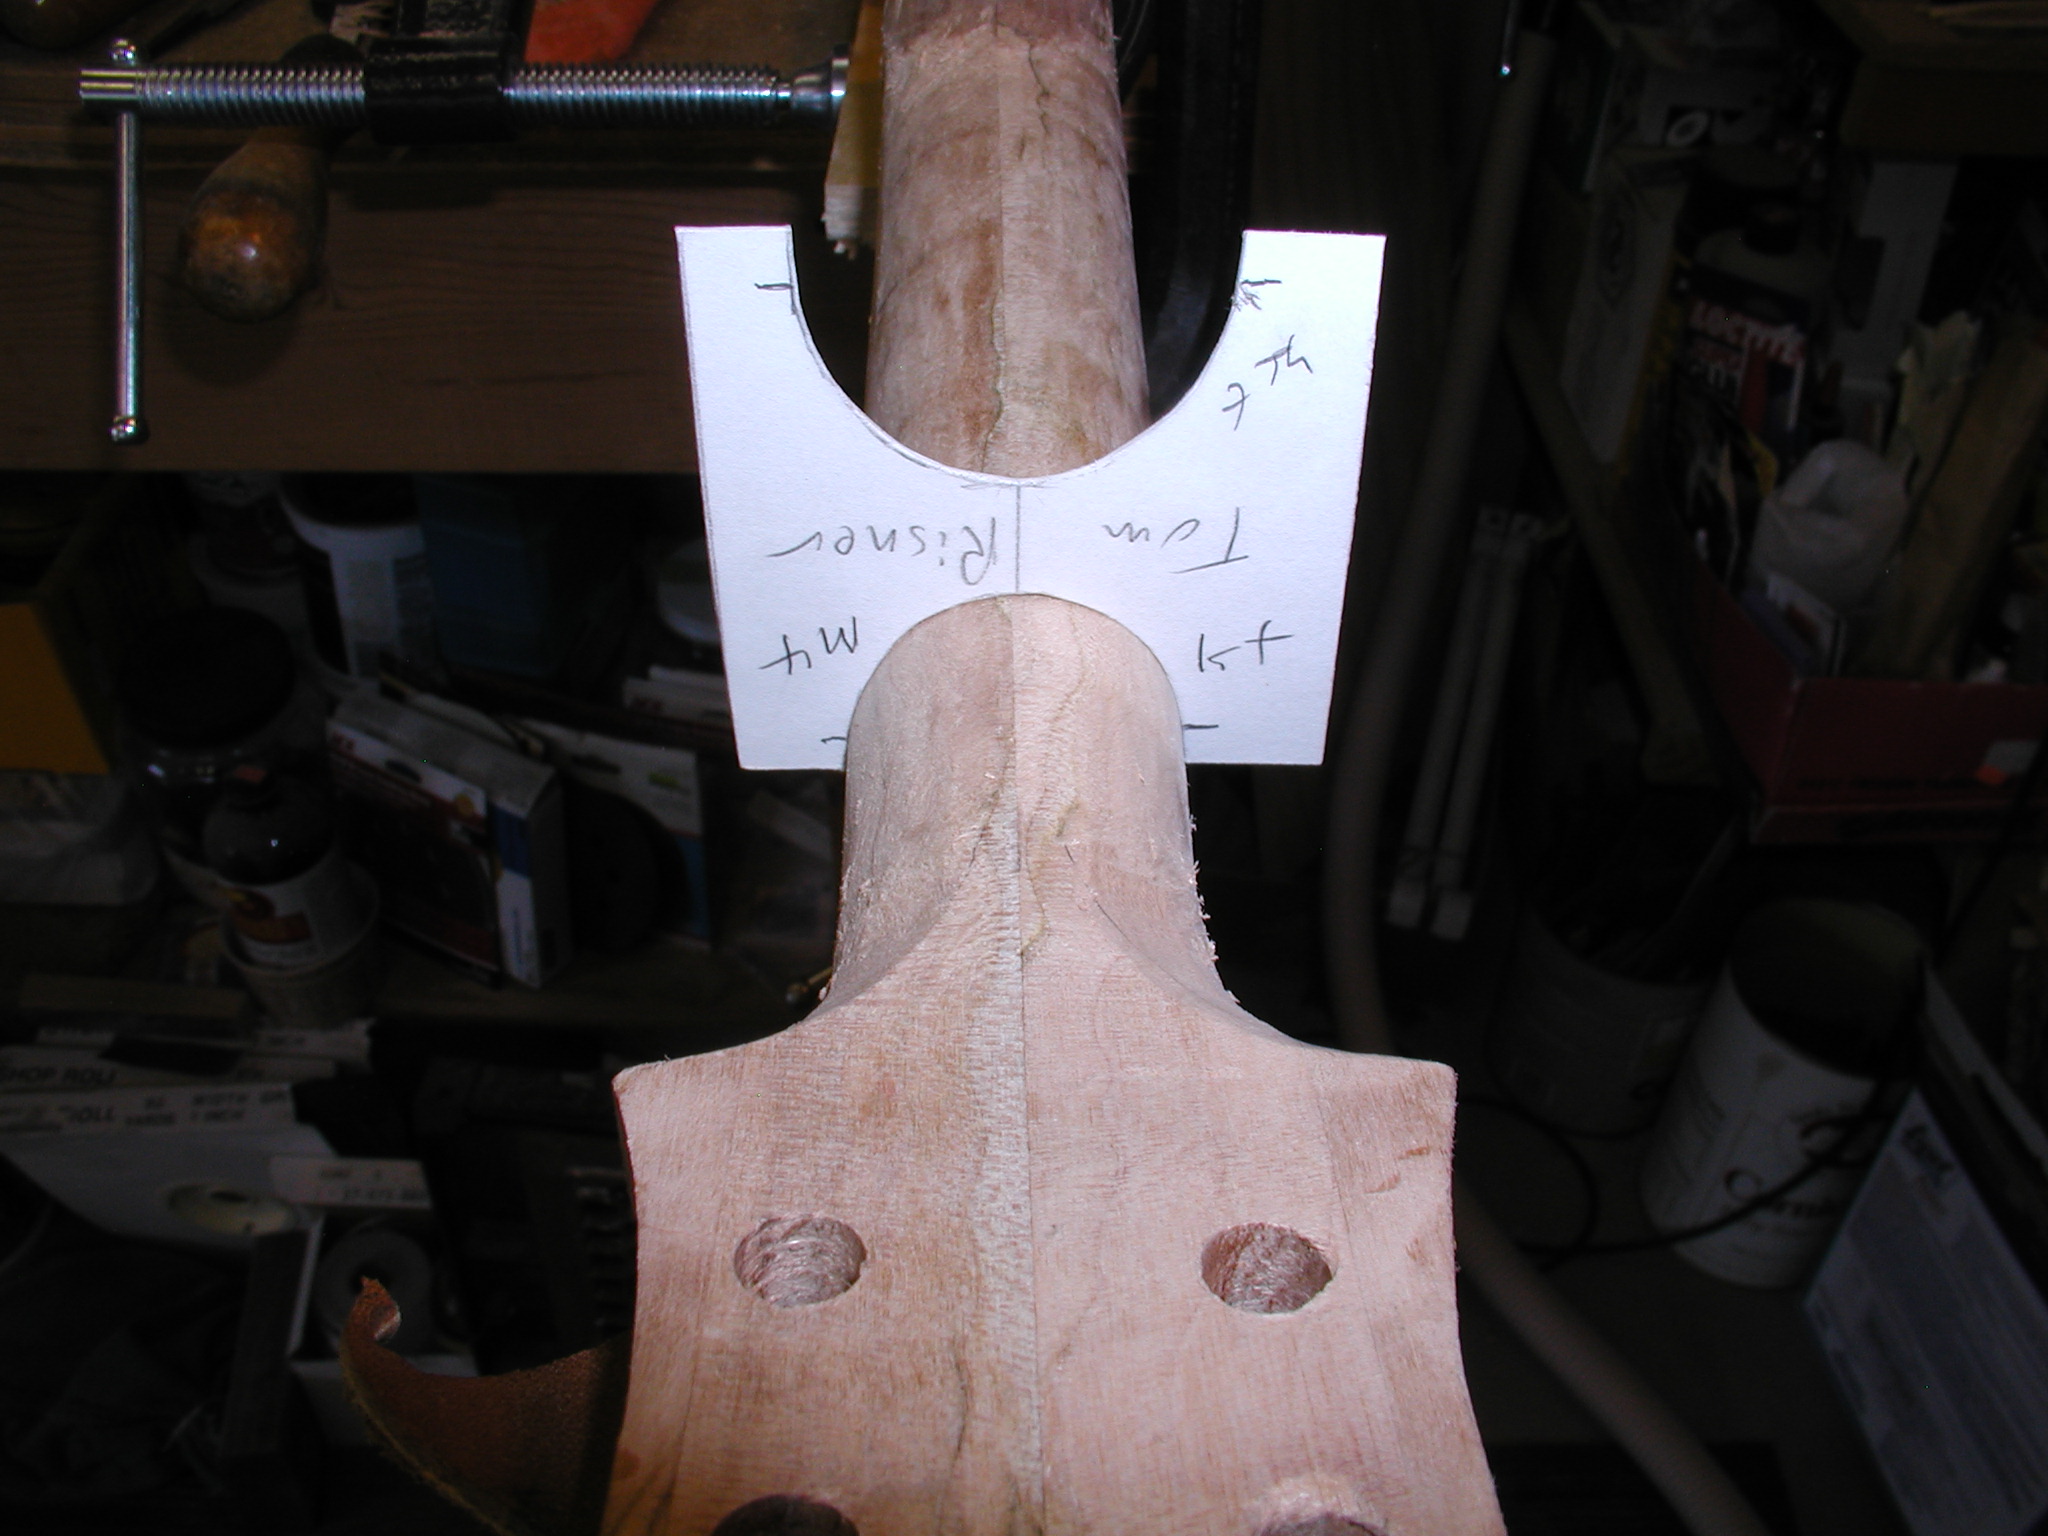
We roughed in the neck shaft profile, but now we finalize it to the desired shape. I use a double sided template that has the profile for the first and seventh fret locations. Often these are copies of an existing instrument that the owner knows to be a good fit for them. I try to get these exact as I can at the first and seventh locations and then smooth between them using straight edges along the shaft to keep it all true. Again, lots of feeling with eyes shut helps find any spots that need attention. The last step is to smooth all with sandpaper and scrapers. If you "shoeshine" the neck, be sure to follow that with along-the-shaft sanding to get out all the sanding marks that are across the grain. These WILL show up later under the finish. So take care now and sand out to about 320g or so.

1 2 3 4 5 6 7 8 8a 9 10 11 11a 11b 12 12a 13 14 15 16 17 18 19 20