Let's Build A Mandolin (Page 14)
1 2 3 4 5 6 7 8 8a 9 10 11 11a 11b 12 12a 13 14 15 16 17 18 19 20
Last Modified - April 2012 (©Alan Dunwell 2012)
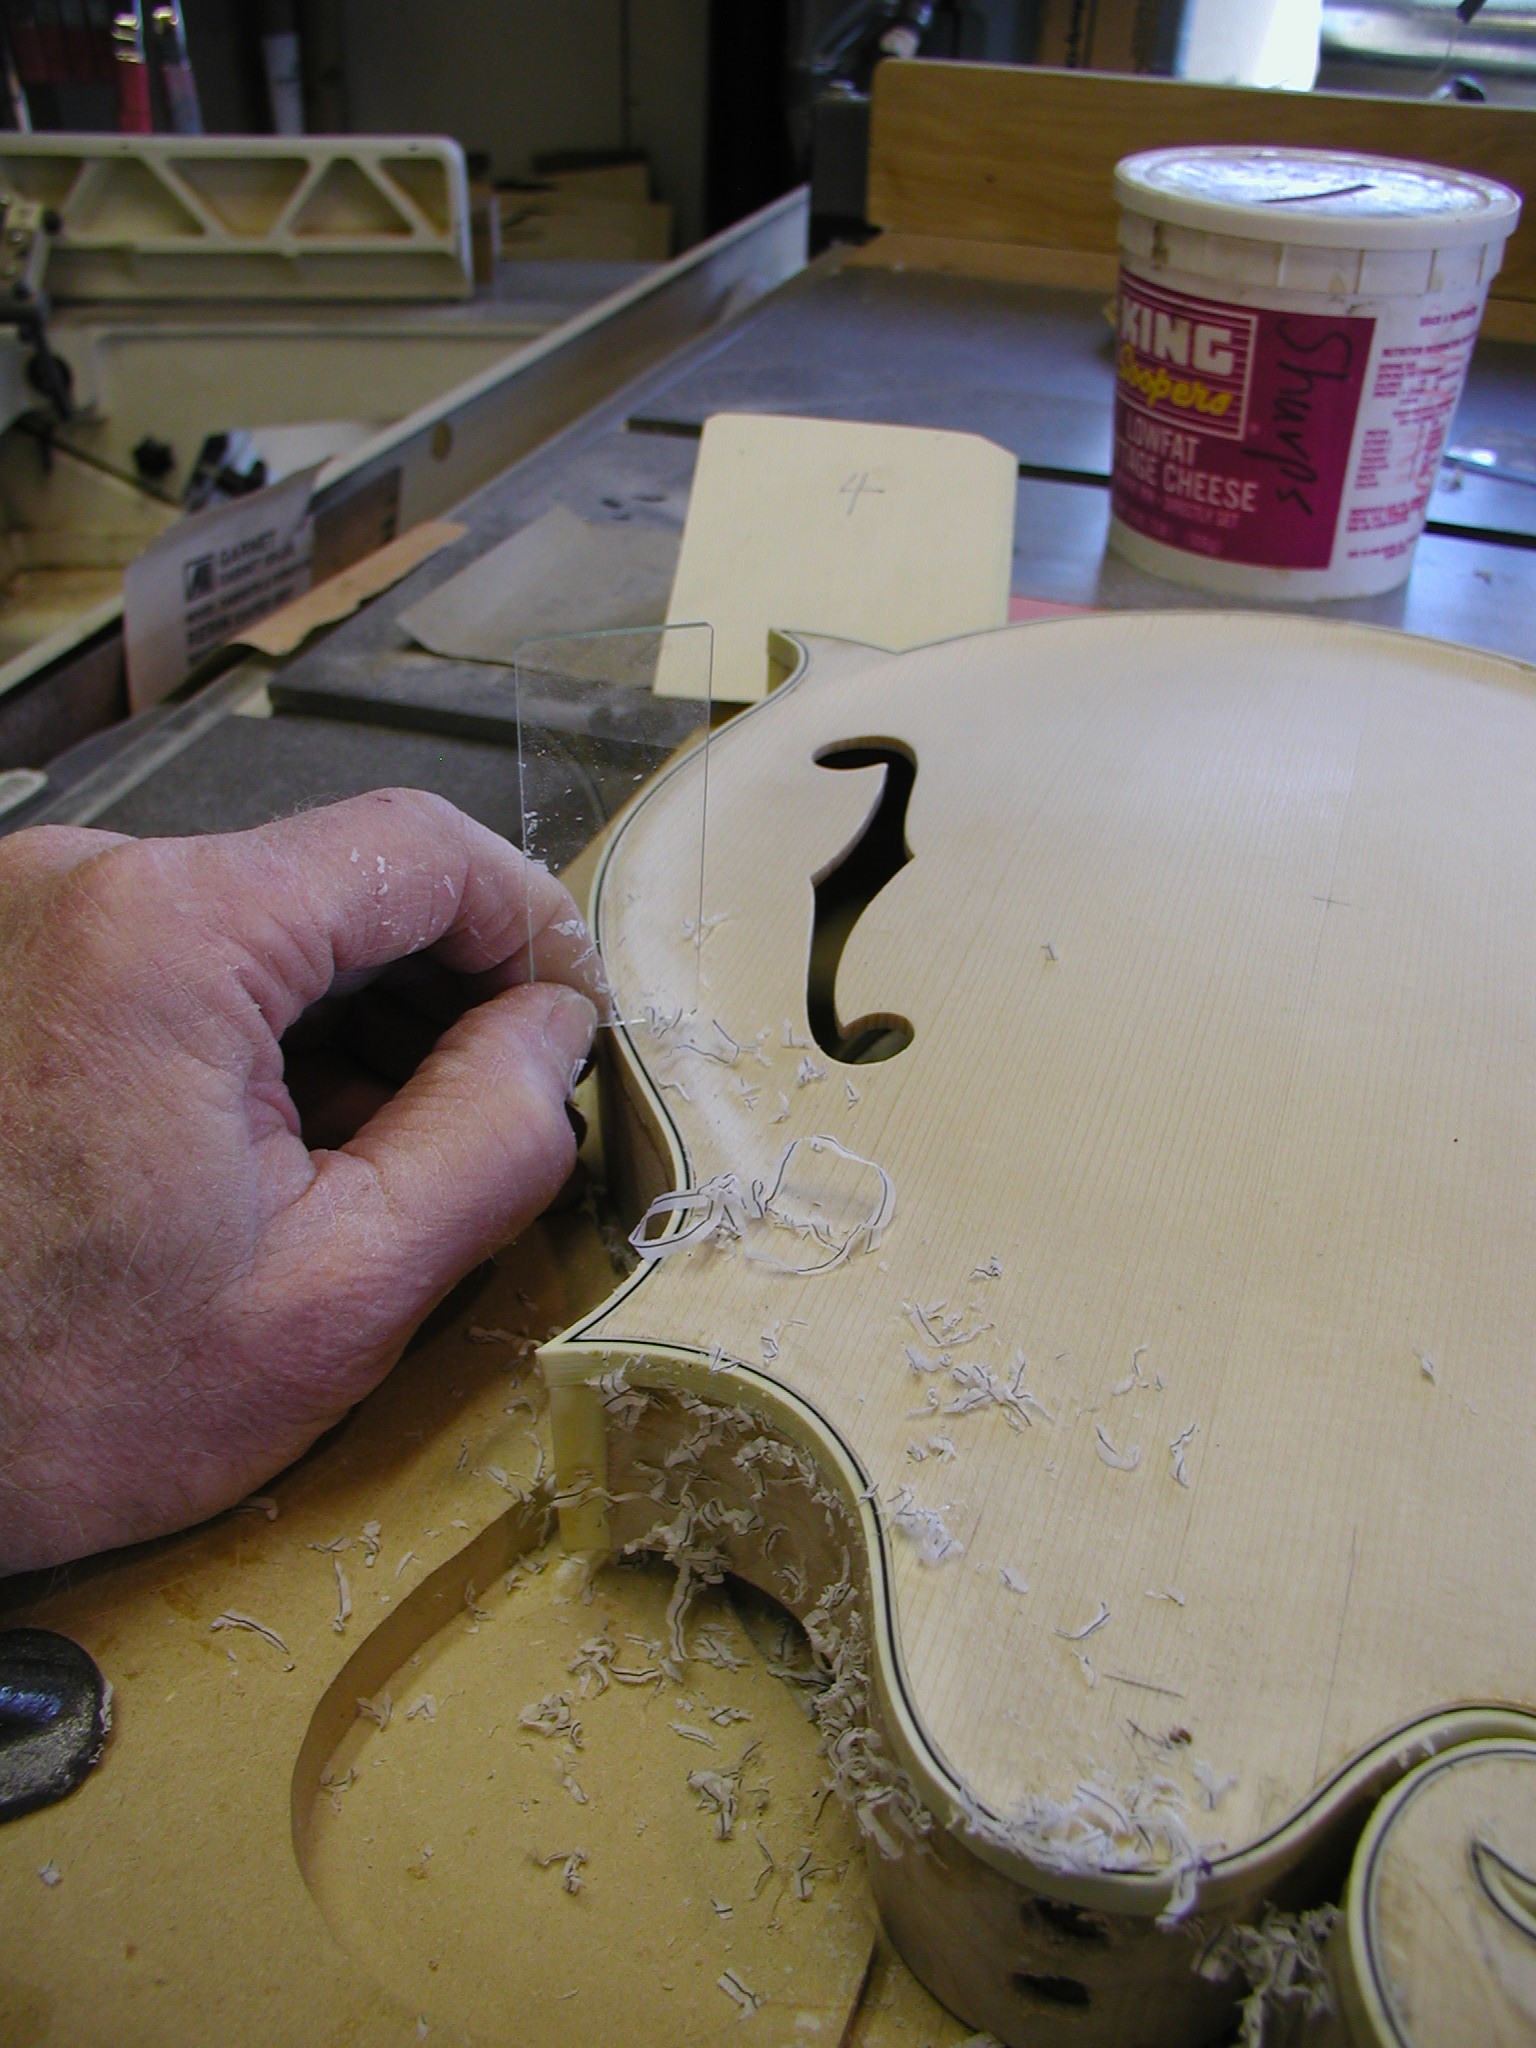
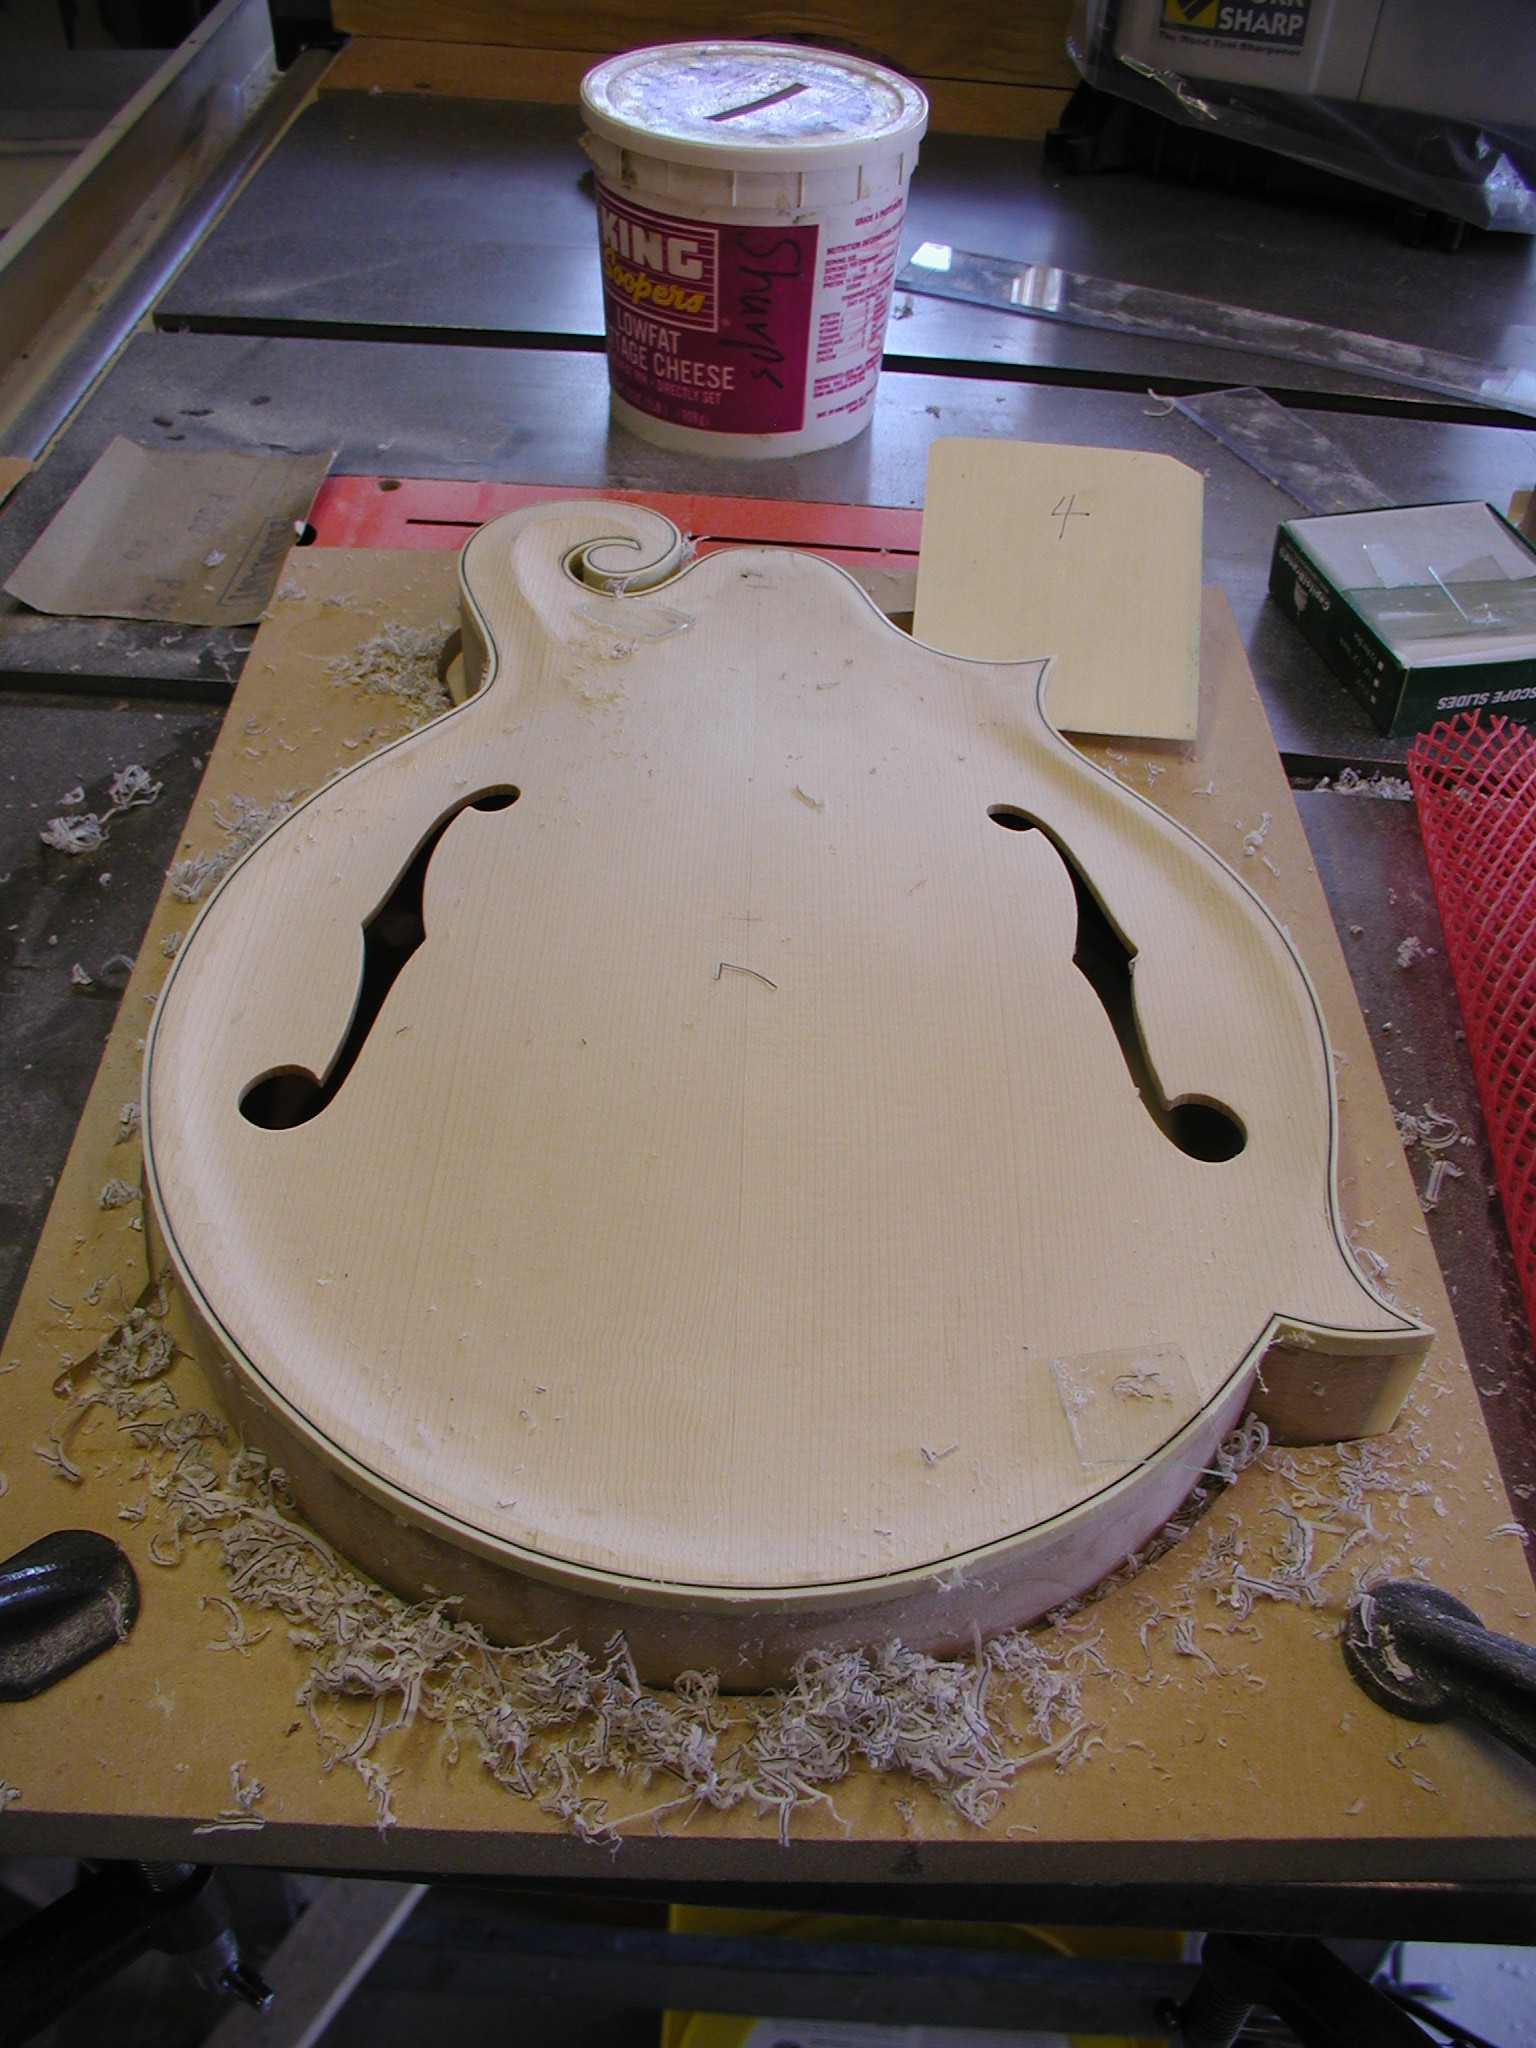
In Page 13 we pretty much finished out the neck. Time to return to the body and clean up the top binding and do more plate carving and get the back plate into the picture. I go around with a glass microscope slide as my scraper and clean up the binding that is sitting proud and bring it all back even with the body. I do one last check with my thickness gauge to make sure everything is right before doing a smooth sand of the top.

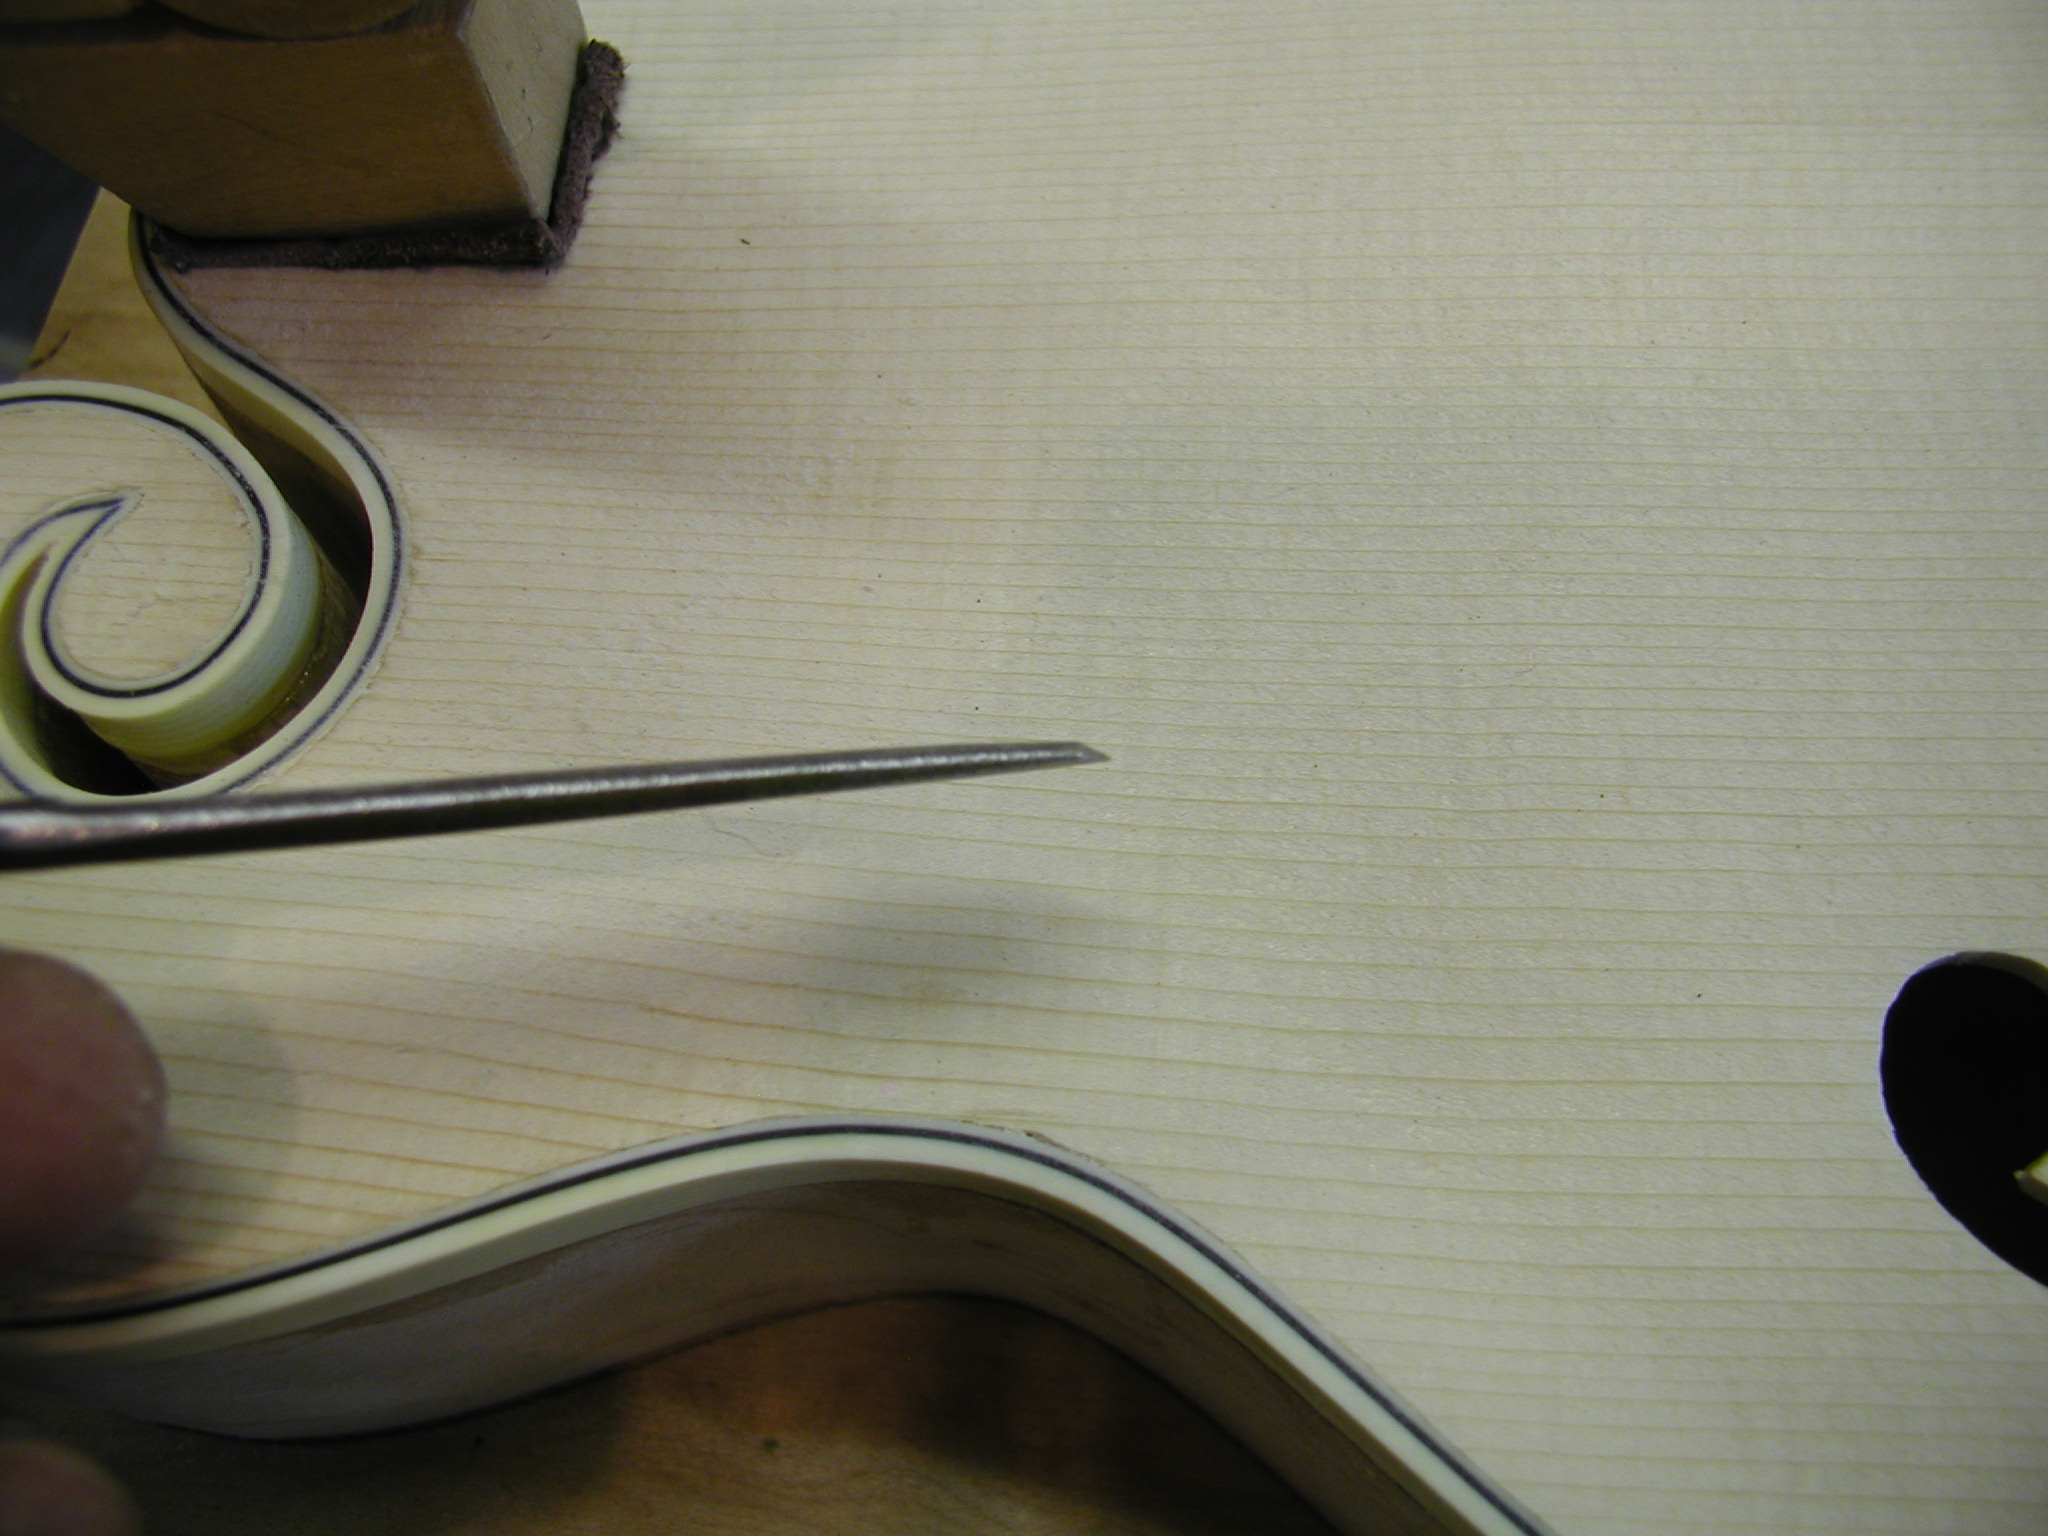
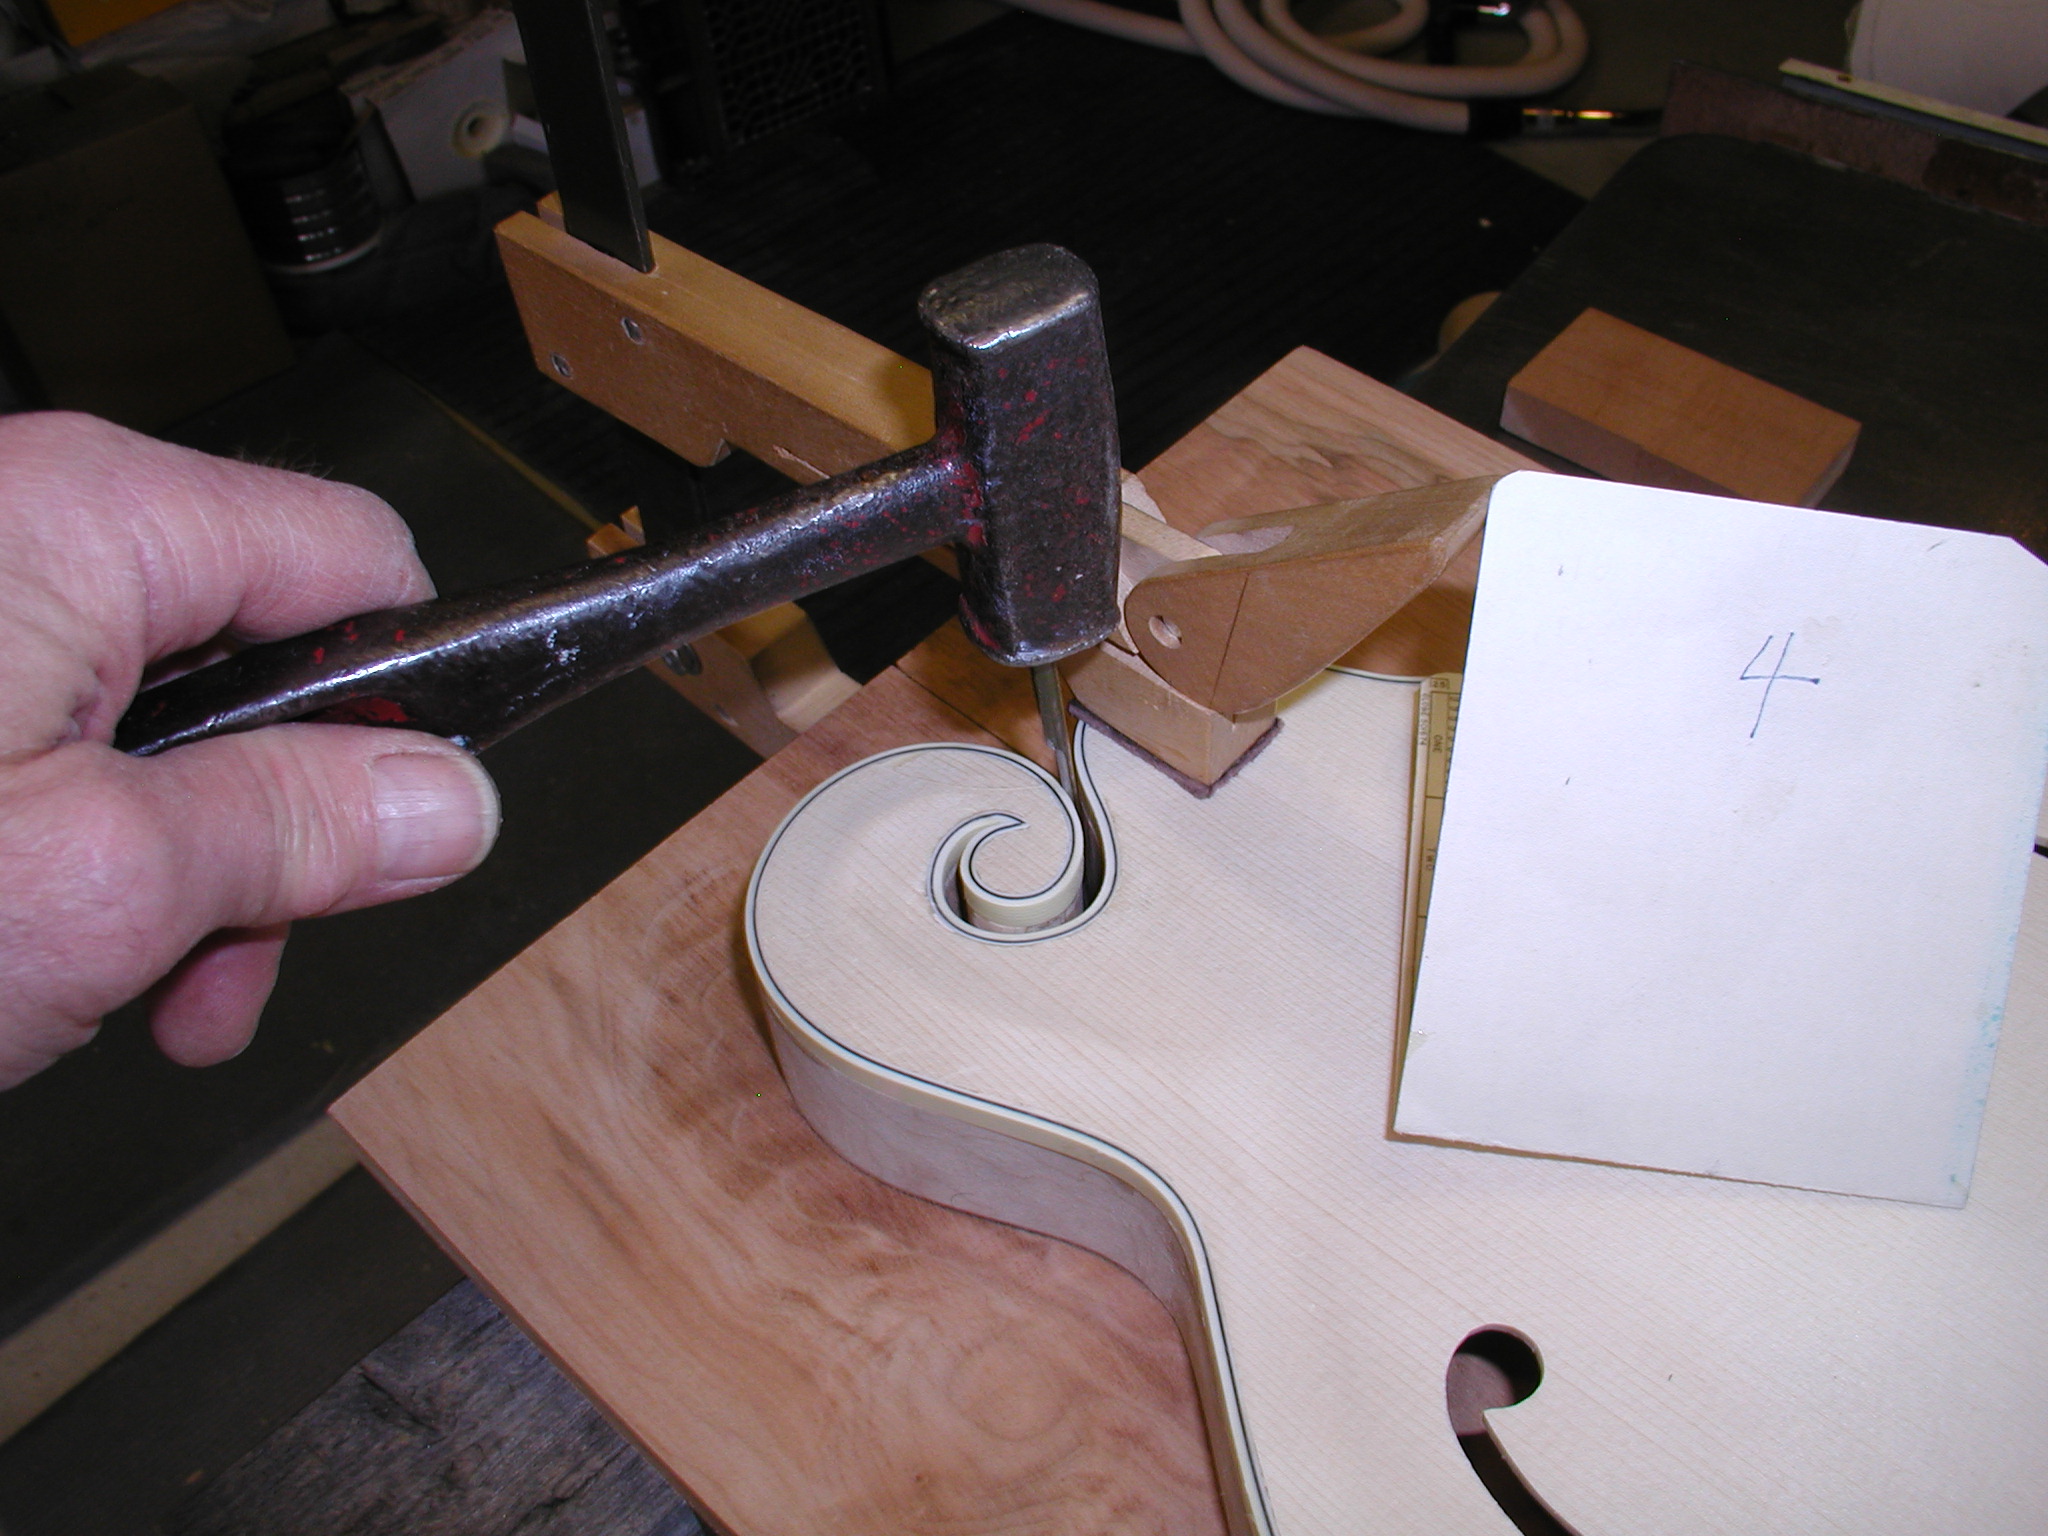
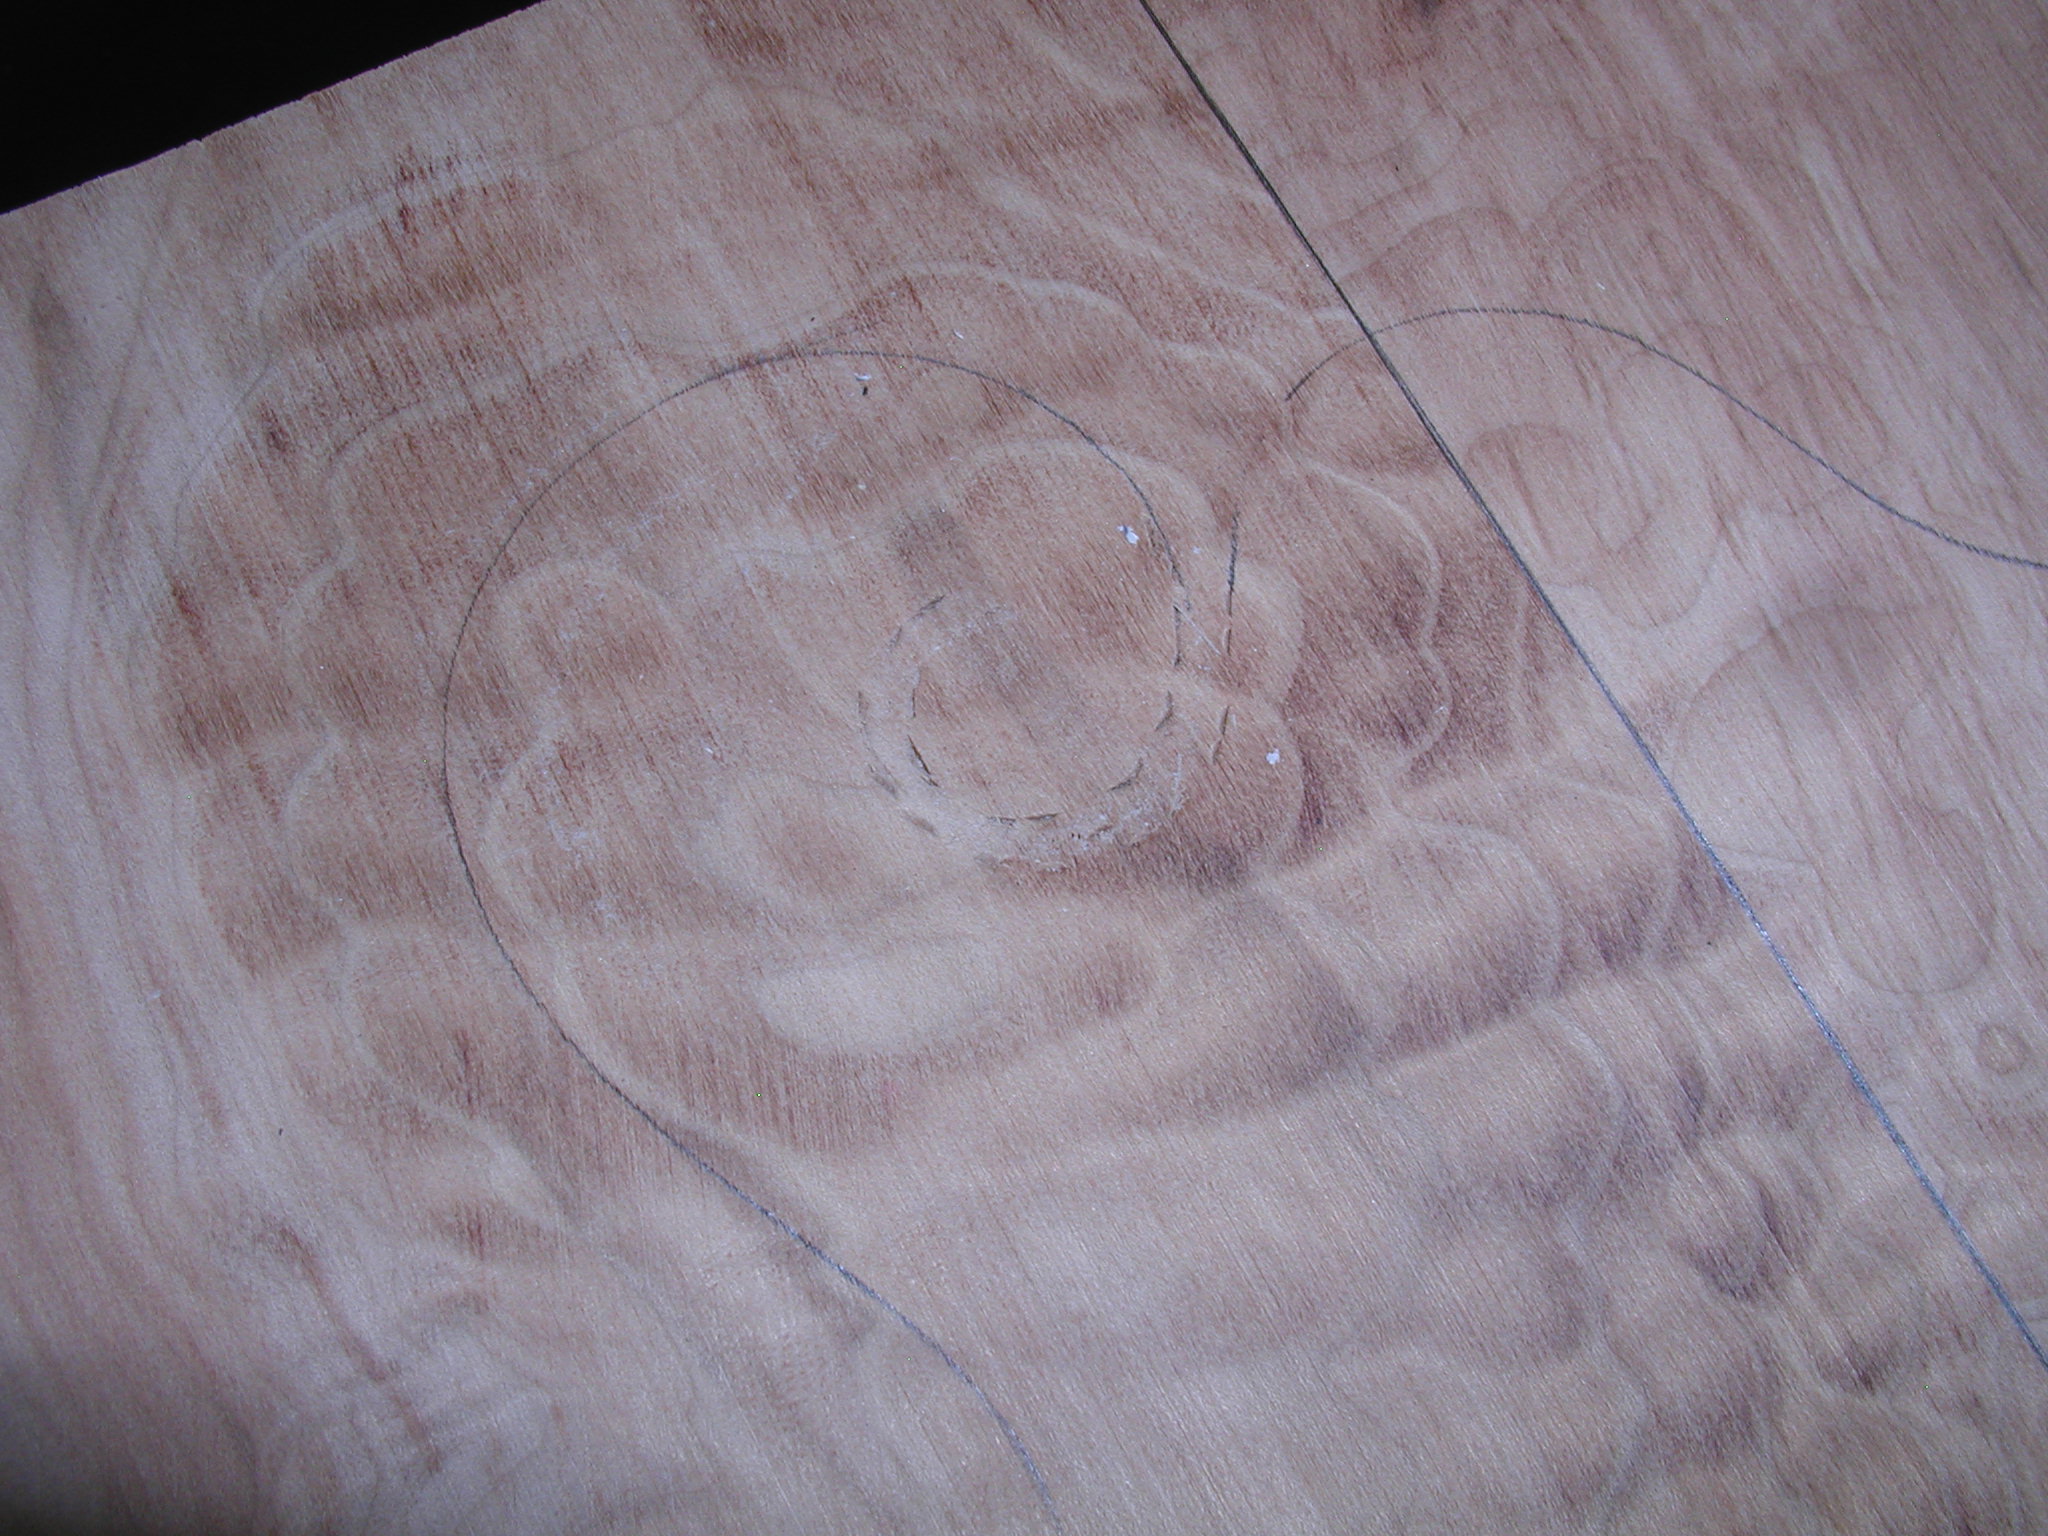
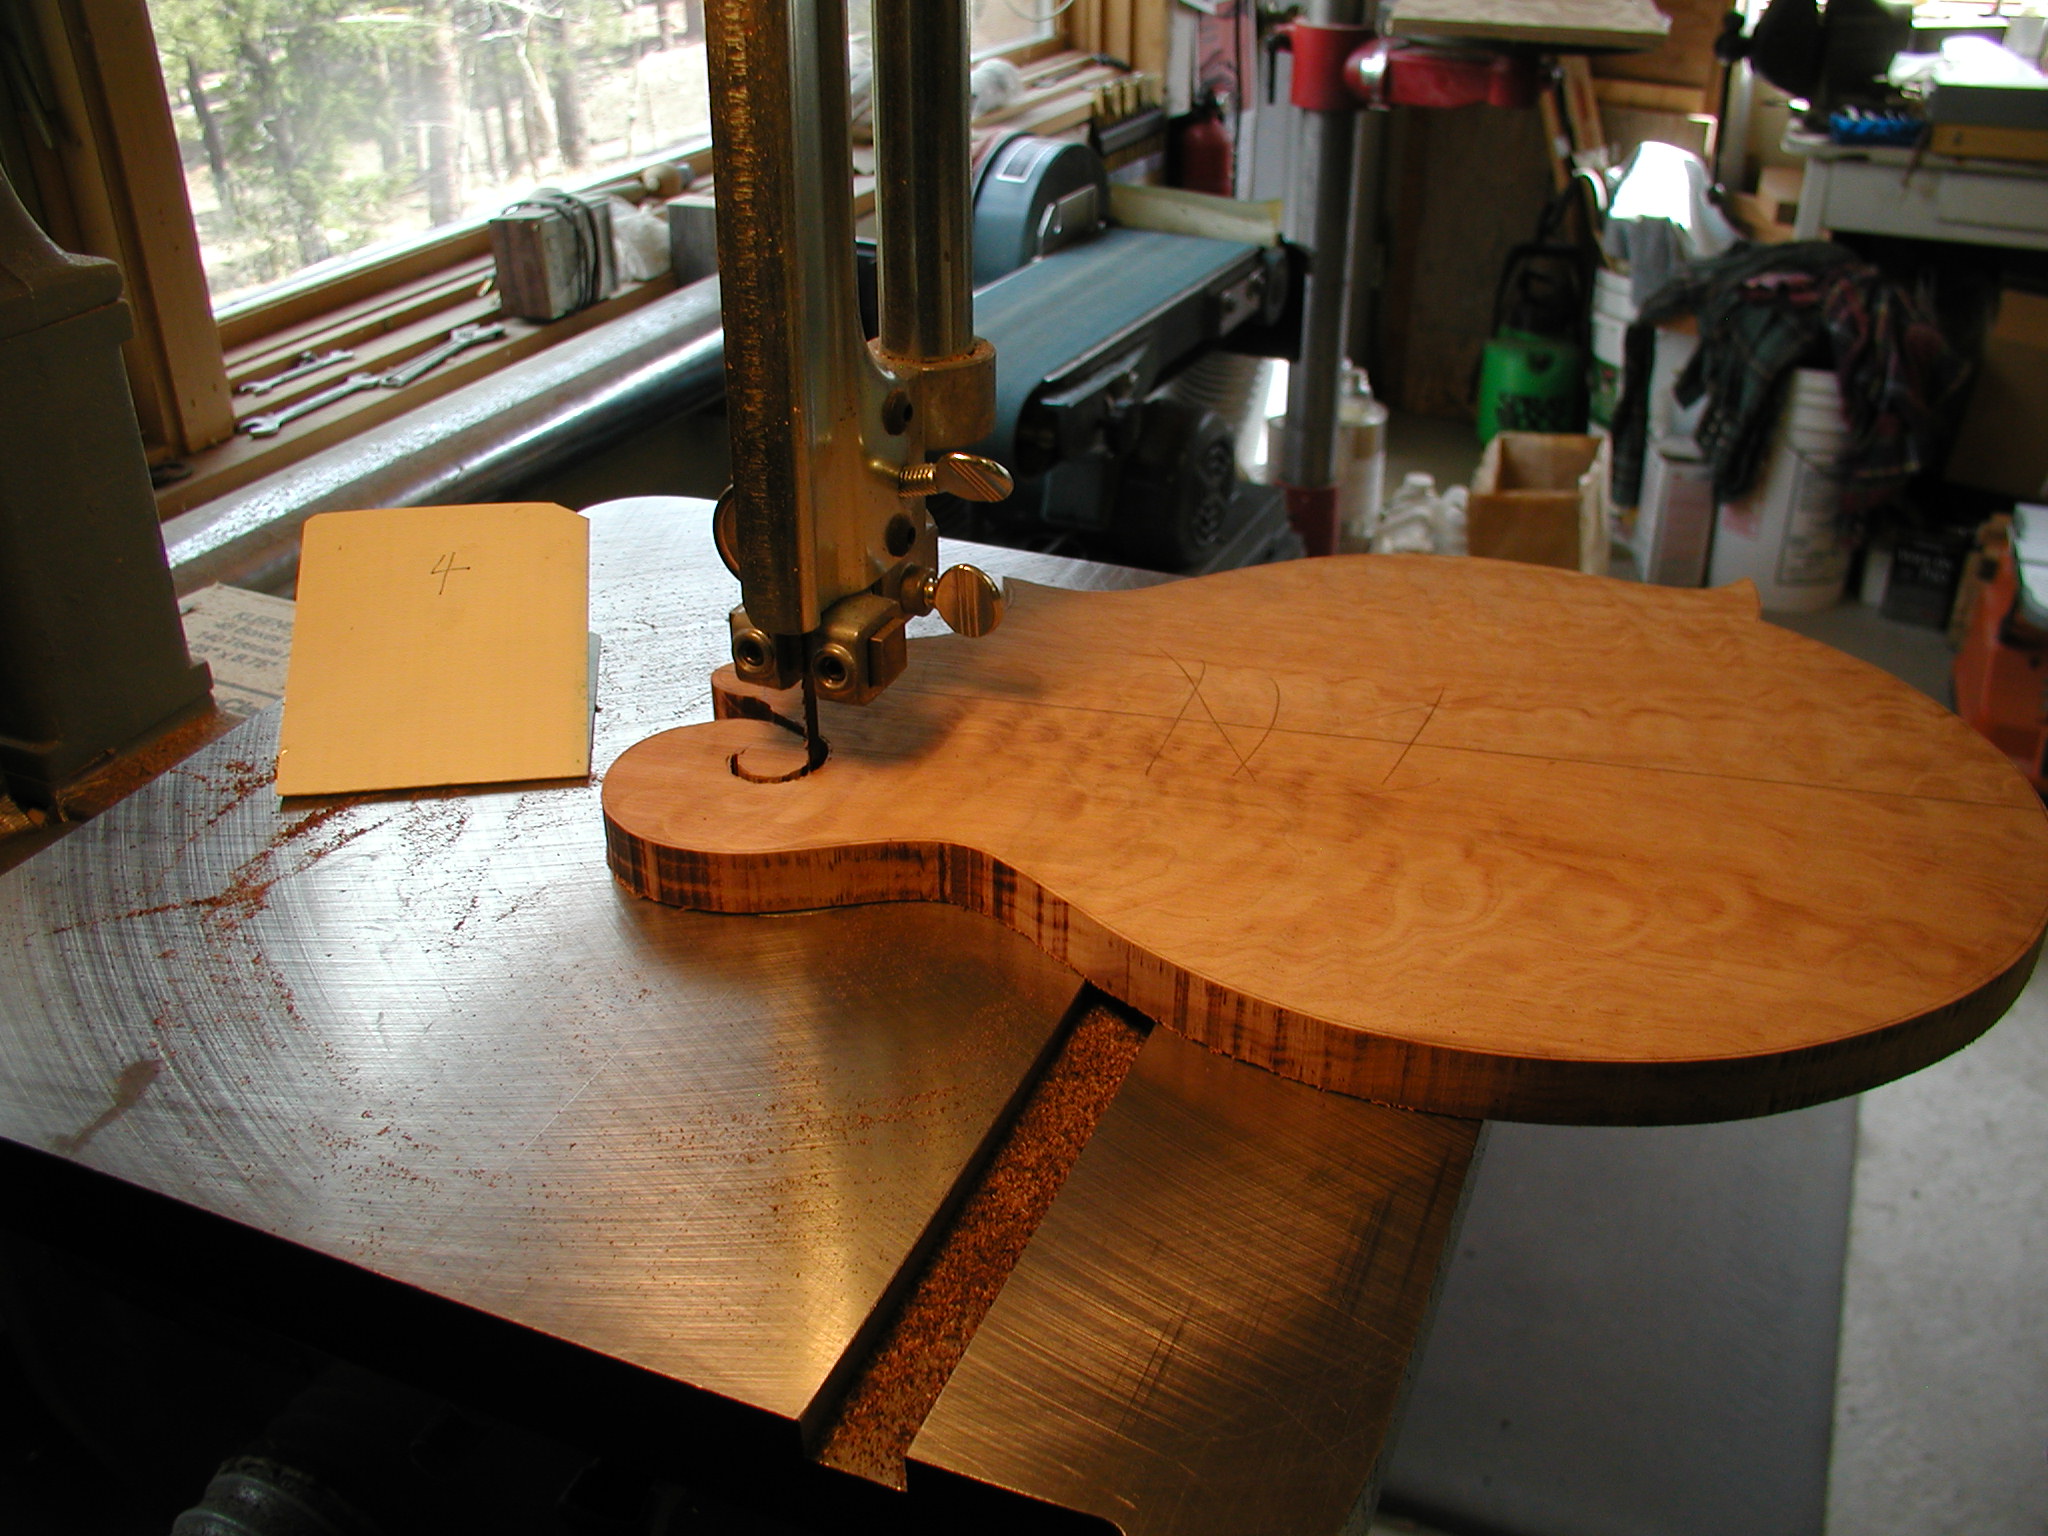
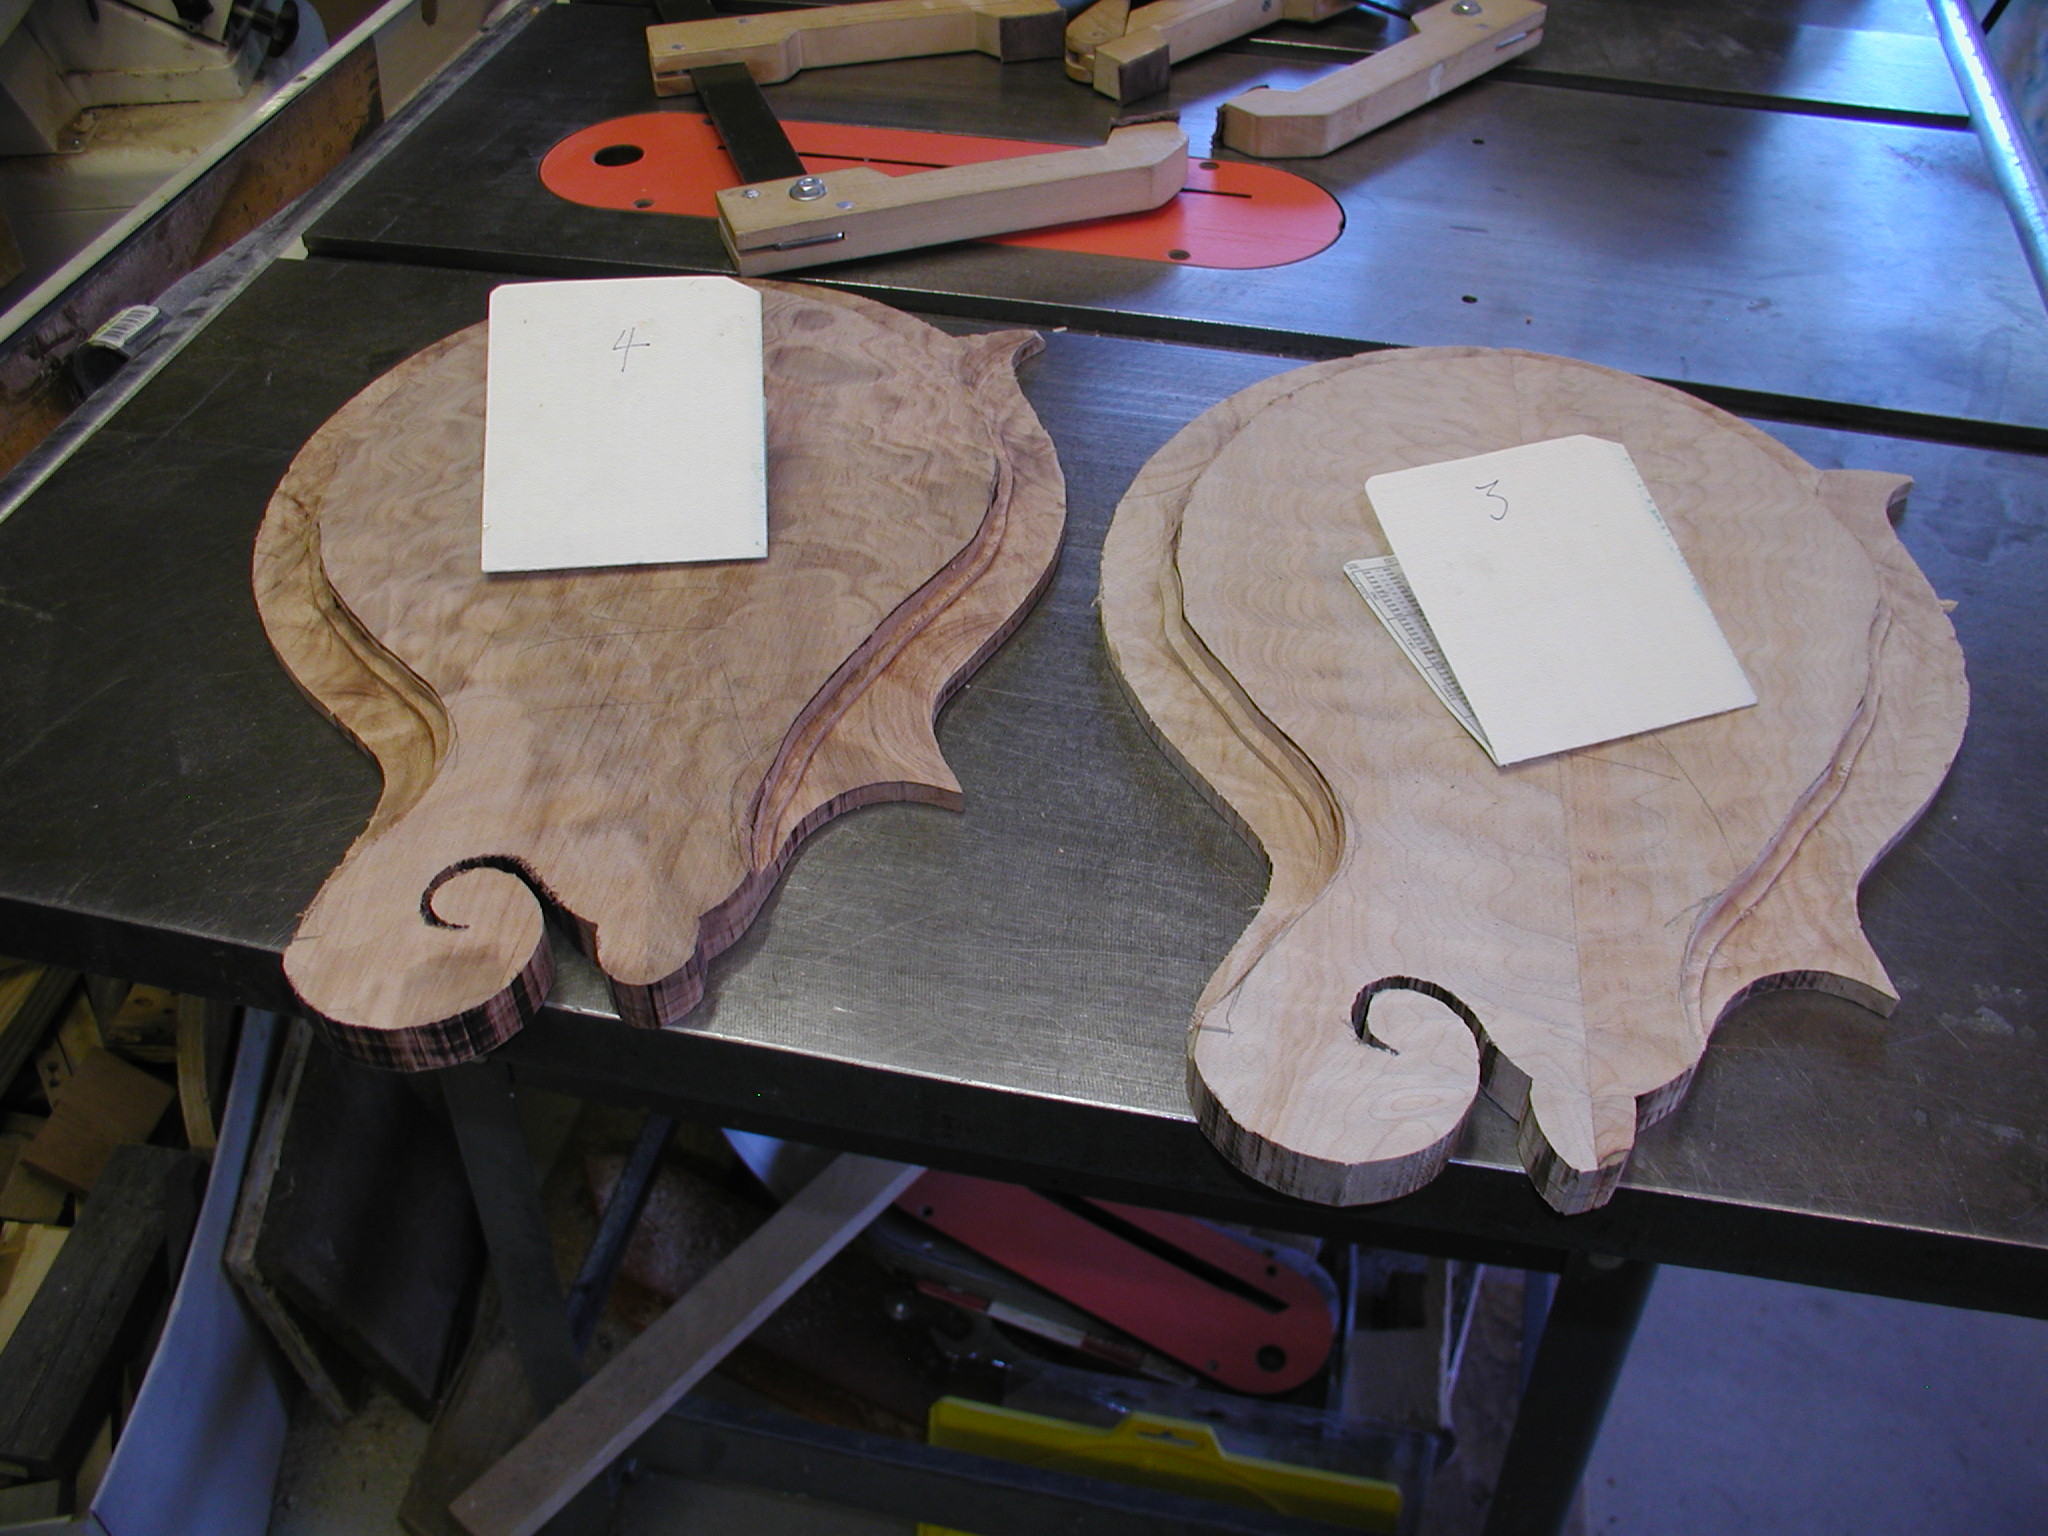
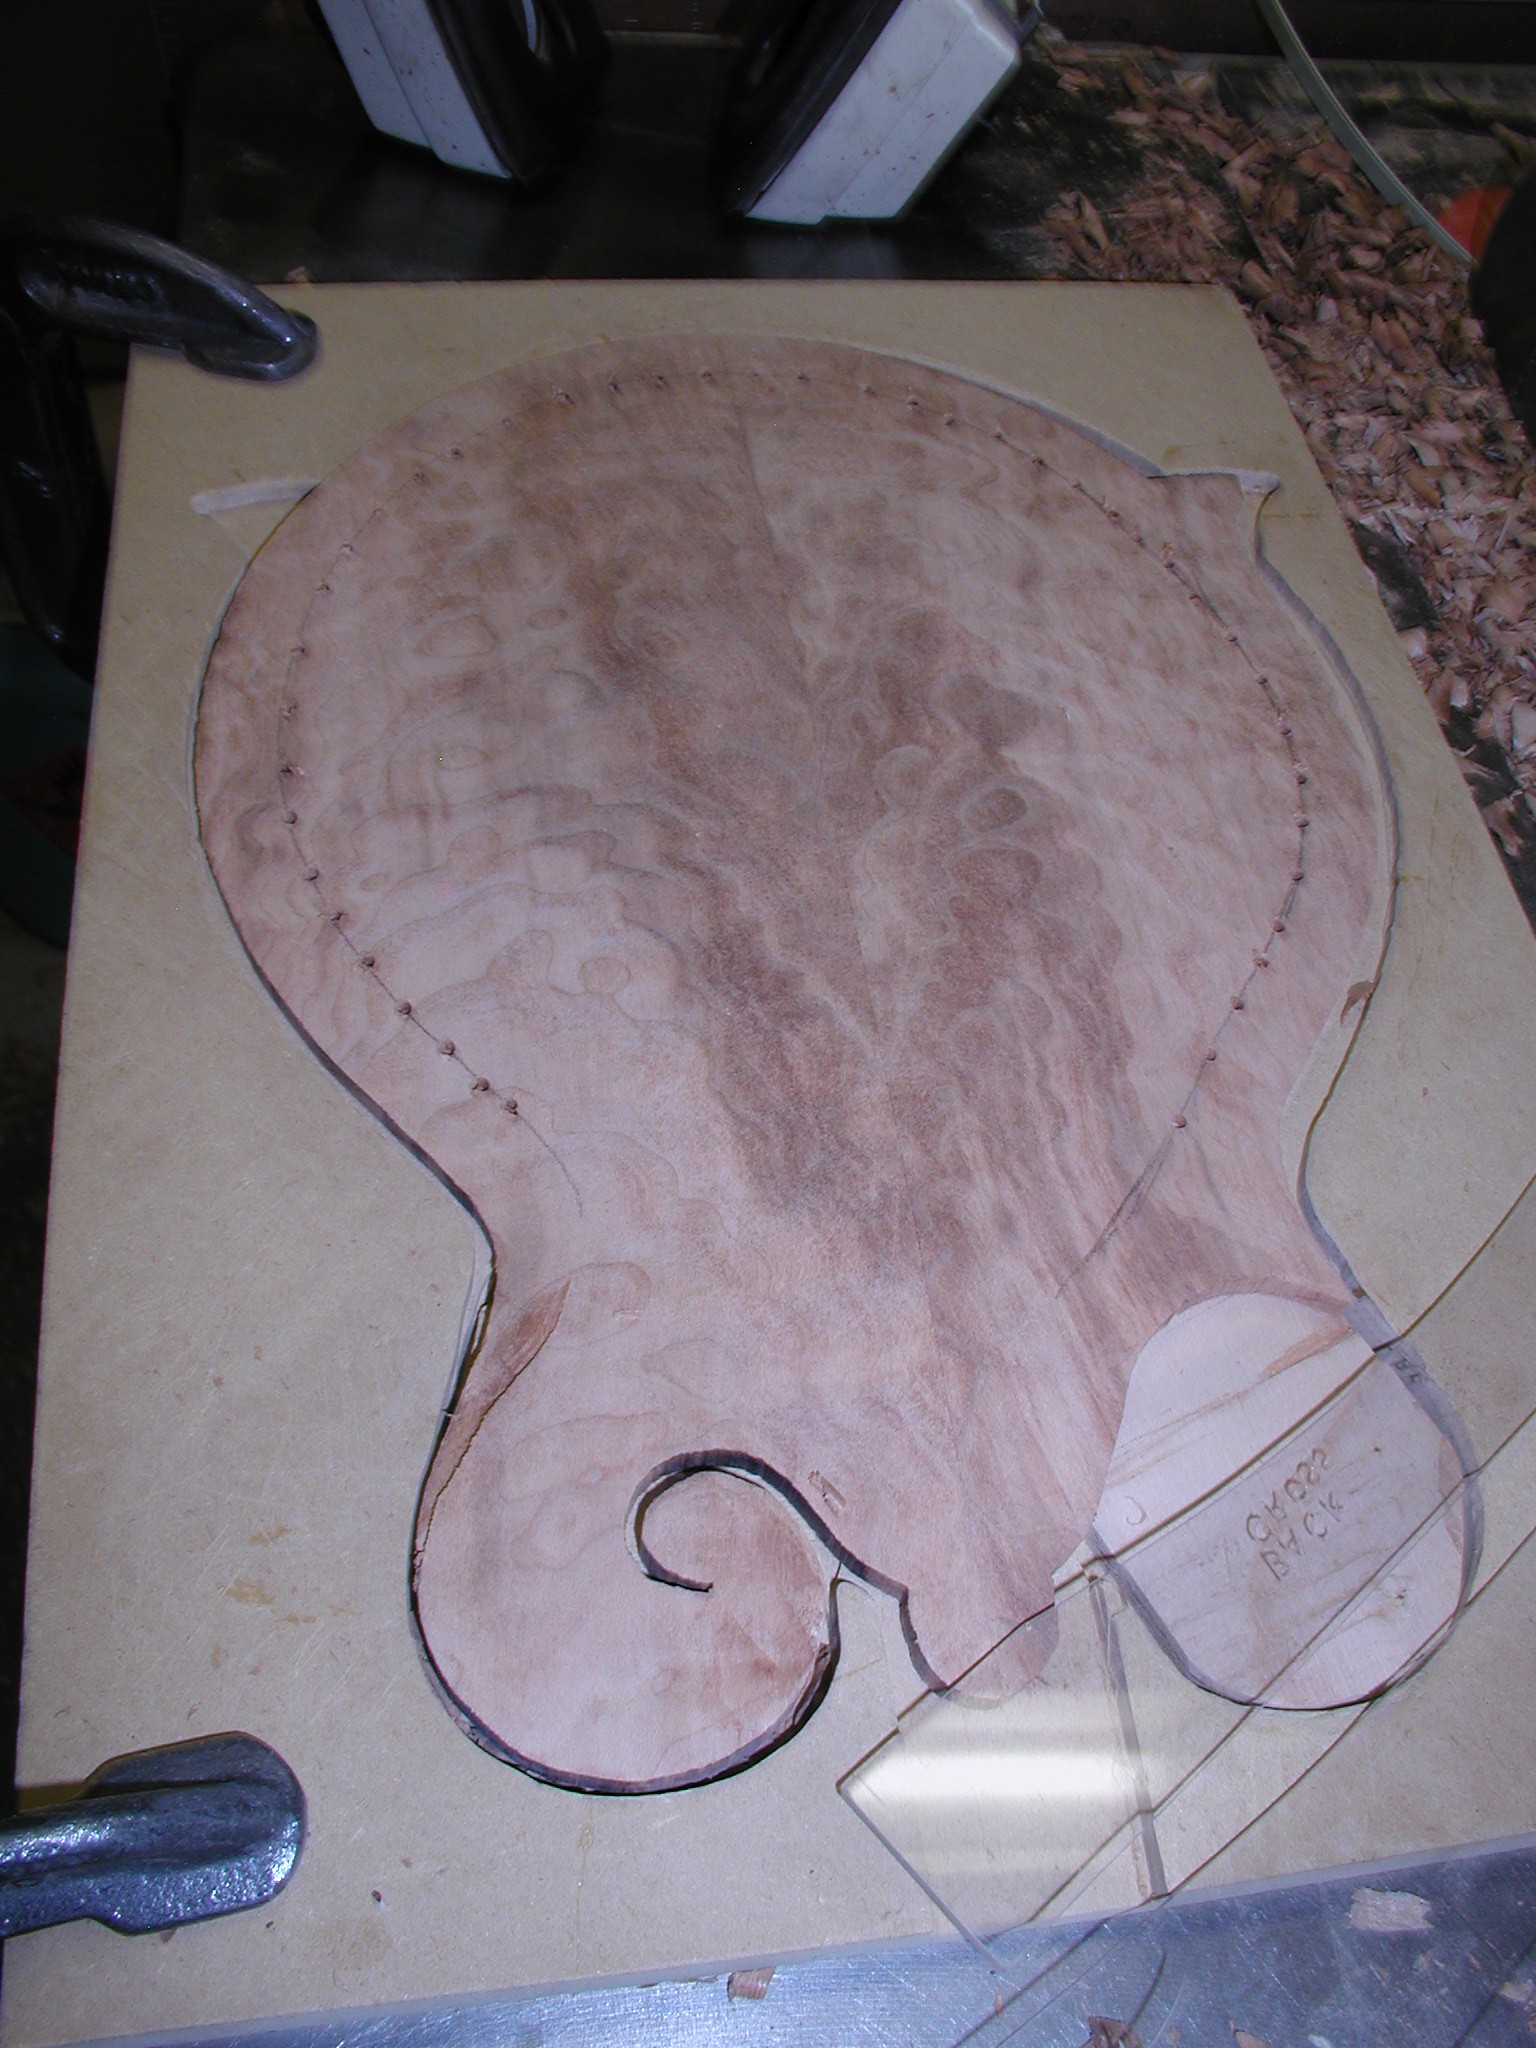
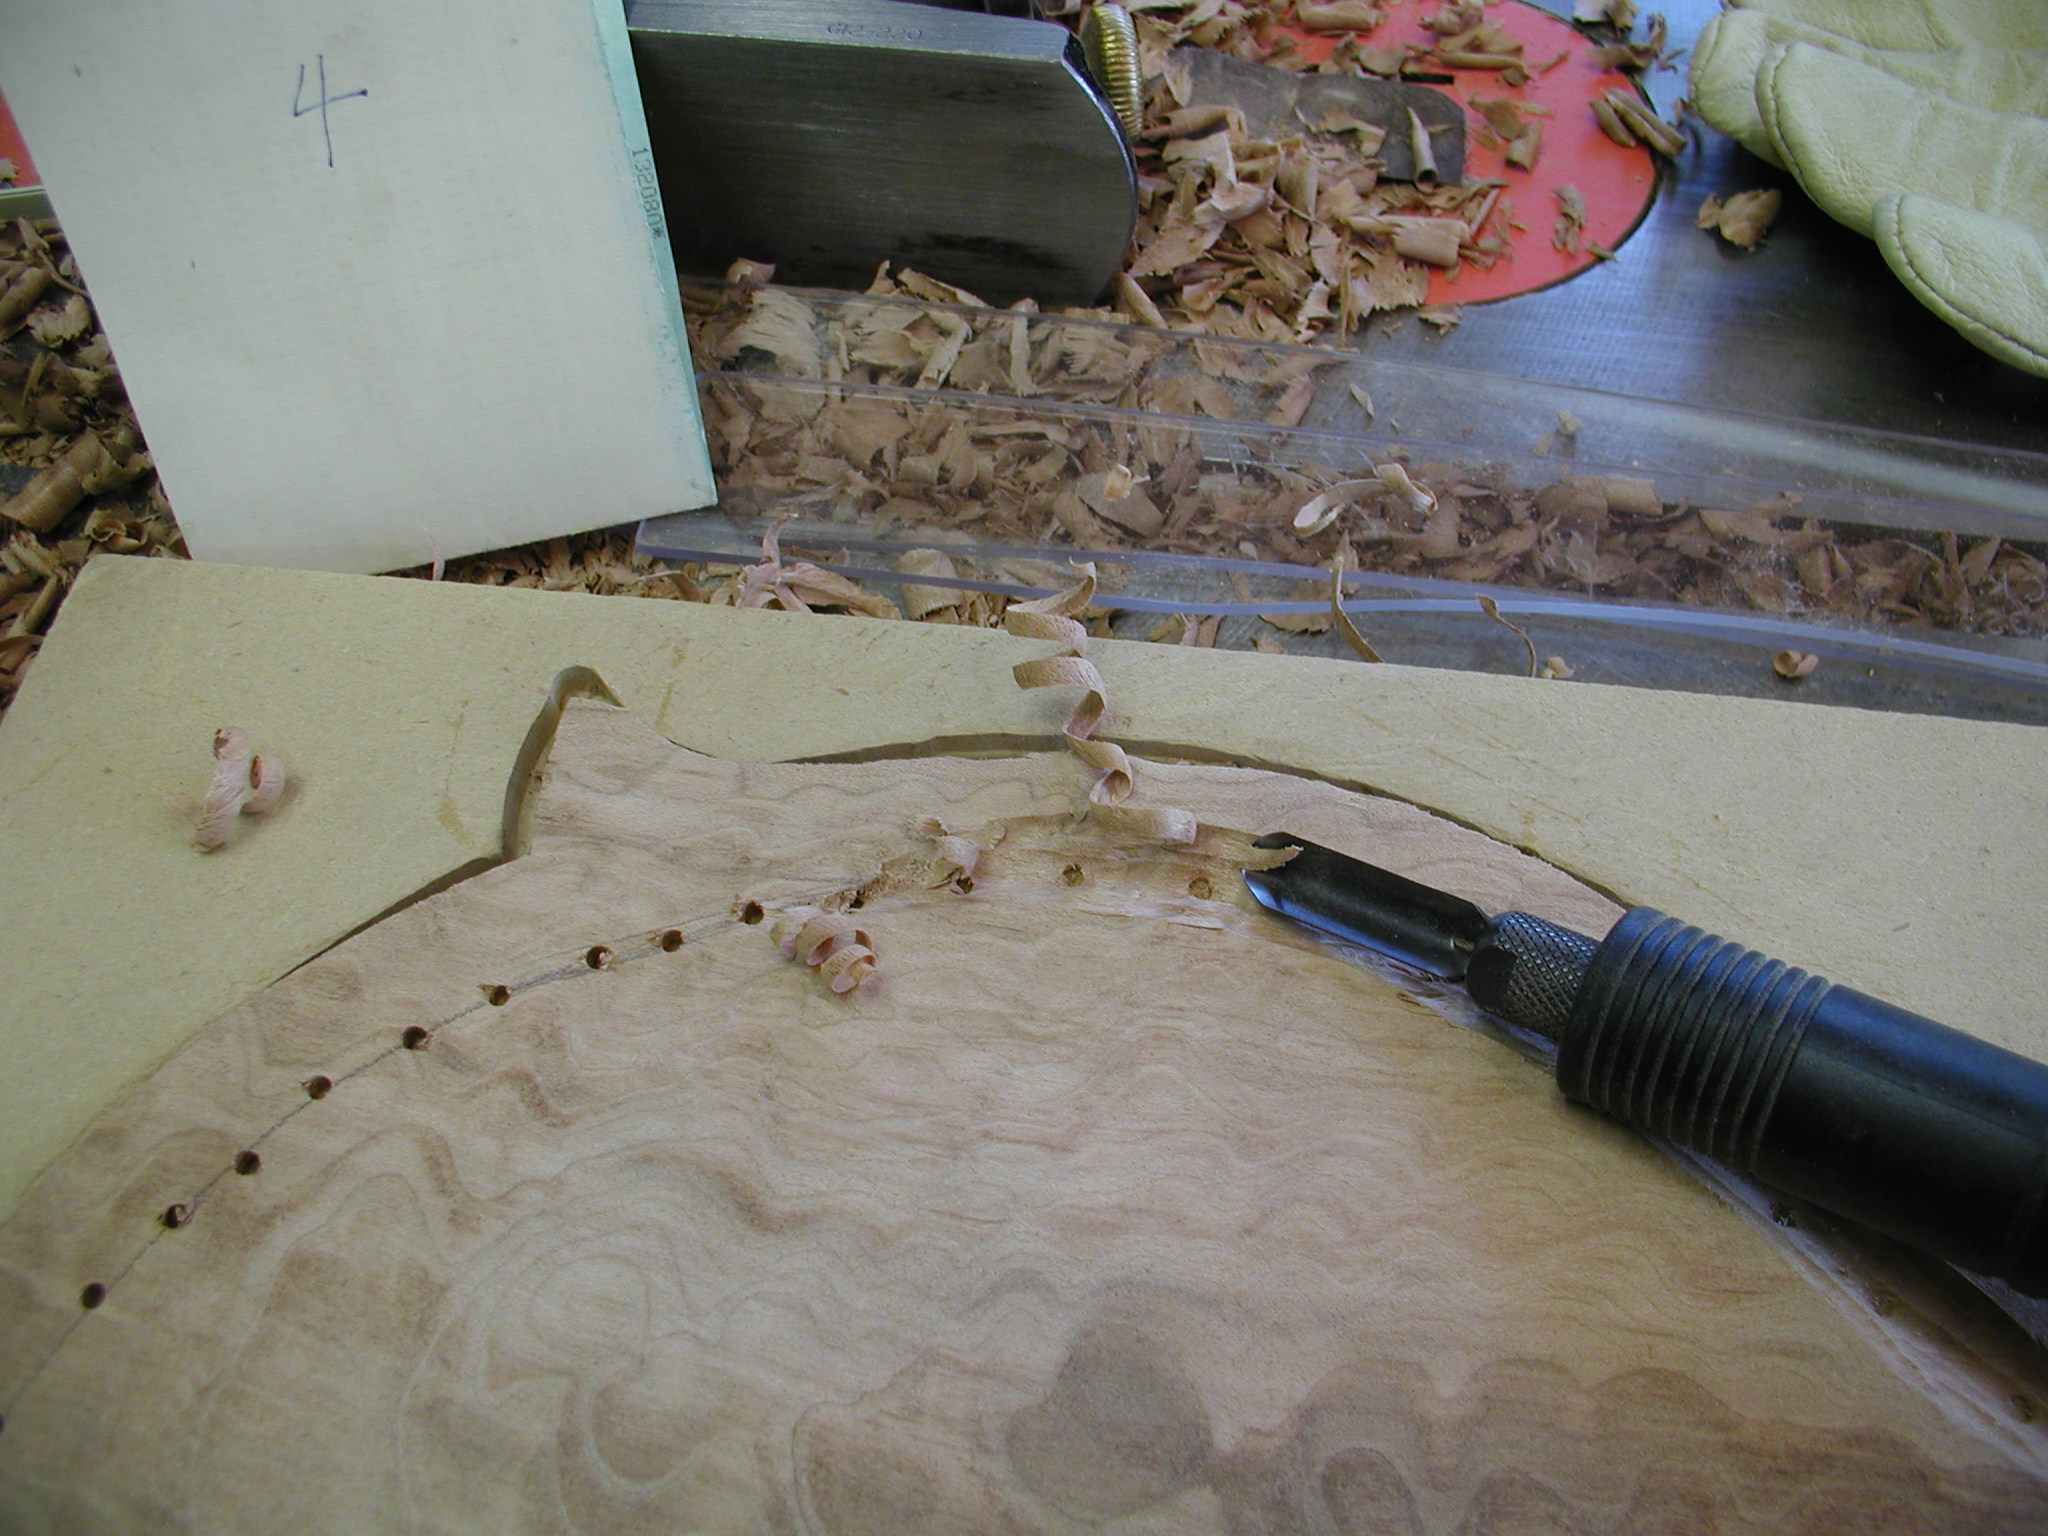
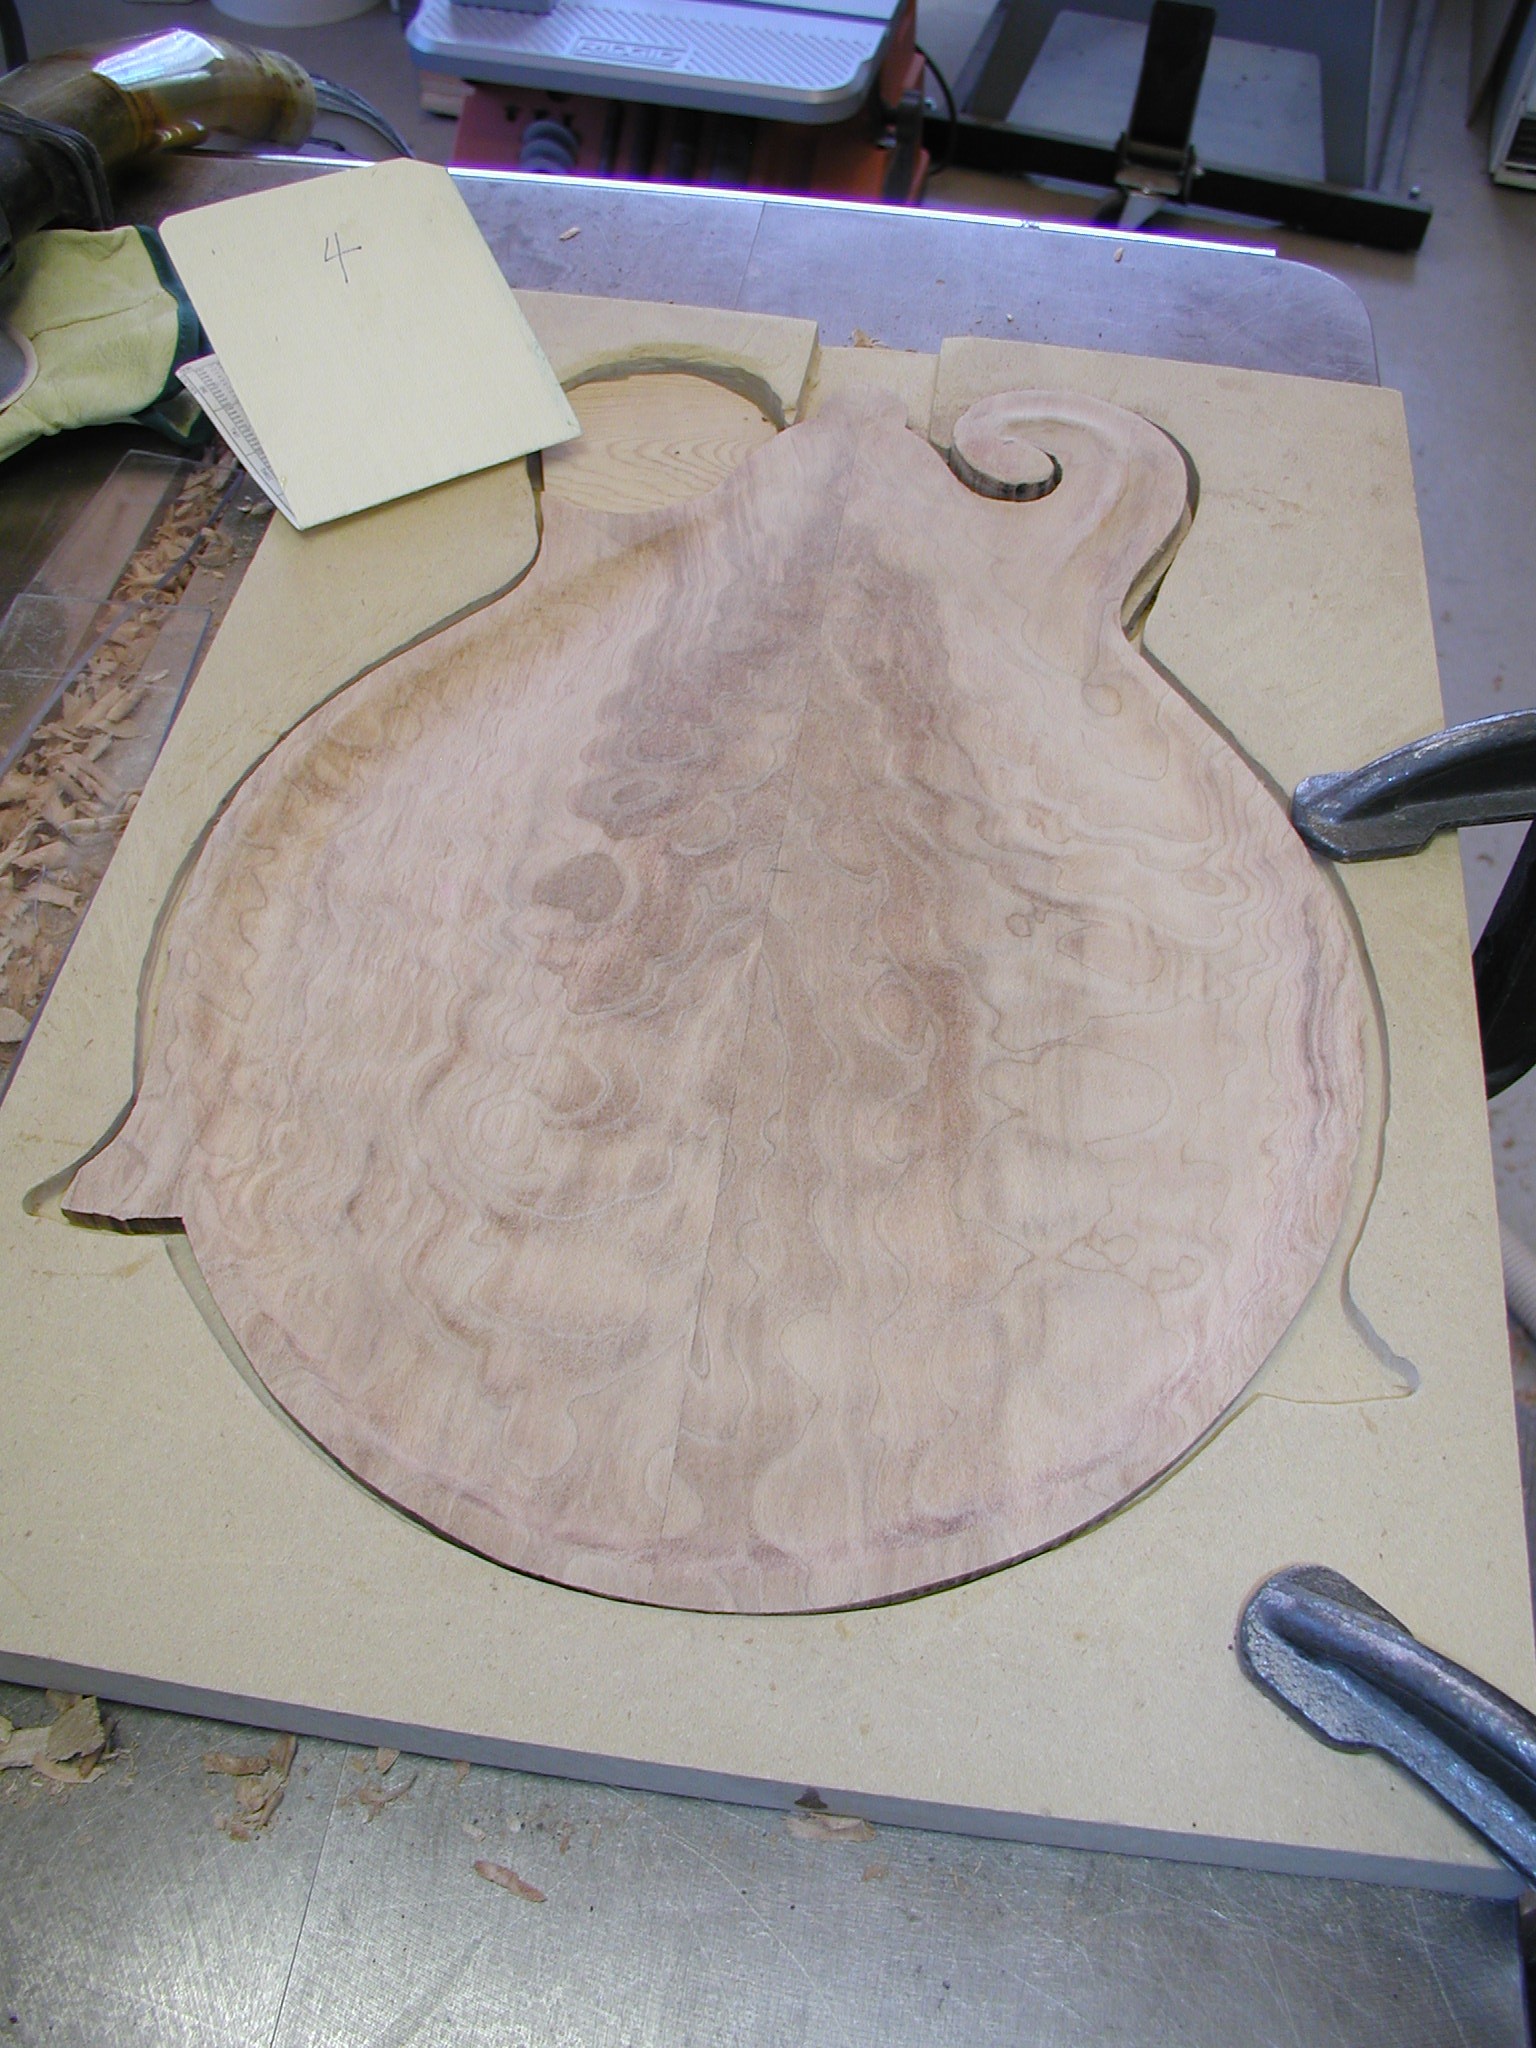
Time to start on the back plate. We had it roughed out earlier so I clamp it in place and mark the scroll location using a special awl made from a high tech piece of 10d nail. It is ground flat on one side and rounded off on the other and comes to a nice sharp tip. I track around the scroll and tap it into the back wood. This leaves a row of dings in the wood and I draw them in with pencil to mark the scroll location. Then to the bandsaw and cut it all out. I cut to just leave the line and then match it up to the body again and mark any areas still sticking out and trim those flush to the line.
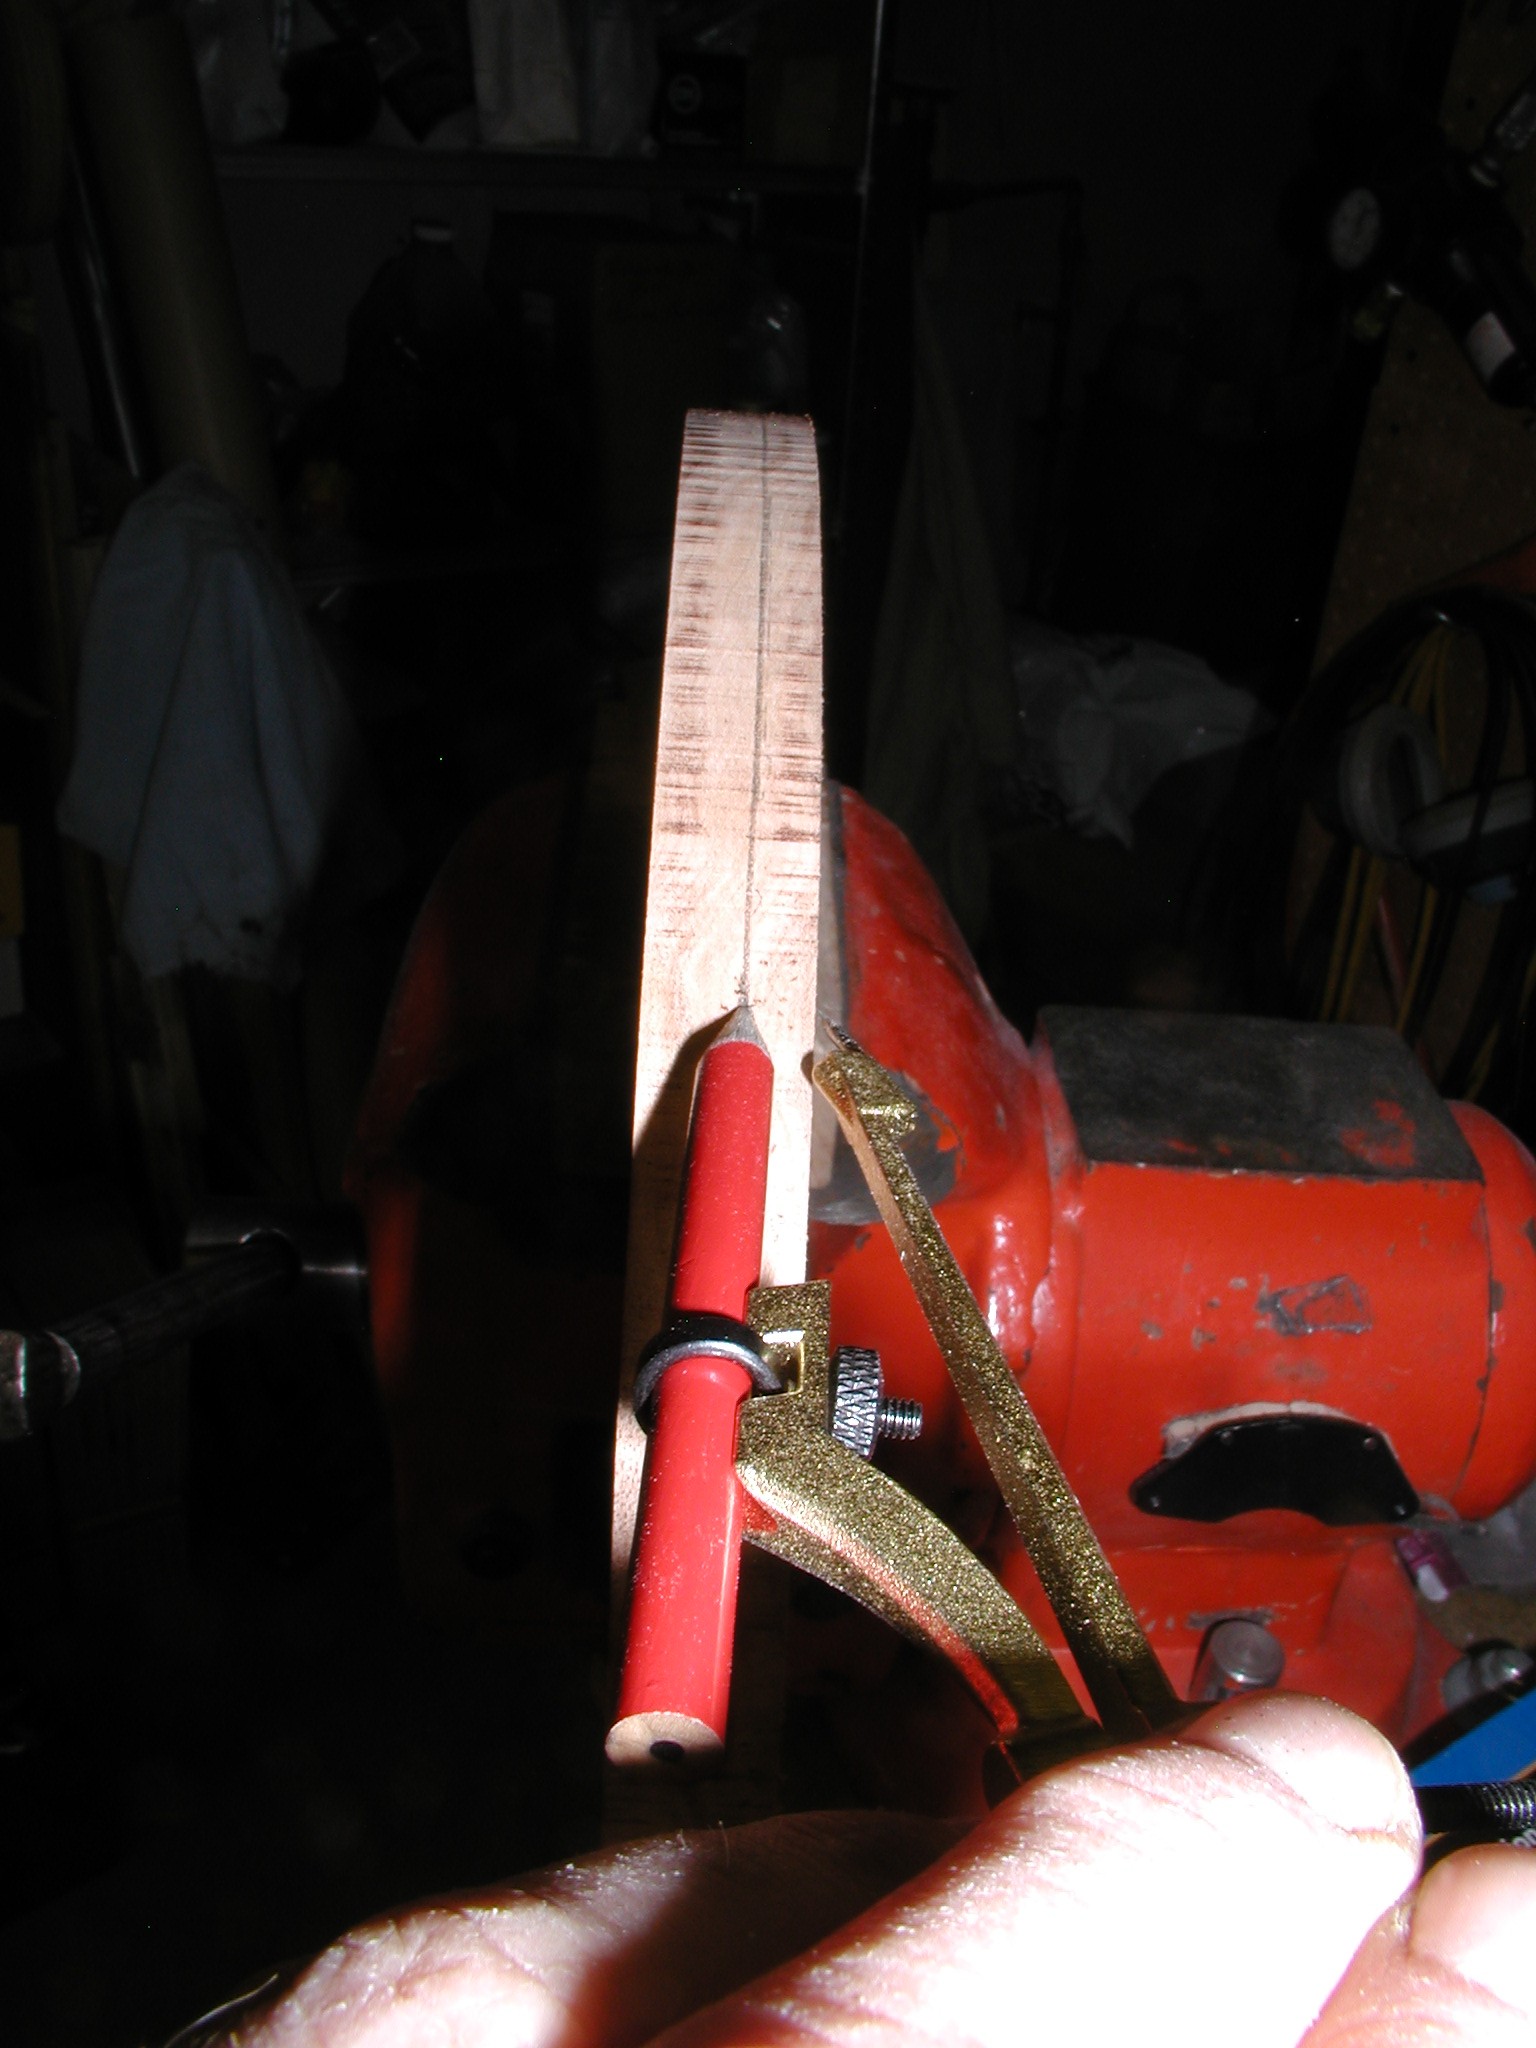
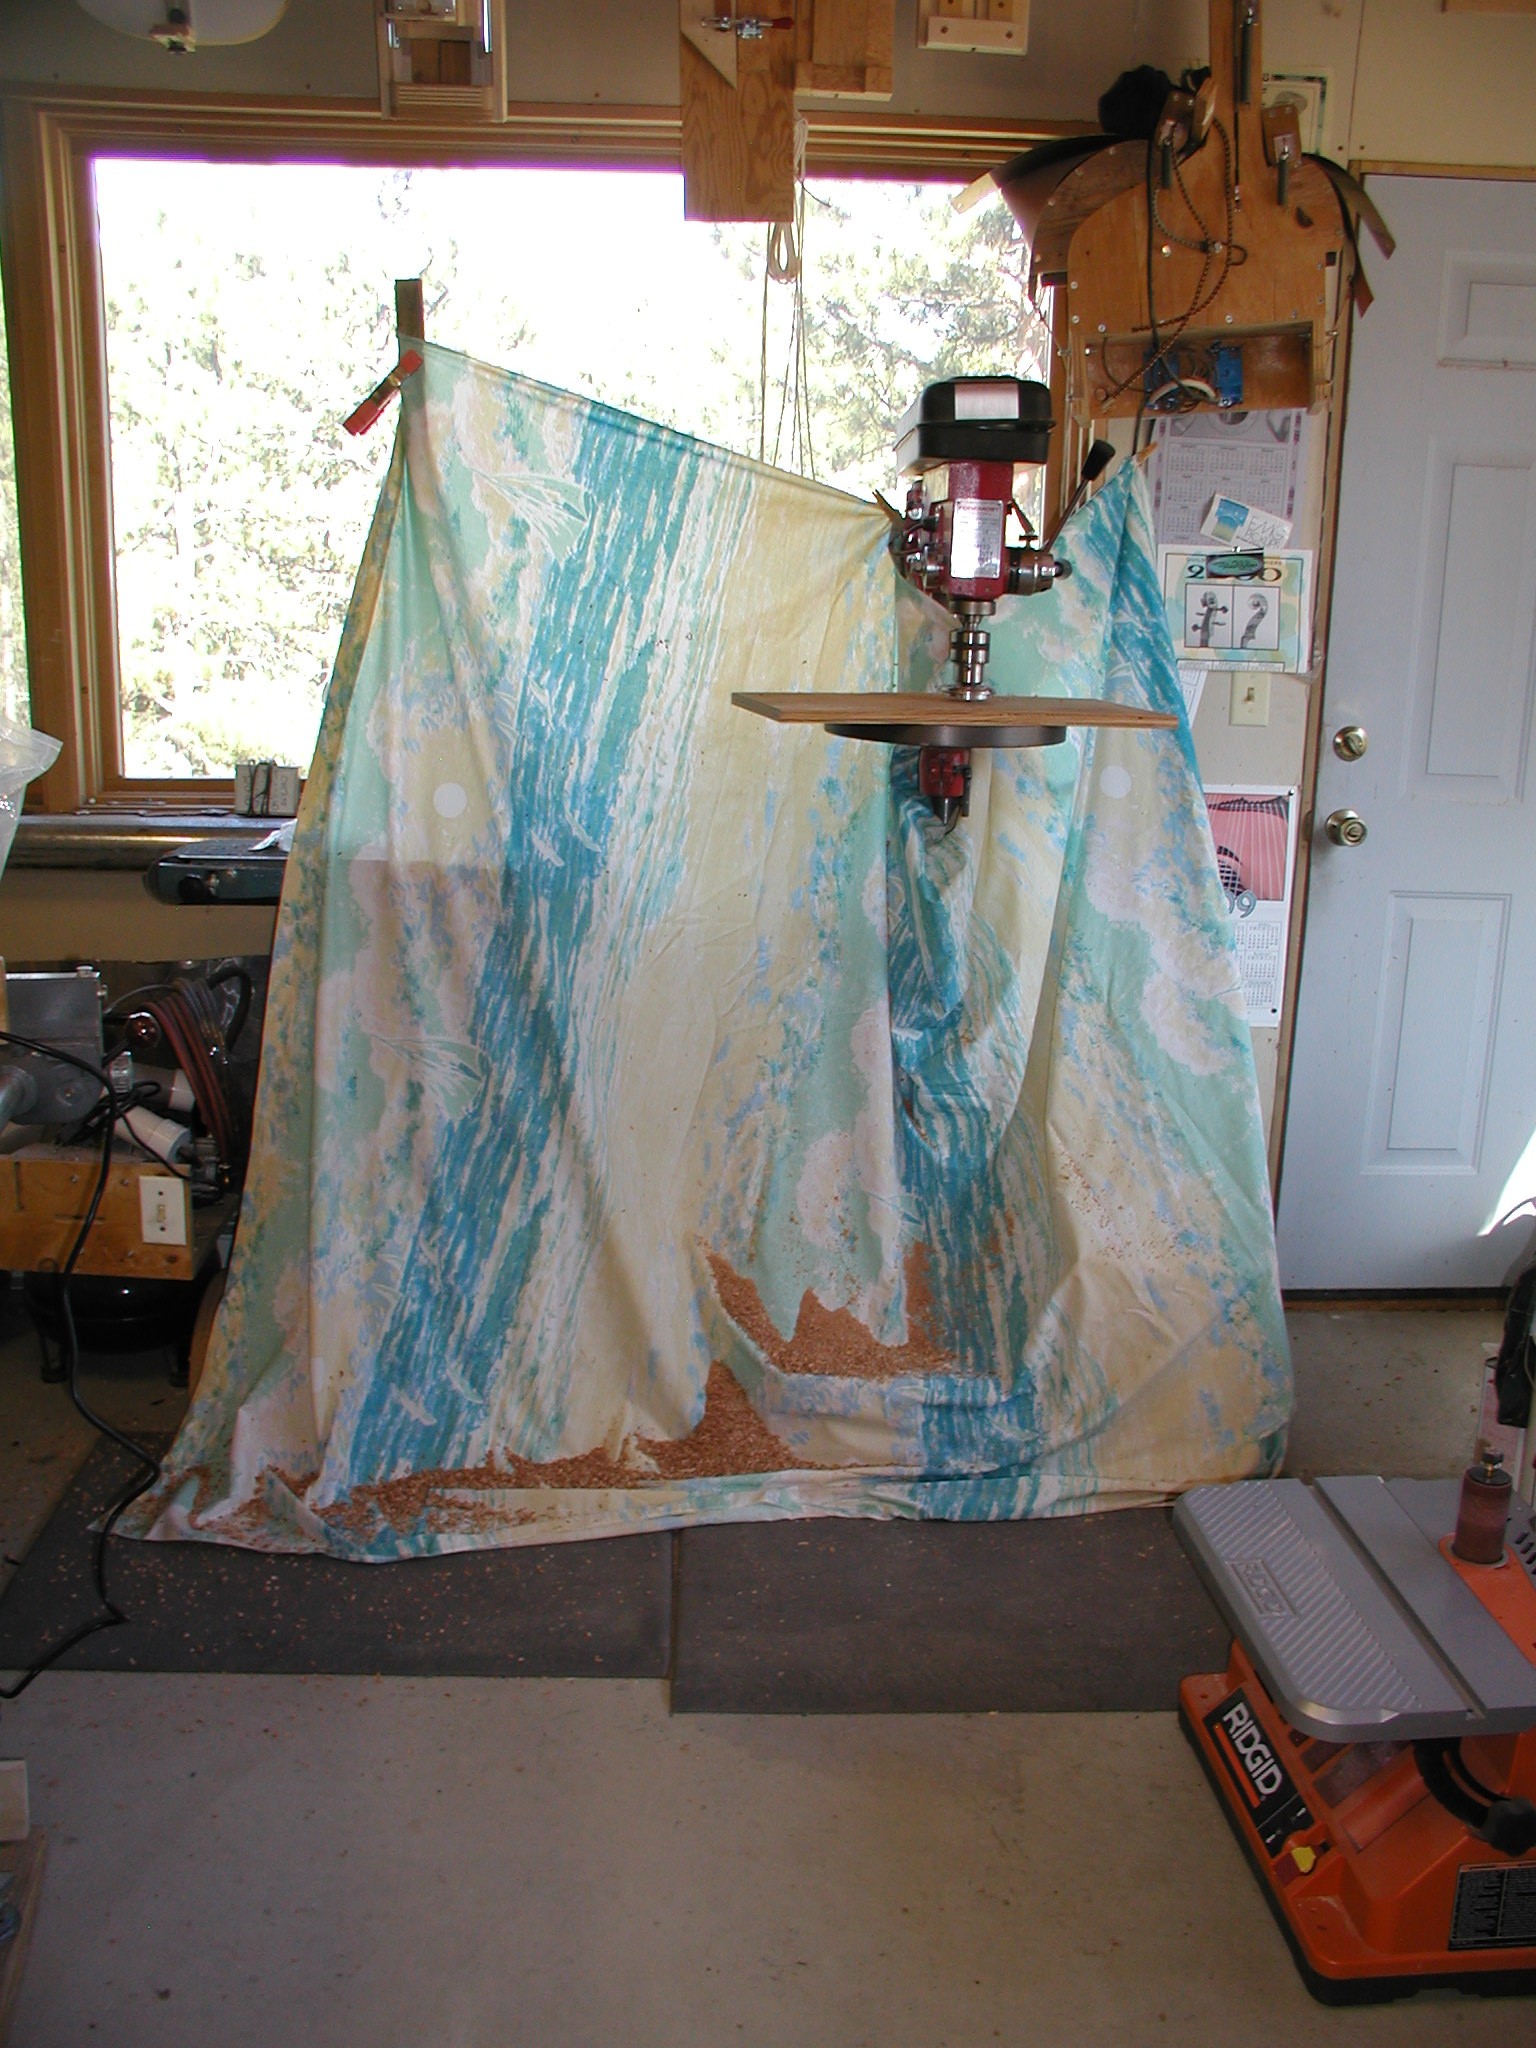
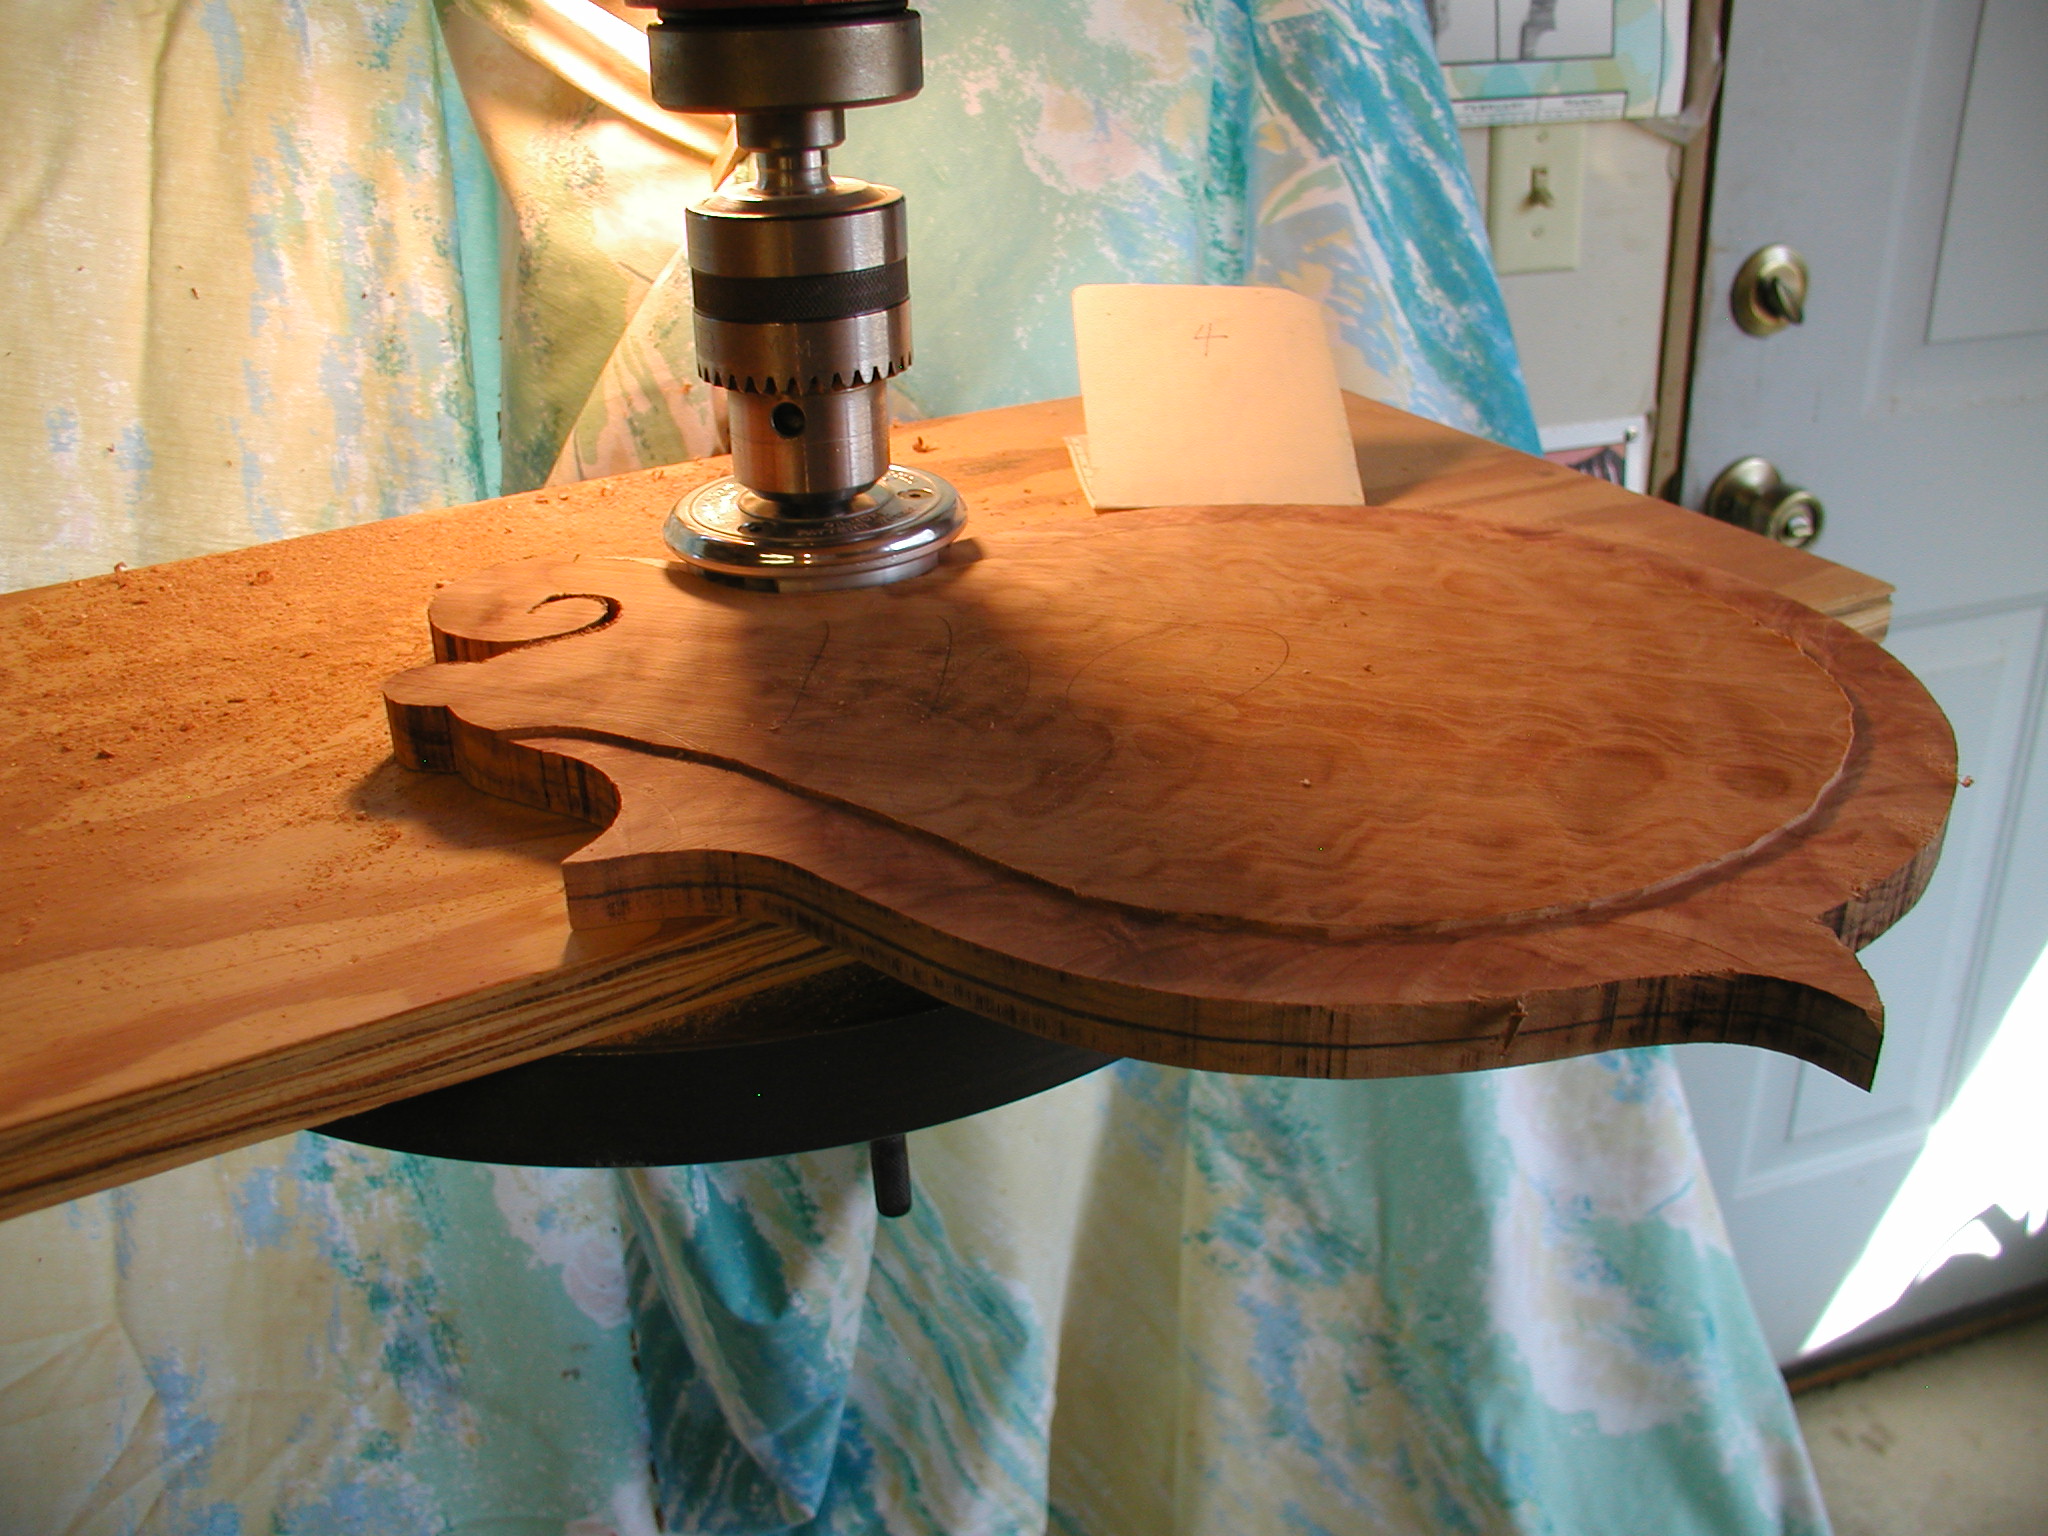
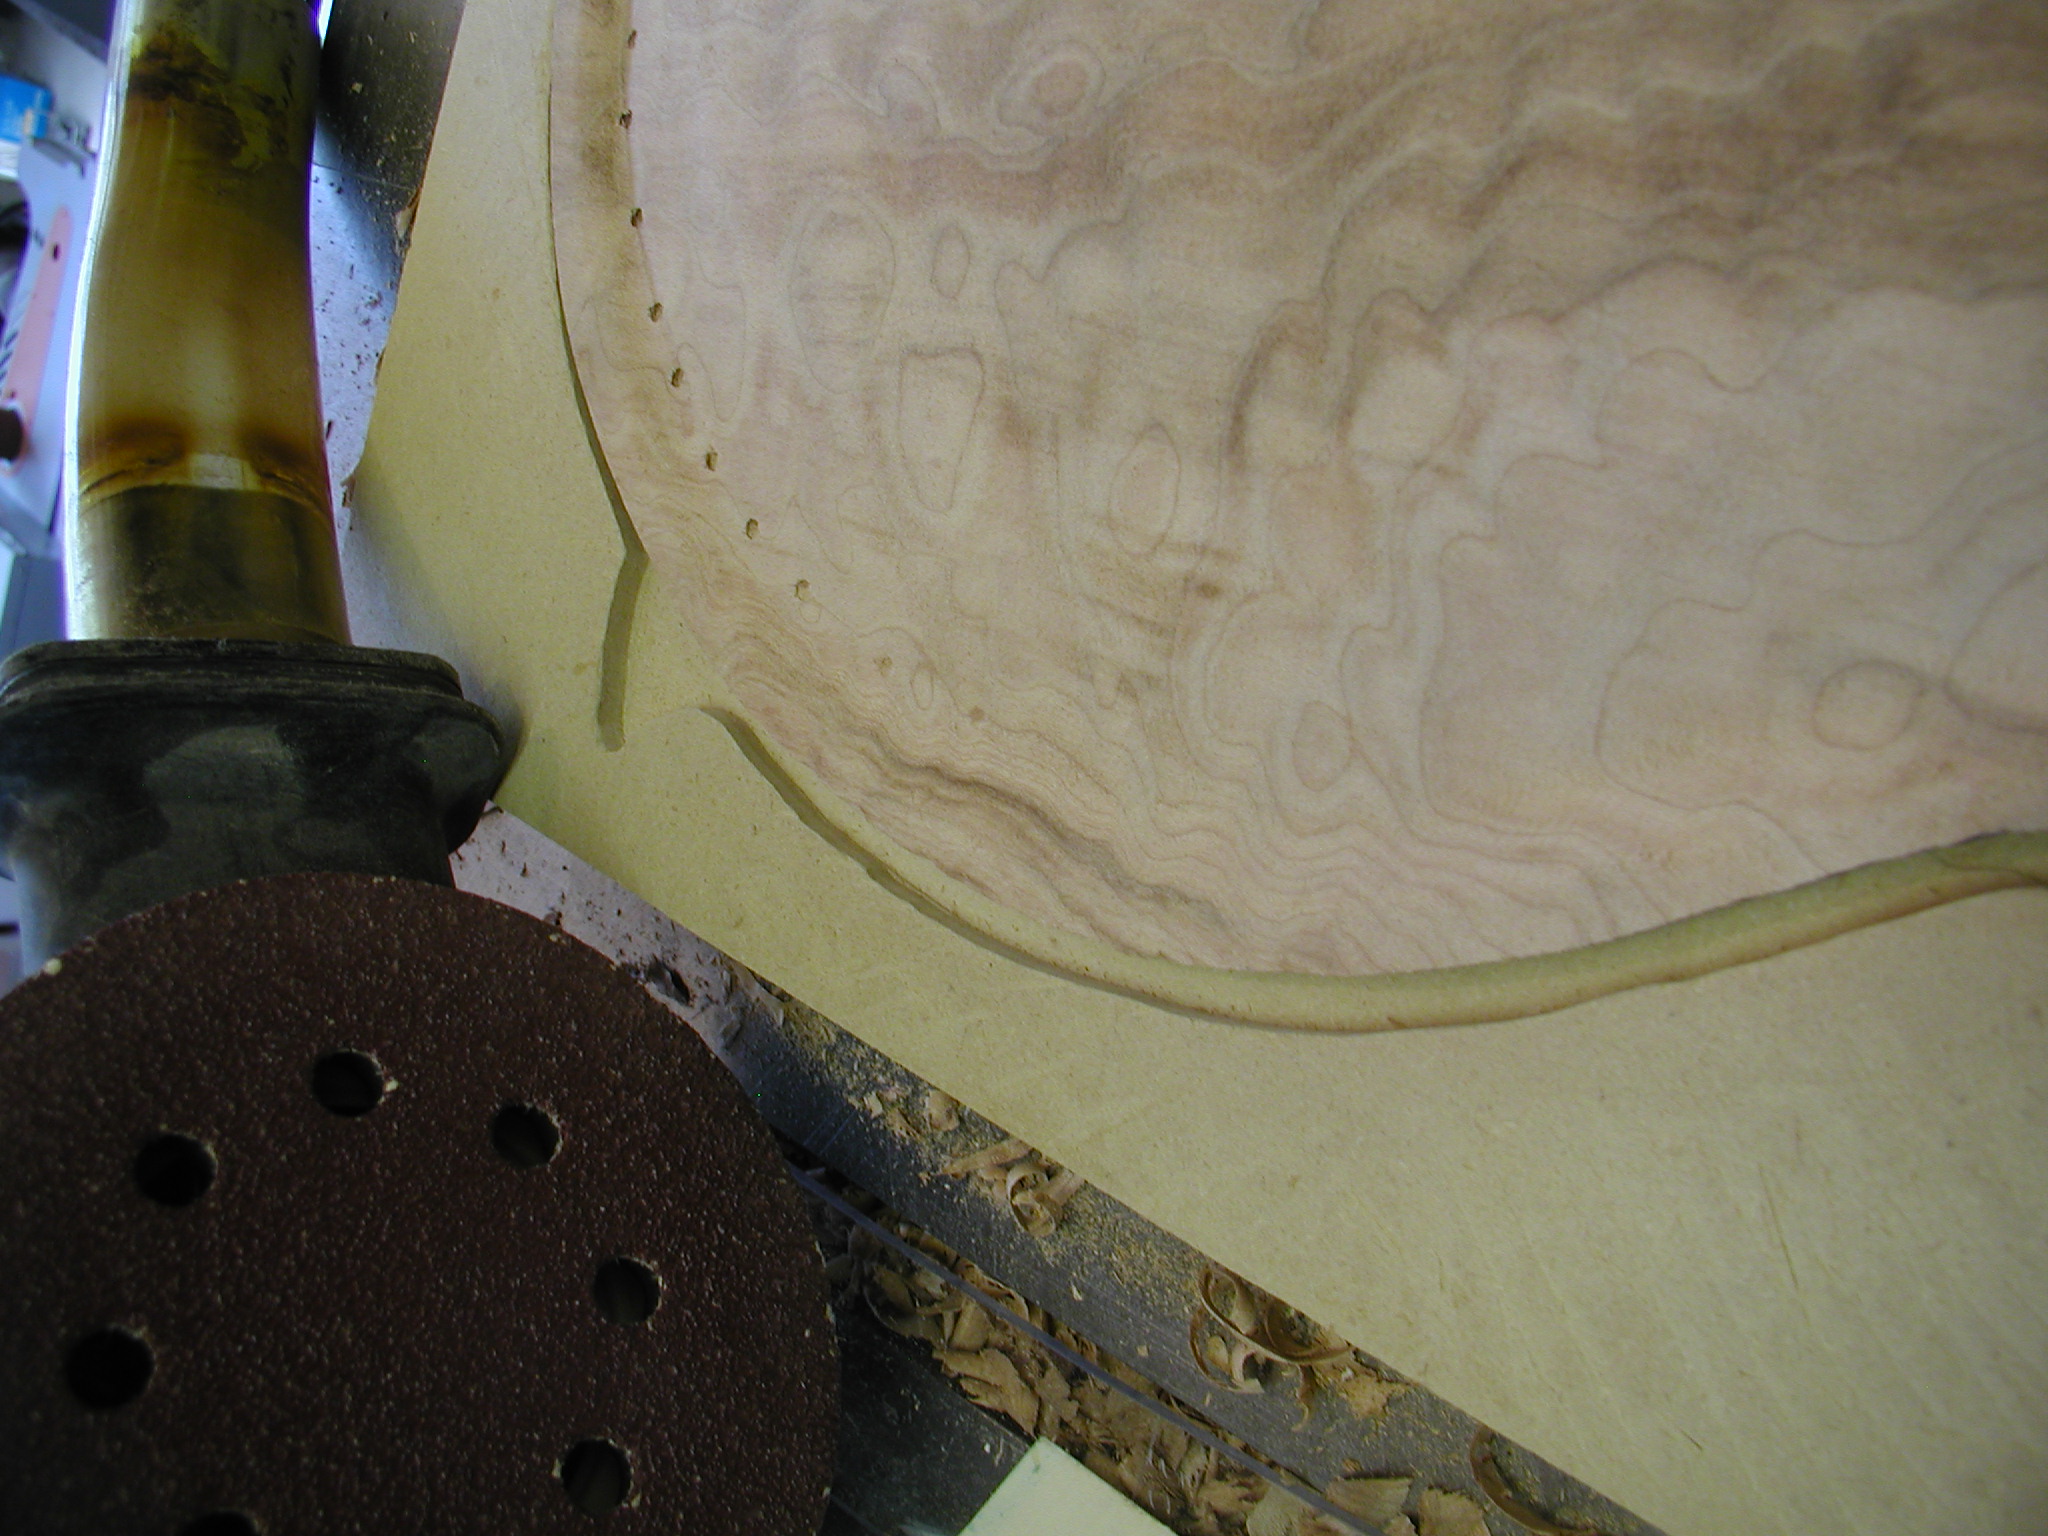
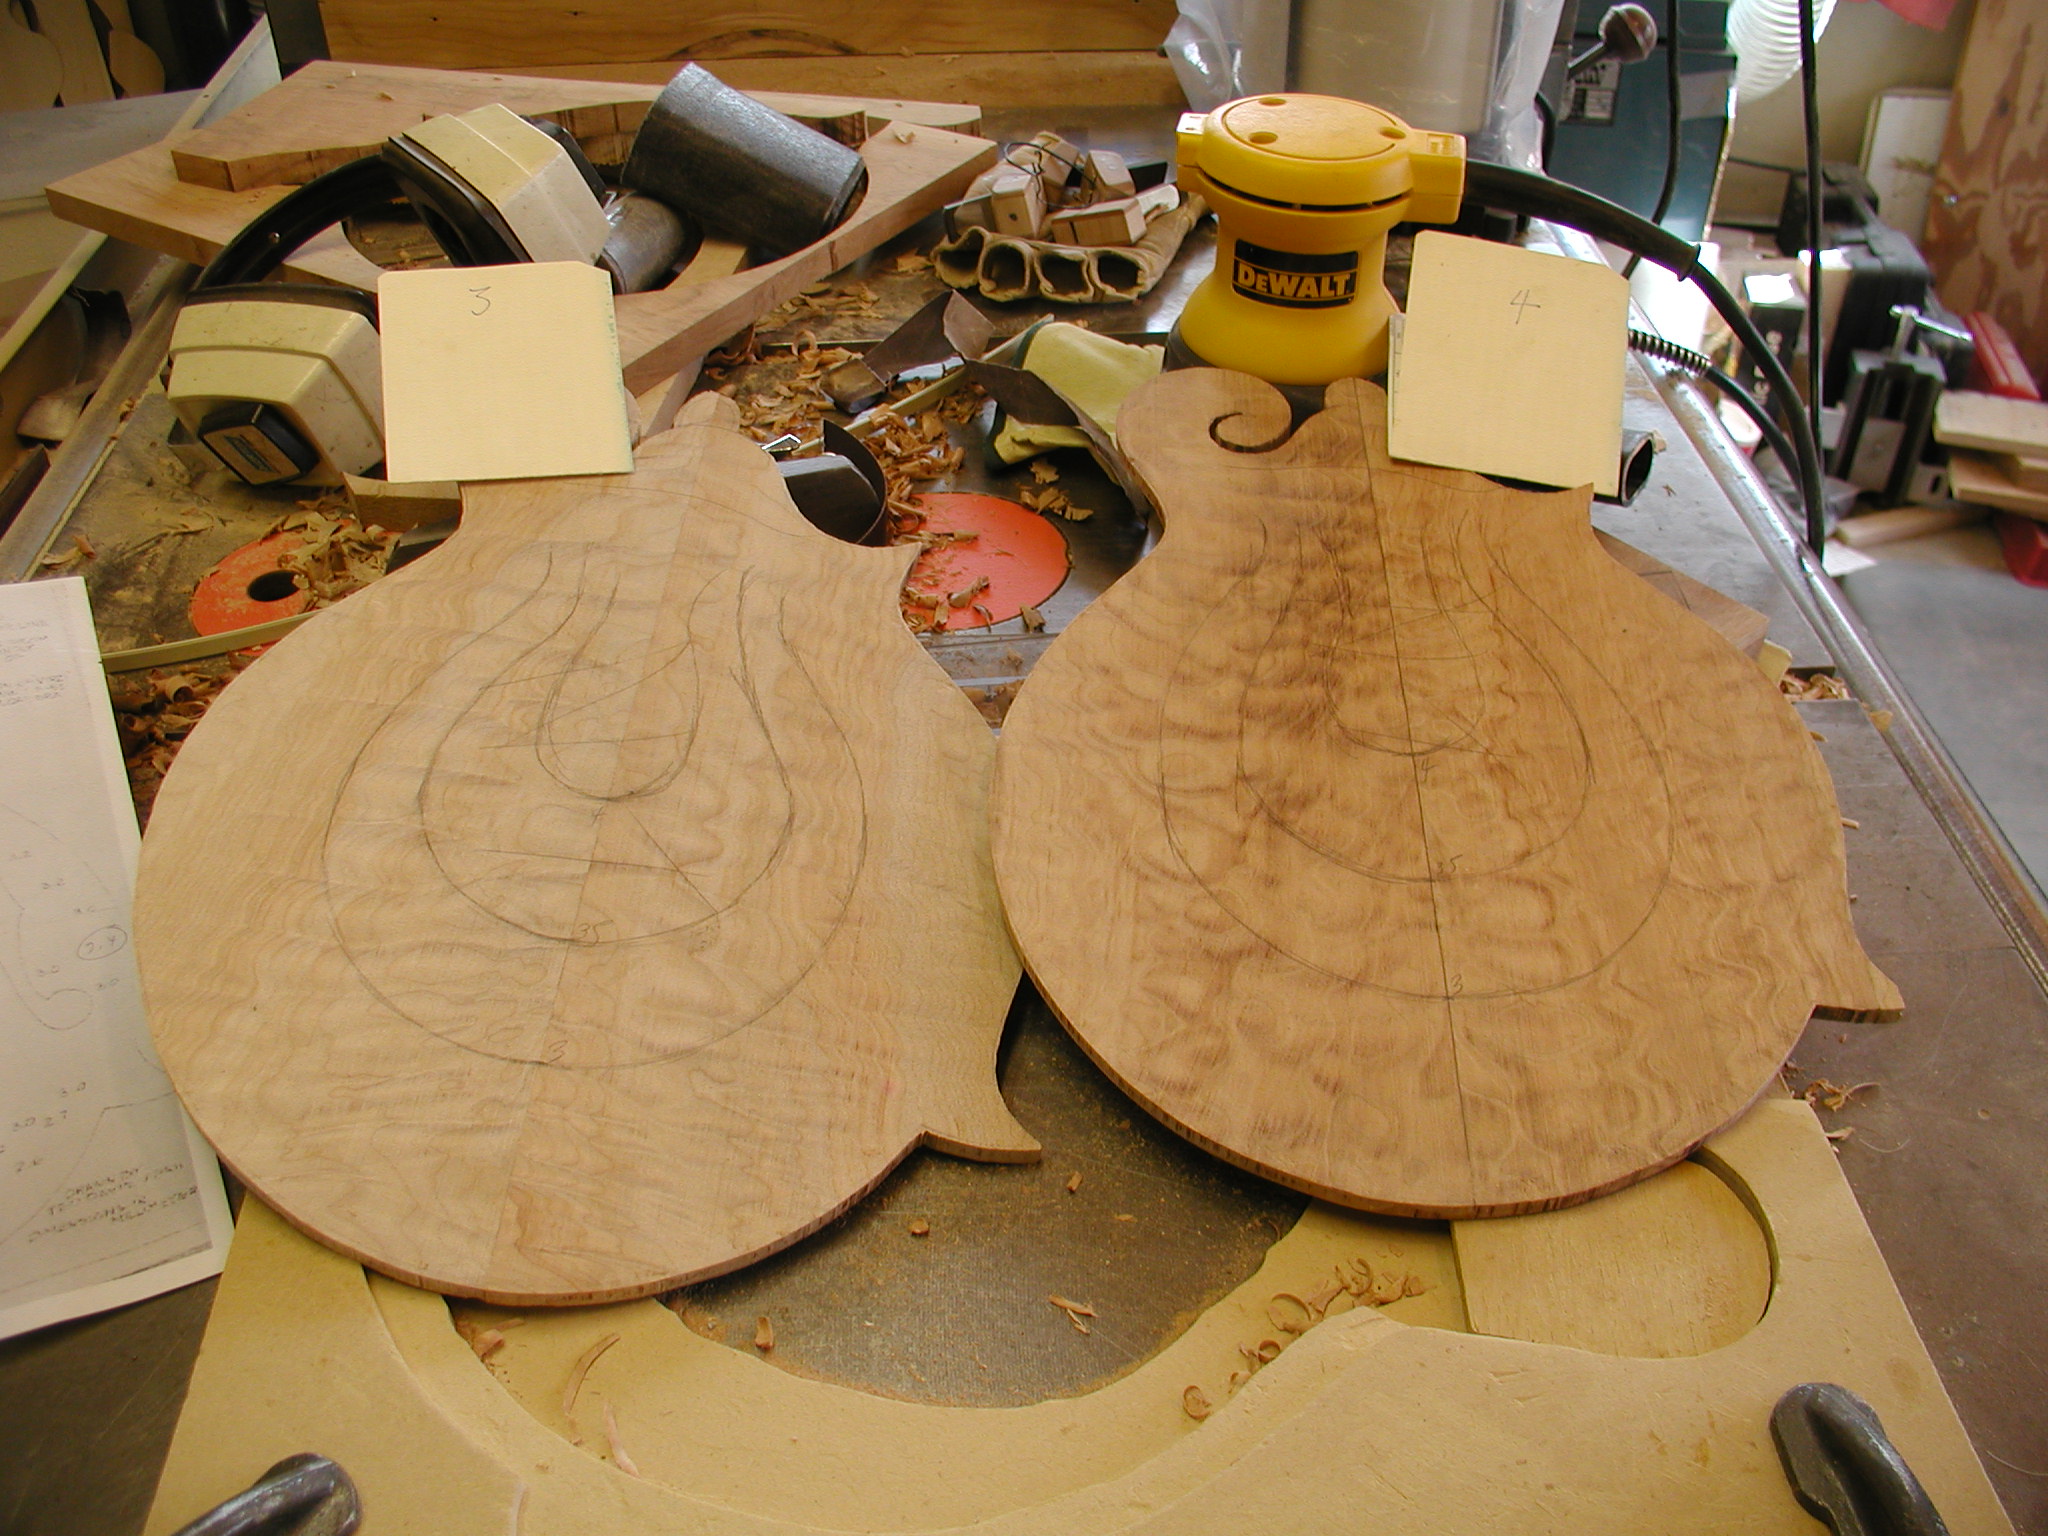
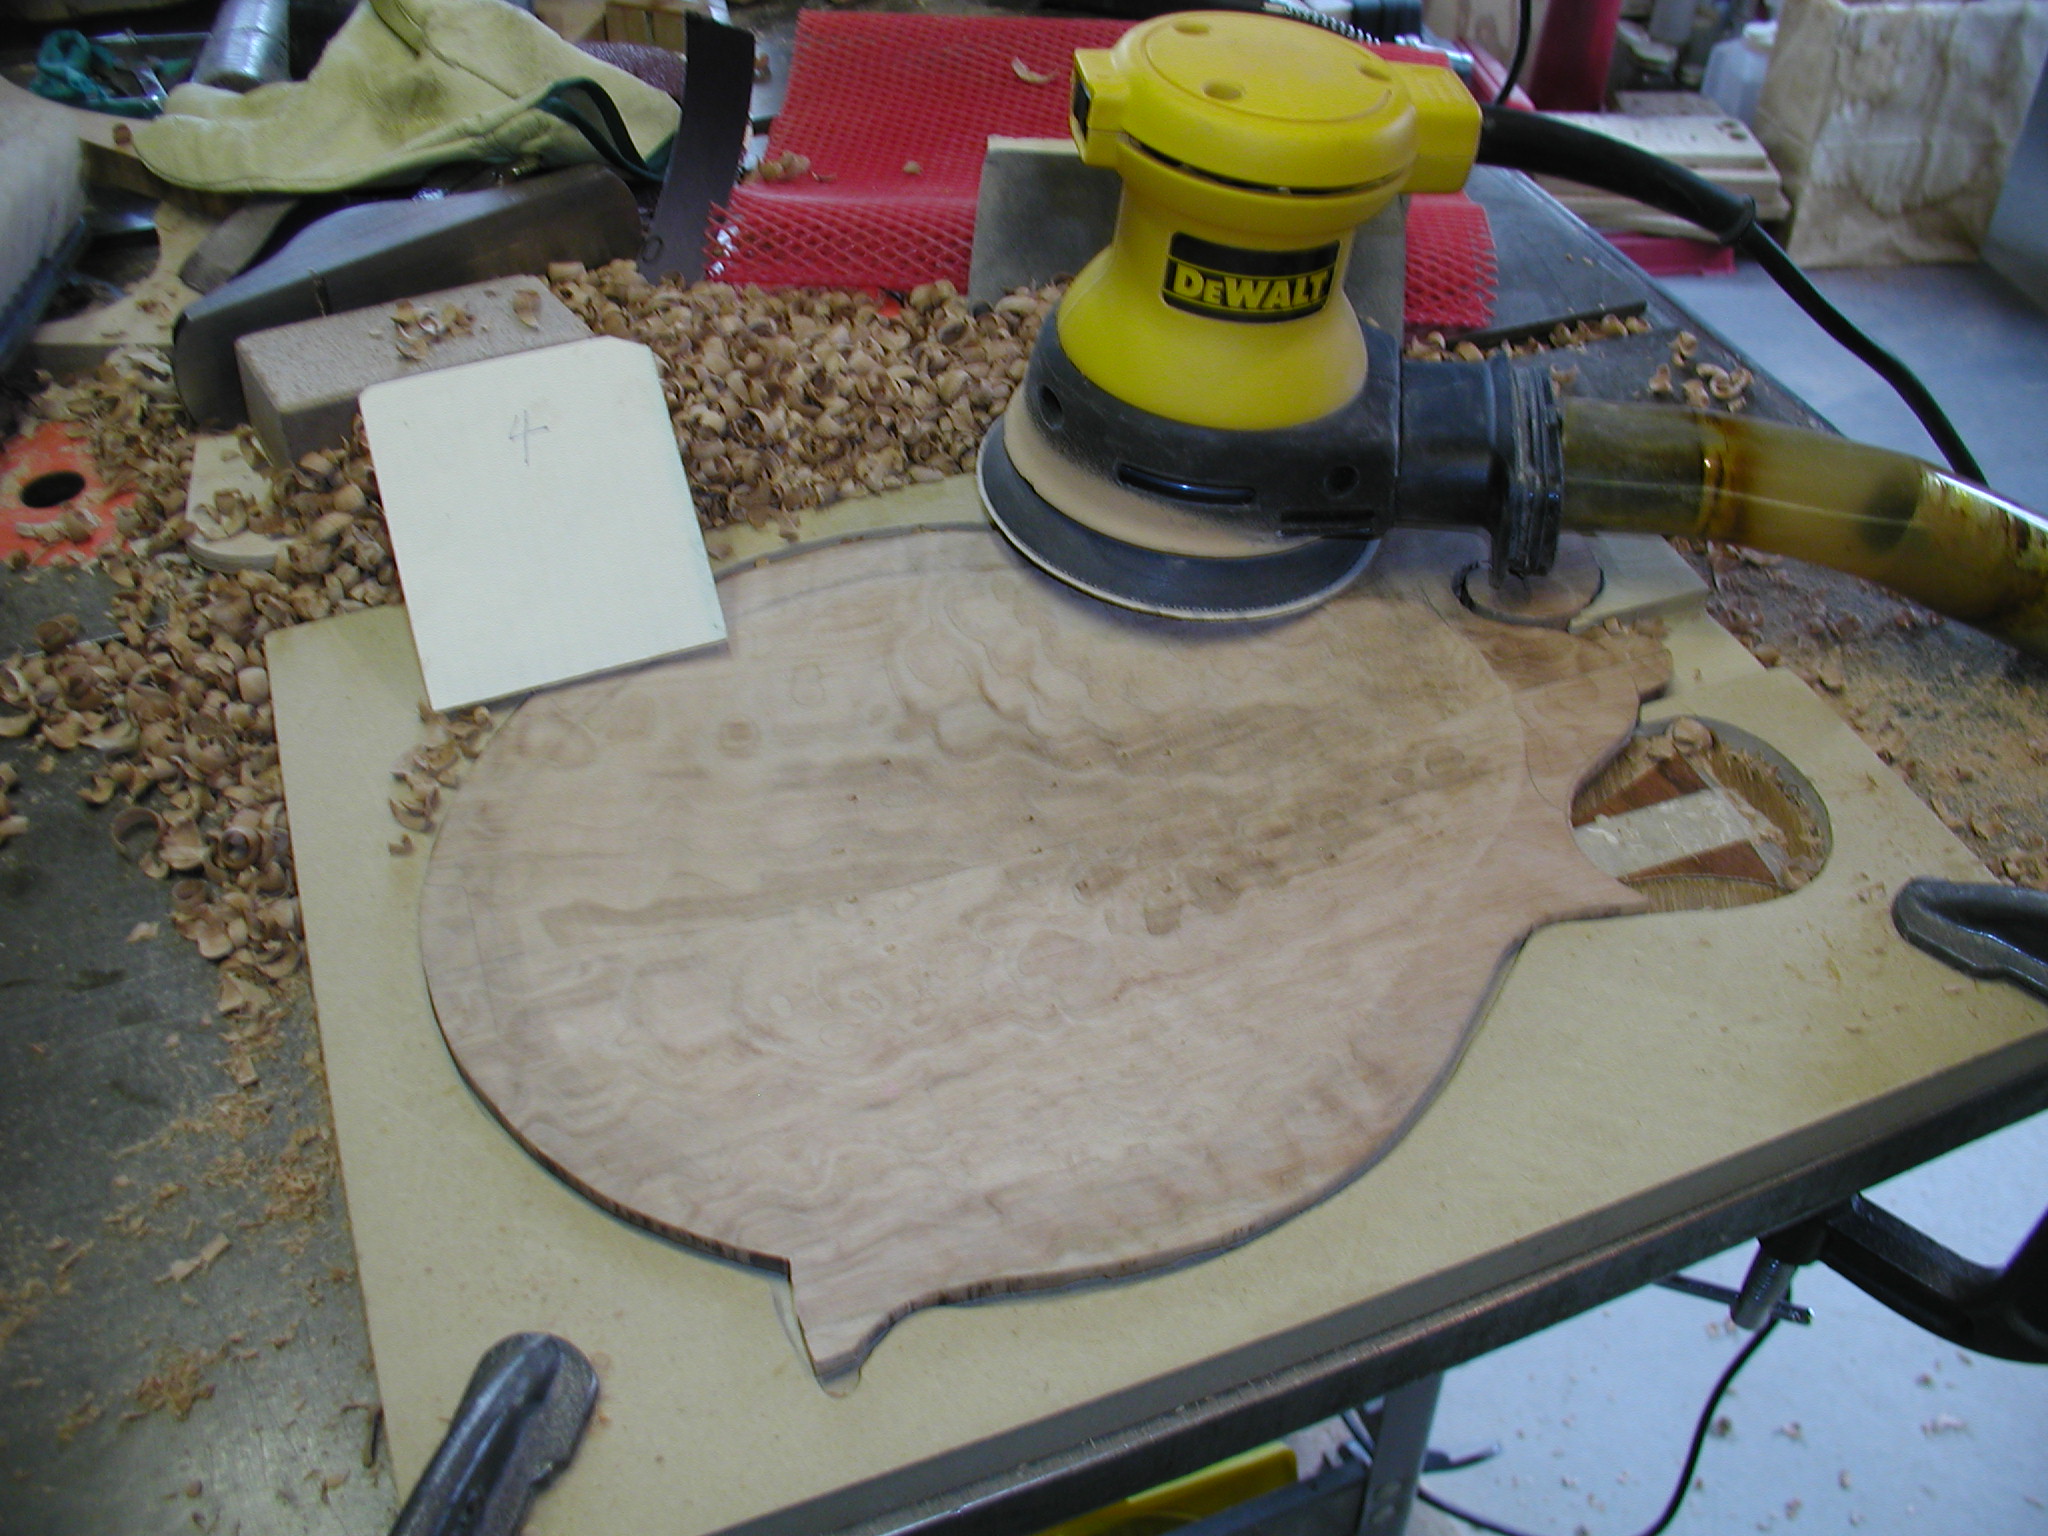
Carving the back is much the same process as the top but harder wood. Mark the depth of the edge all around and back to the drill press with the Saf-T-Planer. Multiple passes around gets the perimeter leveled off.
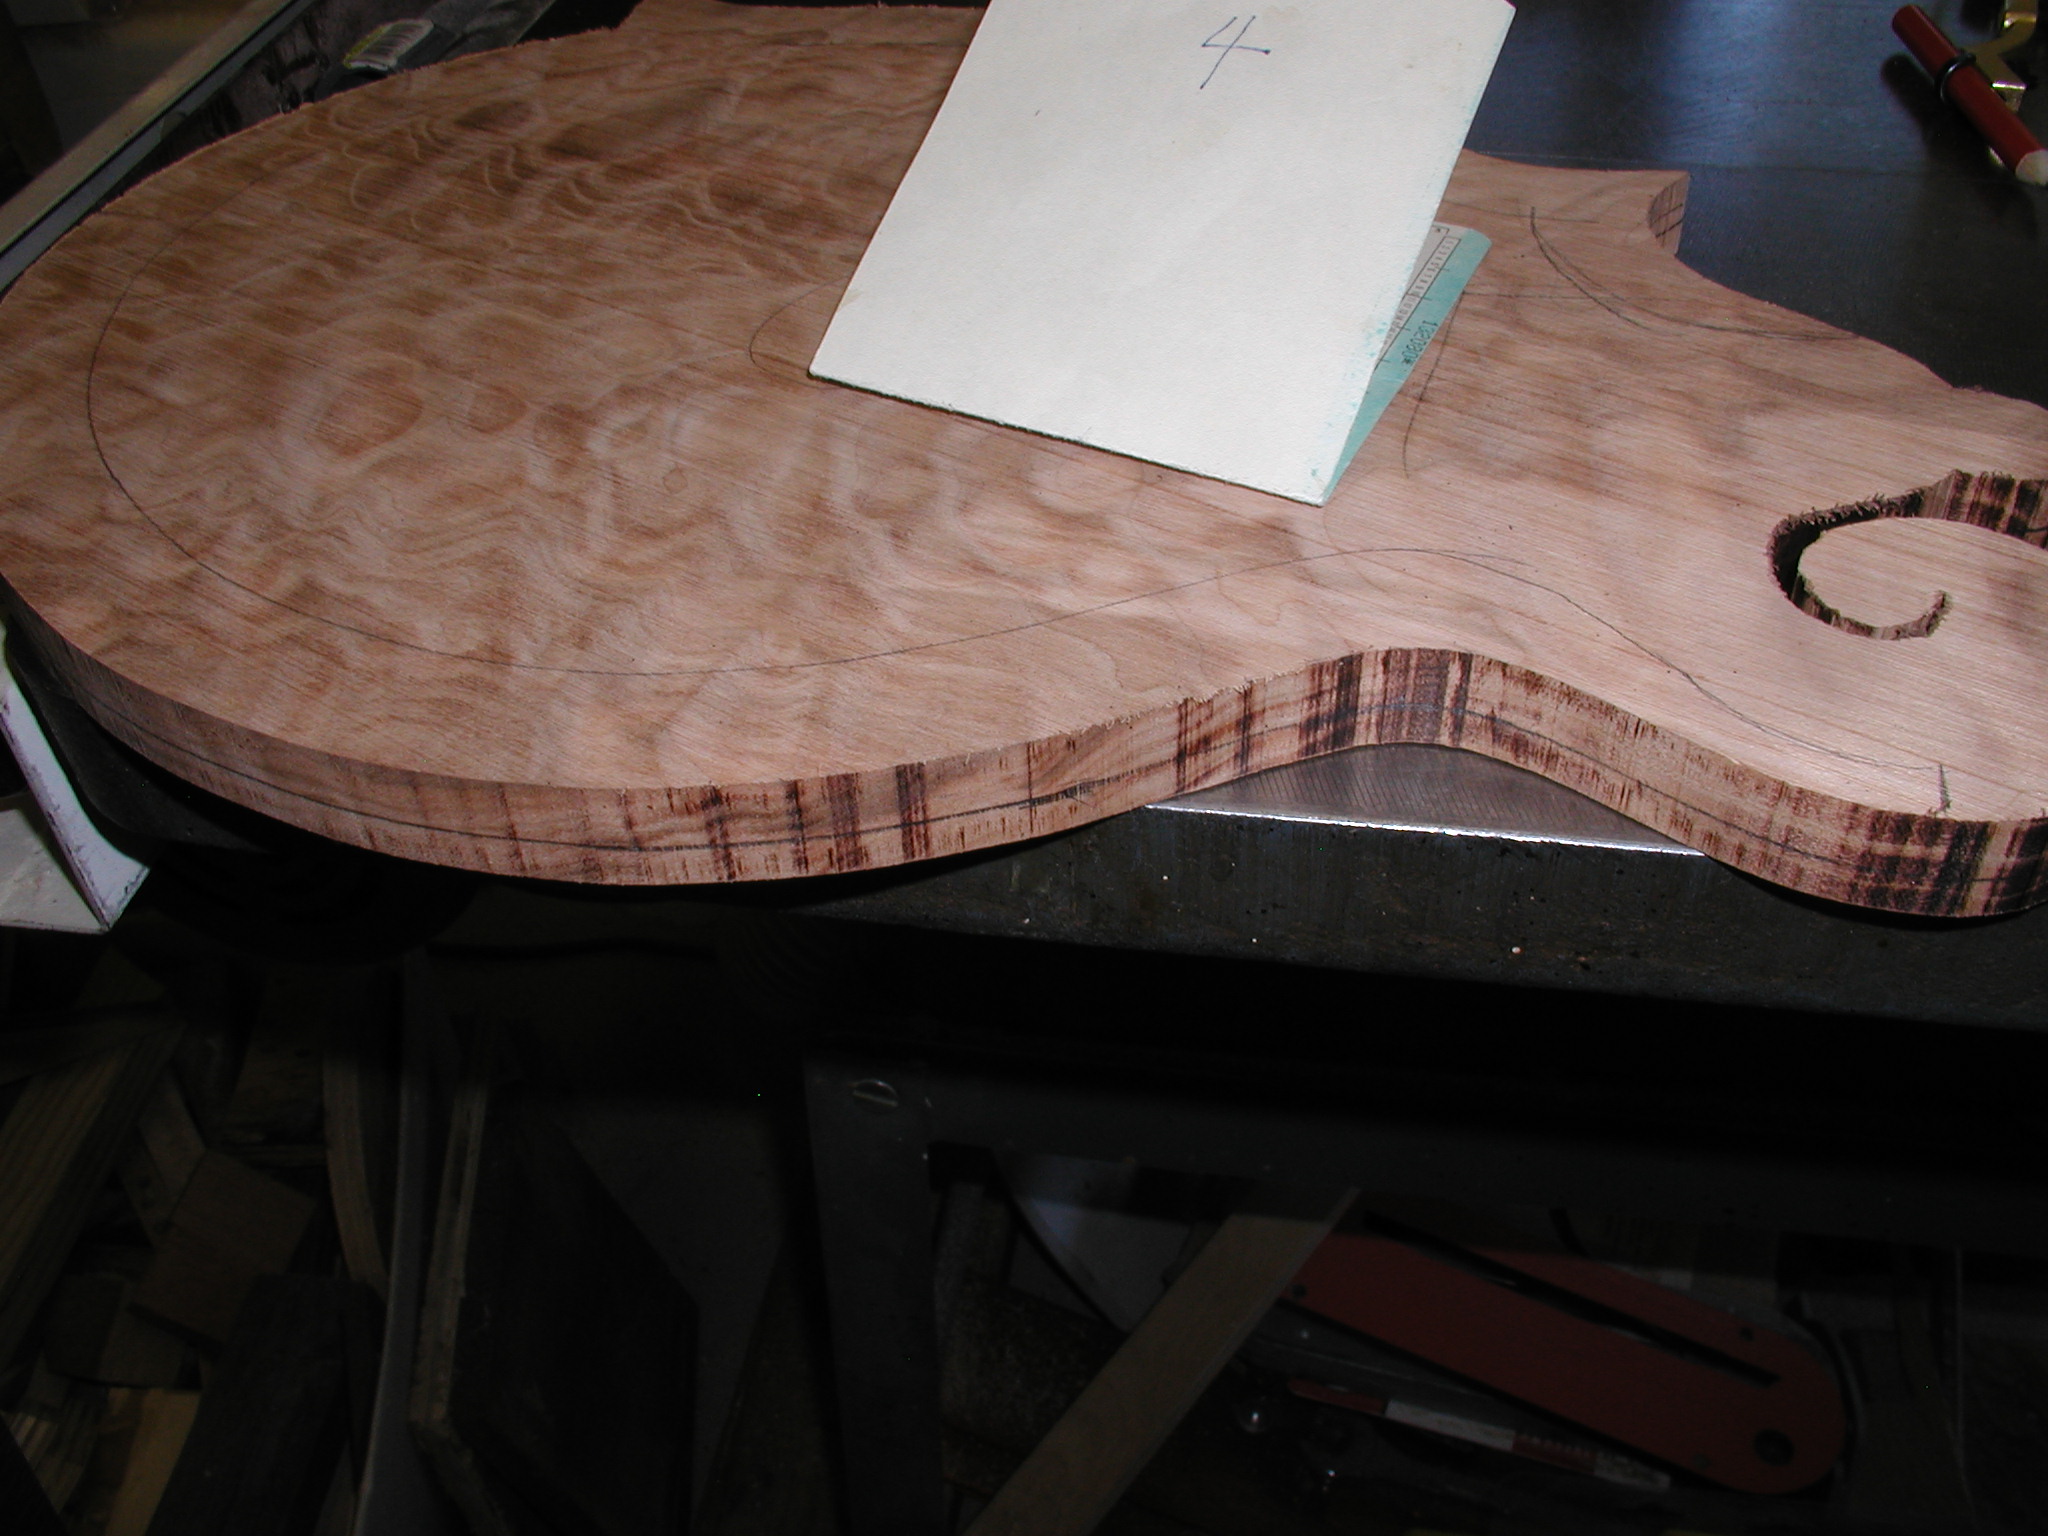
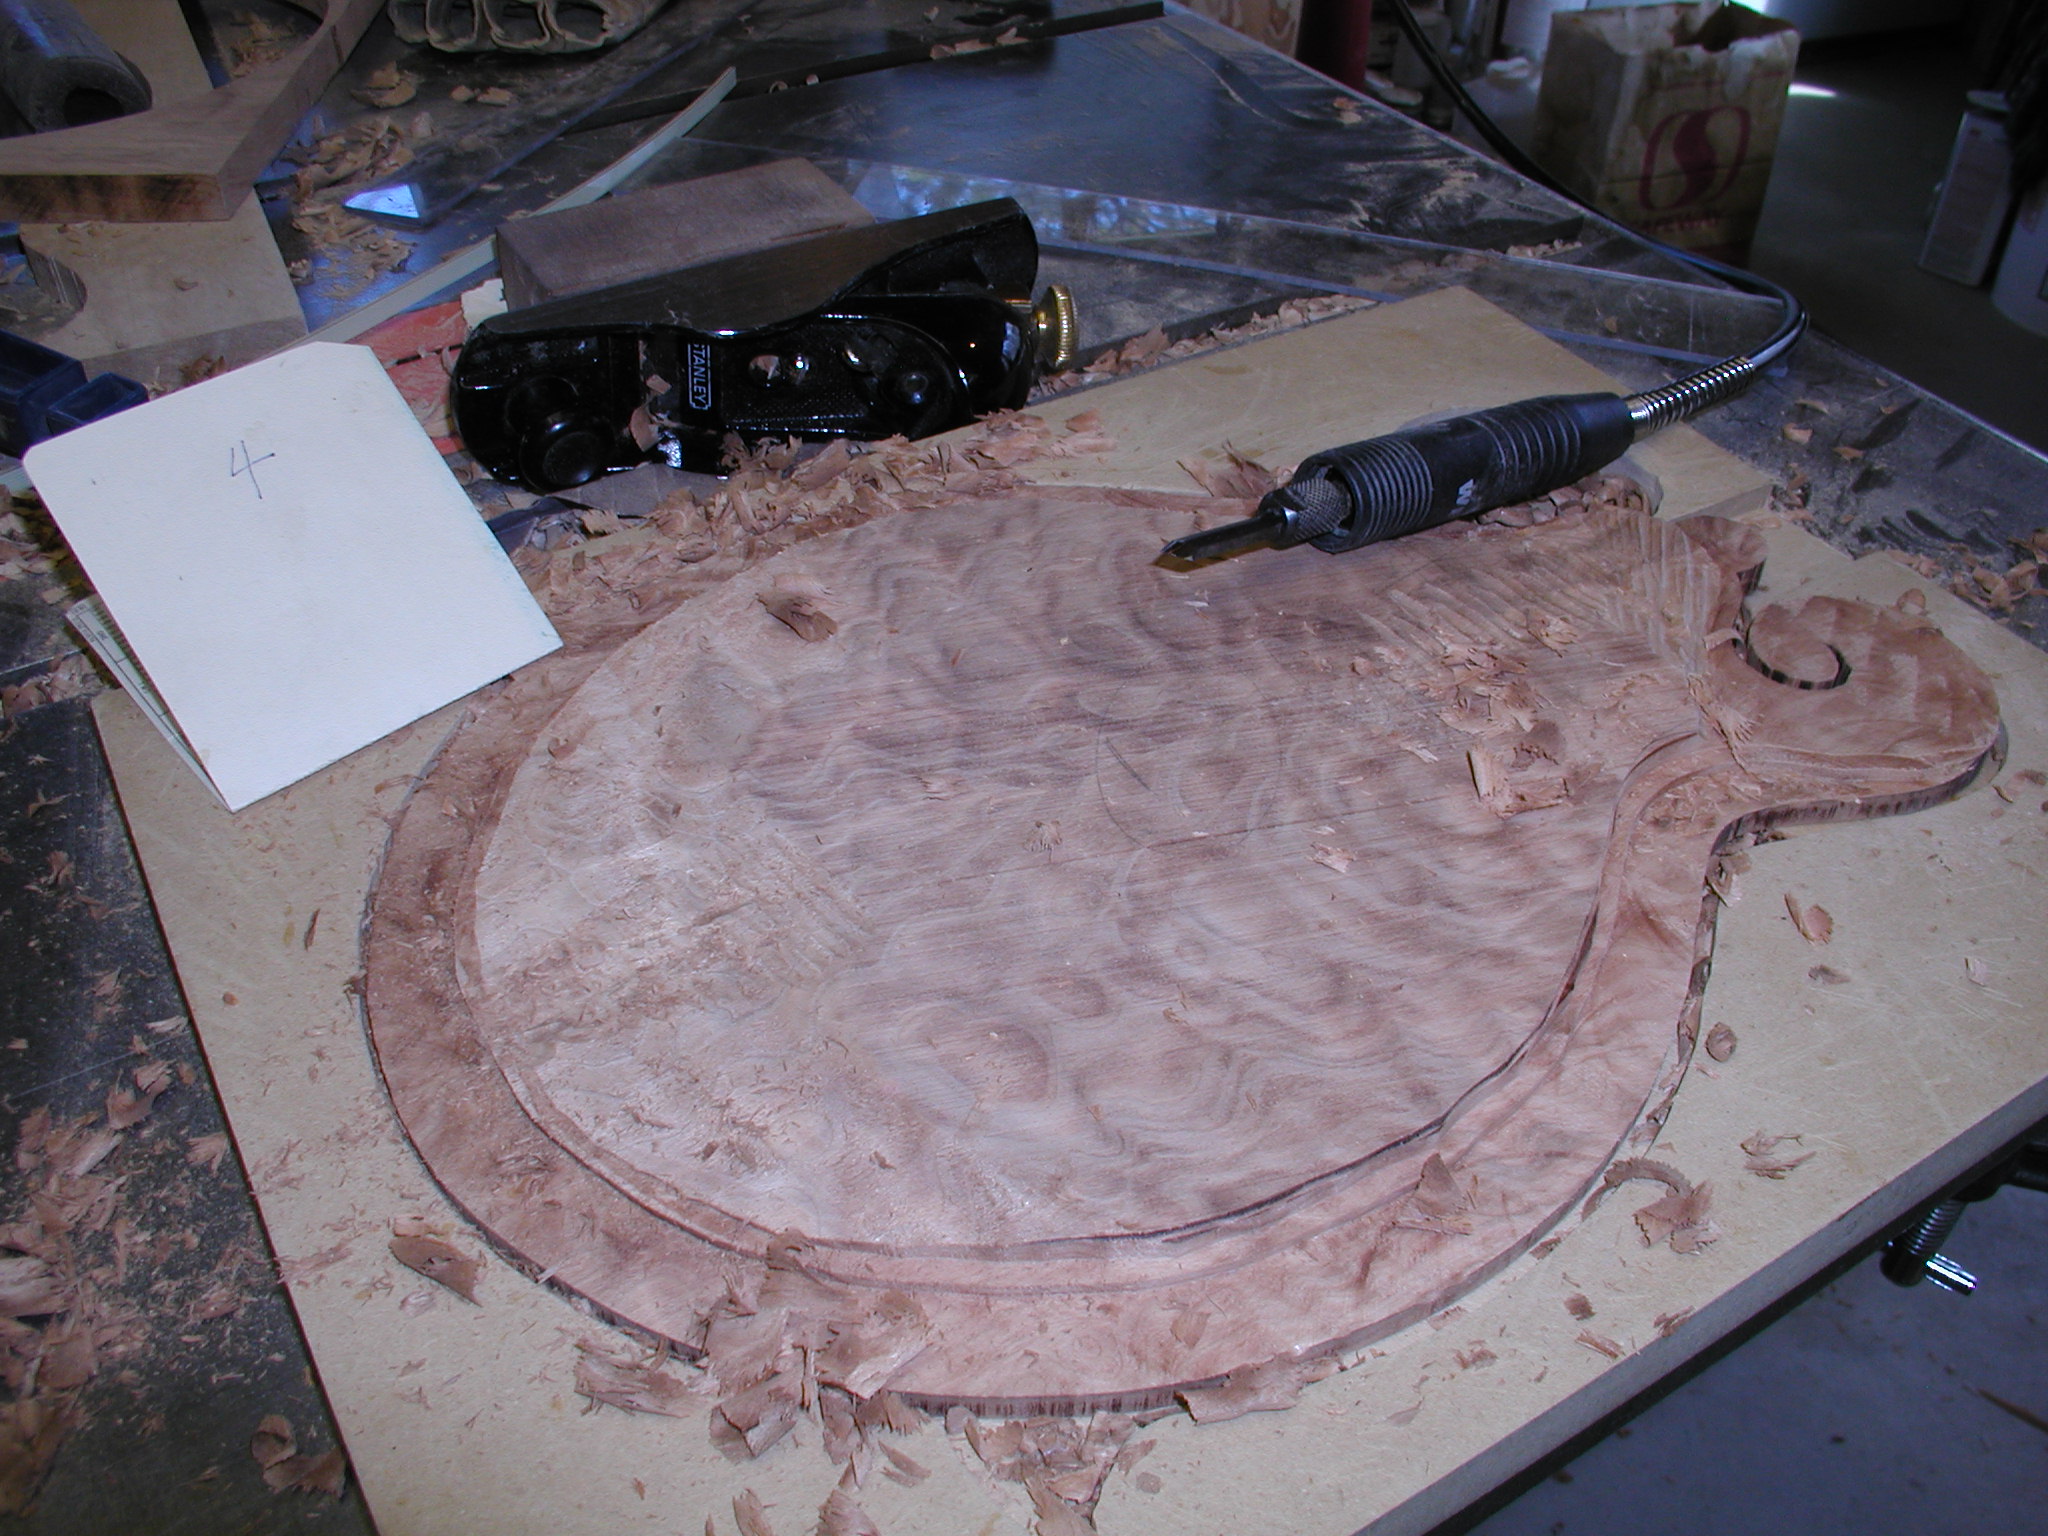
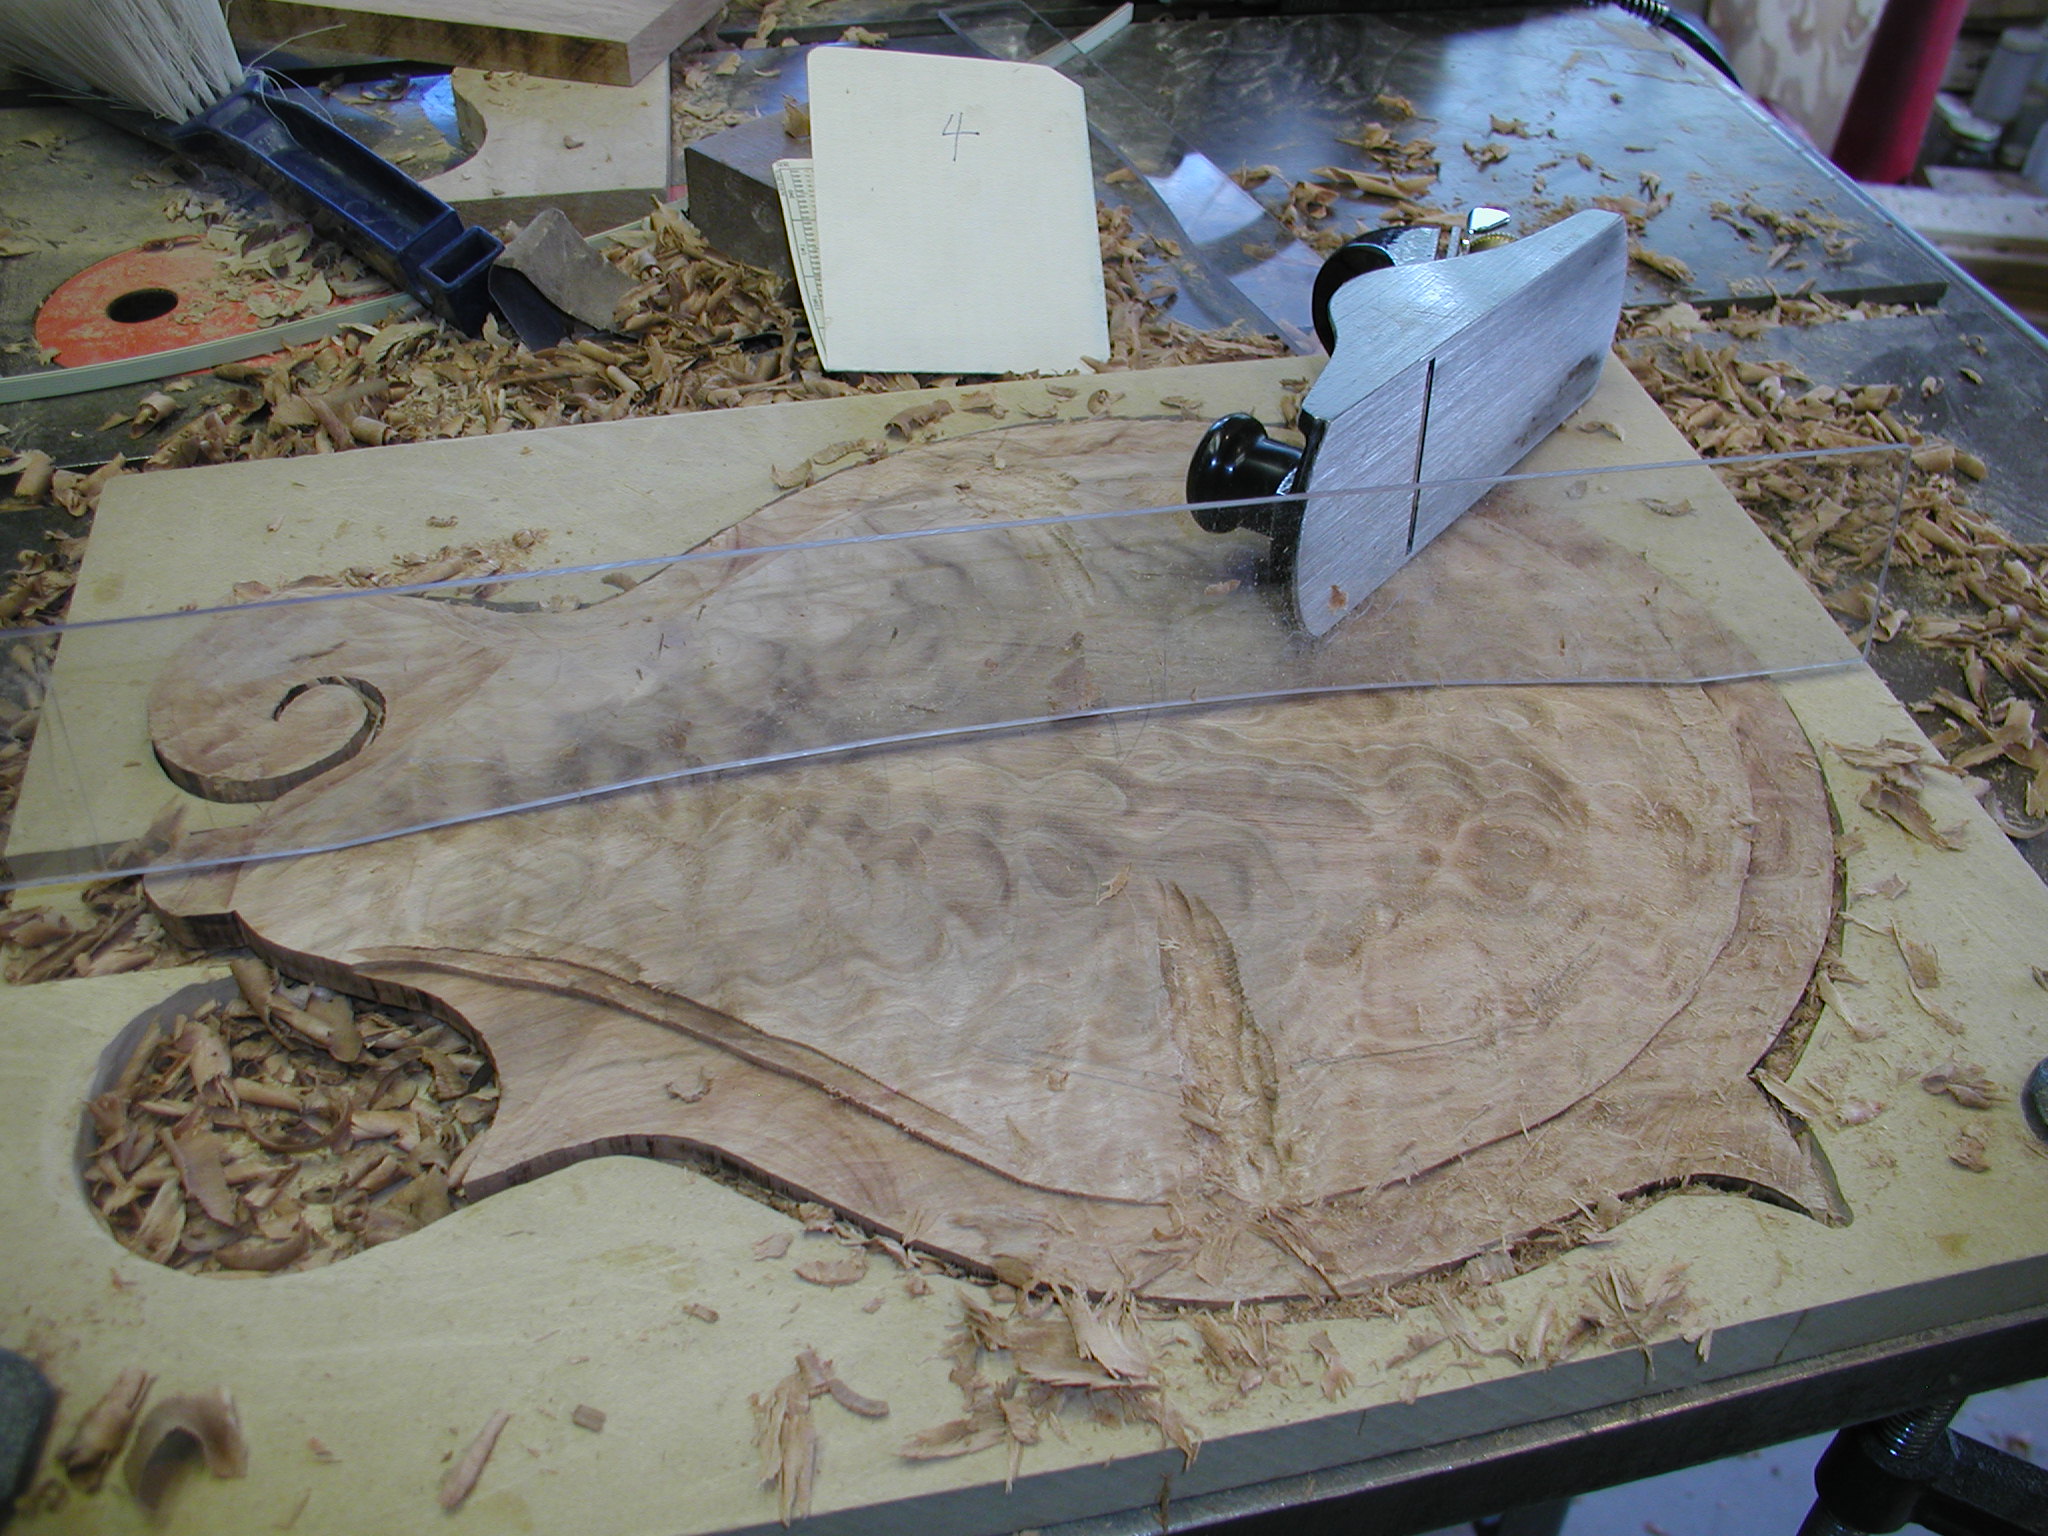
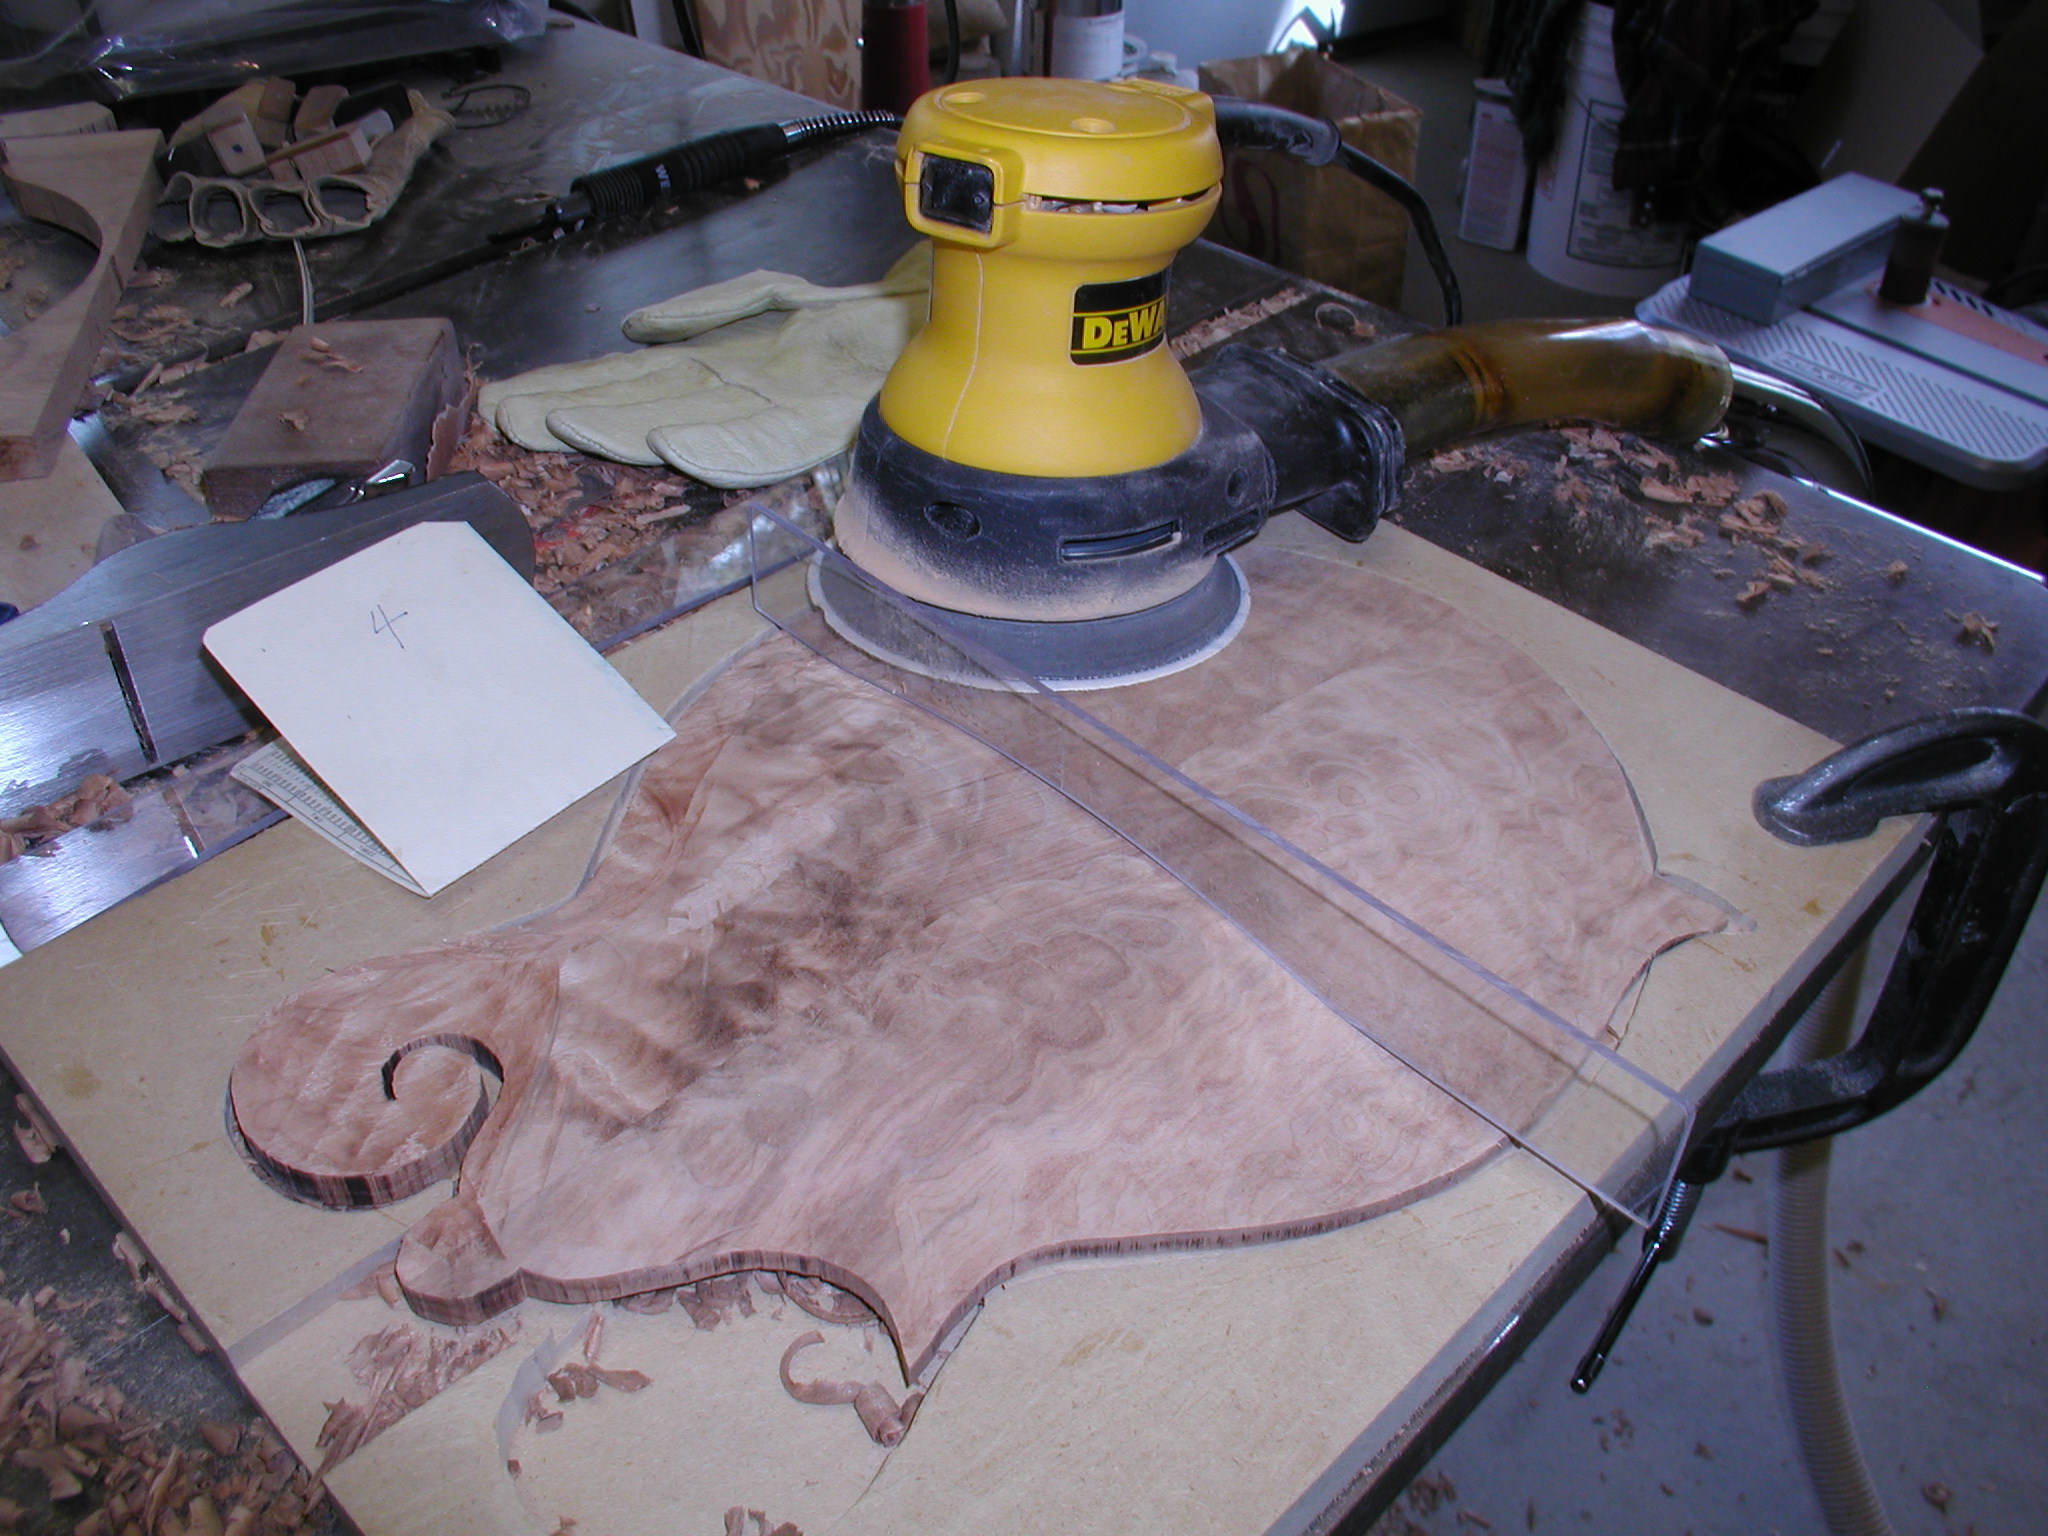
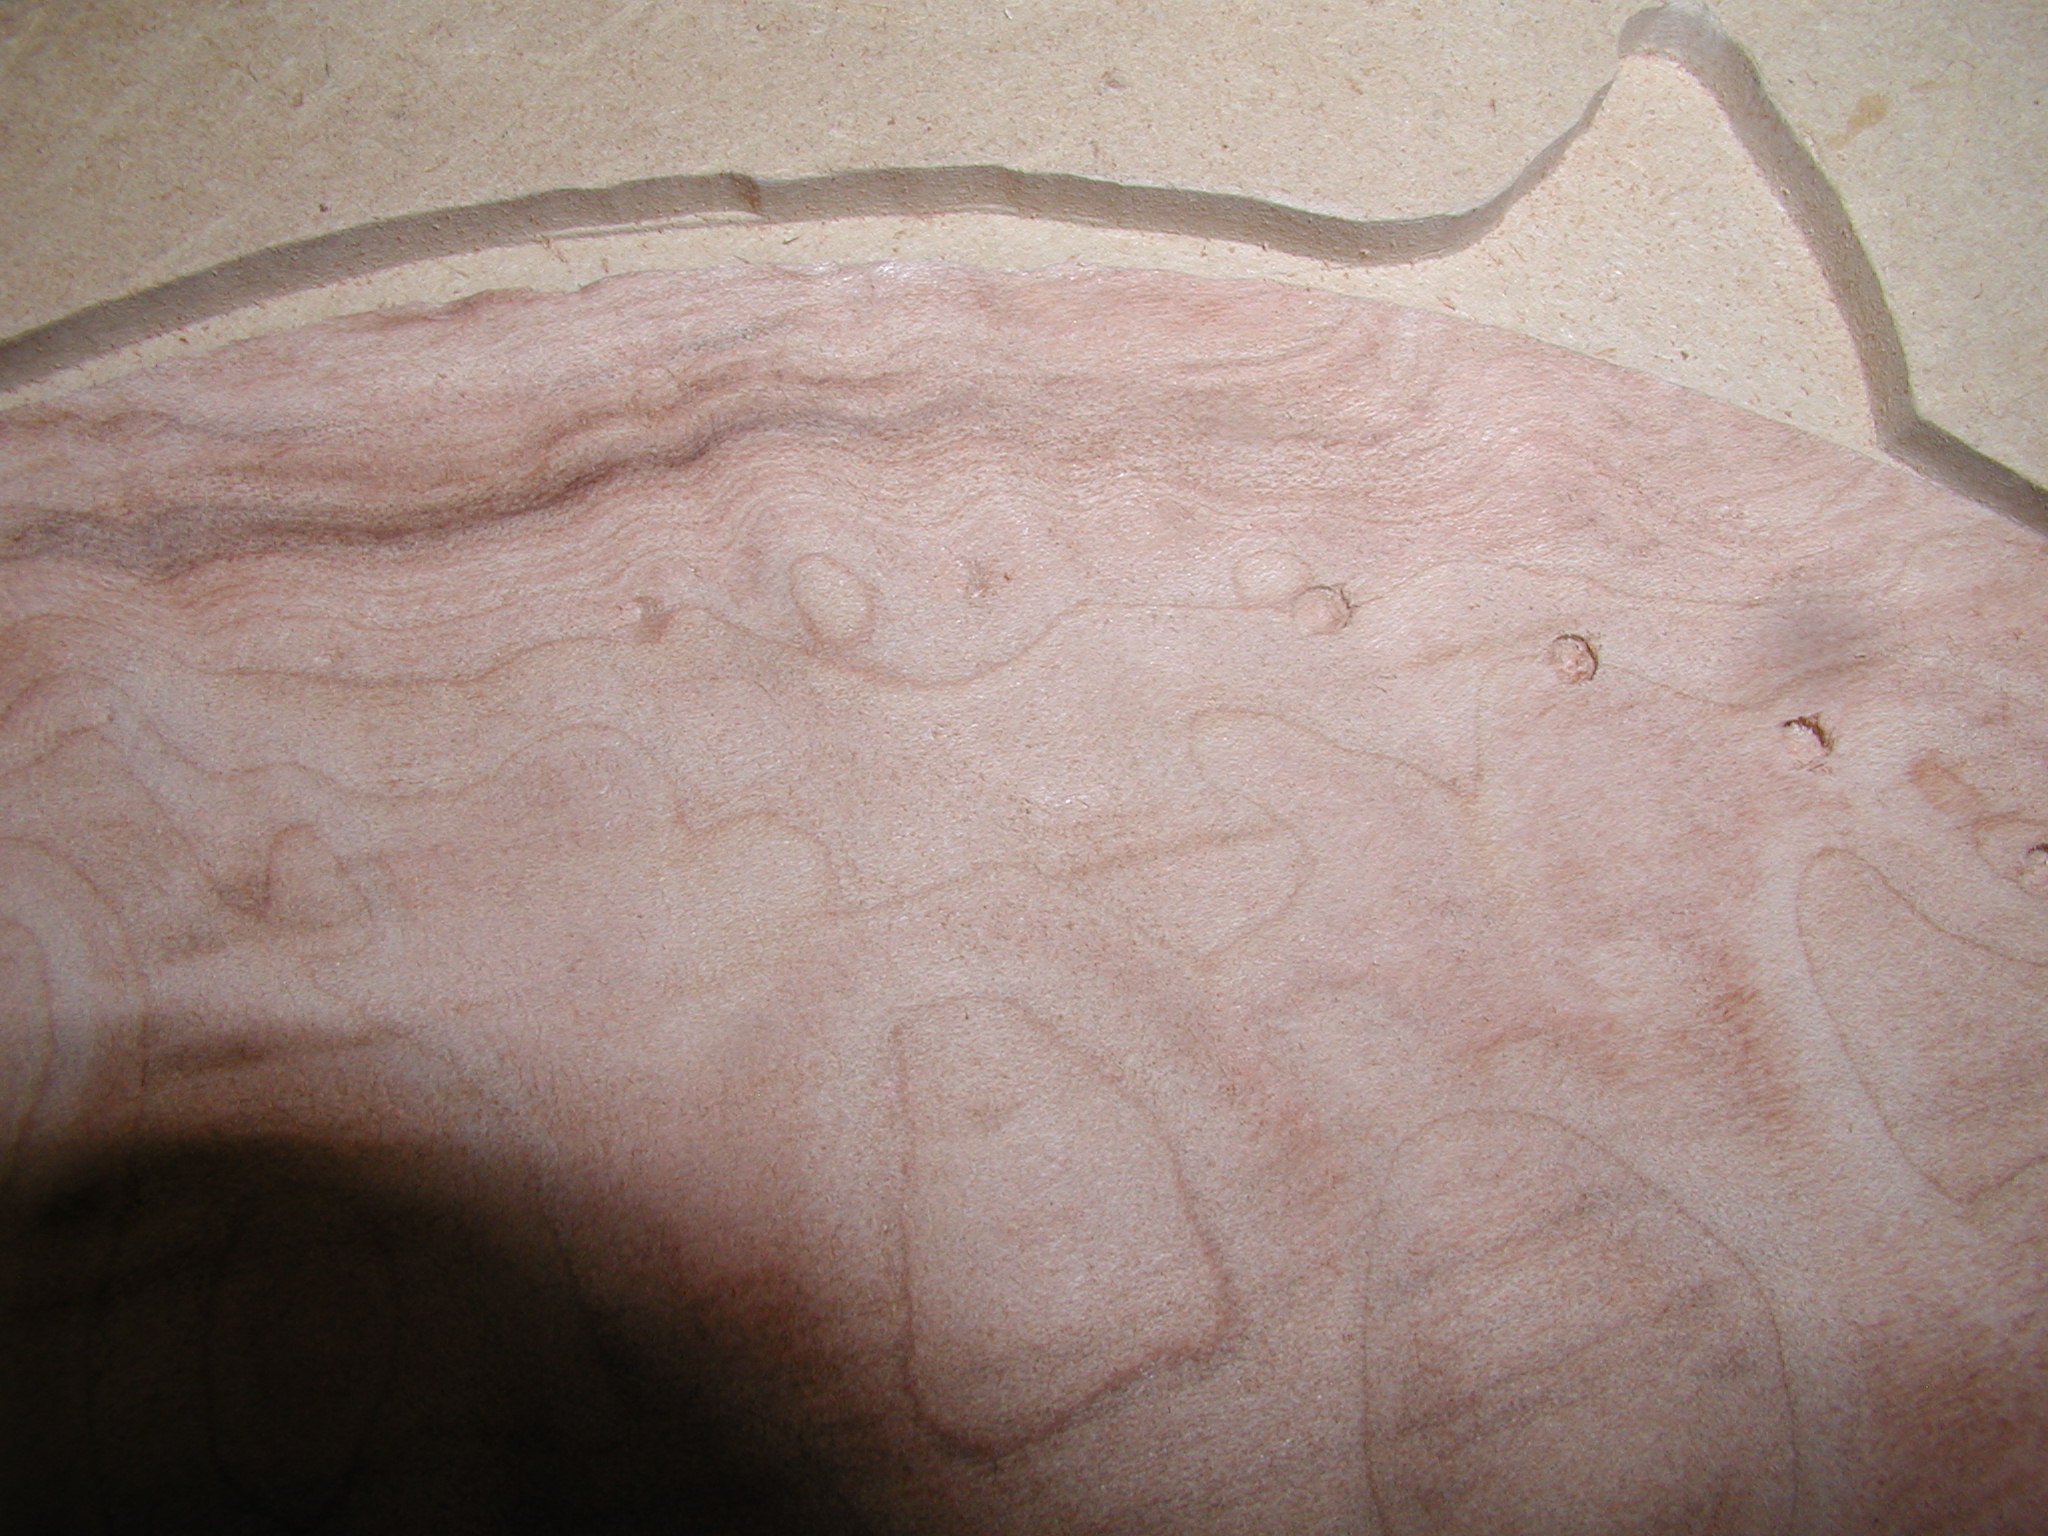
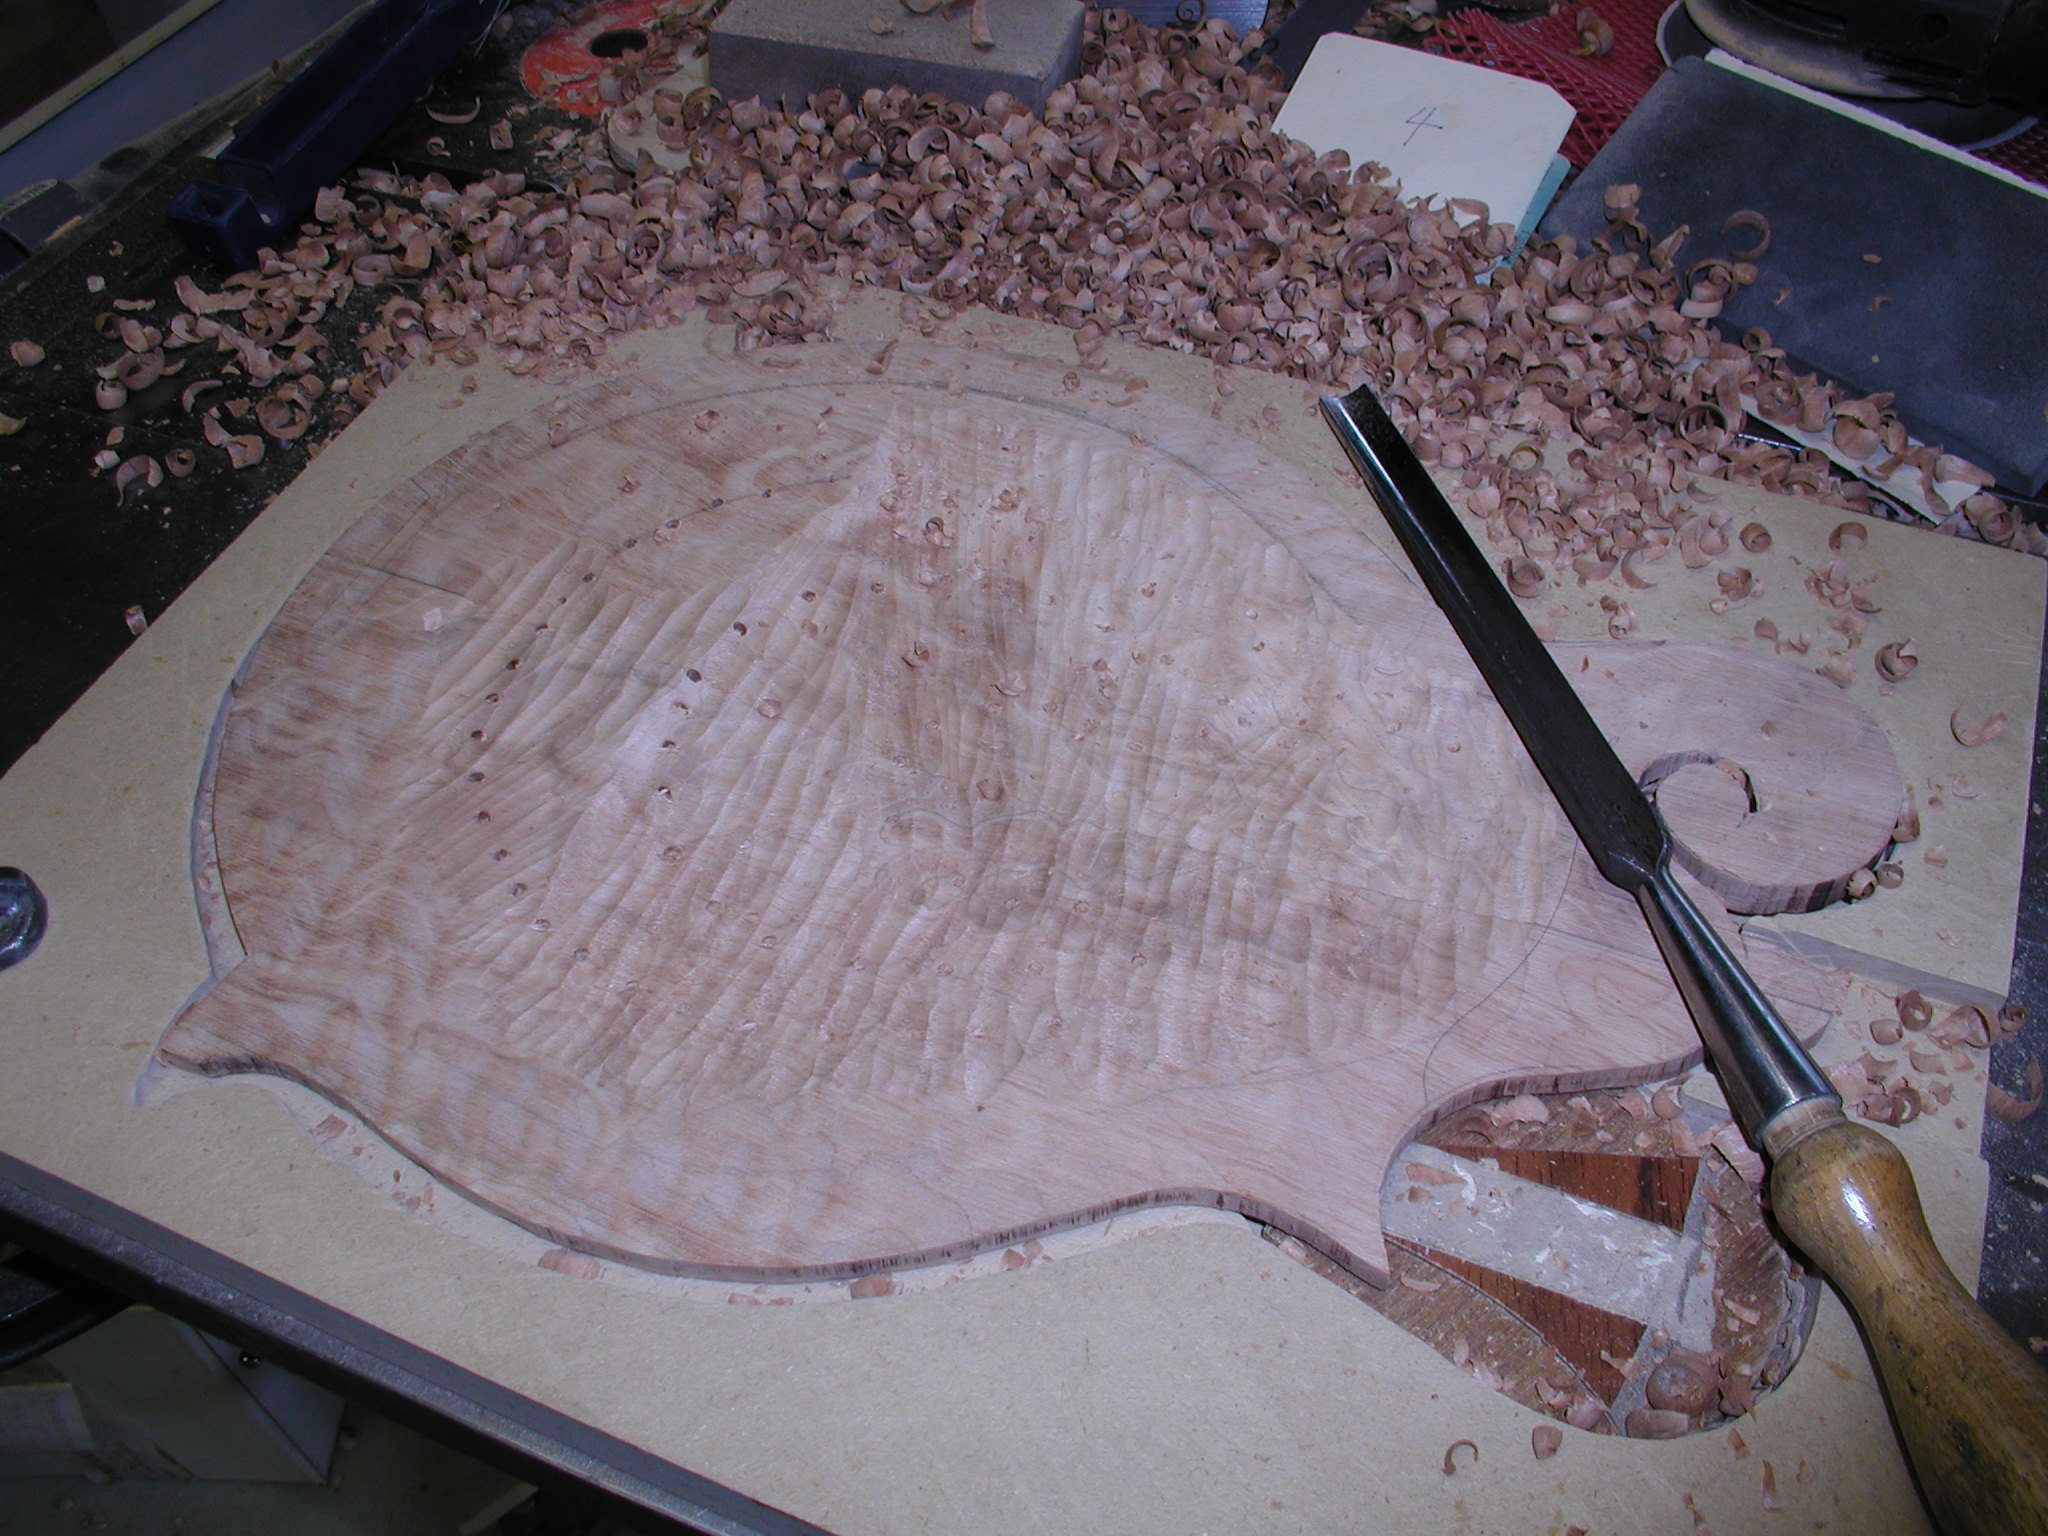
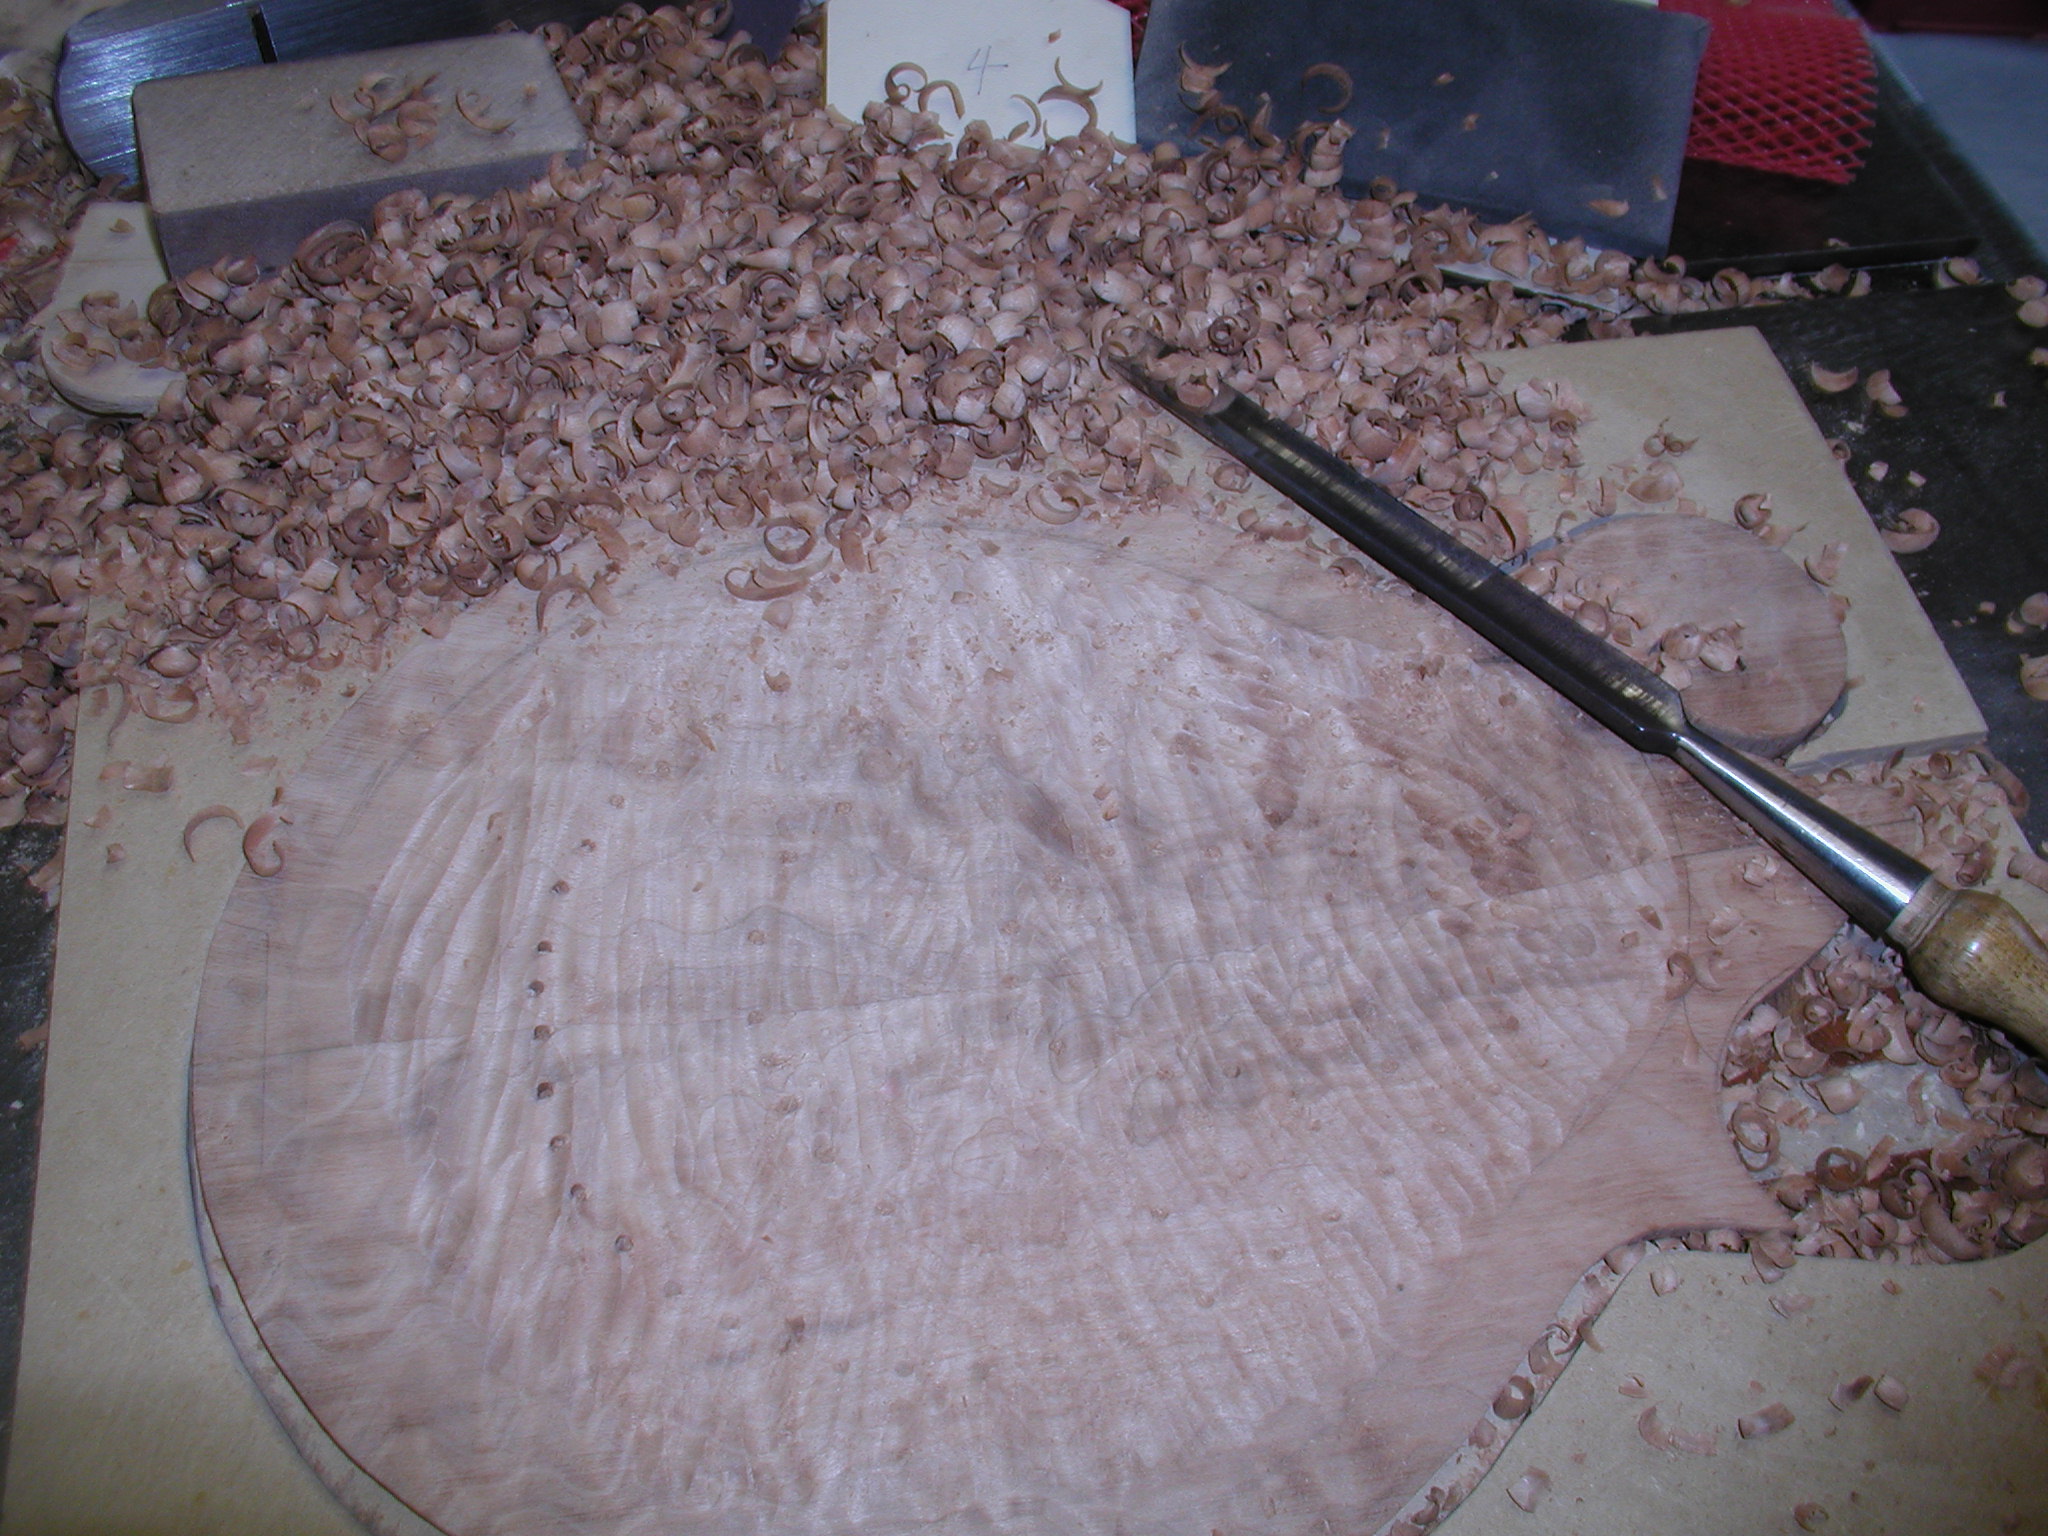
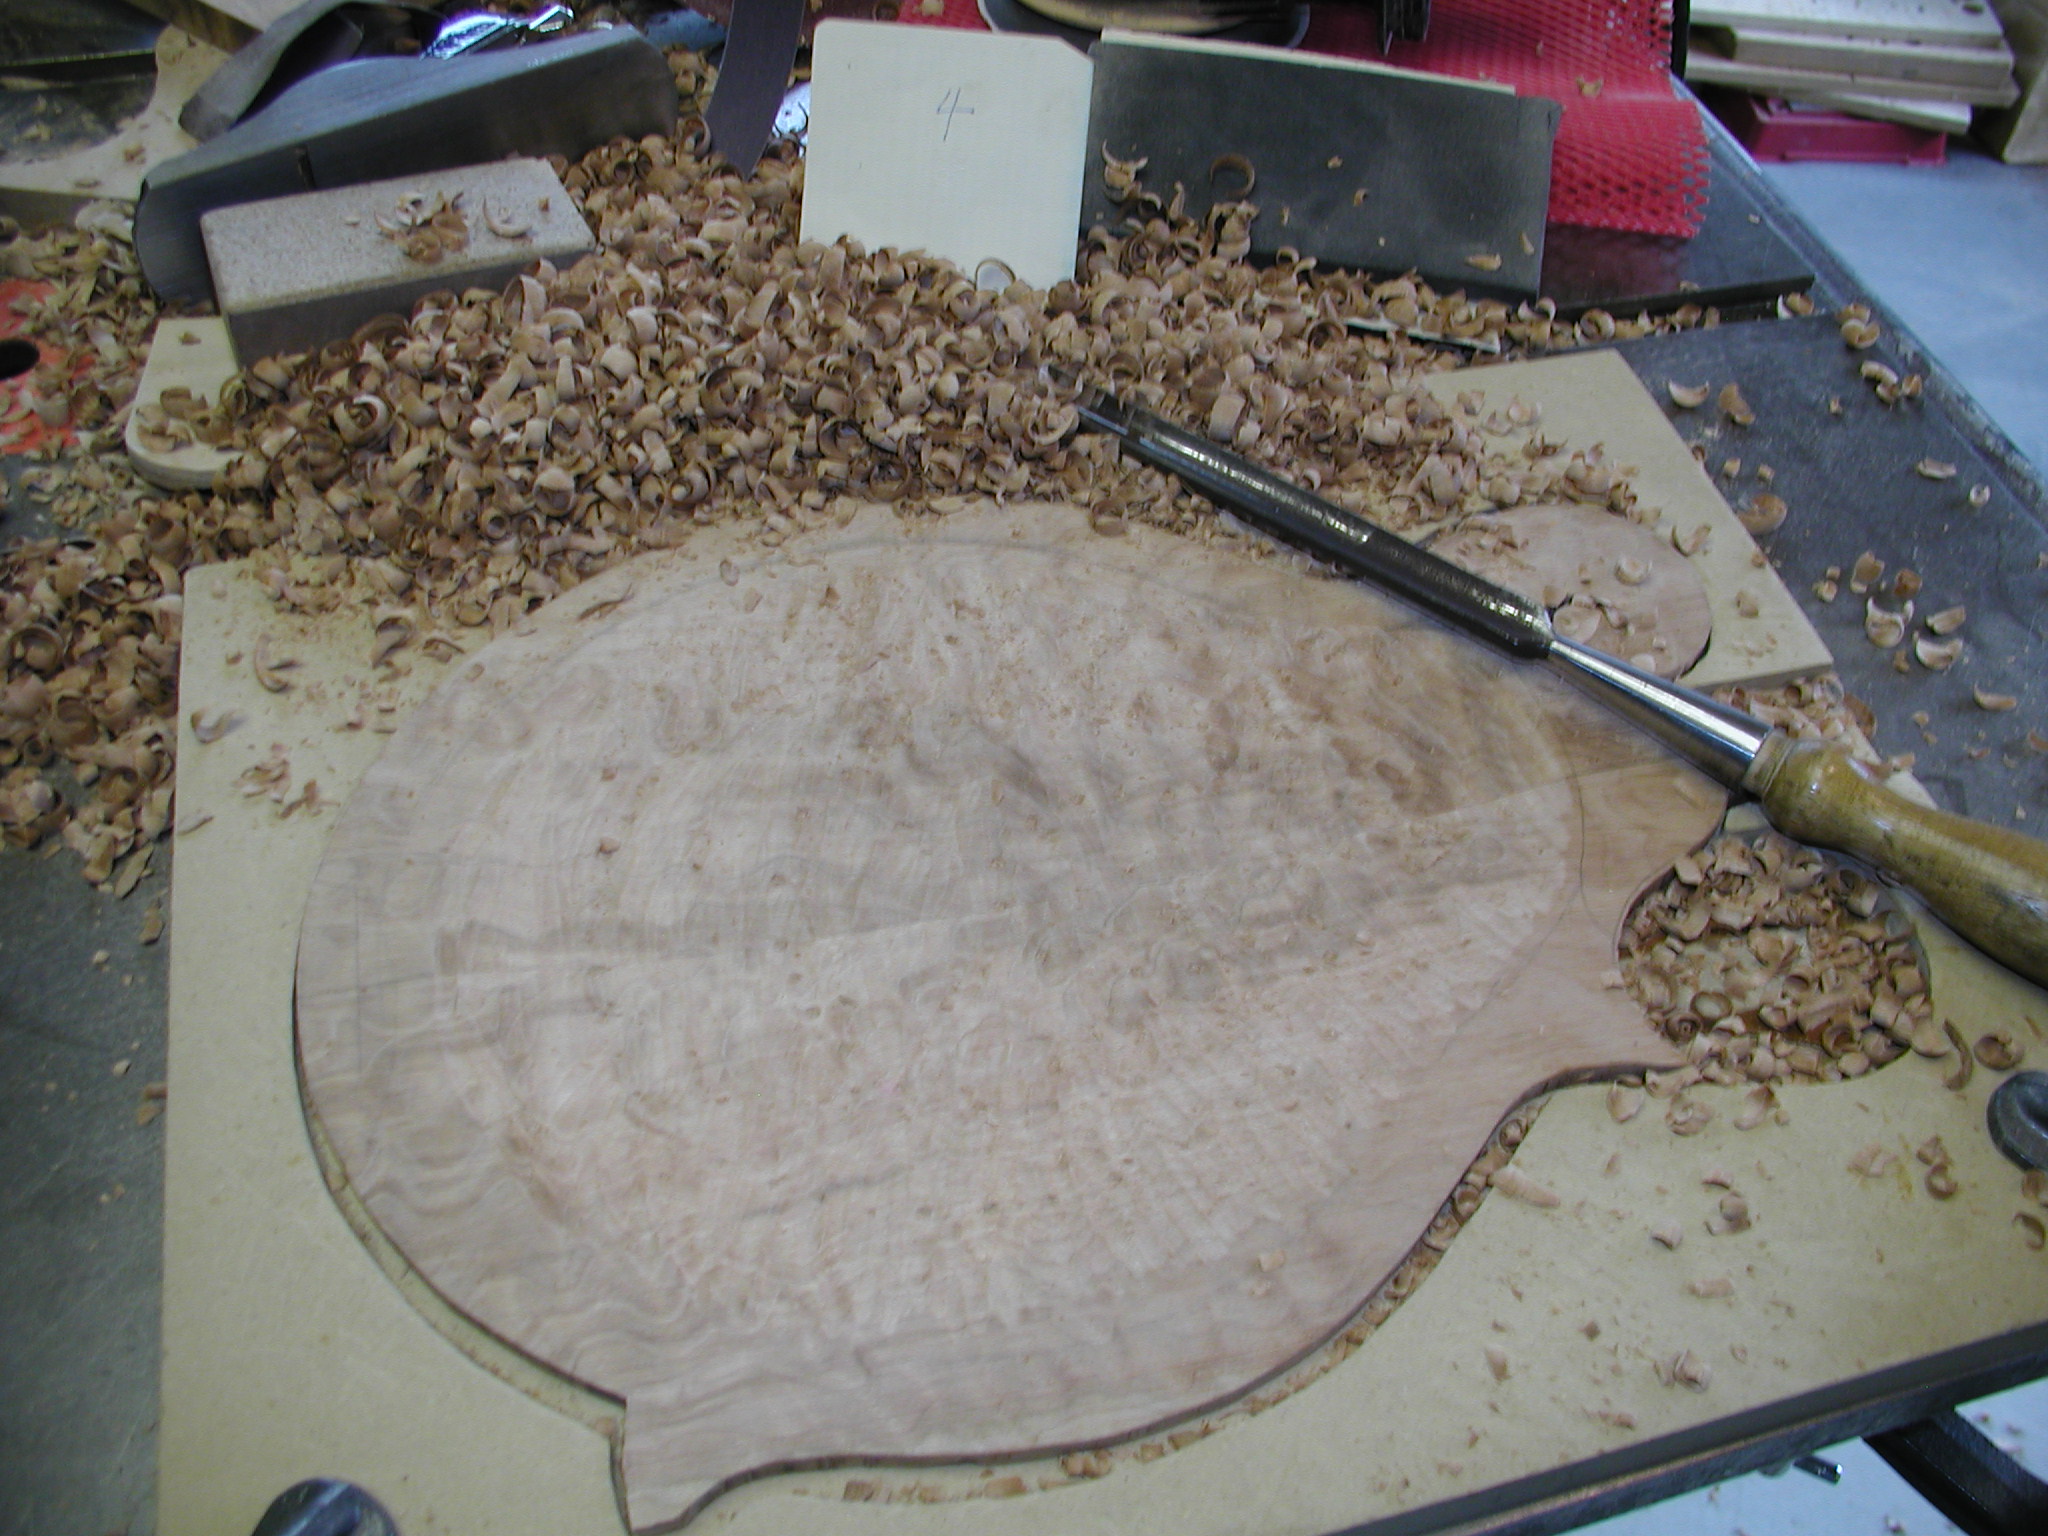
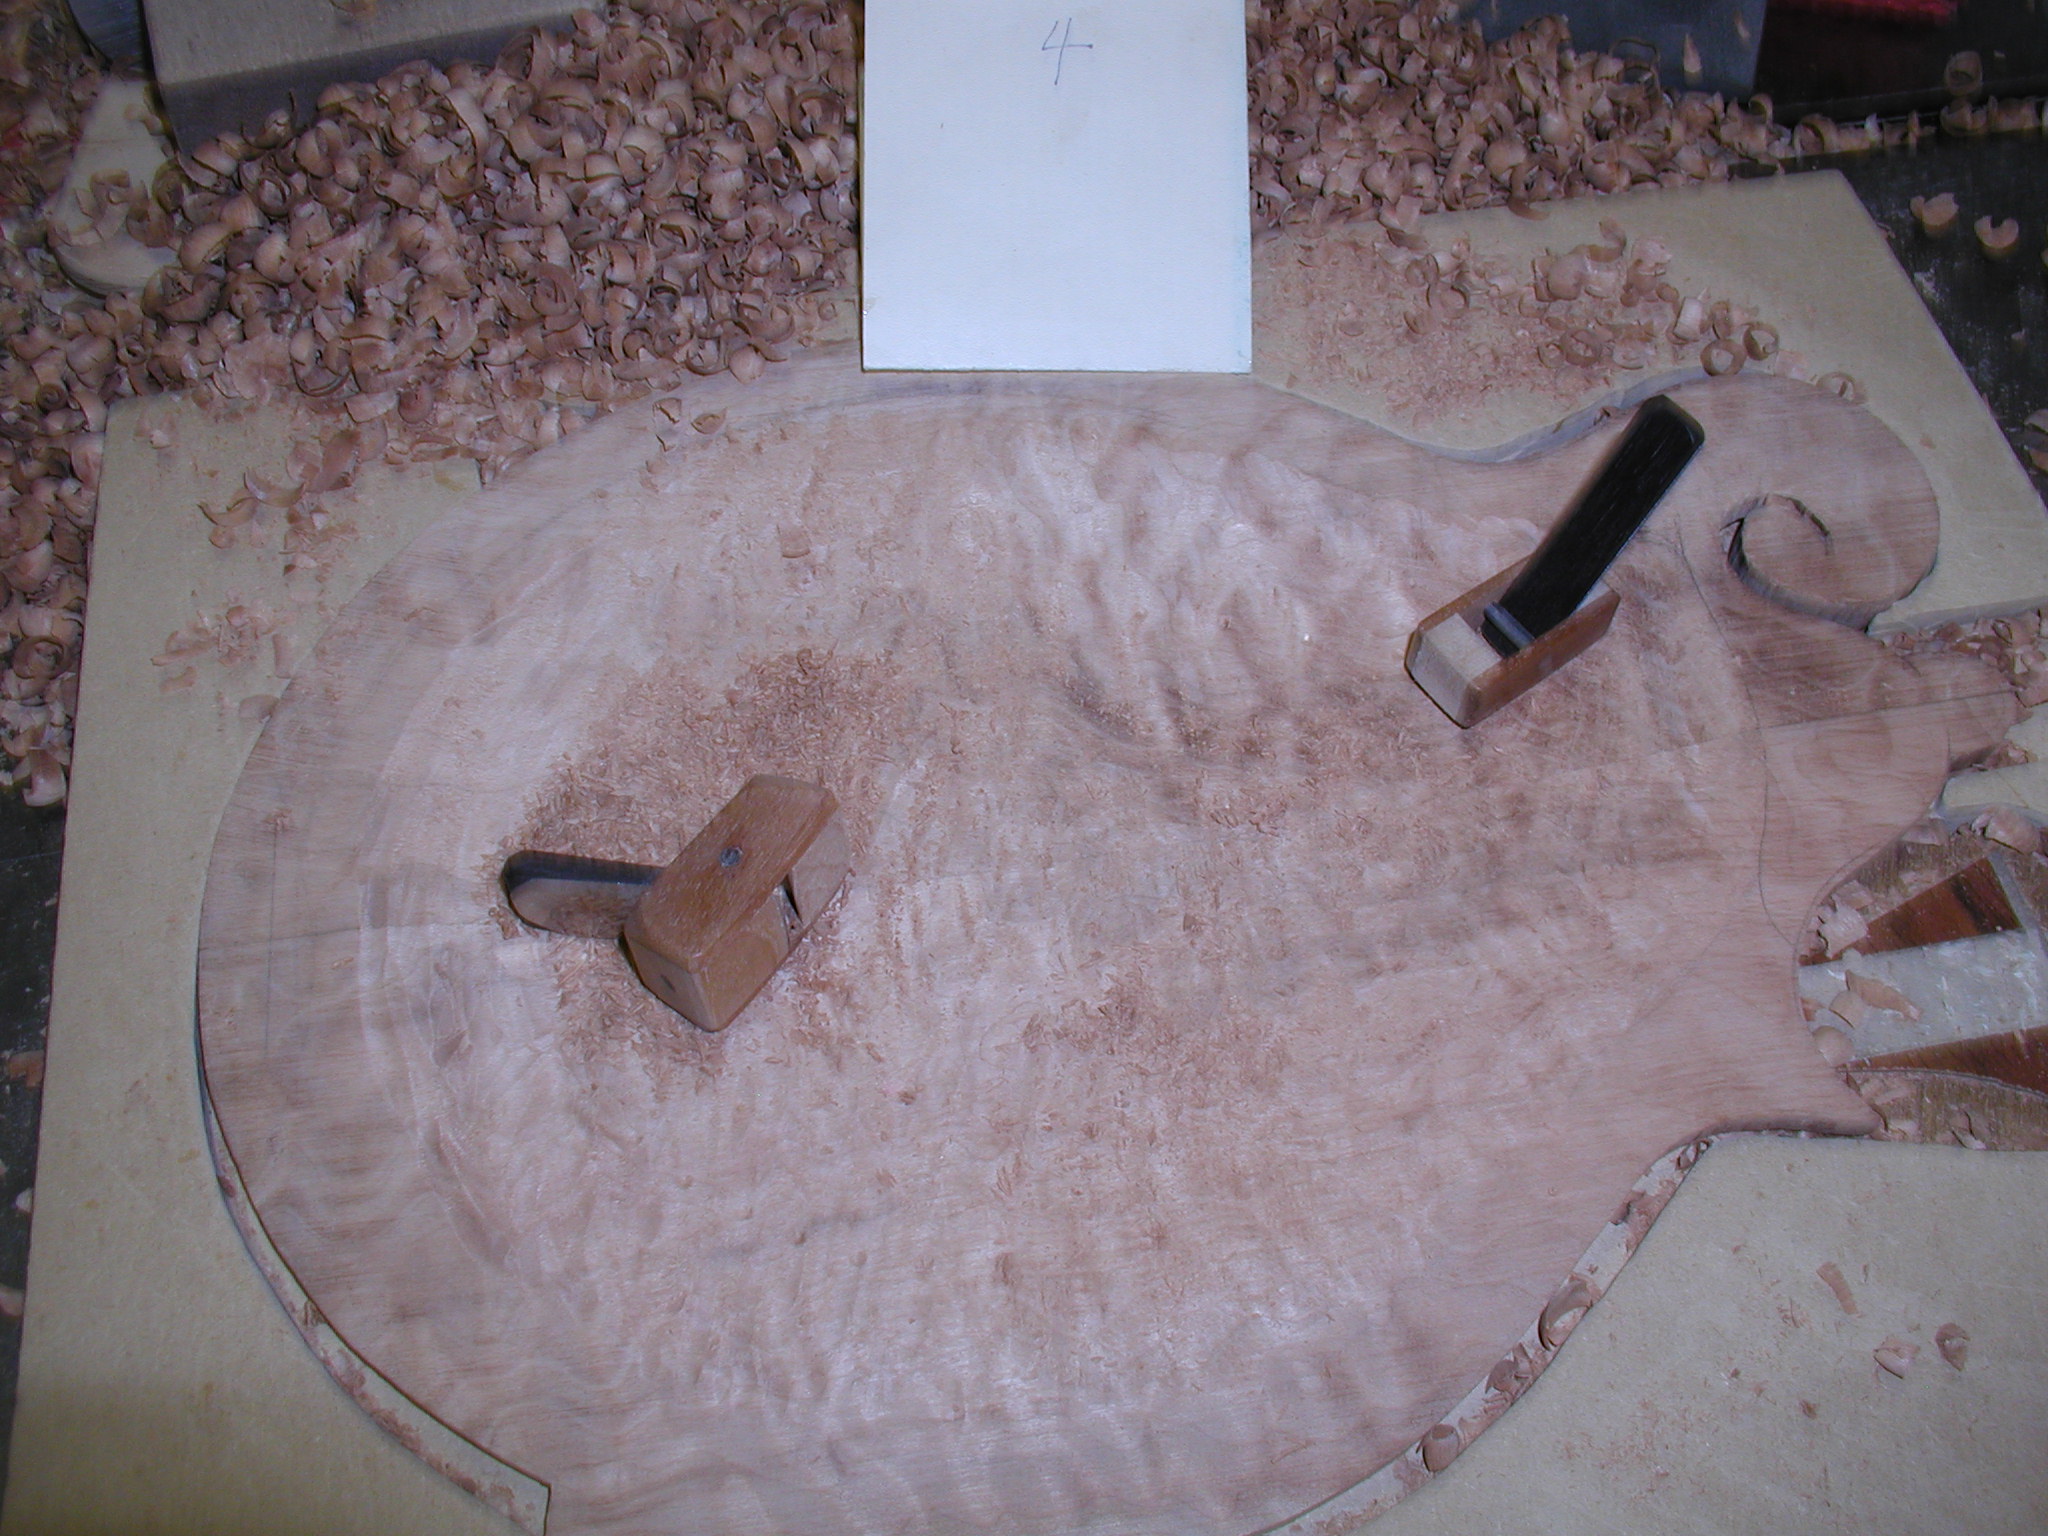
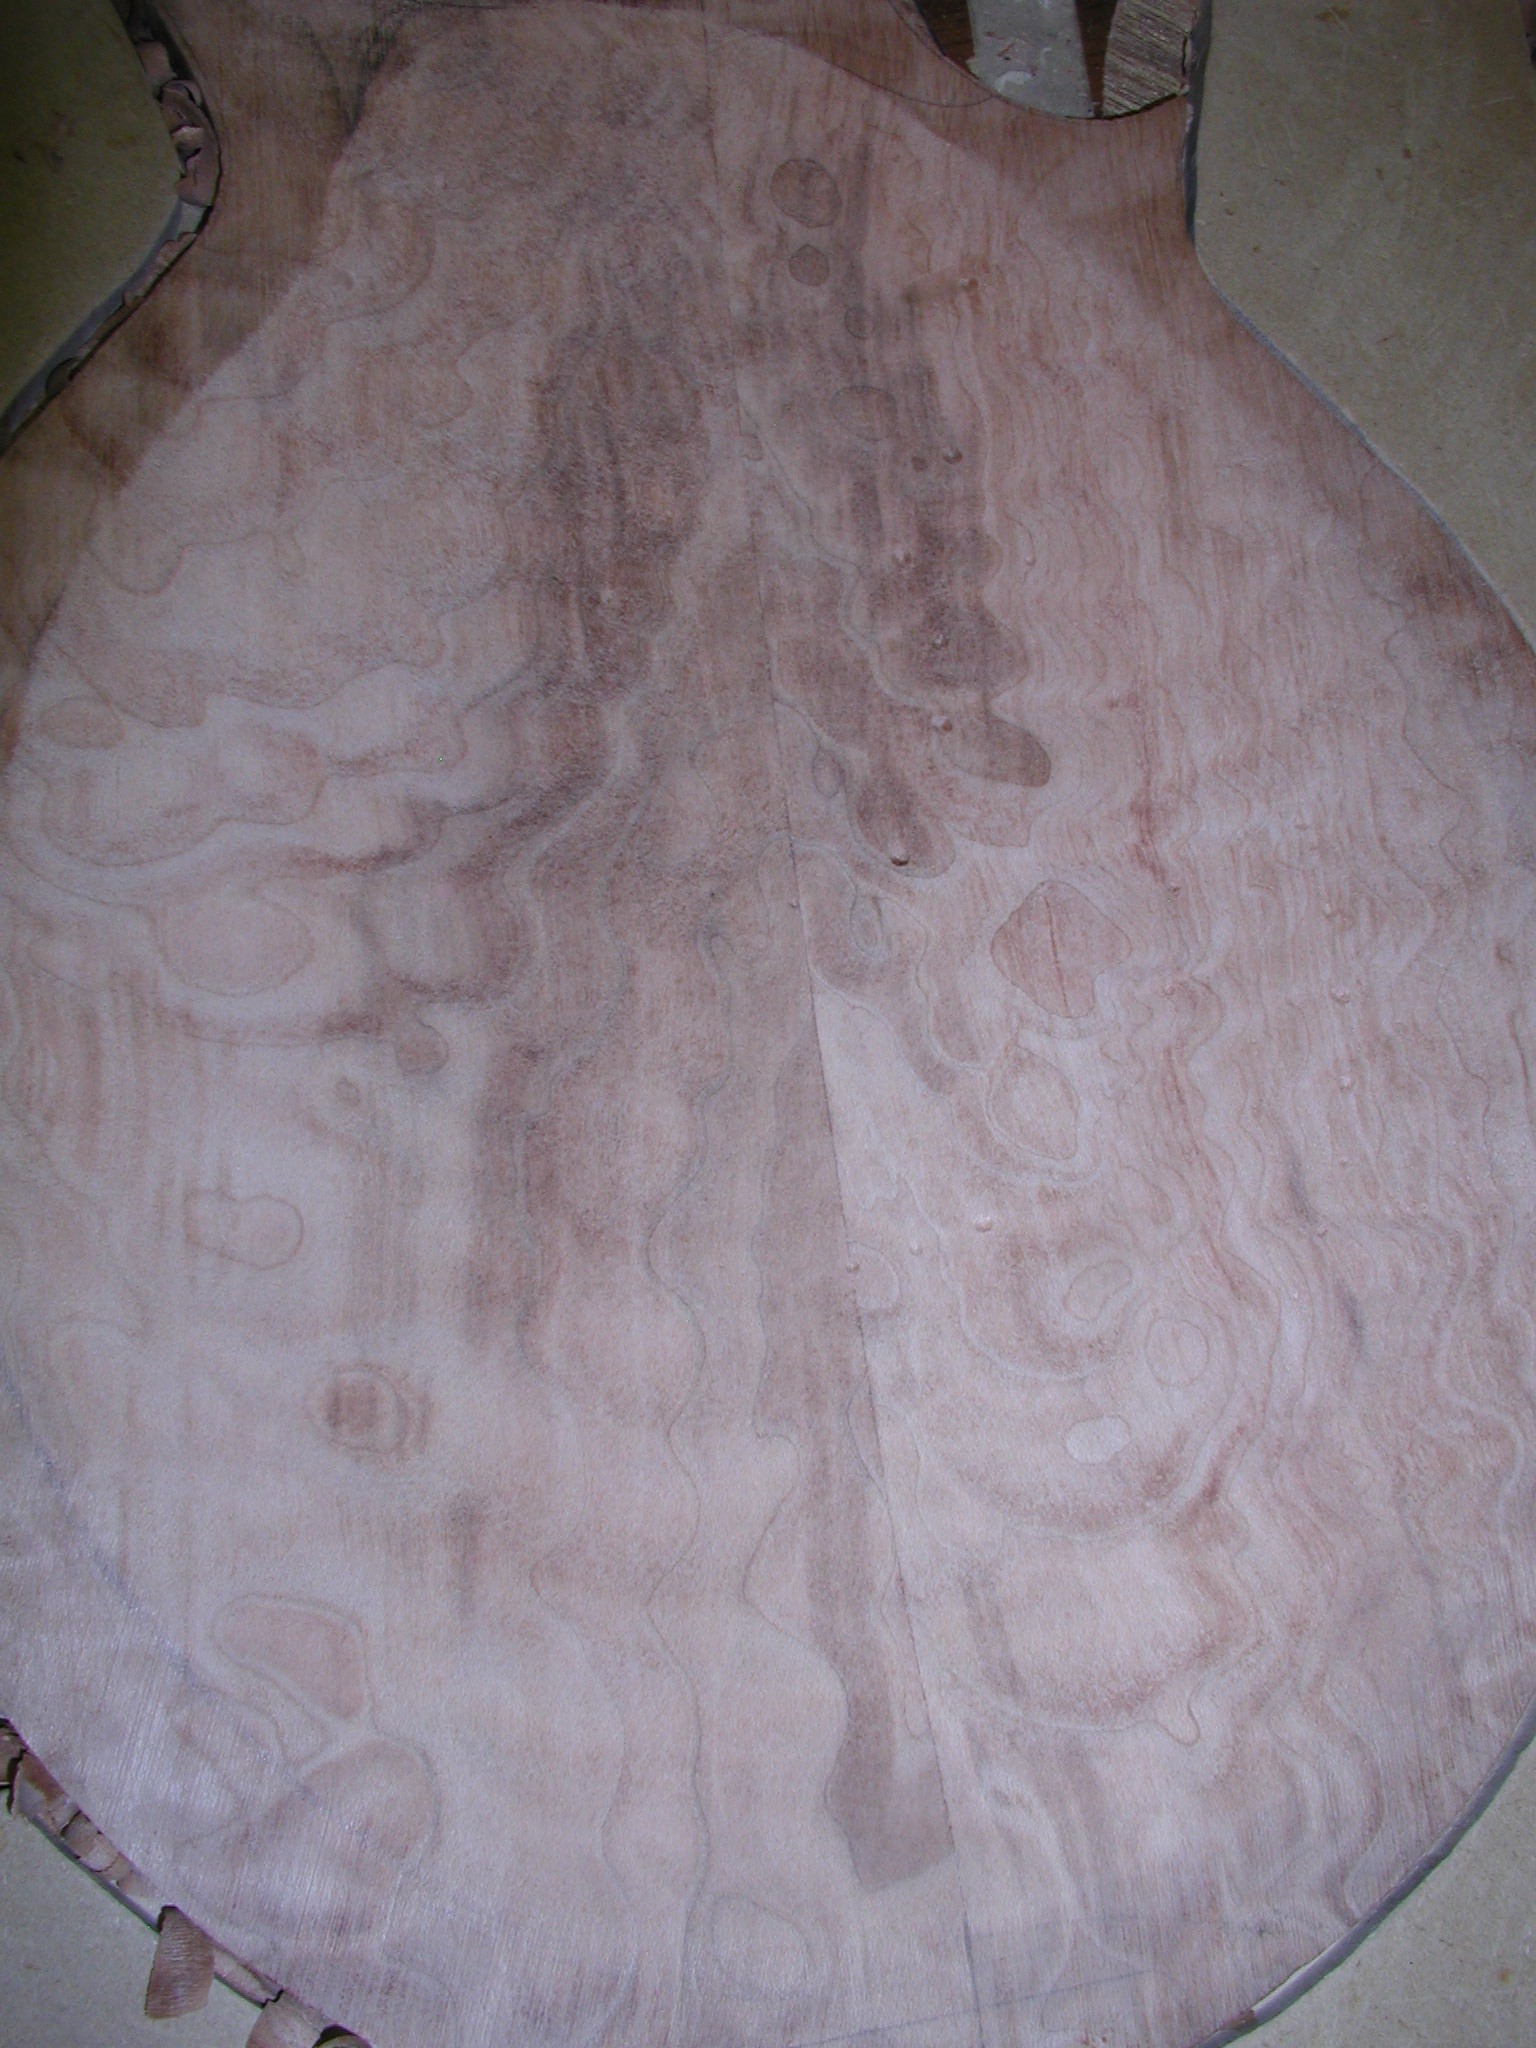
This is quilted maple so extra care has to be taken with edged instruments or it can pop out the quilt or make other ugly dents or uneven places between where the wood is hard and soft. I use my reciprocating carver to get the initial profile with the templates and follow with a low angle block plane to get it roughed down. These have to be SHARP or there will be trouble with the quilt grain. Once I'm close is go to my sander starting with 40 grit and move down to 80 grit as I get close. Then hand sanding and scrapers to get it dead on true.
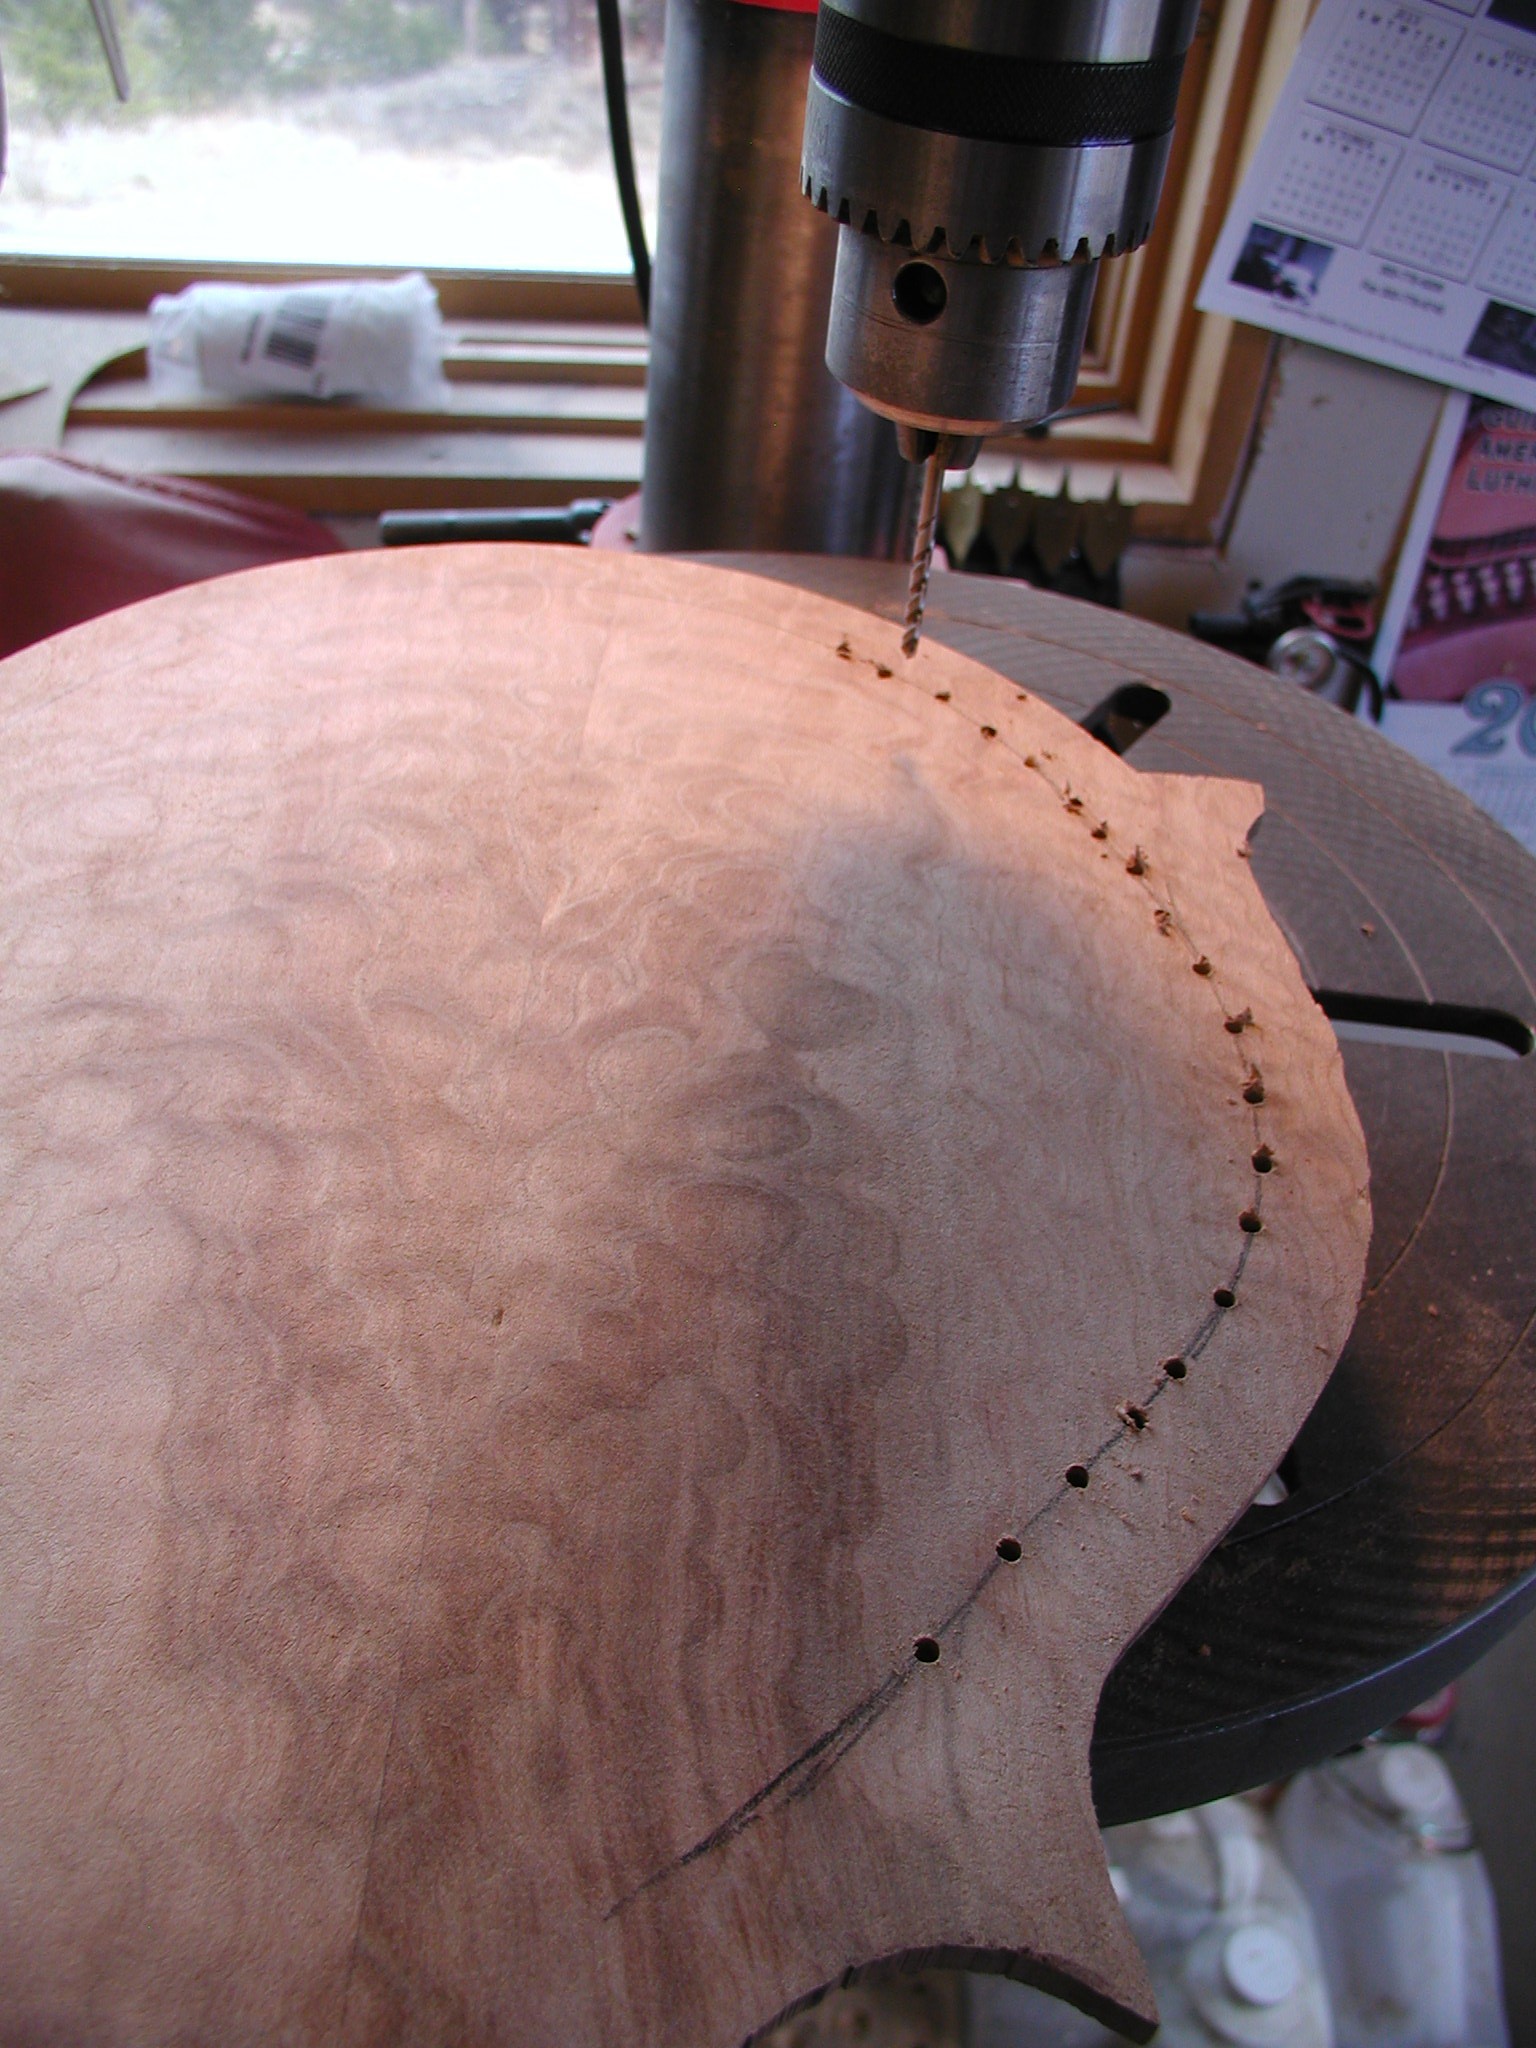
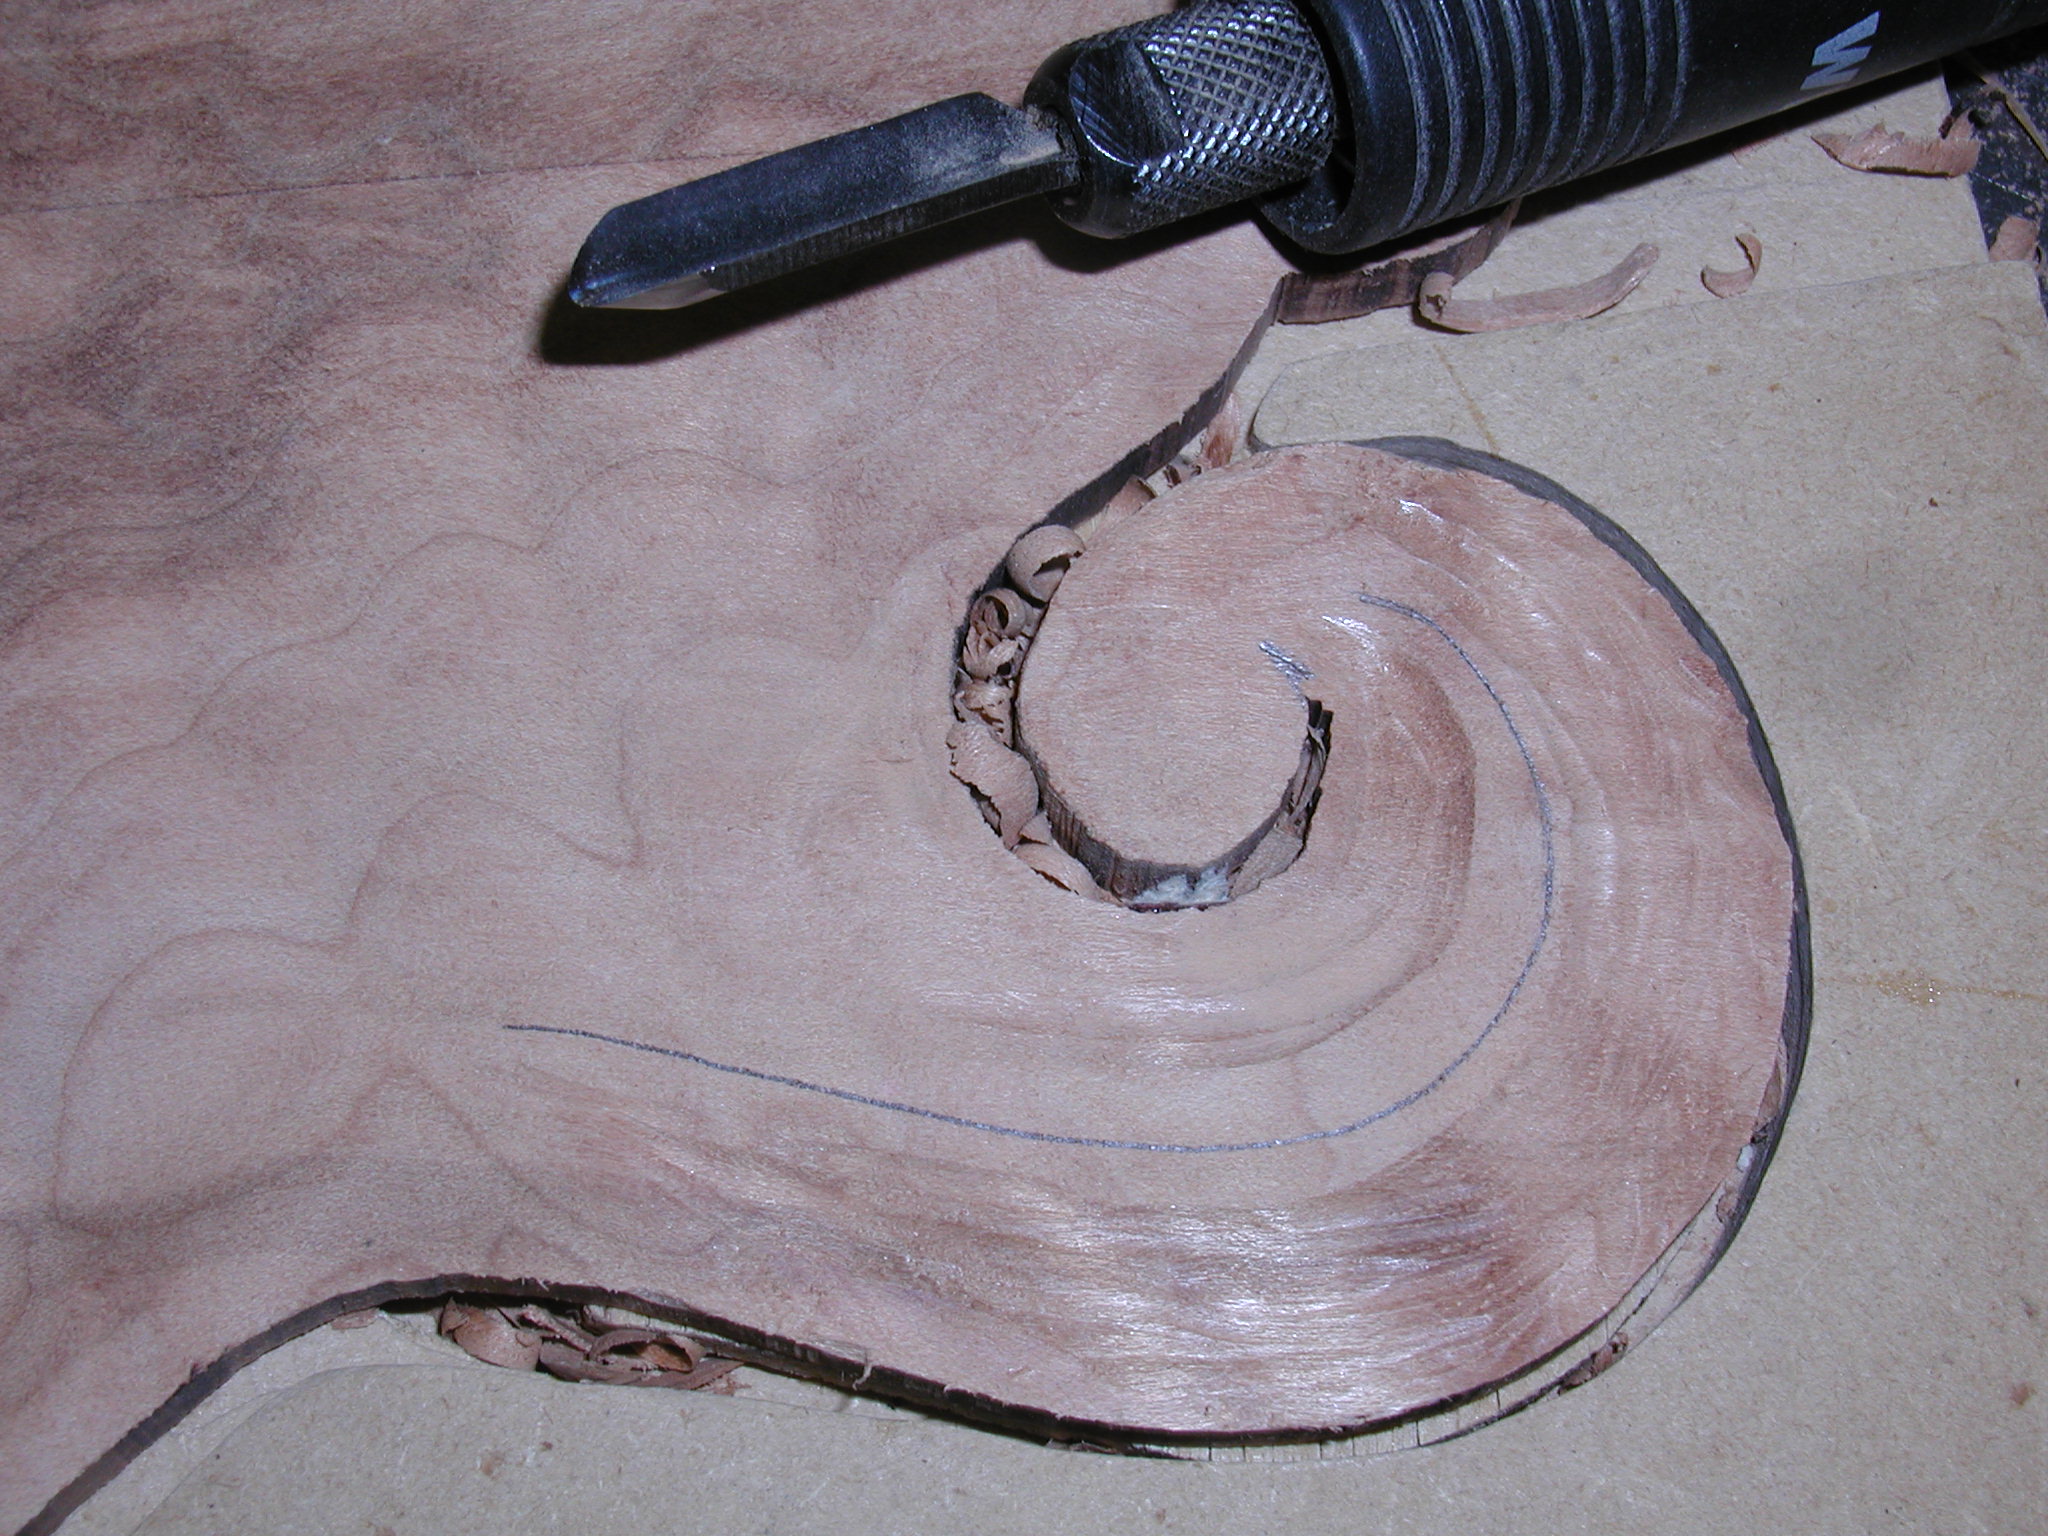
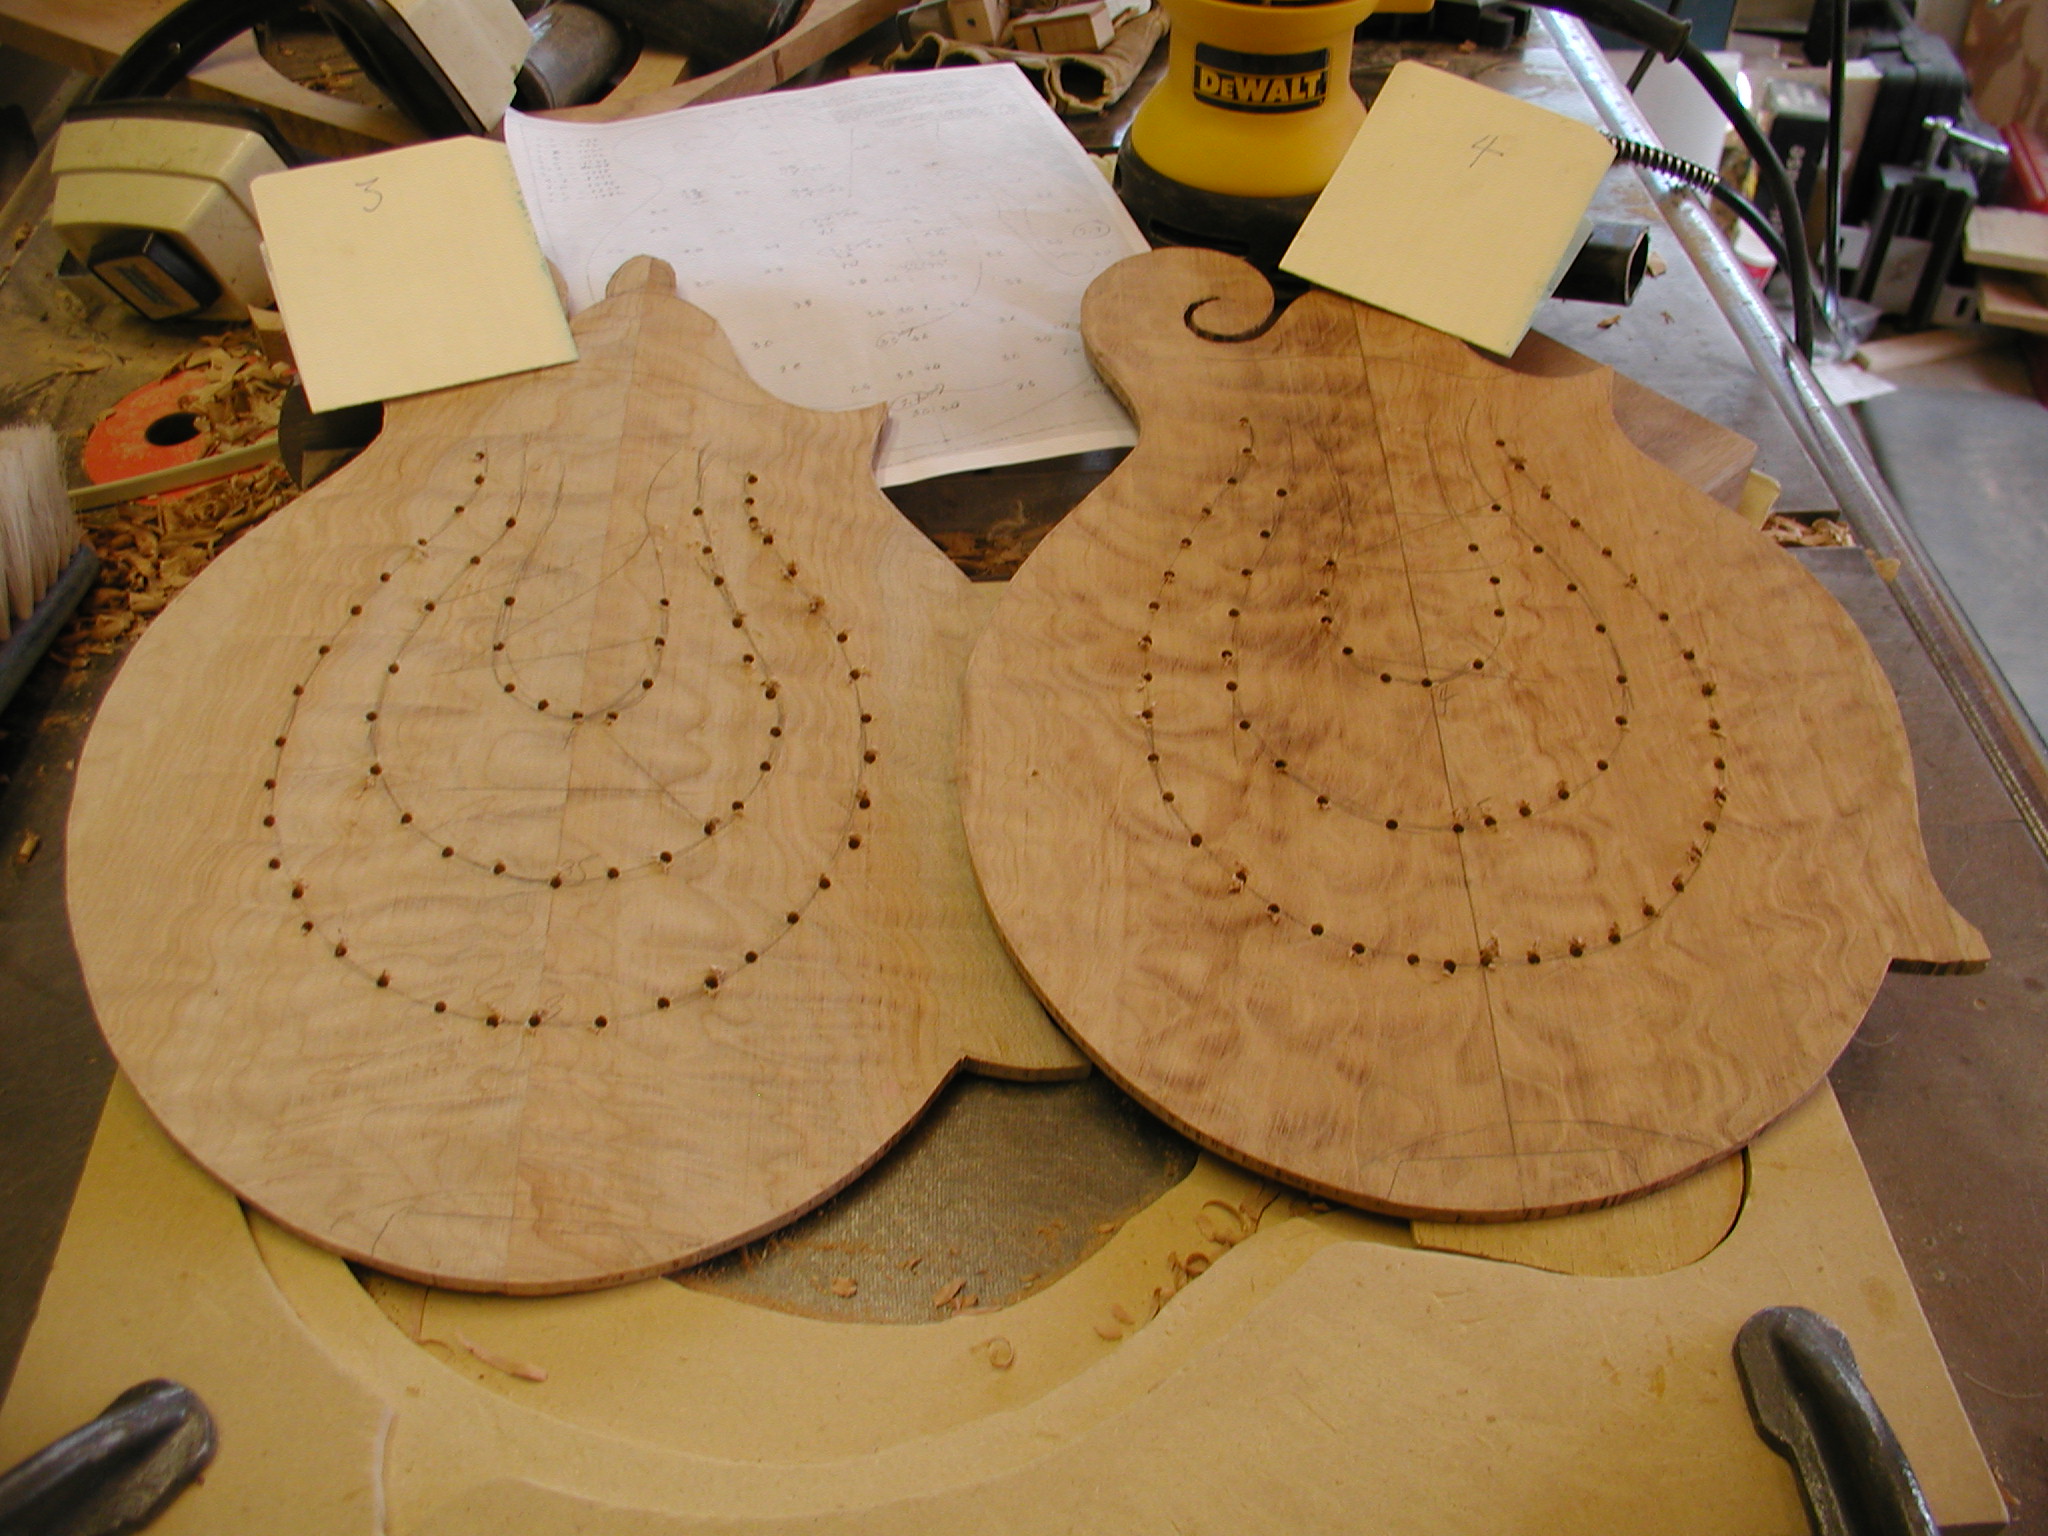
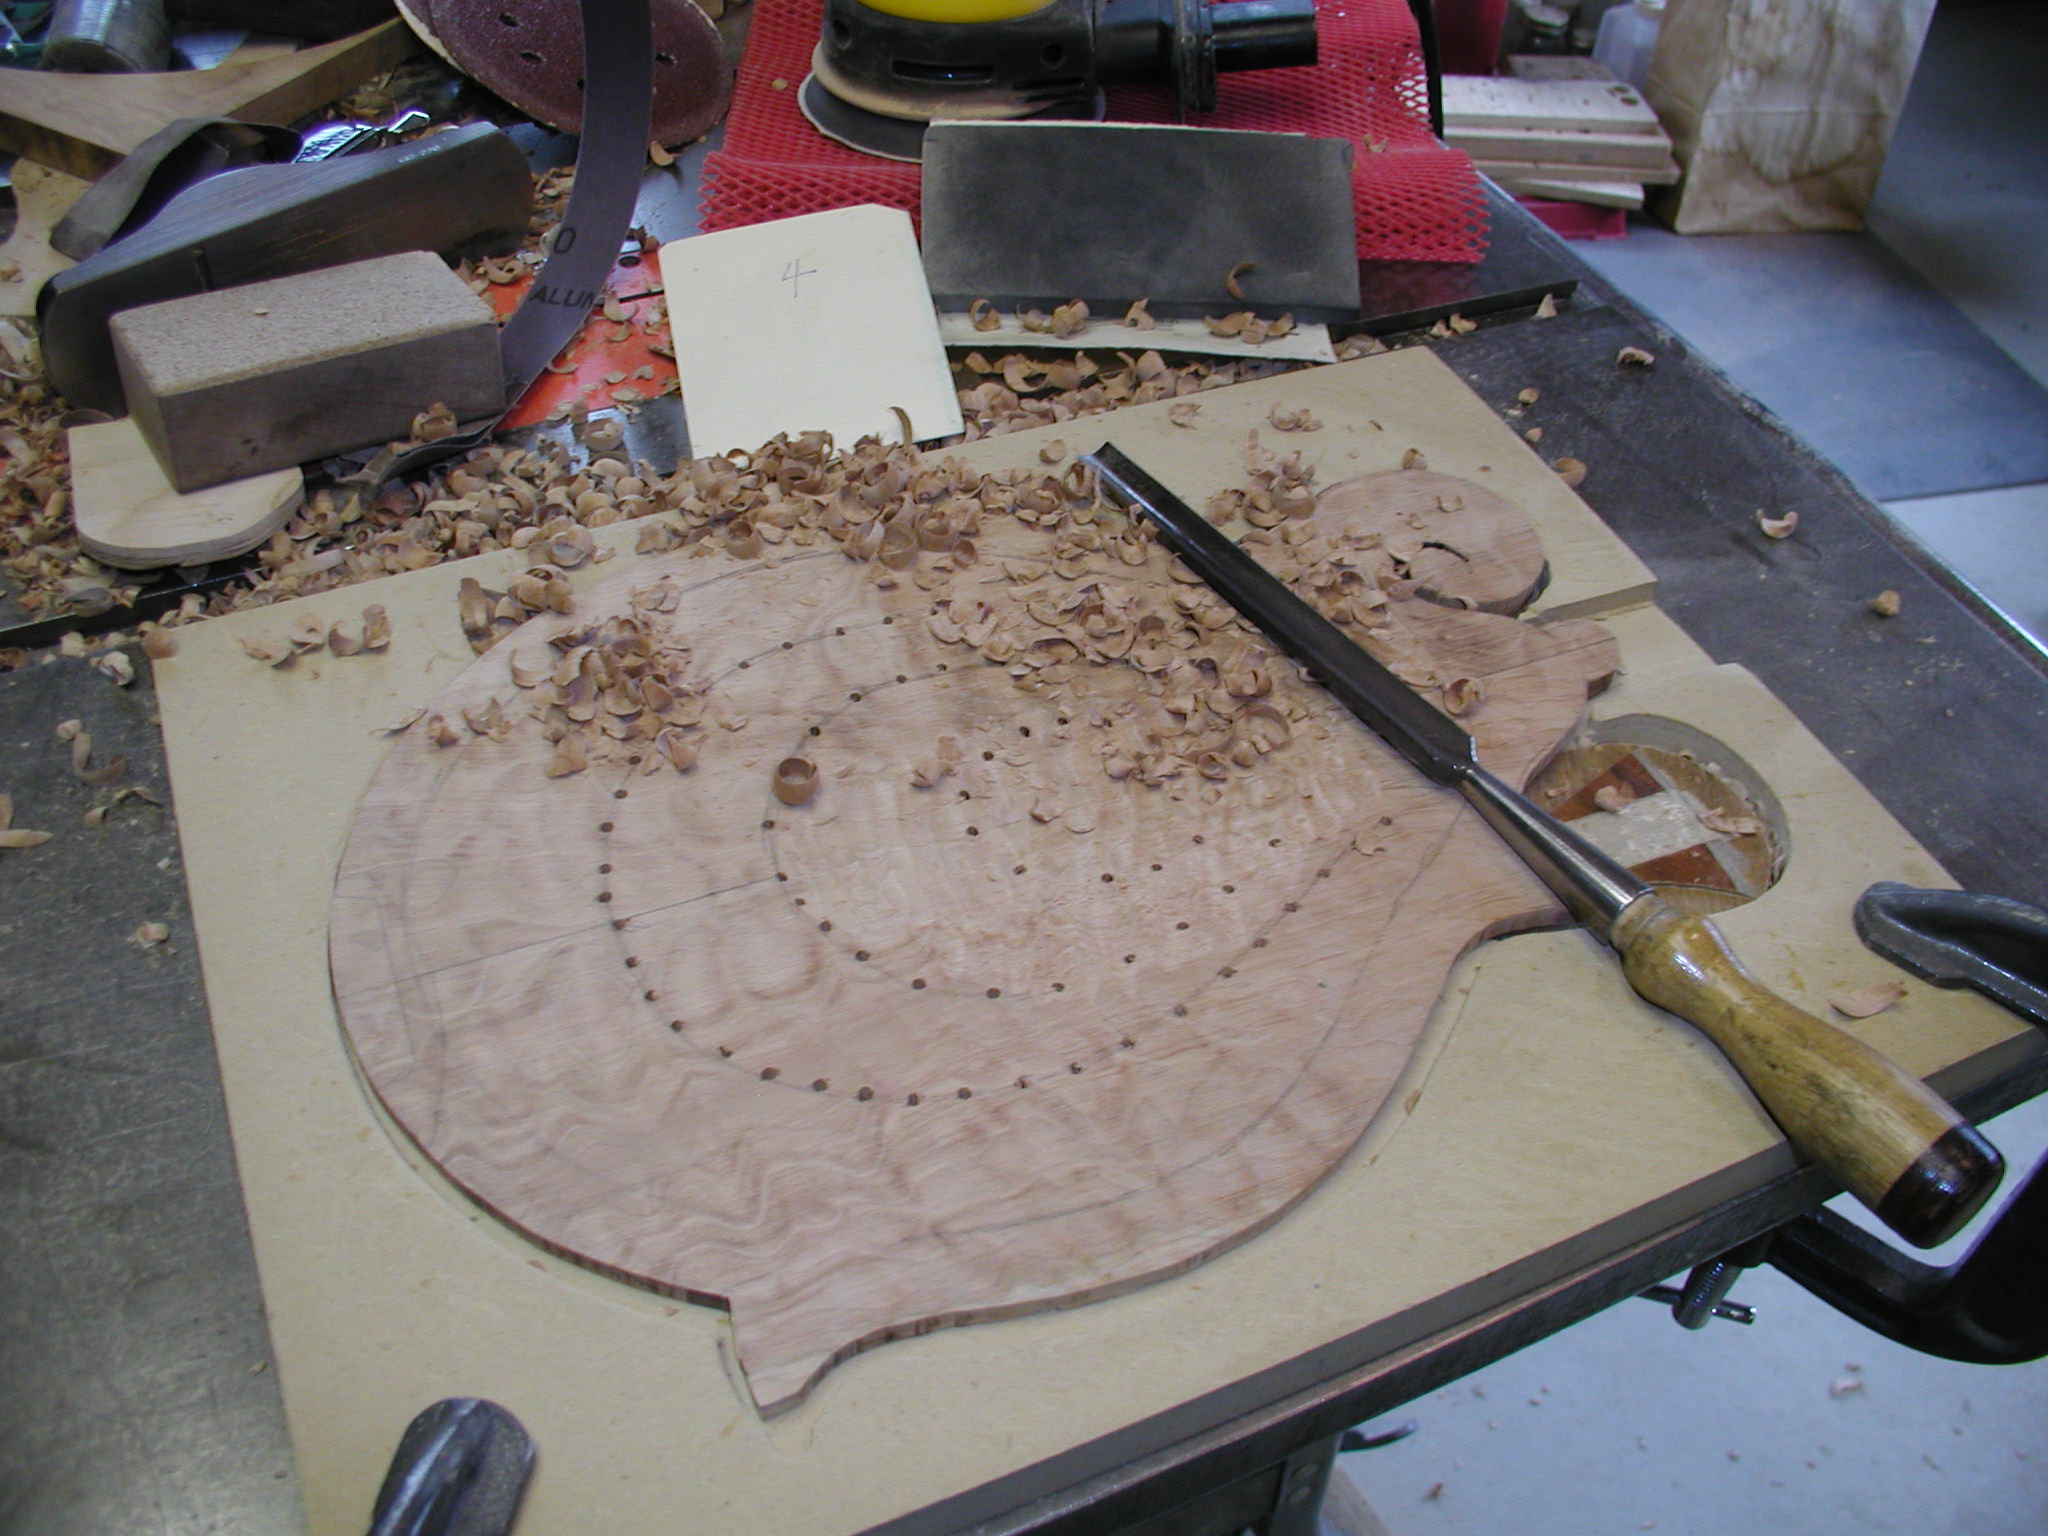
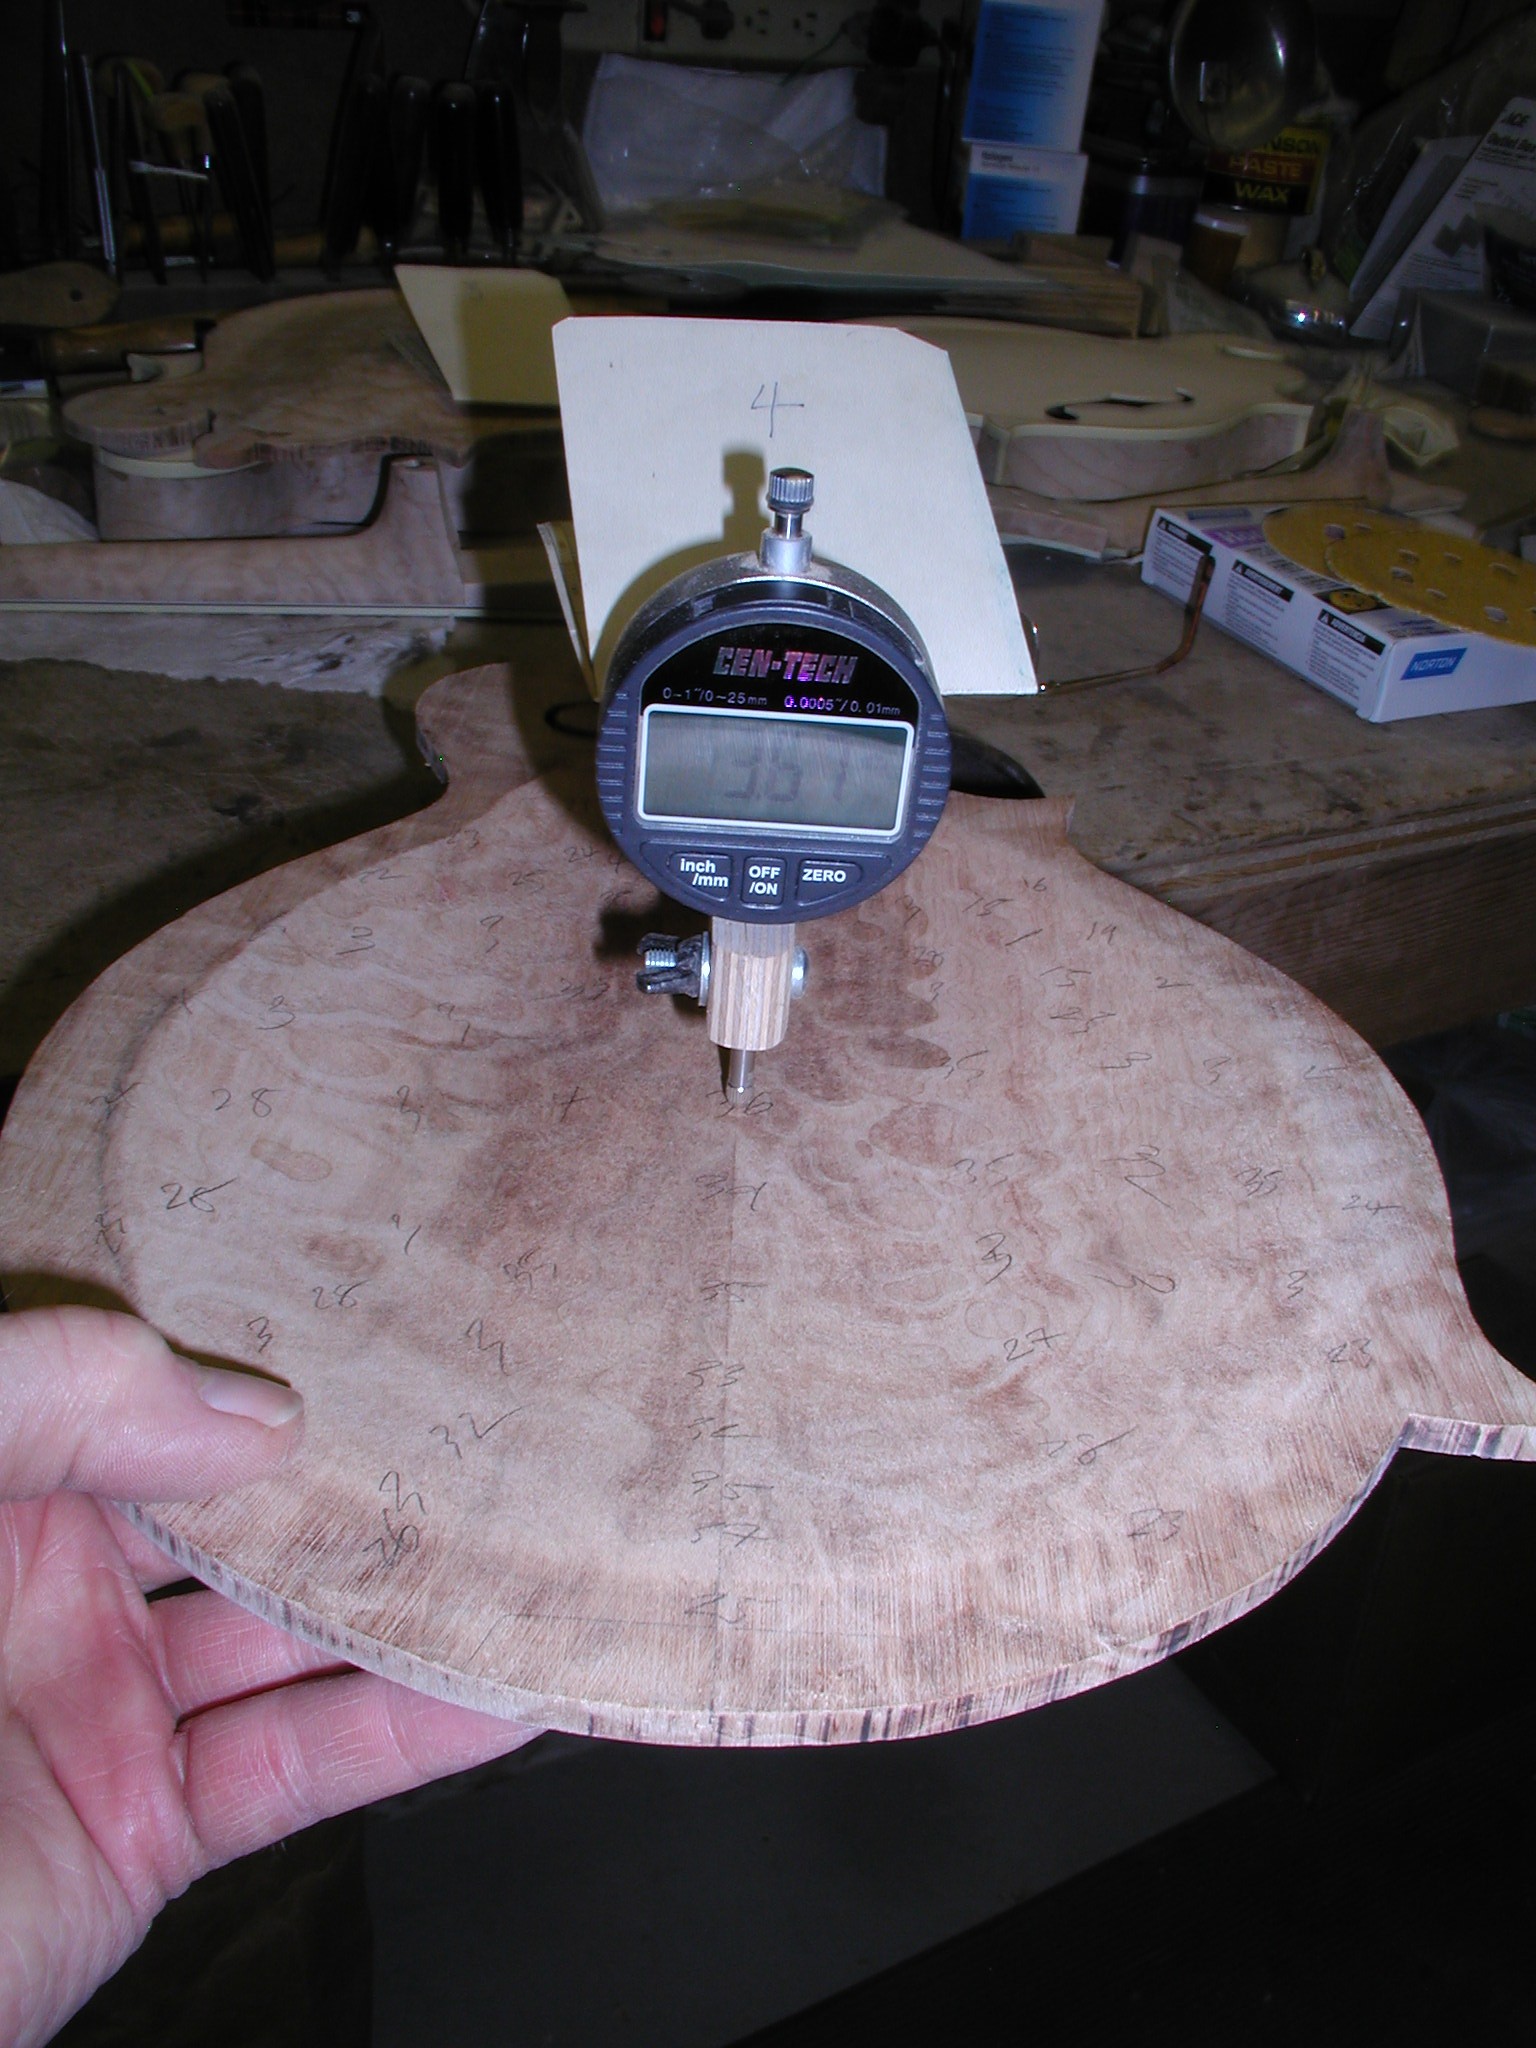
I set up the drill press for the proper depth of the recurve and drill all around the line marked in from the edge that defines the bottom of the recurve. Then work it down with carver and sander and scrapers till it is true. I then carve the scroll and fair it into the recurve and top areas. I like to check my progress by feel and using my thickness gauge so that I get it all even as I go.
Same process for the inside as the tops. Mark the various depth locations and drill to the depths. For the back I do drill different depths along the contour lines. This saves some effort later on in the carving process with the harder wood. Then hog out the excess wood. I like to use a good gouge for this, it goes faster than the carver and working cross grain I can get it right down to almost the bottom of the drill holes. Not shown is a spoon type gouge that I use for the curved surfaces. Then refine with finger planes and the last bit with 40-60-80 grit in the sander. Finally hand sanding and scrapers to get all the thickness just right.

1 2 3 4 5 6 7 8 8a 9 10 11 11a 11b 12 12a 13 14 15 16 17 18 19 20