Let's Build A Mandolin (Page 2)
1 2 3 4 5 6 7 8 8a 9 10 11 11a 11b 12 12a 13 14 15 16 17 18 19 20
Last Modified - Oct 2011(©Alan Dunwell 2011)
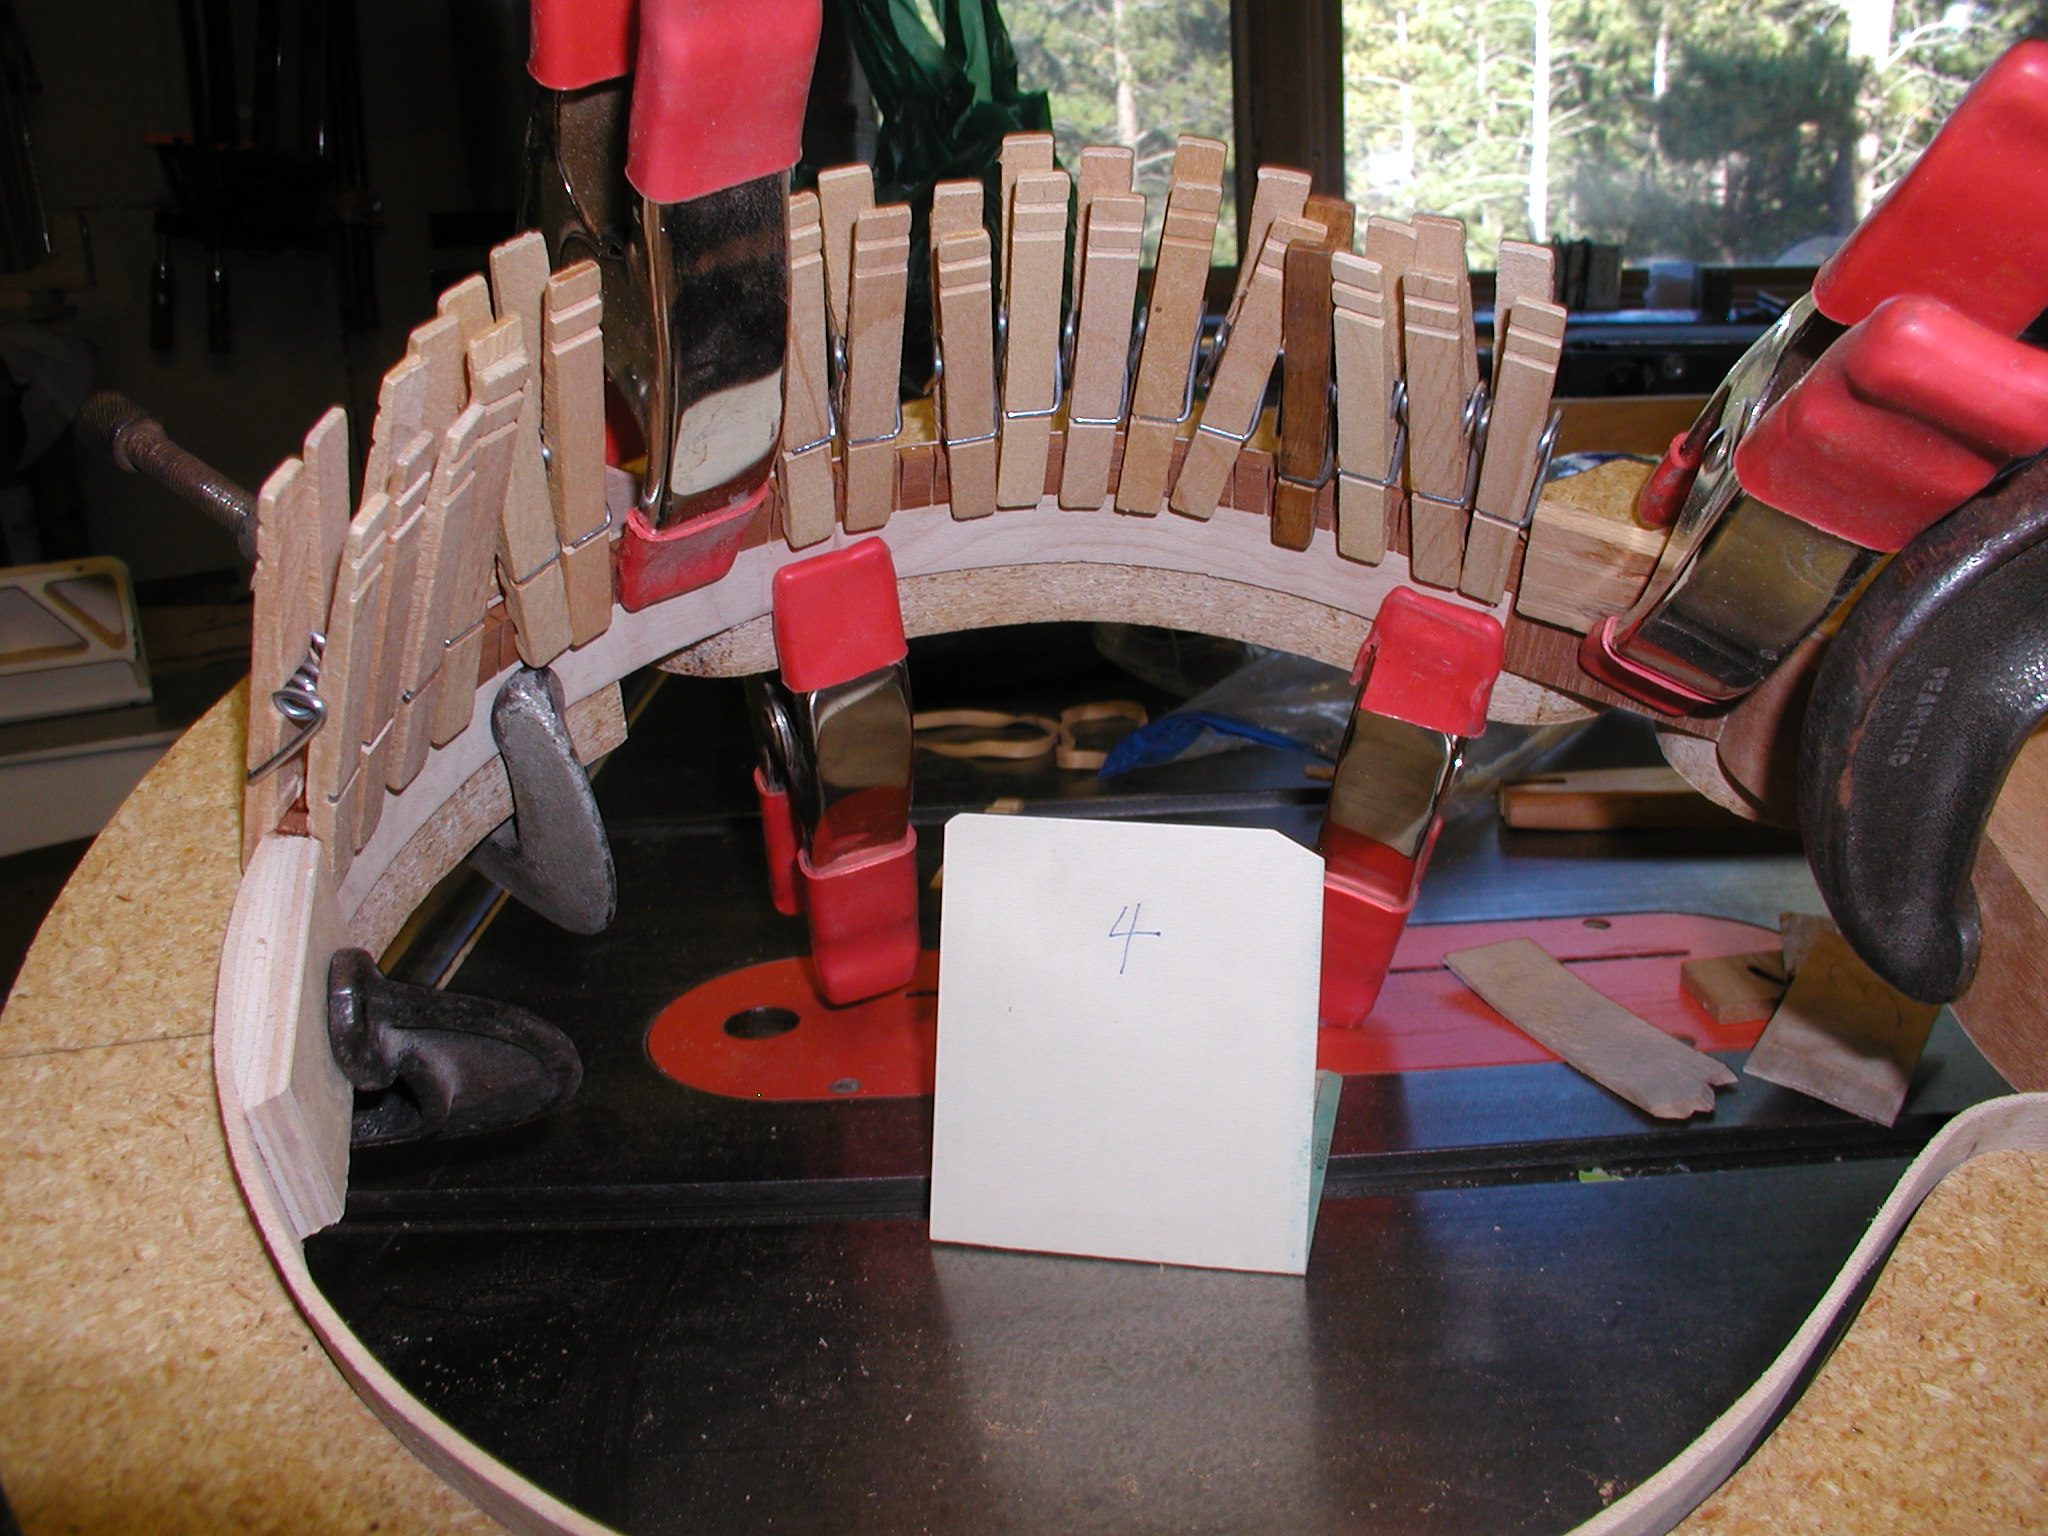
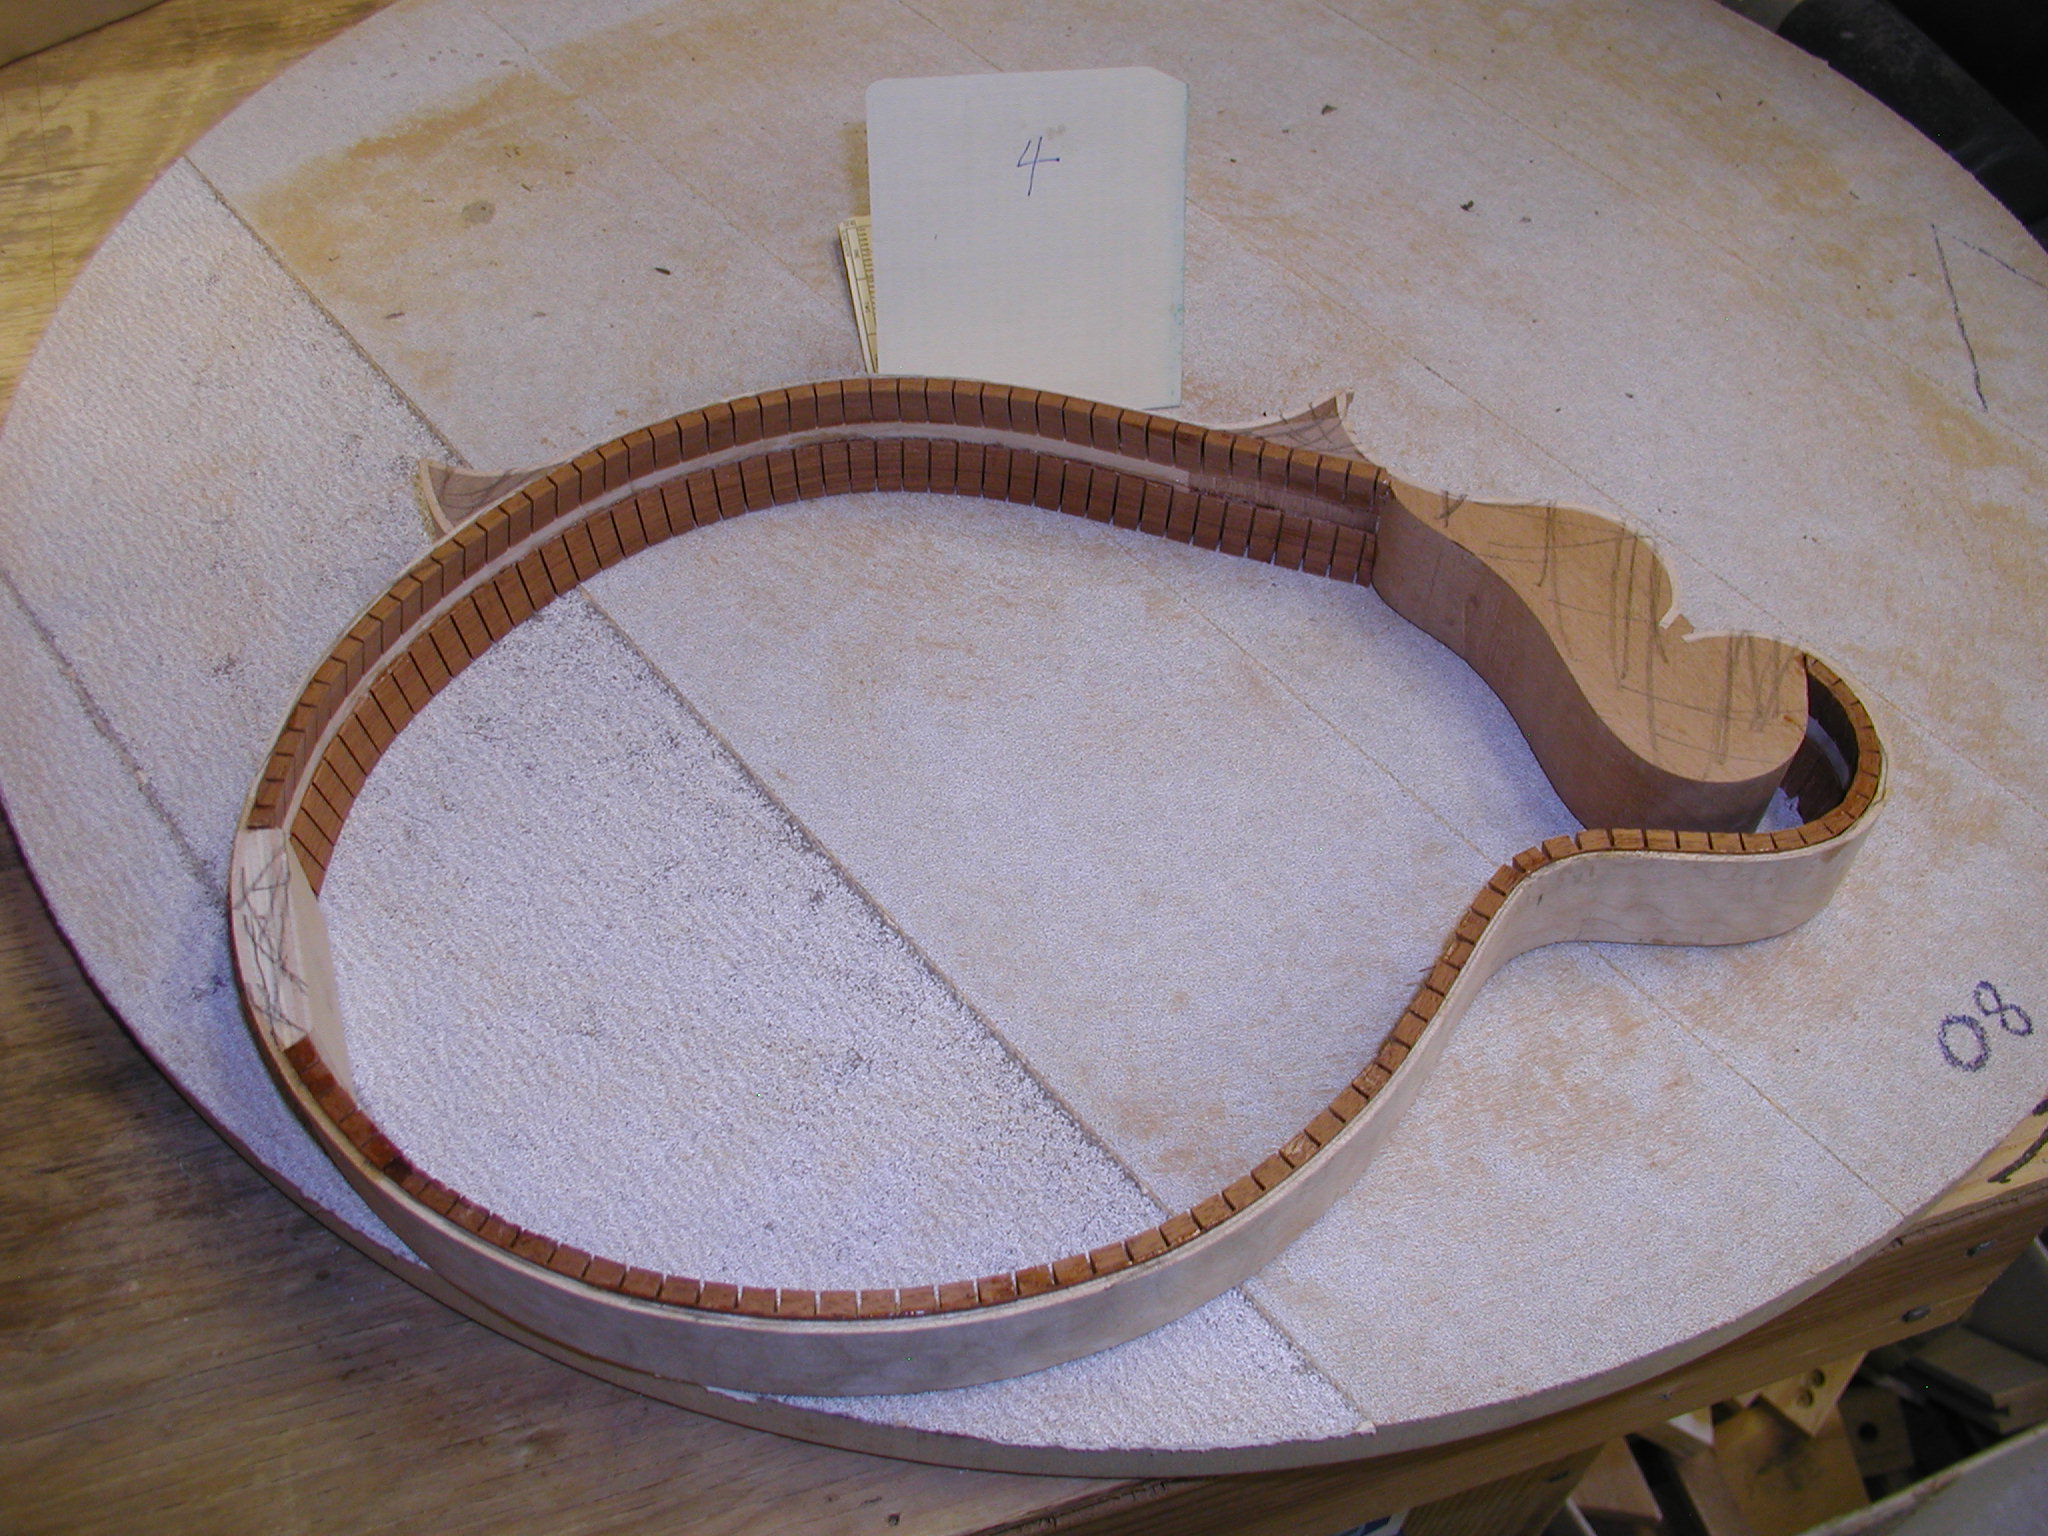
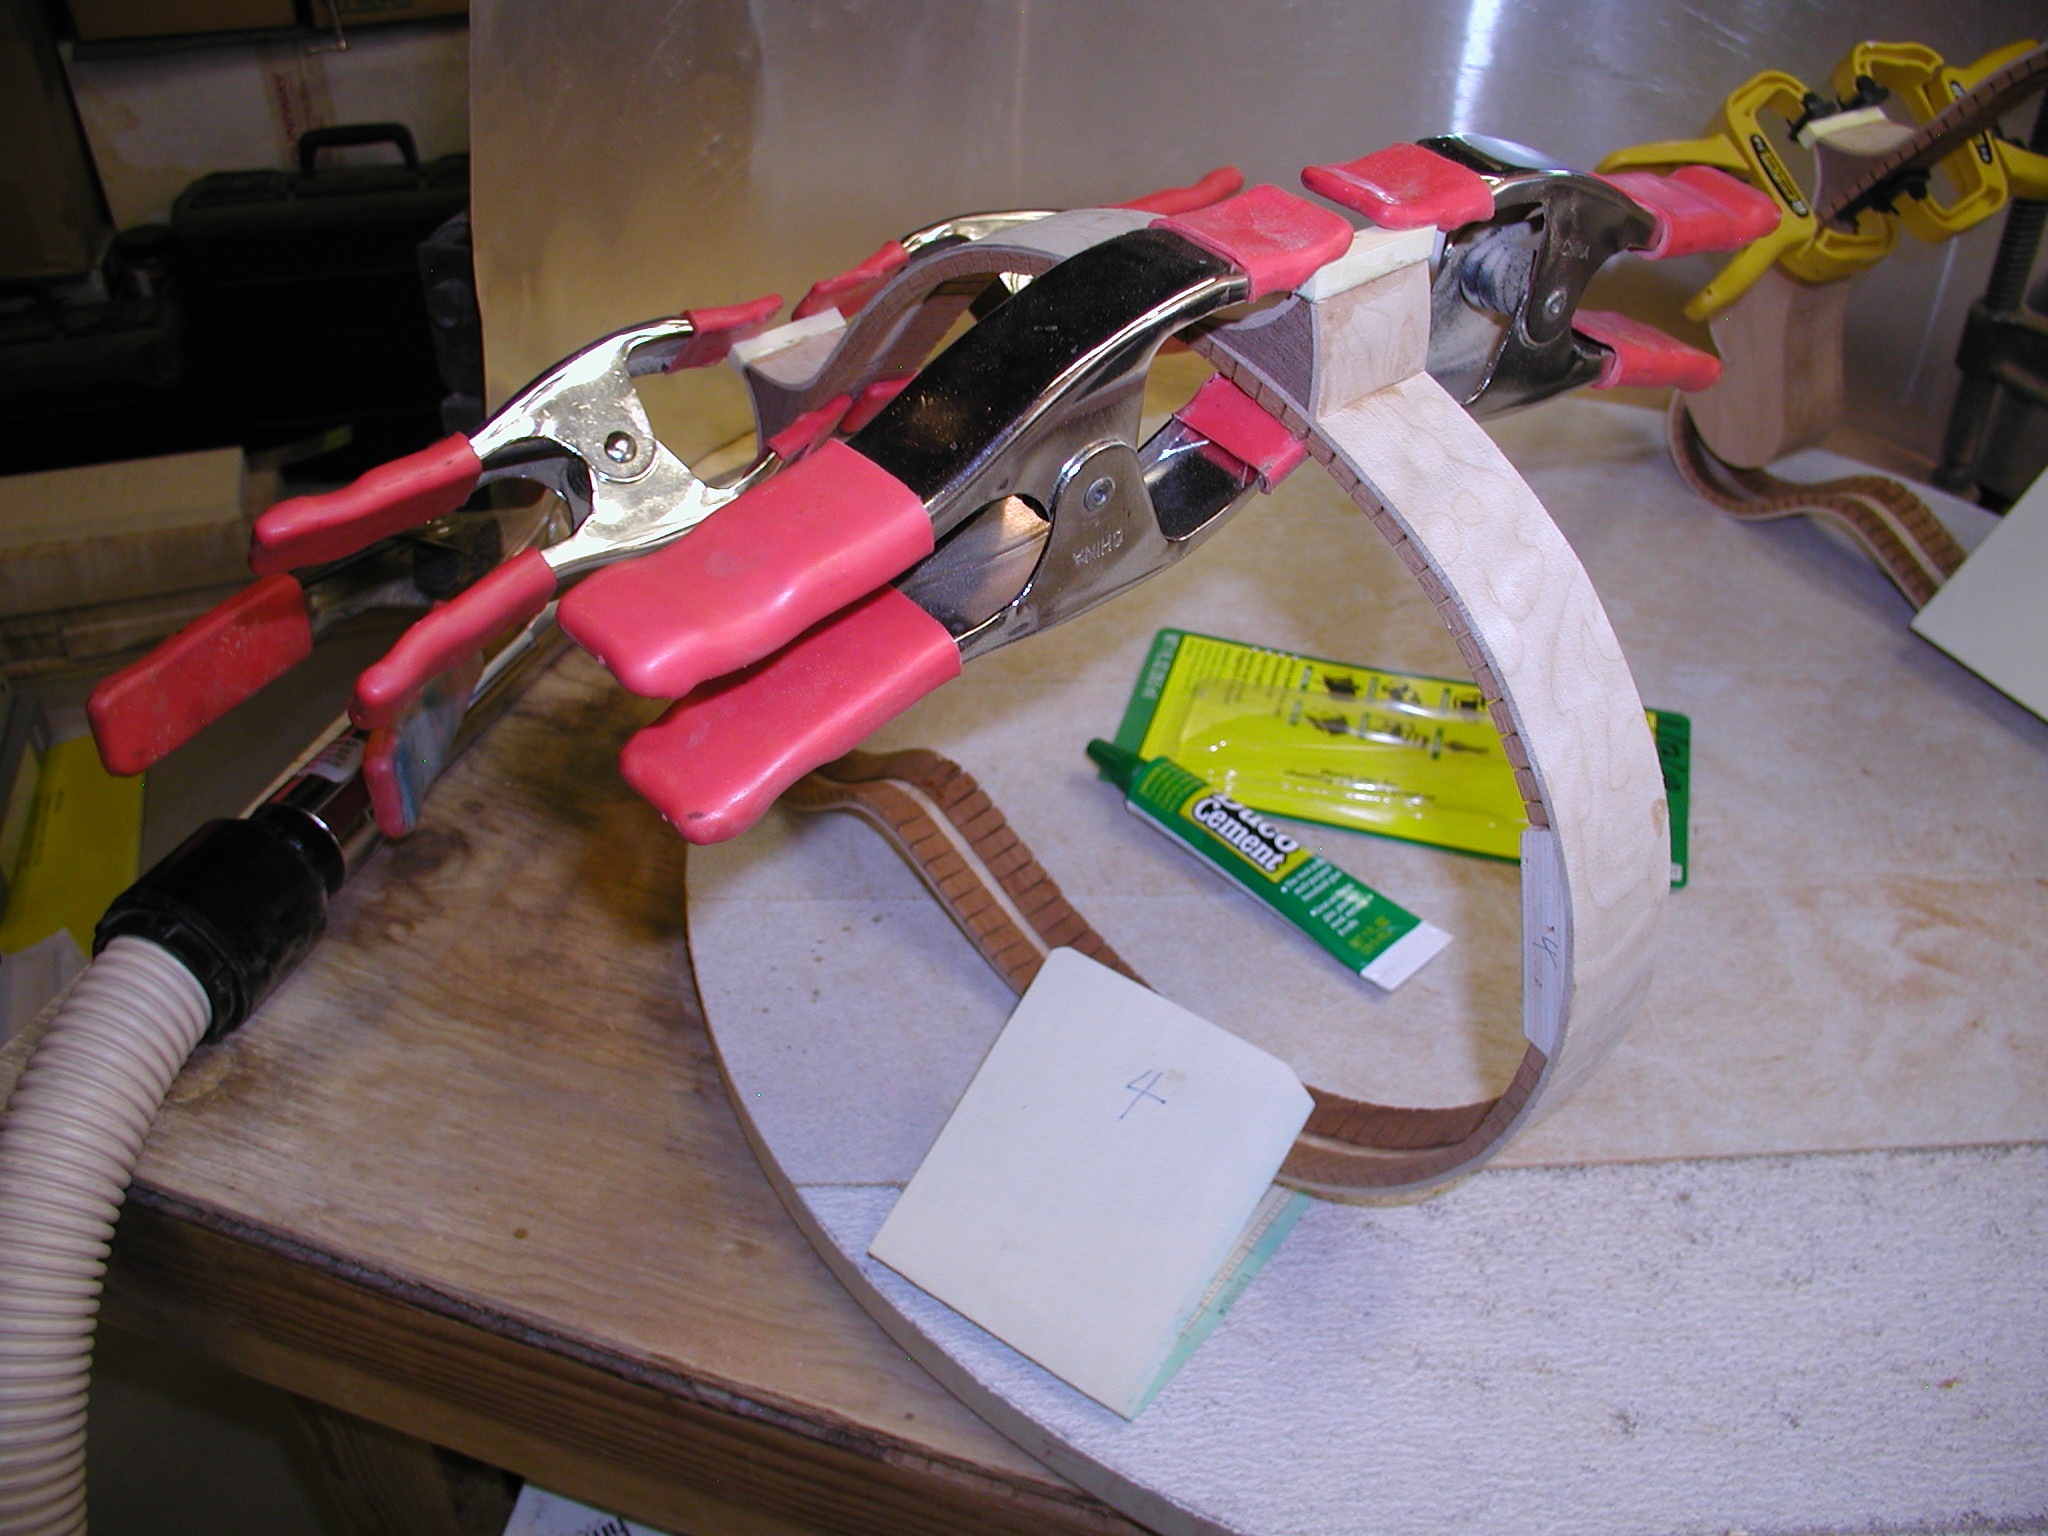
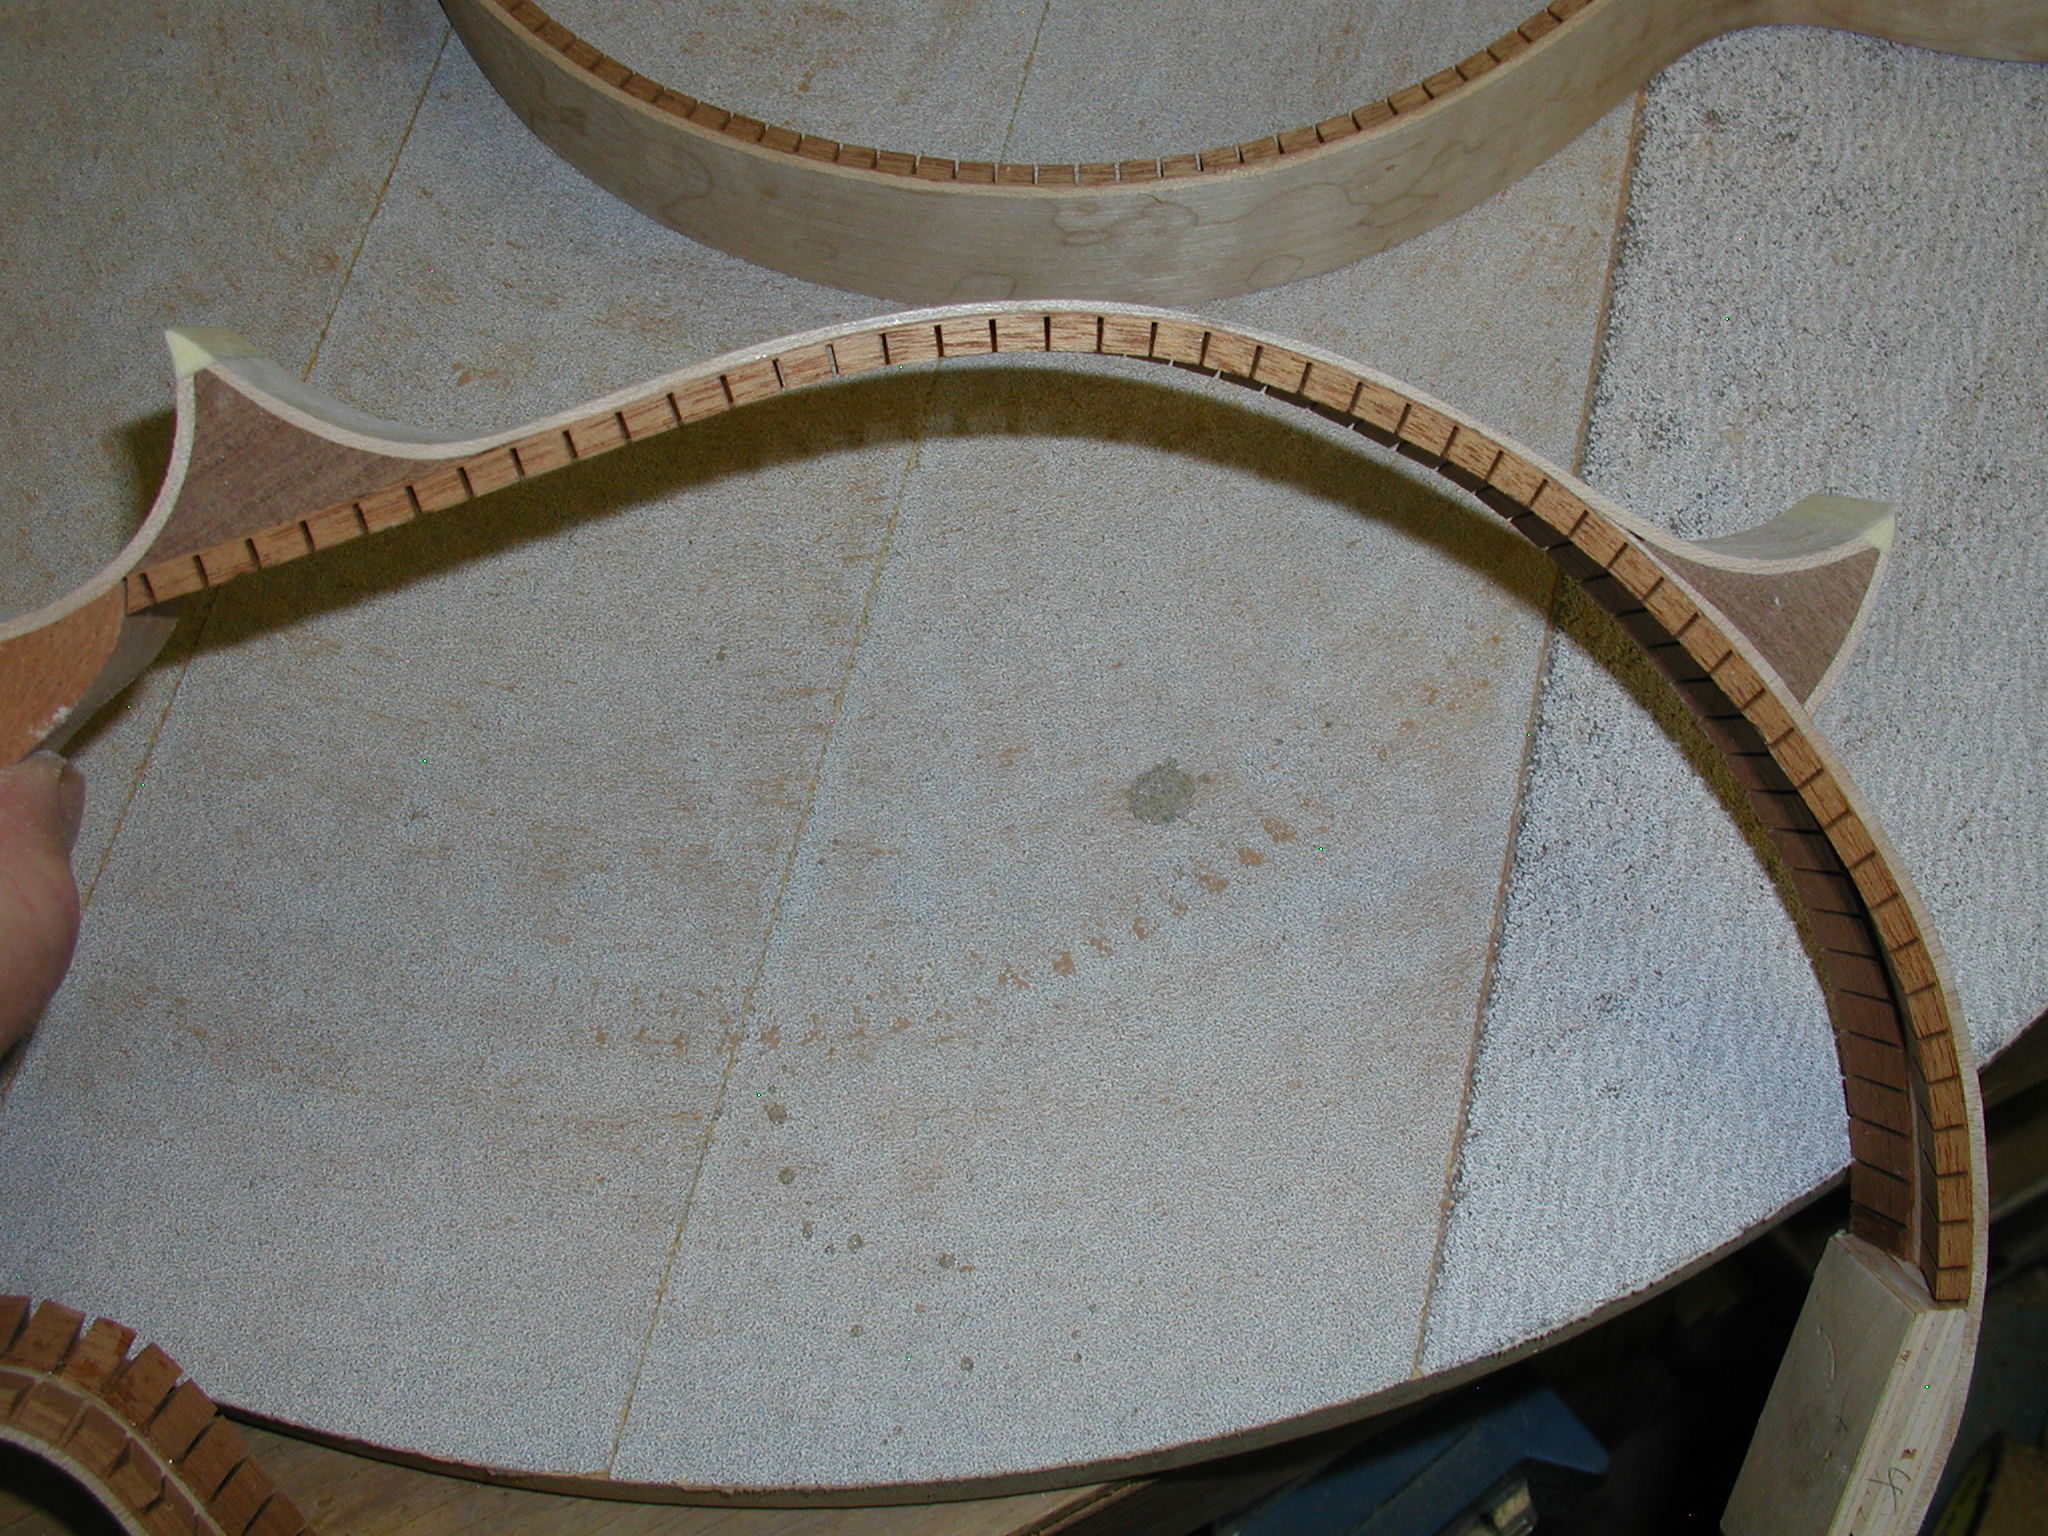
In the first page we had the body pretty much formed out with the sides and block all glued up and sanded true. Now we need to complete the body with the linings. Here I am using some kerfed linings.. [{Set Rant Mode = ON:} They are linings, NOT KERFINGS!! The kerfs are the slots themselves in the linings. Your "kerfings" are actually just the sawdust on the floor. {Set Rant Mode = OFF:}] ...sorry to get pedantic, just gets to me sometimes. Anyway, I'm using regular kerfed linings here but I now use reverse-kerfed linings. These have the slots on the inside and show a smooth face to the inside of the body. This is more than just a cosmetic thing, the structure of the linings glued to the side form a very solid rim for the body that doesn't flex much at all. I like to lightly spritz the solid side of the linings with some distilled water to get them to bend by hand without breaking and then let them surface dry while I bend the next one. I use various clamps as you can see here. The big spring clamps or C-clamps where I'm want it dead on and cloths pins and little spring clamps to hold generally. Those little black spring clamps with the swivel jaws are great for this and come in various strengths. They can be had for about $.35/ea when you buy bulk from Harbour Freight or in sale grab bins at places like Home Despot. Buy a bunch.
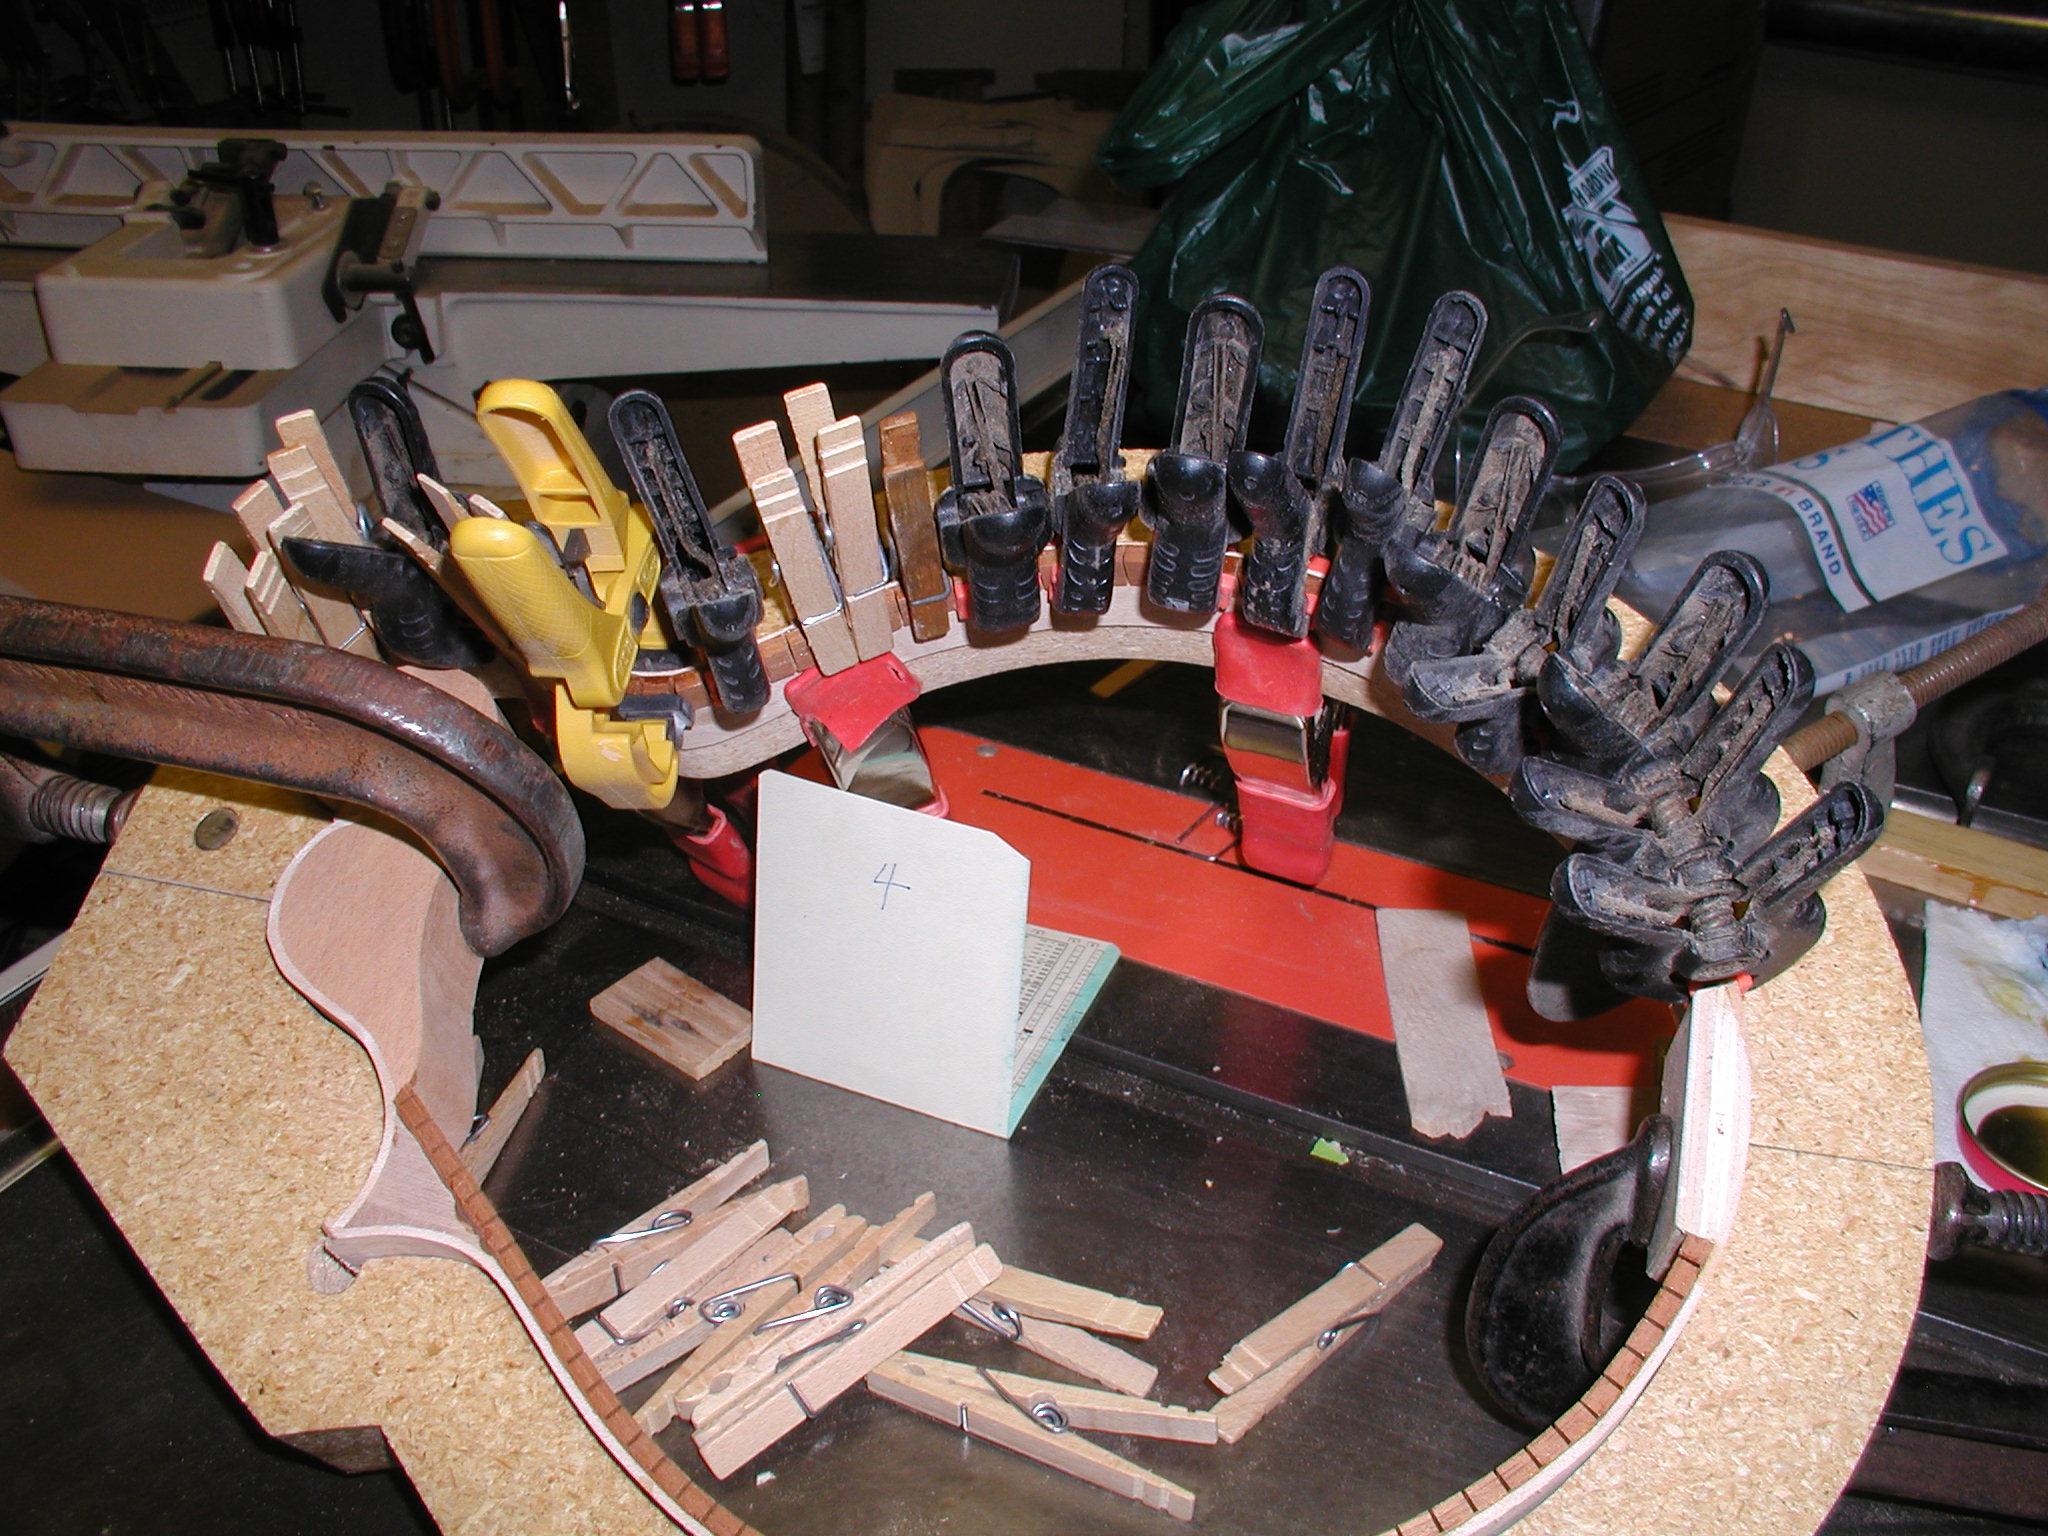
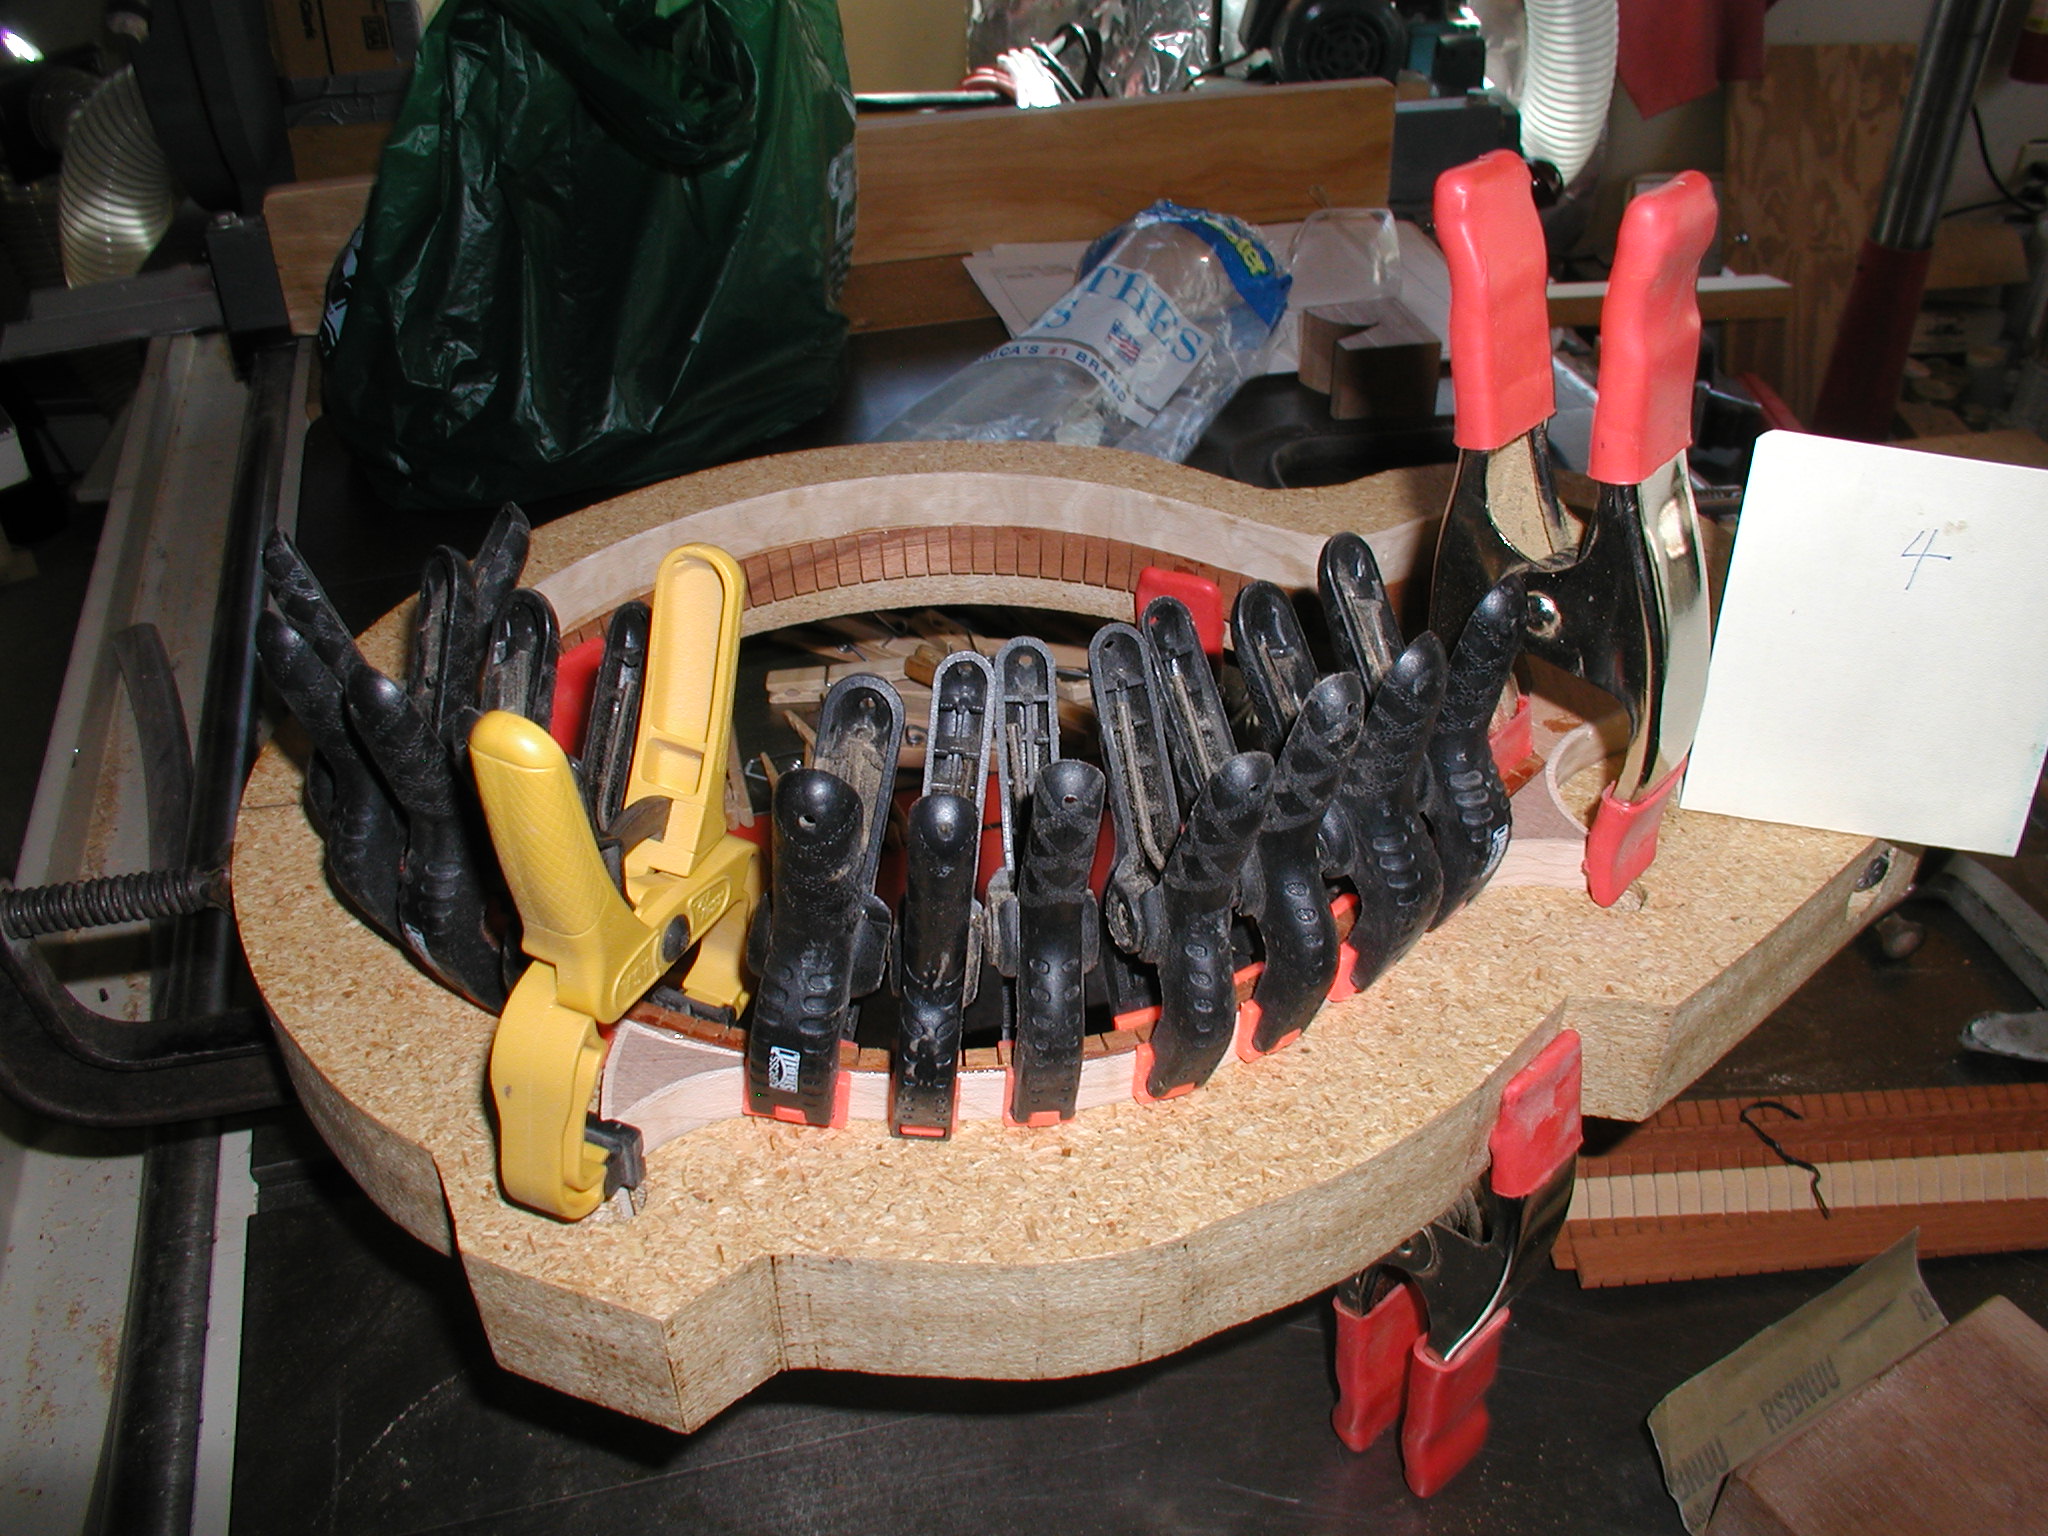
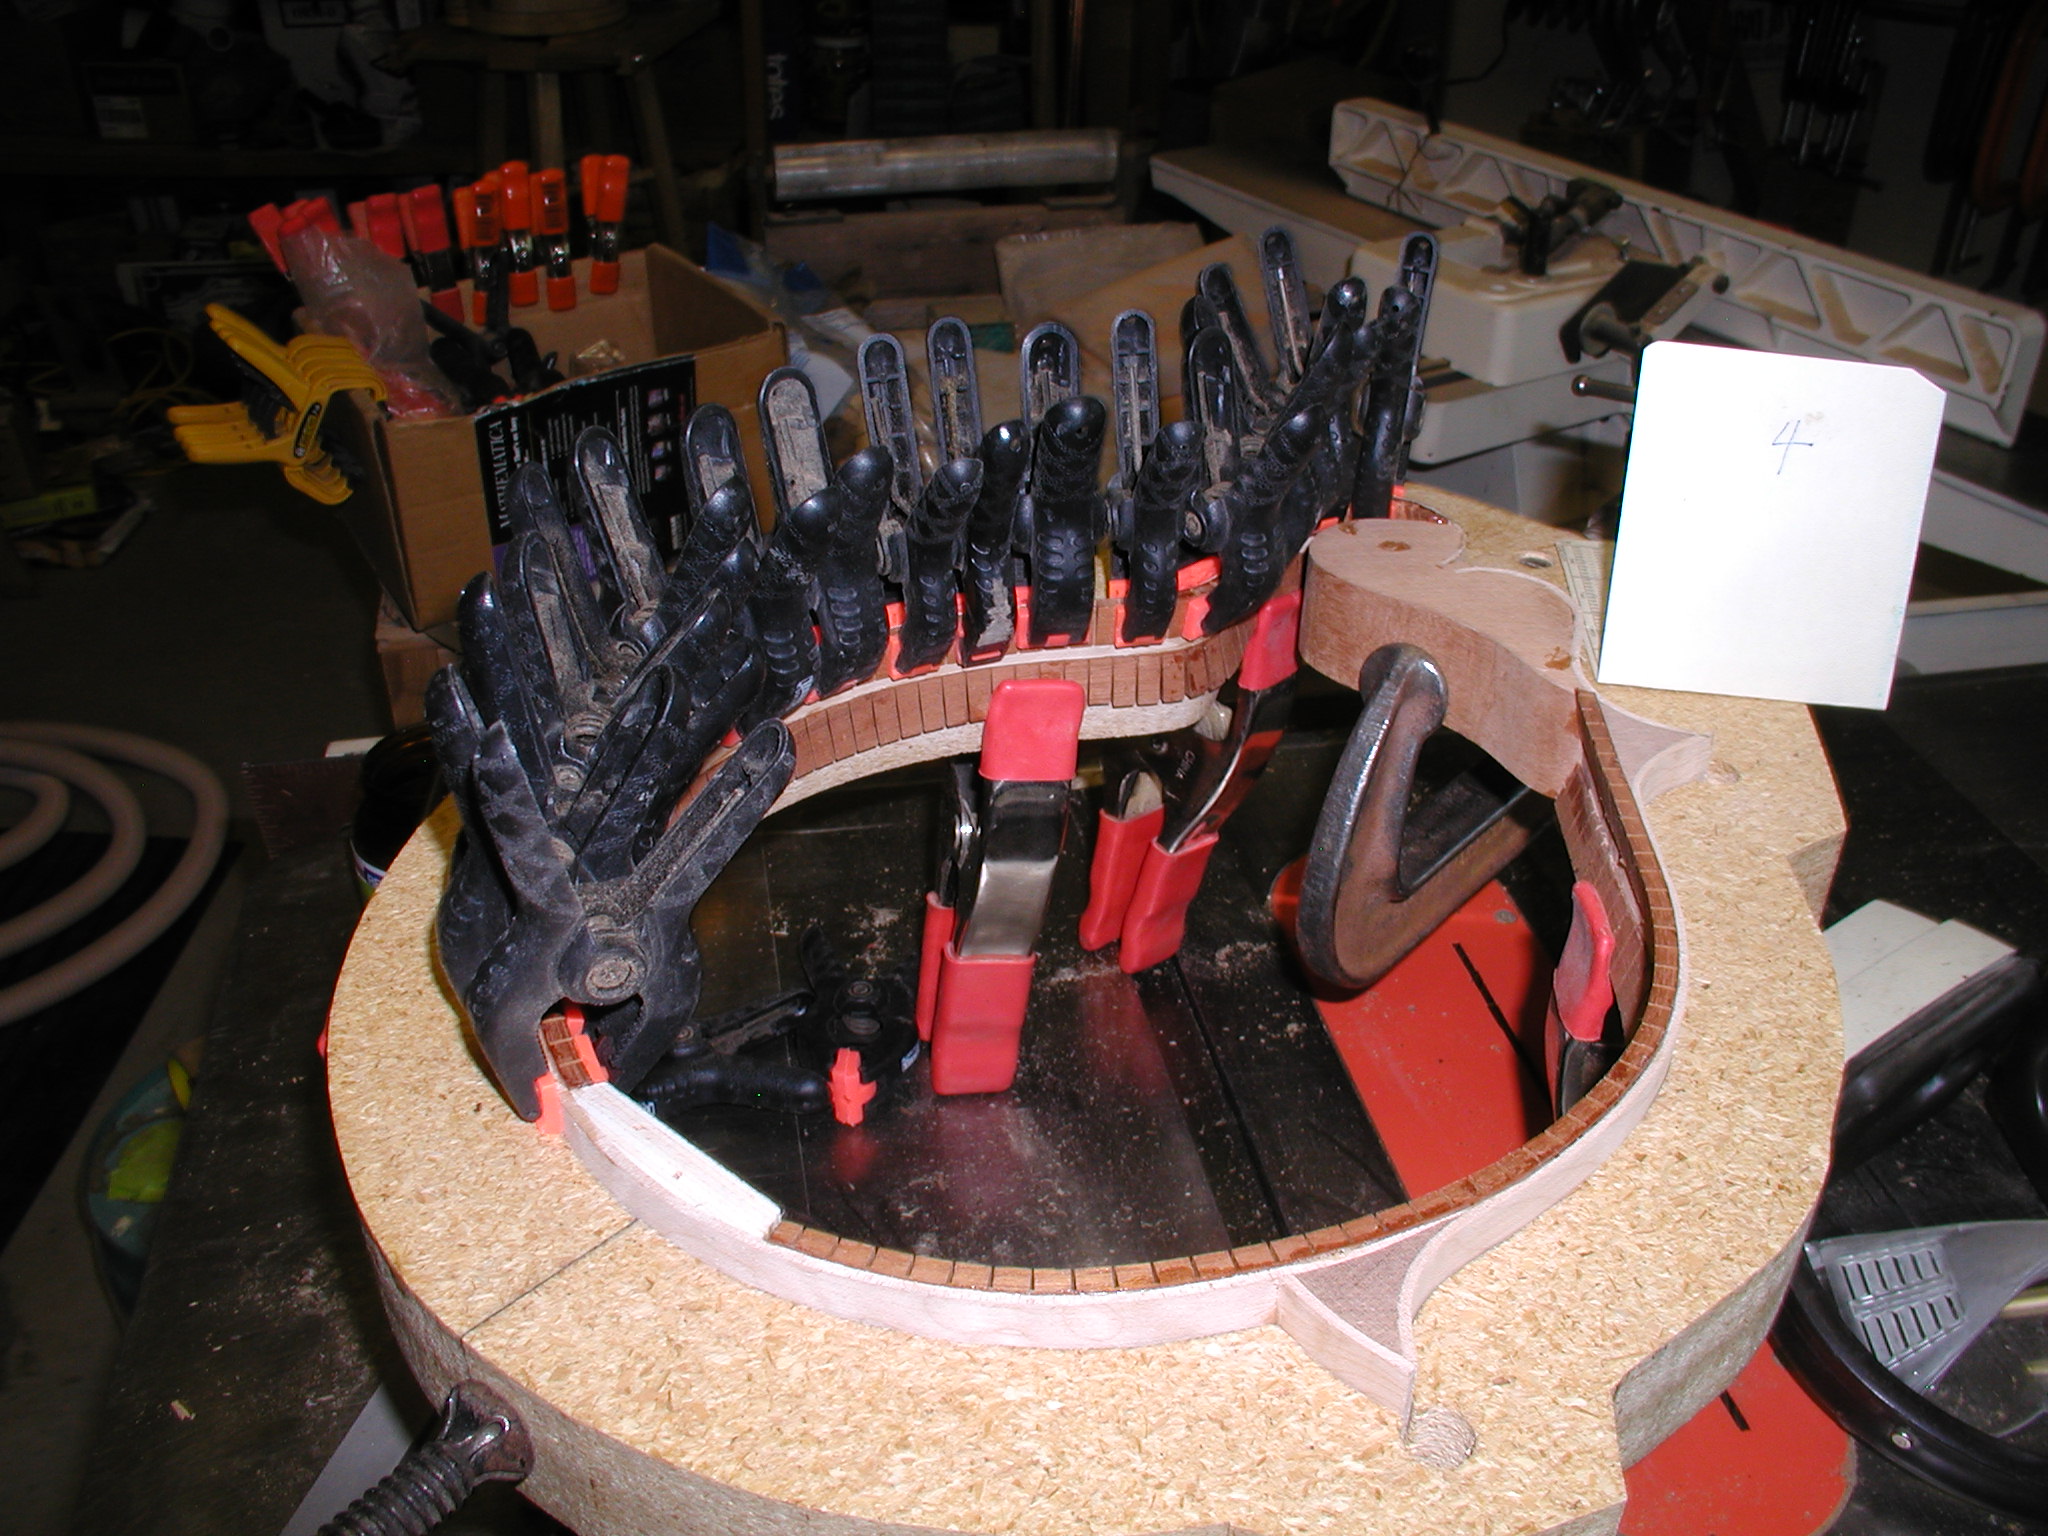
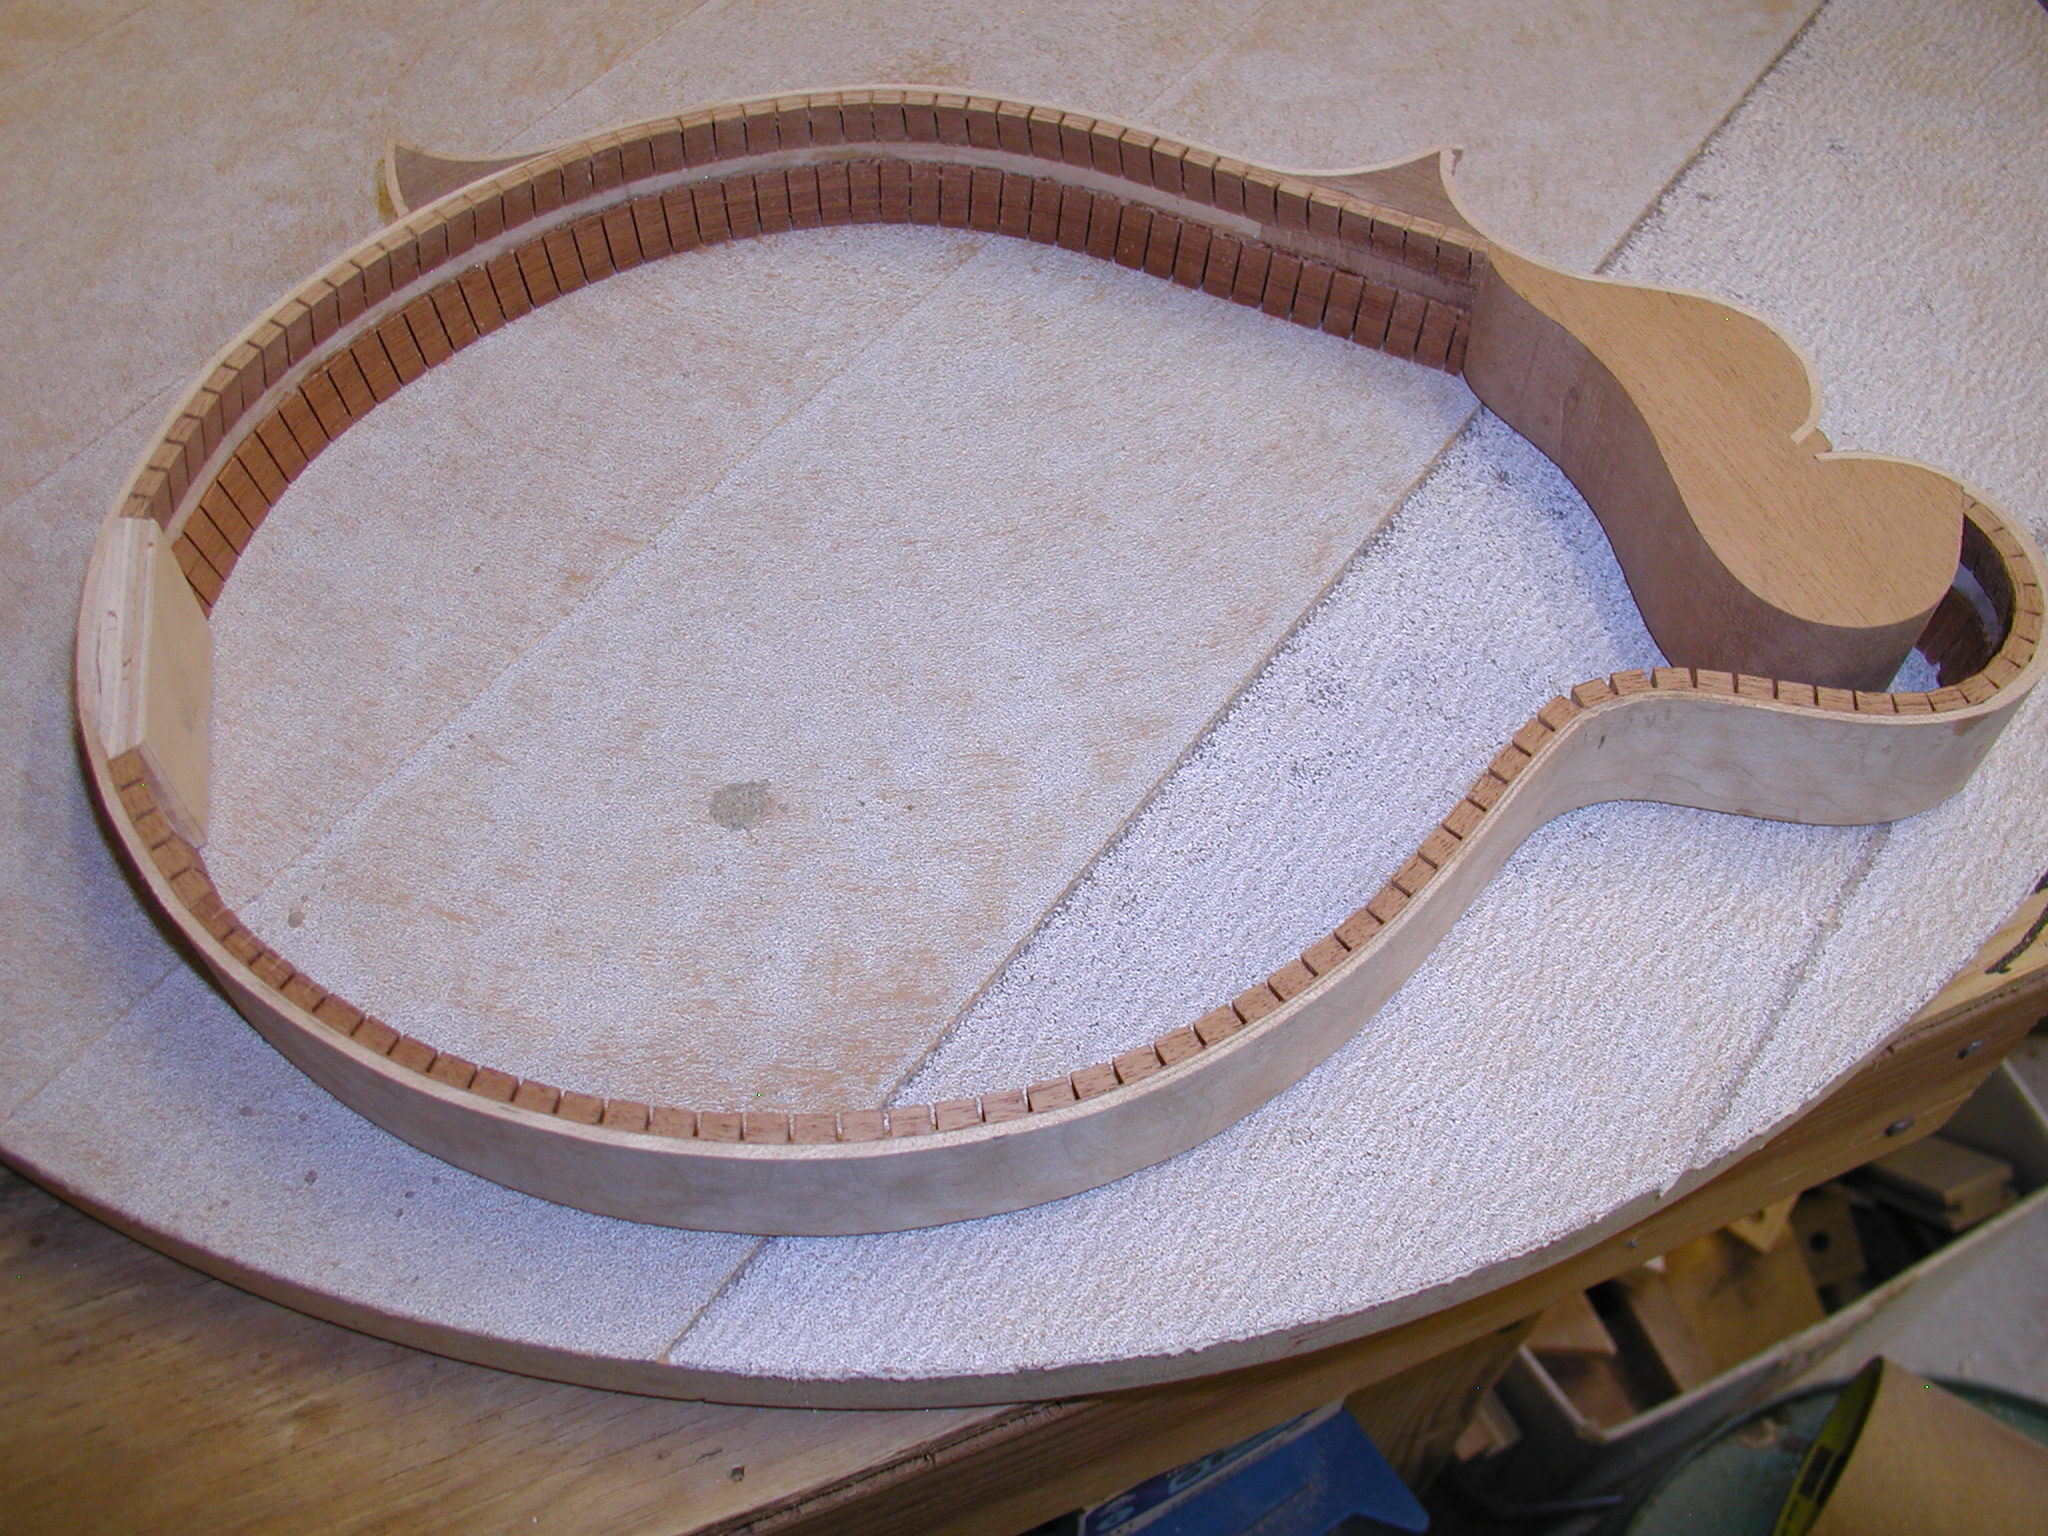
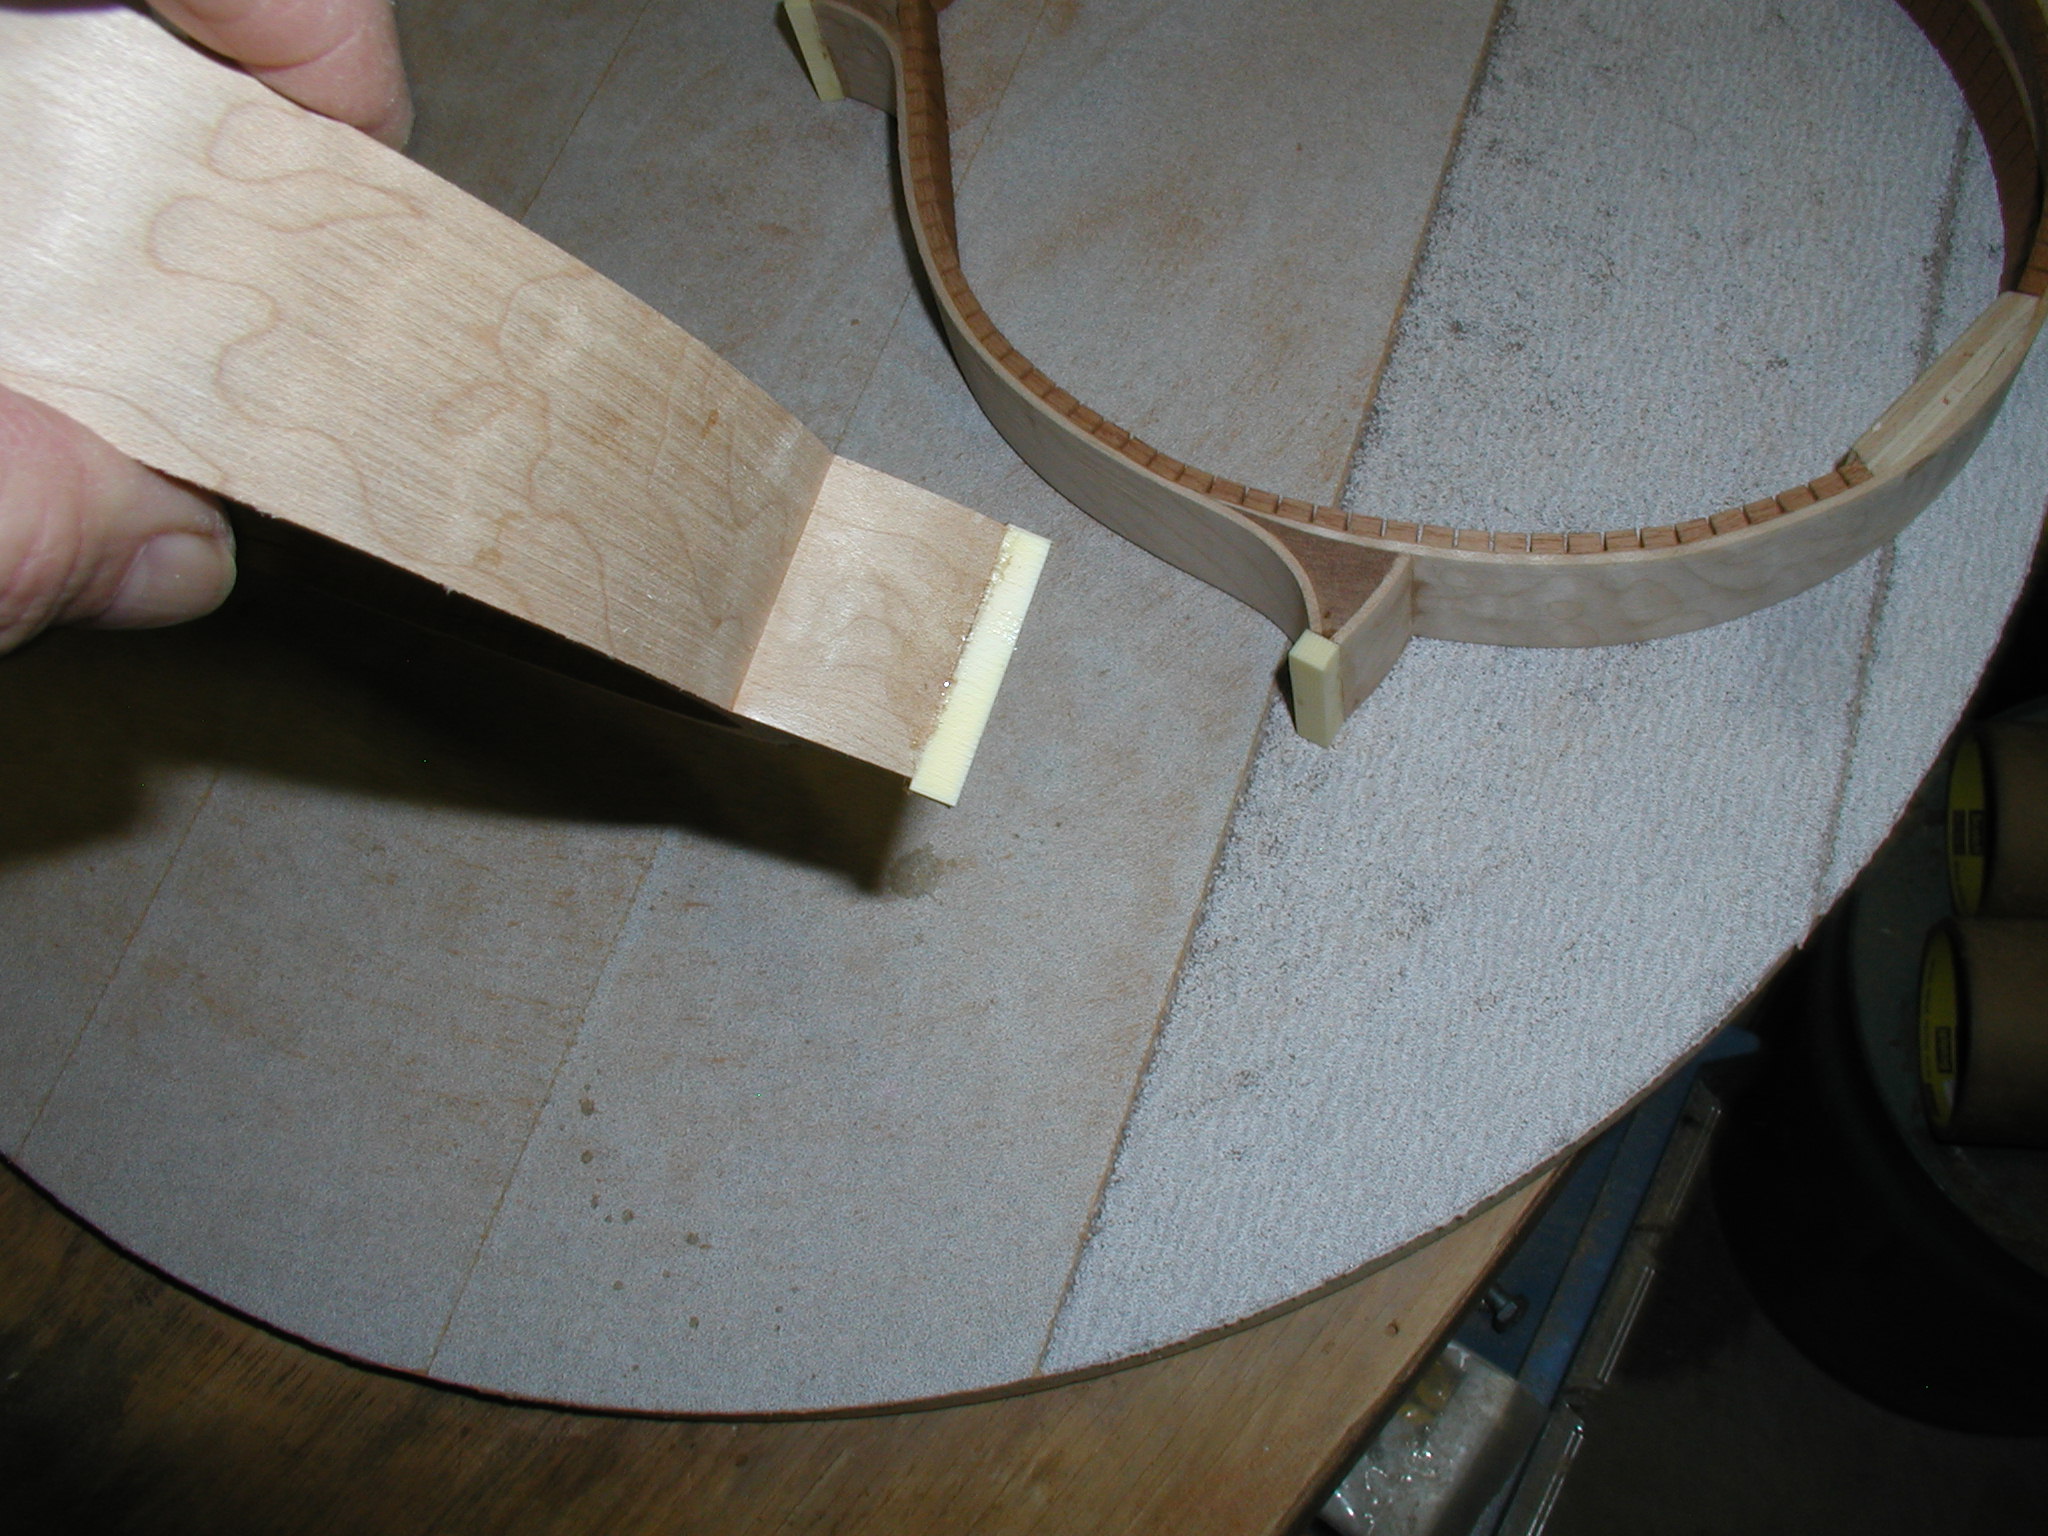
Take your time here and get a nice fit of the linings to the blocks. The headblock is curved so I use a gouge to cut the curved surface of the lining close and then sand or scrape till it fits tight. Again, no one will actually see this except for maybe another builder with a mirror doing a repair, but you will feel good about it. Same where it joins the tail block, slowly trim with a chisel and get the angle right while it is long. Then keep trimming till it is a tight fit. Clamp the lining as you test, that will pull it tight and keep you from getting the lining too short. I like to leave it where I have to clamp out a little "bulge" in the lining at the tail block. That wedges it all in place. As you get each lining fit, glue it in place and go on to the next on while the previous one dries.
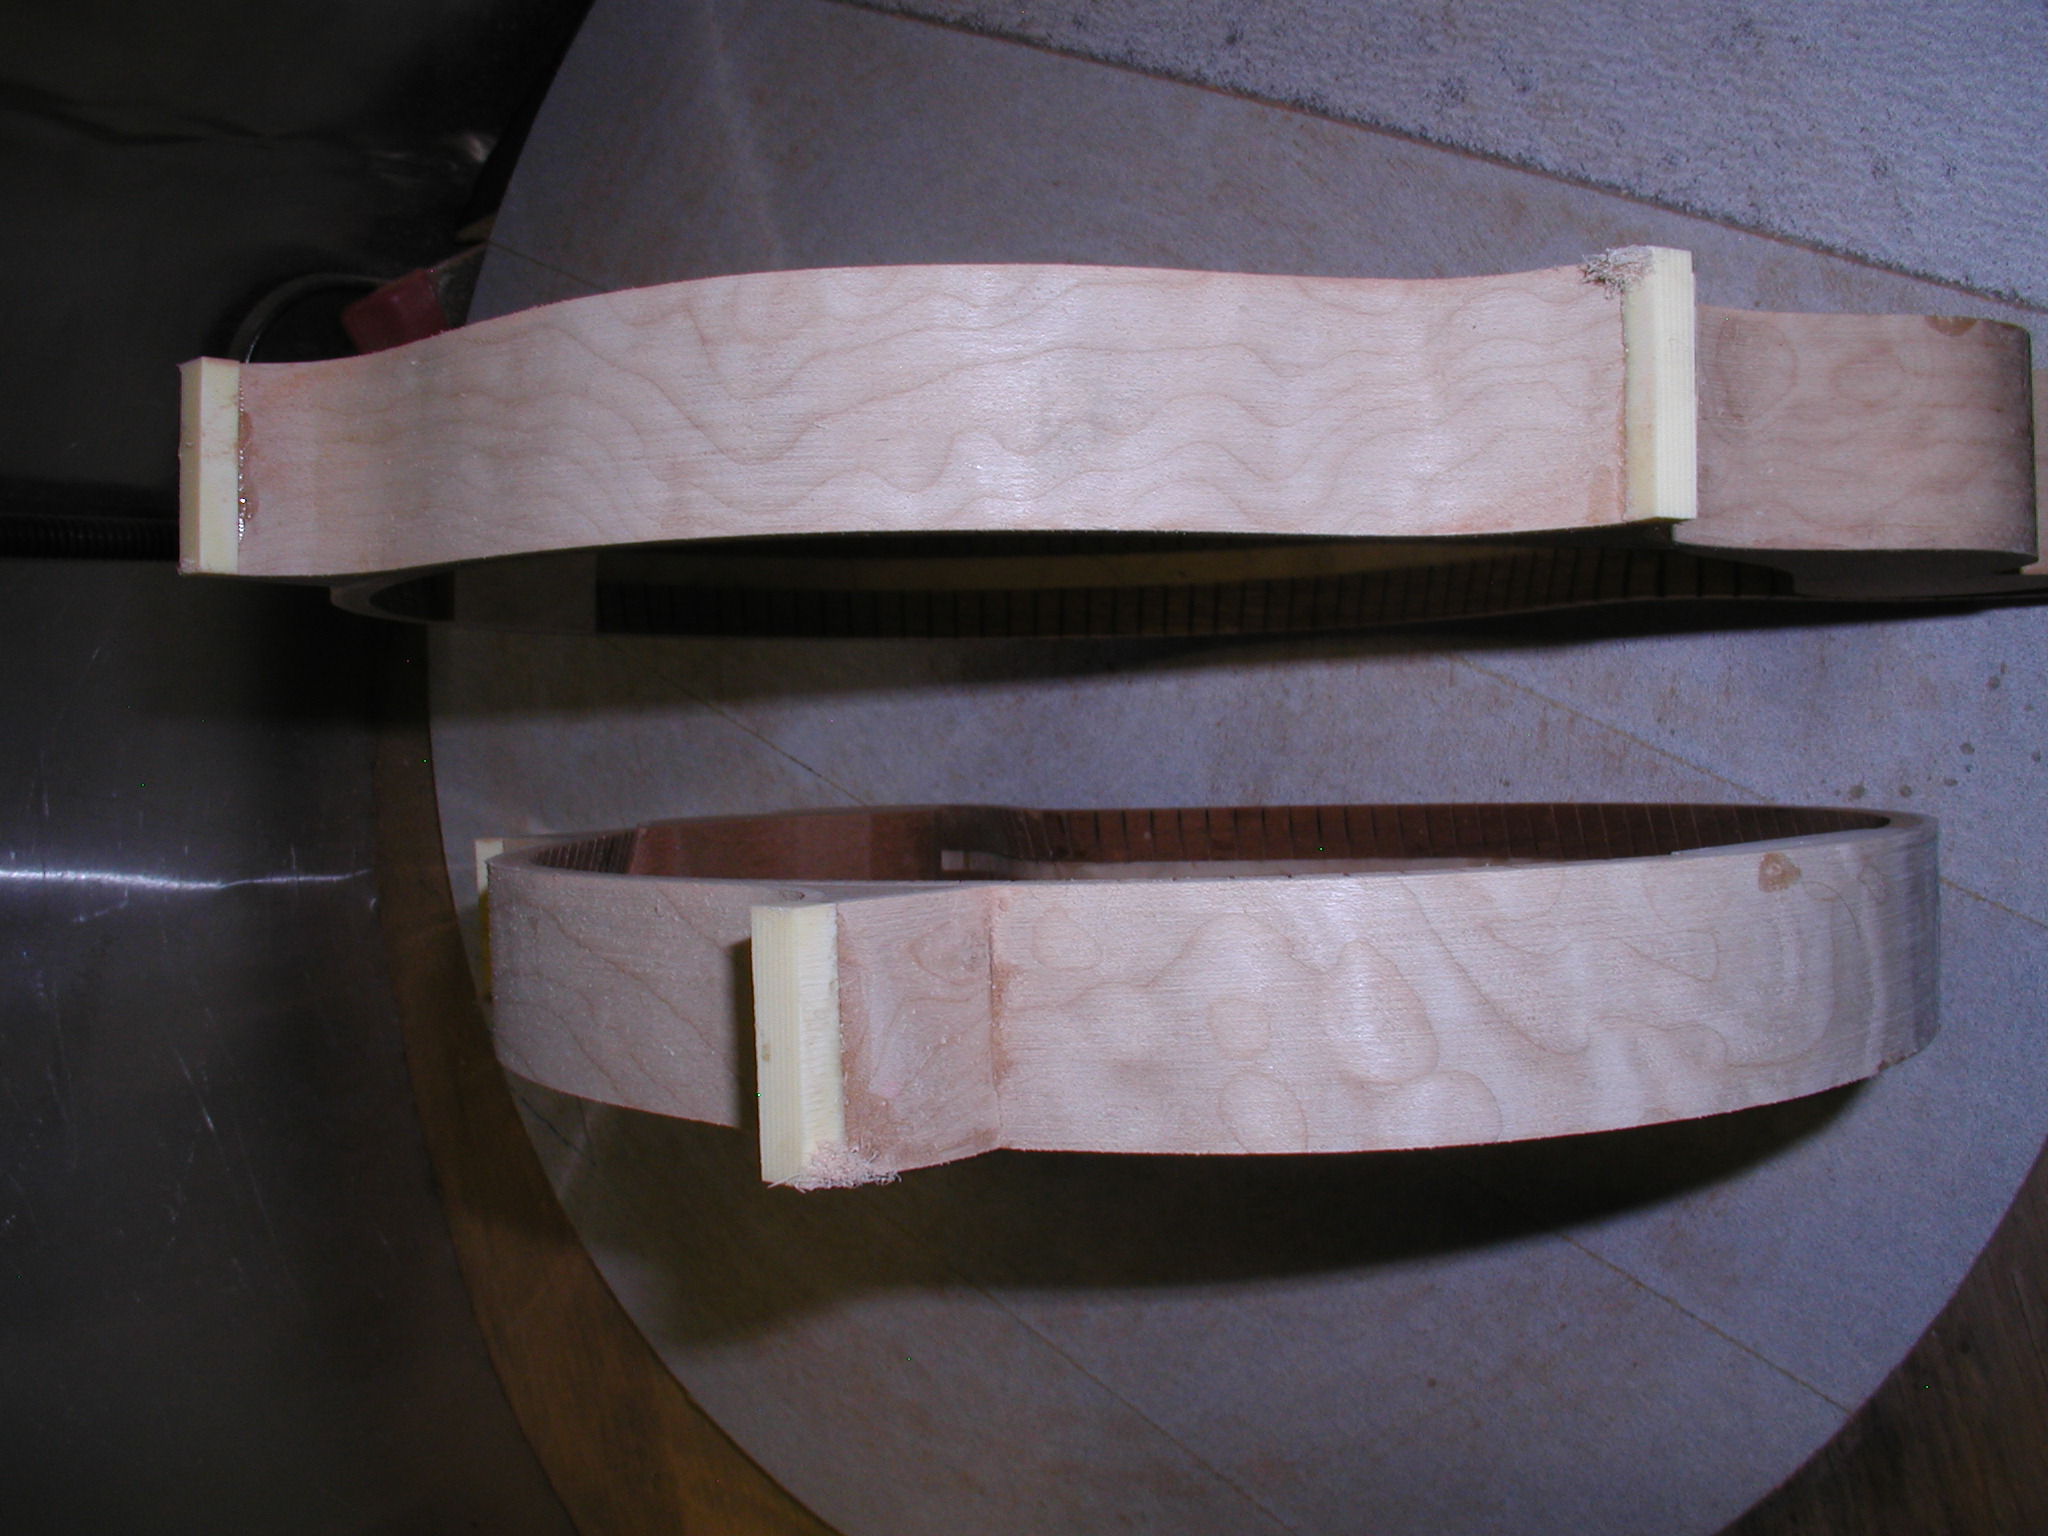
Then back to the sanding disk and level everything off. I like to make a pencil line around the sides as a reference so I keep things square, we really just want to take off the bits of linings that are proud. So I make pencil cross-hatch marks on the blocks and linings so I can see when they are all sanded true.
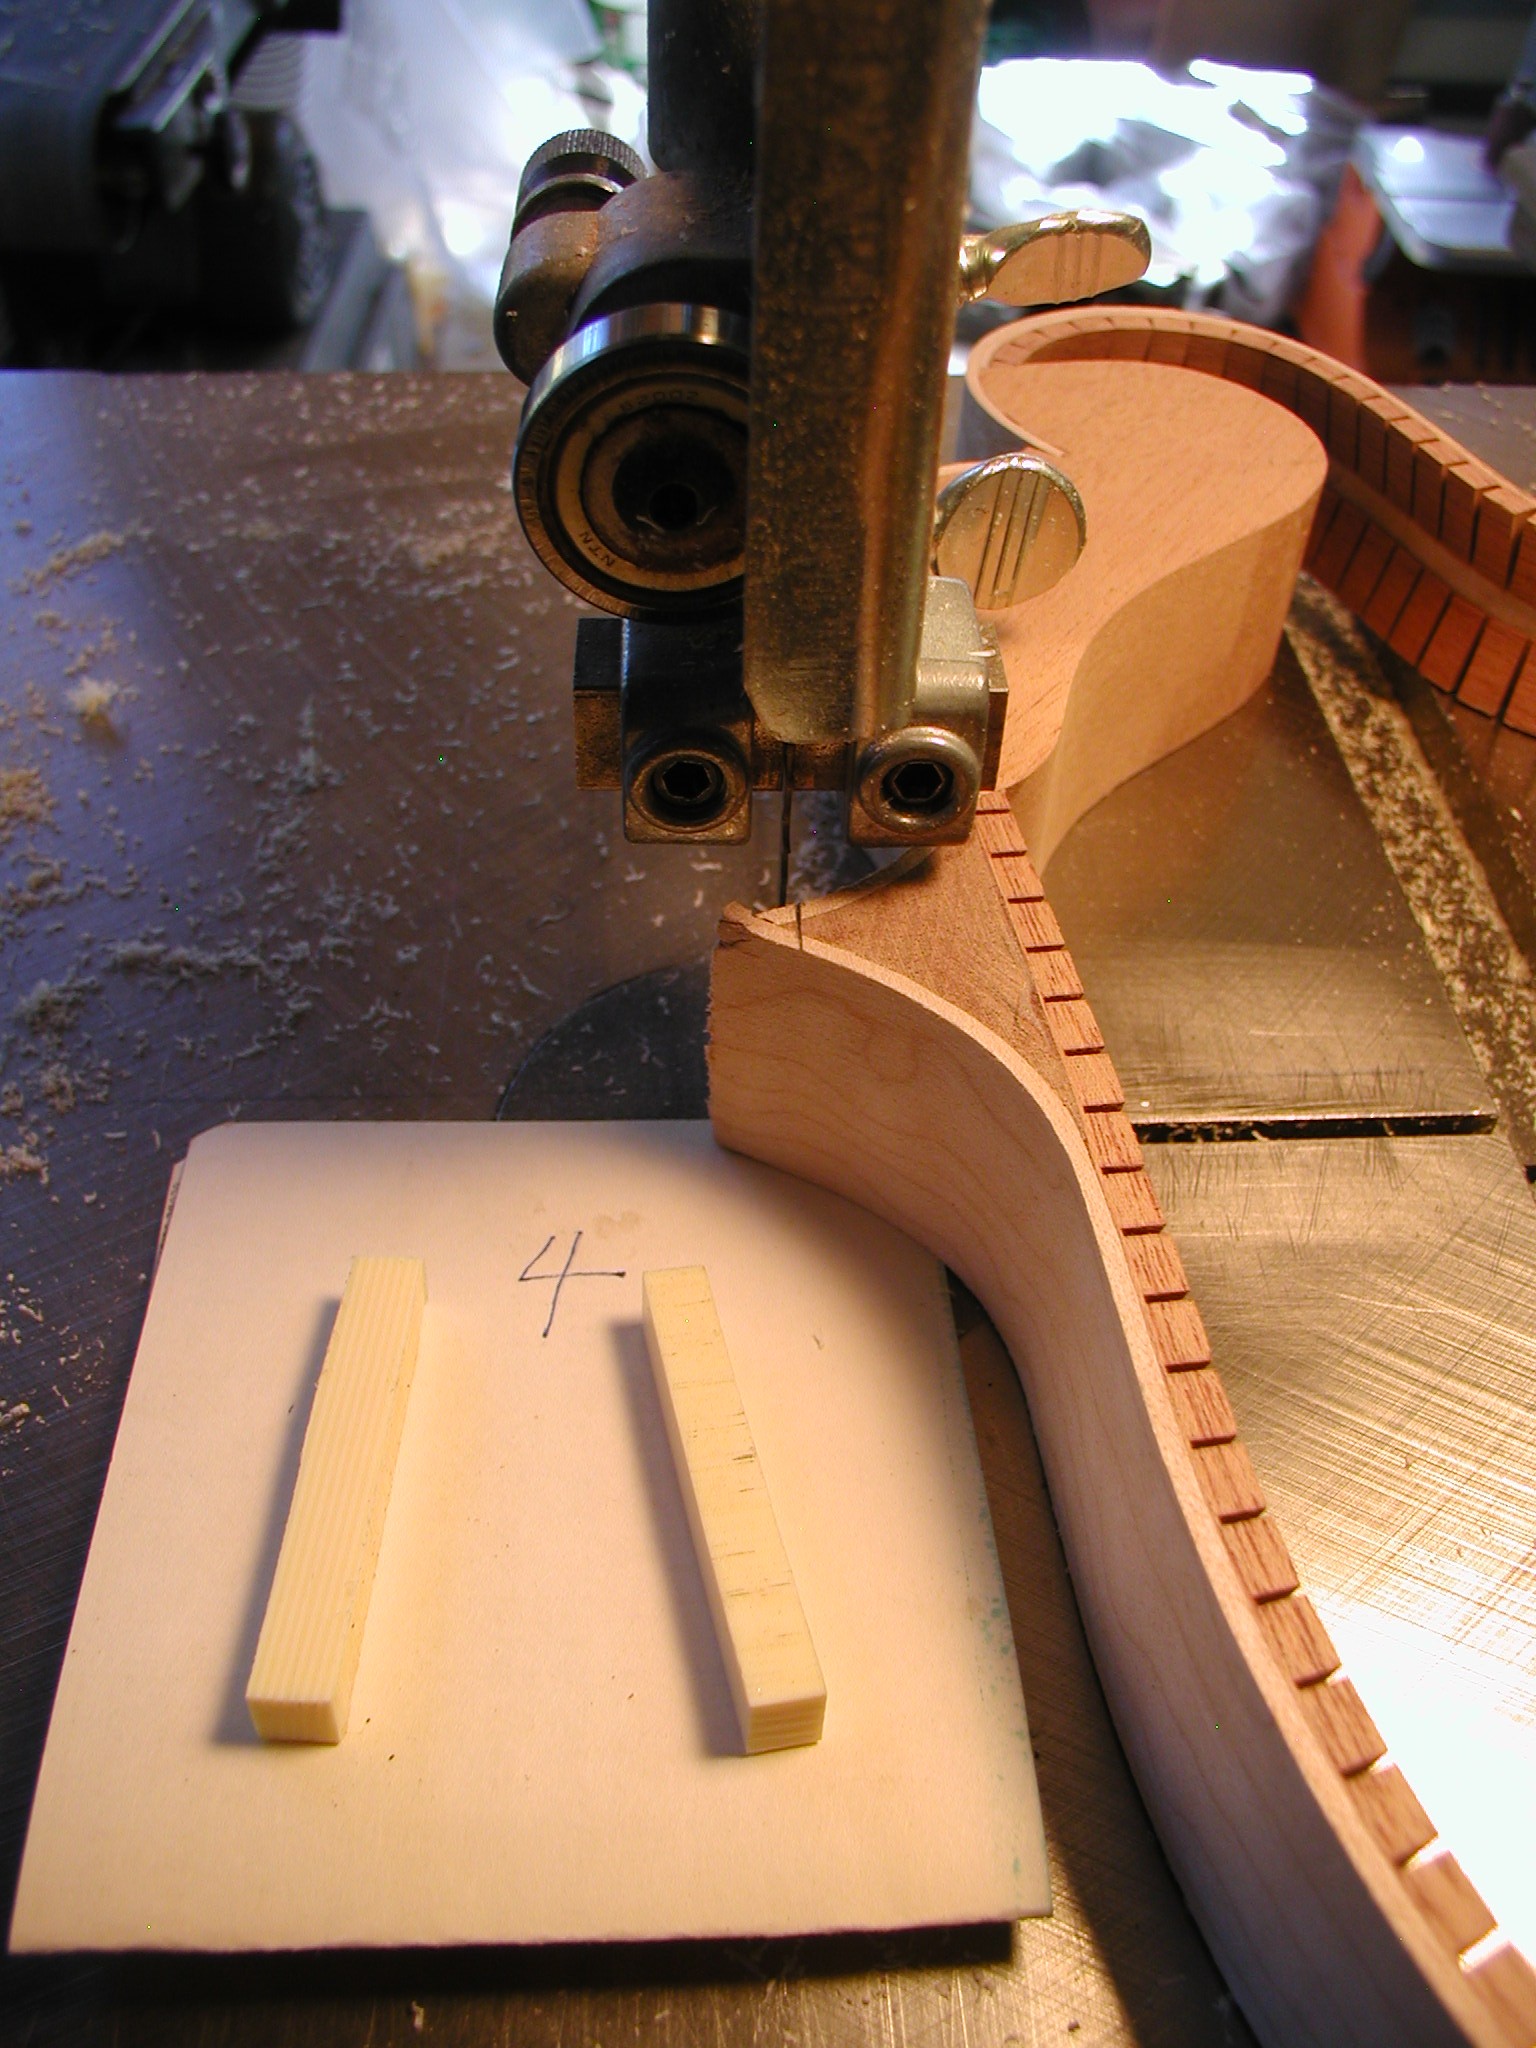
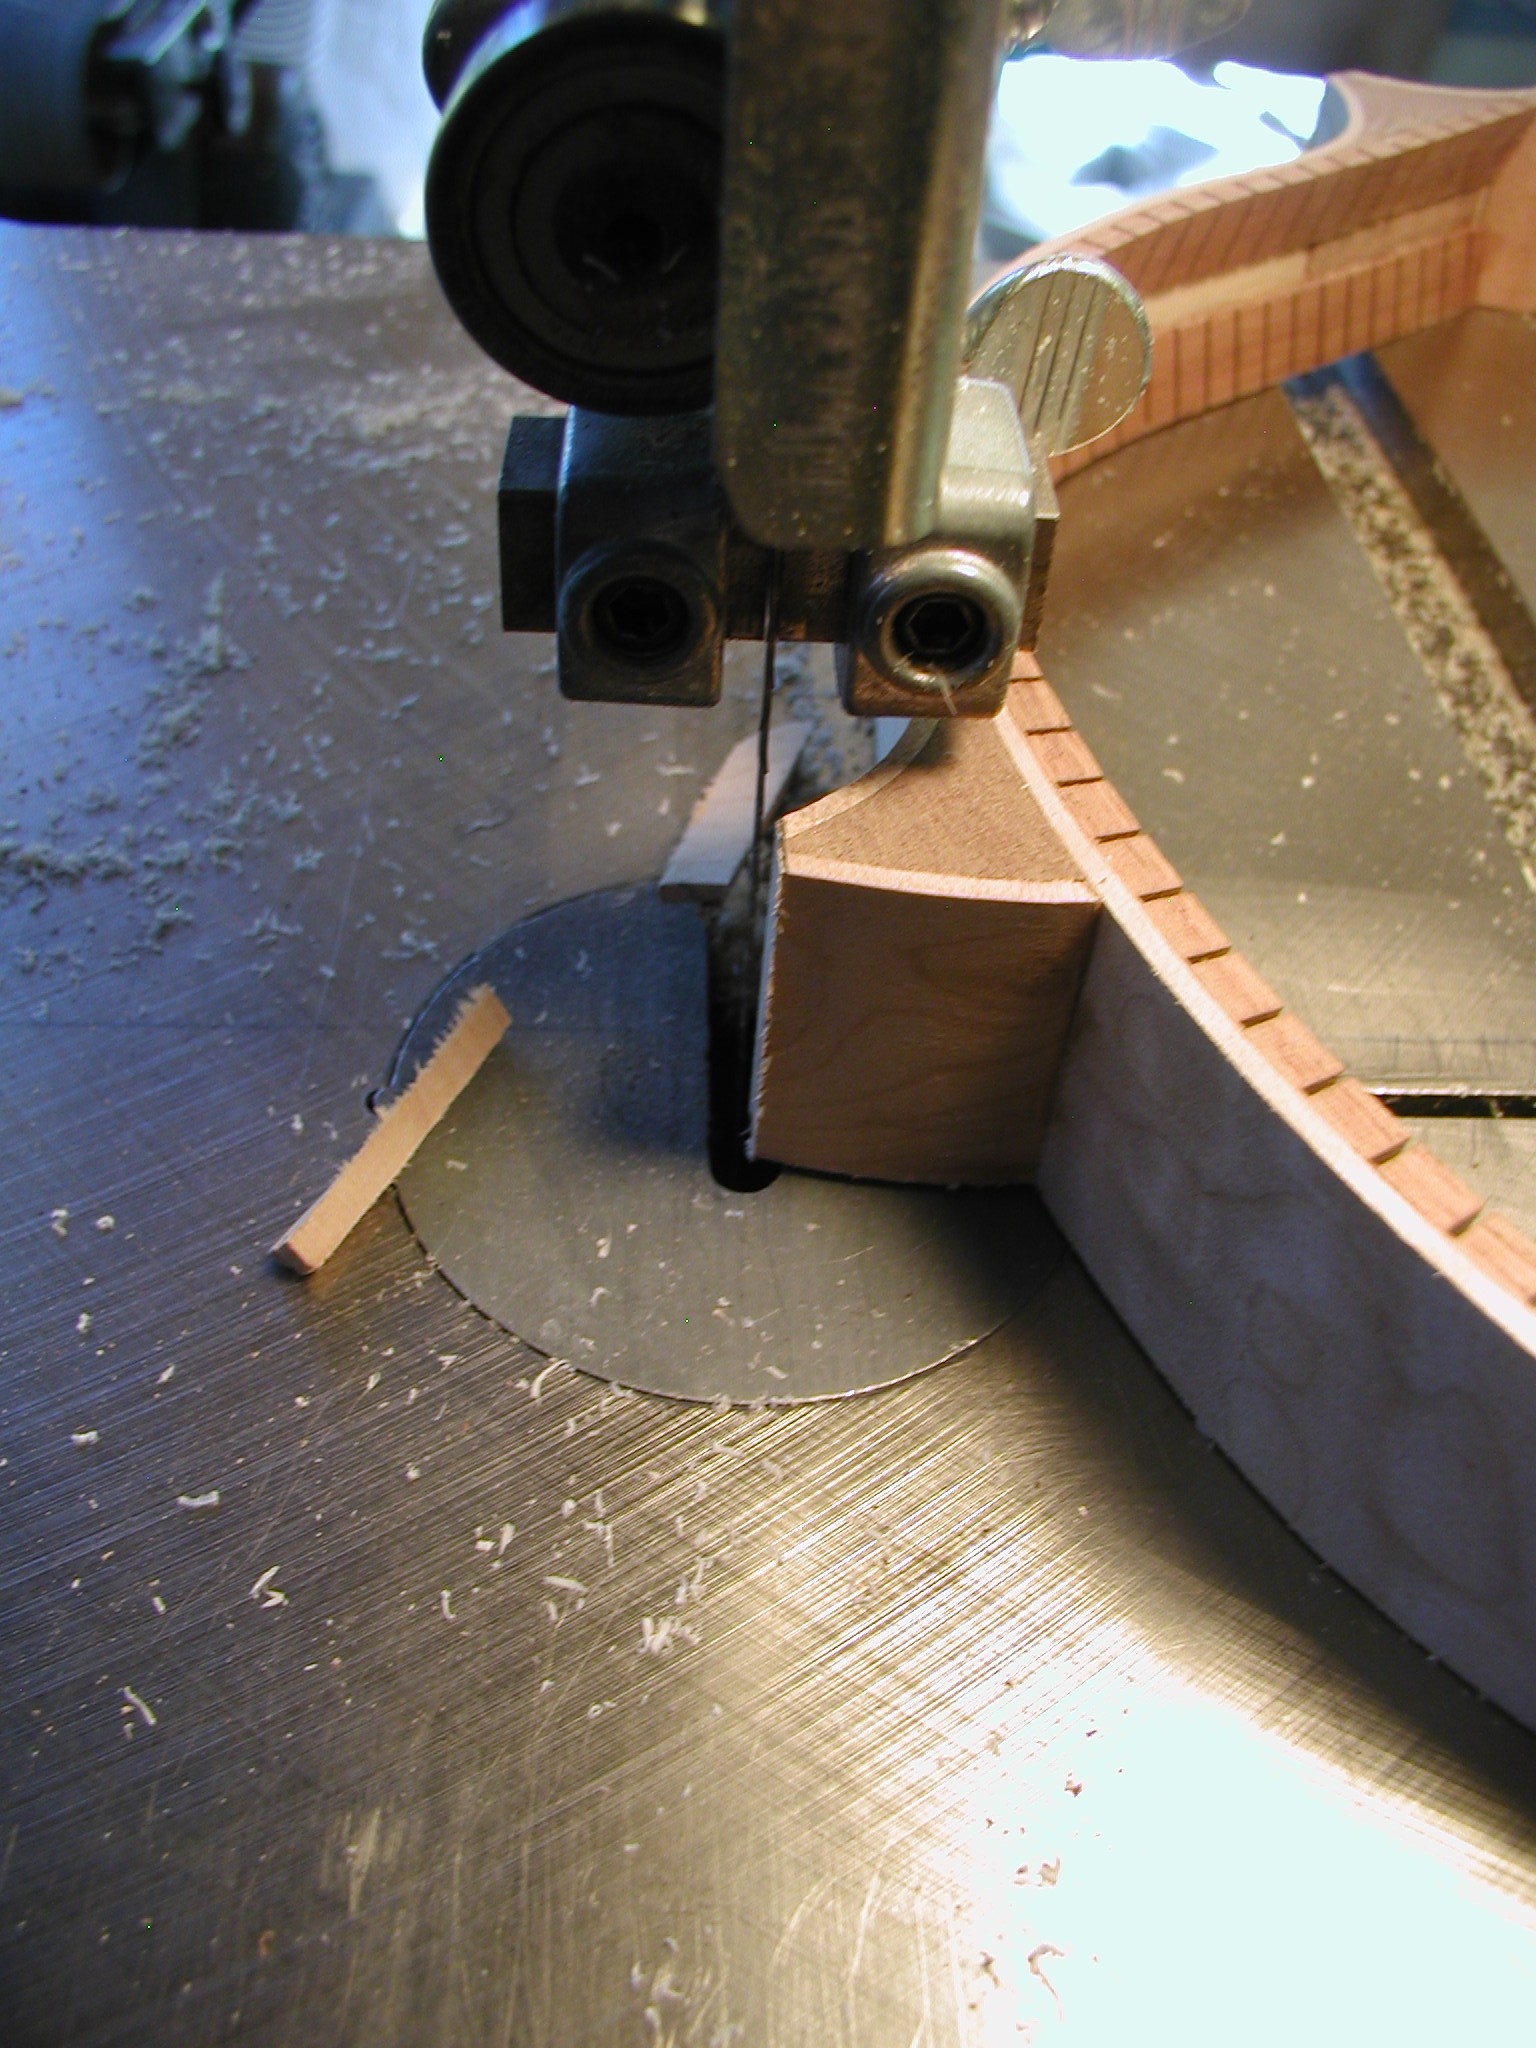
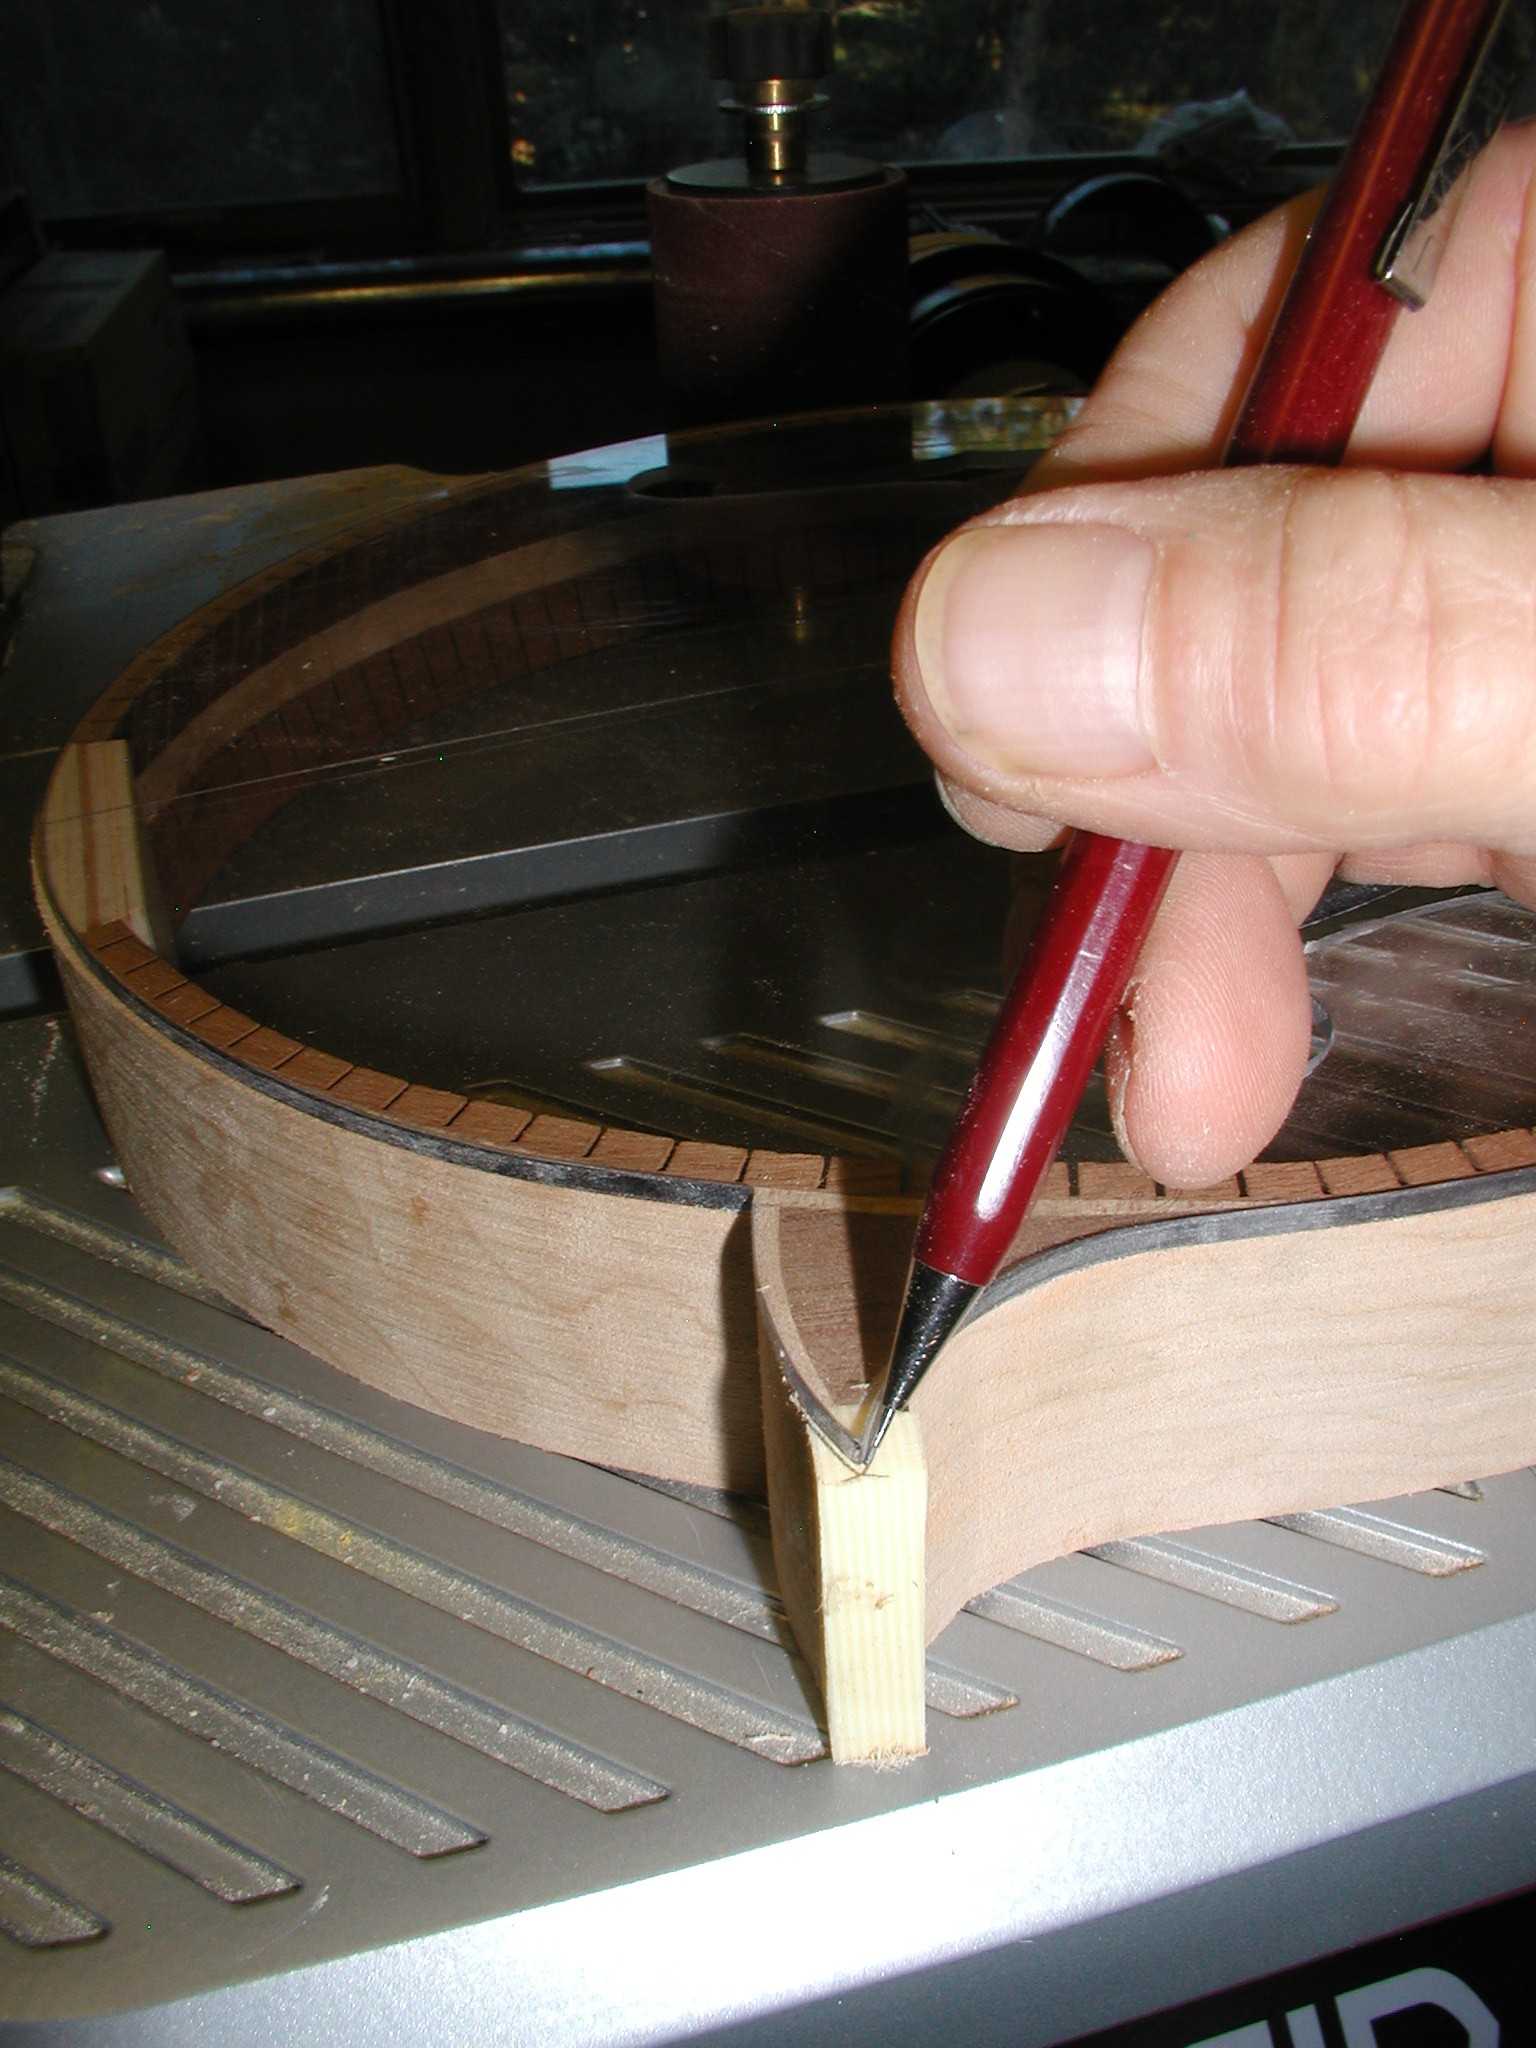
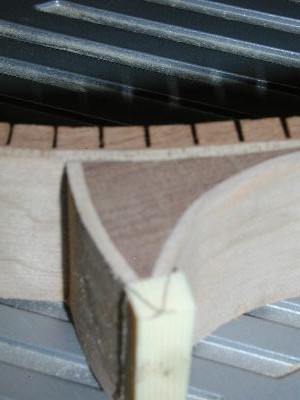
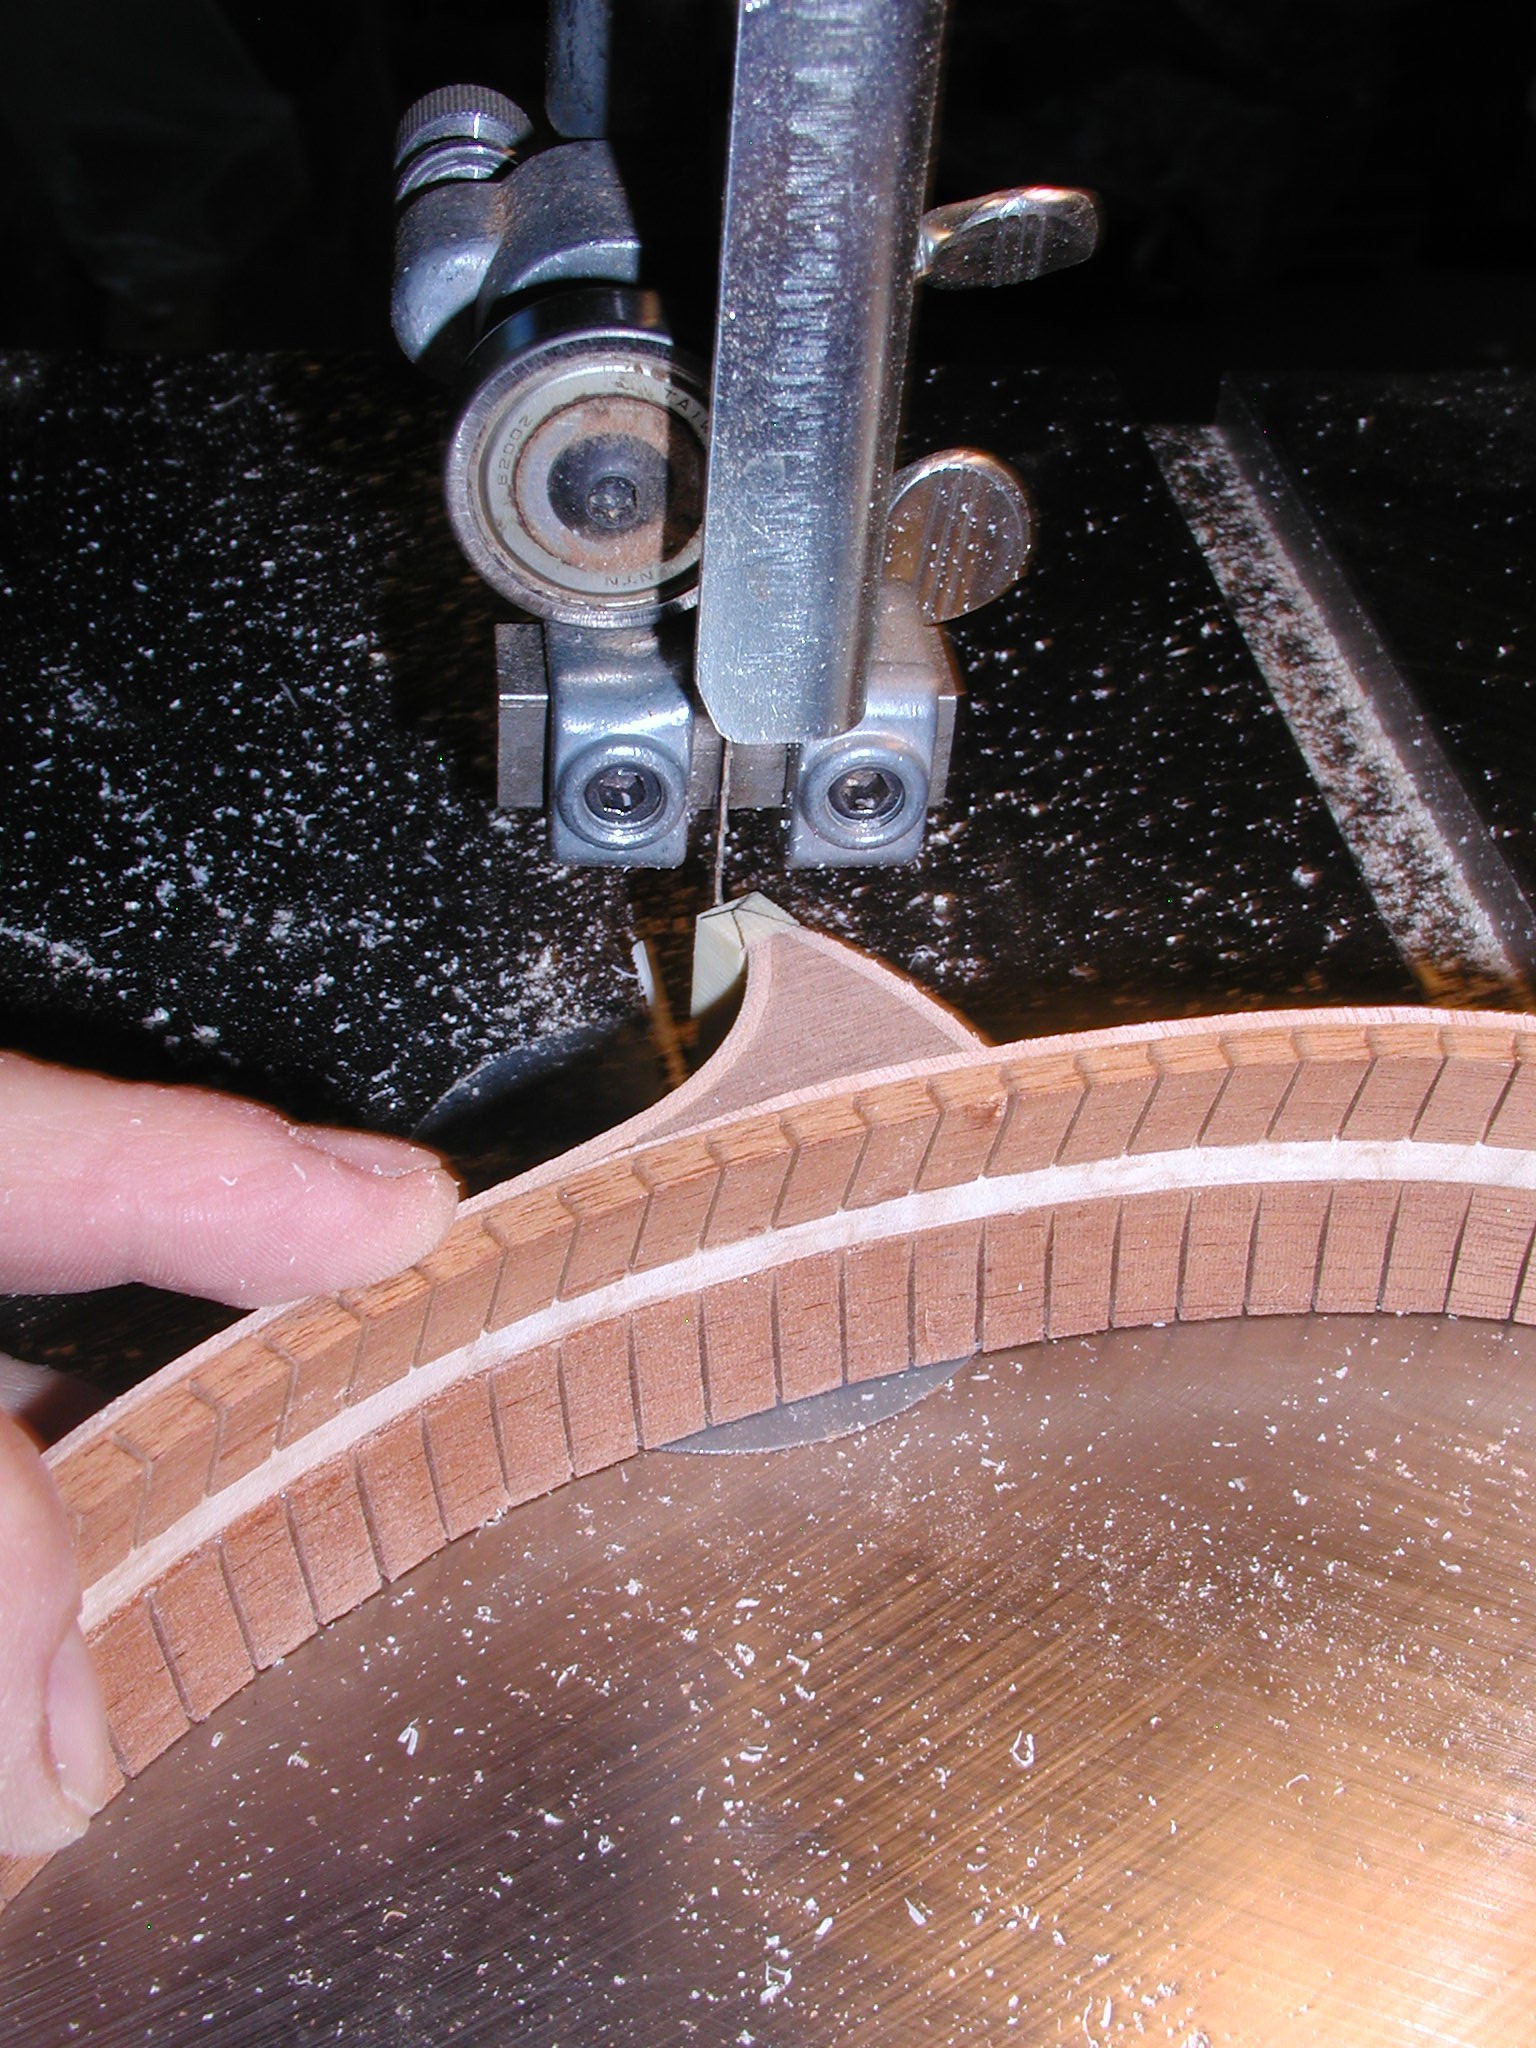
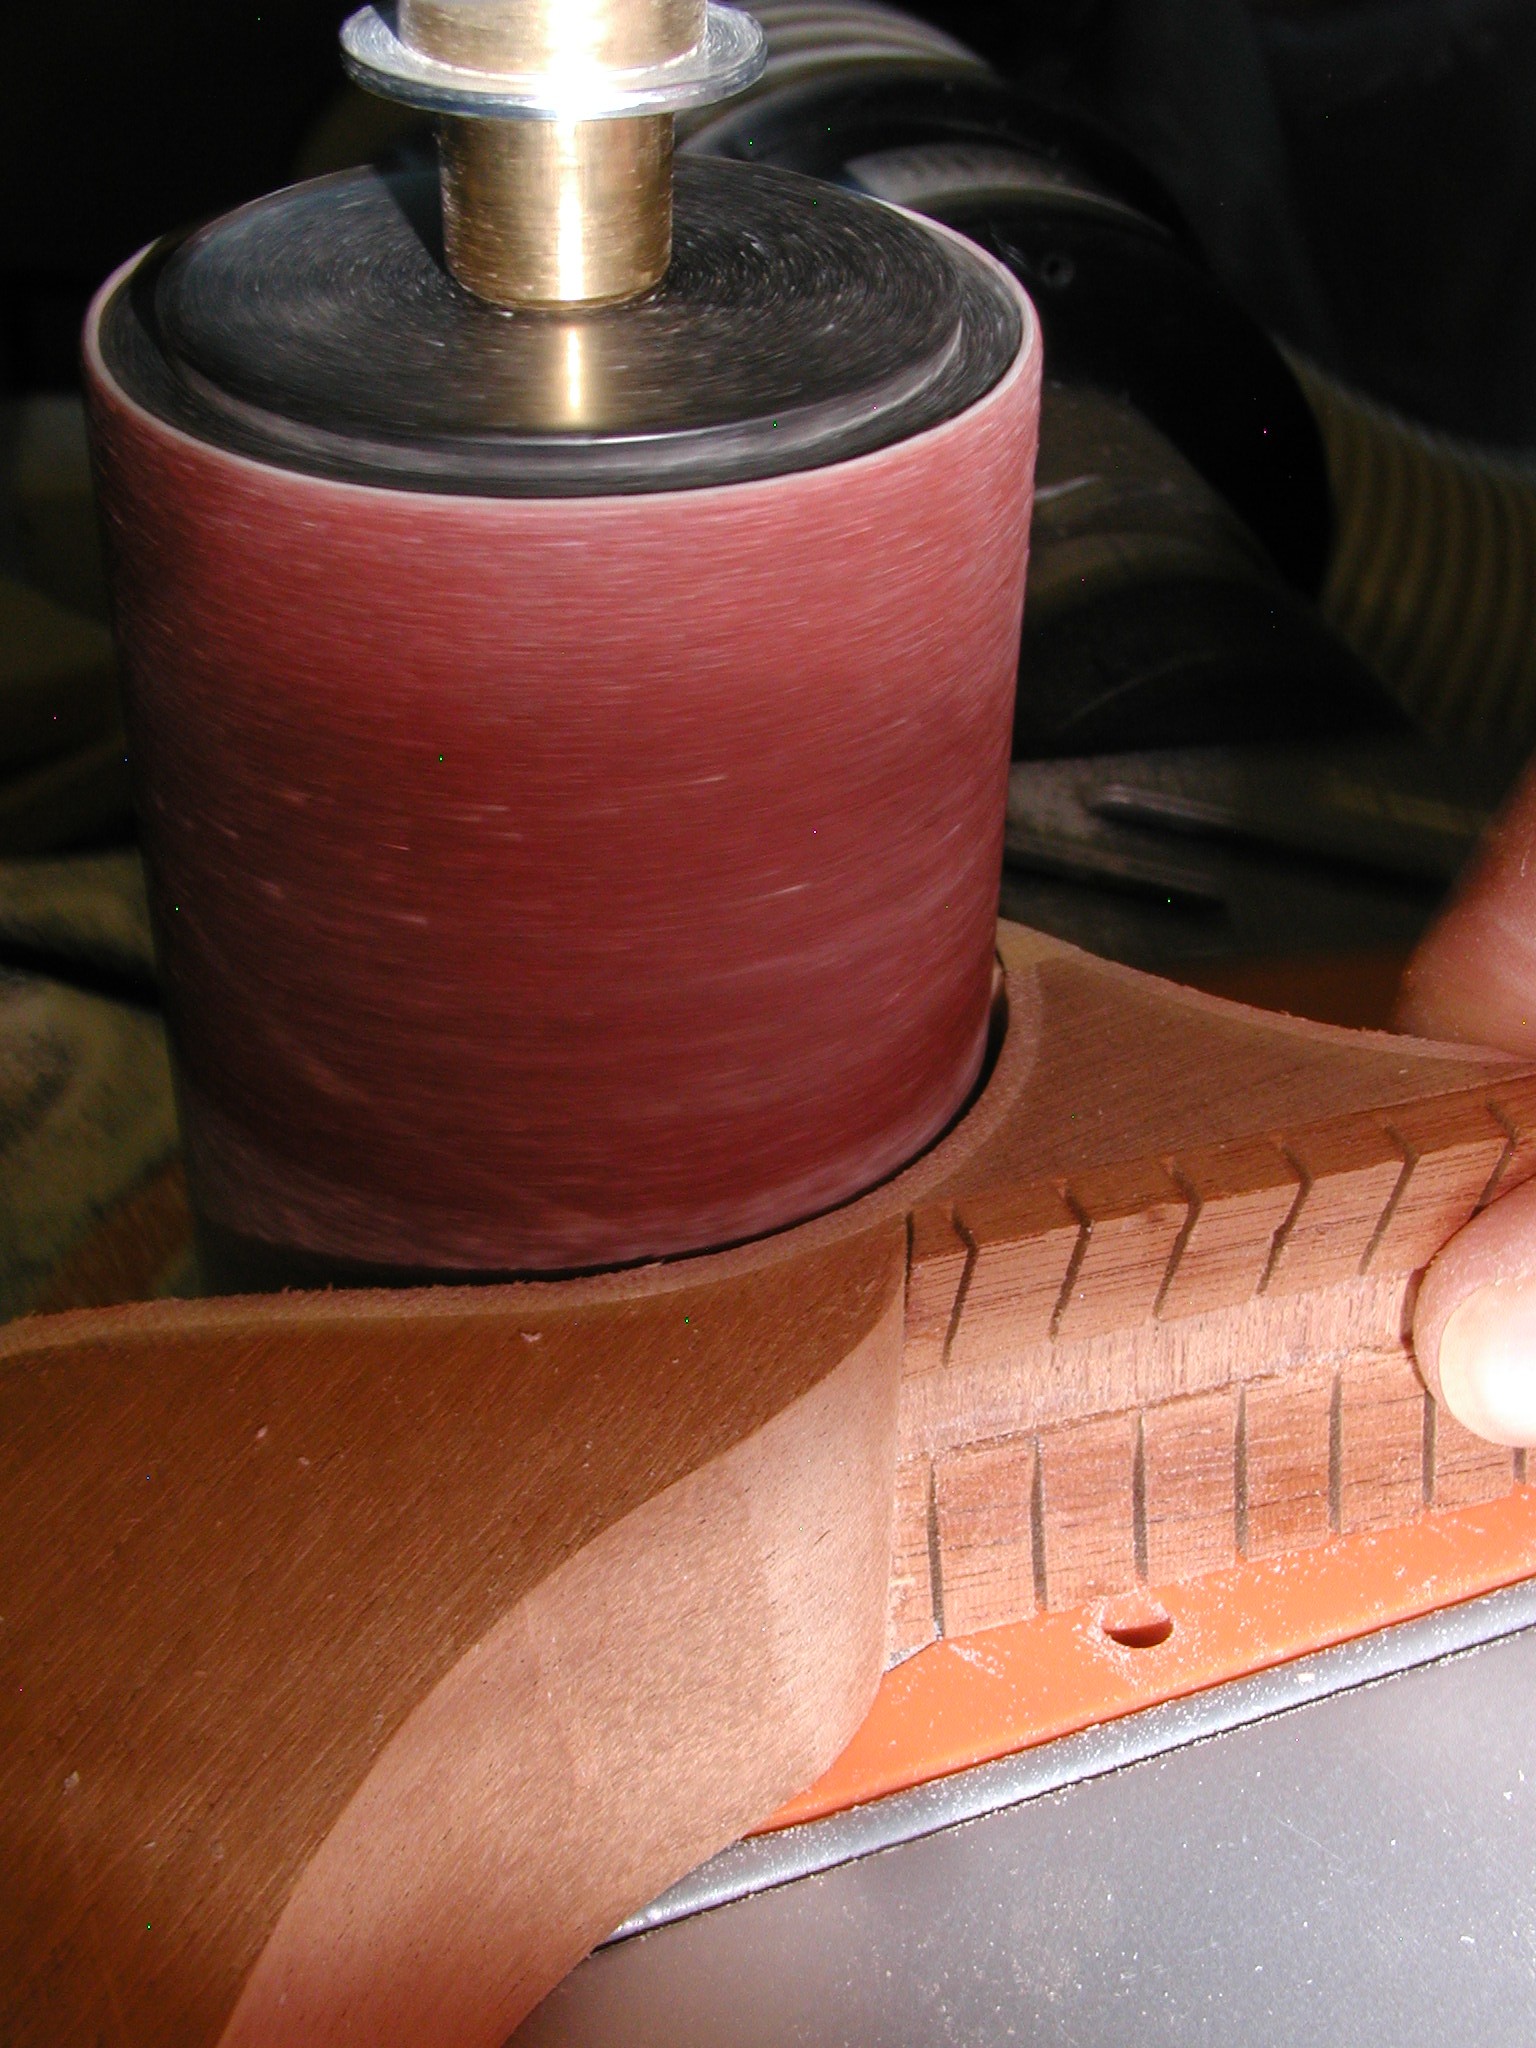
Points! Here I'm using the same celluloid that I use for the binding but you can also use things like bone or corian. If you use bone be careful after it is all done to seal it with some shellac so it doesn't get dirty. The sequence of steps are pretty much self explanatory but some comments. I'm using Duco to glue the points on because they are celluloid, use lots to make sure the end grain doesn't soak it all up. When you trim them to profile on the bandsaw, do it with a smooth quick cut. If you linger or trim slowly it can heat up and catch fire! Really! It is nitrocellulose after all. When sanding just take quick touches and you will be OK. On the sanding disk I do the same trick of cross-hatching the point blocks and sand till I just remove the marks.
1 2 3 4 5 6 7 8 8a 9 10 11 11a 11b 12 12a 13 14 15 16 17 18 19 20