Let's Build A Mandolin (Page 15)
1 2 3 4 5 6 7 8 8a 9 10 11 11a 11b 12 12a 13 14 15 16 17 18 19 20
Last Modified - April 2012 (©Alan Dunwell 2012)
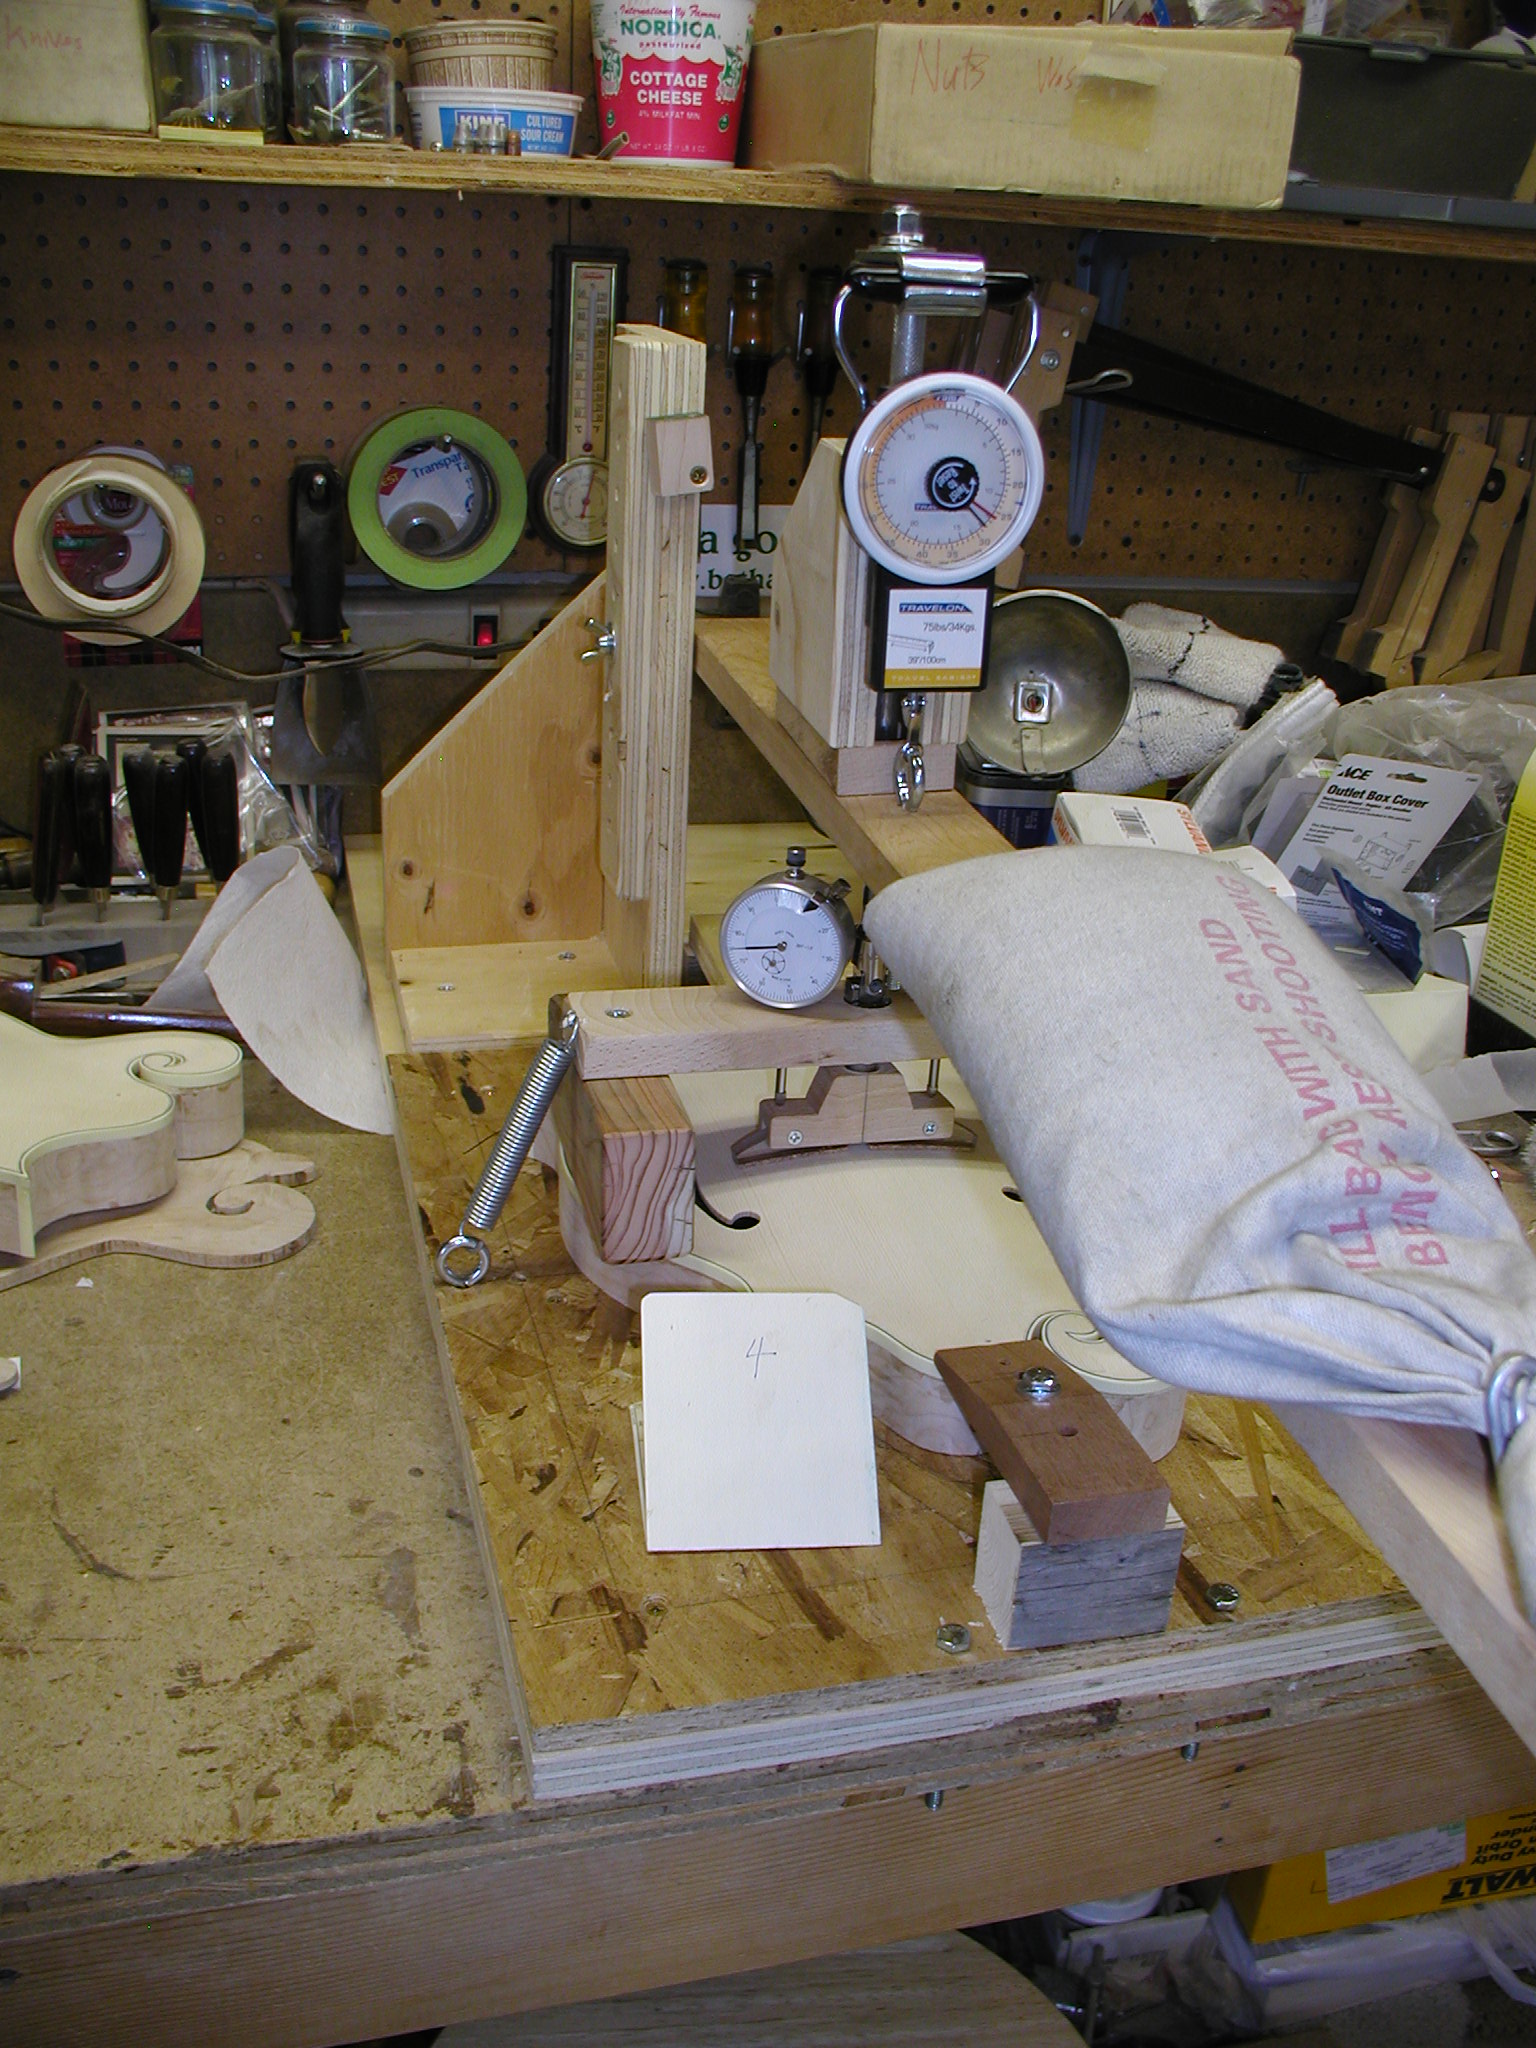
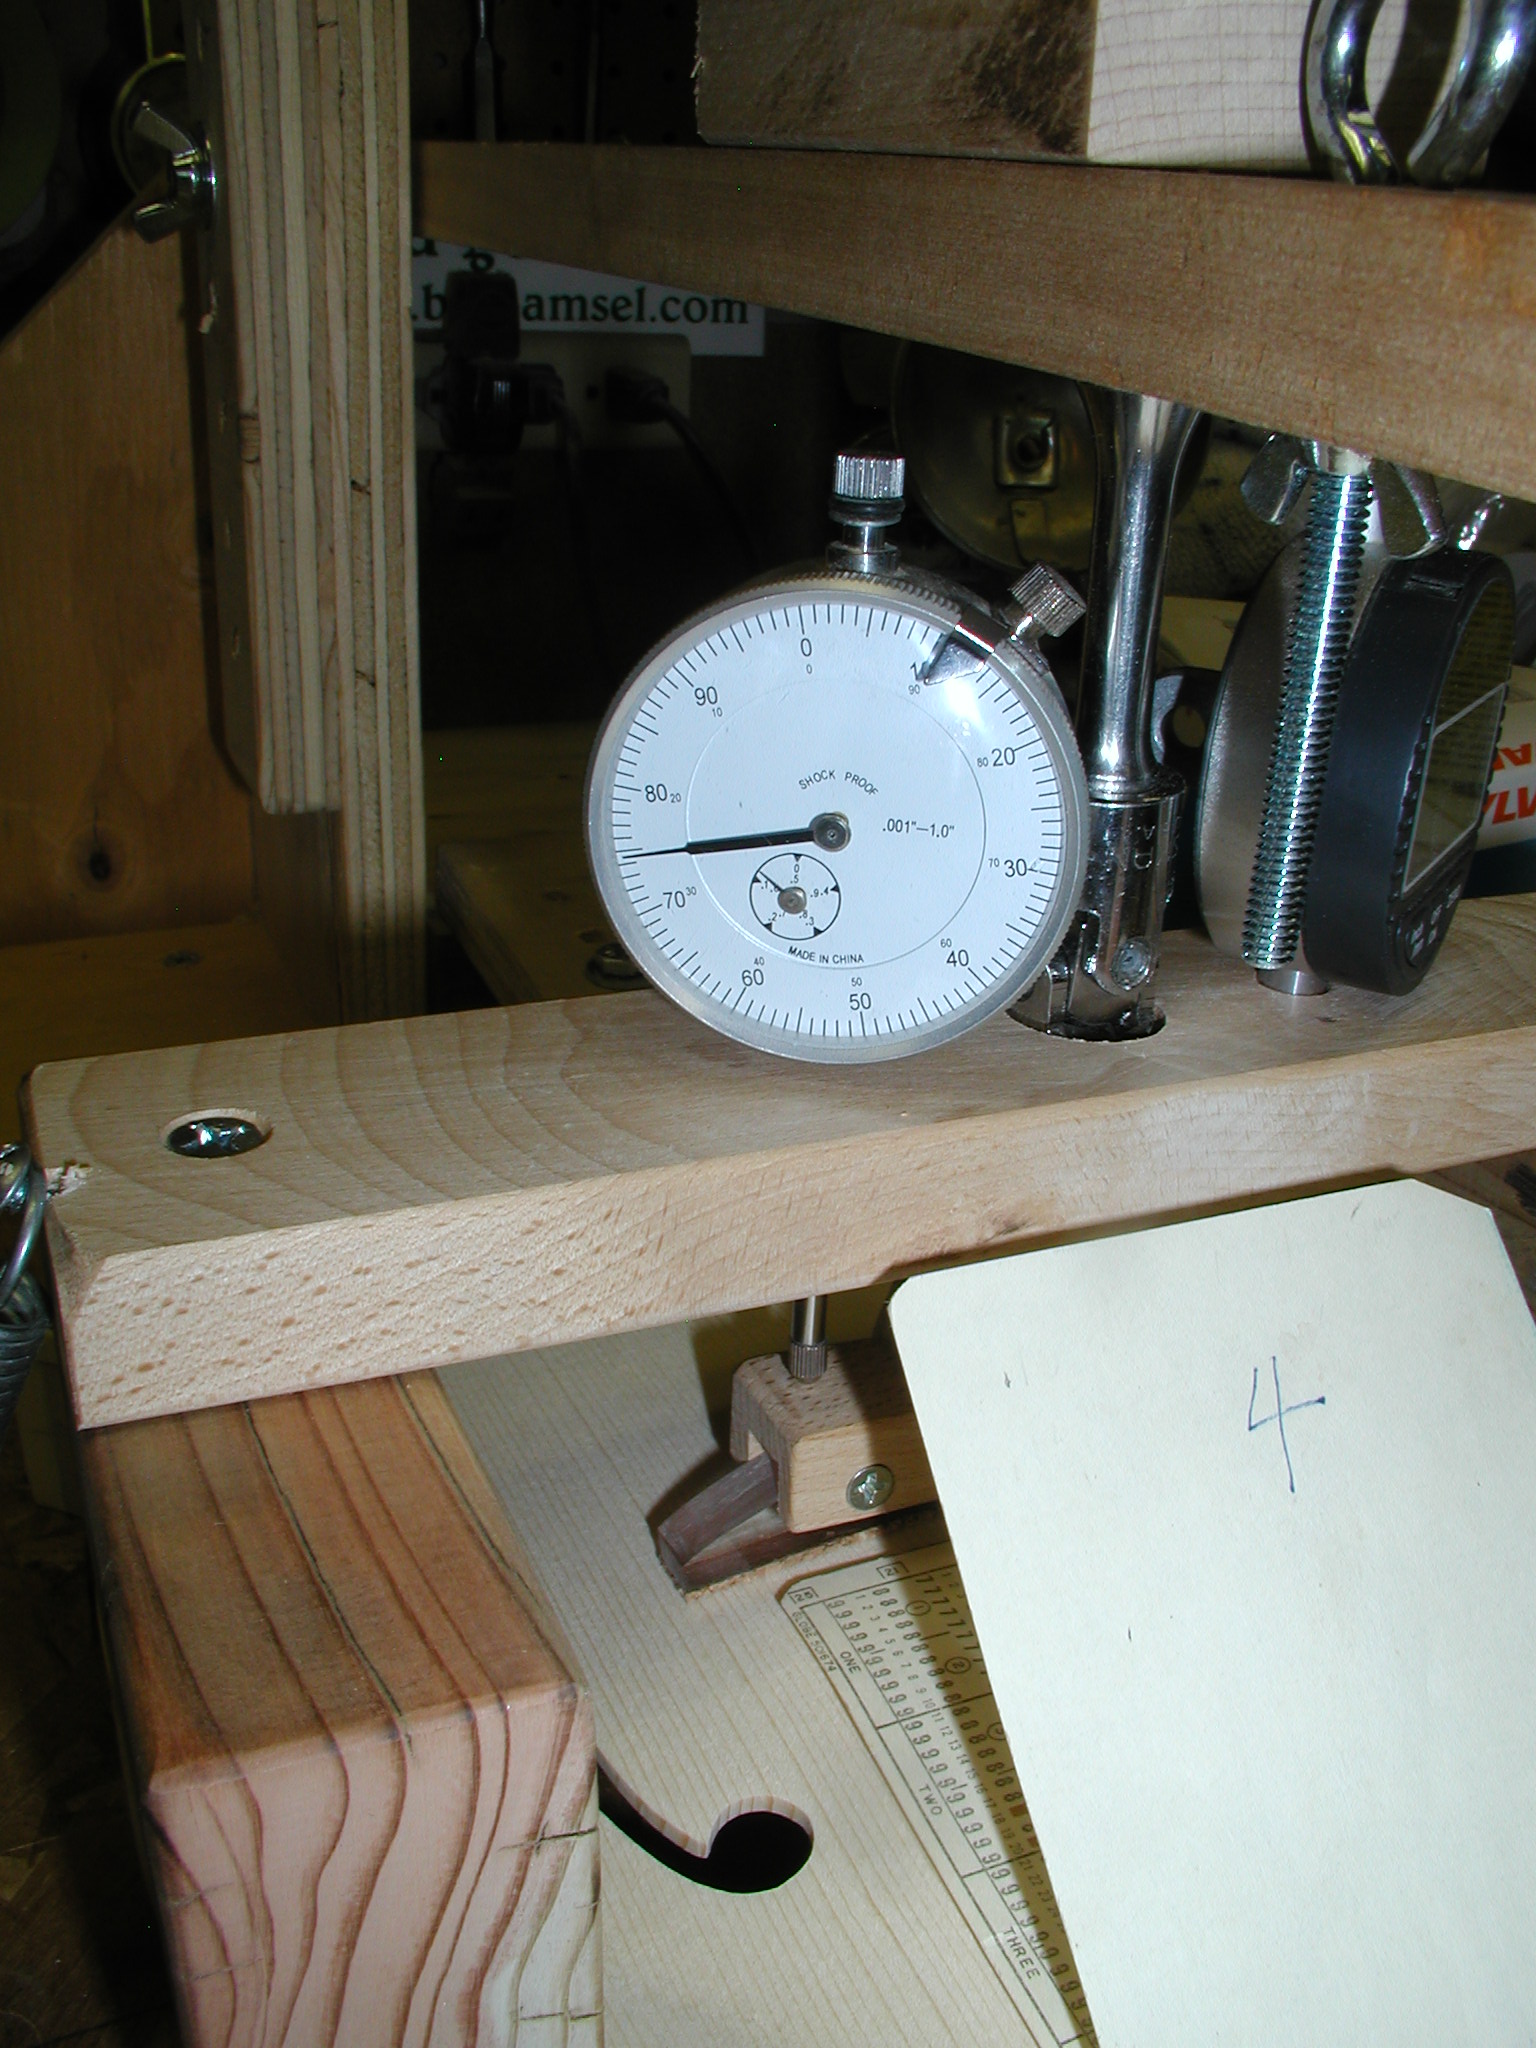
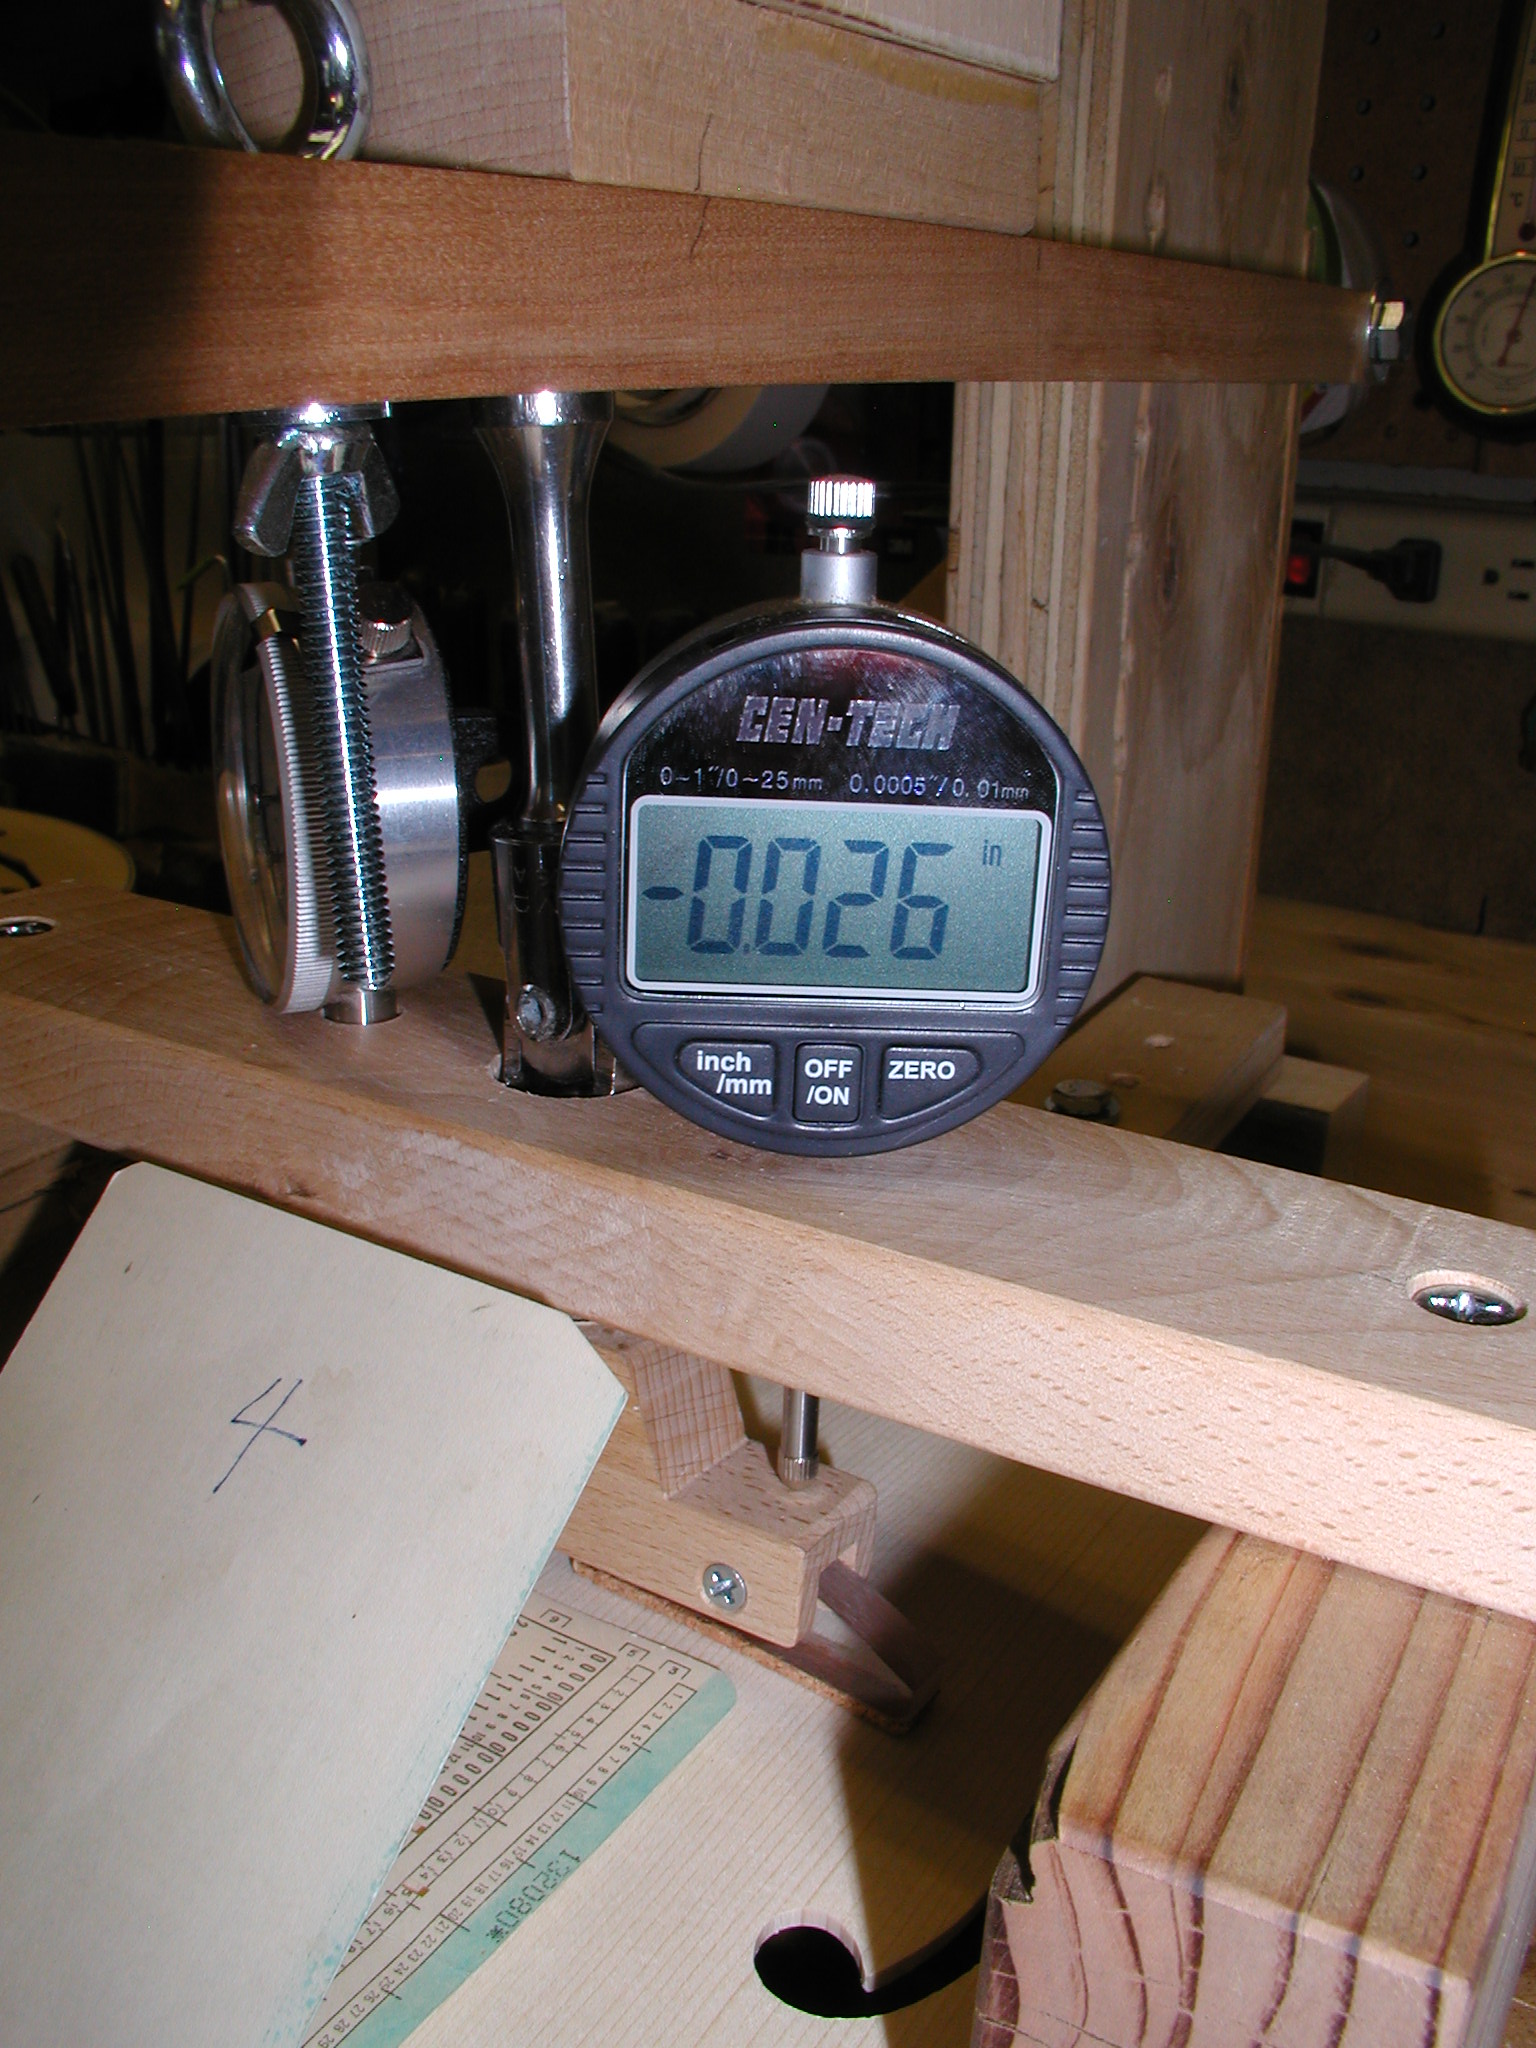
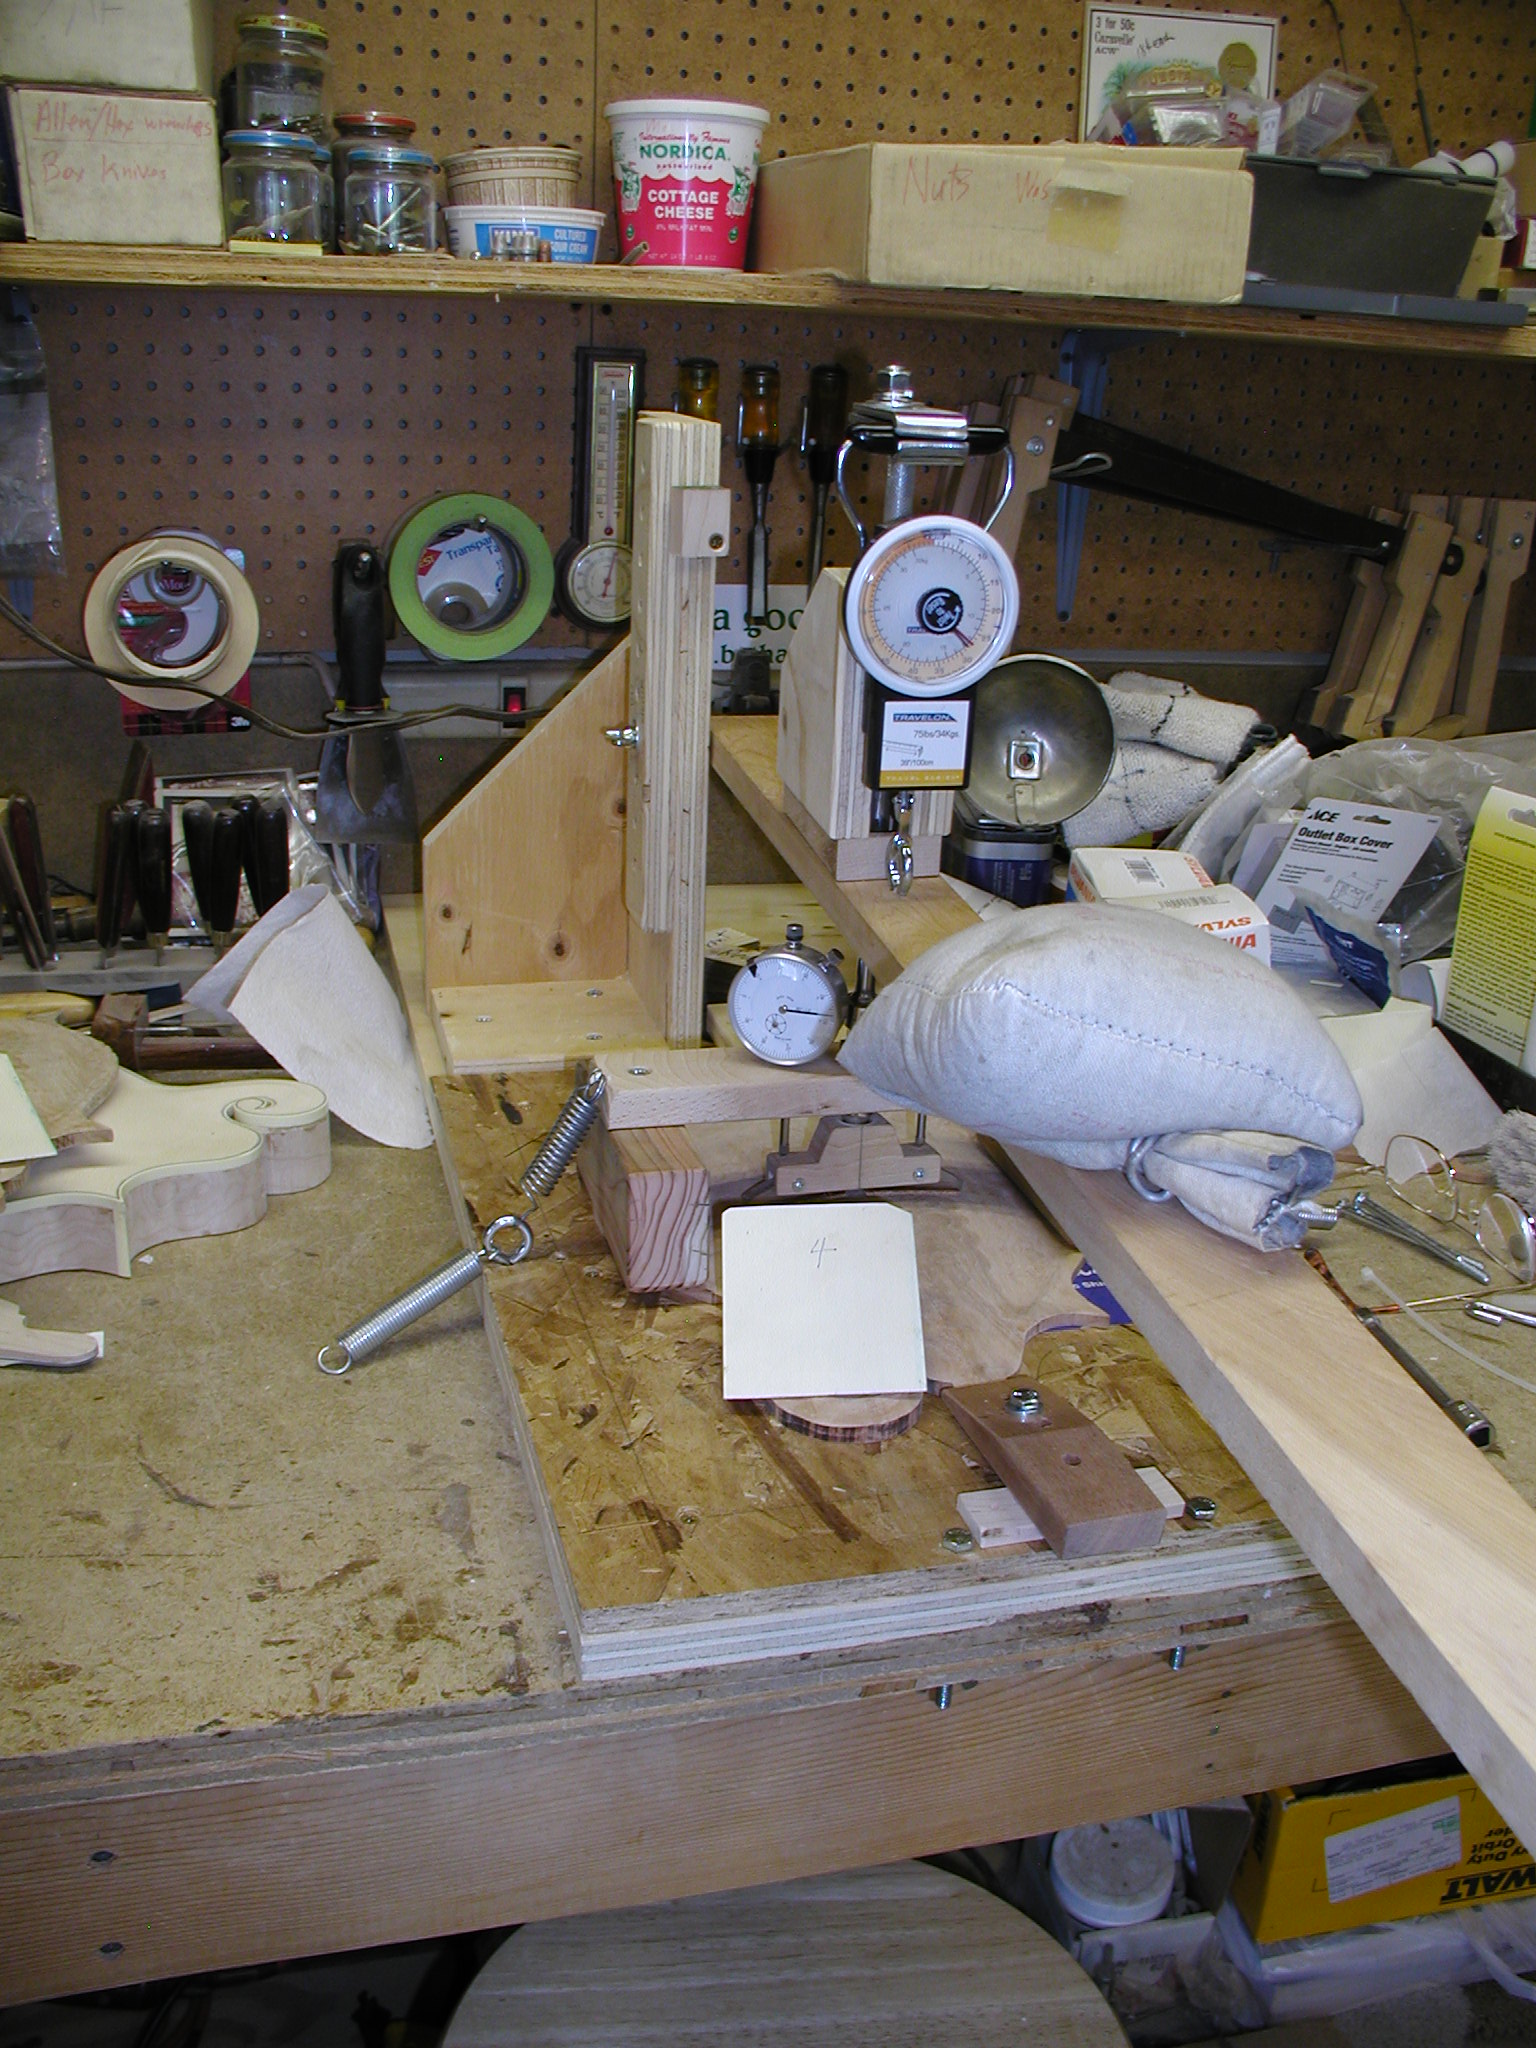
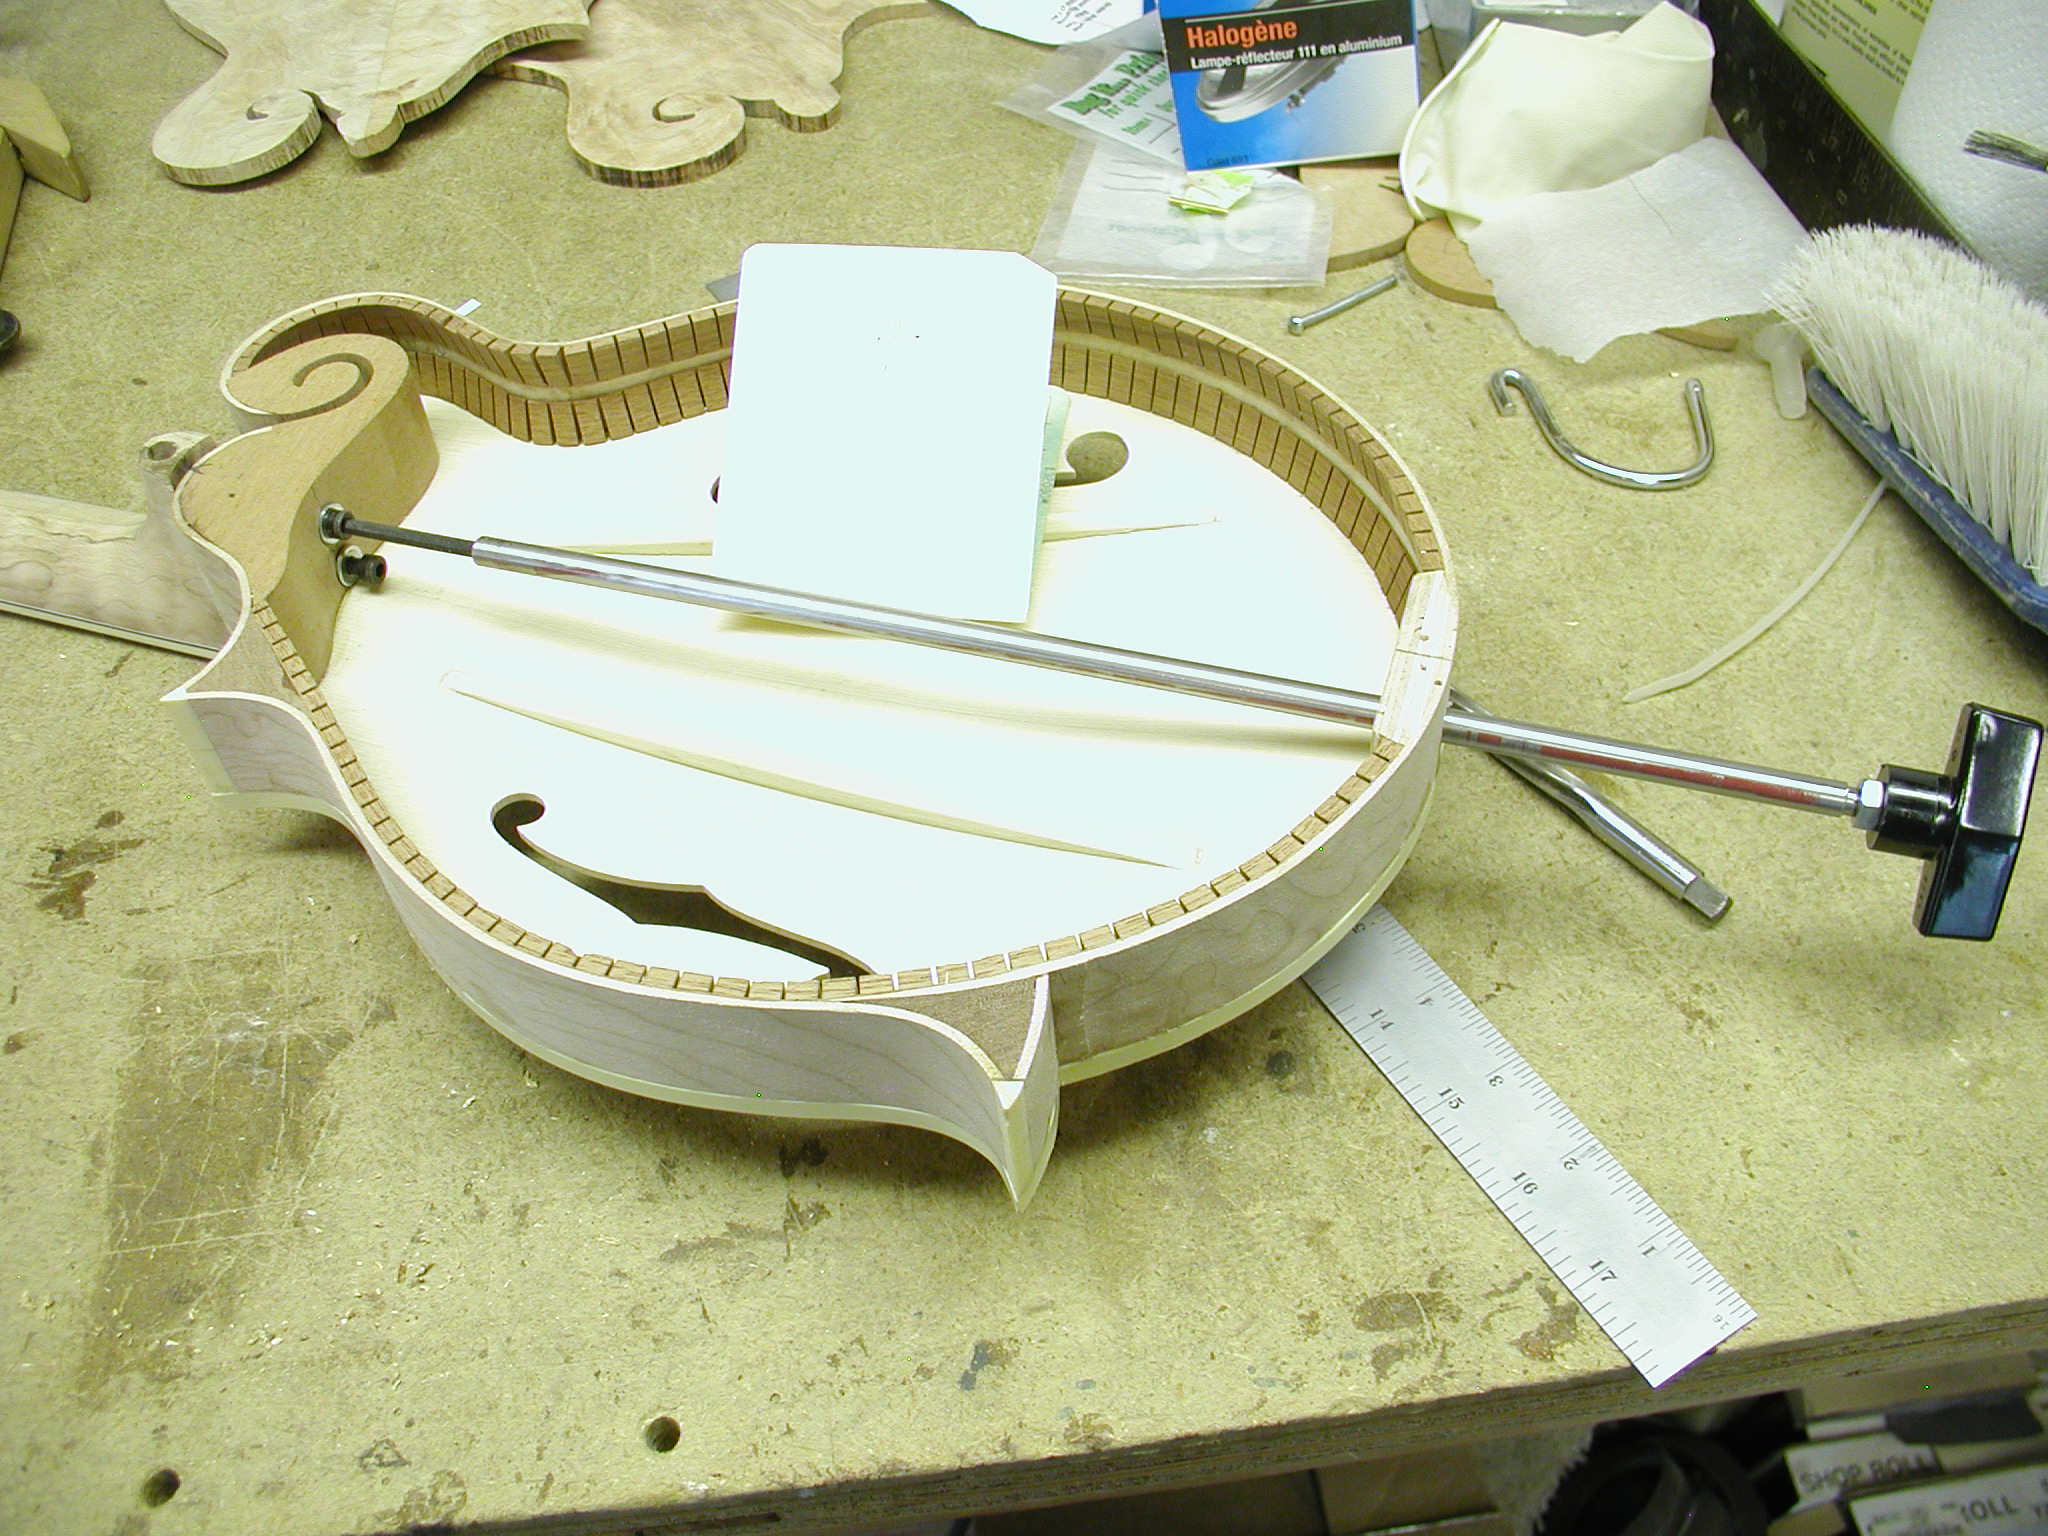
In Page 14 we got through carving the back plate. Now it is time to run some tests and measurements before we close up the box. The rig I use is a modified version of Don McRostie's setup. For more details on how this is made and its operation, look HERE. The basic idea is to have a lever arm that can be pressed/weighted to a known amount that applies the pressure to the center of the plate via a flexible pseudo-bridge. I weight to ~25-28lbs by positioning a bag of shot on the lever arm. I can scoot it in/out as needed to get the desired pressure read off the dial gauge at the top. Then I read the gauges, one on each side of the pseudo-bridge feet. I suppose I should get two of the same type, but when I first built it these were the gauges I had and they have kind of become part of the rig. The first set of photos is of the top attached to the ribs. The second is of the back by itself but clamped to the base board to keep it from expanding when under pressure. The values shown are very close to the deflections I shoot for, ~25 in the top and ~45 in the back. The top needs more stiffness to support the strings. Note that these deflection values are related to what I do and what graduations and plate thicknesses that I use. Your values may be different. You need to record data and then evaluated the instrument and apply the results to the next instrument. It is a continuous process of taking data and evaluation, not a fixed/dried process.

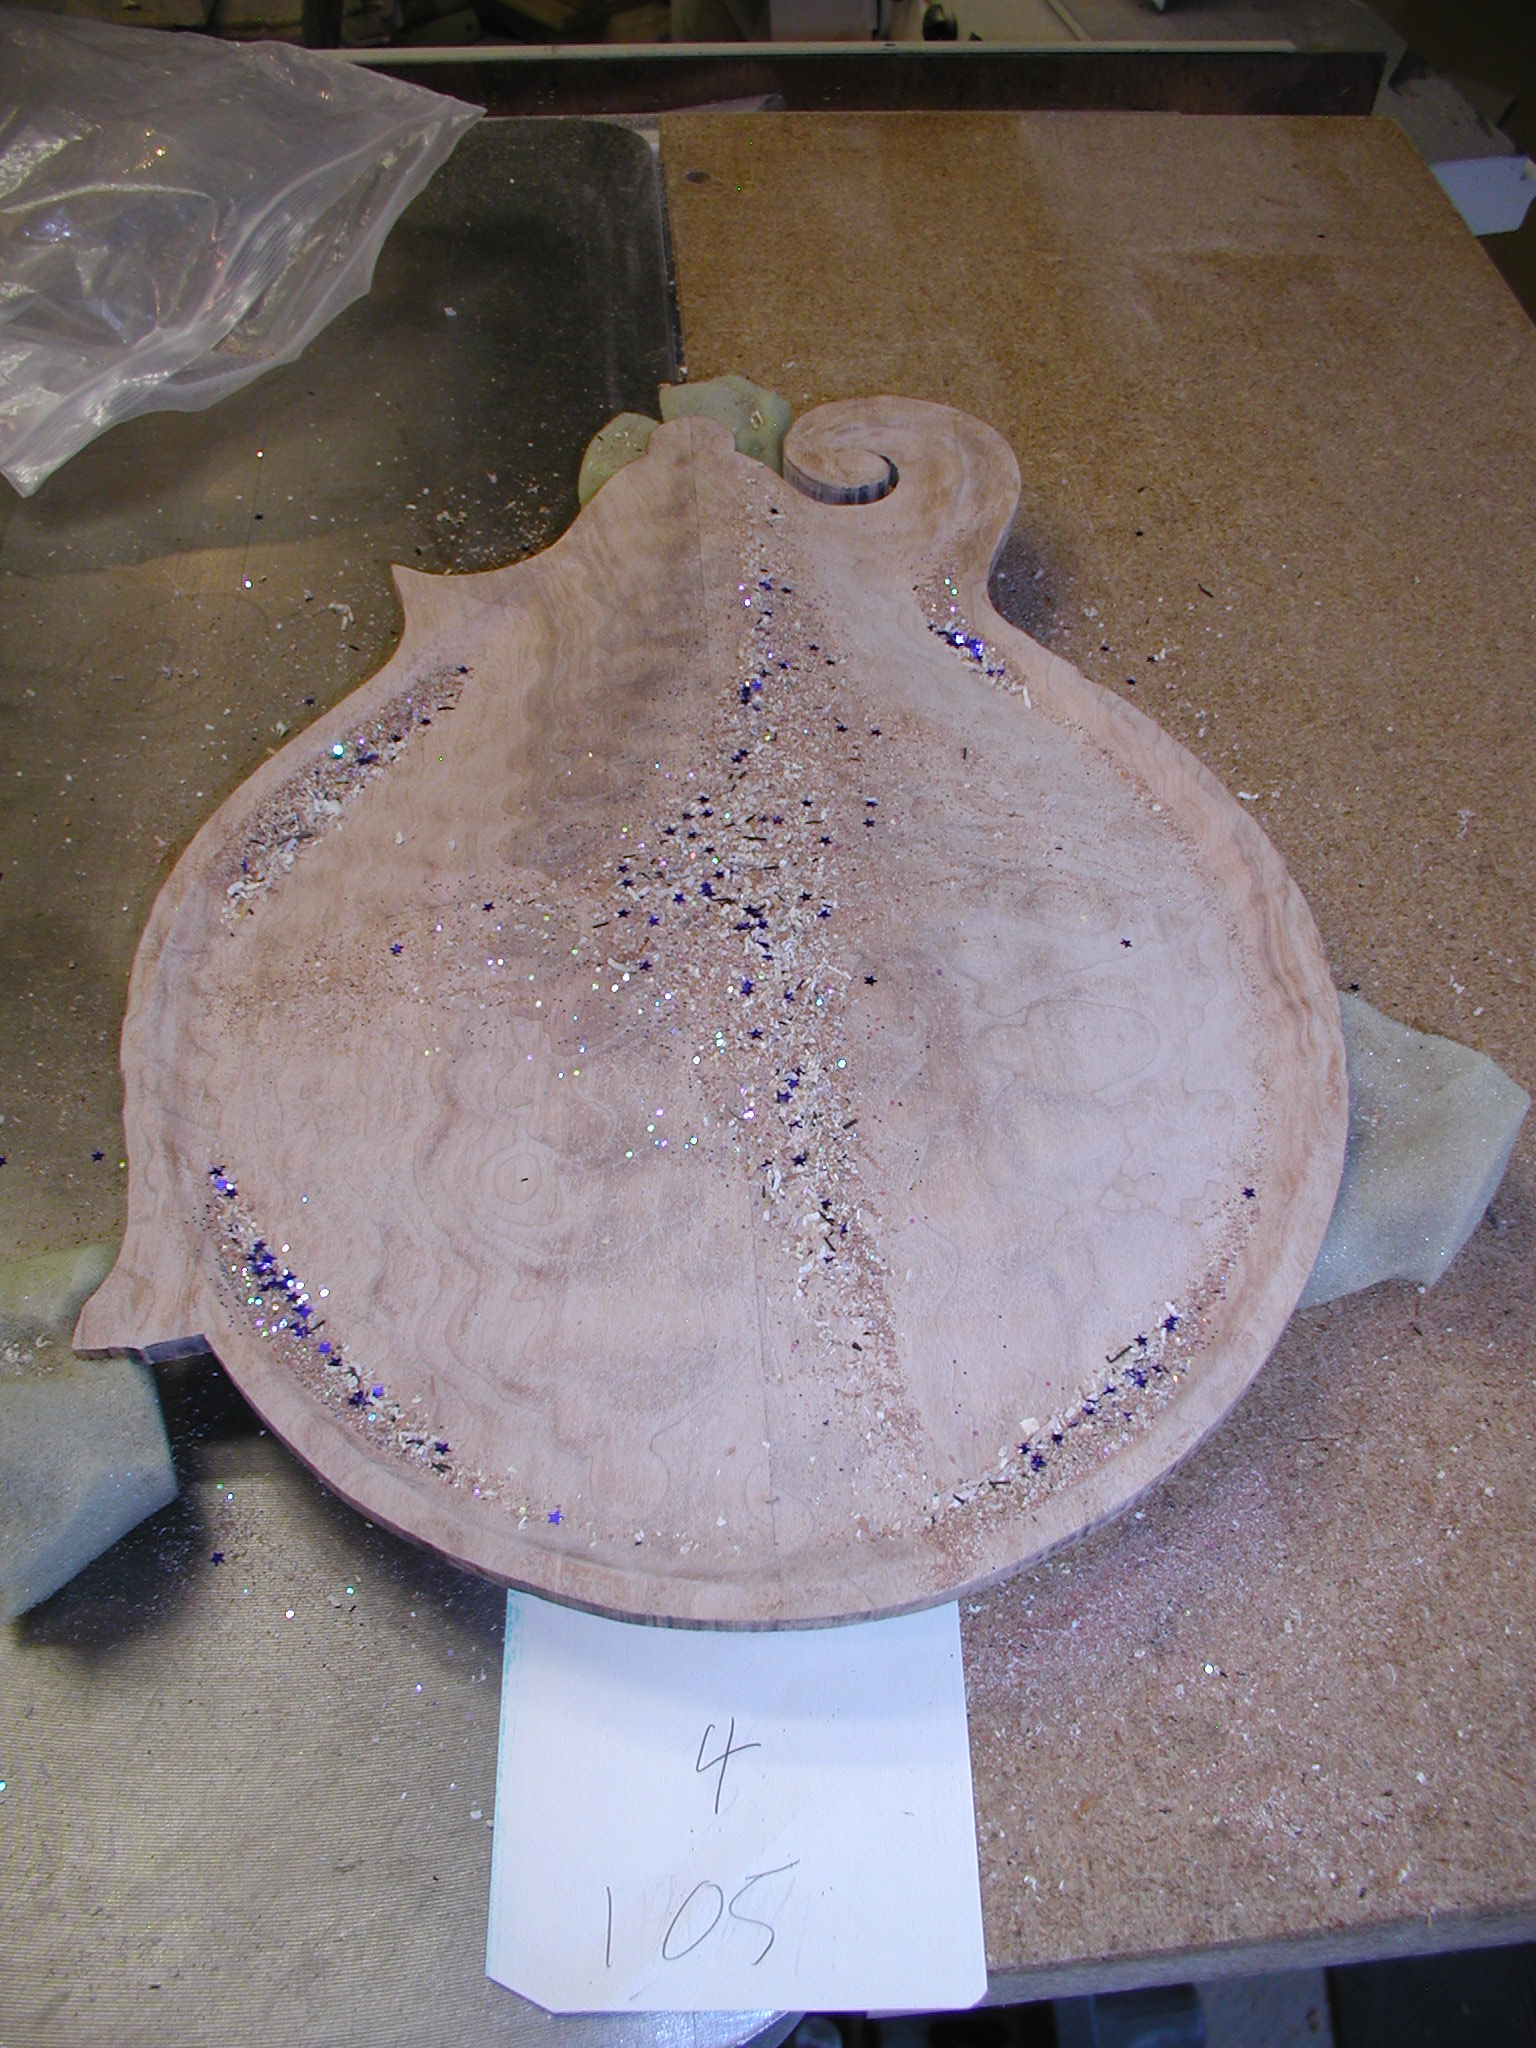
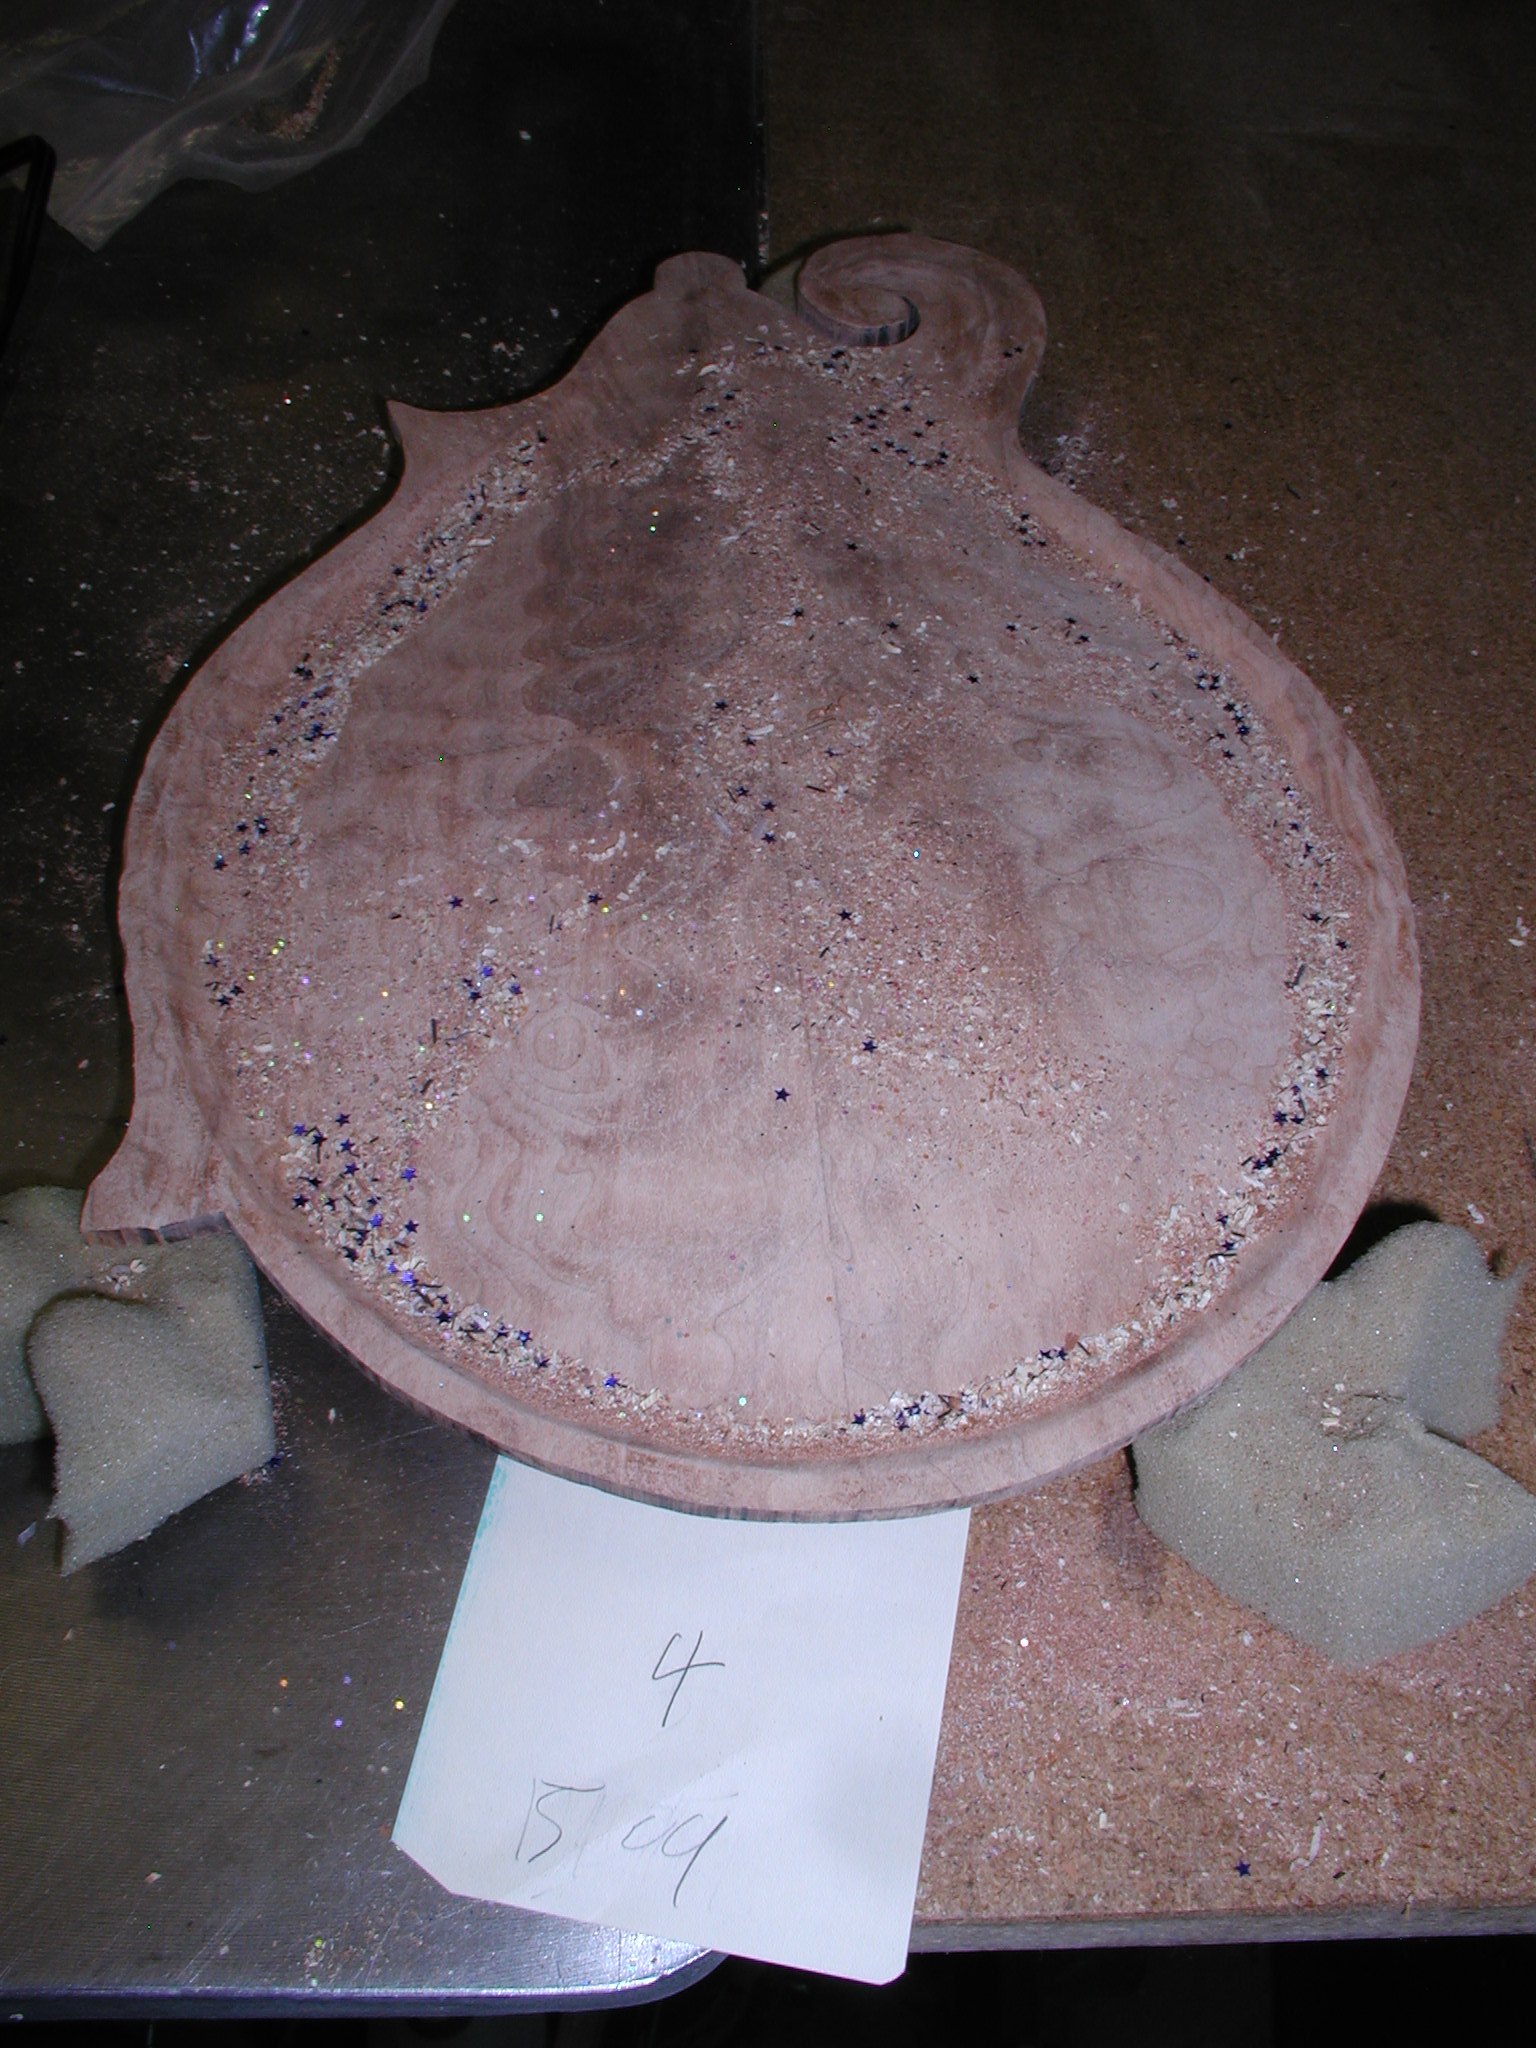
I also run Chladni modes on my instruments. I have only just started to use them for mandolins, like the deflections it is a process of continuous data/evaluation/modification as you go along. Here are a few modes of the back as an example. Ignore the bits that fall in the recurve. I need to add more dark bits to the mix, maybe some poppy seeds, the details are hard to see in these photos where the sawdust matches the back wood.

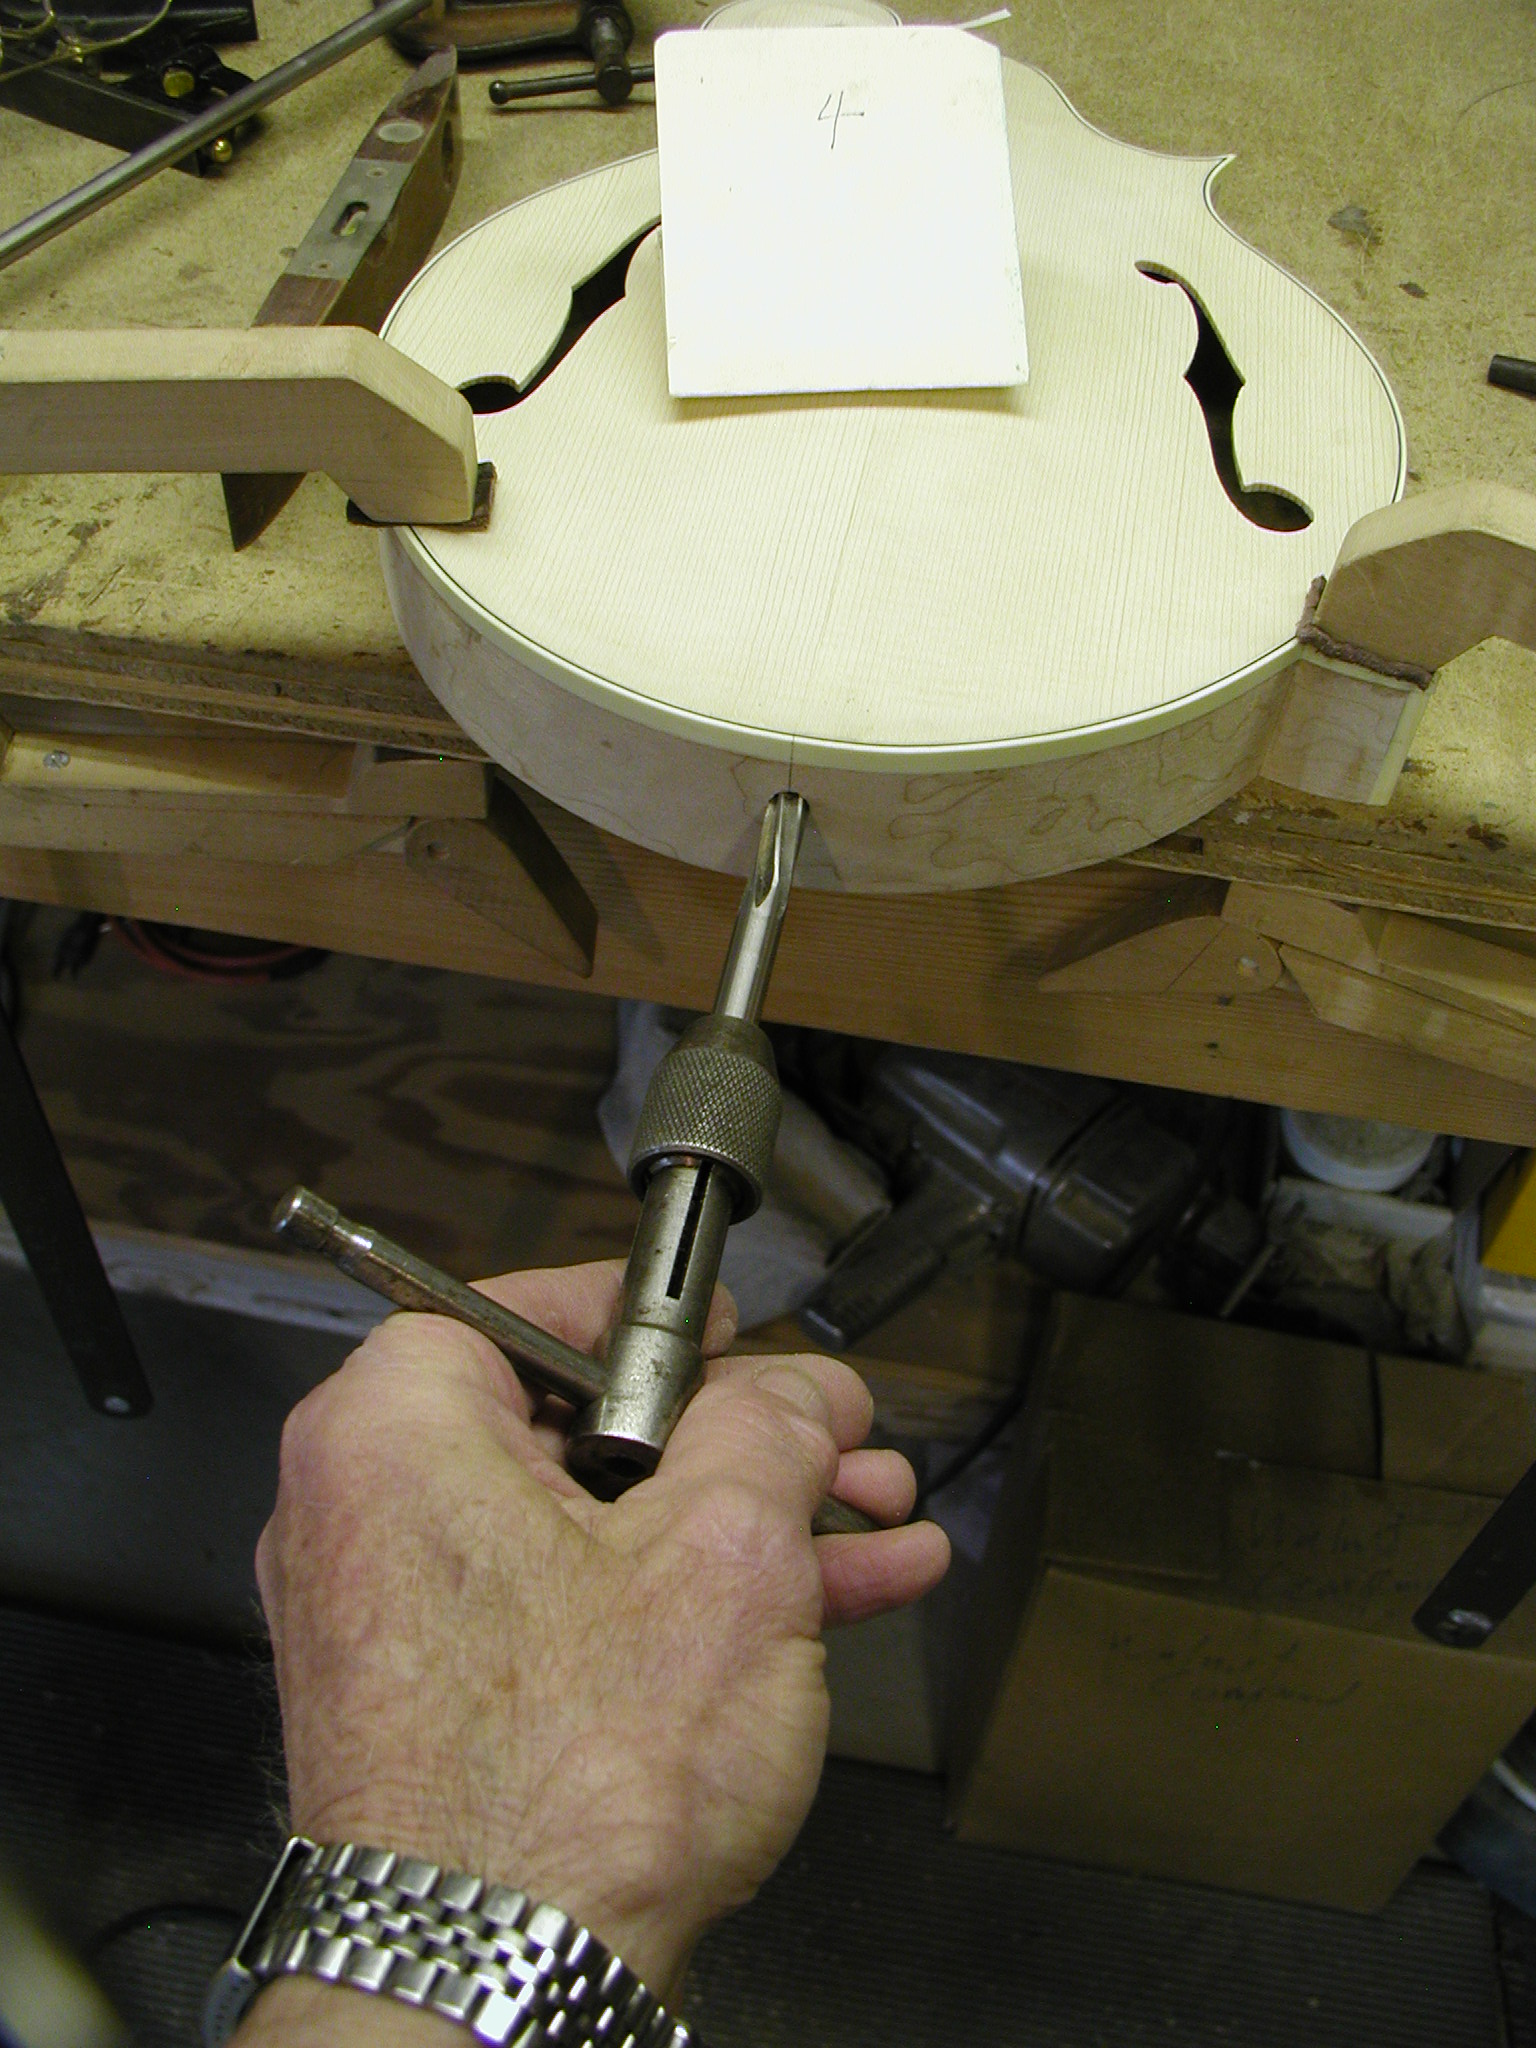
Now do all the little bits before closing the box. I drill the end pin hole using a backer board to avoid splinters as the bit breaks through. Then use a taper-pin ream to get the end pin tapered hole fit to the end pin. I just get it started here, I'll do the final fit when I'm attaching the tailpiece.
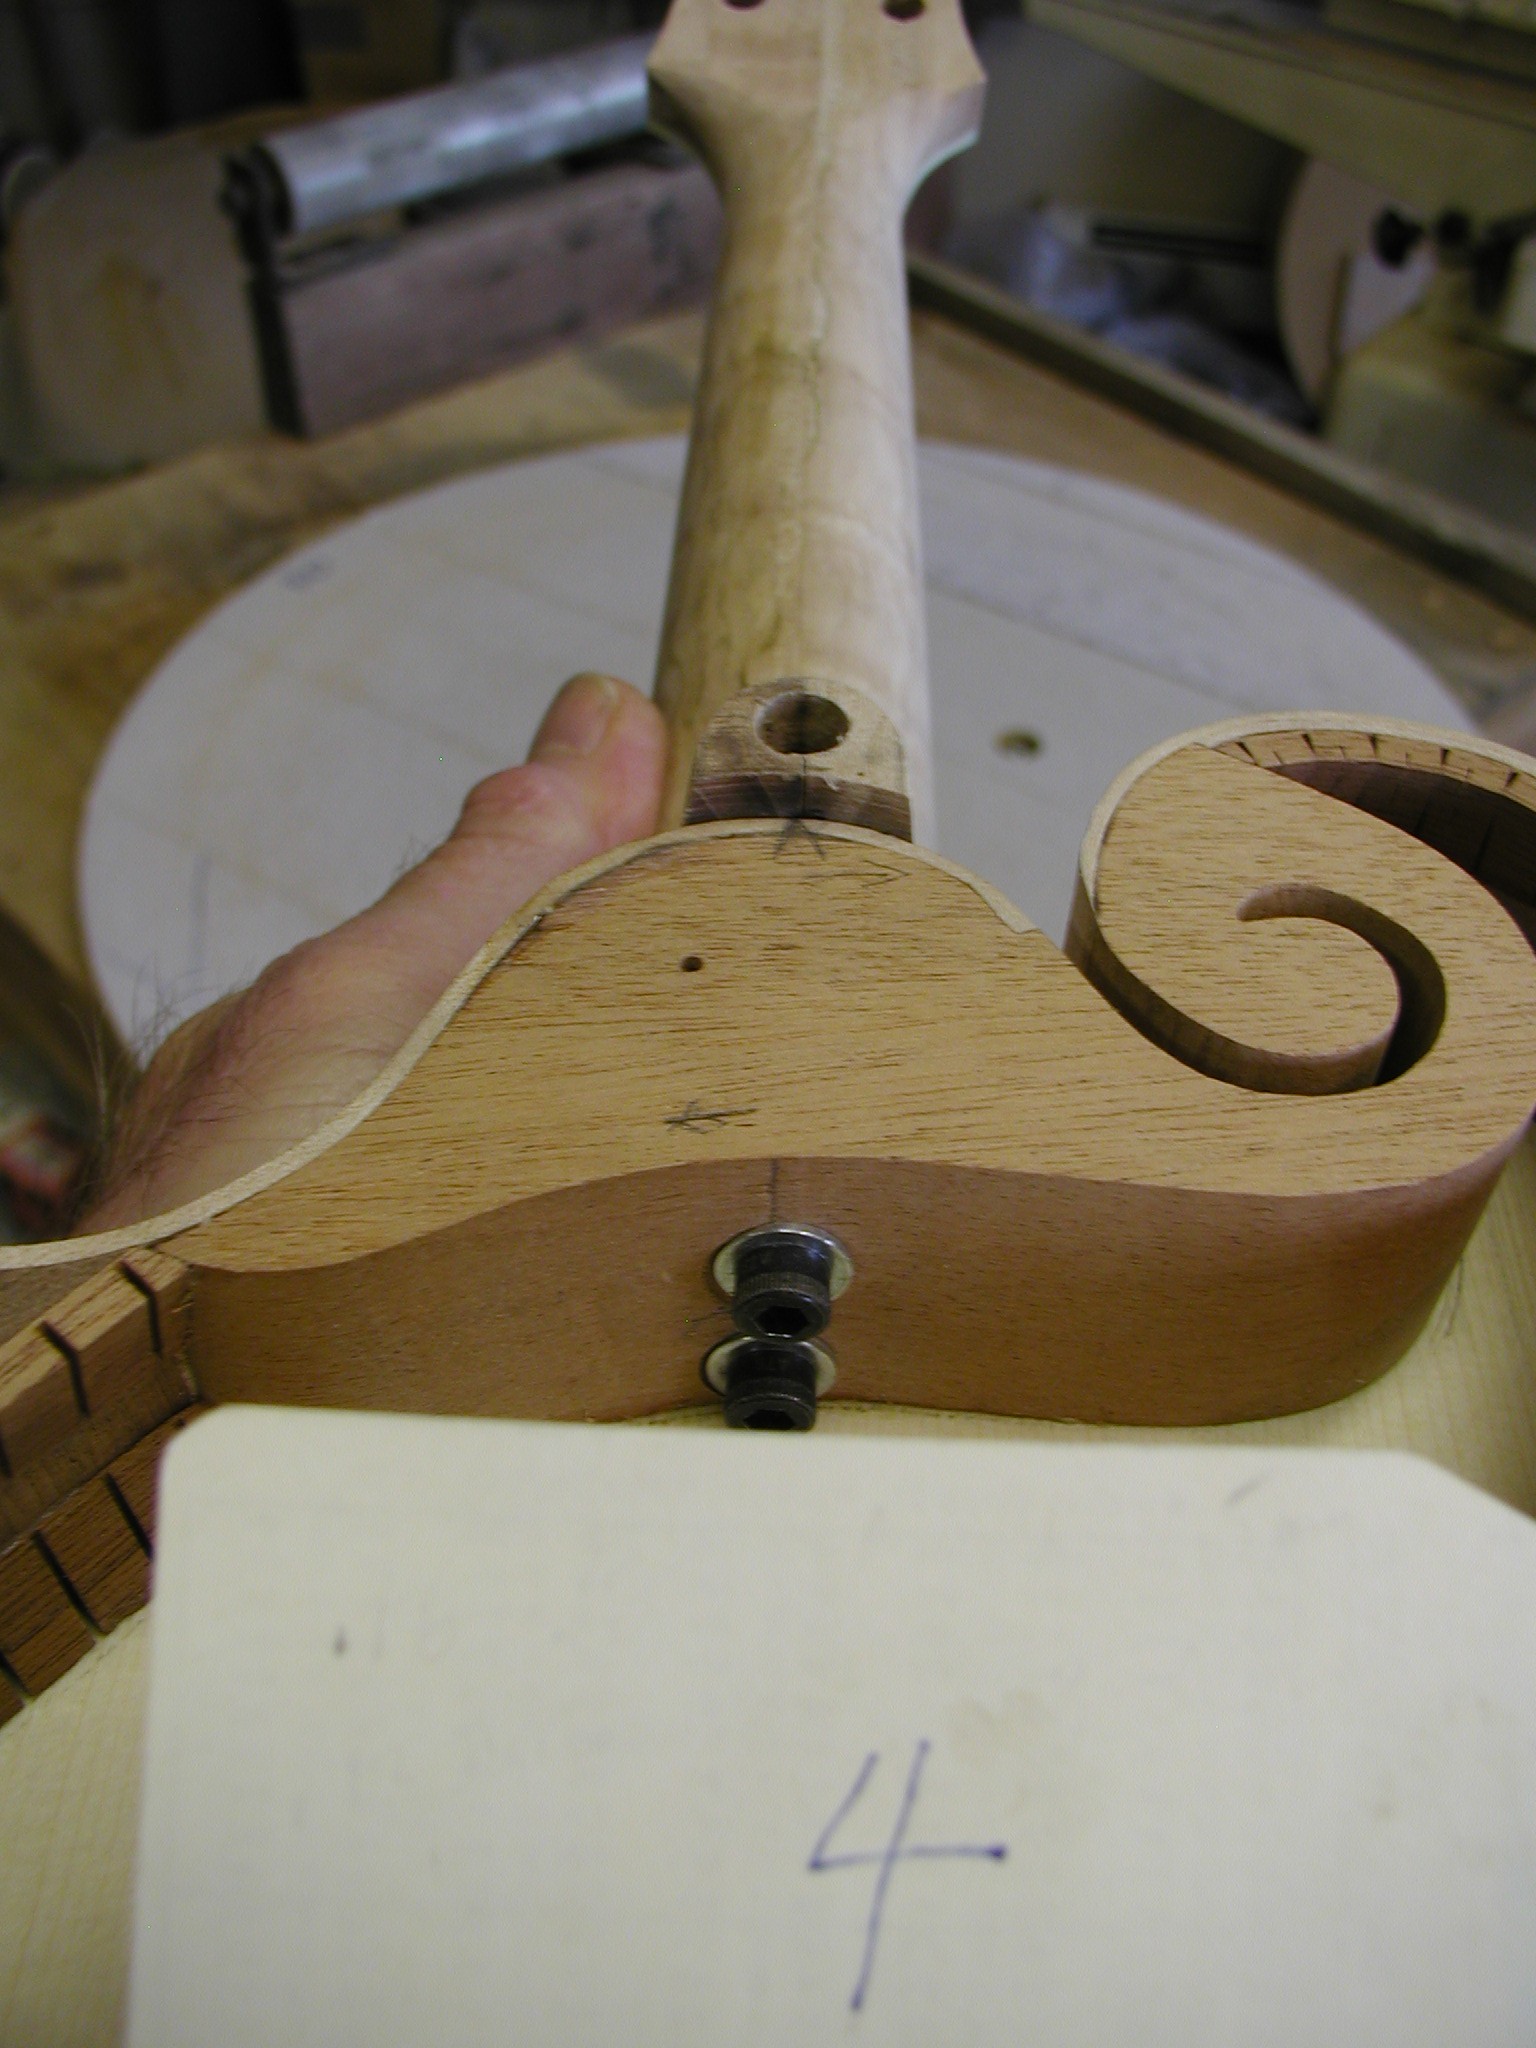
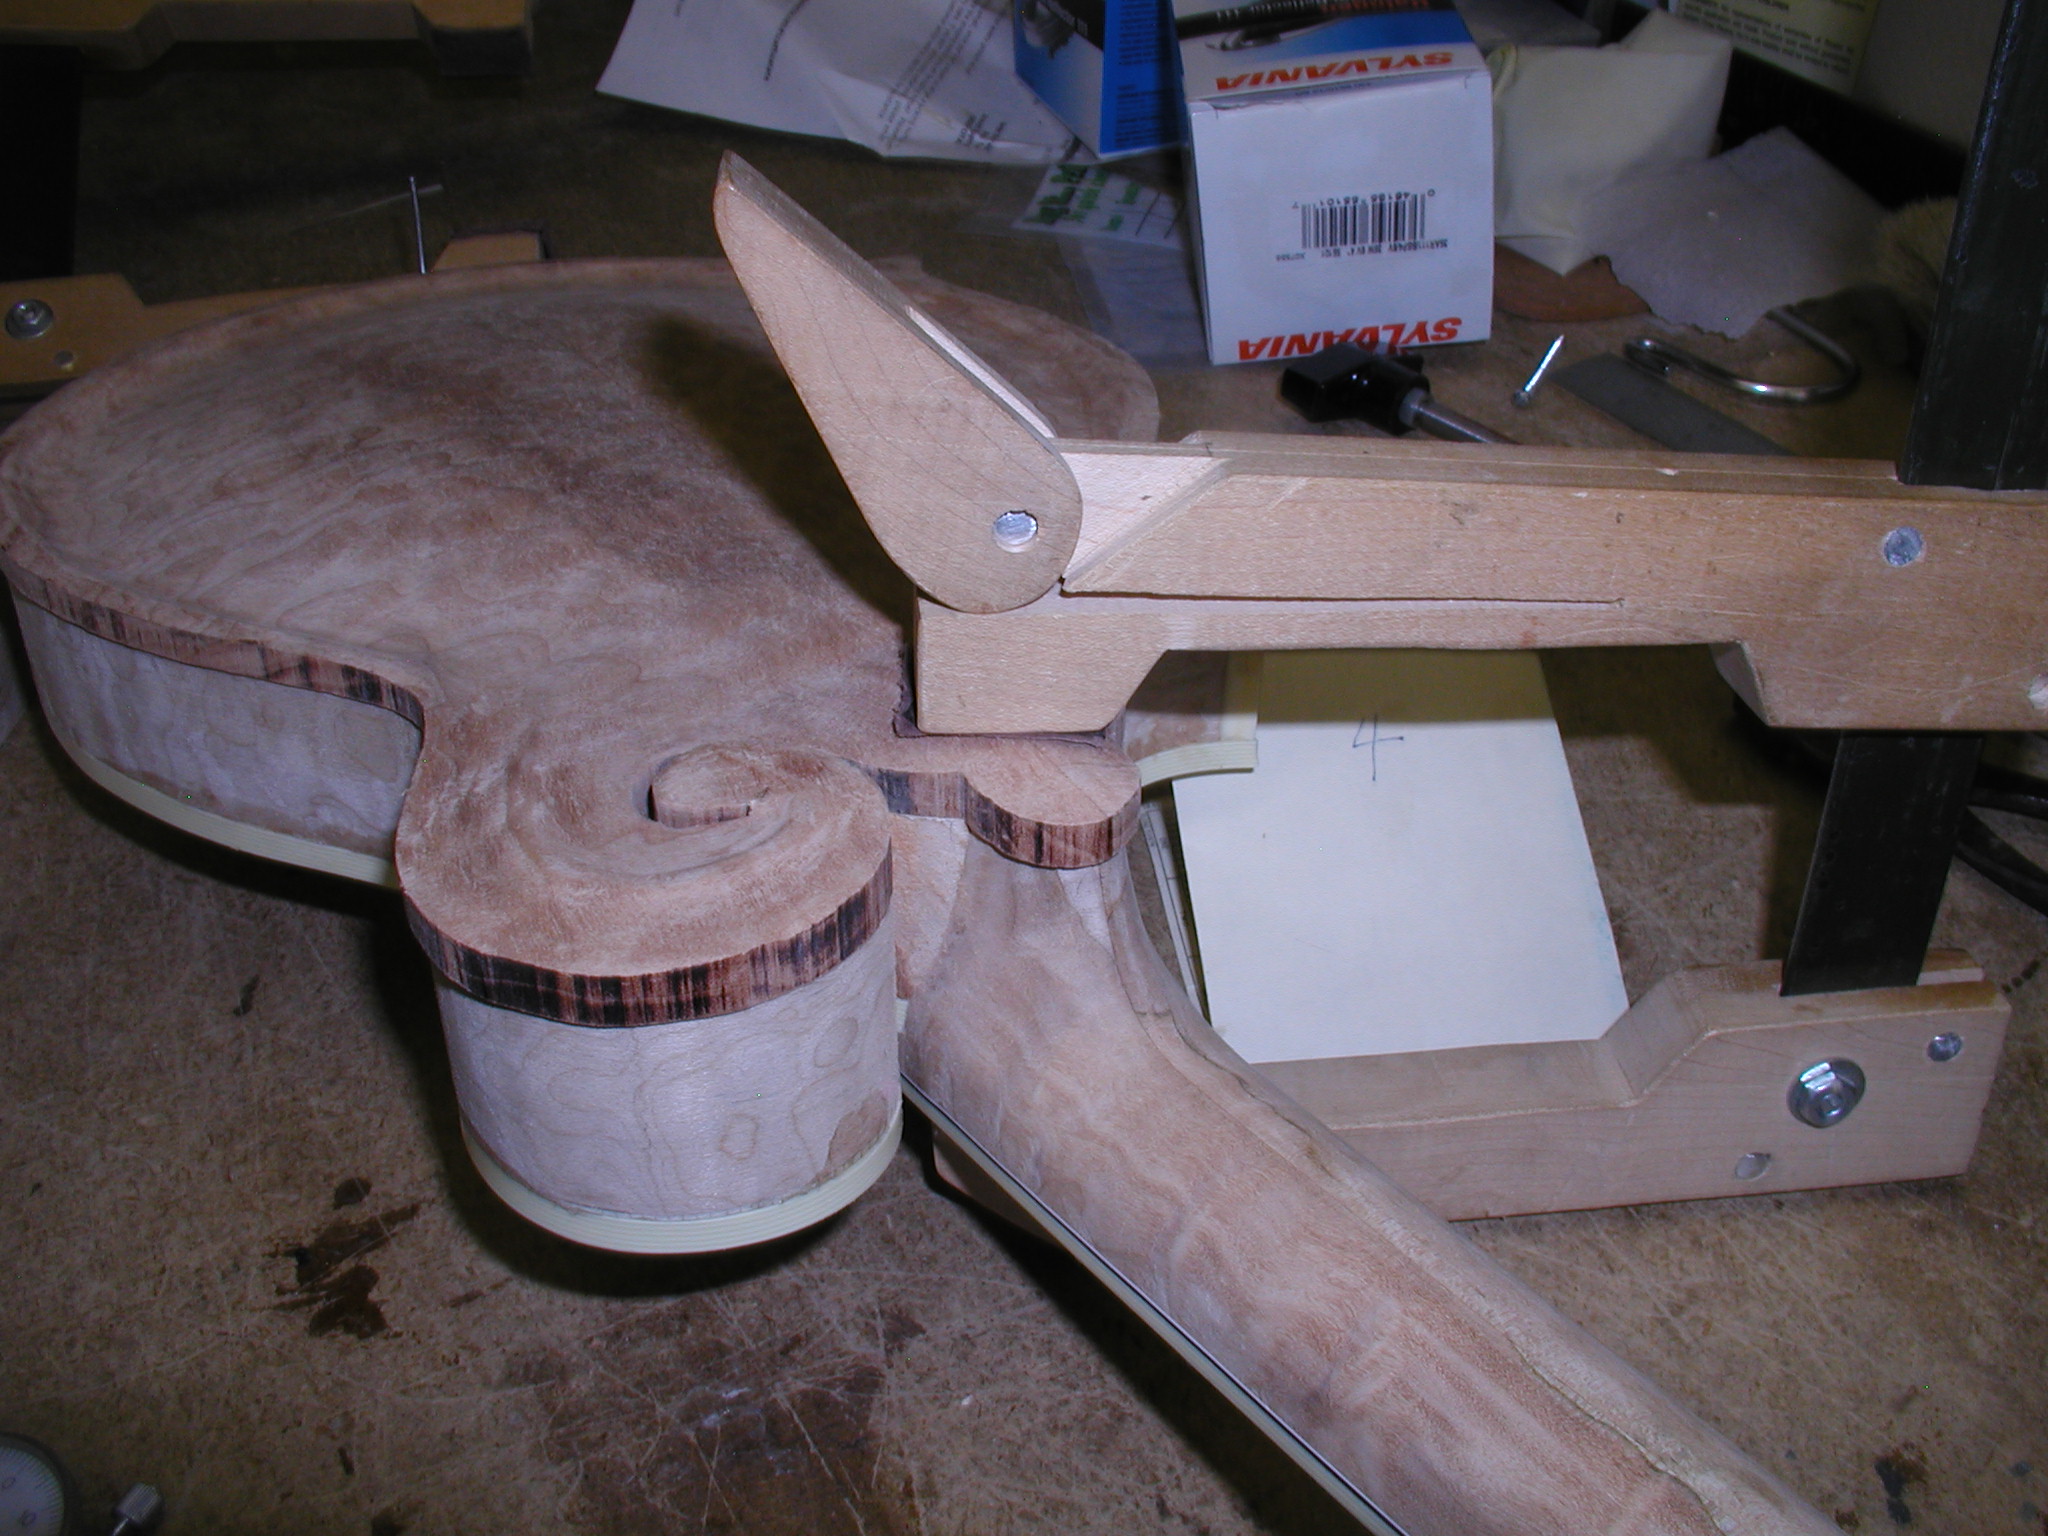
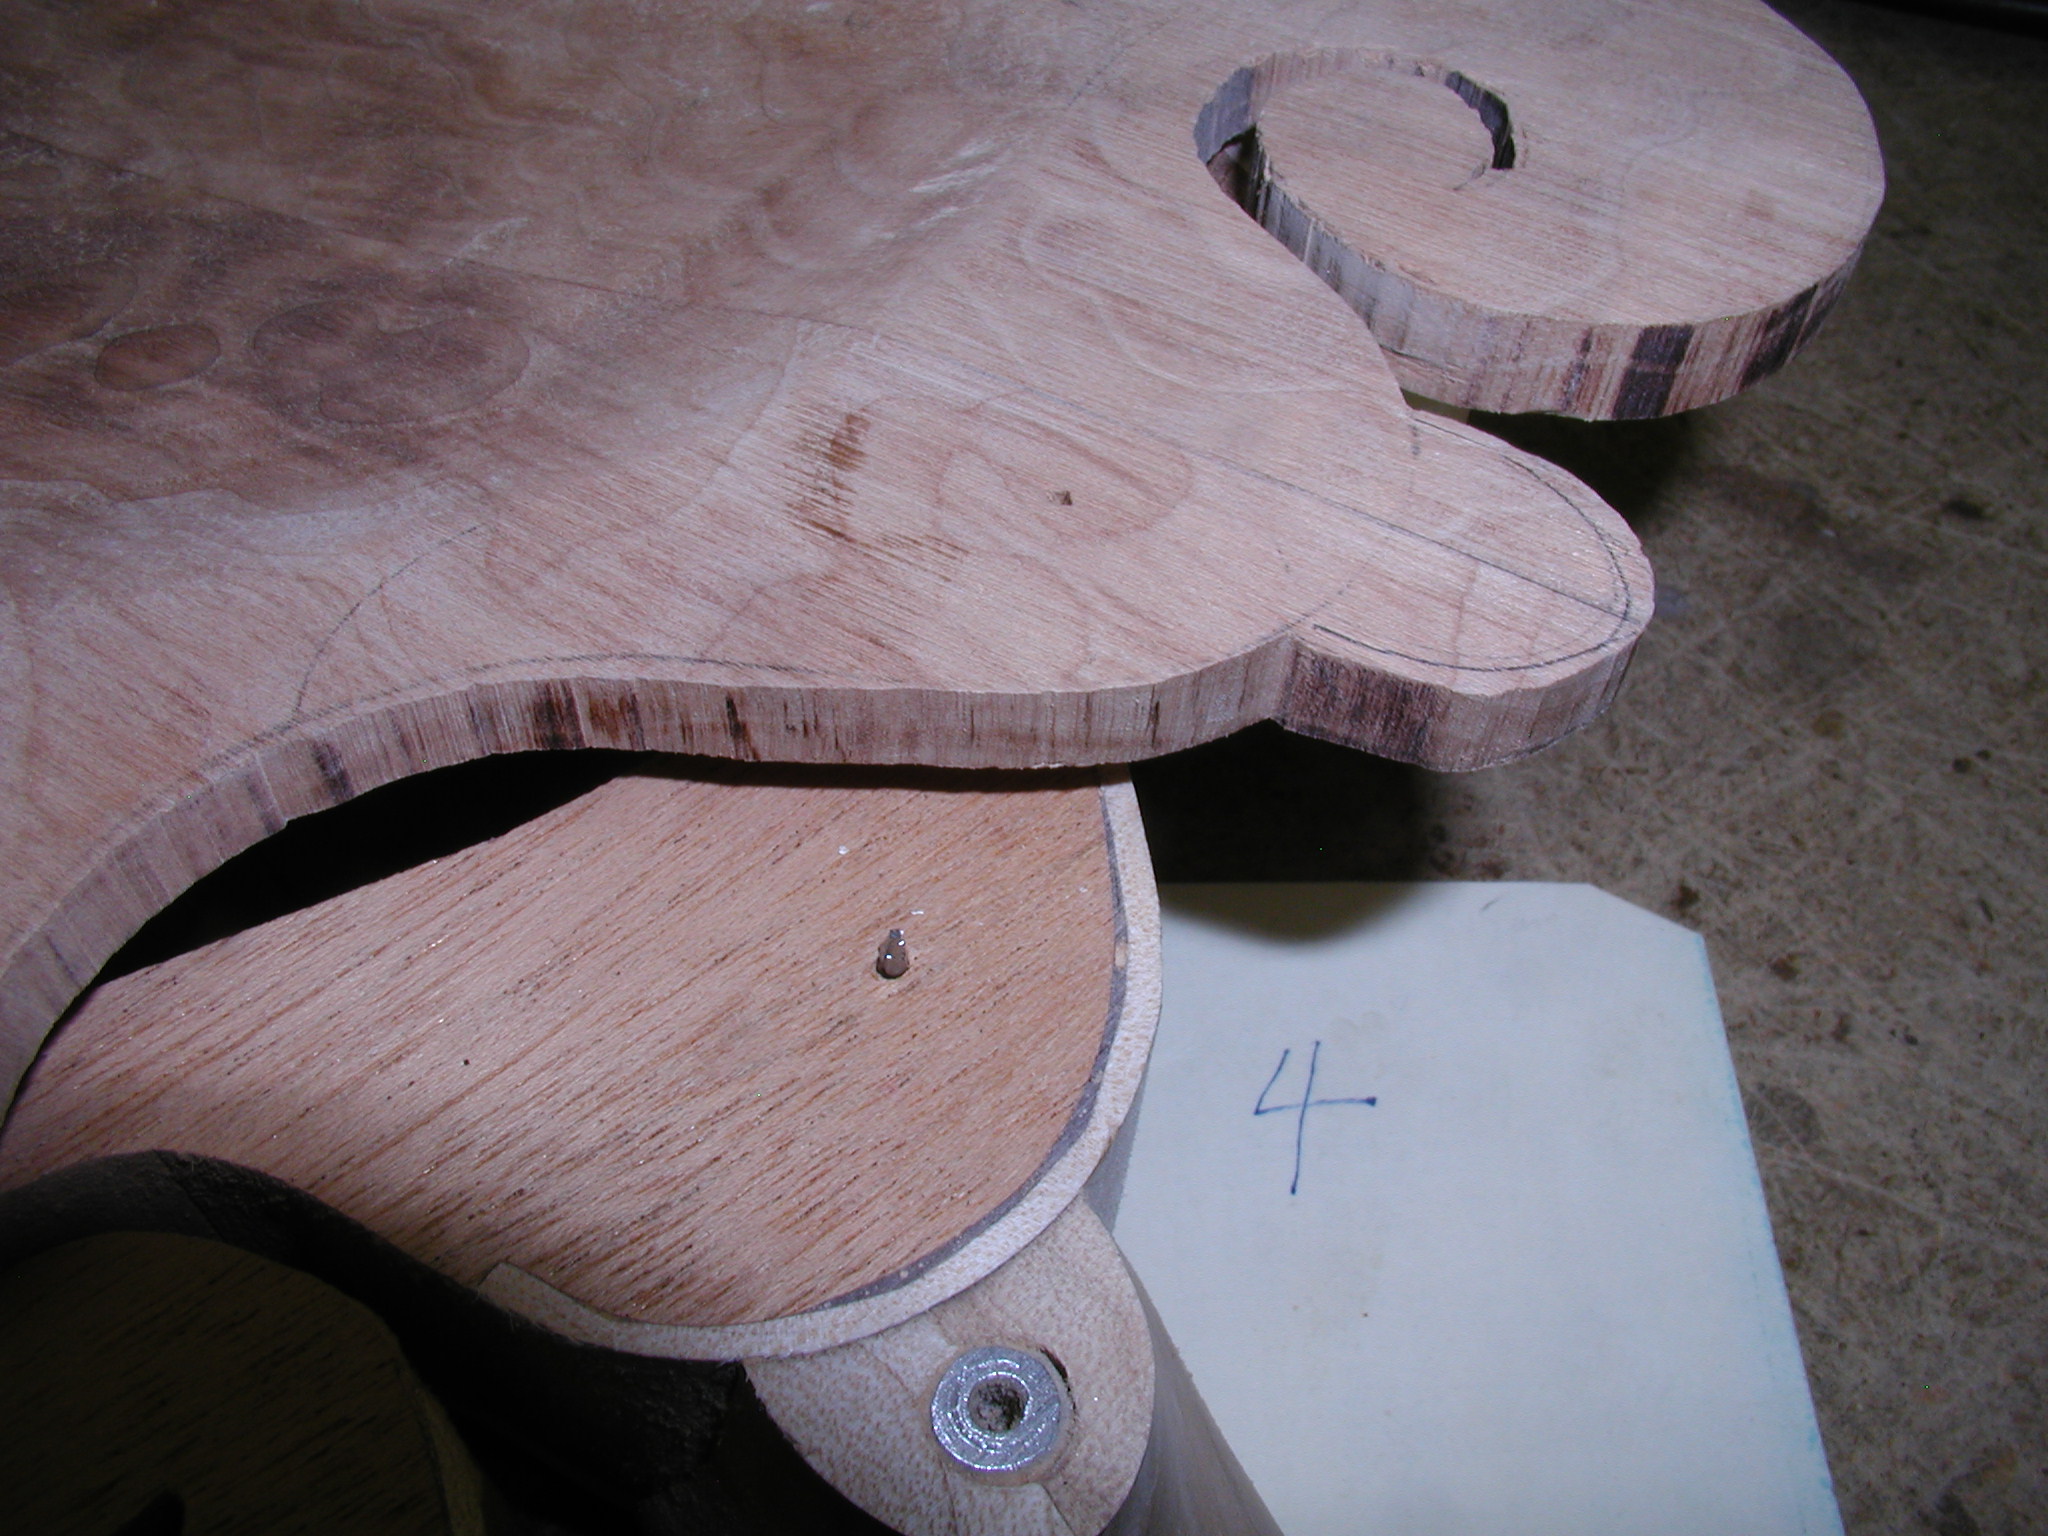
The next bit is to mount the neck and flush off the heel to match the body. Note the neck bolt tool. This is just a rod with an allen wrench piece mounted in the tip. I can reach through the endpin hole to access the bolts. That isn't needed here, but this is how it will be accessed once the back is on. Bolt on the neck and just hit it on the powered sanding disk to just barely flat it off to the body.
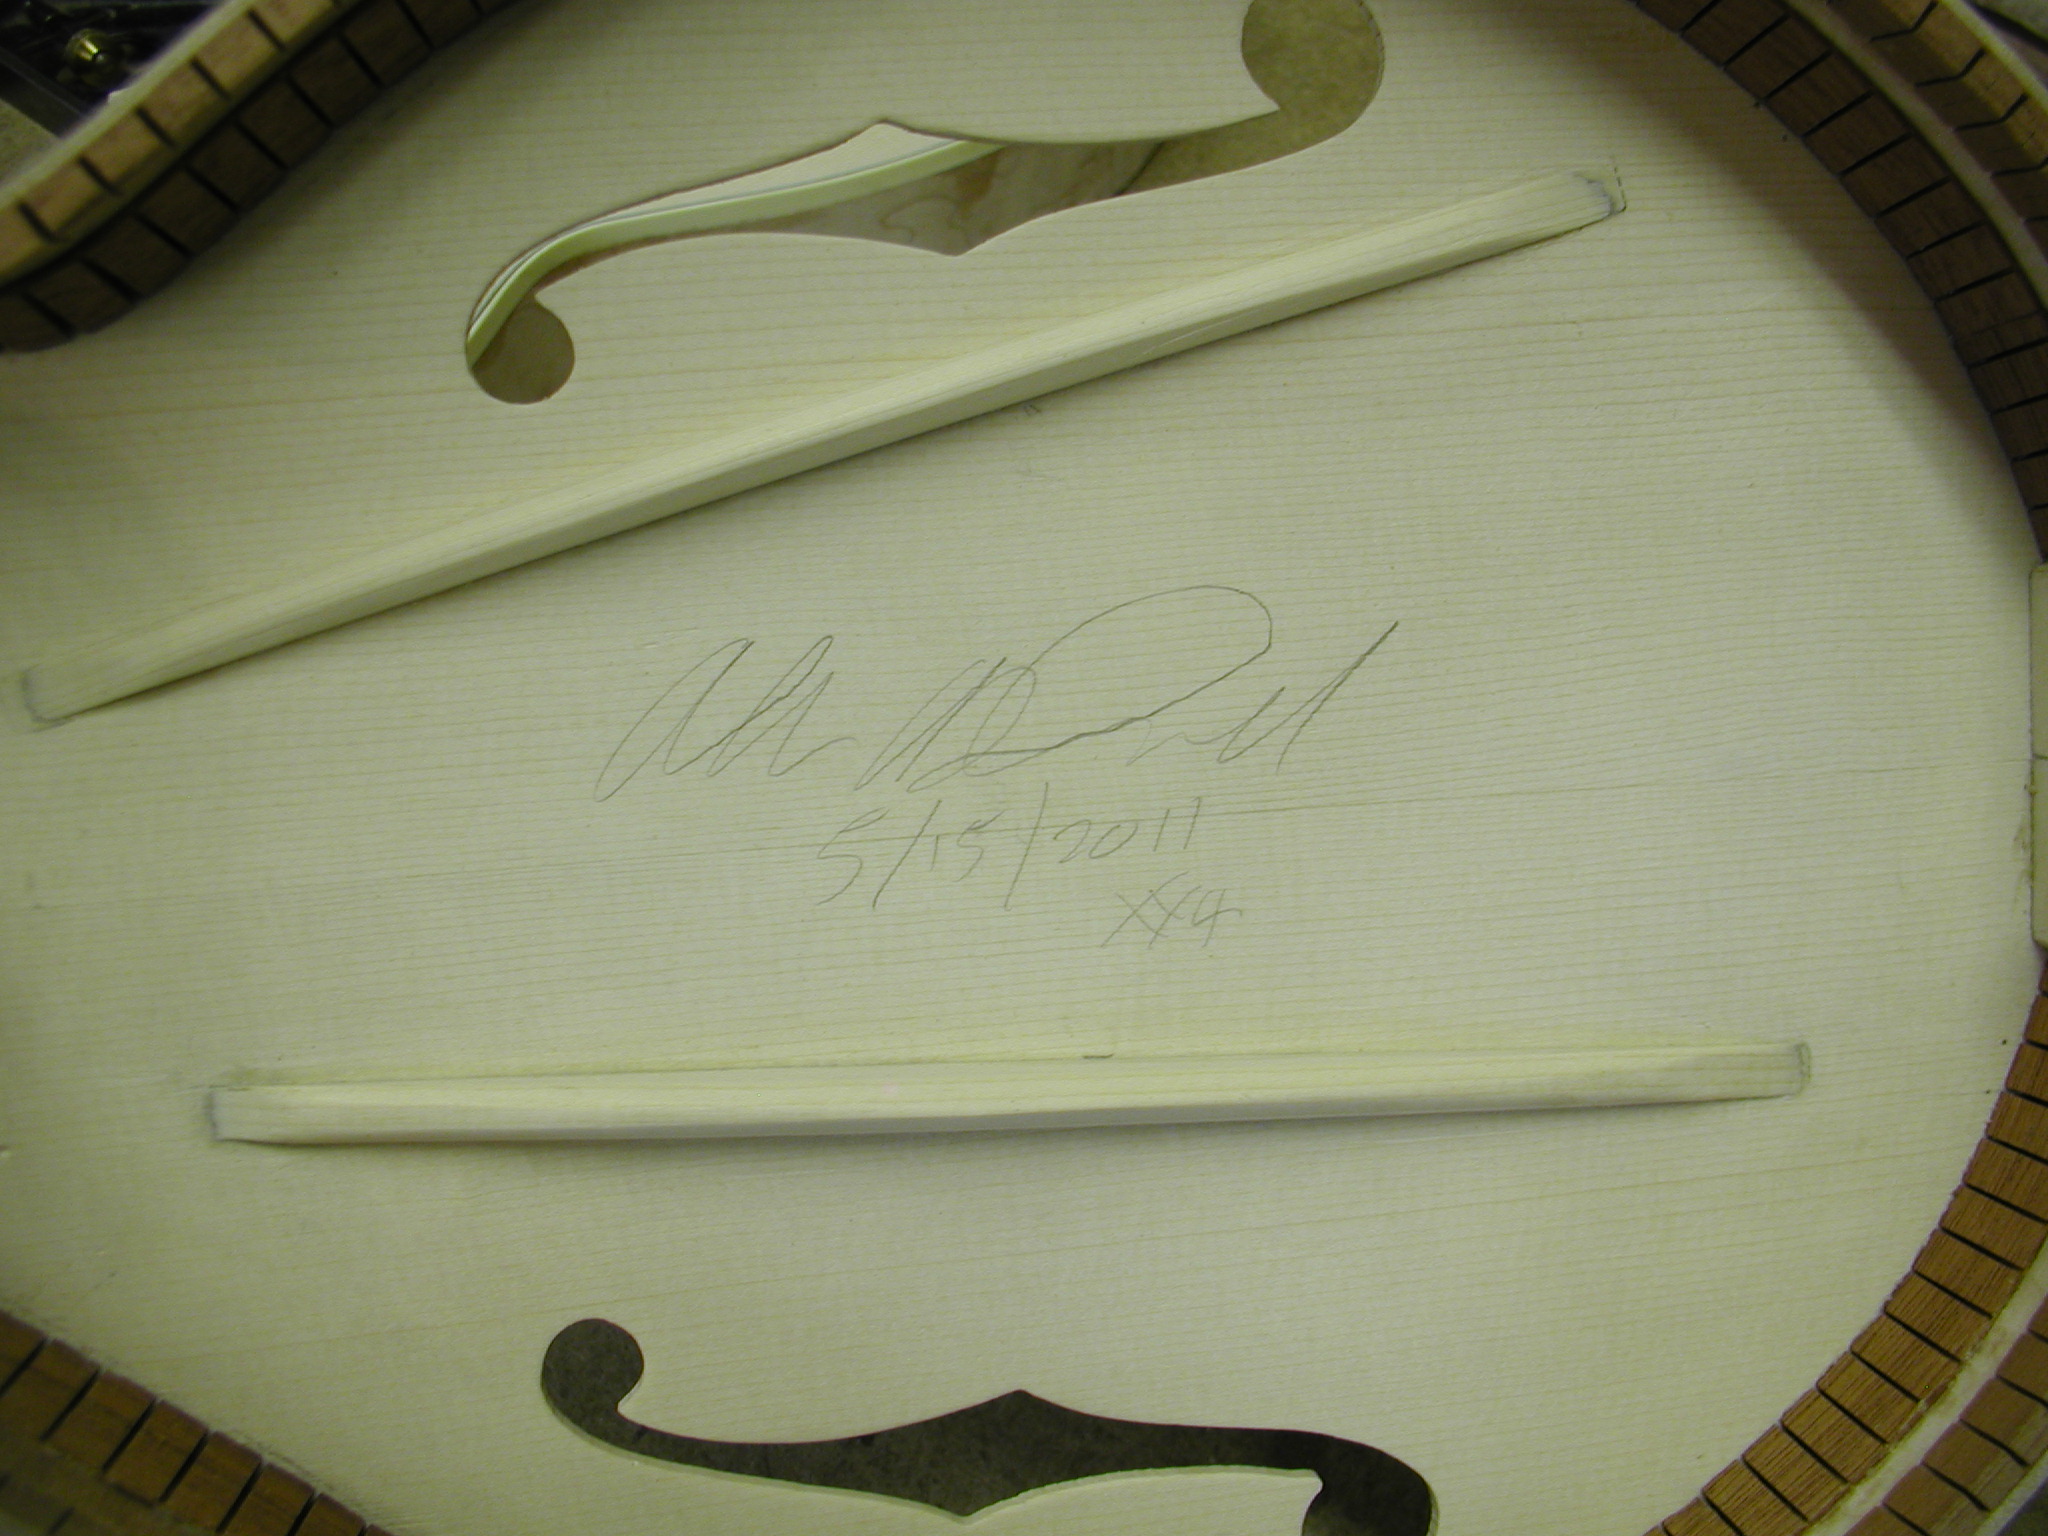
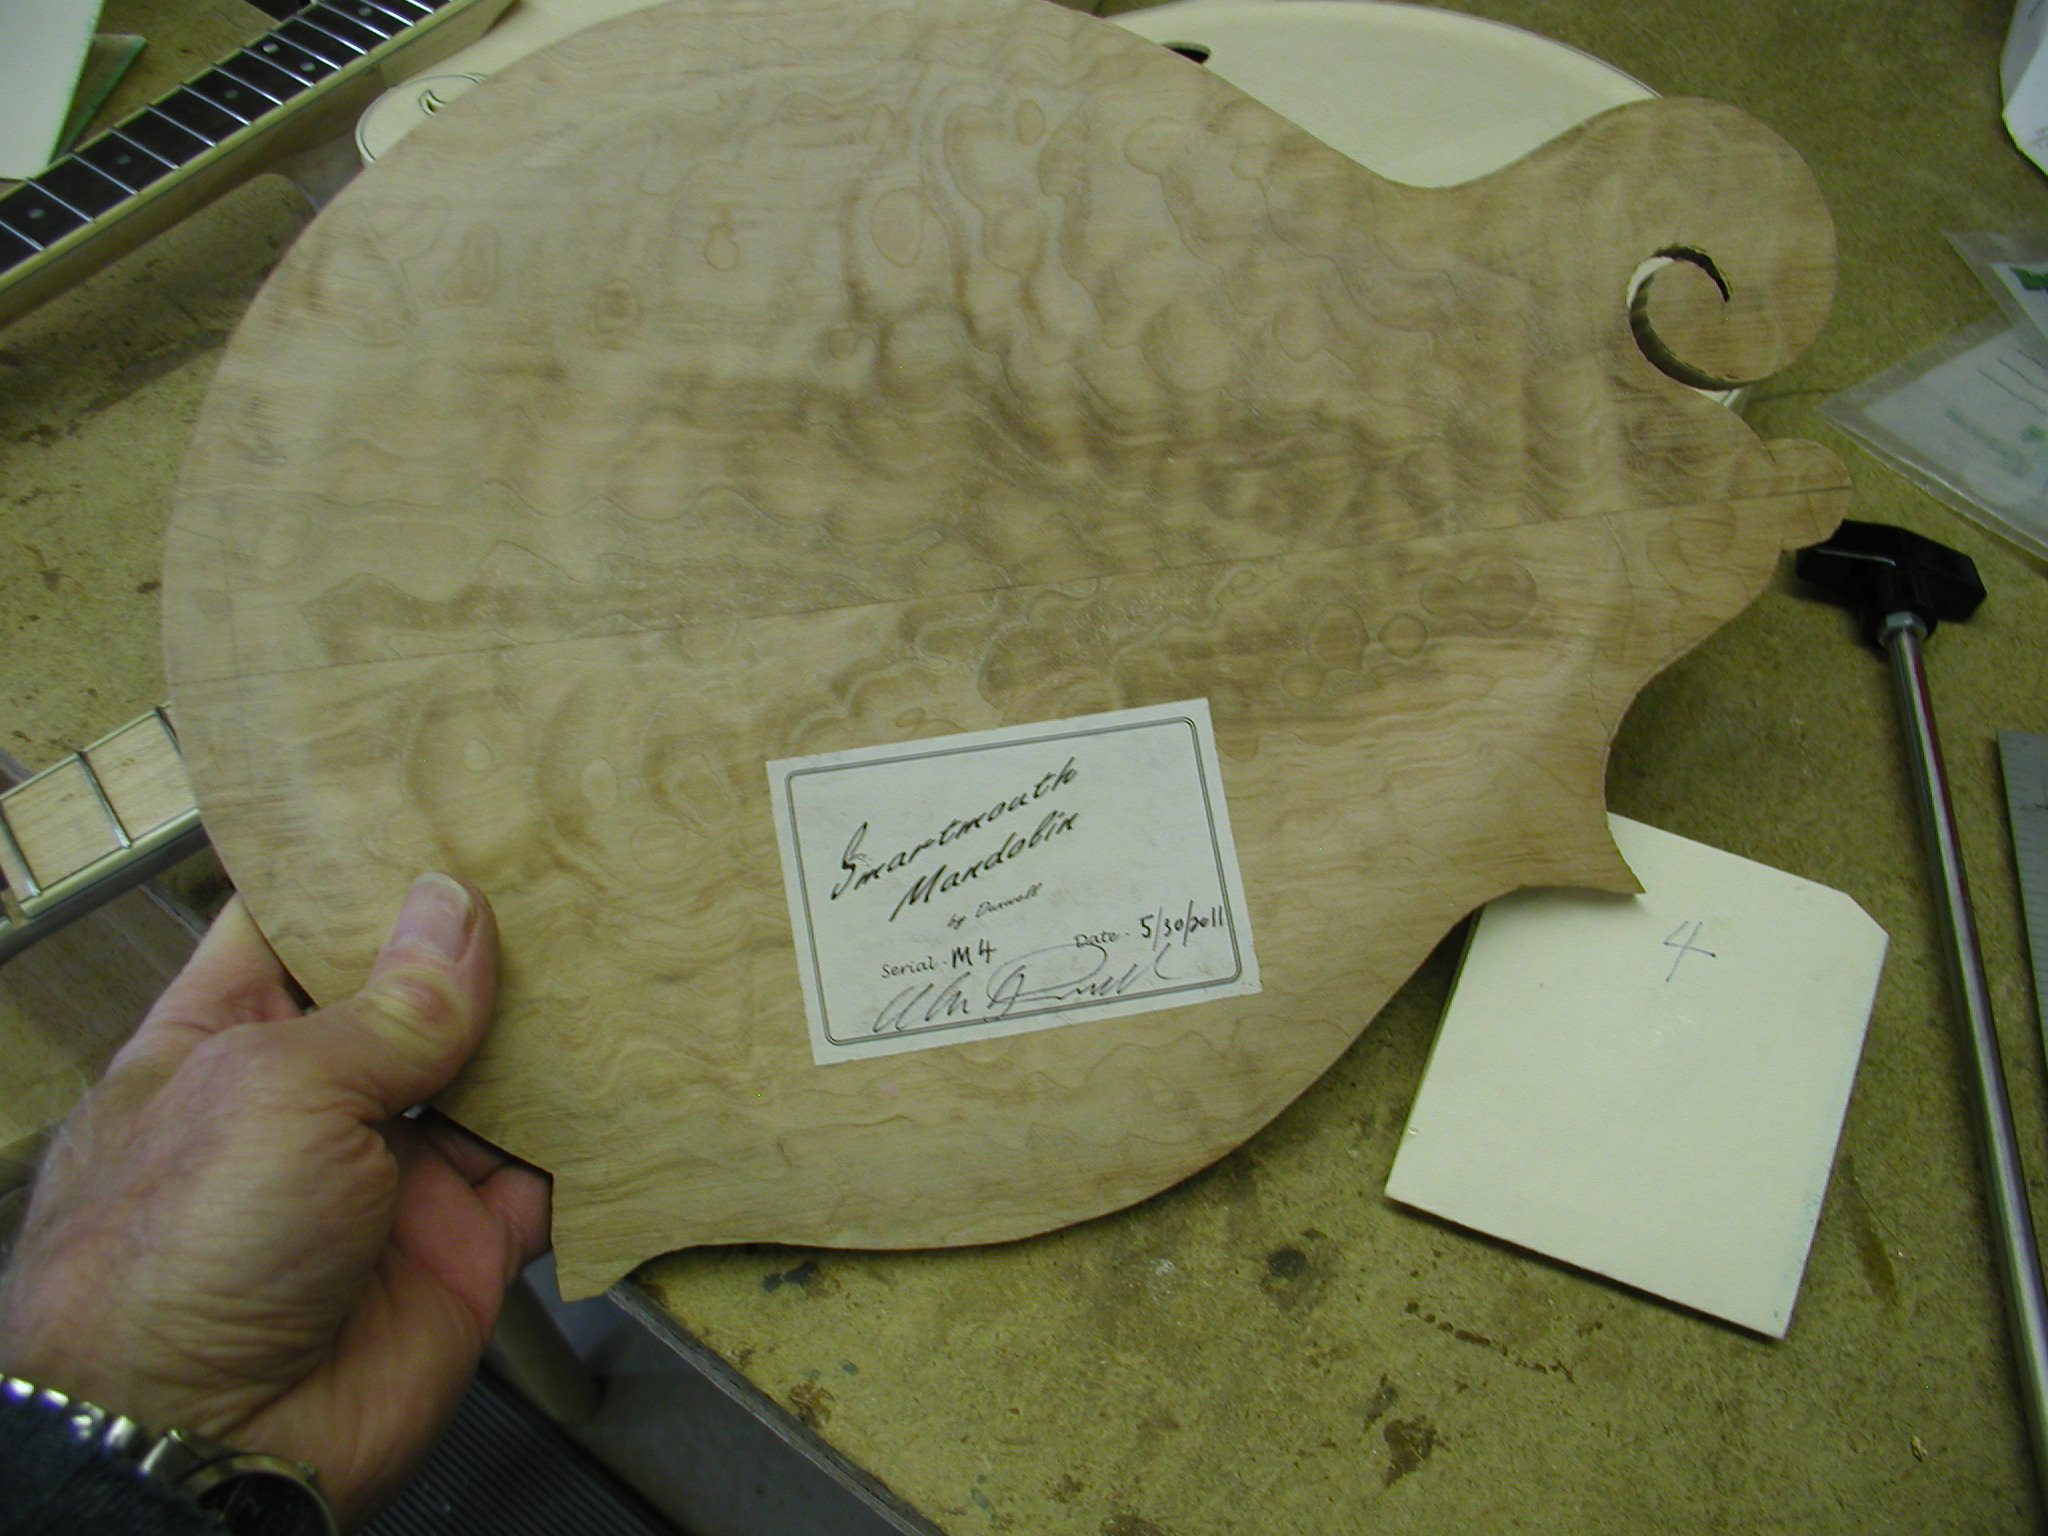
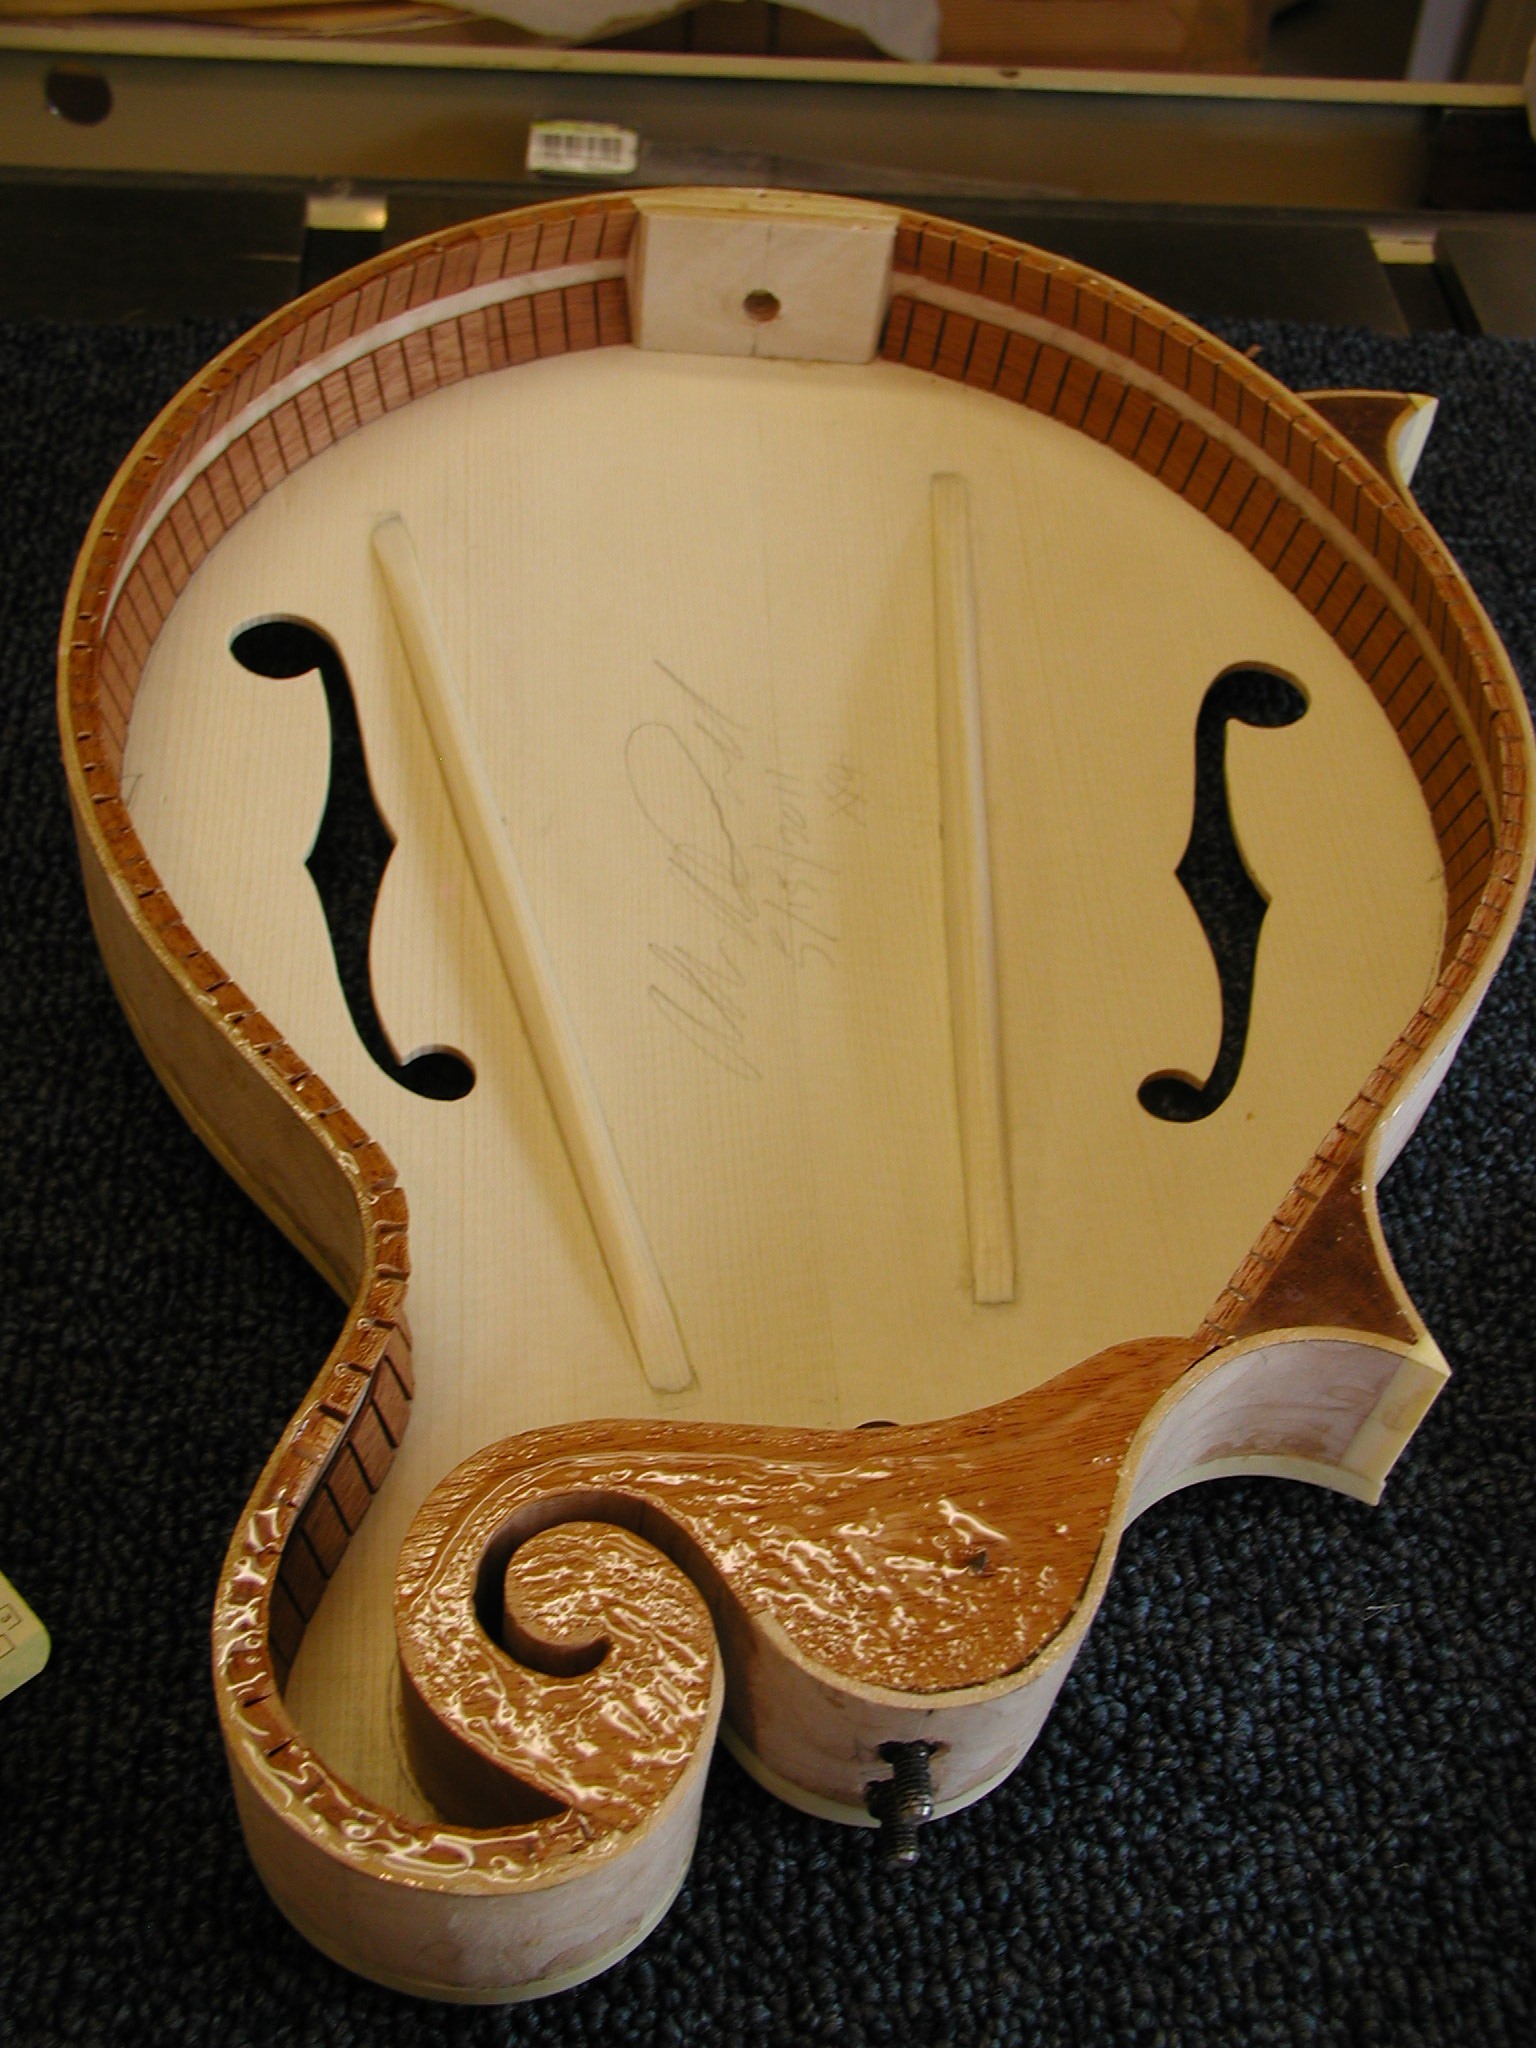
Sign the top, add the label where it will be visible through an F-hole. I use thinned fish glue for this and apply it to the back of the label and then top brush the label once in place to protect it.
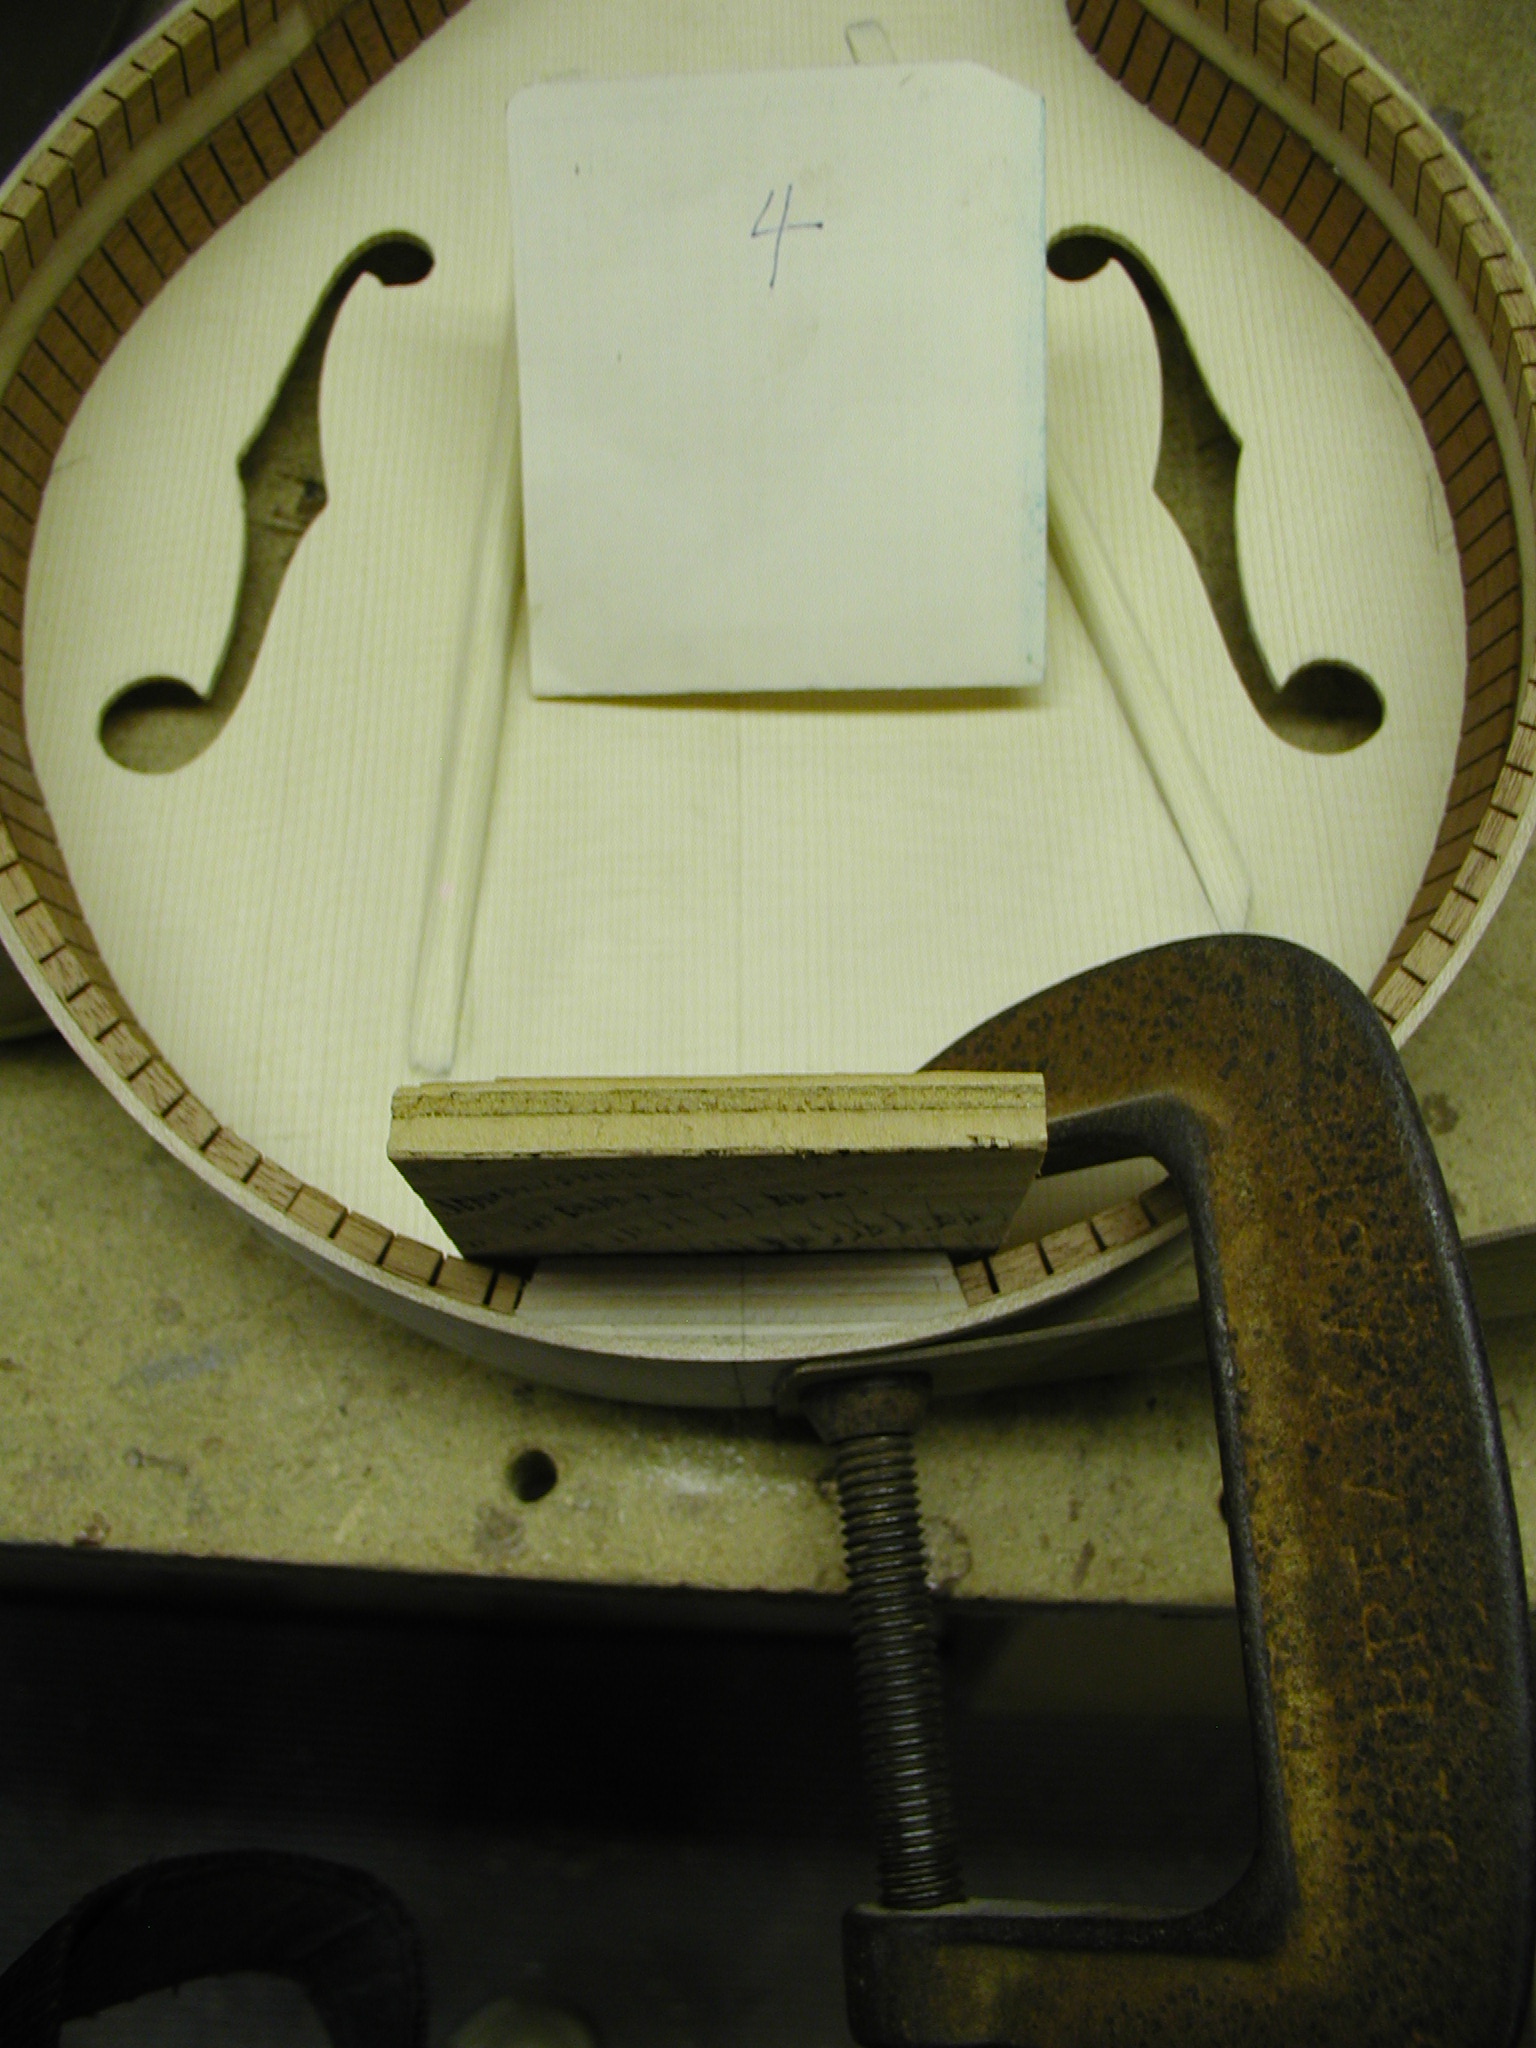
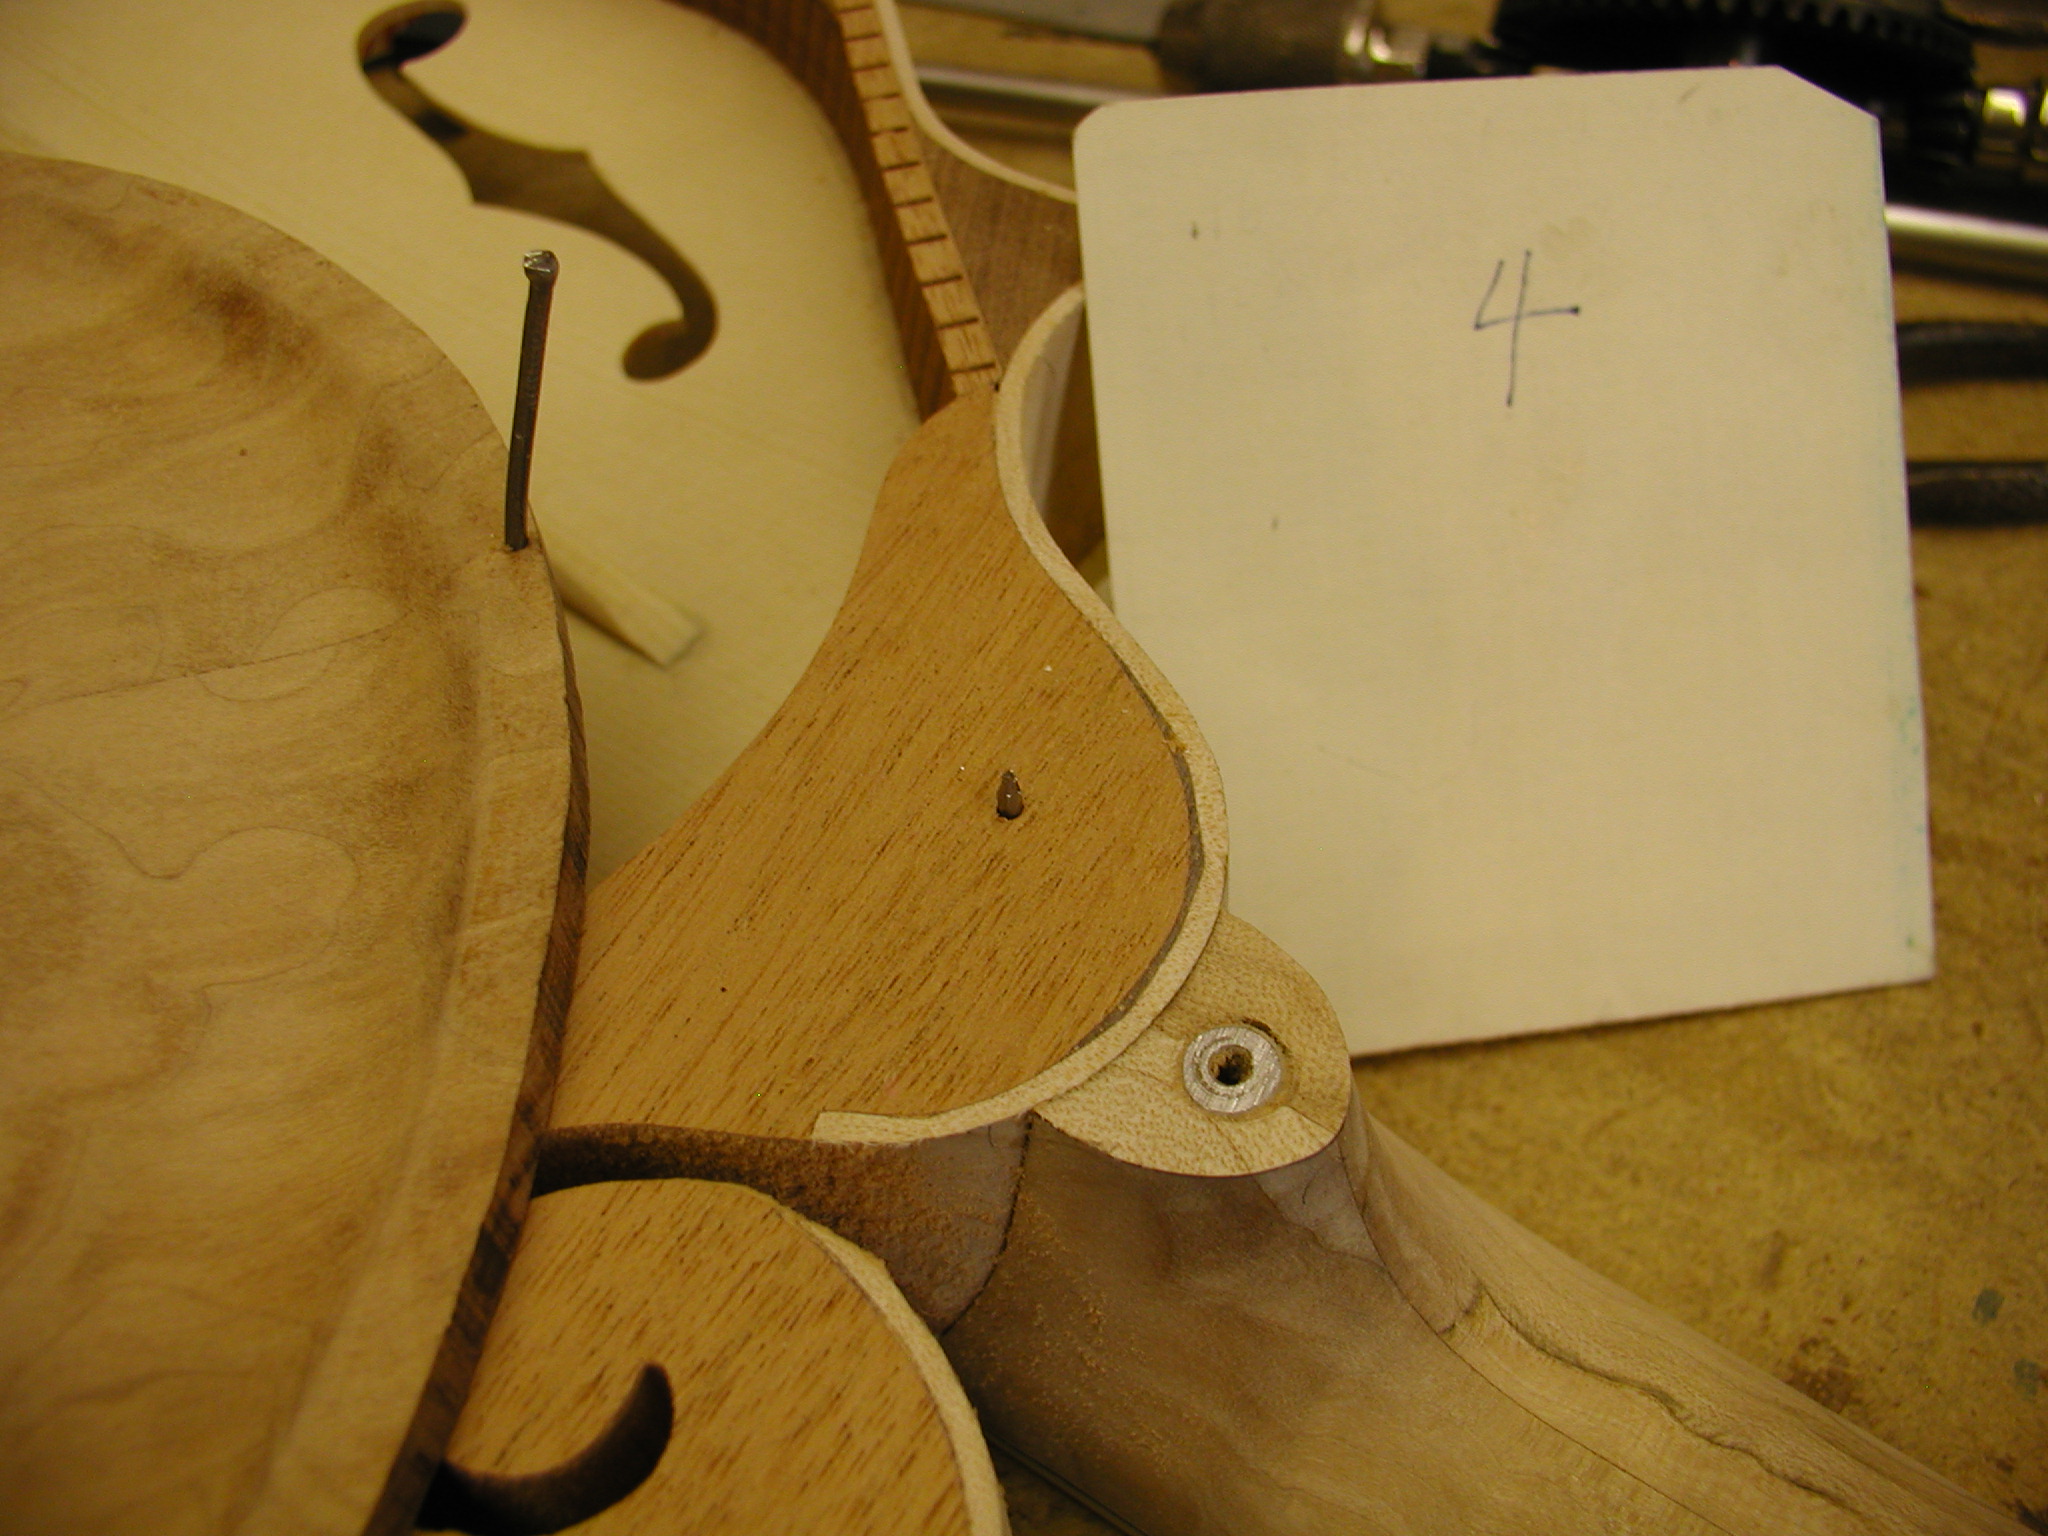
When gluing on the back there is a tendency for the plate to slip out of position when clamping. So I mount a pin in the headblock made out of a nipped off finish nail. Then I clamp the back plate down on the pin and it makes a dimple in the plate that makes a nice alignment that is easy to find when gluing. I leave the pin in place since it is not a problem if the back ever has to be unglued. I also drill another pin hole at the tail block but going through the edge of the back in the area that will later be routed away for the binding. I pull that pin after it is all glued and clamped in place.
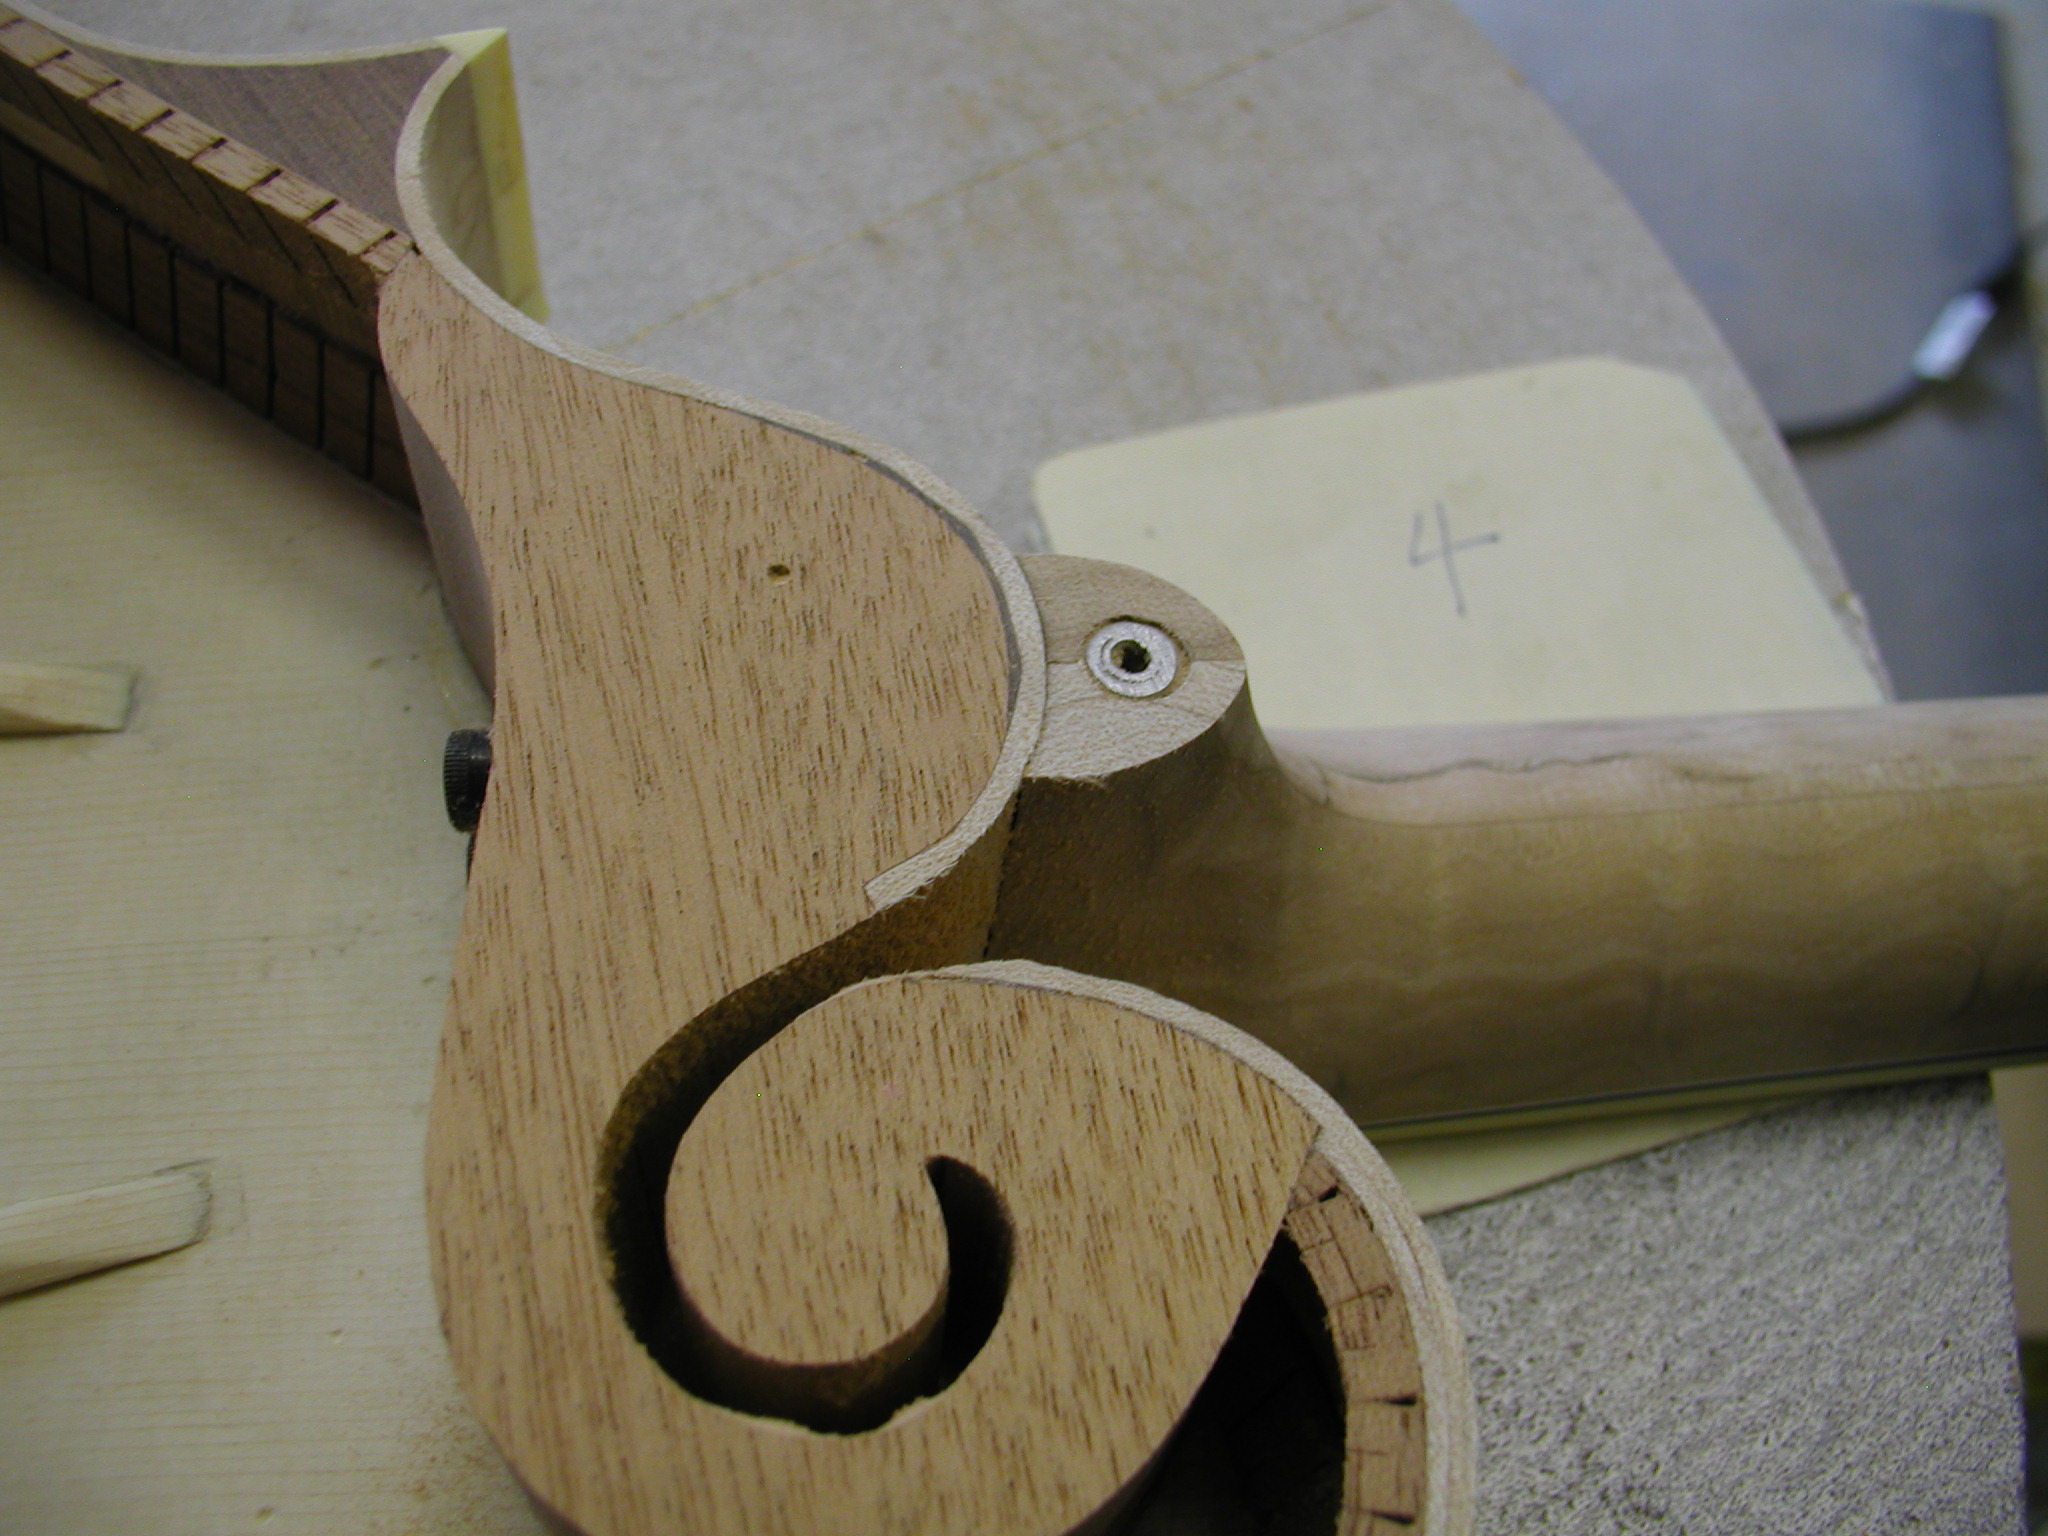
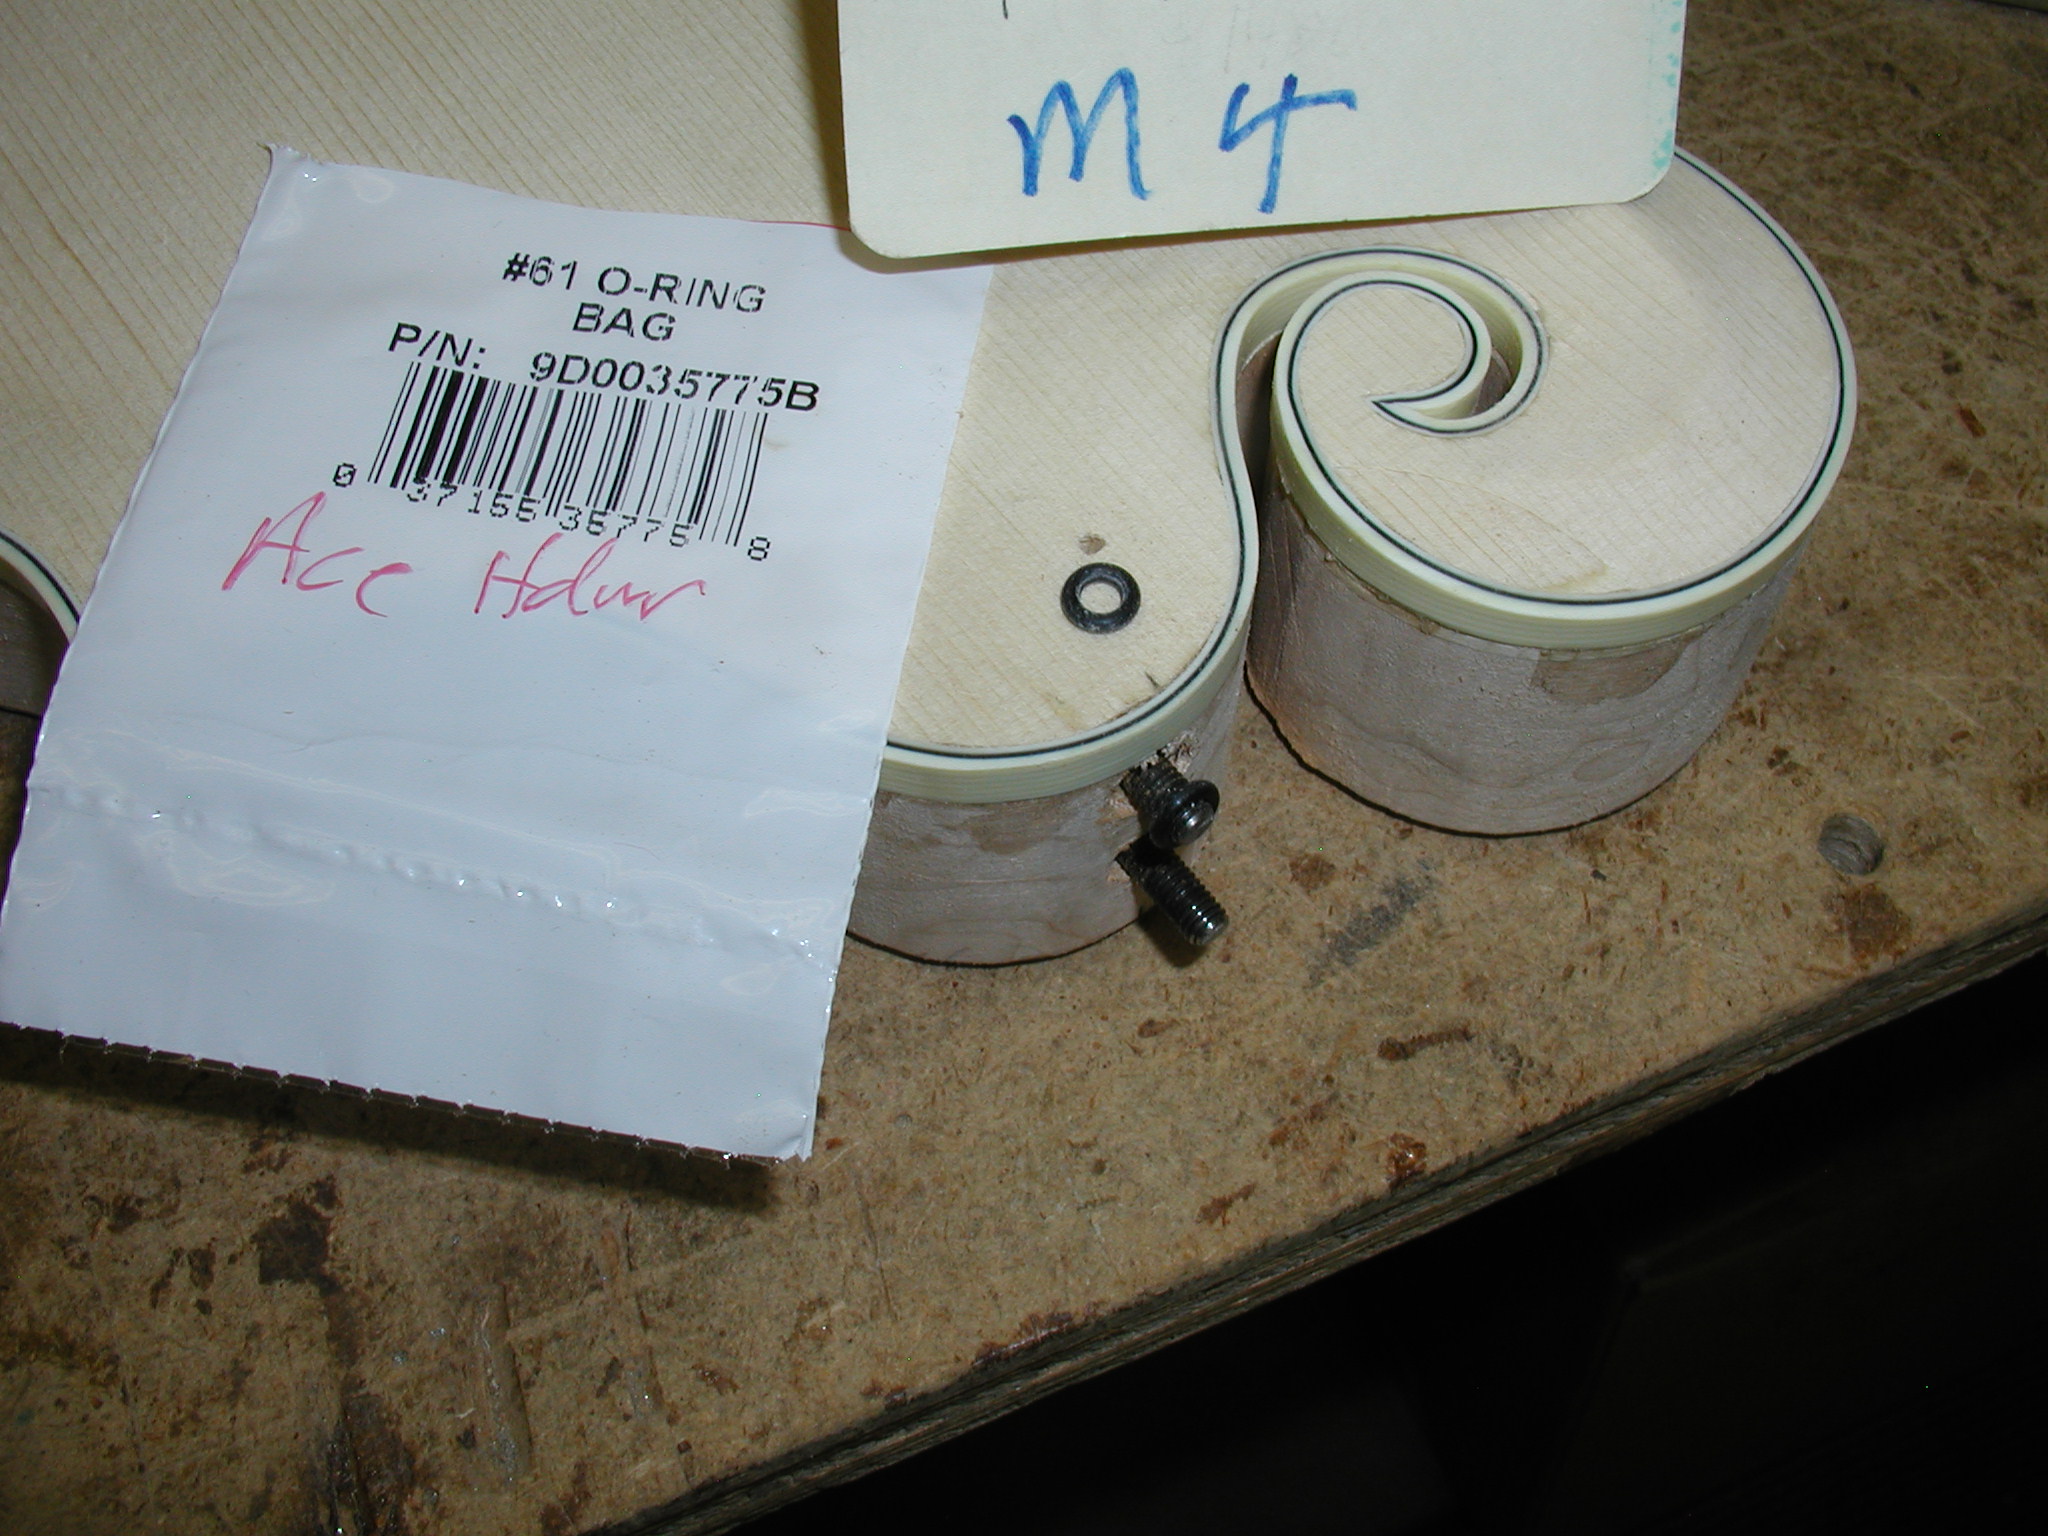
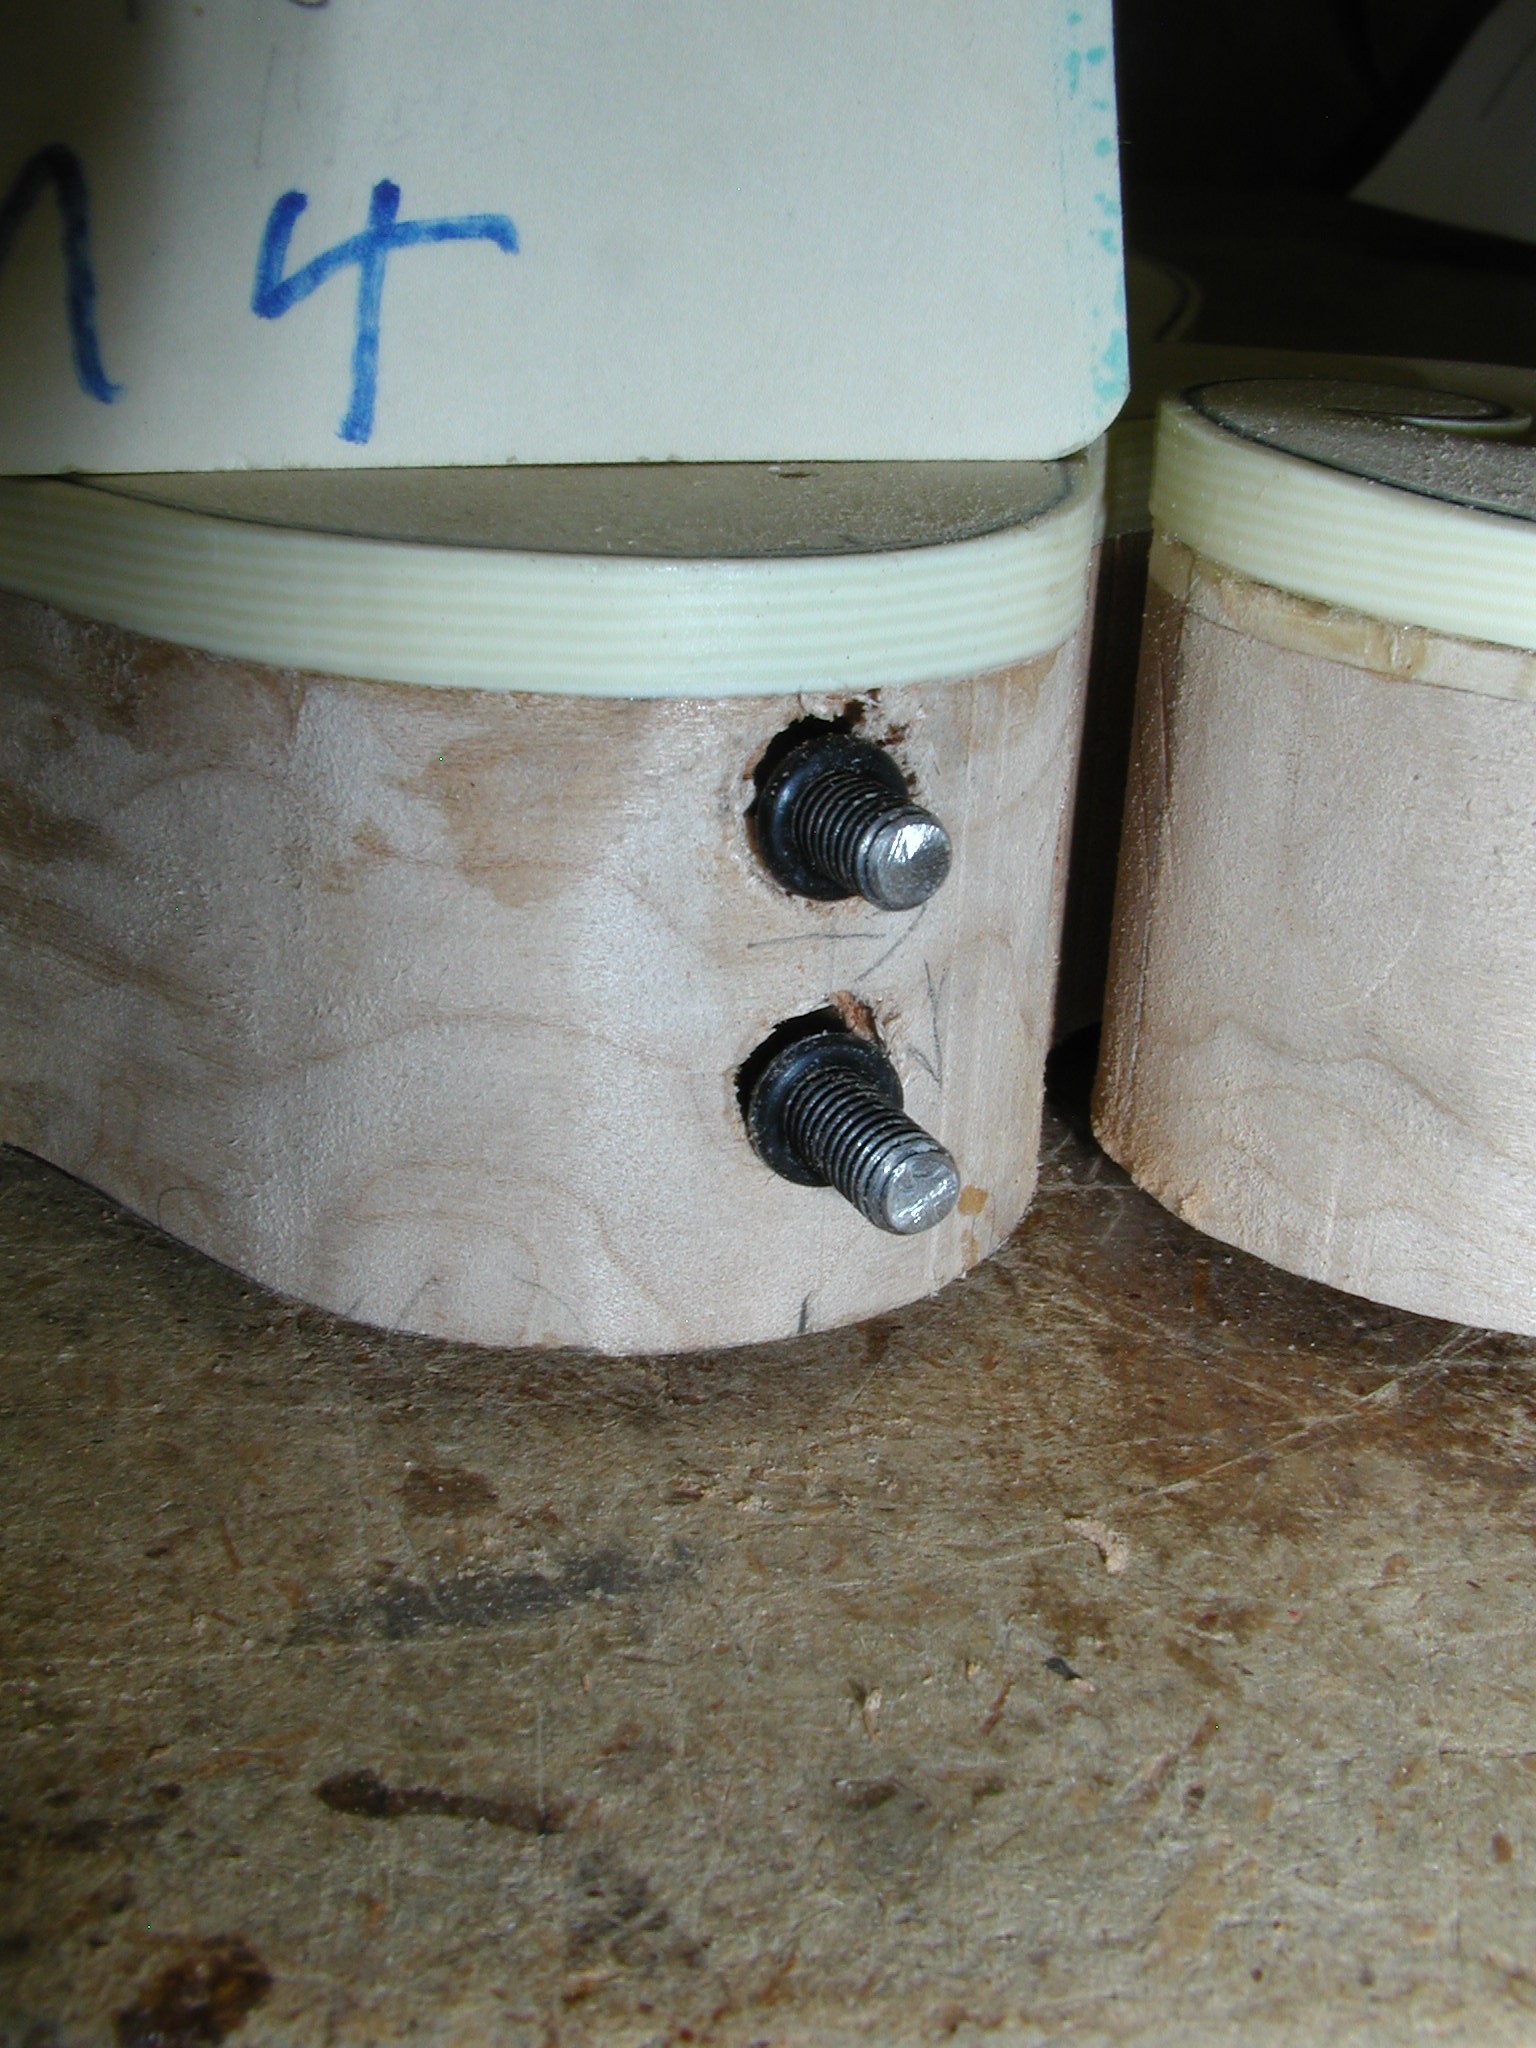
The neck bolts need to be retained in some way so that they won't just fall out into the body when the neck is detached. I use some O-rings from Ace Hardware. I cut a small recess into the body wood with a spade bit to make room for them when the neck is in place, but they keep the bolts from backing out into the body. These are neoprene and very long lasting so they shouldn't degrade over time.
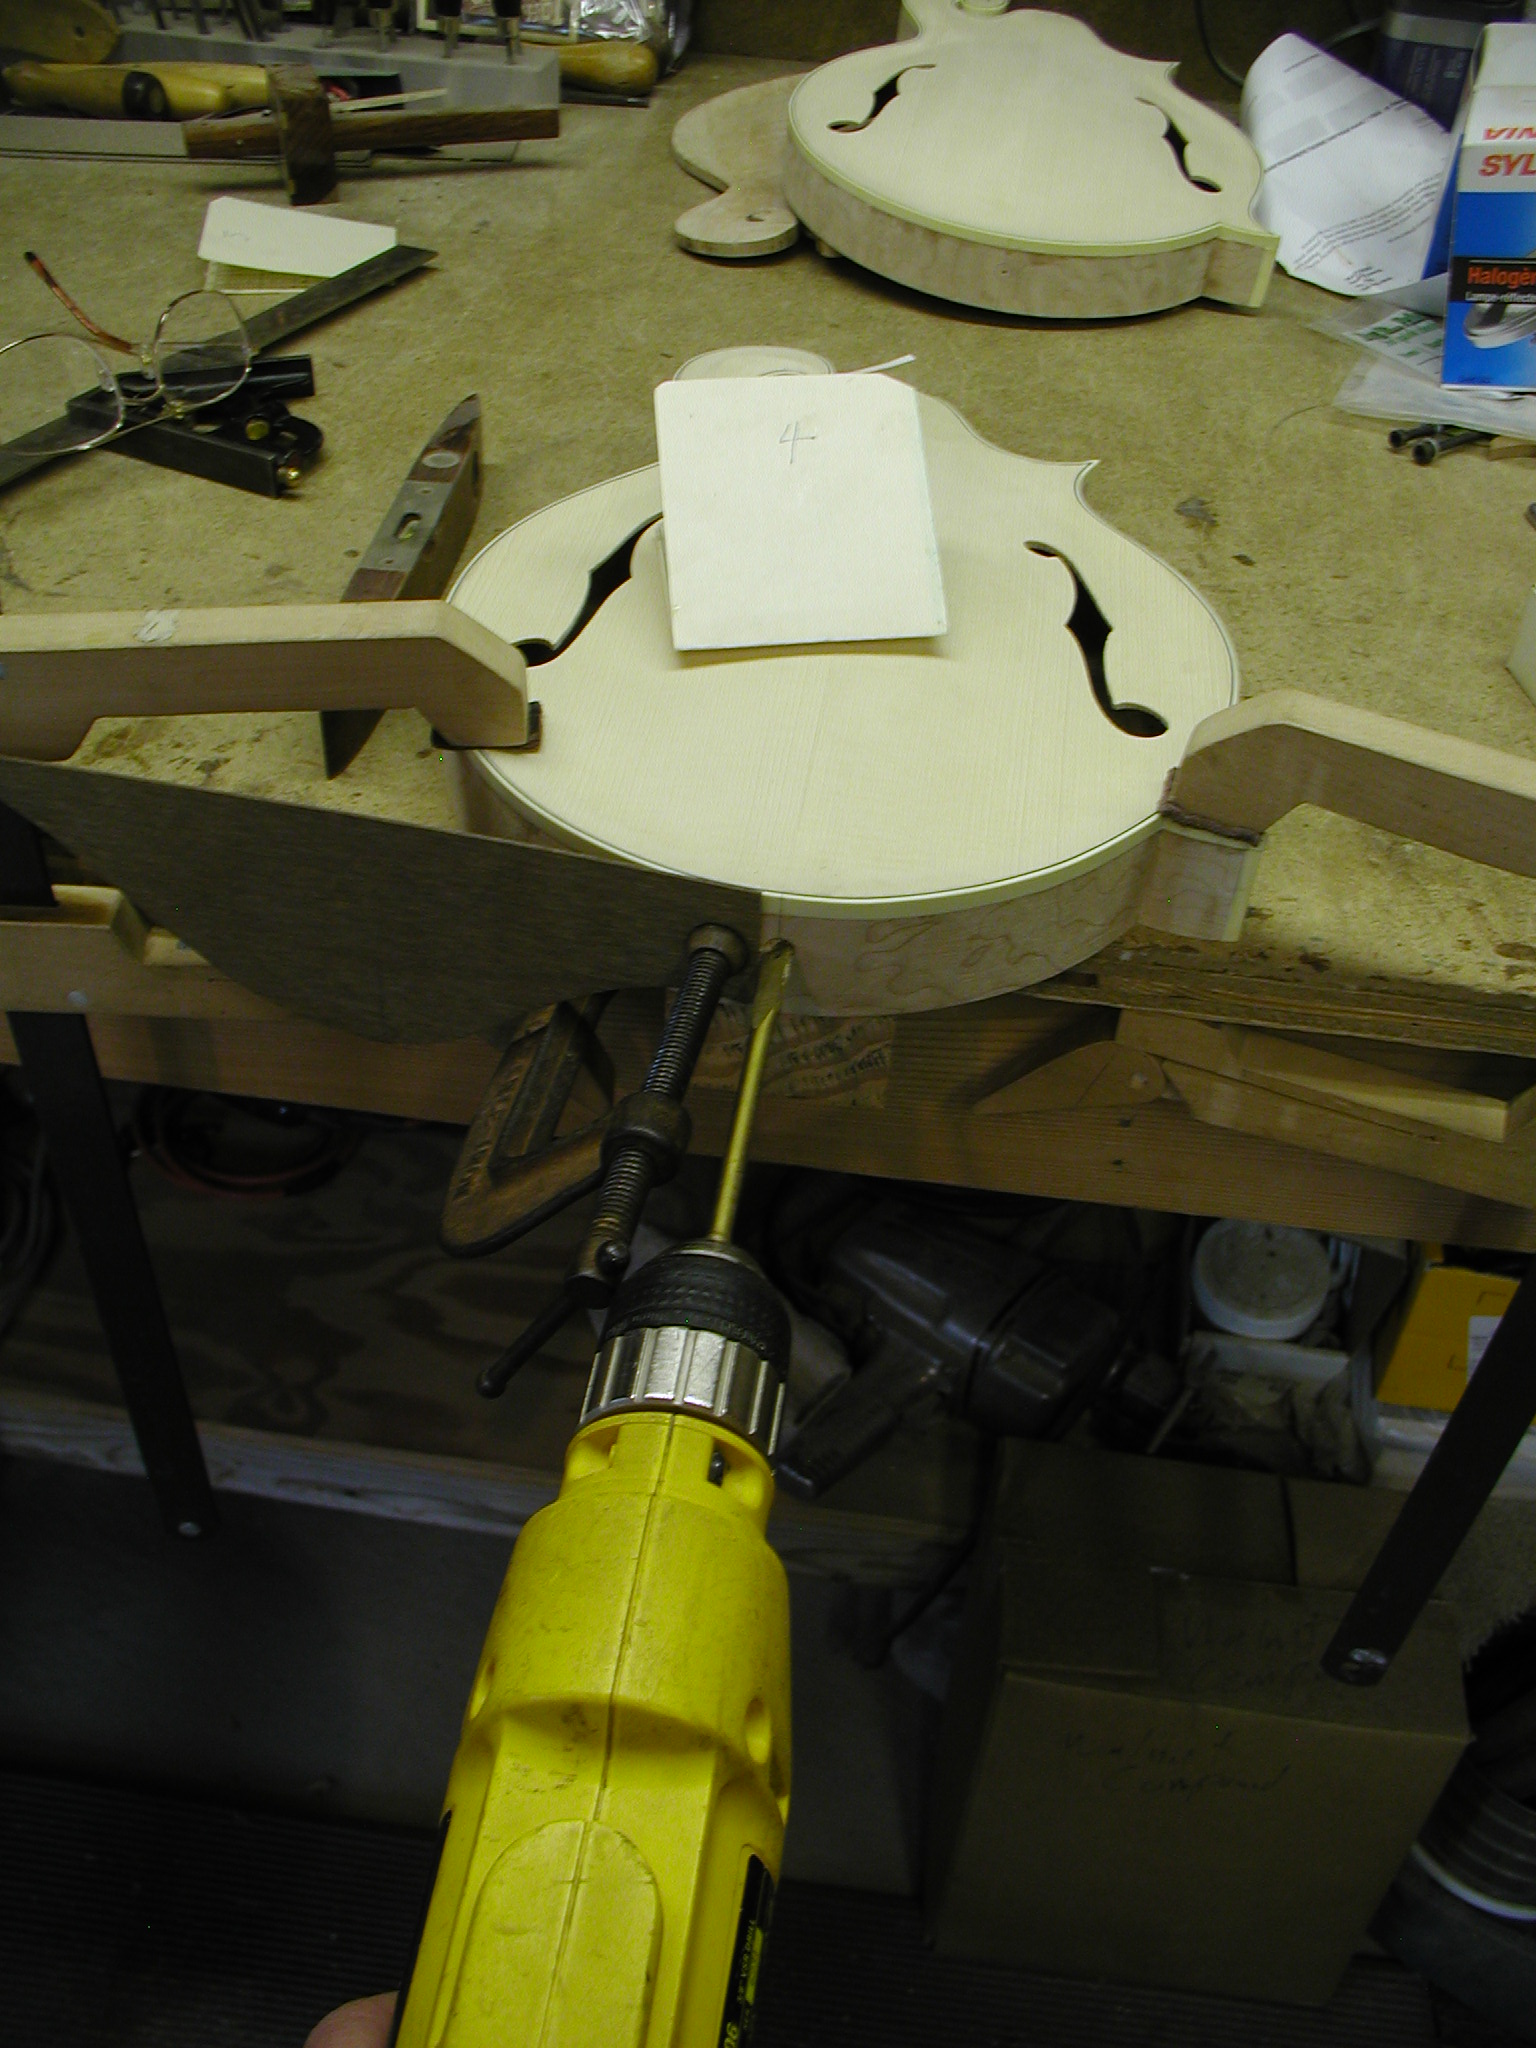
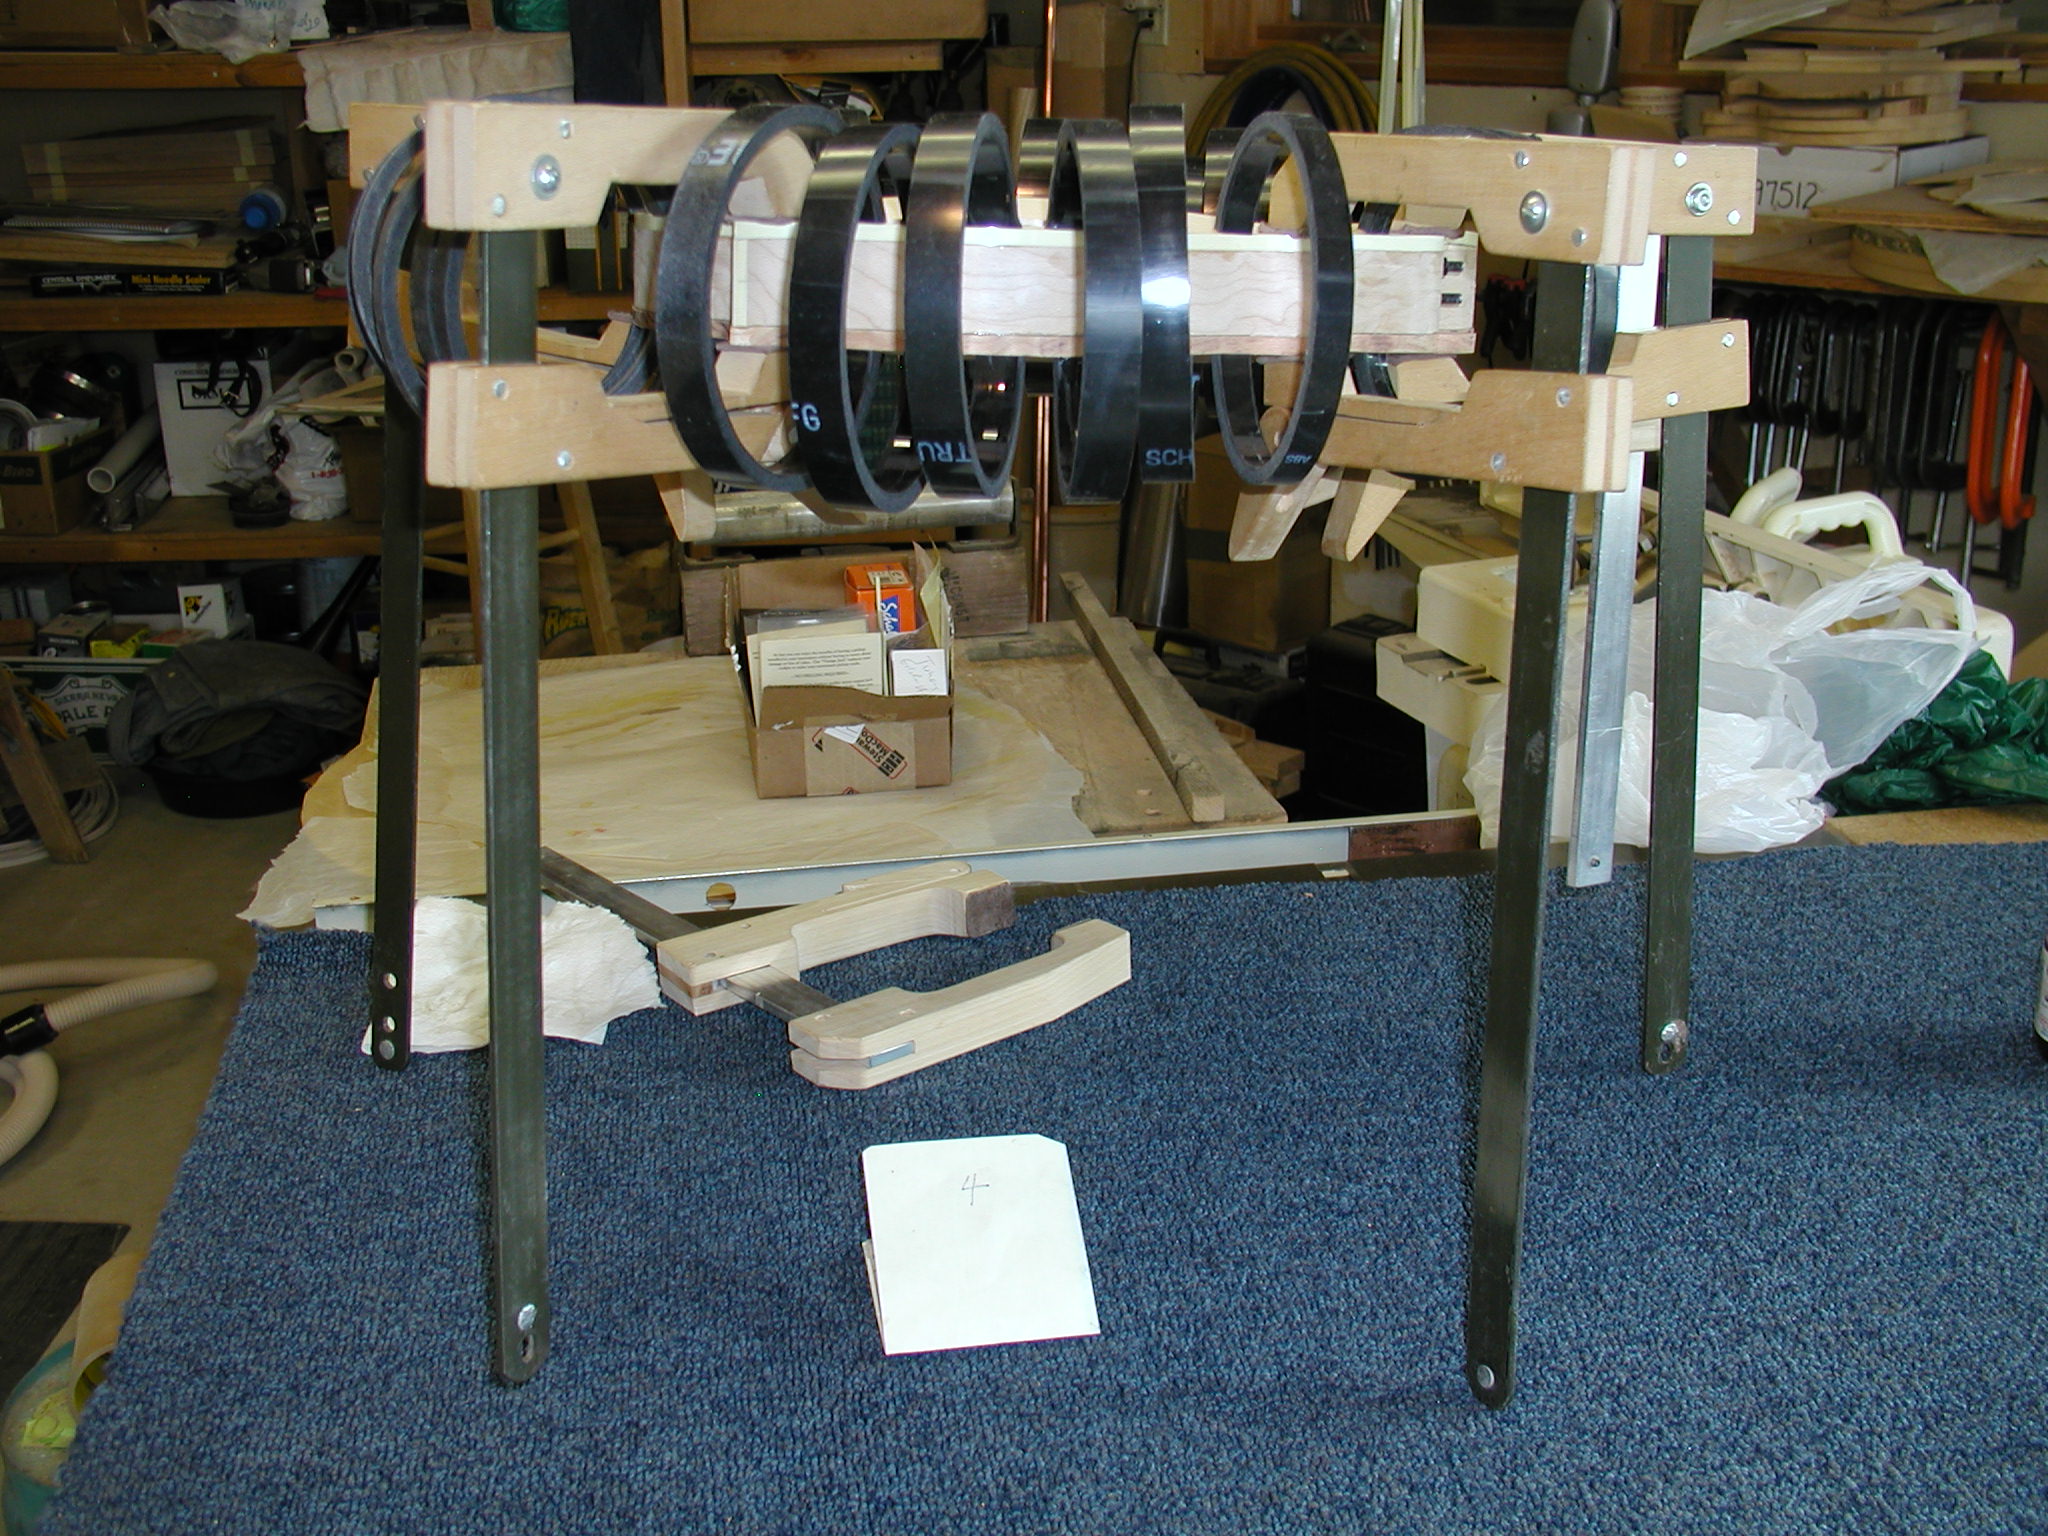
OK, time to do the final cleanup of the body and plate and then glue on the back. I dose the body with the glue and then wipe back a bit on the inside edges to prevent as much squeeze out as I can since I won't be able to reach in there and clean it up. Slip on the back using the guide pins and clamp. I use simple clamps for a lot of this made from PVC pipe. I just cut off rings of different width to adjust how much pressure a clamp applies. Slot the ring and it is now a spring C-Clamp. I smooth off the face edges so that they don't mar the plate surfaces.
1 2 3 4 5 6 7 8 8a 9 10 11 11a 11b 12 12a 13 14 15 16 17 18 19 20