Let's Build A Bouzouki (Page 4)
Last Modified - December 2017 (©Alan Dunwell 2009)
In Page 3 we completed the body. Now it is time to begin creating the neck. This is going to be a long scale neck, 645mm (25.4"), so I am using maple for the strength and in addition to the double action truss rod I will be installing double graphite bars to keep the whole thing from being a noodle.
[Note: The neck shown here differs from current design, I'll try to indicate those differenced as I go along with notes such as this.]
Notes from 2017 - Alternate Neck Attachments - Although there is nothing wrong with the attachment shown here, where I use a shim of wood to make the "pitch and yaw" type adjustments of neck to body, I am continualy experimenting. The links here go to two alternate methods that I have used.
- Three-Point Adjustable Attachment (Page 4a) - This uses the same sort of flat cuts to the neck and body as in this bouzouki build page but instead uses three set screws for the neck adjustment rather than the wood shim shown here below.
- Mandolin Type Attachment (Page 4b) - Here I am keeping the rounded head profile and fit the neck to that profile in the same way I do in Let's Build A Mandolin Page 10. This does require a special jig for an oscillating spindle sander.
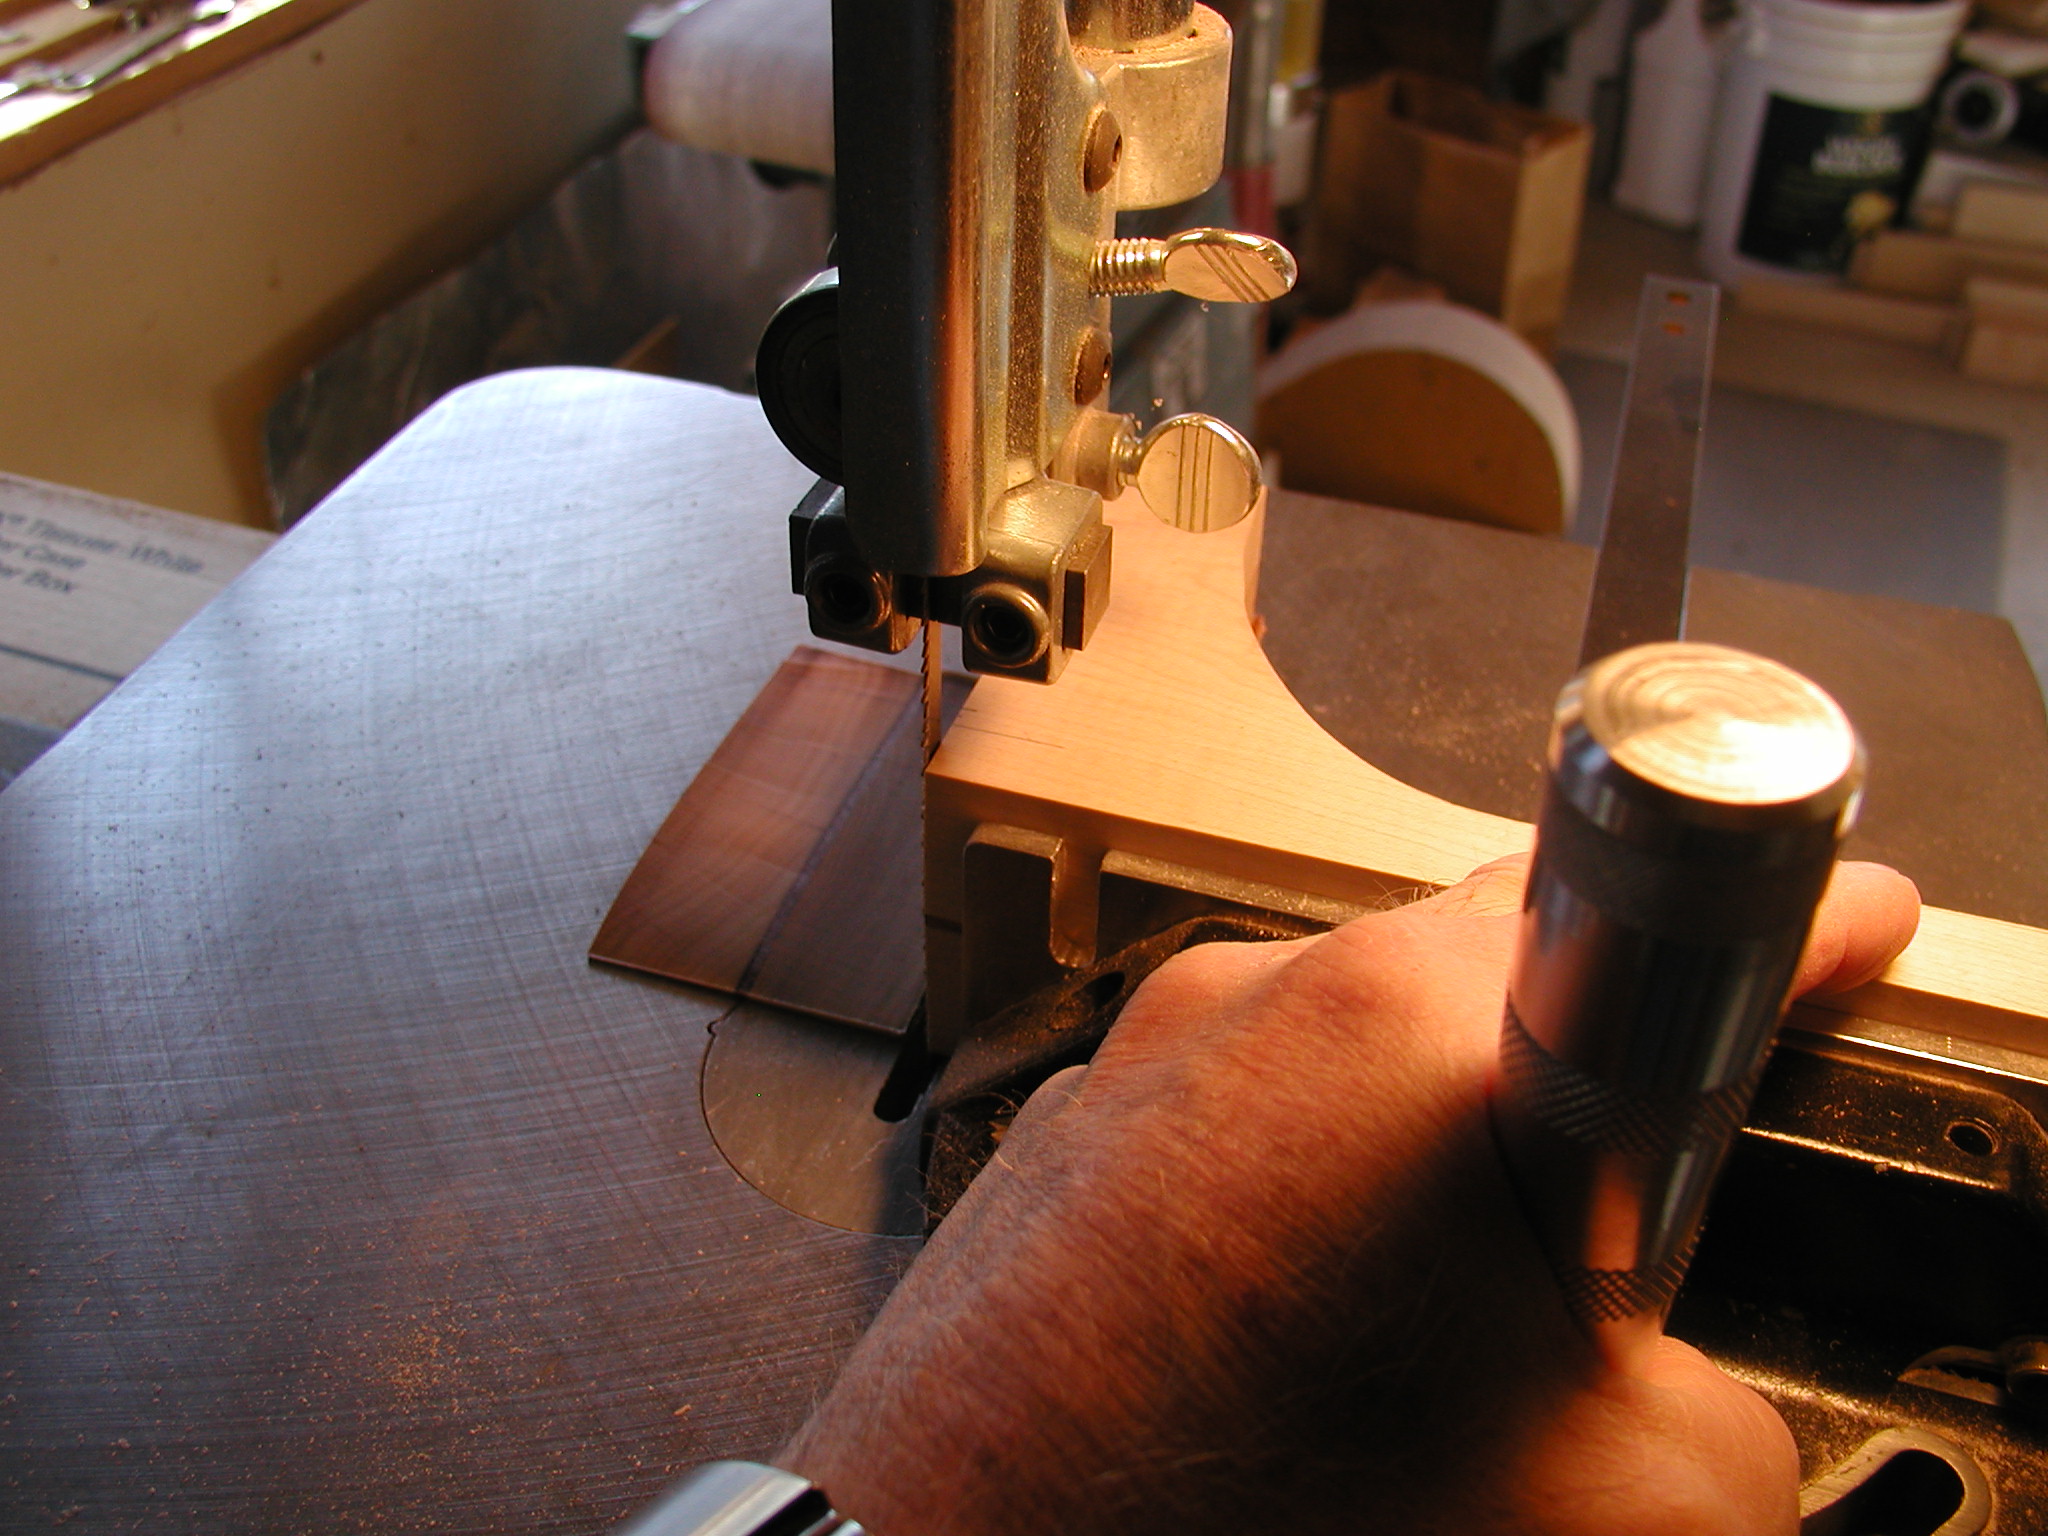
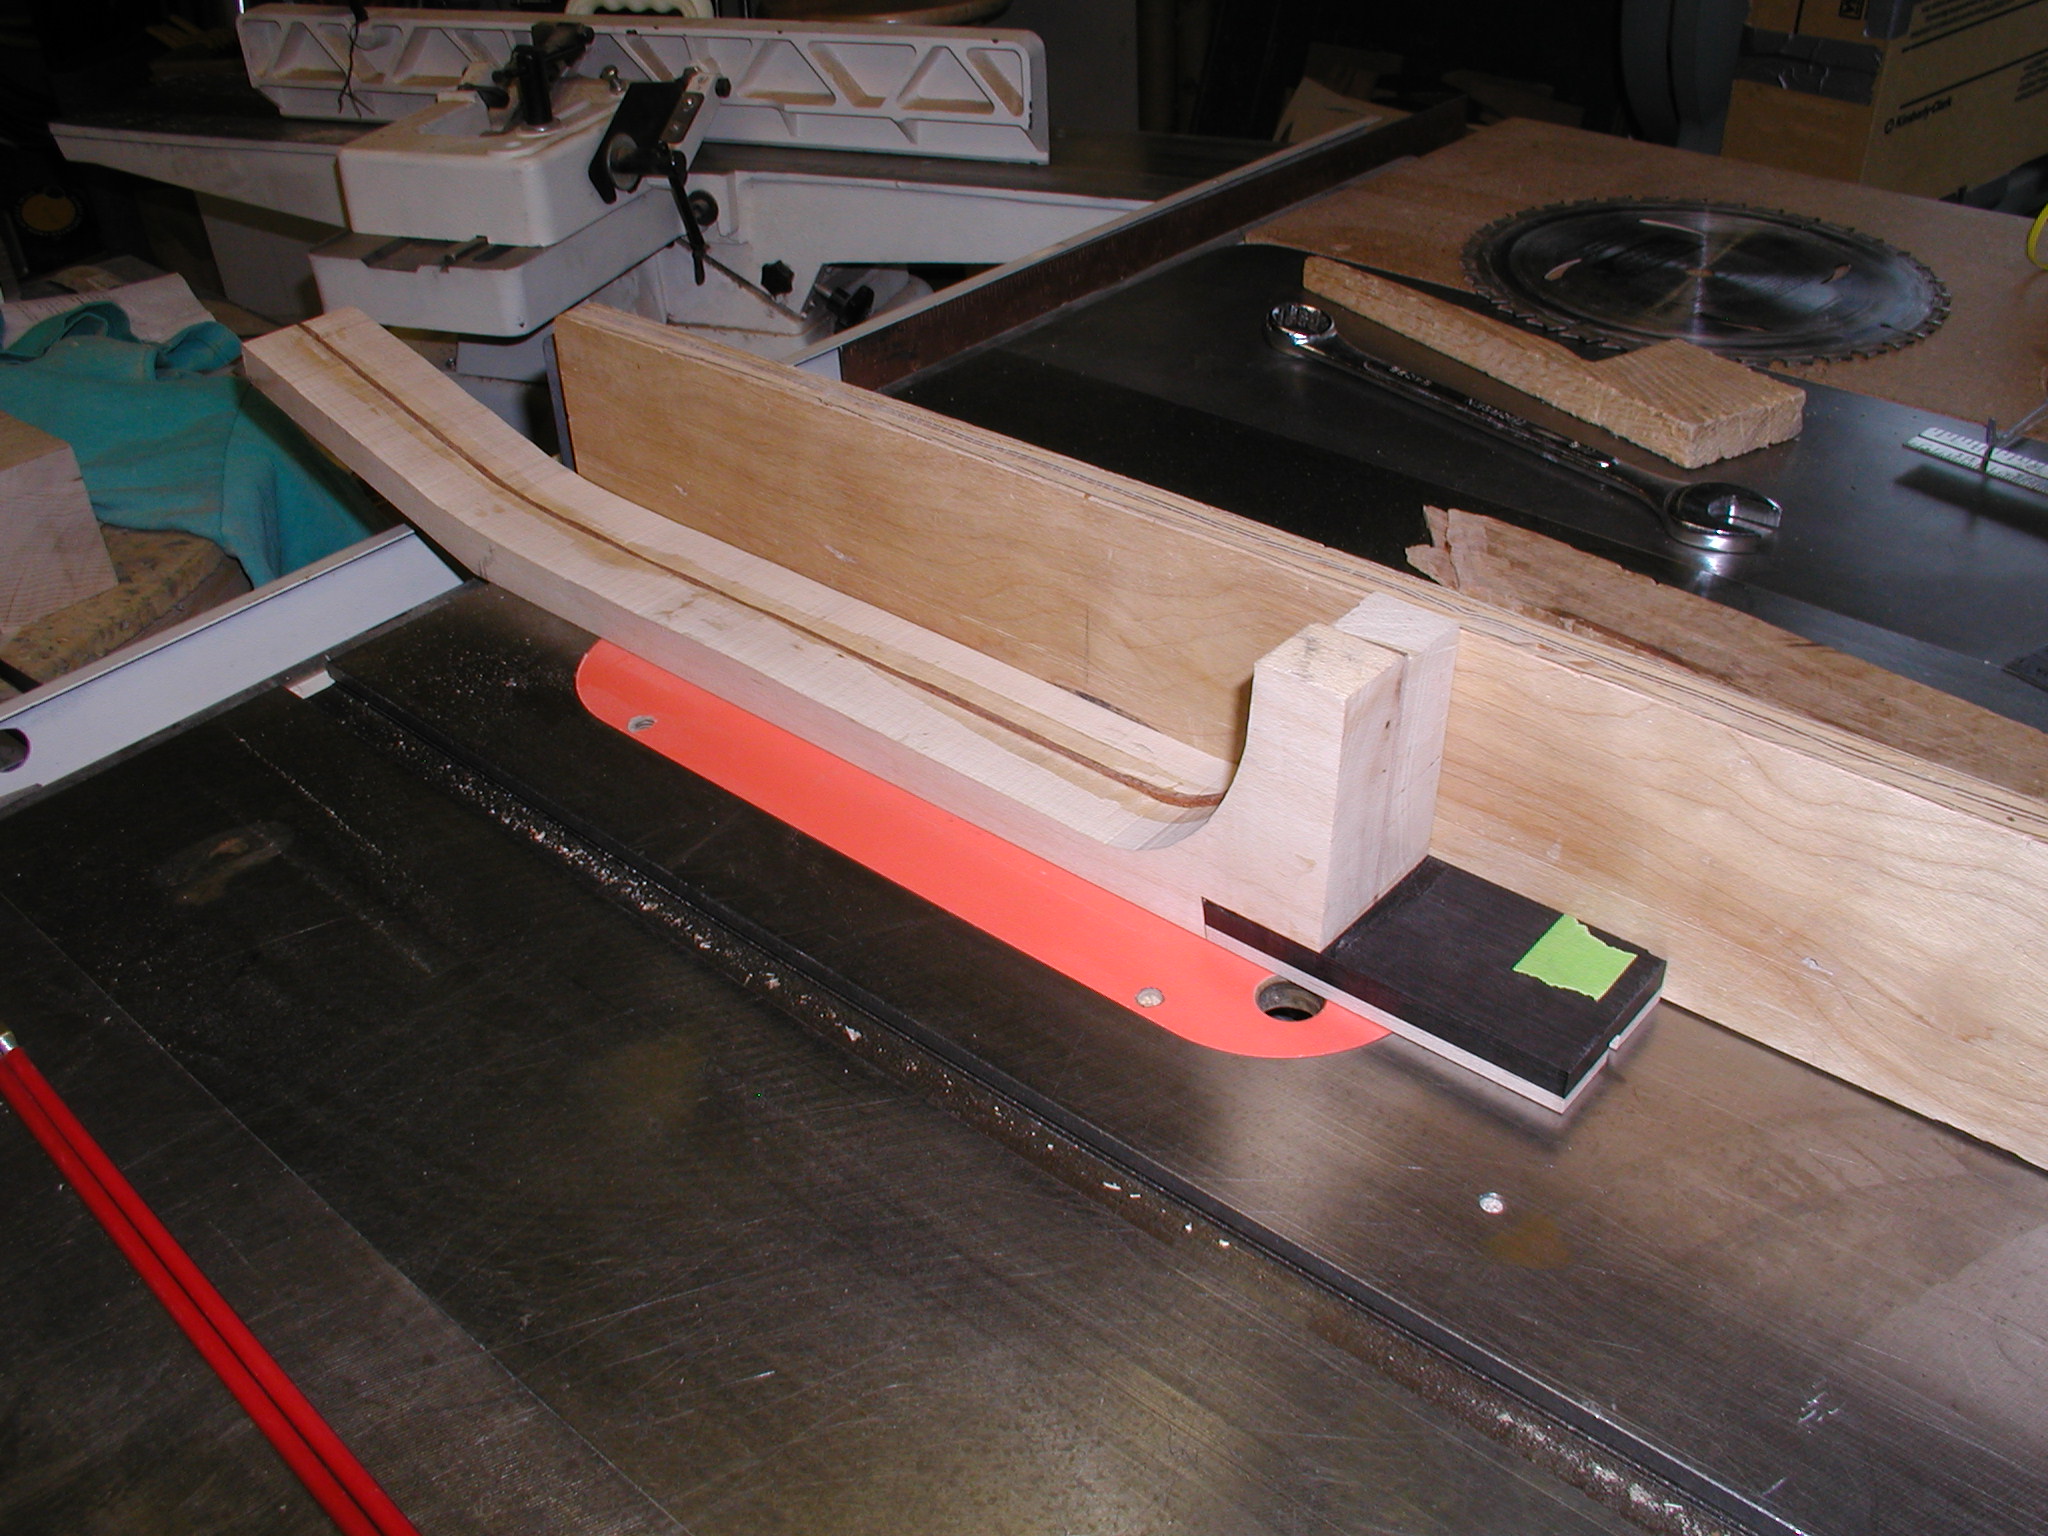
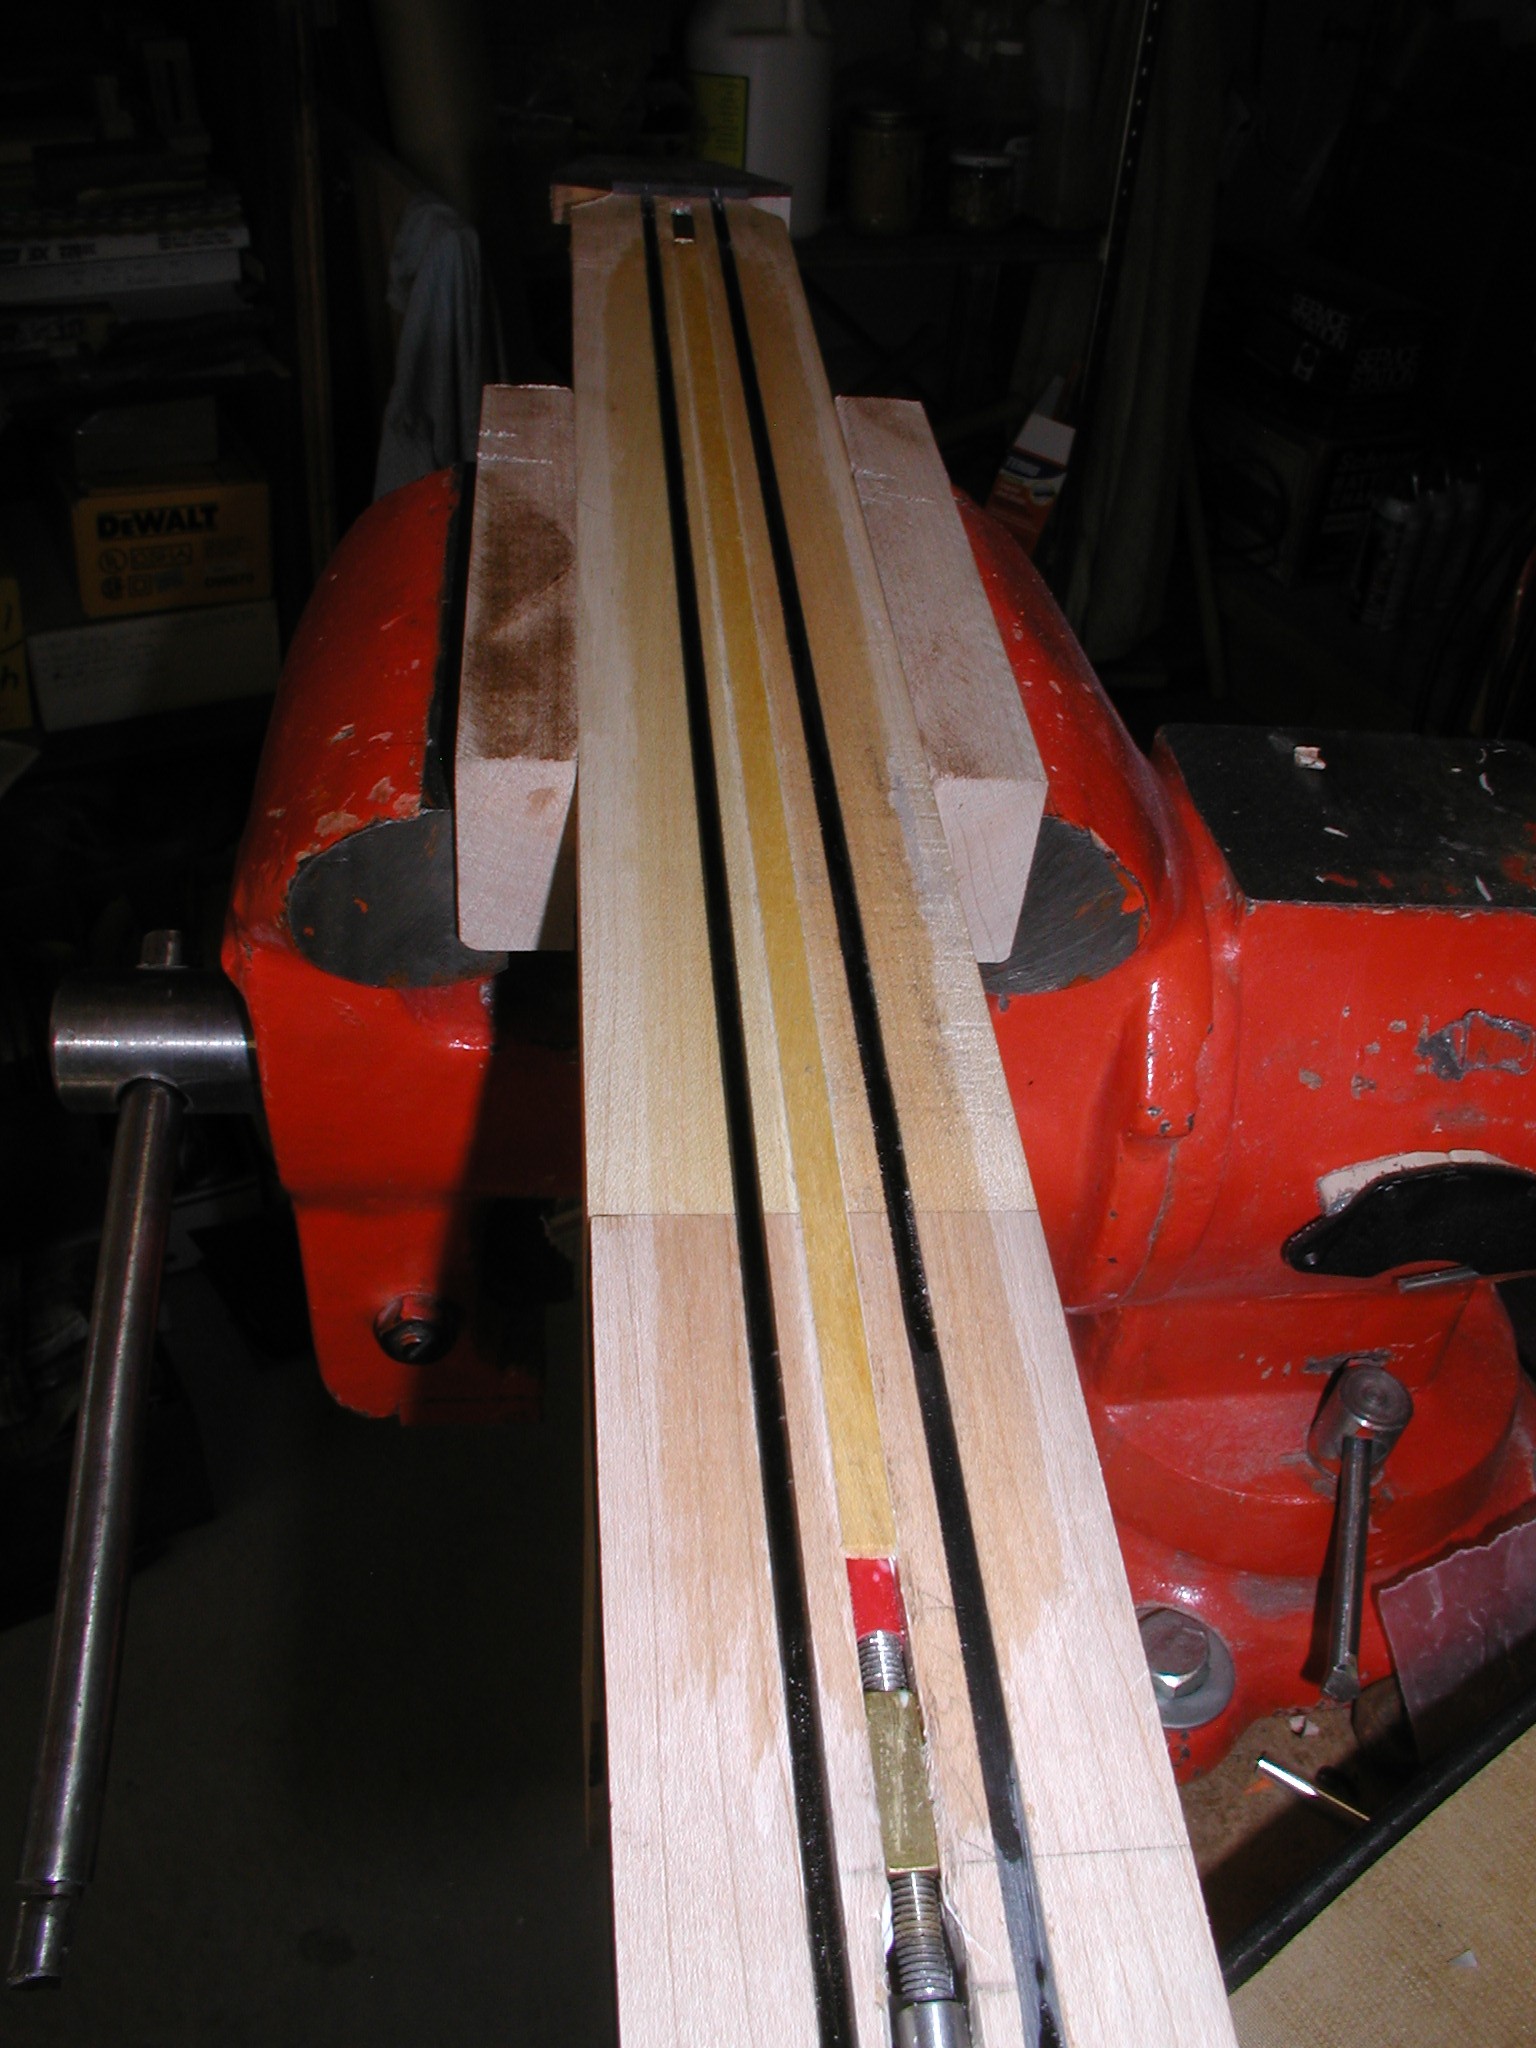
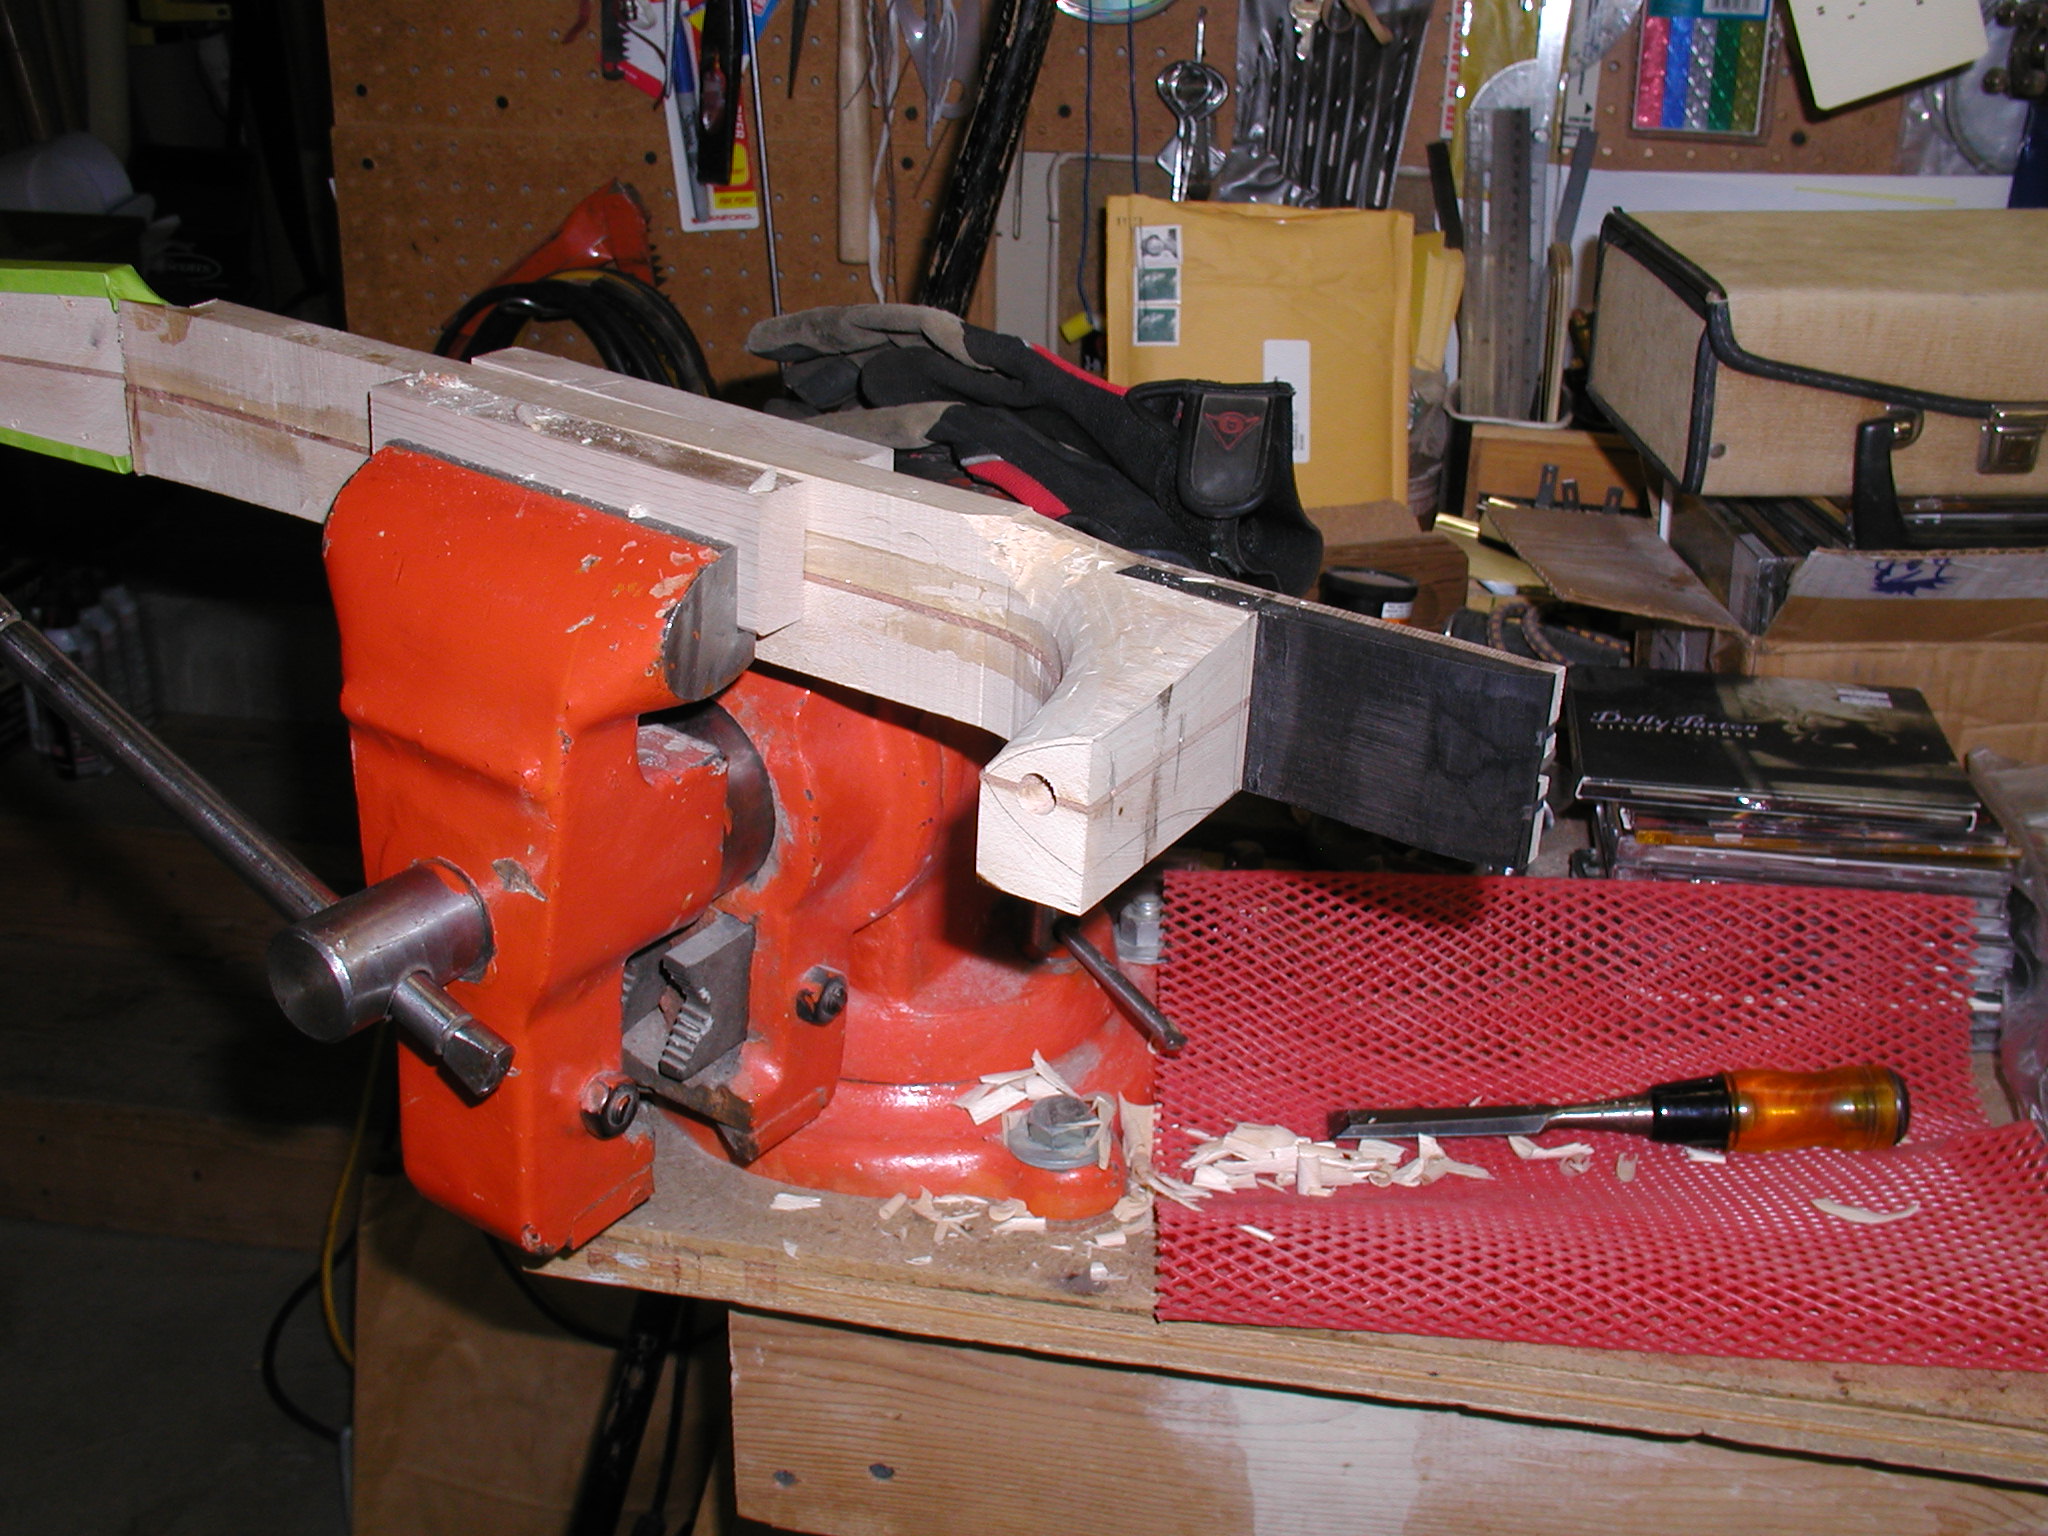
I make a multi-piece fly-leaved neck. I start with flat sawn planks and the glue them up as shown, this puts the grain vertical in the neck profile. If there is any curve to the grain I make it so that it is running in towards the center heel bottom. This makes a very stable construction and if there is any stress in the wood the two halves balance each other out. For this neck I used standard S2S board and the center seam is just some side wood cut-offs. In retrospect the center seam should have been thicker or the maple thicker, I ended up having to make some "ears" for the headstock. In the second photo I am trimming the butt end to the proper angle. Not shown here is checking it to the body to make sure it is close to the proper angle. This will be fine tuned later with a shim.


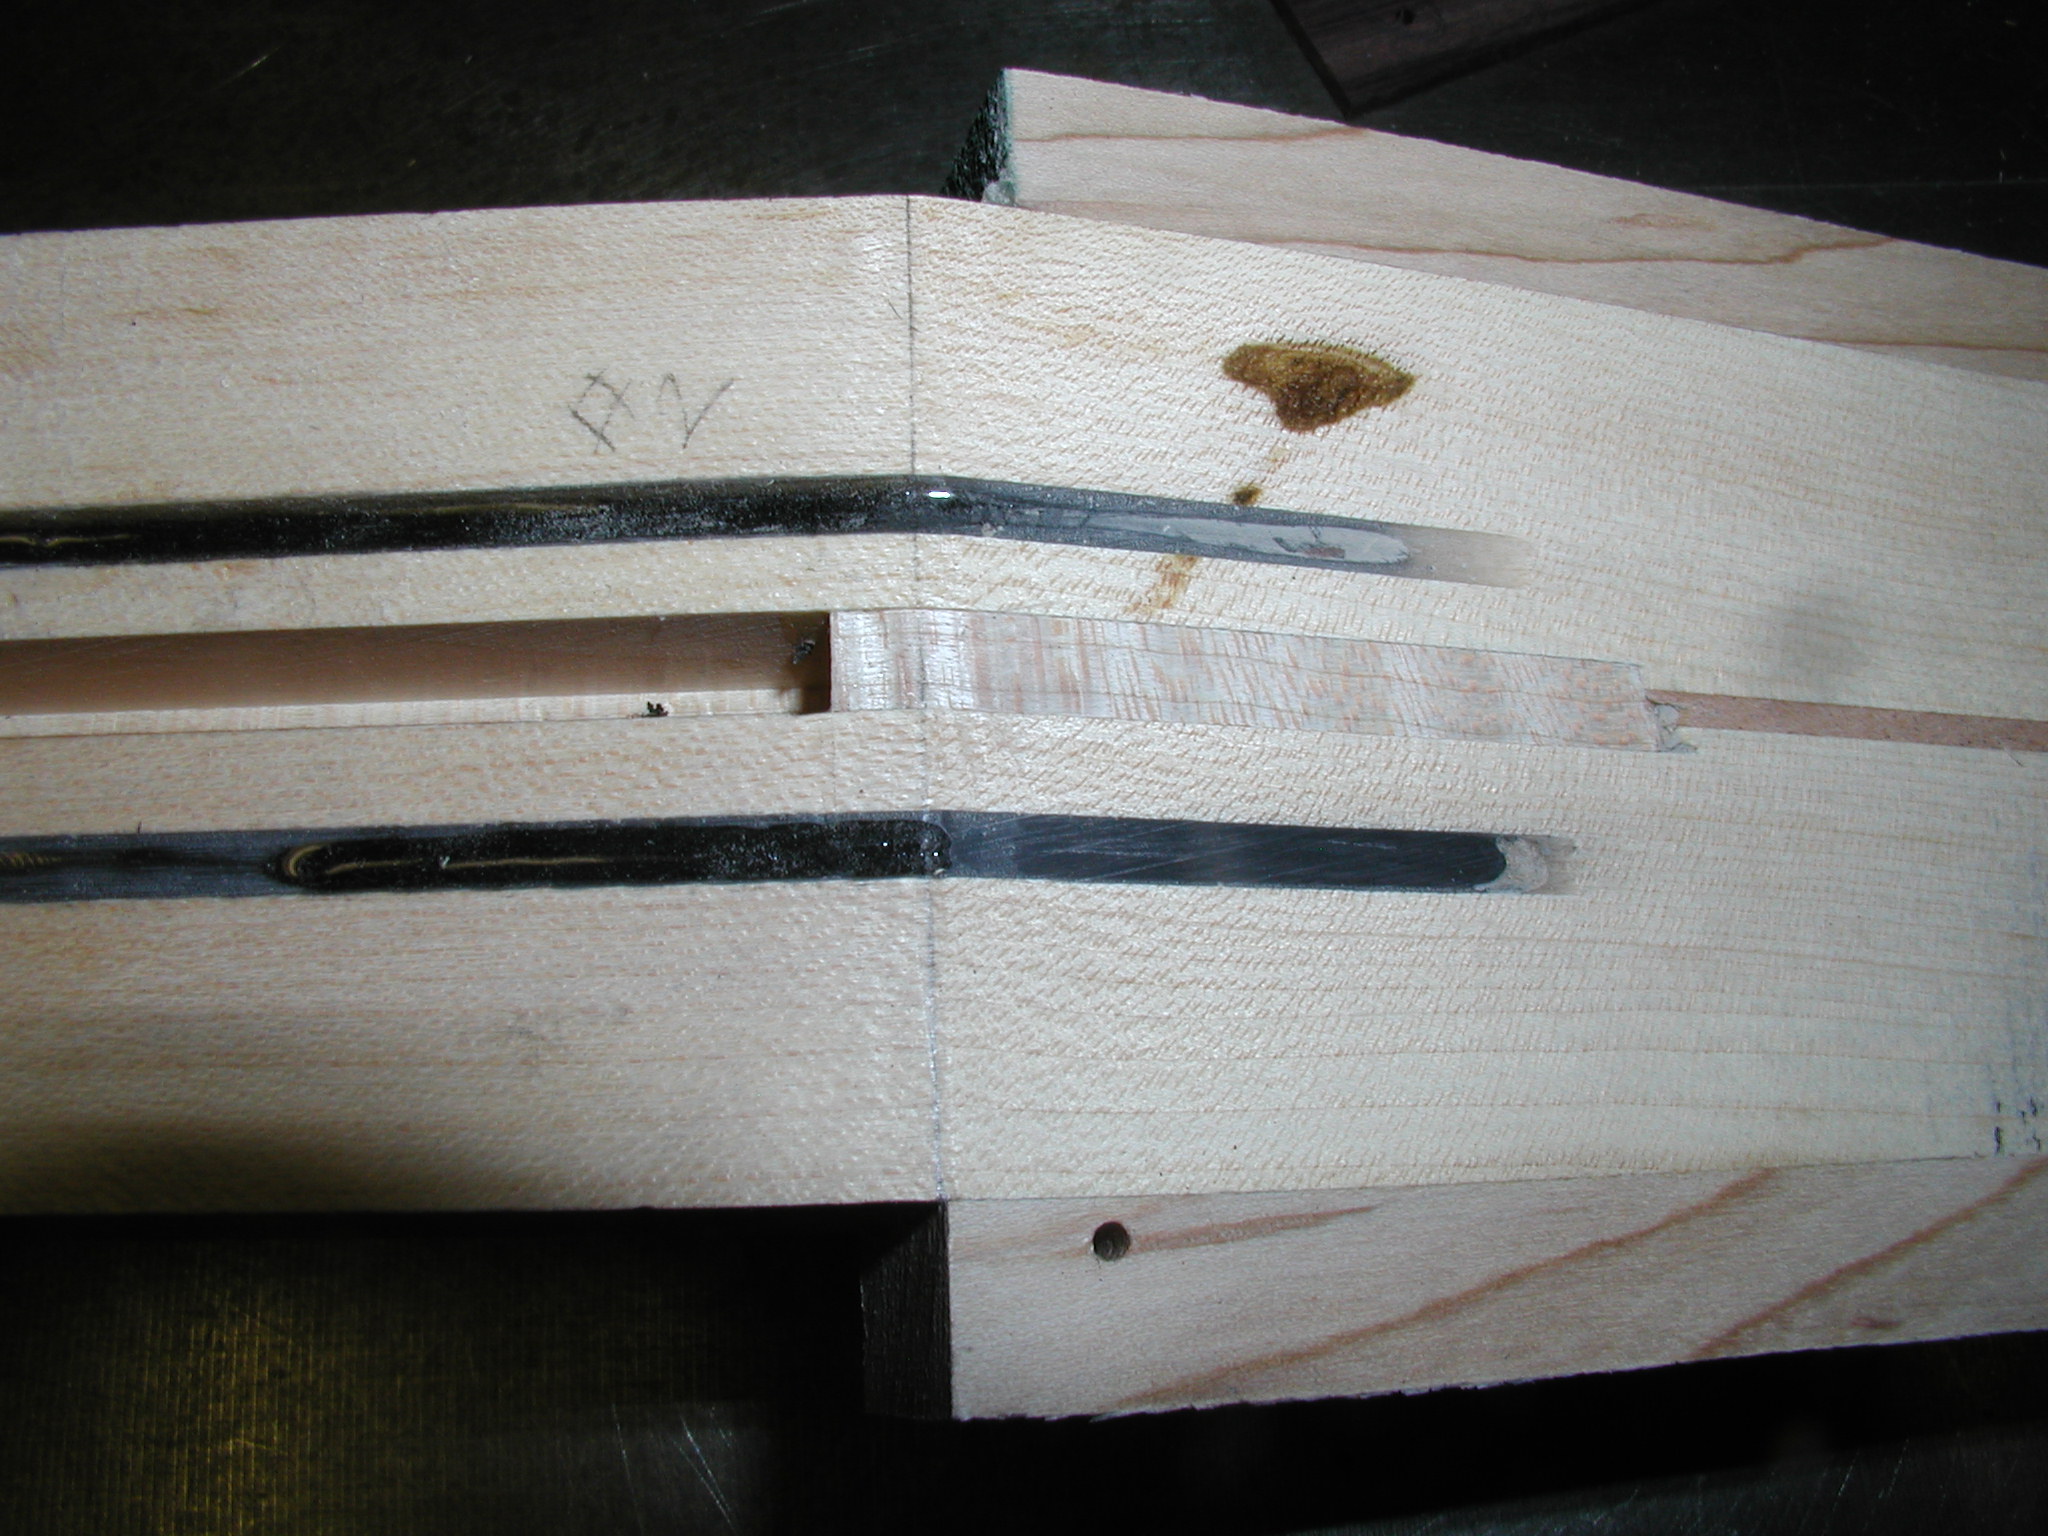
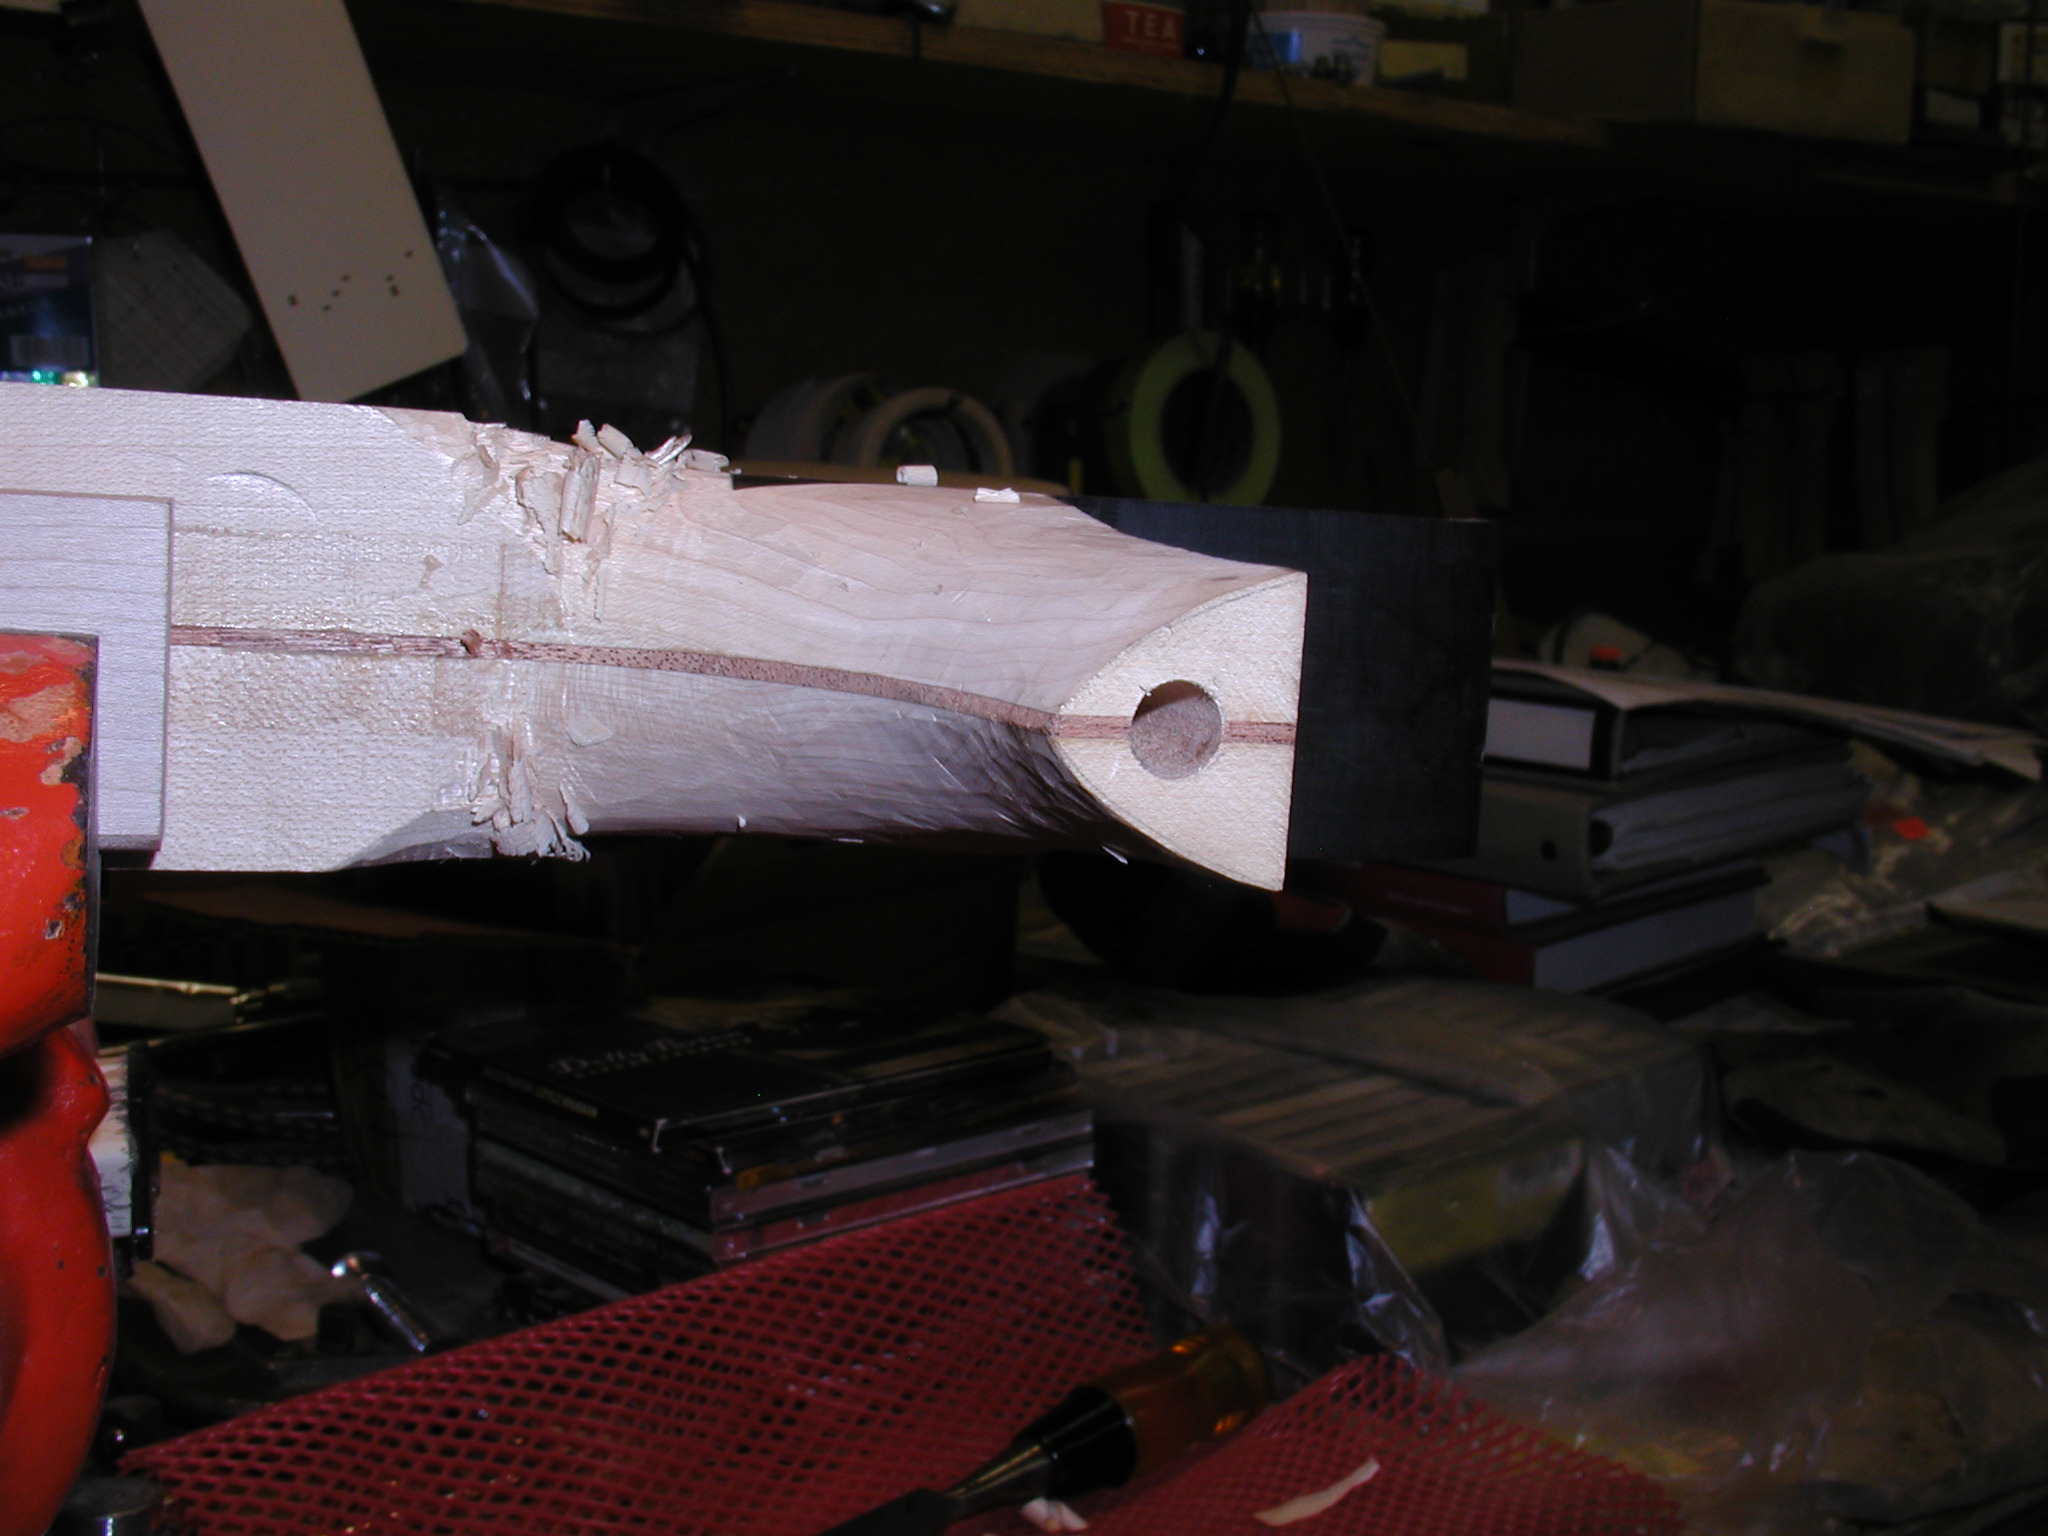
This neck will float above the top, so it needs a fretboard extension of some sort to help support the fretboard where it reaches out.
[NOTE: The extension here accommodates a long truss rod reaching into the extension. I now stop the rod at the body joint which allows the extension to be much thinner and thereby allowing a smaller front angle to the neck. It is still adjustable from the body end.]
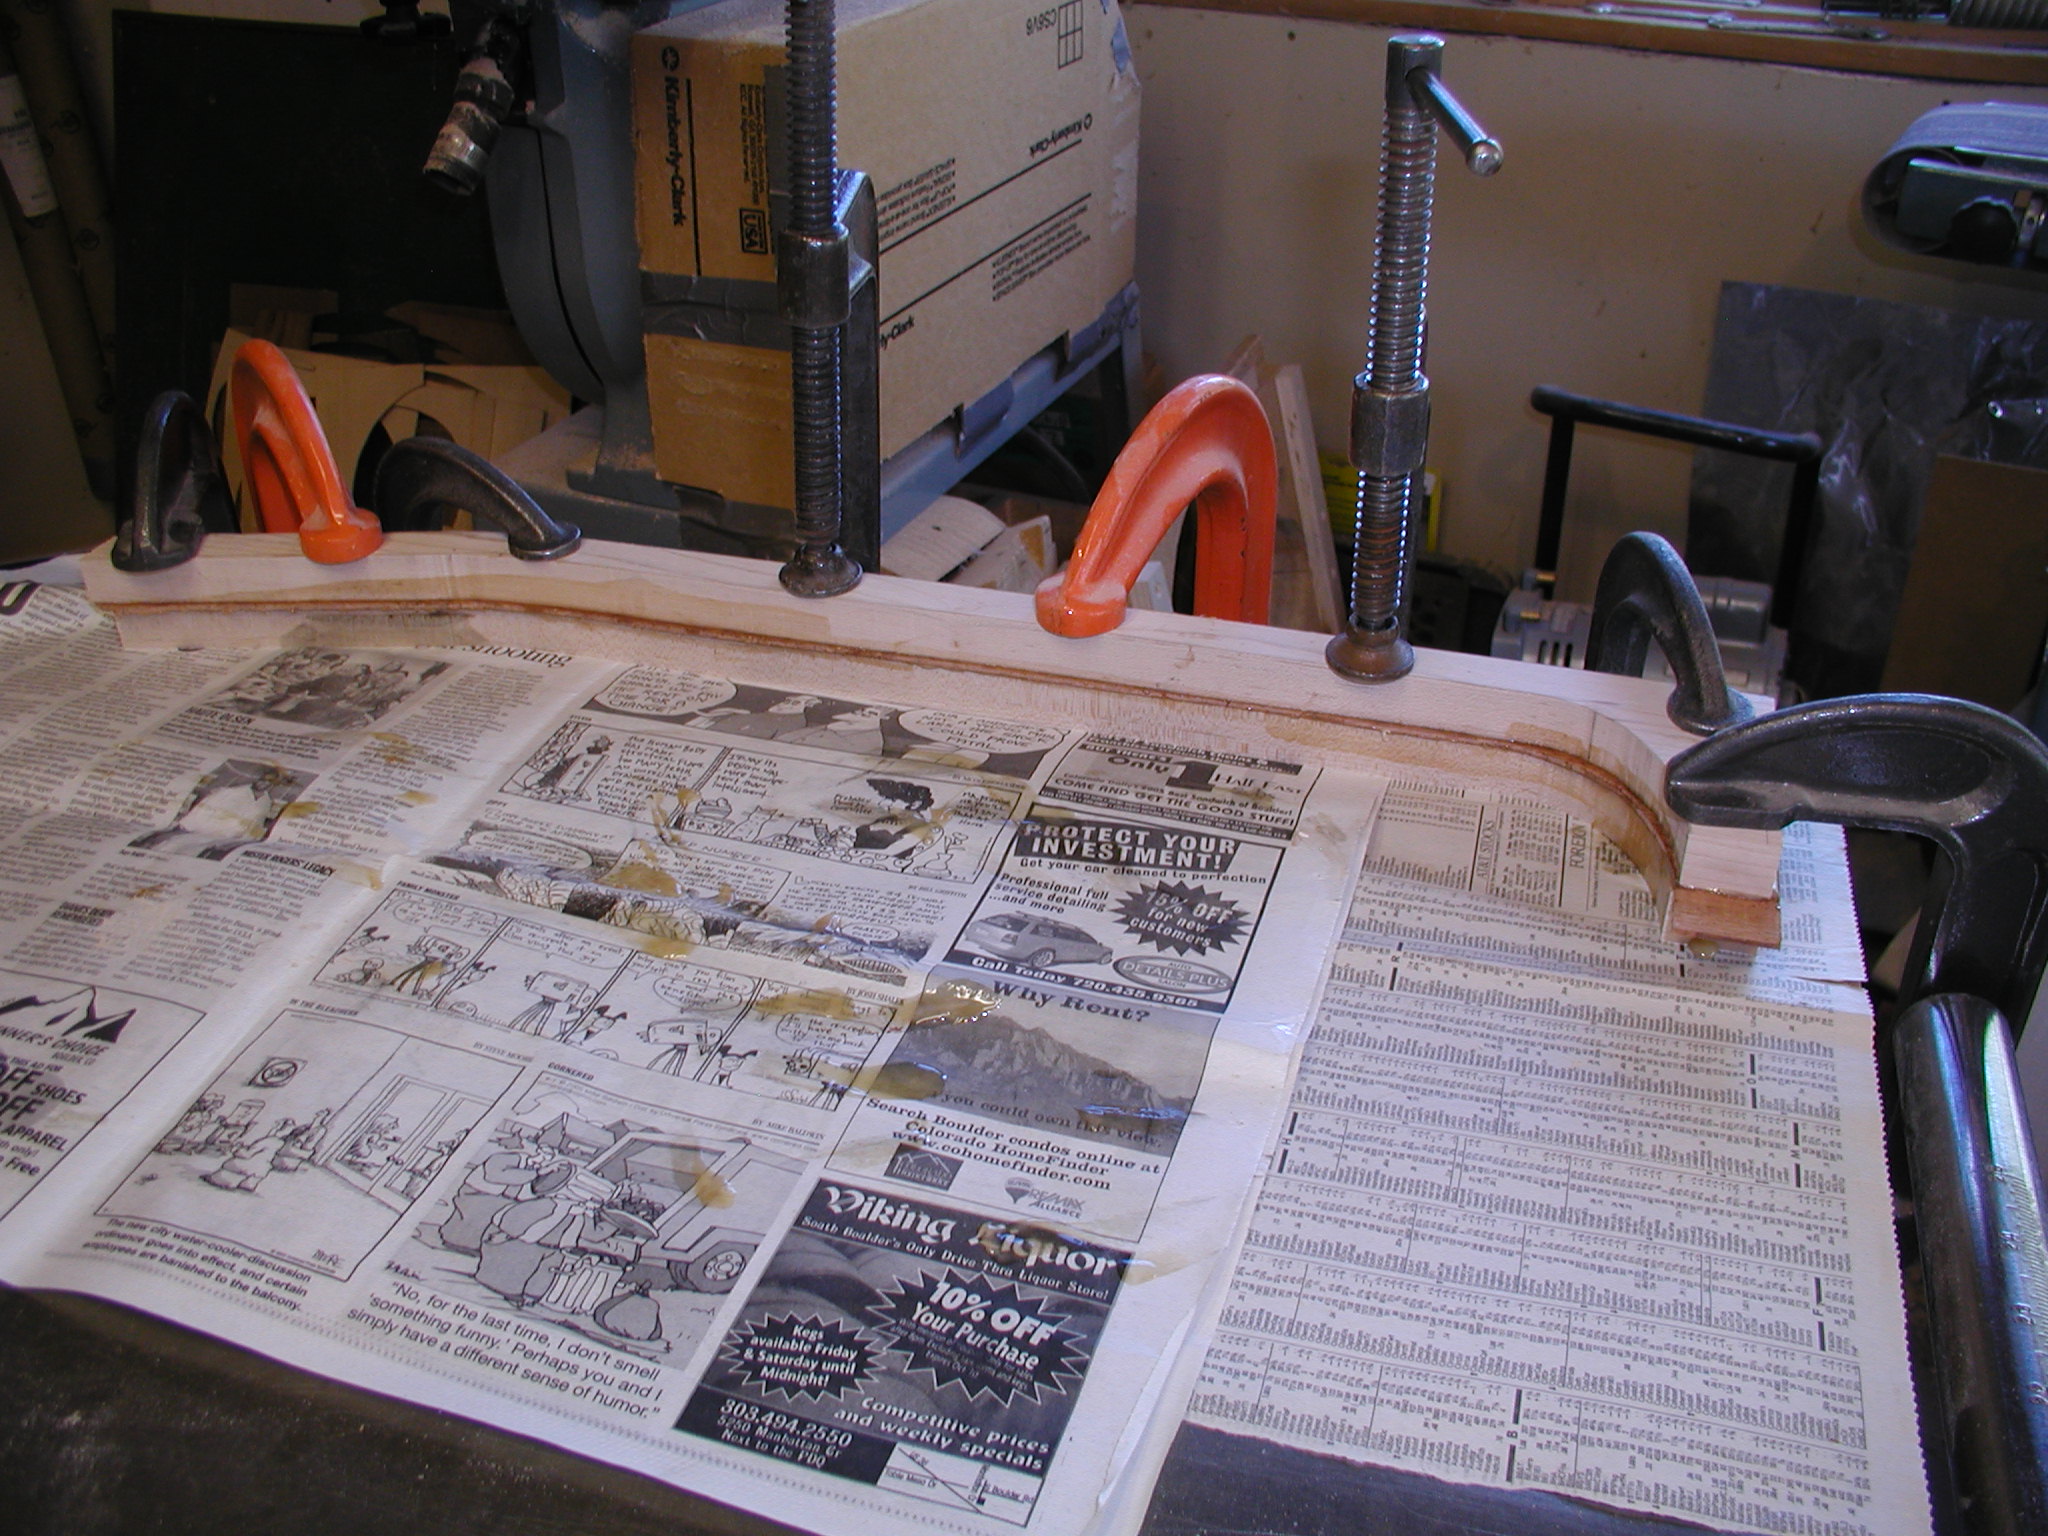
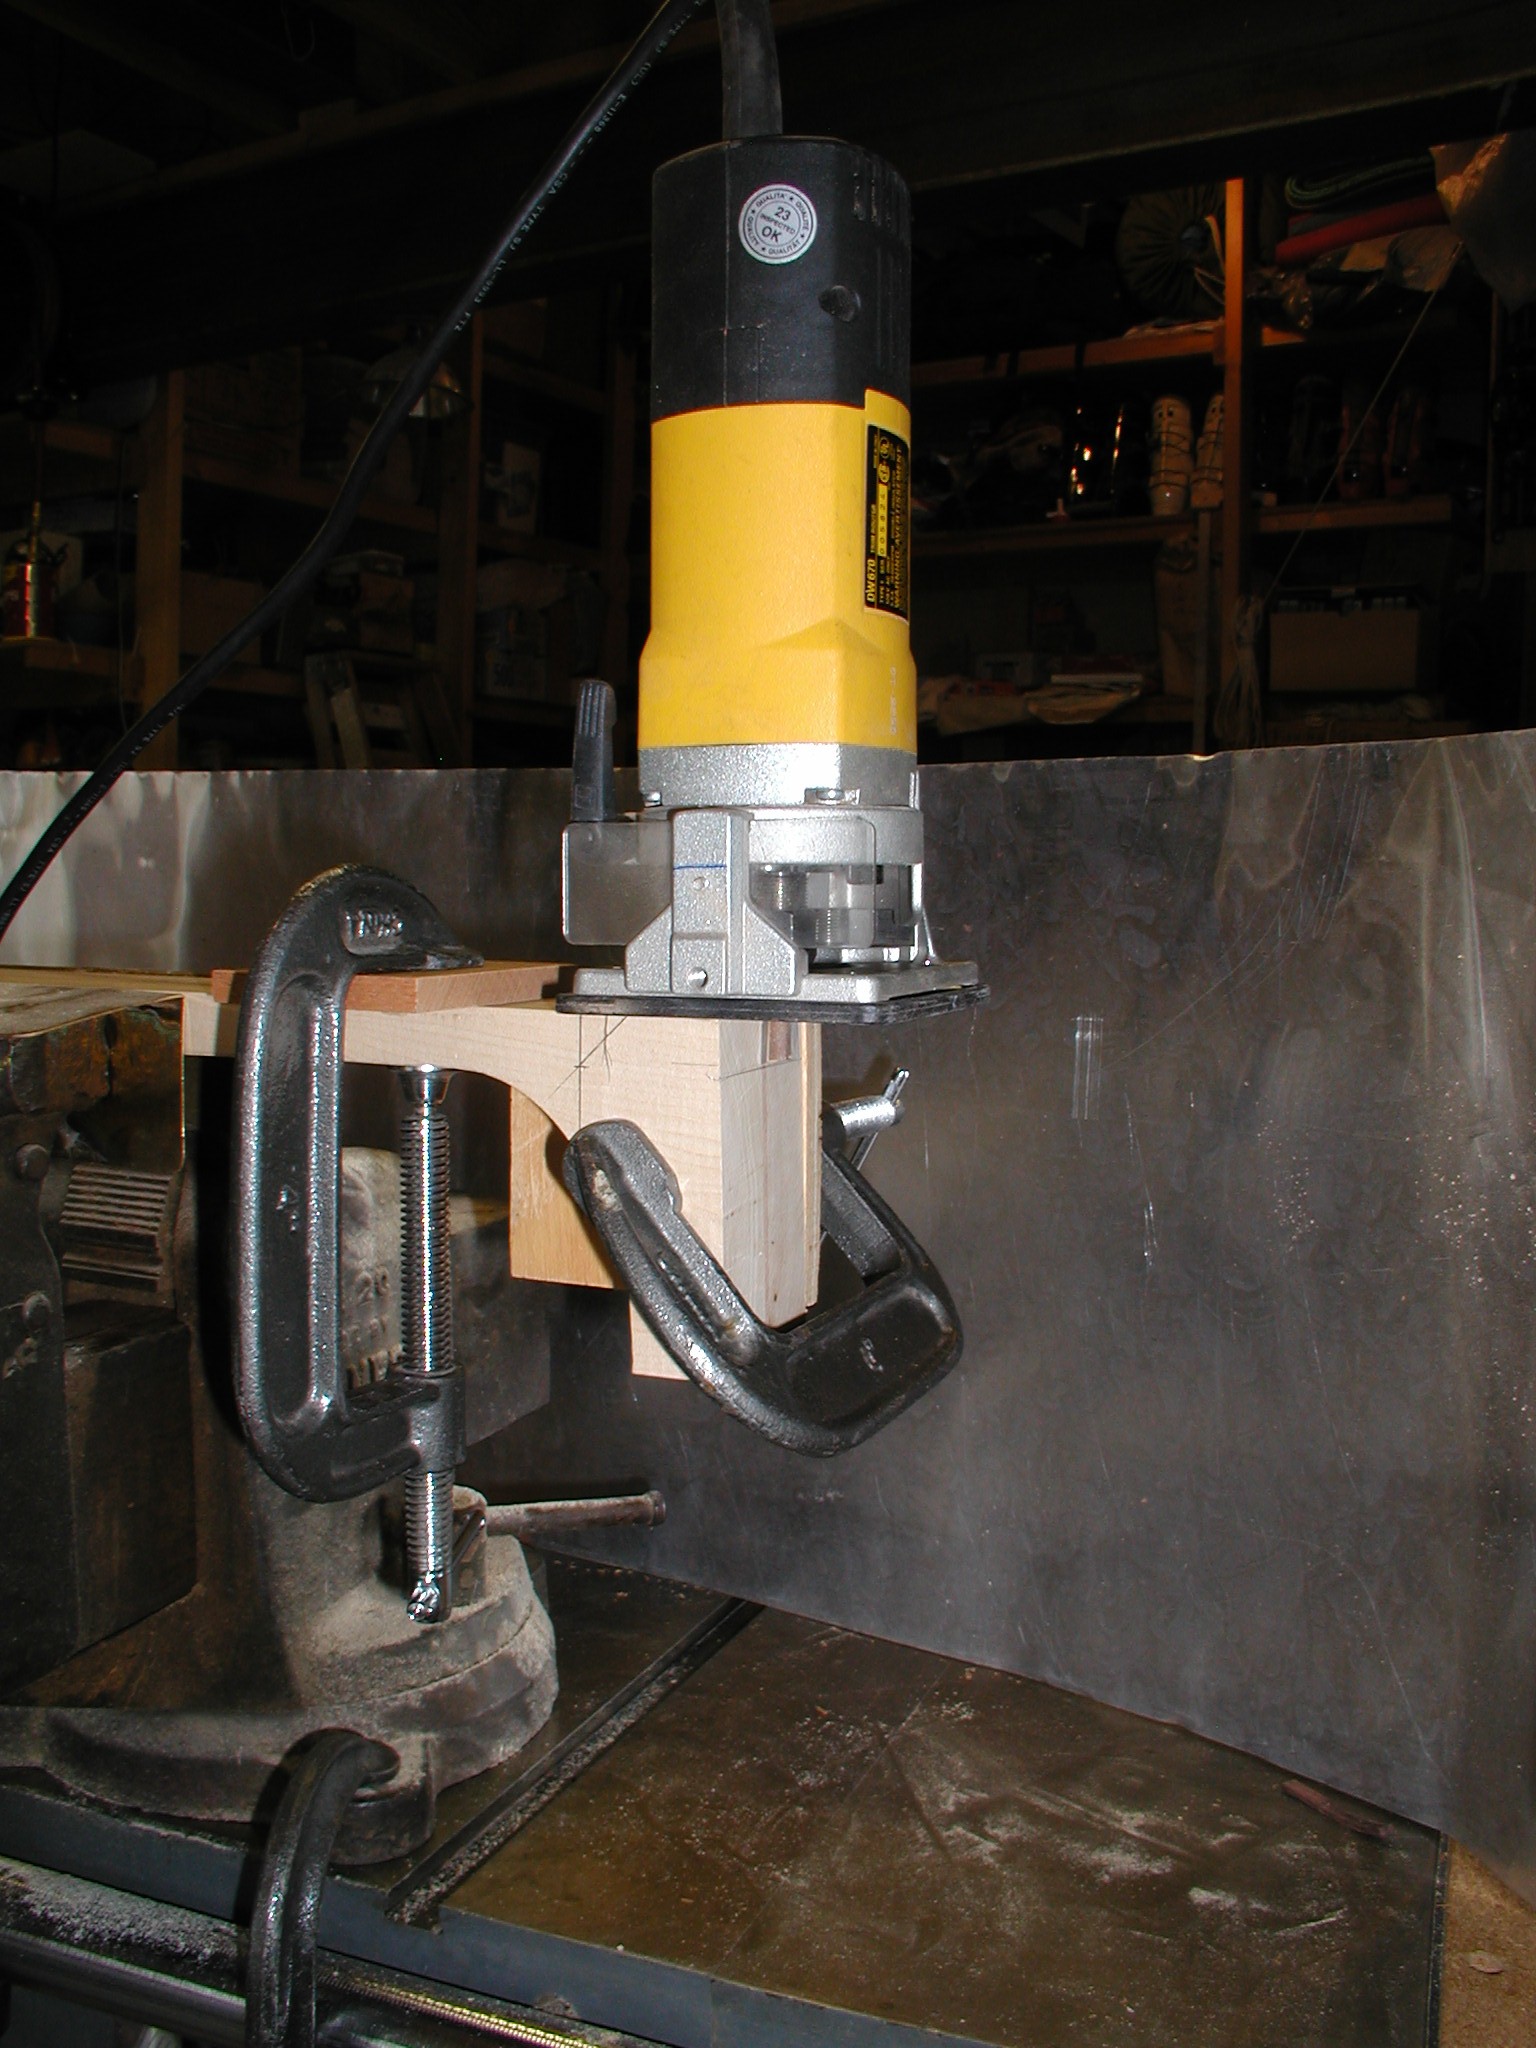
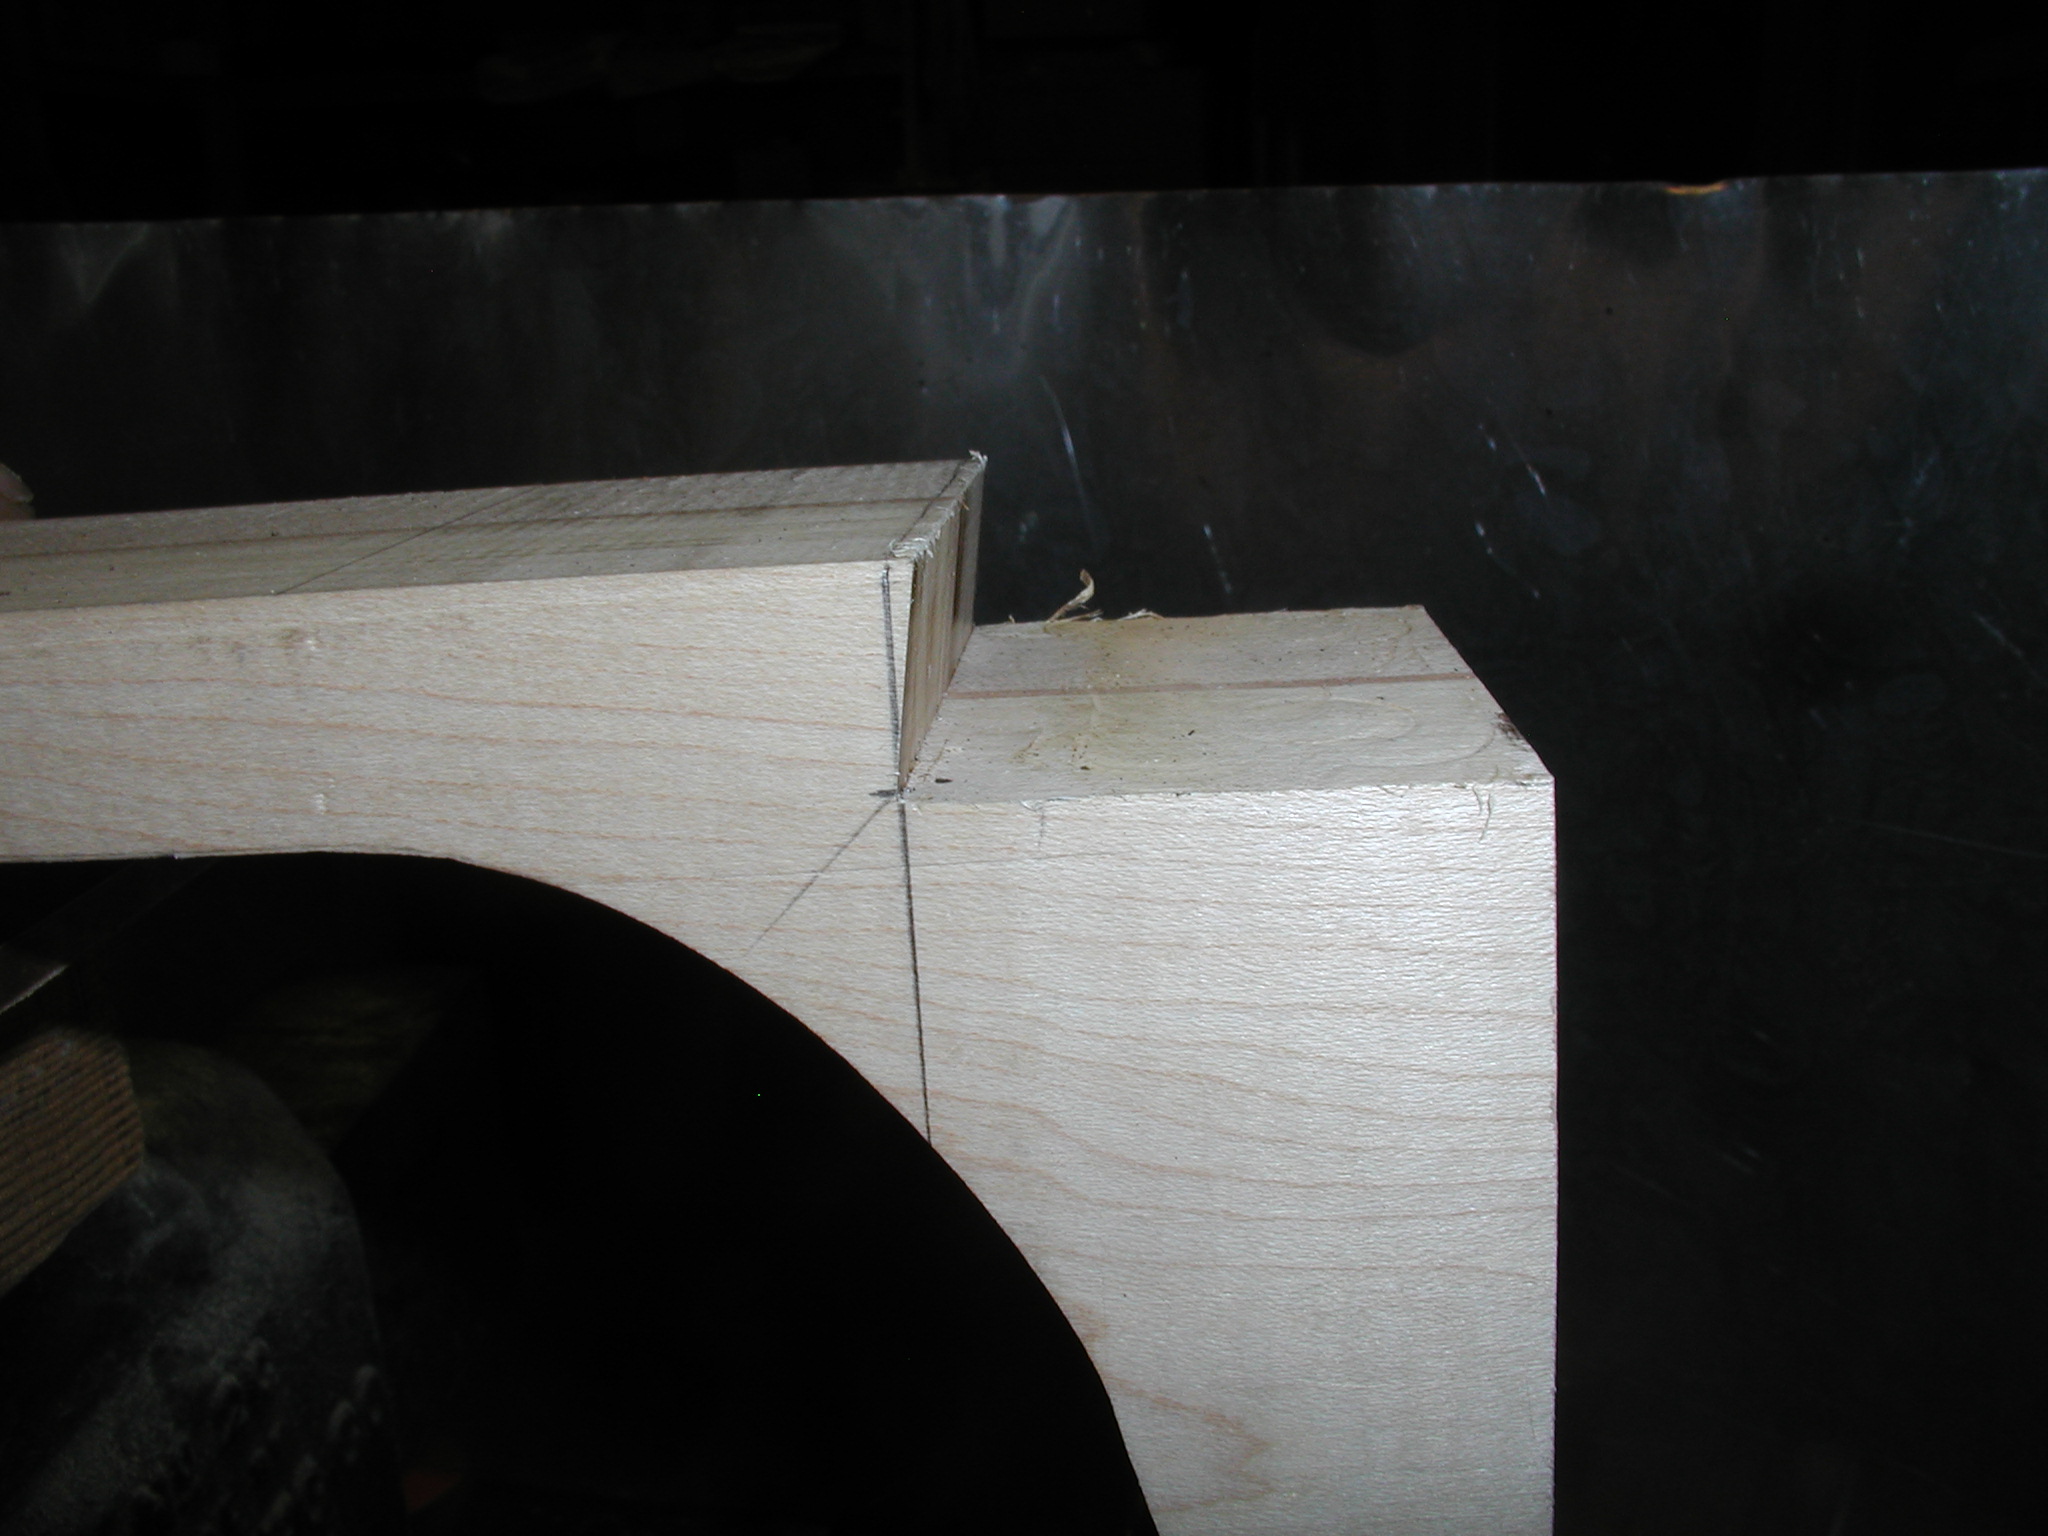
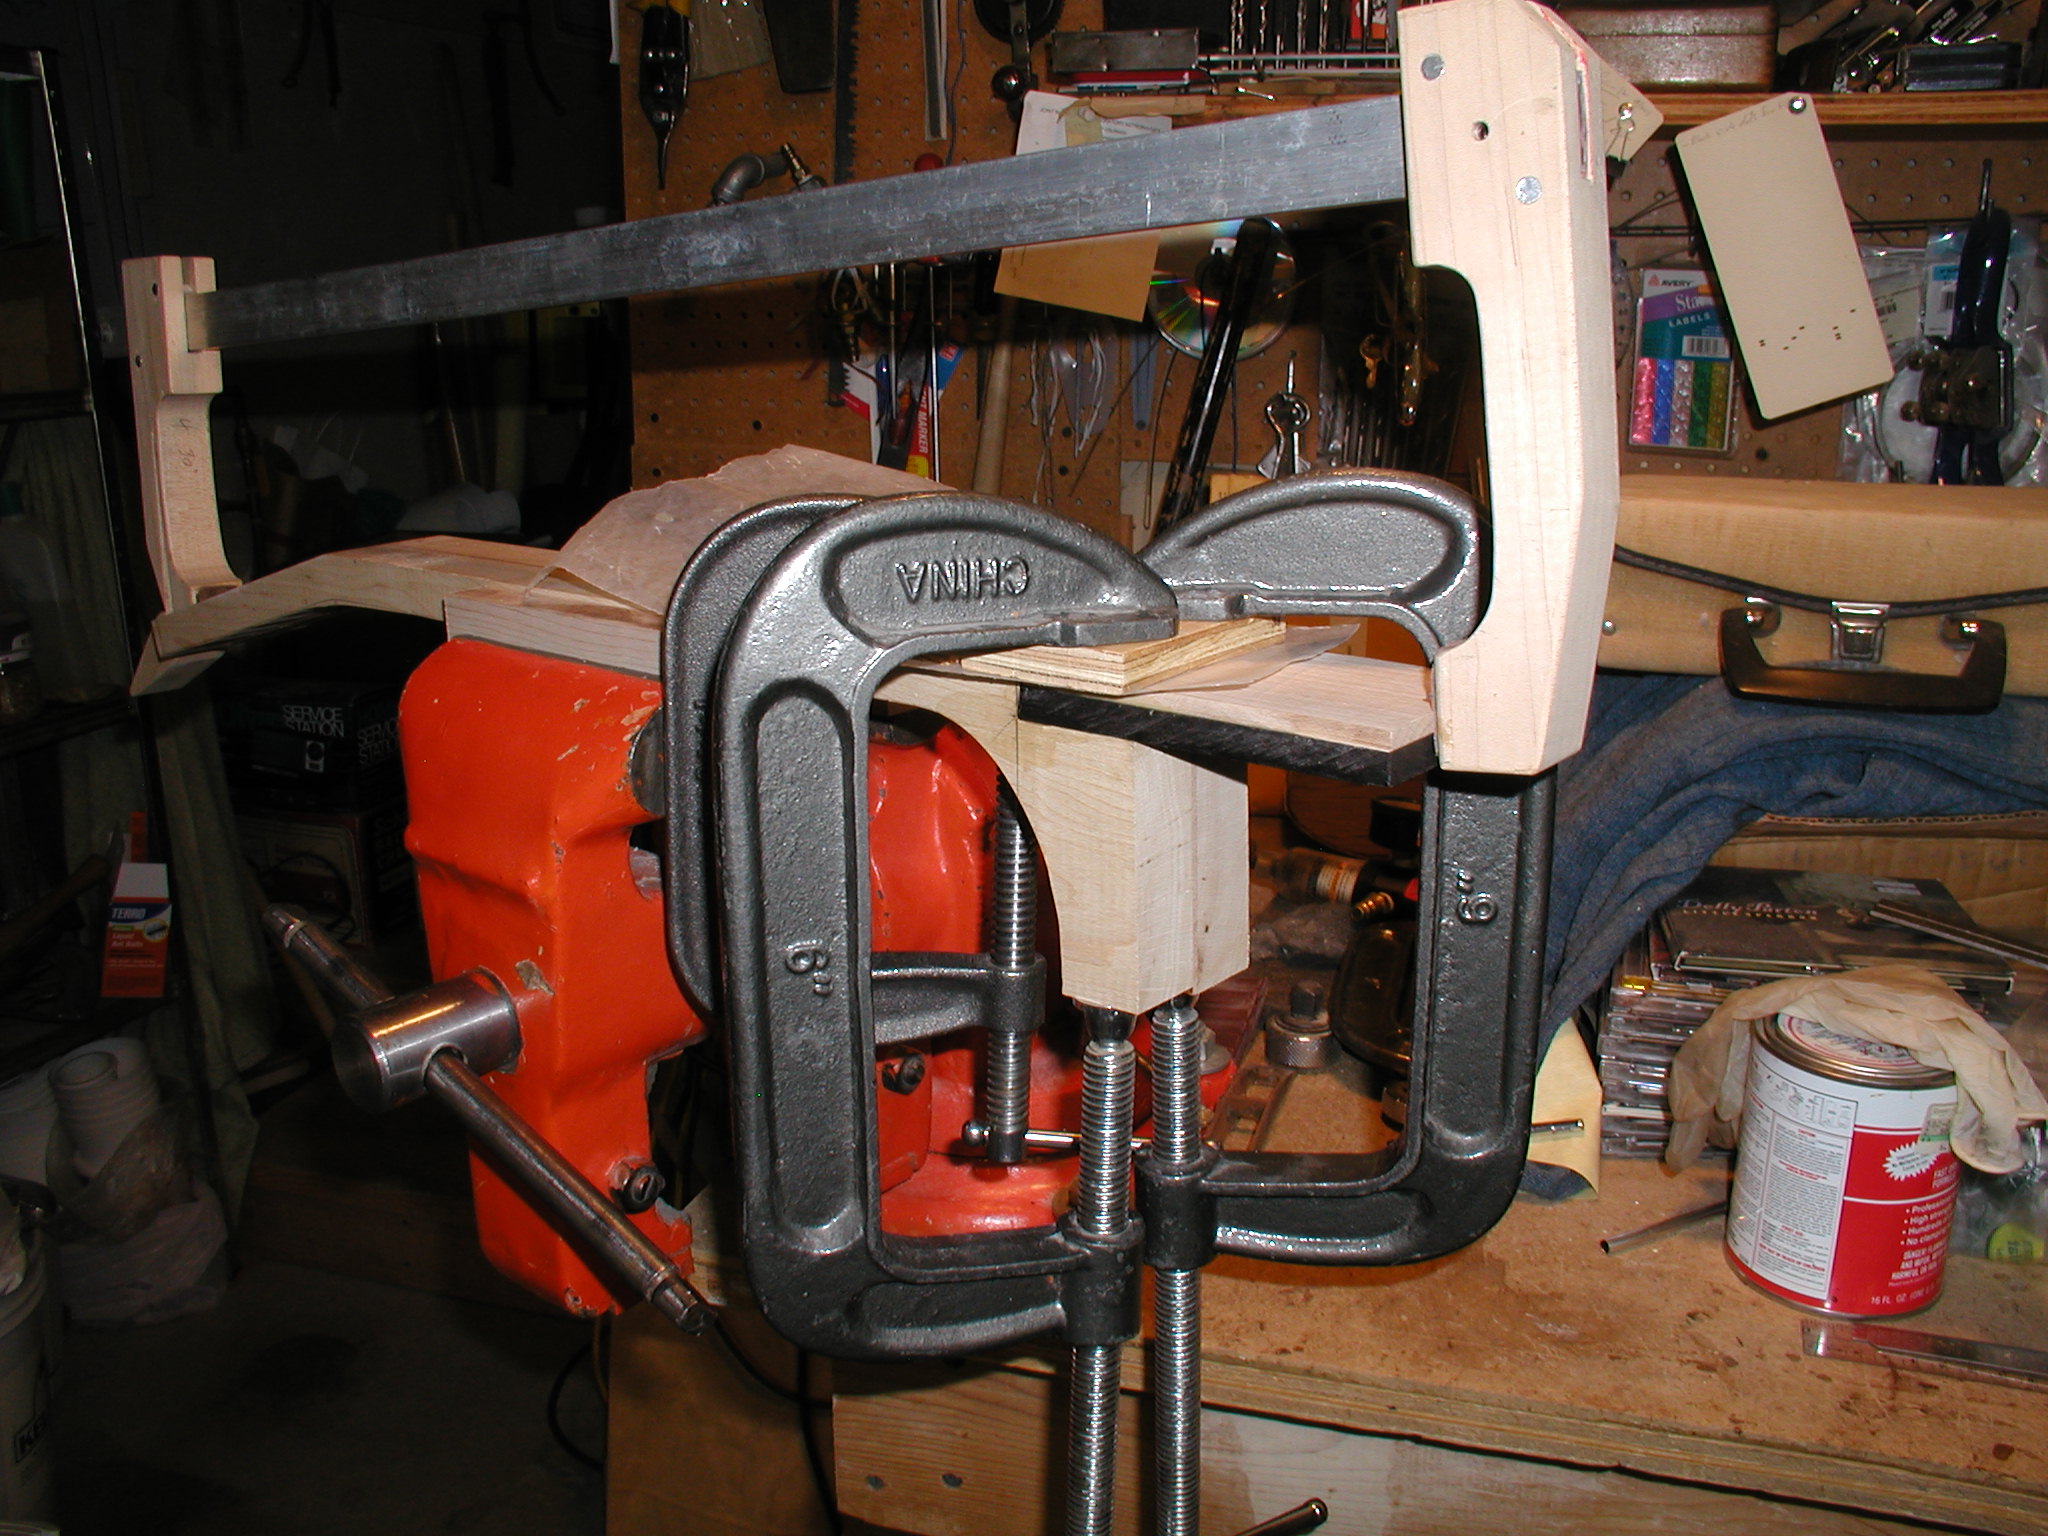
I am making the extension of both maple and ebony, mostly for cosmetic reasons. Either would be strong enough, I just liked the high contrast look.This will be continued with the neck butt shim later. Once glued up and sized, I cut a dovetail mortise into the neck. Some folks do this a a straight butt joint but I like the added strength of the notched in extension. I use the same bit to cut the end of the extension and it slips right in place. Glue and clamping is a bit tricky though, needs a nice long clamp endwise.
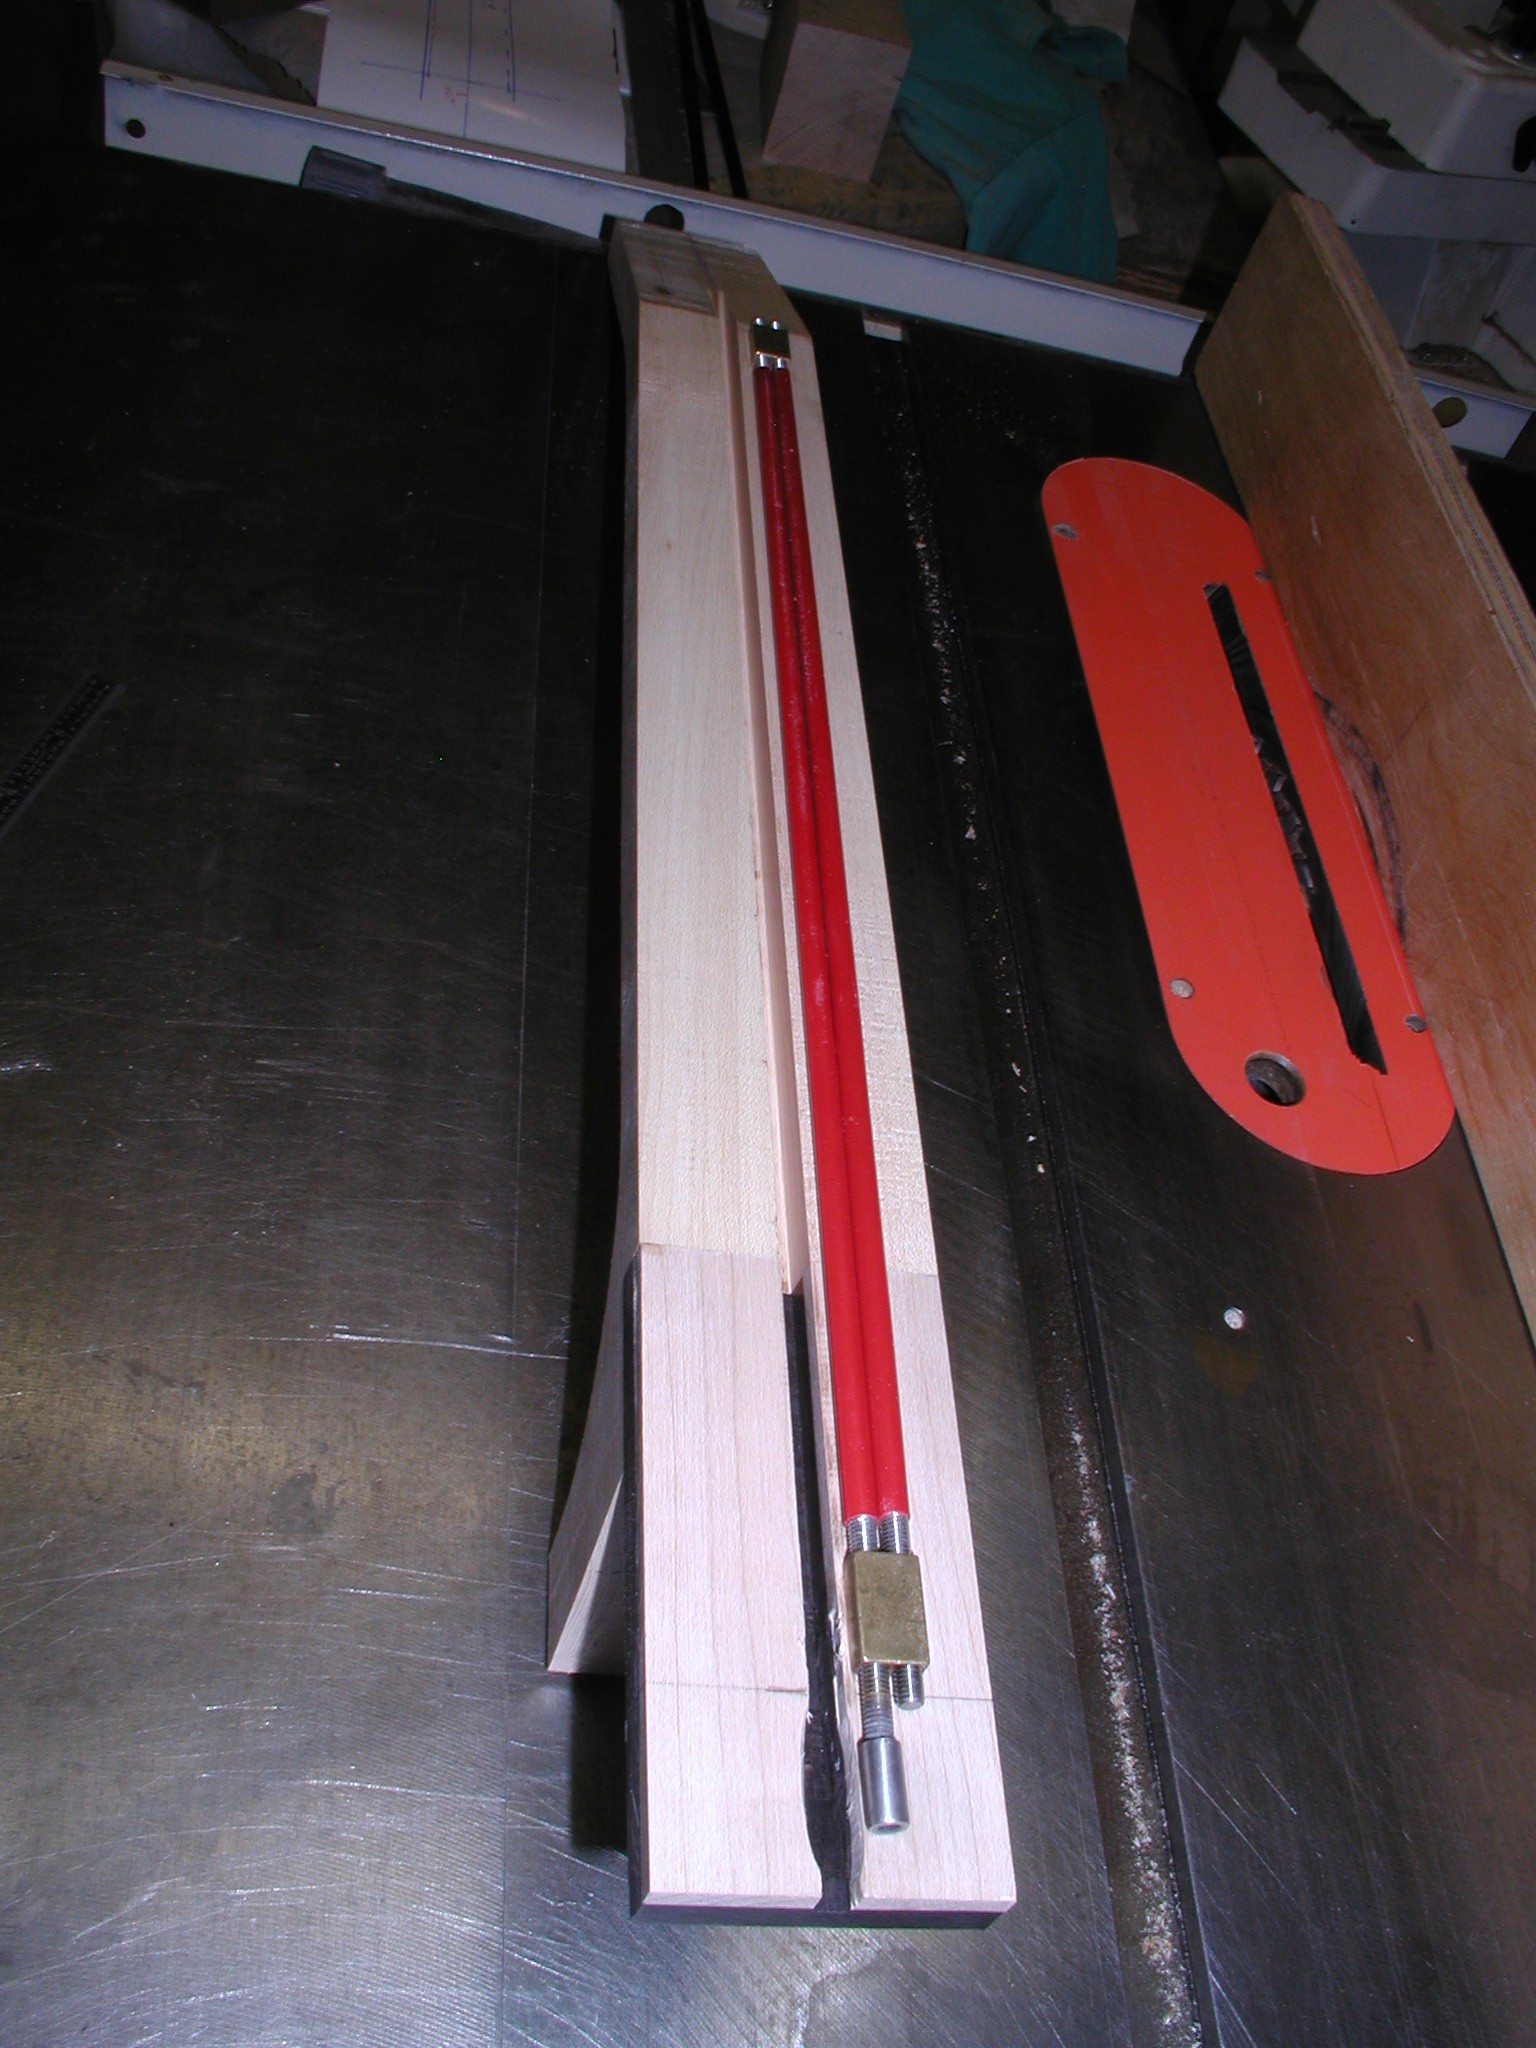
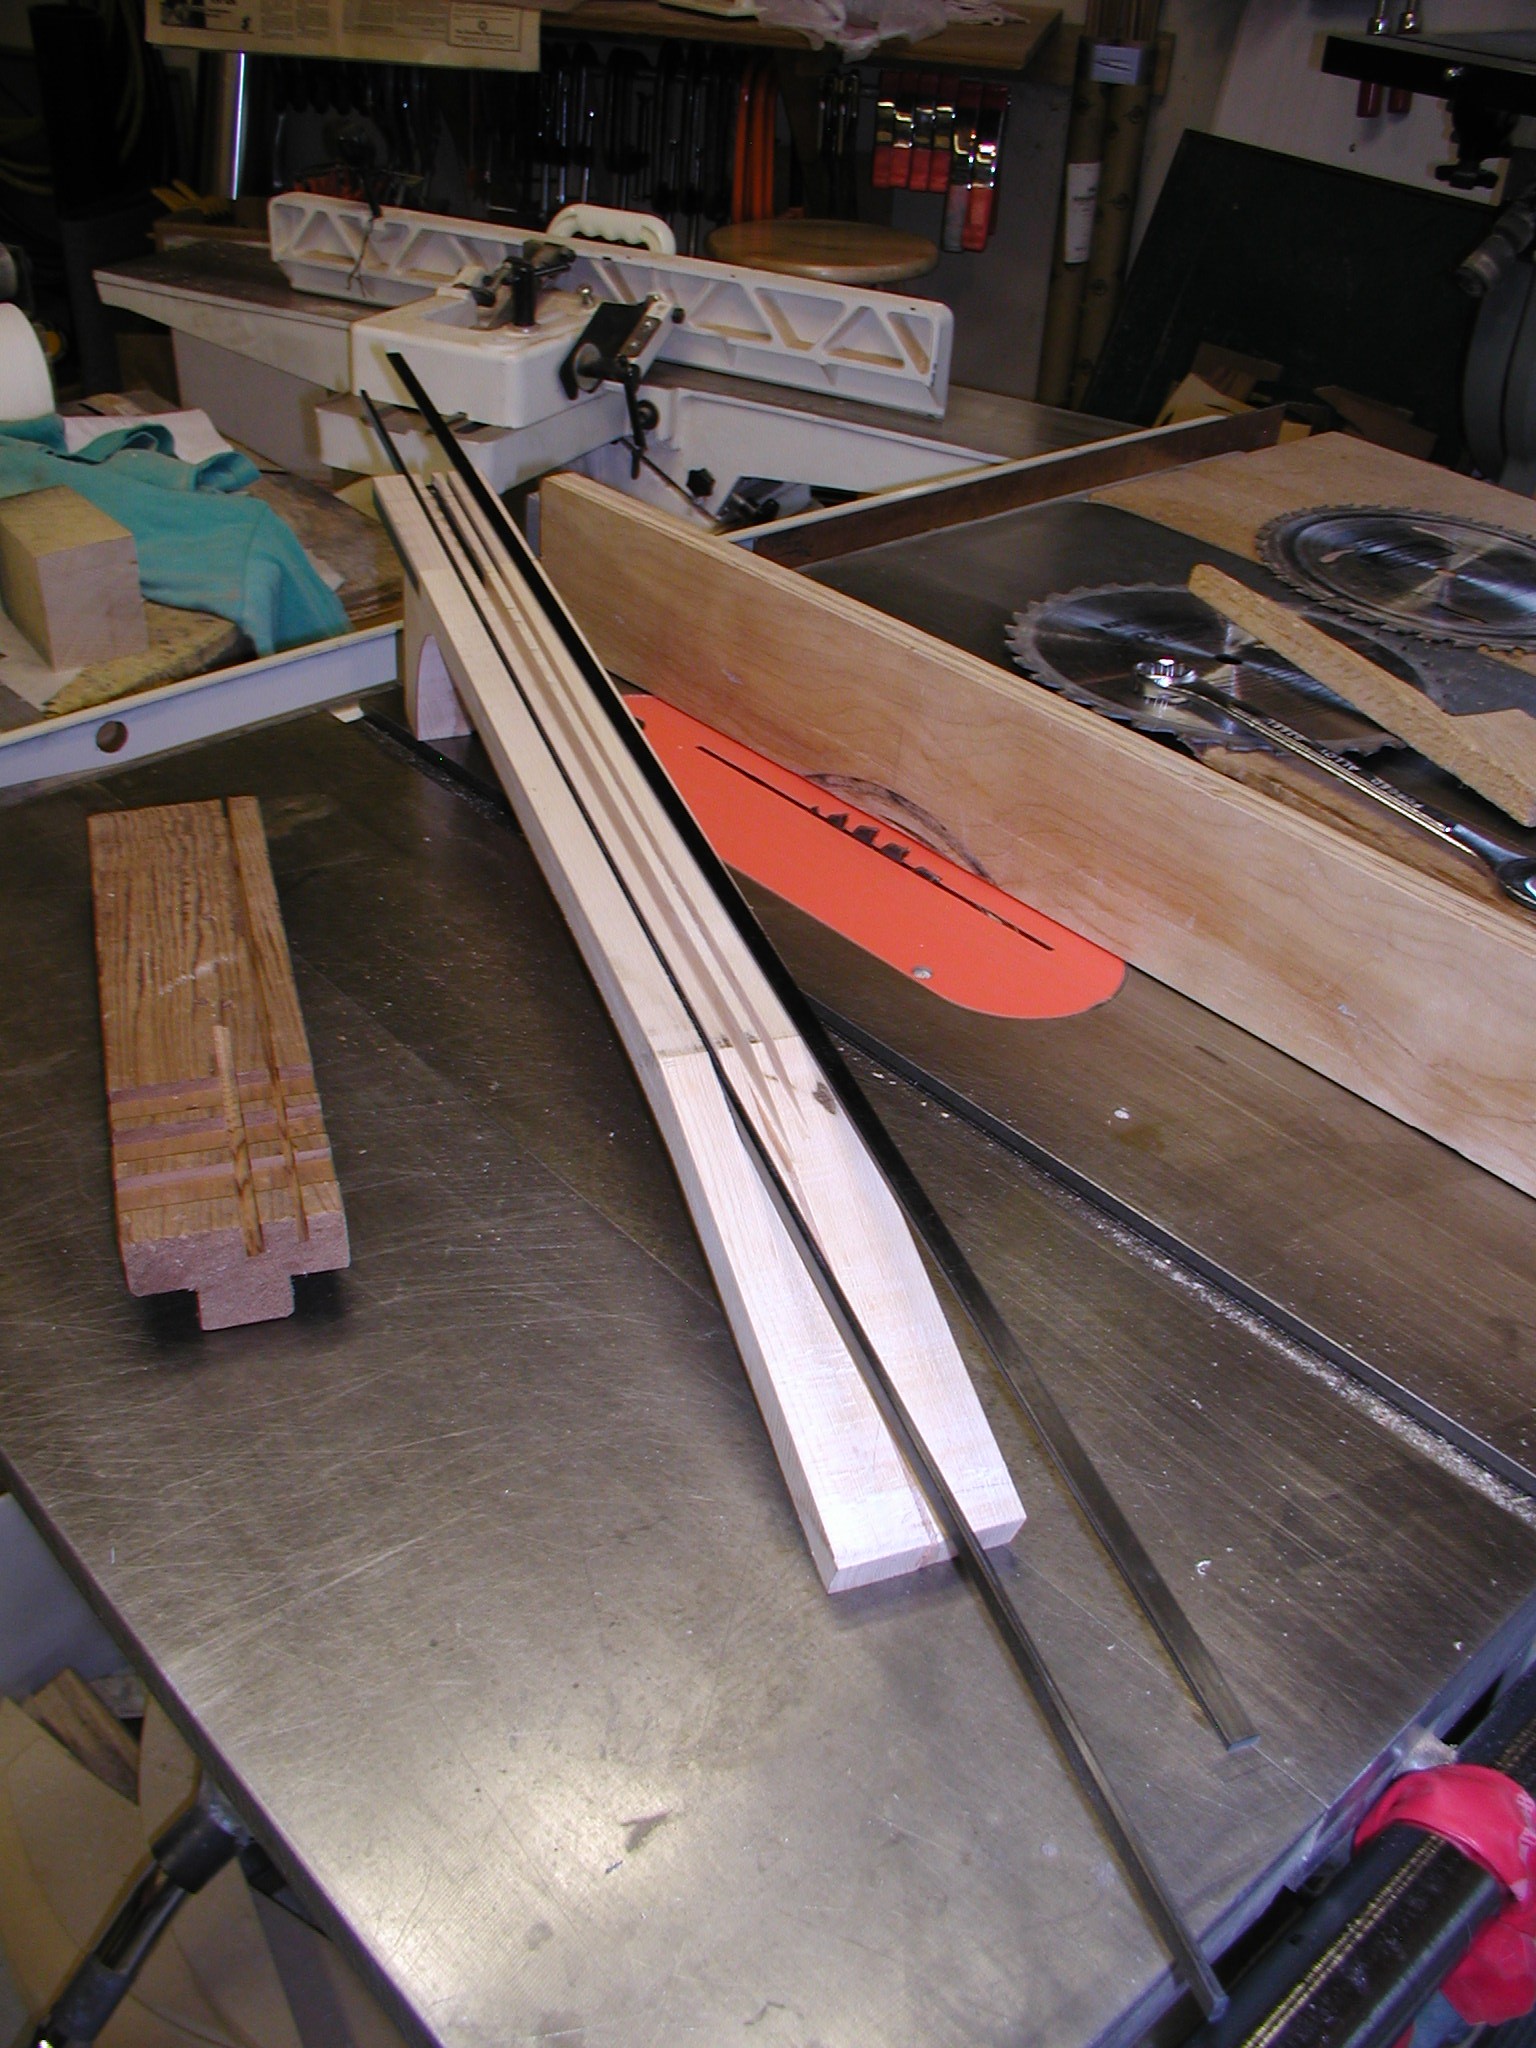
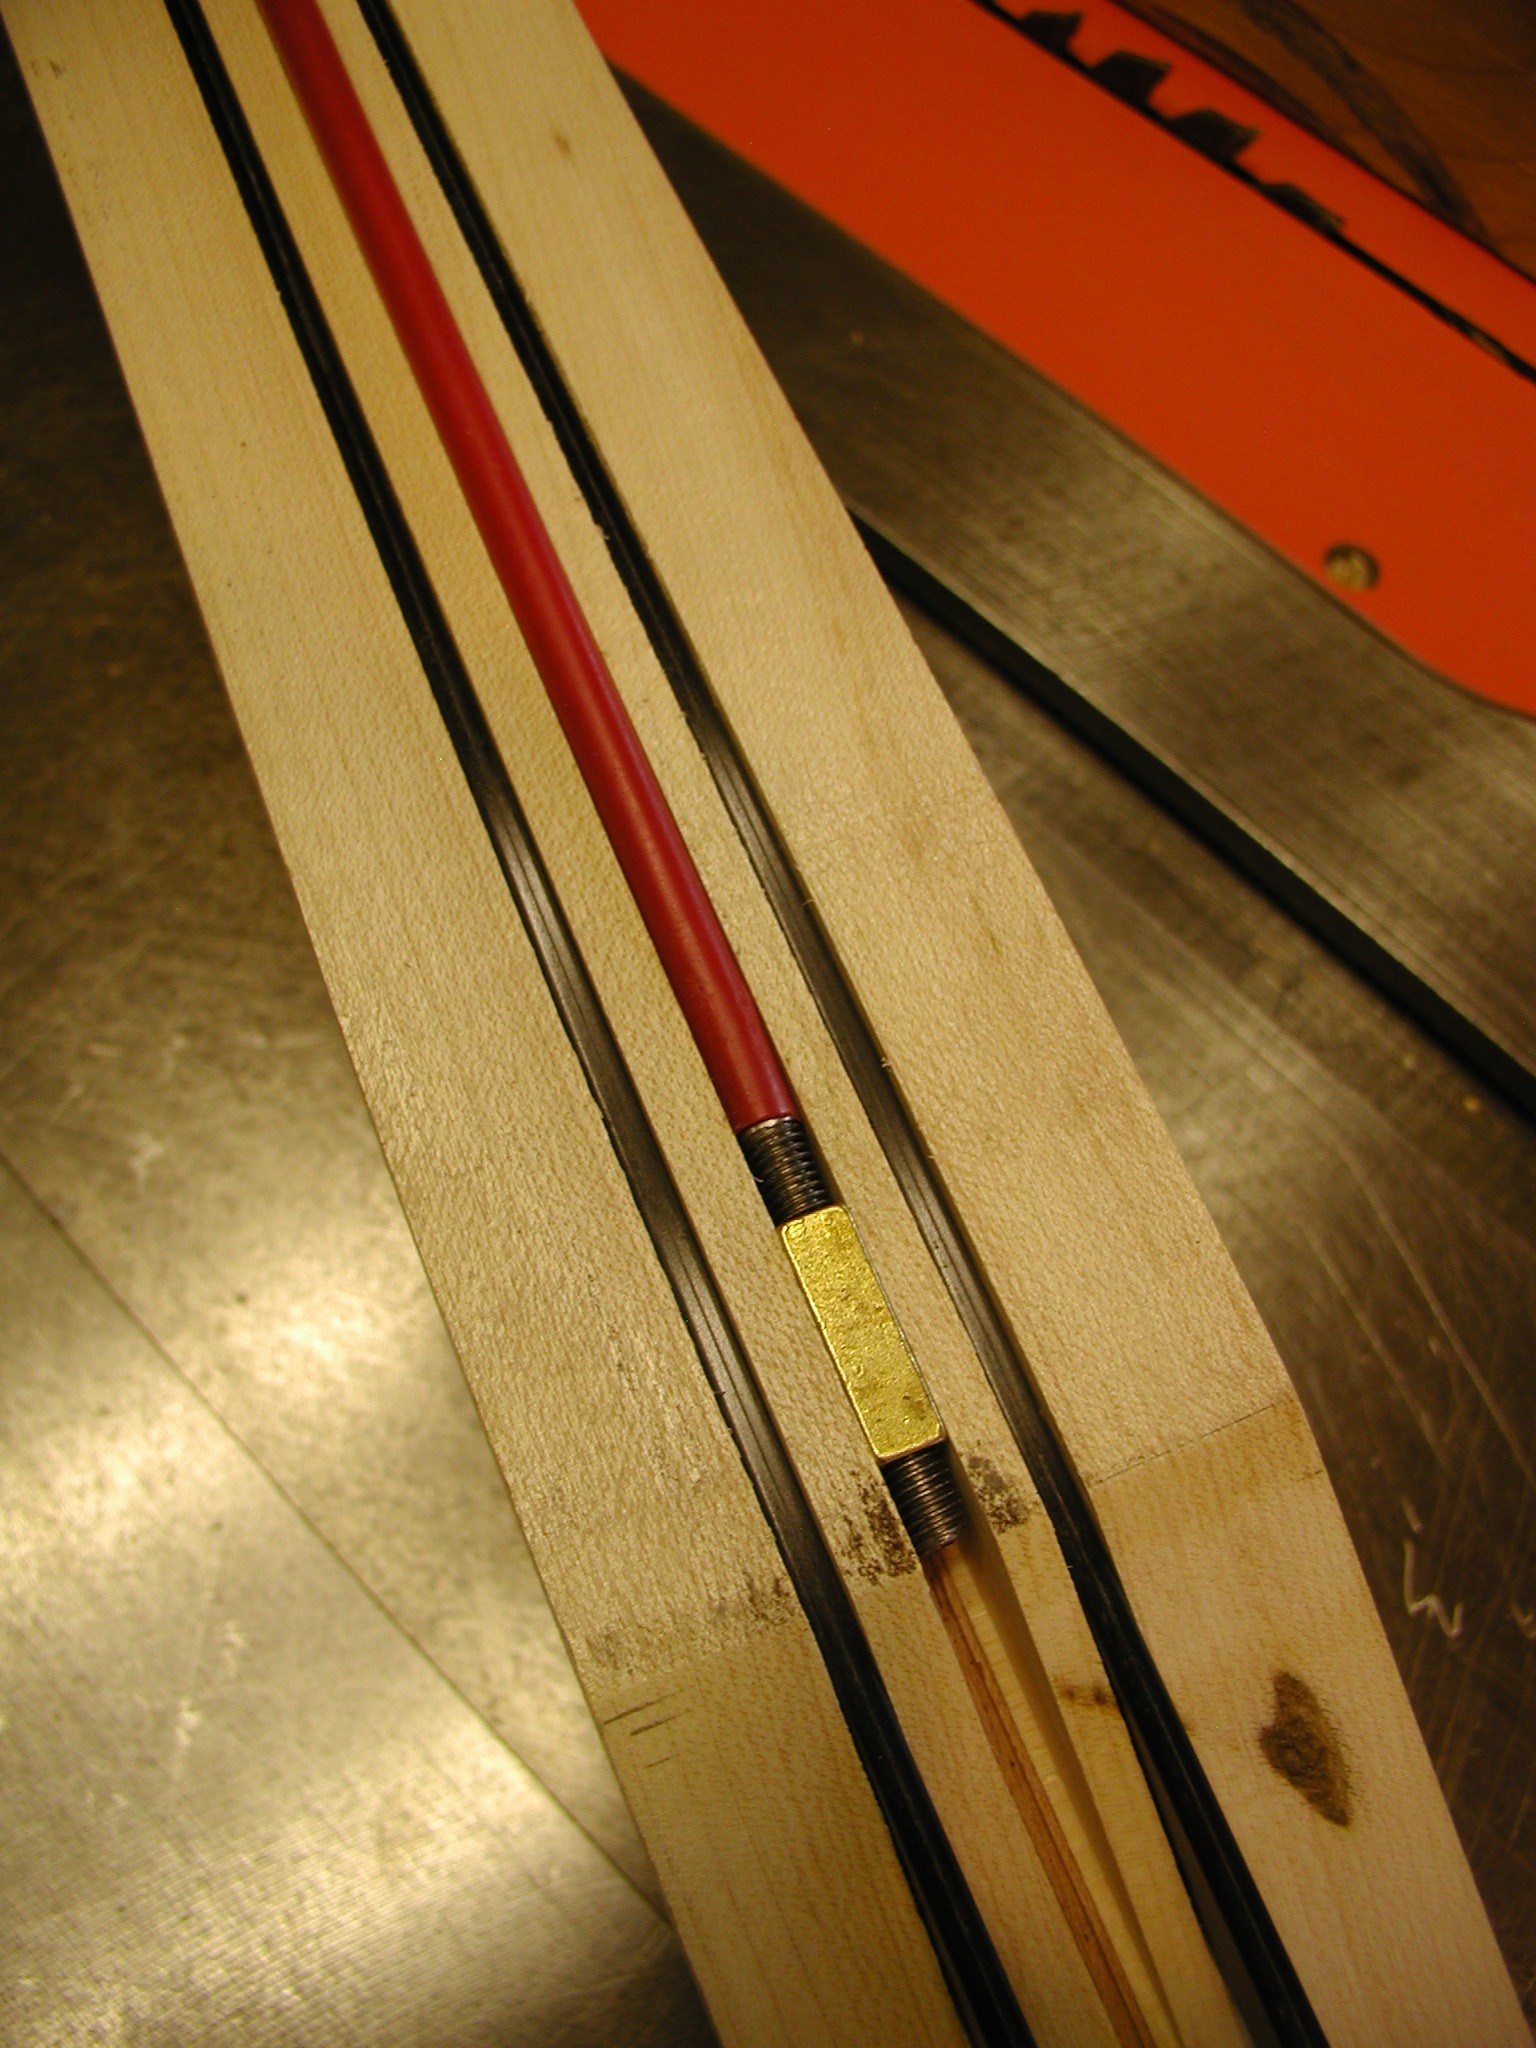
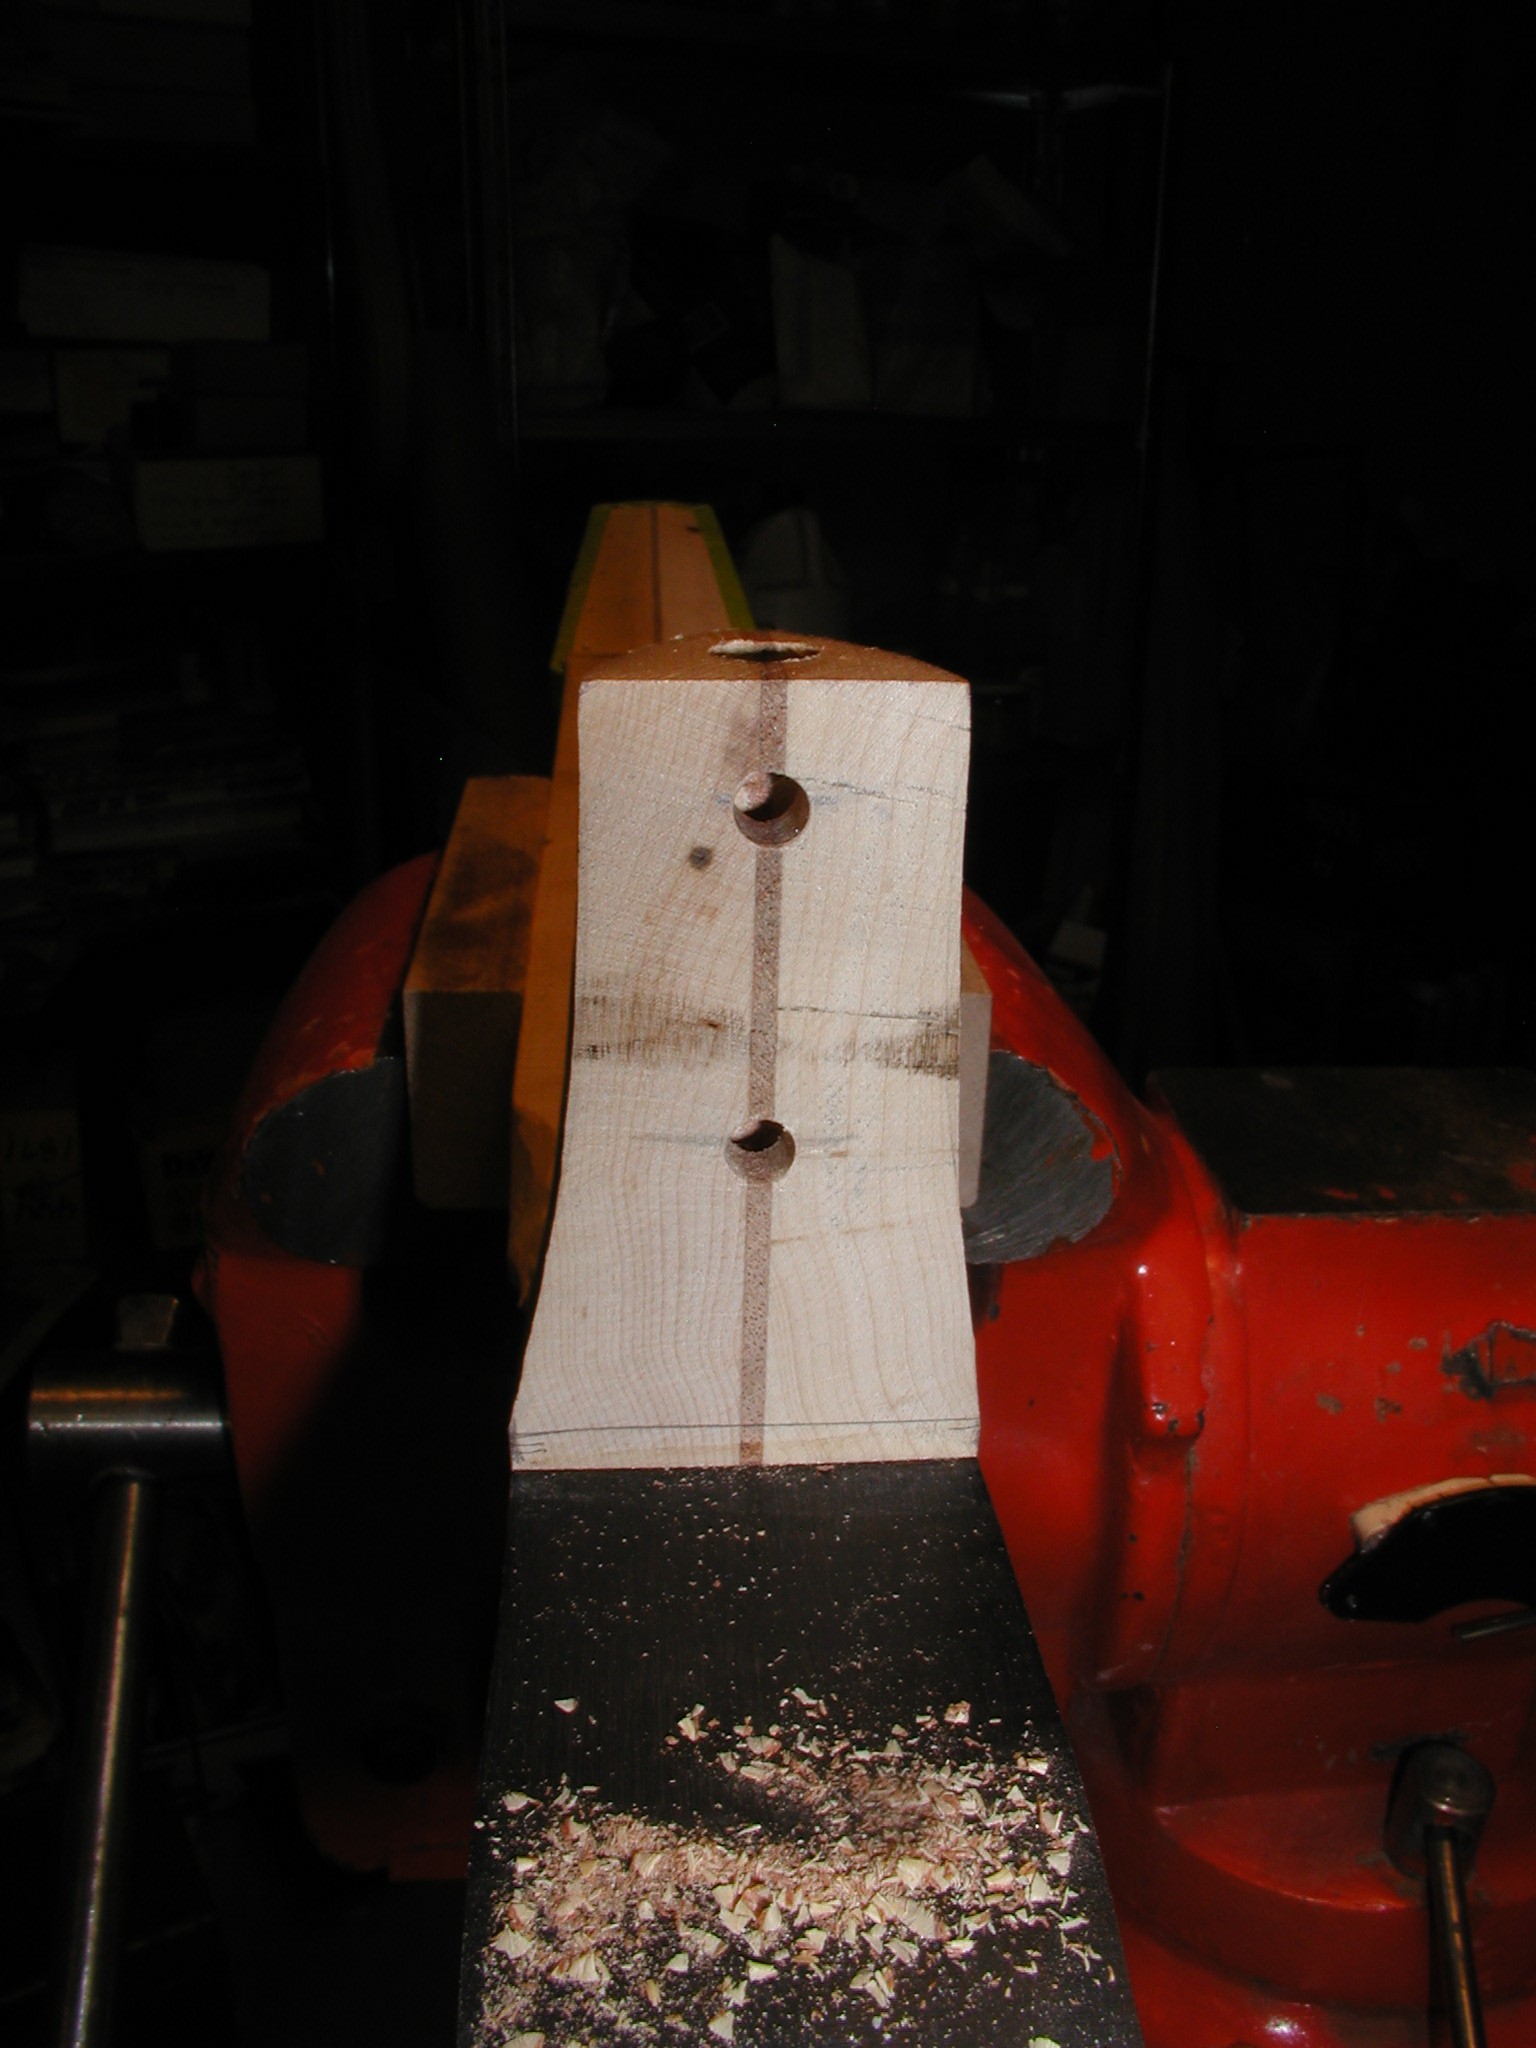
Time to jam a bunch of stuff into the neck. I use the table saw and various dado blades to cut the slots for the truss rod and the graphite bars. Note that I run the bars all the way out into the headstock, this adds a lot of strength to the neck at the nut area.
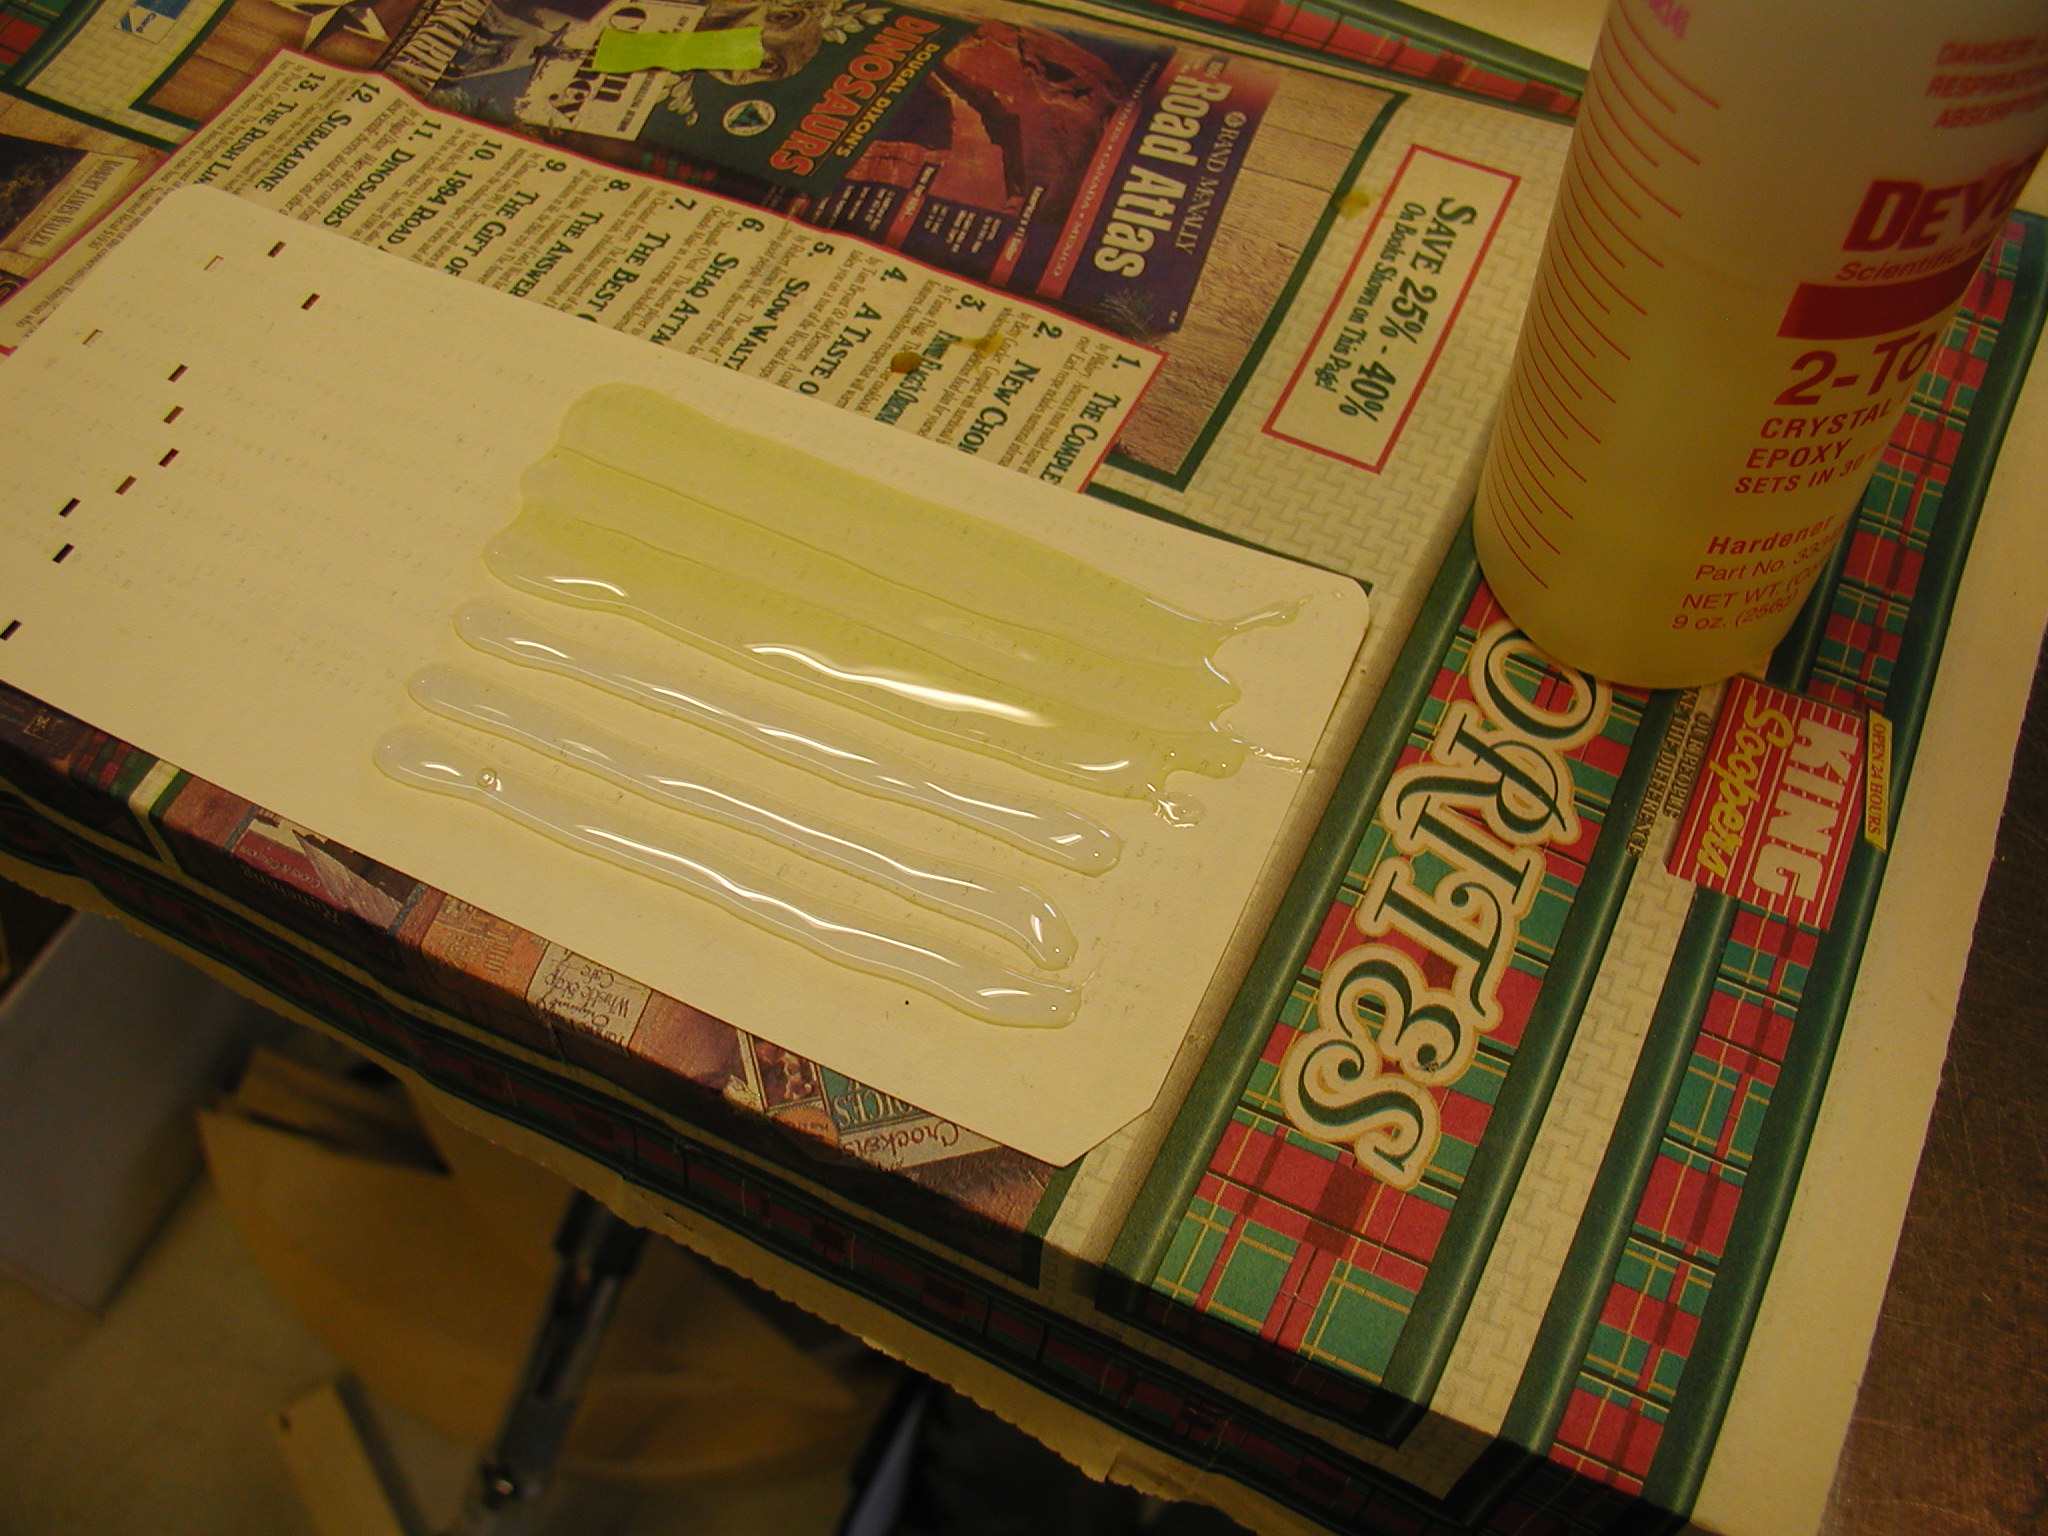
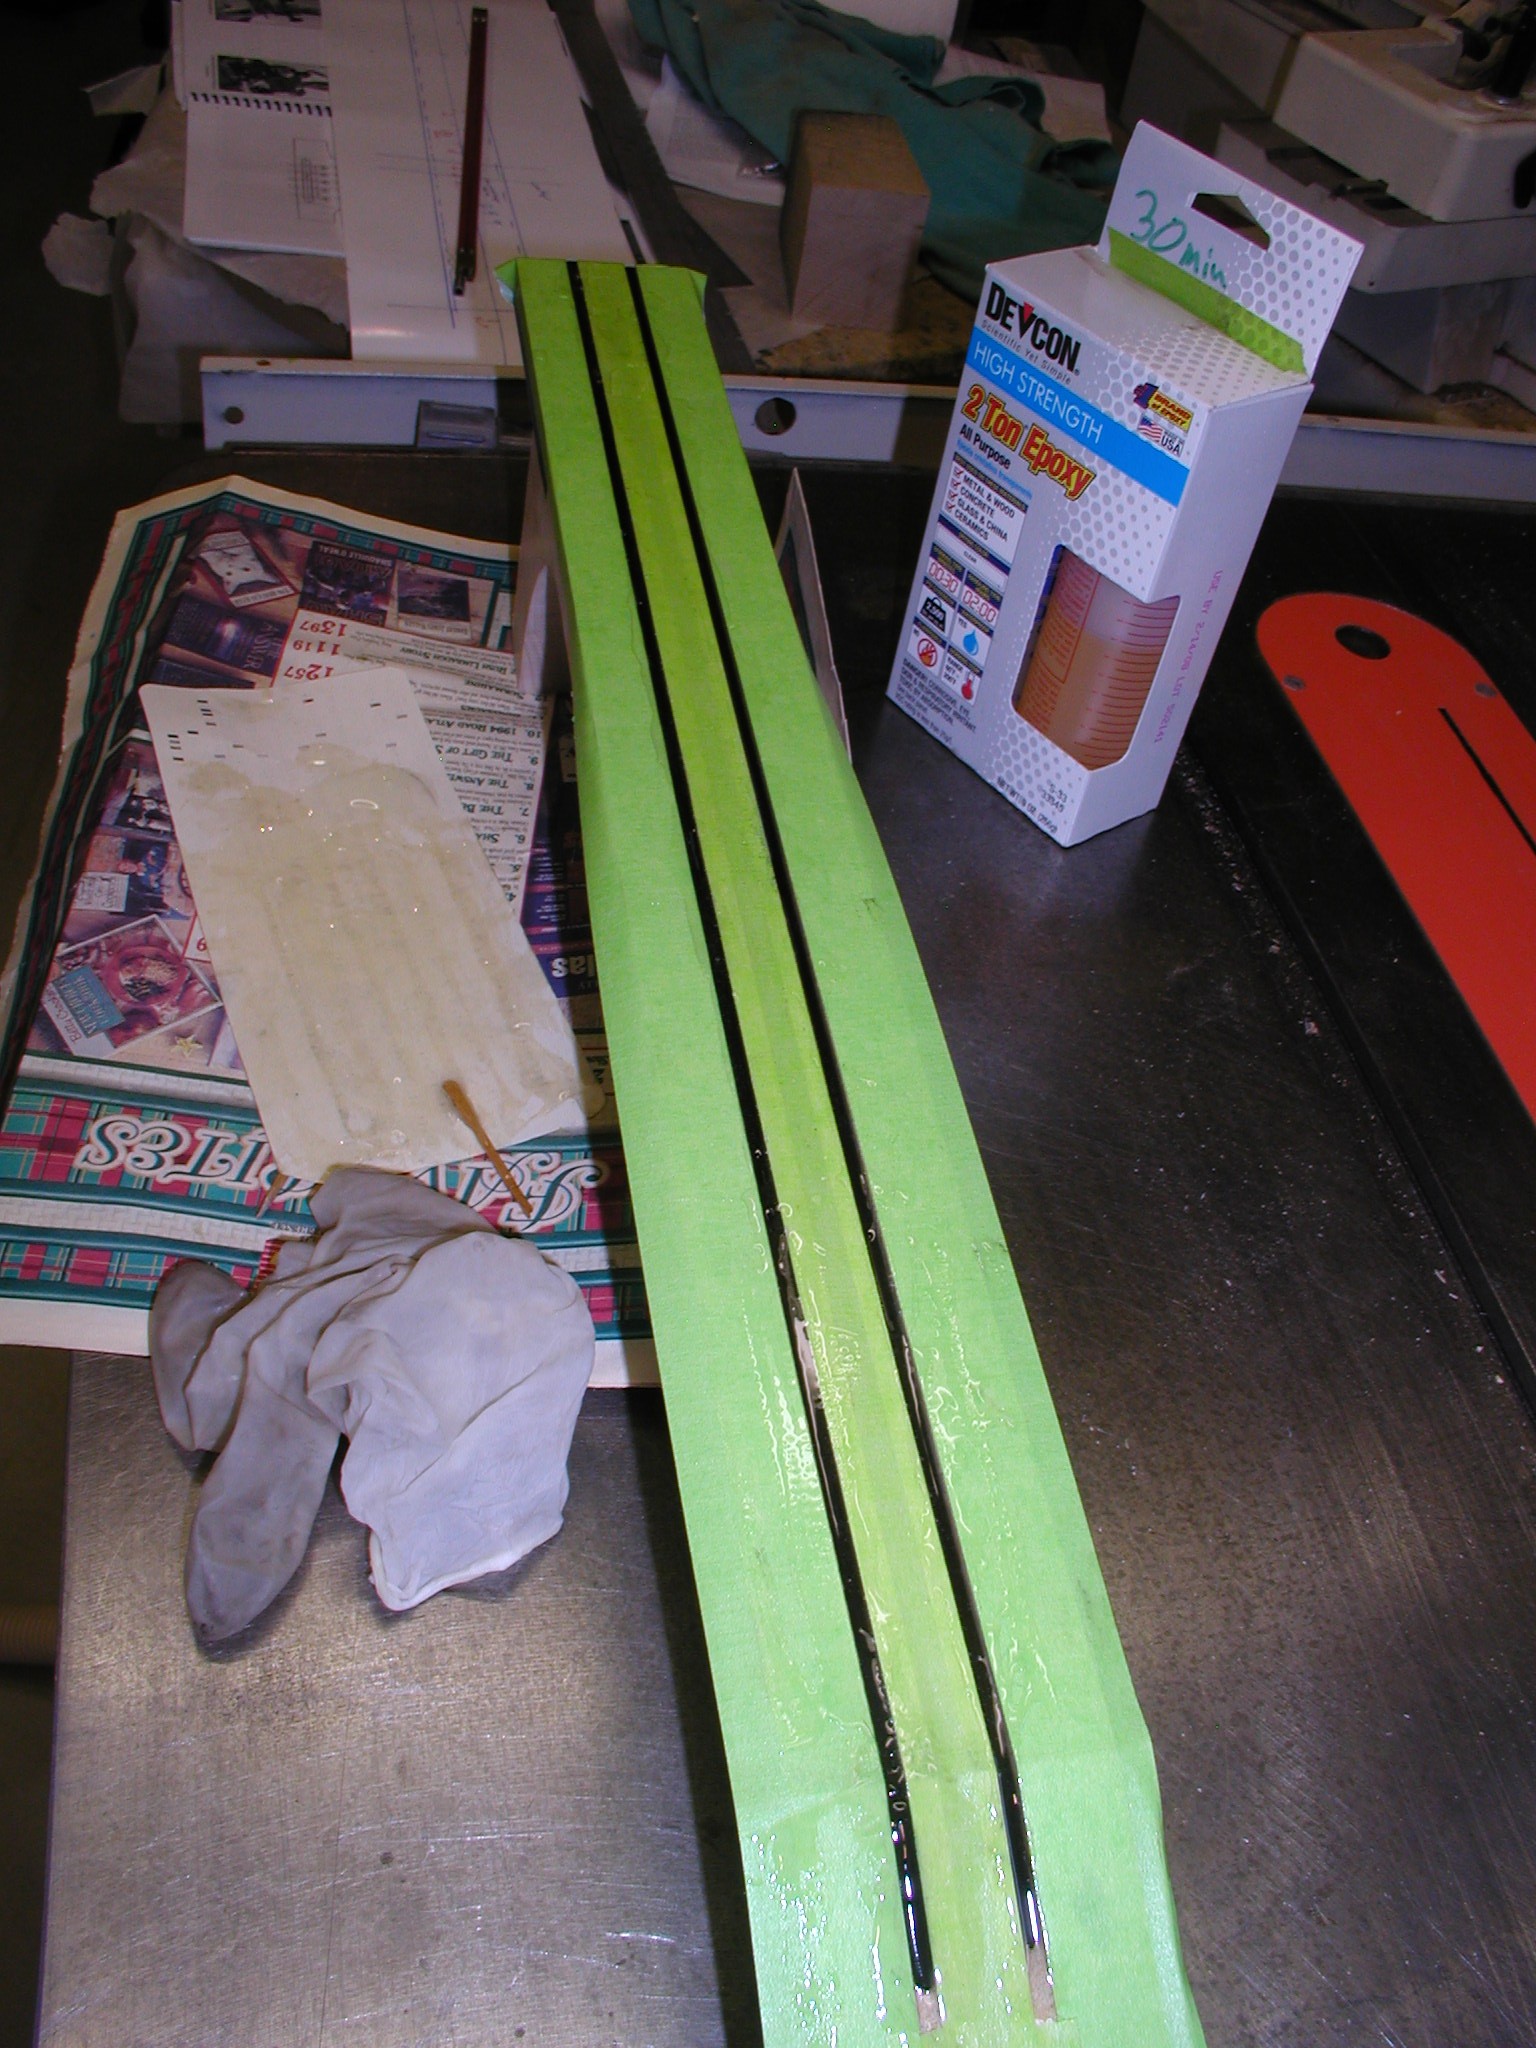
The bars get epoxy glued in place. I protect the neck face with tape and peel it up once the glue is well set but before it goes really hard. This makes sure you don't get epoxy in the wood you will later want clean for gluing the fretboard. Since I run the truss rod slot all the way through, I then glue in a plug at the nut area. Notice that I needed to glue on ears to the headstock. There is nothing wrong with this, it is common practice. Some like to make them larger since you are adding straight grain to help reinforce the grain that is cut by the angle of the headstock. I prefer when possible to just make the headstock wide enough to not need them. Then the rod goes in topped by a small wood shim. This is not strictly necessary with this type of truss rod but I do it anyway. When cured I level and square up the whole mess making sure the headstock to neckshaft angle is absolutely true.
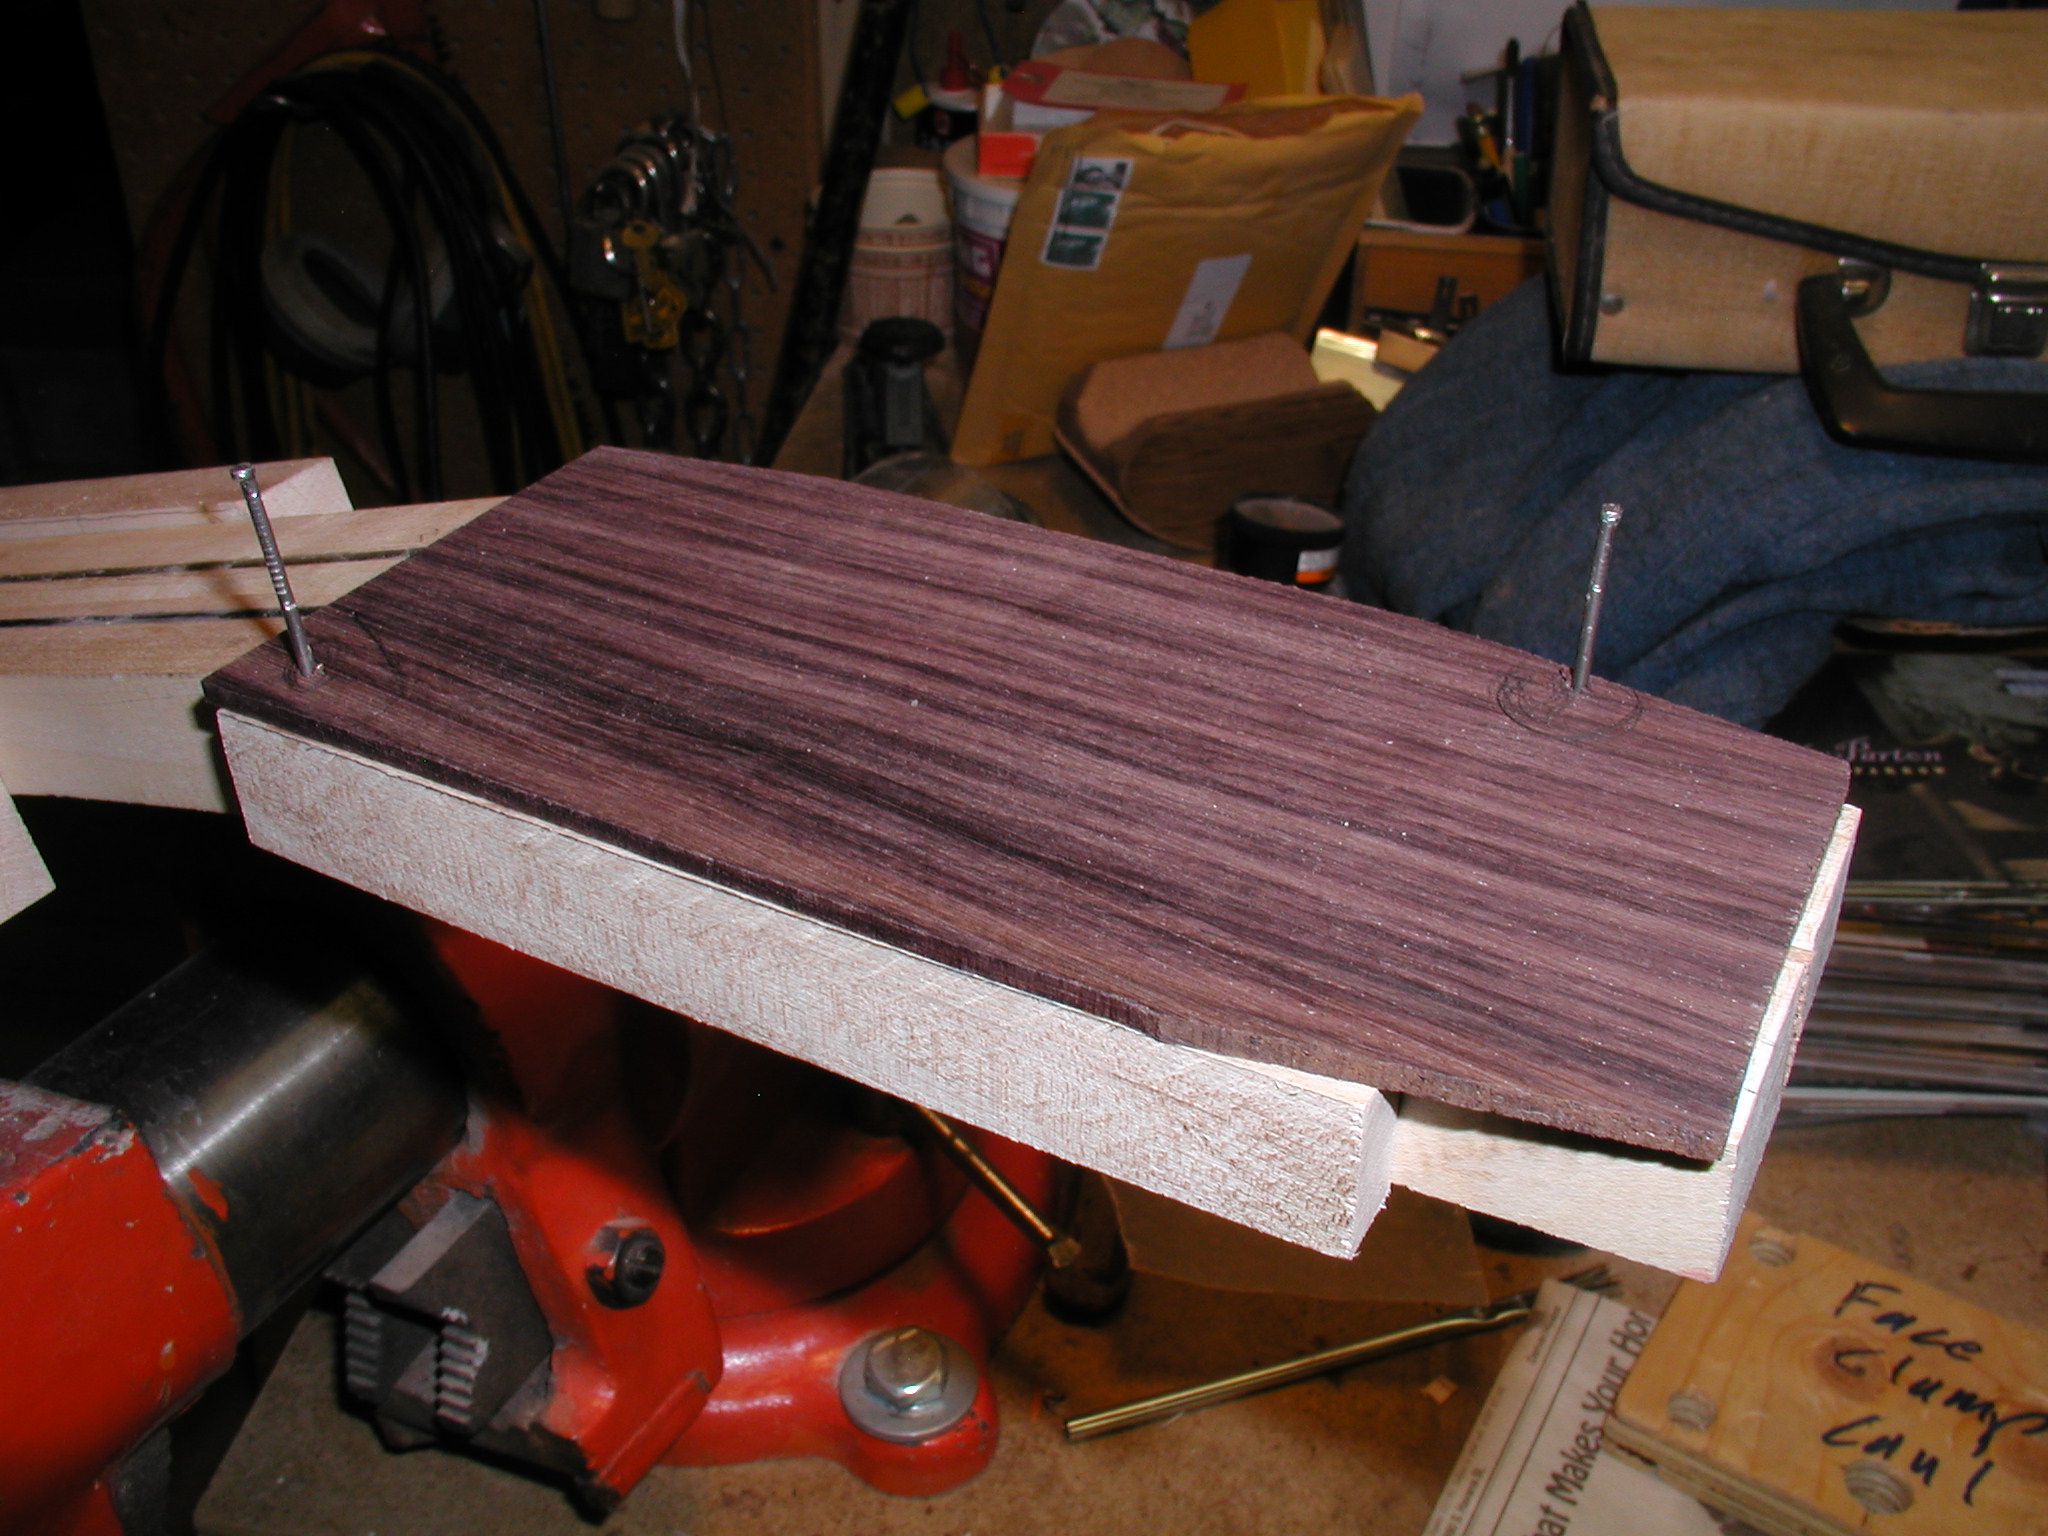
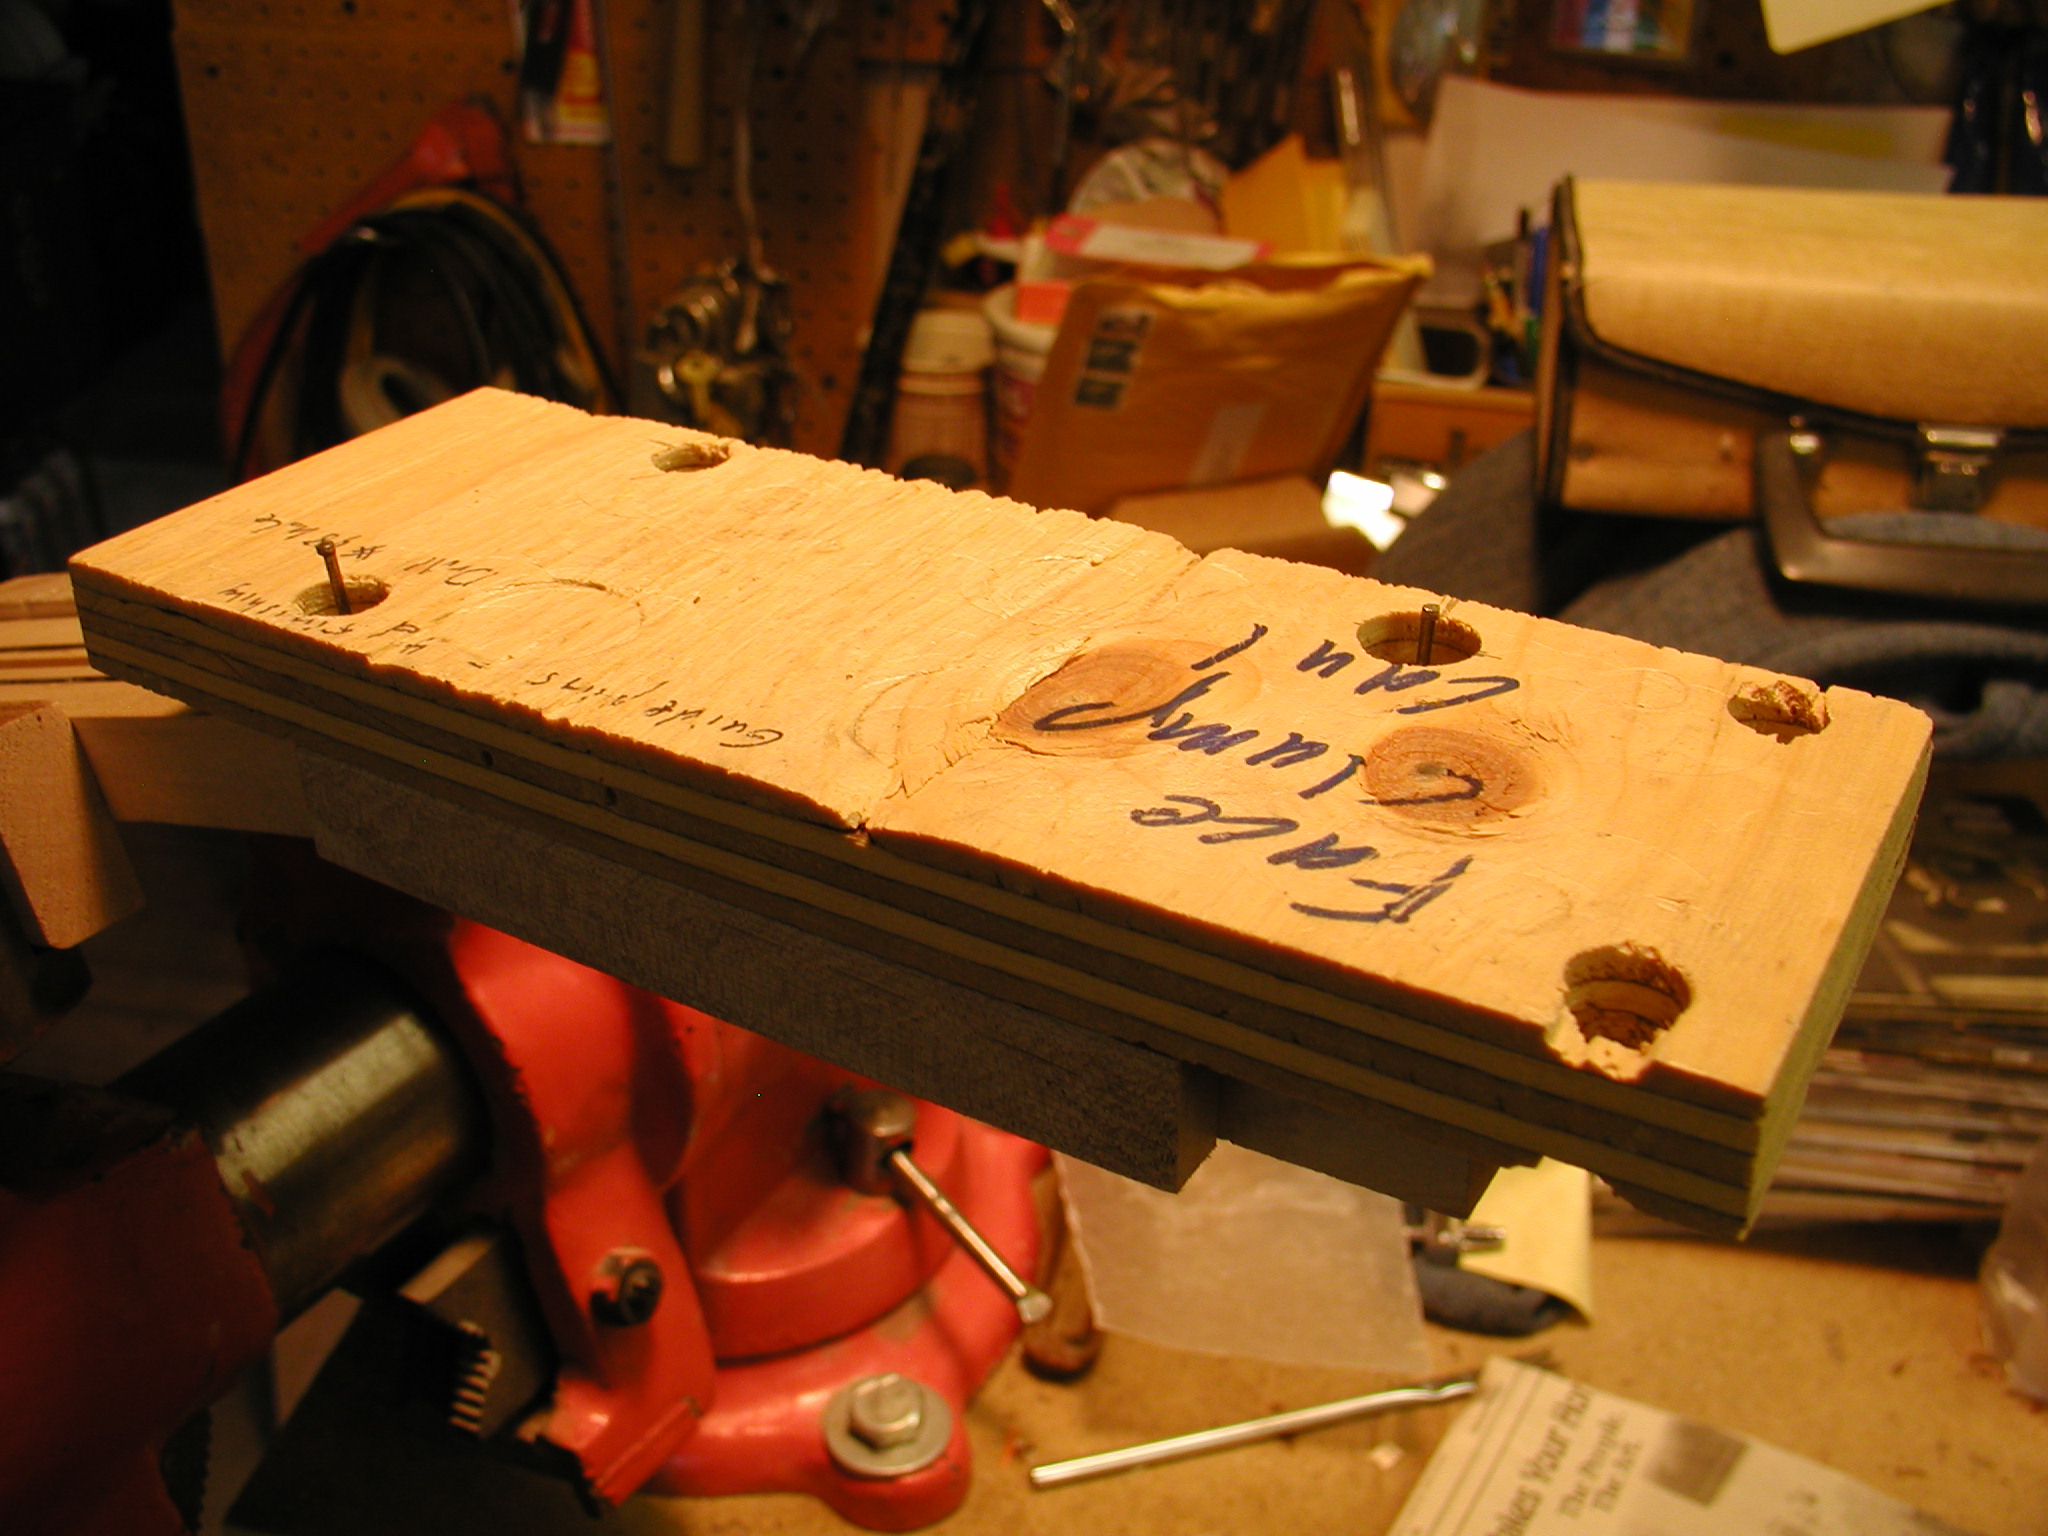
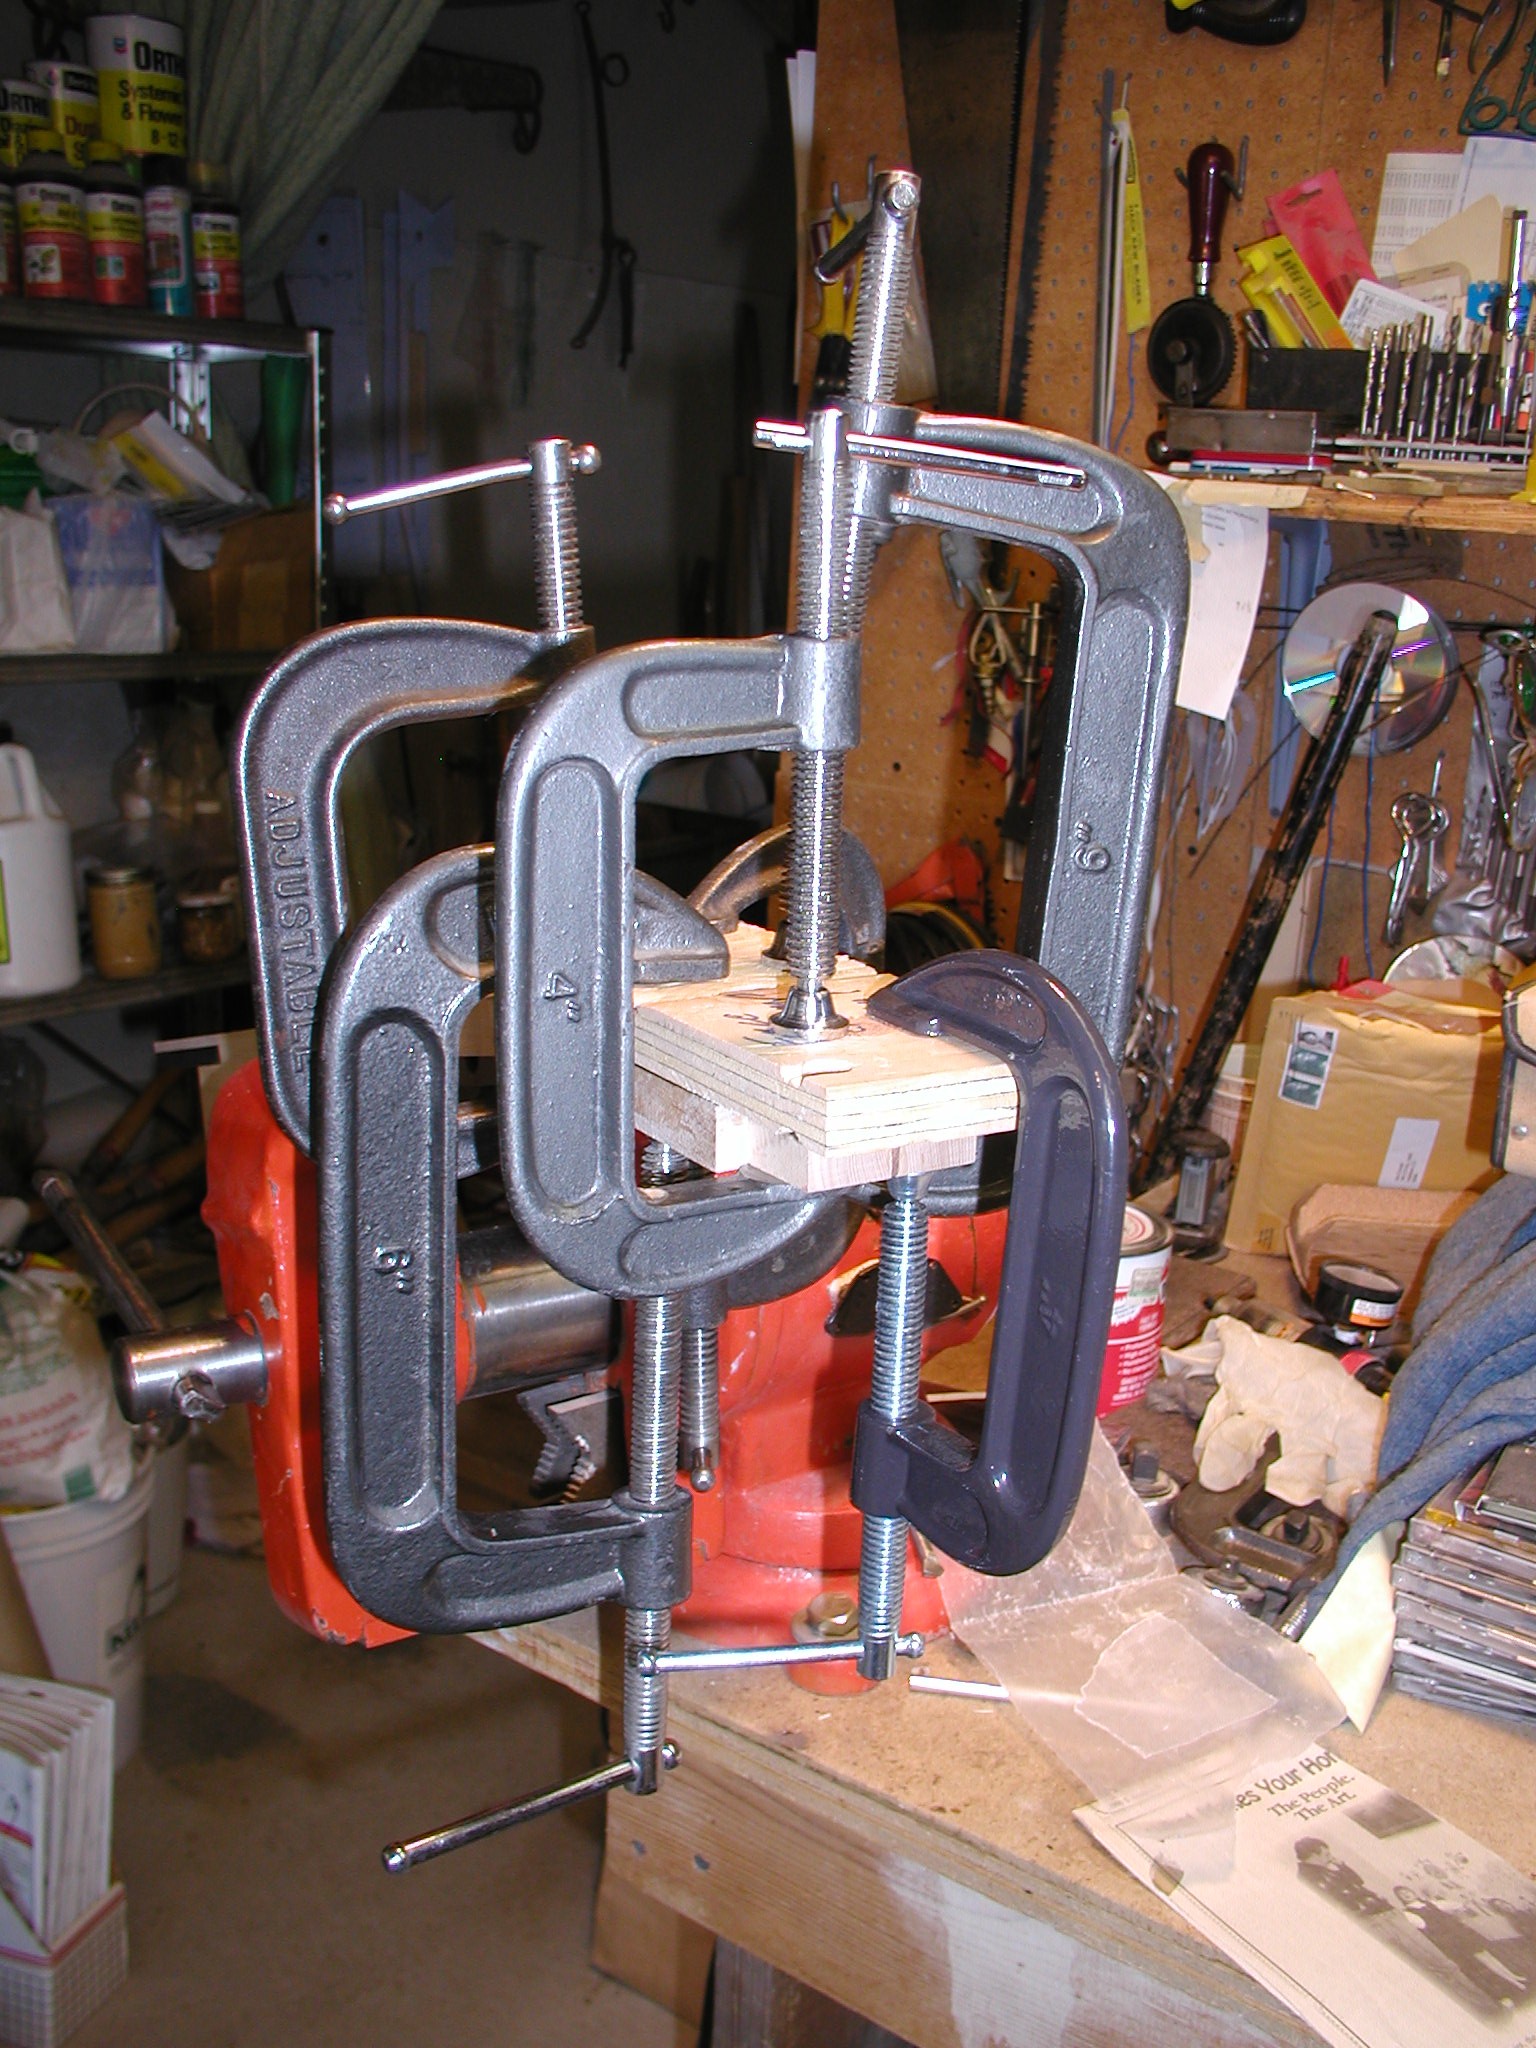
The face plate gets thicknessed and positioned. Notice the small wire nails for location pins. Then a clamping caul over top with holes to accommodate the pins, then a zillion clamps. After the headstock is glued I cut it off using a fretsaw blade on my table saw. A trick that doesn't show here is to lay down a piece of green tape right at the nut line on the neck shaft before gluing the face plate. Wax it with Johnson's, then glue the faceplate. When you cut off the faceplate for the nut line it makes glue clean up much easier, just peel up the tape.

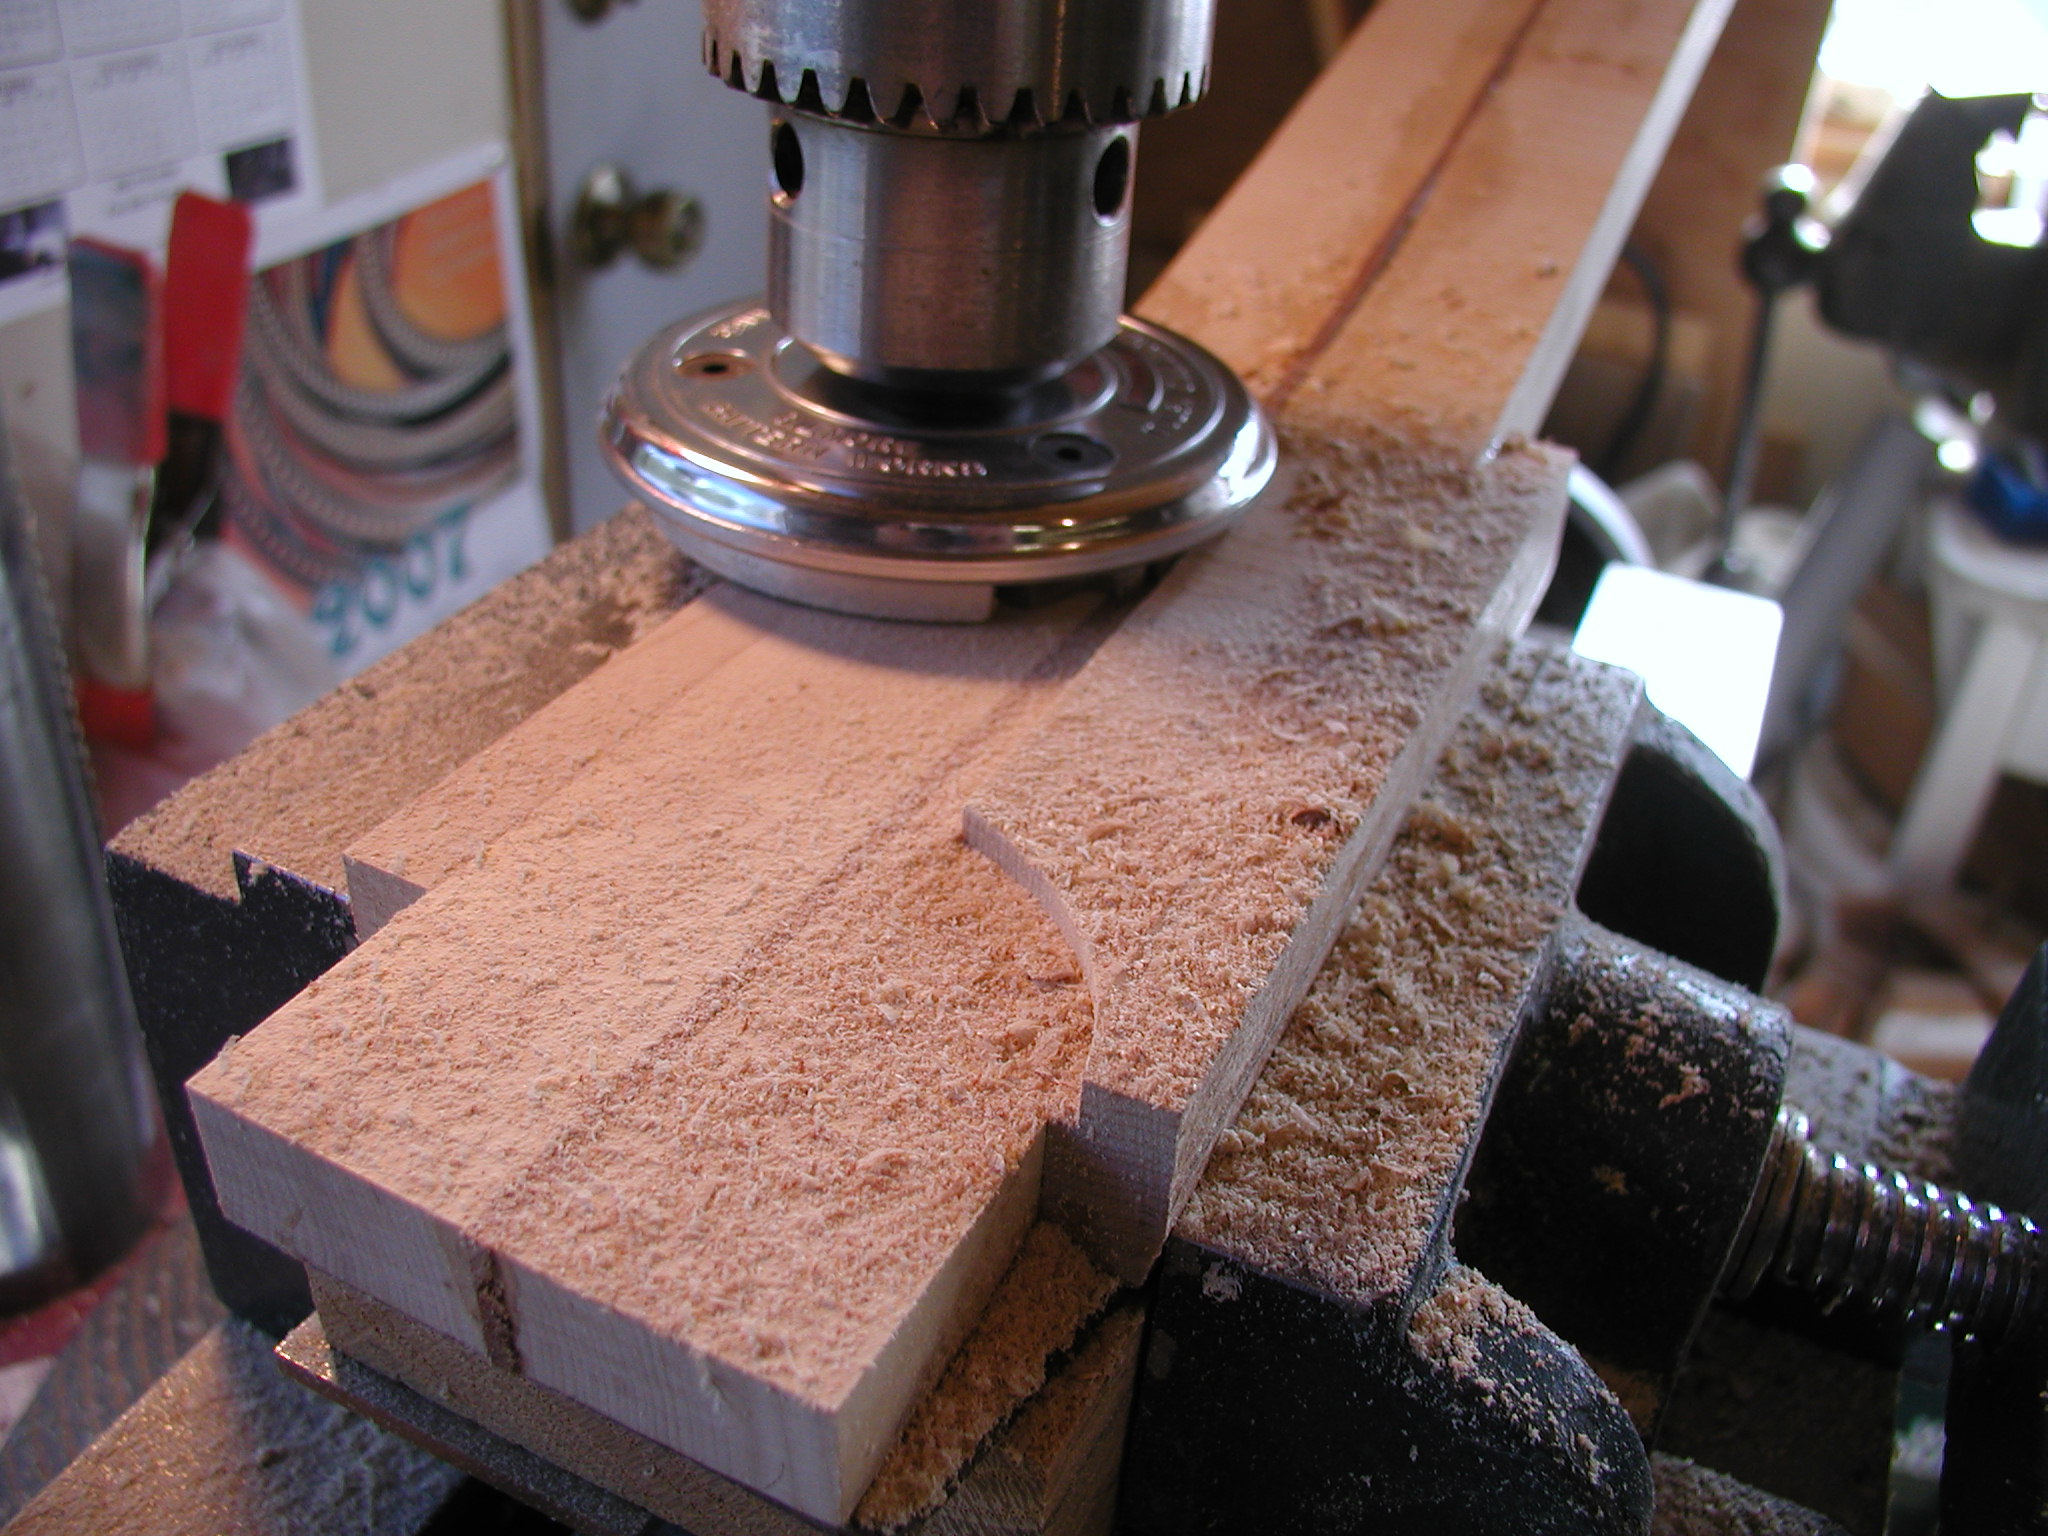
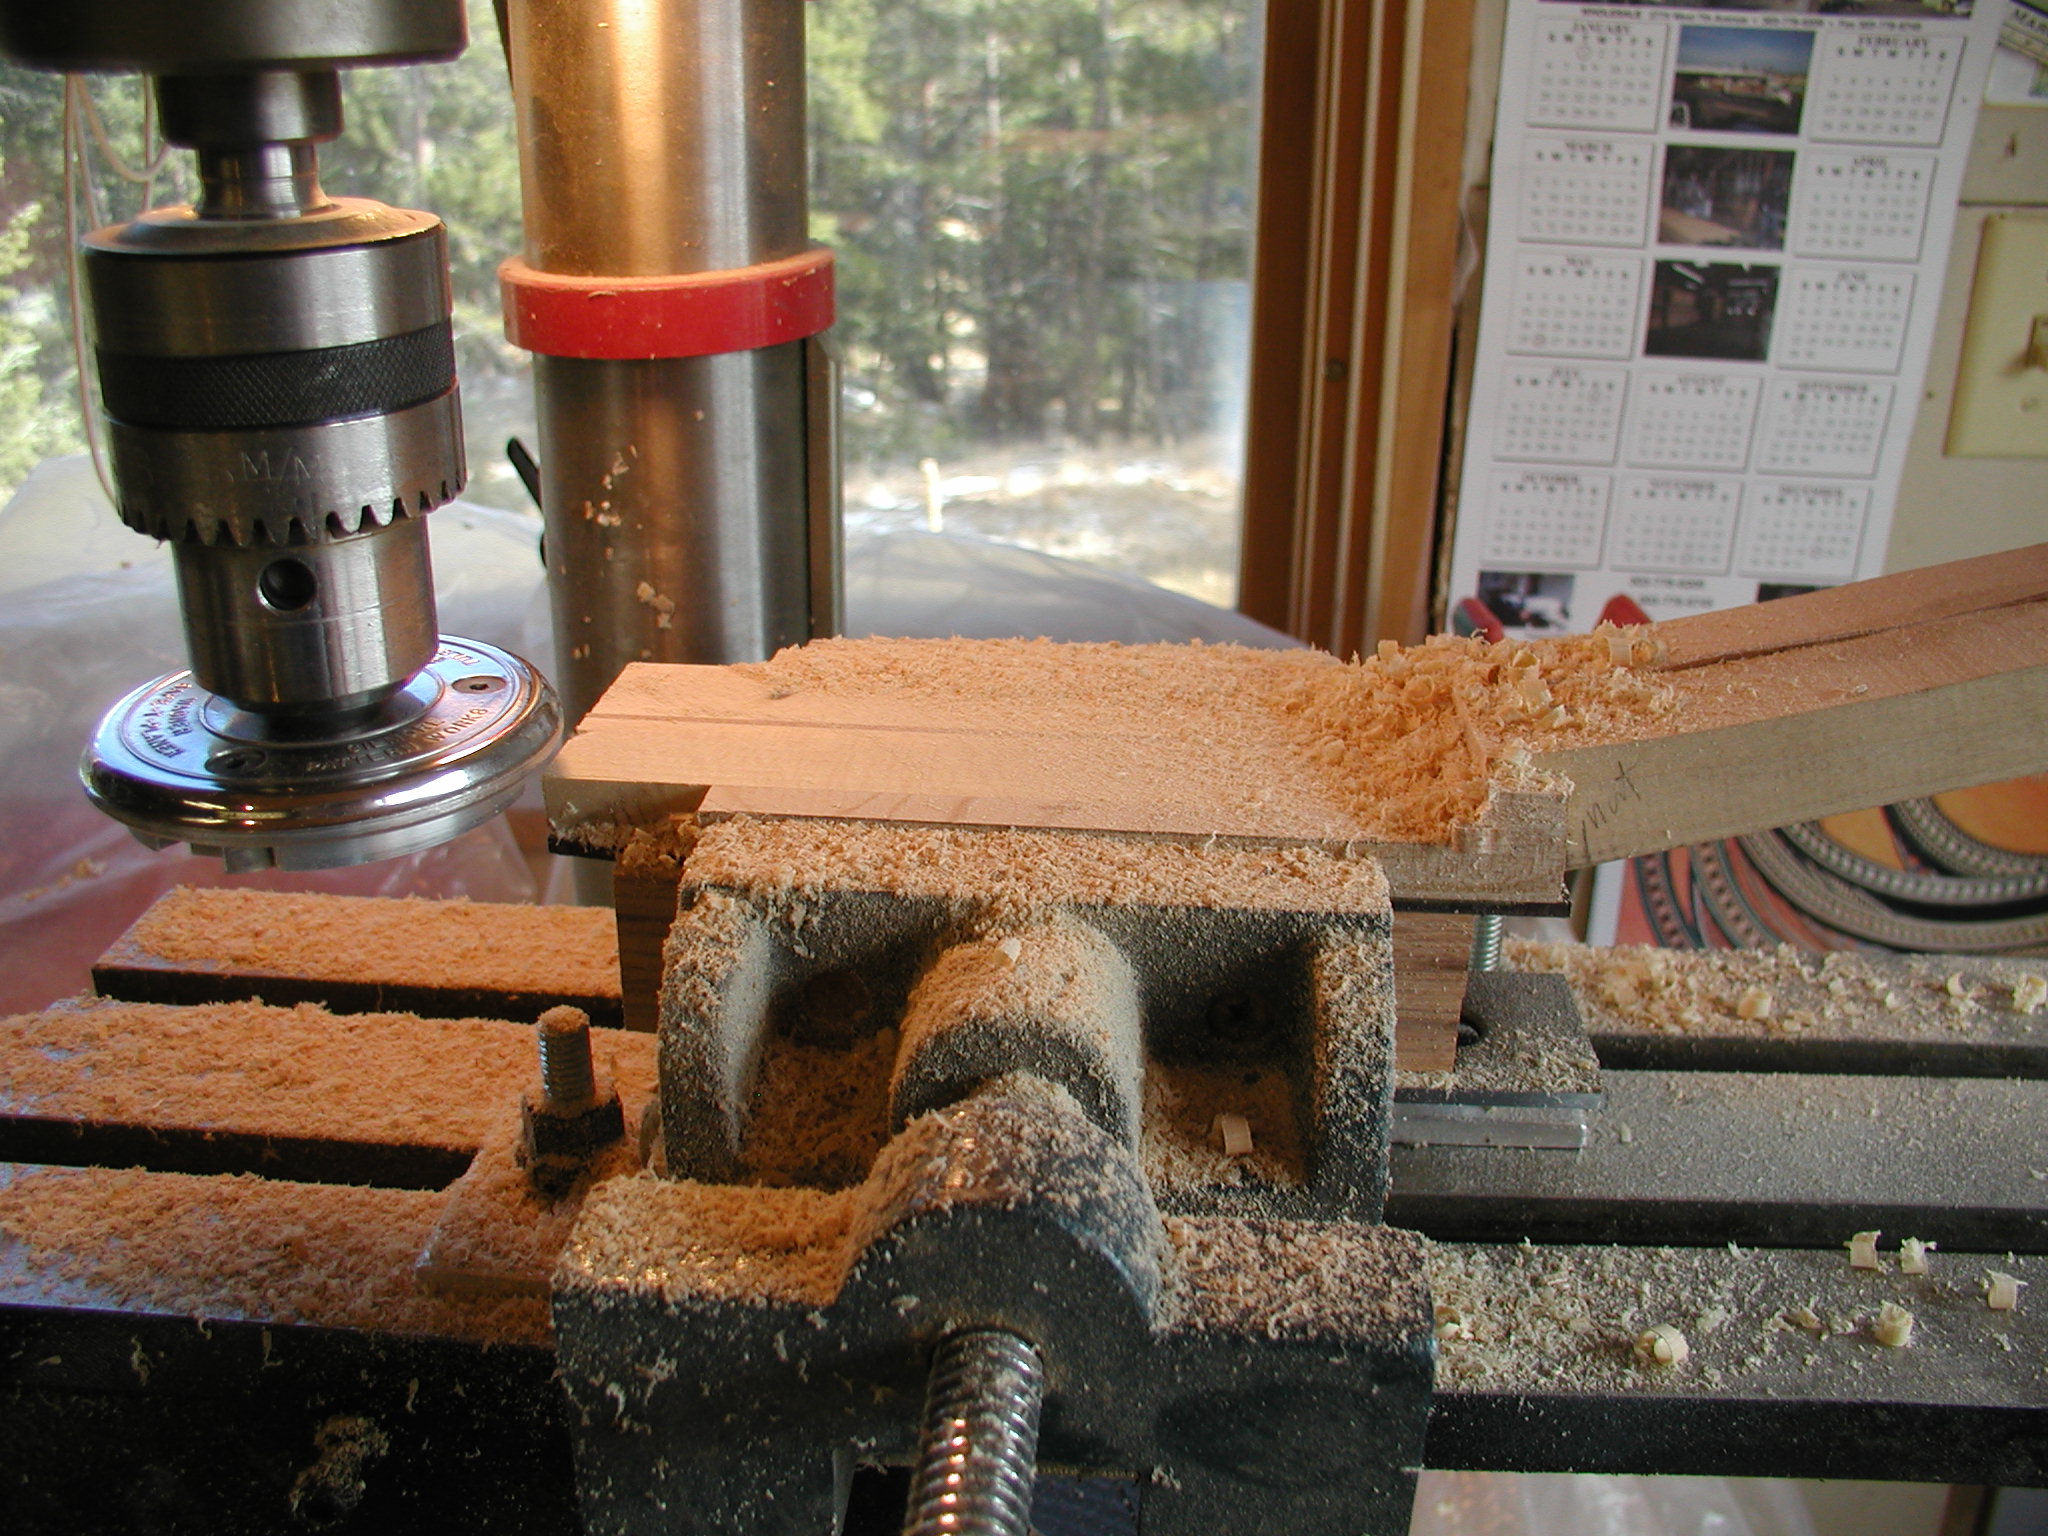
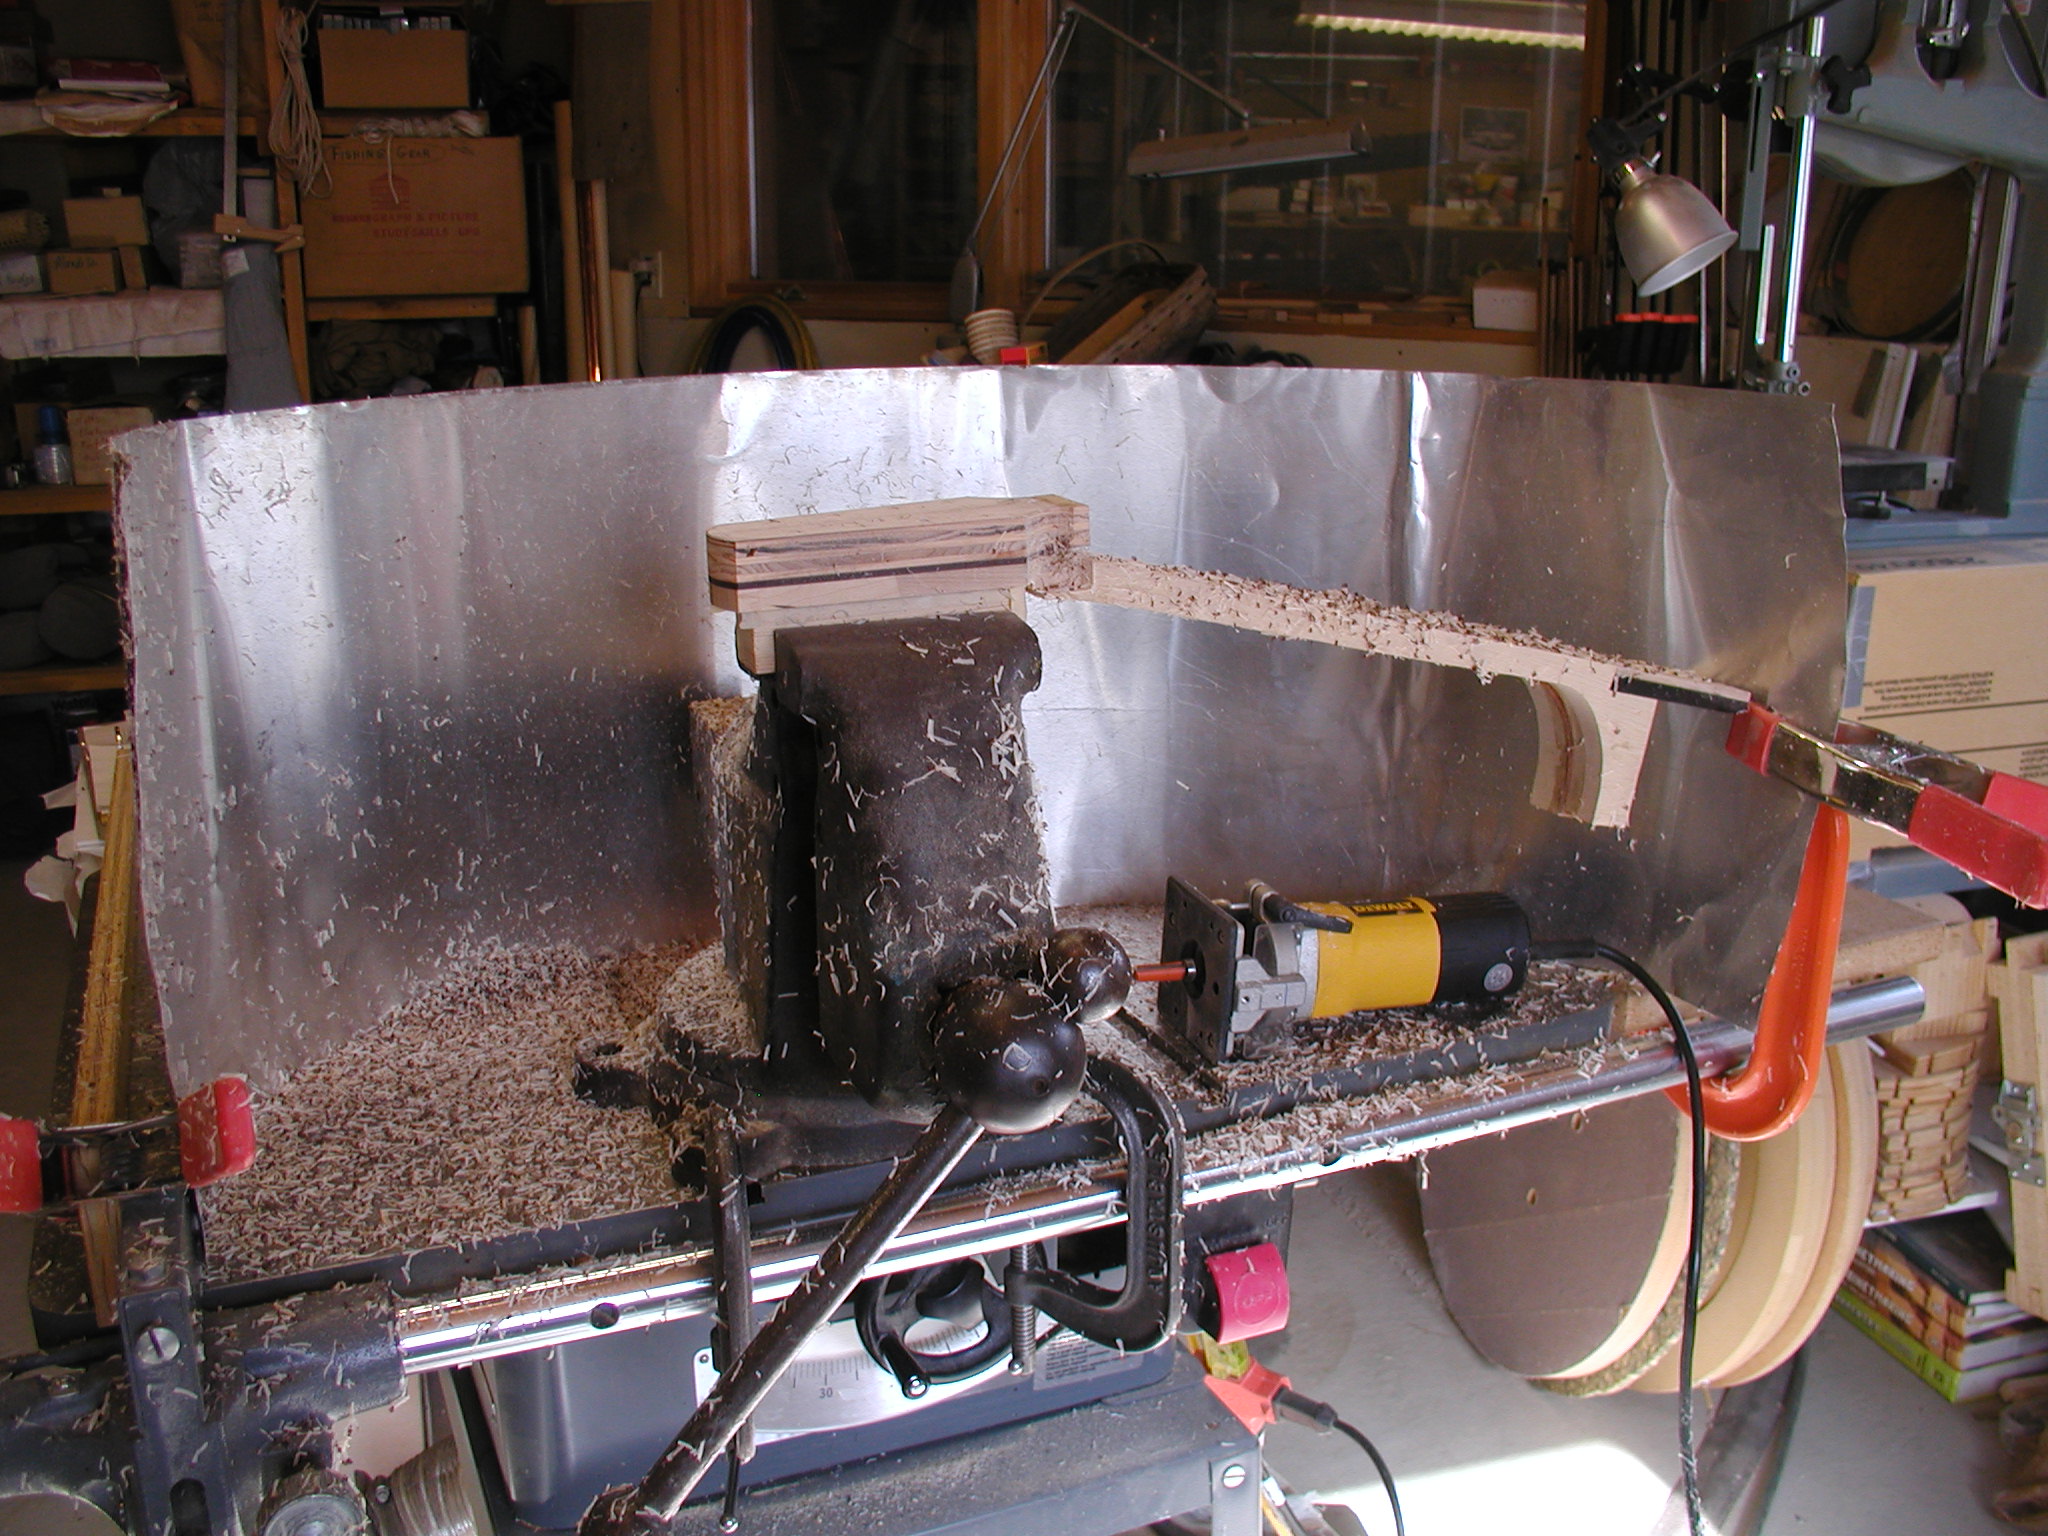
At this point I like to thickness the headstock. There are many ways to skin this cat. Some folks do it with a band saw and then level, some have clever jigs that use the end of a belt sander and make the volute at the same time. I use a tool called a Safety Planer, which I think of as kind of an oxymoron. It sure isn't safe when used by hand. It is a fly cutter with three hooked bits and it is hard to control the work by hand. But I clamp the headstock in a vise bolted to a cross-feed table. This give me a lot of control. Set up takes about 10 minutes and the cutting about three. Be wary of small or "finish" cuts with this thing, it likes to tear out, particularly with mahogany. Also, don't go to close to the neck shaft, leave some meat there and hand carve it later.
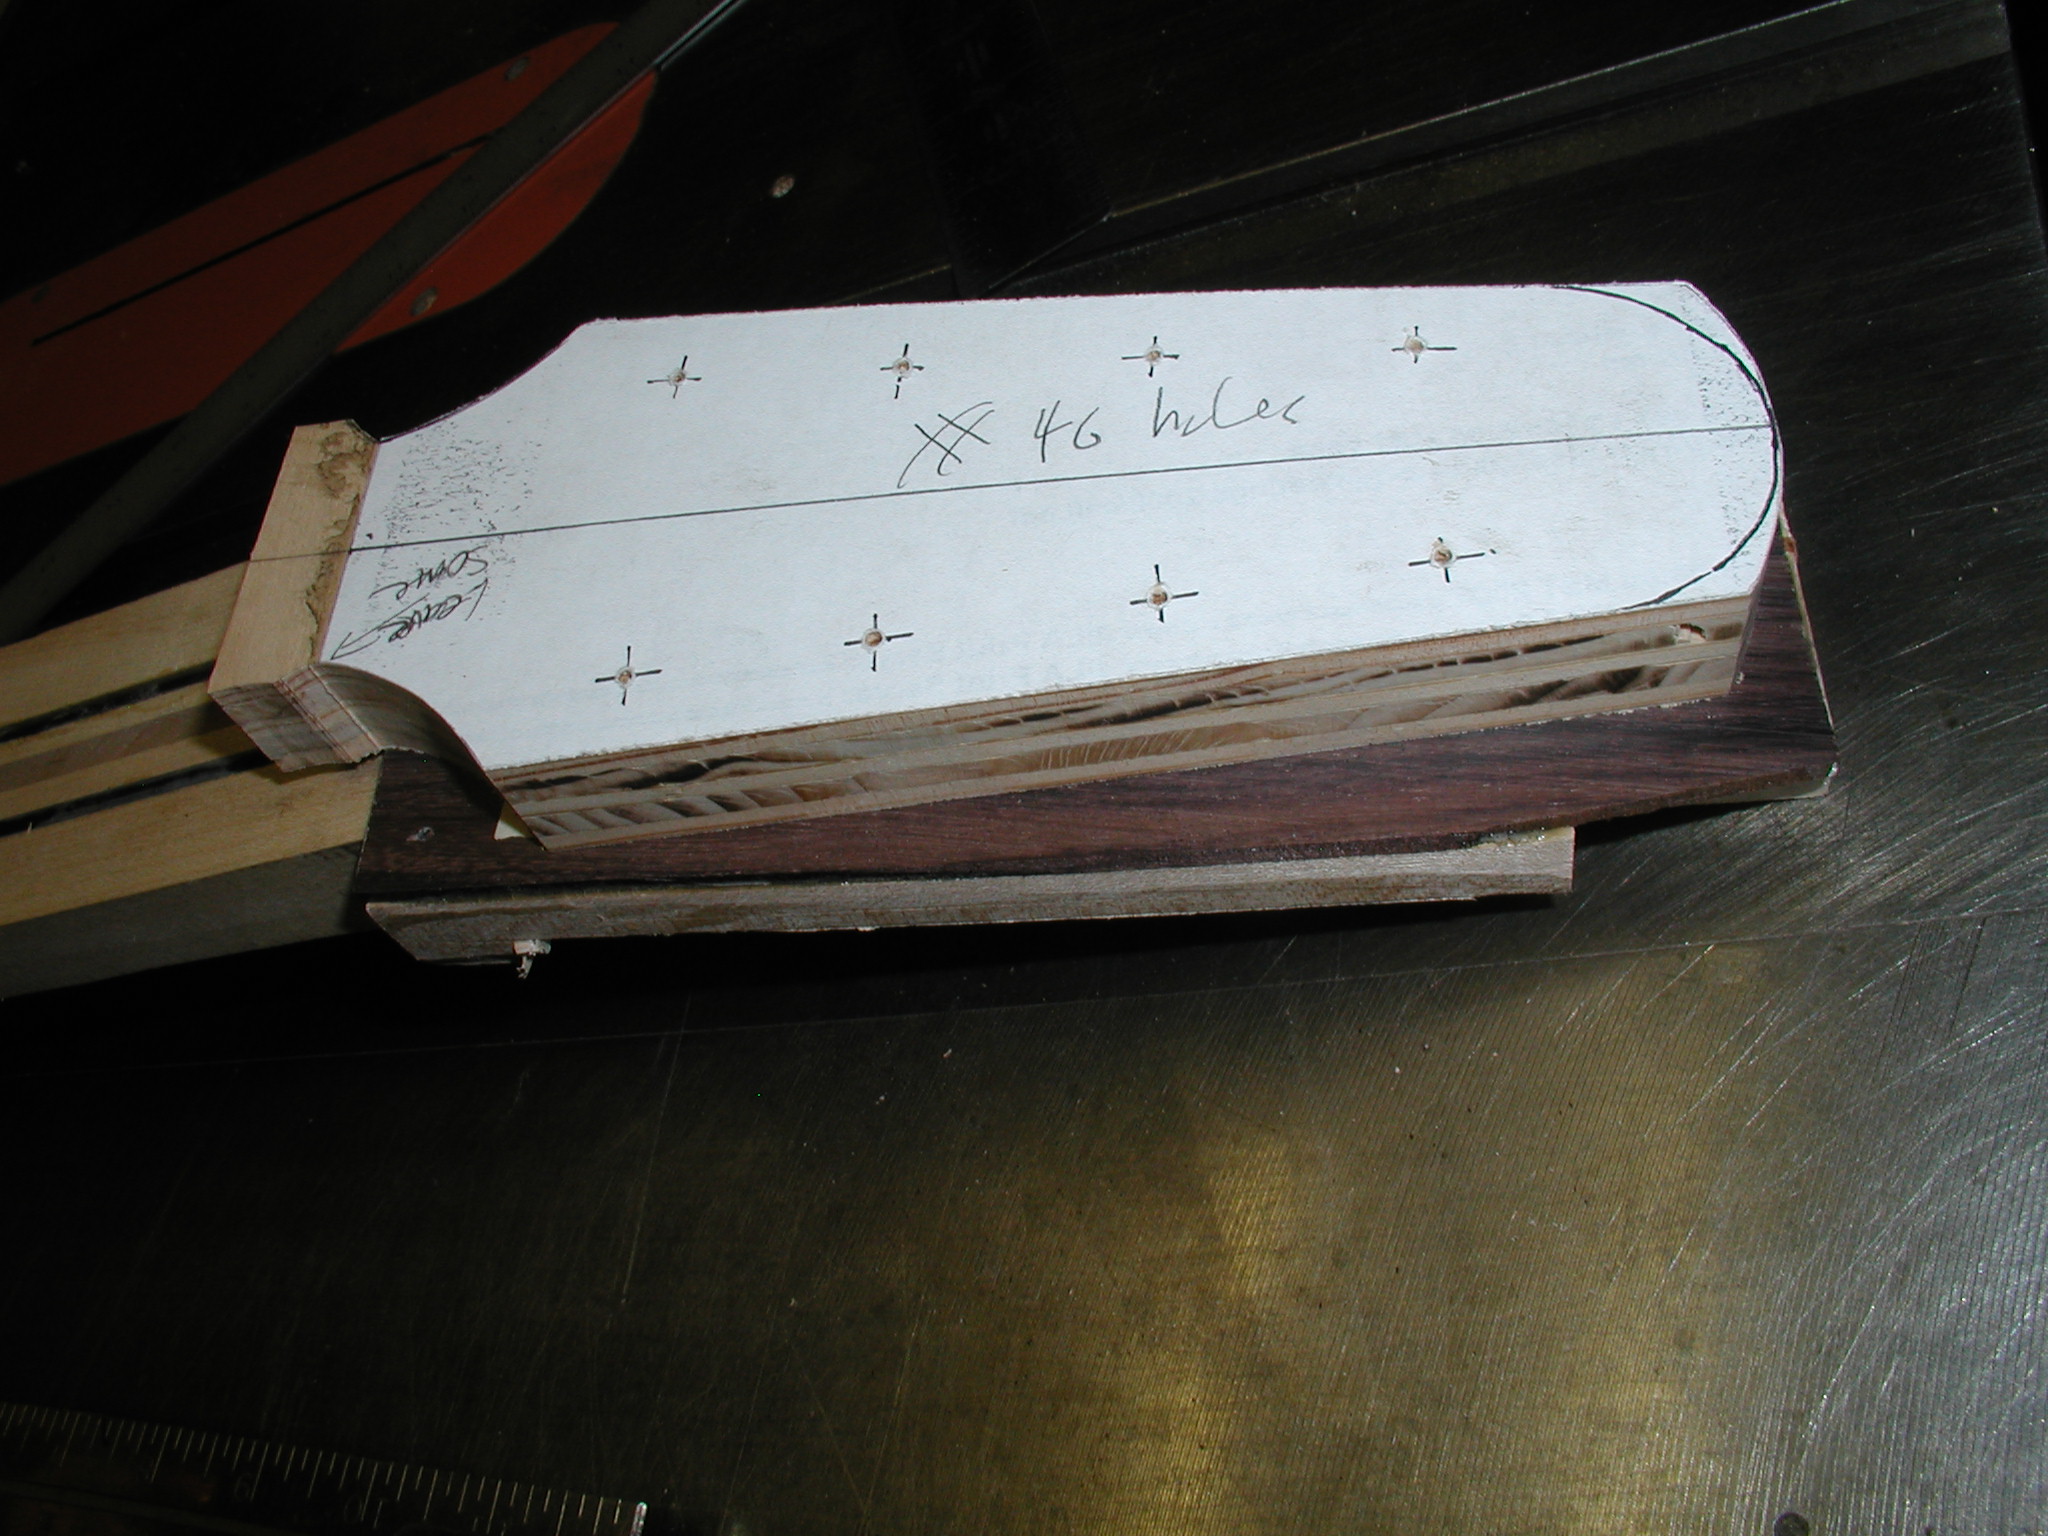
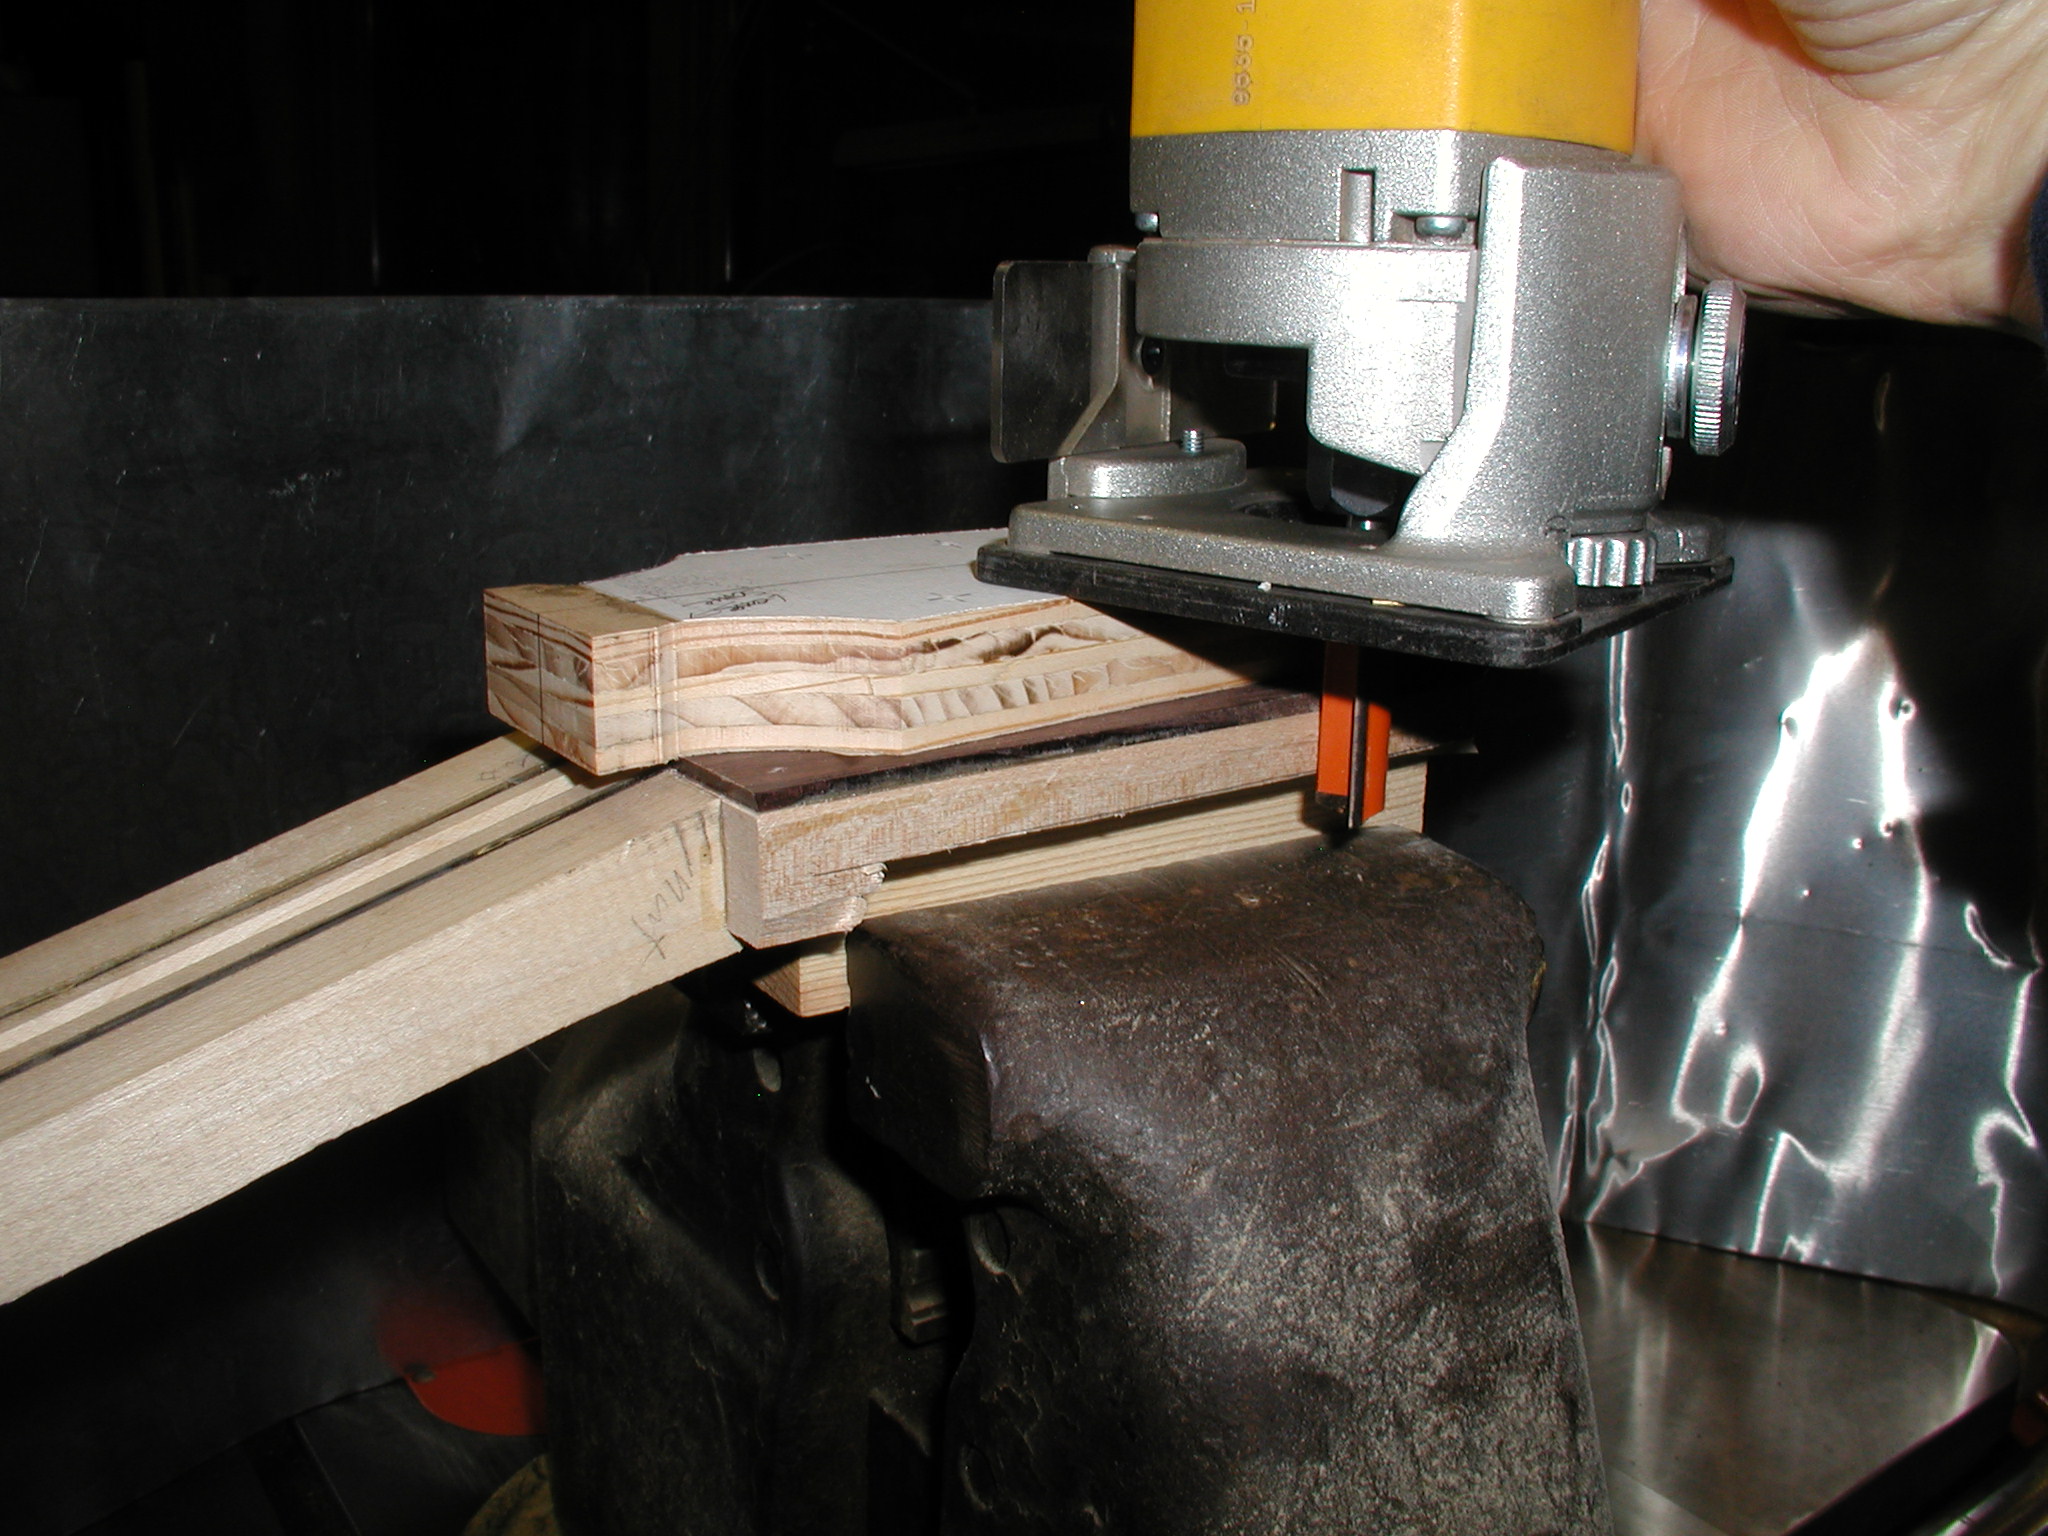
Next I double stick tape on my headstock template and rough away the extra with the bandsaw leaving about 1/4" of wood. Then I use the laminate trimmer with a top-bearing pattern following bit to profile the headstock. I suspect my process is not OSHA approved, so the usual warnings here about keeping the little fleshy parts away from the blade. Note the tuner hole locations on the template. I also drill small holes in the headstock for the tuner locations while the template is in place.


This is a bolt on neck so I need to make the anchors now. Again, many ways to do this. I have built with lots of different neck joints and they keep getting more and more minimalistic. From almost all my necks I now use a straight up butt joint. When you think about the forces on the neck under normal use that suffices just fine. Here I'm assuming that someone buying a custom guitar is not buying a beater that needs a baseball bat strength neck. I don't like the look of having nuts showing on a stud inside the body at the headblock, I prefer to use furniture bolts going to an anchor in the neck. My current design is a single anchor rod running vertically in the heel, you can see it on the drill press table in the first photo. It is cross drilled and threaded for the furniture bolts. It also is end threaded on the heel cap end so it can be pulled if it ever gets stripped out. I used to use steel but then went to brass to avoid binding. This one is T6 aluminum and gets a dusting of graphite power on the threads in the final bolt up. The jig in the second photo is shaped for guitars, so I am using an extra drill bit to keep it aligned when drilling the second hole. Drilled with brad point bits so they will start true in a punch set hole.
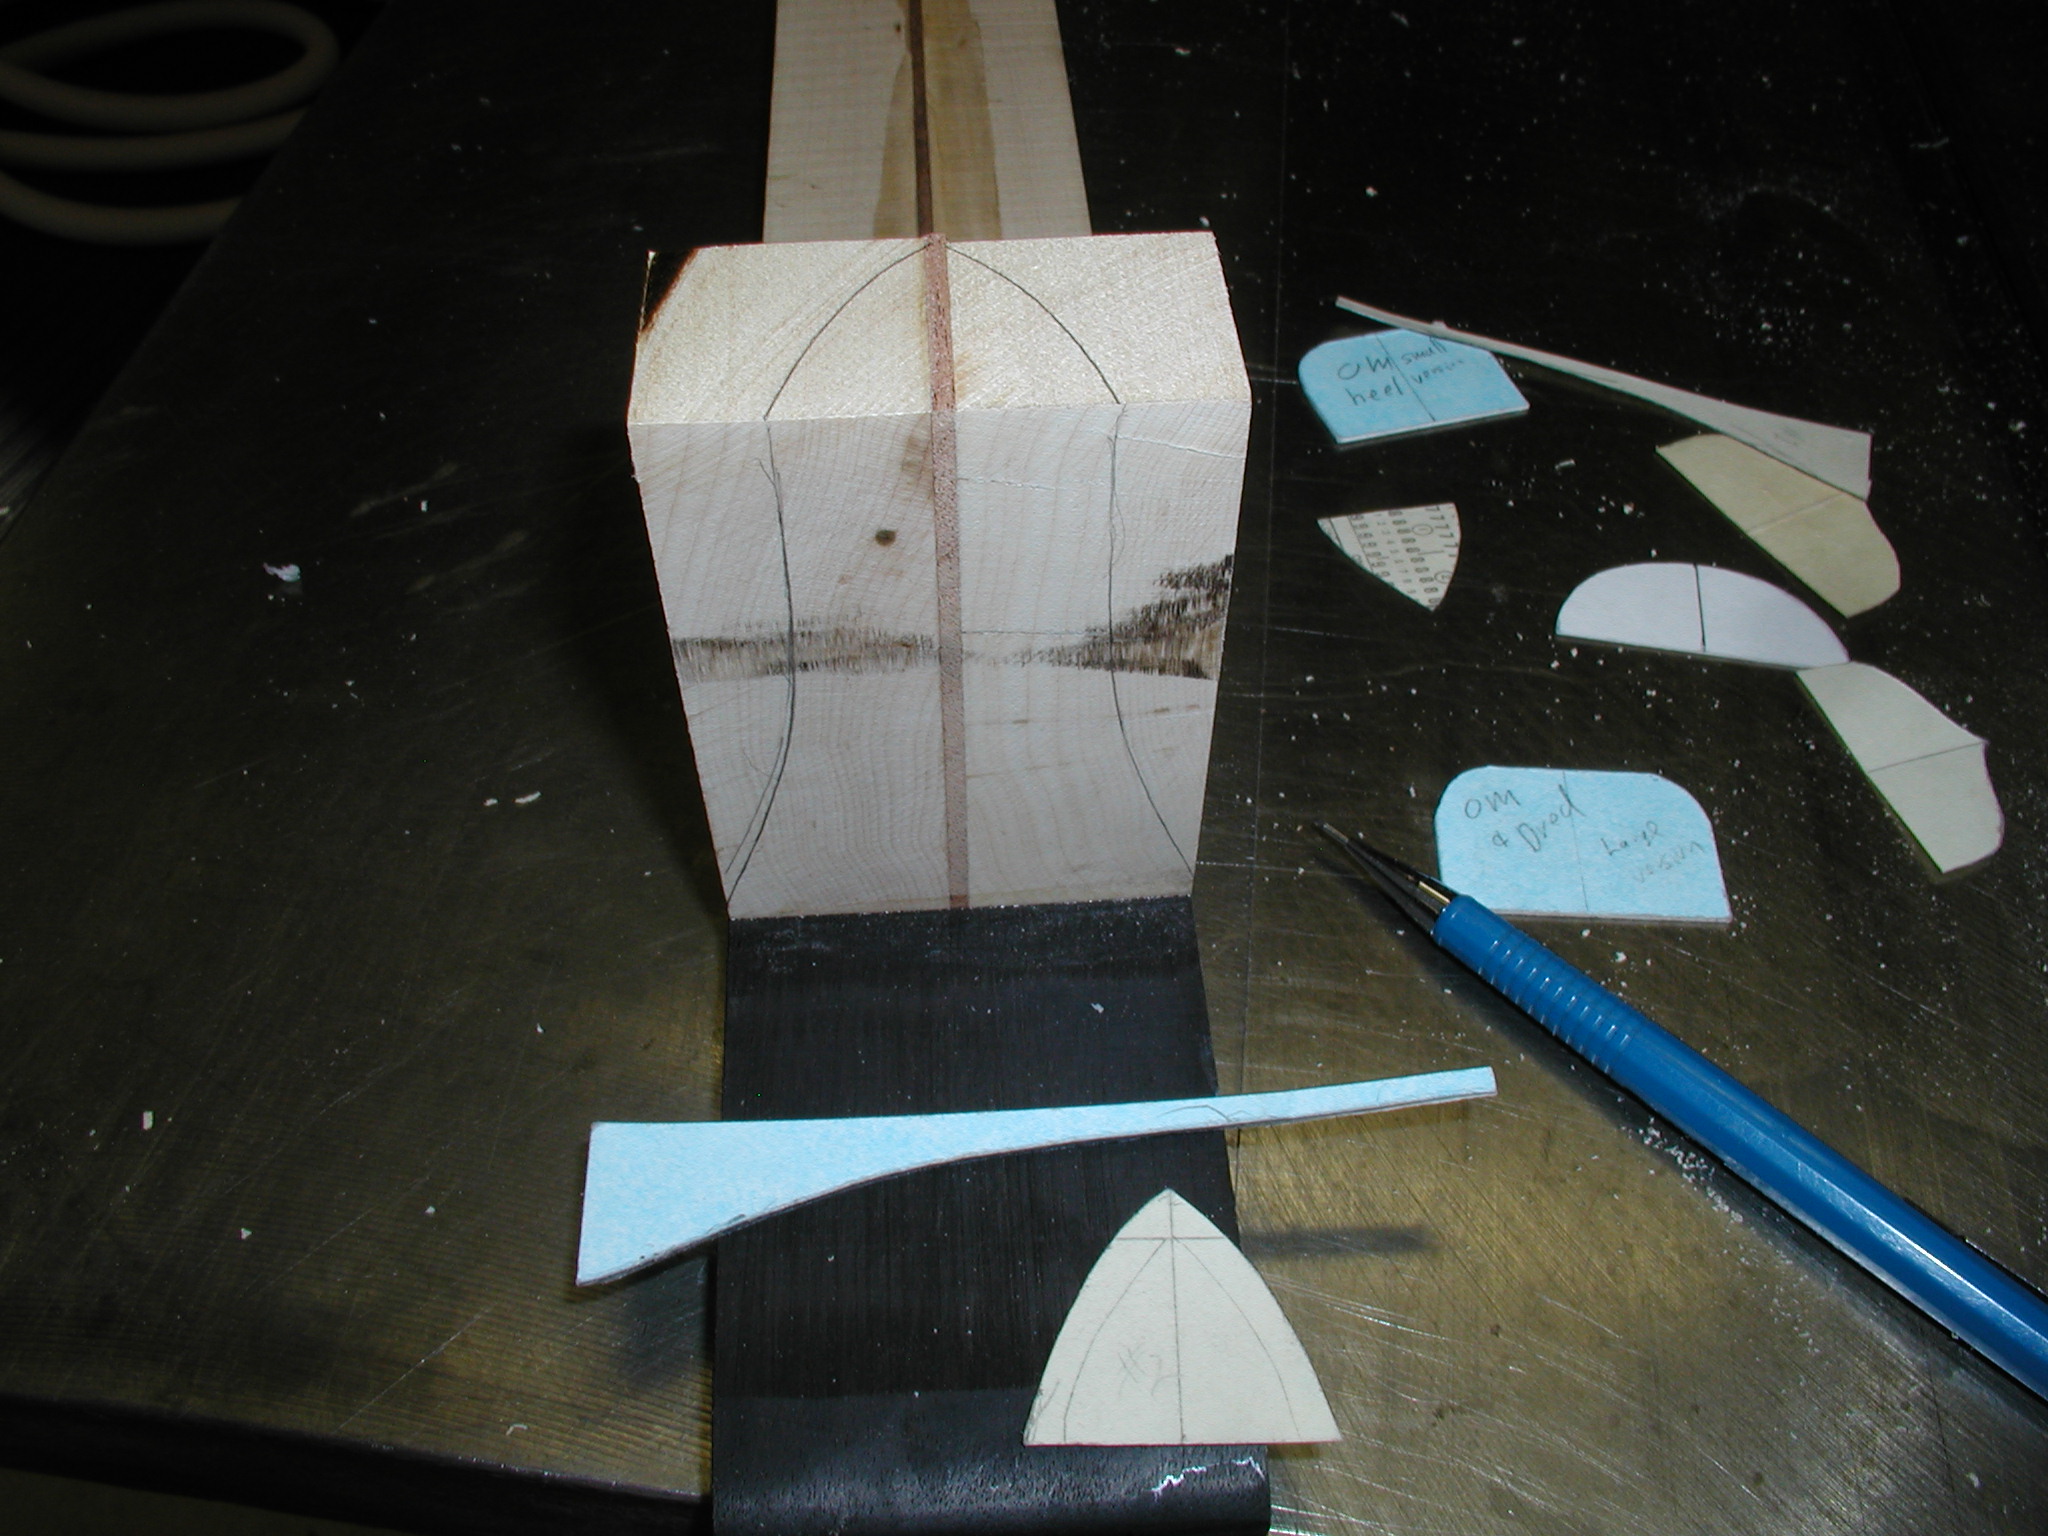
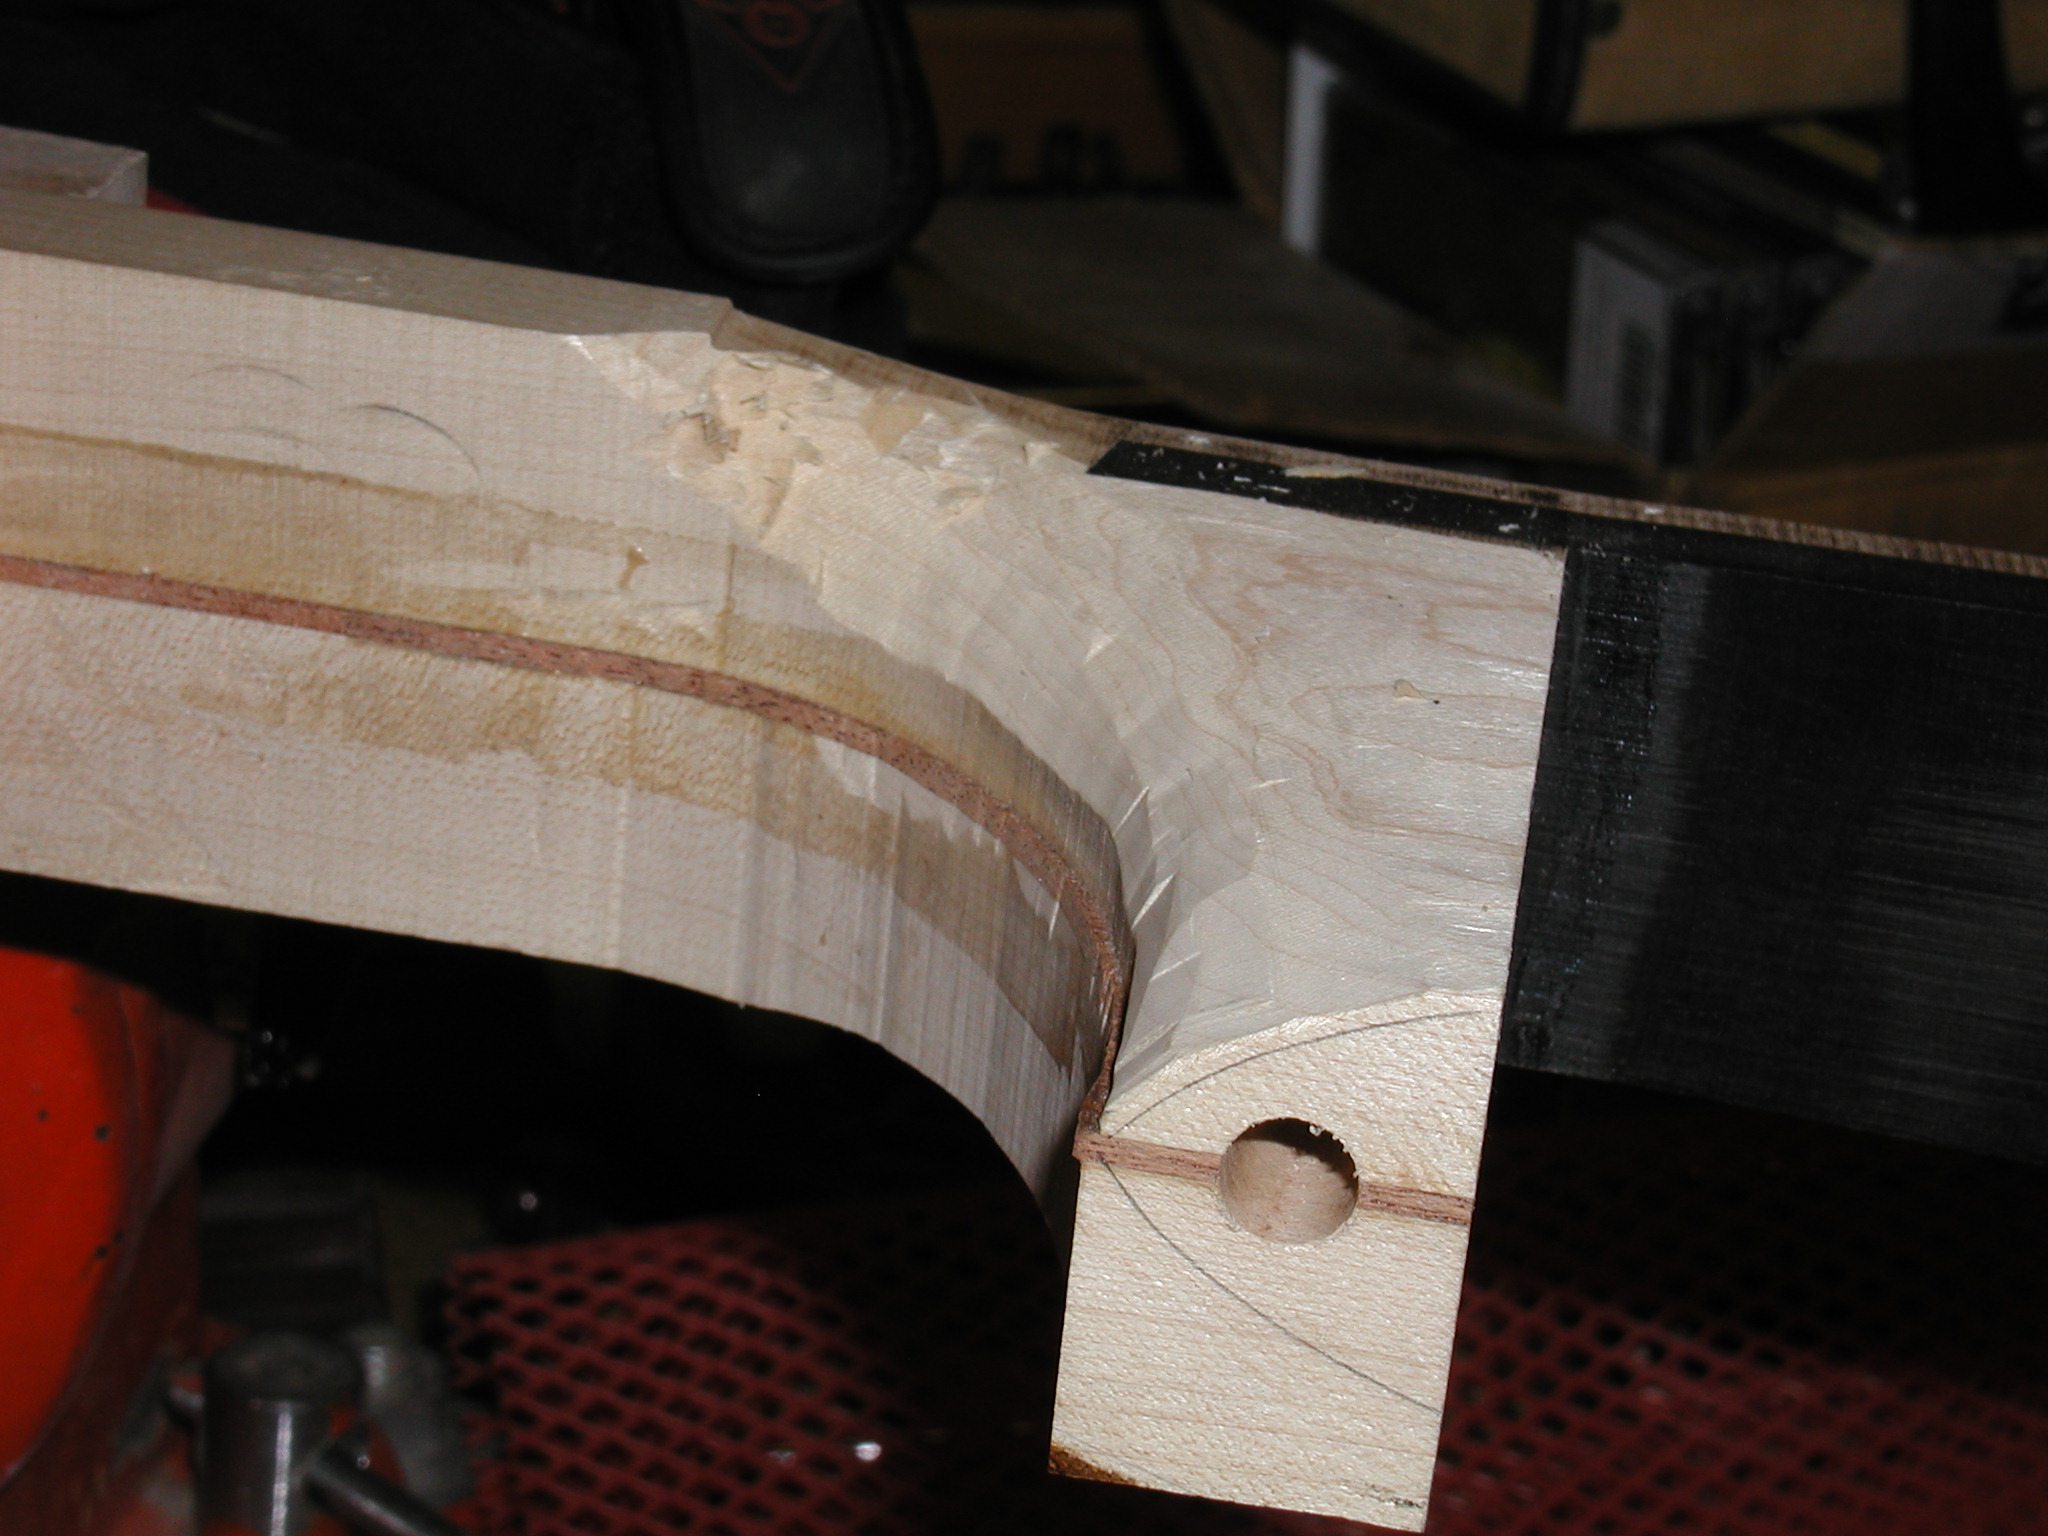
I like to rough carve the heel now, that defines it well enough for the fretboard and body alignment. After layout with templates, it is just a matter of making continuously refined carved flats until they get smaller and smaller into a curve. I keep it about 1/16" proud of the fretboard width at the top edge and at the heel cap. This will be refined later to match those elements.
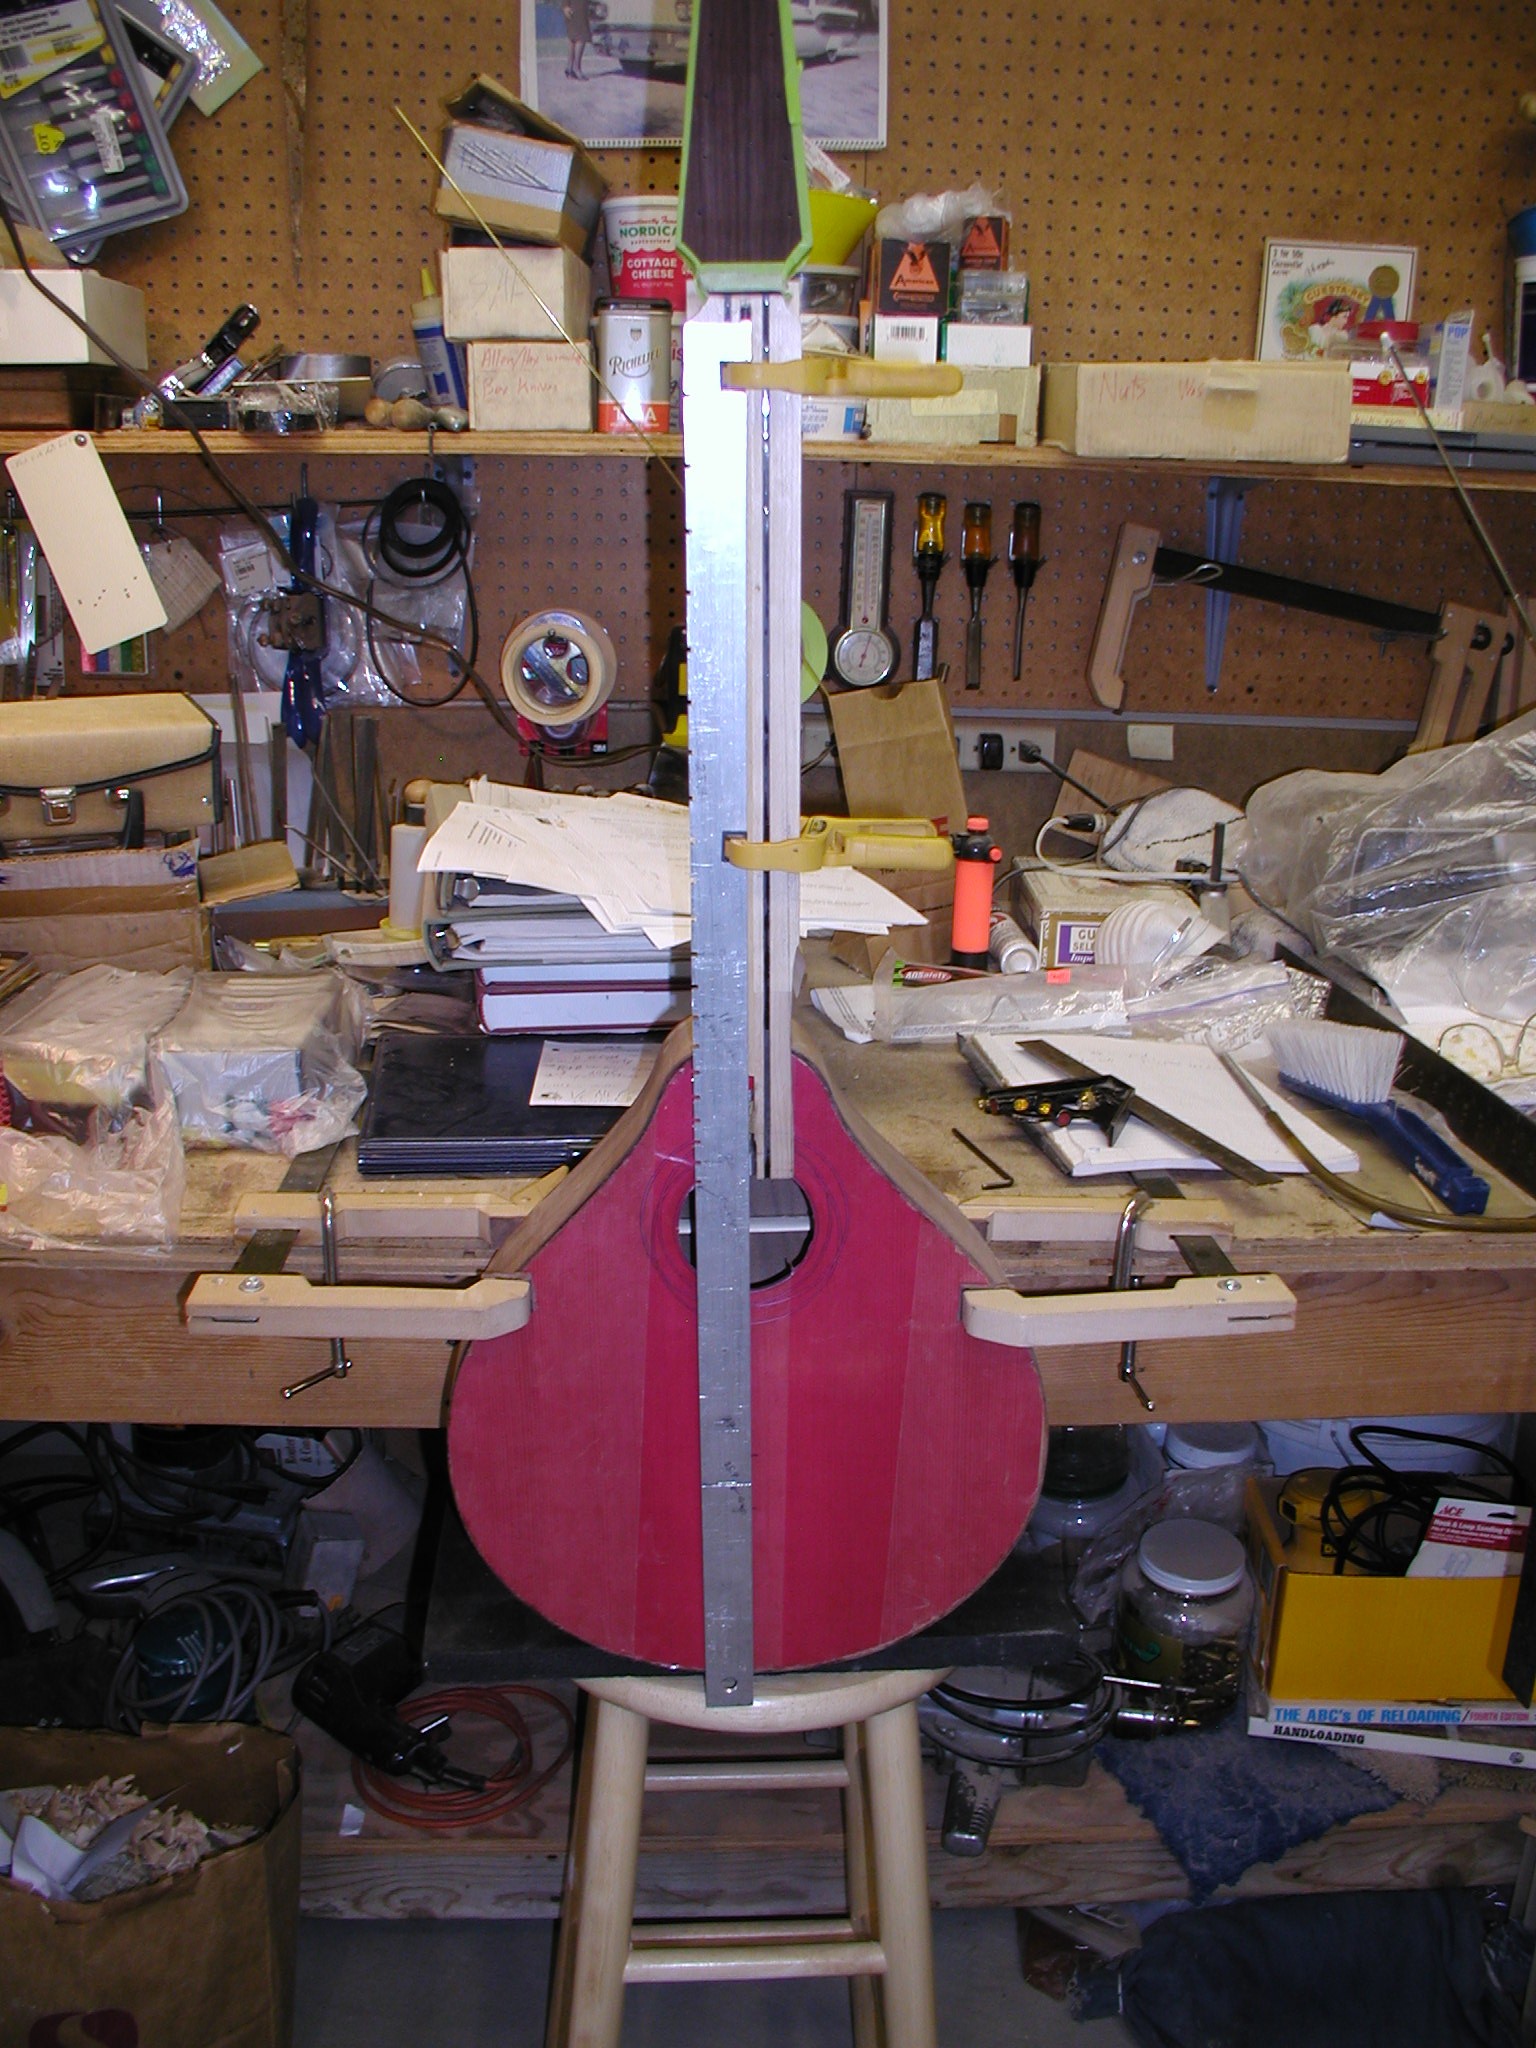
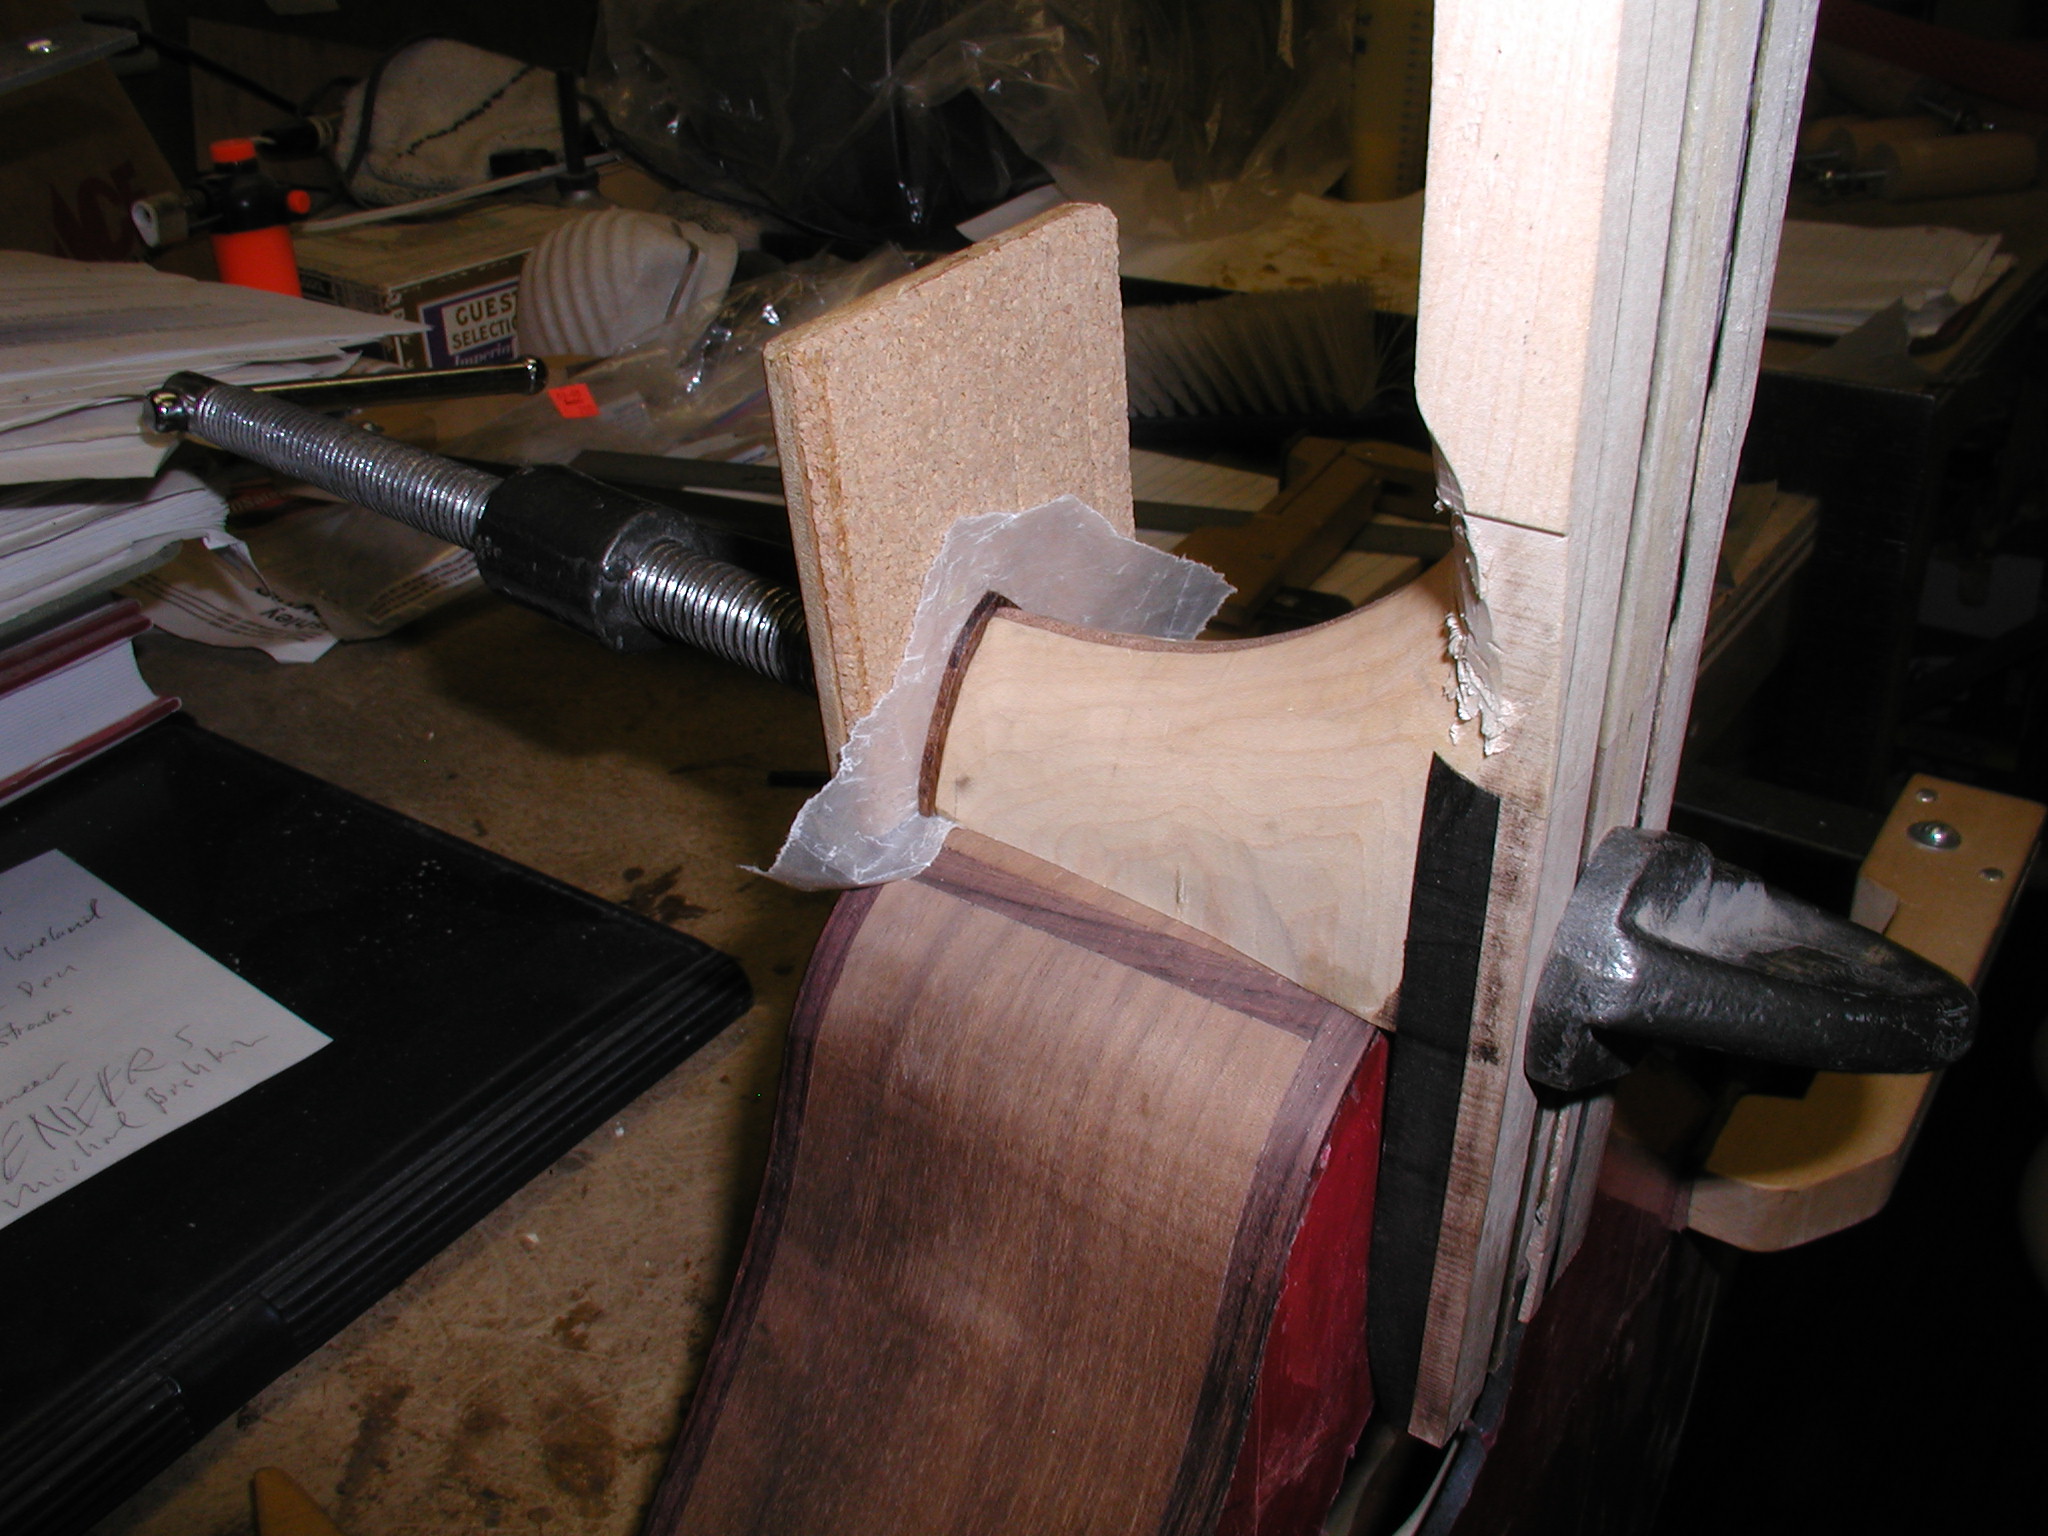
I like to stop here and double check the neck set to make sure it is still close for both center line and height above the top to accommodate the bridge saddle. Also time to shape and glue on the heel cap. I put a bit of cotton ball over the neck anchor rod to keep any glue out of the end threads or the hole. Note the waxed paper to keep from gluing it to the body.
OK, the neck is pretty much shaped out, now it is time to start on the fretboard.