Let's Build A Bouzouki (Page 5)
Last Modified - February 2009 (©Alan Dunwell 2009)
In Page 4 we finished the main construction parts of the neck. Now we can begin on the fretboard.
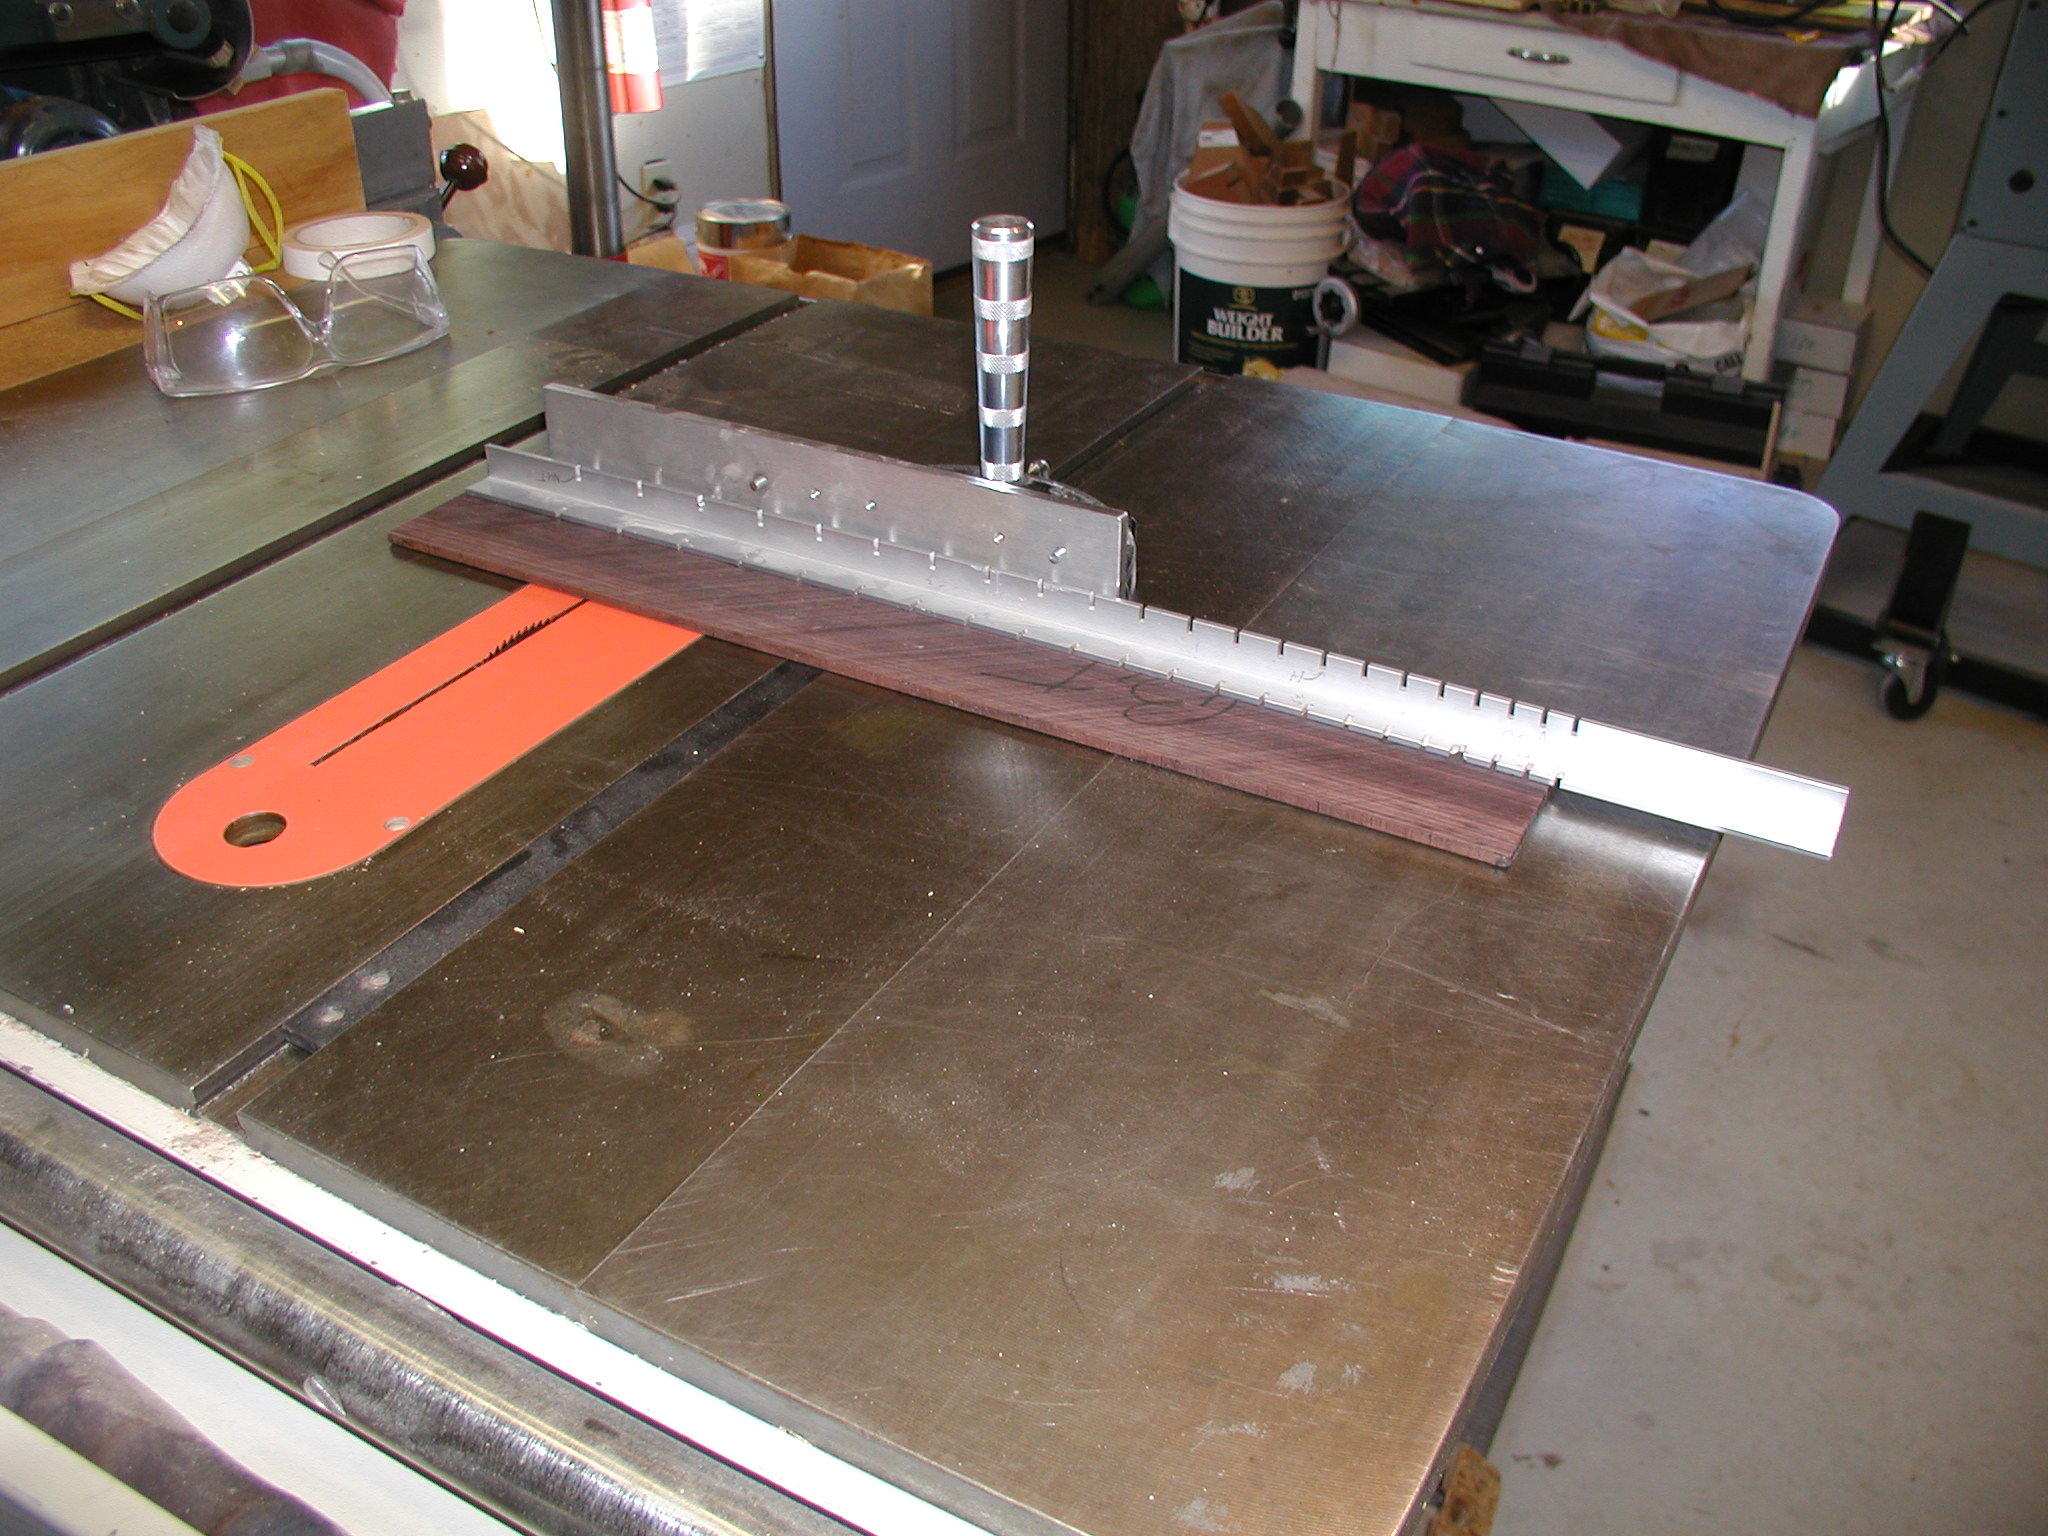
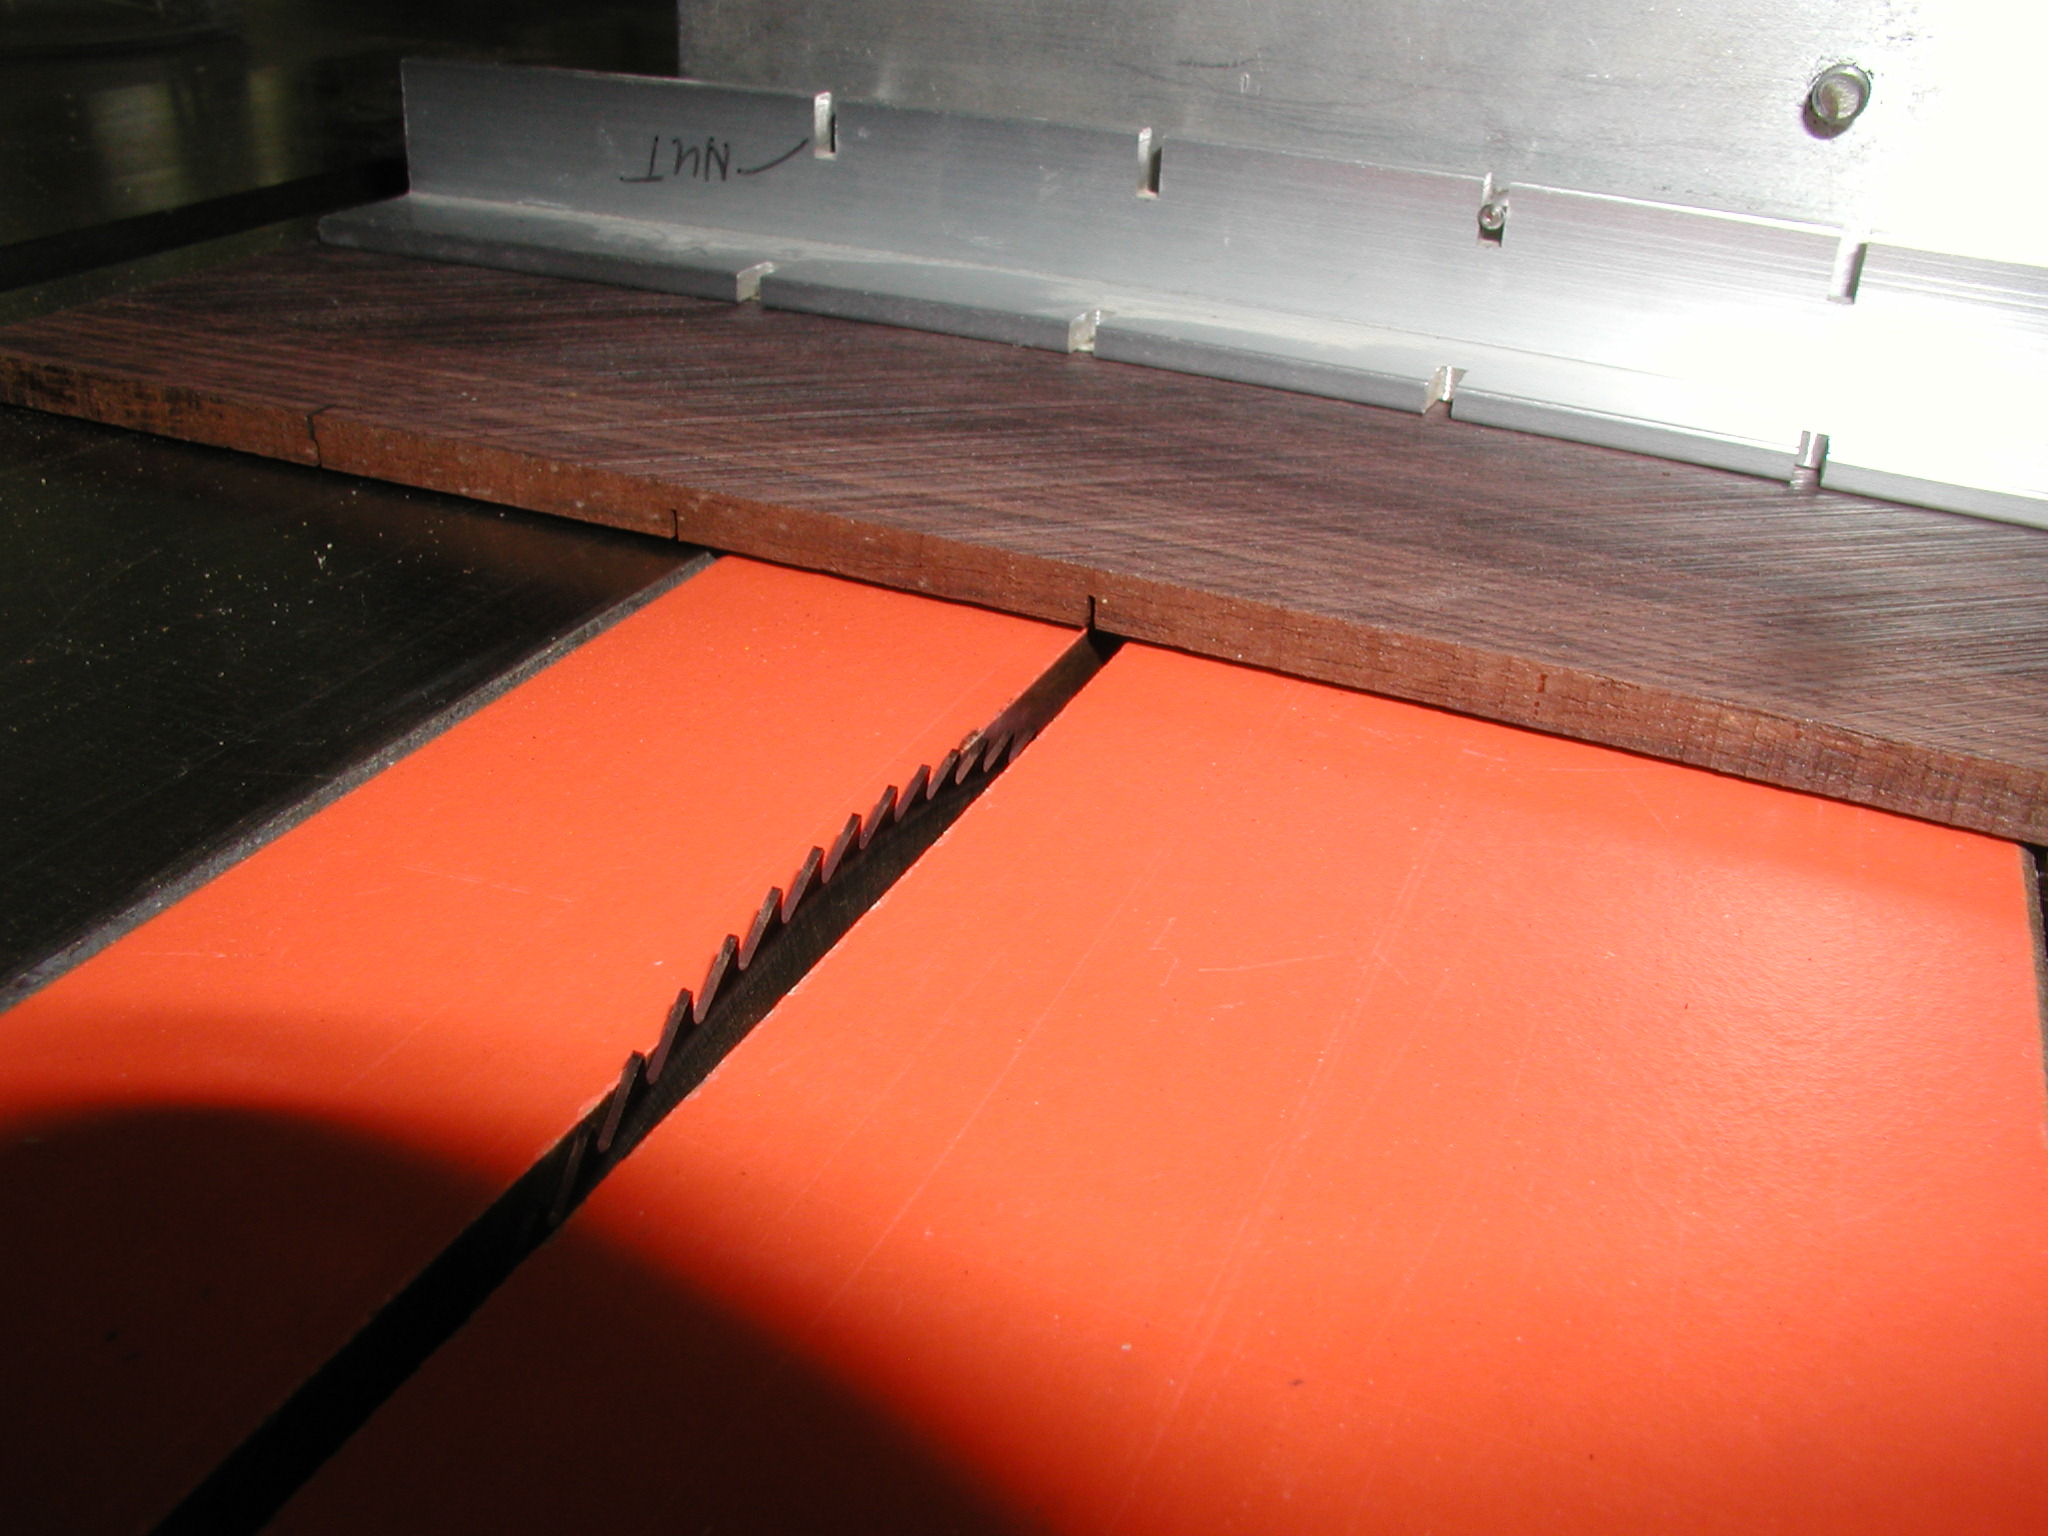
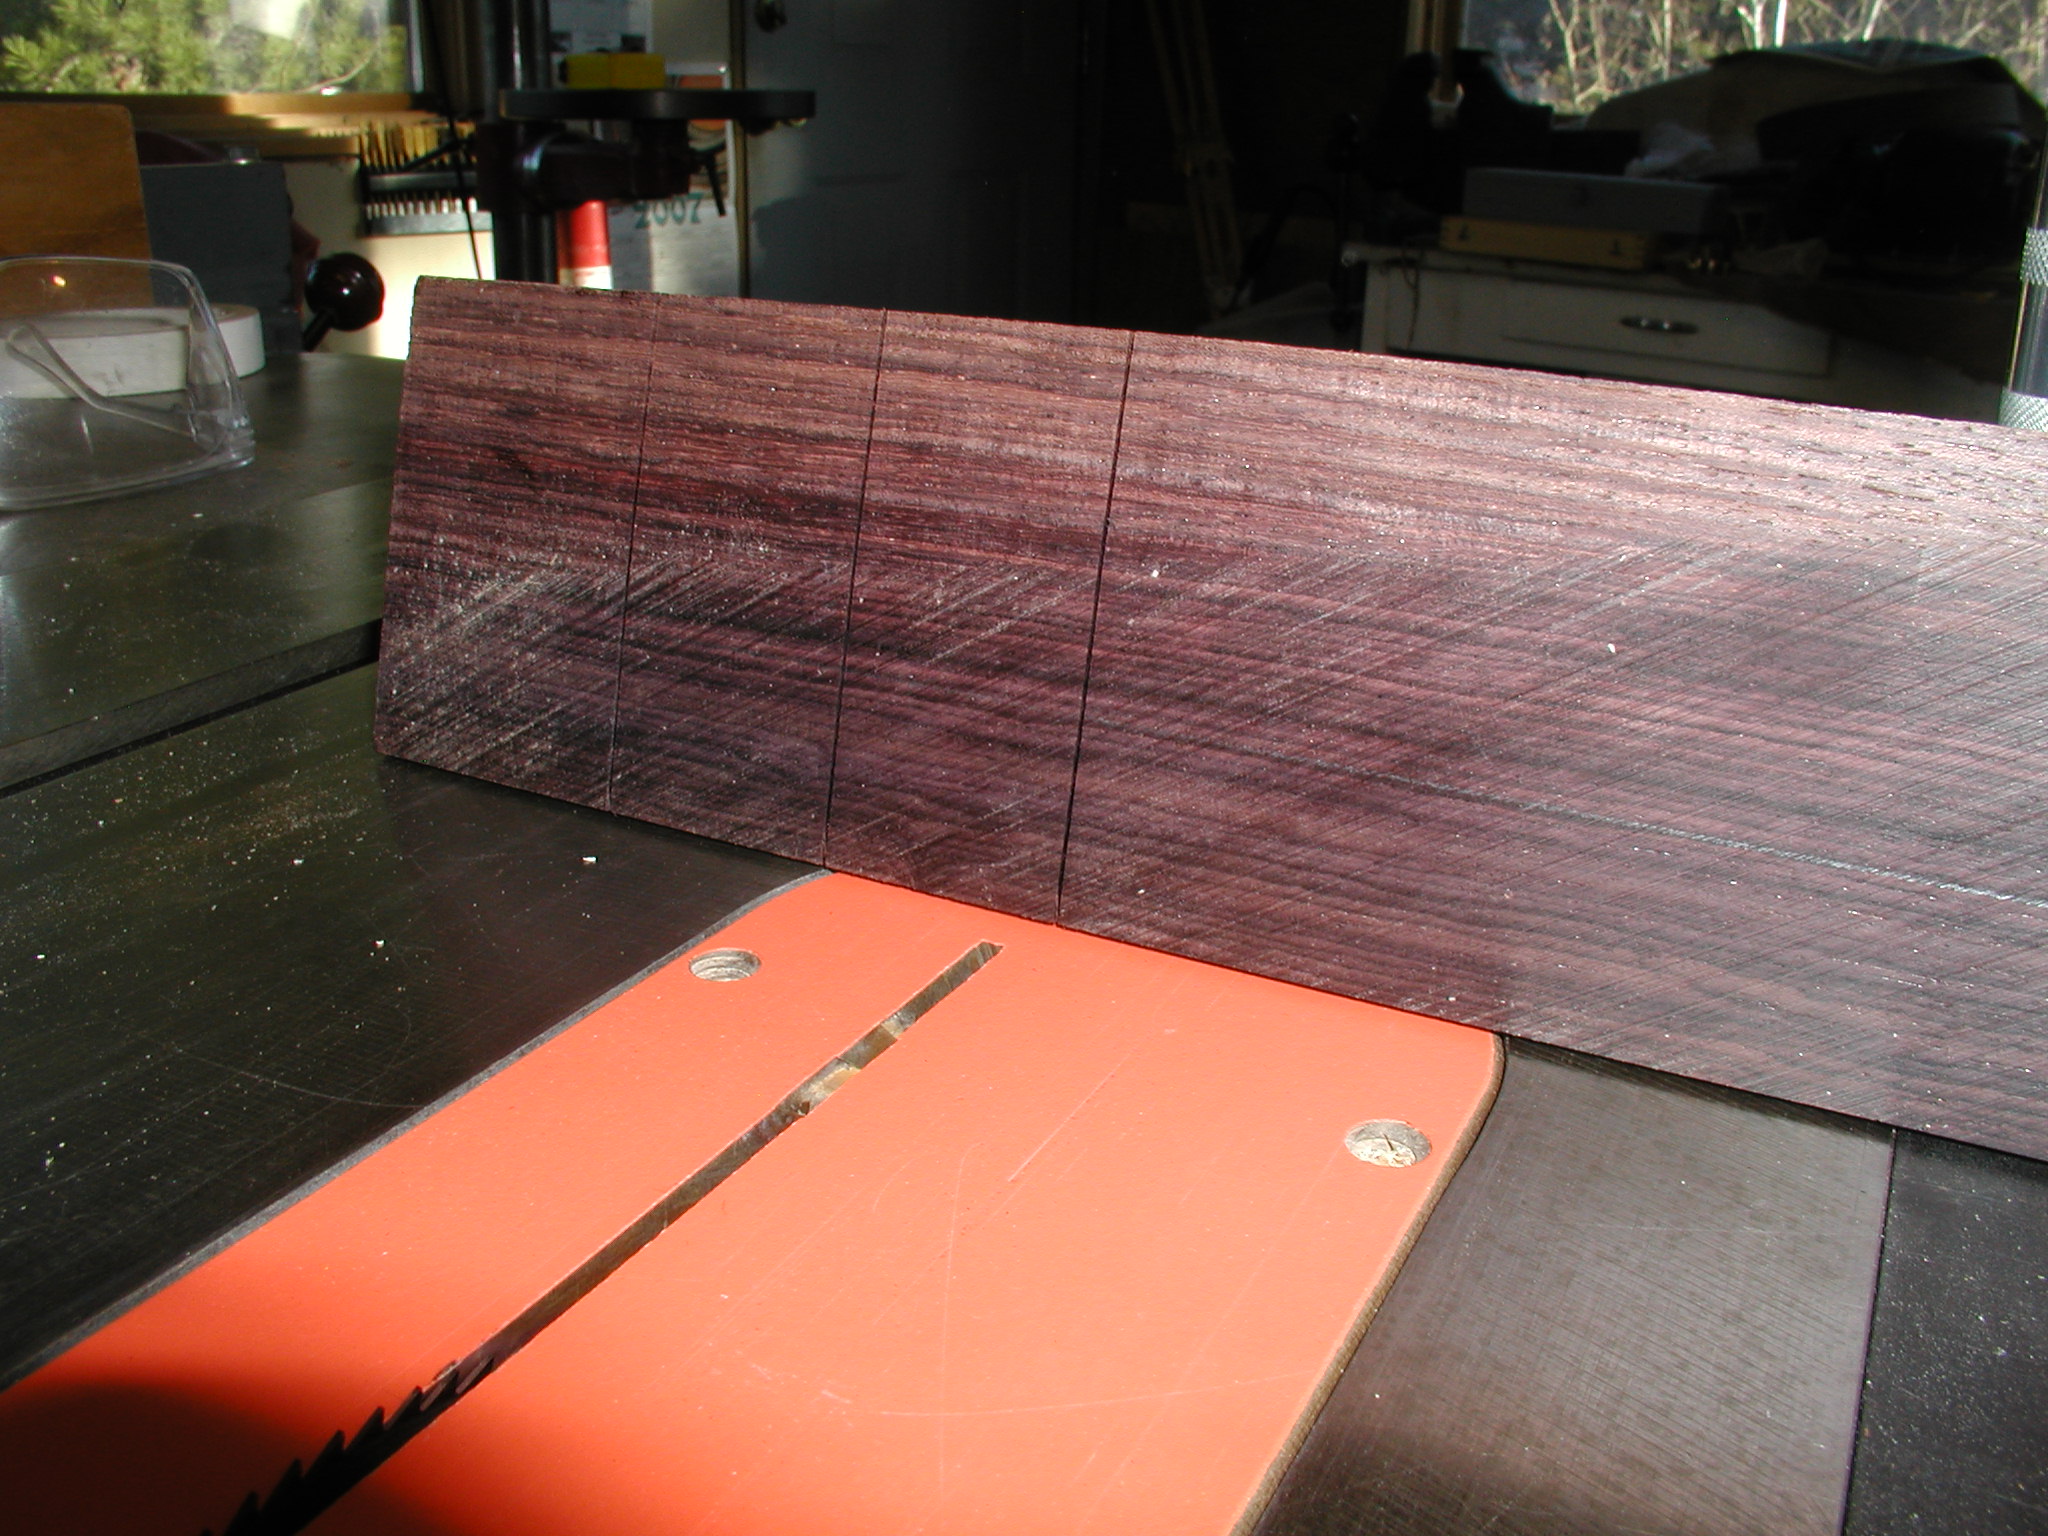
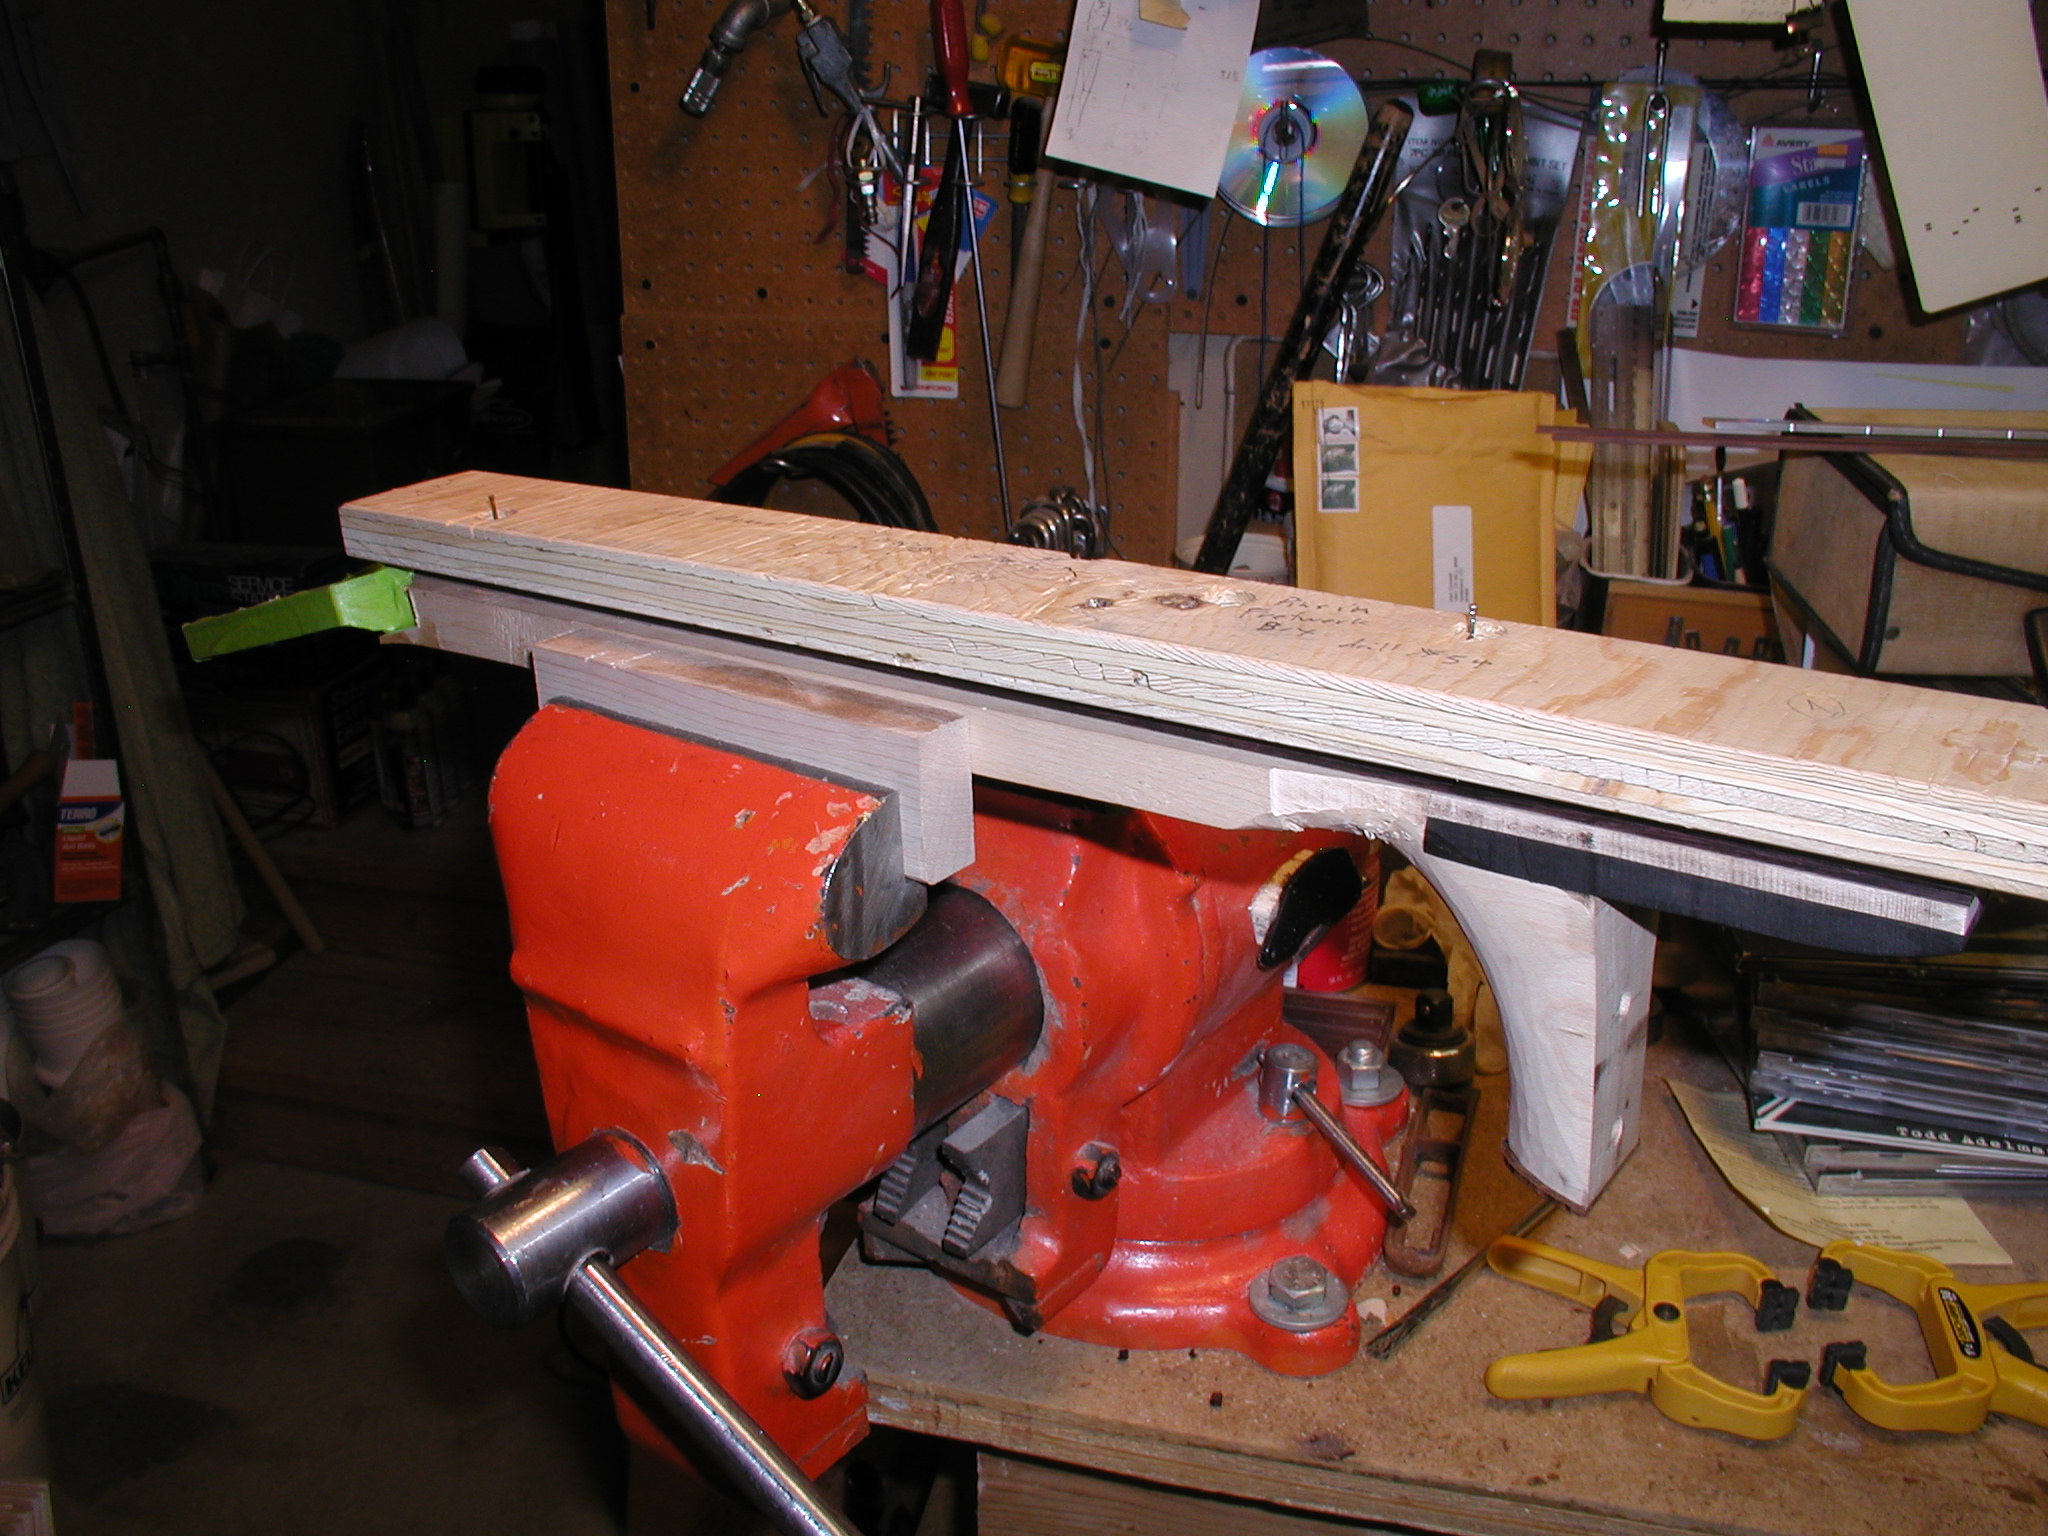
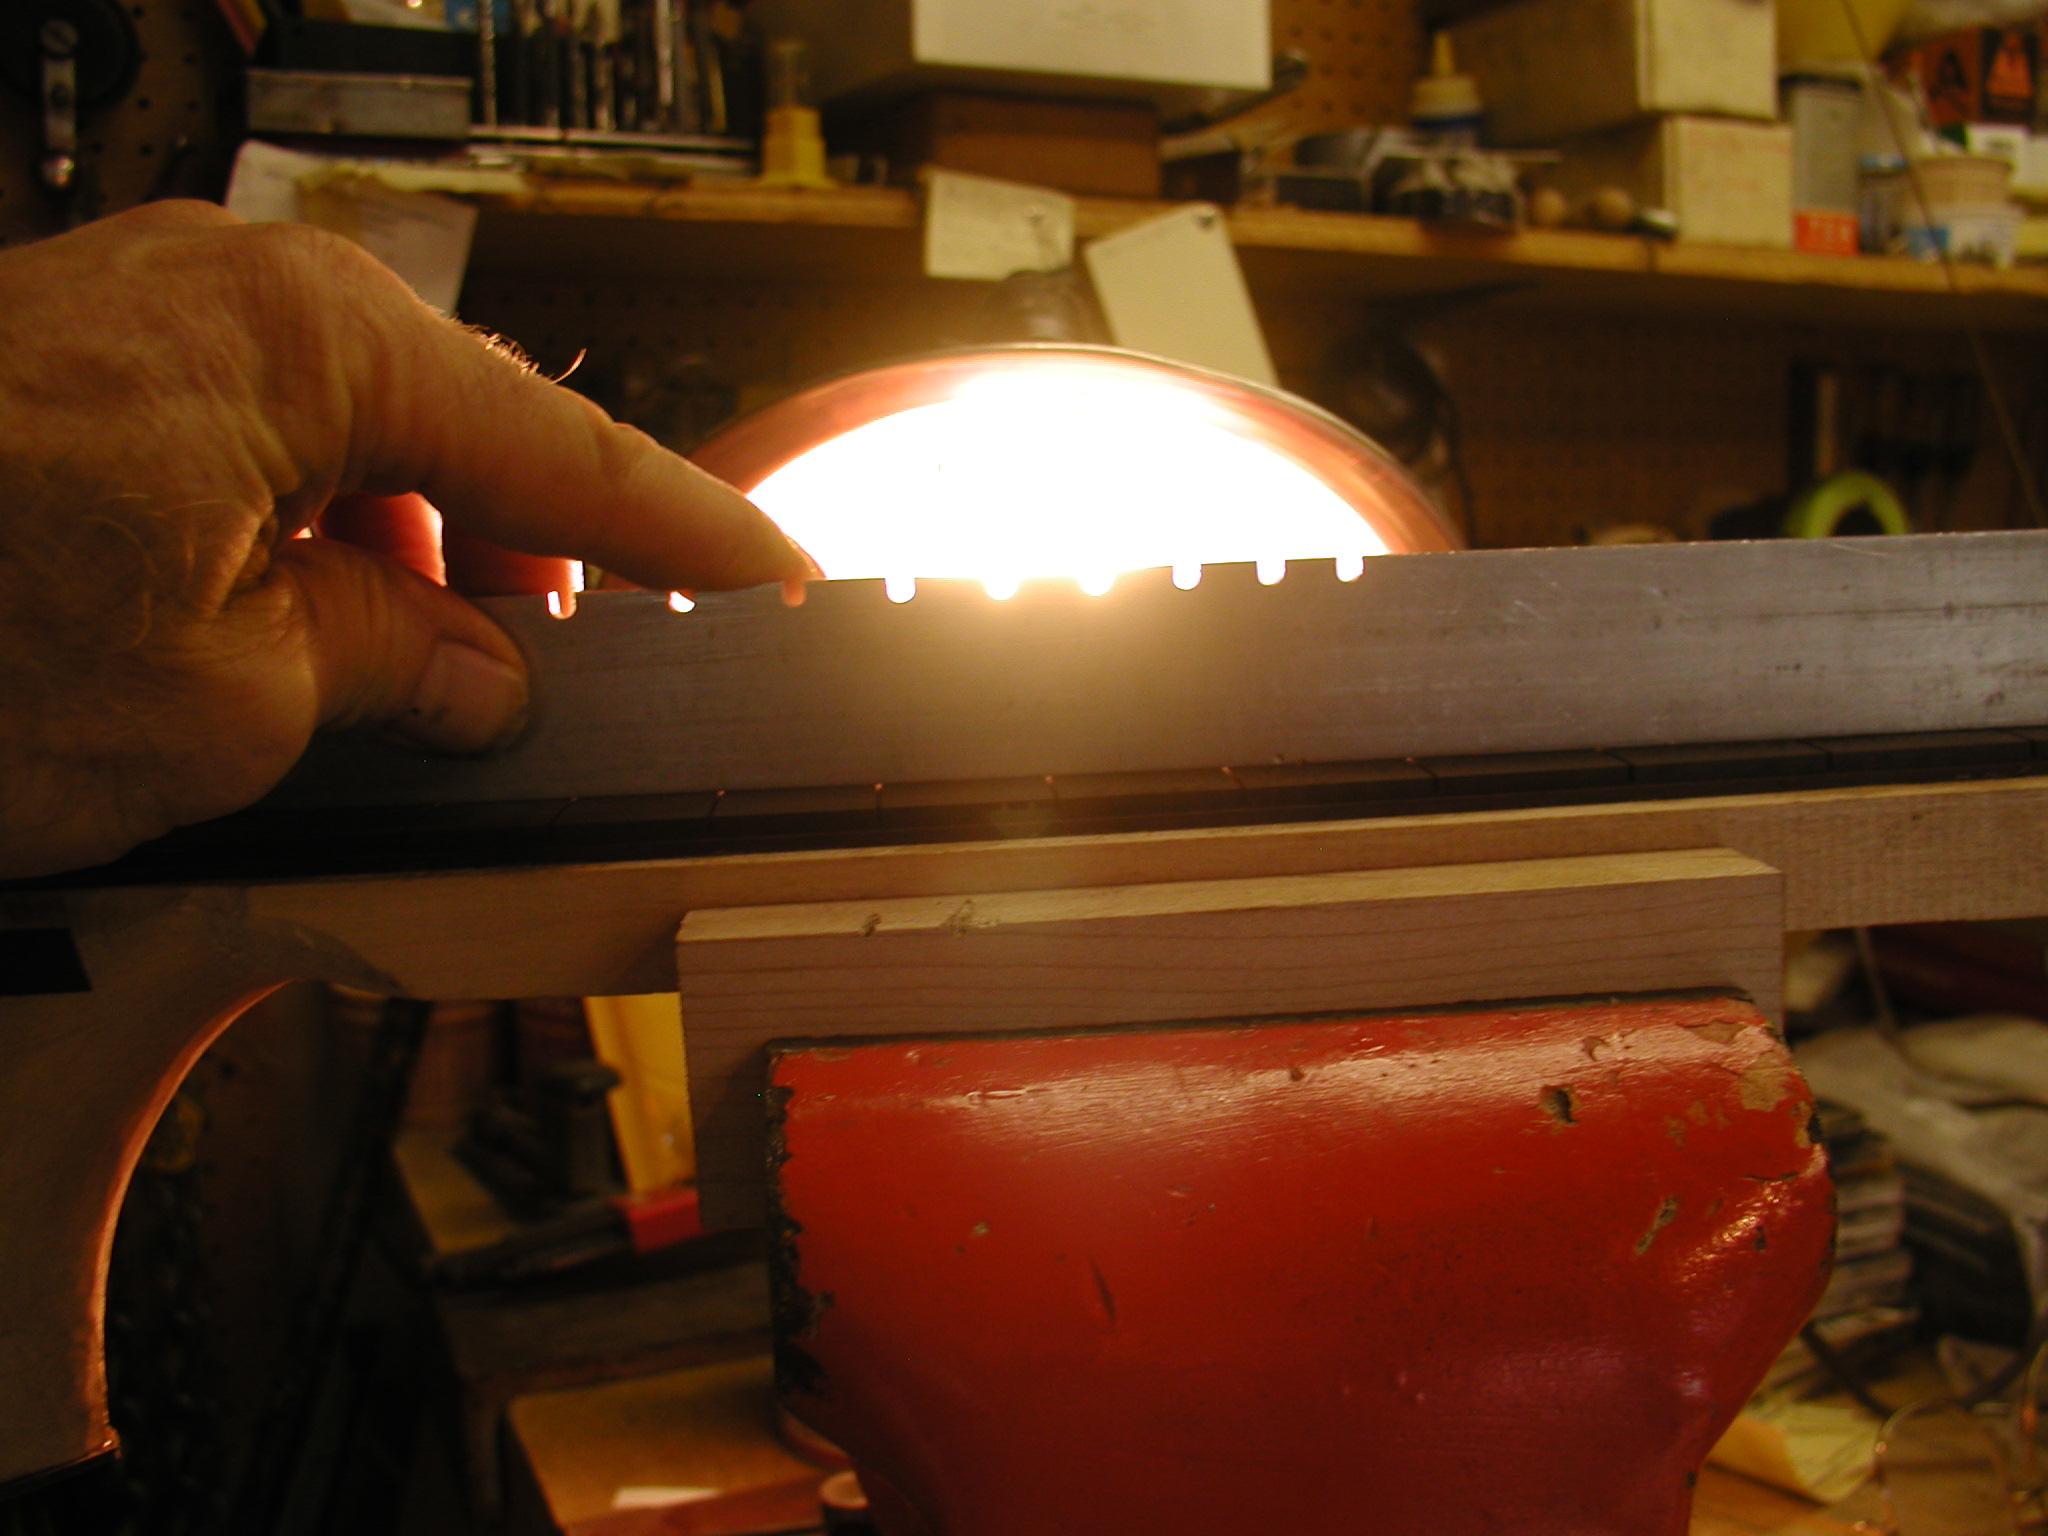
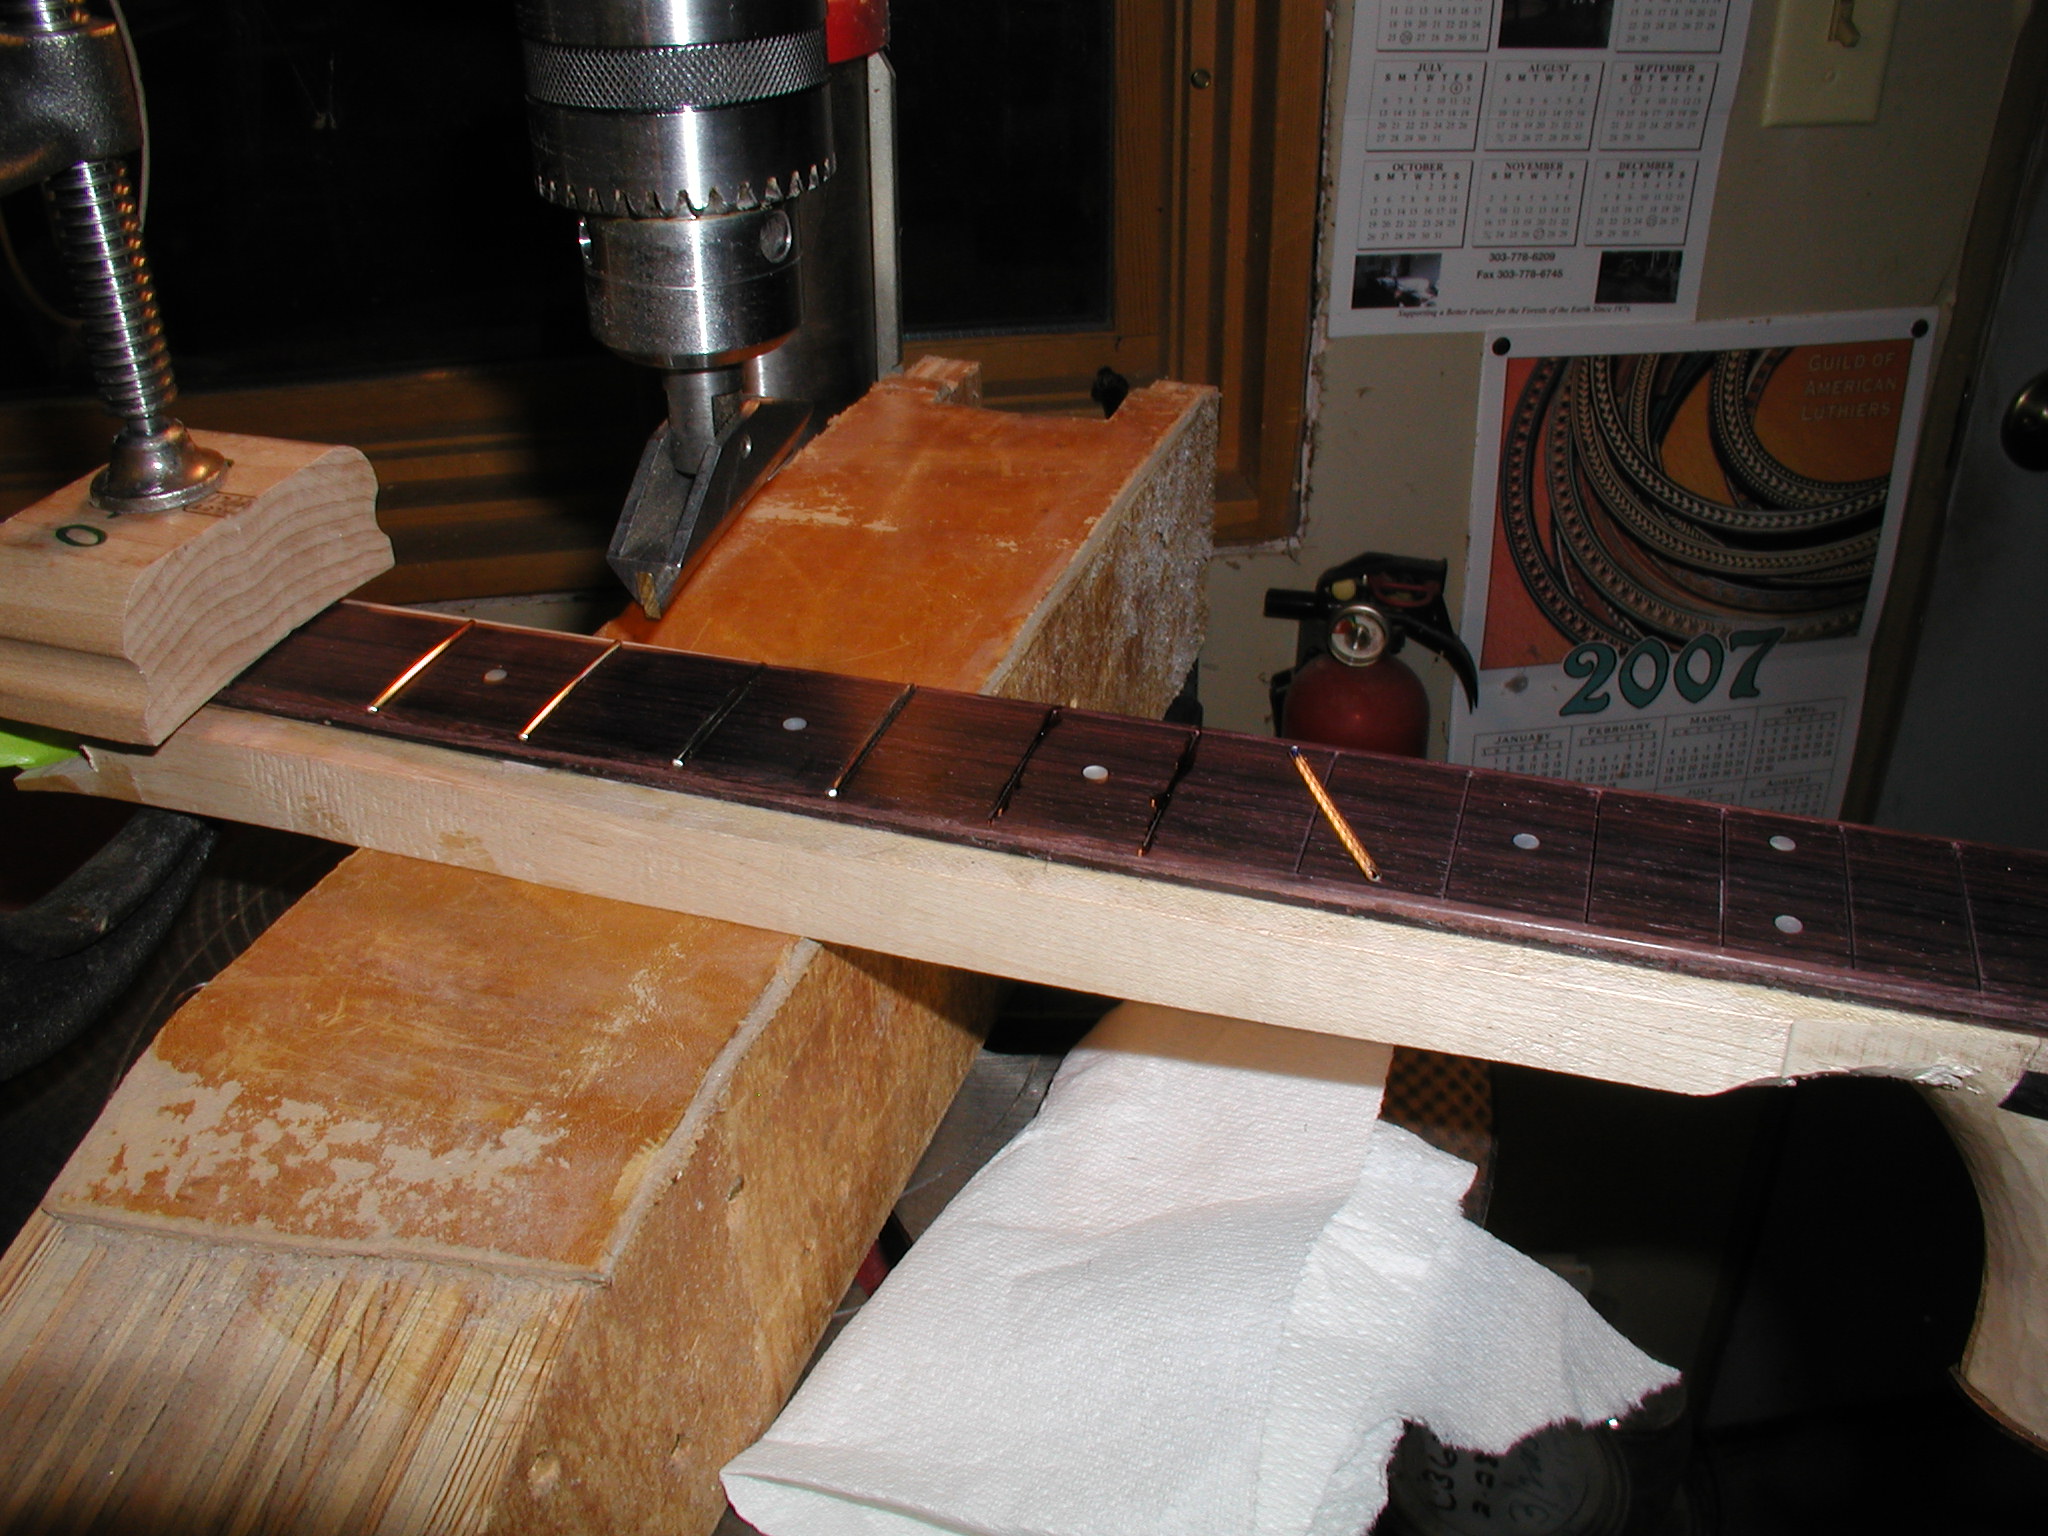
I thickness the fretboard first and square off the edges on the jointer so it is all parallel. Then I slot it with a jig I made years ago, one that I made right the first time for a change! I see that StewMac and LMI and others sell similar ones now and you can get the 0.023" blades without having to buy screw slitting blades. The aluminum angle iron is double-stick taped to the bottom side of the fretboard. The notches in the aluminum angle iron mate to a pin in the miter gauge. You just move it from notch to notch to cut the slots. I cut a zero-fret slot too. Then raise the blade and trim both ends freehand to get it the right length.

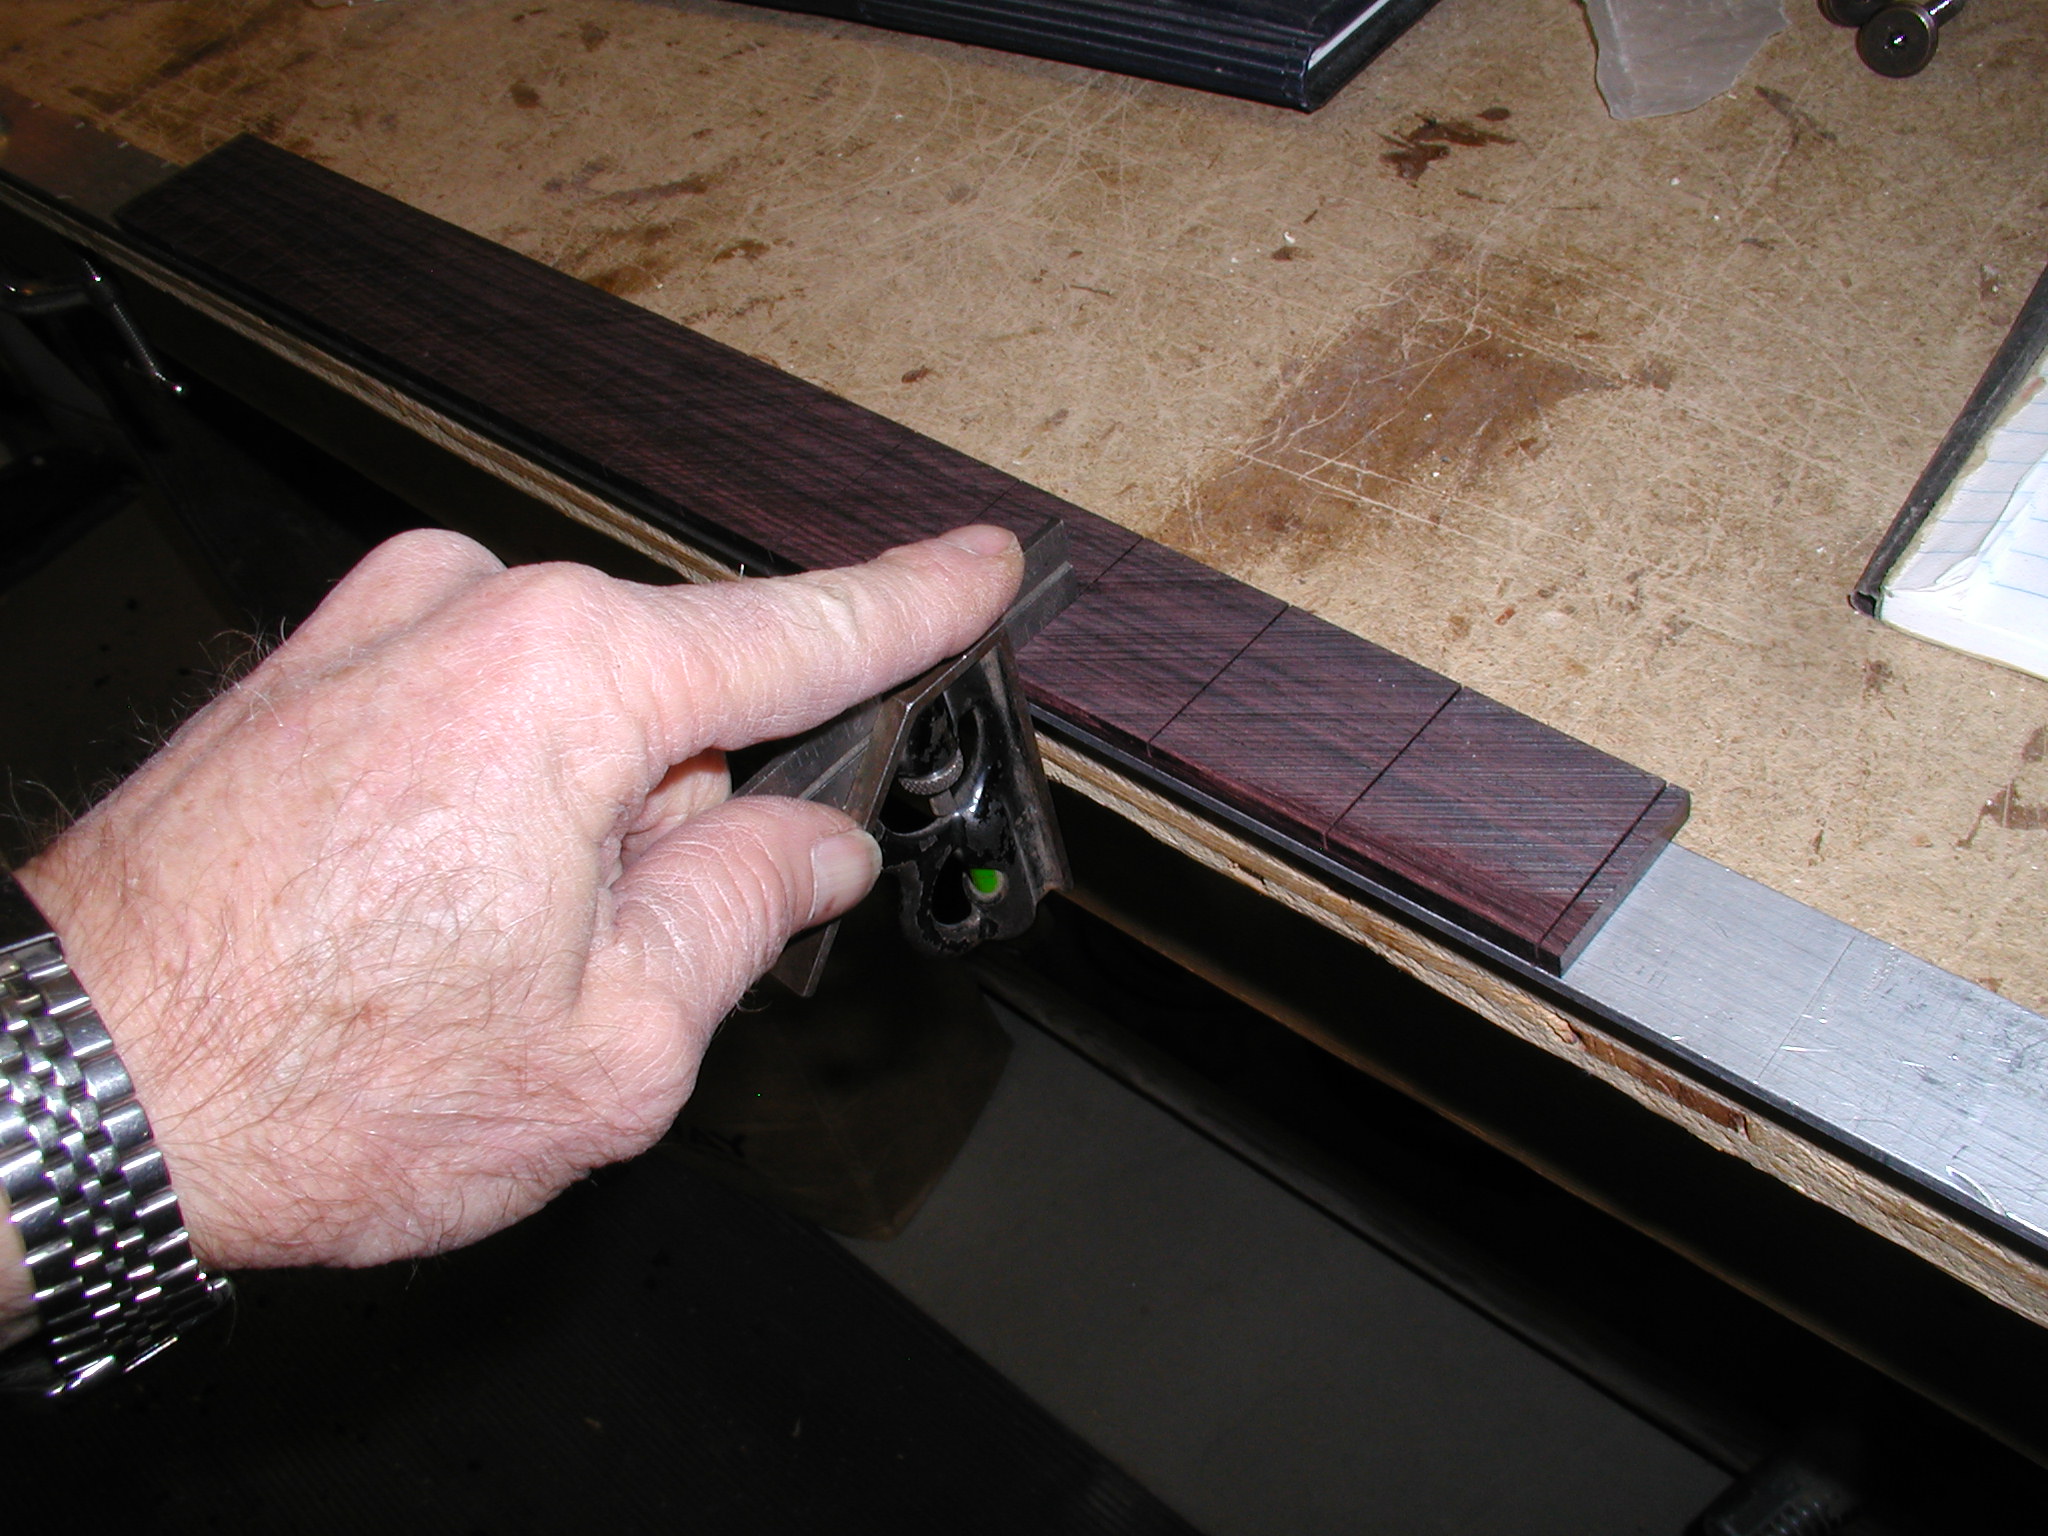
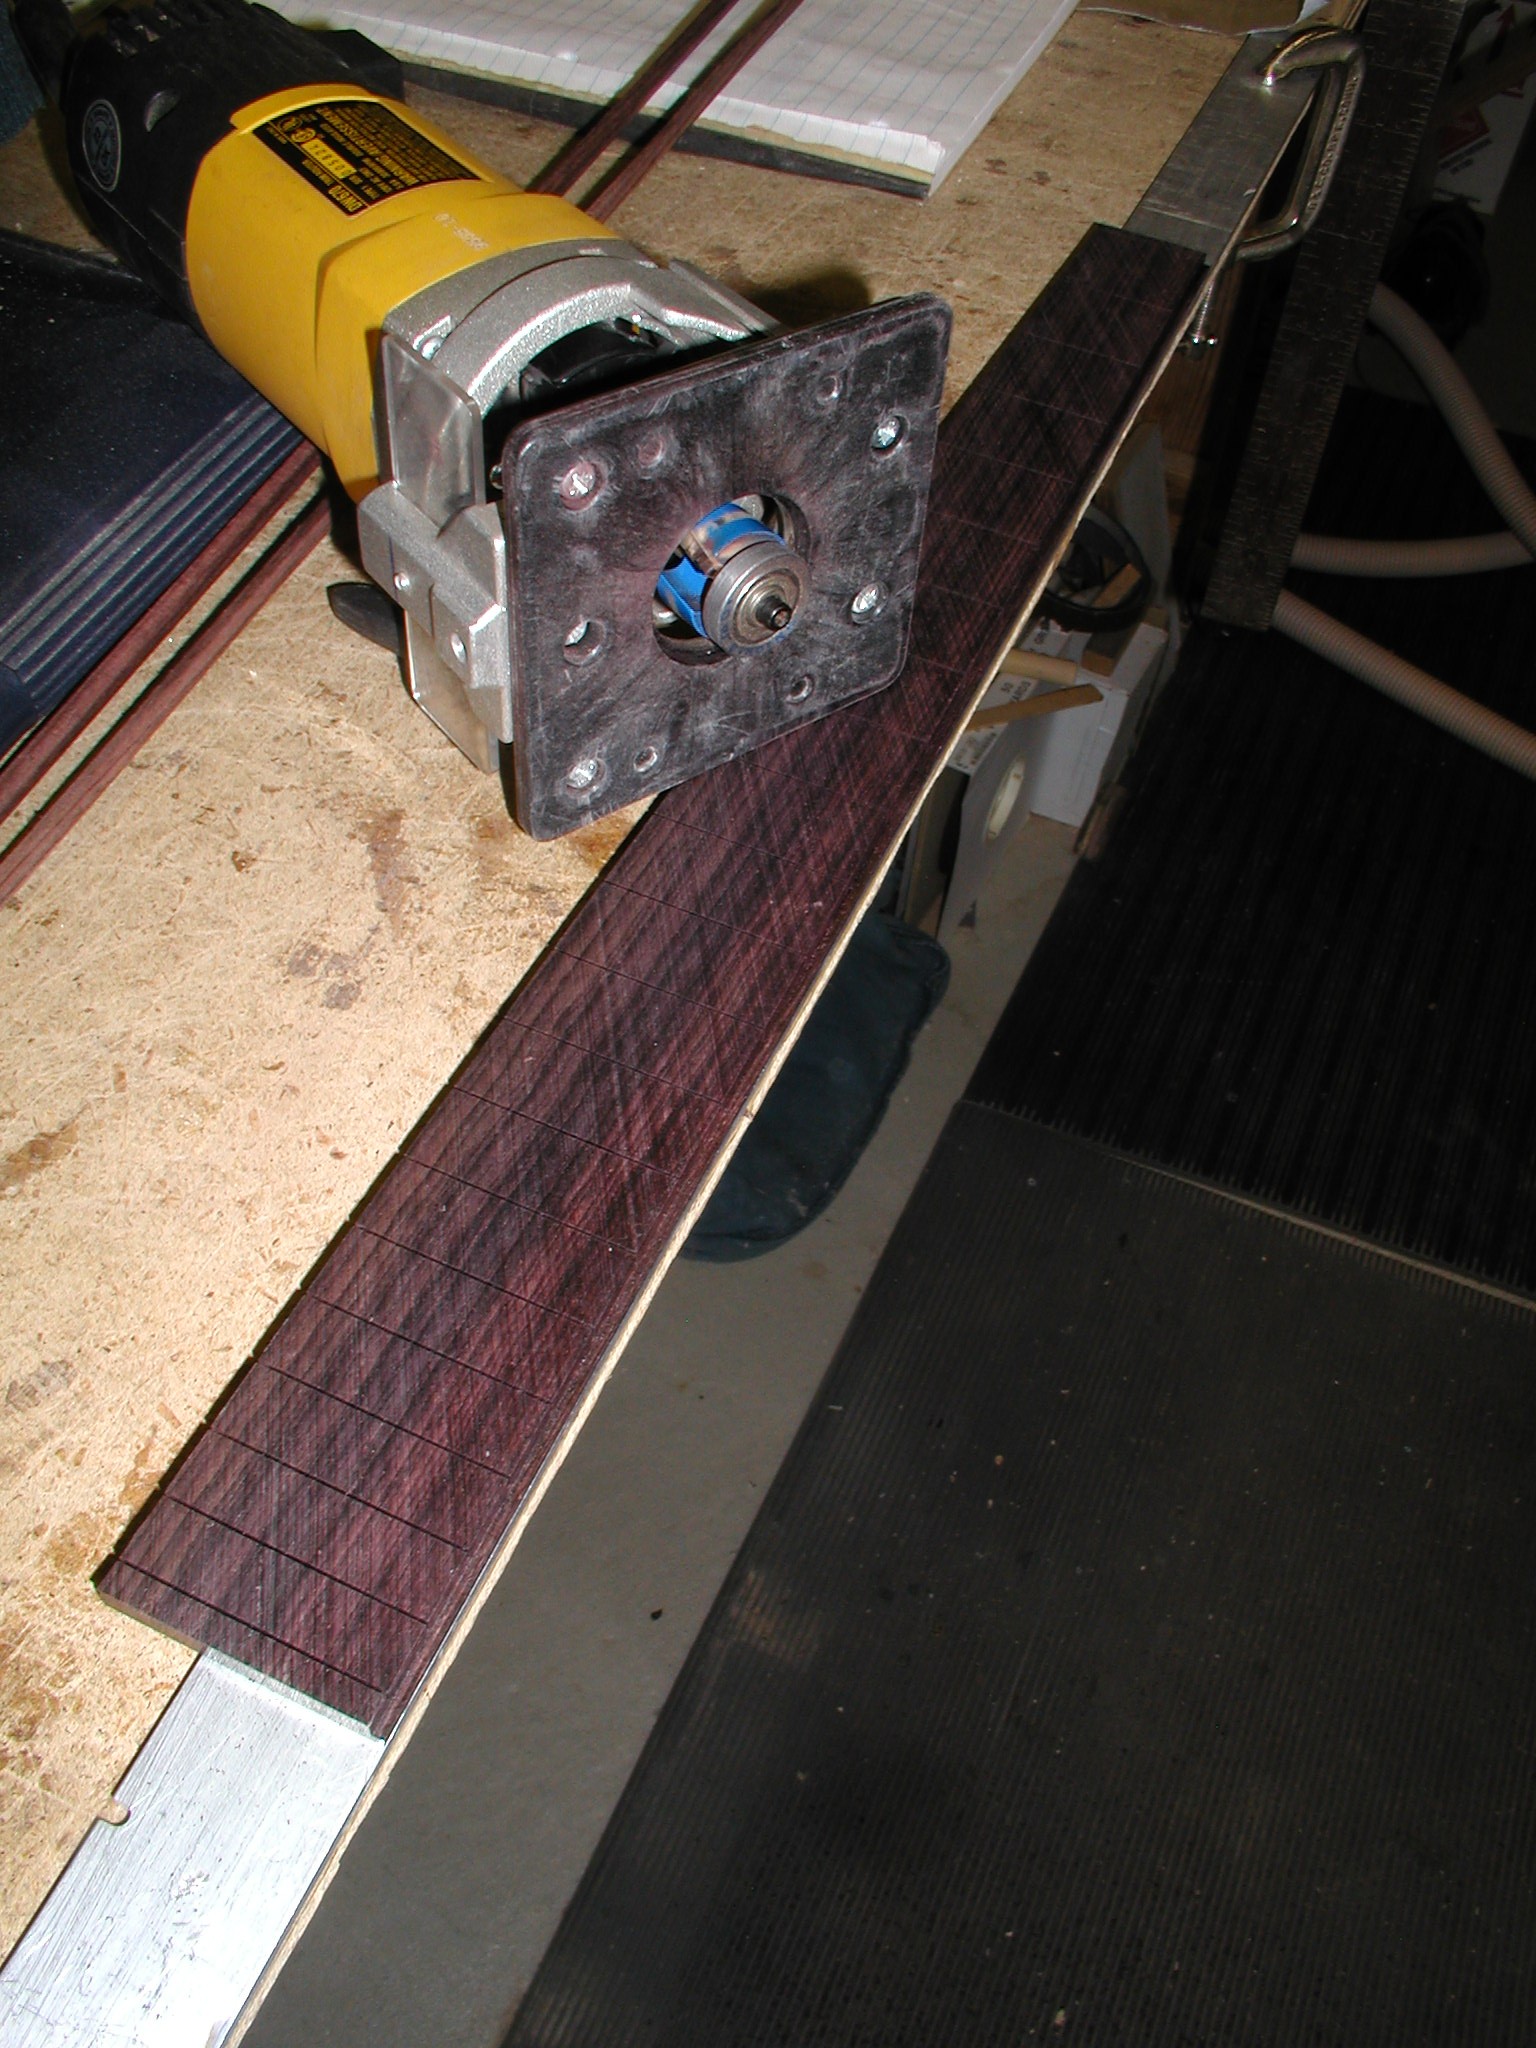
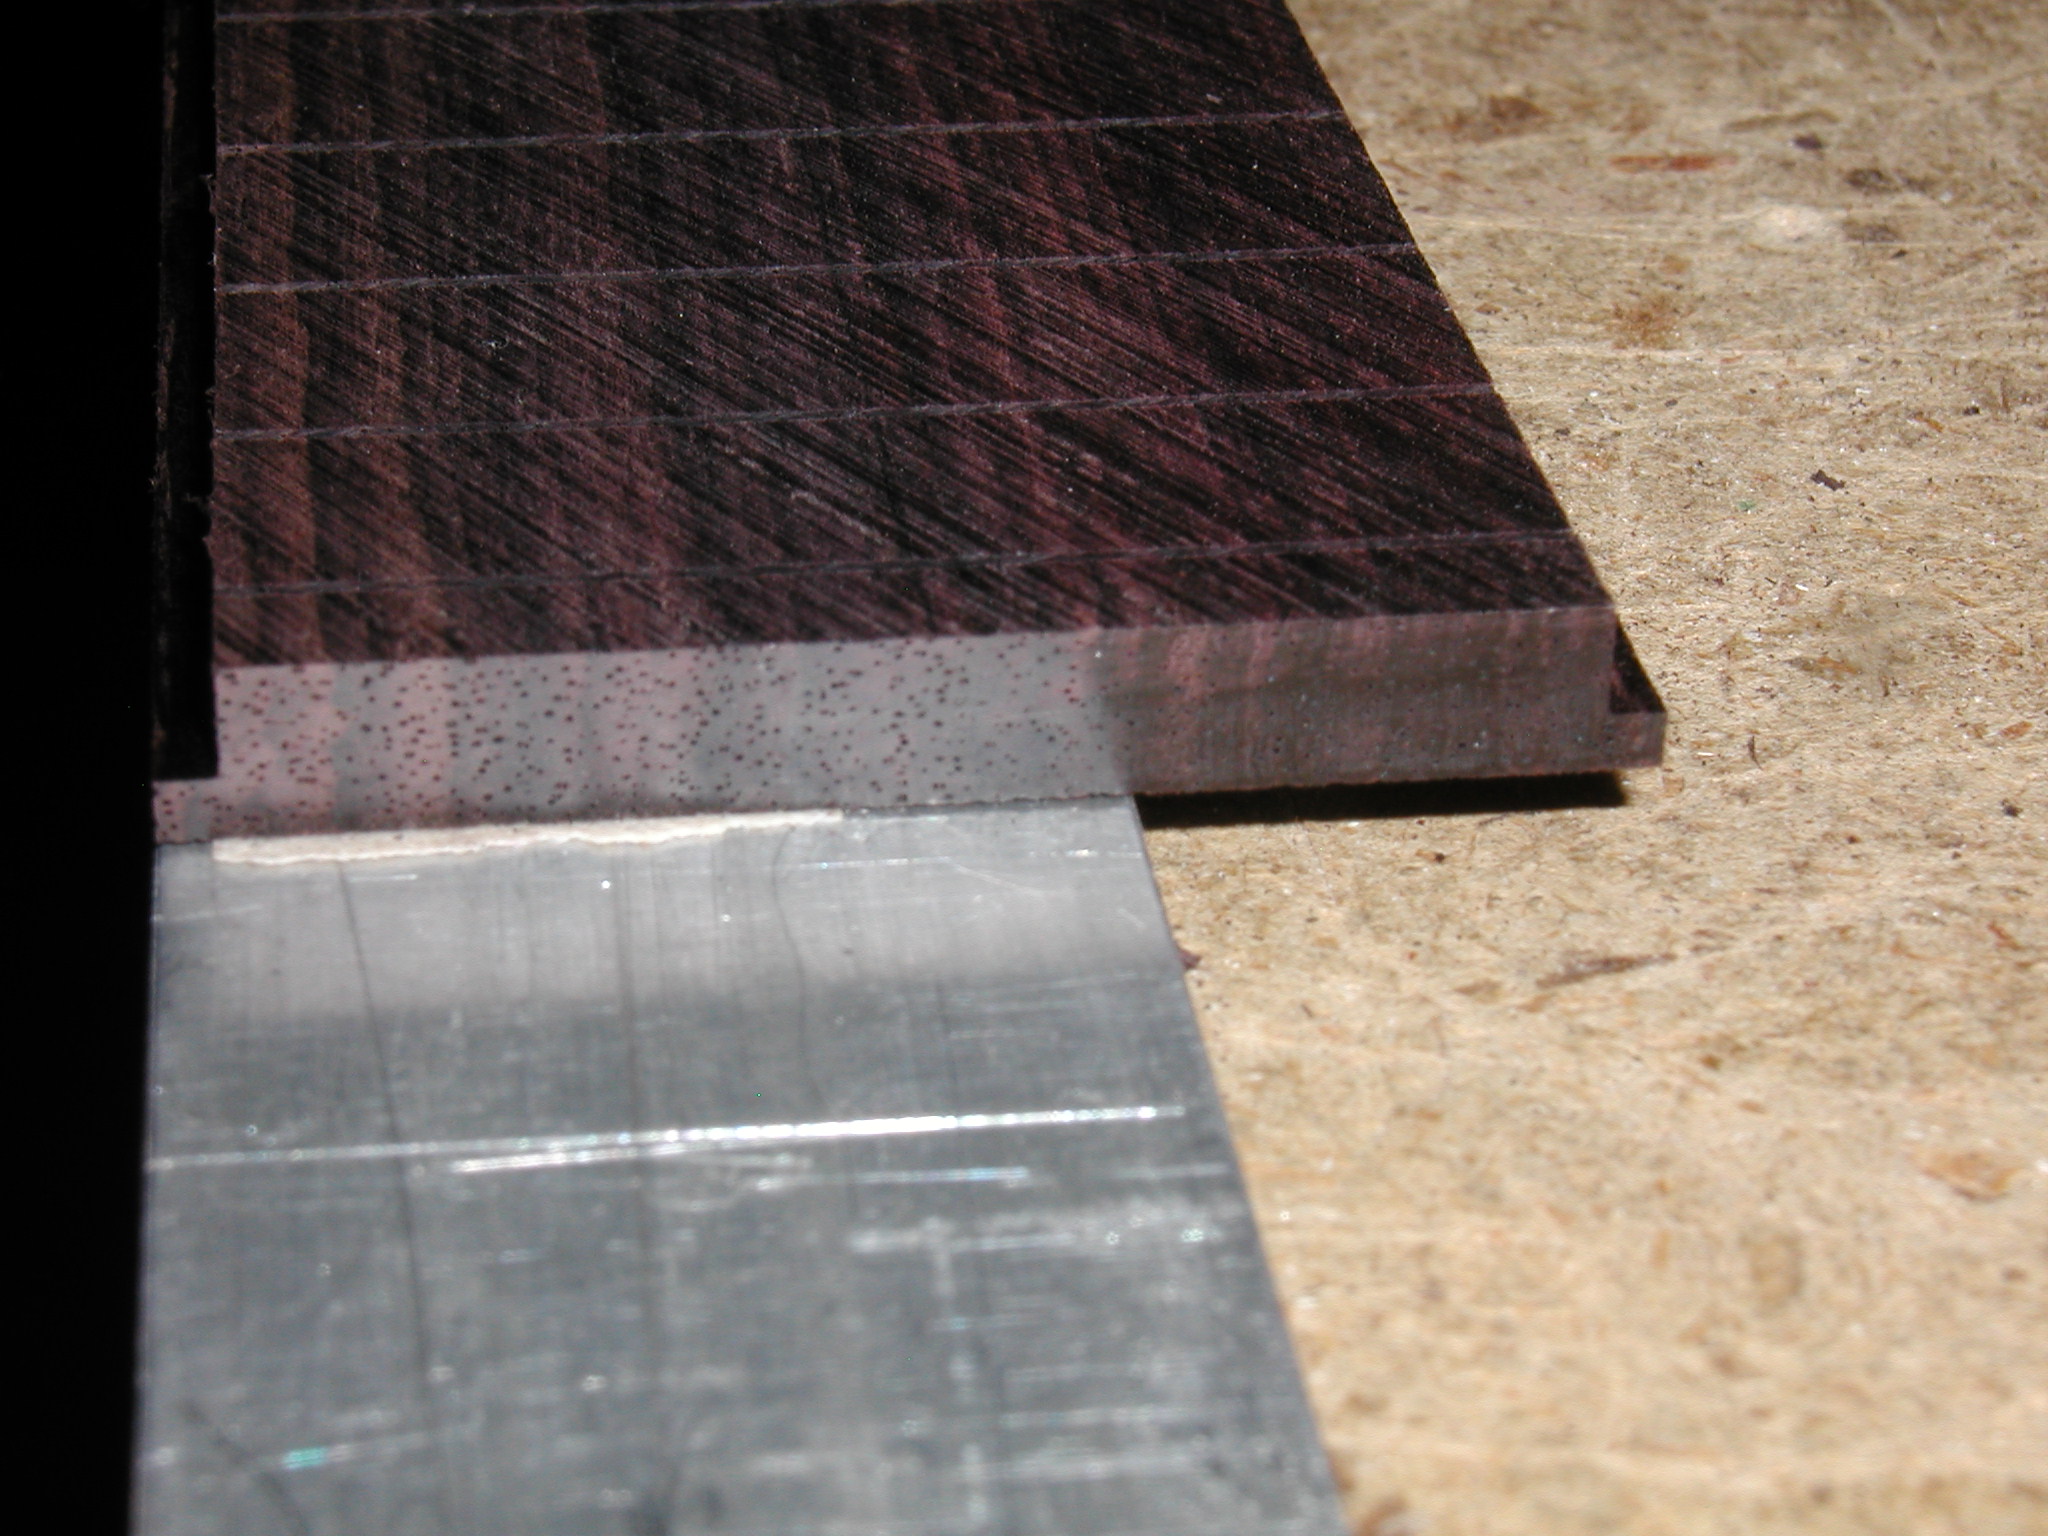
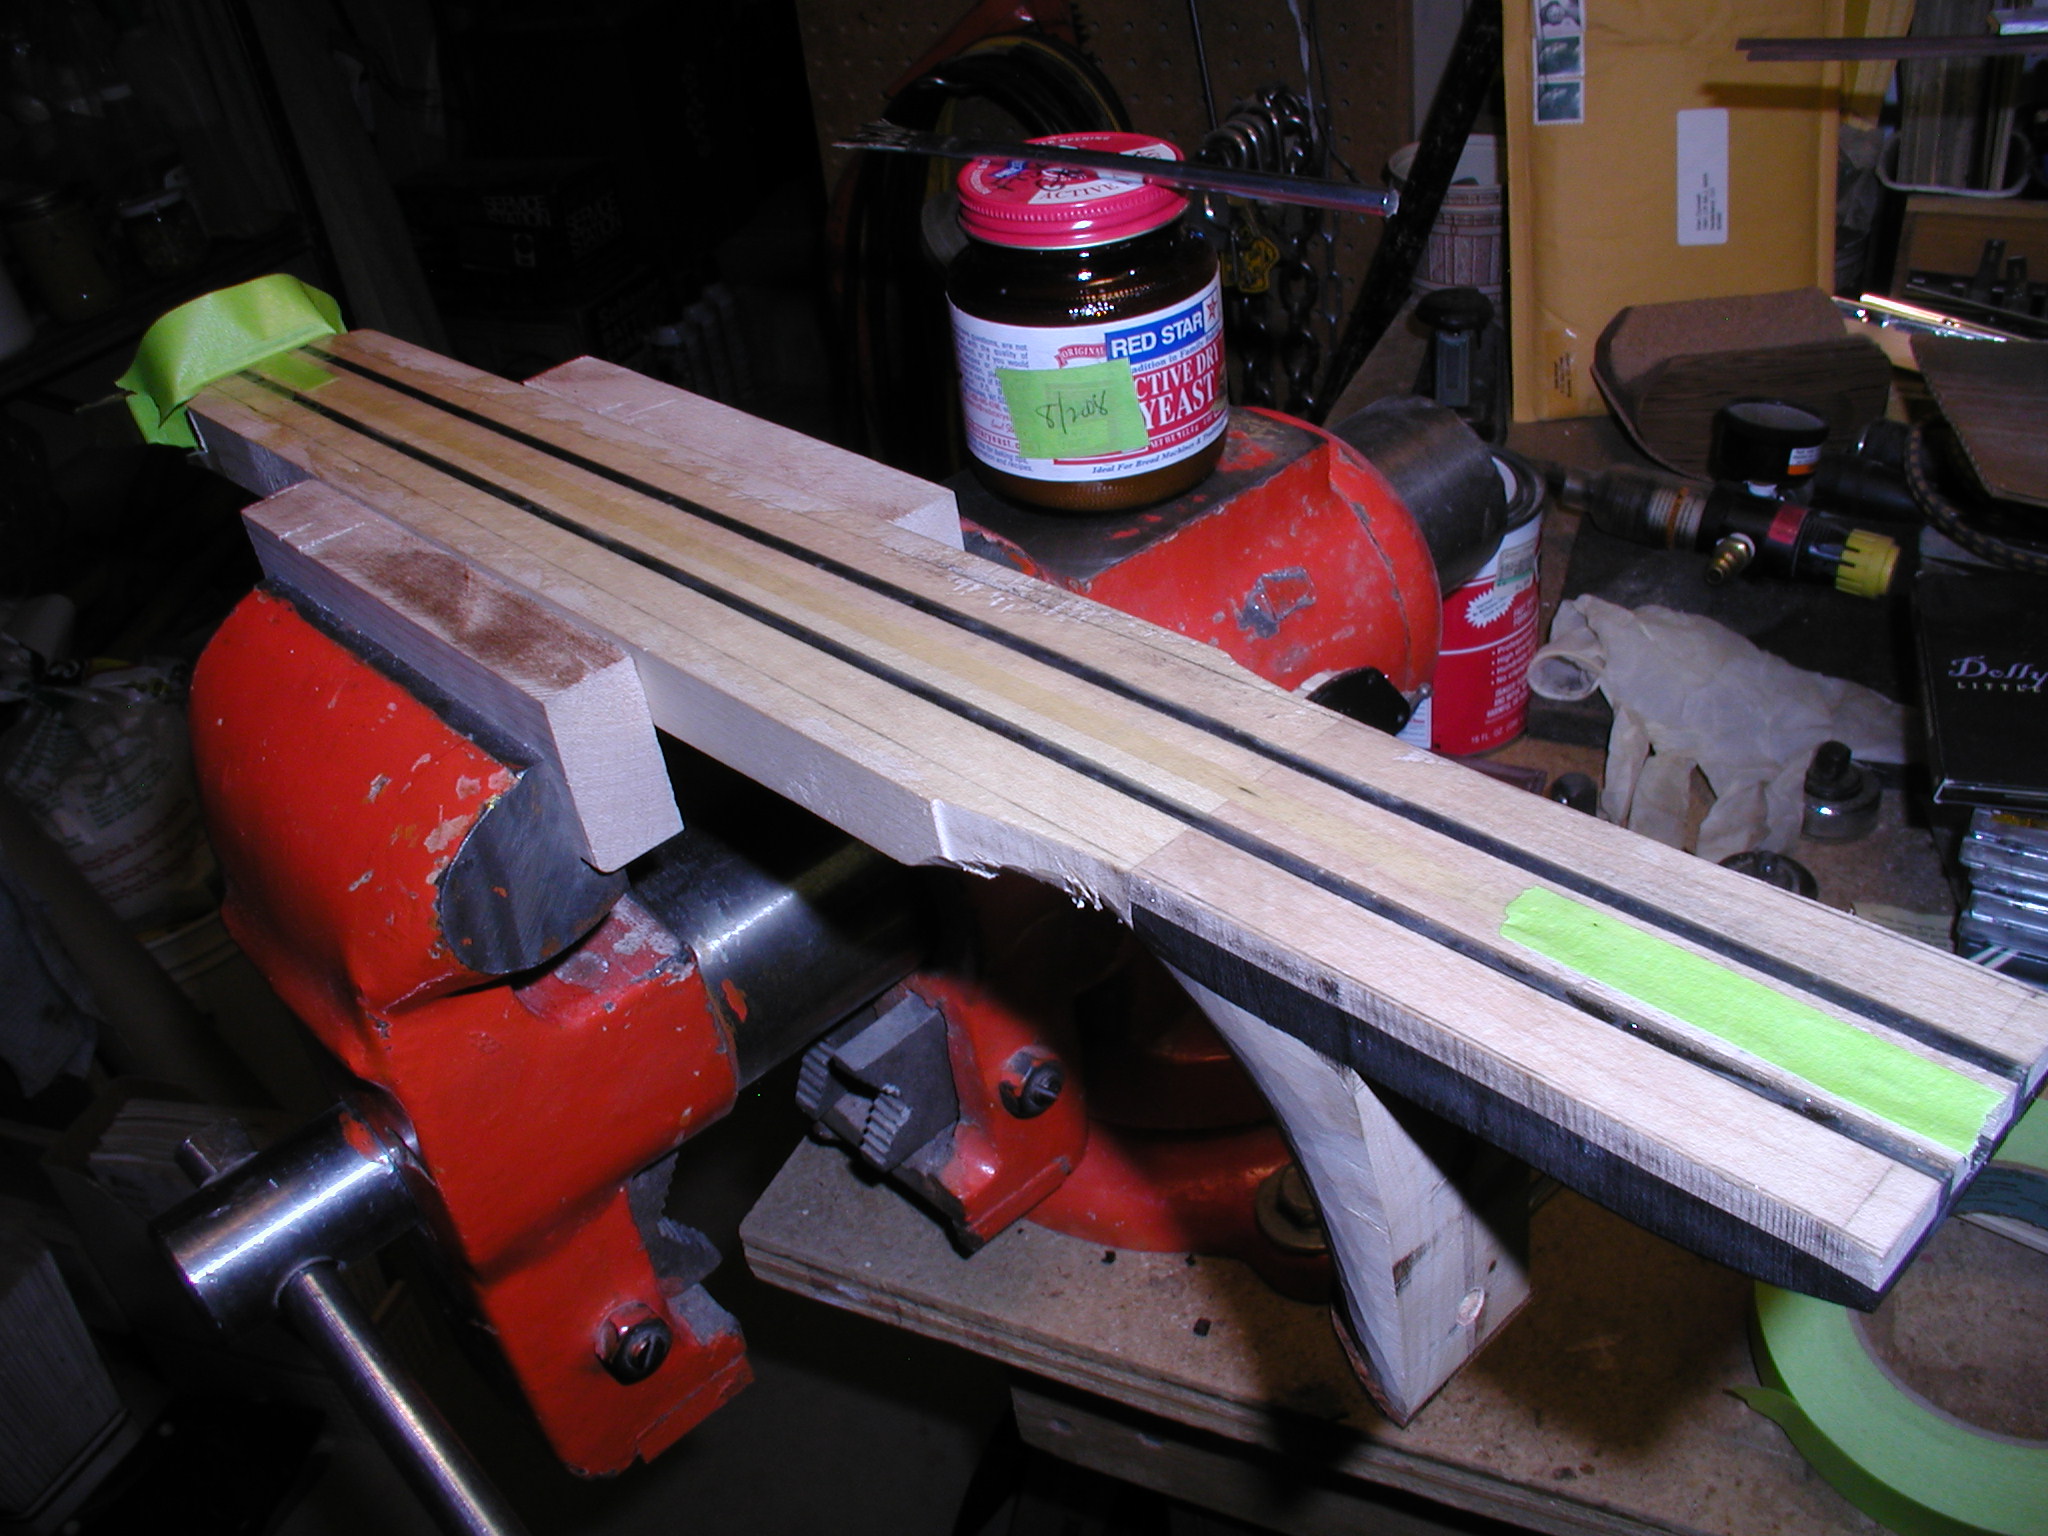
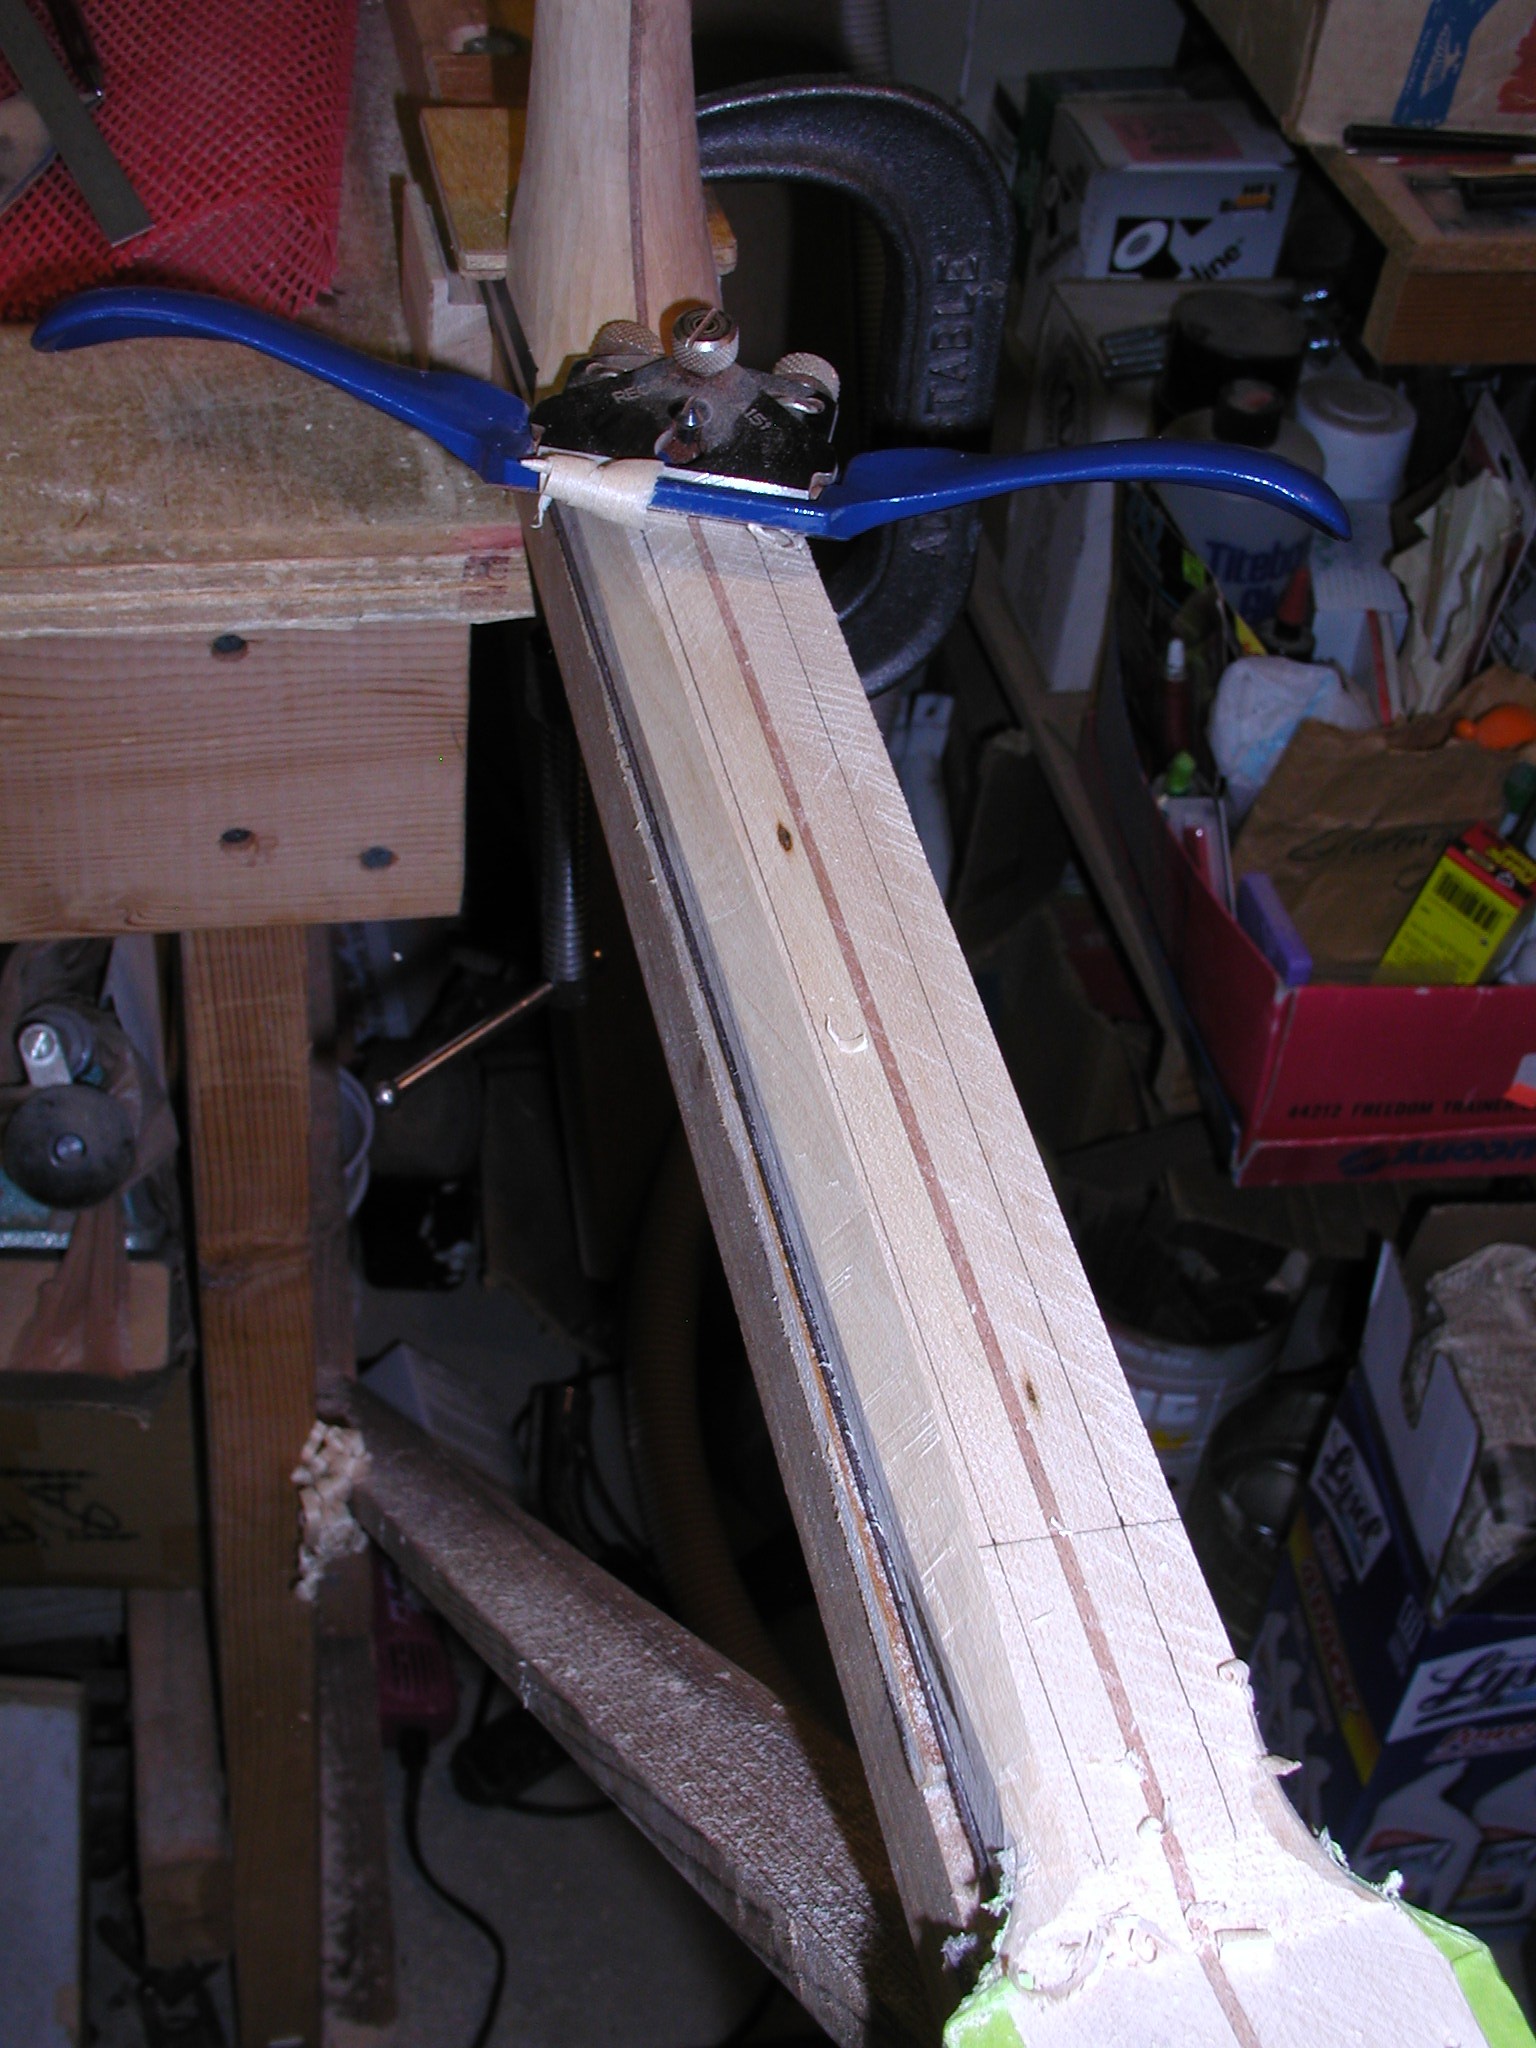
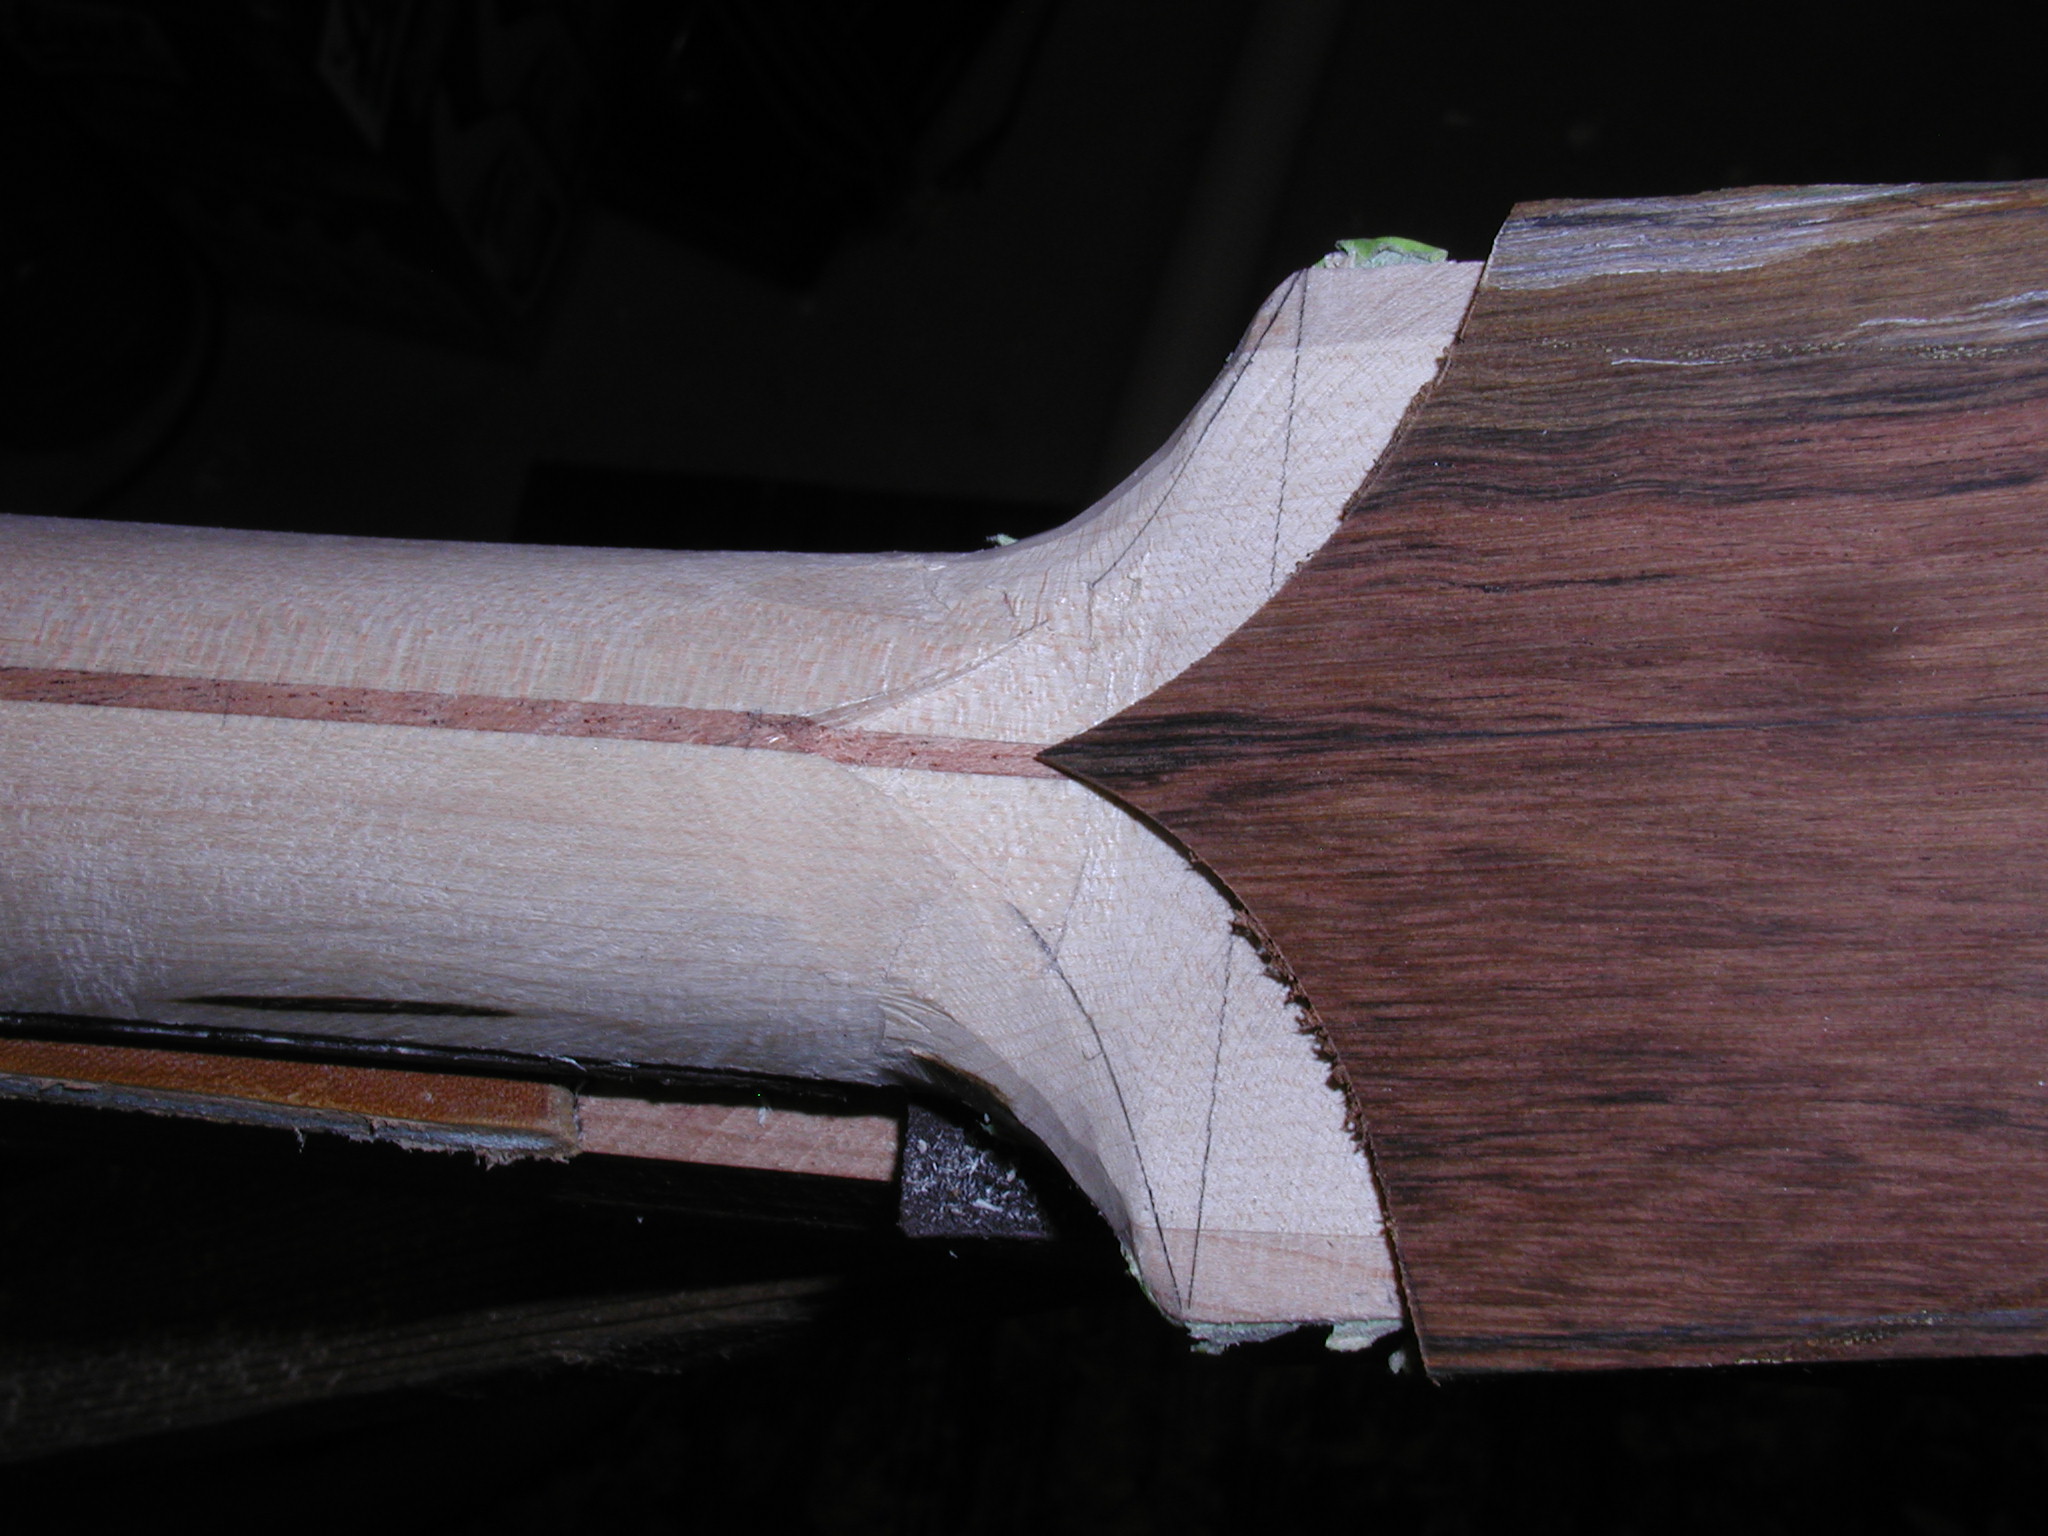
All of my fretboards are bound with semi-hemispherical fret ends. I could do this by just gluing on binding to the sides of a smaller width board, but I prefer to rout a channel on the edge leaving a small shelf. This also allows me, if I so choose, to include very thin colored purfling strips for effect. I could make a complicated jig for this but I find I can just use a good straight edge hanging over the side of the bench. I double stick tape the fretboard to it, aligning very carefully with a small square so the edge of the fretboard is right at the edge of the straight edge. I then use a pattern following router bit with a bottom bearing riding against the straight edge, this is the same bit I used for cutting the binding channel on the body. Last photo shows the final product. Let's go on to attaching the fretboard.
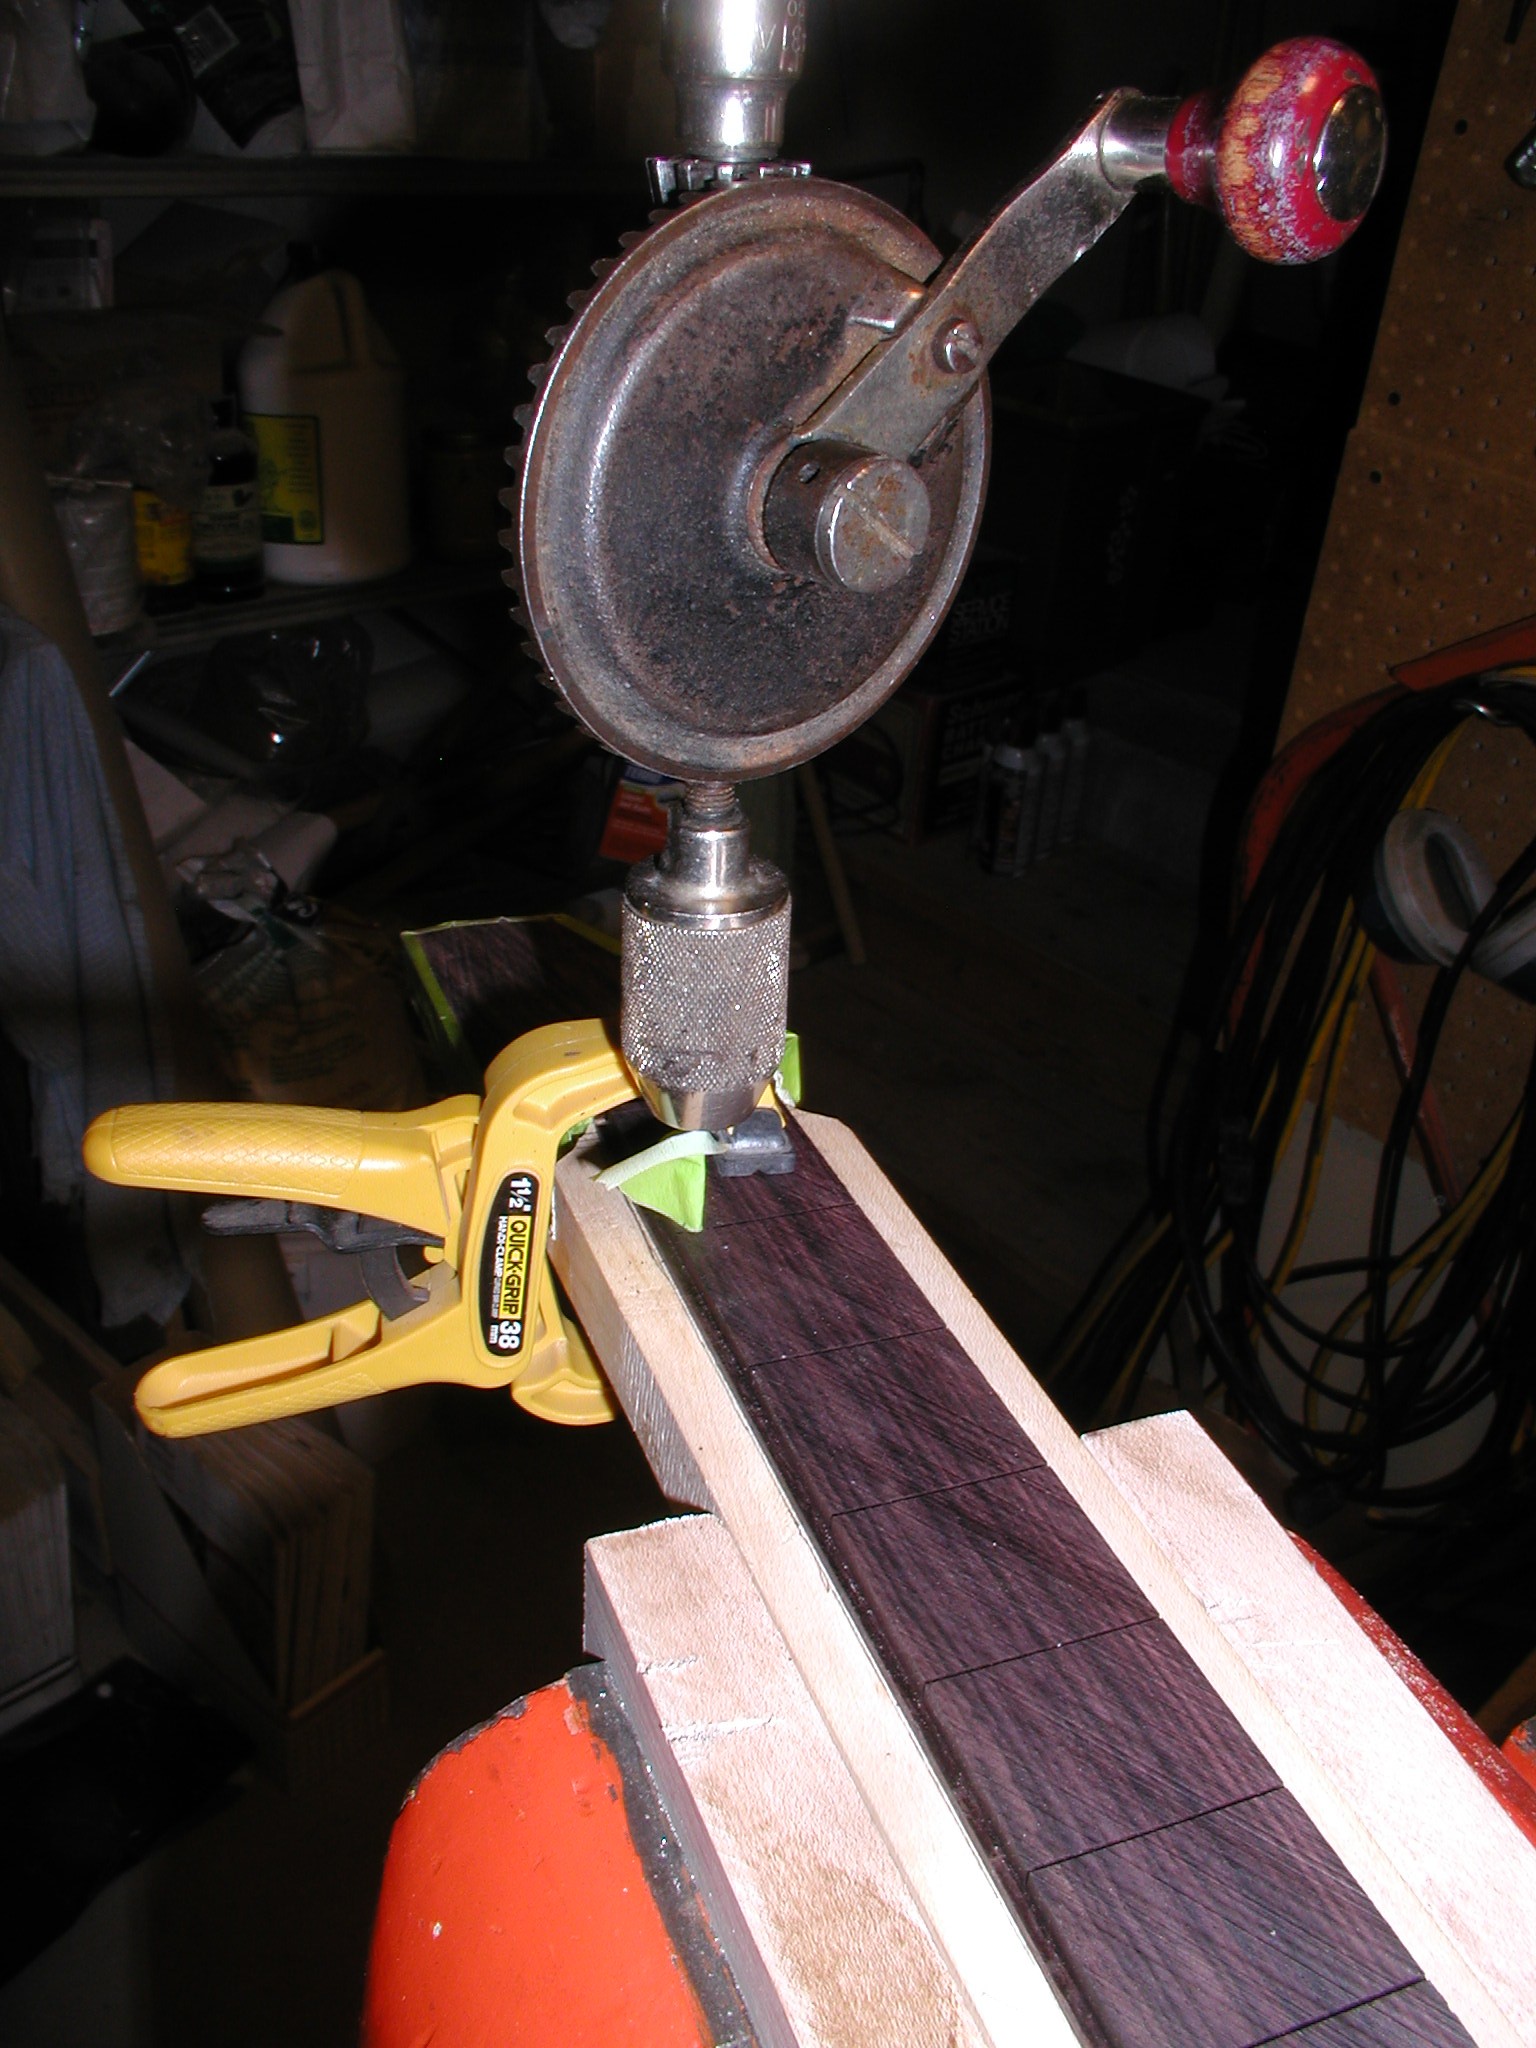
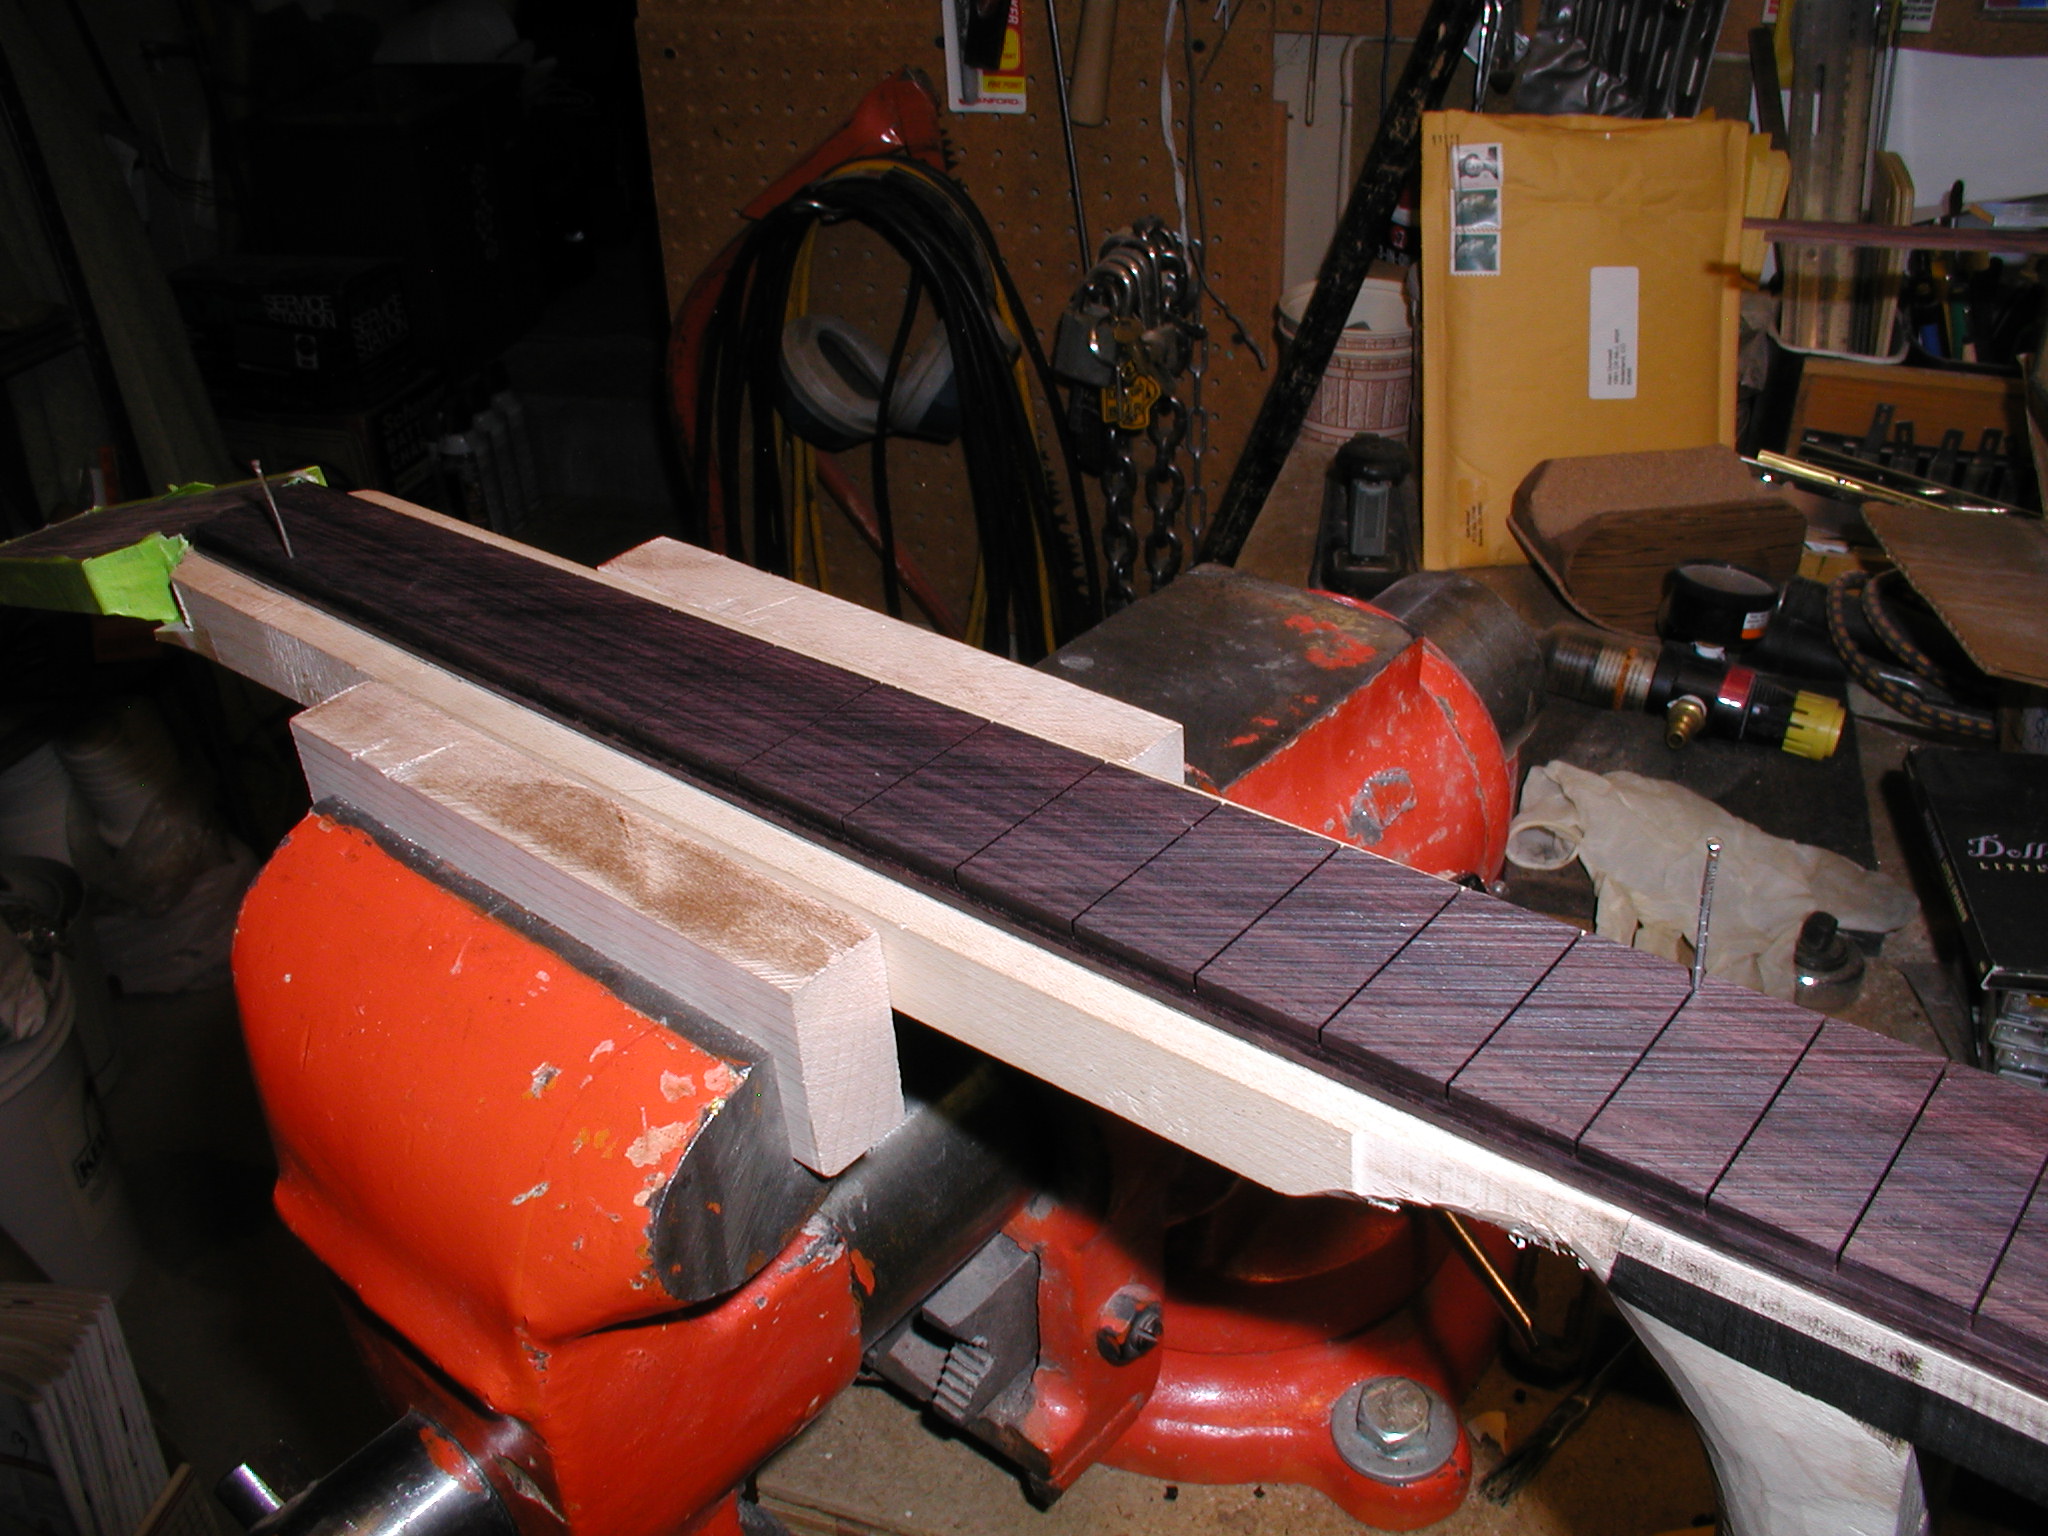
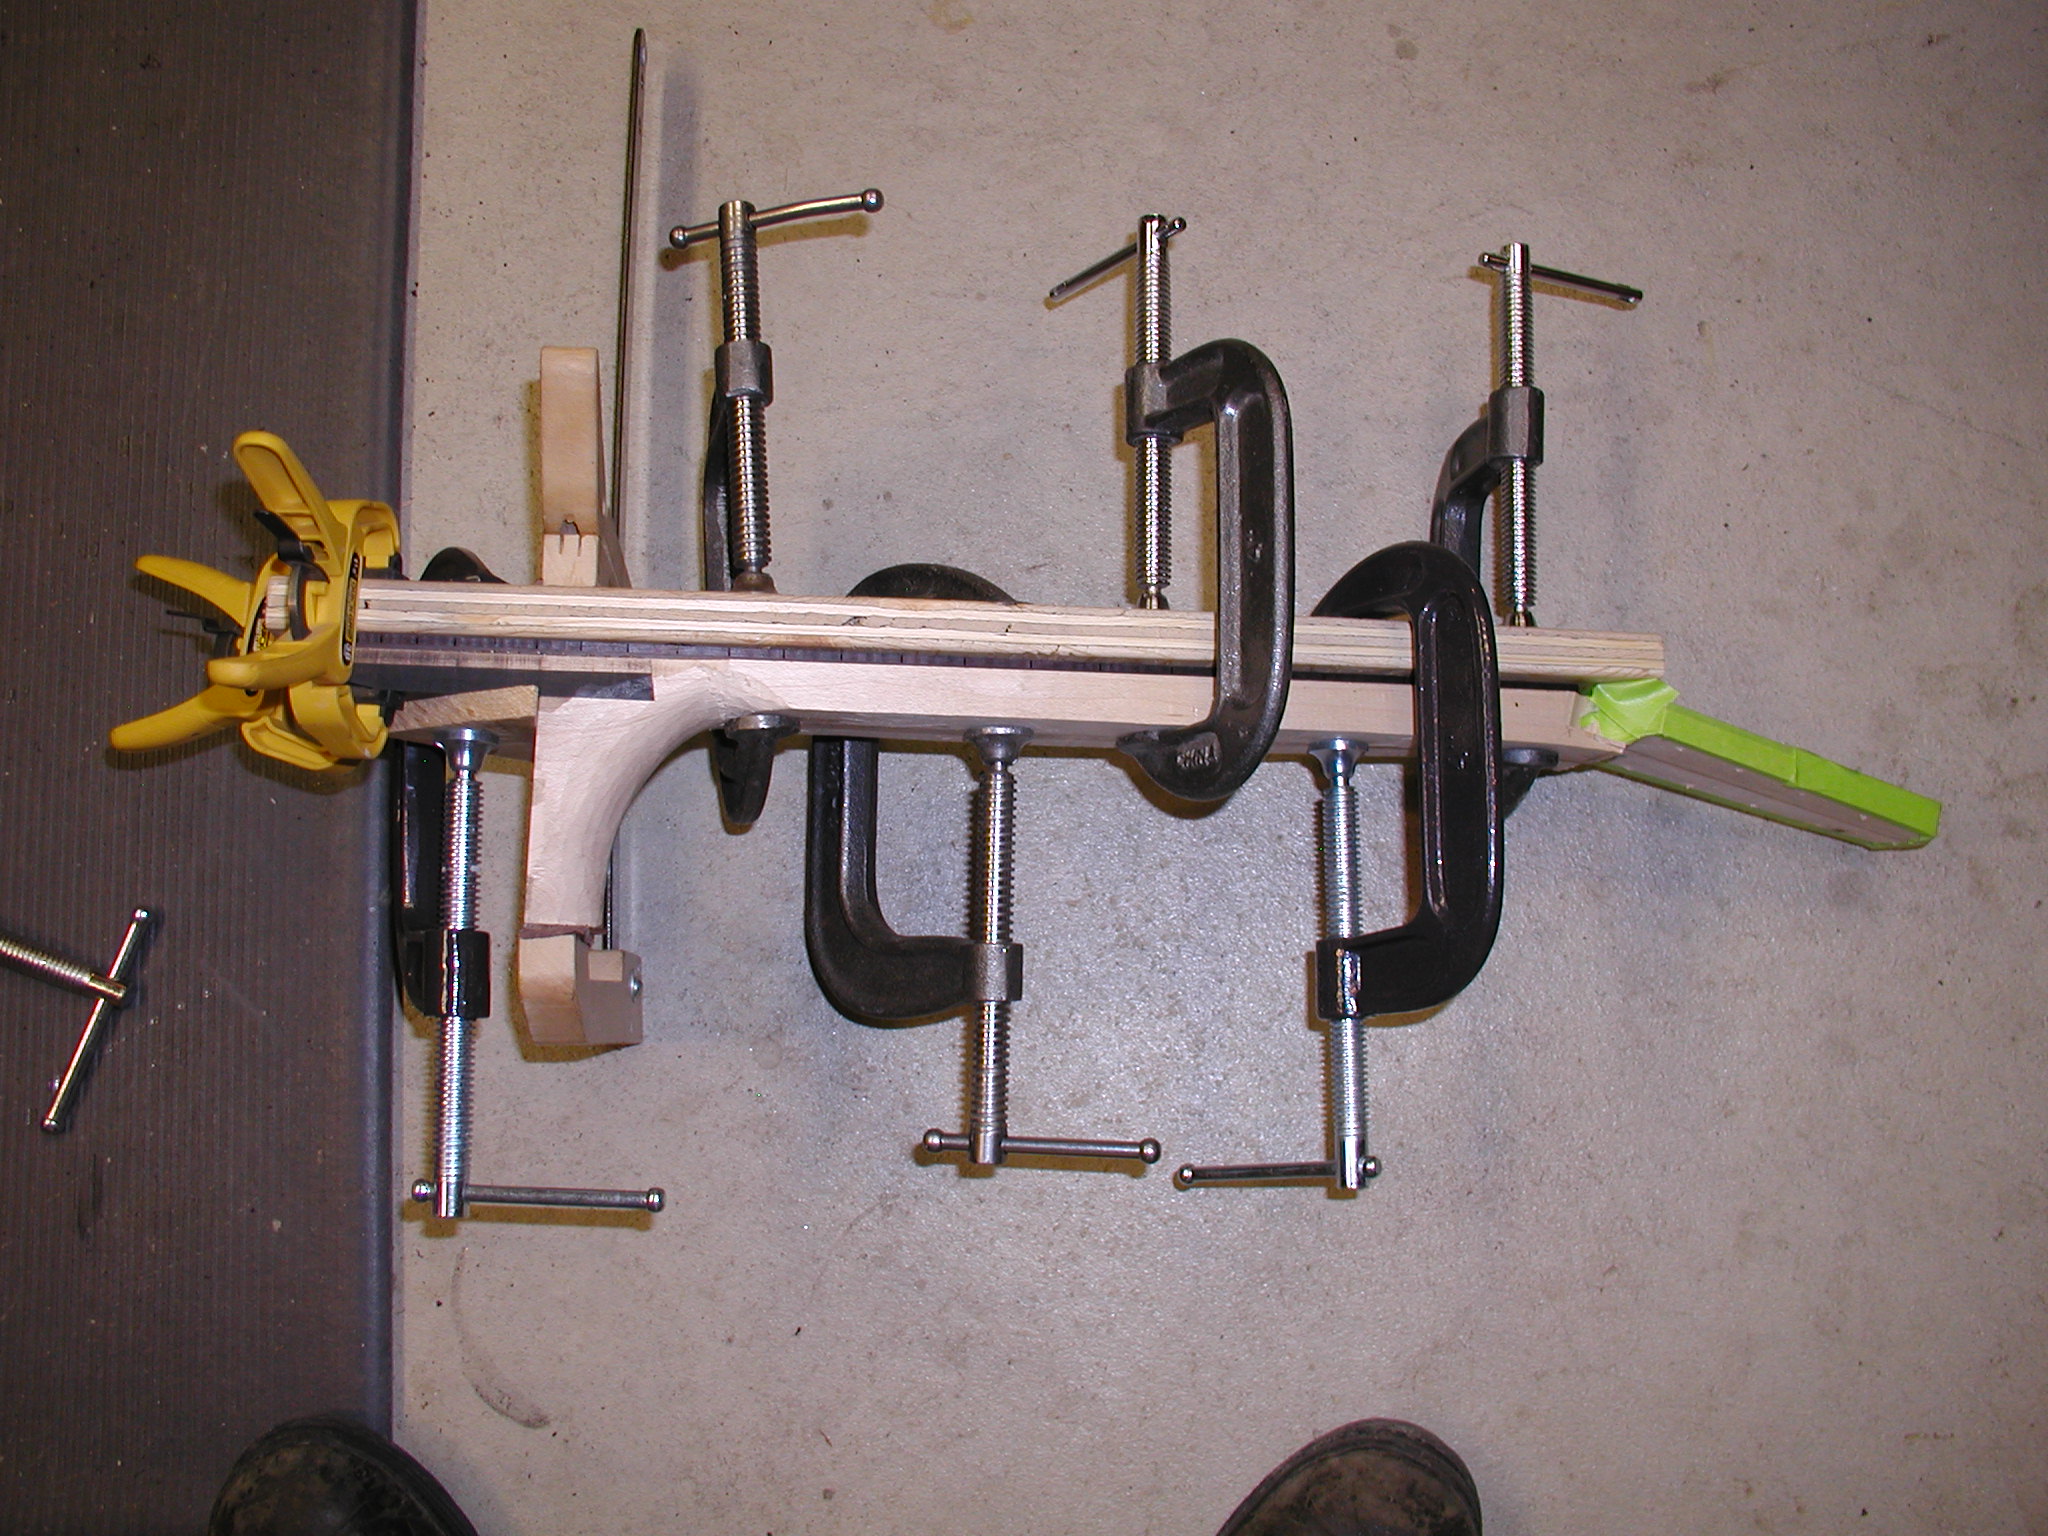
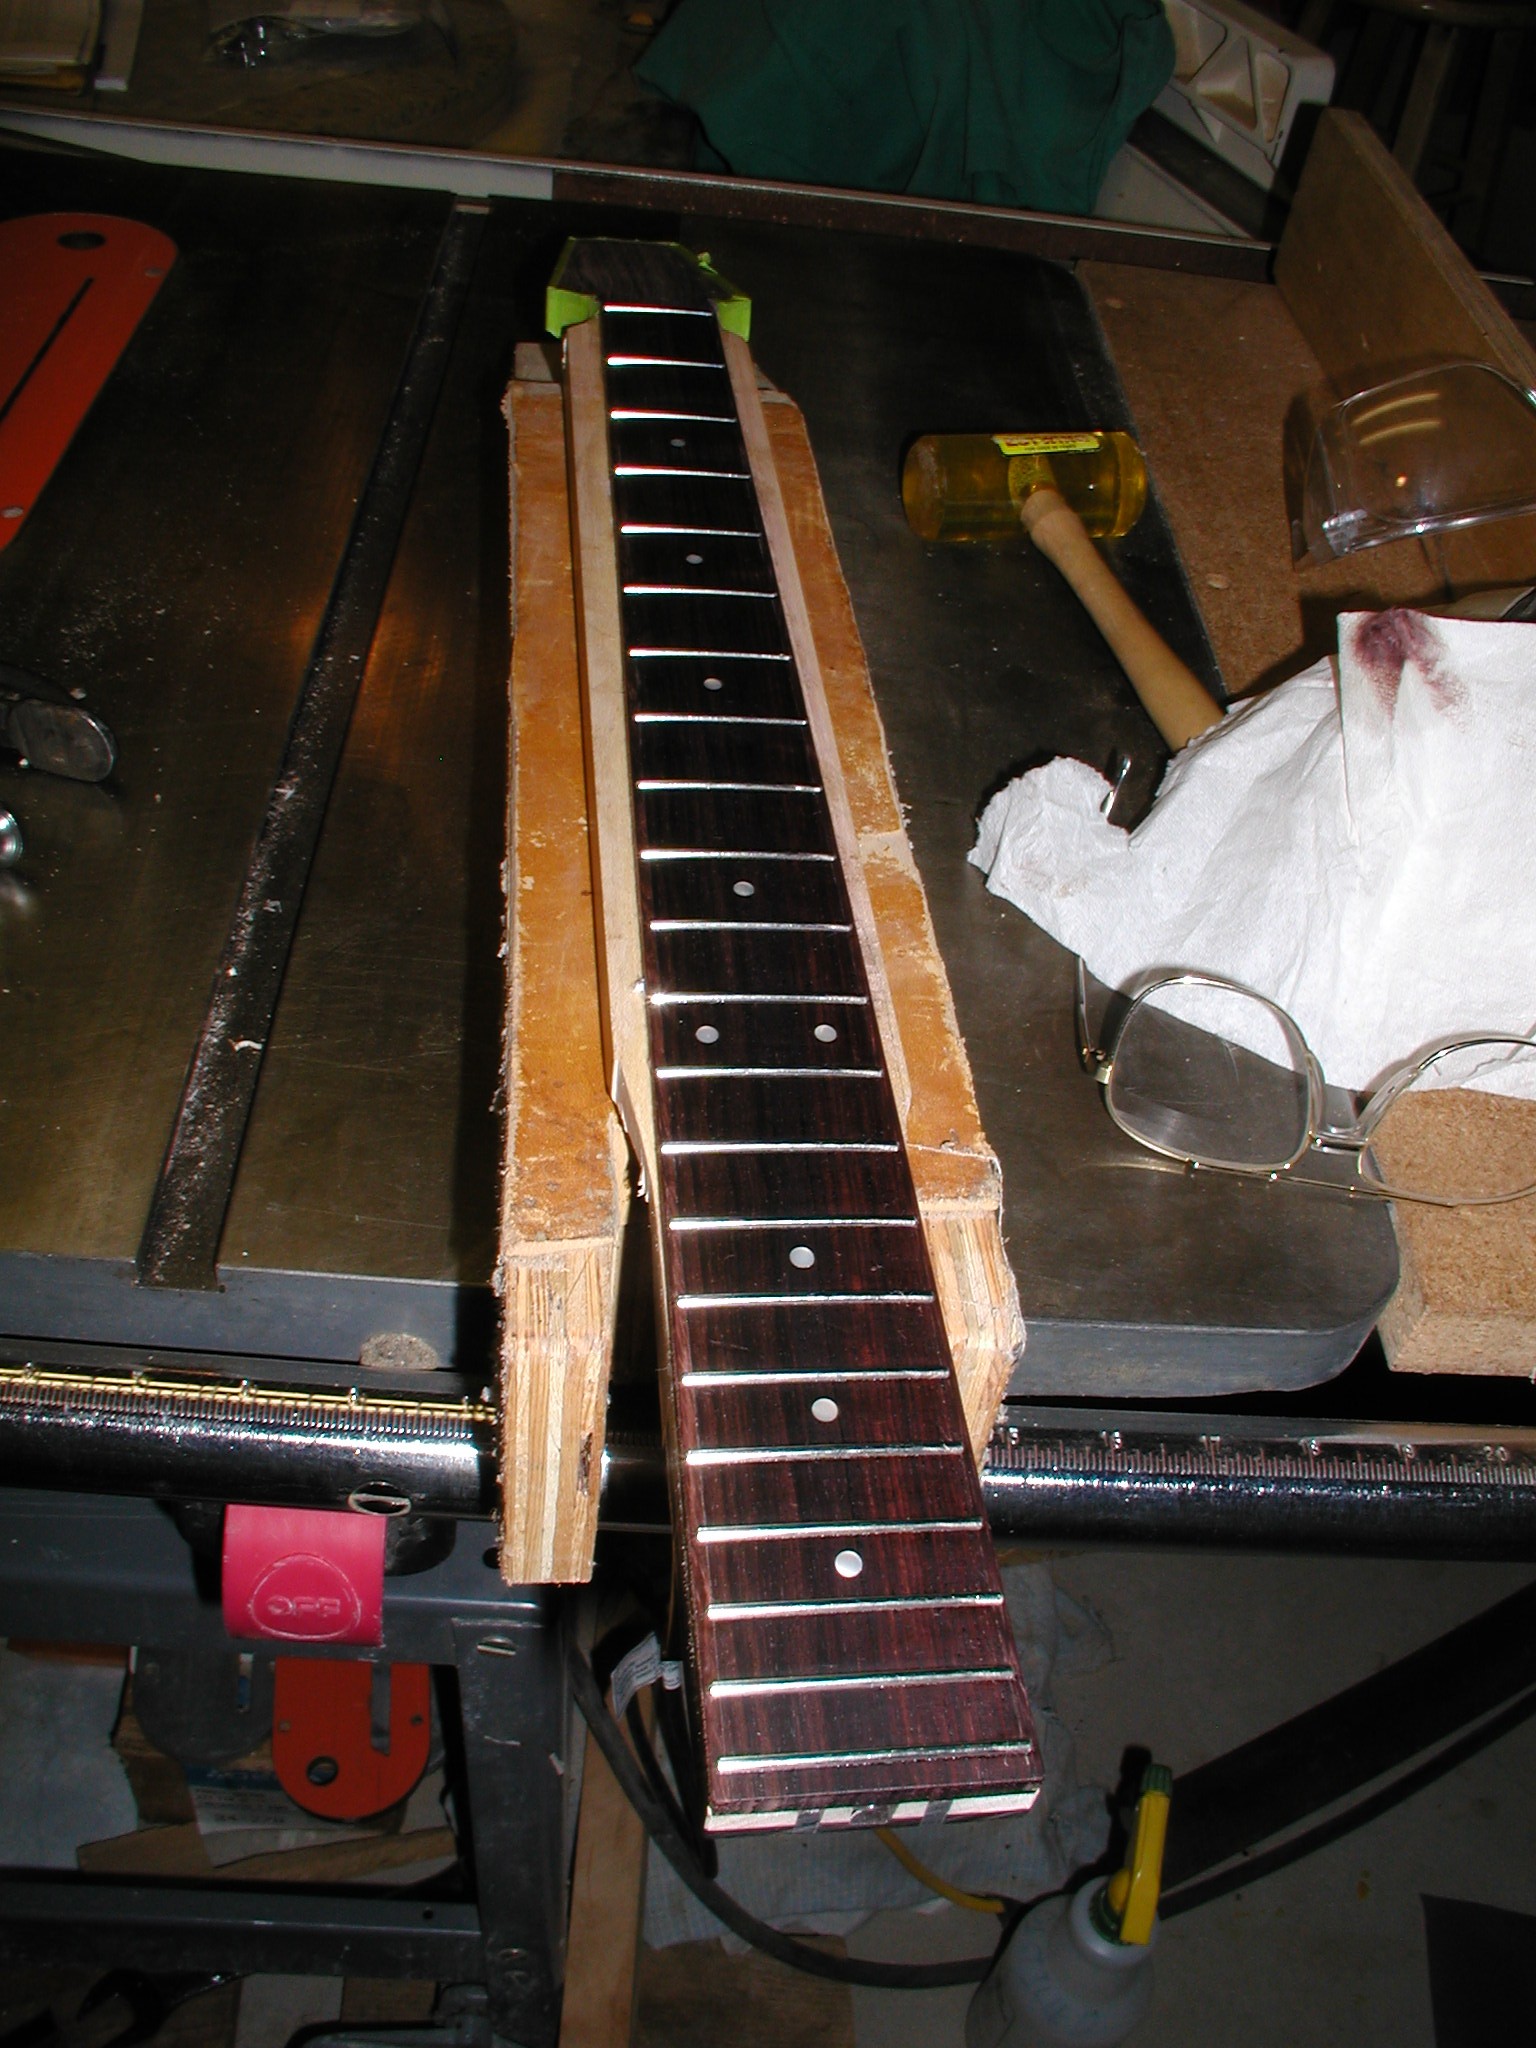
This should all look familiar, same process as the headstock overlay. I'm pinning into the sawn fret slots since I don't have a "waste" area with the completed fretboard. The holes are small and are covered by the frets later. Make sure that you miss the graphite bars. The outline of the fretboard is drawn on the neck shaft and I mask the truss rod exposed areas when applying the glue, but pull the tape right before the fretboard goes on. Fretboard goes onto the neck with the alignment pins. Clamping caul and clamps. I don't need to worry about cauls on the bottom of the neck shaft since it will be carved away anyway, but I use a caul on the extension and the clamp on the heel cap has a soft leather face. At this point you can go ahead and bind the fretboard or wait till later, there are good reasons for both and I most often would bind now. In this one I bind later, so lets go on to profiling.

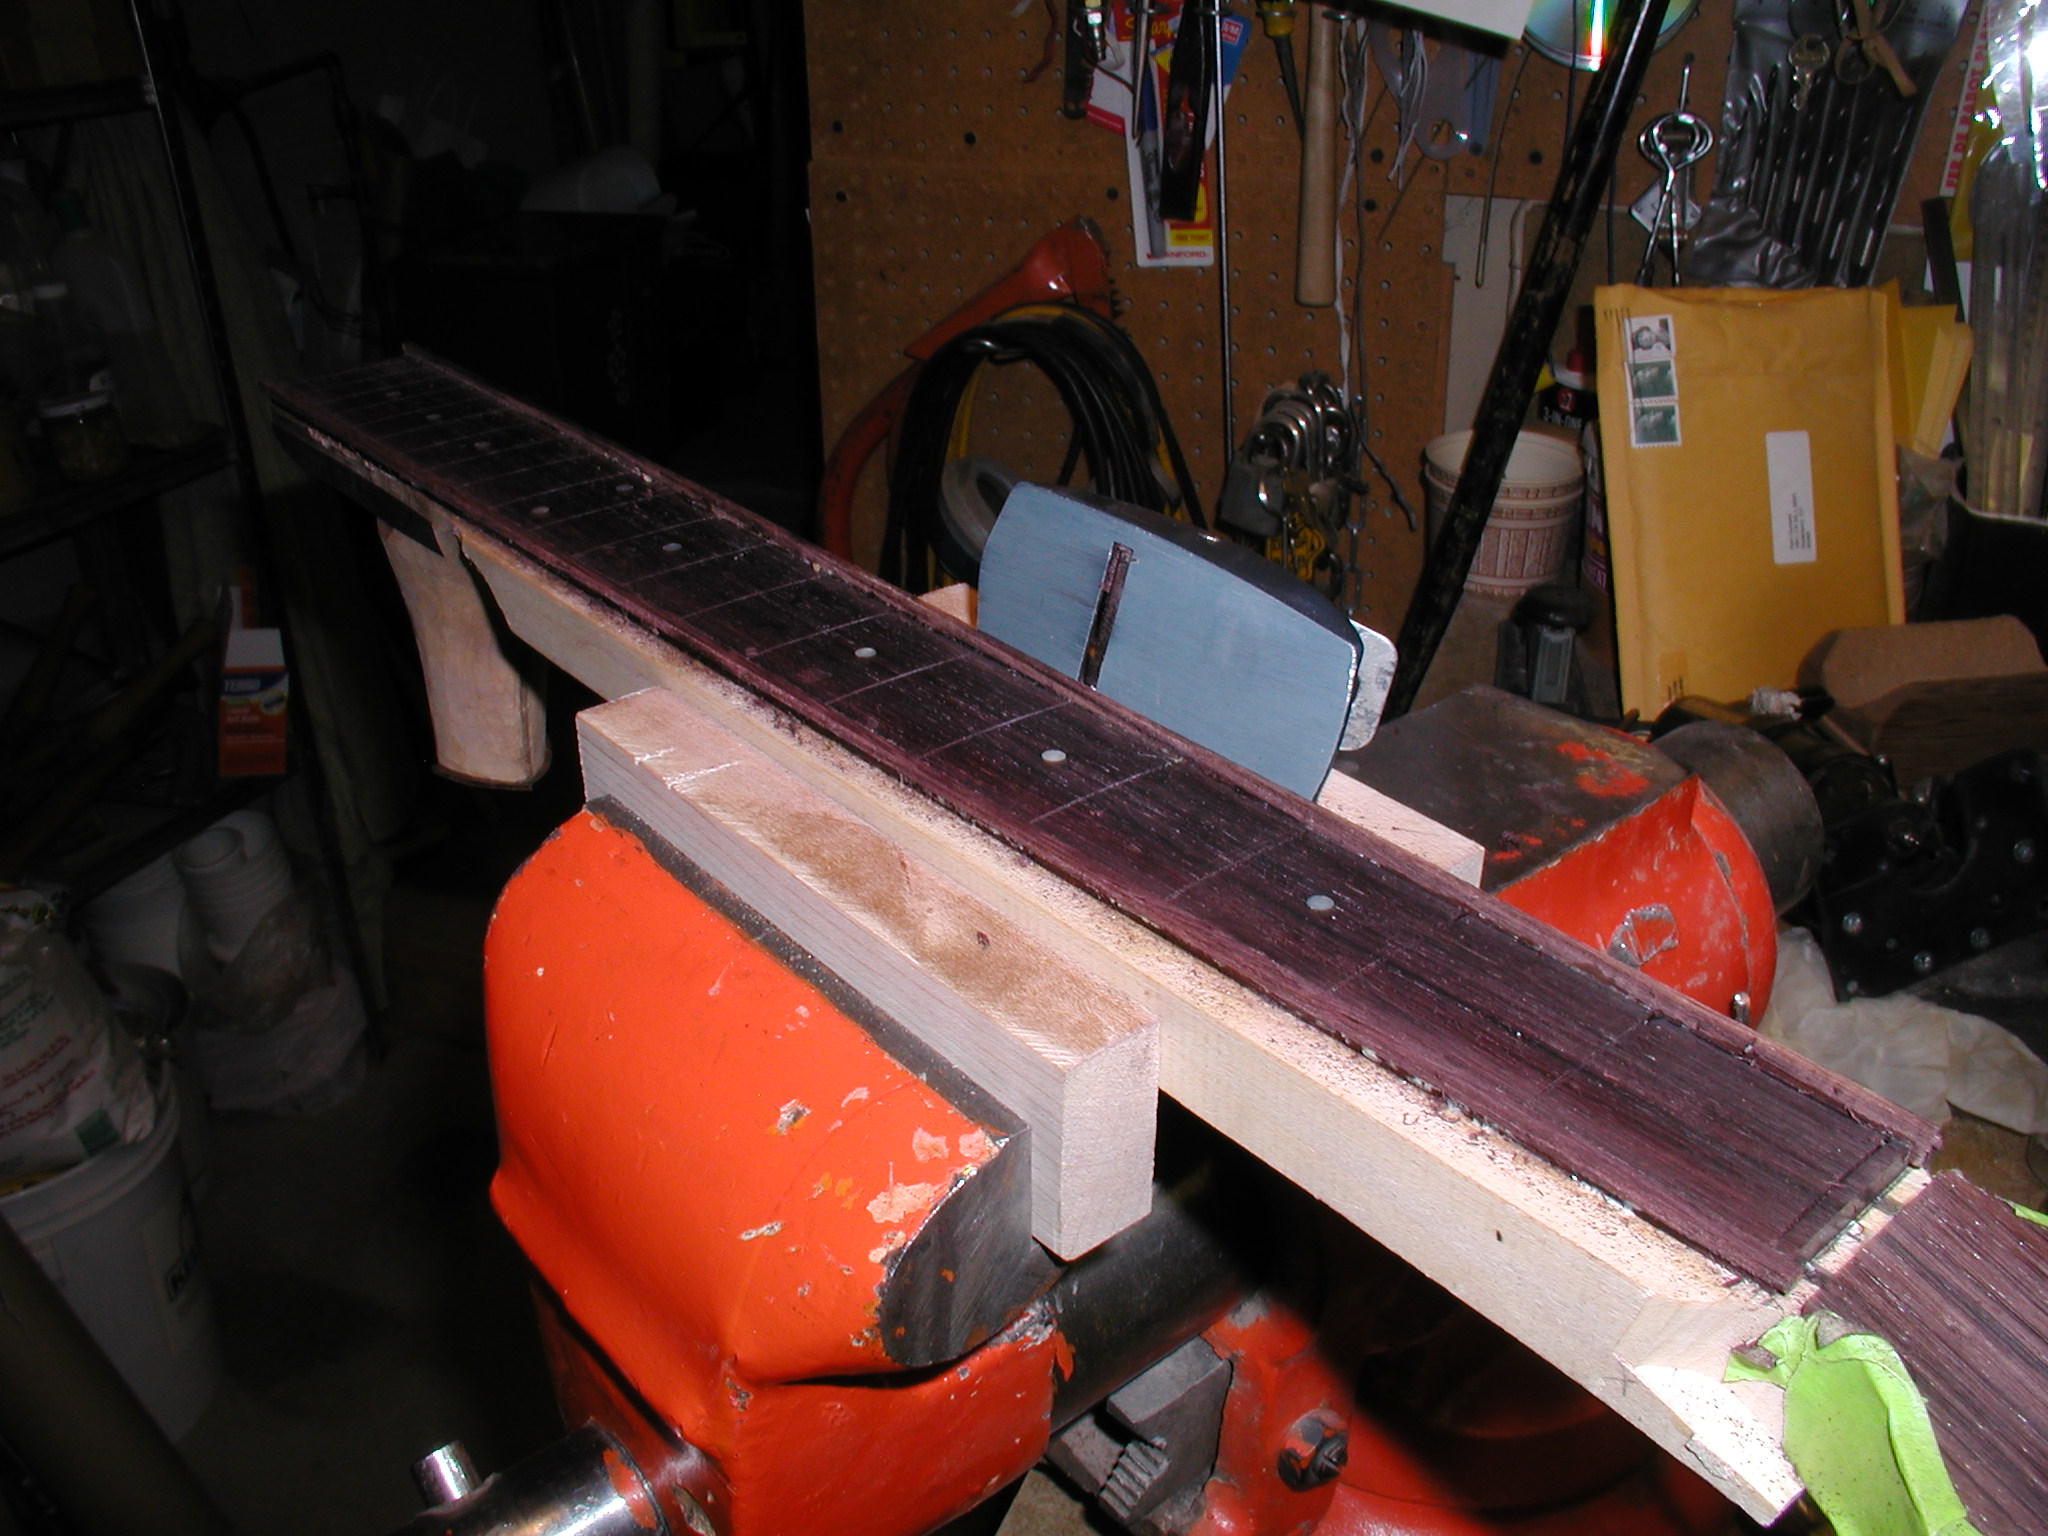
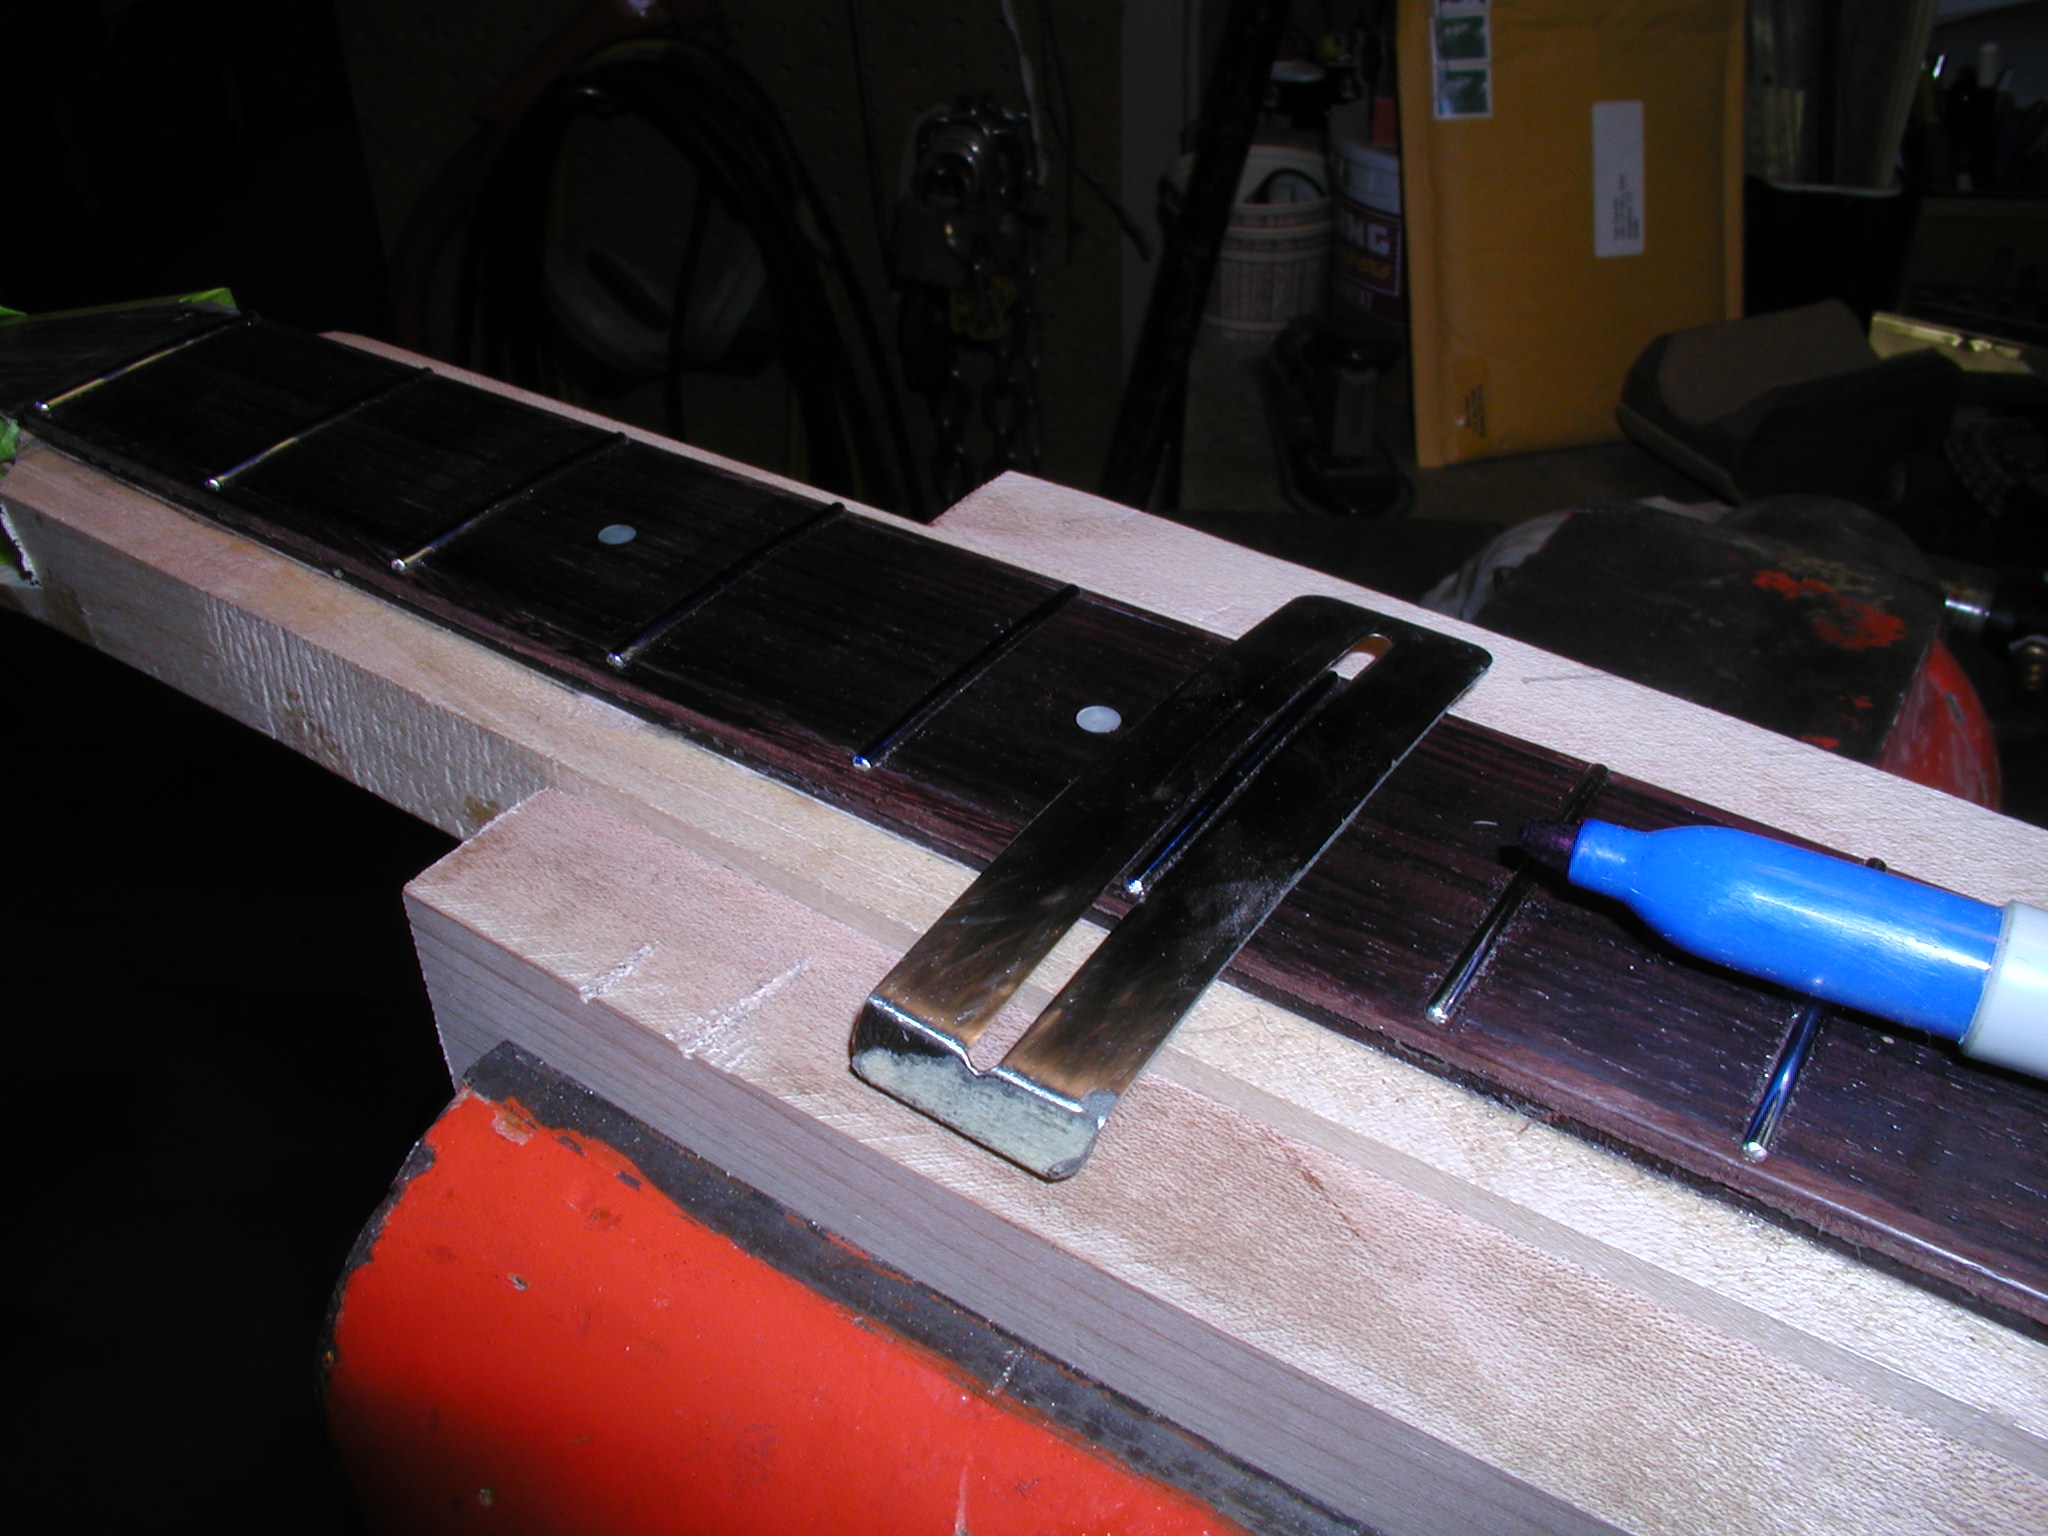
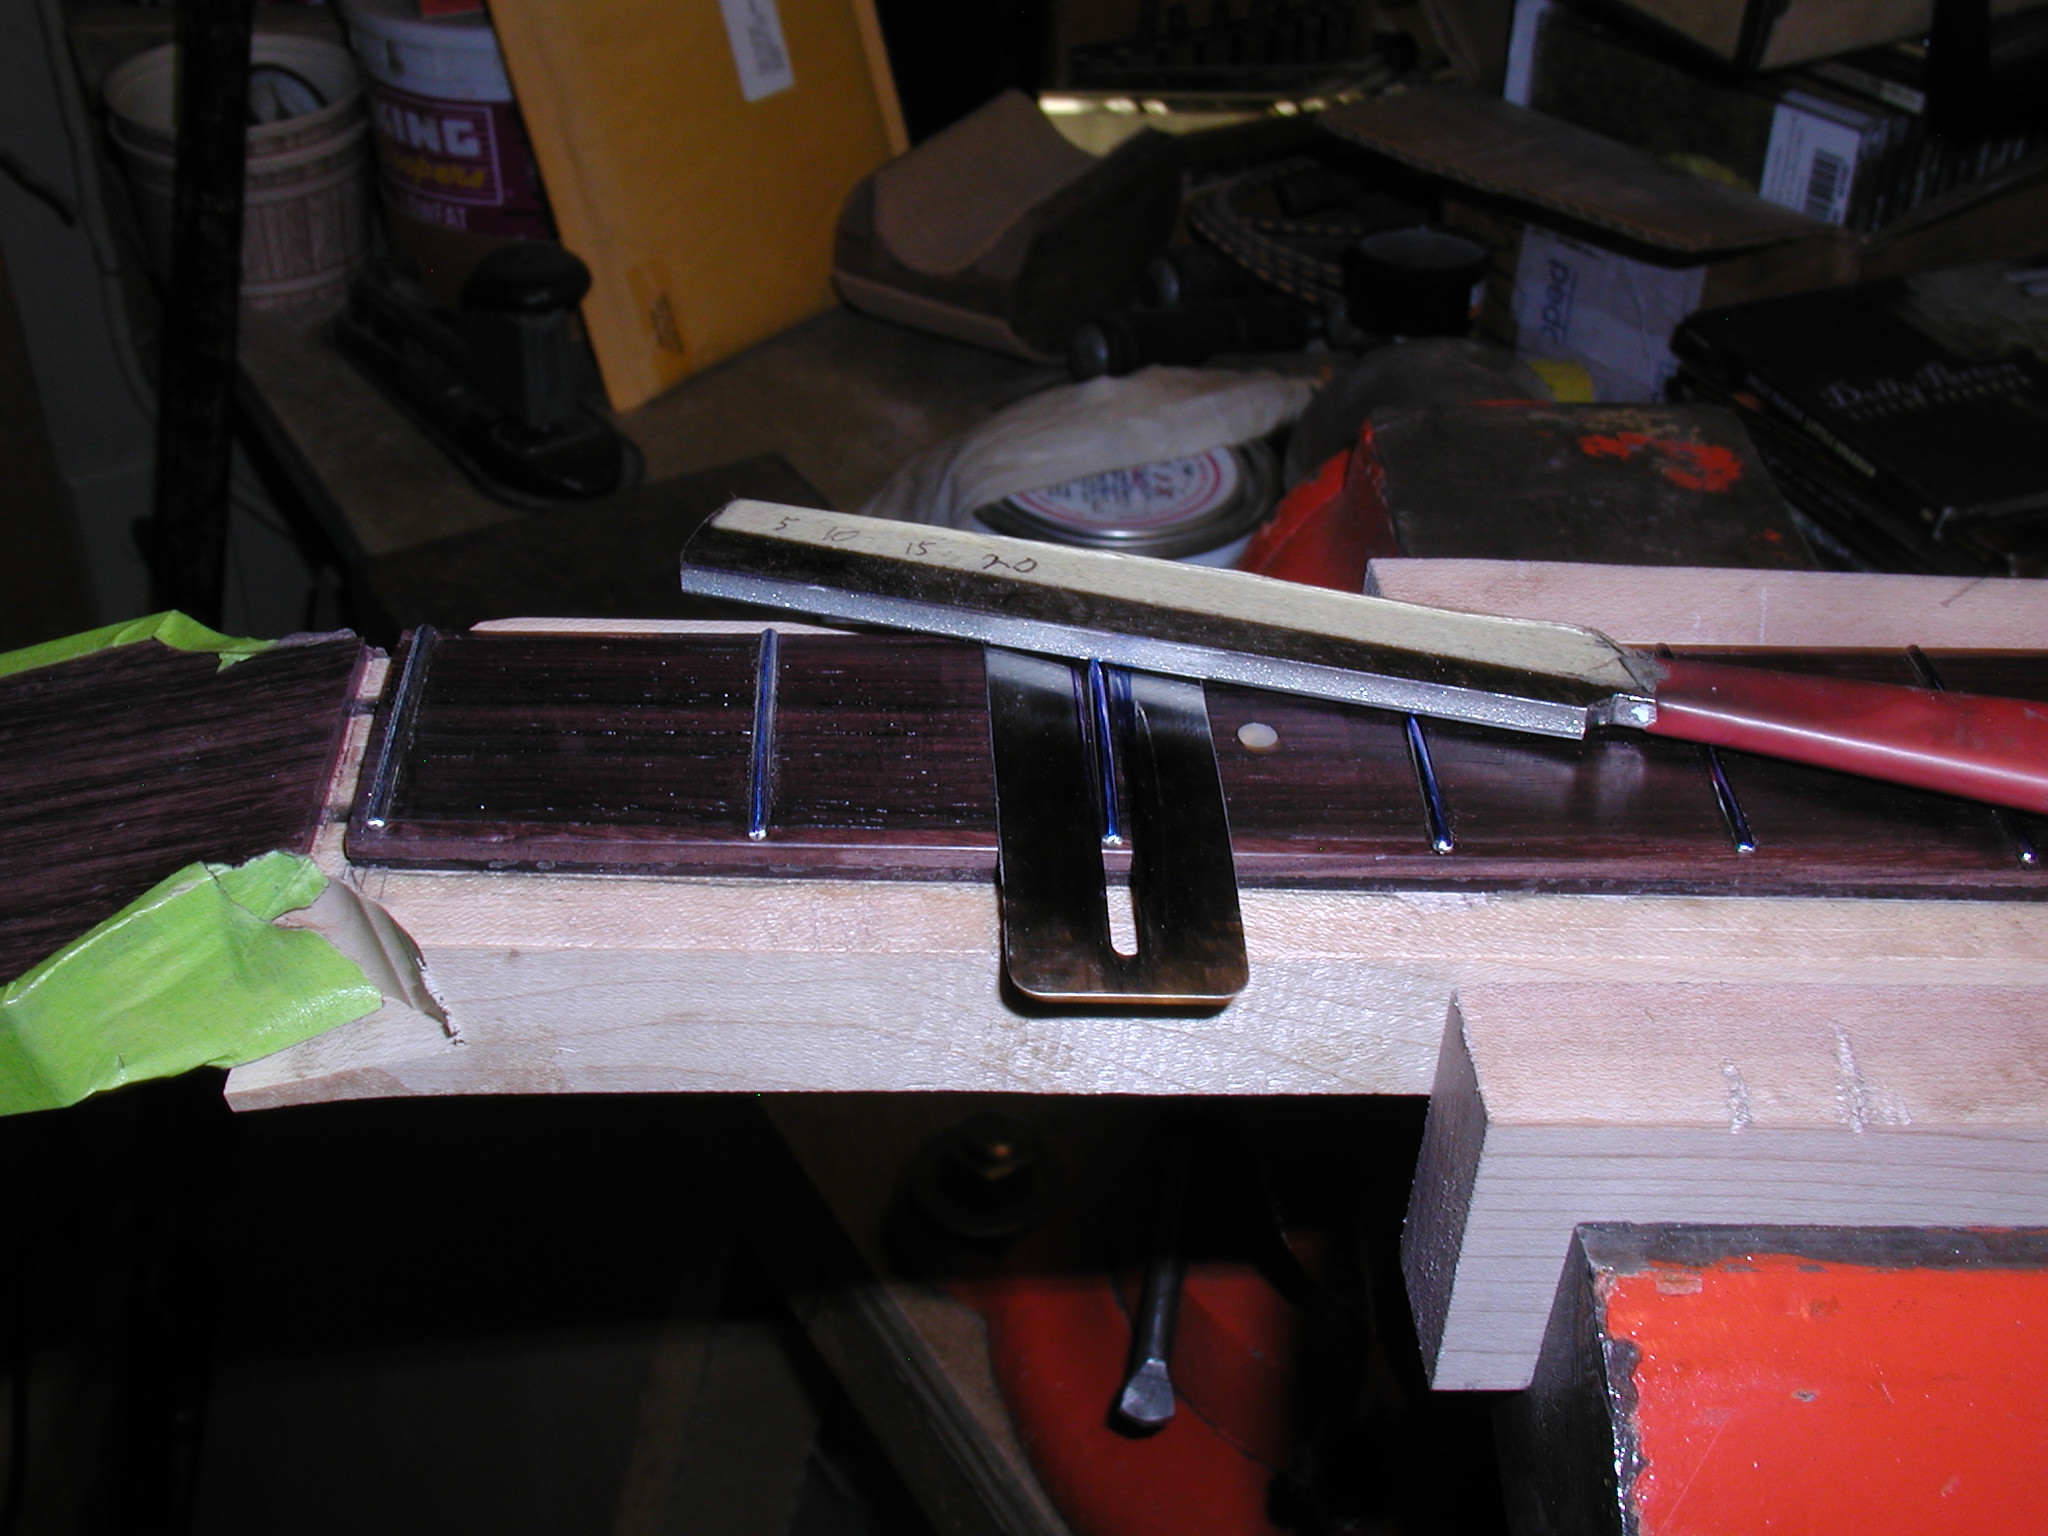
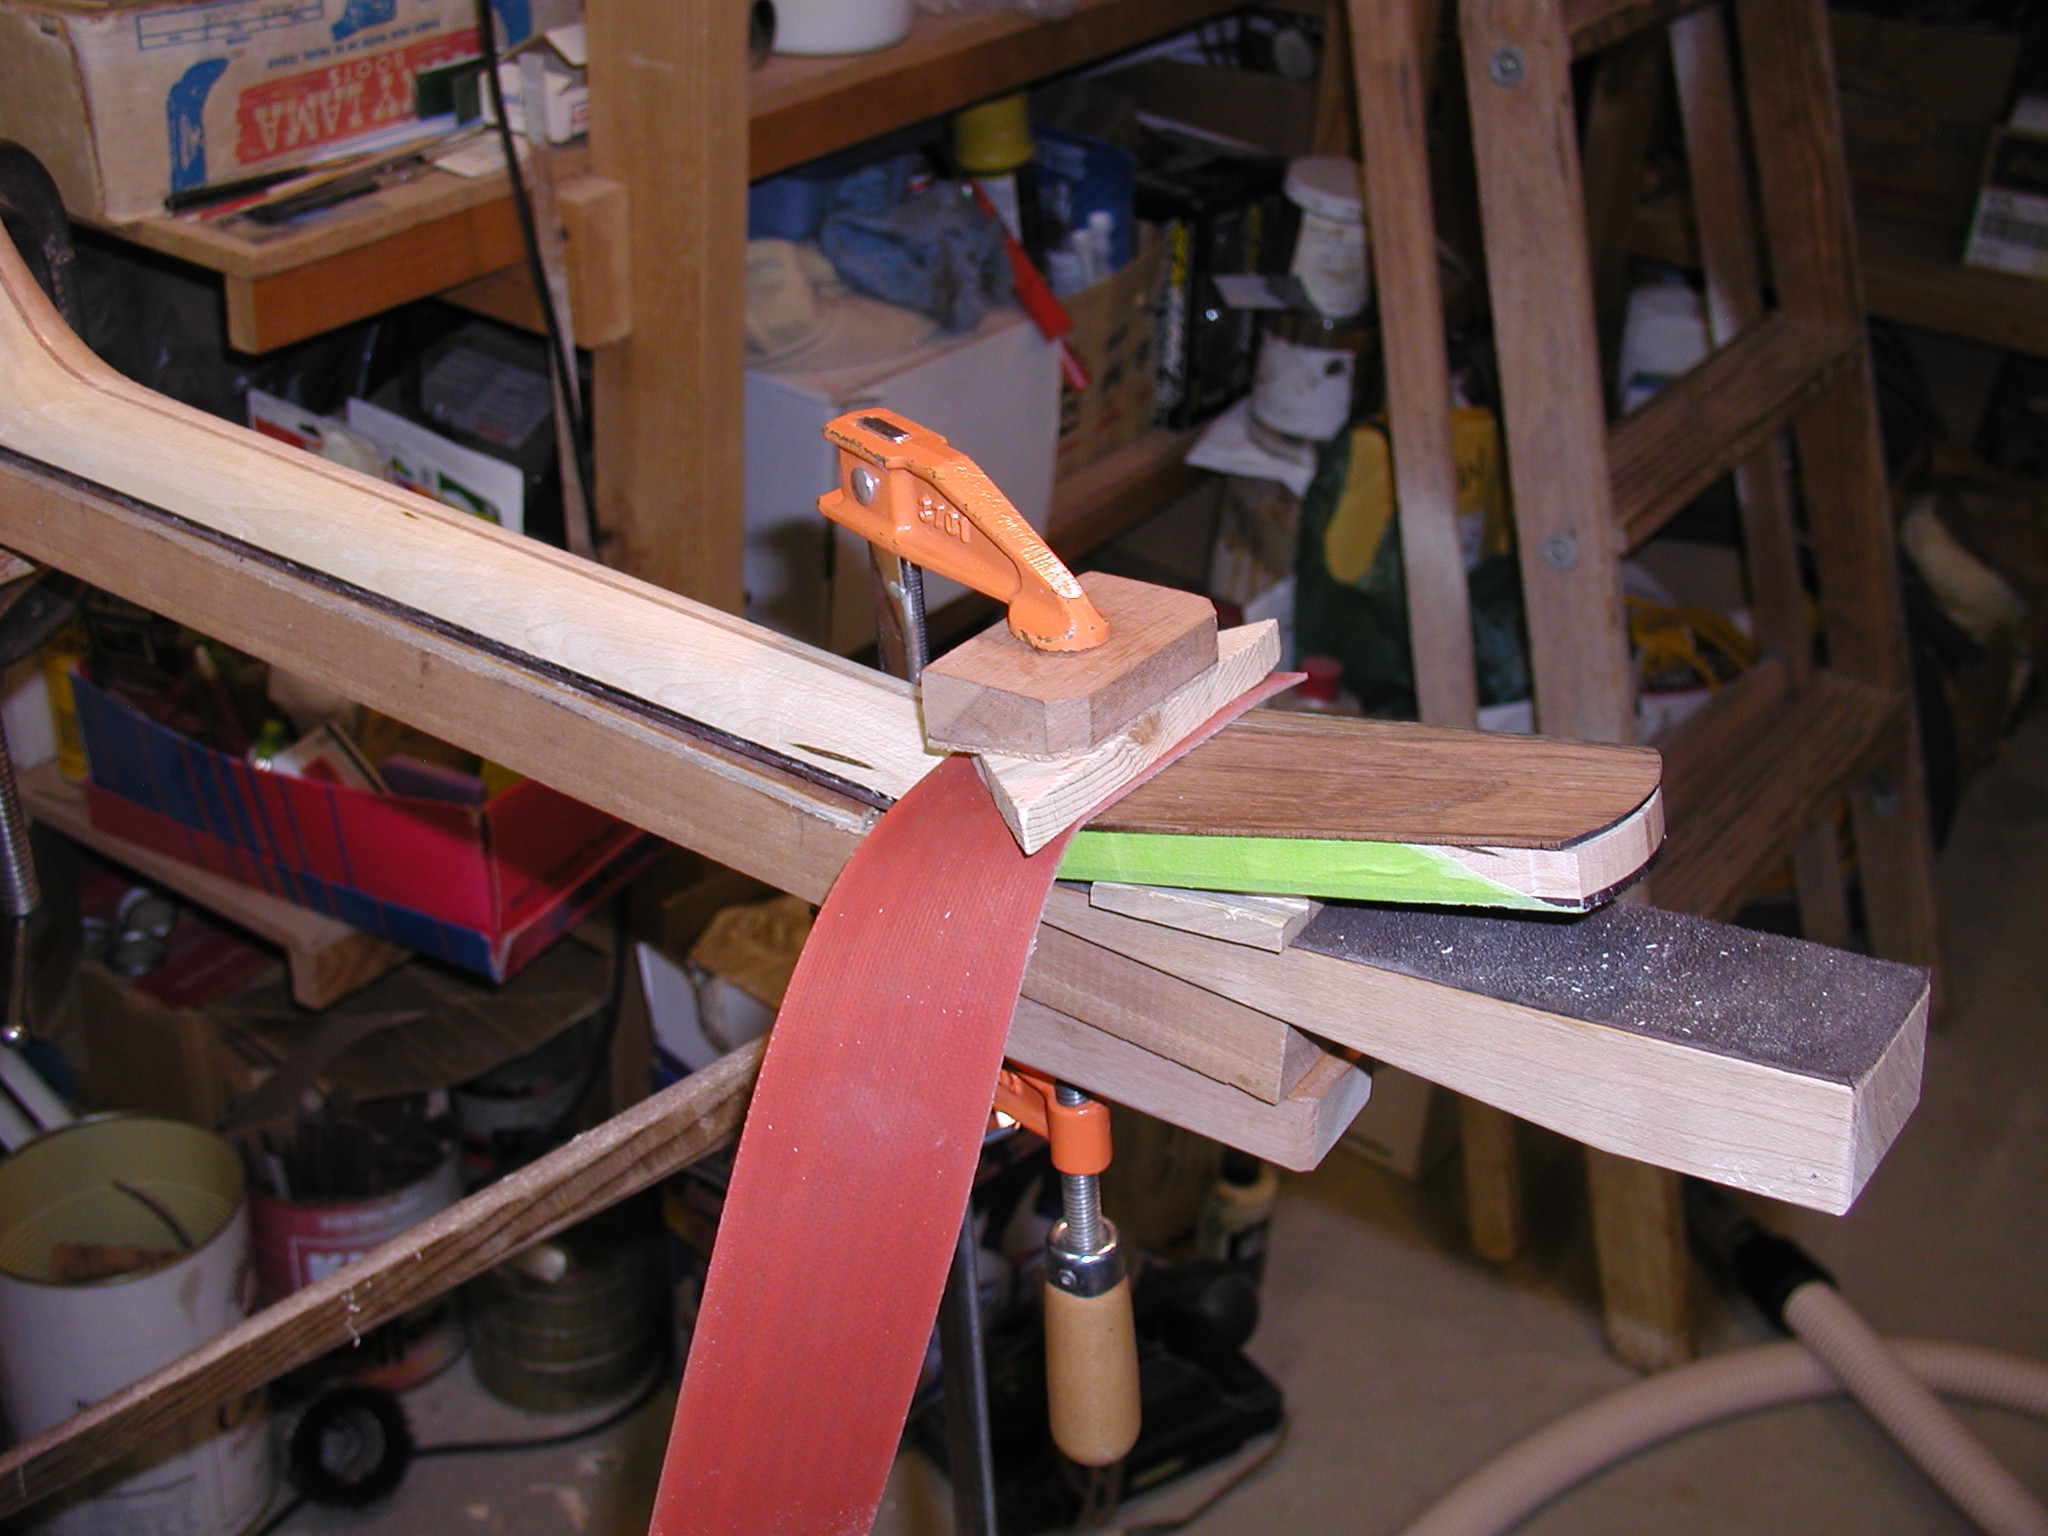
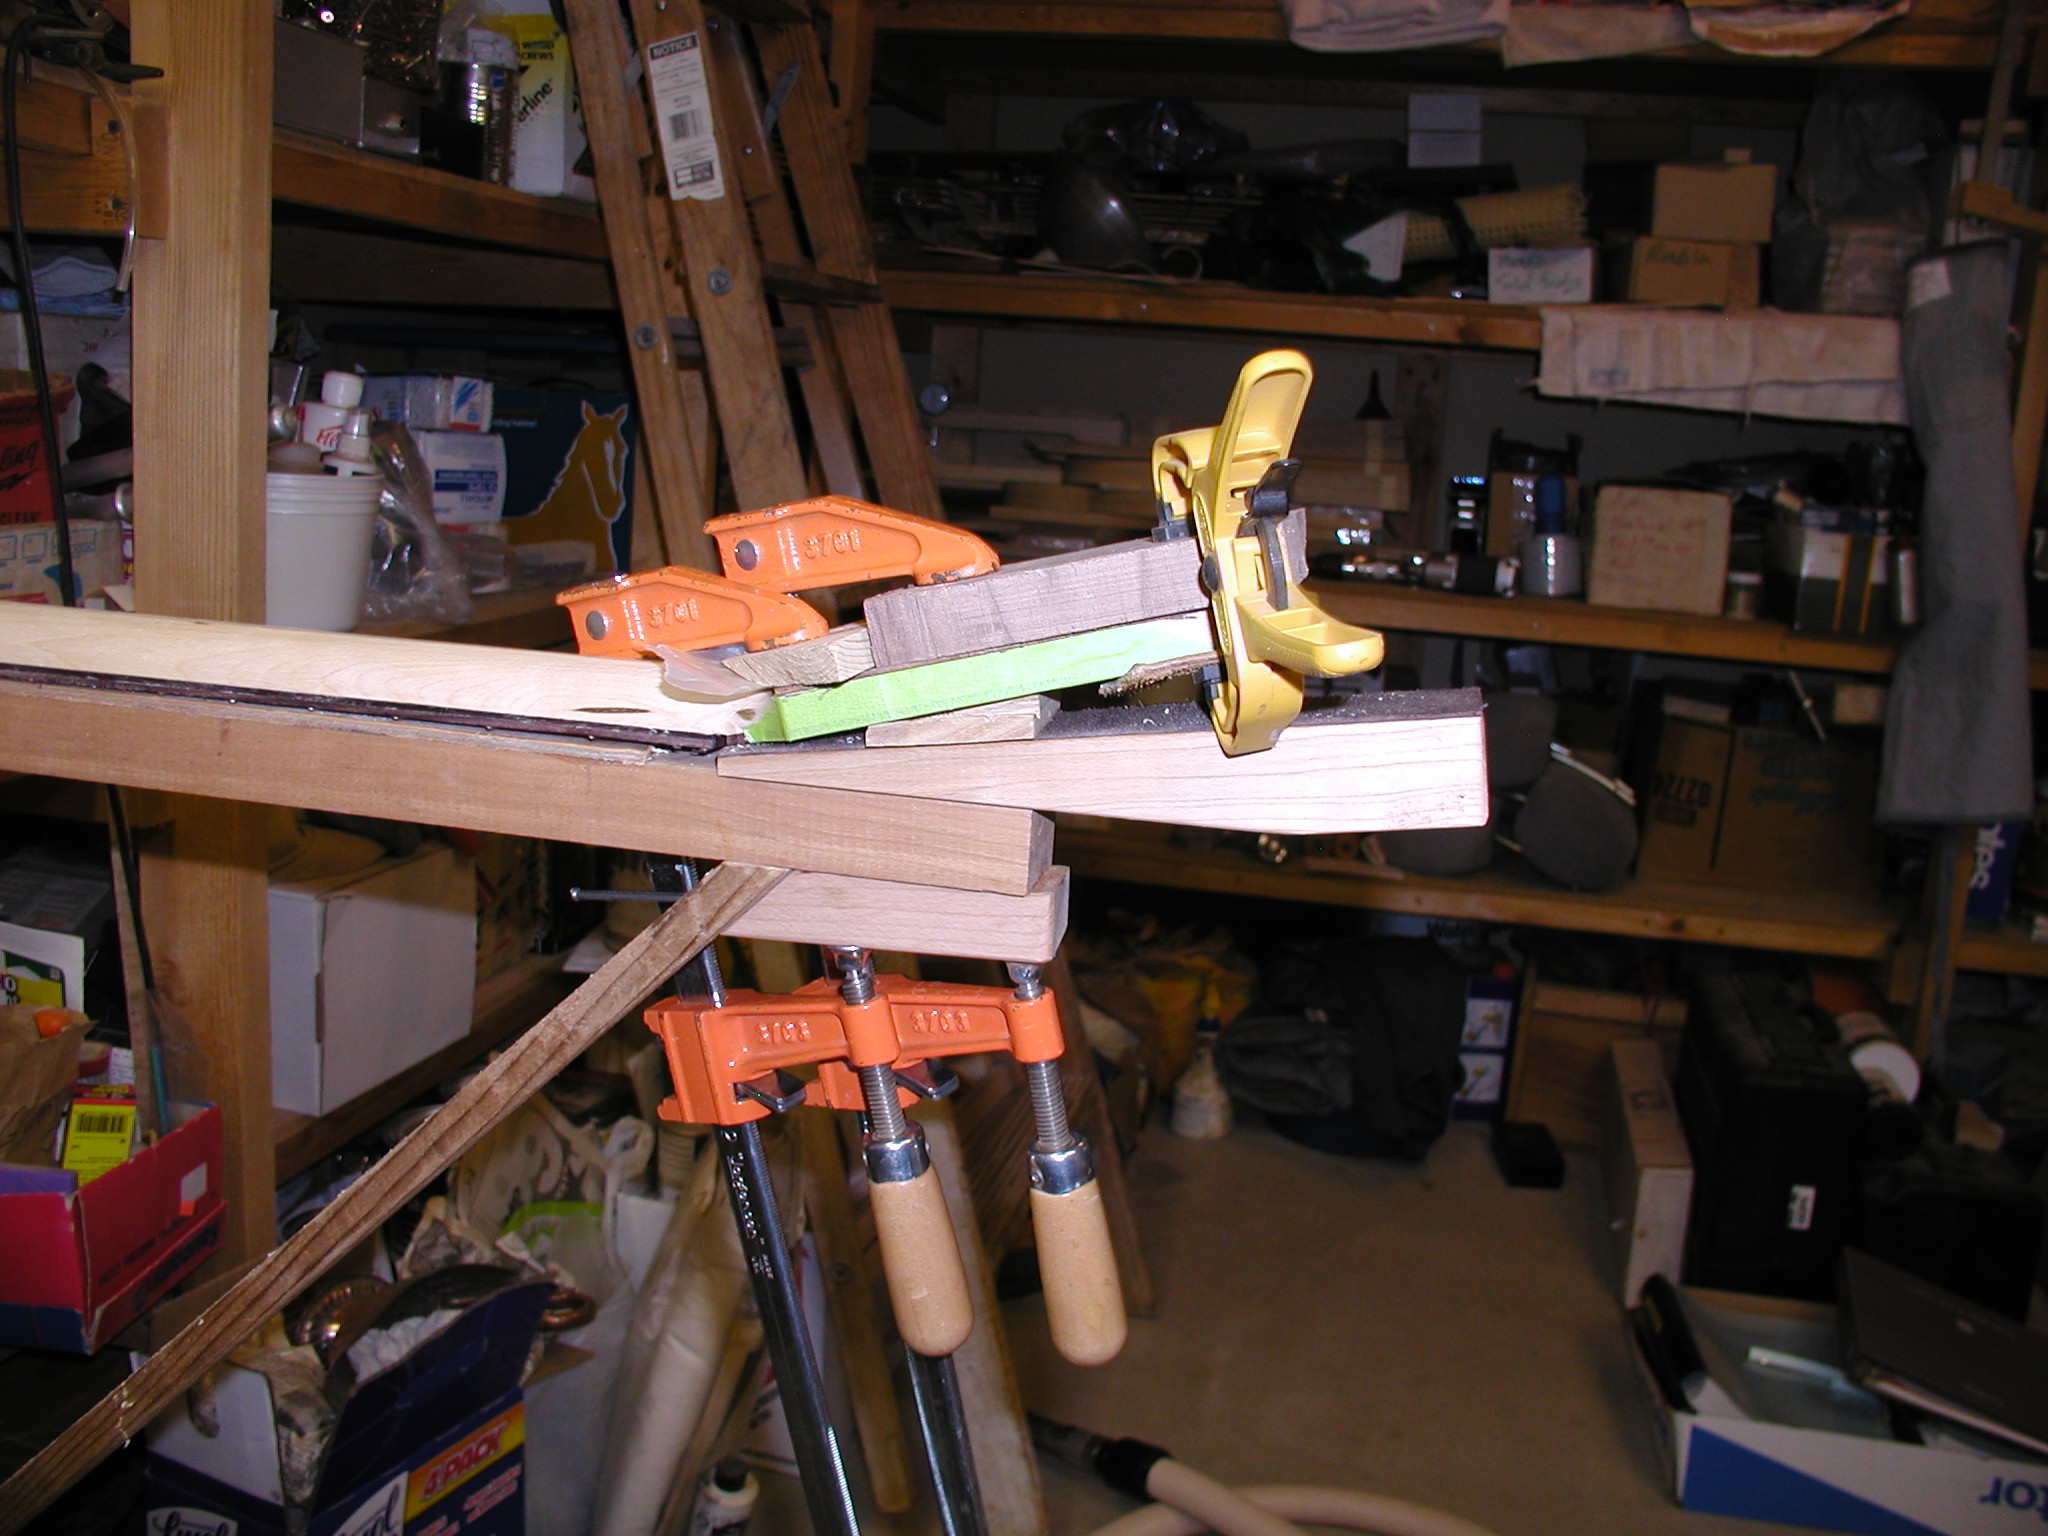
Next is to profile the fretboard radius. First I use the truss rod to put just a little backbow into the neck and level it all flat again with my glass bottom plane. I use a compound radius with 12" at the nut and 16" at the 12th fret. I start with a 12" radius block with 80grit paper and get the nut to ~5th fret sanded down true. Strike pencil lines on the fretboard as you go so you can see where they get sanded away. Then I use my low-angle block plane and and a glass-bottom sanding plane to true the rest of the board into the compound radius. Don't worry about going to finer grits yet, just get it all level and true. A true straight edge and back light lets you see easily when you have everything just right. Take your time here and get it all perfect and when you get to pressing in the frets and leveling them it will be a breeze.
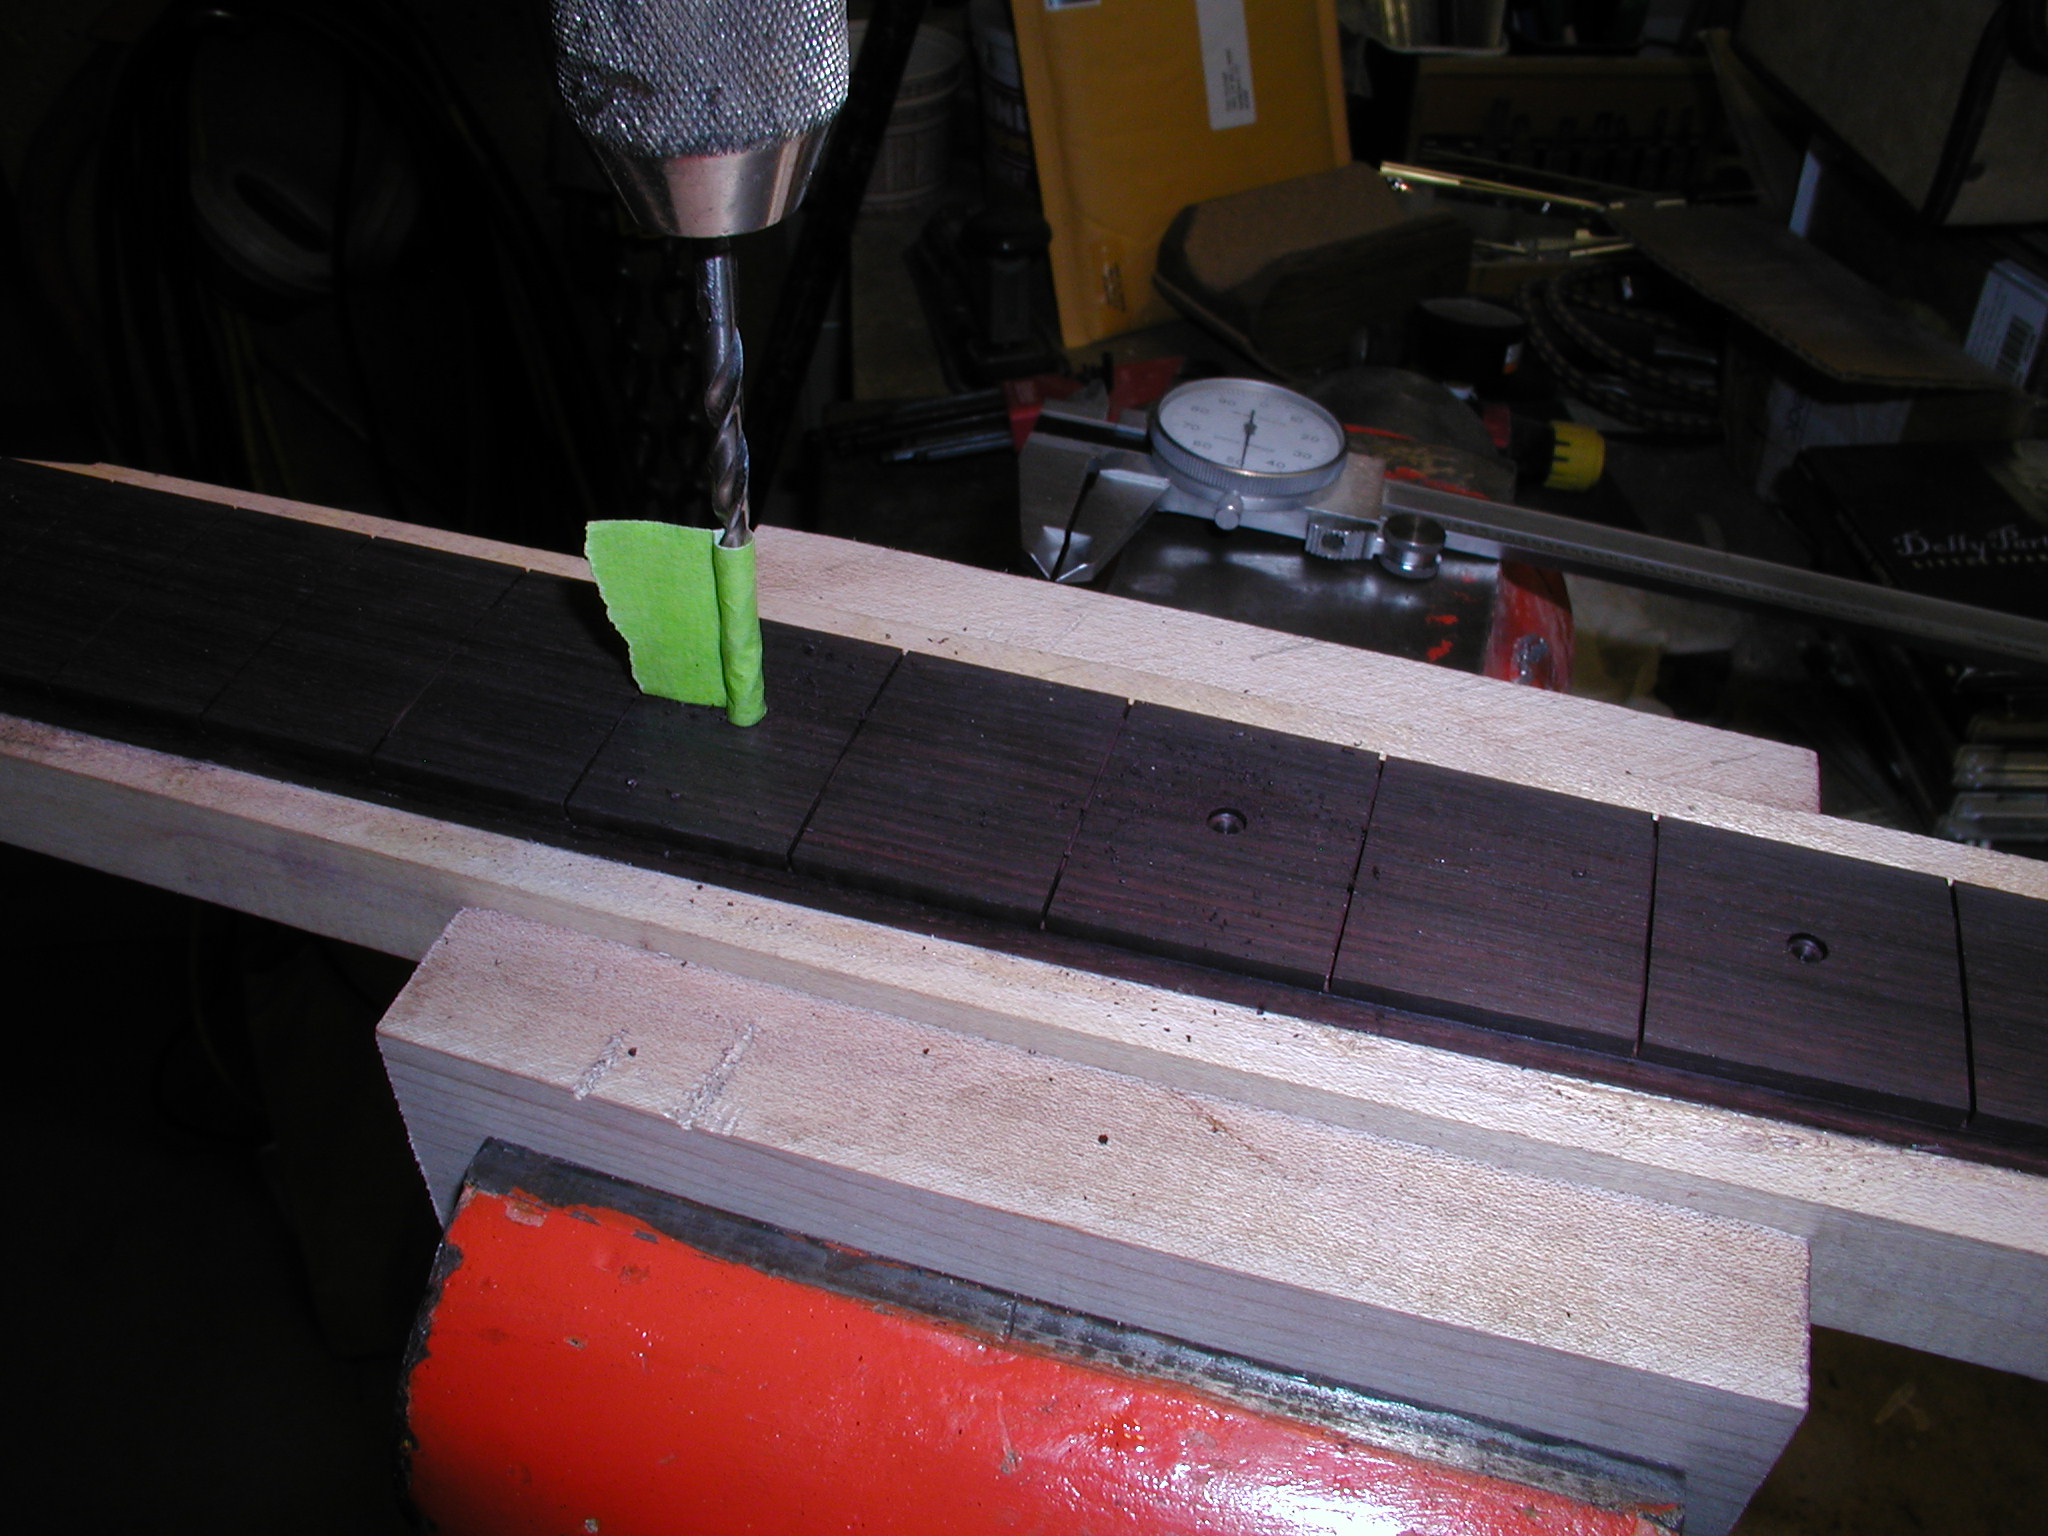
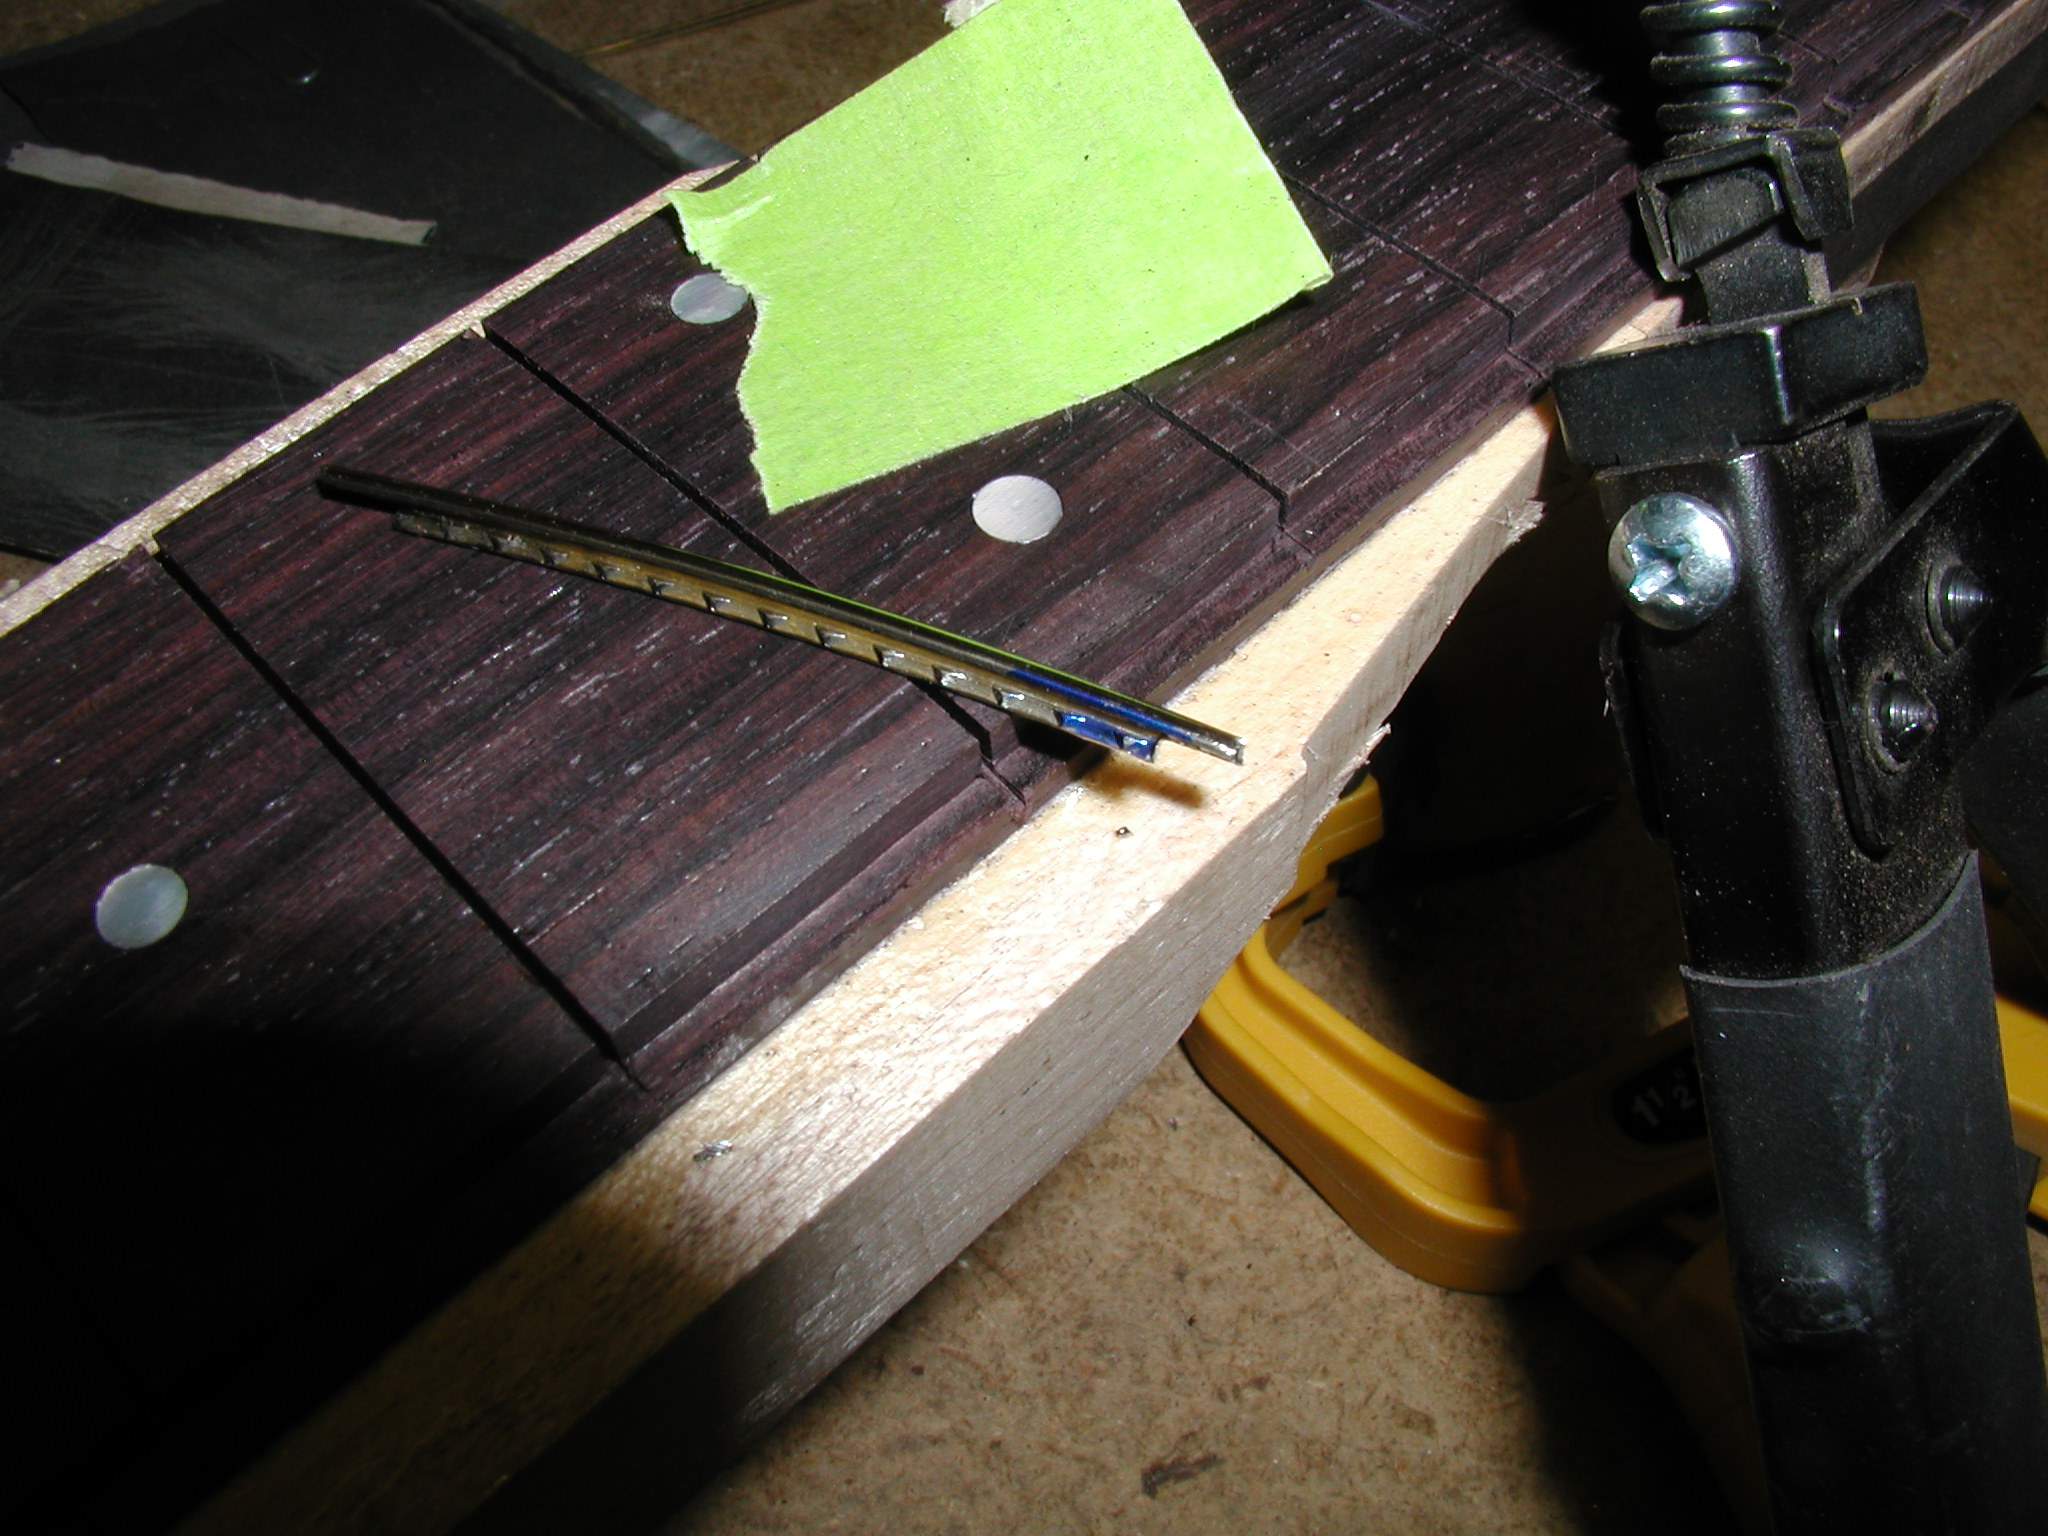
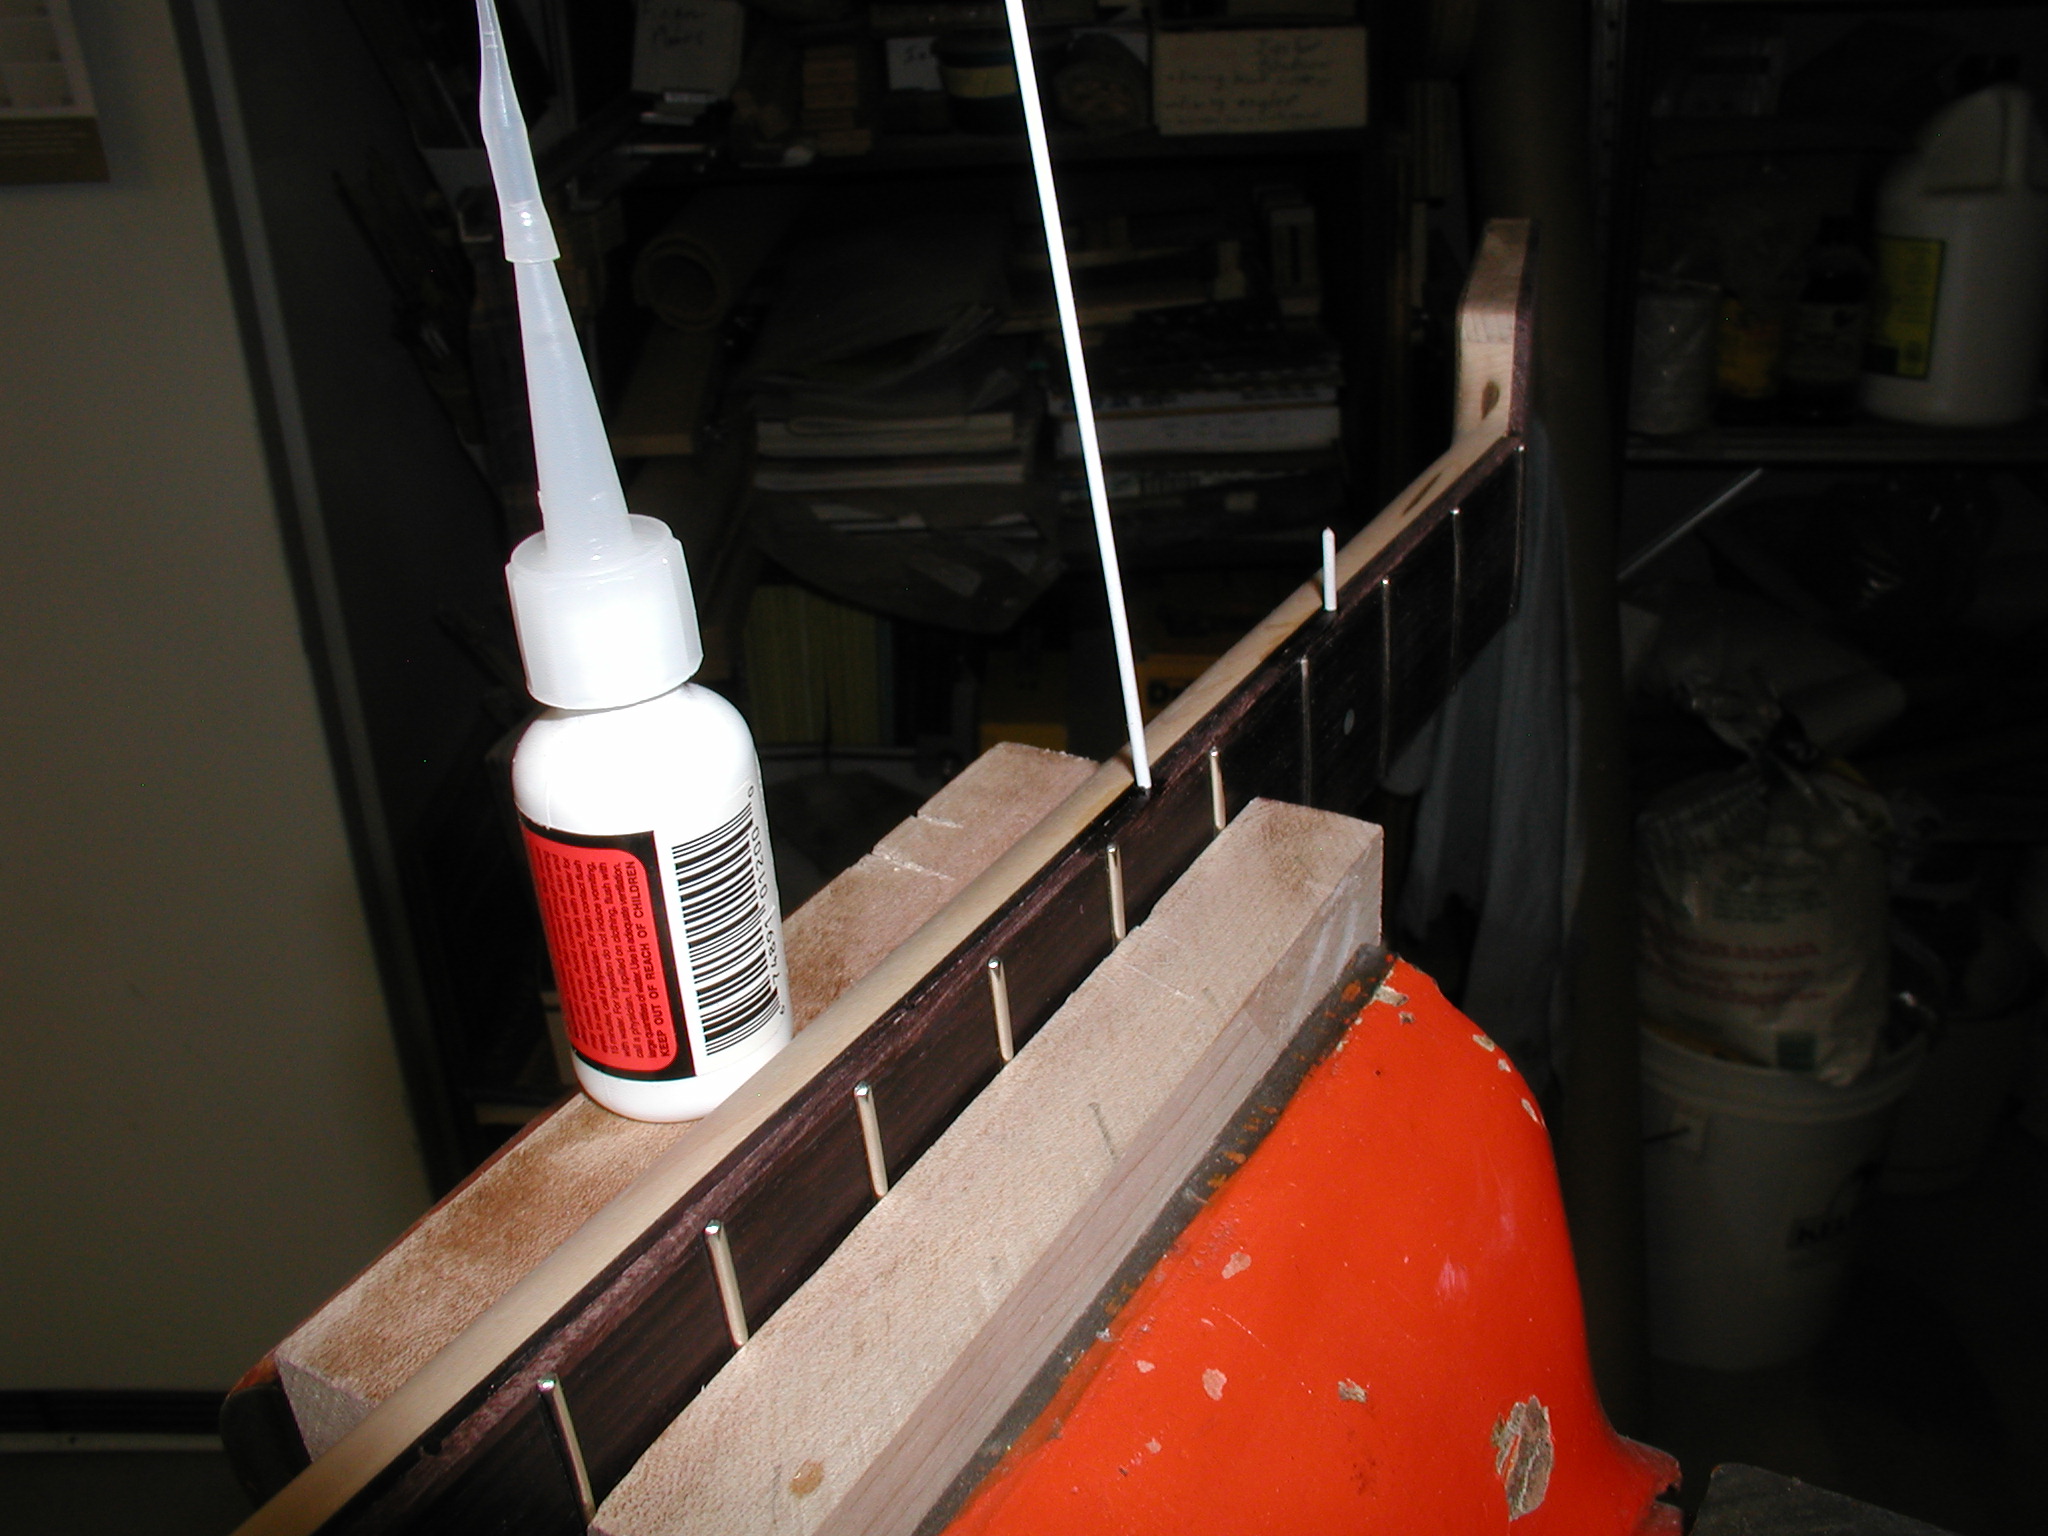
At this point it is time to do any inlay in the fretboard or headstock. I am leaving the headstock plain for this one but the fretboard gets simple snail shell dots. Drill the holes using a bit that perfectly matches the dot size, these are usually metric, so if you are in the US of A you may have to look a bit to get them. With other shape inlay I would mix up epoxy and ebony dust and shavings for fill in the cut cavities, but the dots fit so closely that isn't necessary. I just put them in place and flood with CA glue and sand them back level.
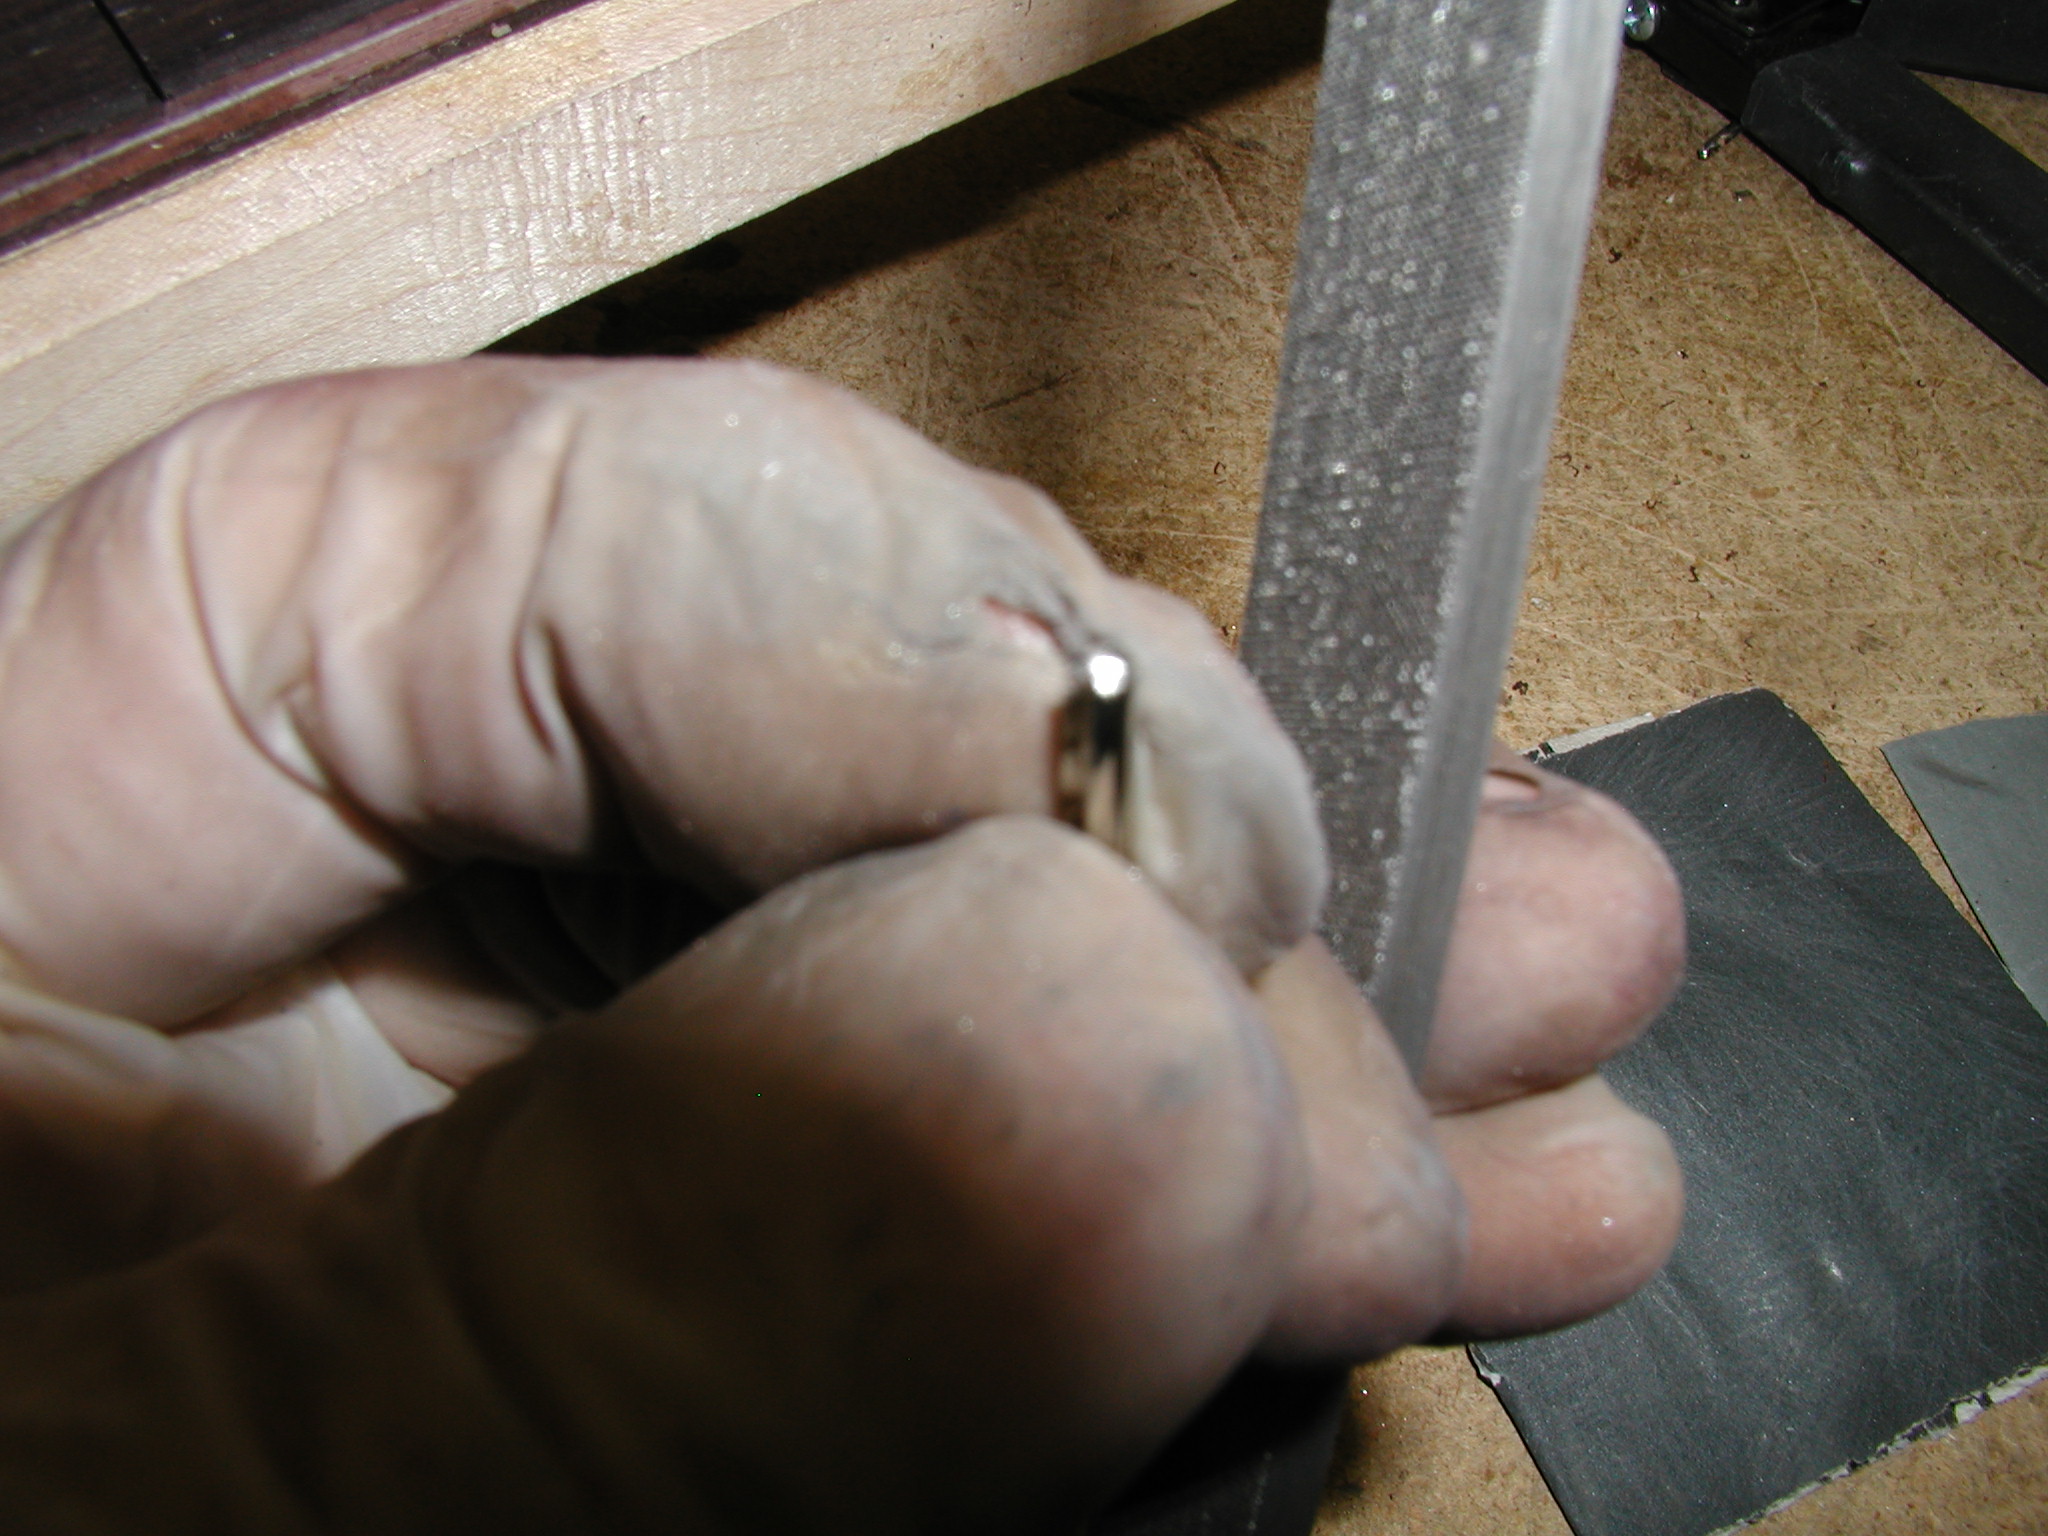
Frettin' Time!I will just touch on a few of the steps here, see my more detailed discussion of semi-hemispherical fret design. Since the fretboard is bound the fret ends need to be undercut so the face of the fret will lie flat over the binding to near the edge of the fretboard. I cut off all the frets to length with some extra and keep them in a board with numbered holes. I use one of the cool StewMac tang nippers. This is actually just a sheet metal "nibbler" that they have ground a slot in to align the fret. Still, it about the same cost as buying a nibbler from an electronics supply store so I just got one from them. The tang nipper however does not do a perfect job, it leaves a little bit of the tang that needs to be cleaned off to get the fret to sit flat down. You can use Swiss files for this but I always tended to end up notching the fret a bit and that shows. Instead I made a little jig for use with the Dremell and a carbide bit that lets me route that little bit of tang away. It takes about 10 minutes to do them all, easy as pie.

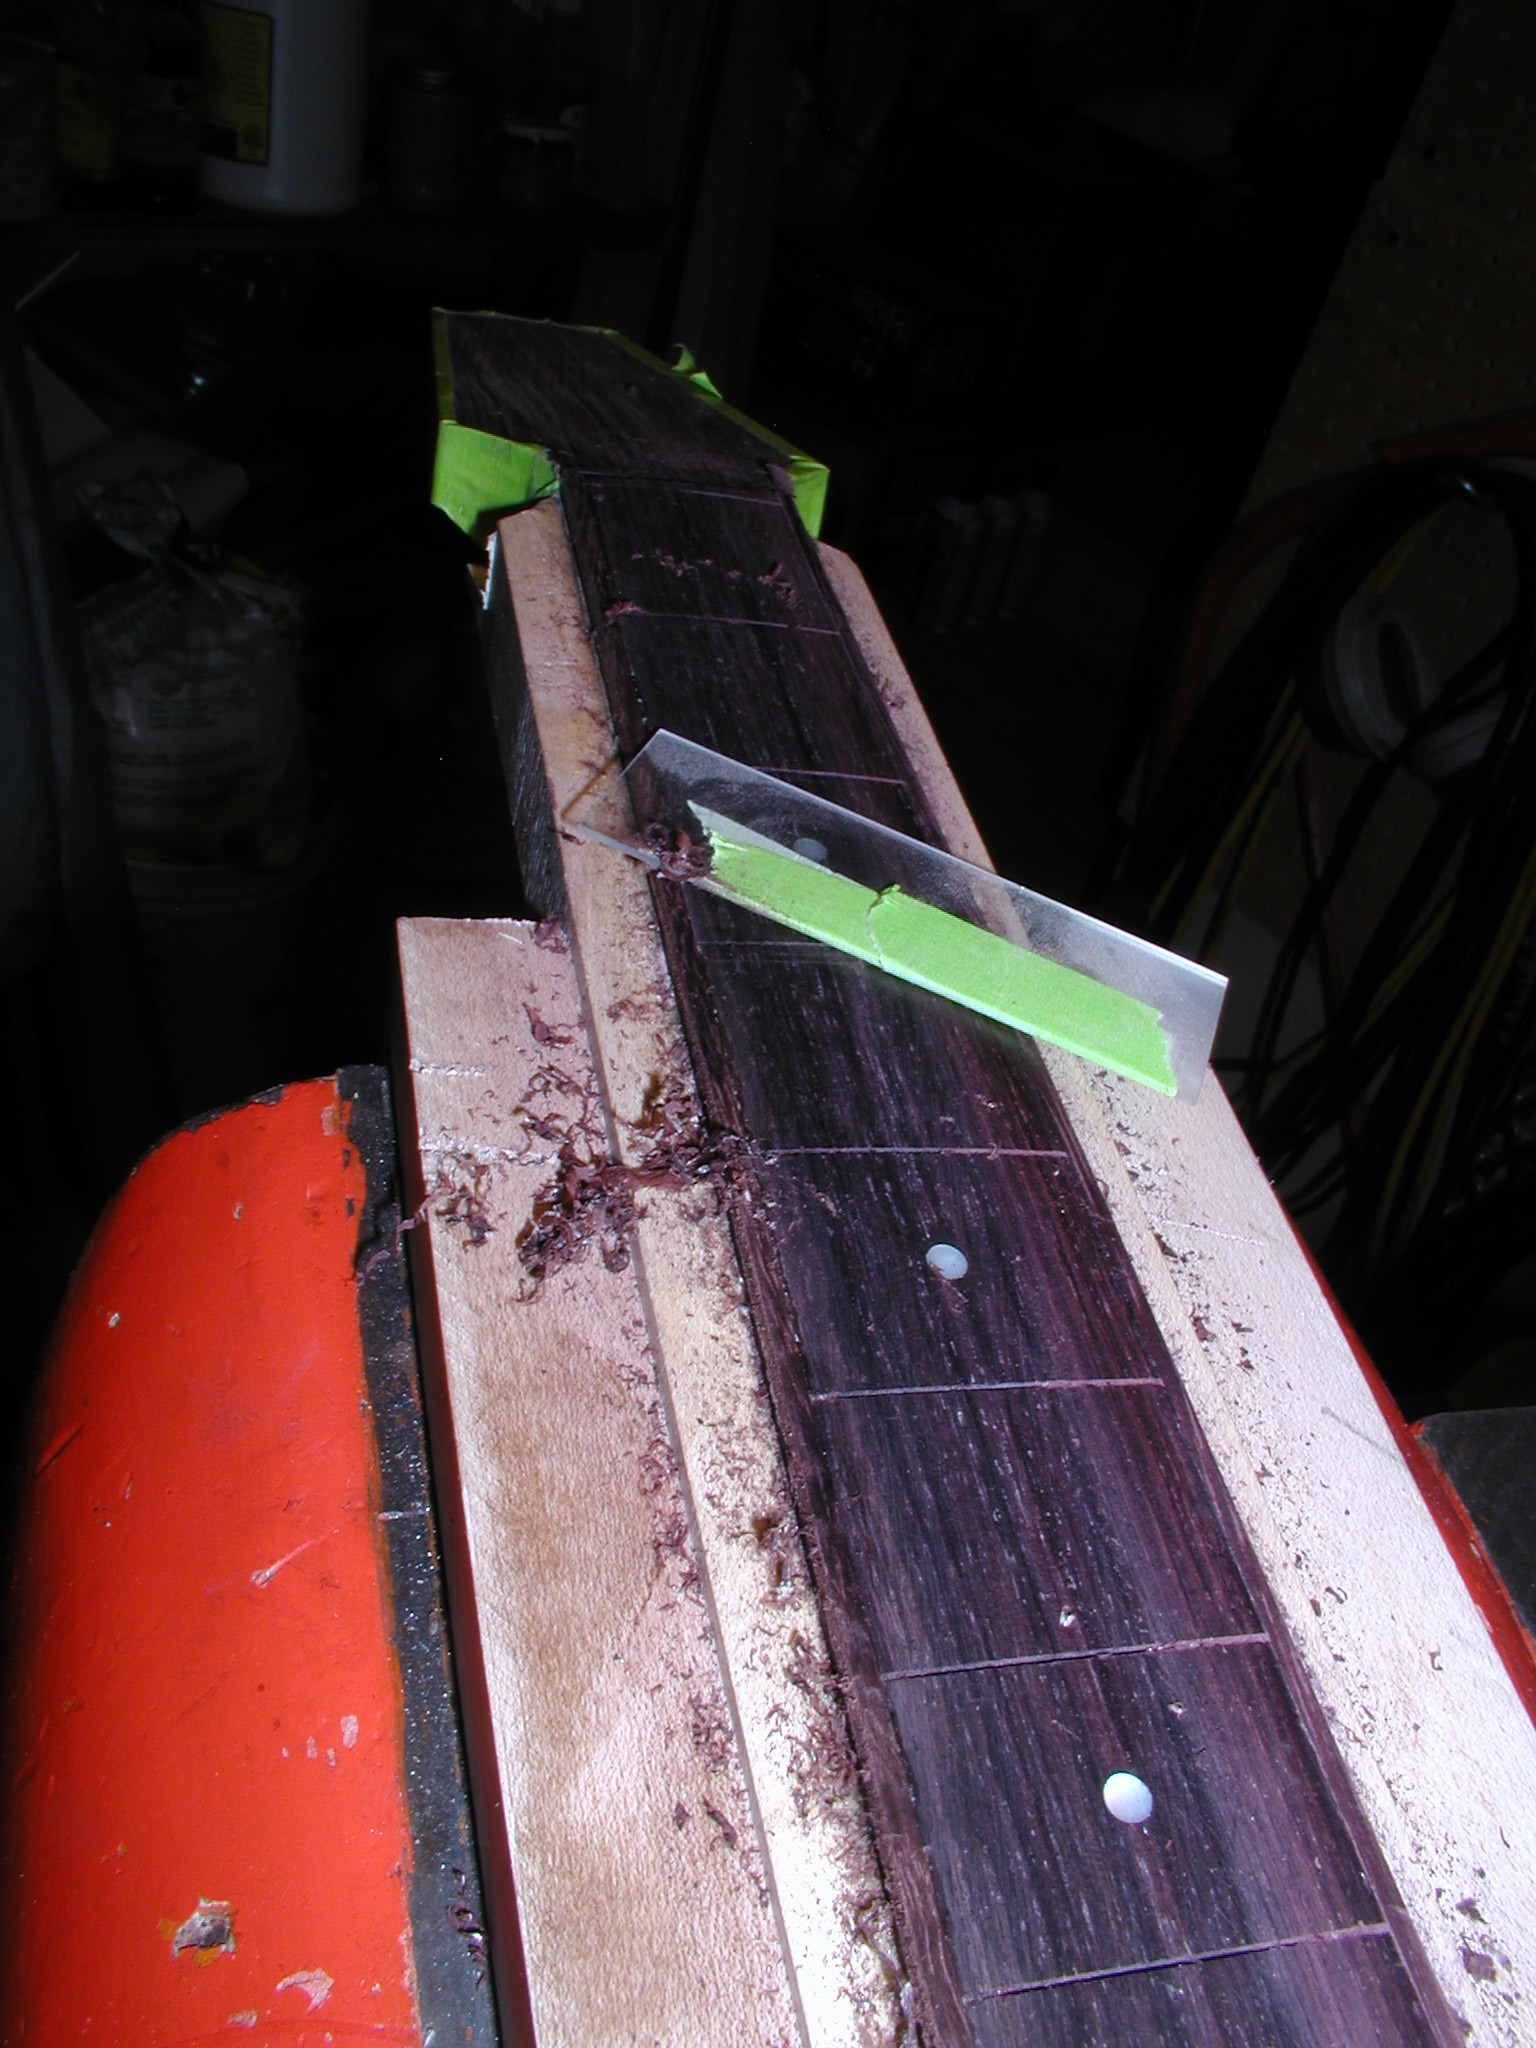
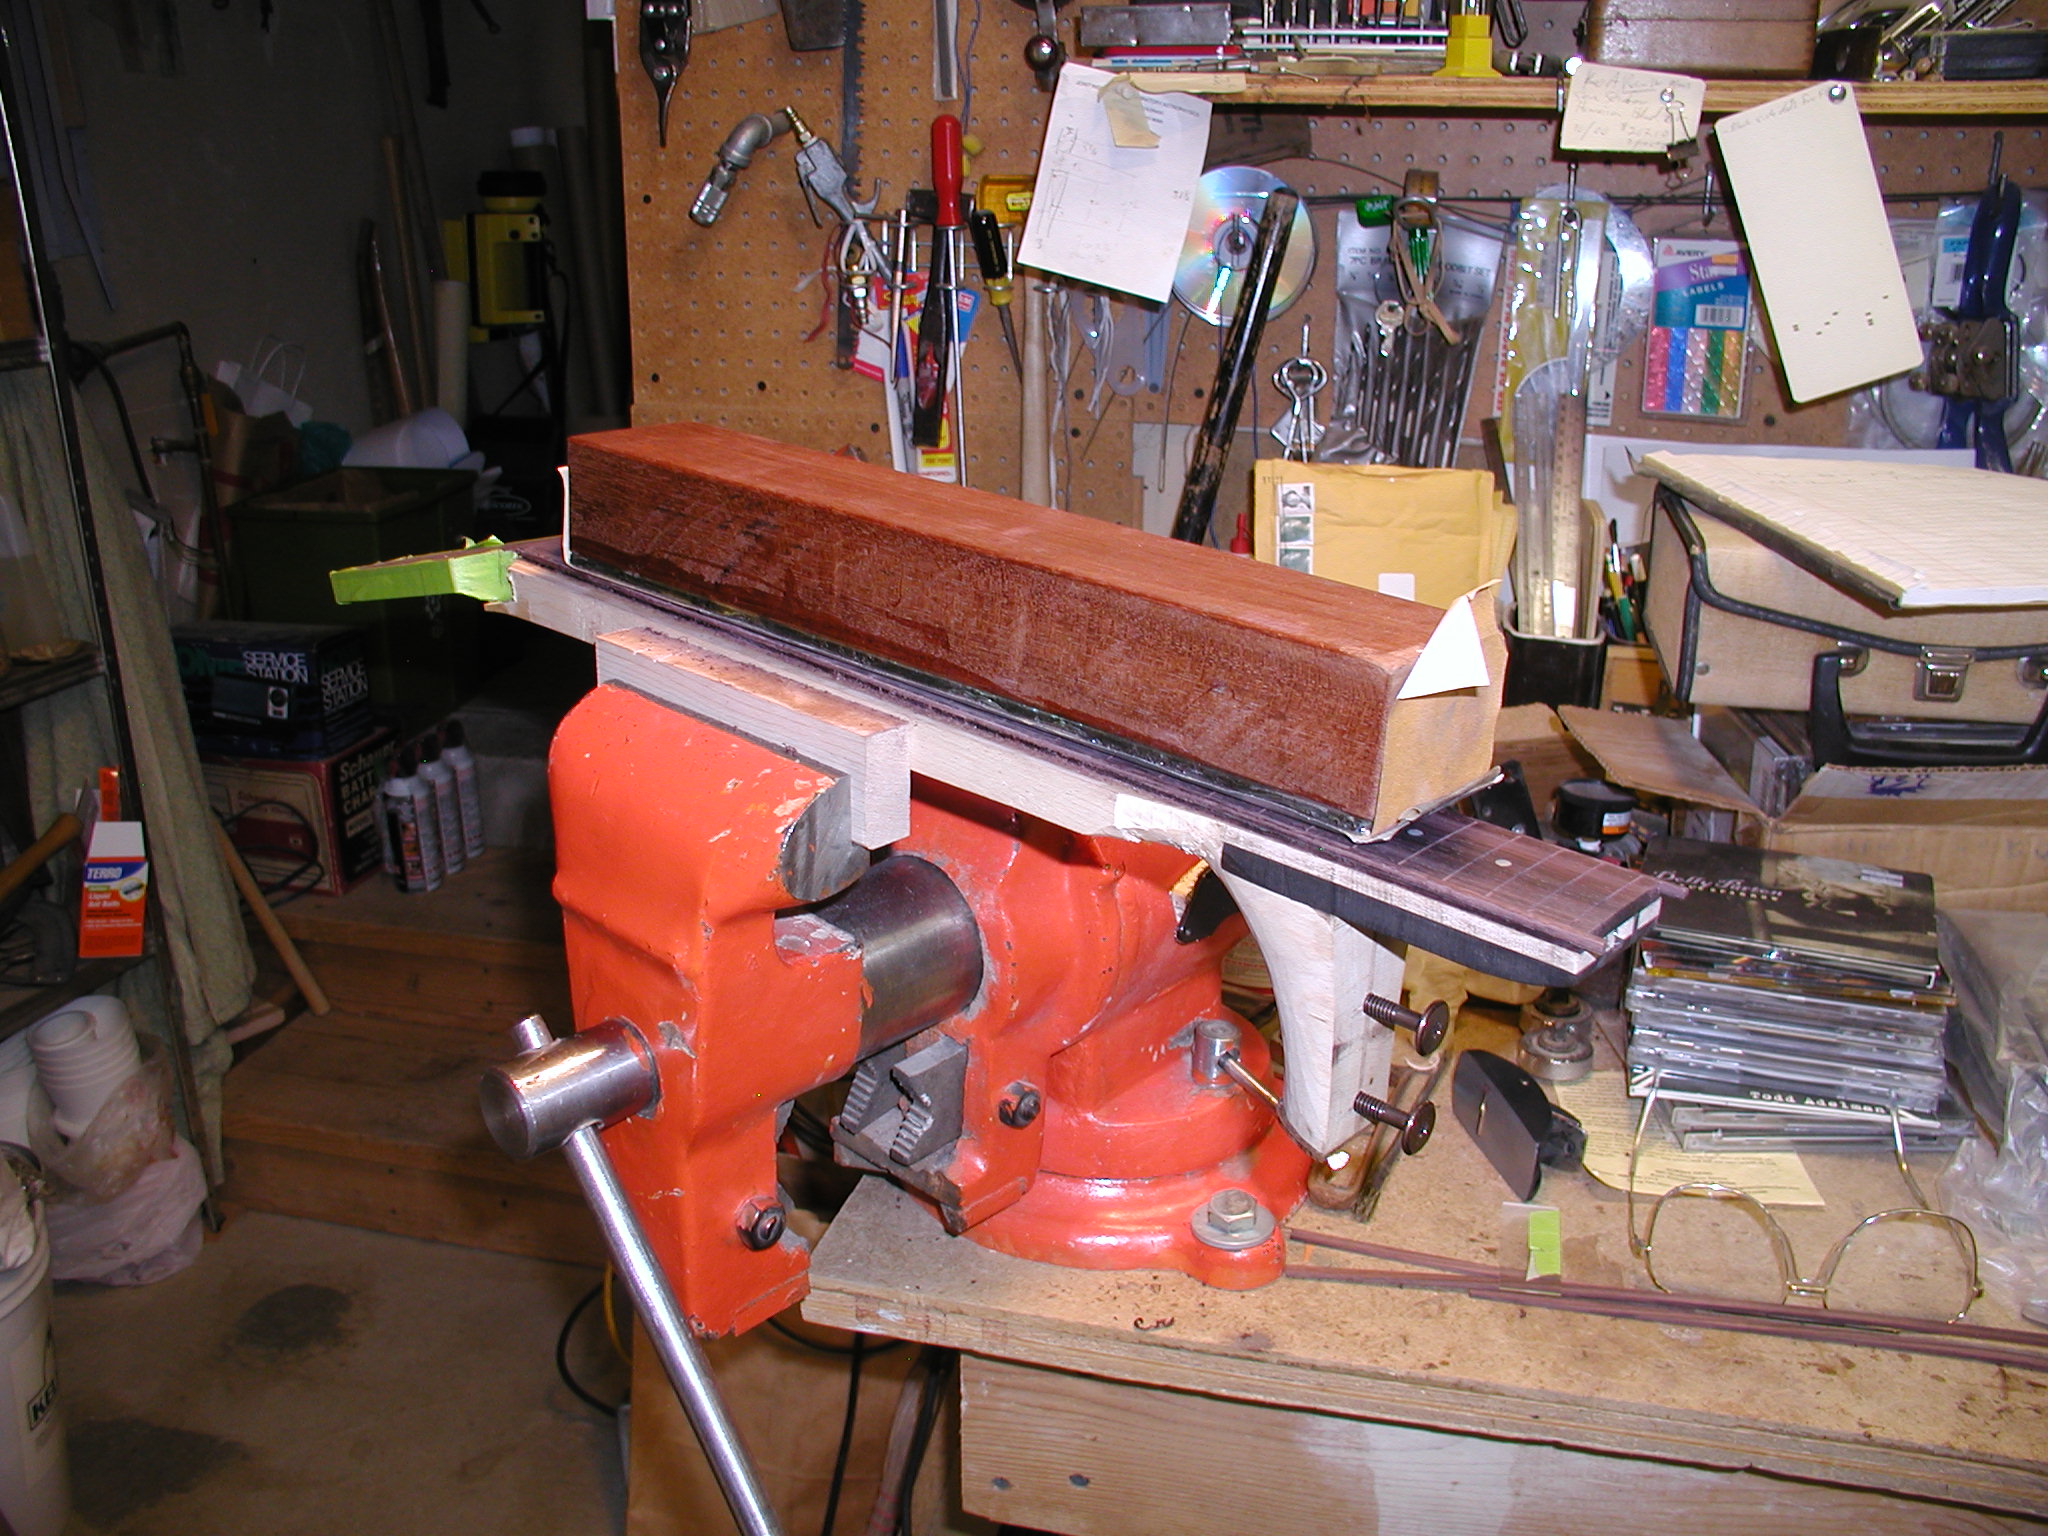
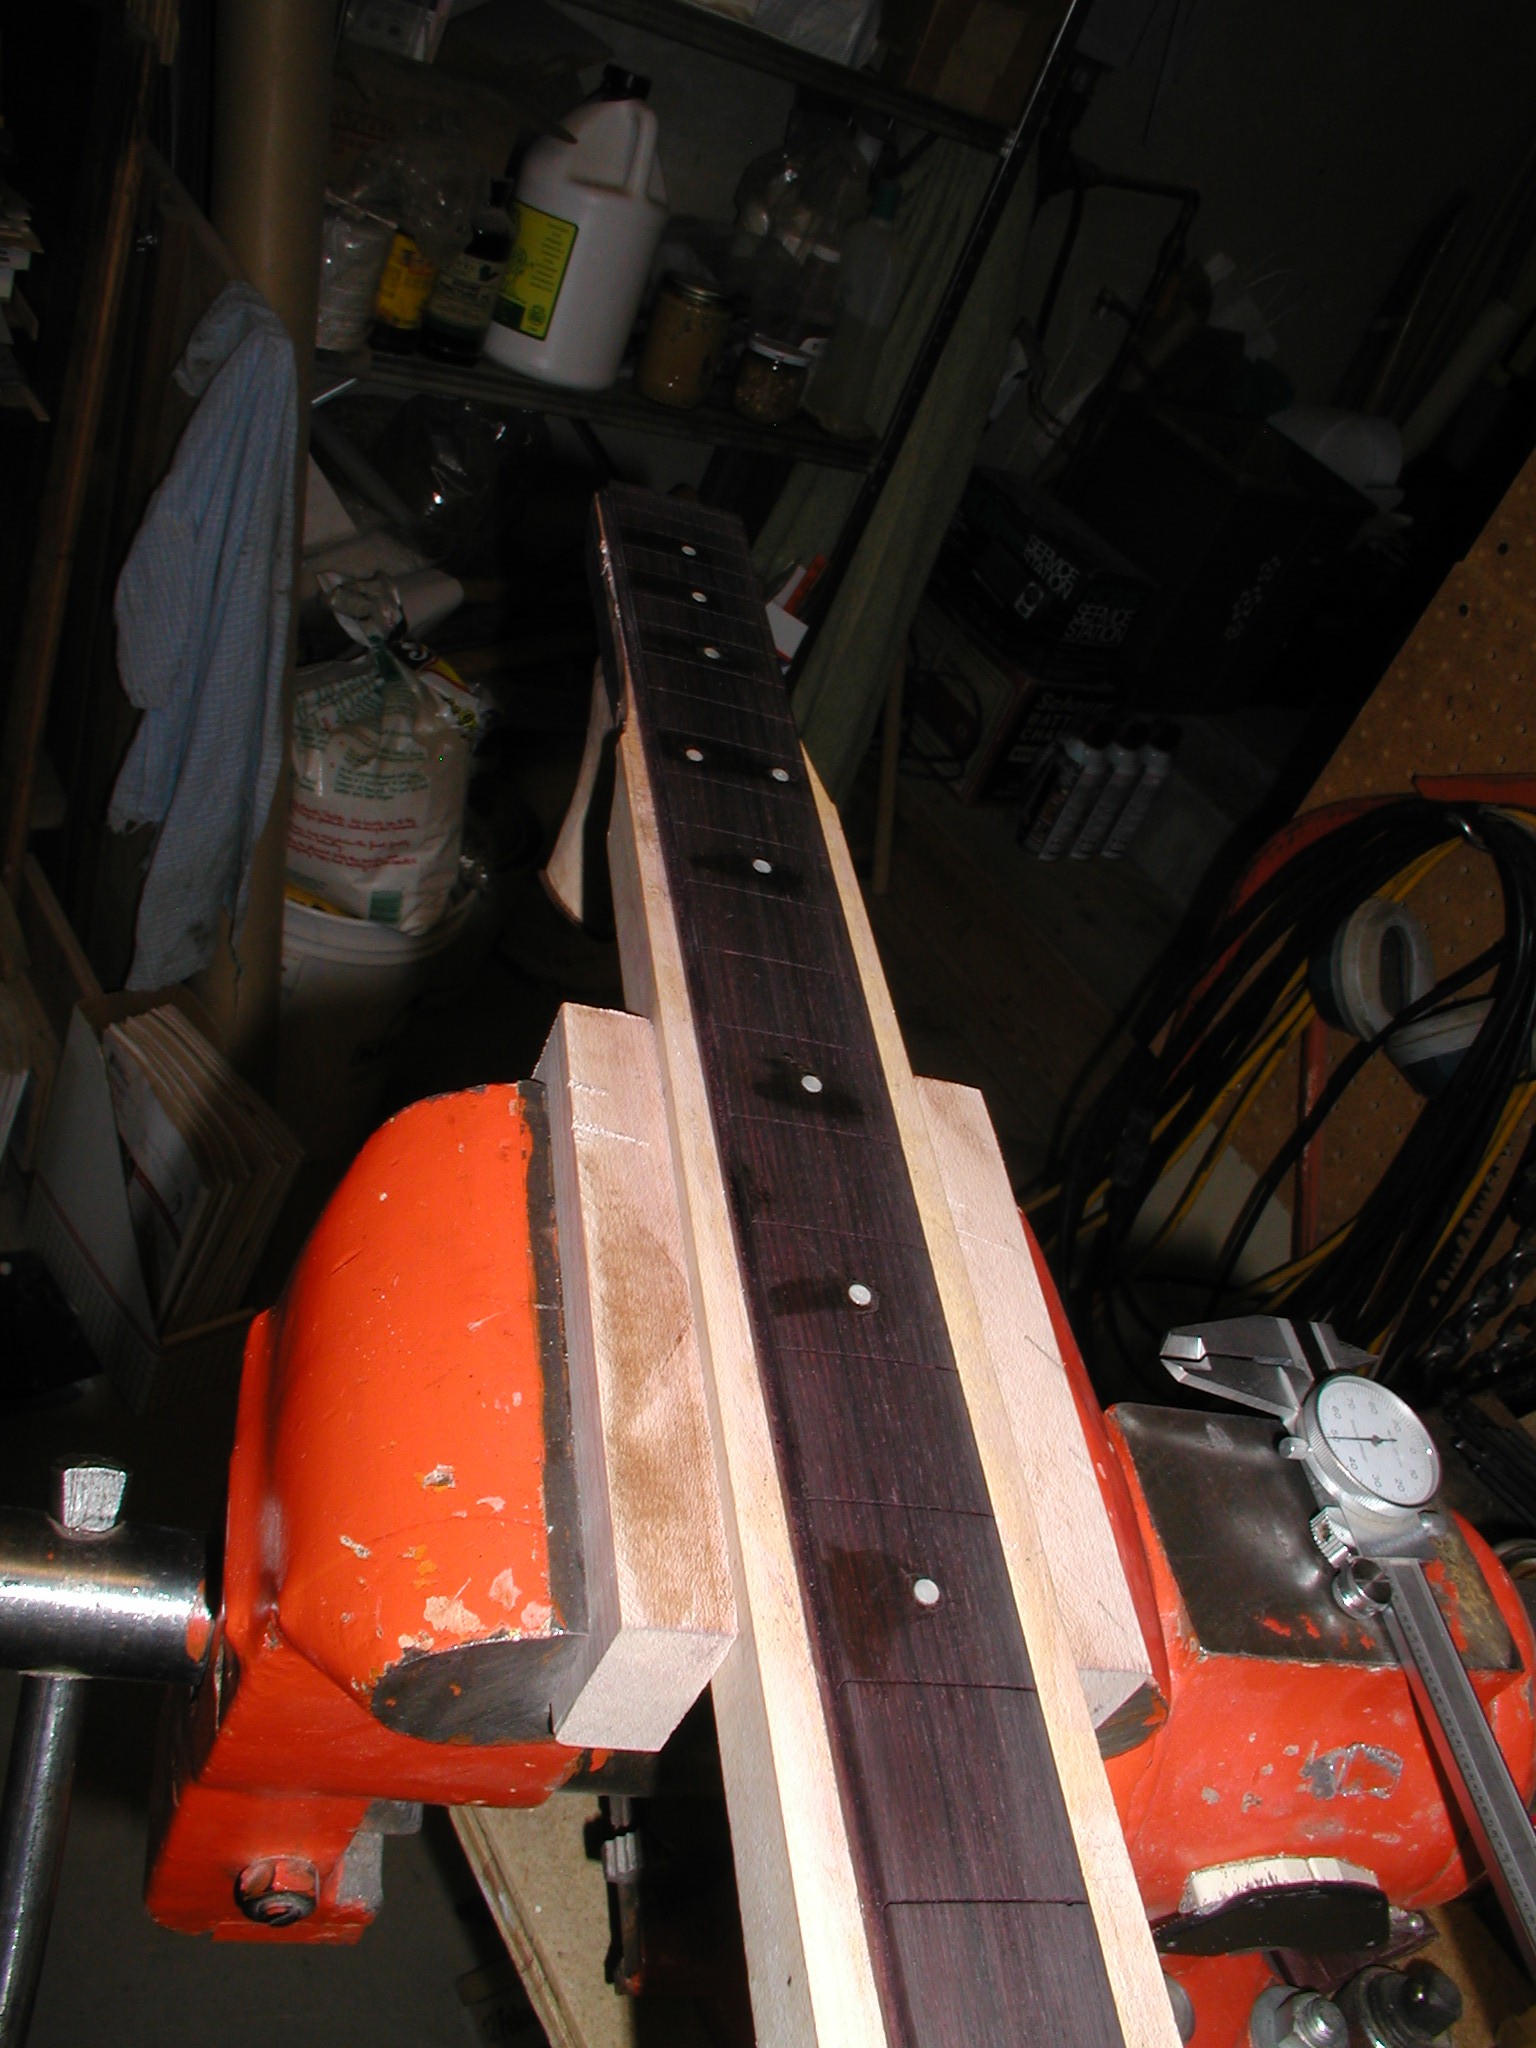
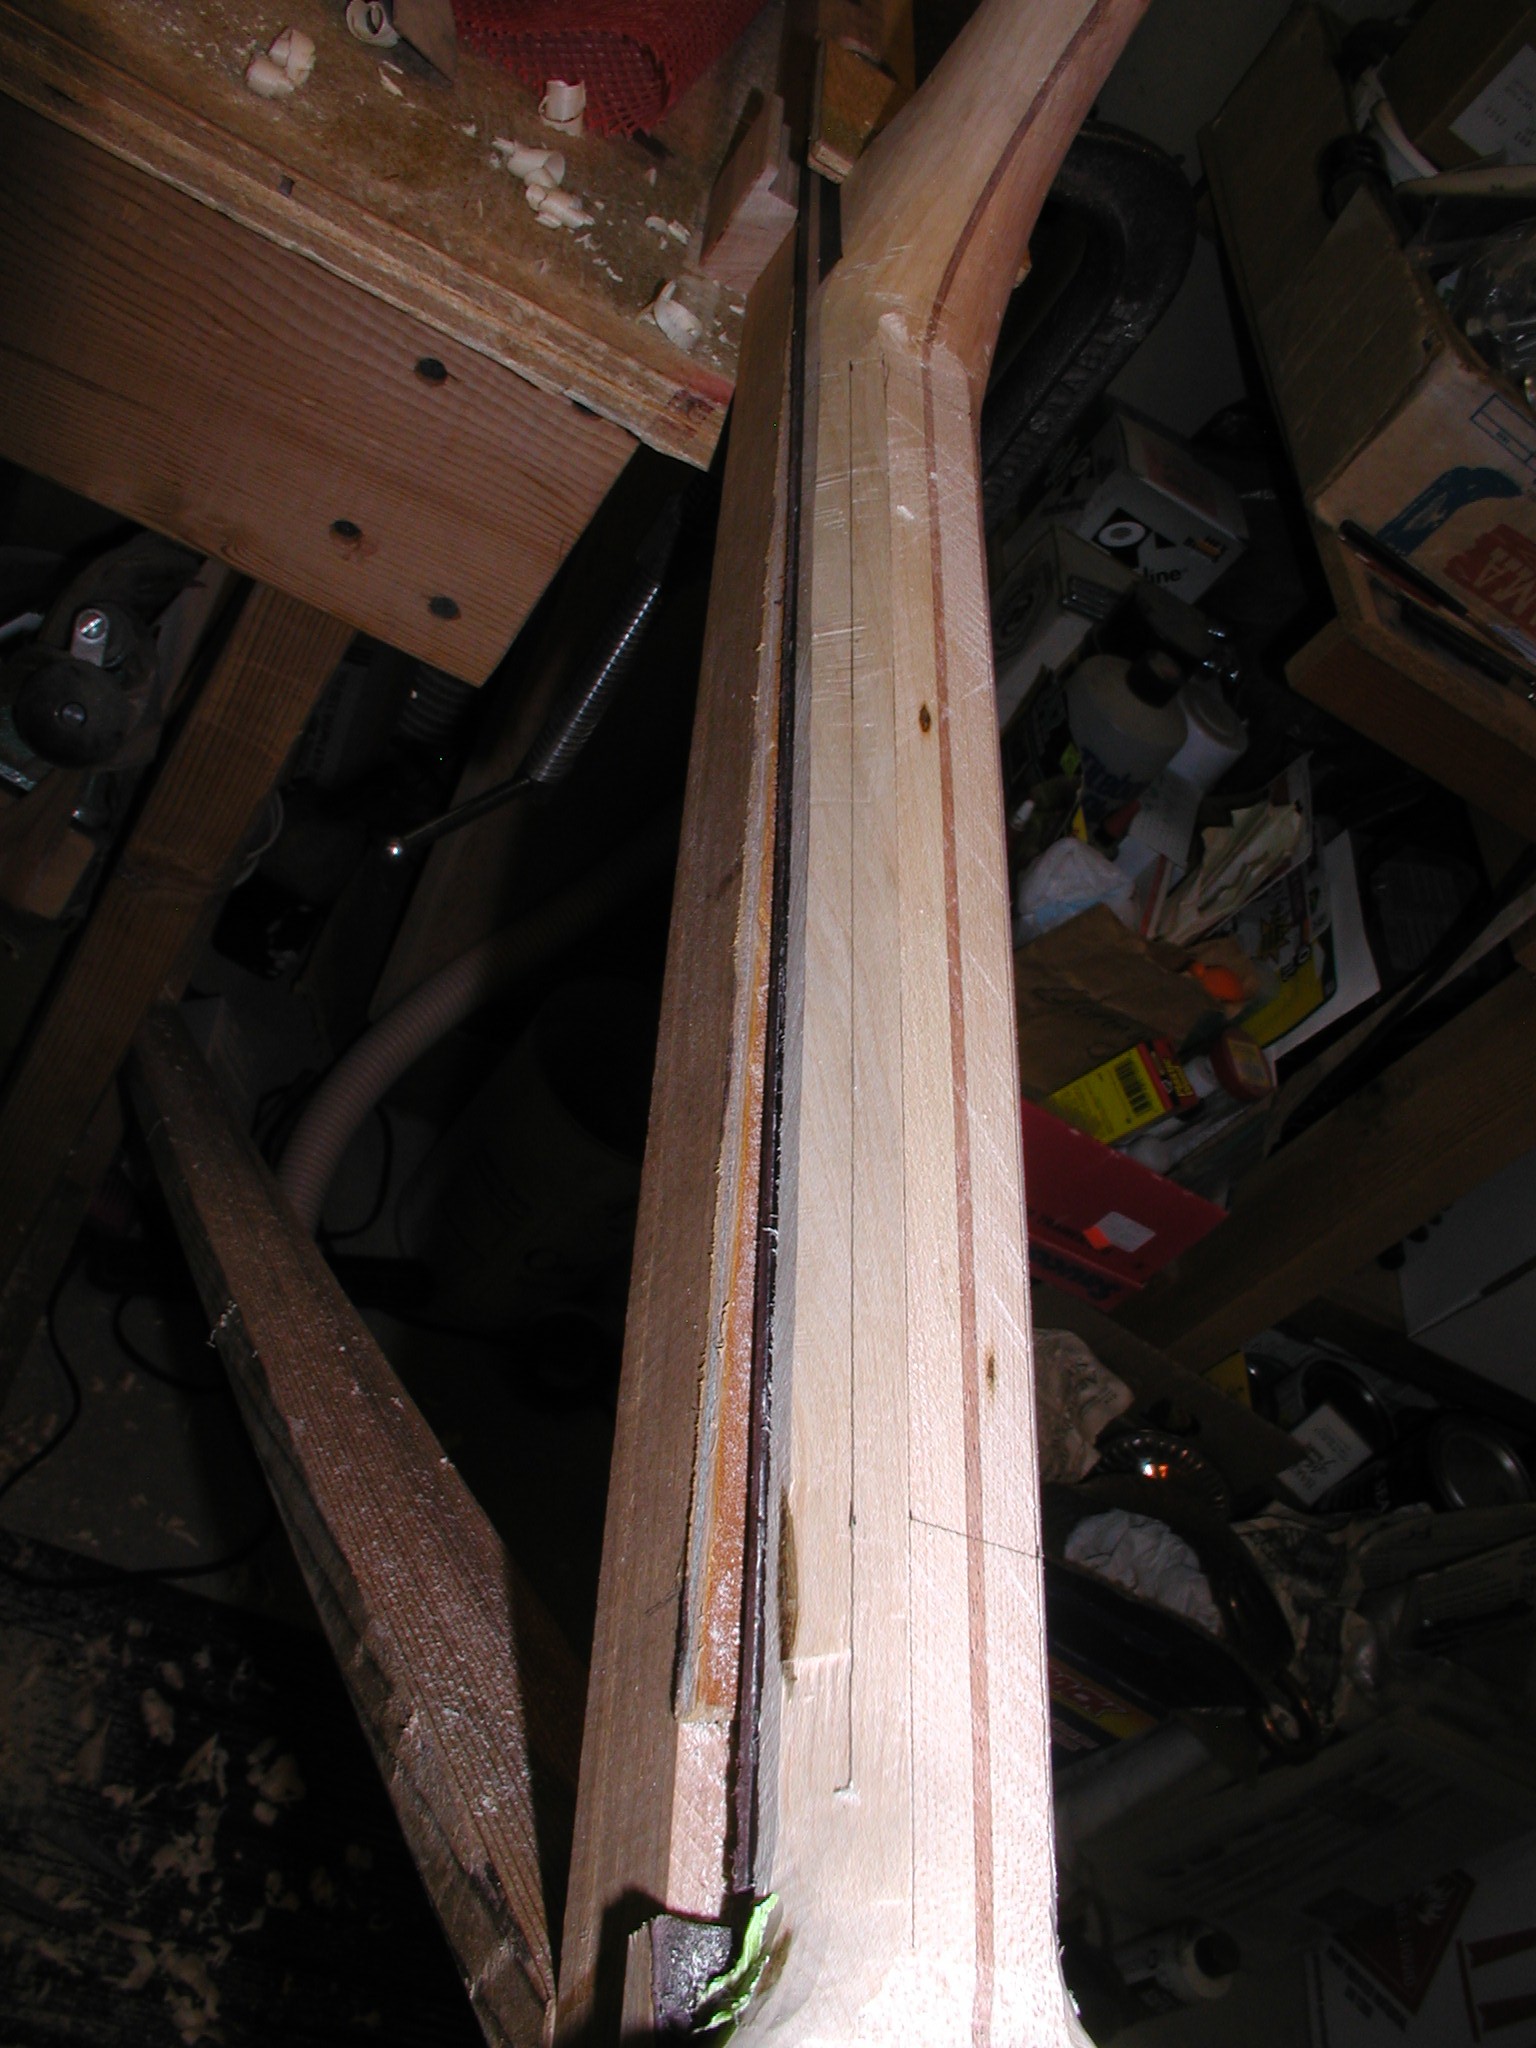
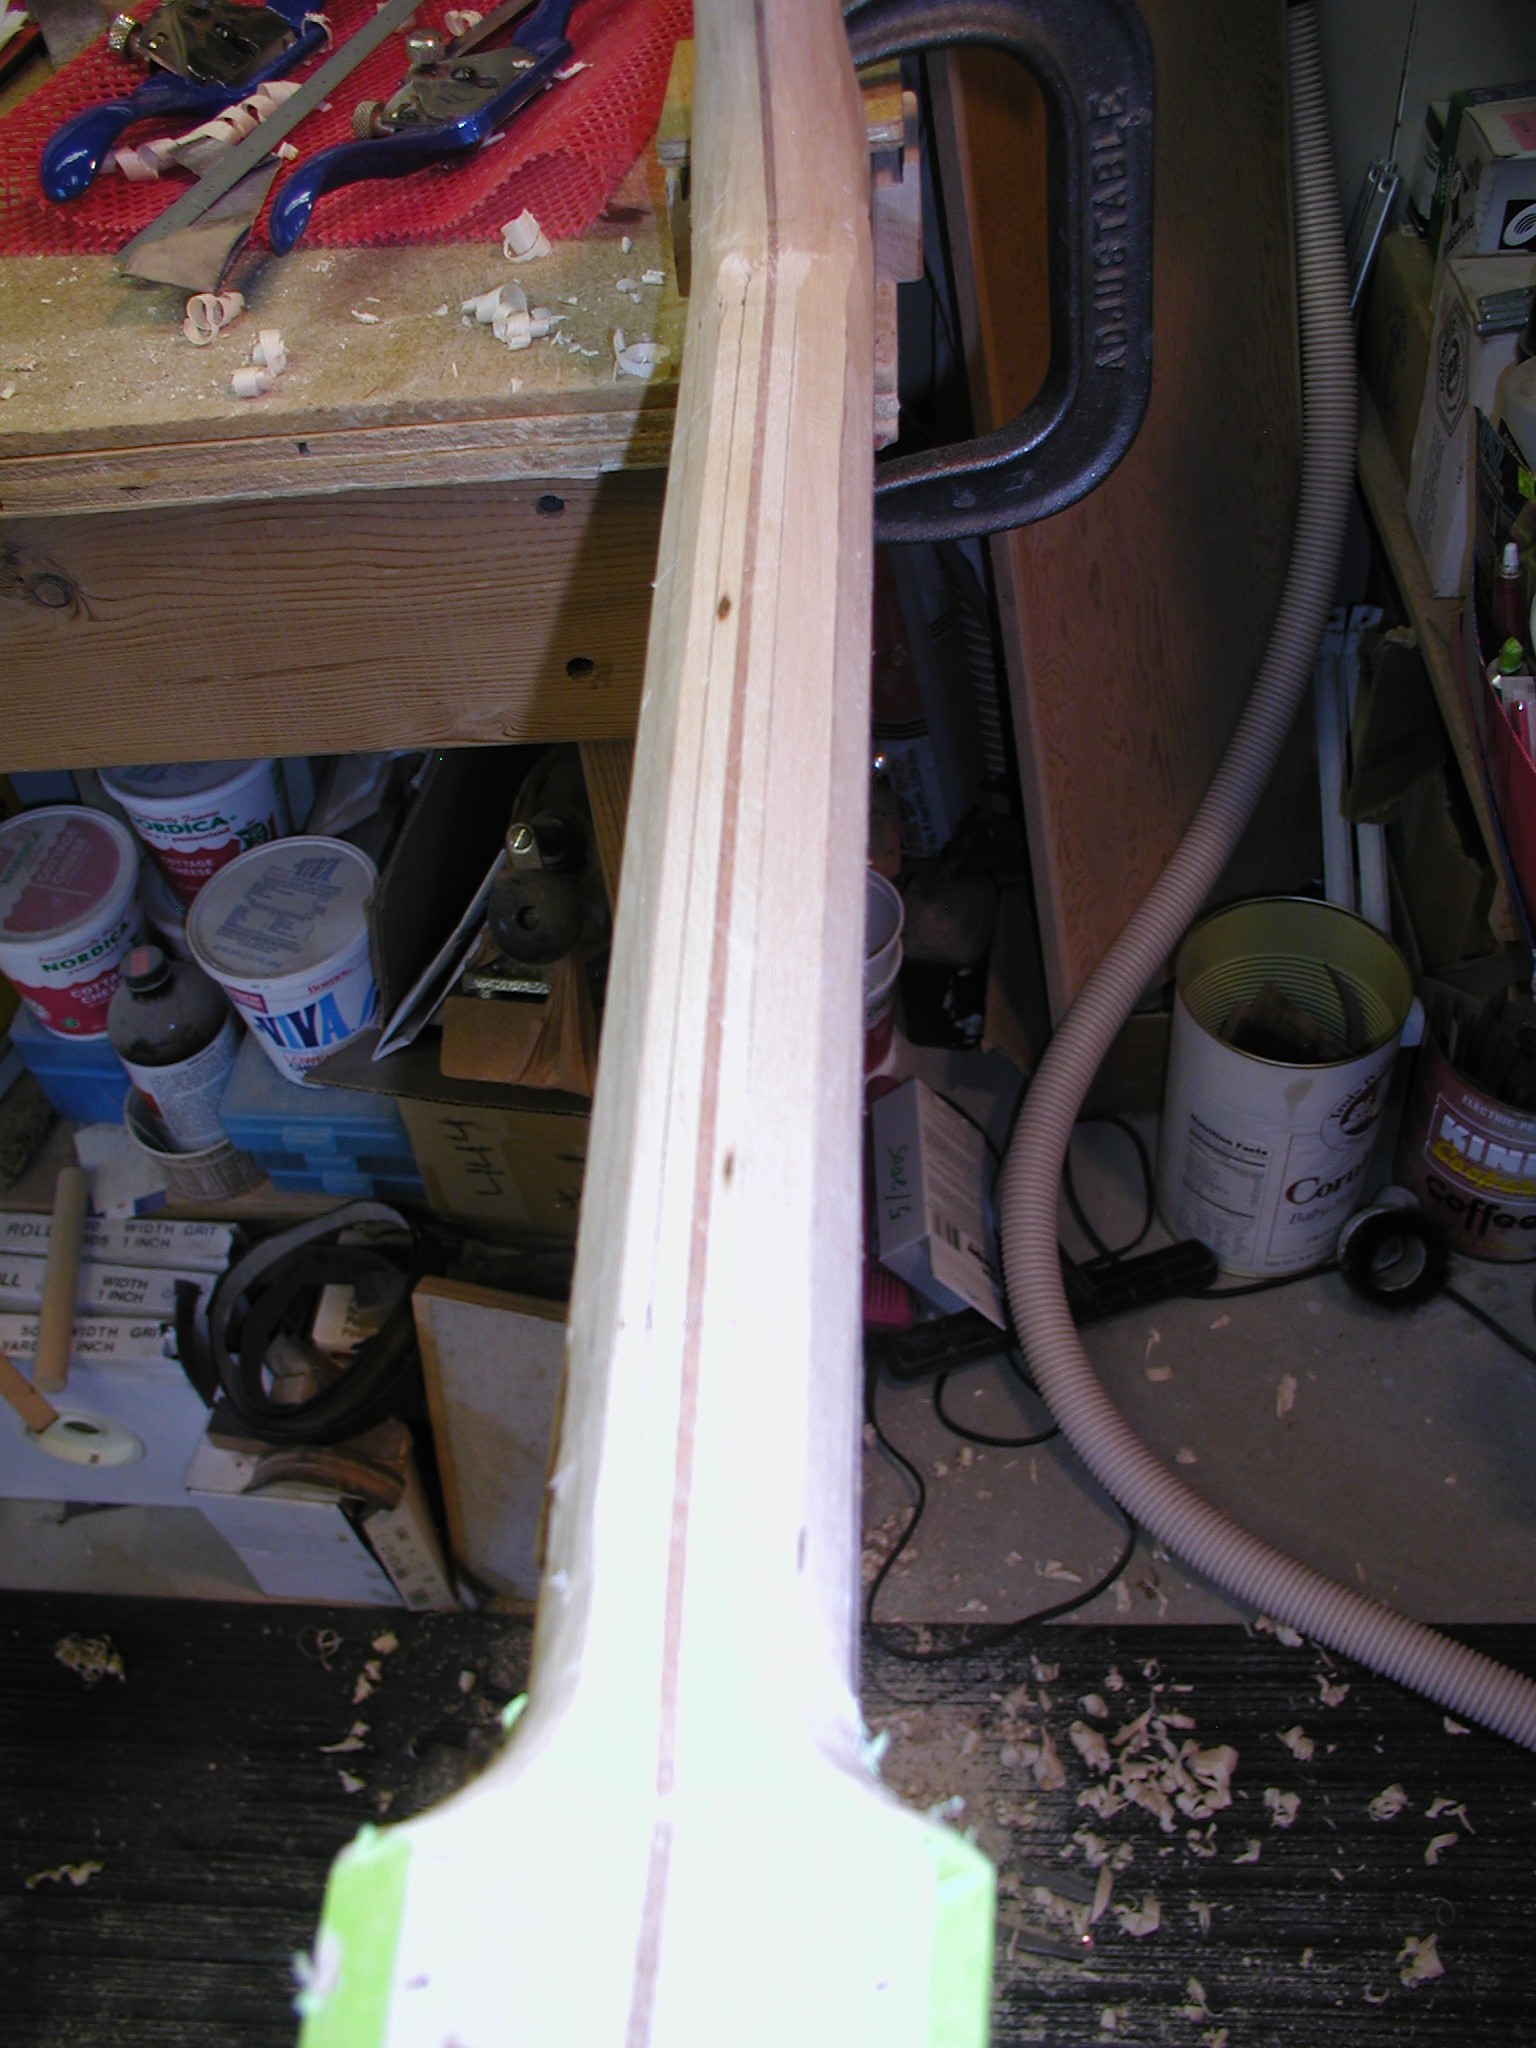
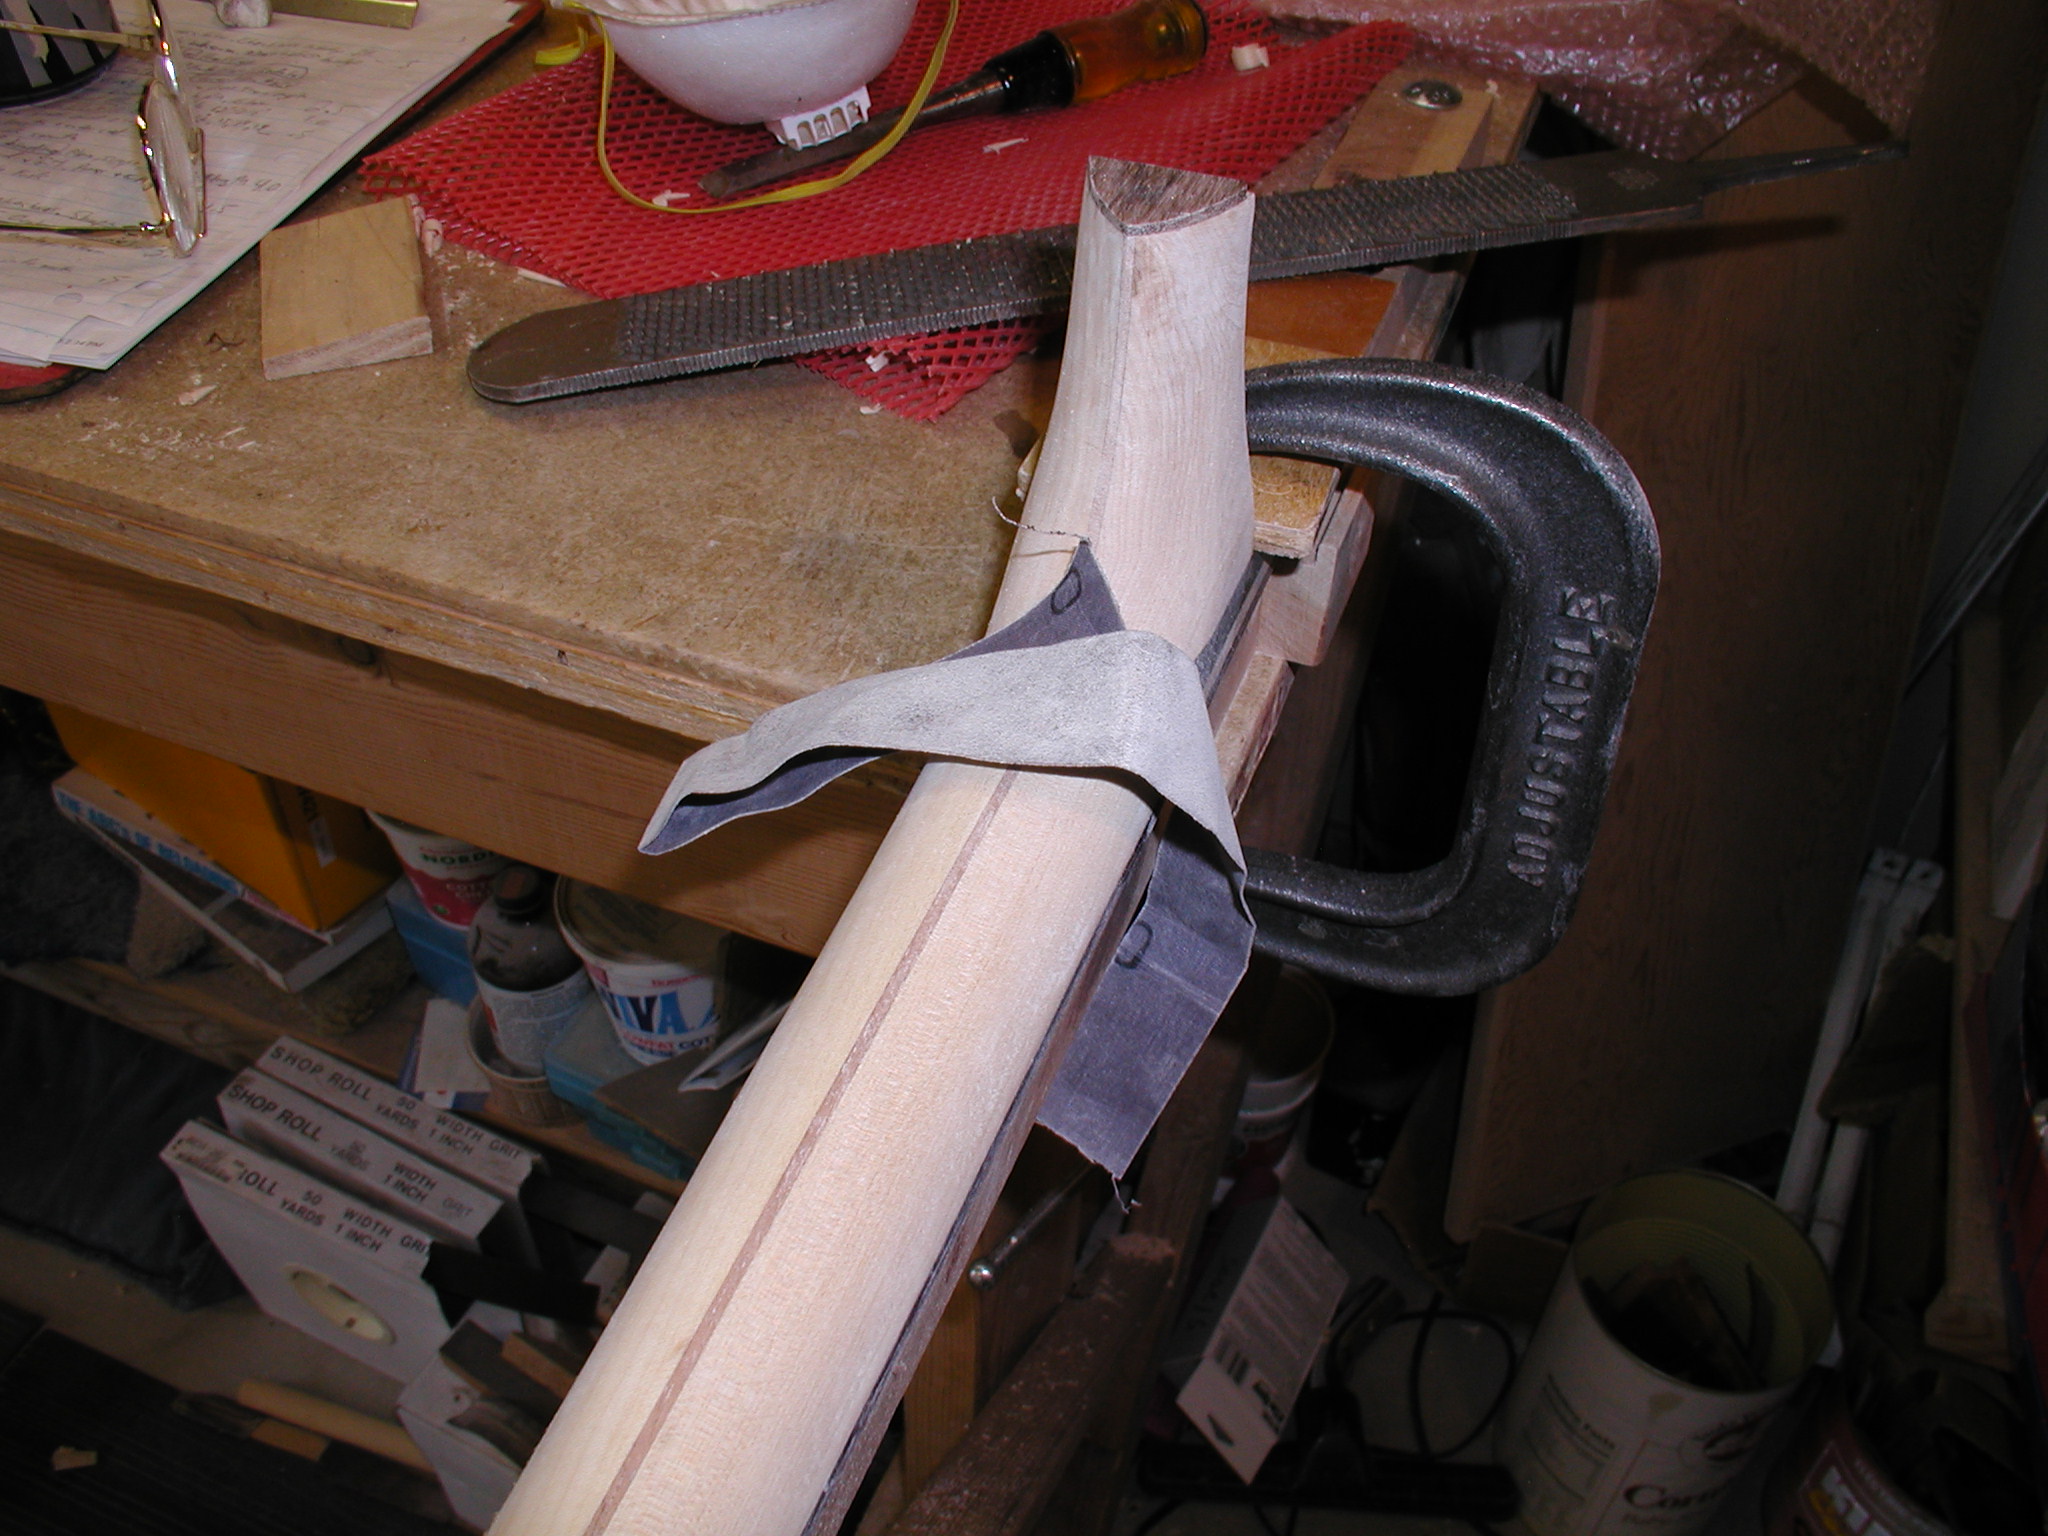
Now the fretboard binding goes on. For guitar width necks I have a clever jig, but here I just do it the old fashioned way with tape. You need to be careful about squeeze out in the fret slots here. I glue it up and let sit for about 20 minutes with the fish or hide glue, maybe 5 minutes with Titebond. Then I lift individual pieces of tape and use a thin hook shaped tool, made from a piece of 0.020" thick brass sheet, to clean out any glue from the slots. Then re-tape and let dry. I first bring the binding down with my low-angle block plane, but be very careful that you don't dag the fretboard. When it gets close I use scrapers to bring it the last bit. Hold the scraper at an angle so it doesn't catch in the fret slots. I also tape the end of the scraper that is on the fretboard to keep it from making marks. Last of all, true up with the glass bottom sanding plane. I go out to 600 grit at this point and round off the edges of the board too. If you are doing regular frets, not the semi-hemi ones, then don't bevel the fretboard edge, leave it sharp. It will get beveled when you clean the fret ends with a file.
Back to fretting again, I do the semi-hemi ends and fit them lengthwise to get a nice straight line of the ends. If they are off a little bit I put the wiggle on the bass side. I press in the frets rather than hammering and I use a combination of the press and clamps. The clamping is a modification of a method I picked up from Scott and John Baxendale, very clever. I press in the frets, then wick a bit of CA glue under the fret and clamp it to hold it in place. You just proceed down the board till done. Frets in the extension part have had their tang barbs reduced a bit so that they aren't compression fretting that weaker area, all they need there is to just stay in place.

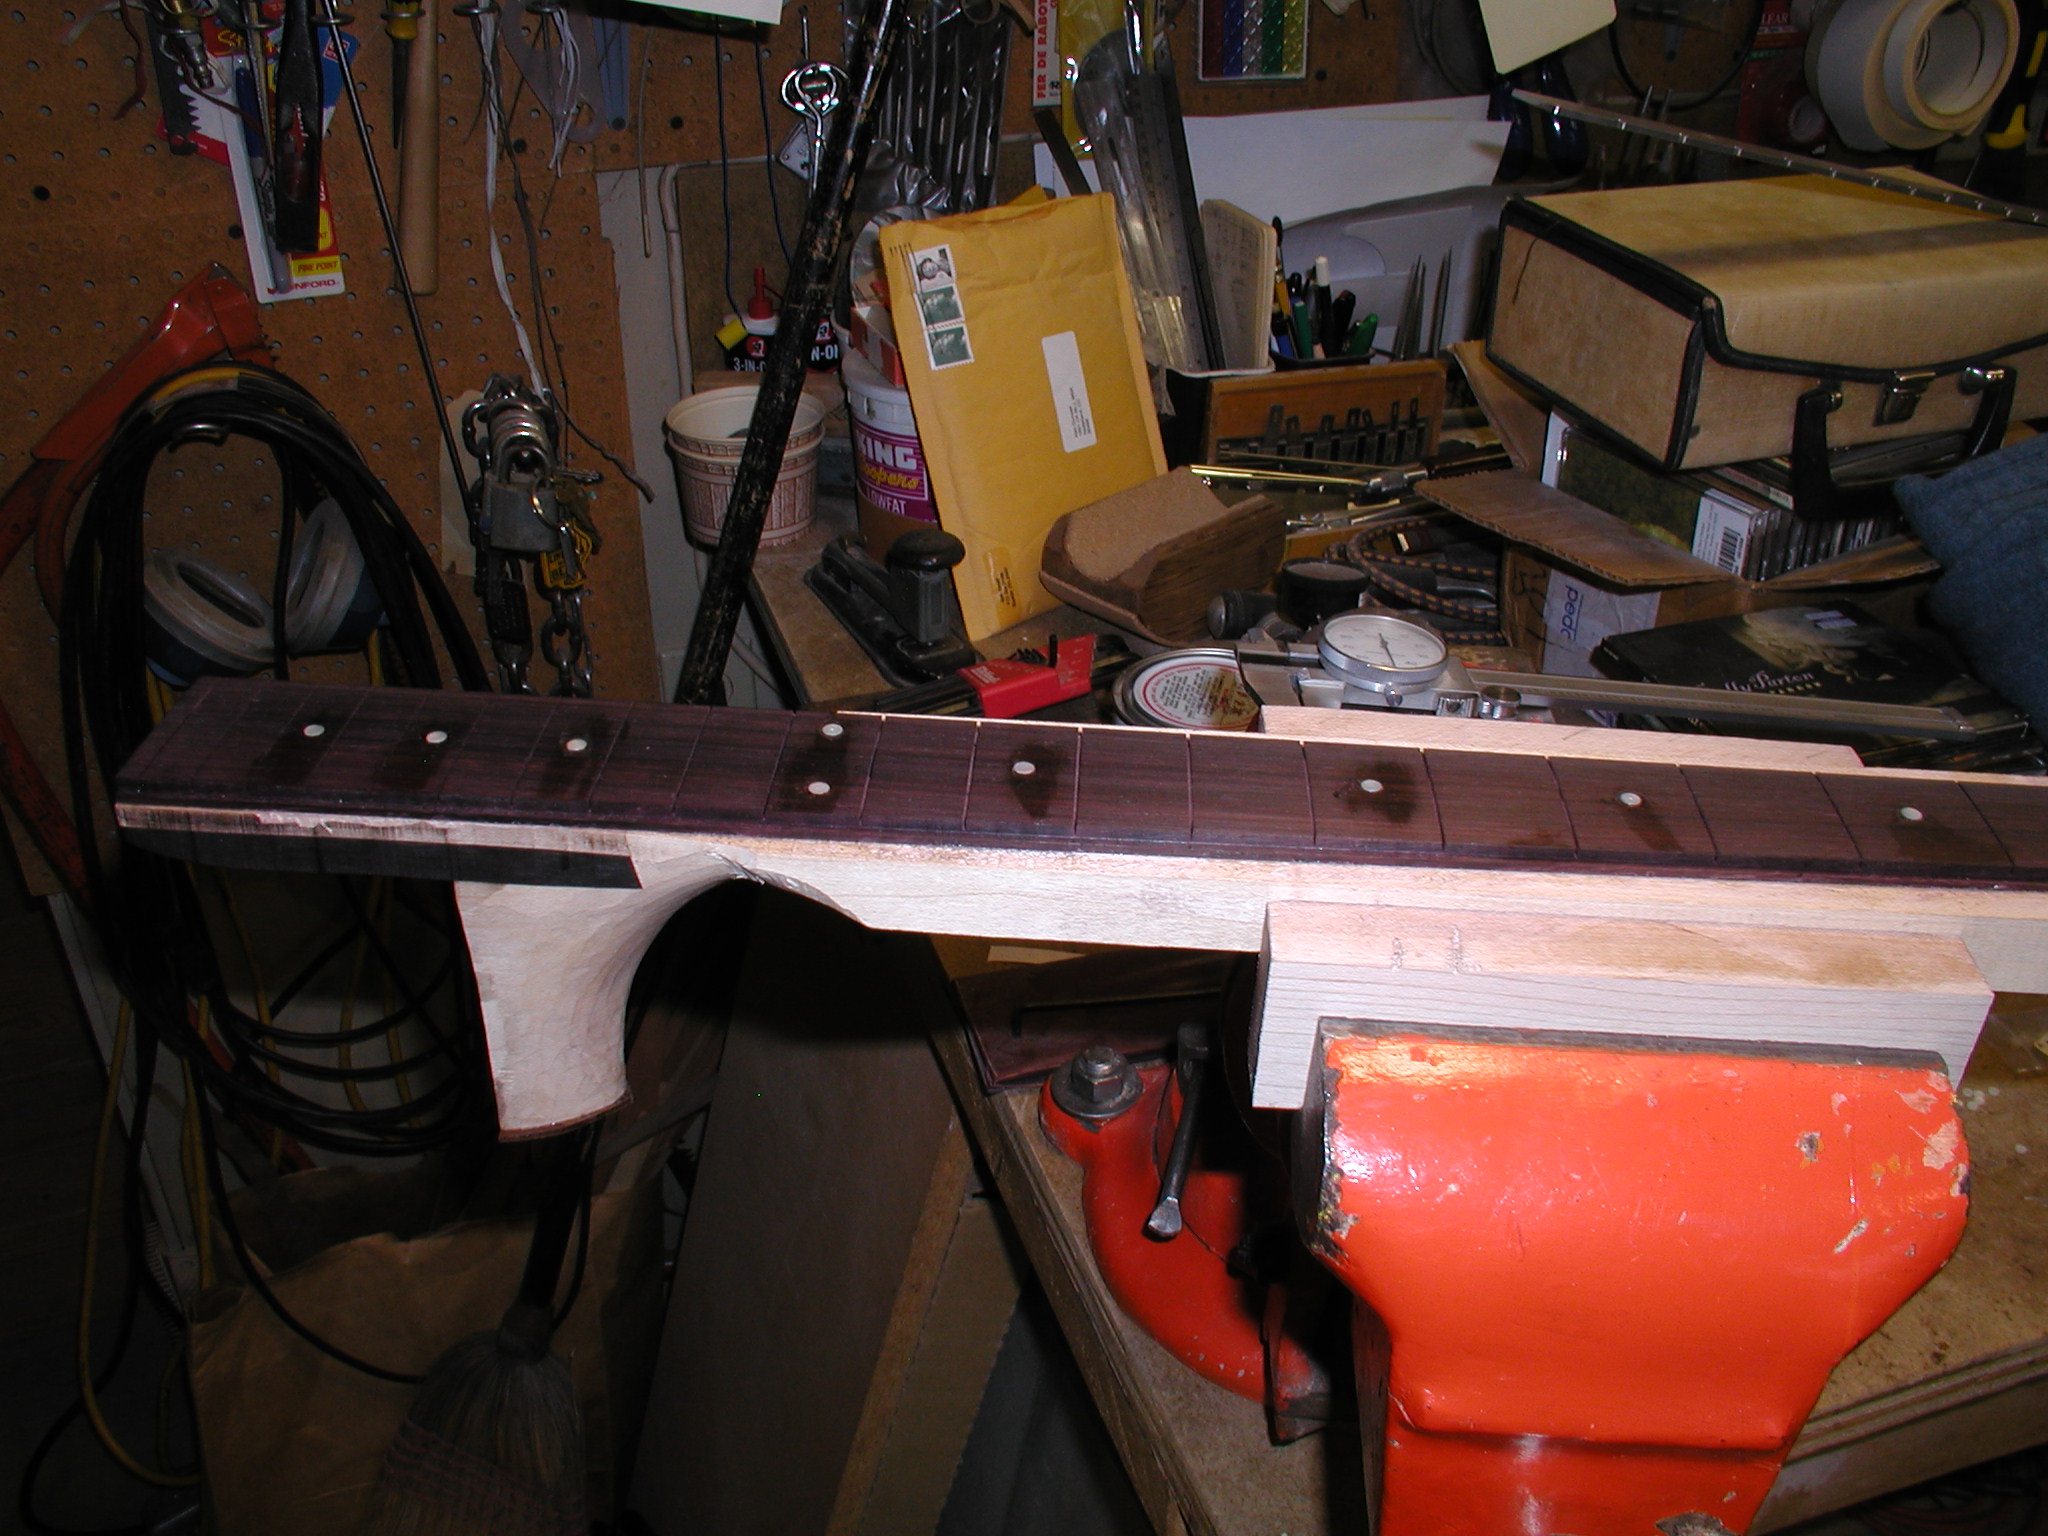
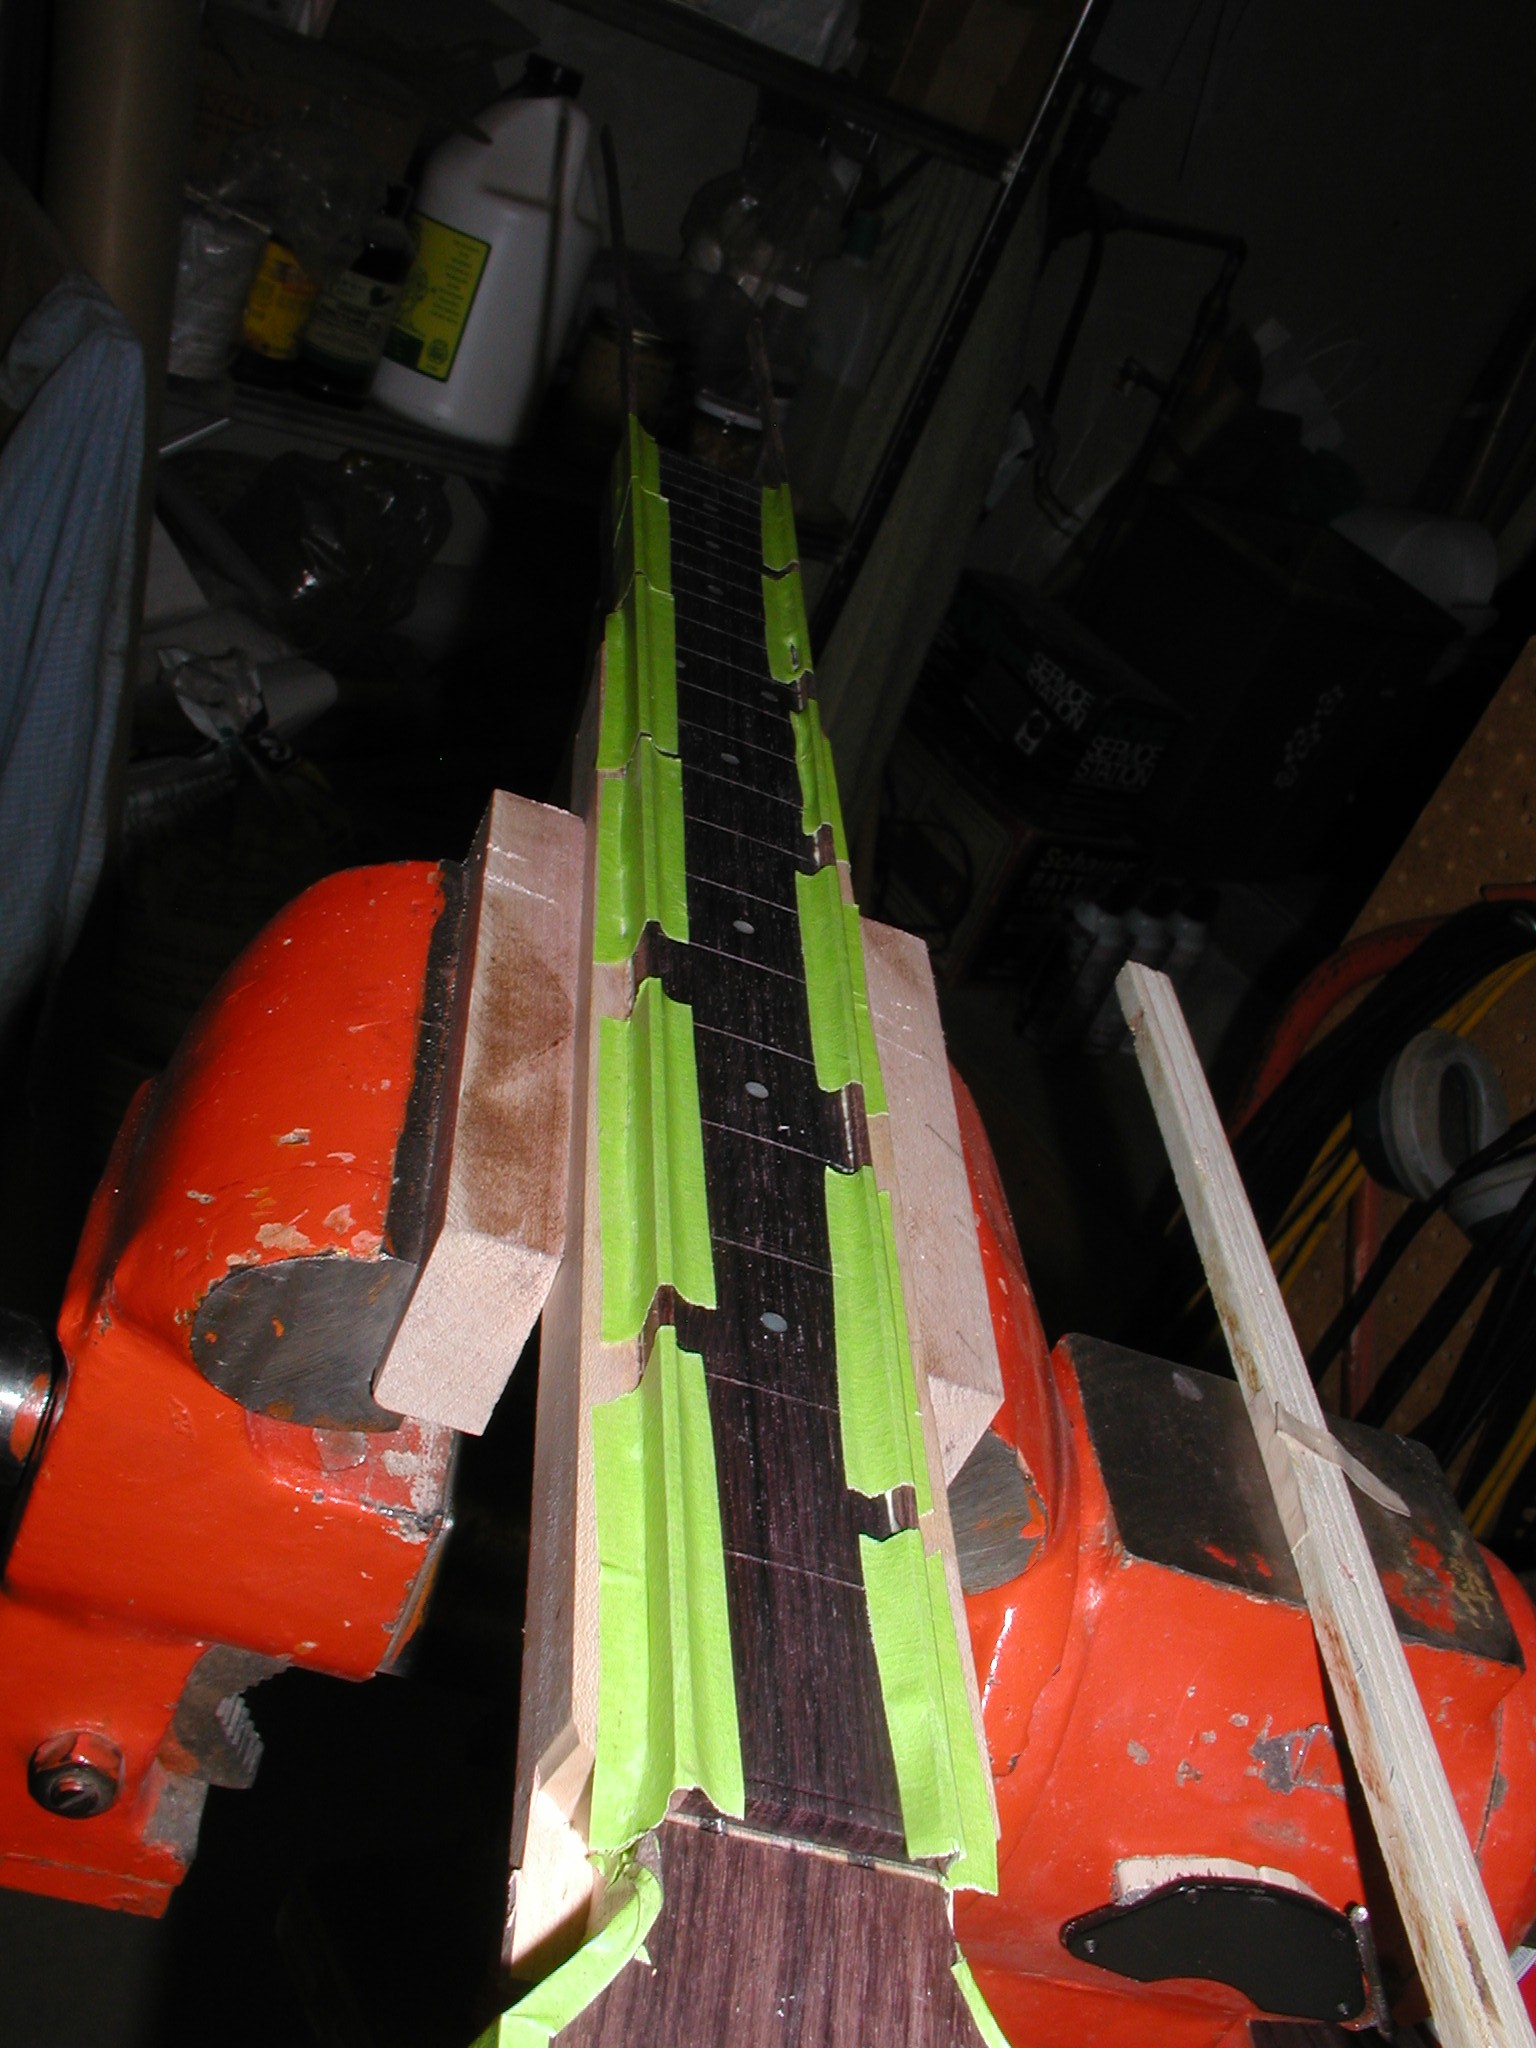
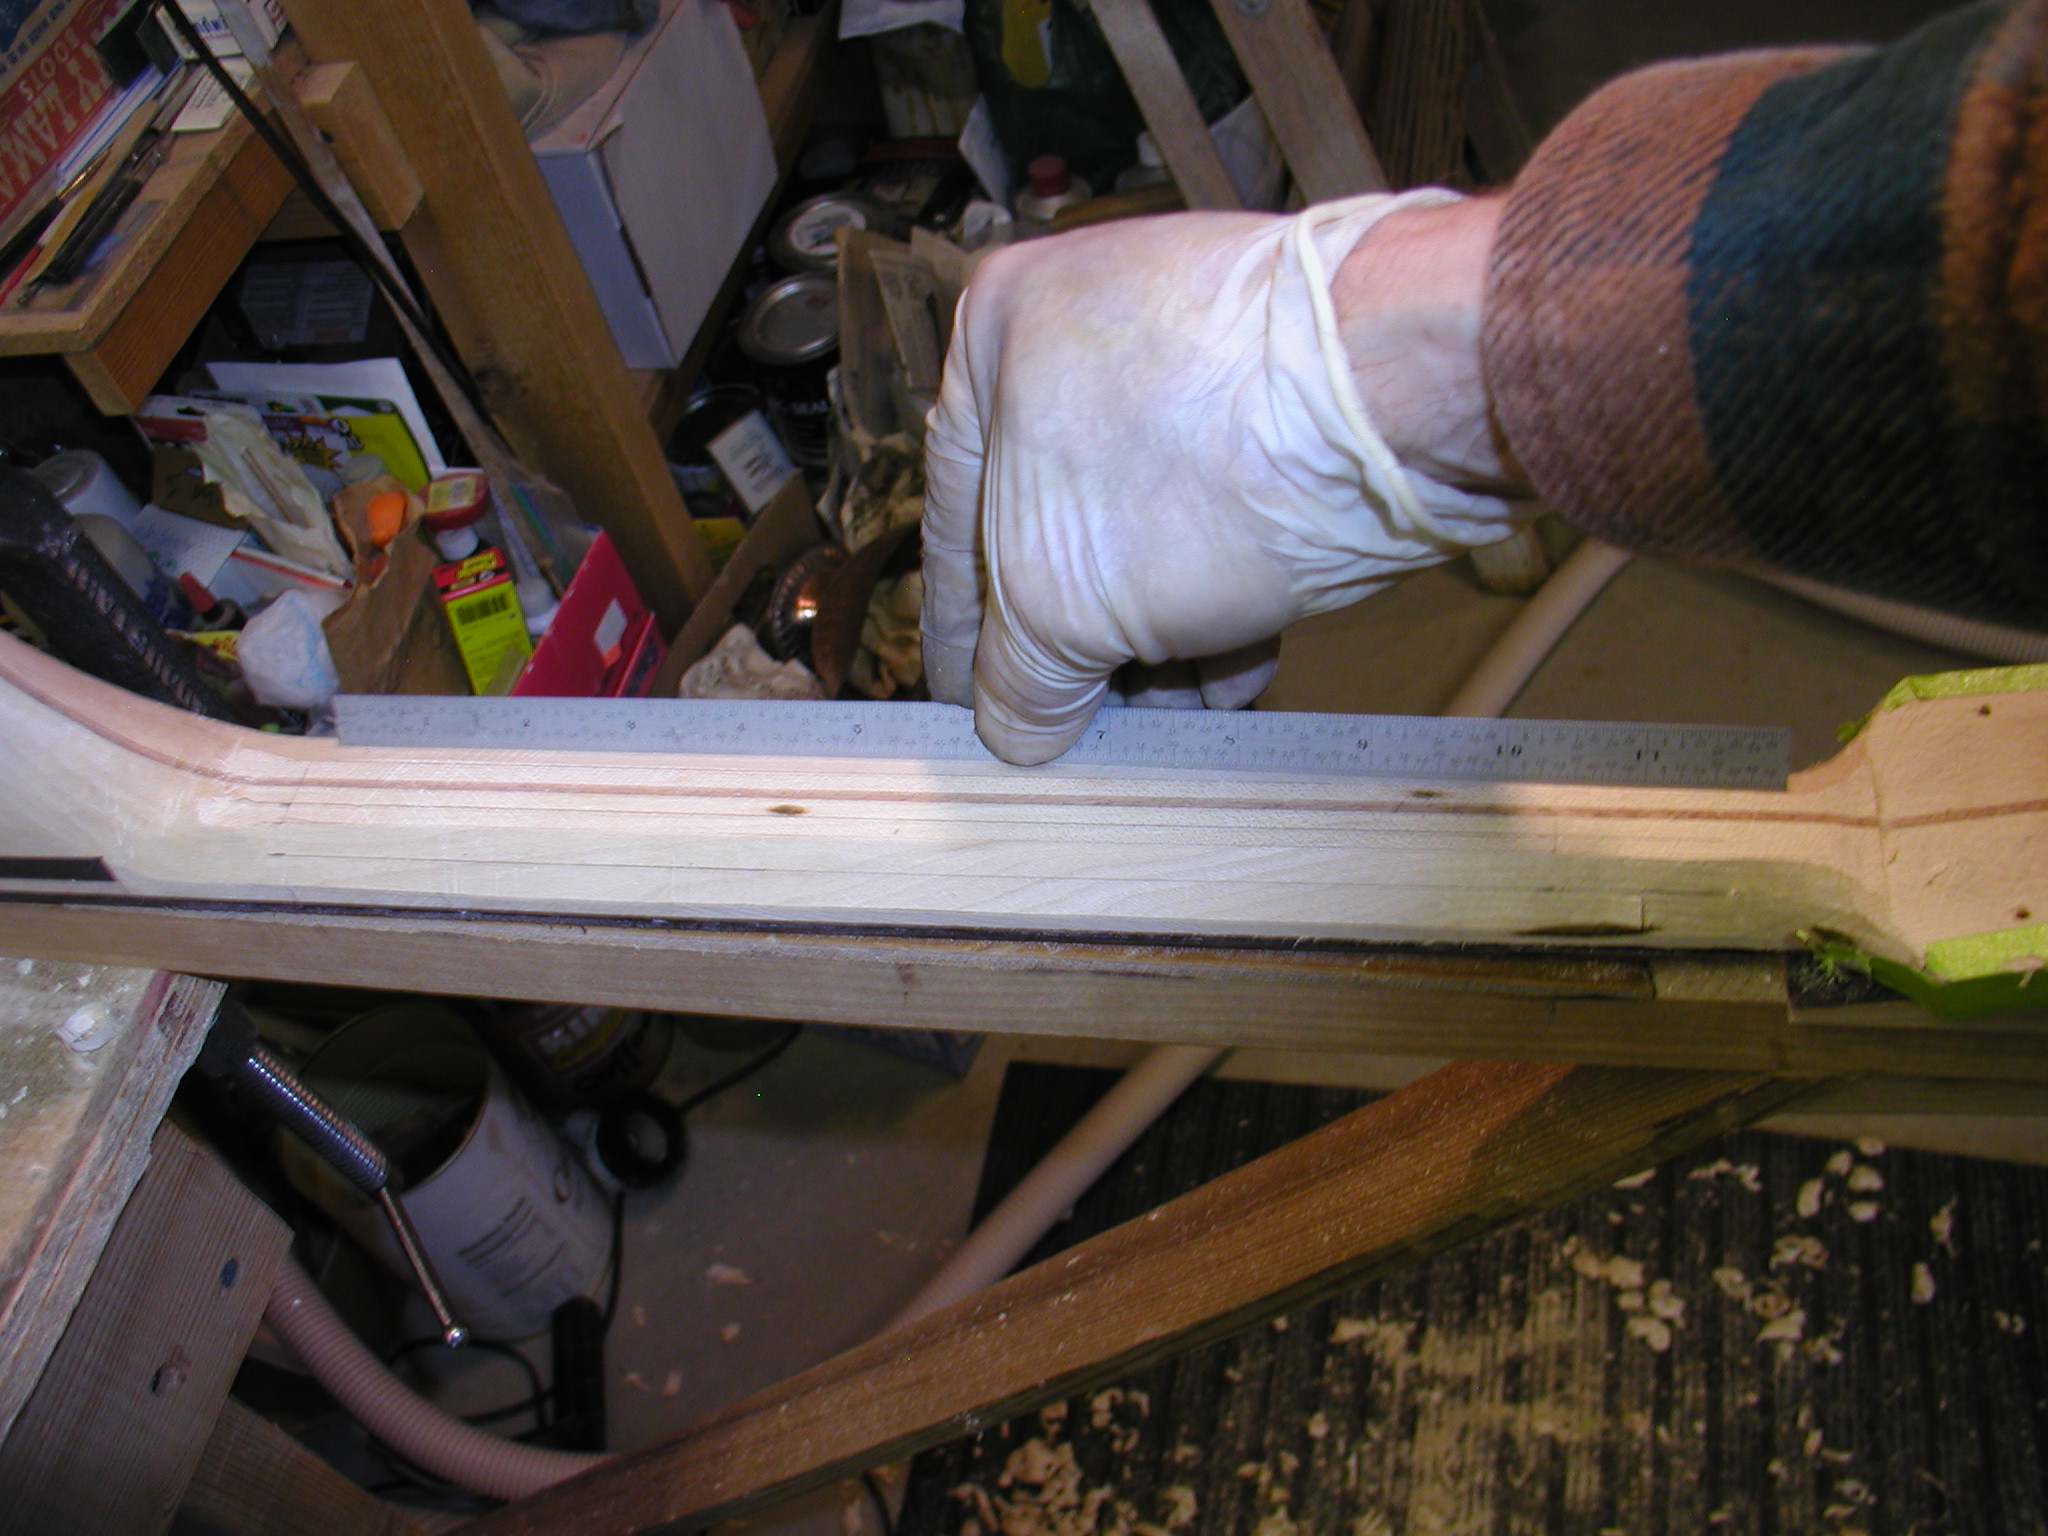
The final step is to dress the frets. I first make sure the fretboard itself is level using my notched straightedge that sits down on the fretboard itself, then adjust the truss rod till it is dead flat. Then I color the tops of all the frets with a Sharpie (sorry for the fuzzy picture there) using a guard so it doesn't get on the fretboard wood. These guards are available from the guitar suppliers for $$Bux, or you can get the for about $0.25/ea from a drafting or office supply. They are actually eraser guards. I bend one end down a bit to make it easier to keep in place and line the bottom with tape to protect the board. Then I use my glass bottom plane with 600grit paper to level the frets. I do only just enough to remove color from the very tops of all frets. This is where your earlier leveling of the fretboard itself come in, if it was really a good job you will be ticking off just the tiniest little bit of fret top. Next comes the diamond grit file to re-crown the frets. Last is a sequence of a sanding stick with 400grit belt, 600 and 1000 grit papers, and last a burnish with 0000 steel wool. I have filed small half-round notches in my sanding stick, that helps it to conform to and stay on the frets.
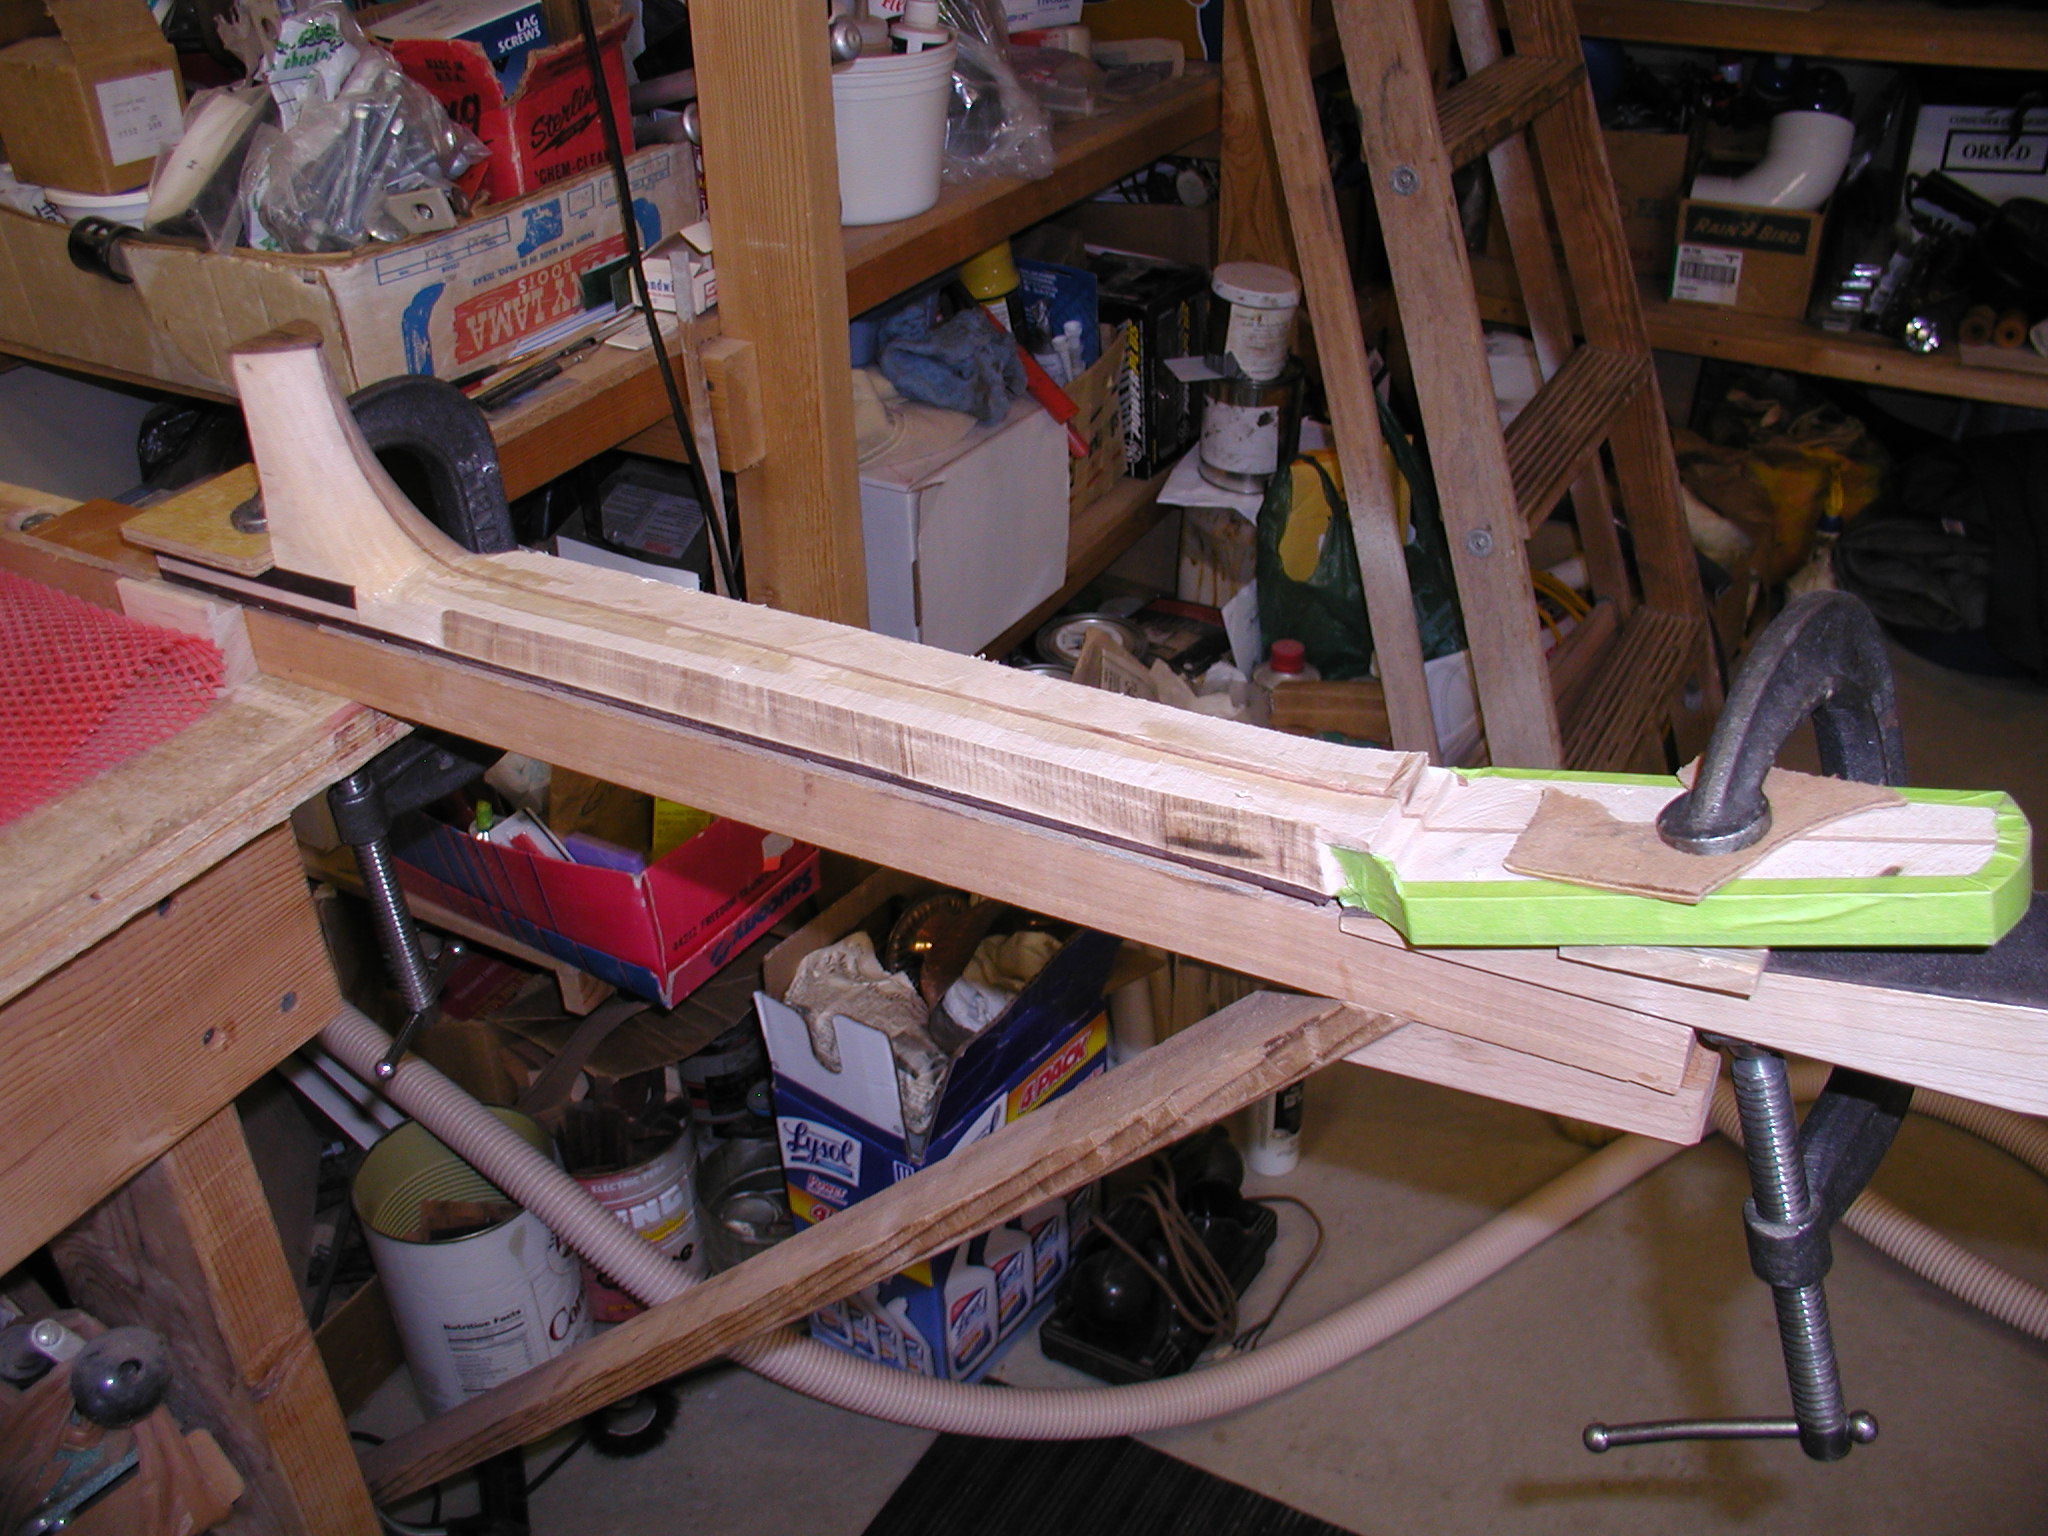
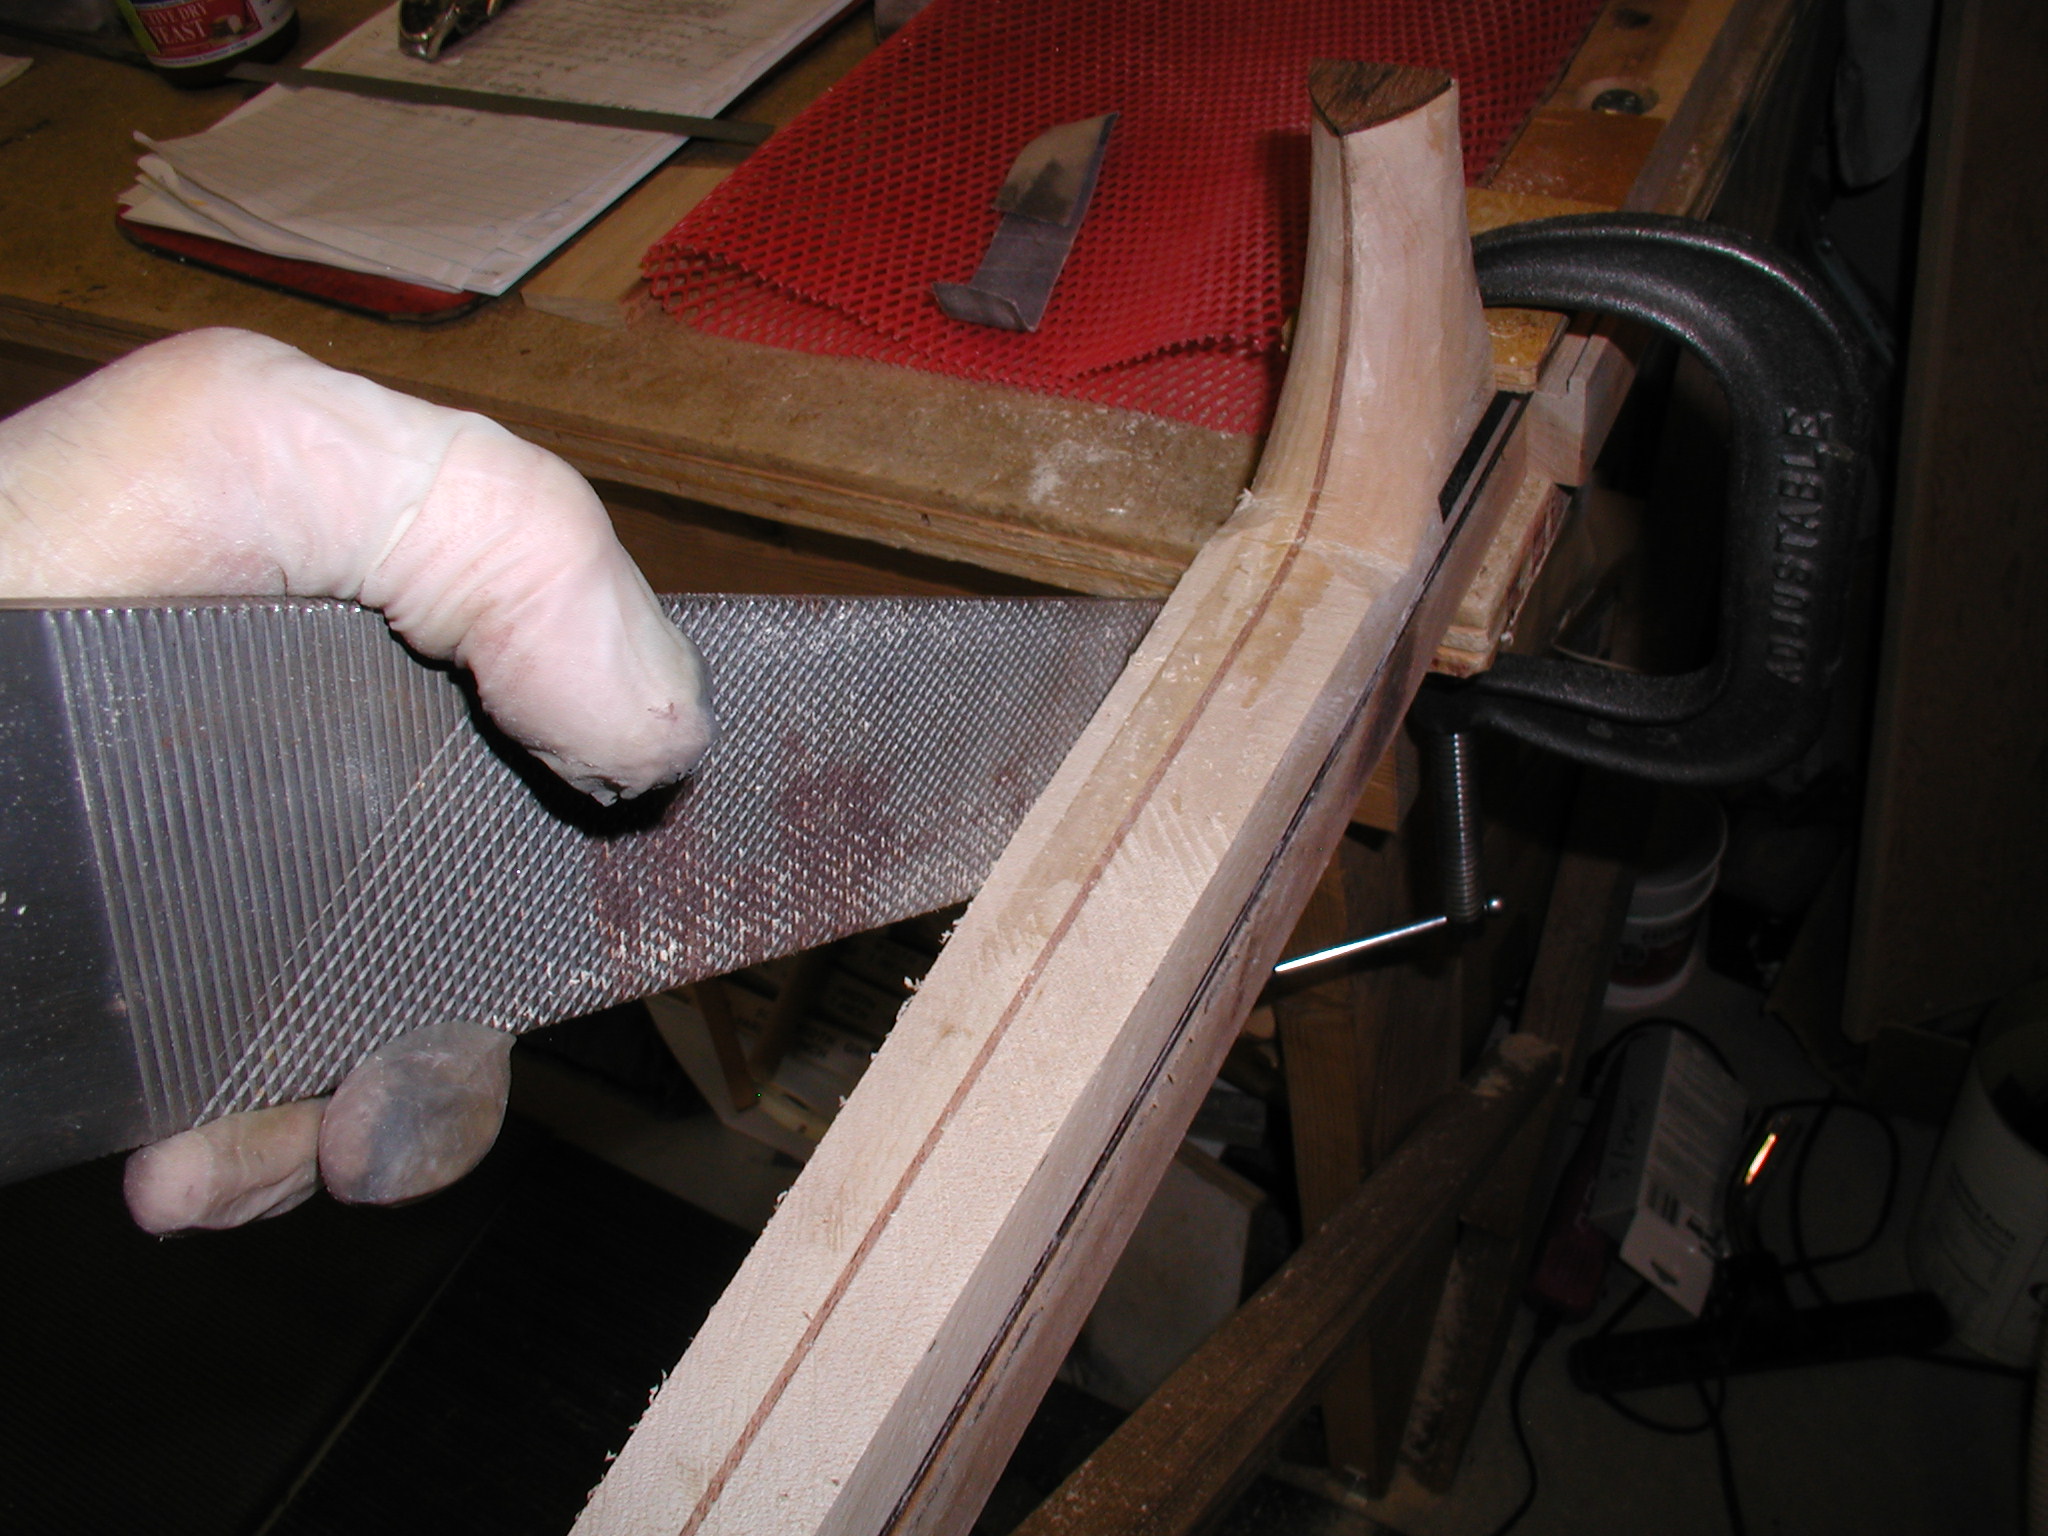
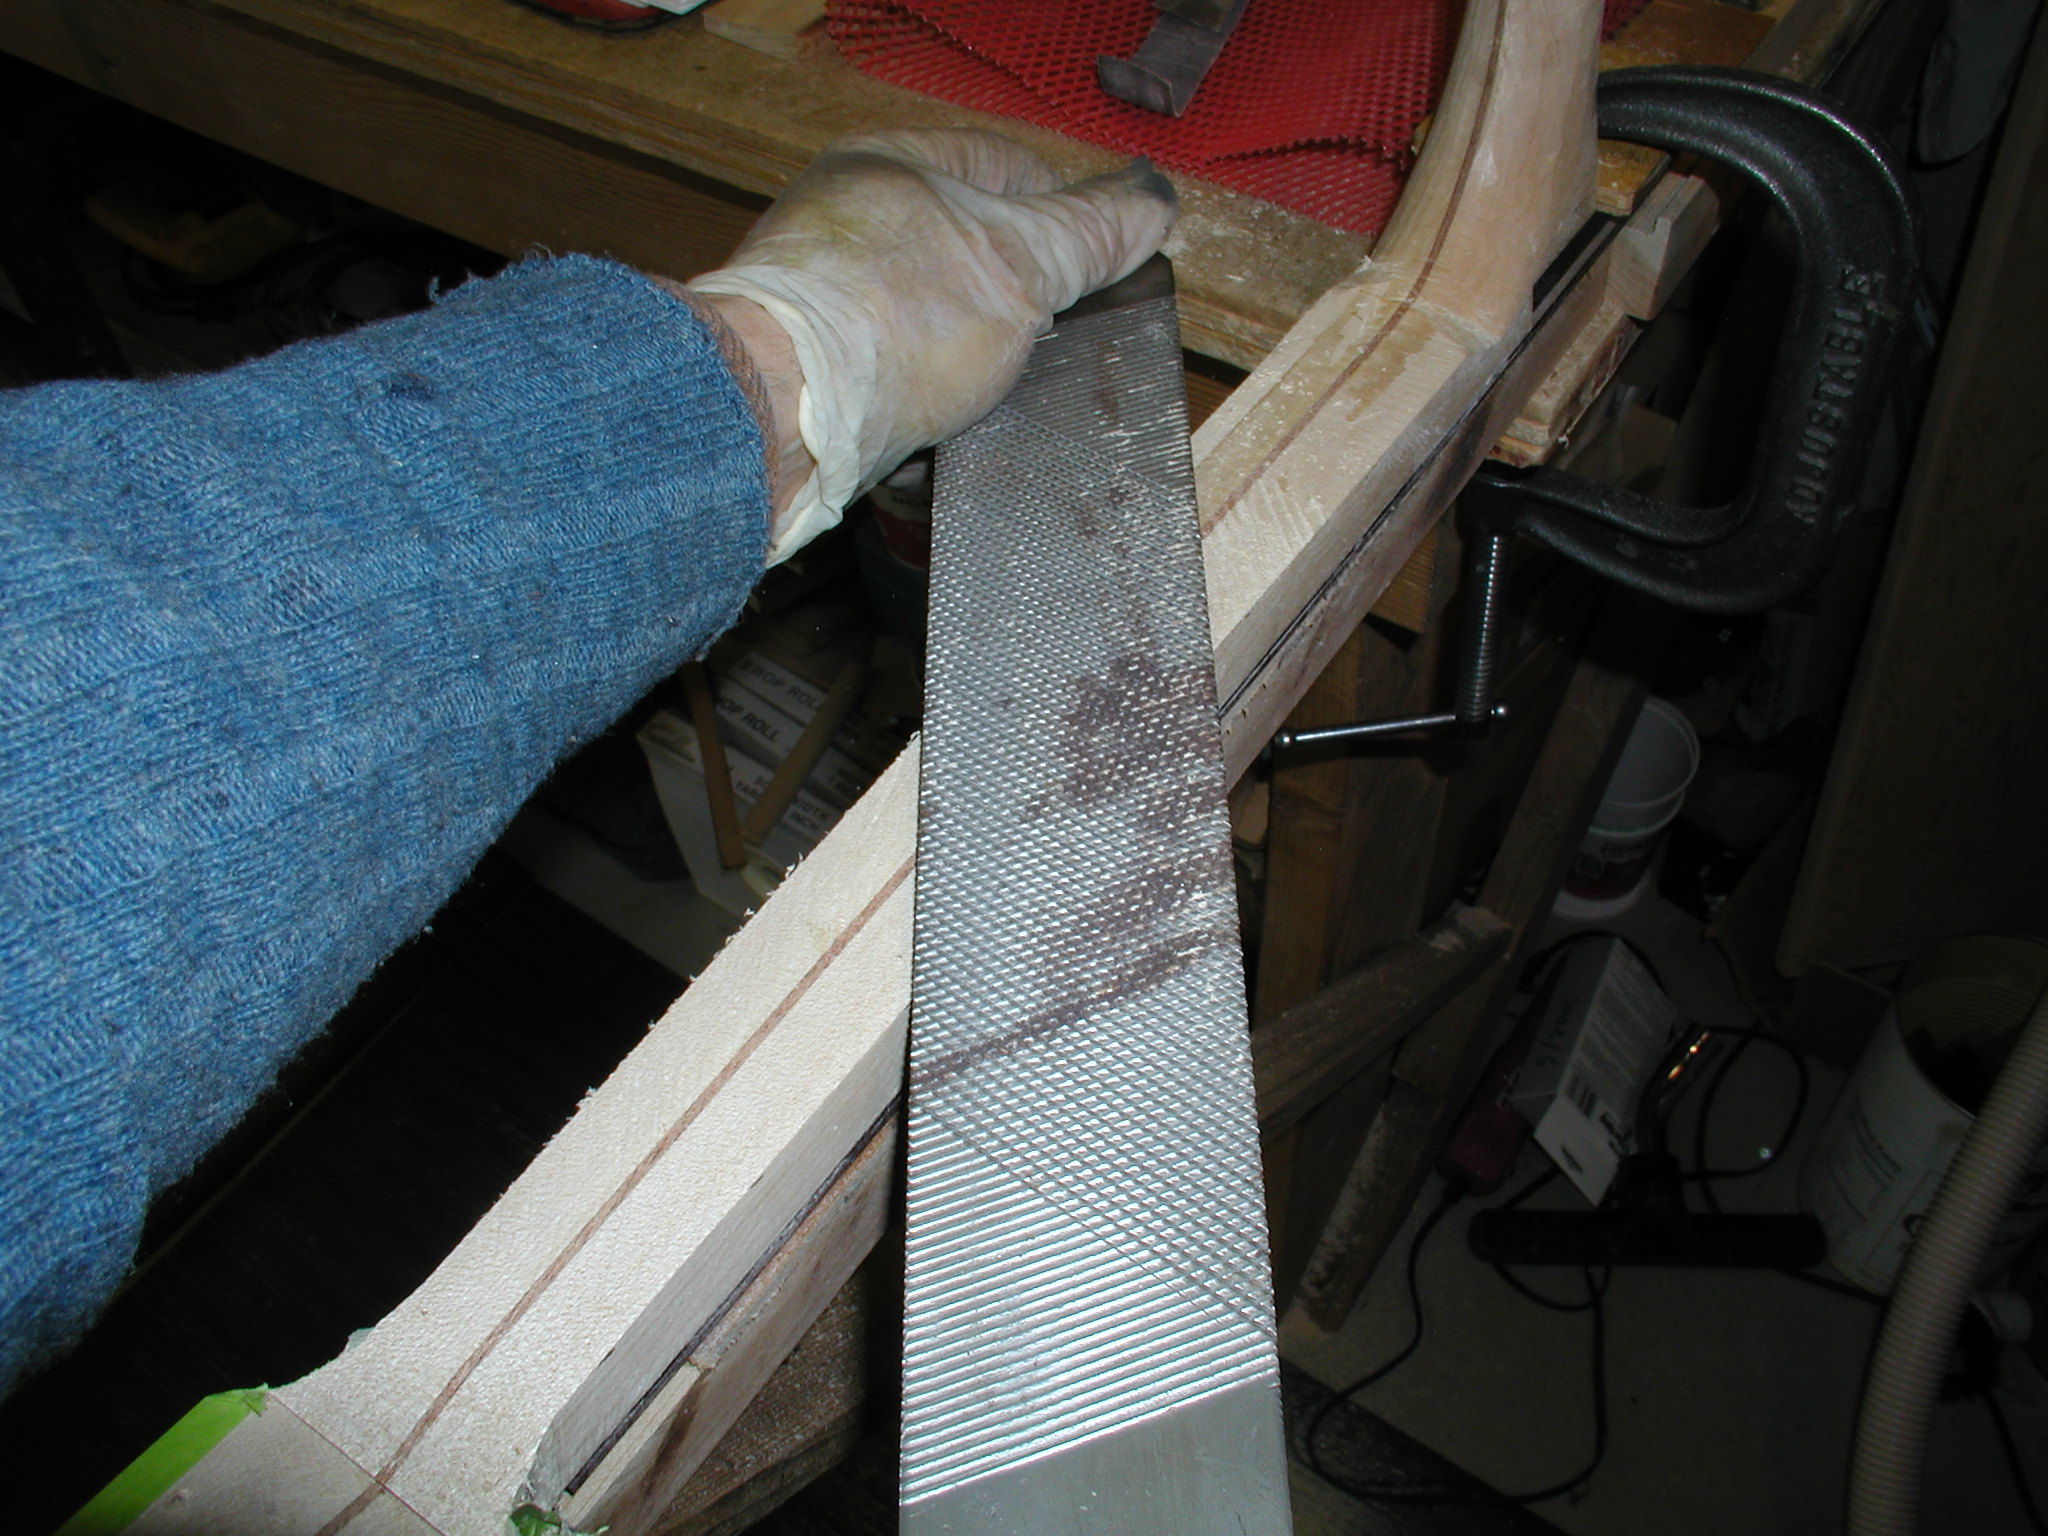
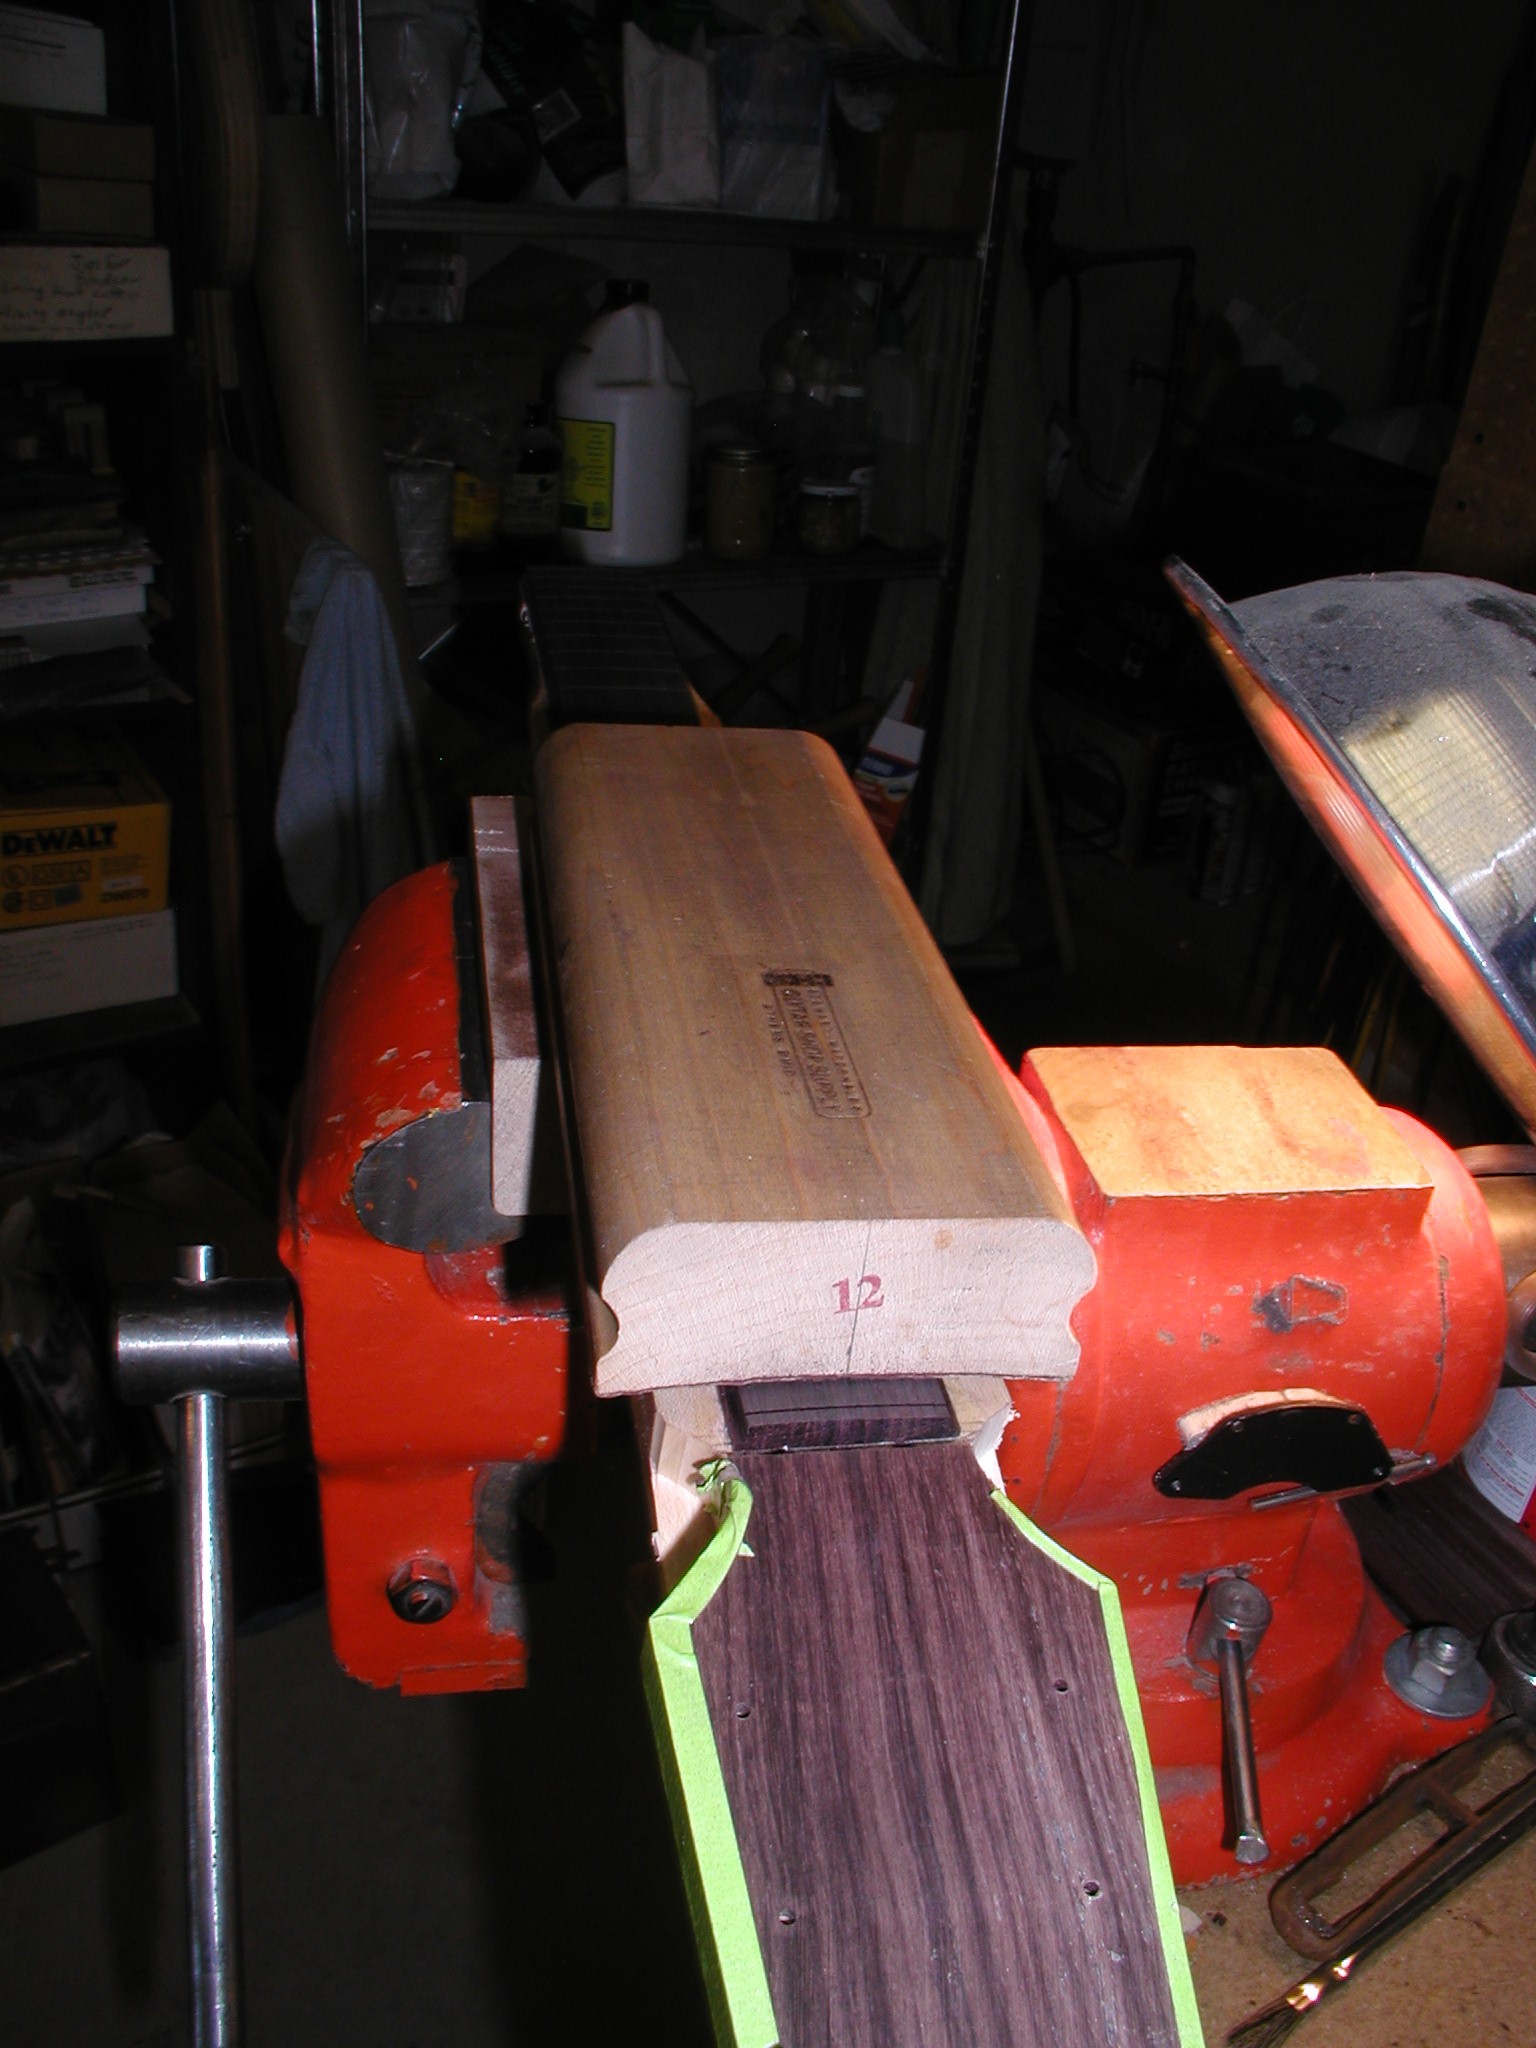
Now comes one of the parts I love best, carving and shaping the neck. First I whack off most of the excess waste on the sides with the bandsaw and then clamp up in my holder jig. Very simple, just an extension board padded with leather that I can clamp a neck to and get to all sides. Then an application of "The Worlds Best Neck File" (a.k.a. - hoof rasp) free from you friendly local farrier, you do have one, right? They are very wide, parallel on the sides and thin and mostly dead flat, great tool. I use it to get the sides and back flat and at right angles to each other. Some layout of center lines and such and then start taking off flats with a spokeshave. I mostly use the flat bottom but have convex sole one for near the head and heel ends. You do flats, then draw new half-way lines and take the next set of flats. You keep doing this for about three or four time and you have a pretty good, very even rounded neck shaft. I love the feel of taking a long even curl of wood off with the spokeshave! Keep checking with a straight edge to make sure you don't get low or high spots. Maple, even curly maple, is very well behaved if you pay attention to the grain. You might notice that as I carved away so dark spots showed up in the neck. These are totally cosmetic as the wood is all sound. Some might throw the whole thing away because of that, but I am of the mind that wood is what it is and will have interesting grain and figure and color. As long as it is structurally sound I leave it. Of course if this was and On Order instrument I would first check with the owner, their preferences would rule.

For mandolin family instruments in particular I like to include a rear overlay on the headstock. First it gets cut out to a point from a template so it is balanced. The point then get recessed into the neck, that way you can't accidentally lose the edge lines or point as it gets faired to the neck lines. I use a heat blanket and clamps to bend it to the neck curvature. Last of all it gets glued and clamped and finally trimmed on the sides and end to the headstock. Final detail and finish sanding is last with lots of "feel tests" to make sure it is slick and fast and smooth.
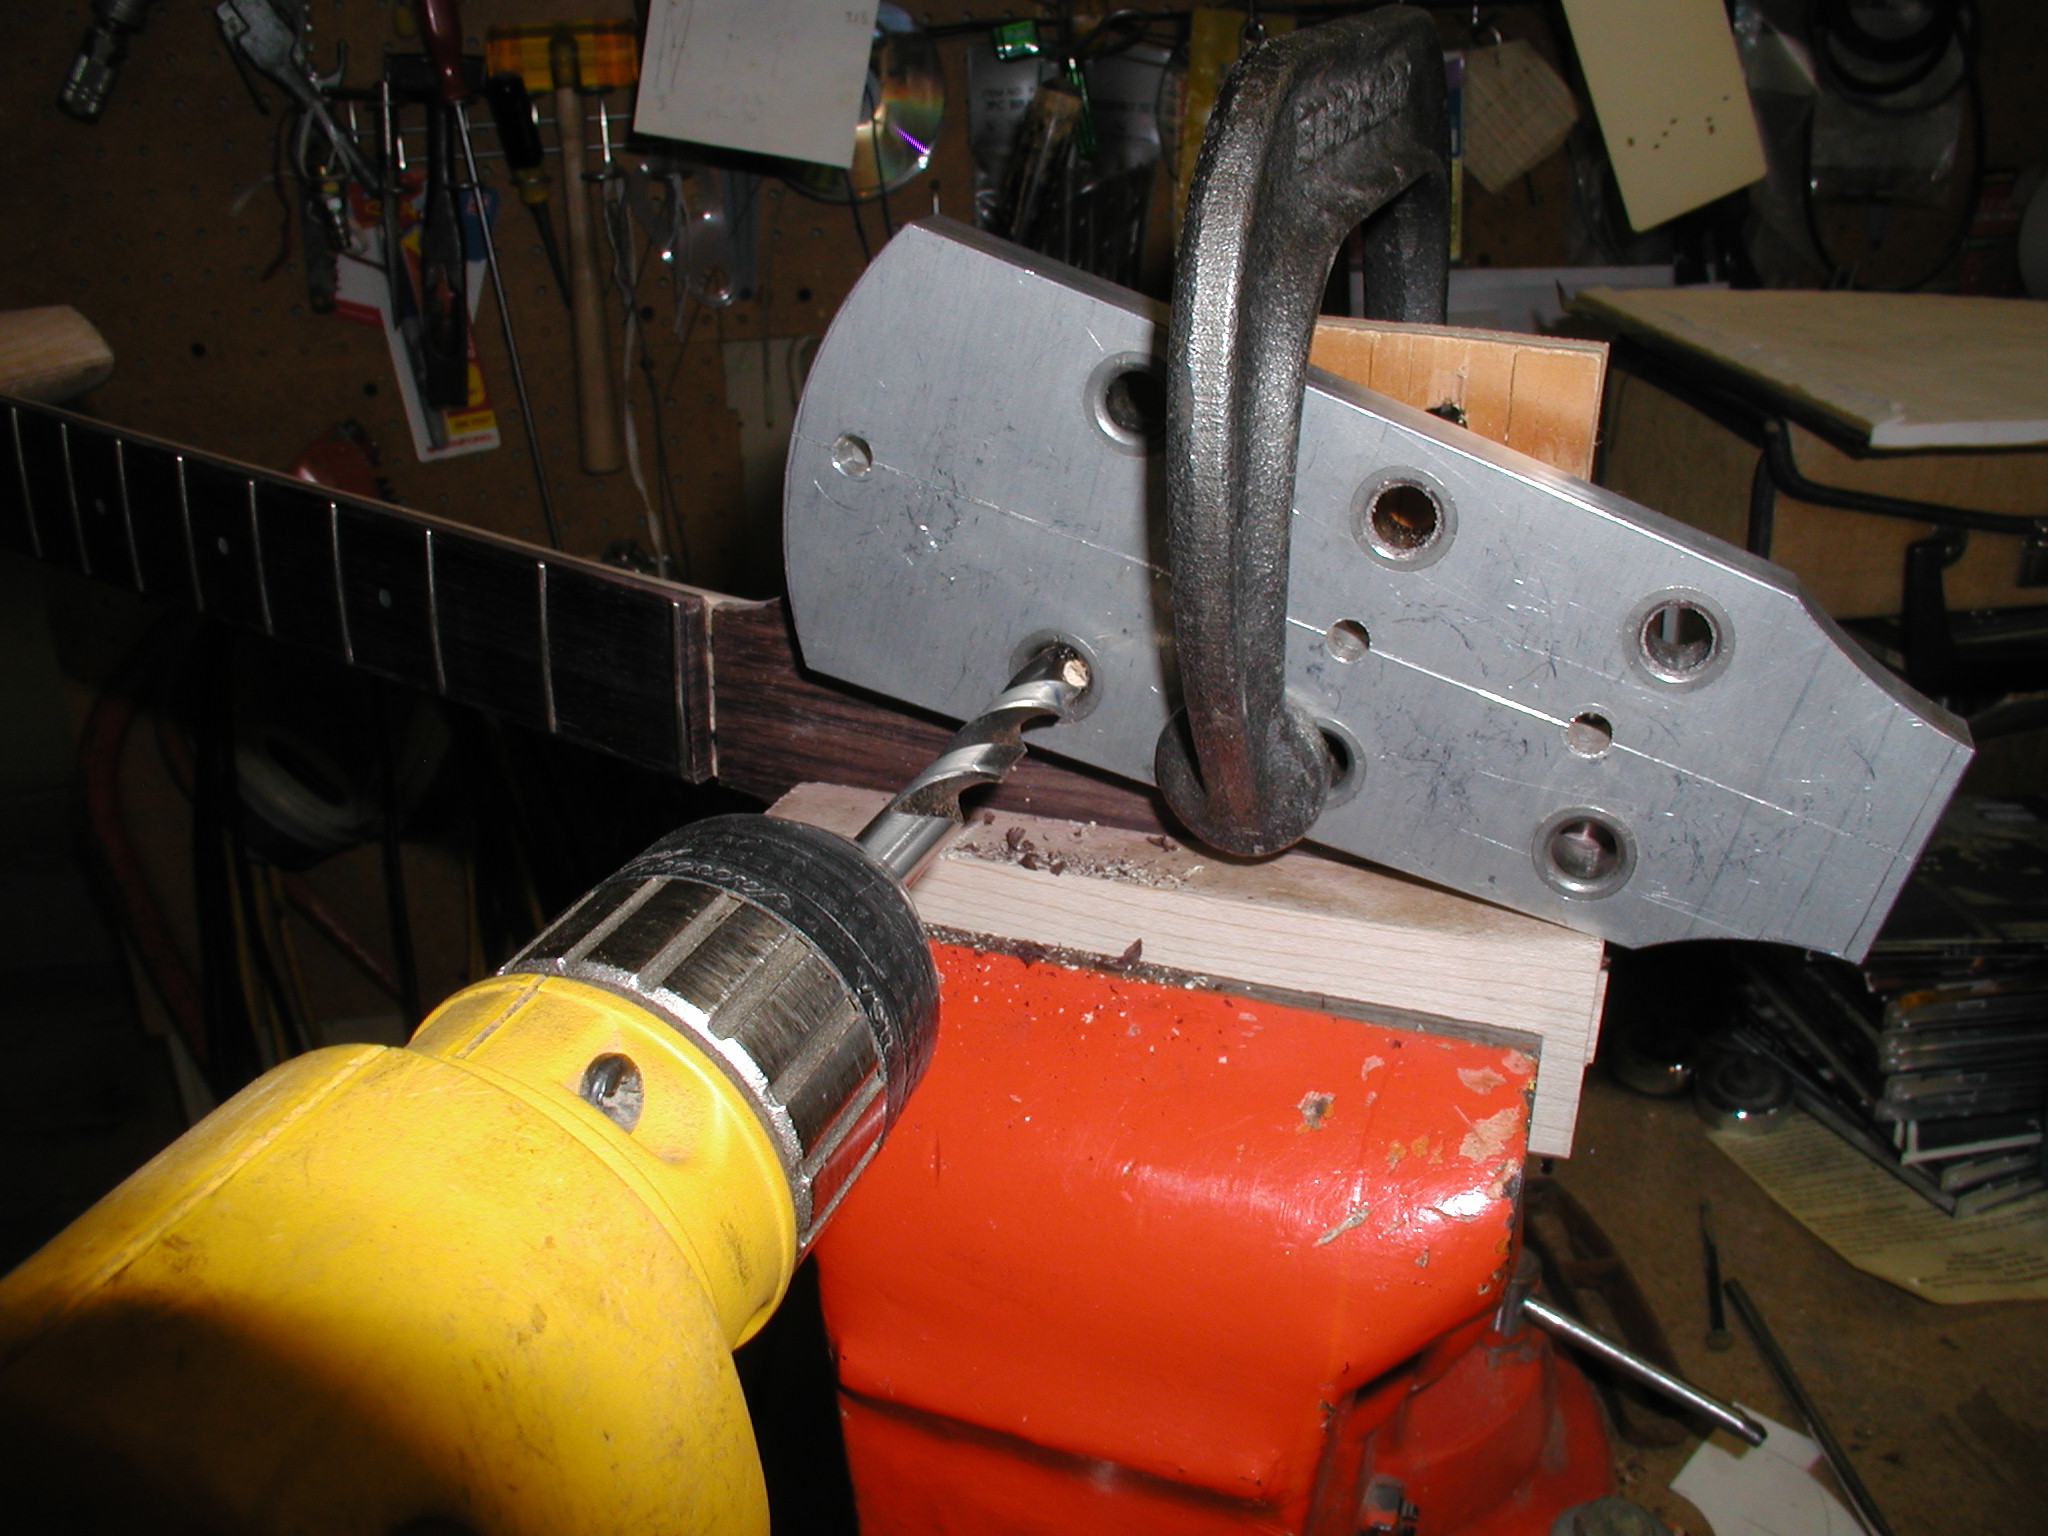
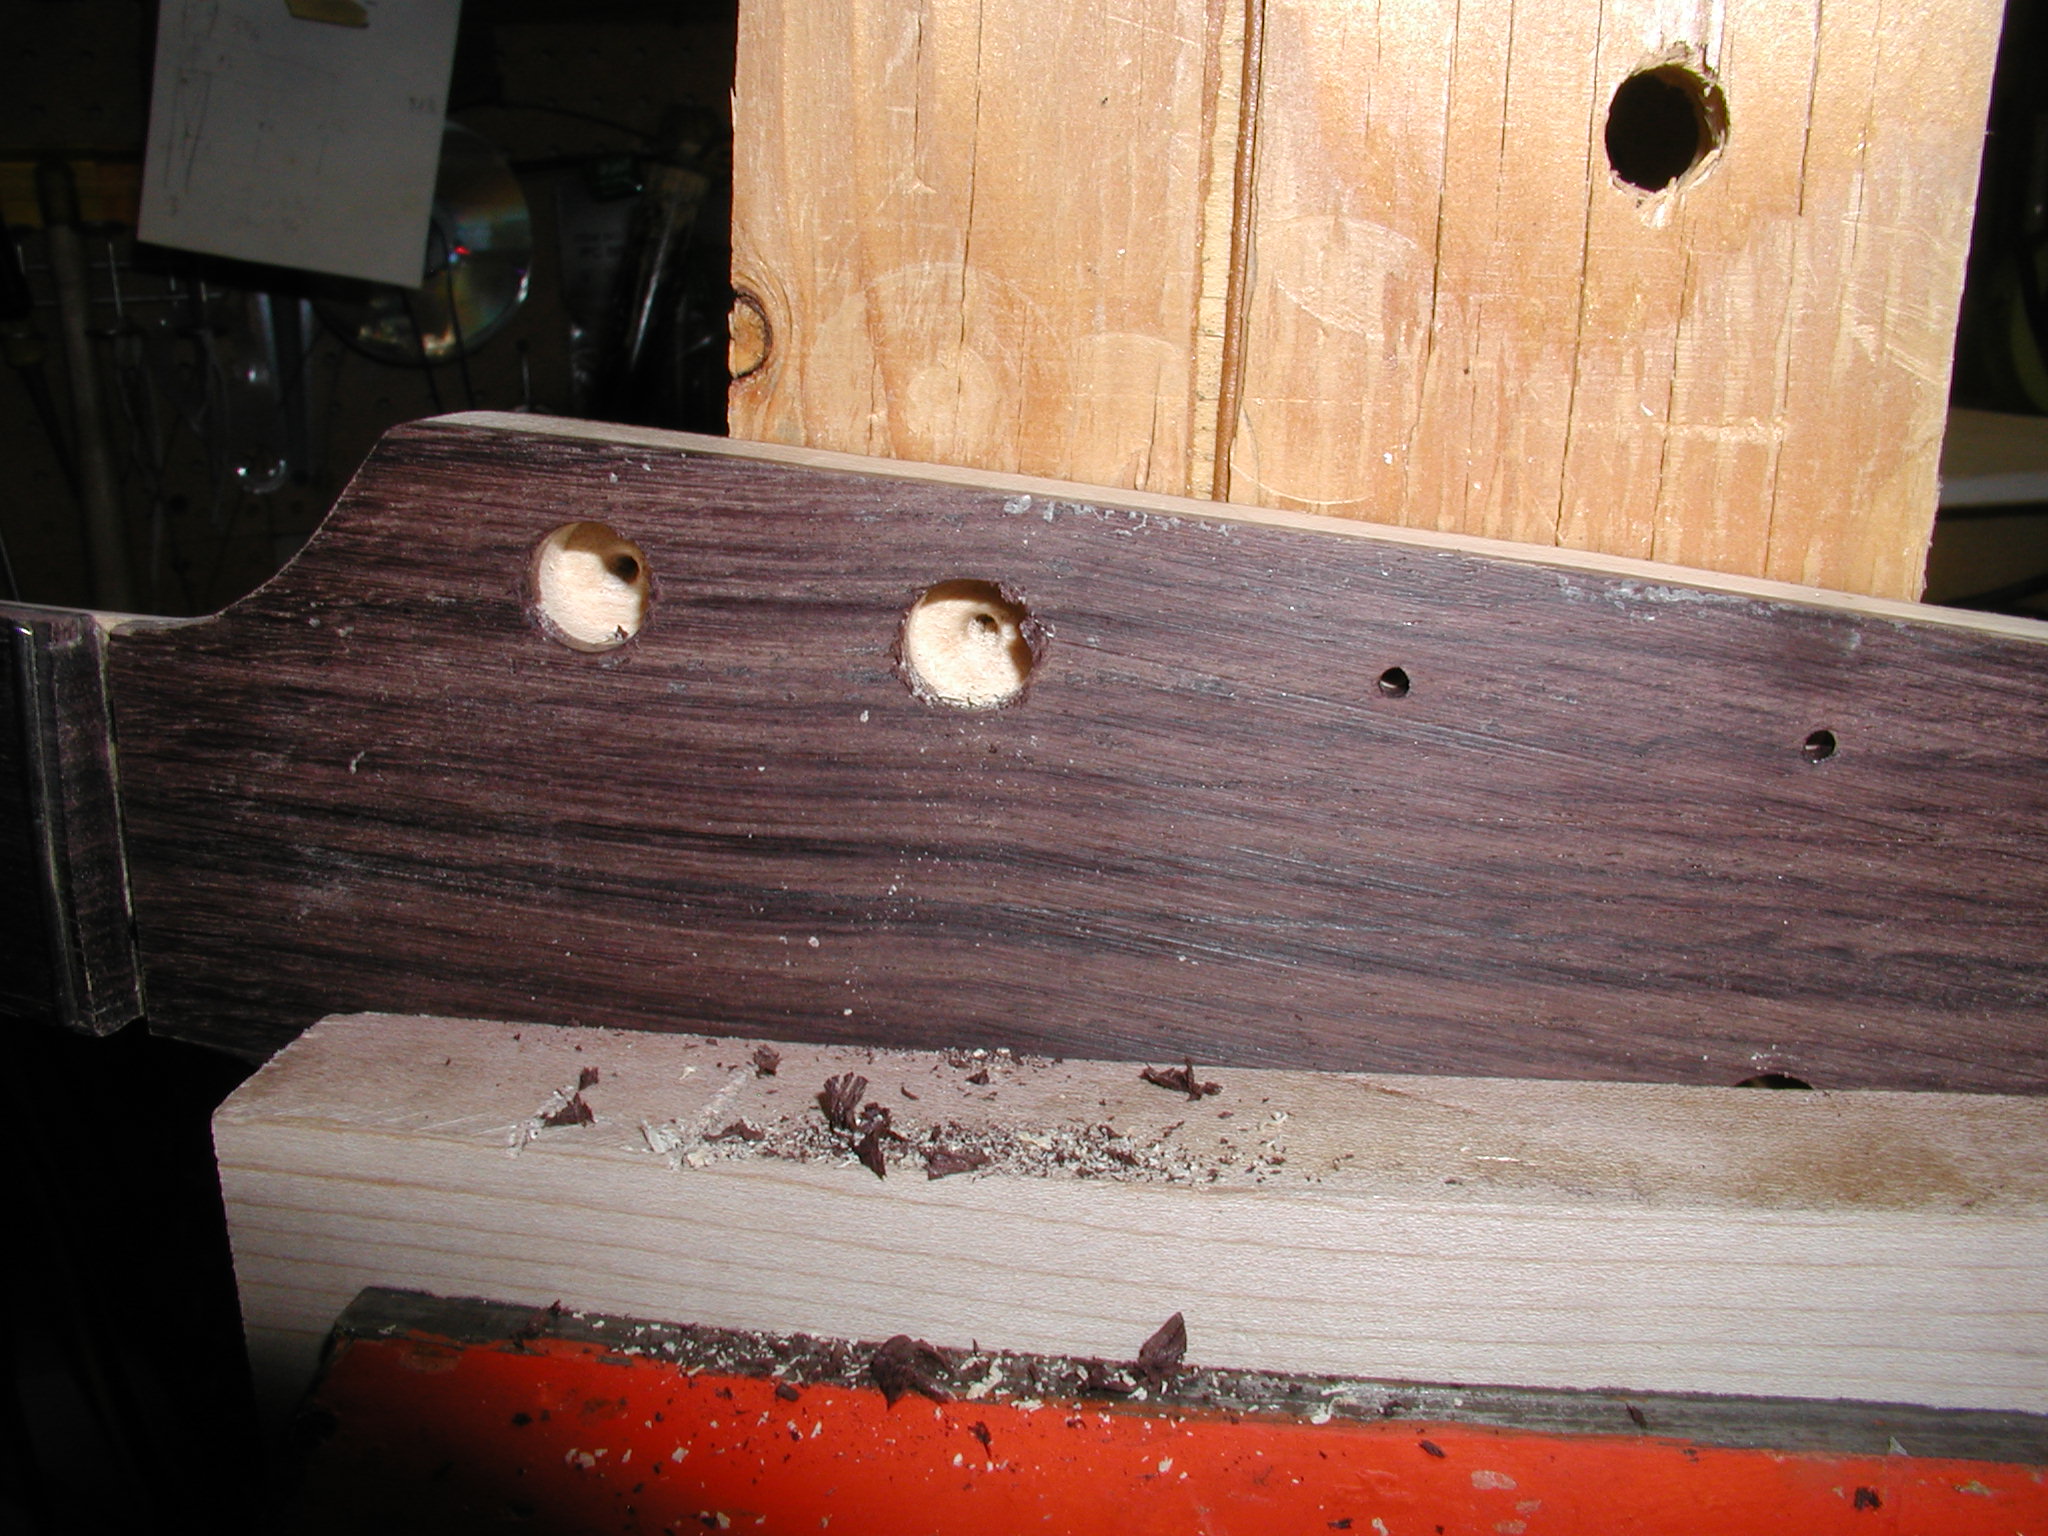
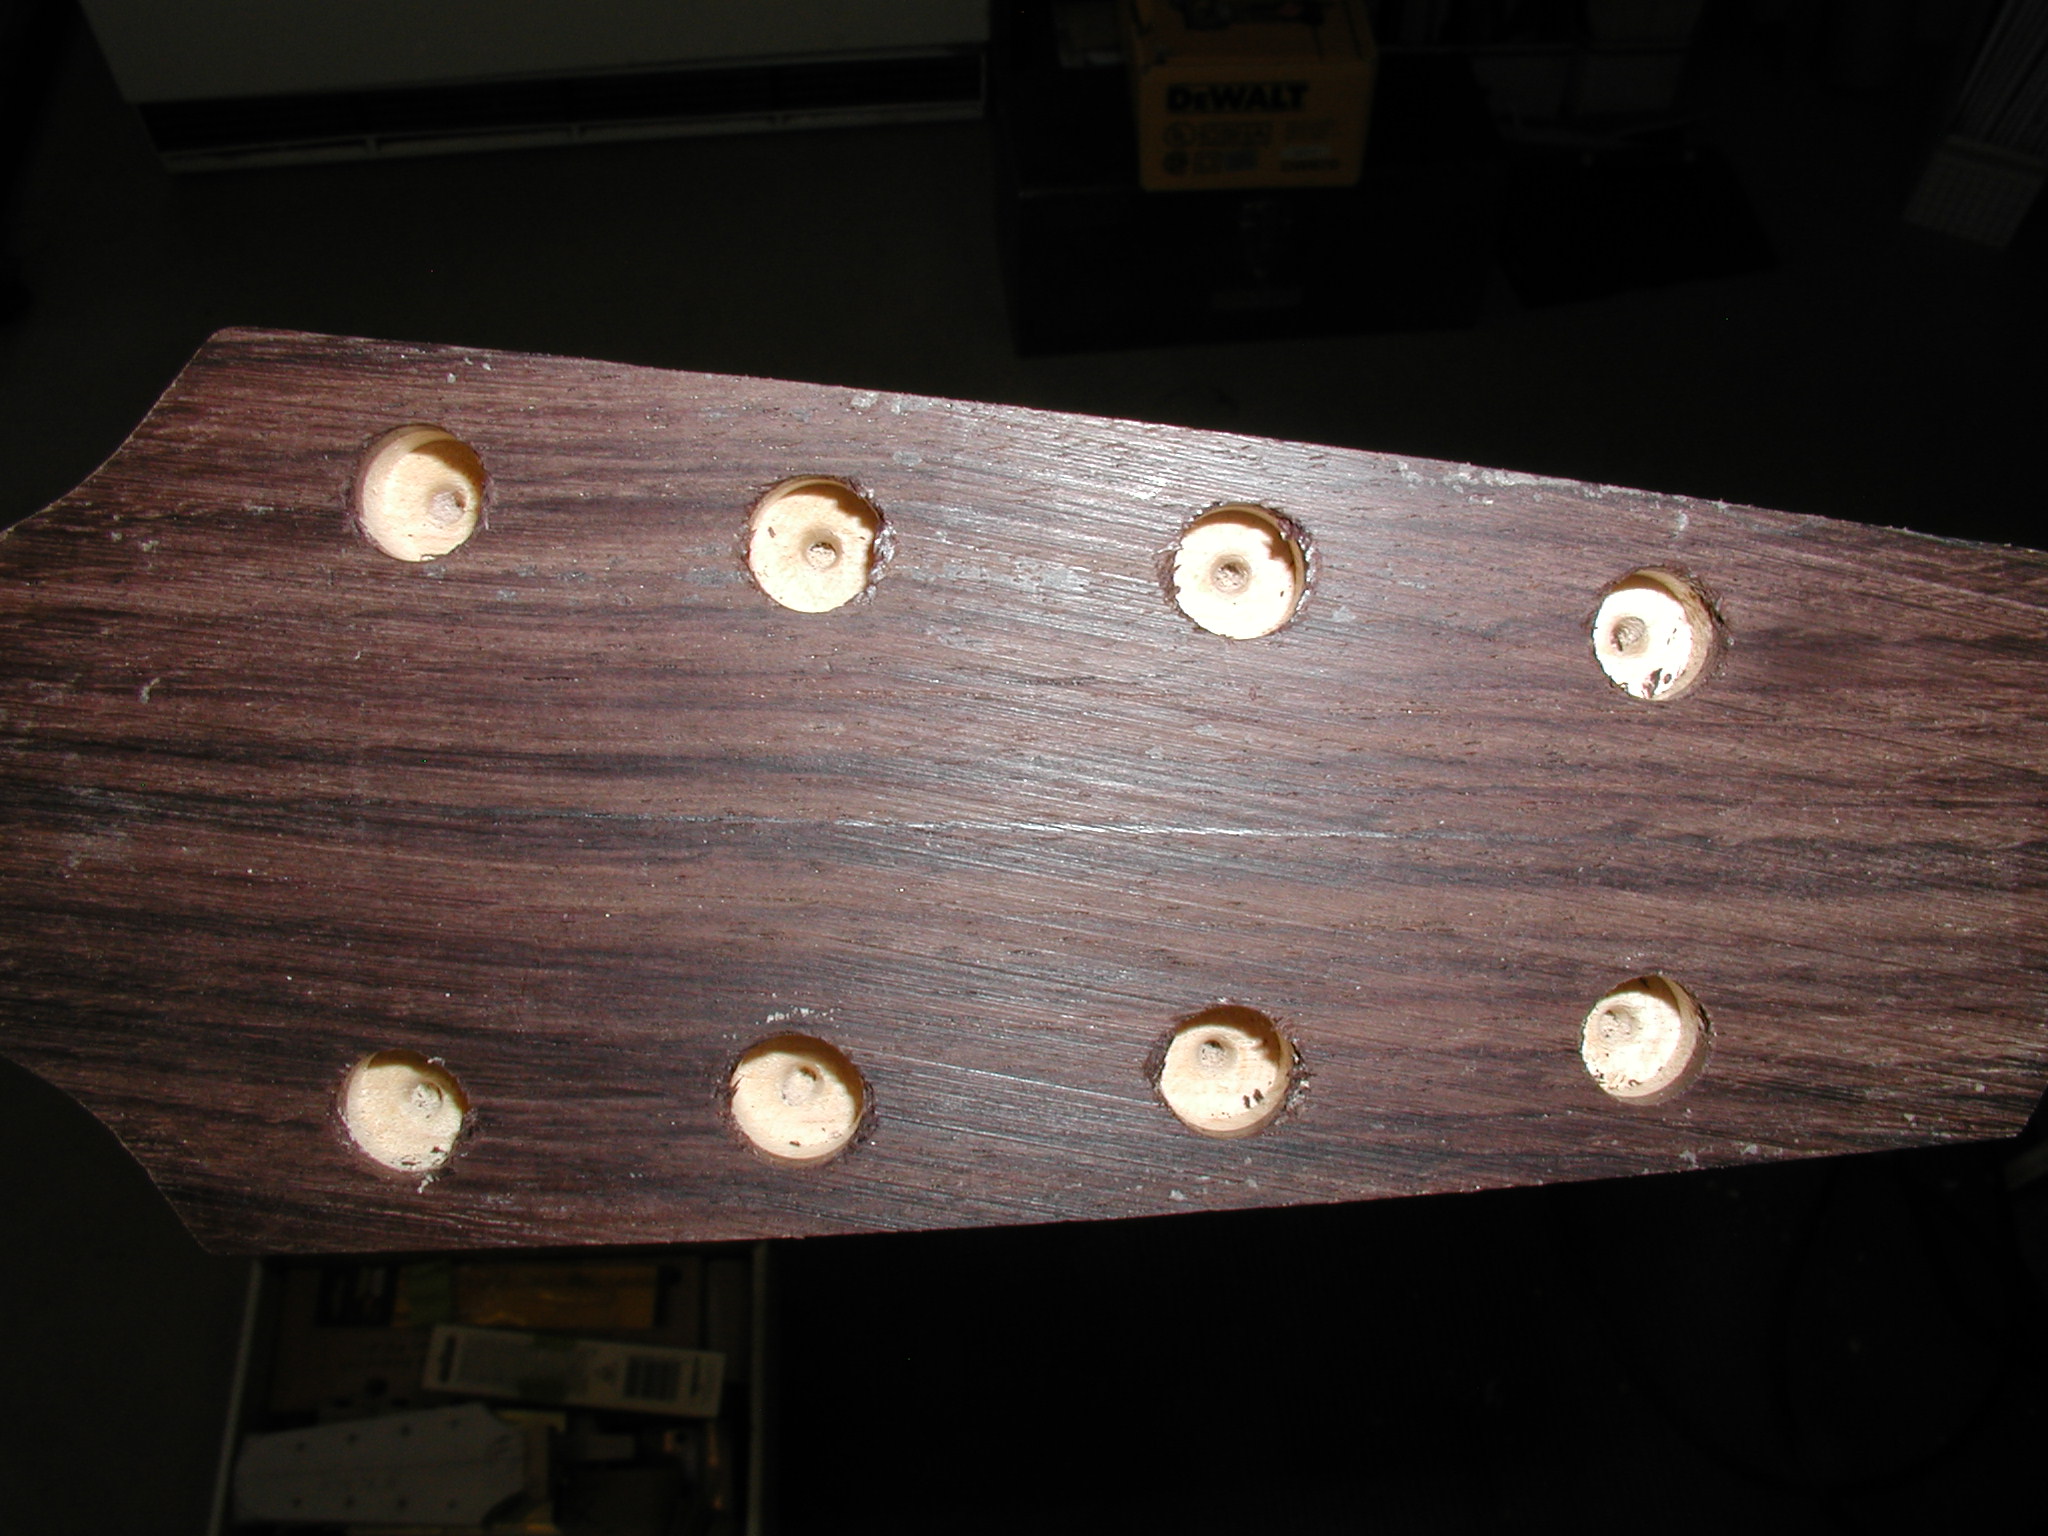

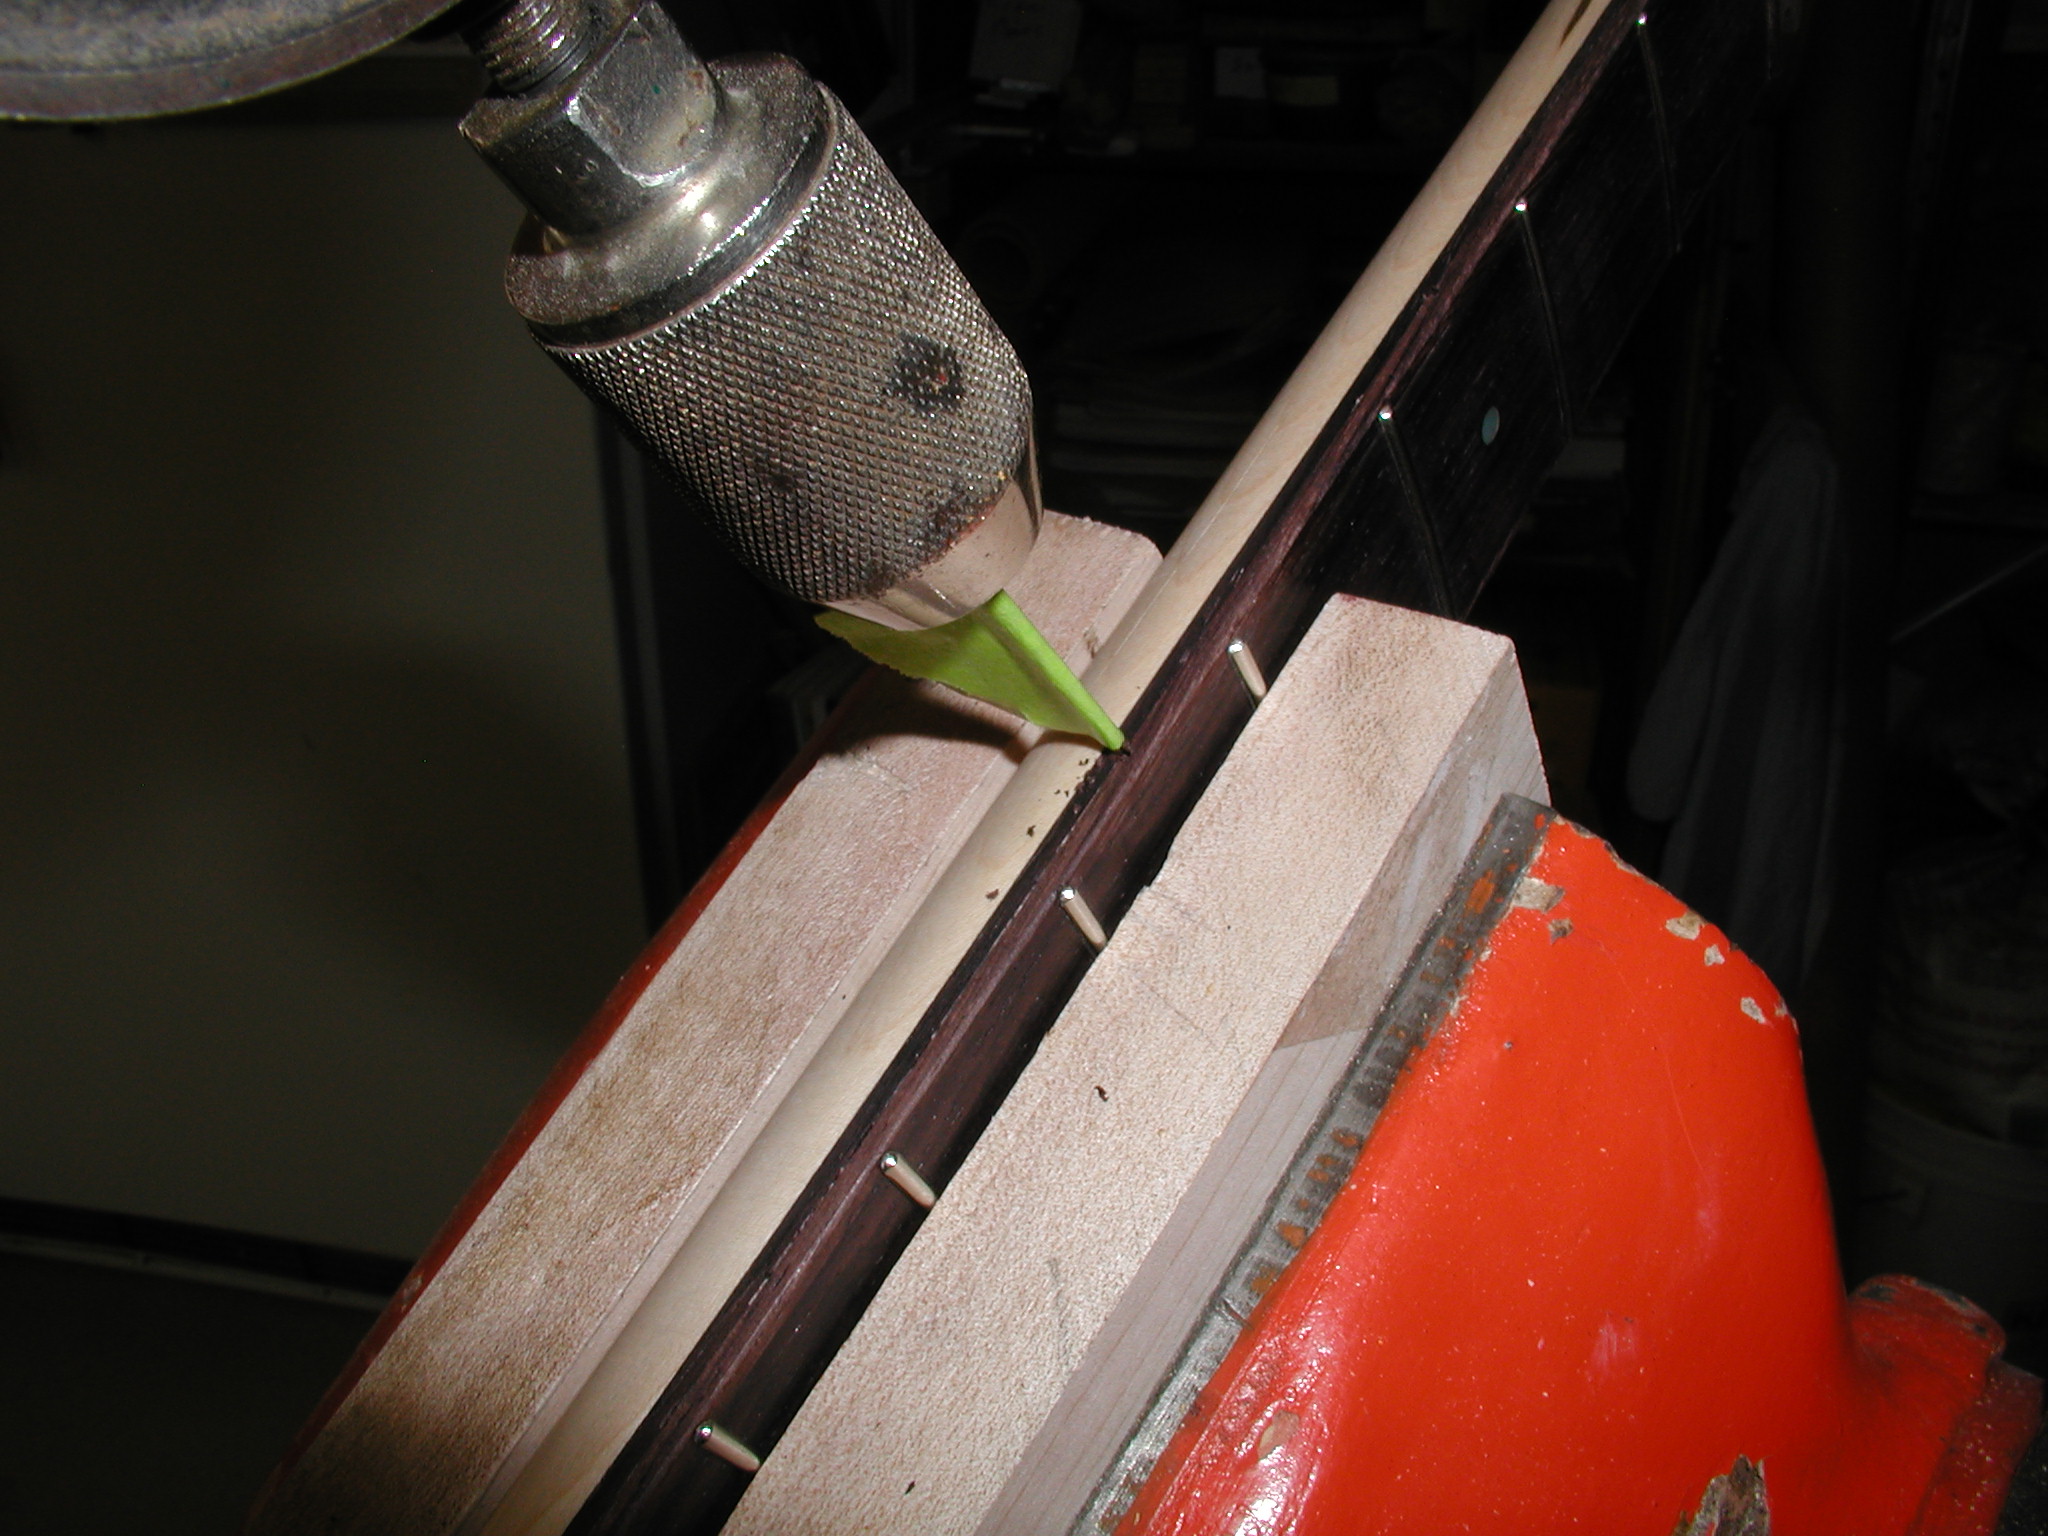
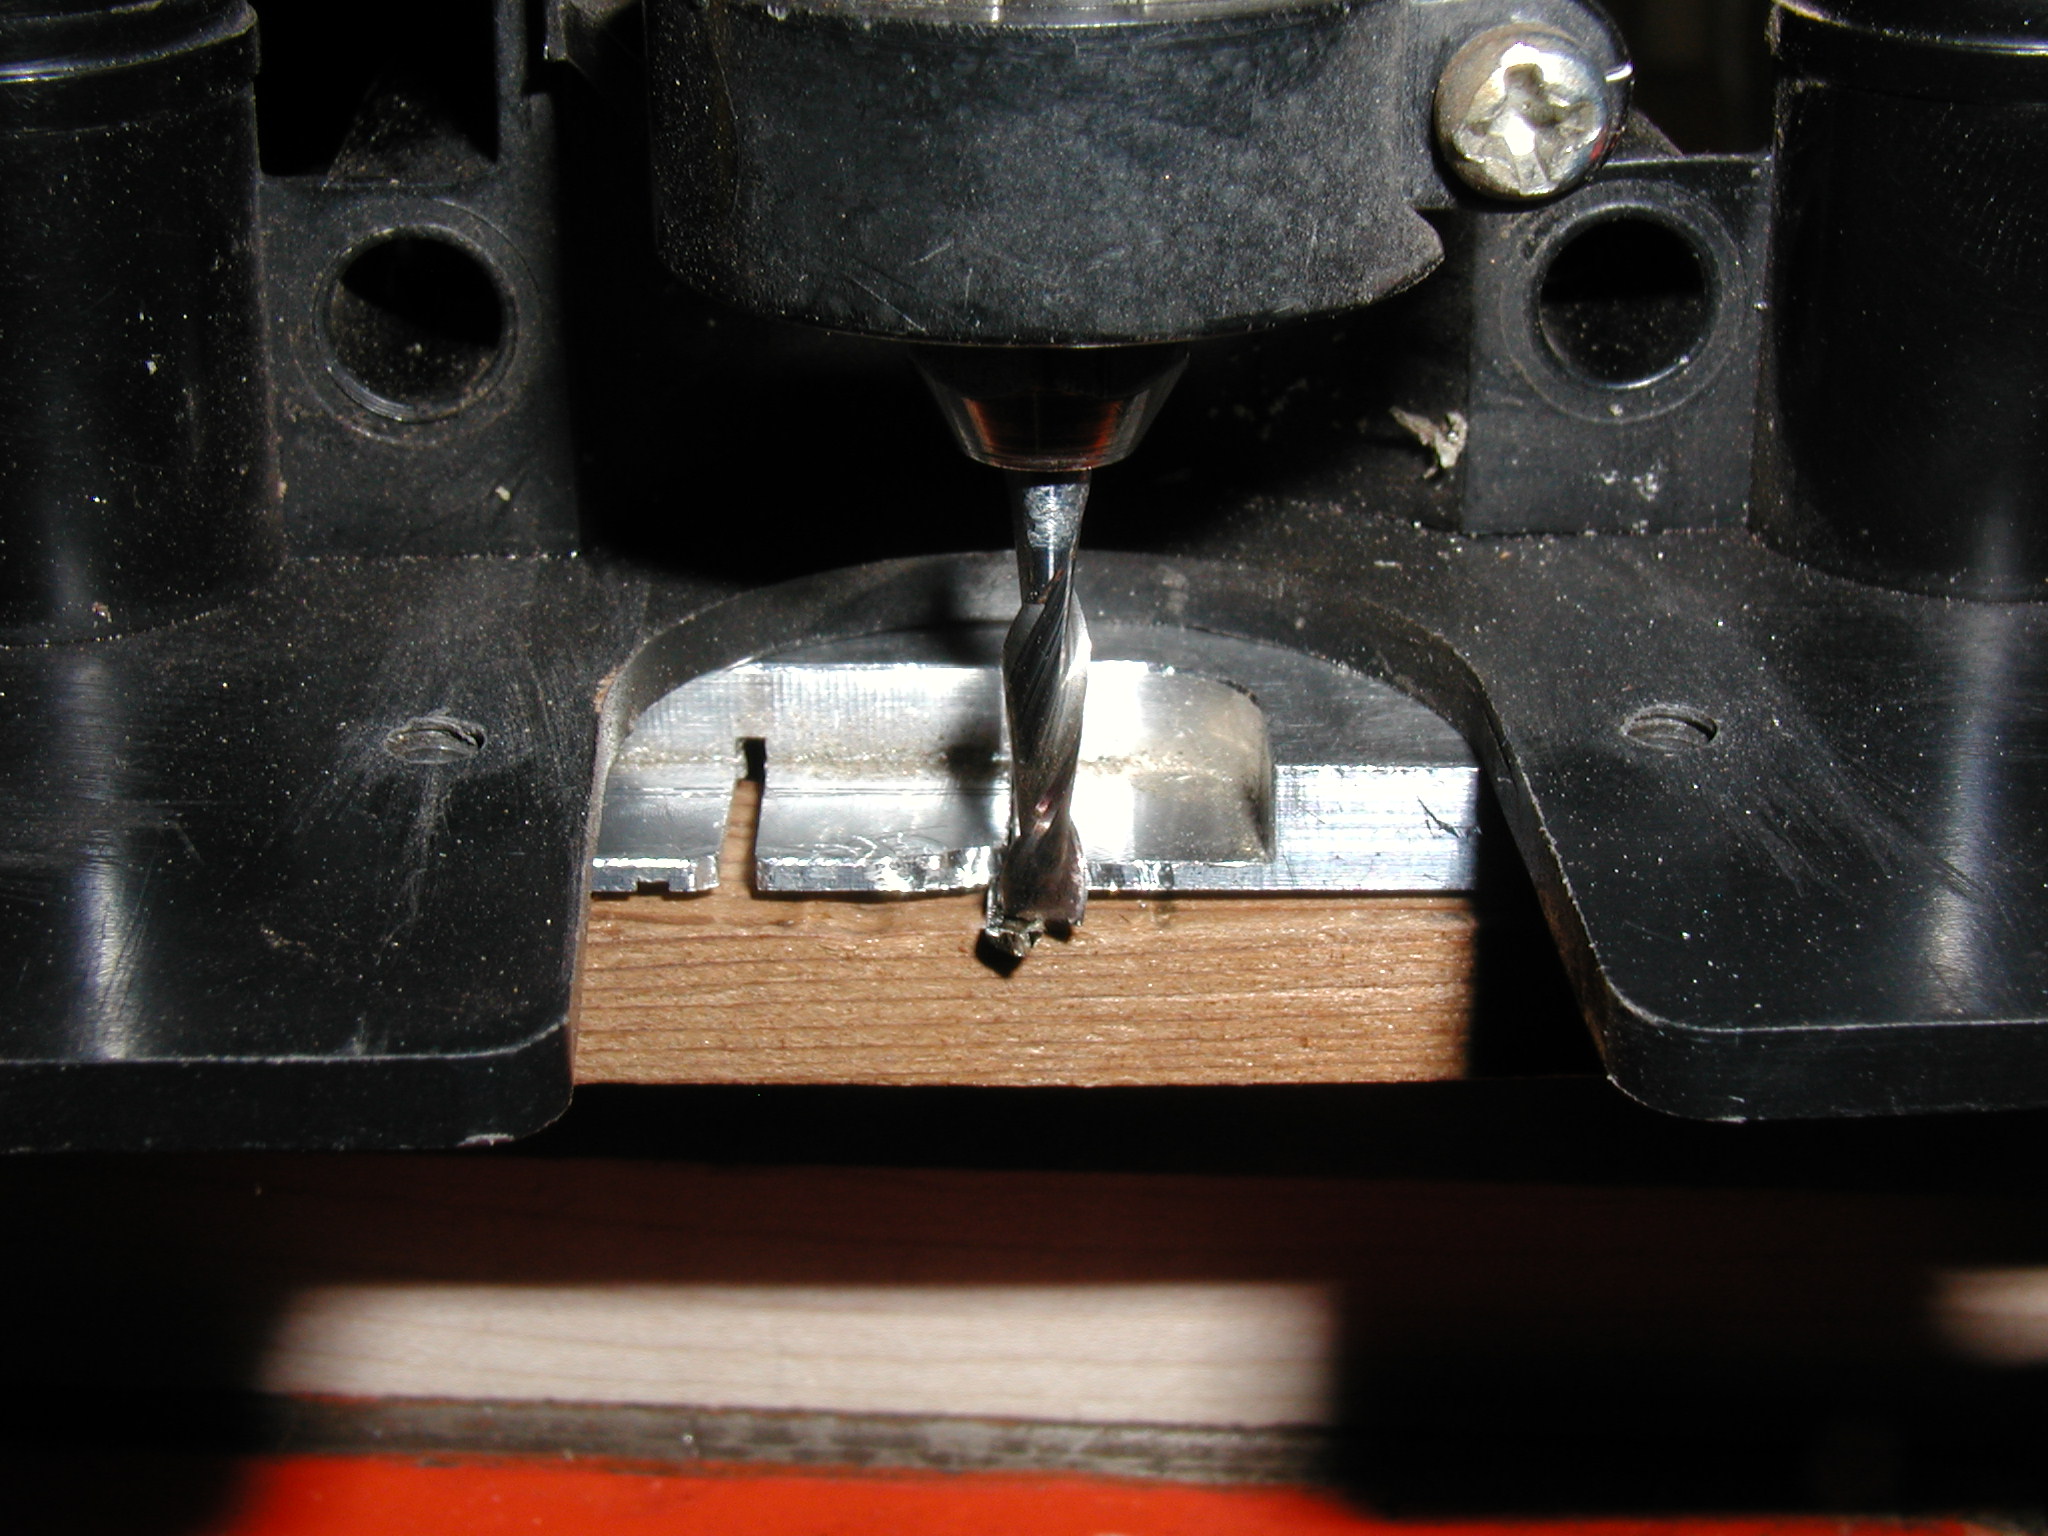
We are getting close now. Time to drill the tuner holes. I am using a drill guide jig for a guitar, just to use the drill guides. I have not finalized my headstock shape for bouzoukis yet but will make a template similar to the guitar one when I do. The guide holes are already in place, remember we drilled those back when we routed the headstock profile with the wooded template. Those holes now become the guides for the bradpoint bit I'm using for drilling the holes. I don't drill all the way through because it likes to splinter the back overlay. Instead I drill them all half way and then finish them from the back side. Last of all, I drill holes for the side dot material, just plastic rod, and CA glue it in place. It gets nipped of, filed flush and scraped true. Don't sand it or it will get dark material in the plastic grain, use a scraper of some sort.
That is it for the neck. At this point I usually run Chladni modes on the Body if I didn't do it when I completed the box. The modes are quite a bit higher in frequency now from the free plate modes. Next we will do all the finit work and prep for finishing and then the finish itself.