Let's Build A Bouzouki (Page 8)
Last Modified - February 2009 (©Alan Dunwell 2009)
In Page 7 we got the bridge glued on and we are ready now to install tuners, make the nut and saddle, neck shim, and do the setup steps.
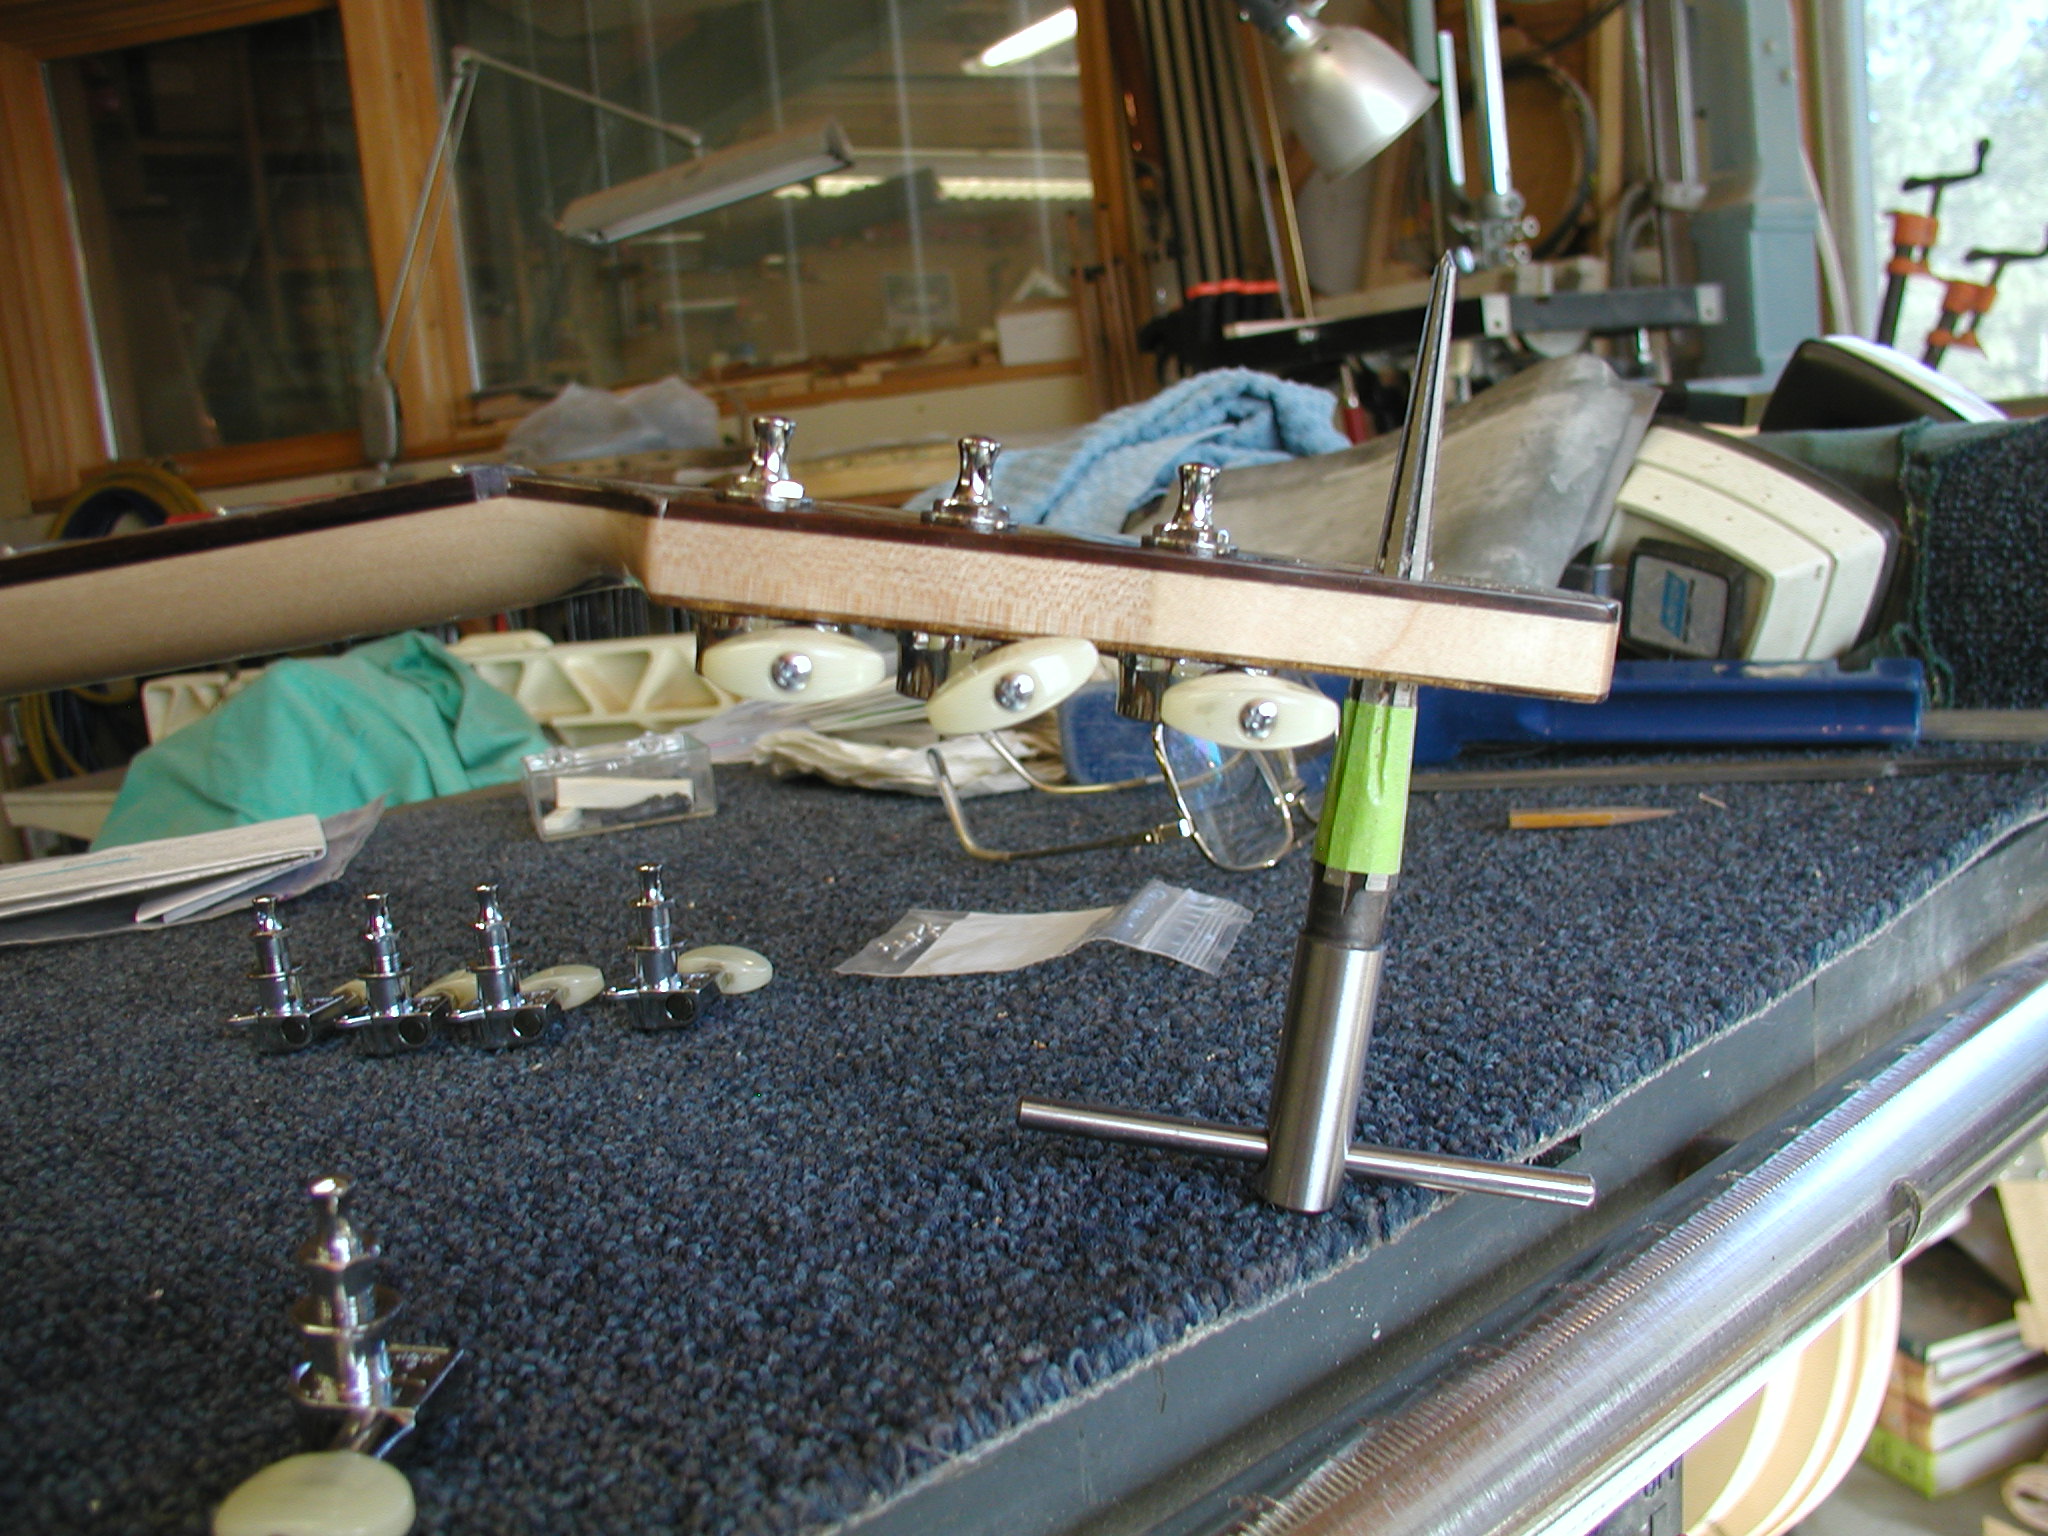
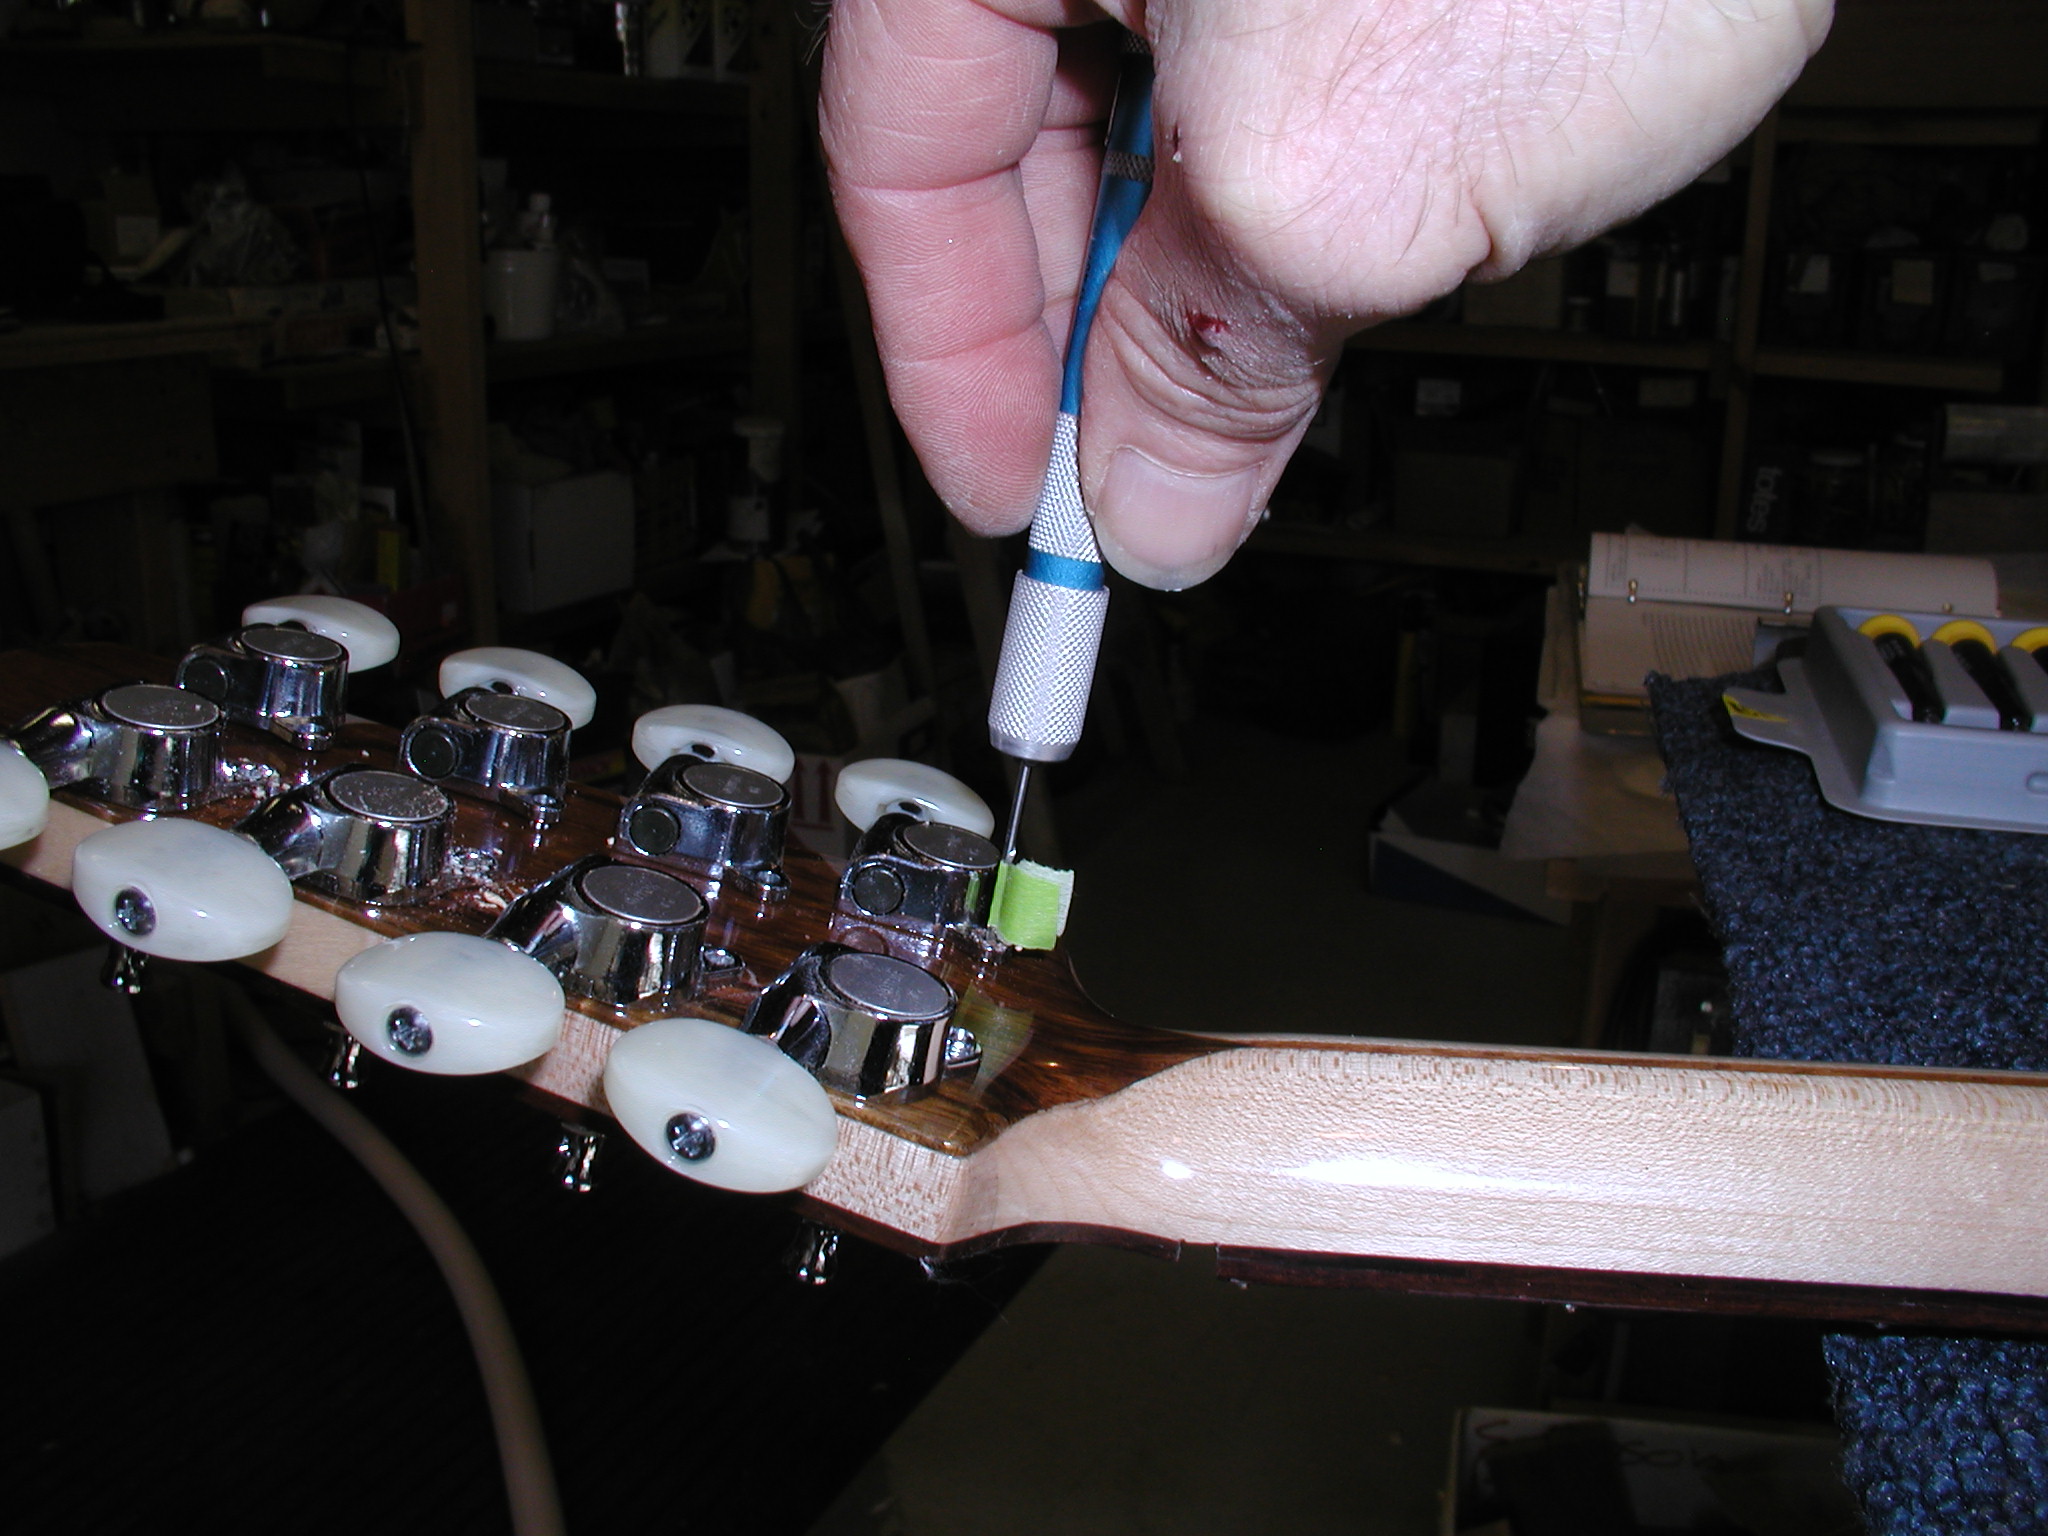

A simple plumbers ream is used to clean and size the holes till the tuners are a tight press fit. I use a pin vise with a small drill bit to make the holes, notice the tape "depth flag" so I don't' go too deep. I rub the screws on some soap and run them in snug but not tight. Then flip it over and tighten the nuts on top. Align the nuts so their flat faces are all the same to give it a nice clean look. Flip back over and re-snug the screws and align the X of the philips heads so they are all the same. Attention to detail here that most folks won't notice but will make you feel good knowing it is out there with subtle extra detail. And just in case you were wondering, the ding in my thumb is not instrument shop related.

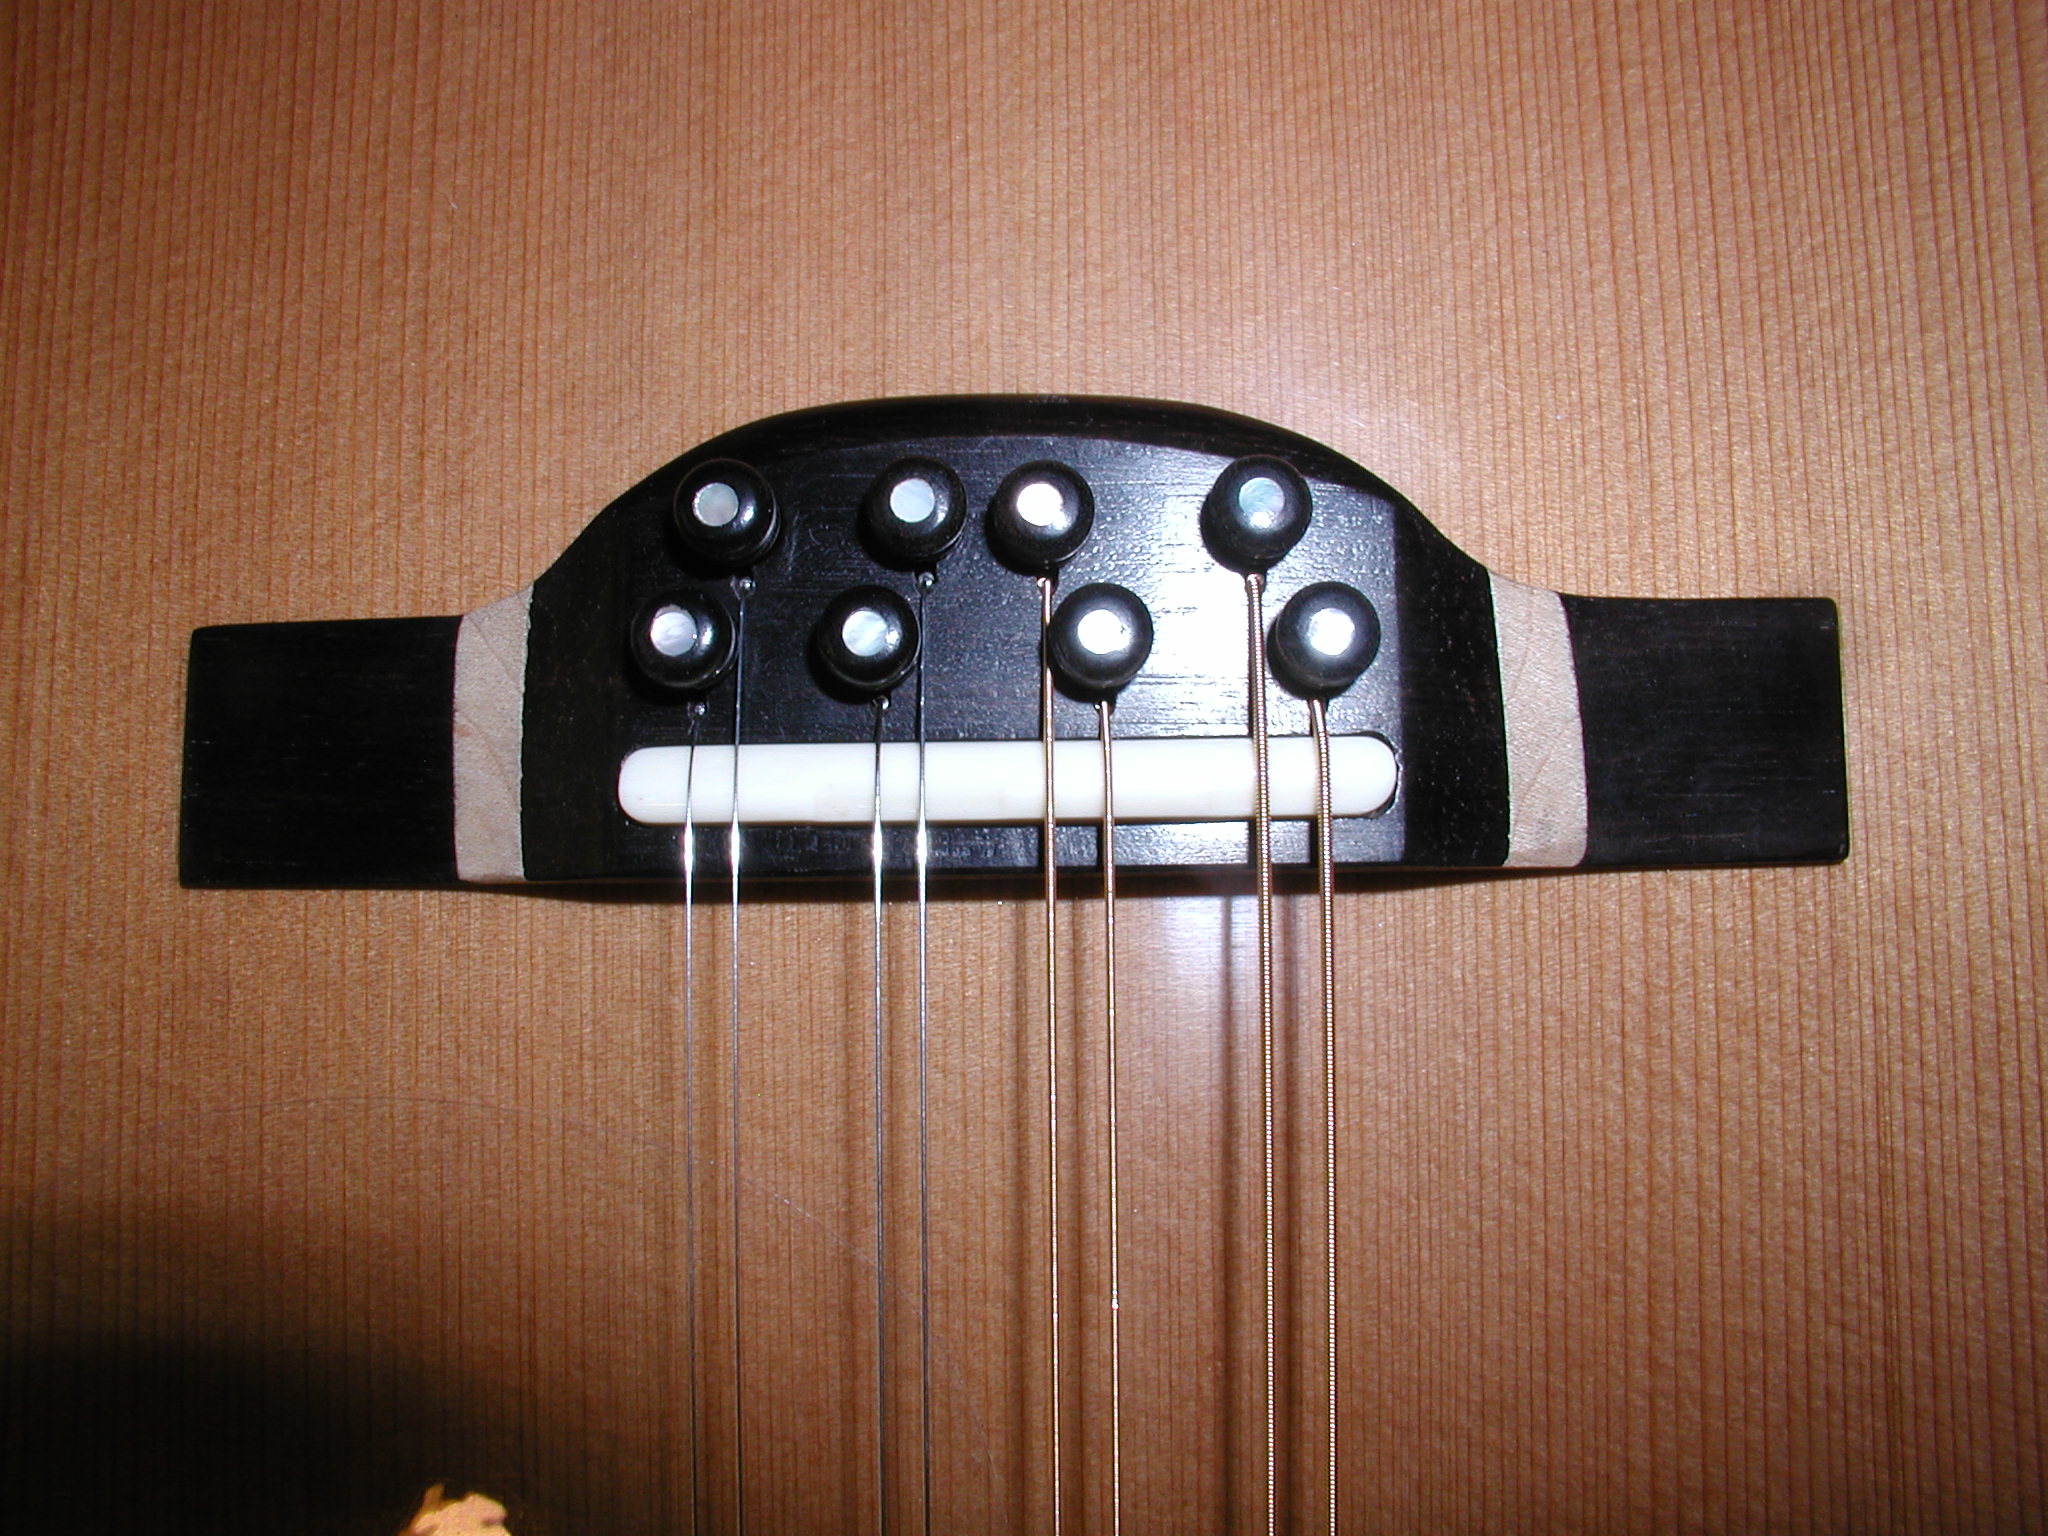
I make my own nut and saddle from scratch by resawing bone and then sanding it down to fit. I put the sandpaper on my tablesaw cast iron table for a true flat. Approach the fit of the saddle and nut width slowly. I belt sand it to get it close and parallel and square with the bottom. Then 400grit paper till it is just starting to fit and jams in the slot. Then go to 600grit till it goes in with some force but still can be pulled out. Fit the ends of the nut here too to match the neck width. Then 1000grit and buff with a hard felt wheel and white compound. At that point it should slip in snug but pull out easily. Put them in place and strike your base pencil lines with a 1/2 pencil, one that is ground off the long way to look like a 1/2-round. This is a good use for those stupid "mark sense" pencils that seem to always be around everywhere. For the saddle this is just across at the top of the bridge, for the nut, do the same, but also strike a line riding the pencil along the frets.
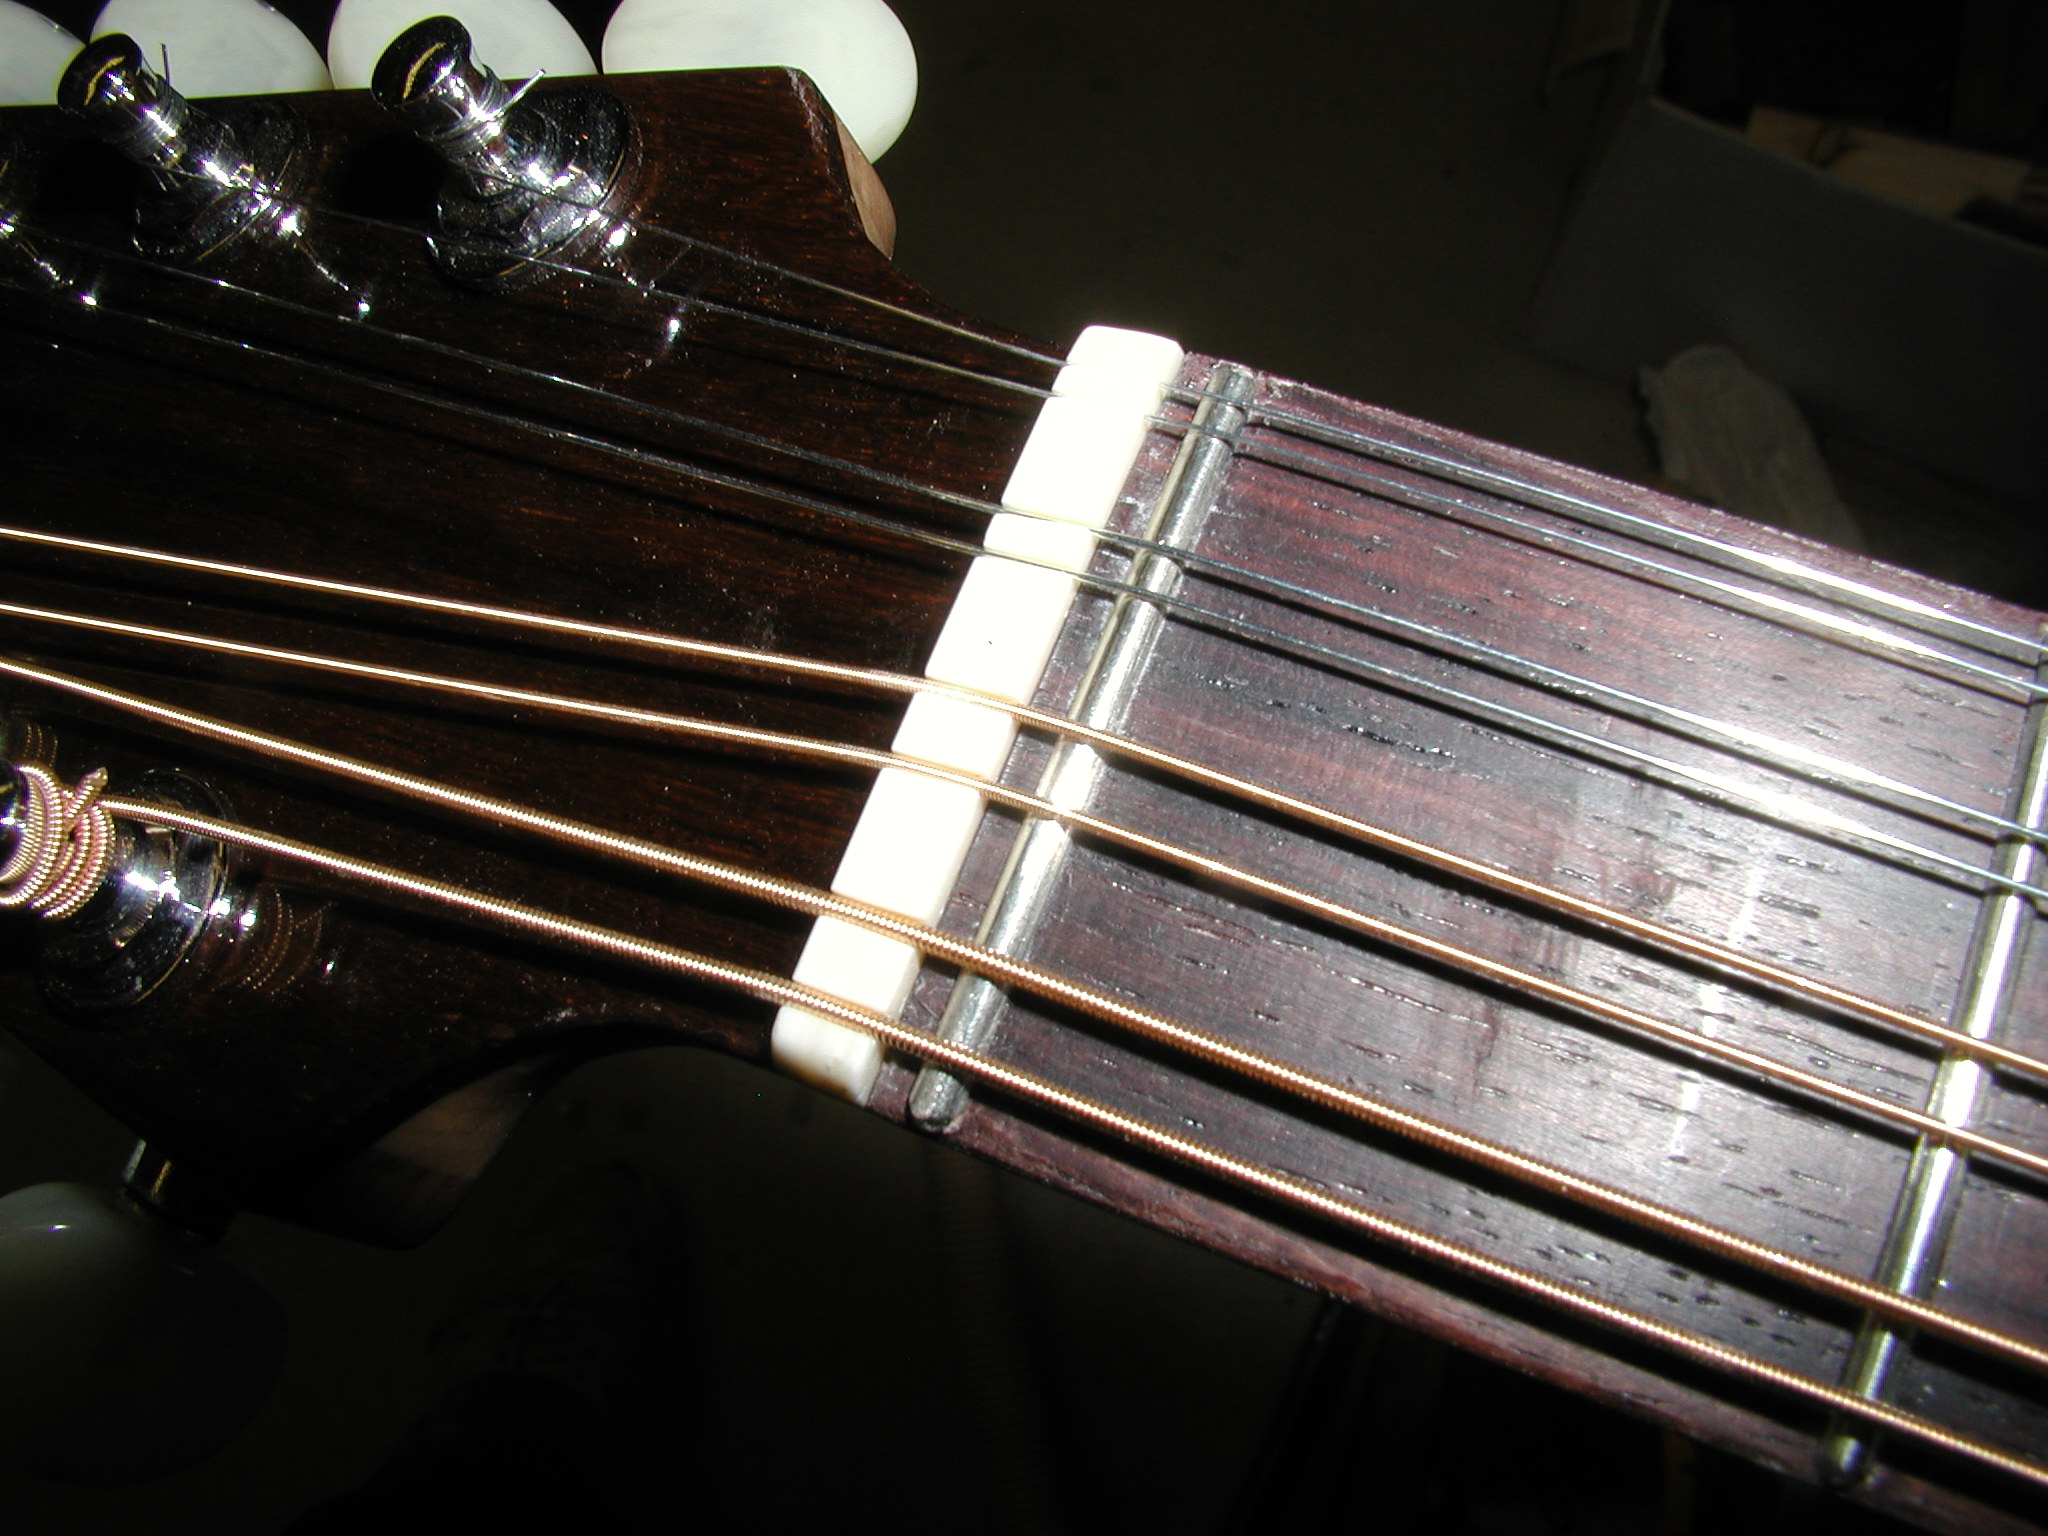
Layout your nut, I won't go into detail here about that, look at the same section in the guitar building pages for more detail. With a zero fret the nut is easy. Grind the top down to just above your fret-level-scribed line making the back angle if you want that. I like to make the top angle half way between the horizontal fretboard and headstock back-angle lines. Then pull the nut and cut the slots while holding it in a vise. The fretboard side of the nut should be cut to just above the fretboard line you drew. Put a little drop in the slot at the back where it breaks over to the headstock angle You want it bearing on the back side just a bit so the string doesn't buzz. With the way I ground the top angle I just match that angle when cutting the slots. I like to sort of round over the headstock end of the slot for this. The string should slide easily in the slot but not be too lose. Size it for the largest string size allowable on the instrument. Finalize the nut now, shape the top lines and sand out to 1000grit and buff. I like to polish the fret slots using some compound and scrap ends of some strings so it is nice and smooth.
![]()
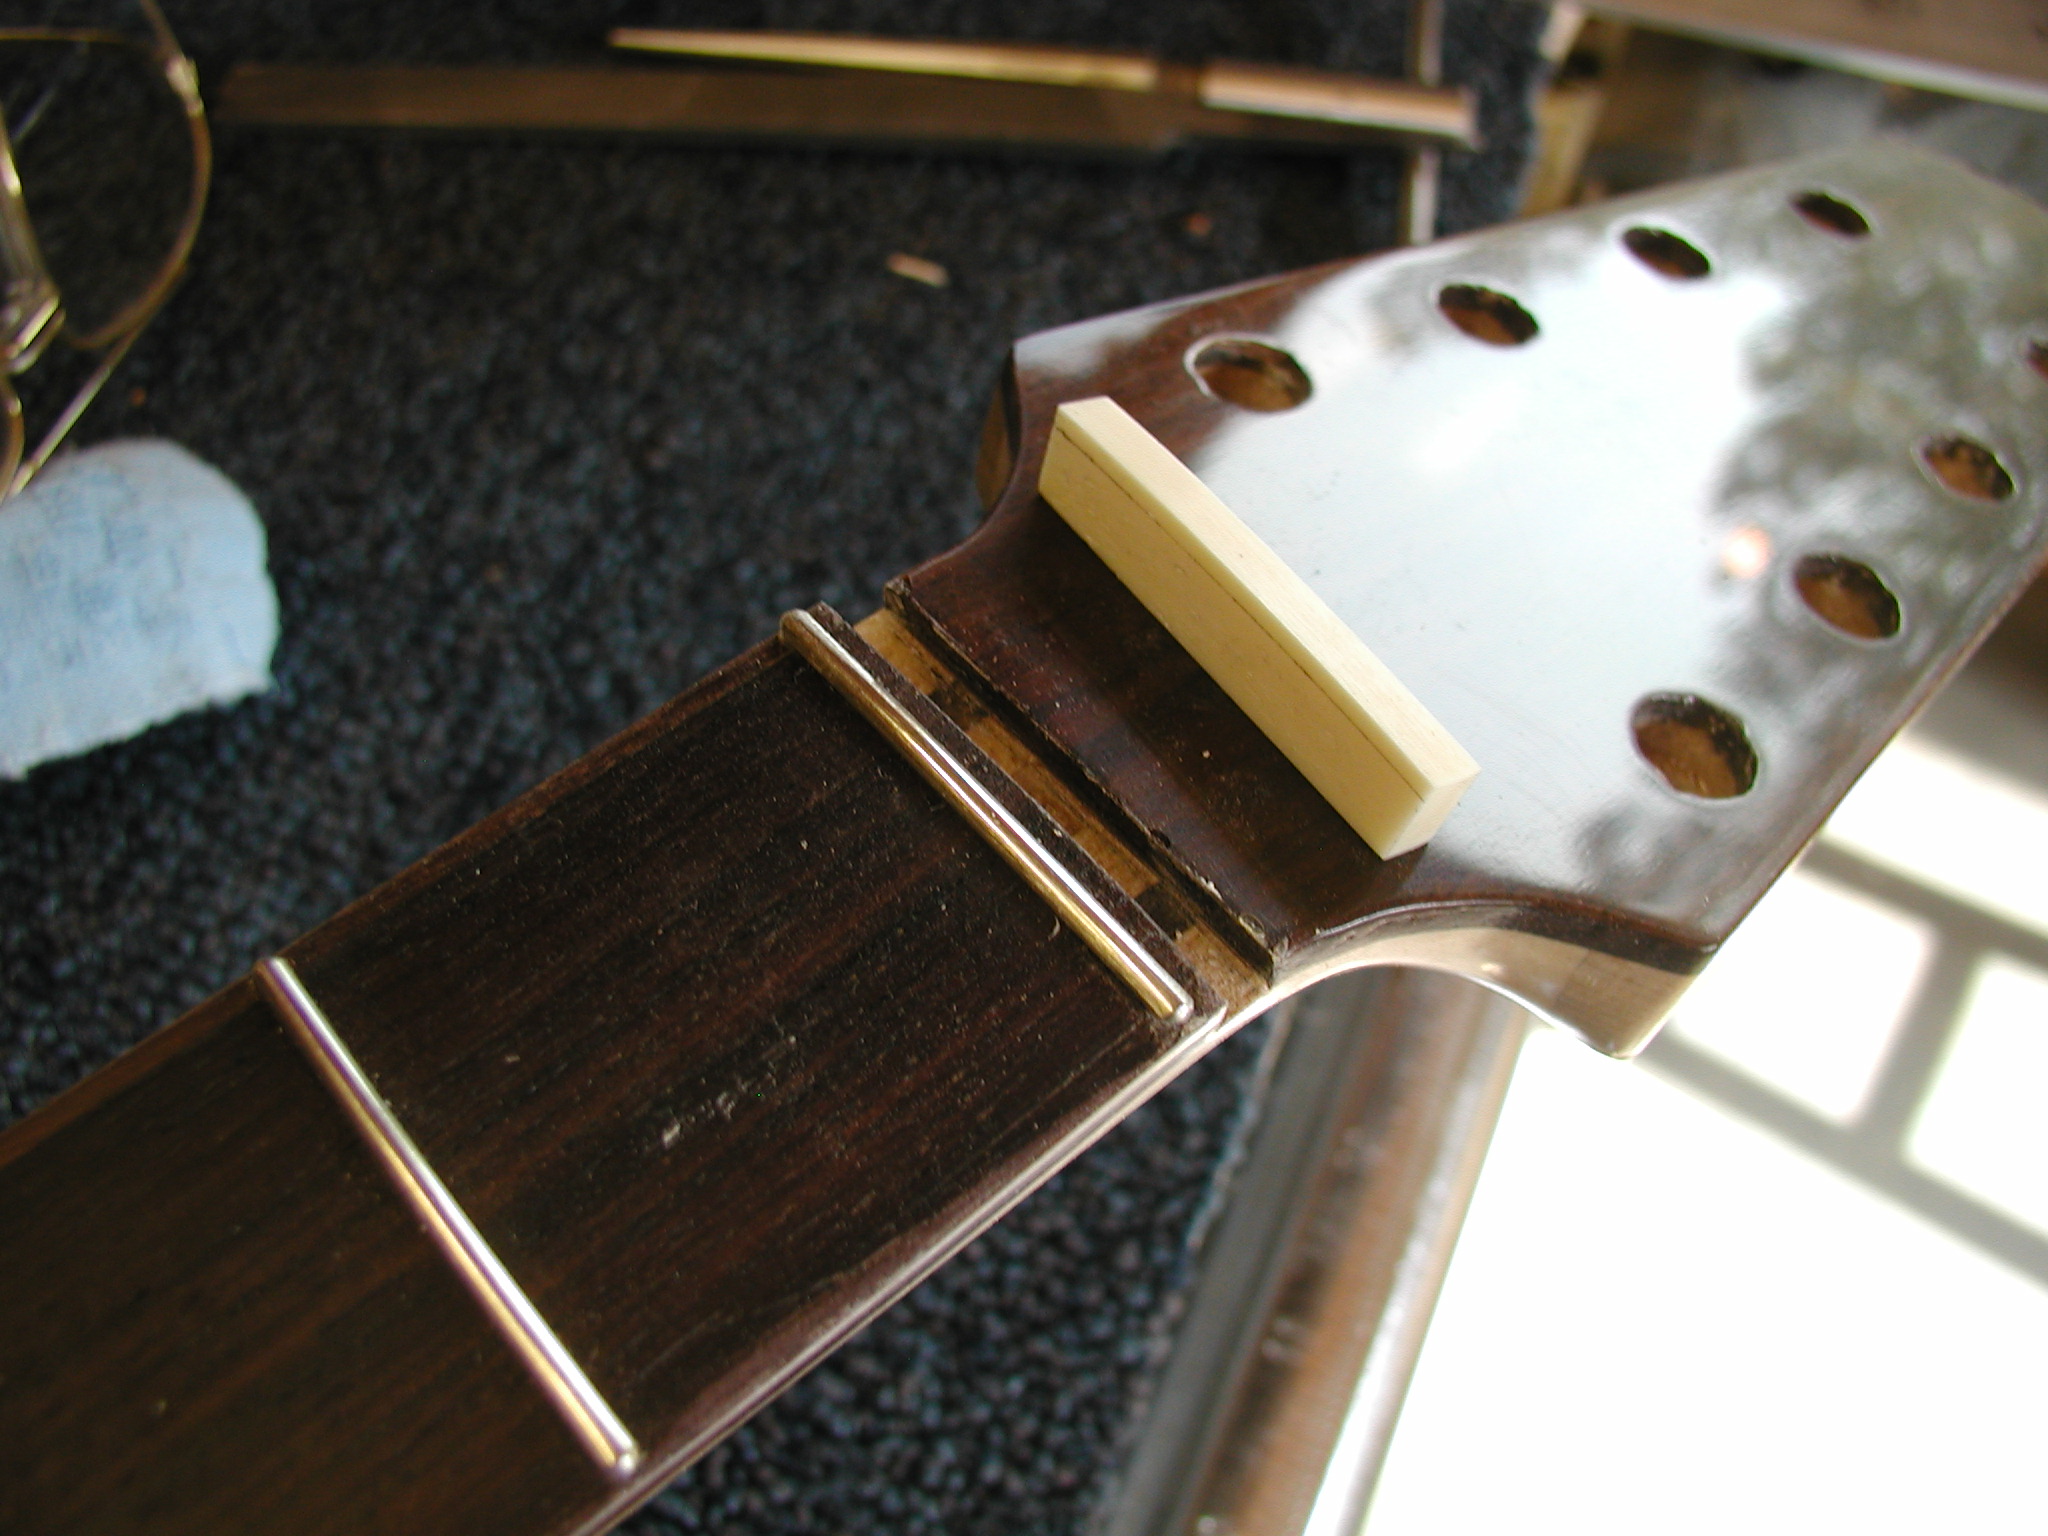
Here I do my neck shim stuff. I can string it up and see about how much the top rises so I know how much to angle the neck. I used a high-contrast ebony shim, if you look closely you can see it is a bit thicker at the top than the bottom. I didn't need any side-to-side adjustment, the neck was right on. I don't finish the shim, just buff it out the same as I do for the bridge.
Not showing here is that I put a small shim of cocobolo on the bottom of the saddle to mellow out the tone just a bit. I also slotted the cocobolo between the unwound string courses to give a little clearer sound. All that remained was to set the action height at the 12th fret by cutting the top of the saddle down and then doing the intonation. Again, no detail here, it is the same as I do for the guitar, you can look there. I like to try out a couple brands of strings on a new instrument to see if it likes any particular set and note that on my spec sheets.
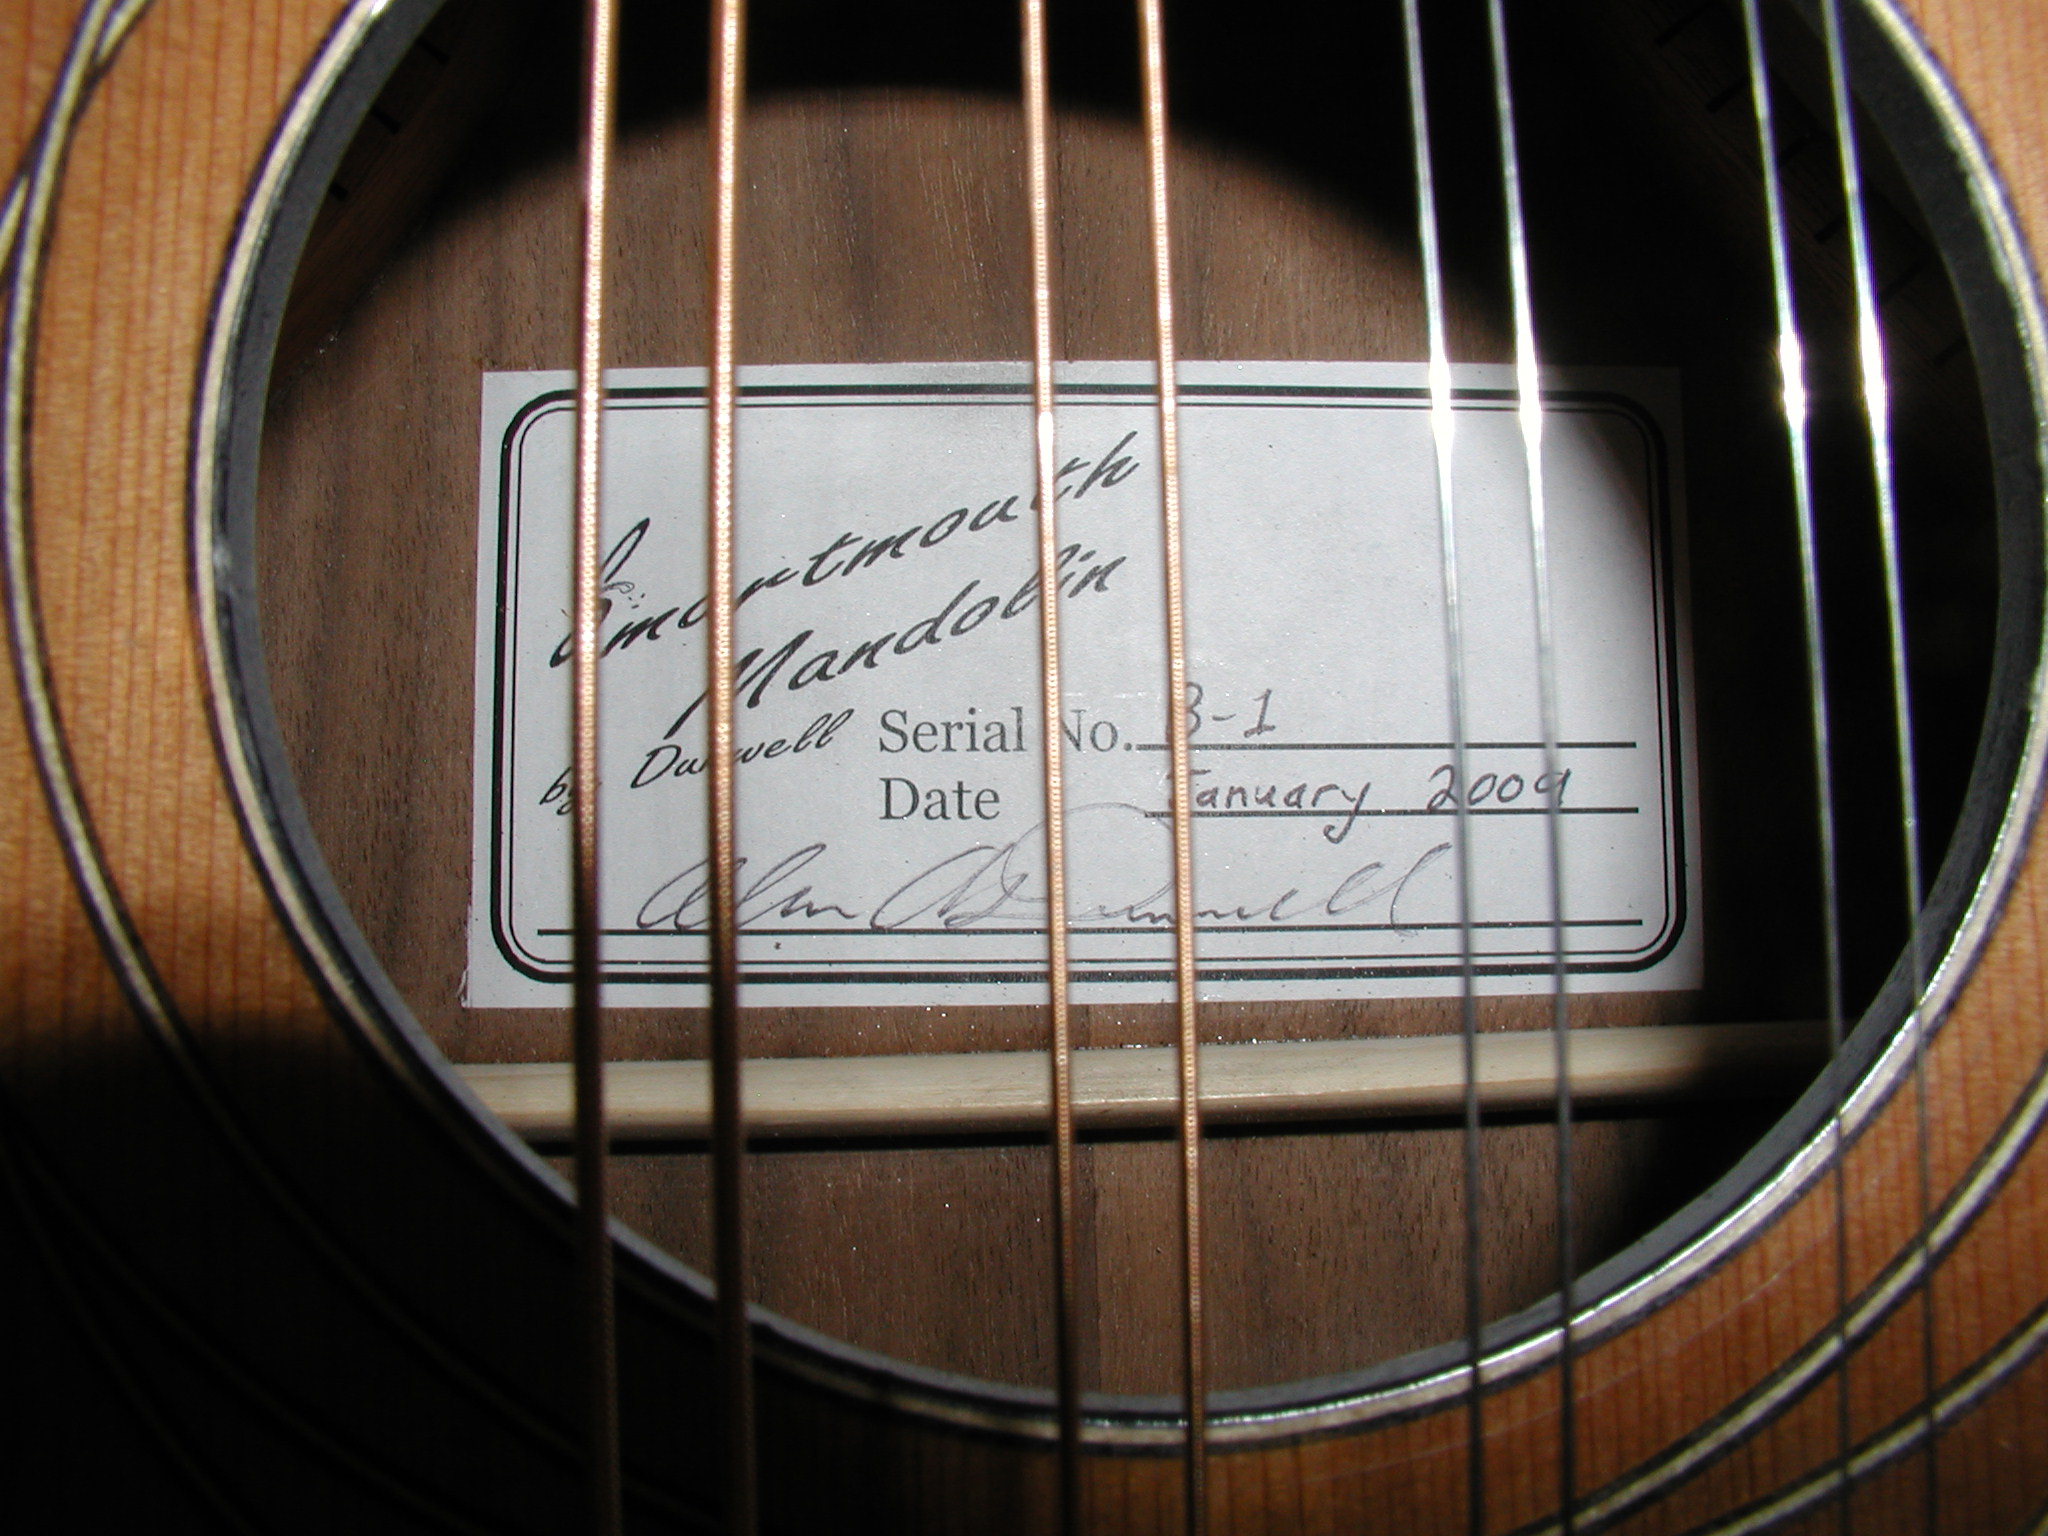
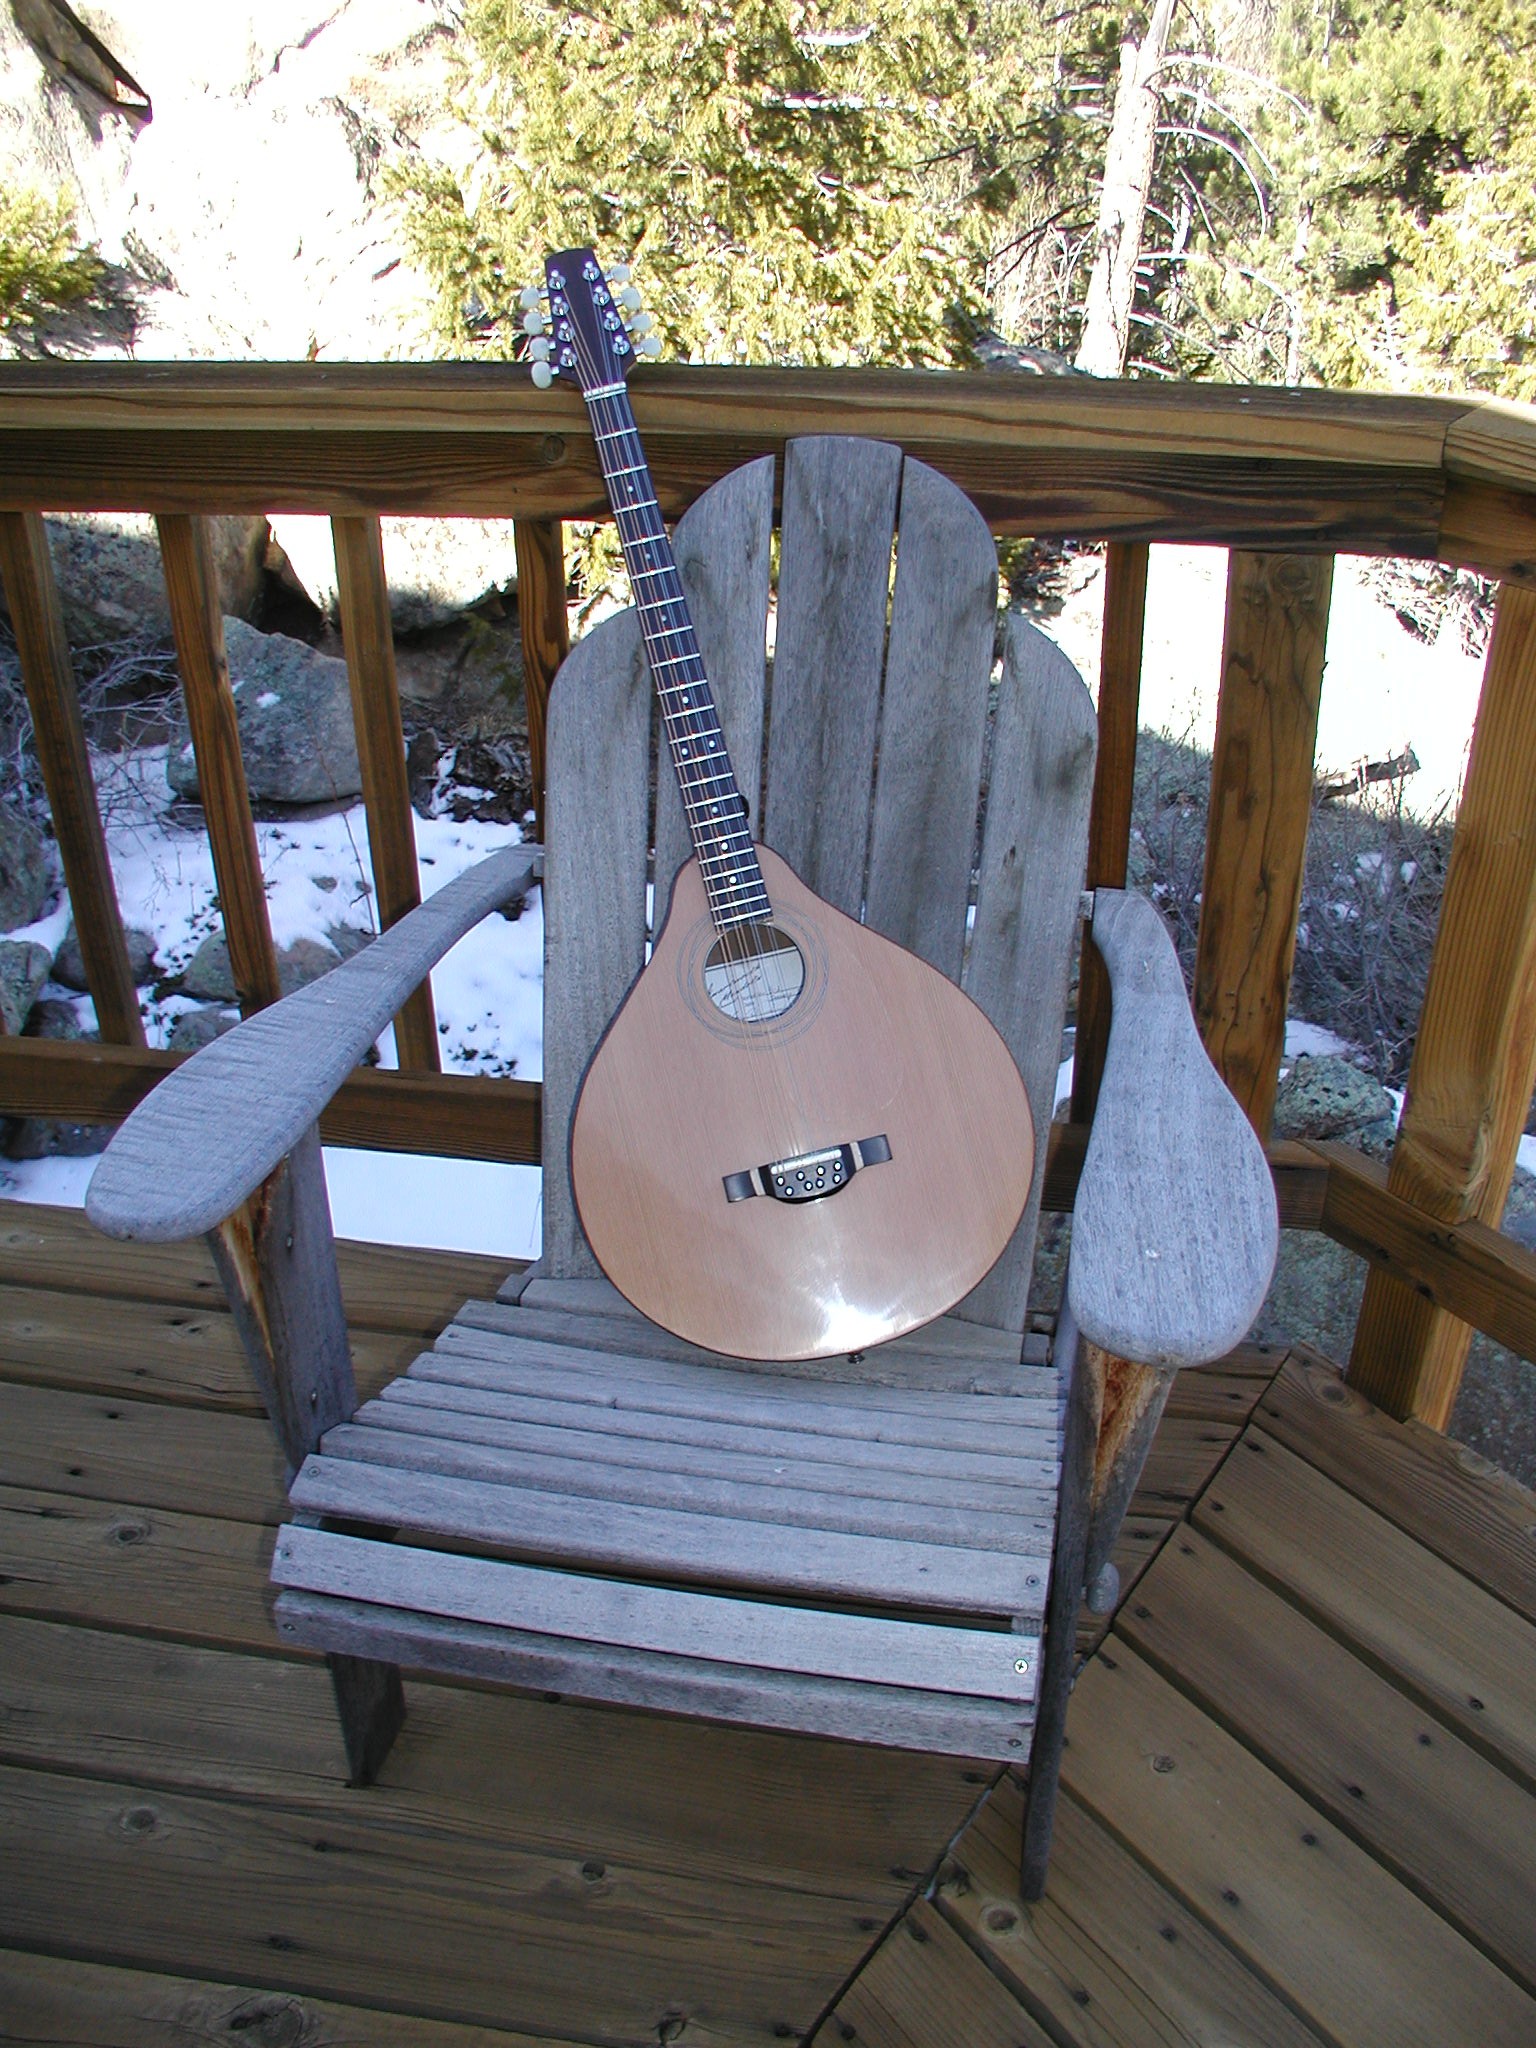
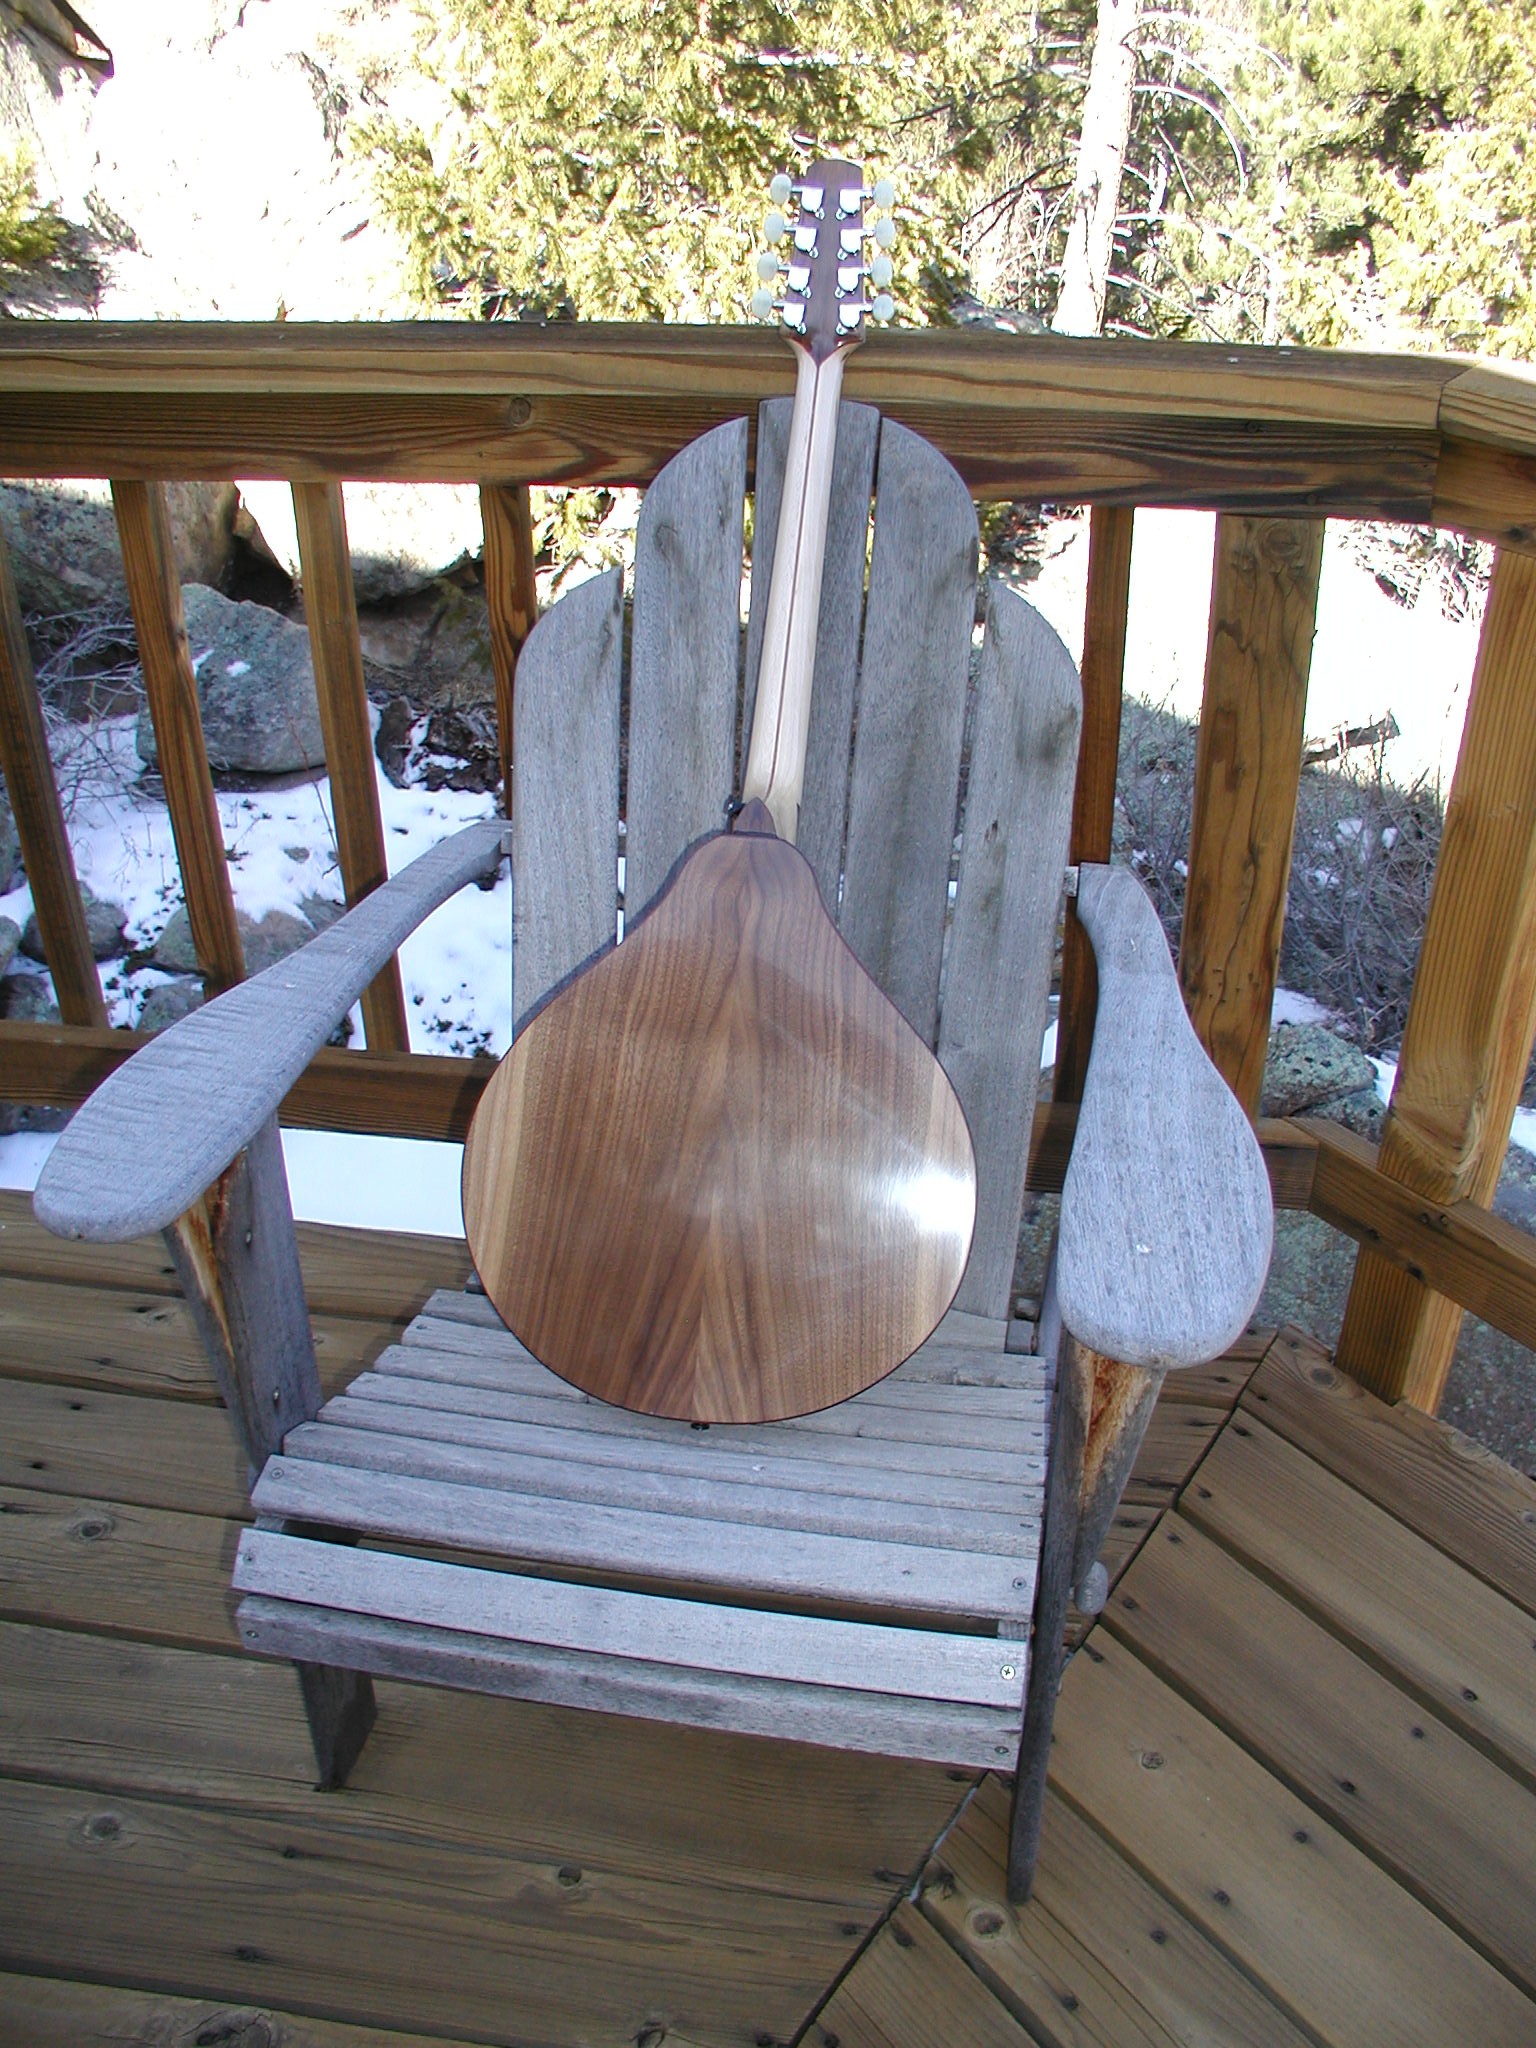
Since I know this will be used standing up I installed strap buttons in the butt and heel, just simple screw-in jobs that can be changed later if someone wants electronics, etc. Last of all is to give it final good going though, check the finish and do a final buff. I vacuum and blow out the box several times and last of all fill out, sign, and install the label. When all done I like to take some artsie-pootsie photos to put up on my web pages in the For Sale section if it is not already spoken for.