Let's Build A Bouzouki (Page 1)
Last Modified - August 2010 (©Alan Dunwell 2009)
Index of Pages:
1 - Top construction
2 - Body assembly
3 - Body outside
4 - Neck construction 1 (create and initial shaping)
5 - Neck construction 2 (fretboard through completion)
6 - Finishing and Bridge Prep
7 - Bridge Final and Mount
8 - Tuners, Setup, and Final
The following is a pictorial supported discussion of building an Irish flat top bouzouki made with a double top. The discussion and photos represent the process I used at the time of the build, but this is a moving target. I continually modify and refine my process with almost every instrument. I will try to note places where I have changed process, and notes may be inserted in at a later date and will be marked as such. I am going to step through in exactly the way I built it, so the process may seem to jump around a bit. For example, there will be finishing information with a time gap while I let the finish cure out before I discuss wet sanding and buffing.
Further, I will not be discussing the construction of any forms or jigs, just showing their use and referencing them as needed. Items I discuss in detail elsewhere on the web site I will link.
For greater detail with any photo just click on the photo to get the full resolution image. I am using thumbnails images here in the document so it will load faster at startup.
OK, Let's begin.
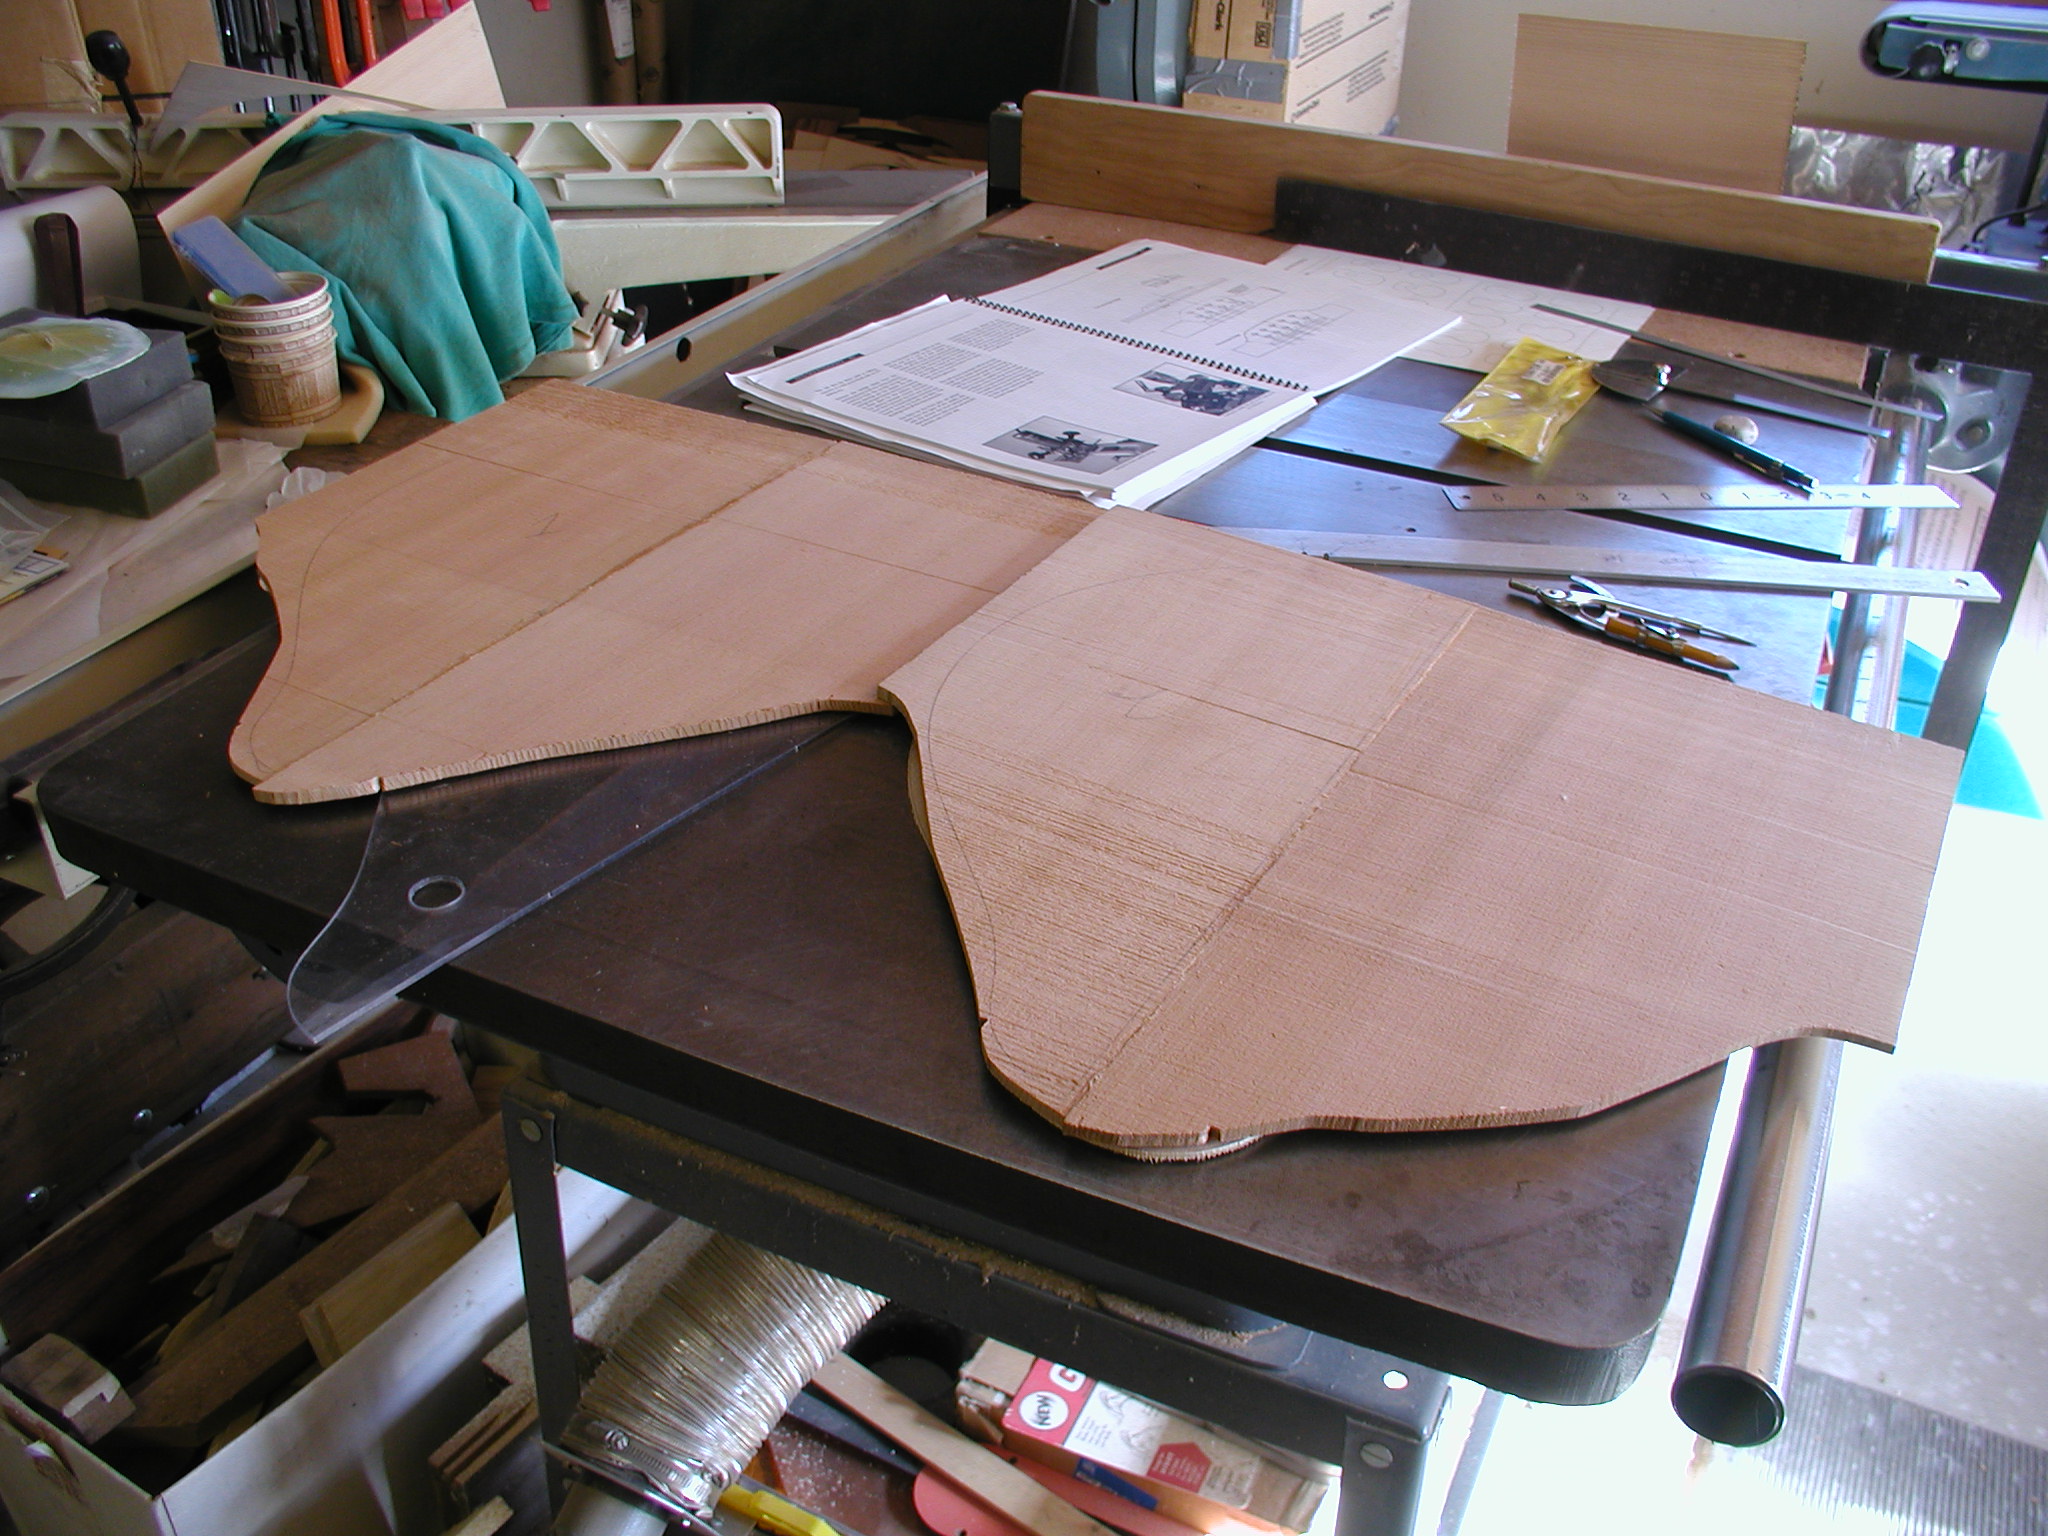
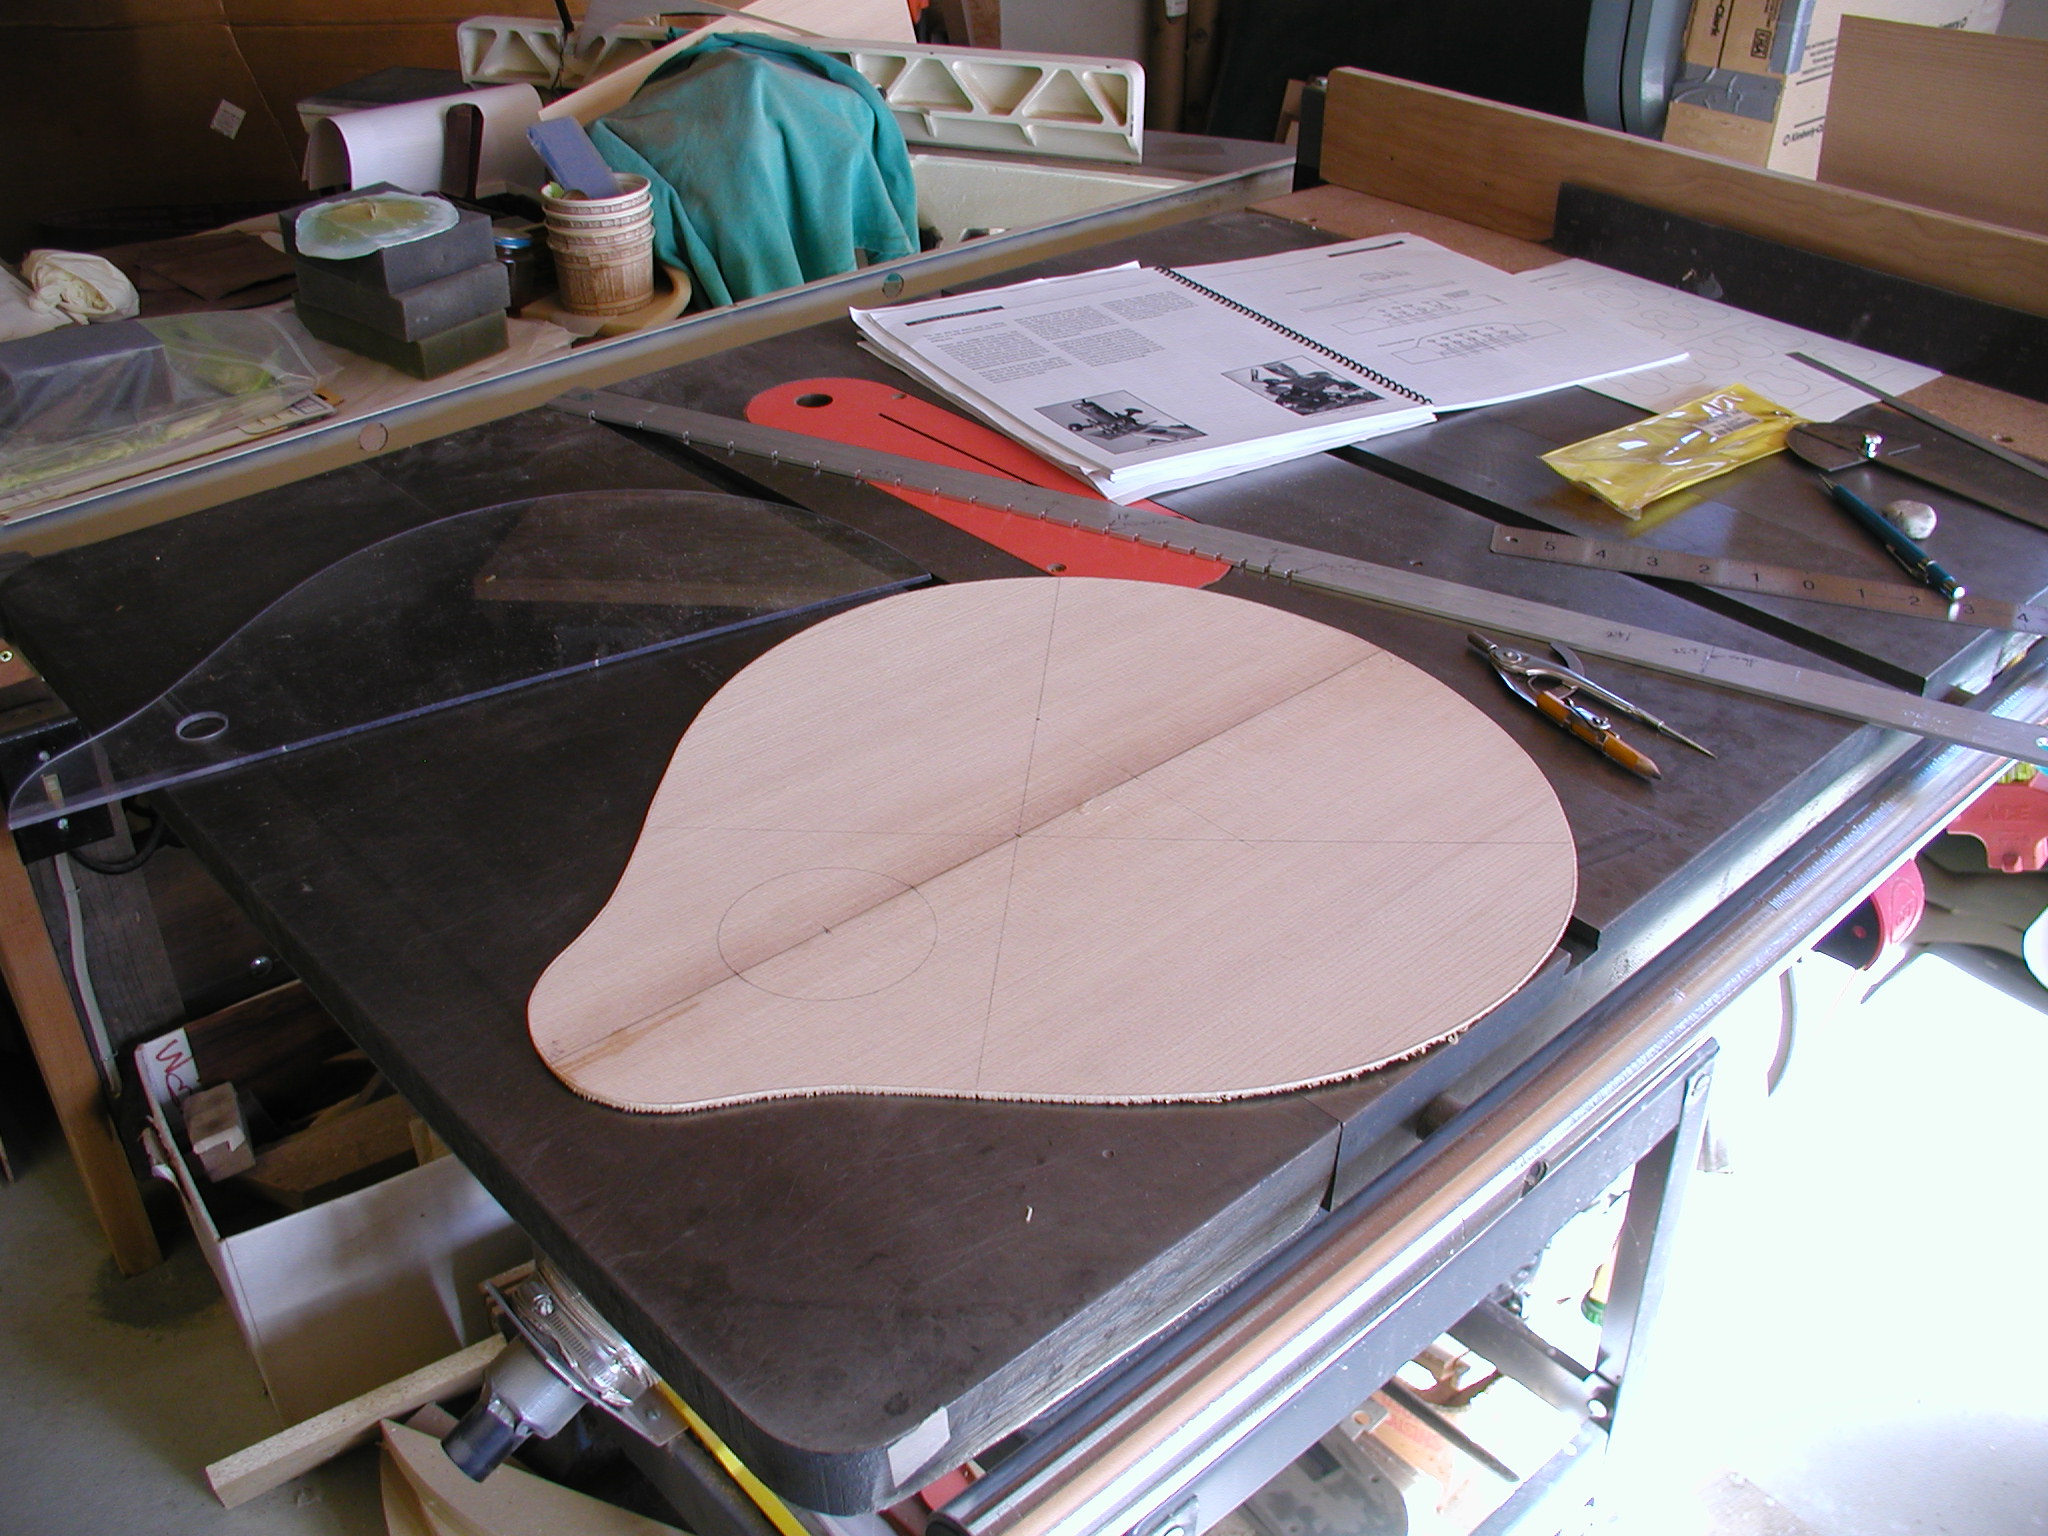
This instrument is a double top, for more detail on that click here. Here you see the very start with the two top pieces center seam glued up in the rough. They are still about 0.10" thick here. NOTE: I will be using a mix of metric and english measurements throughout this discussion, you will just have to live with that. Each has it's strong points in various settings. The photo on the right is where I have cut out the profile and thicknessed it down. The outer skin is the Western Red Cedar and I left that at 0.060" to have a bit of sanding room. The inner skin of Adirondack is down to 0.040".
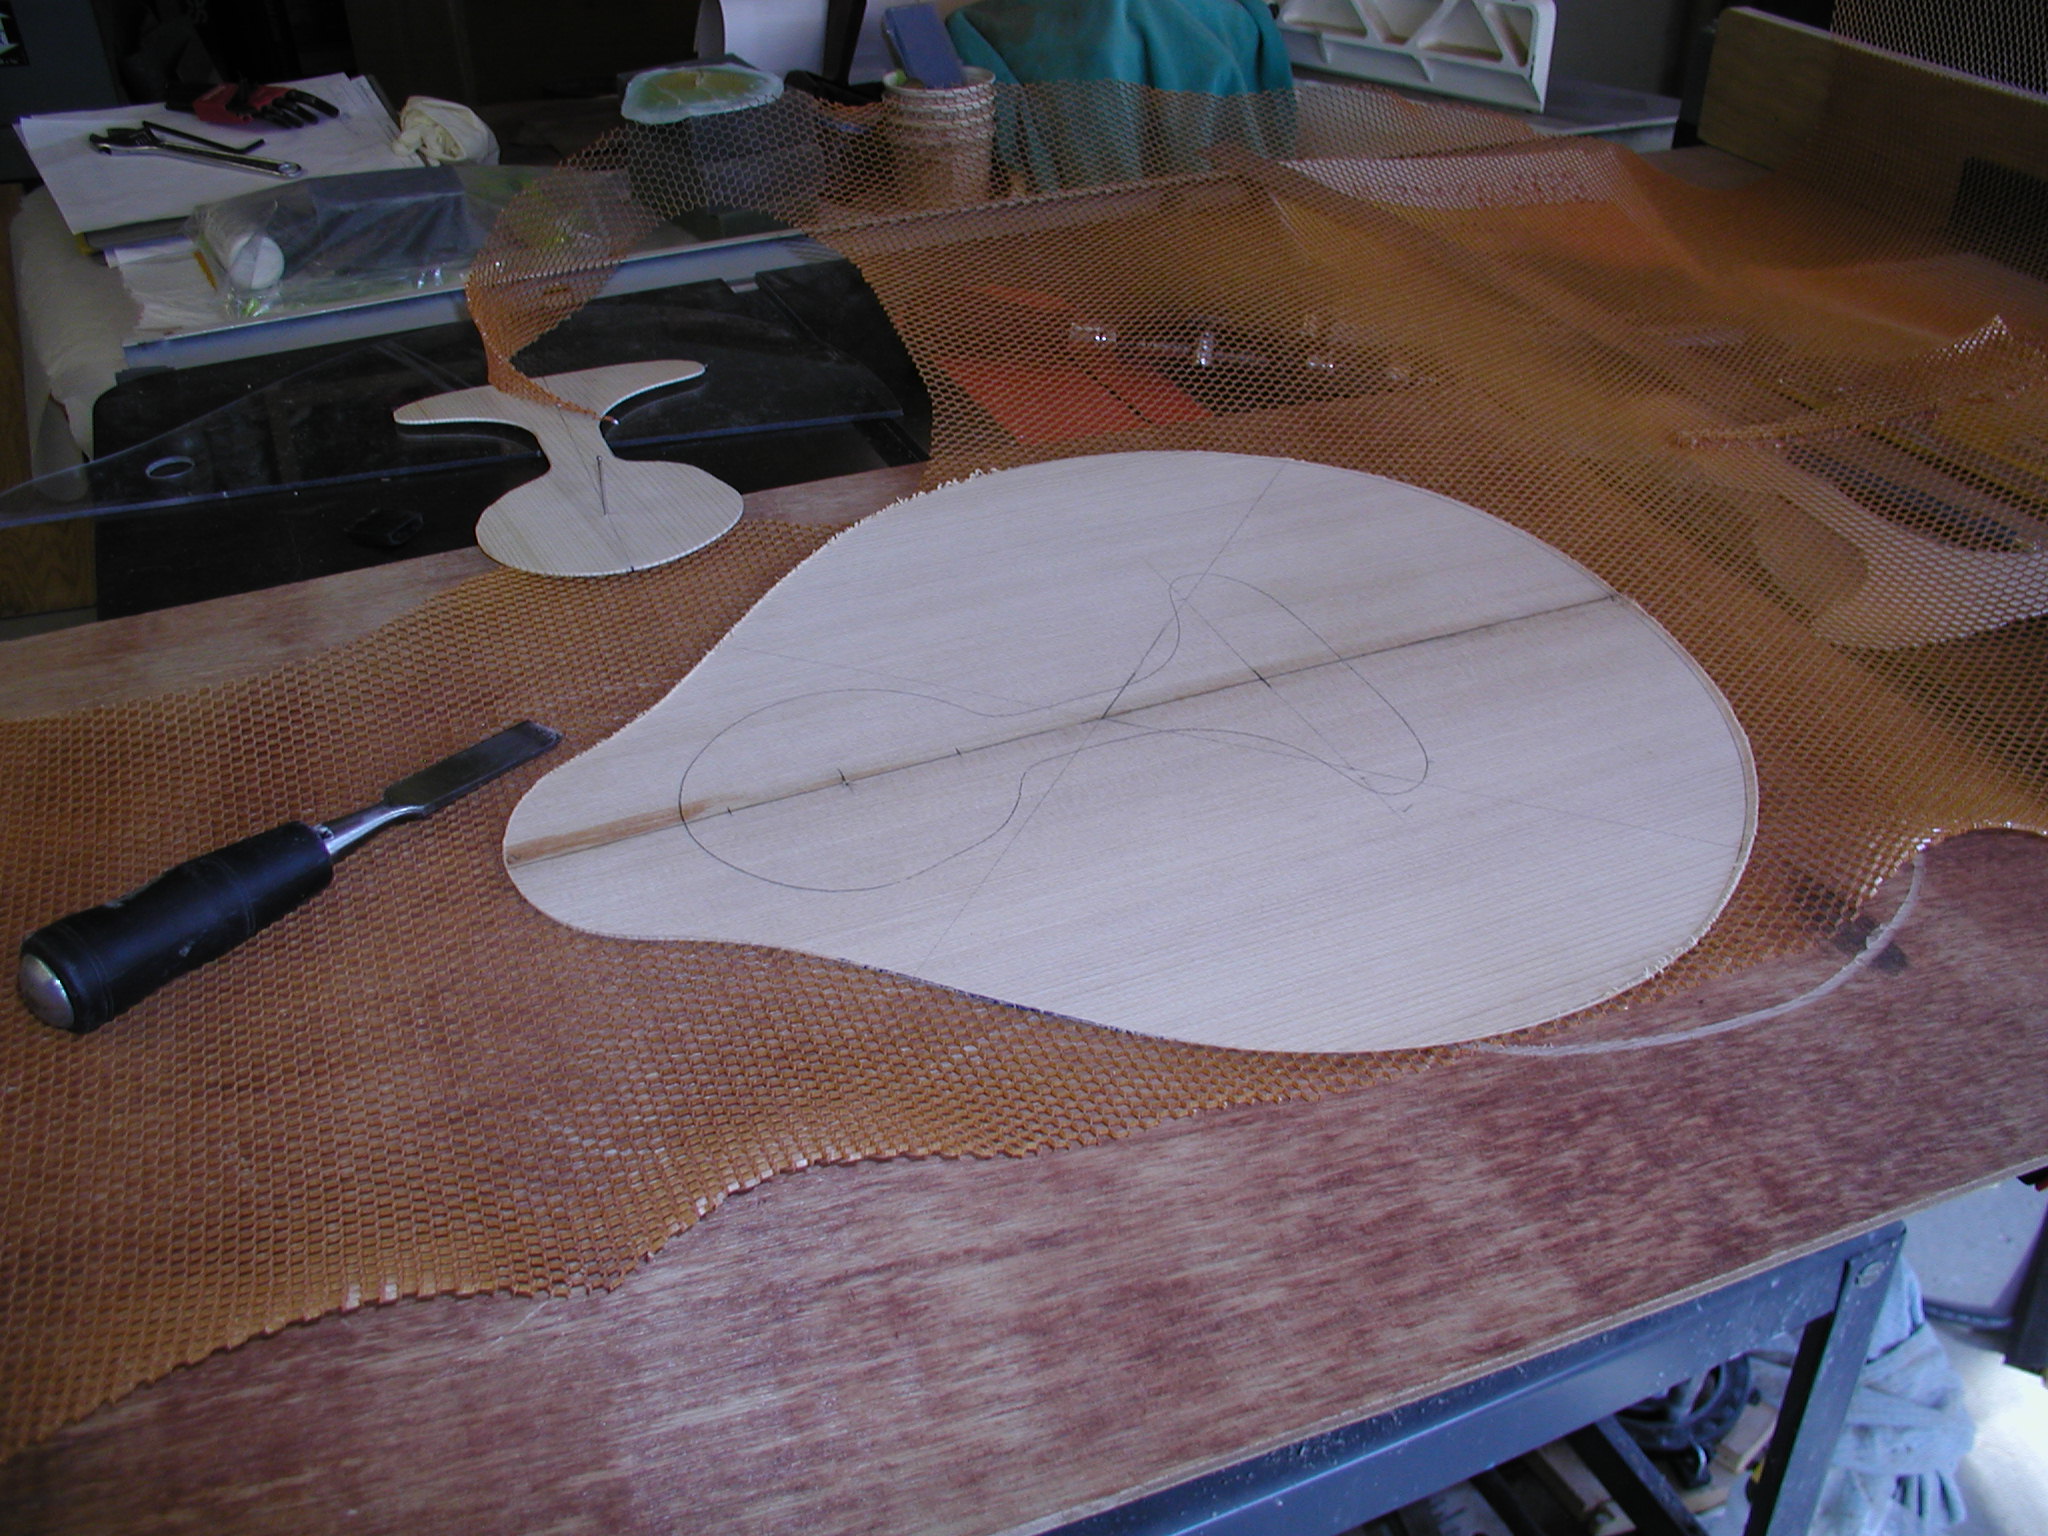
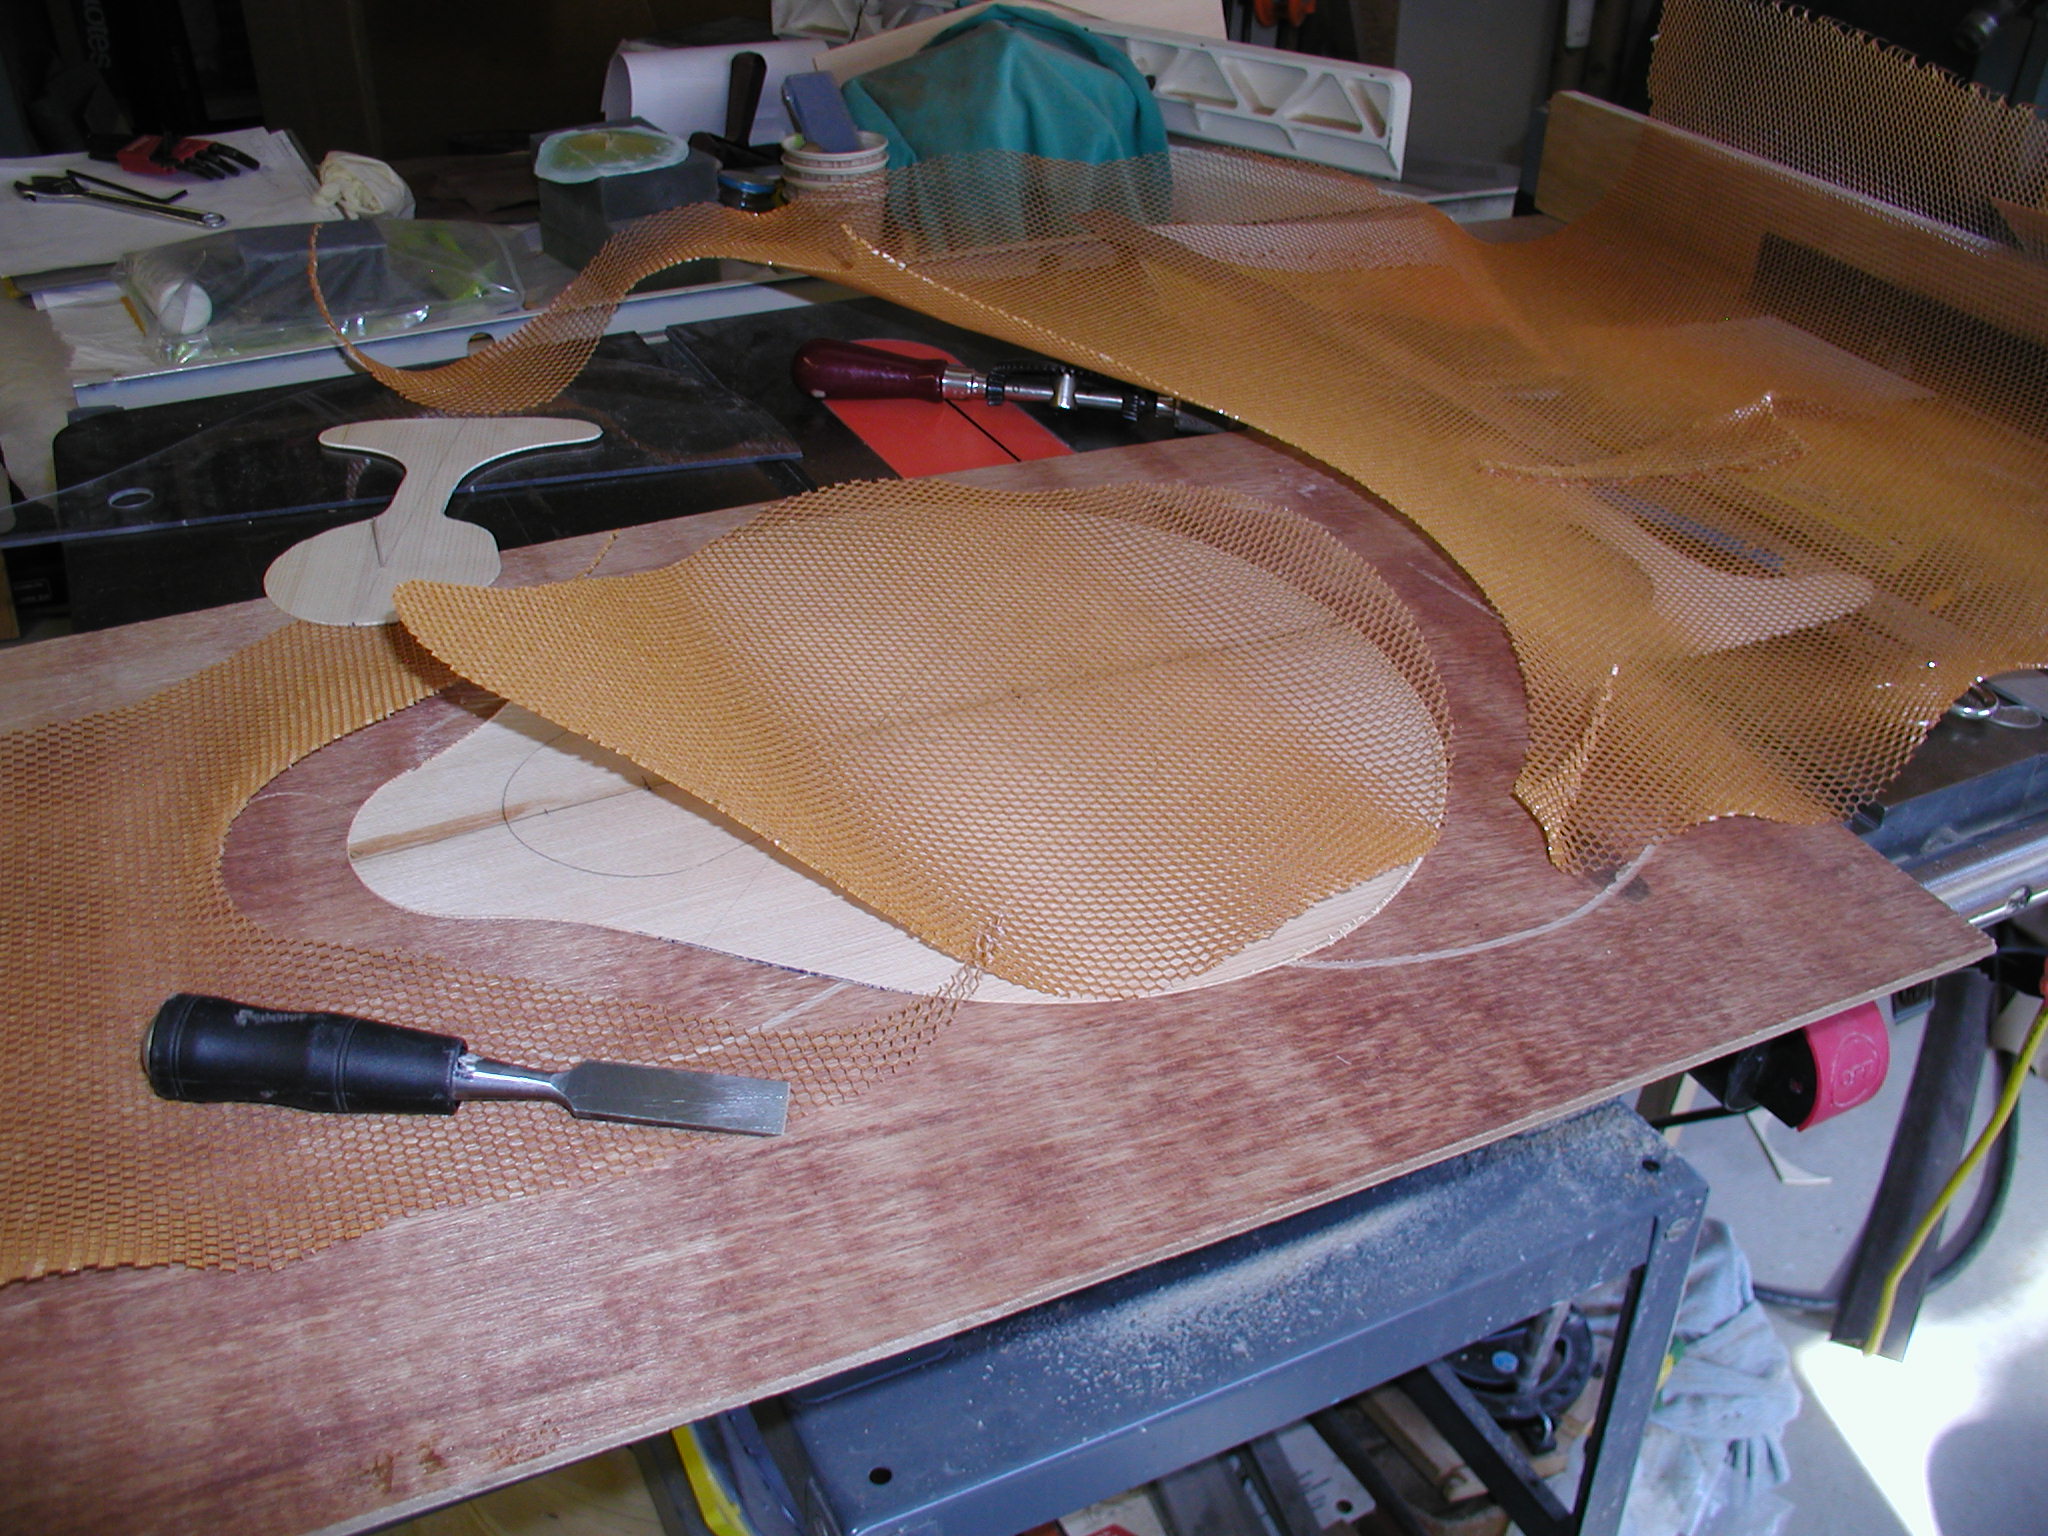
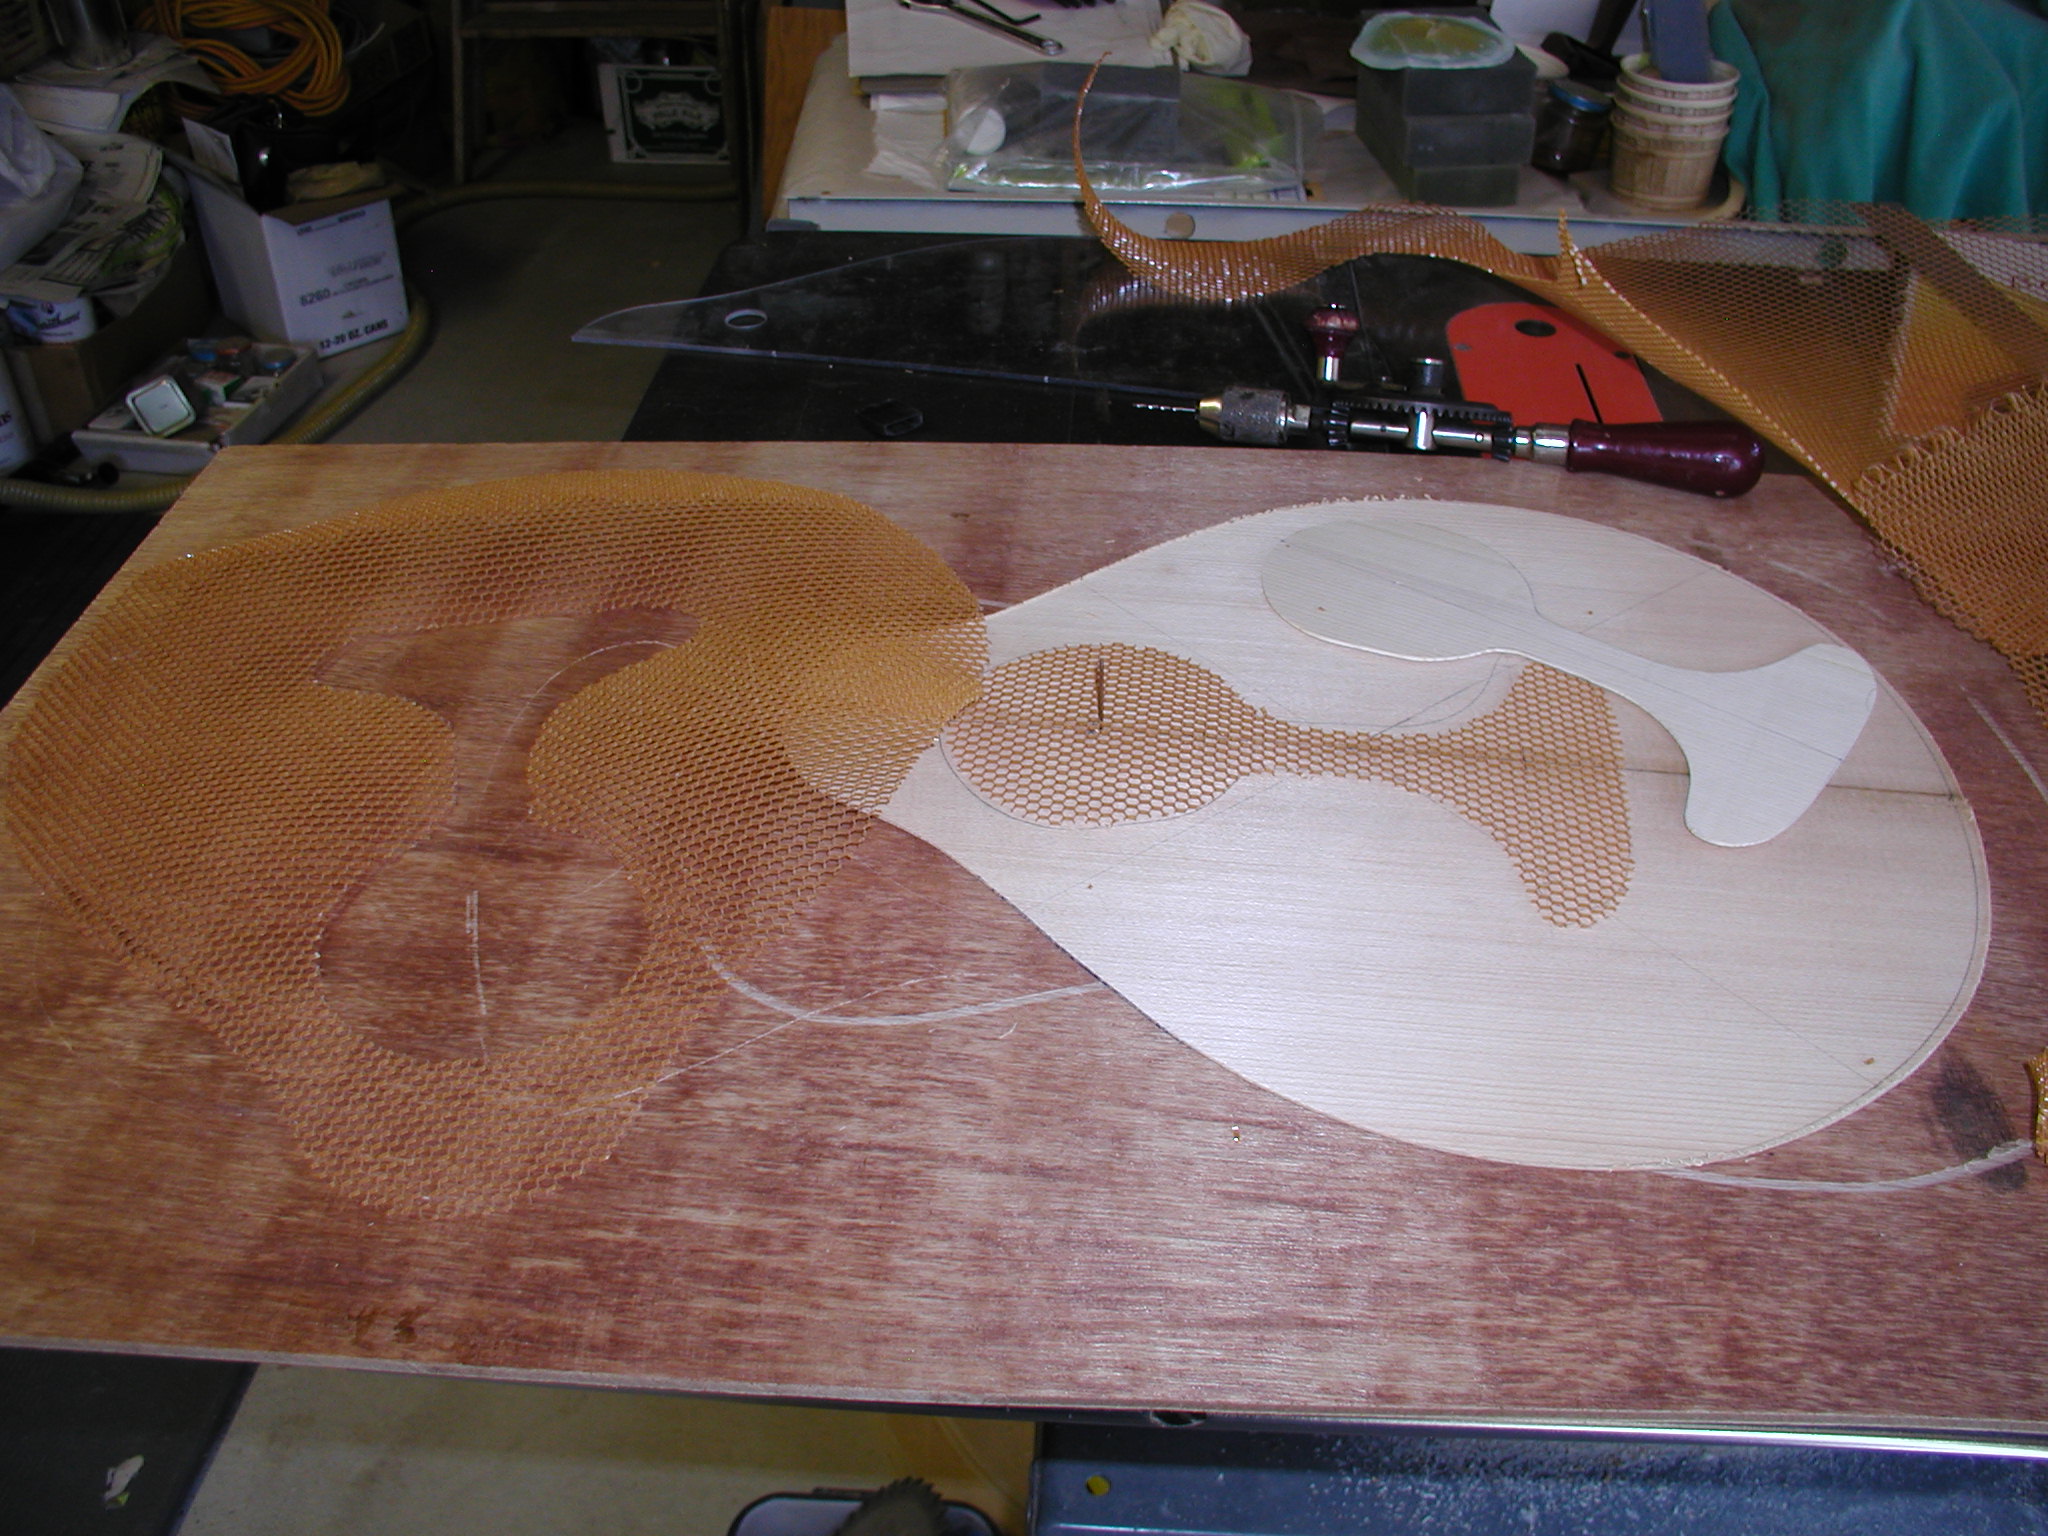
Now that the skins are ready I need the inner sandwich pieces of Nomex and and the hard bits up the centerline. I just use the skin as the template and cut out the Nomex using a chisel. I have tried a sharp Xacto knife and scissors but they tend to rip the Nomex, just chunking around with a chisel seems to work the best for me. I then cut out the center of the Nomex where the hard bits will live. Not shown is that I use the same center template to cut out center hard part of Adirondack spruce.
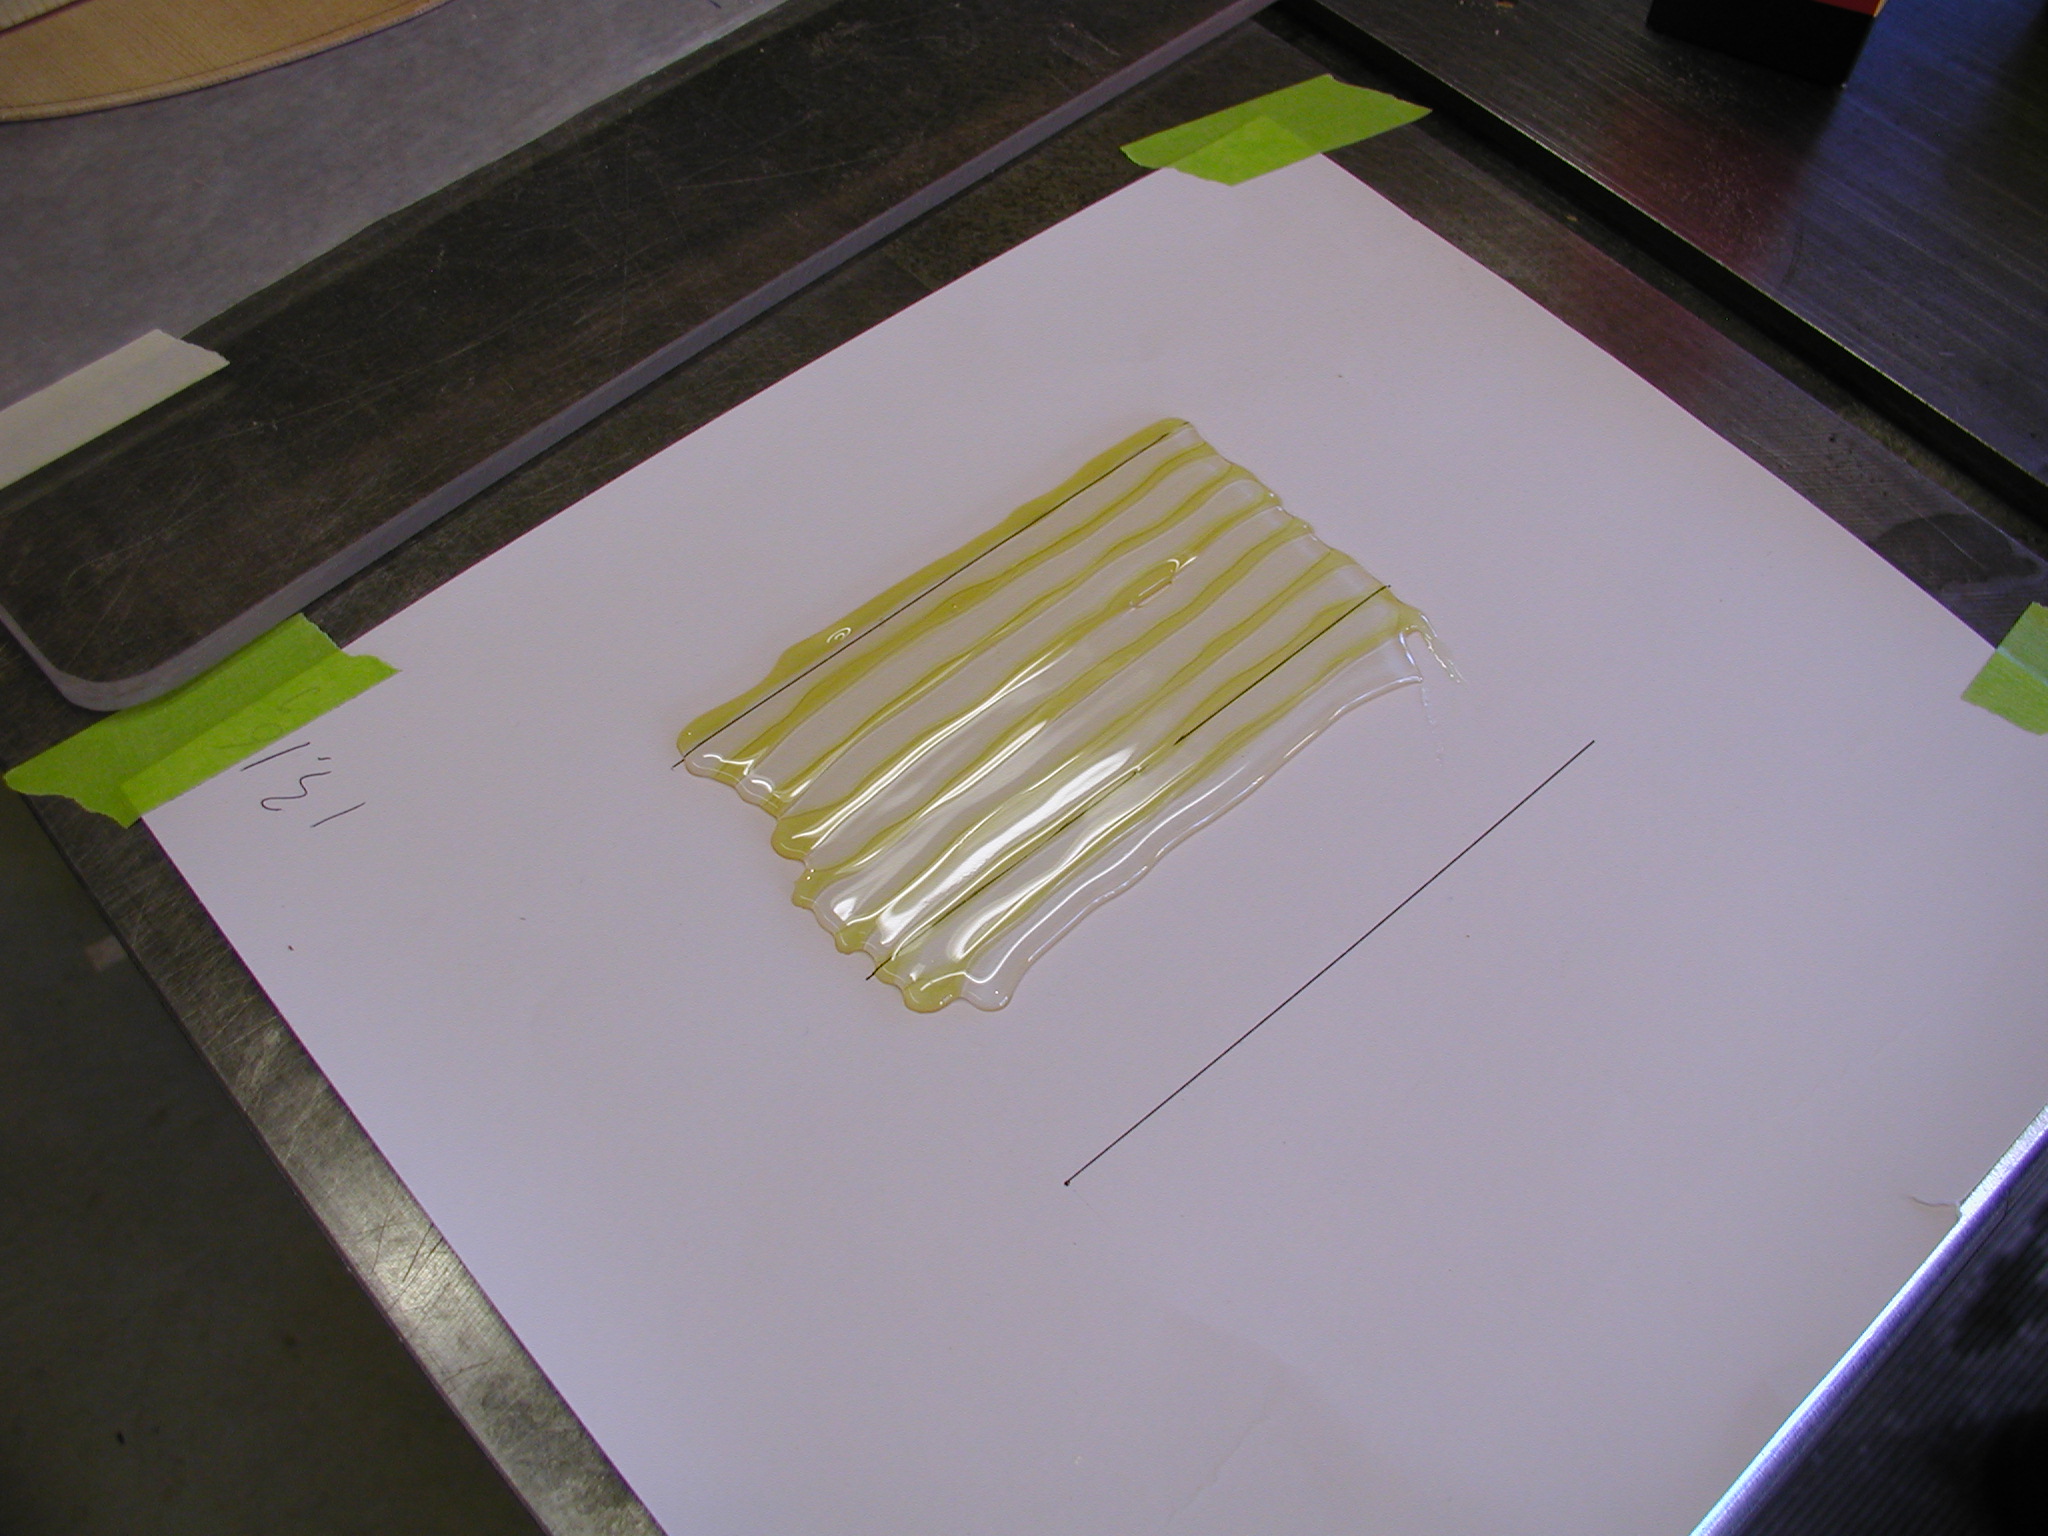
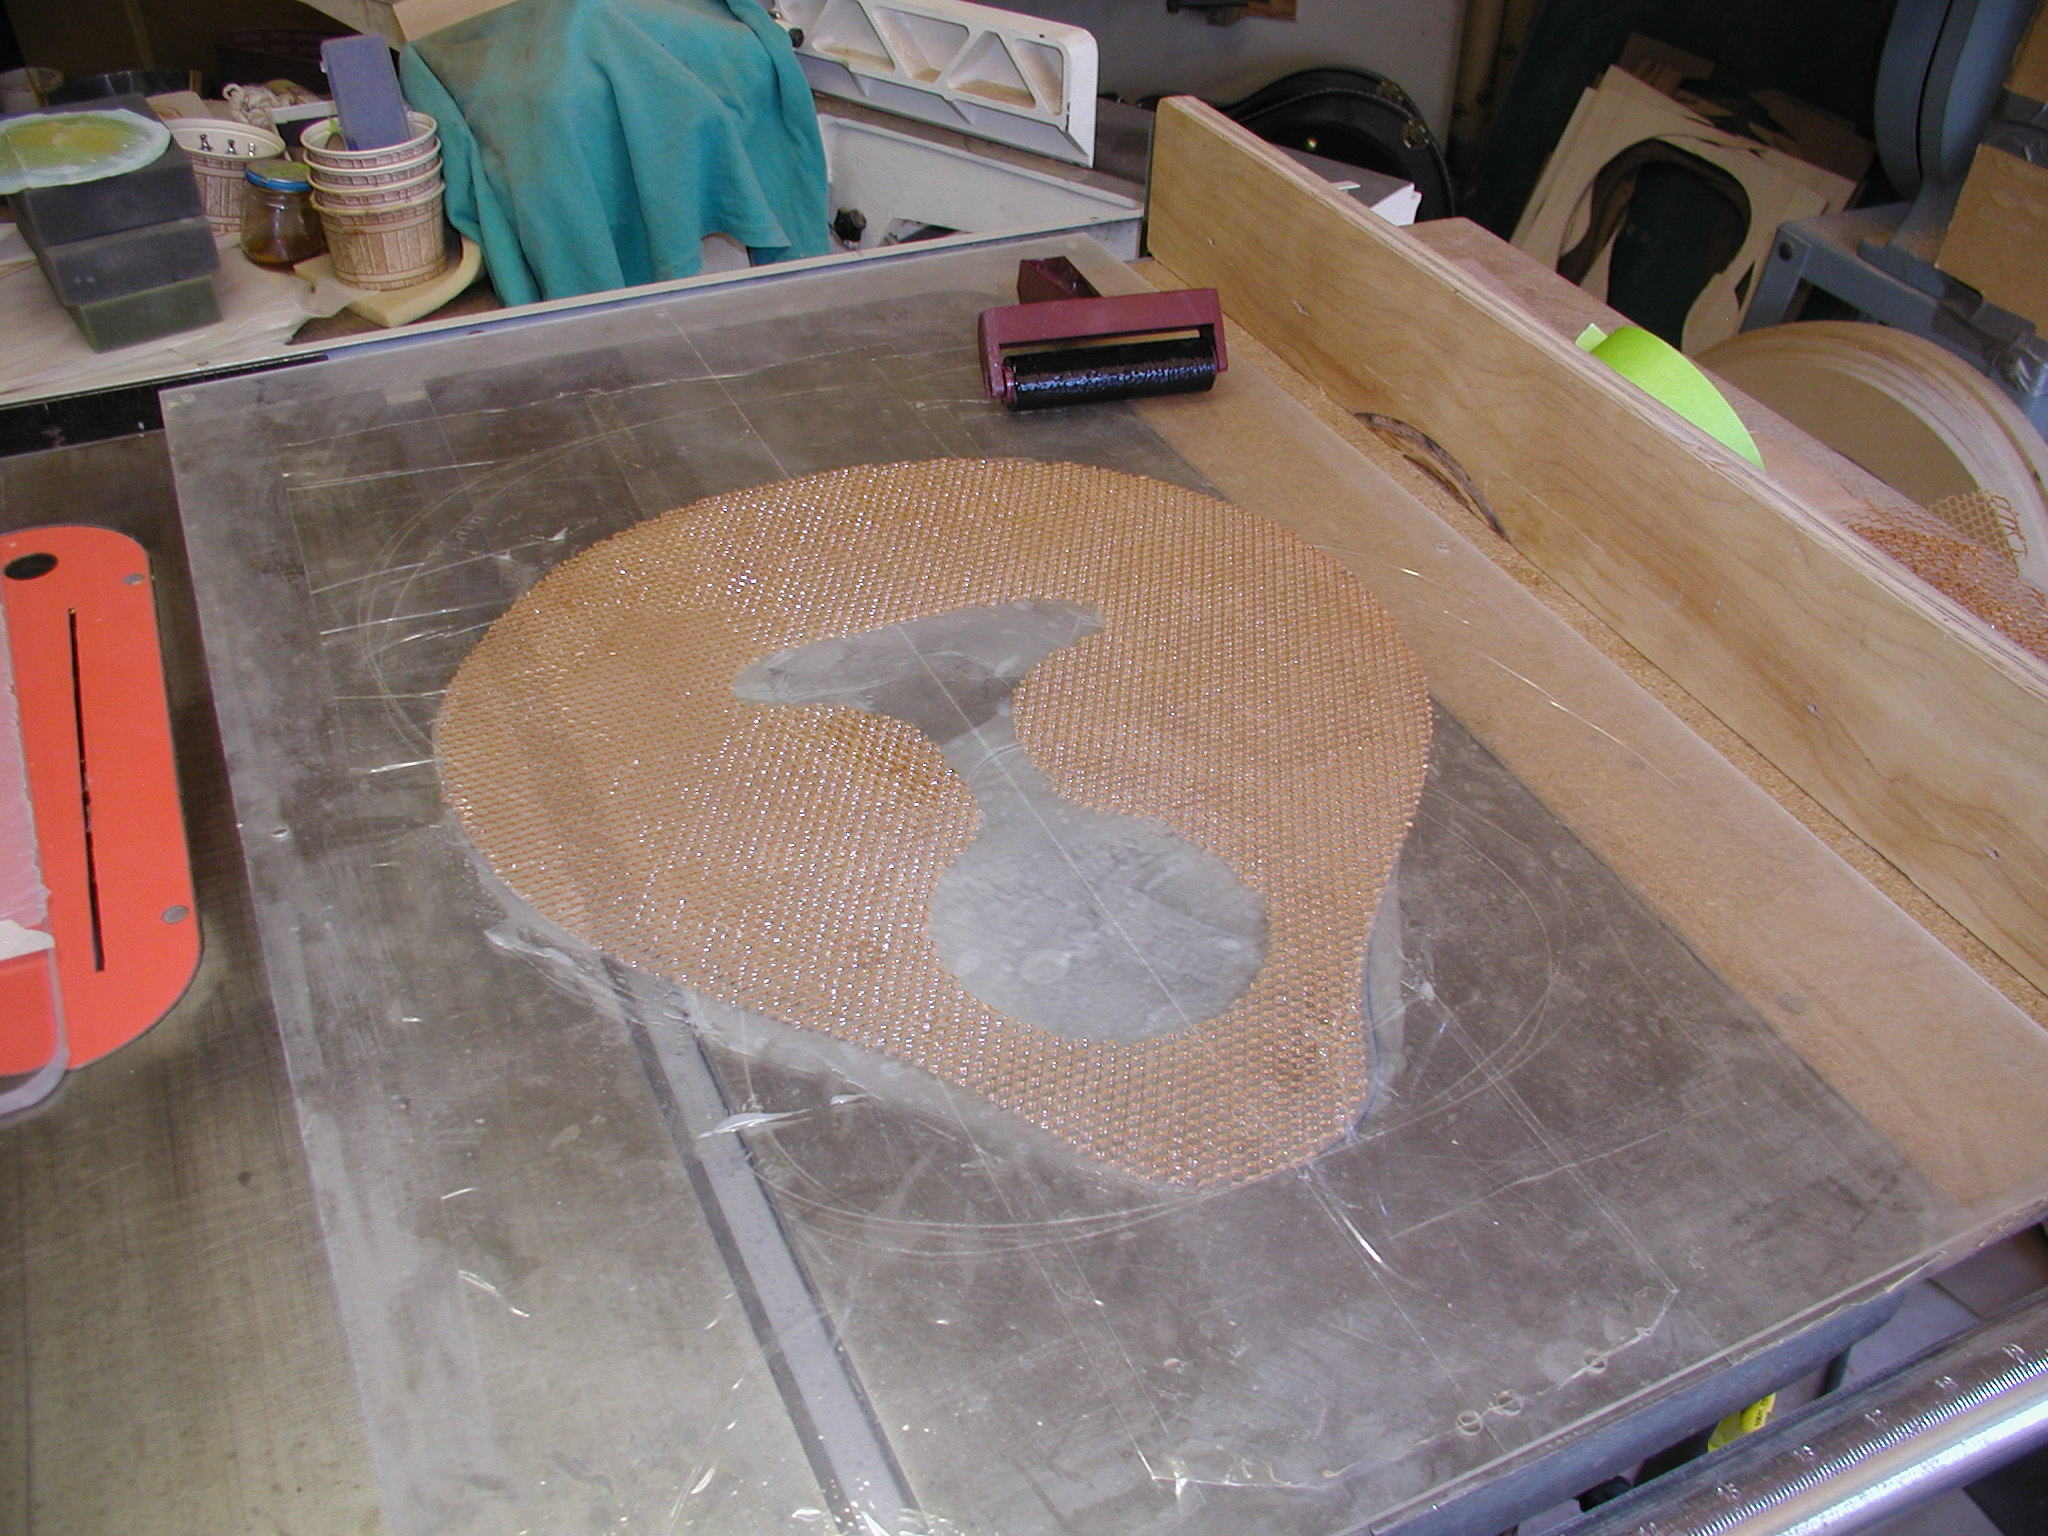
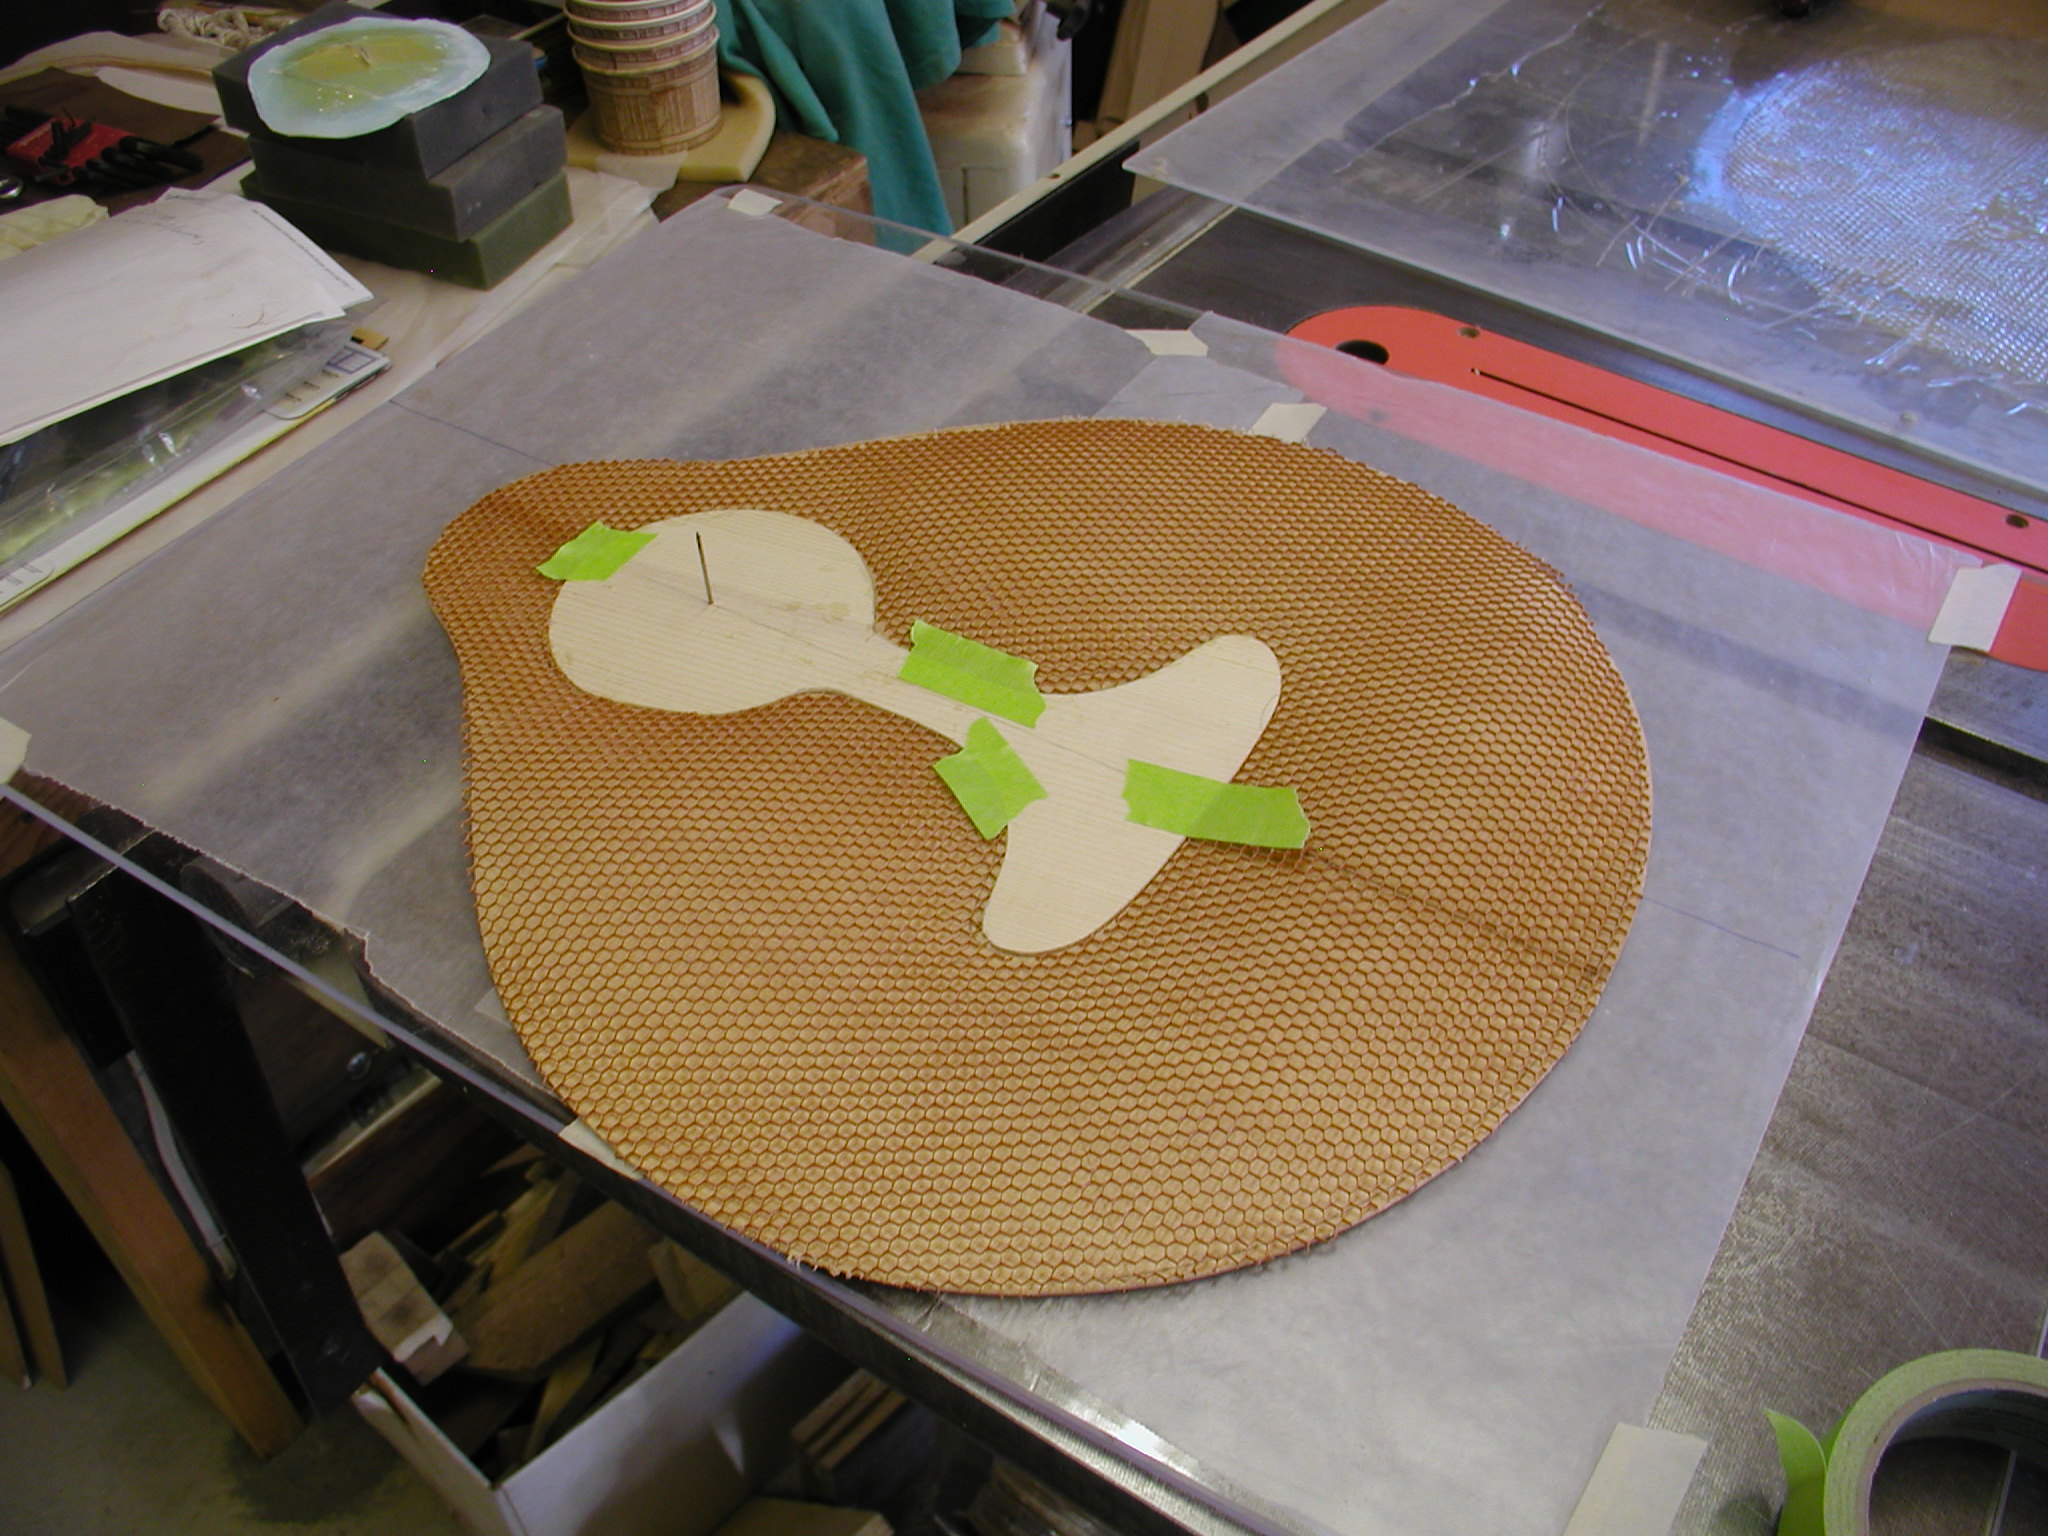
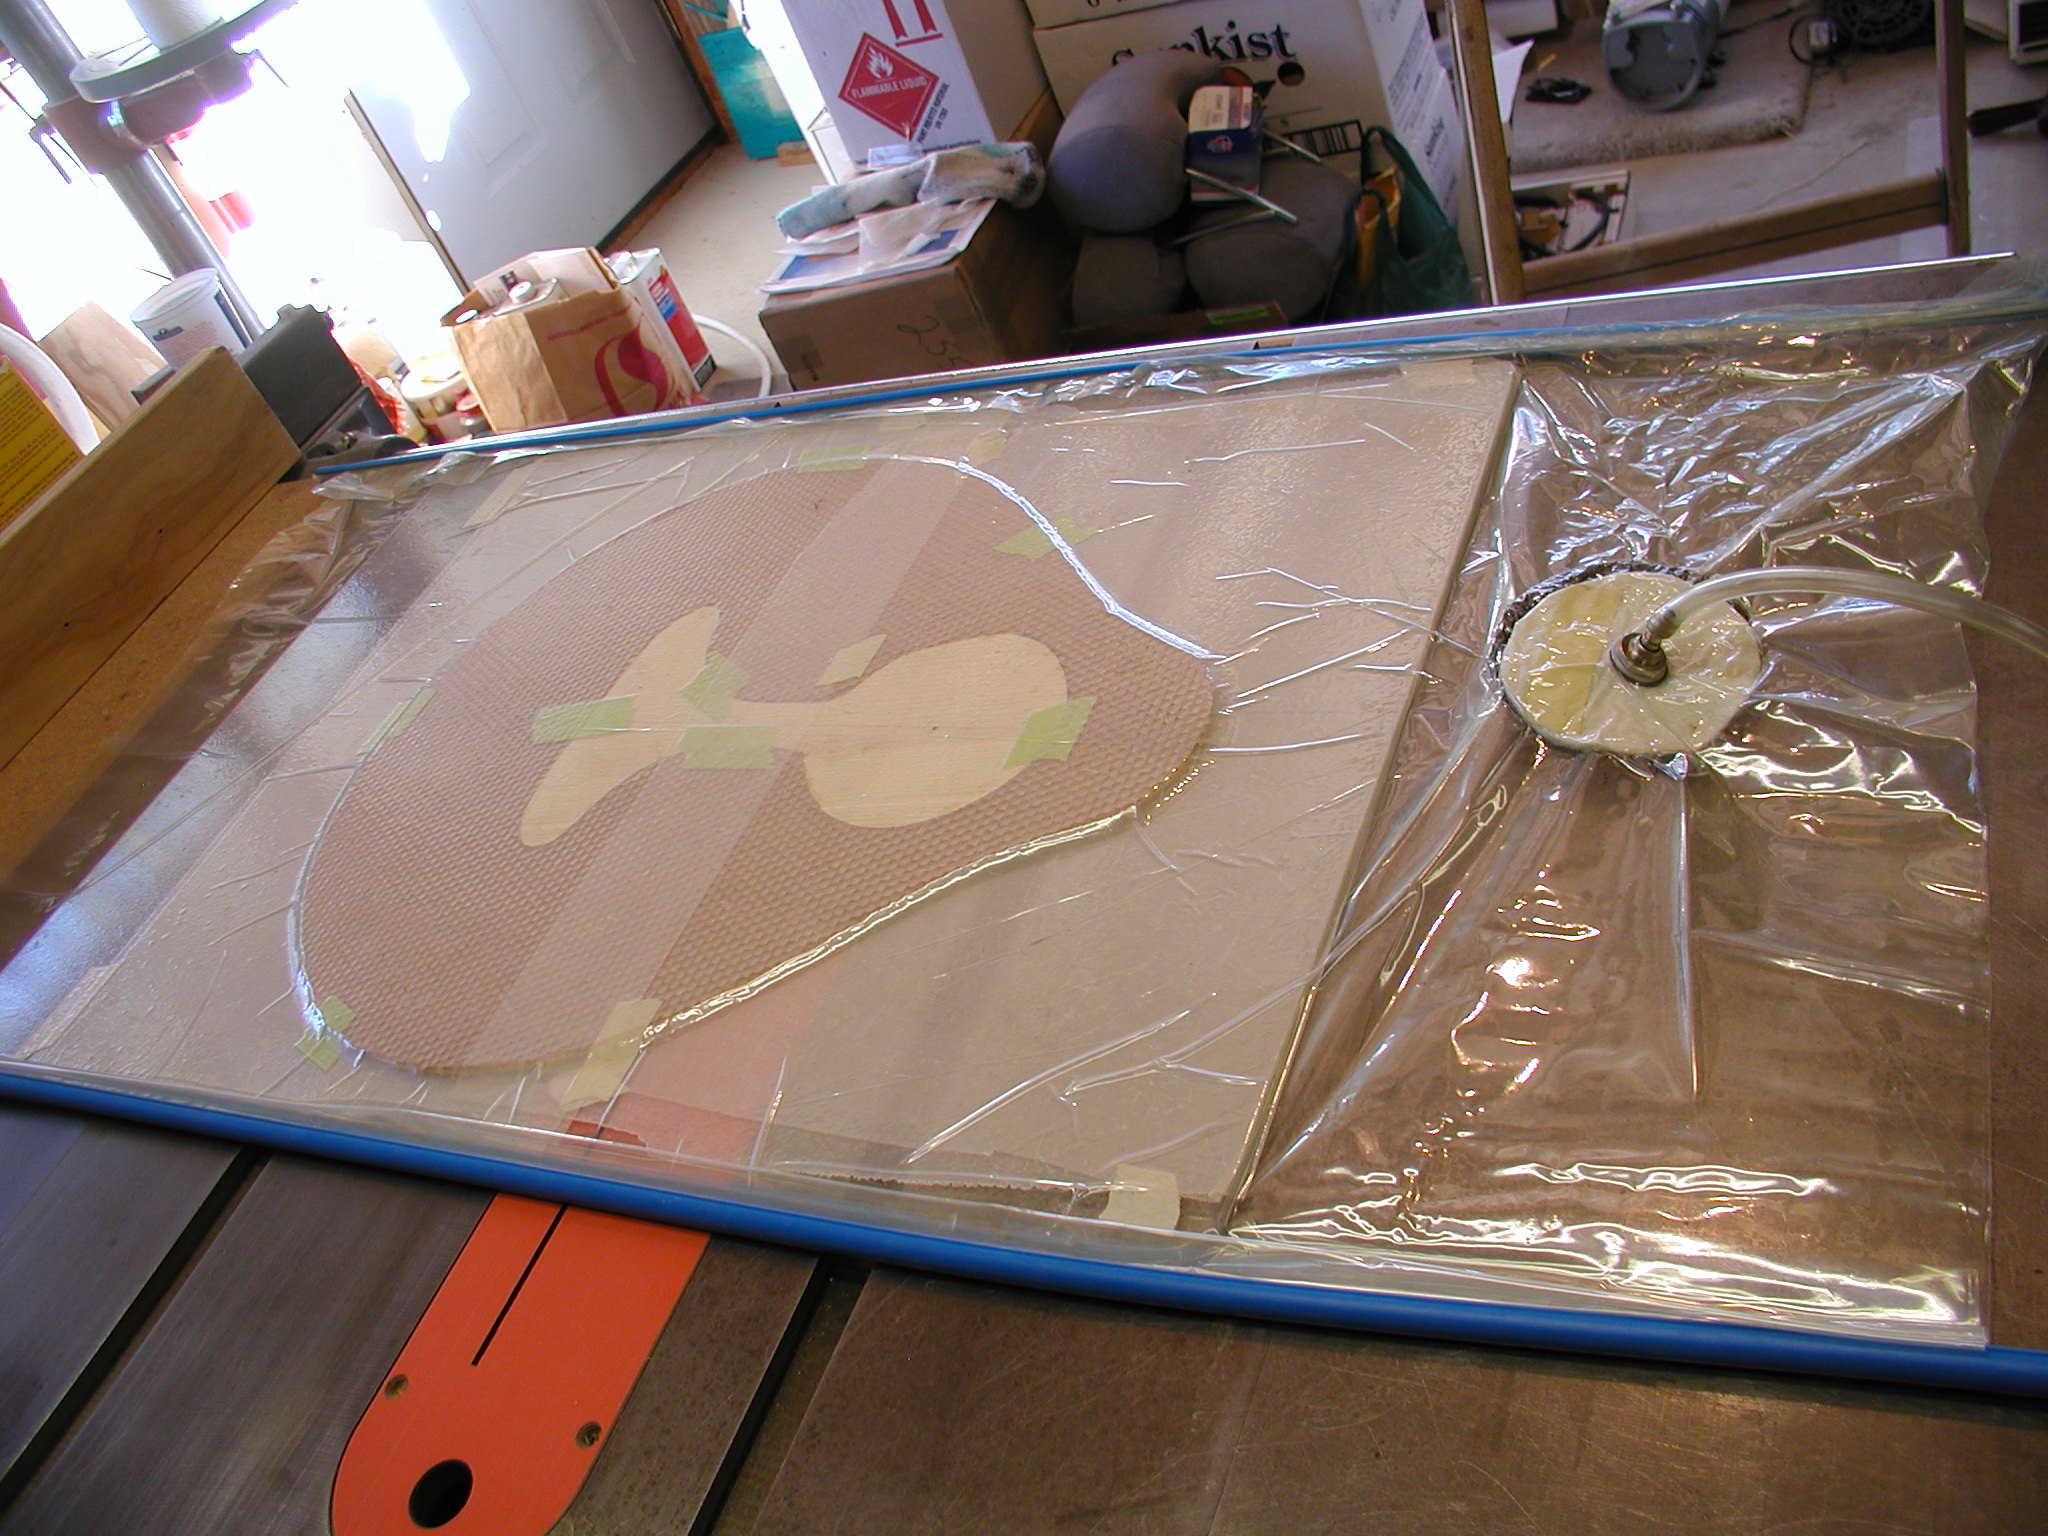
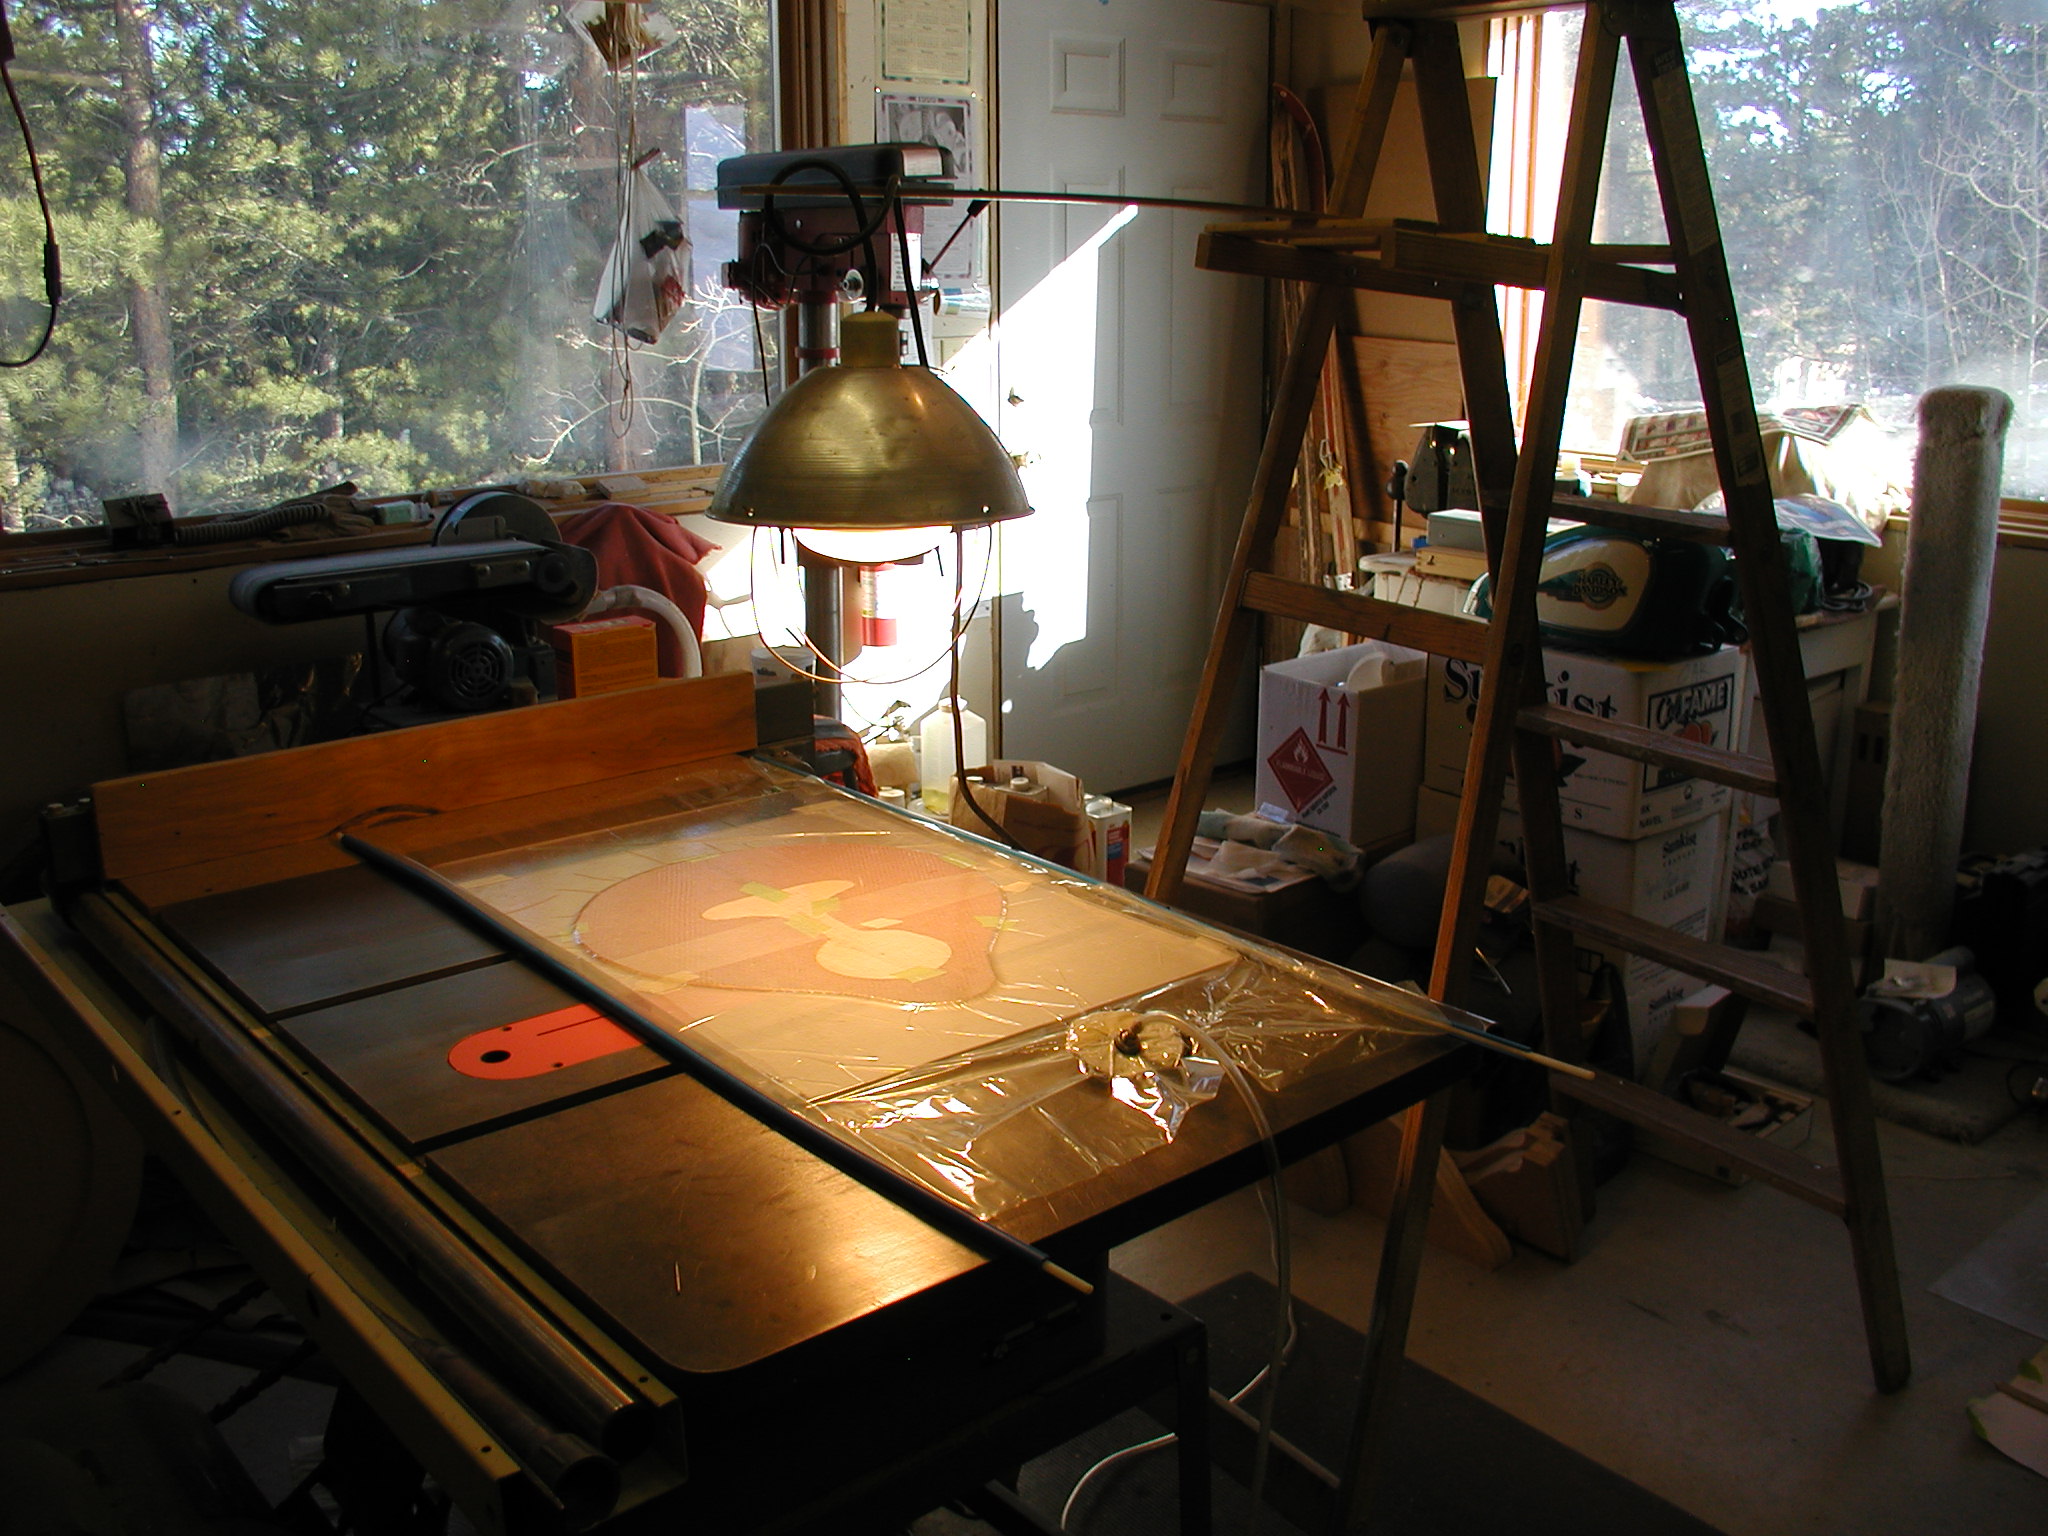
This is a quick photo sequence of the building of the double top, again for more details on the steps go look at the Double Top discussion or the Guitar Building sequence where I talk in more detail. Briefly, I measure out the epoxy by weight and spread it out onto a pallet with a brayer, rolling it out evenly. Then I press the Nomex and hard parts into the glue where it picks up just enough needed, then pull up and lay on the skin in position. Into the vacuum clamping bag and let it cure out under a flood lamp. The same process for the face skin, the previously made Nomex/skin is pressed into the glue and then onto the face skin and vacuum clamped.
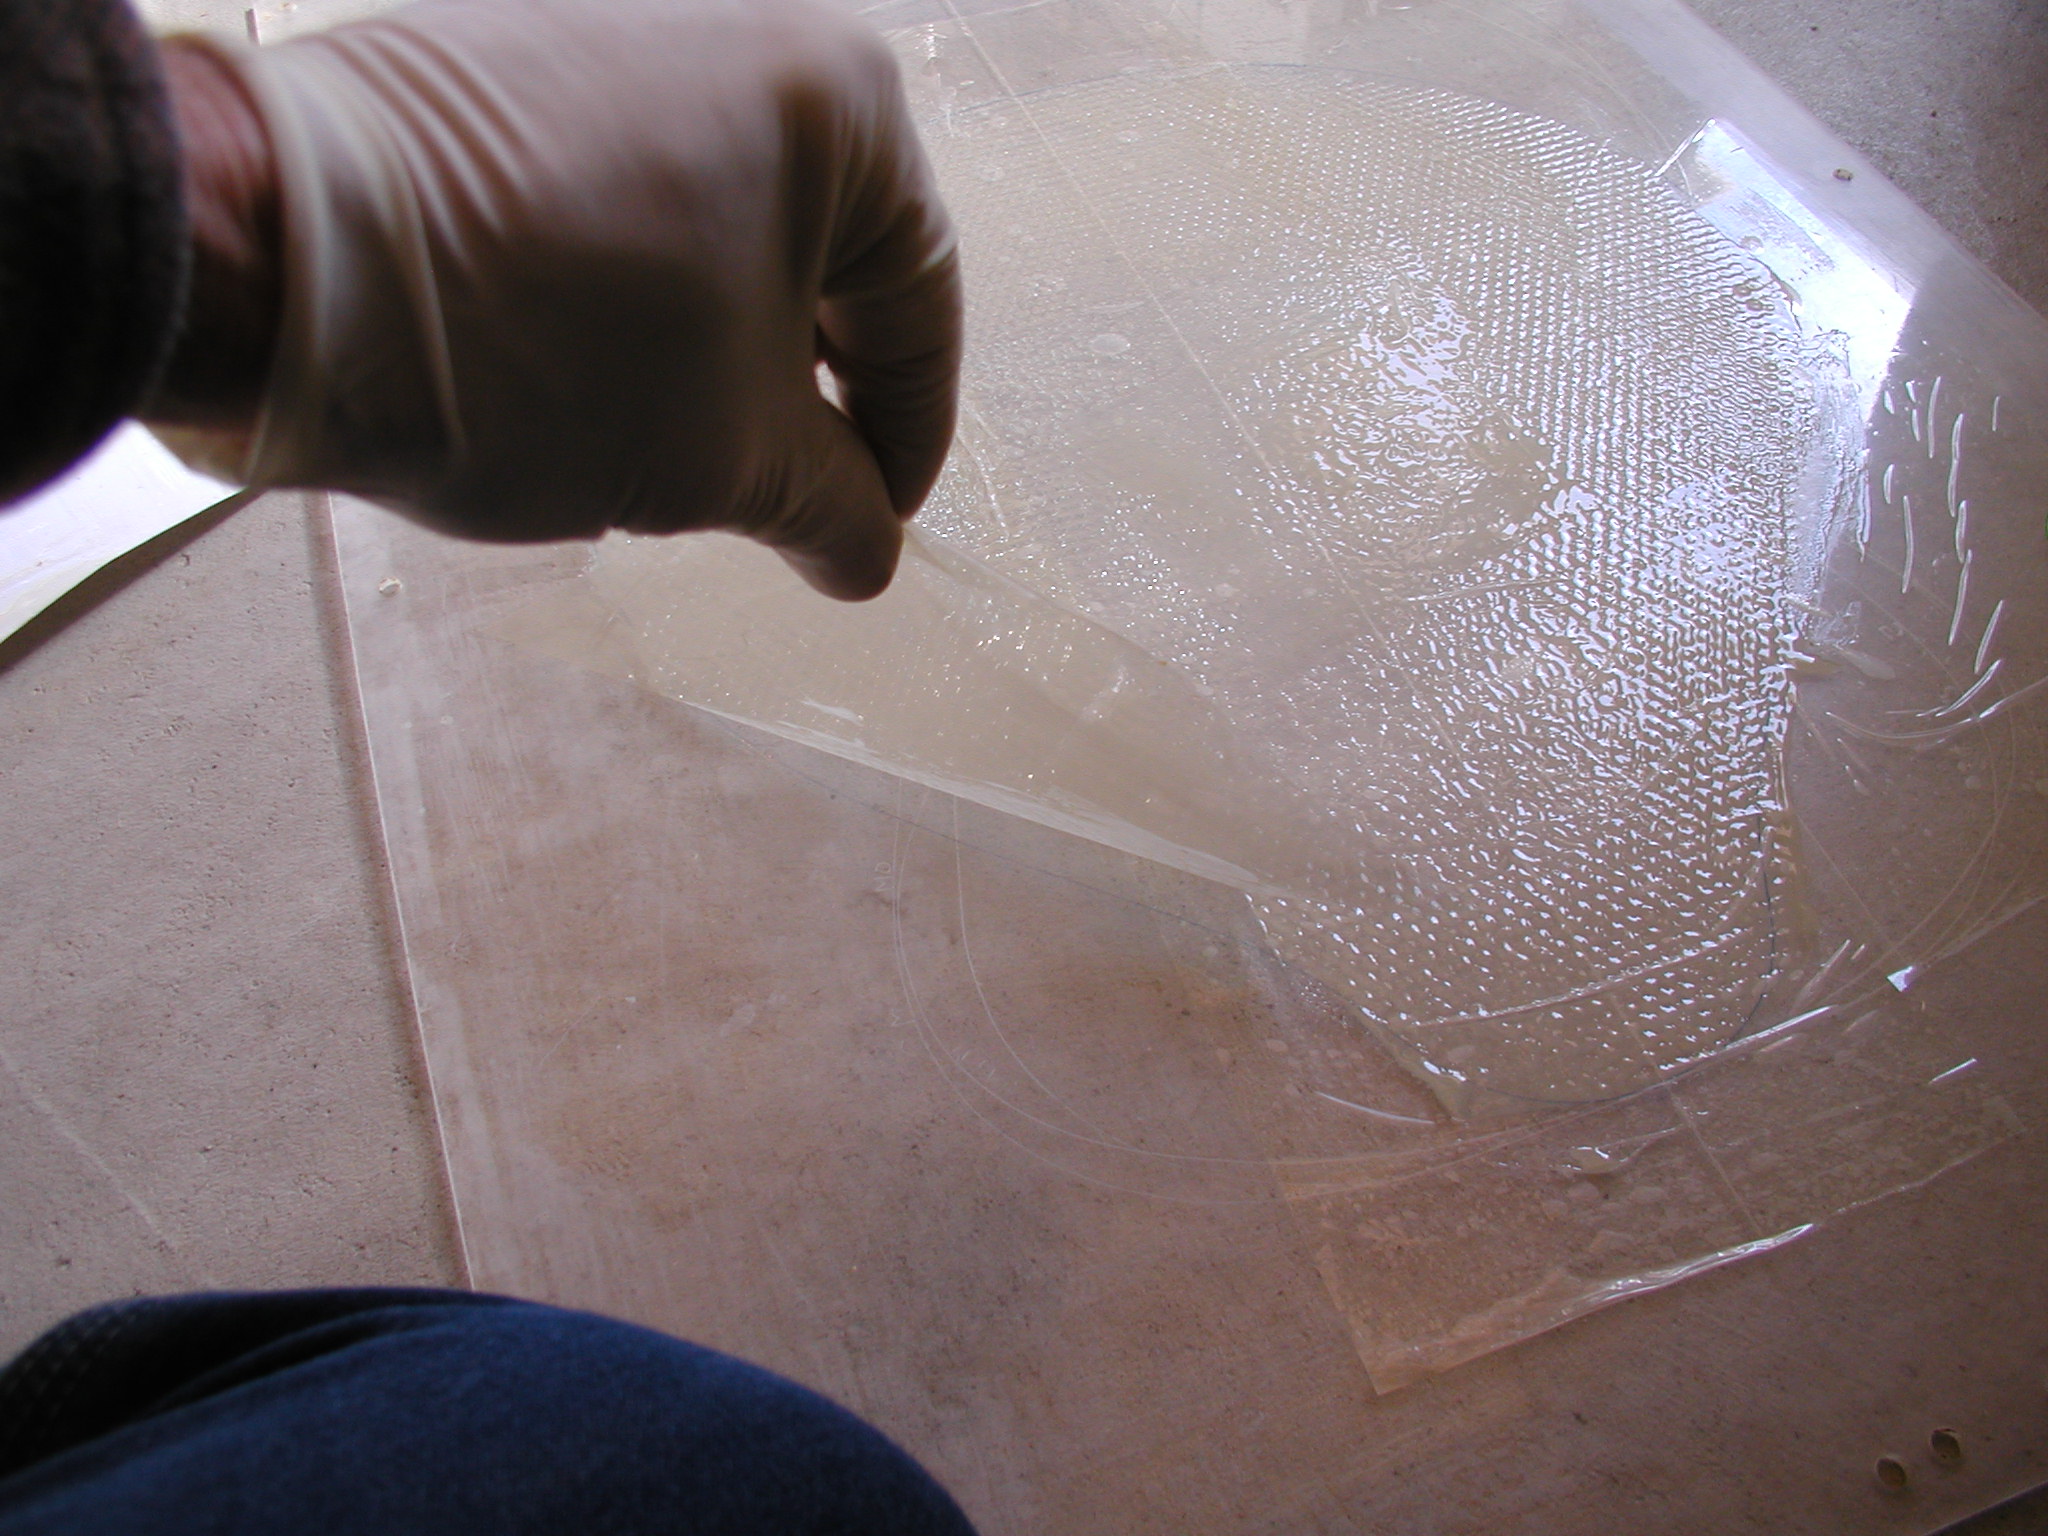
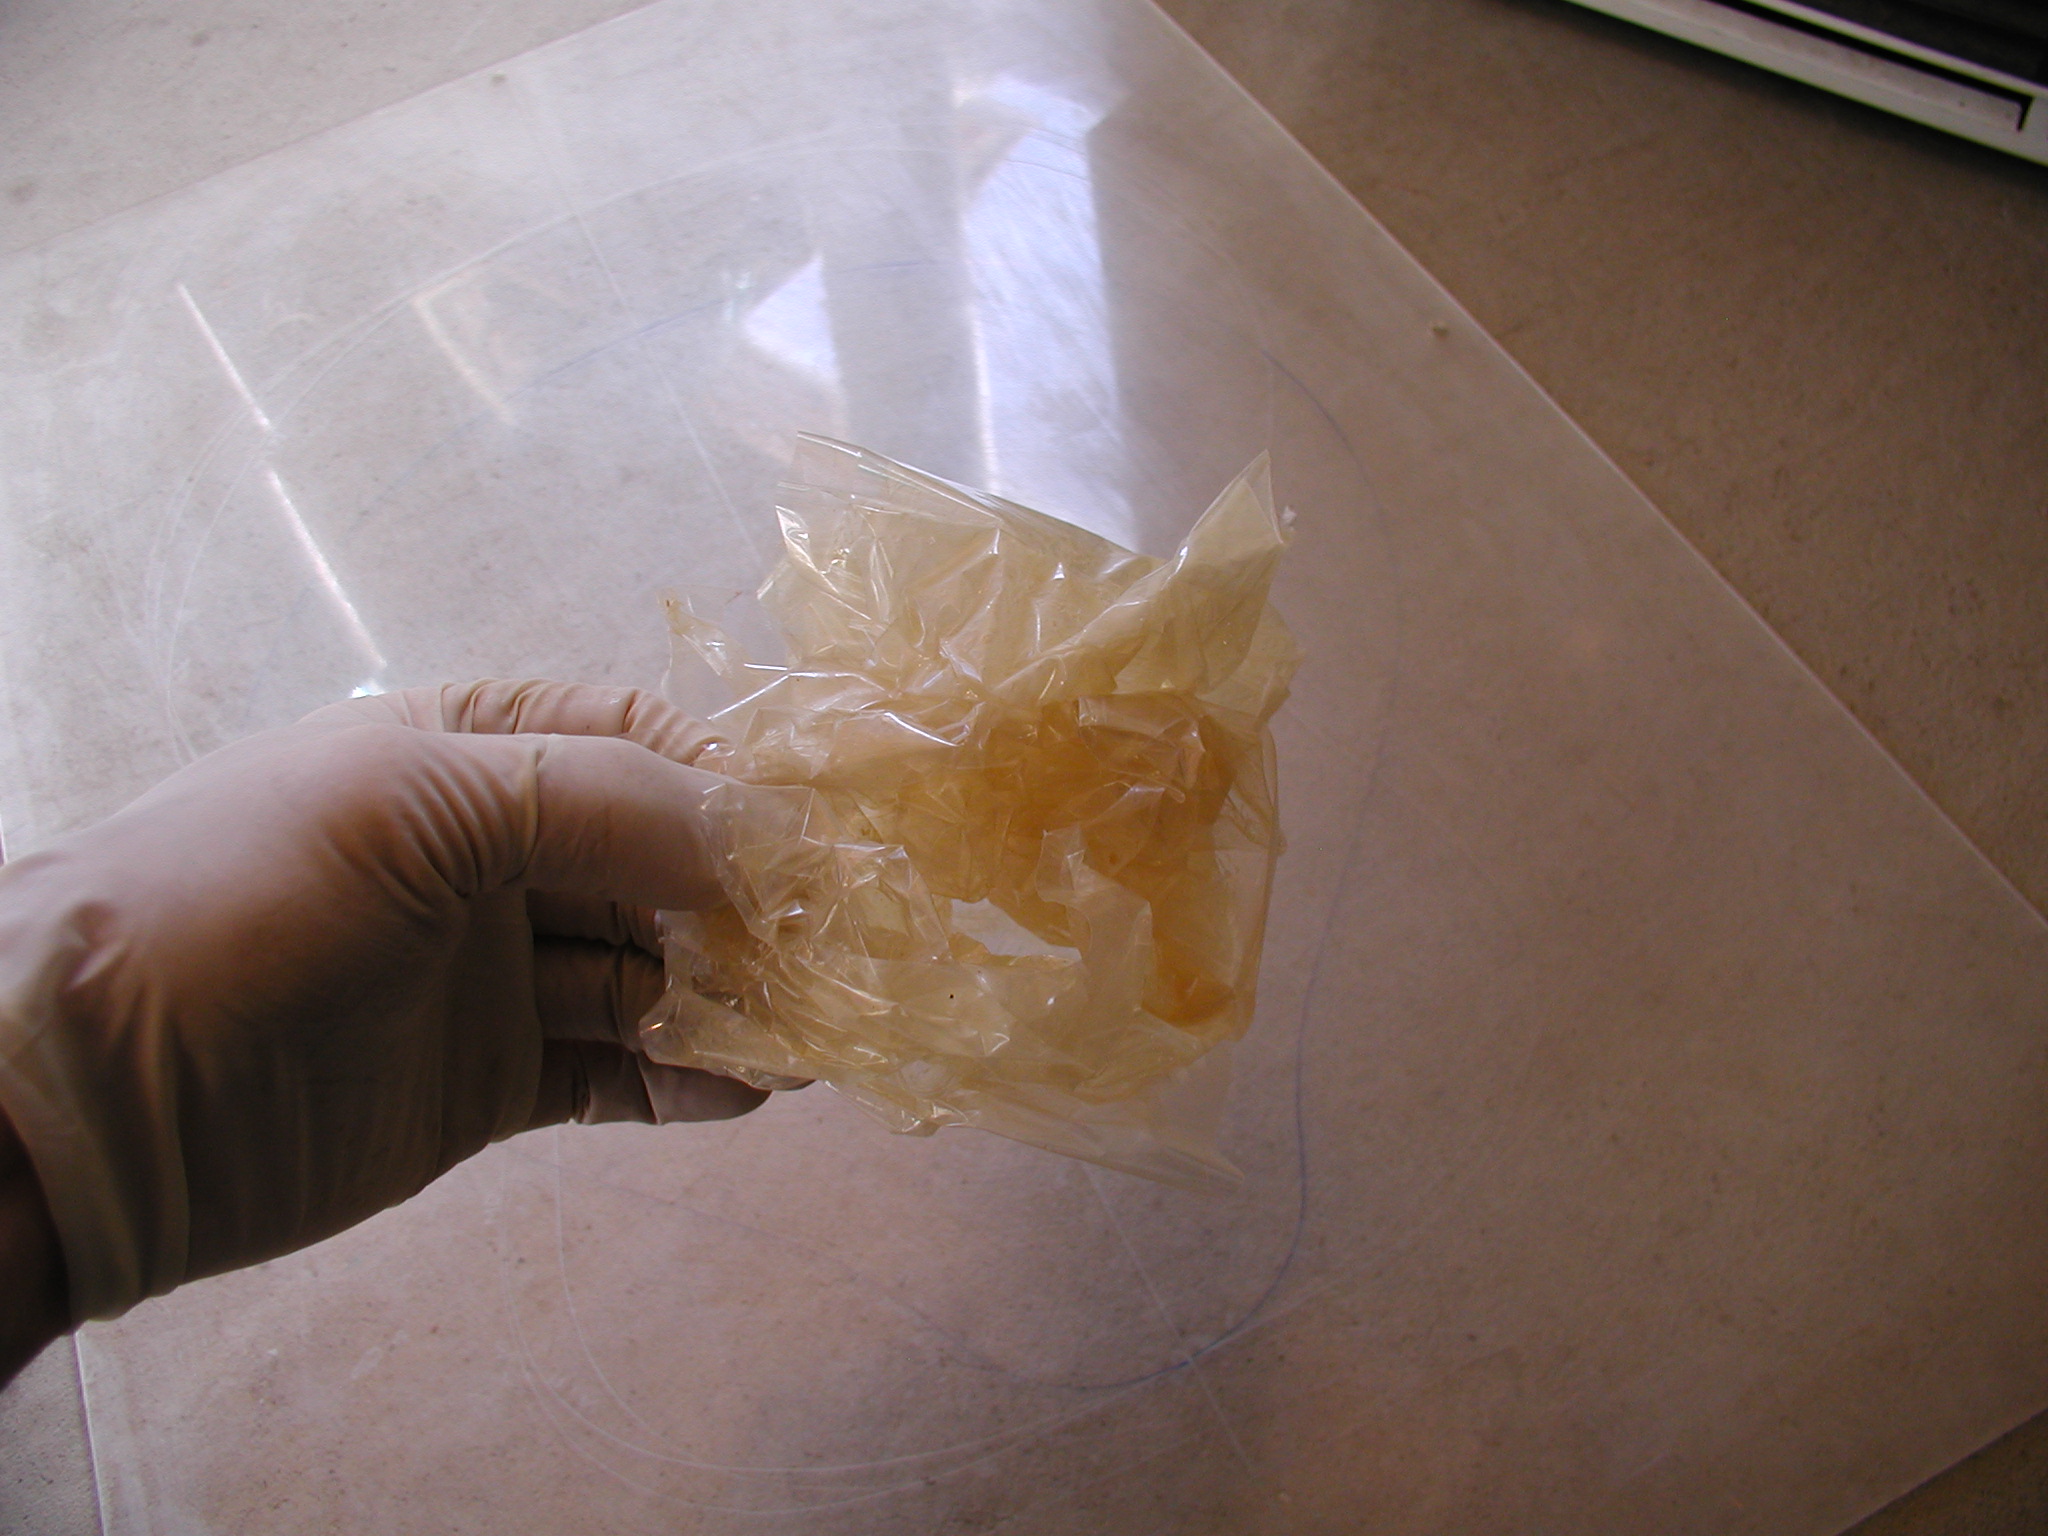
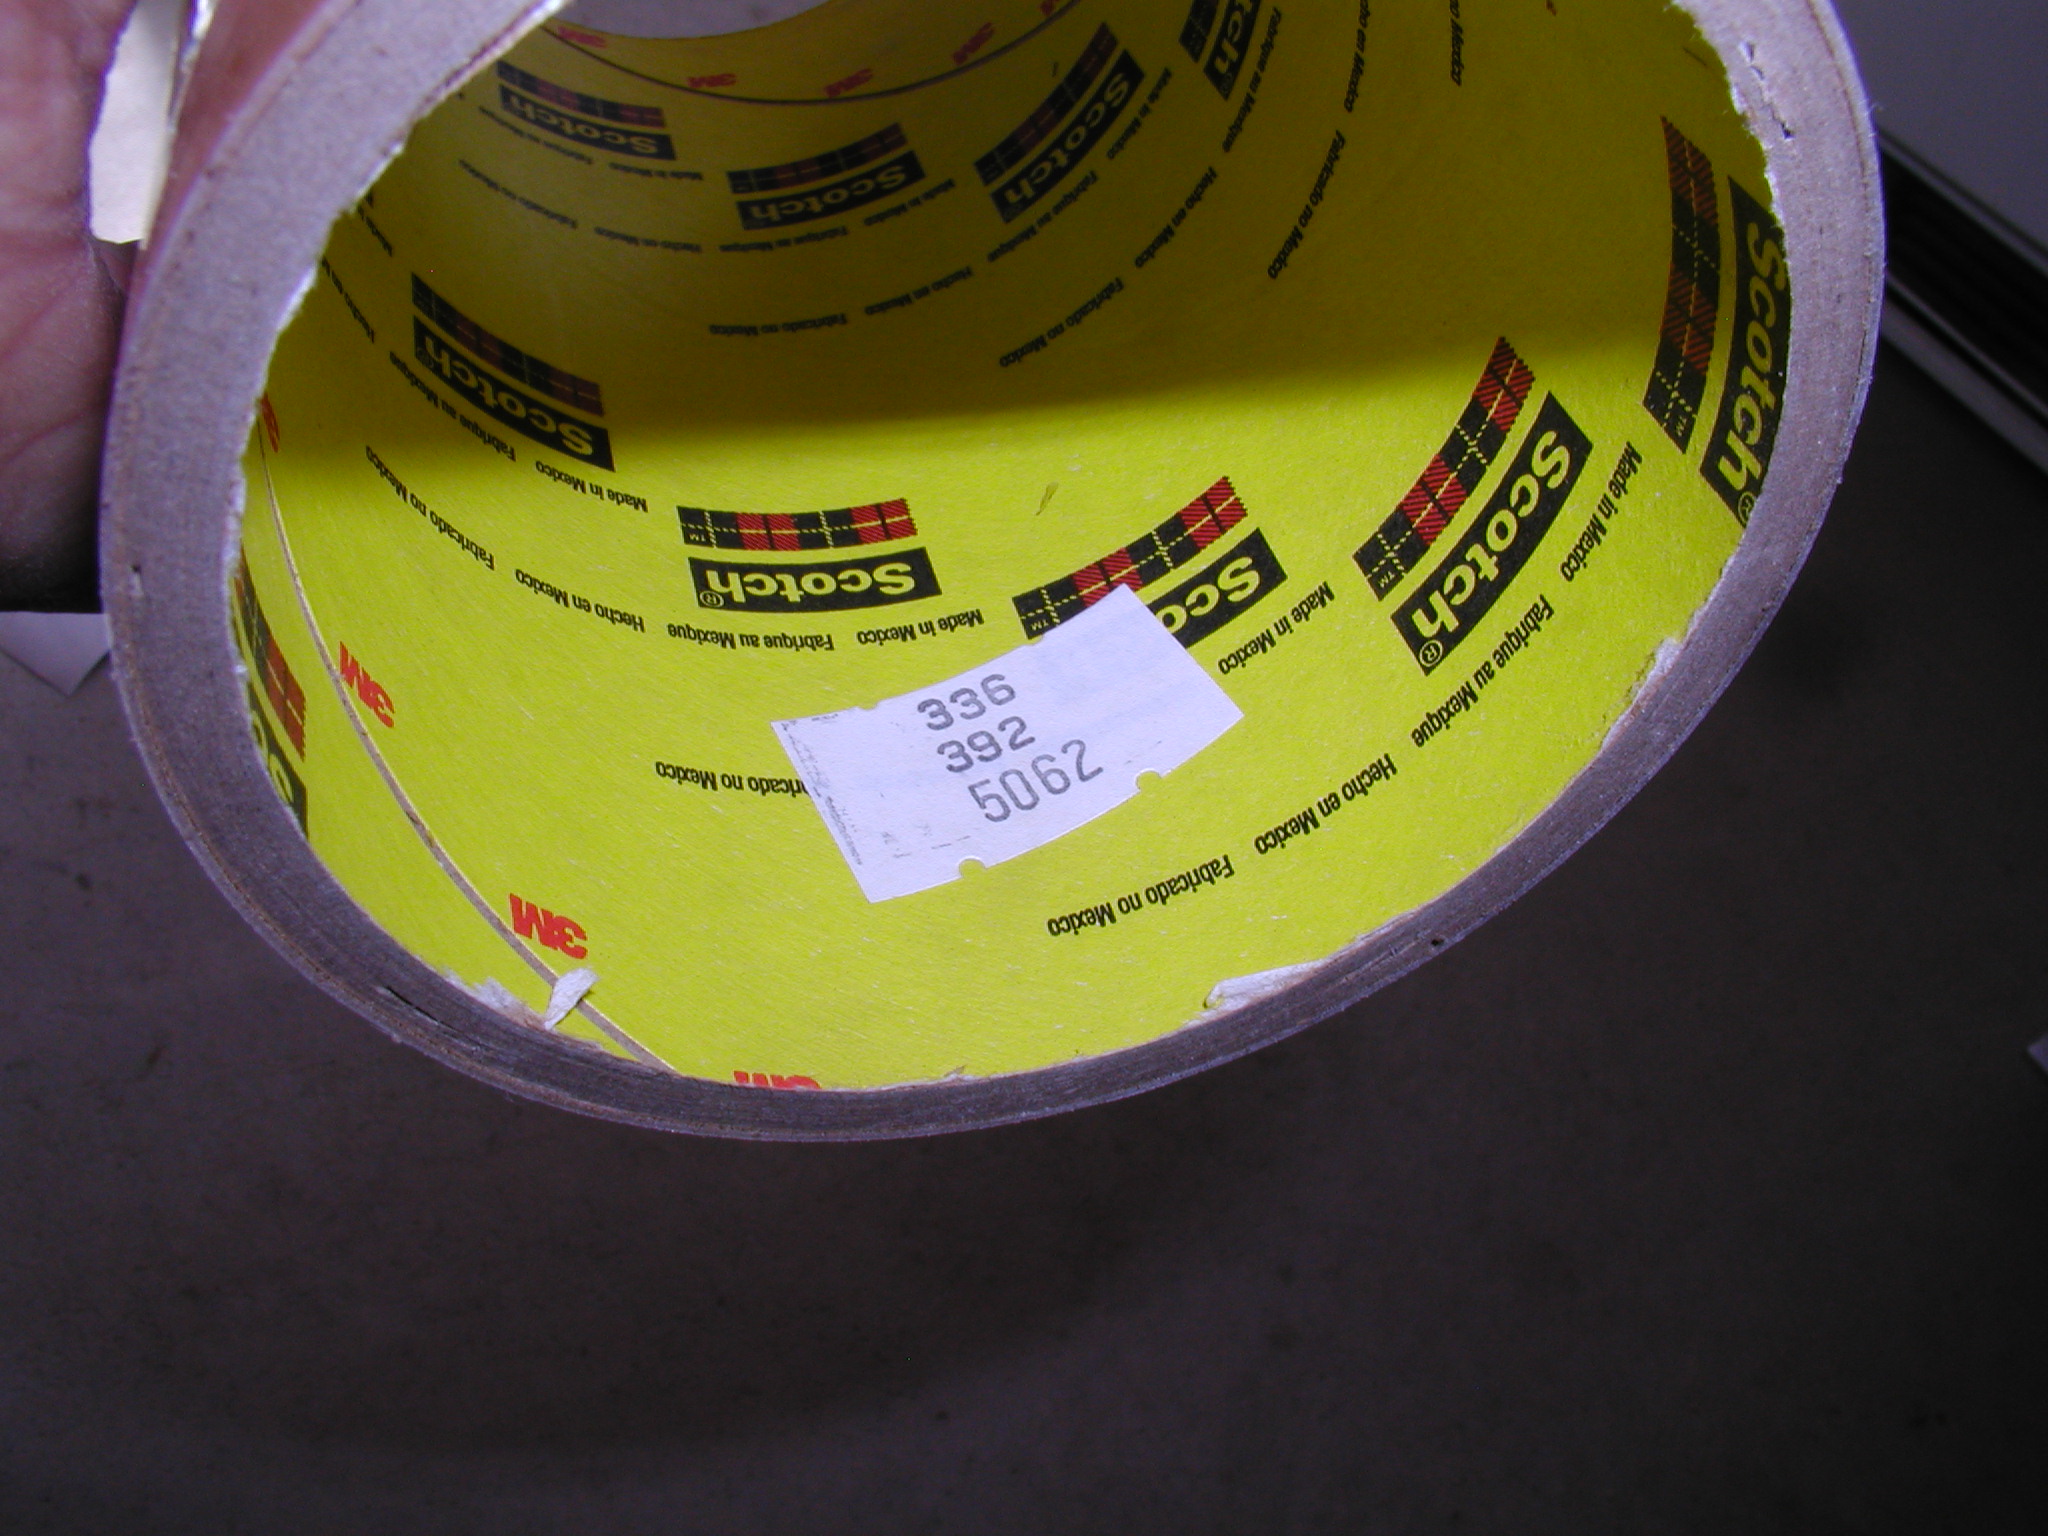

Here is a little trick for cleanup. I used to end up washing the epoxy off the pallet with vinegar and it was a big mess. Now I use a 3-M sheet material to cover the pallet and I can just pull it up and toss it when done, much easier! You will see this film again later used to protect the top throughout the build process, close up of the numbers in case you want to get some for yourself.
[Update - 08/2010
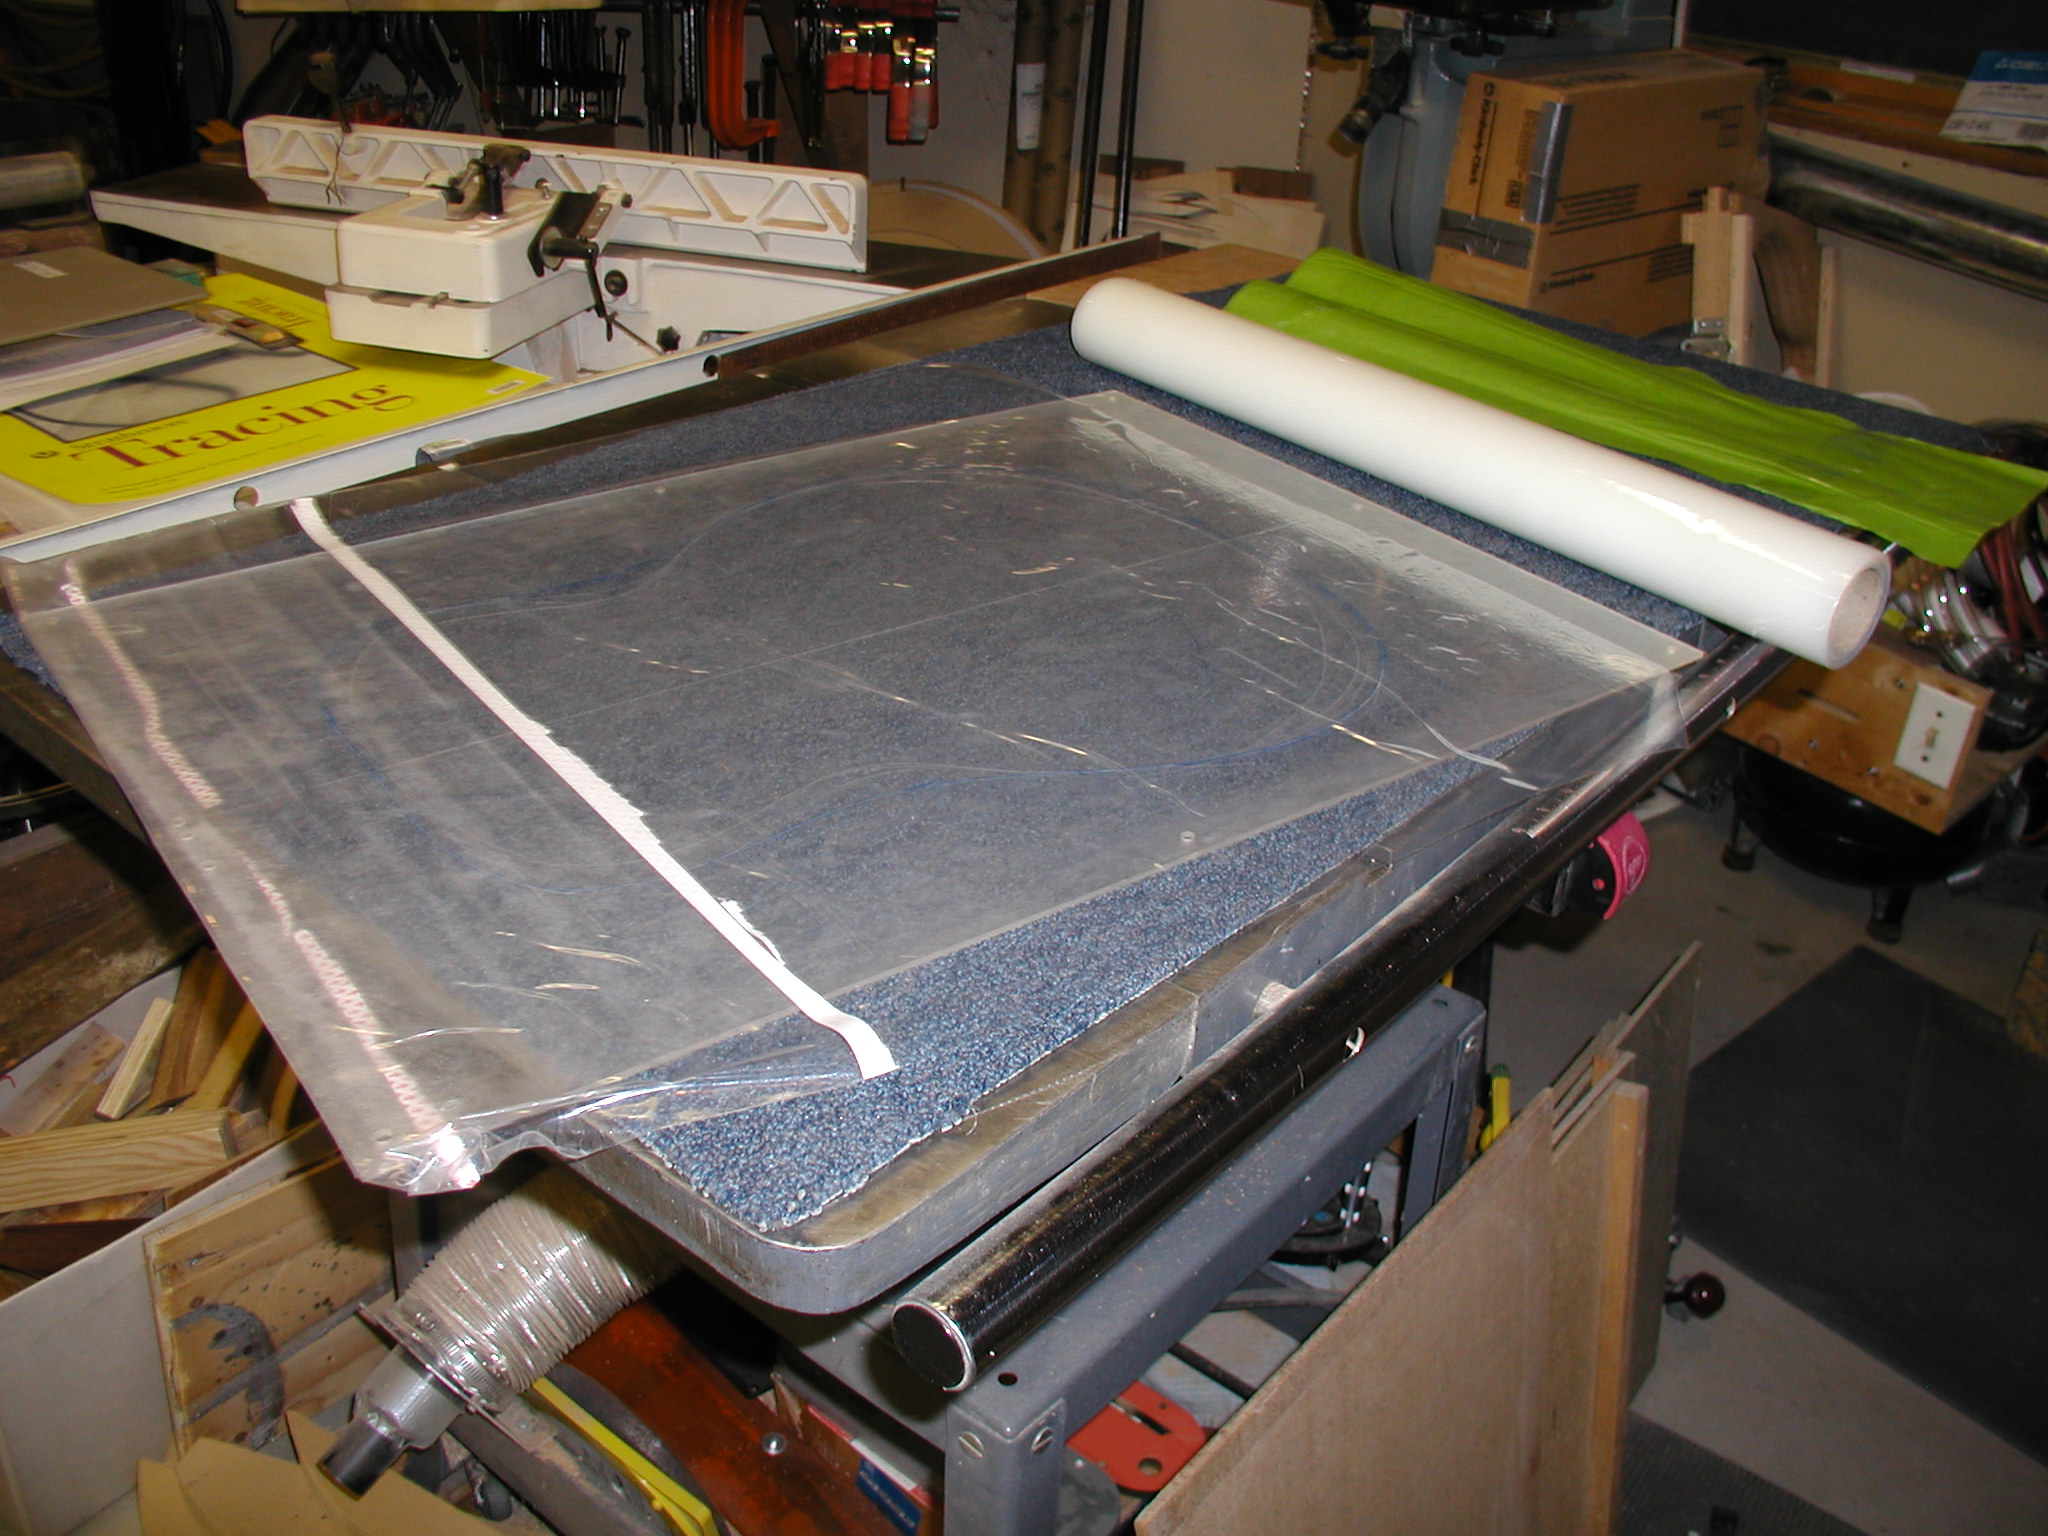
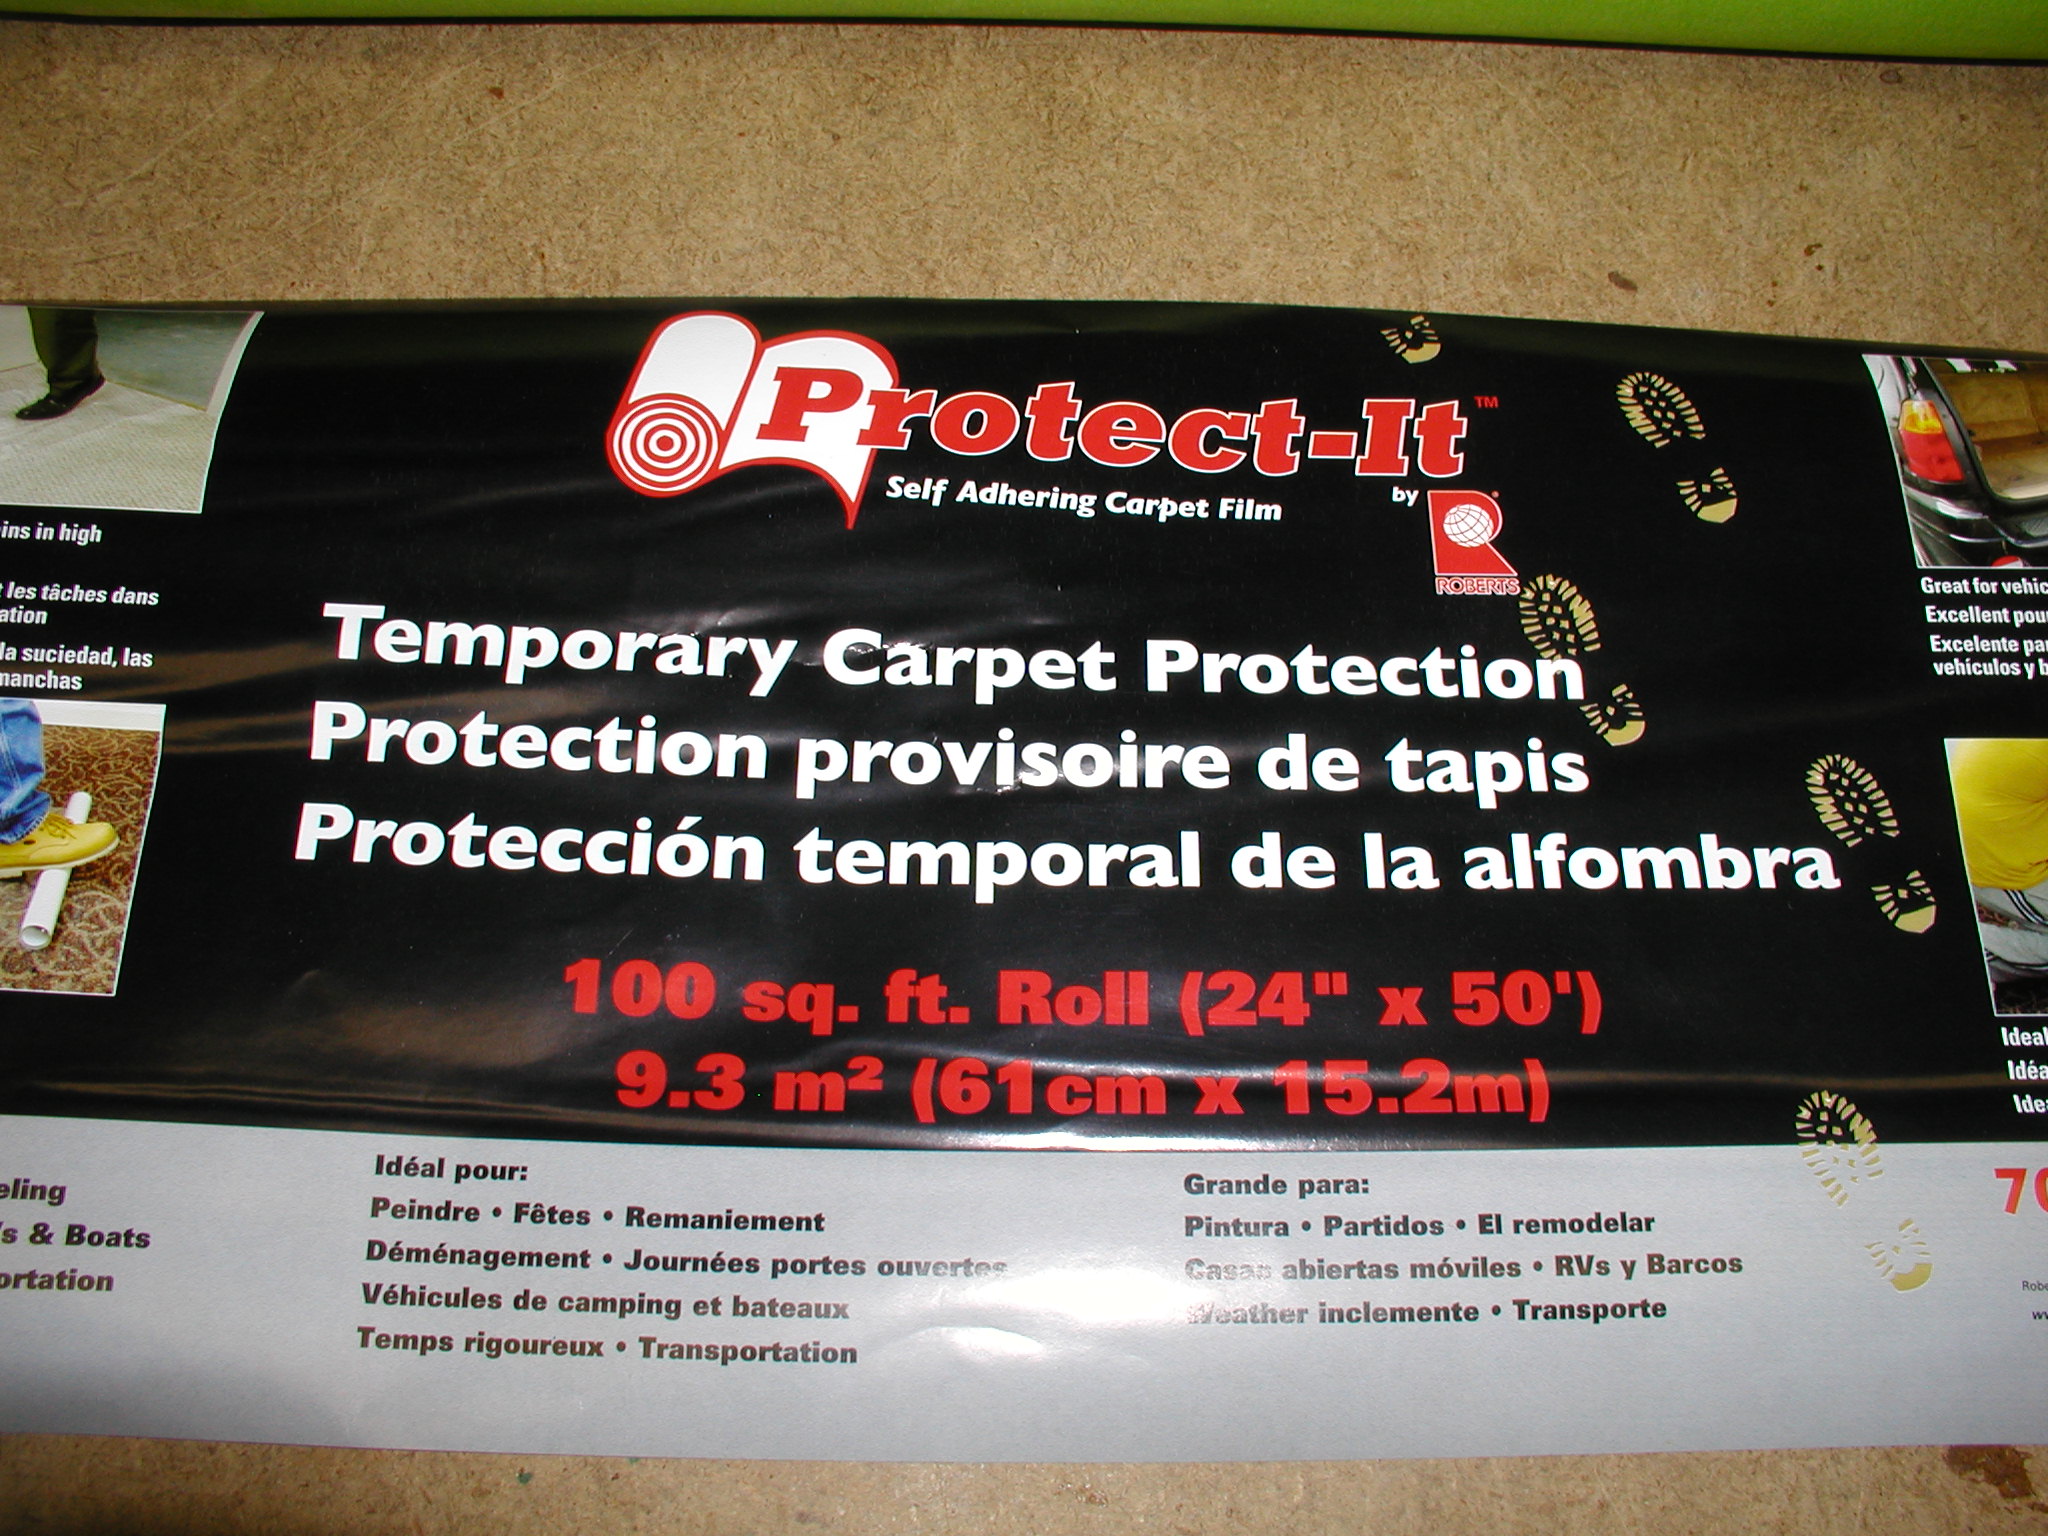
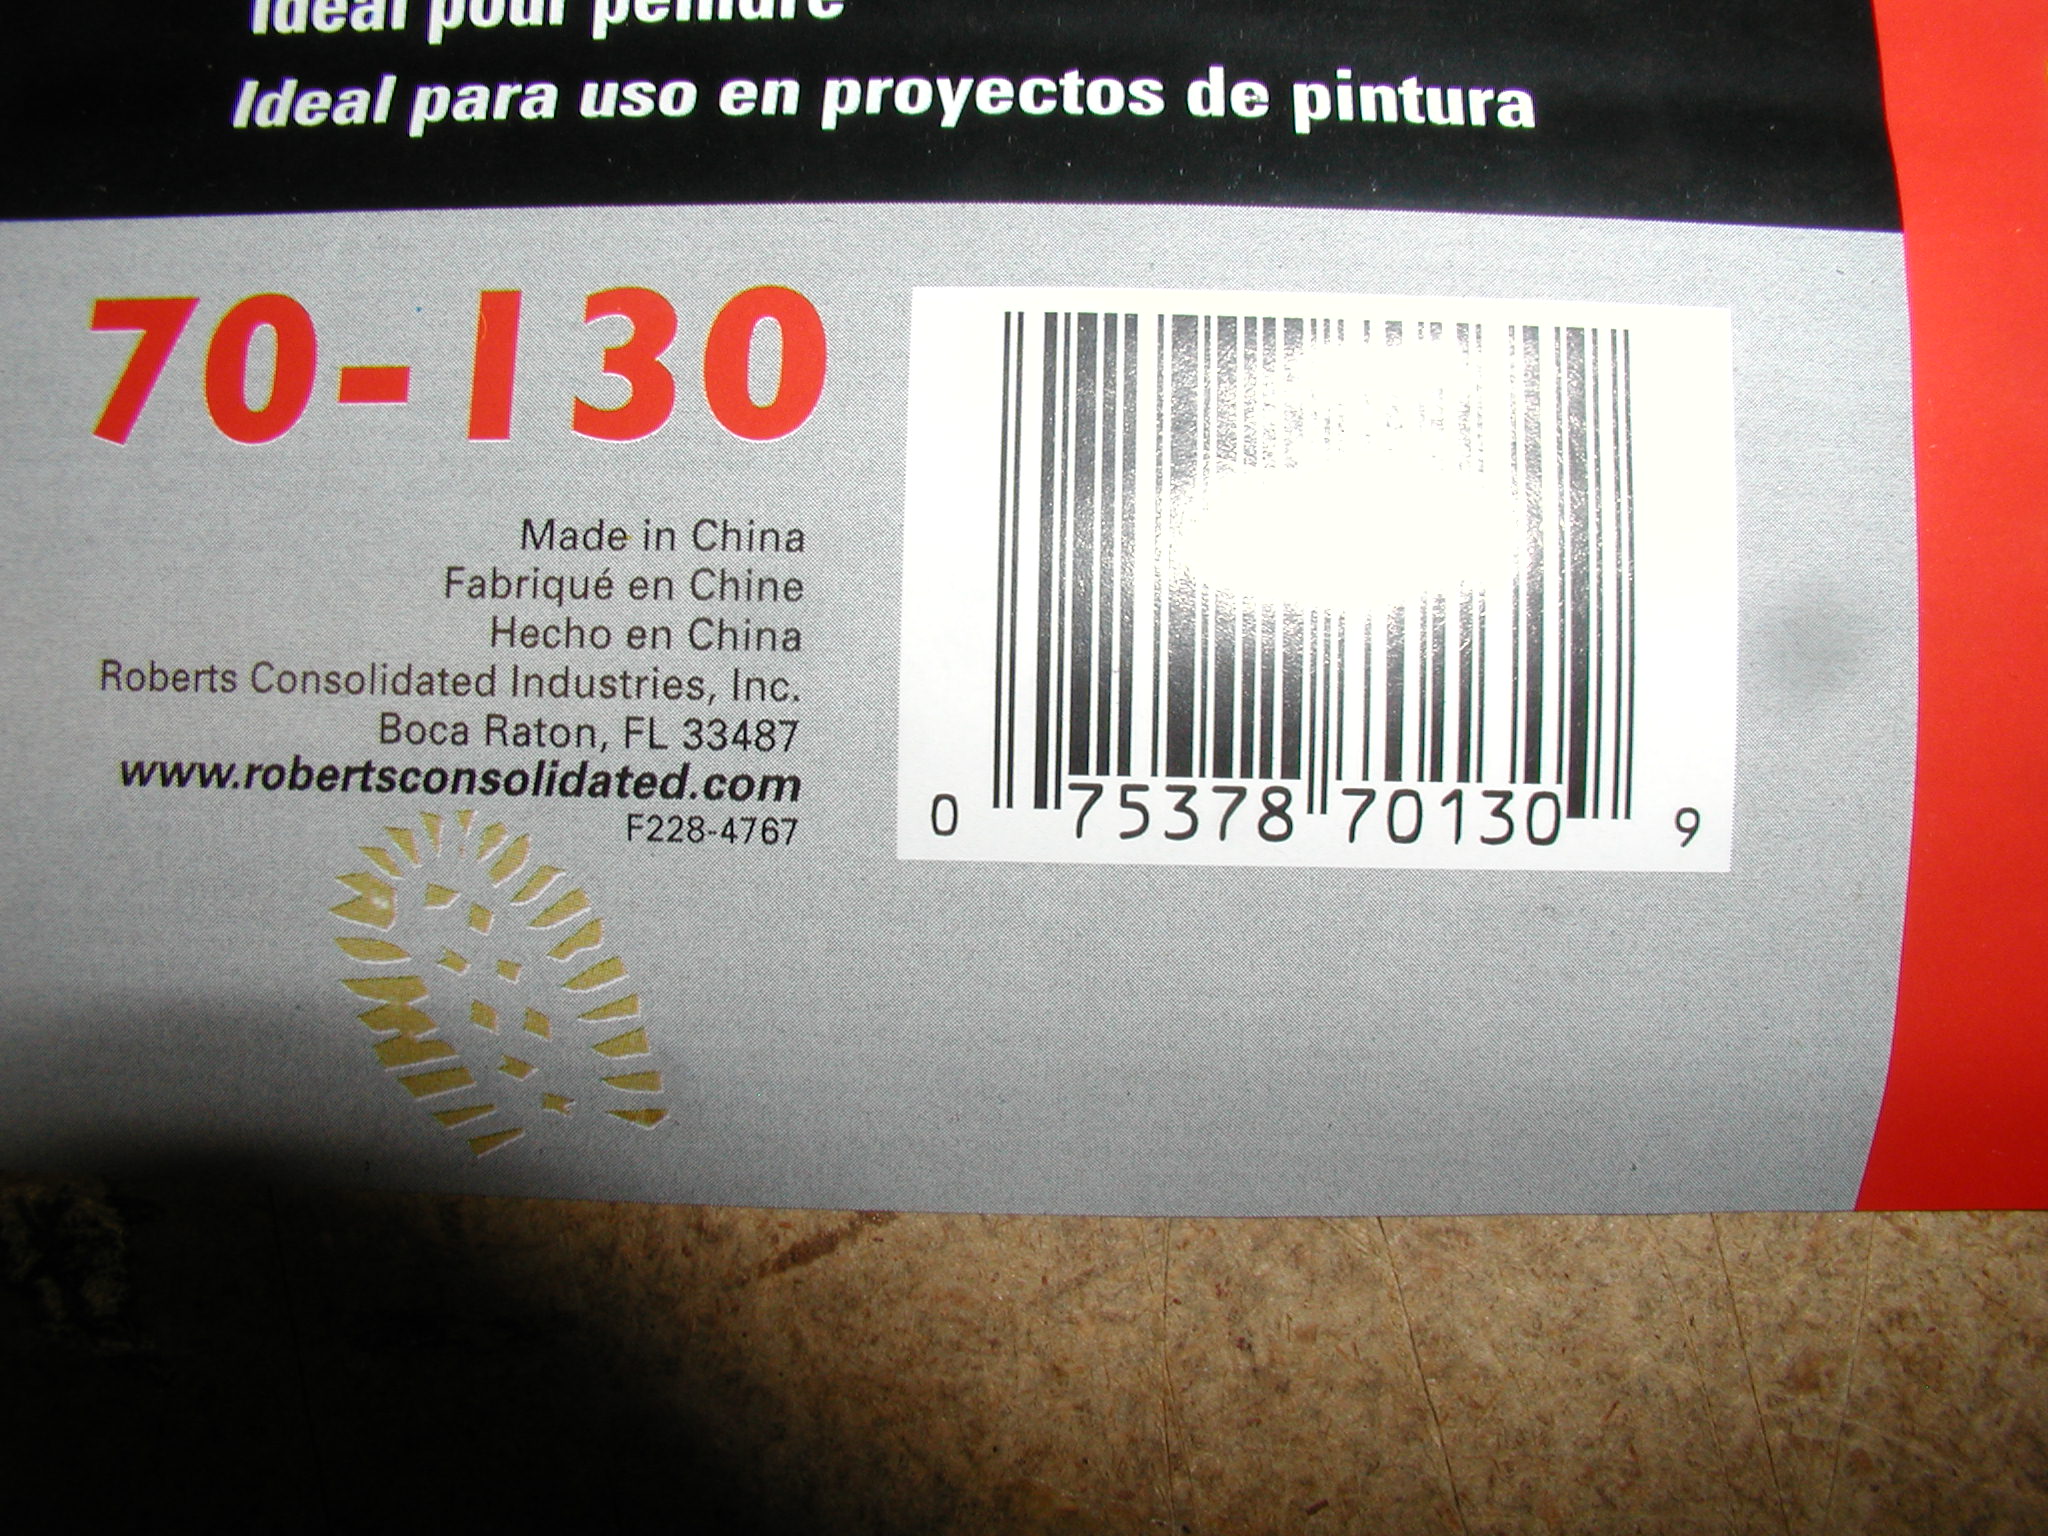
I no longer use these small 3-M rolls but use instead Carpet Protector rolls.
This is available from places like "Home Despot" for about $15. These
are wider in 24" or 36" and 50' long. They have the same sort of weak
sticky back that won't pull the wood or leave goo behind.
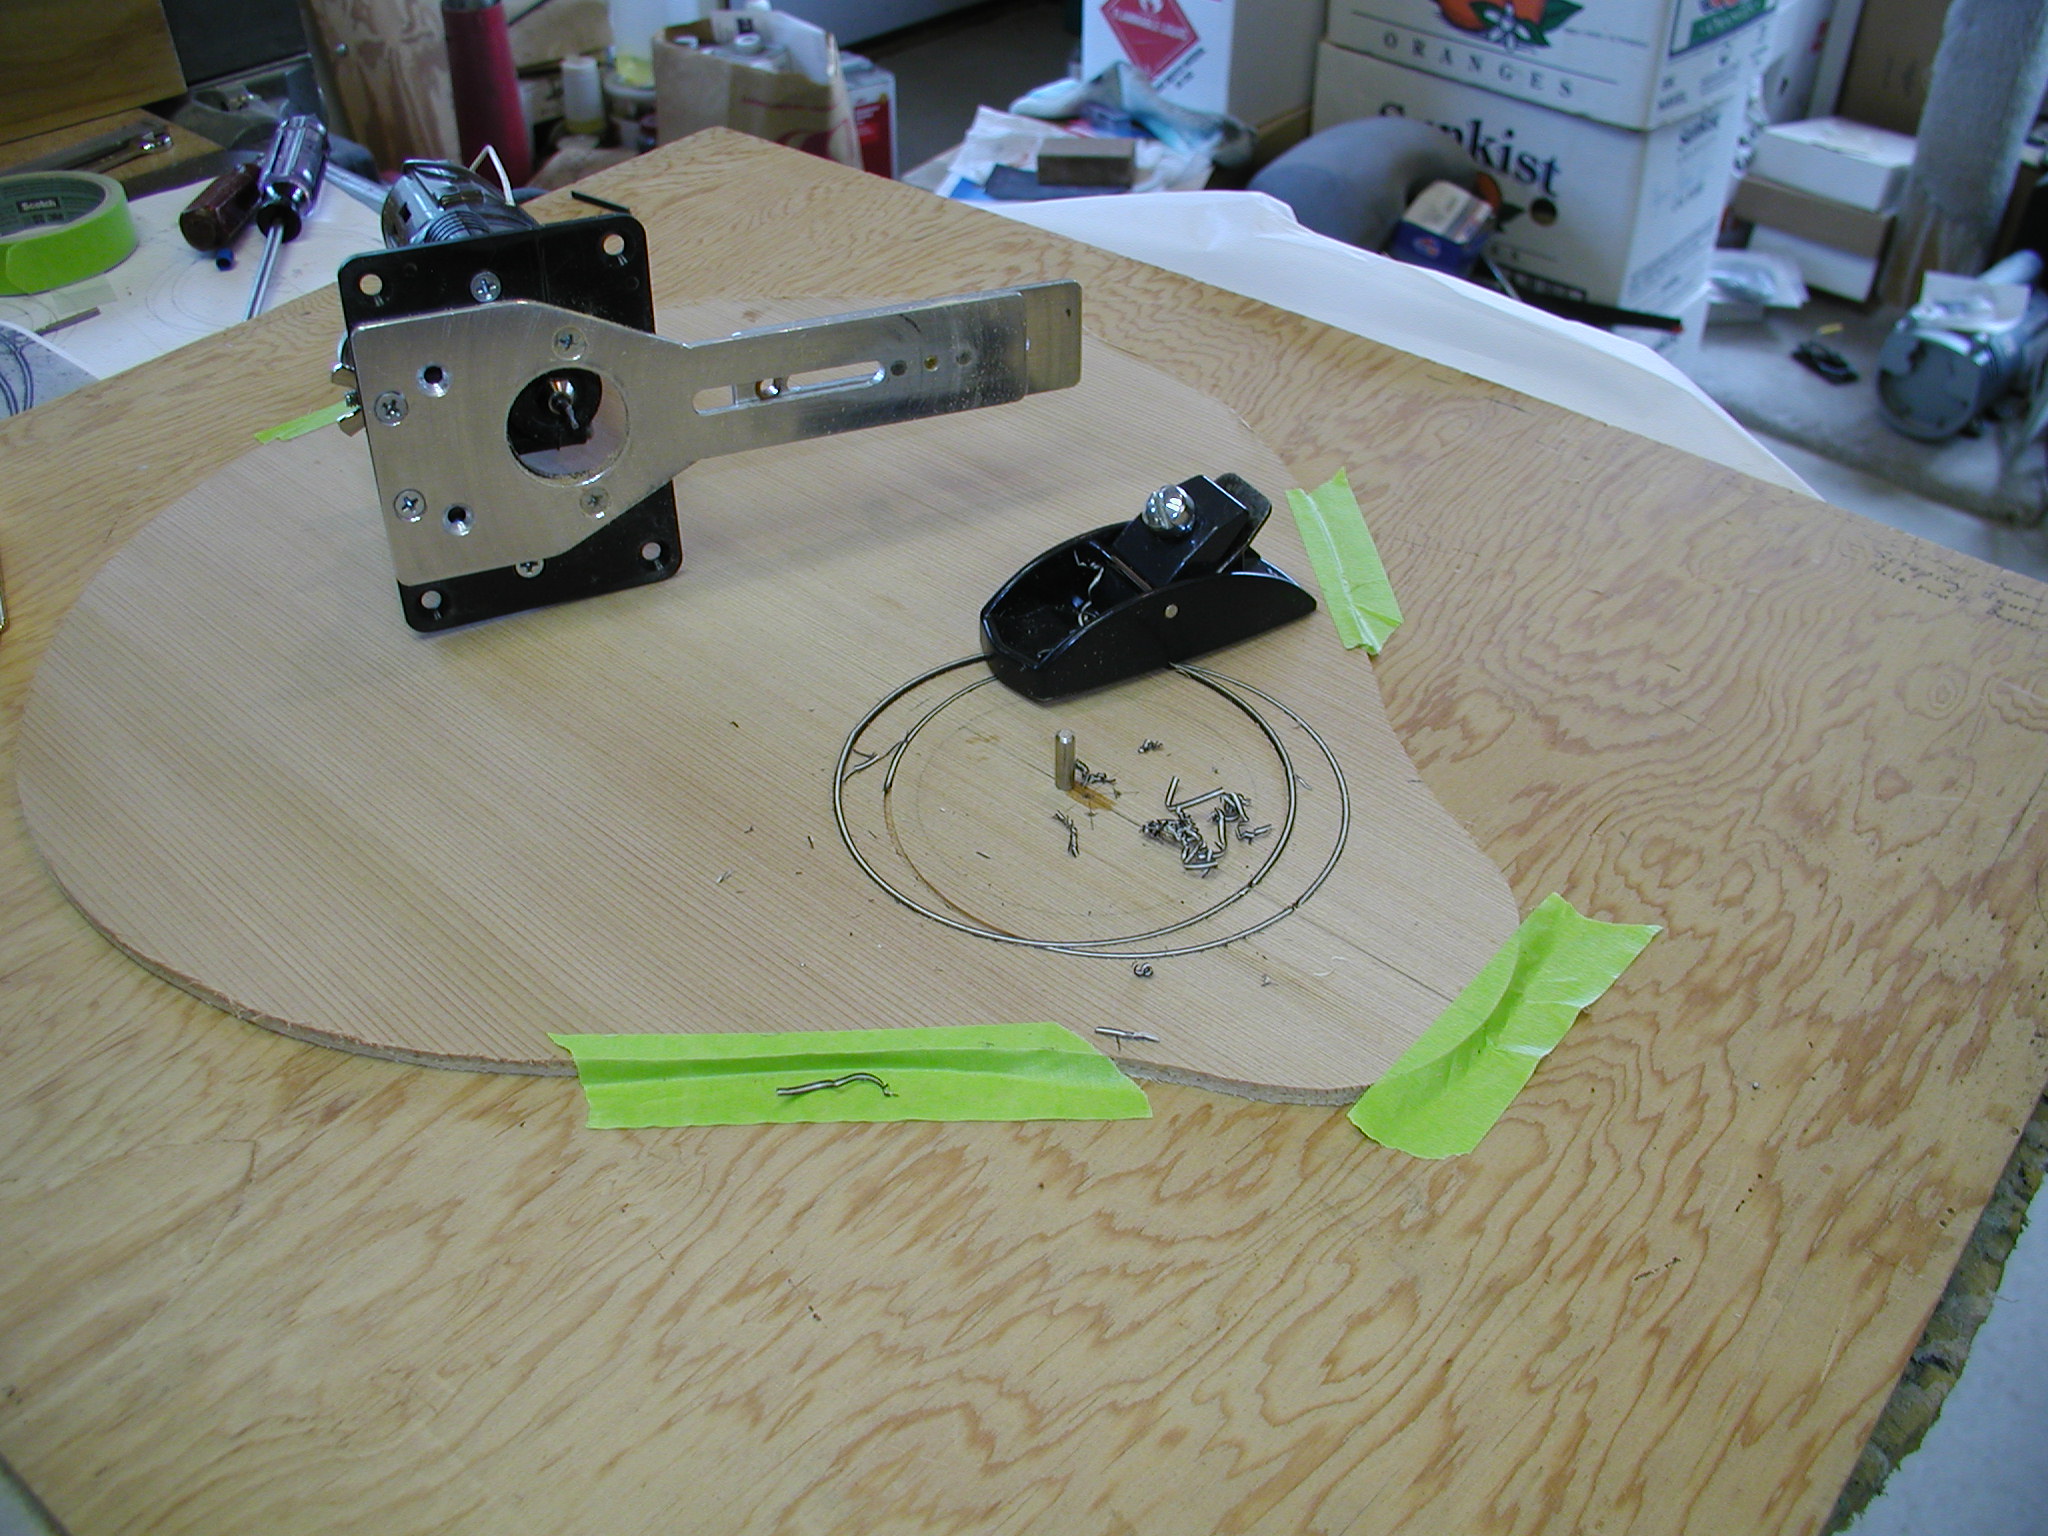
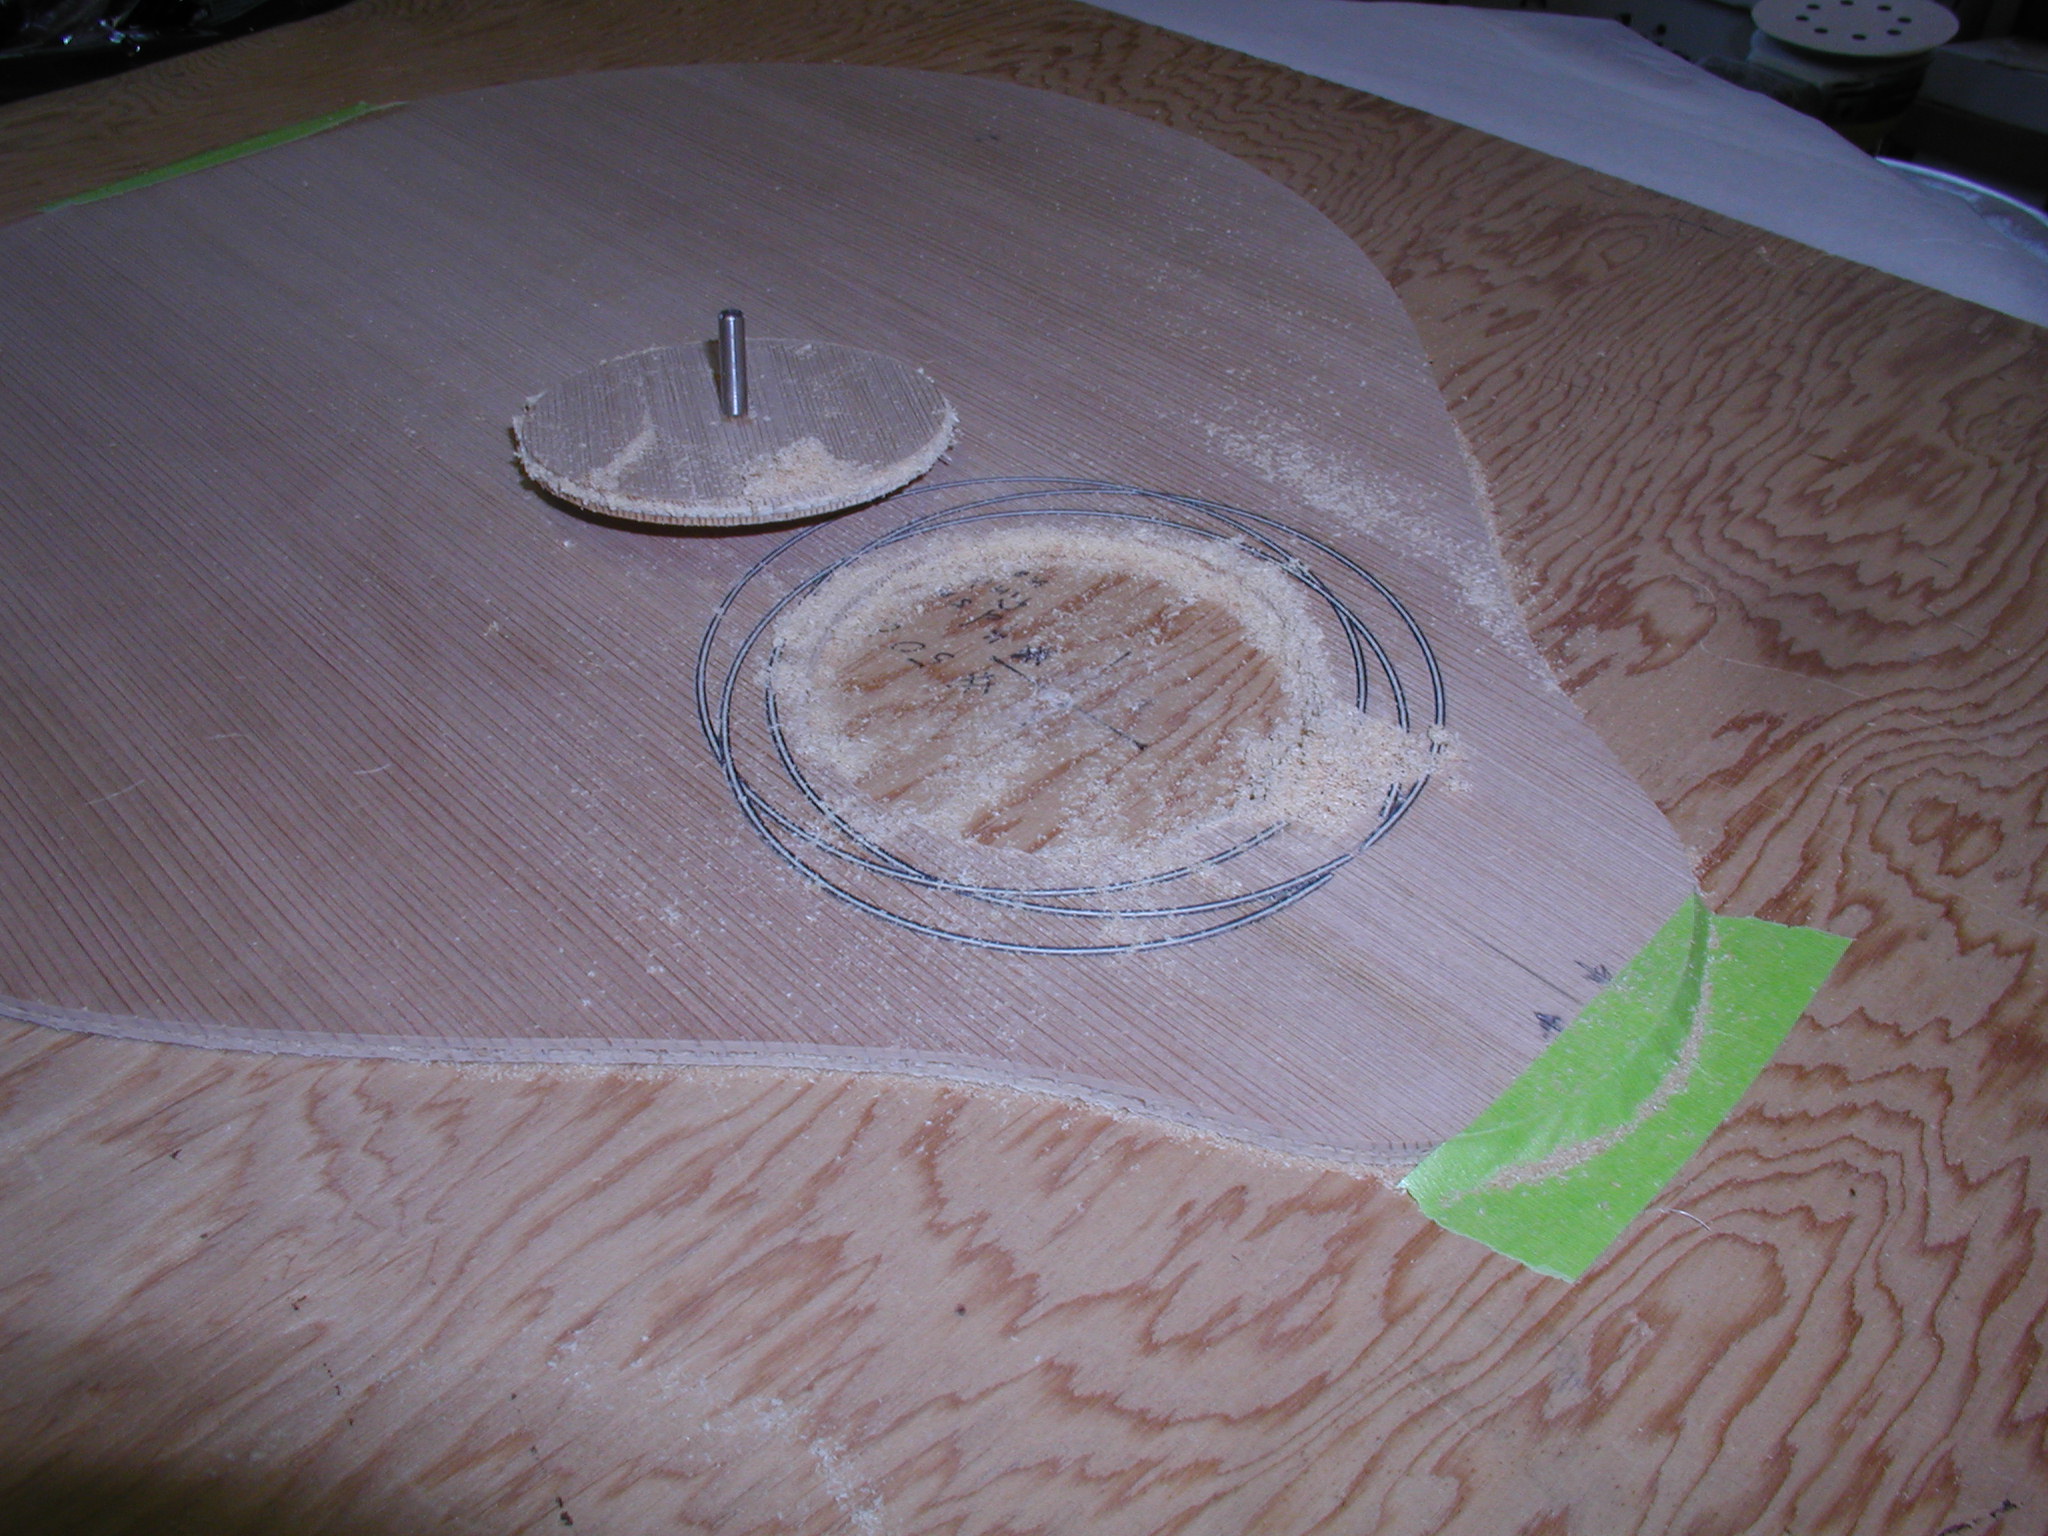
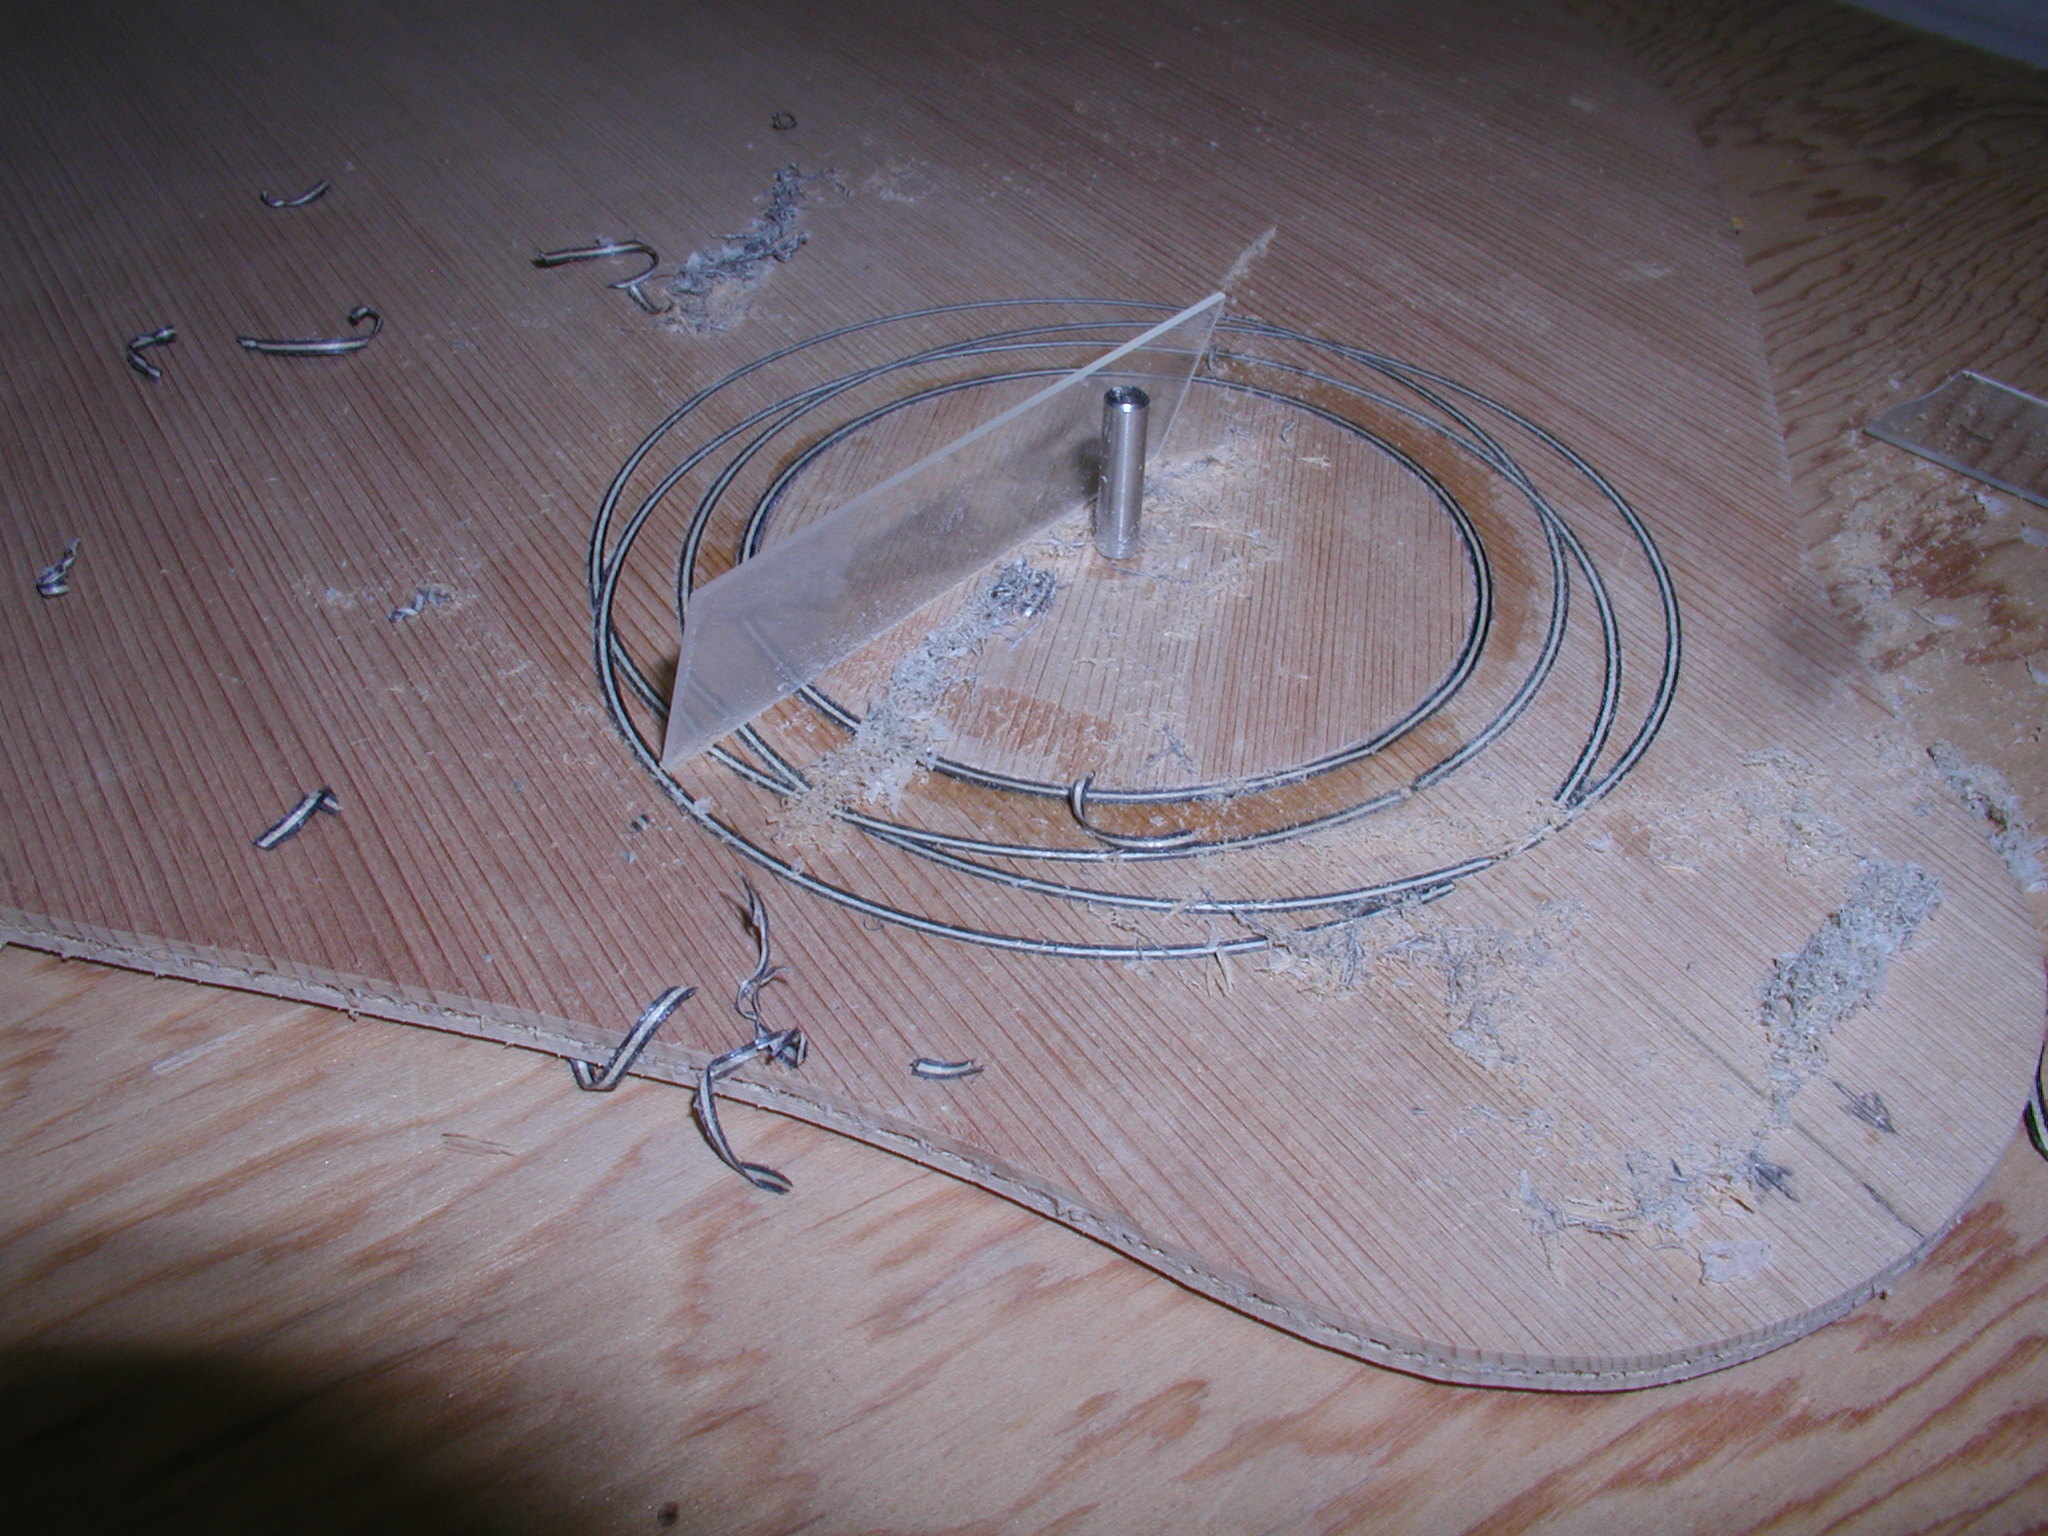
I use a circle cutter with a Dremell to cut and inlay my Double Top Logo interlocking rings, and then cut out the soundhole.
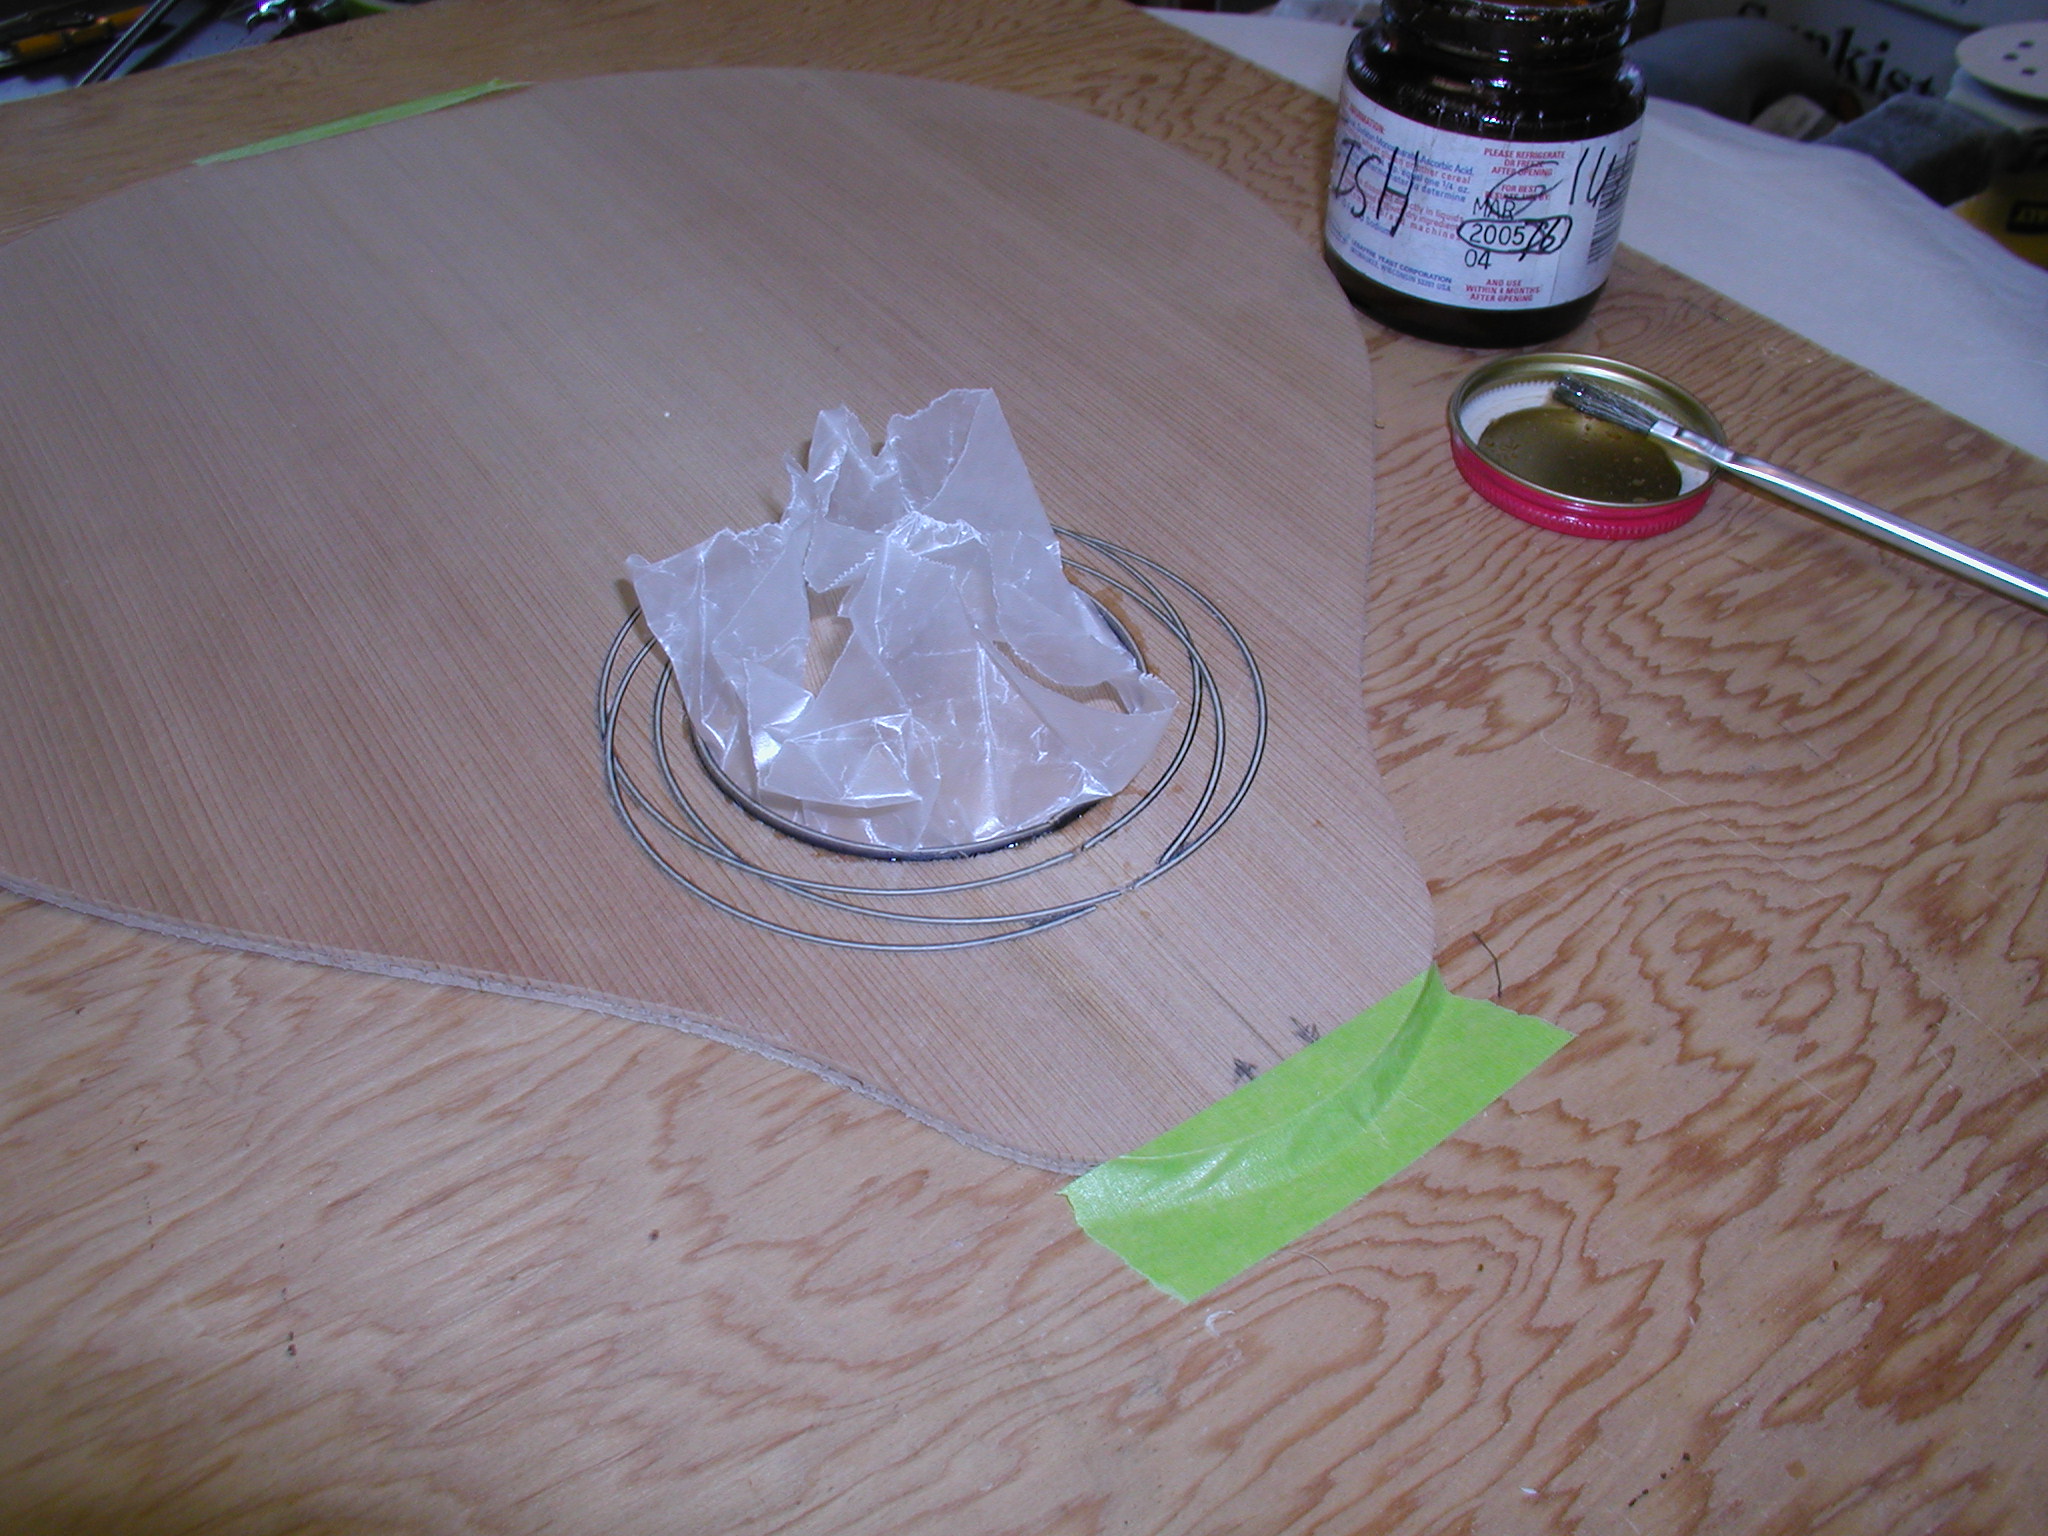
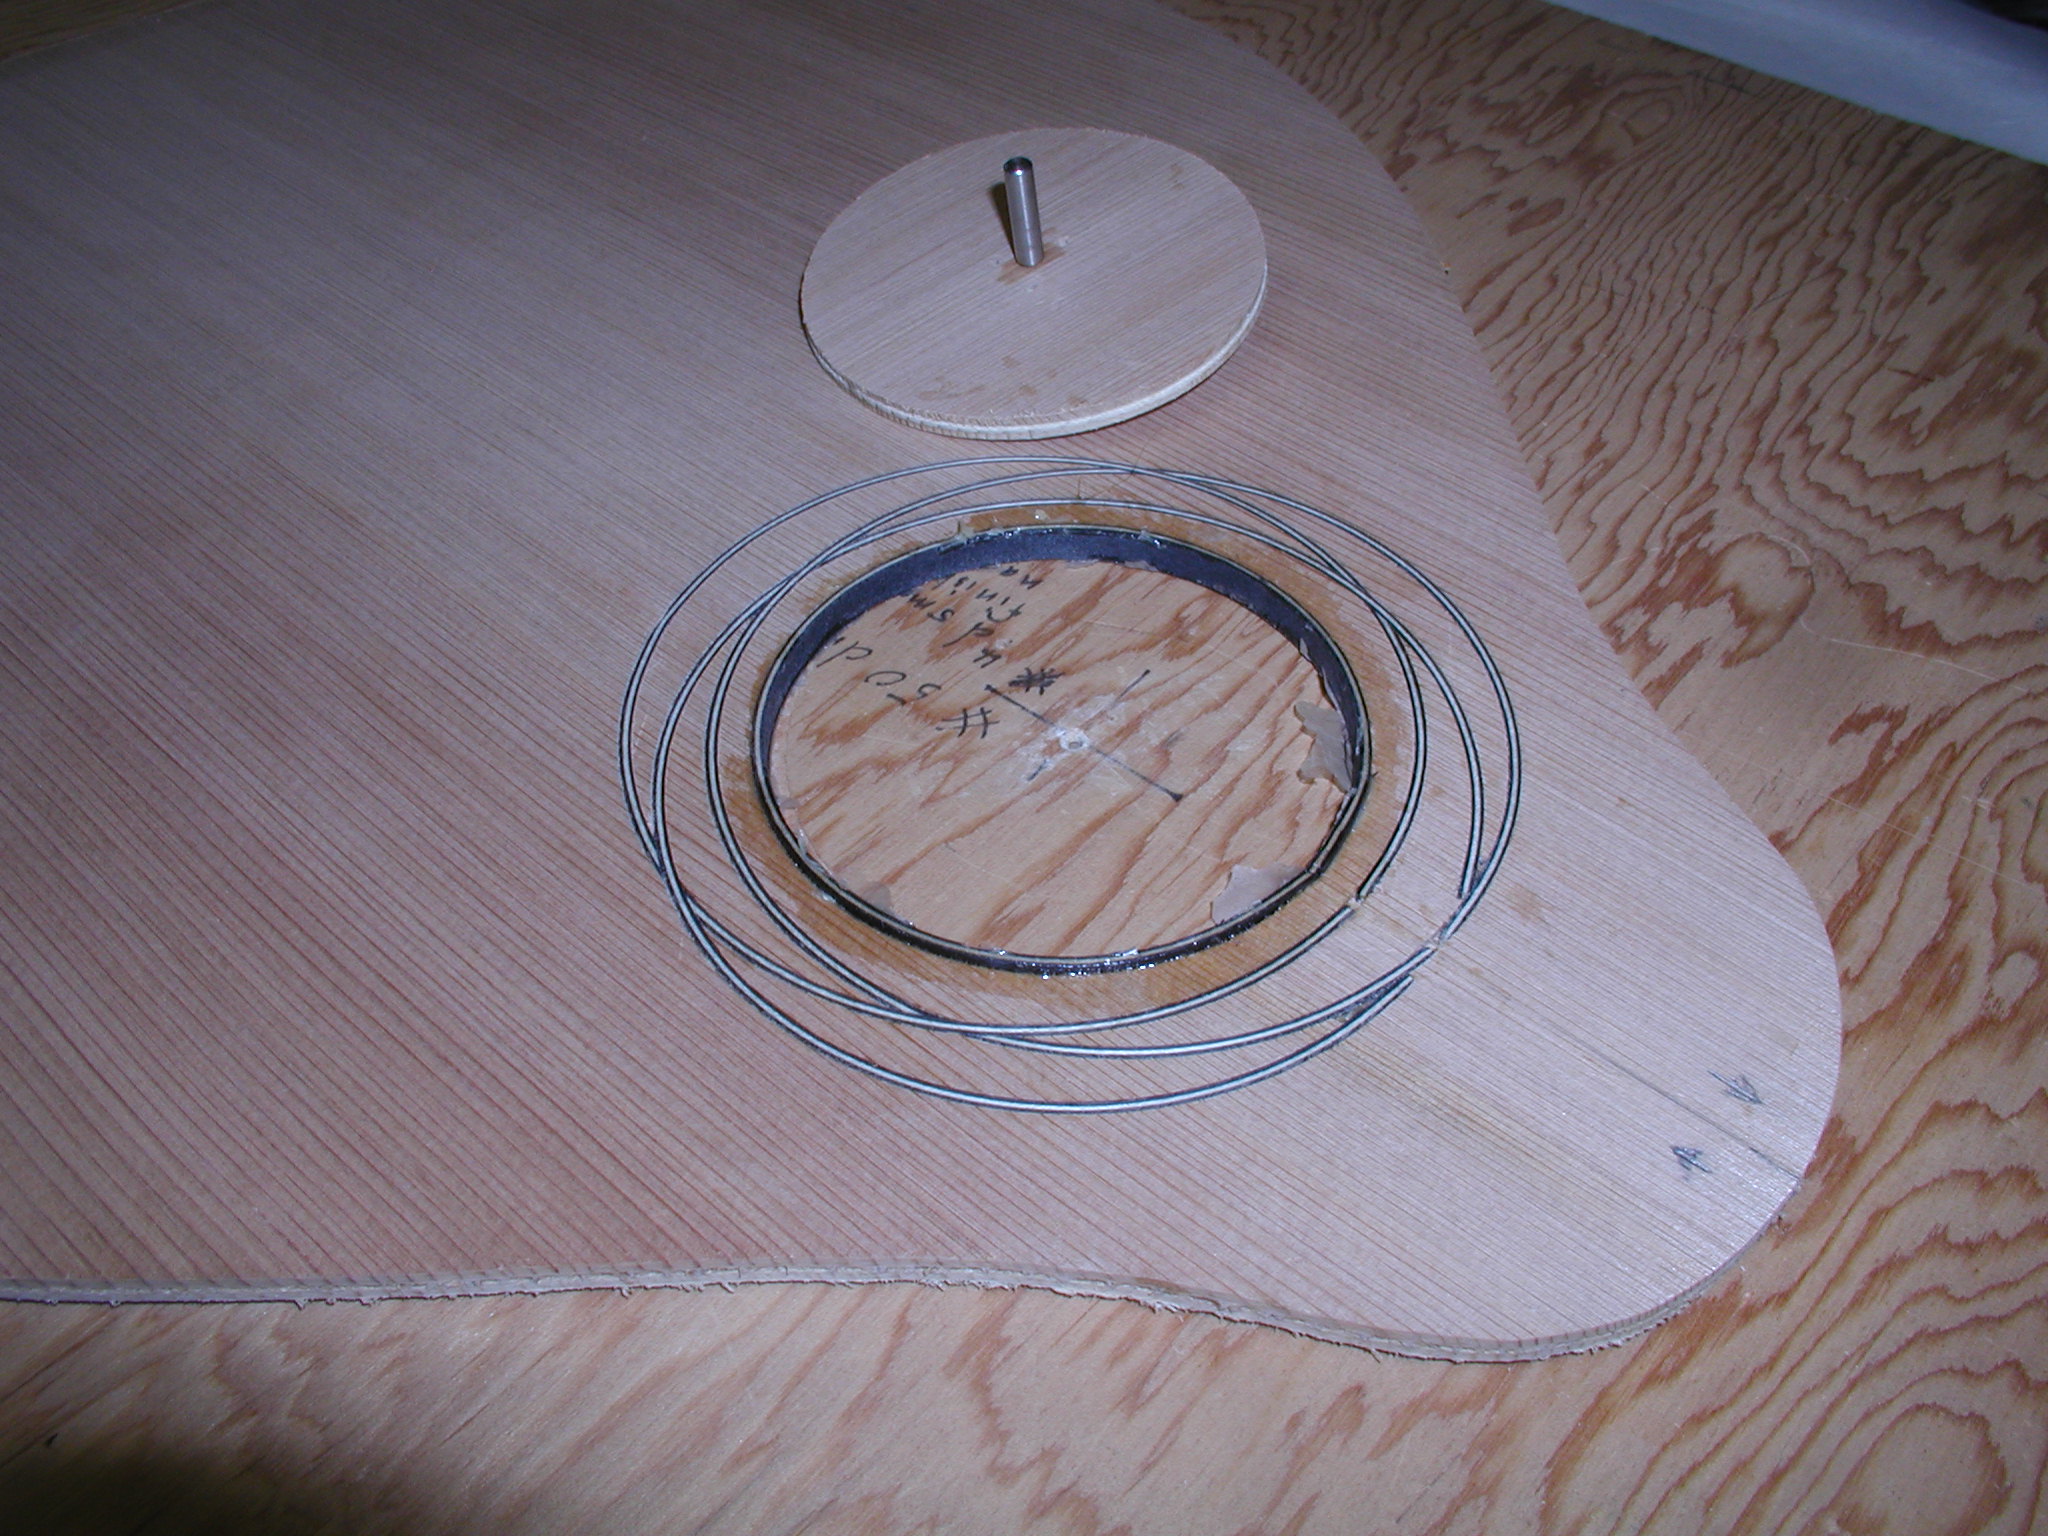
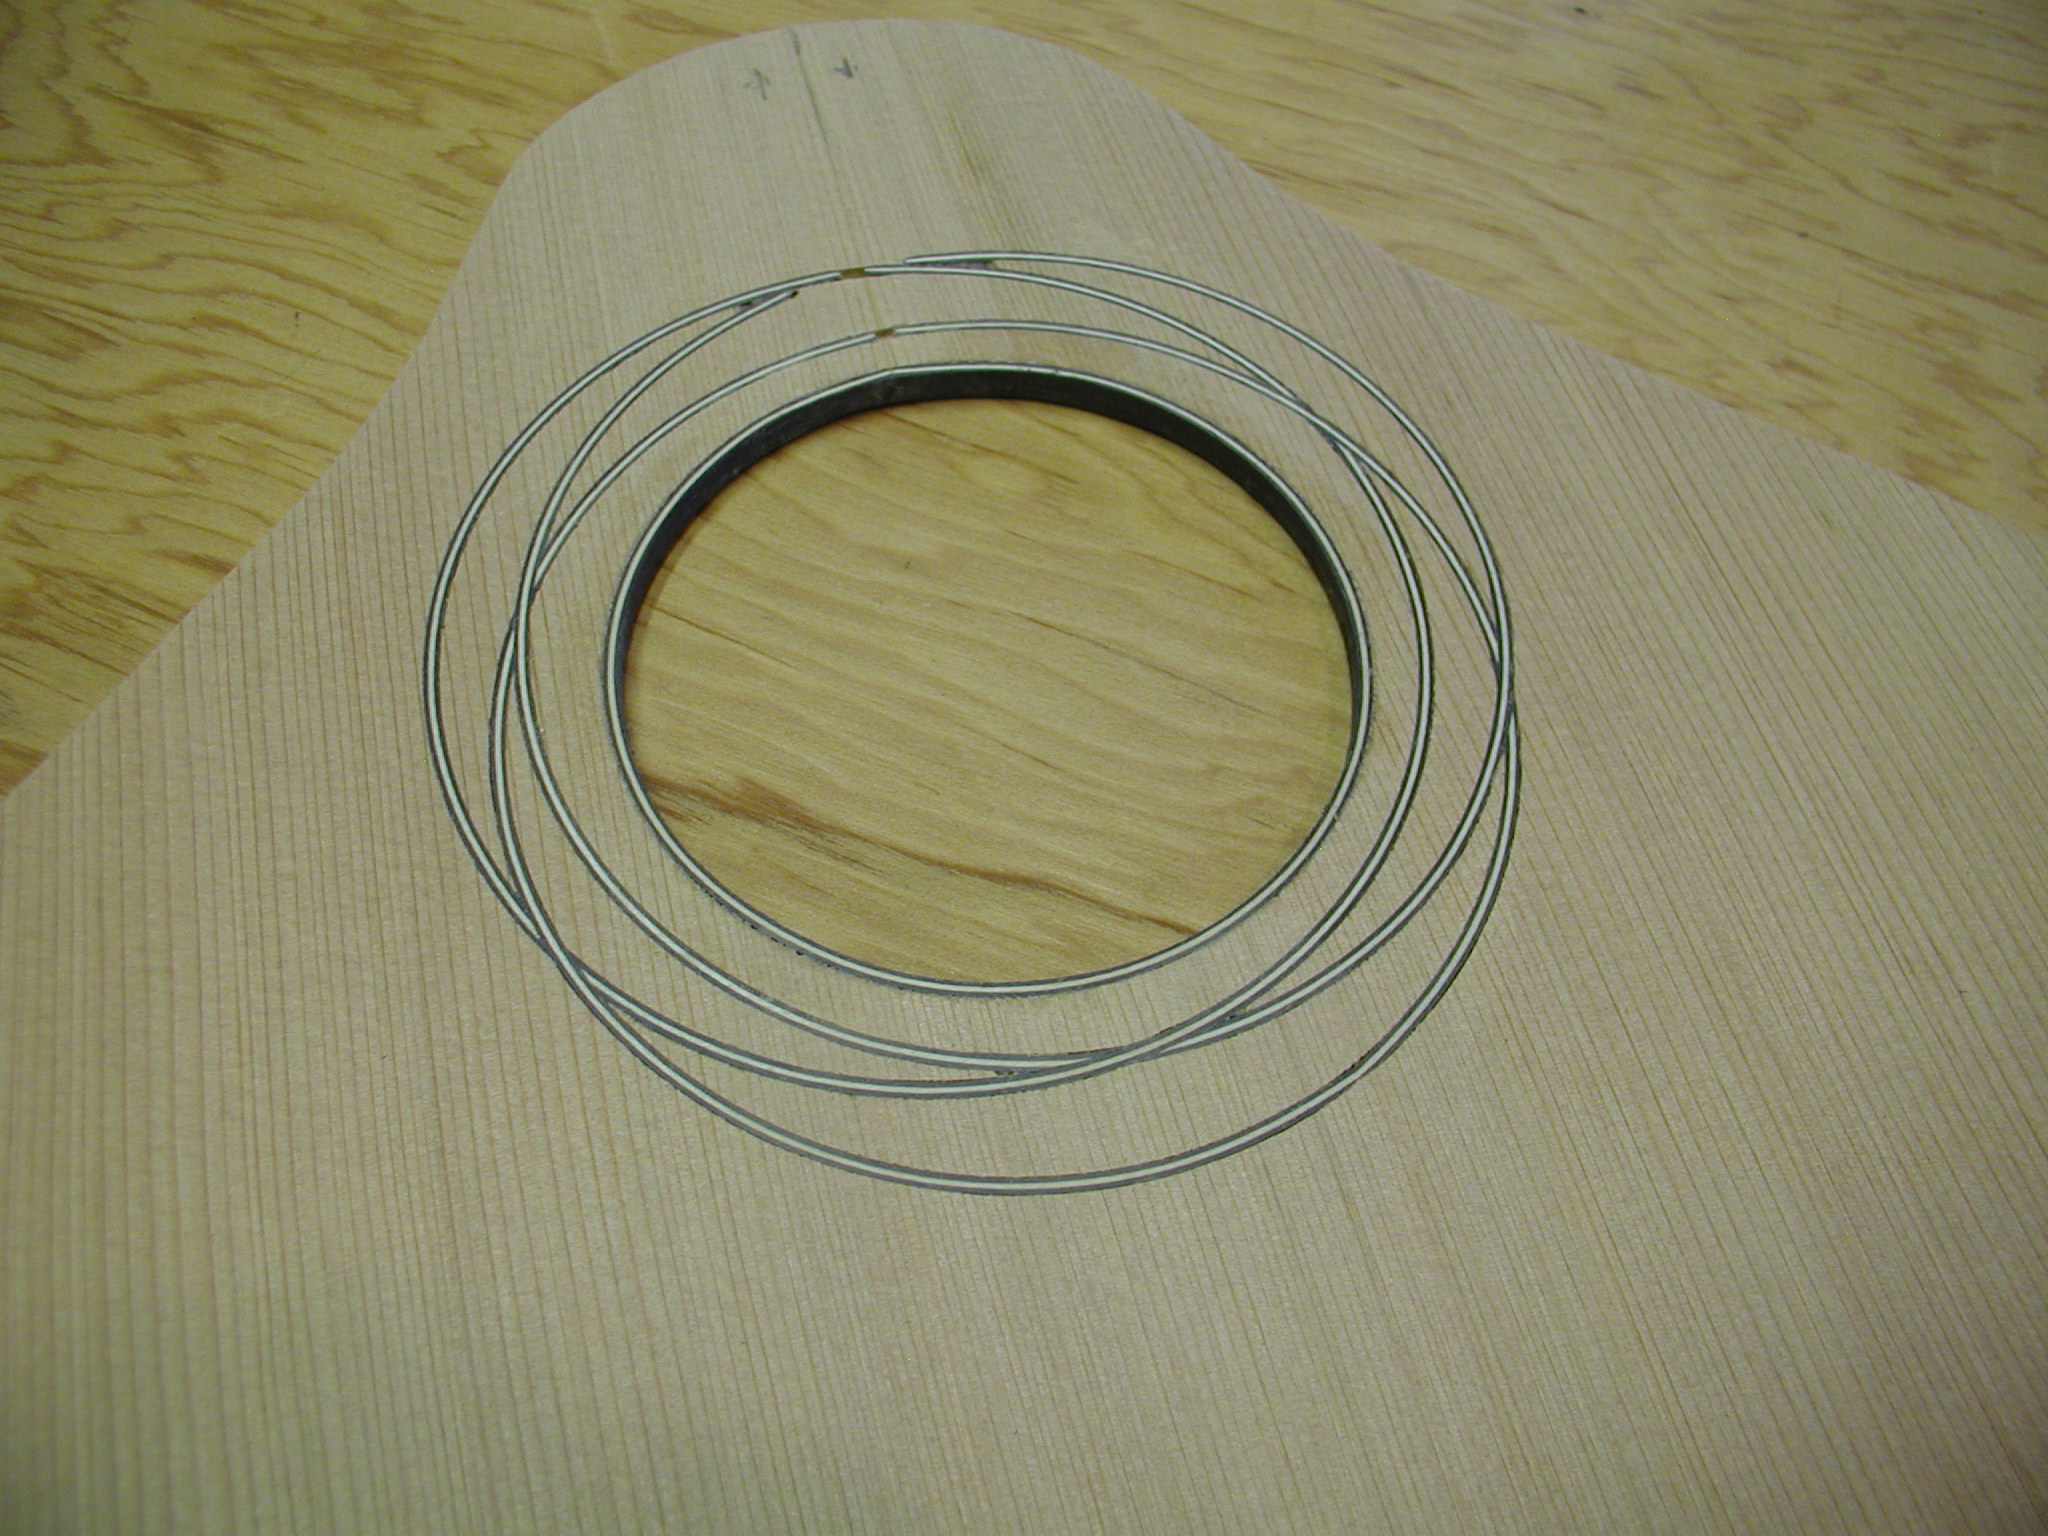
Since the top is layered, when the soundhole is cut the end grain shows. So I add in a purfling strip to bind the soundhole. It is glued in place using the cut out soundhole piece as a clamp. Then it is all scraped even using the worlds best scrapers, ground-edge glass microscope slides. At the end the soundhole cutout gets branded, cork added to the bottom, and becomes a drink coaster for the owner.
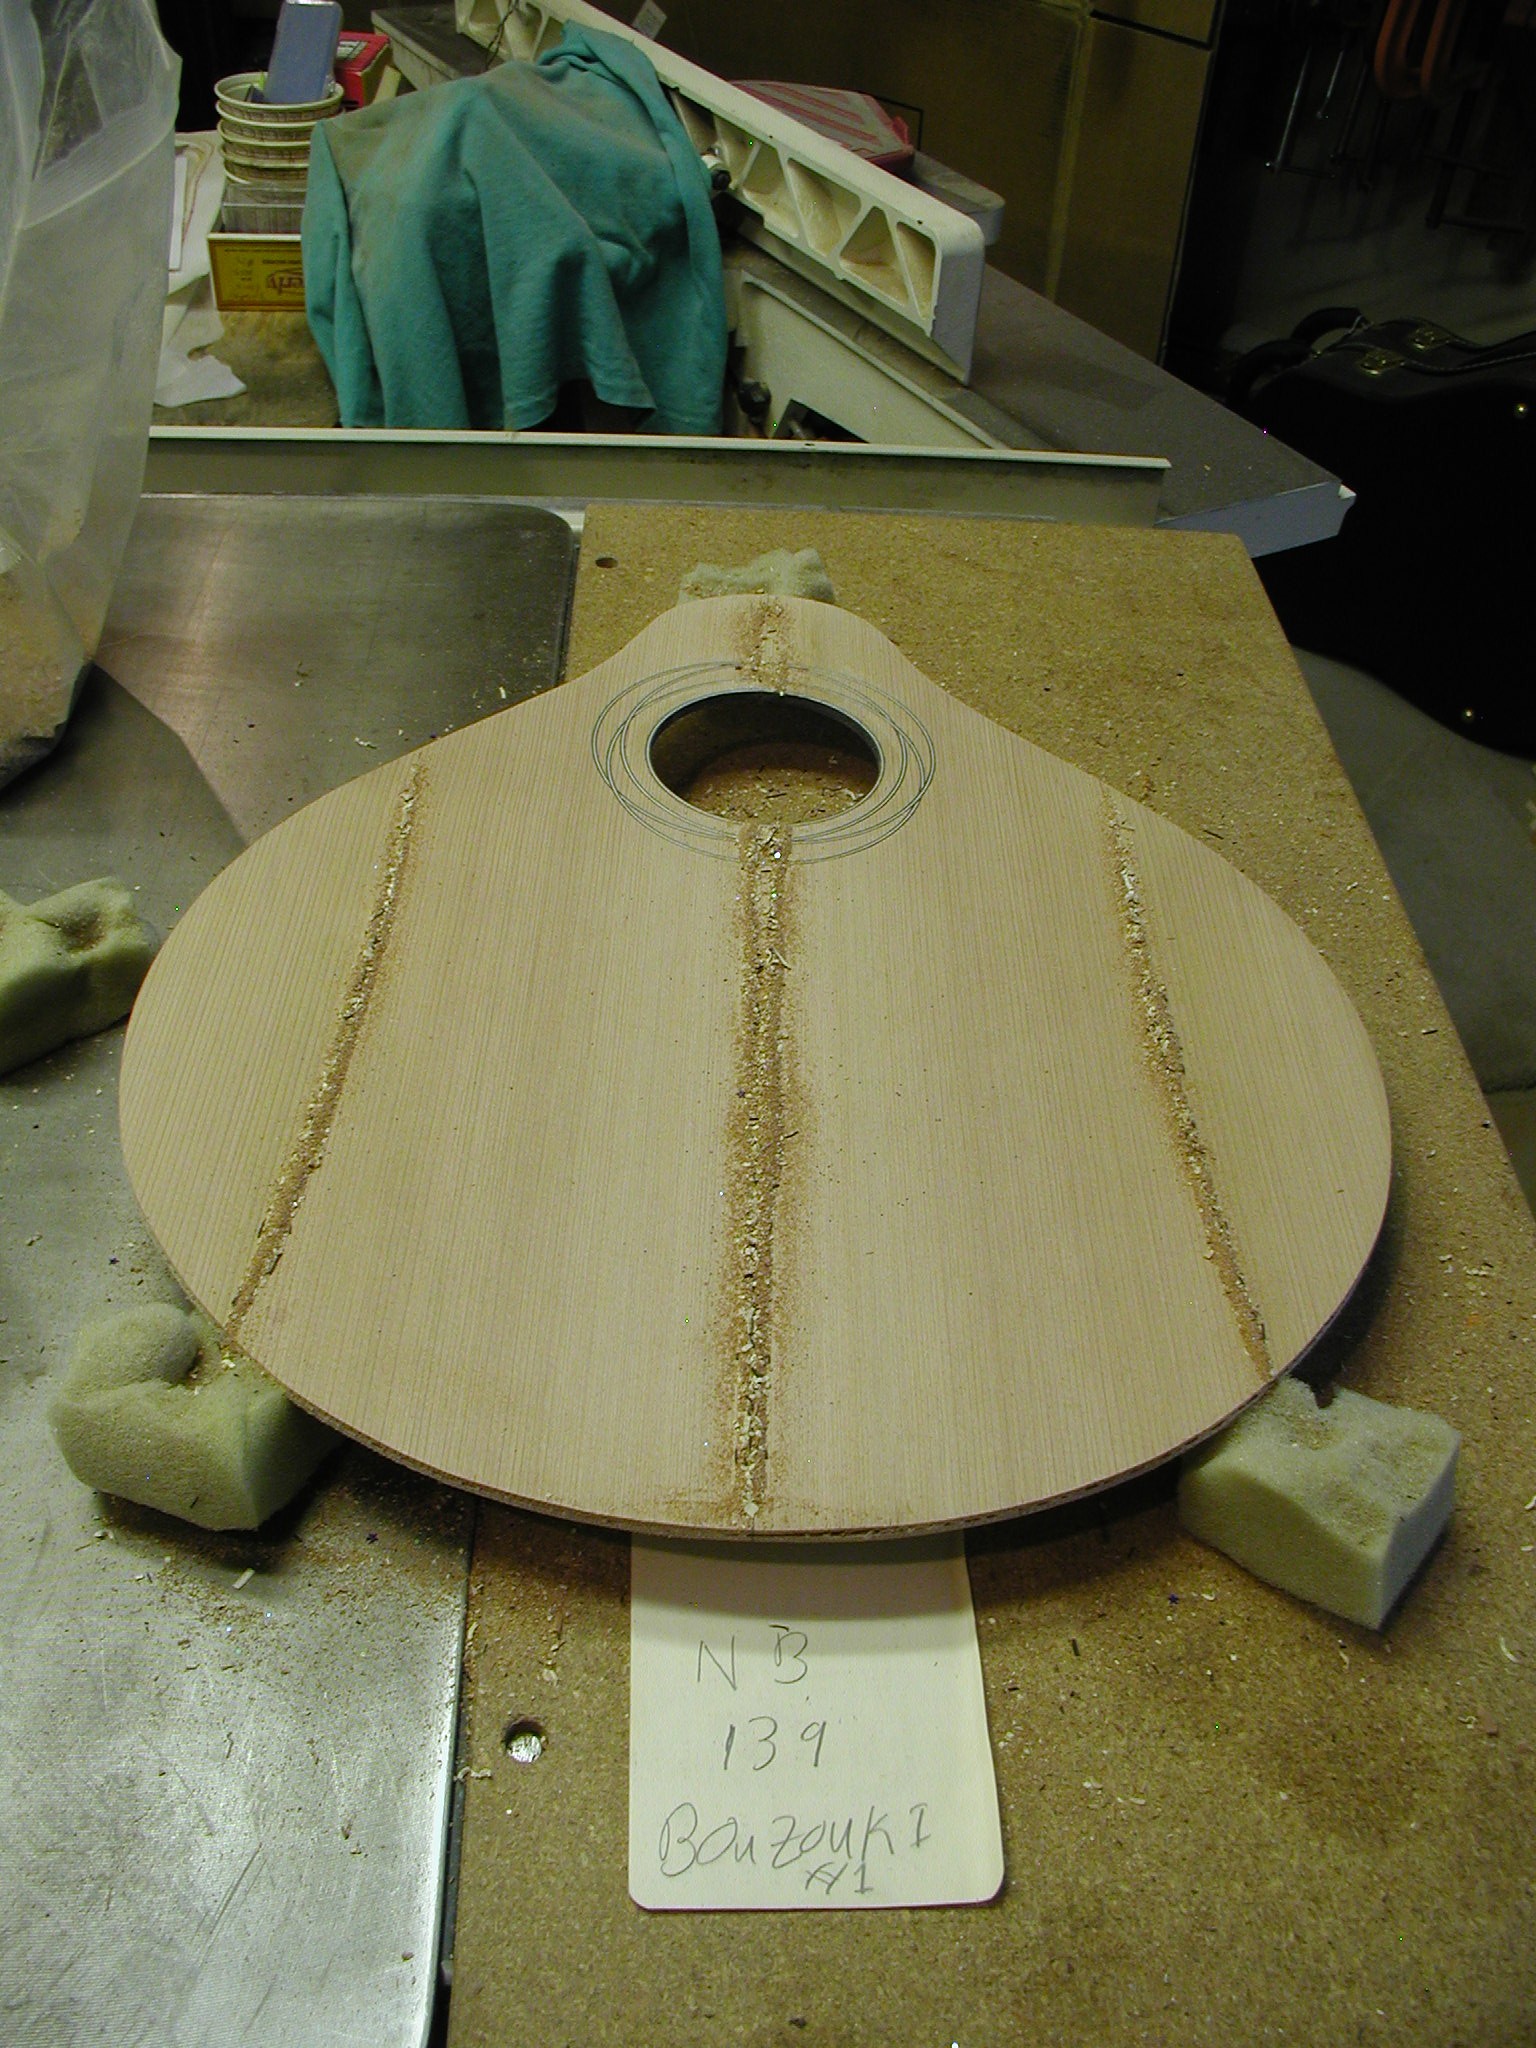
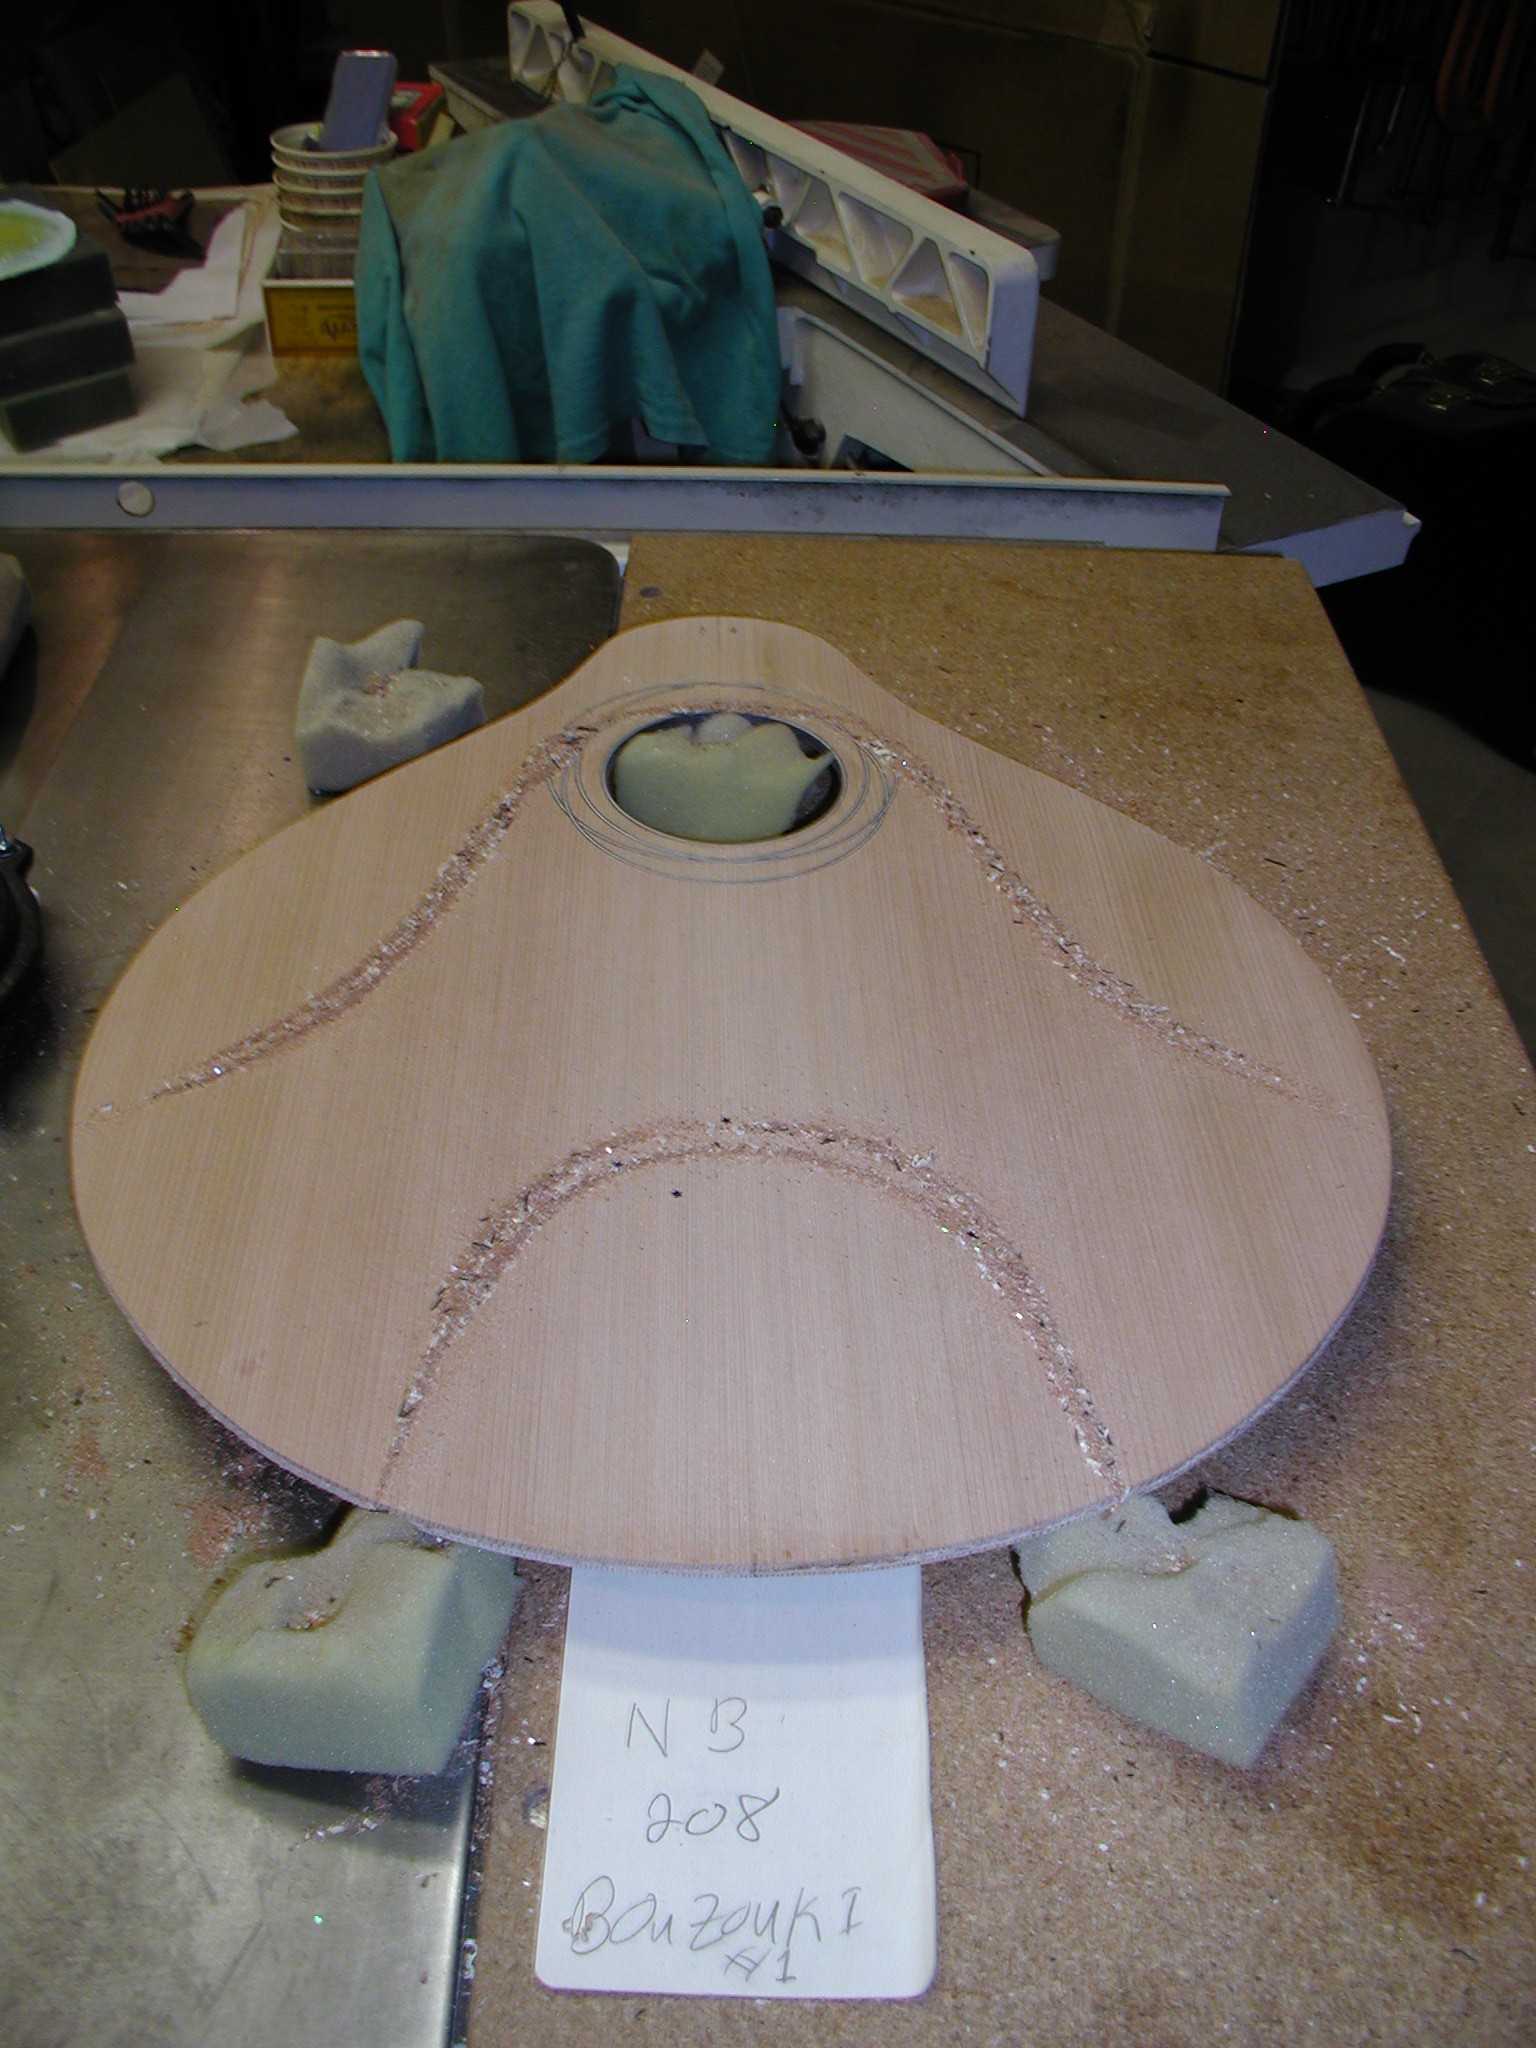
At this point I run and record Chladni modes on the unbraced top. This give me information on how to do the bracing and how to carve it. As you will see later, this is an ongoing learning process with the smaller bodied bouzoukis.
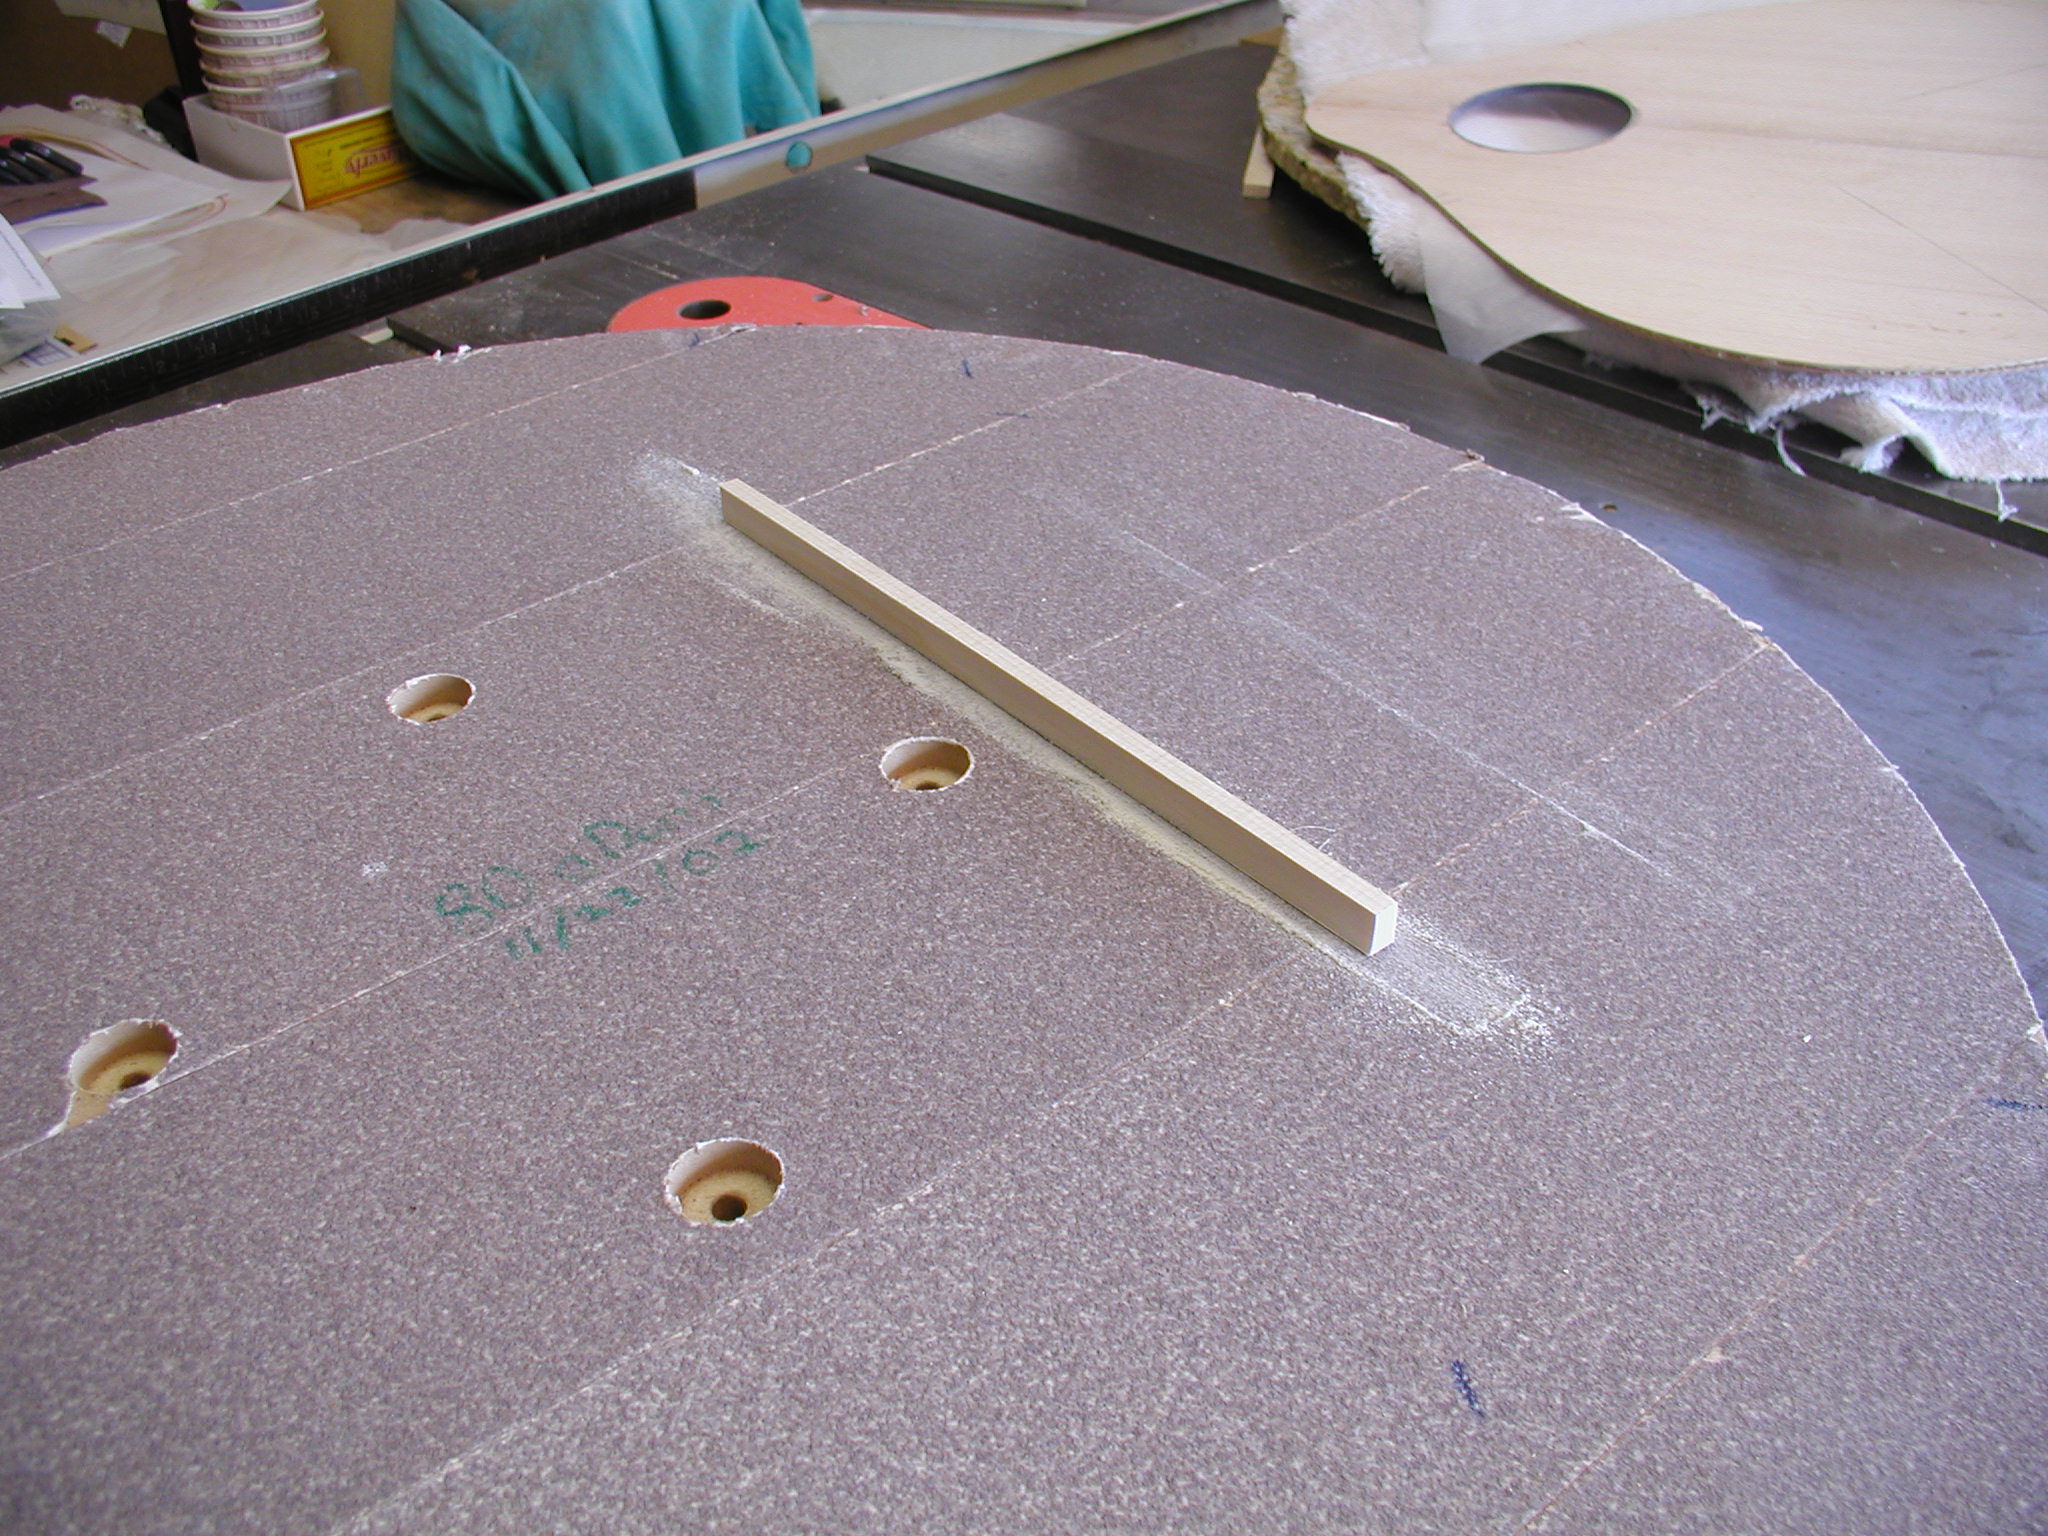
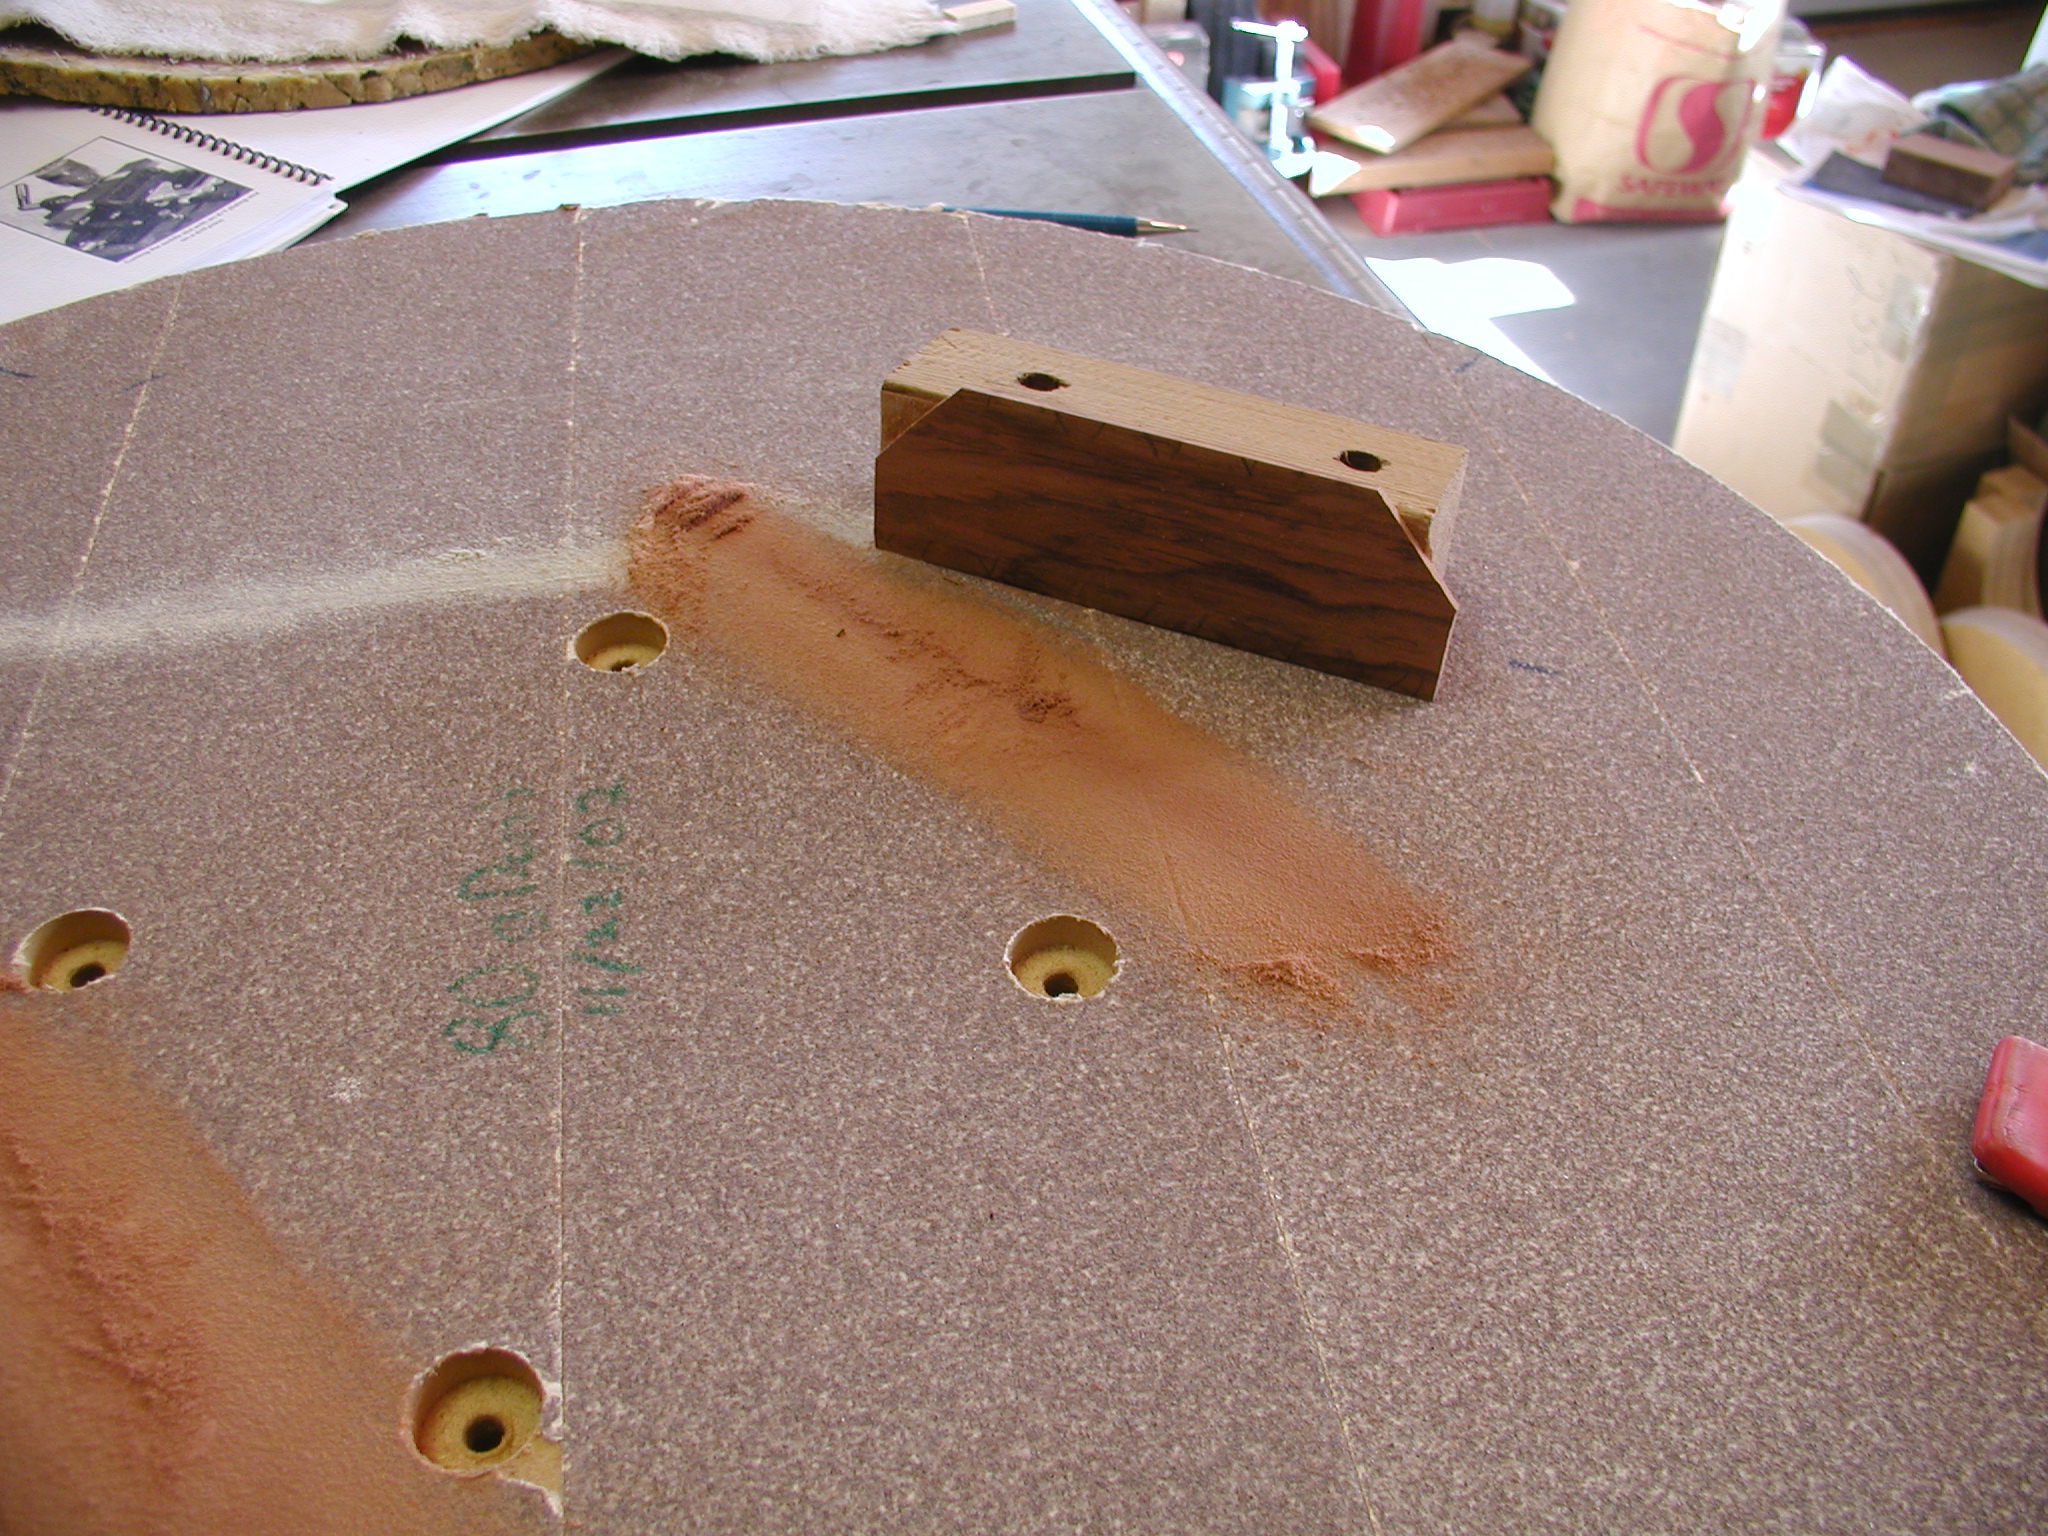
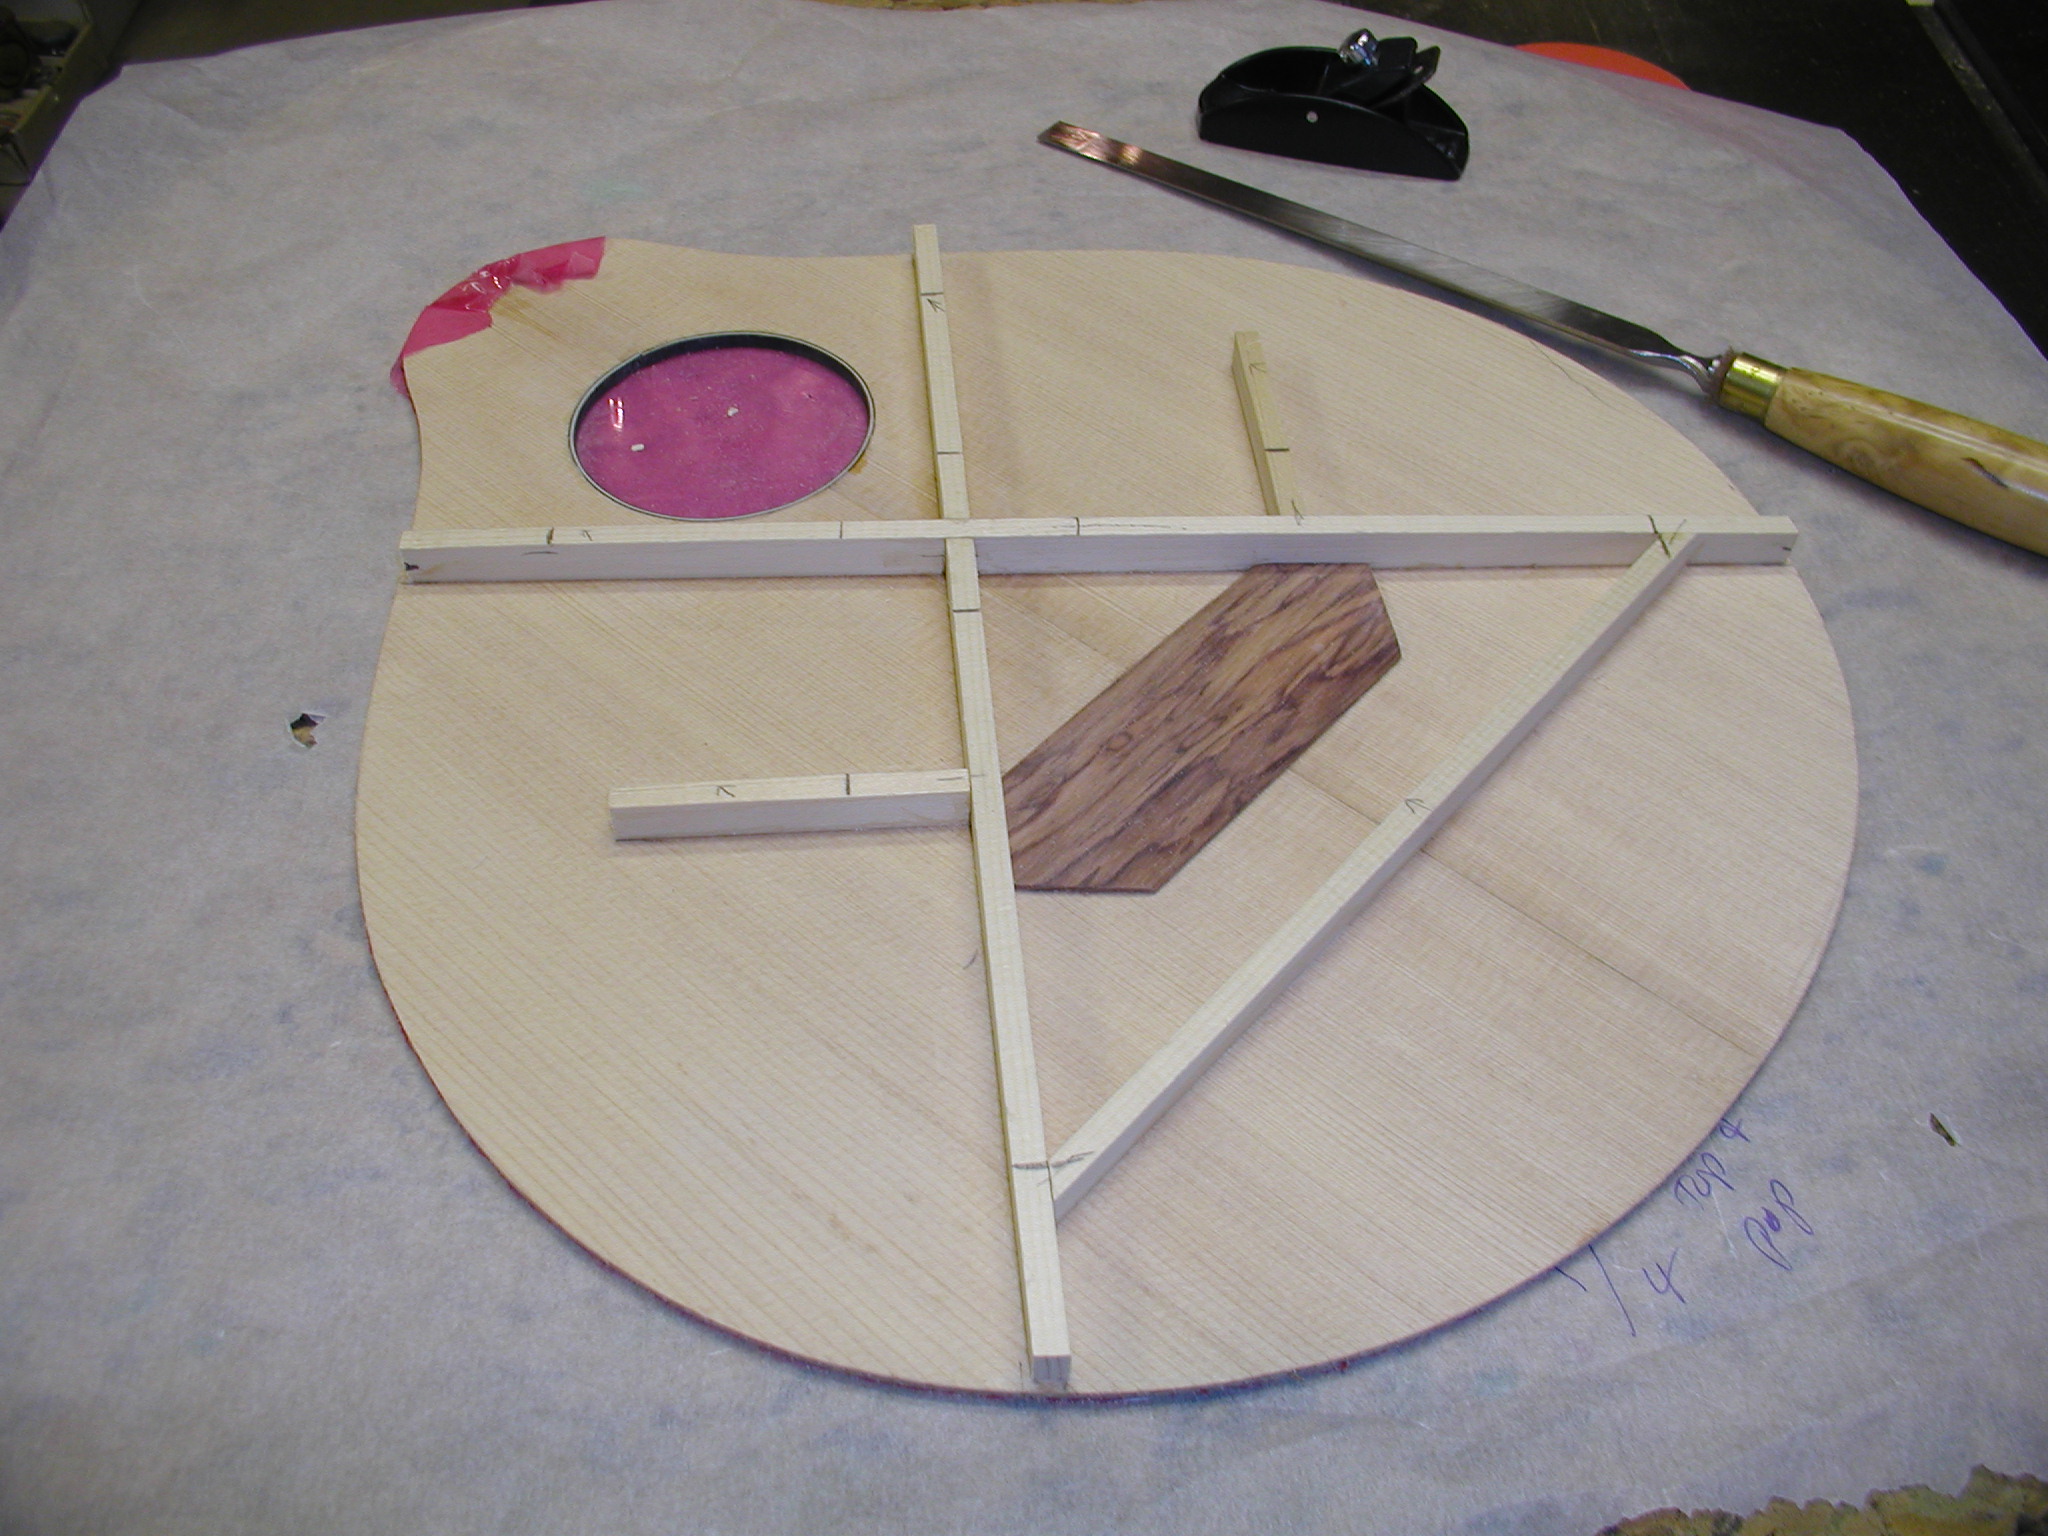
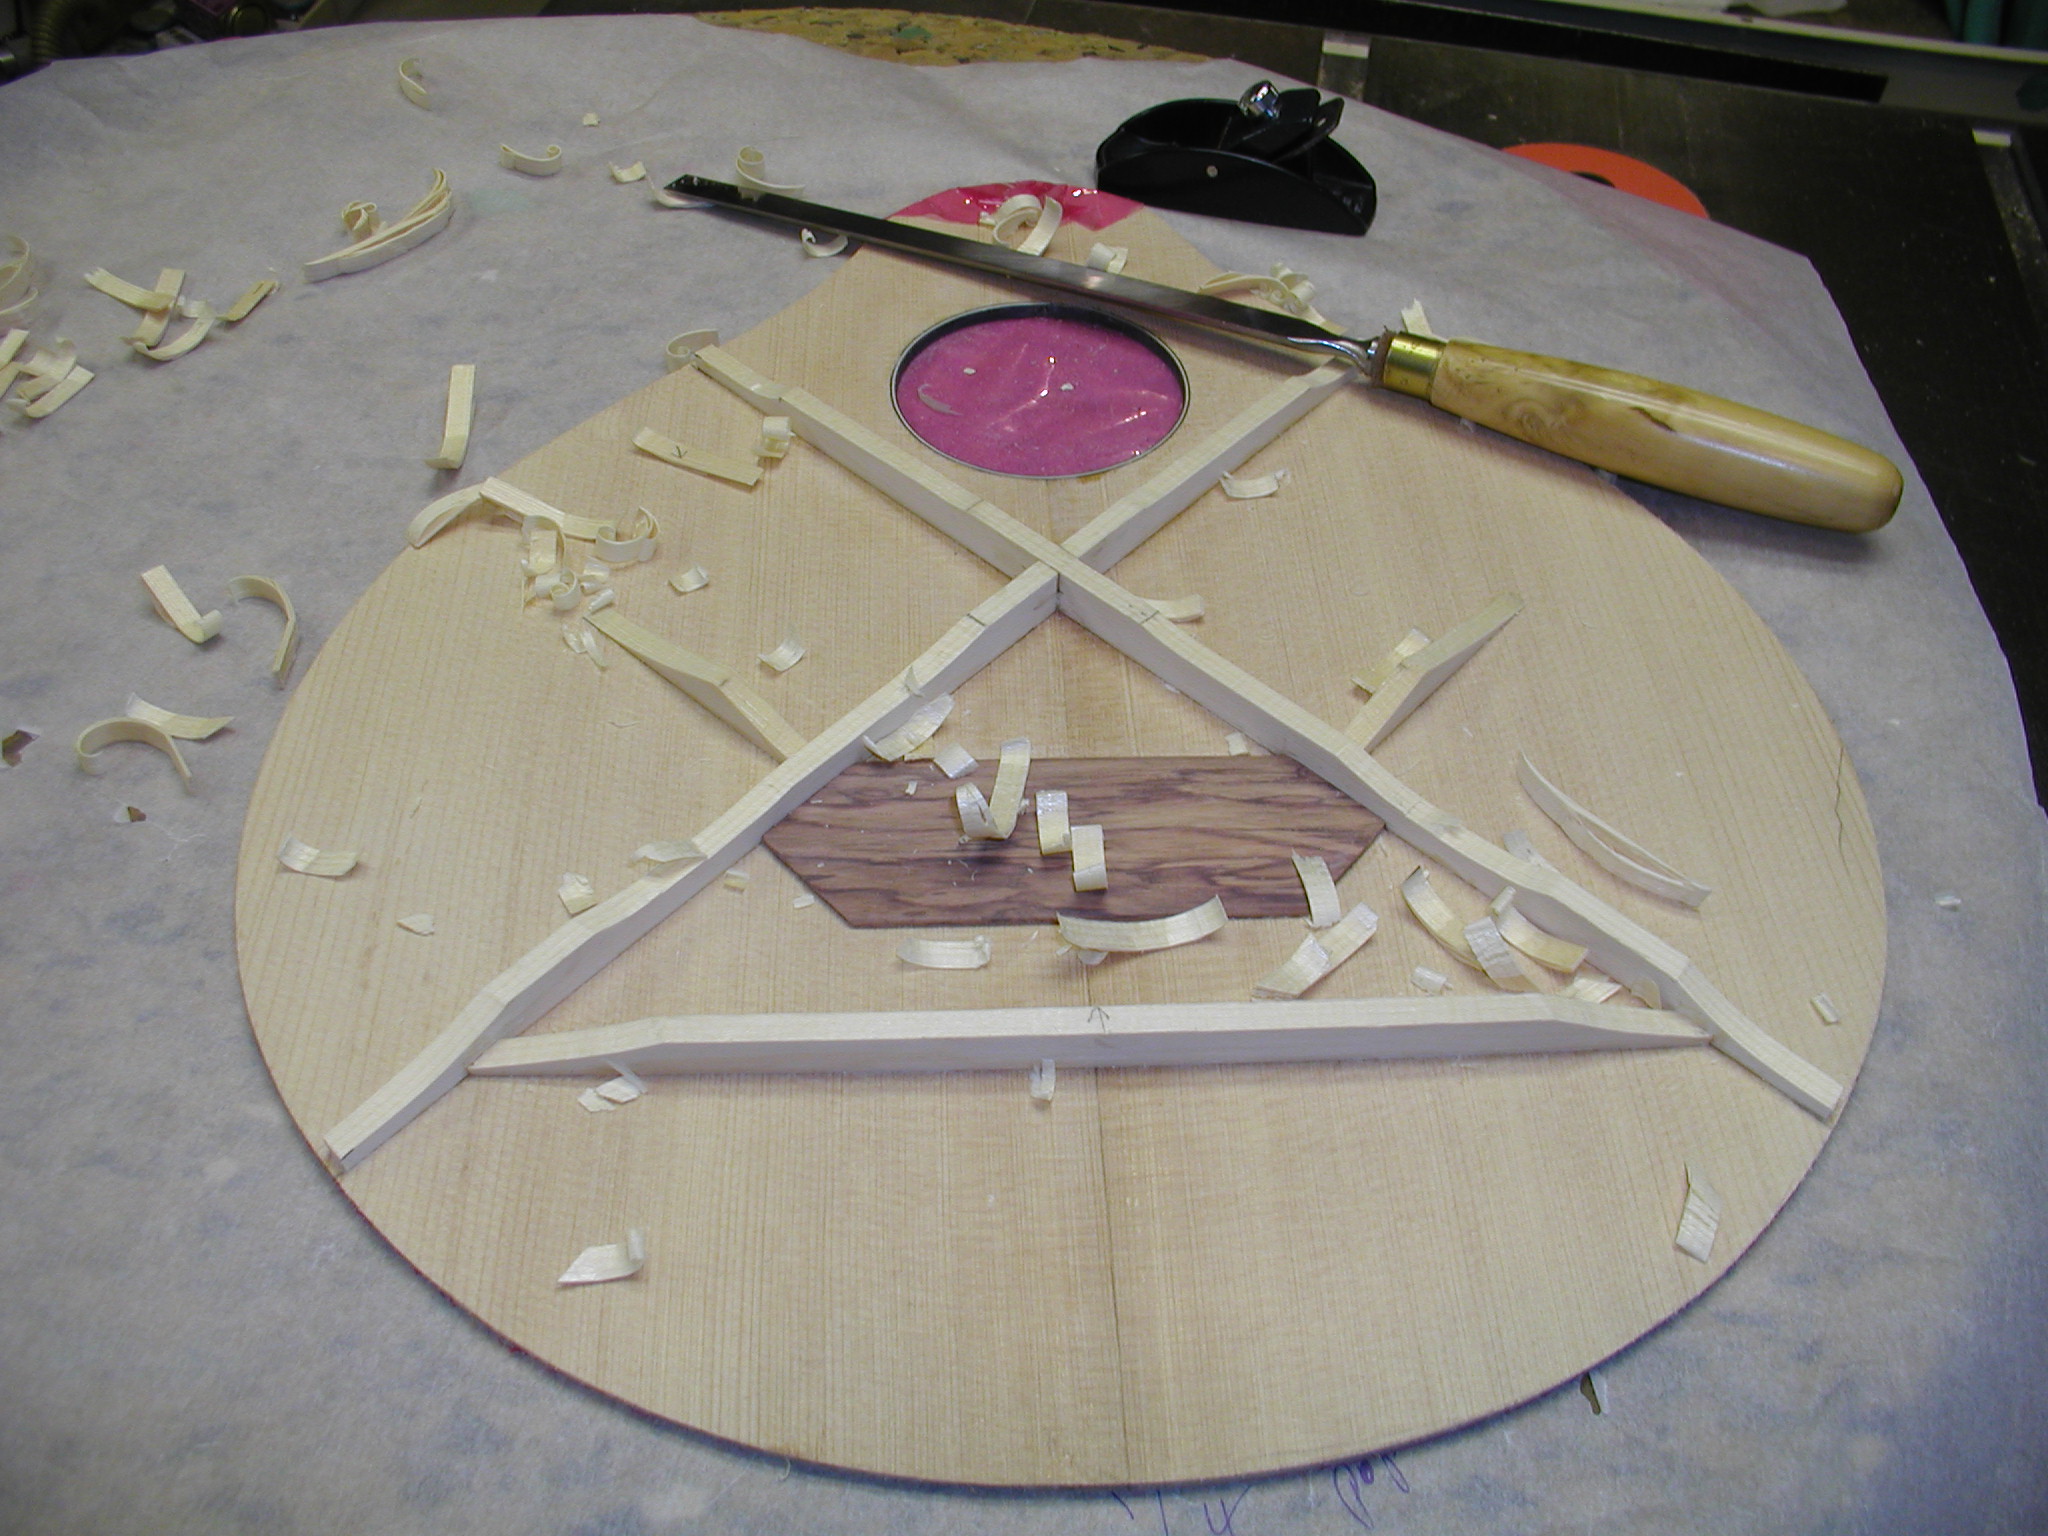
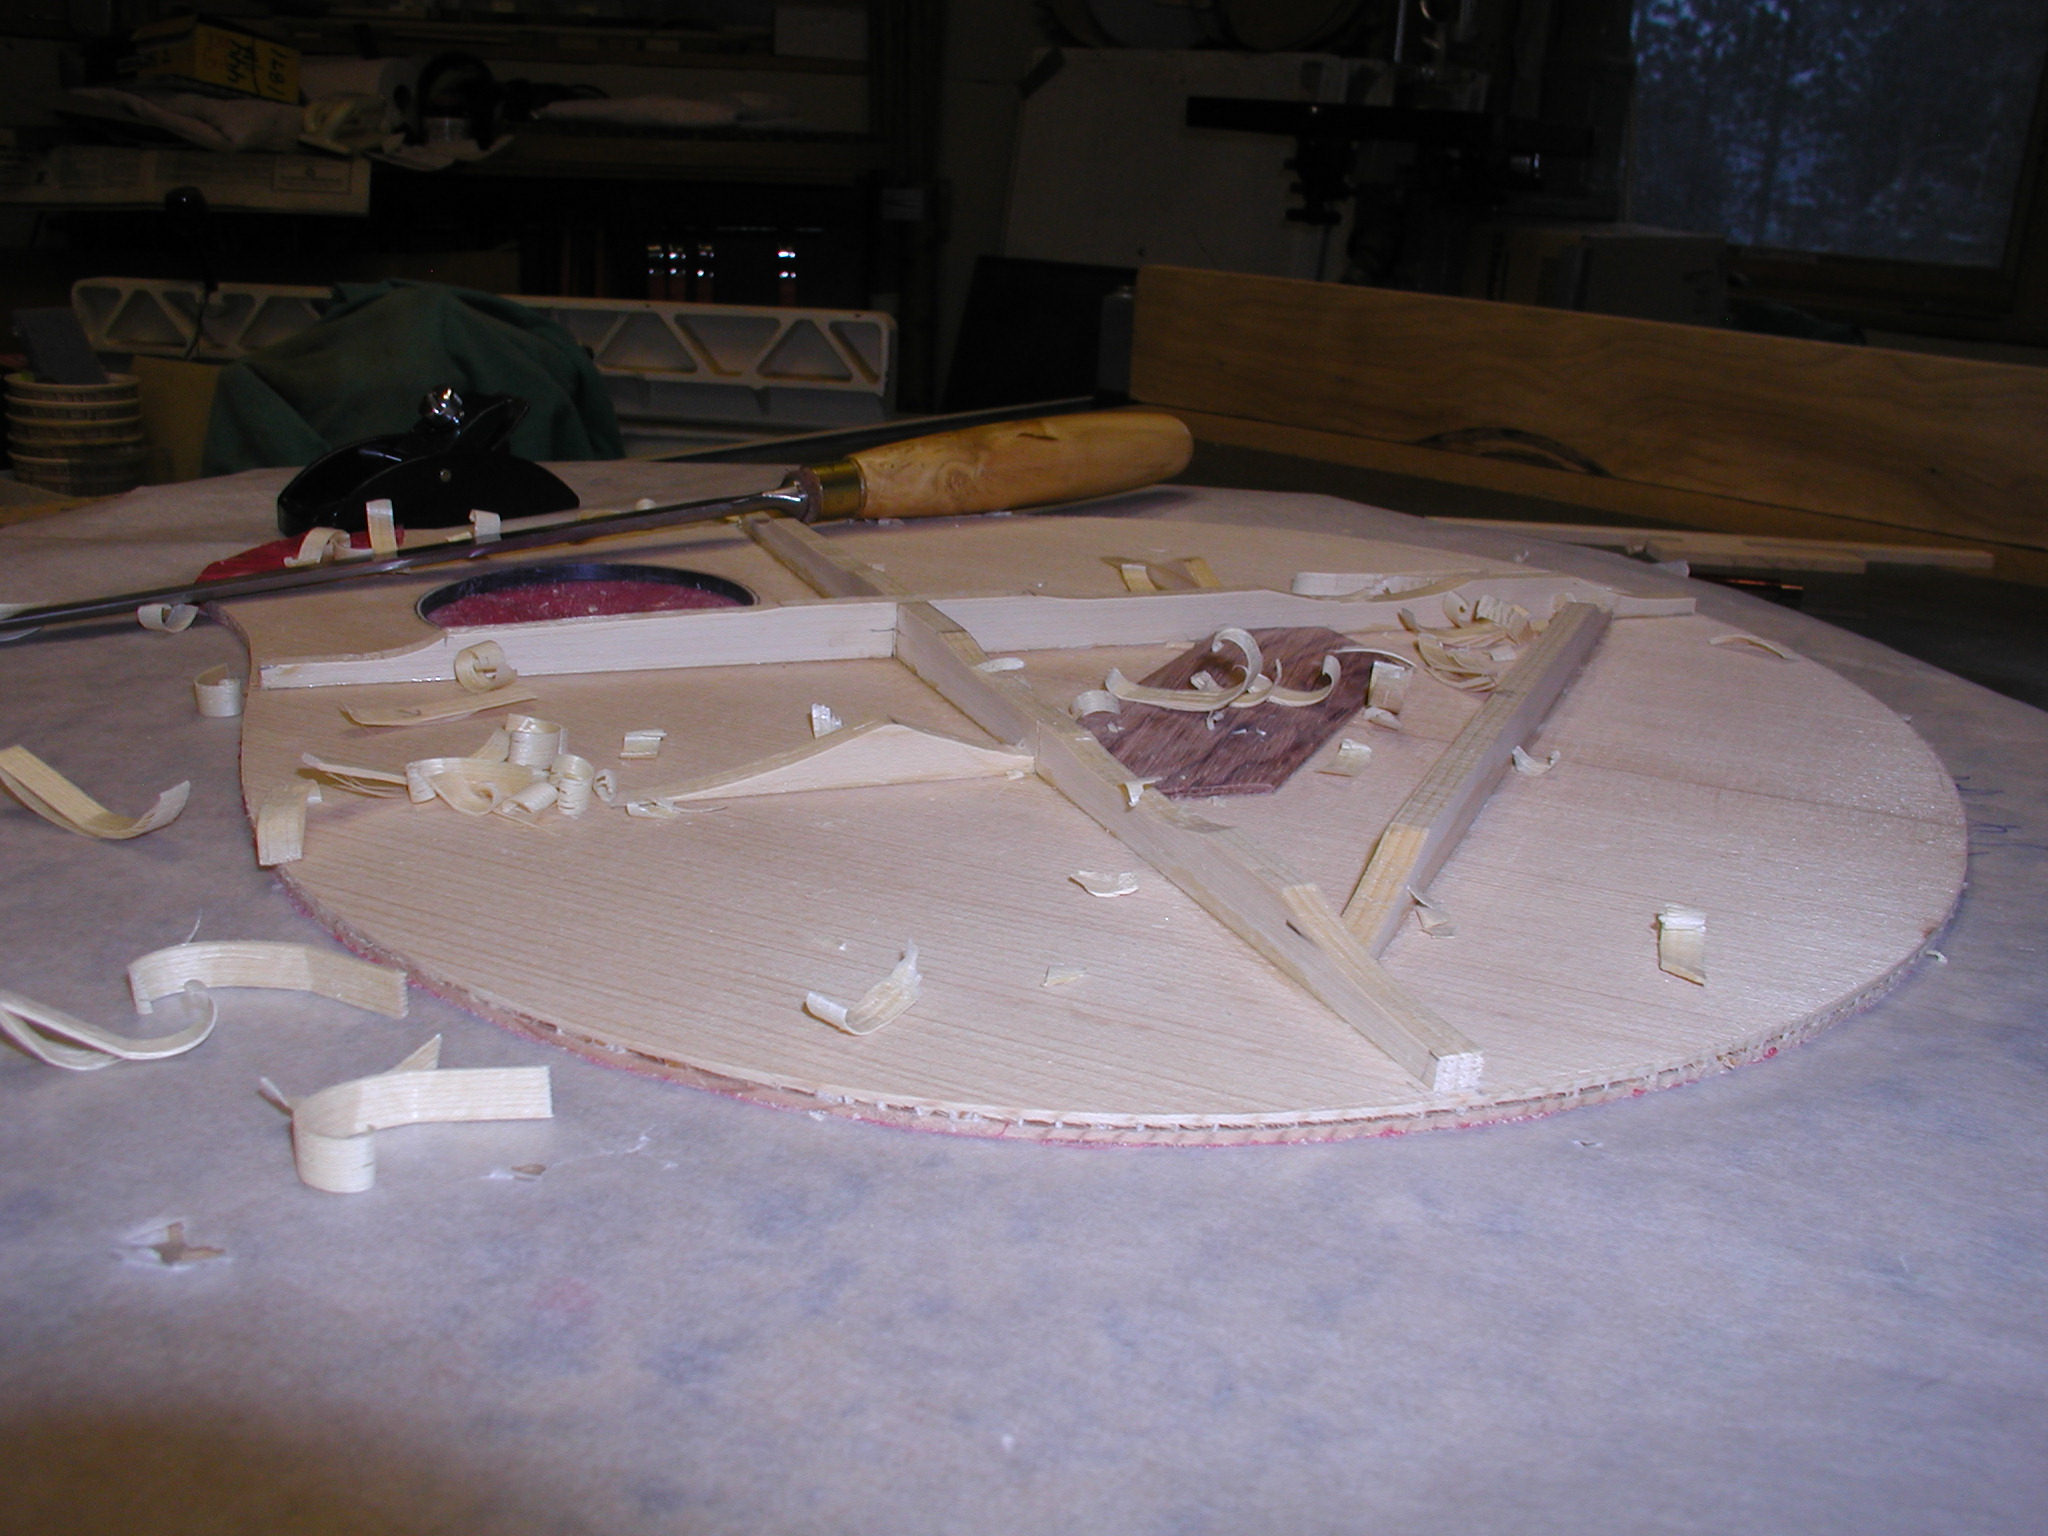
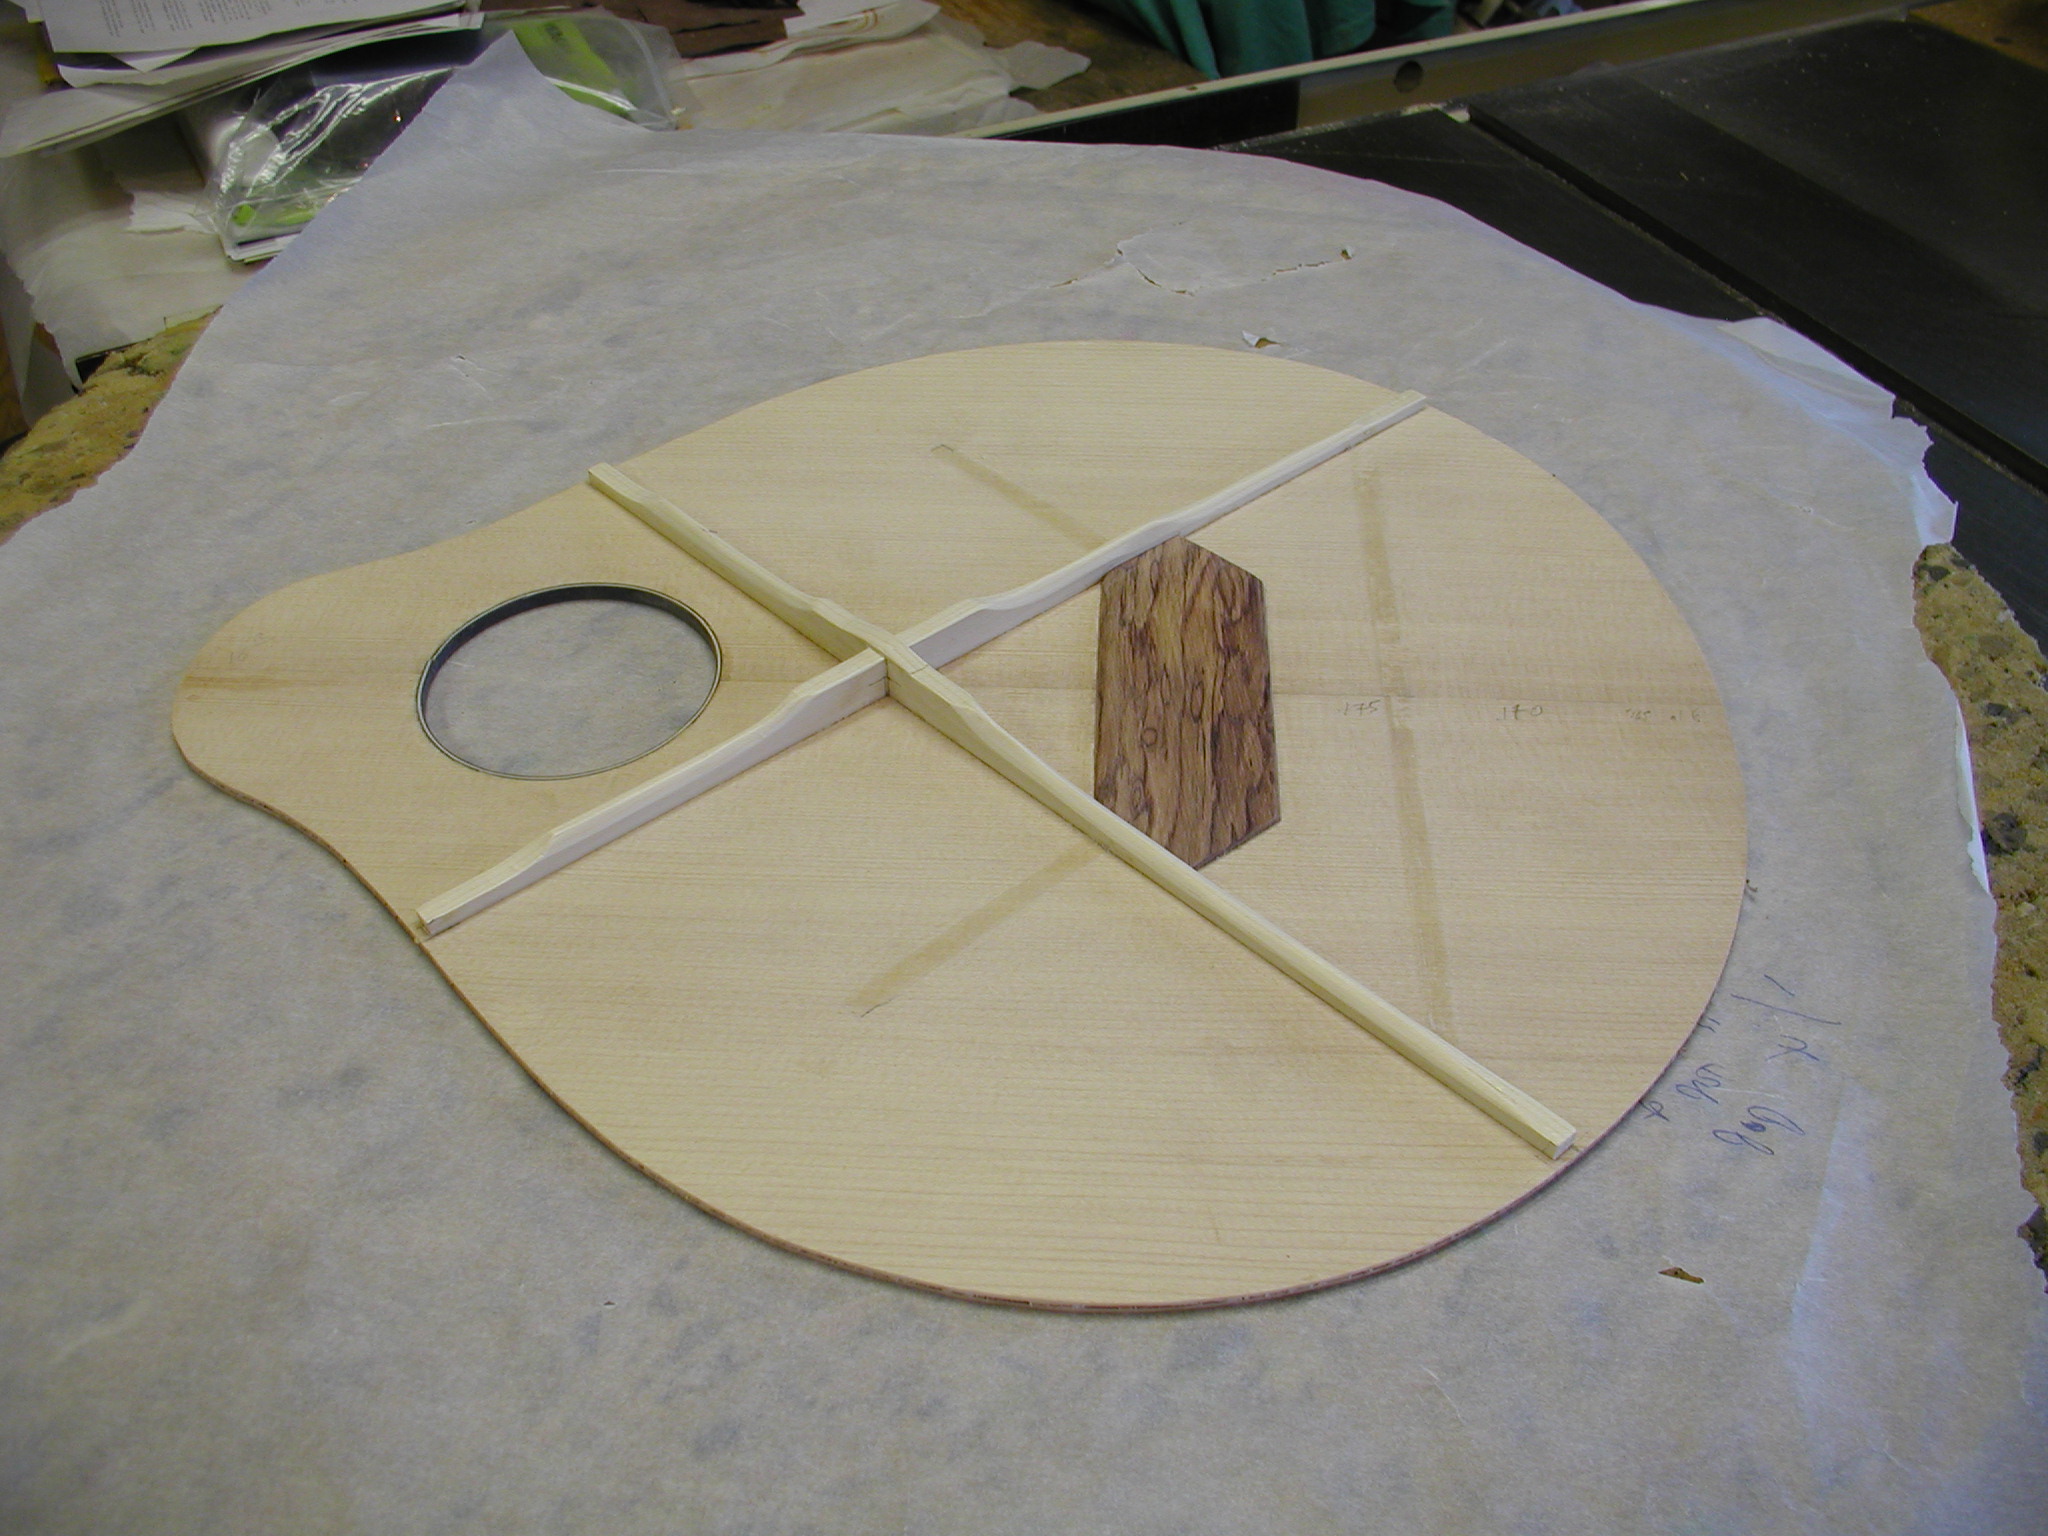
Everything that gets glued to the top, braces, bridge patch, etc, gets sanded to shape in a hollow form to give it the proper compound radius. These then get glued down using the hollow form as the base and a go-bar deck for the clamping. Note how the bridge patch is oriented using straight edges to true it to where the X-brace will lie
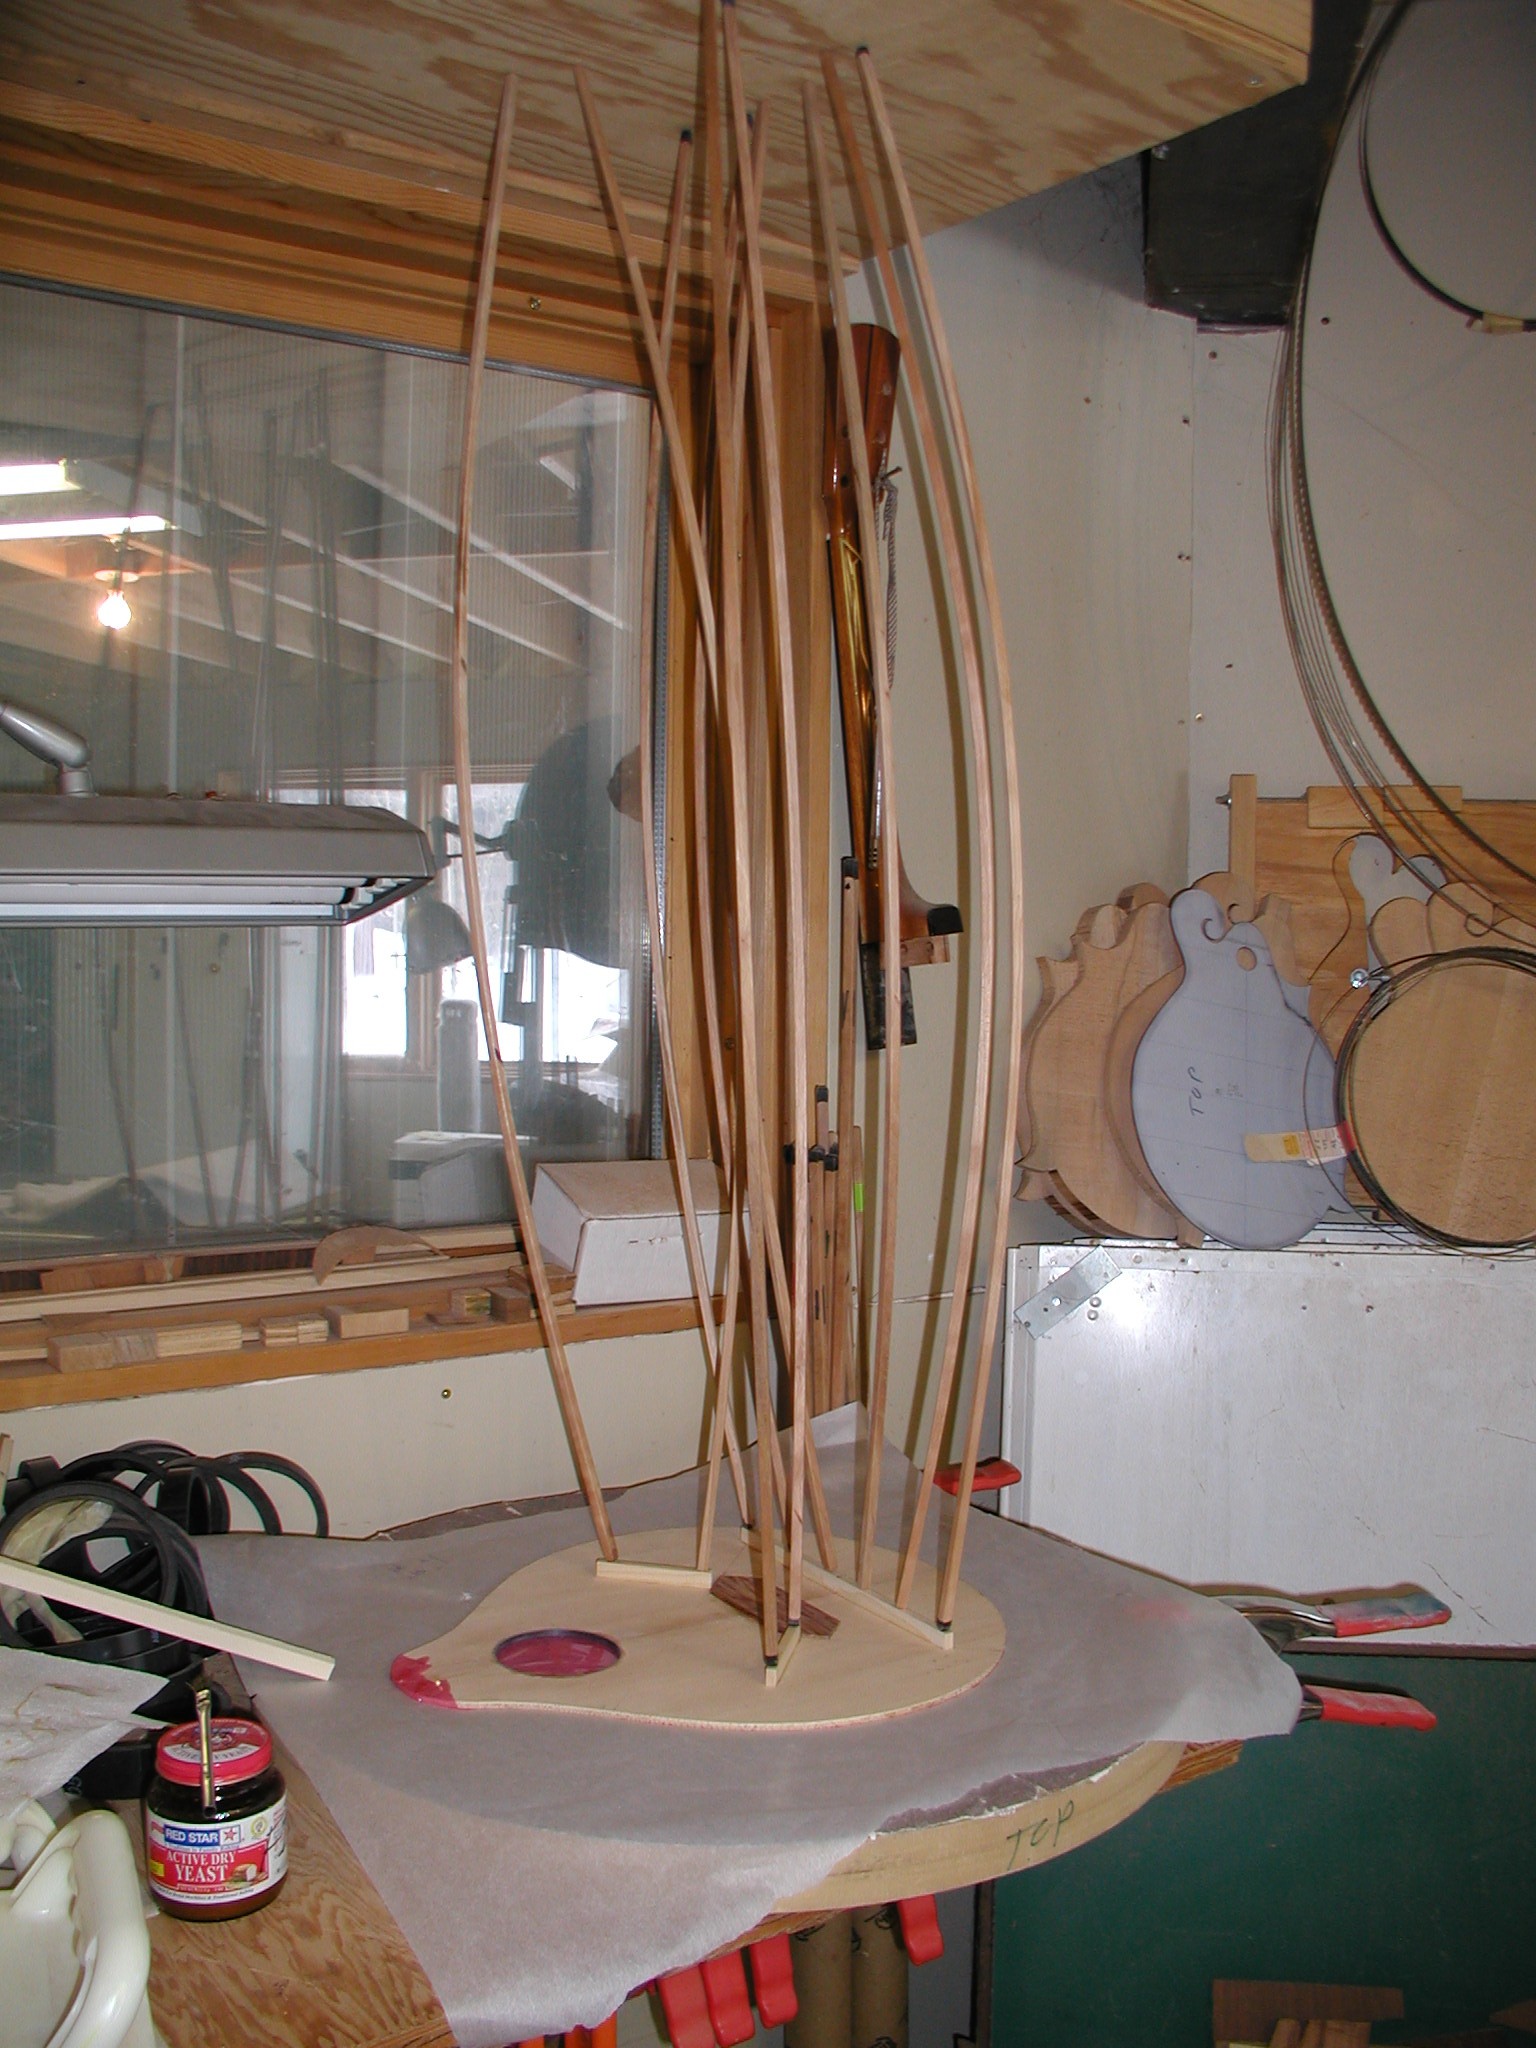
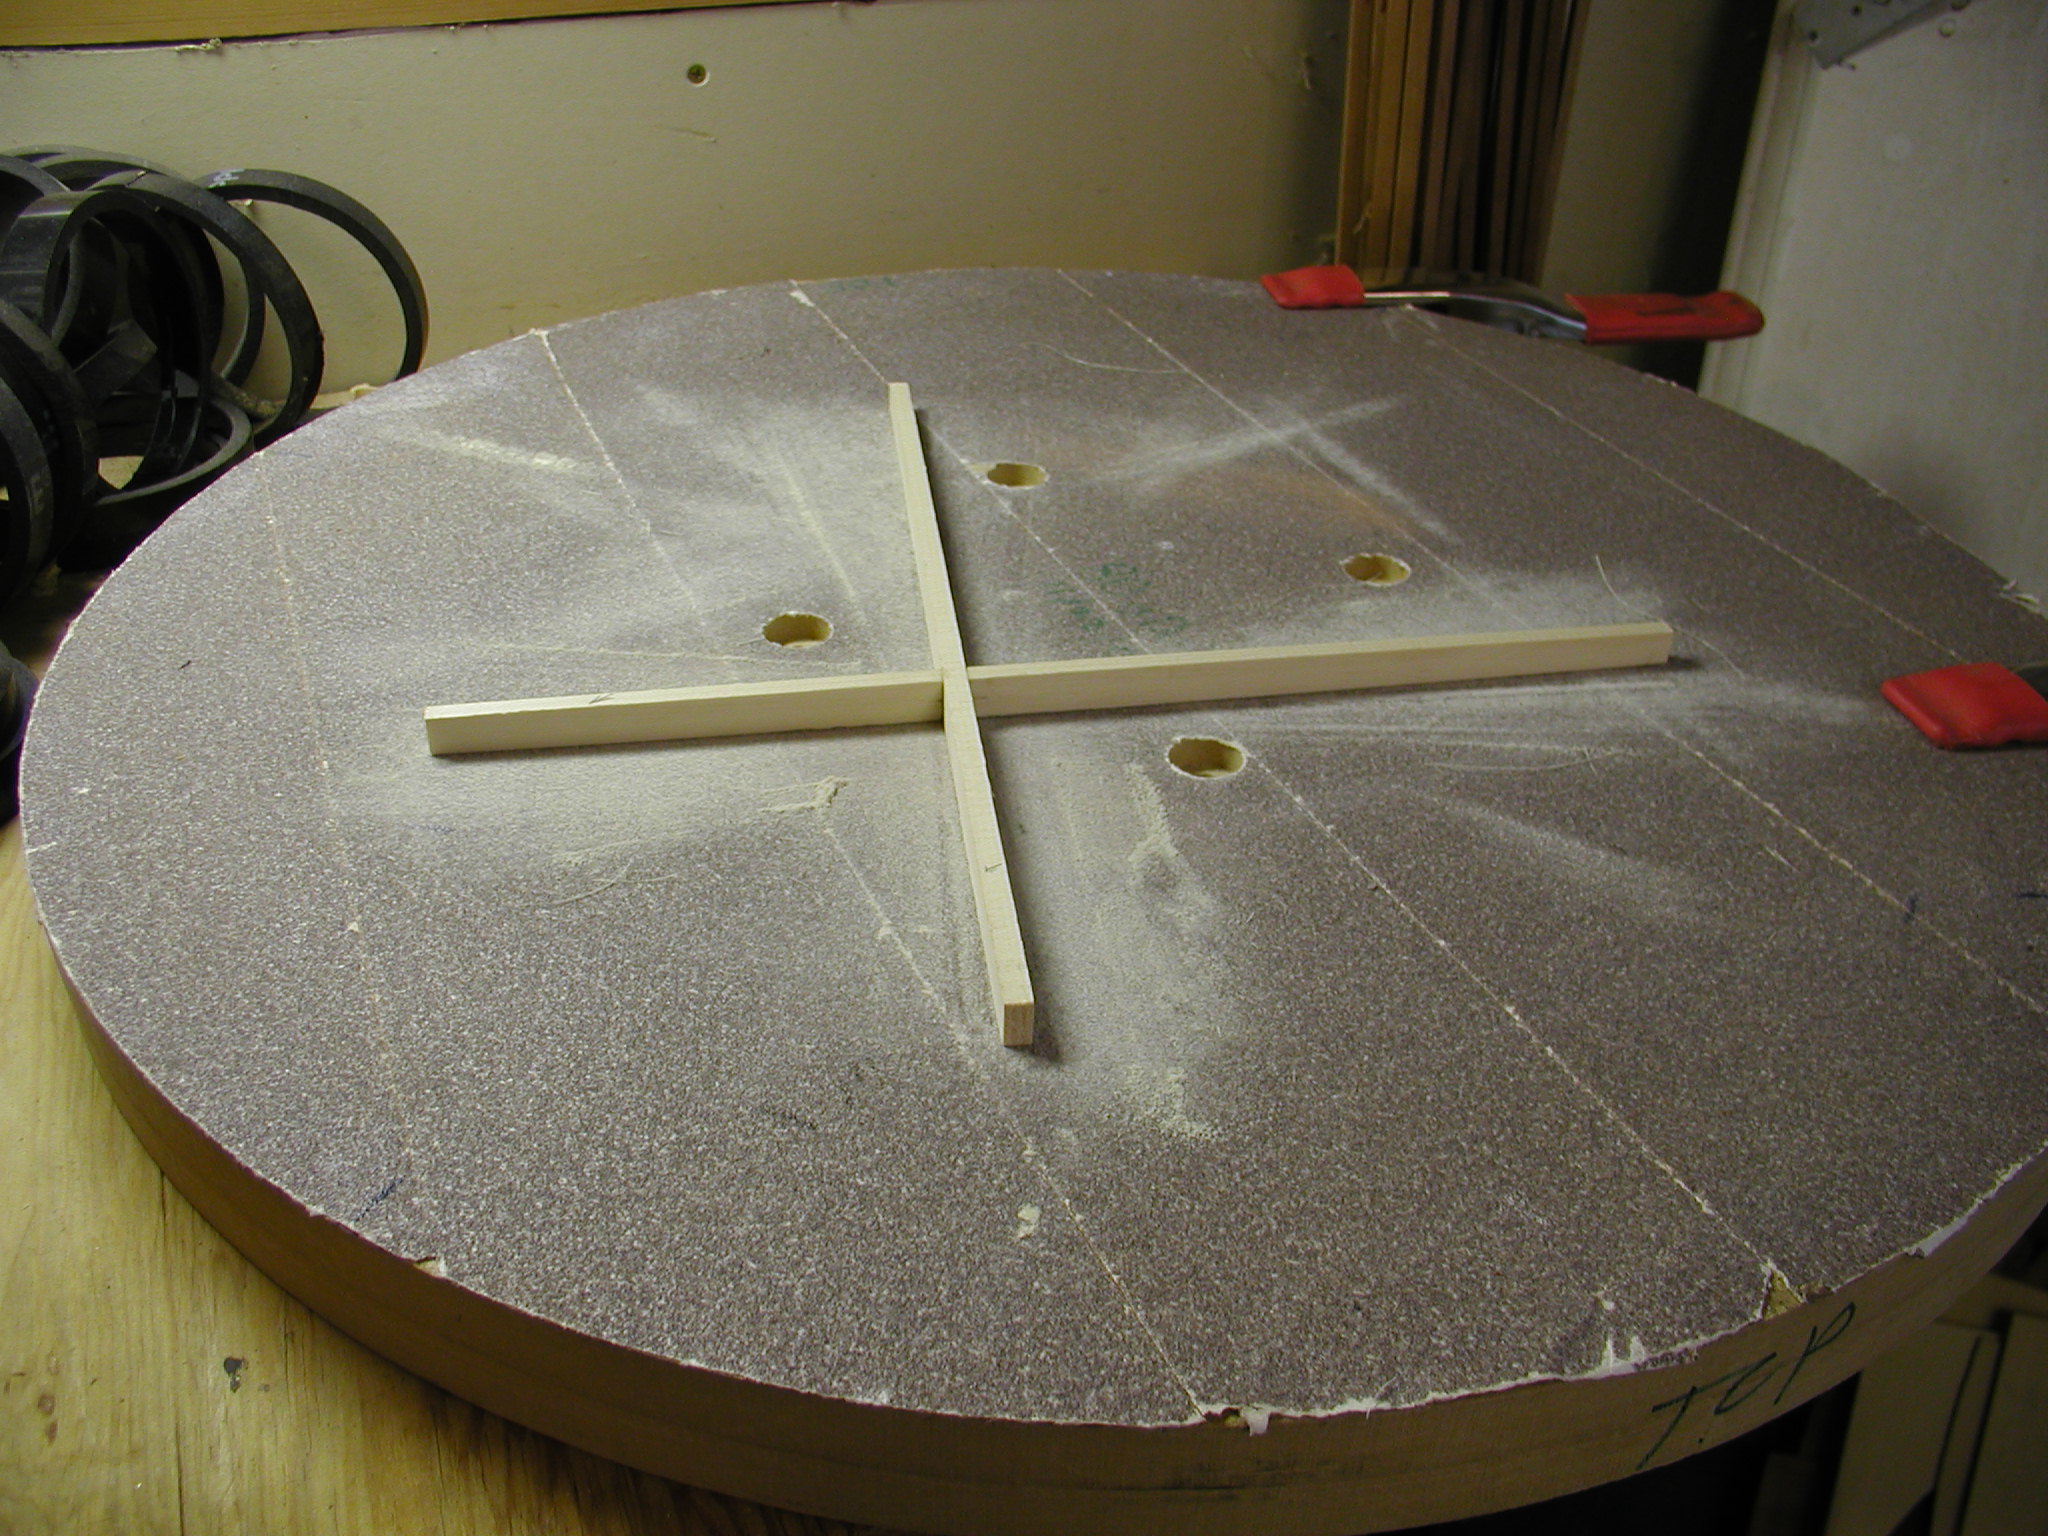
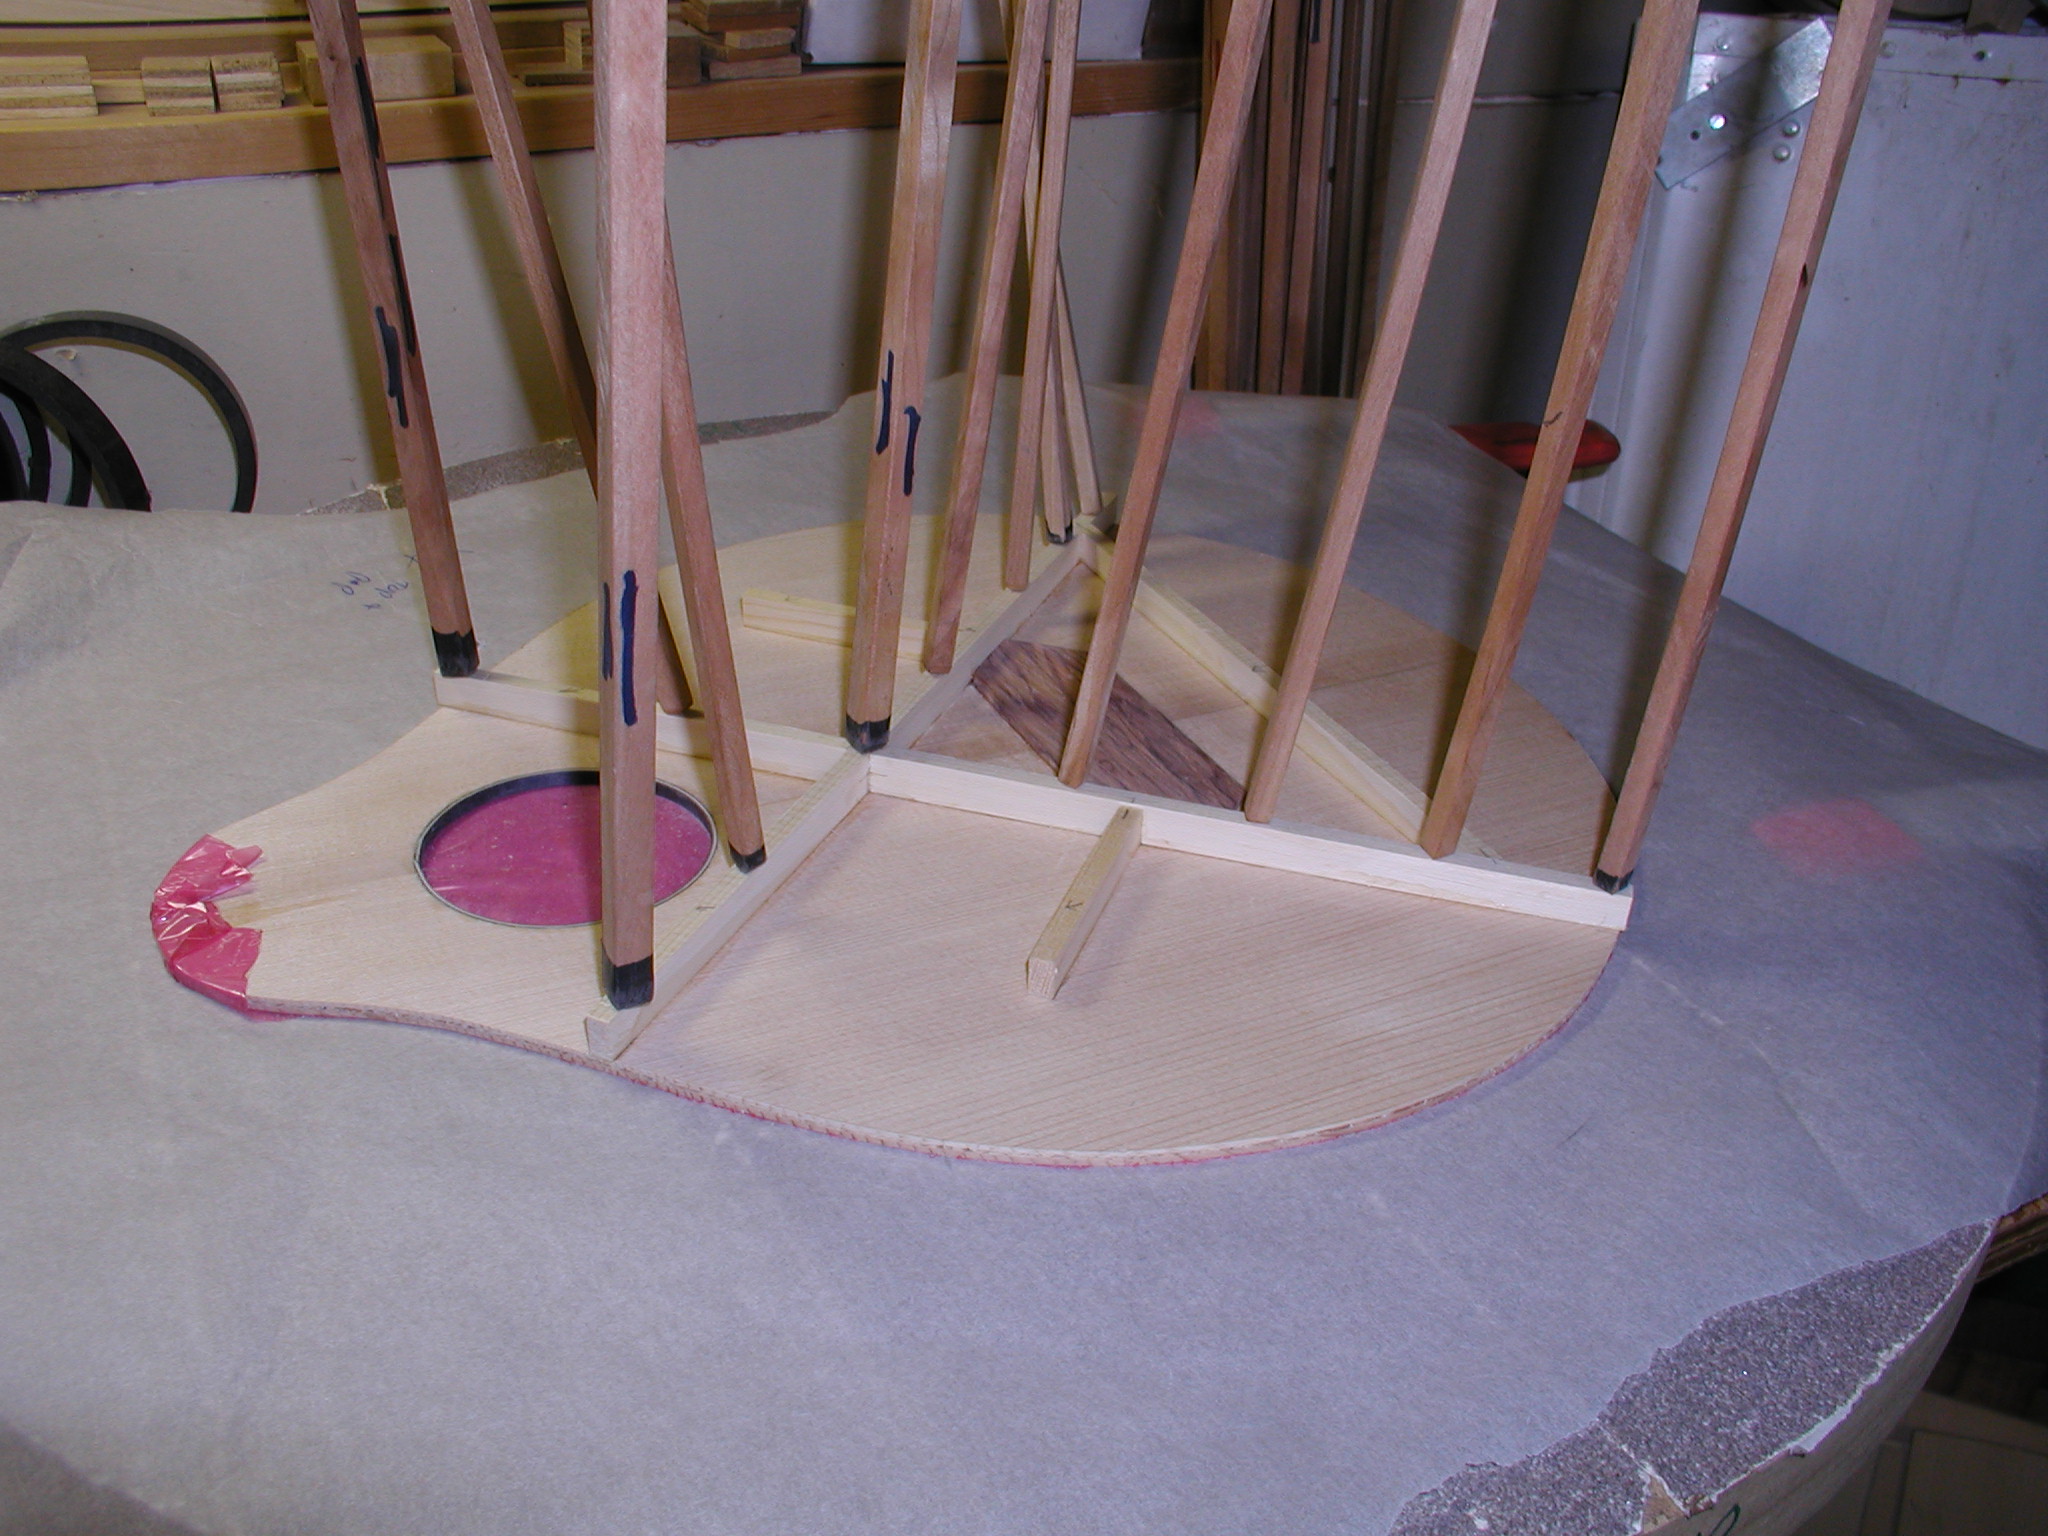
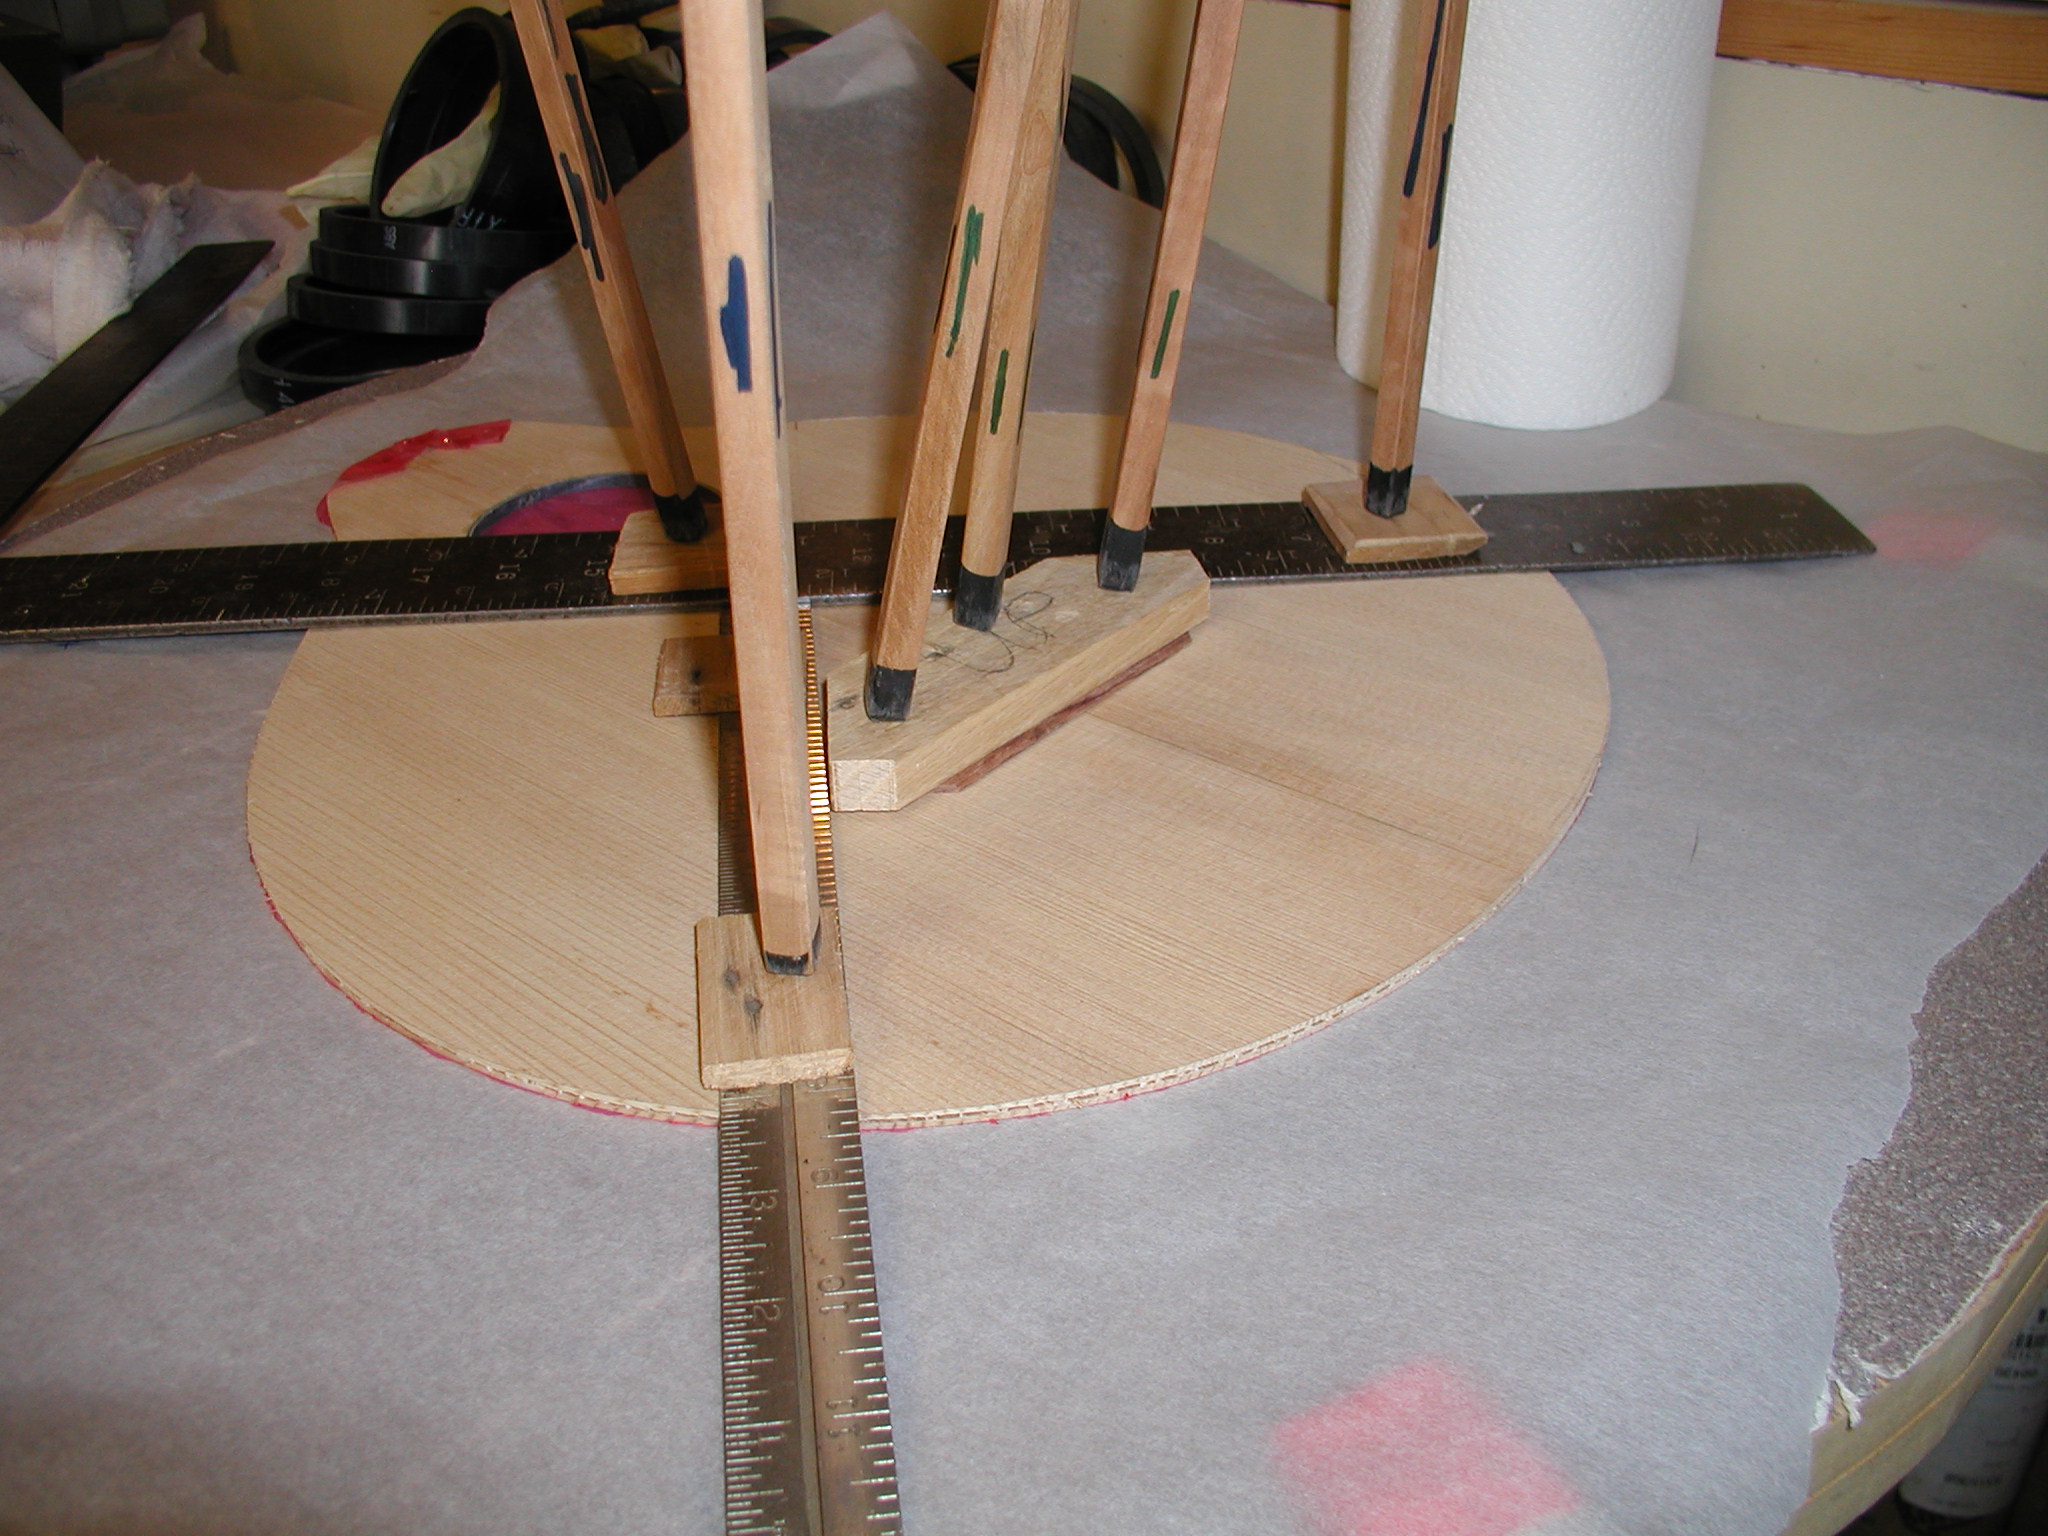
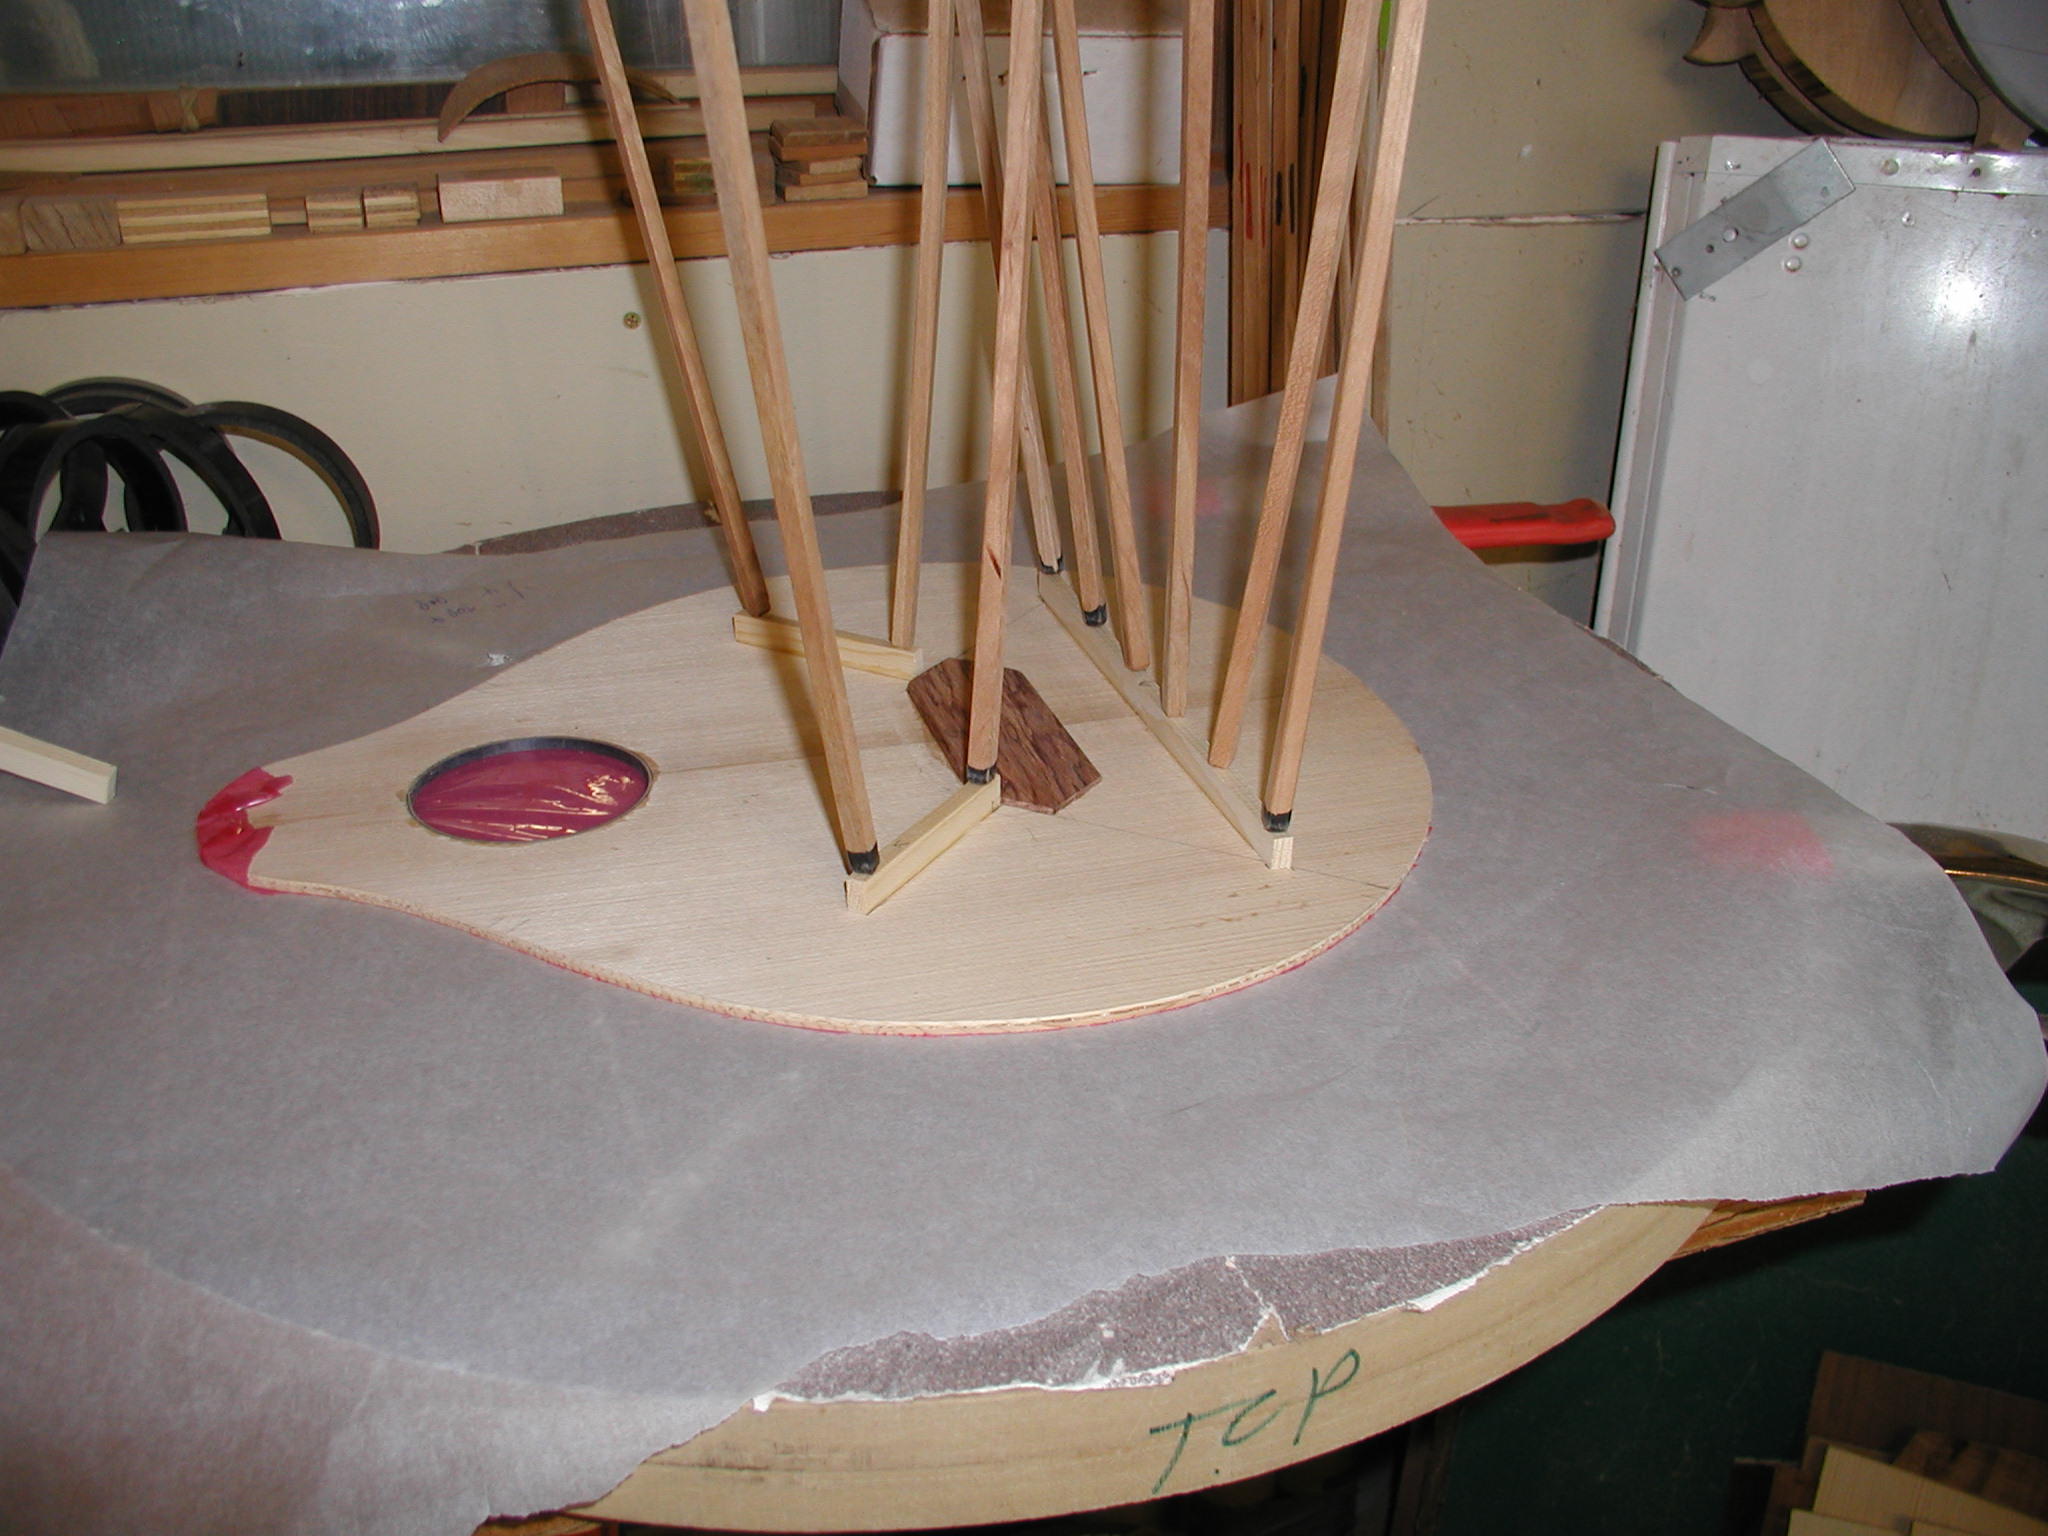
Here is along shot of the go-bar deck. The overhead shelf is heavily braced back to the wall and the go-bars are pieces of various hardwoods, free "rippings" from the lumber yard where I buy woods, cut into 1/4" and 3/8" square sticks. The X-brace gets assembled with a notch joint and sanded in the hollow form. Then into the go-bar deck for gluing.
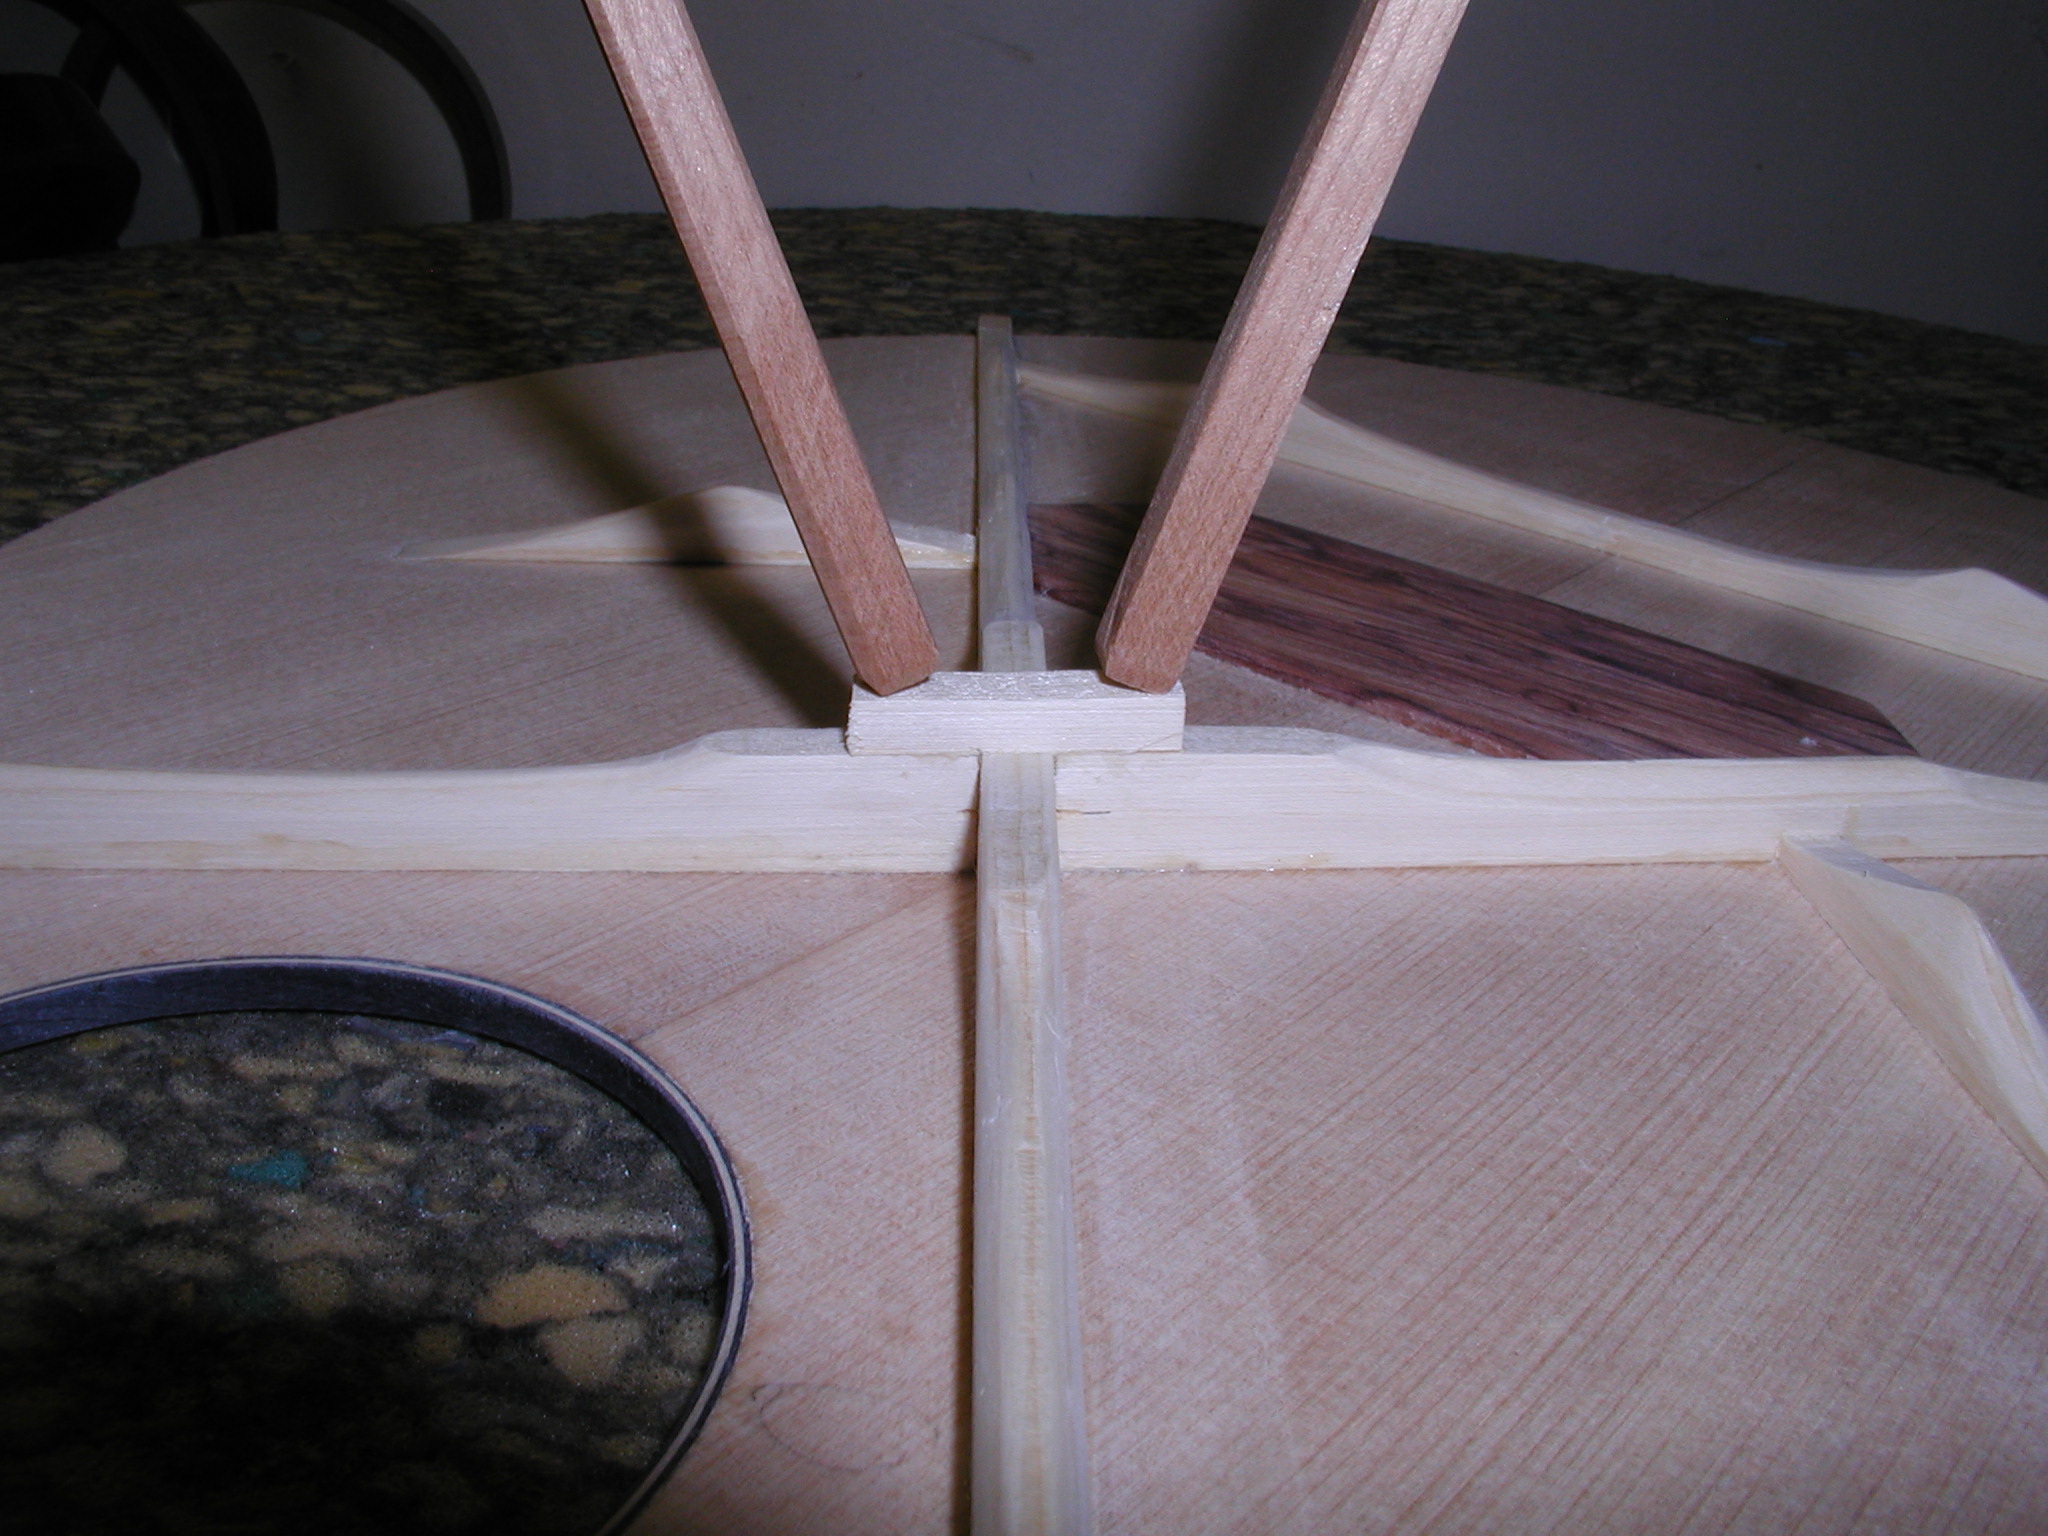
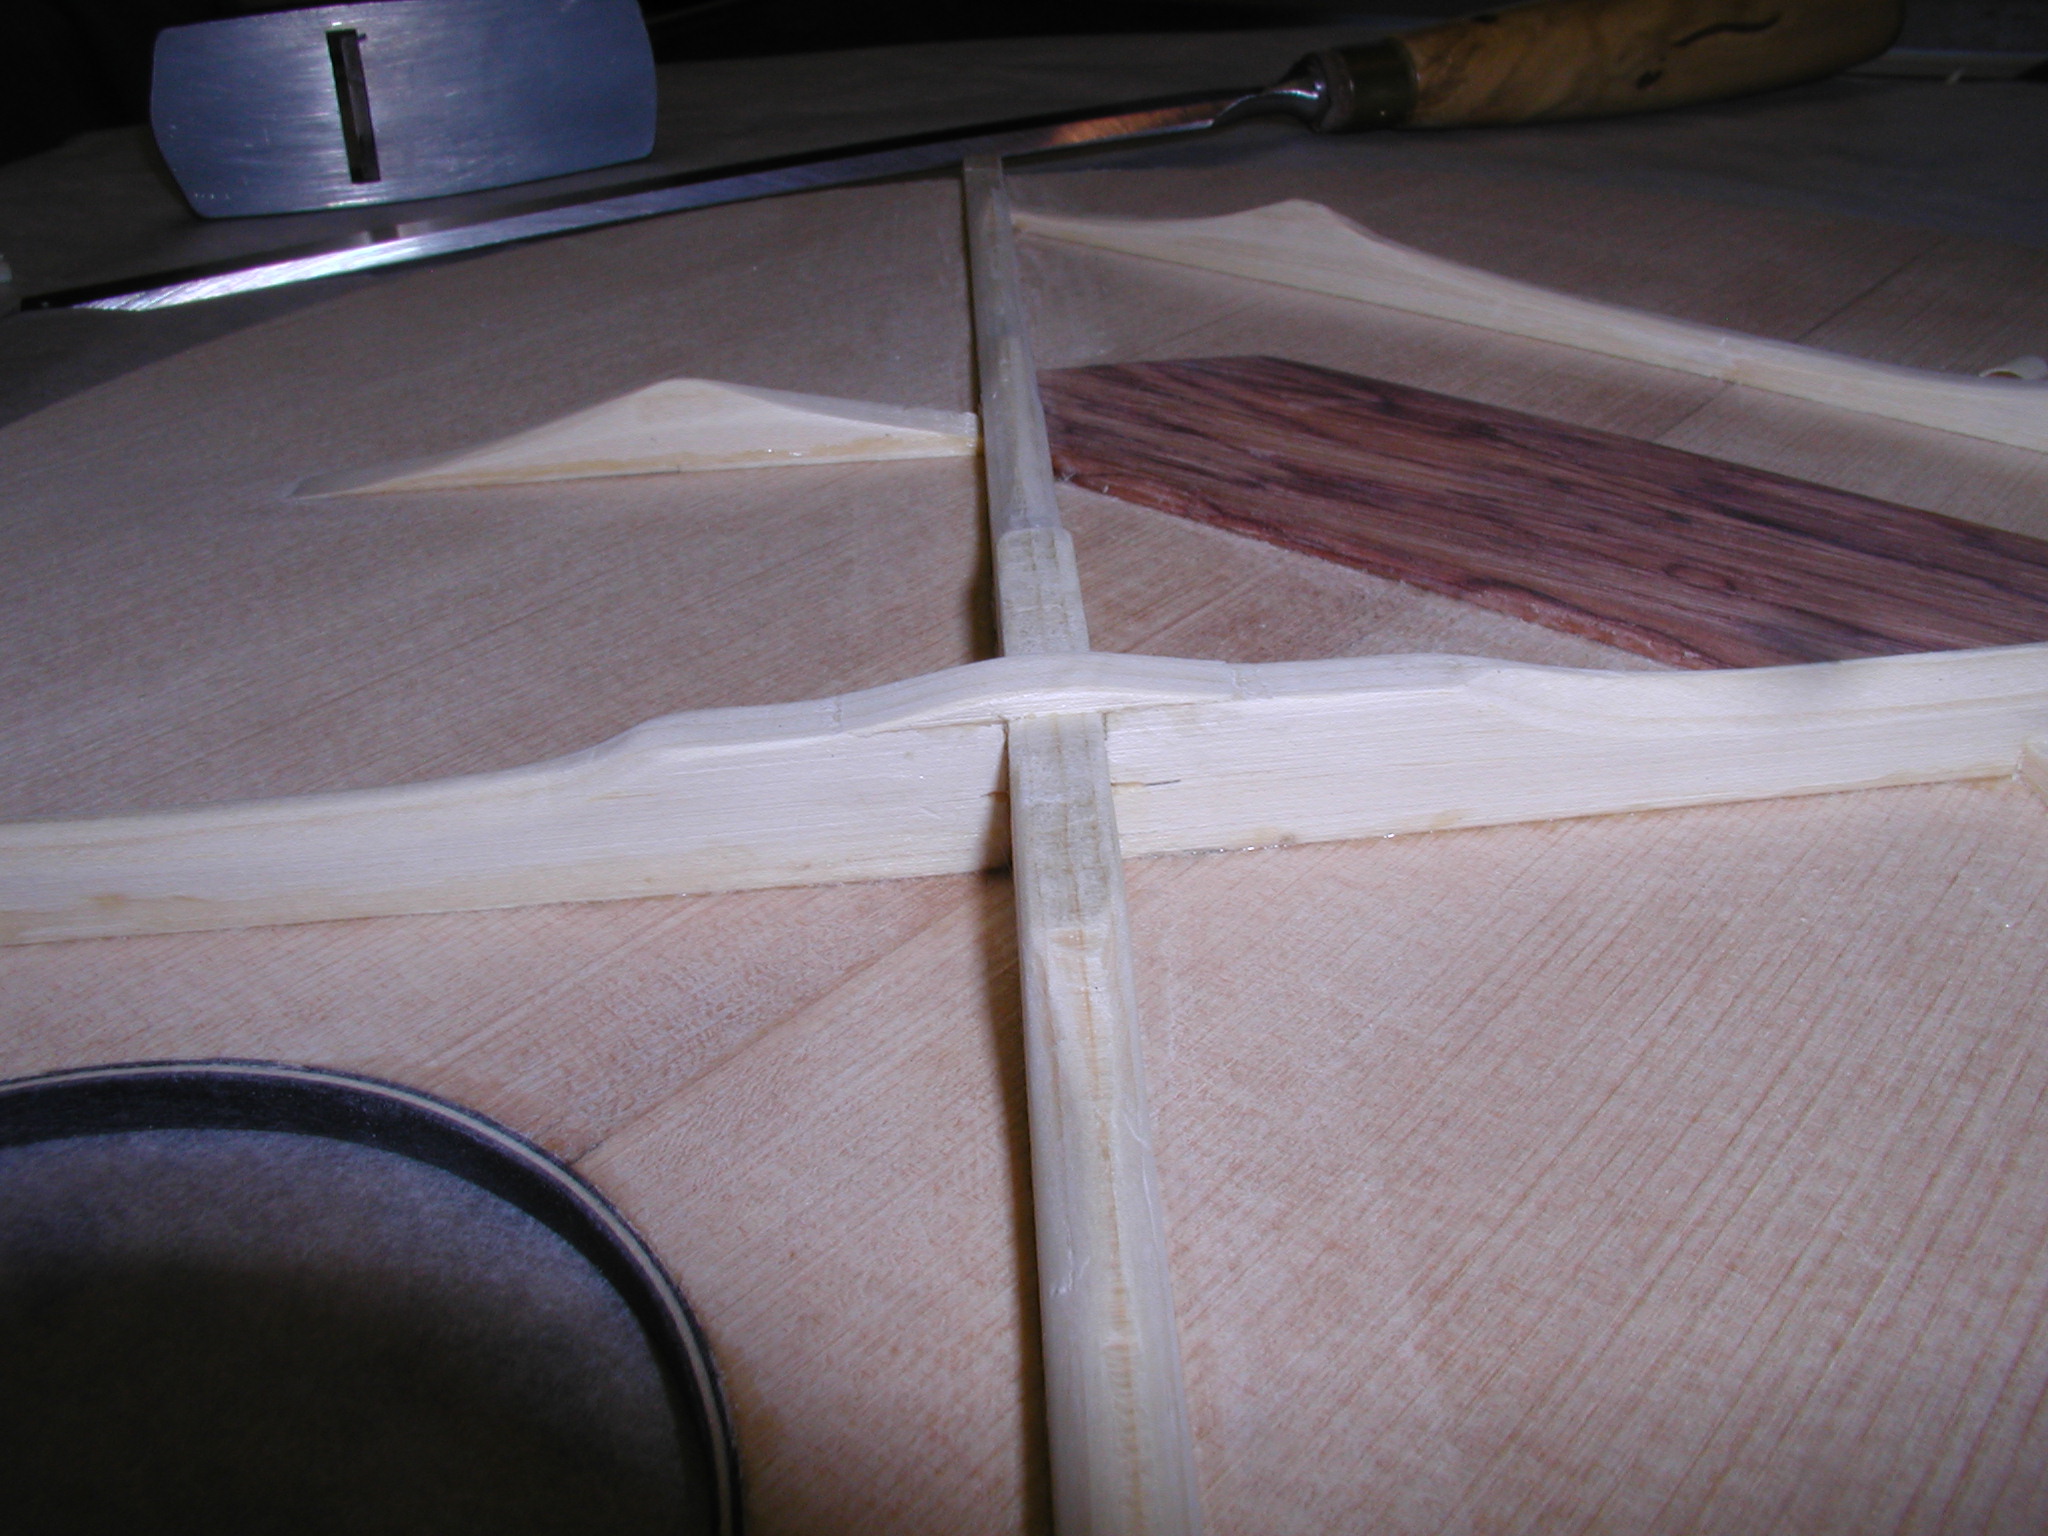

This sequence shows the carving of the braces and the addition of the top cleat to the X-brace. The last photo shows several things. First it shows that the tone bar is gone! So are the finger braces not shown in this photo. The top was so strong by itself the tone bars were damping it. After much carving and tapping and running Chladni modes I decided to just remove them. The other thing is that, if you zoom in, you can see the noted graduations. The face skin was deliberately left a bit thick and at this point I perimeter sanded the face to thin it around the edge making the top slightly lens shaped. Normally I don't do this in guitars, it just doesn't seem to make much difference there. Here with the smaller body I want to free up the edges a bit to let the top become a bit more live

Here are some shots of the completed top. The first was the initial carving as I would for a smaller bodied guitar. The second is what I finally ended up with to get the taps and Chladni modes that I wanted. I recommend that right now you make a bridge clamping caul that rests on the bridge plate and extends over the bracing with cutouts for the braces. You are going to need it when we glue the bridge on and it is a lot easier to make and fit it now. Make sure it is not so large that it won't fit through your soundhole, it just needs to be as big as your bridge.
At this point I ran and recorded a final set of Chladni modes for the braced top. Top all done!