Let's Build A Bouzouki (Page 7)
Last Modified - February 2009 (©Alan Dunwell 2009)
In Page 6 we finished up getting all the pieces ready except for the bridge. Now it is time to start assembling the parts and doing the final bridge details.
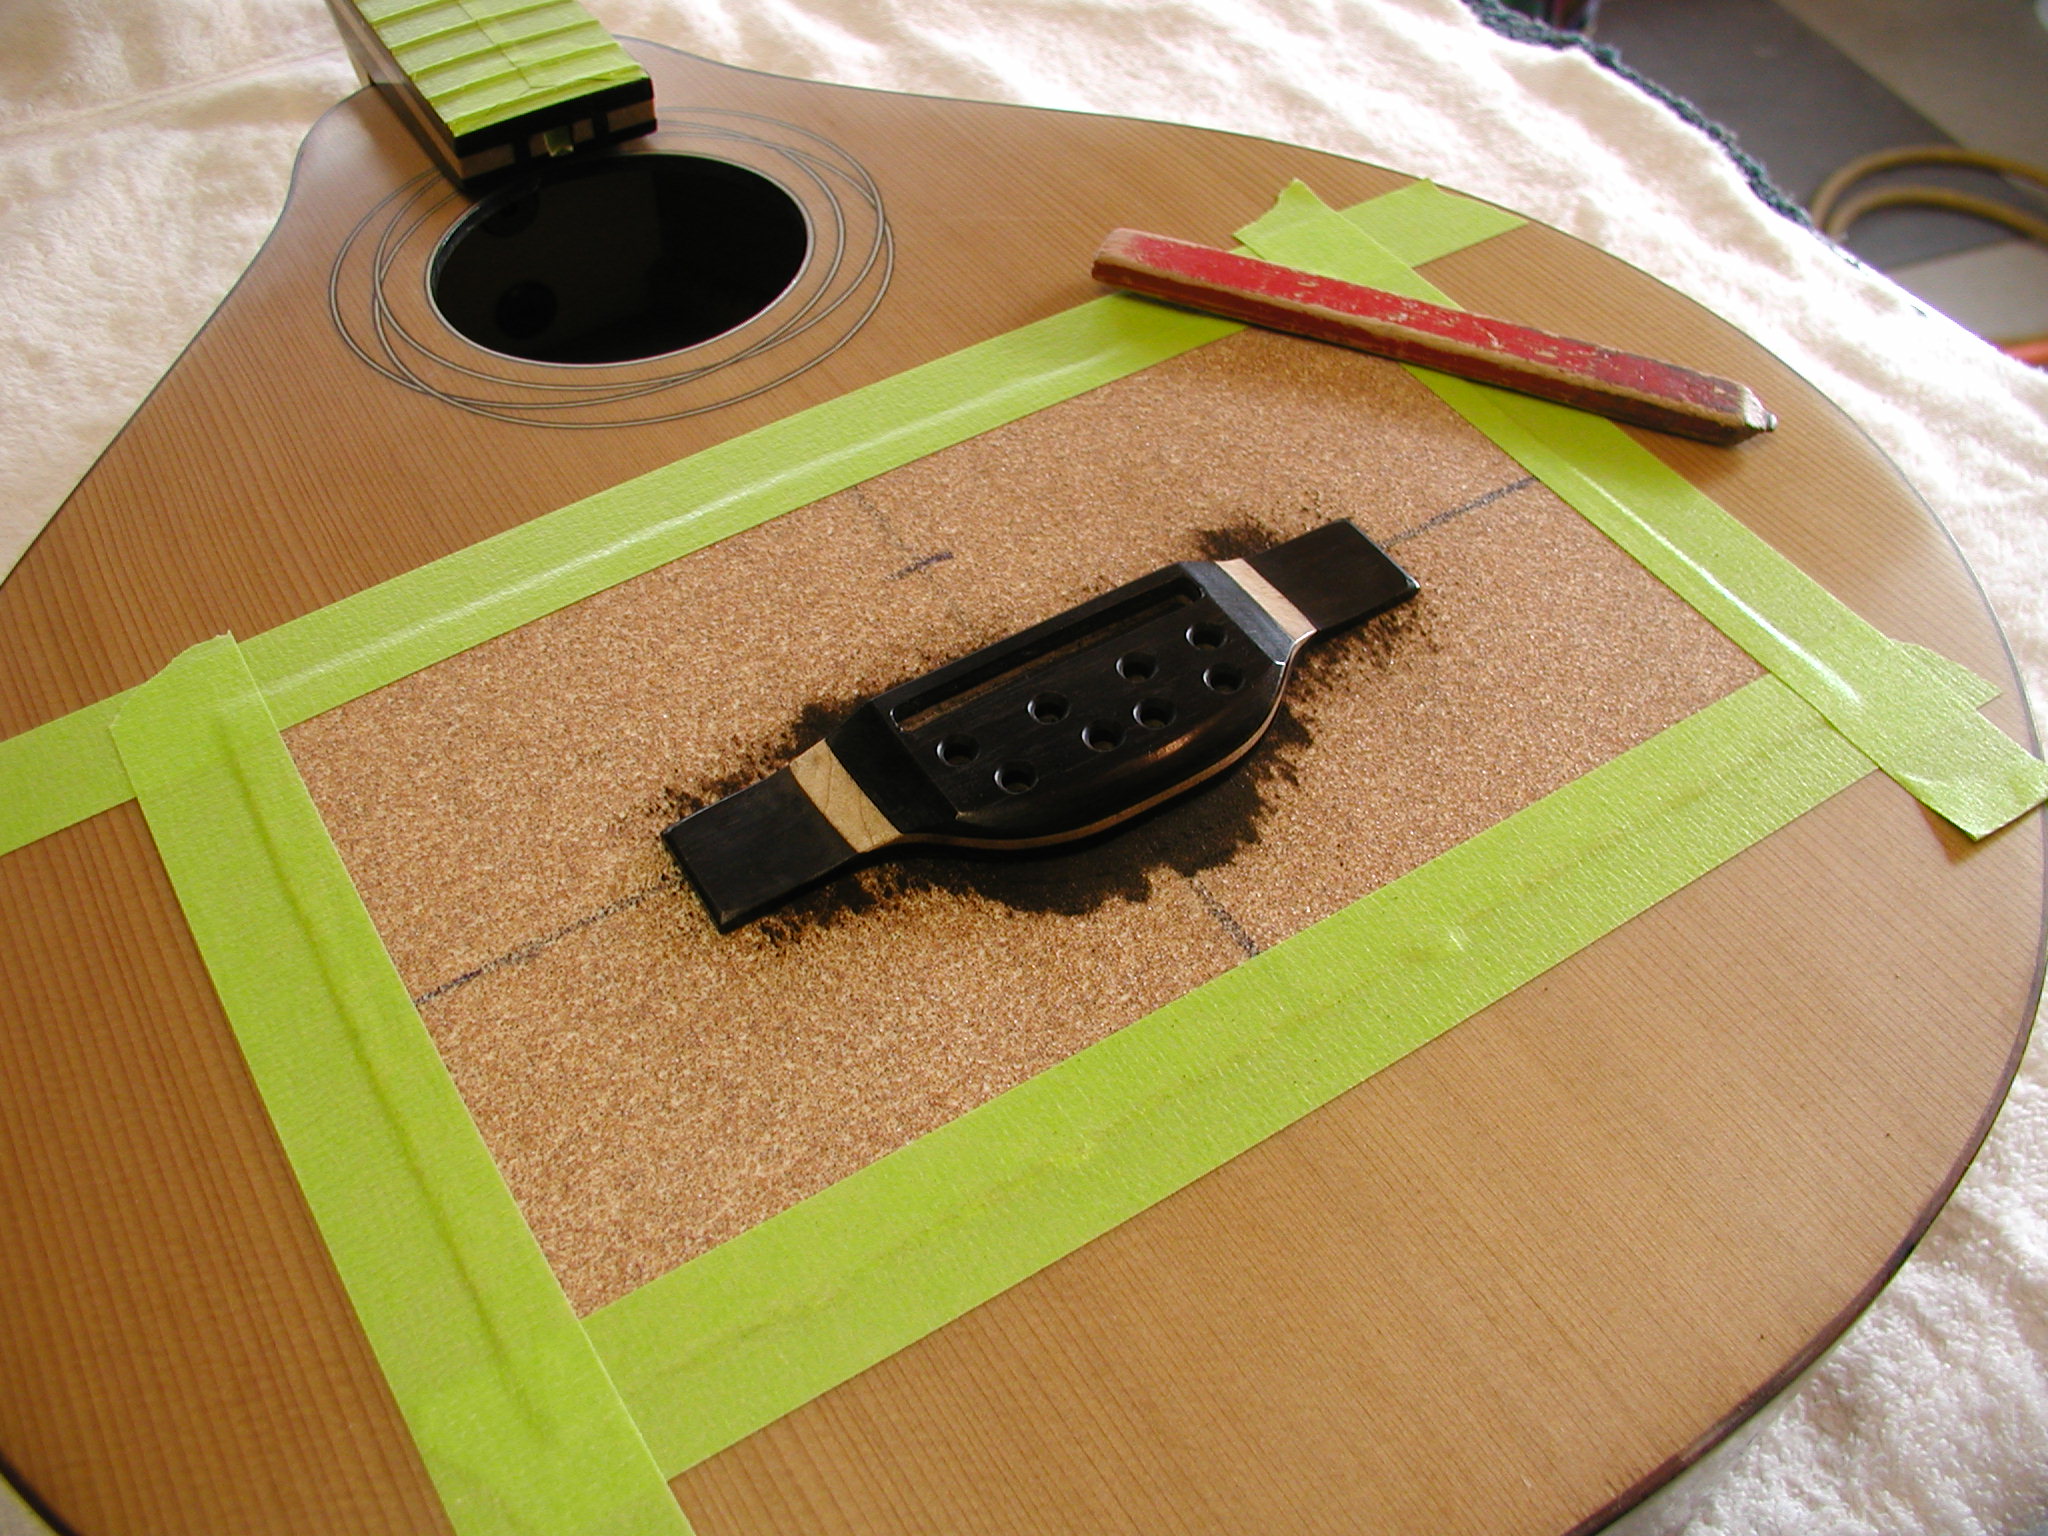
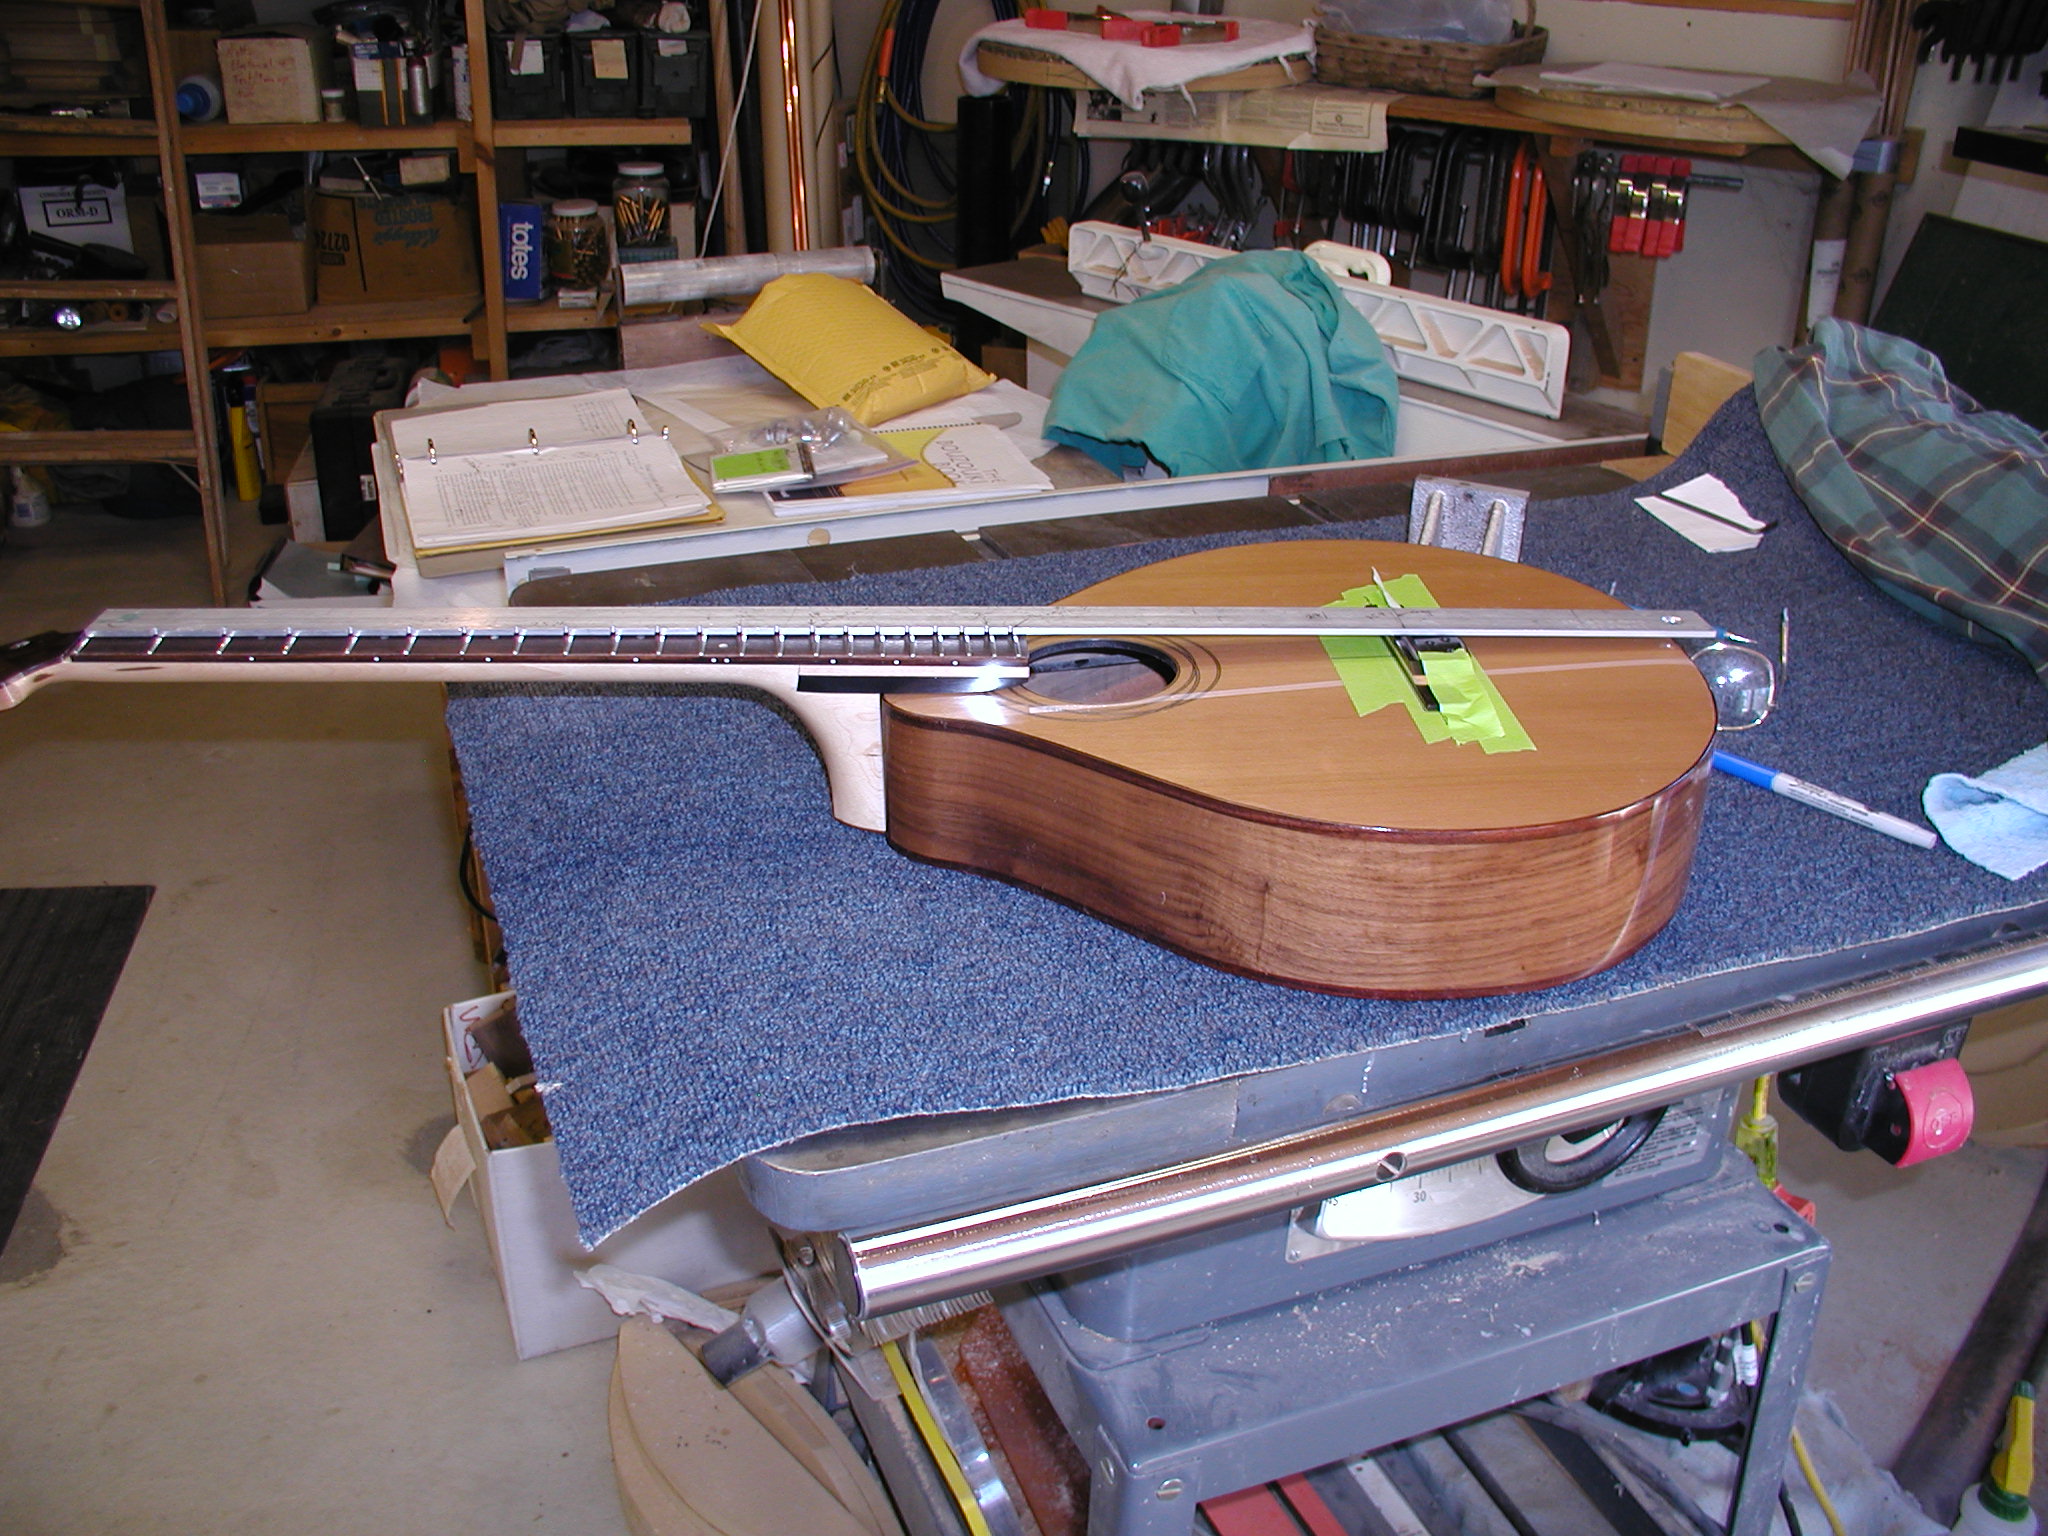
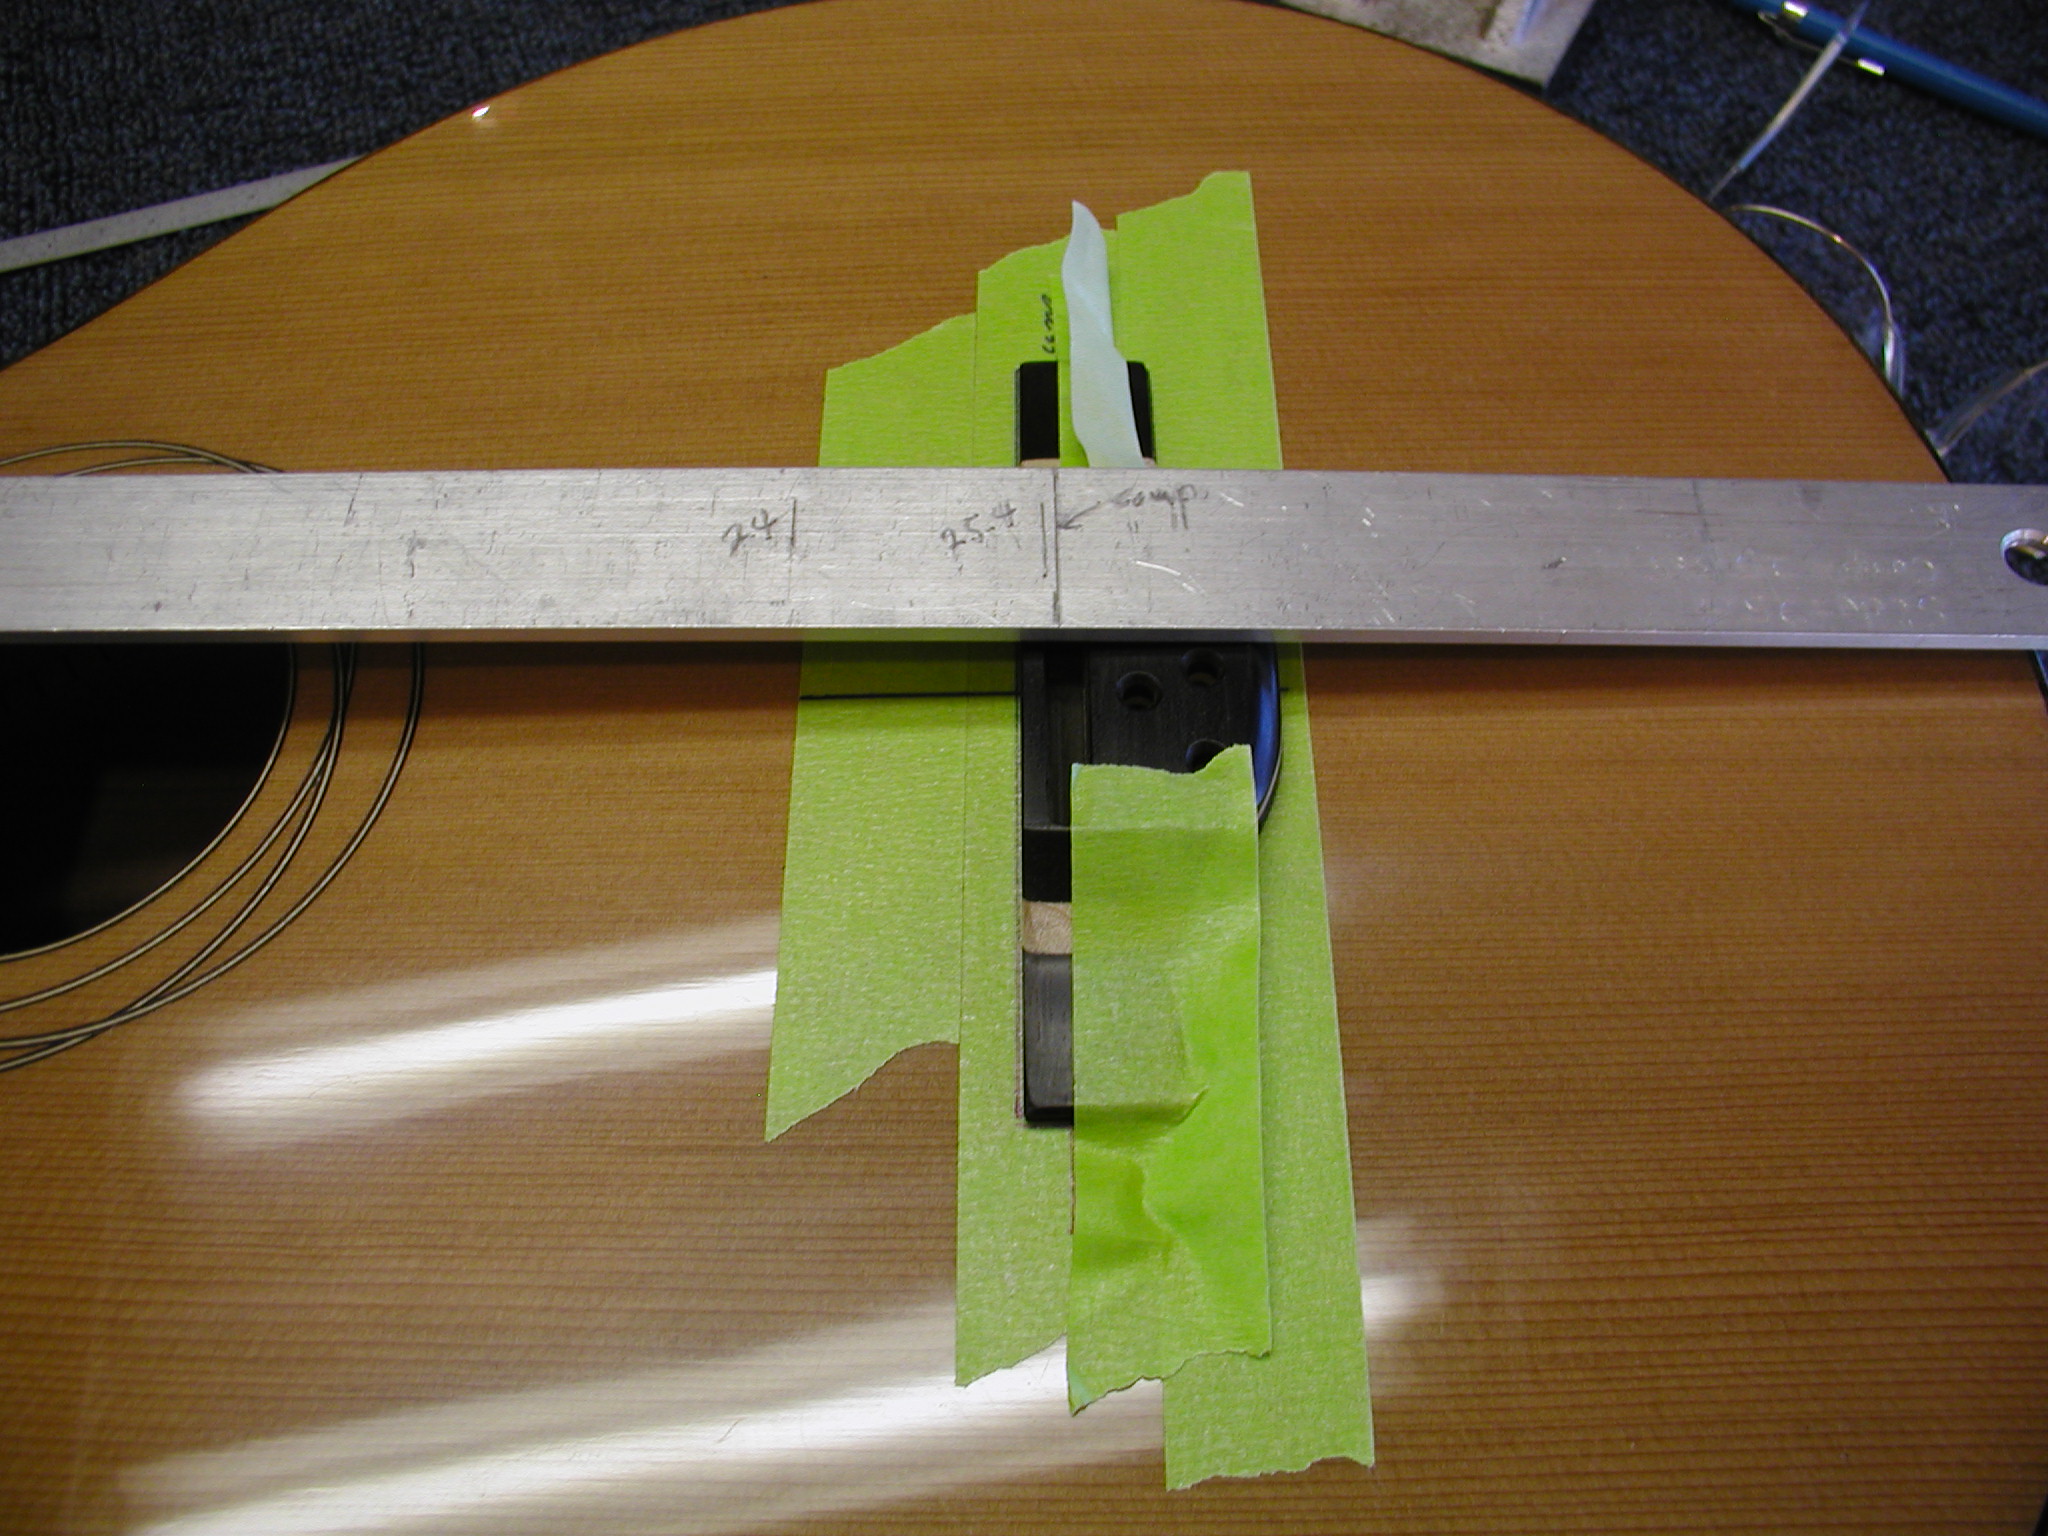
Remember that we sanded the bottom of the bridge to the radius with the jig, but each top is just a tad different. So here we are sanding it to fit the top exactly. I strike pencil lines on the bottom and then sand them till they are all just gone. With the neck on and all aligned, but note that it doesn't have the neck butt-joint shim yet, I position the bridge. Lots of things to take into account here. The corners of the bridge are equidistance from the end corners of the fretboard and on the center line and the saddle slot is right under the compensated saddle position on my straight edge, almost. Remember that the saddle slot has some back-angle, so the top of the saddle when it is in place will actually be further towards the butt end of the instrument, so the bridge gets scooted just a bit towards the fretboard. Further, this instrument will get a neck joint shim so the bridge needs to go even more towards the fretboard. All this is non-precise at this point because a) the shim size will be determined by how much the neck needs to tip. b) the neck tip is determined by how much the top will pull up. I know the approximate numbers for these things so I just get it close. I will set the final intonation exactly later in setup, we just don't want to end up with the saddle so far off that we don't have enough room for compensation. Of course if I was doing CAD/CAM layout and design and CNC machining this wouldn't be necessary, maybe in another lifetime.
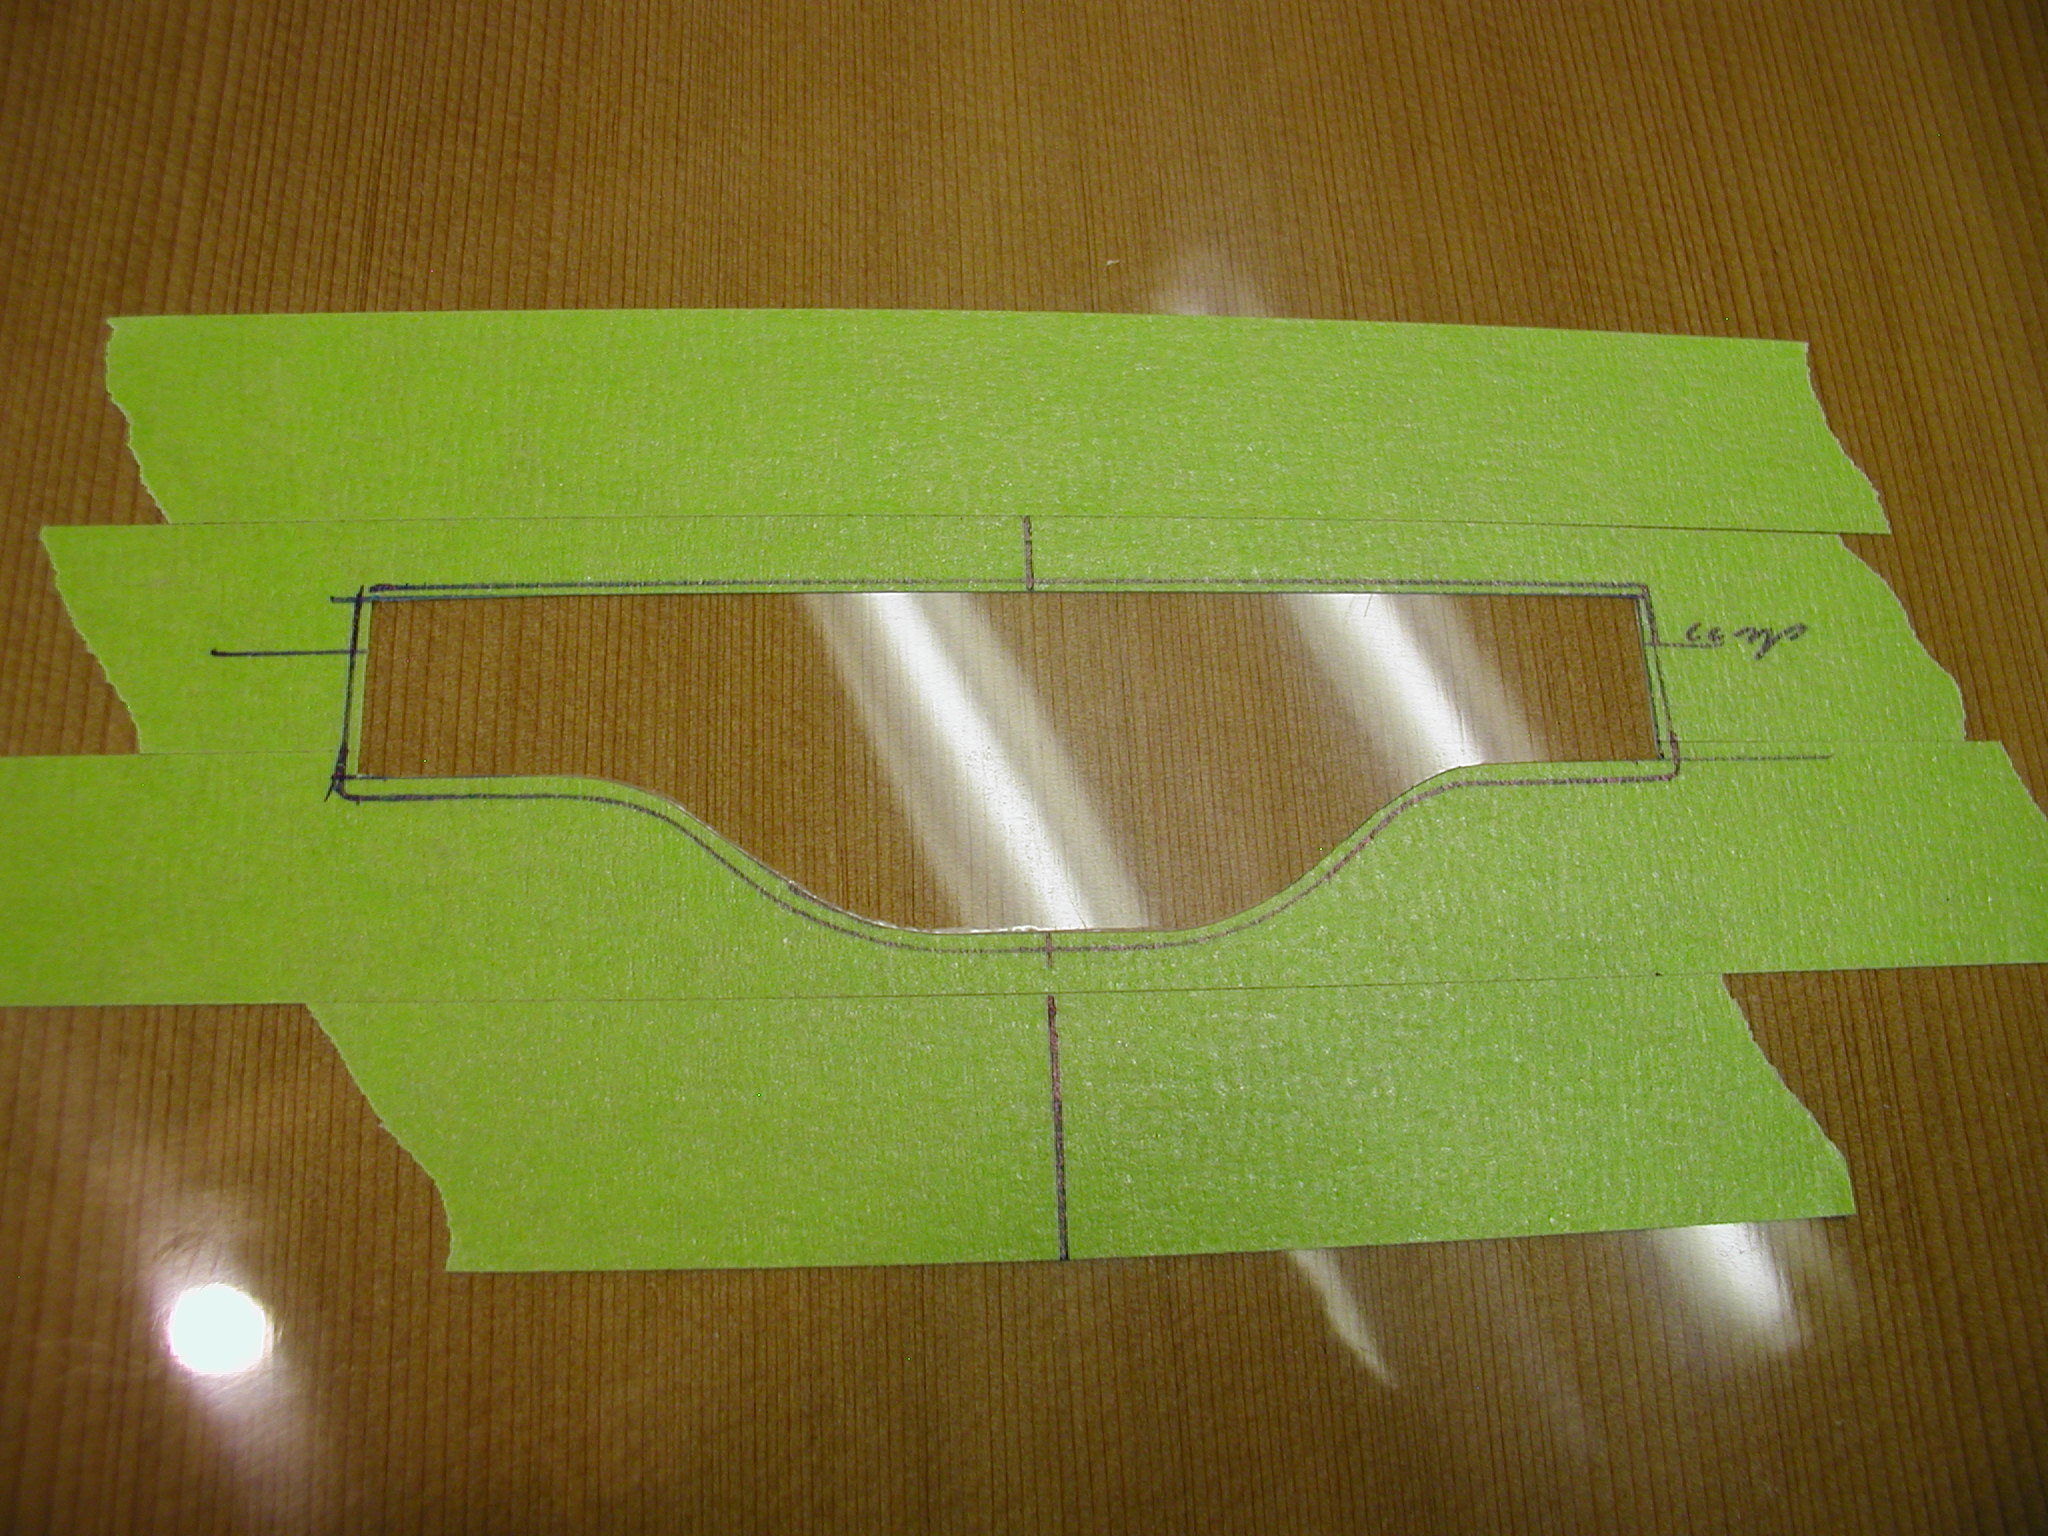
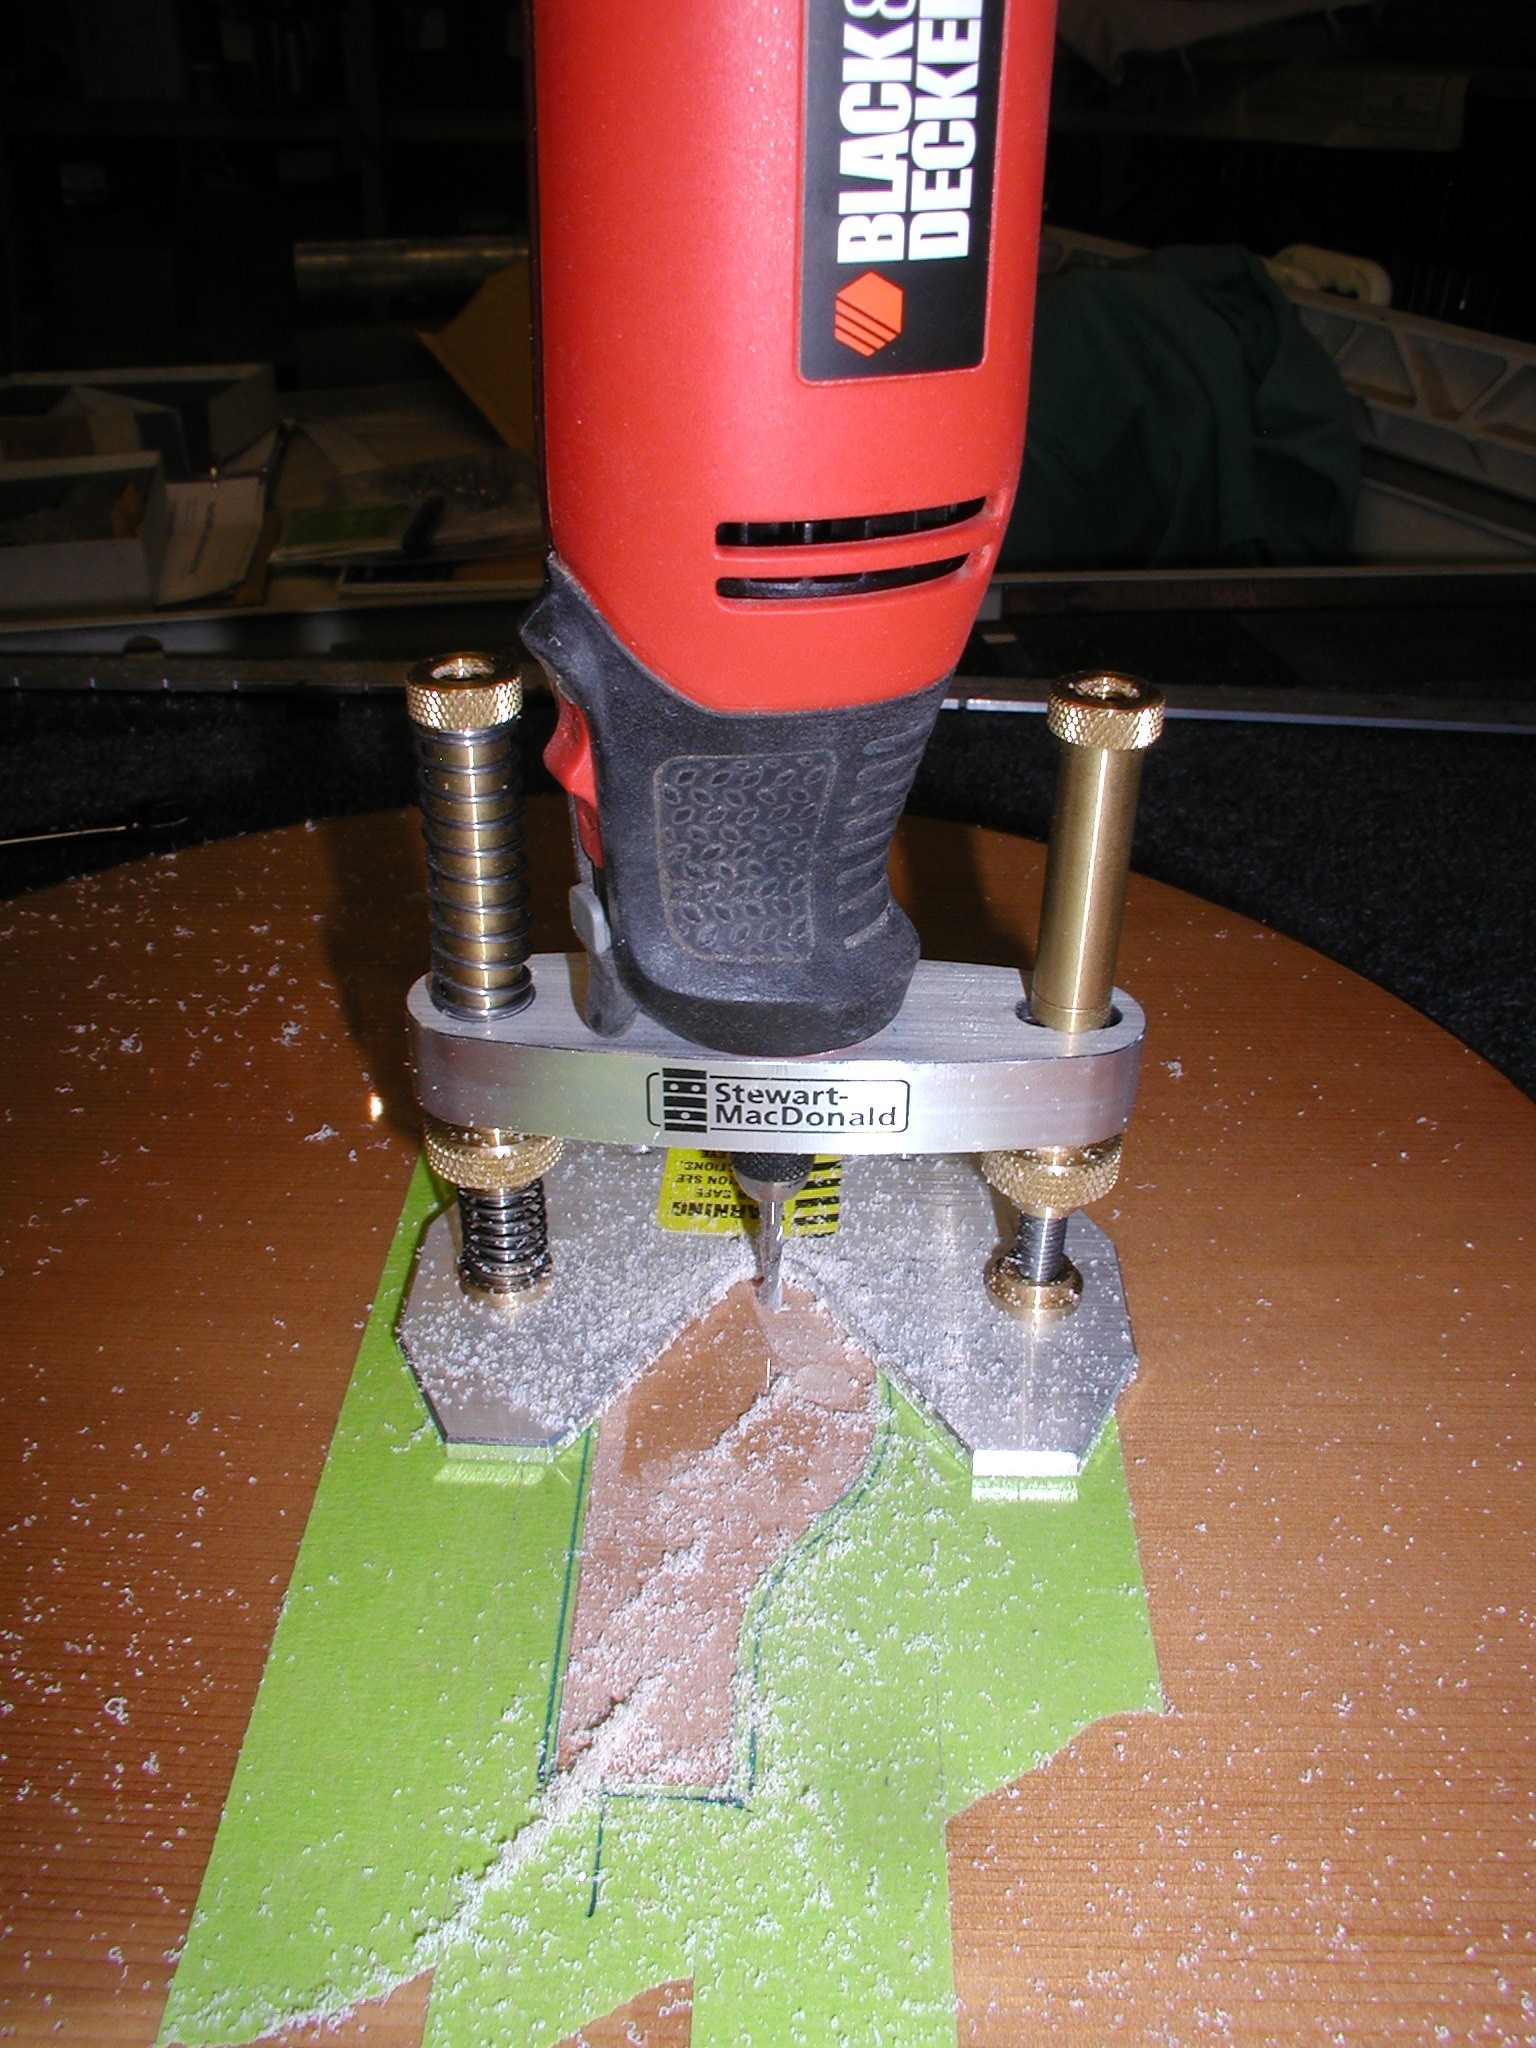
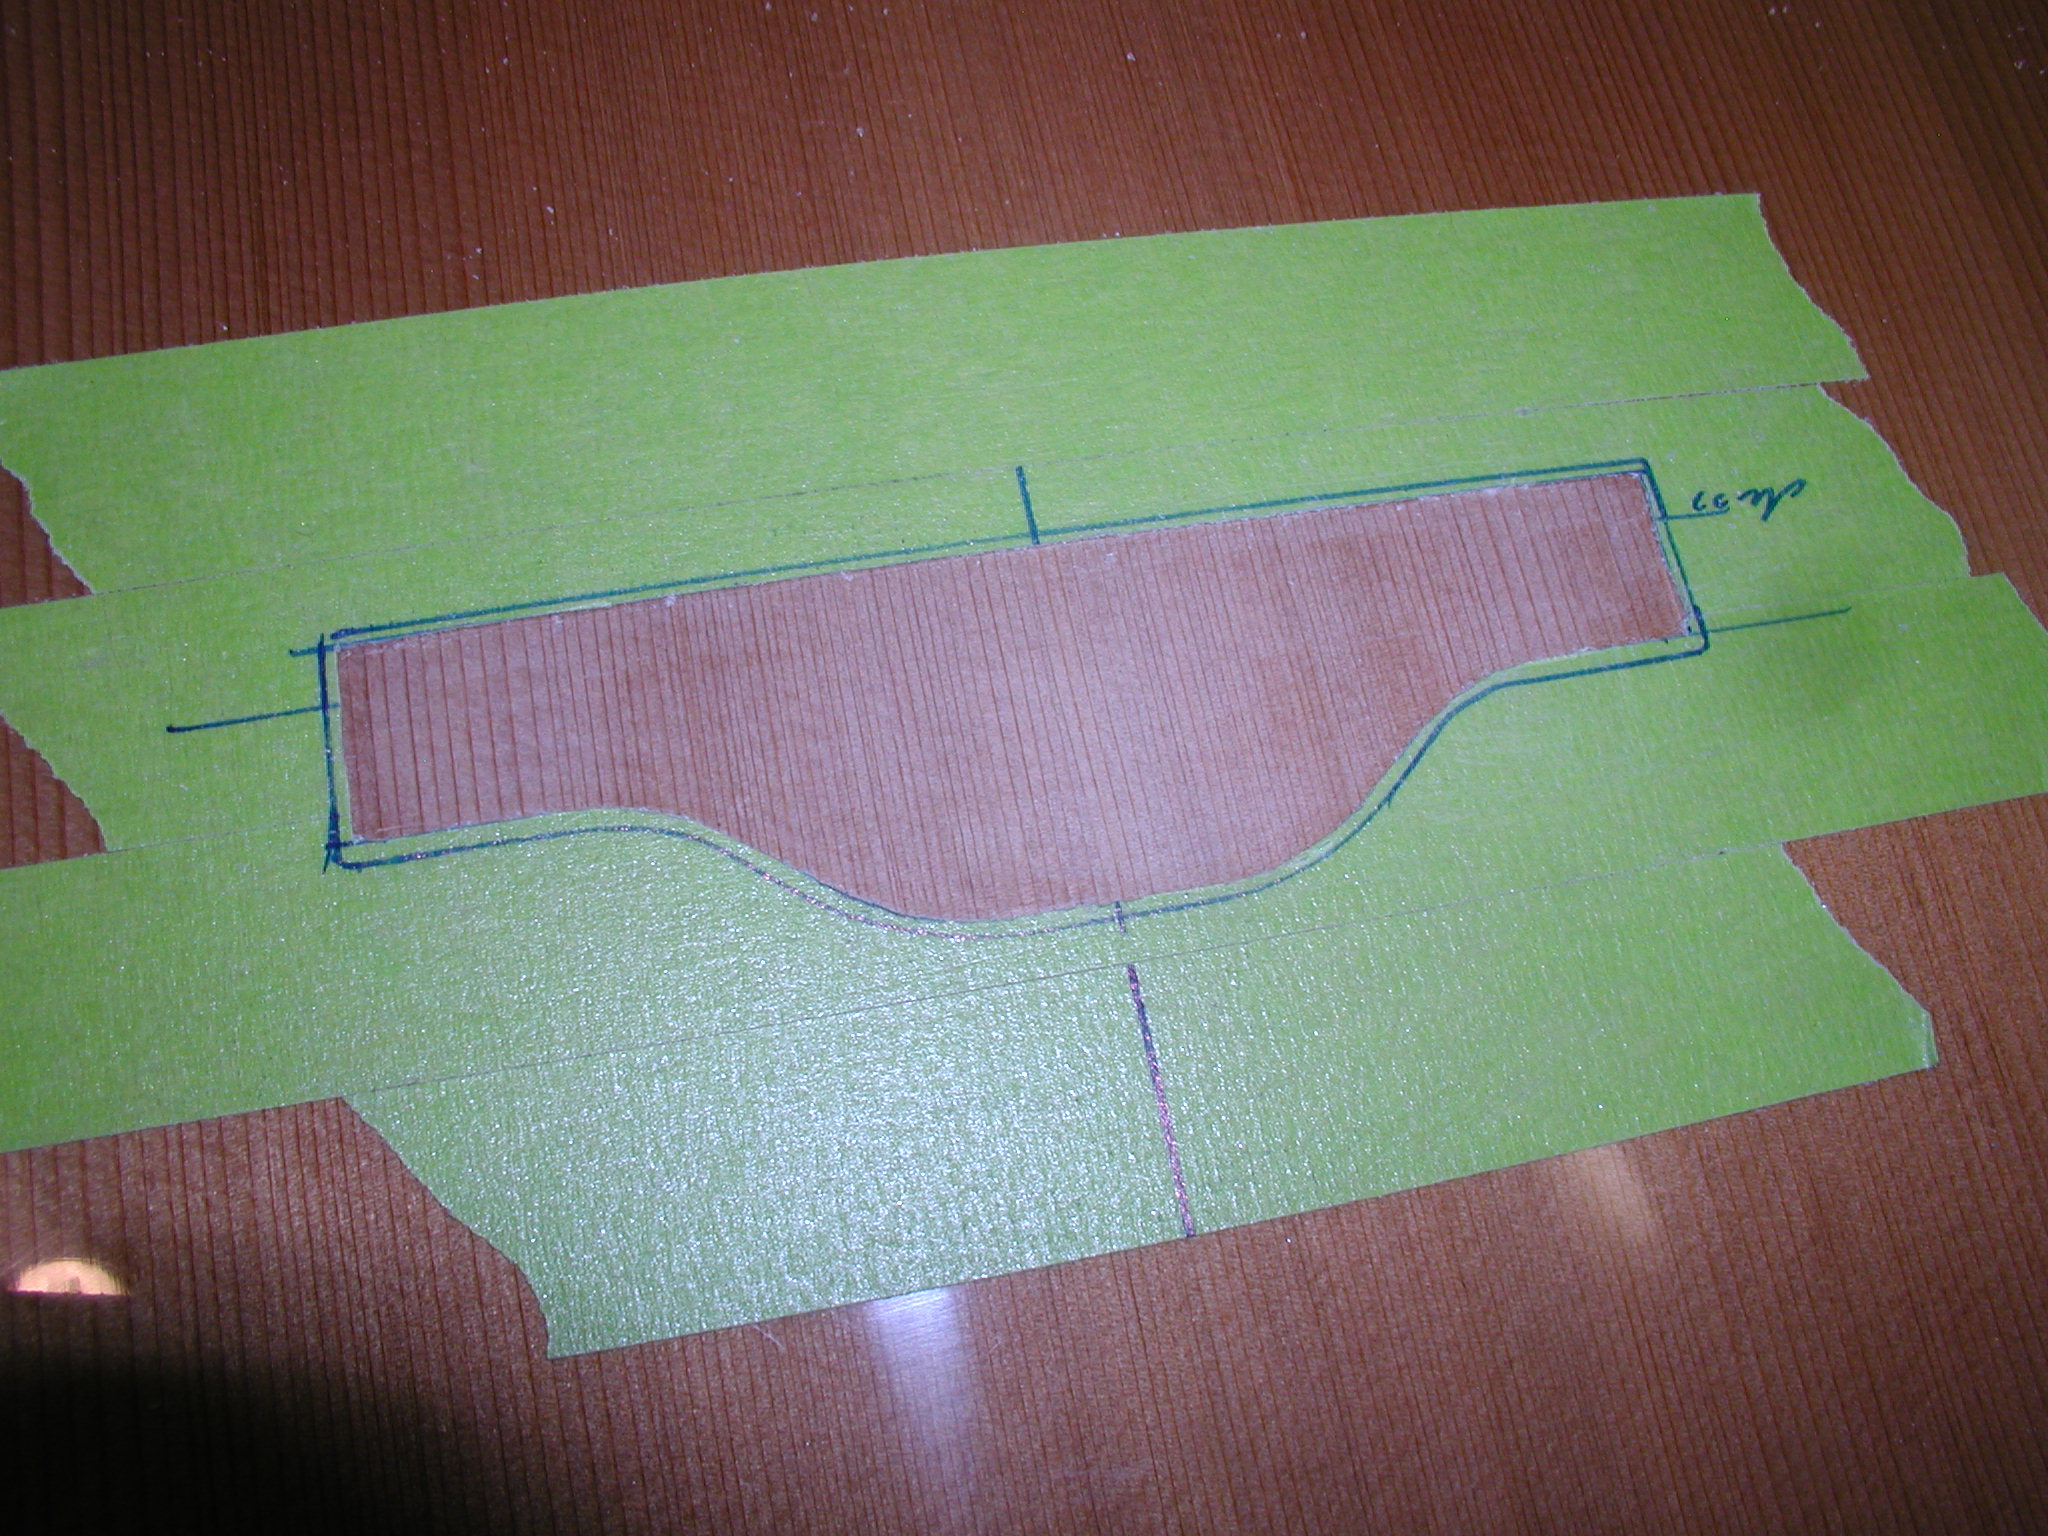
Now I know the location for the bridge and I need to mount it. Some folks like to pre-tape the area where the bridge will go prior to finishing, then just pull up the tape. I like to position after finishing and remove the finish. This can be a tedious process of scraping and there is the danger of cutting any of the top wood fibers as you score the finish around the area to be scraped. I have come up with the following and although I haven't seen it other places I can't believe I'm the first to do this. After positioning the bridge I draw around it, the outside line in the first photo. Then I measure in a 16th or so from that and draw another outline. This inside line is where we will remove the finish so I cut the tape only around that line and pull the tape. Next is to set the Dremell cutter to just remove the finish, I test in the center area till I'm just seeing the wood. Then just route it away. I still like to scrape it with a microscope slide and use some lacquer thinner on a Q-Tip to get the area REALLY clean.
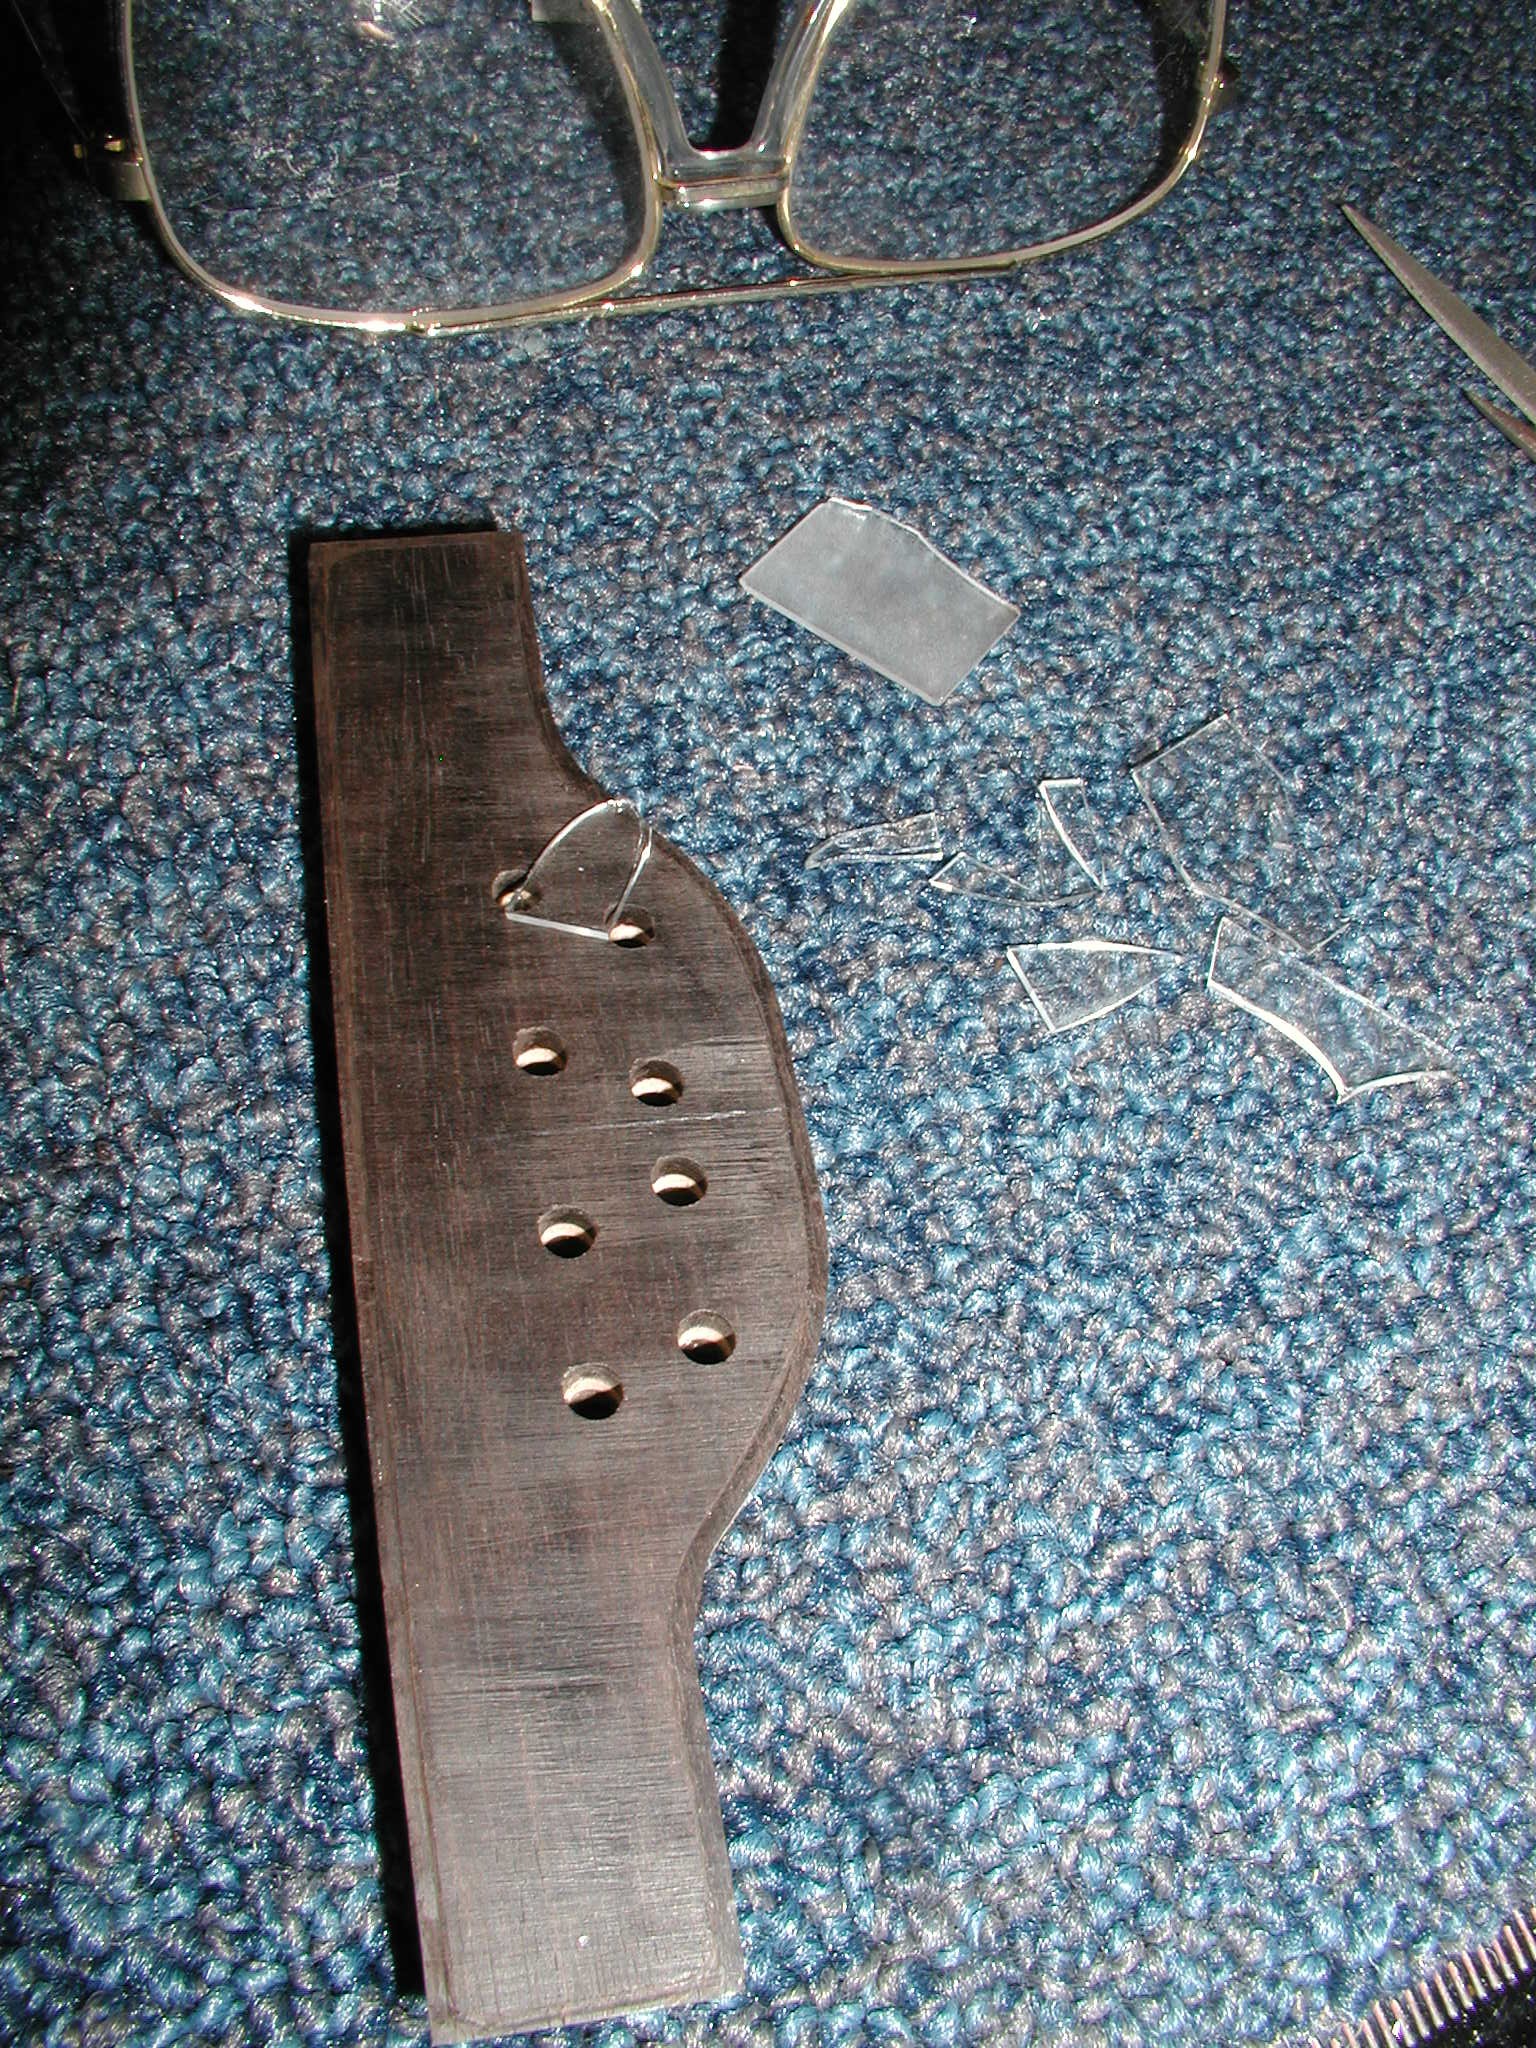
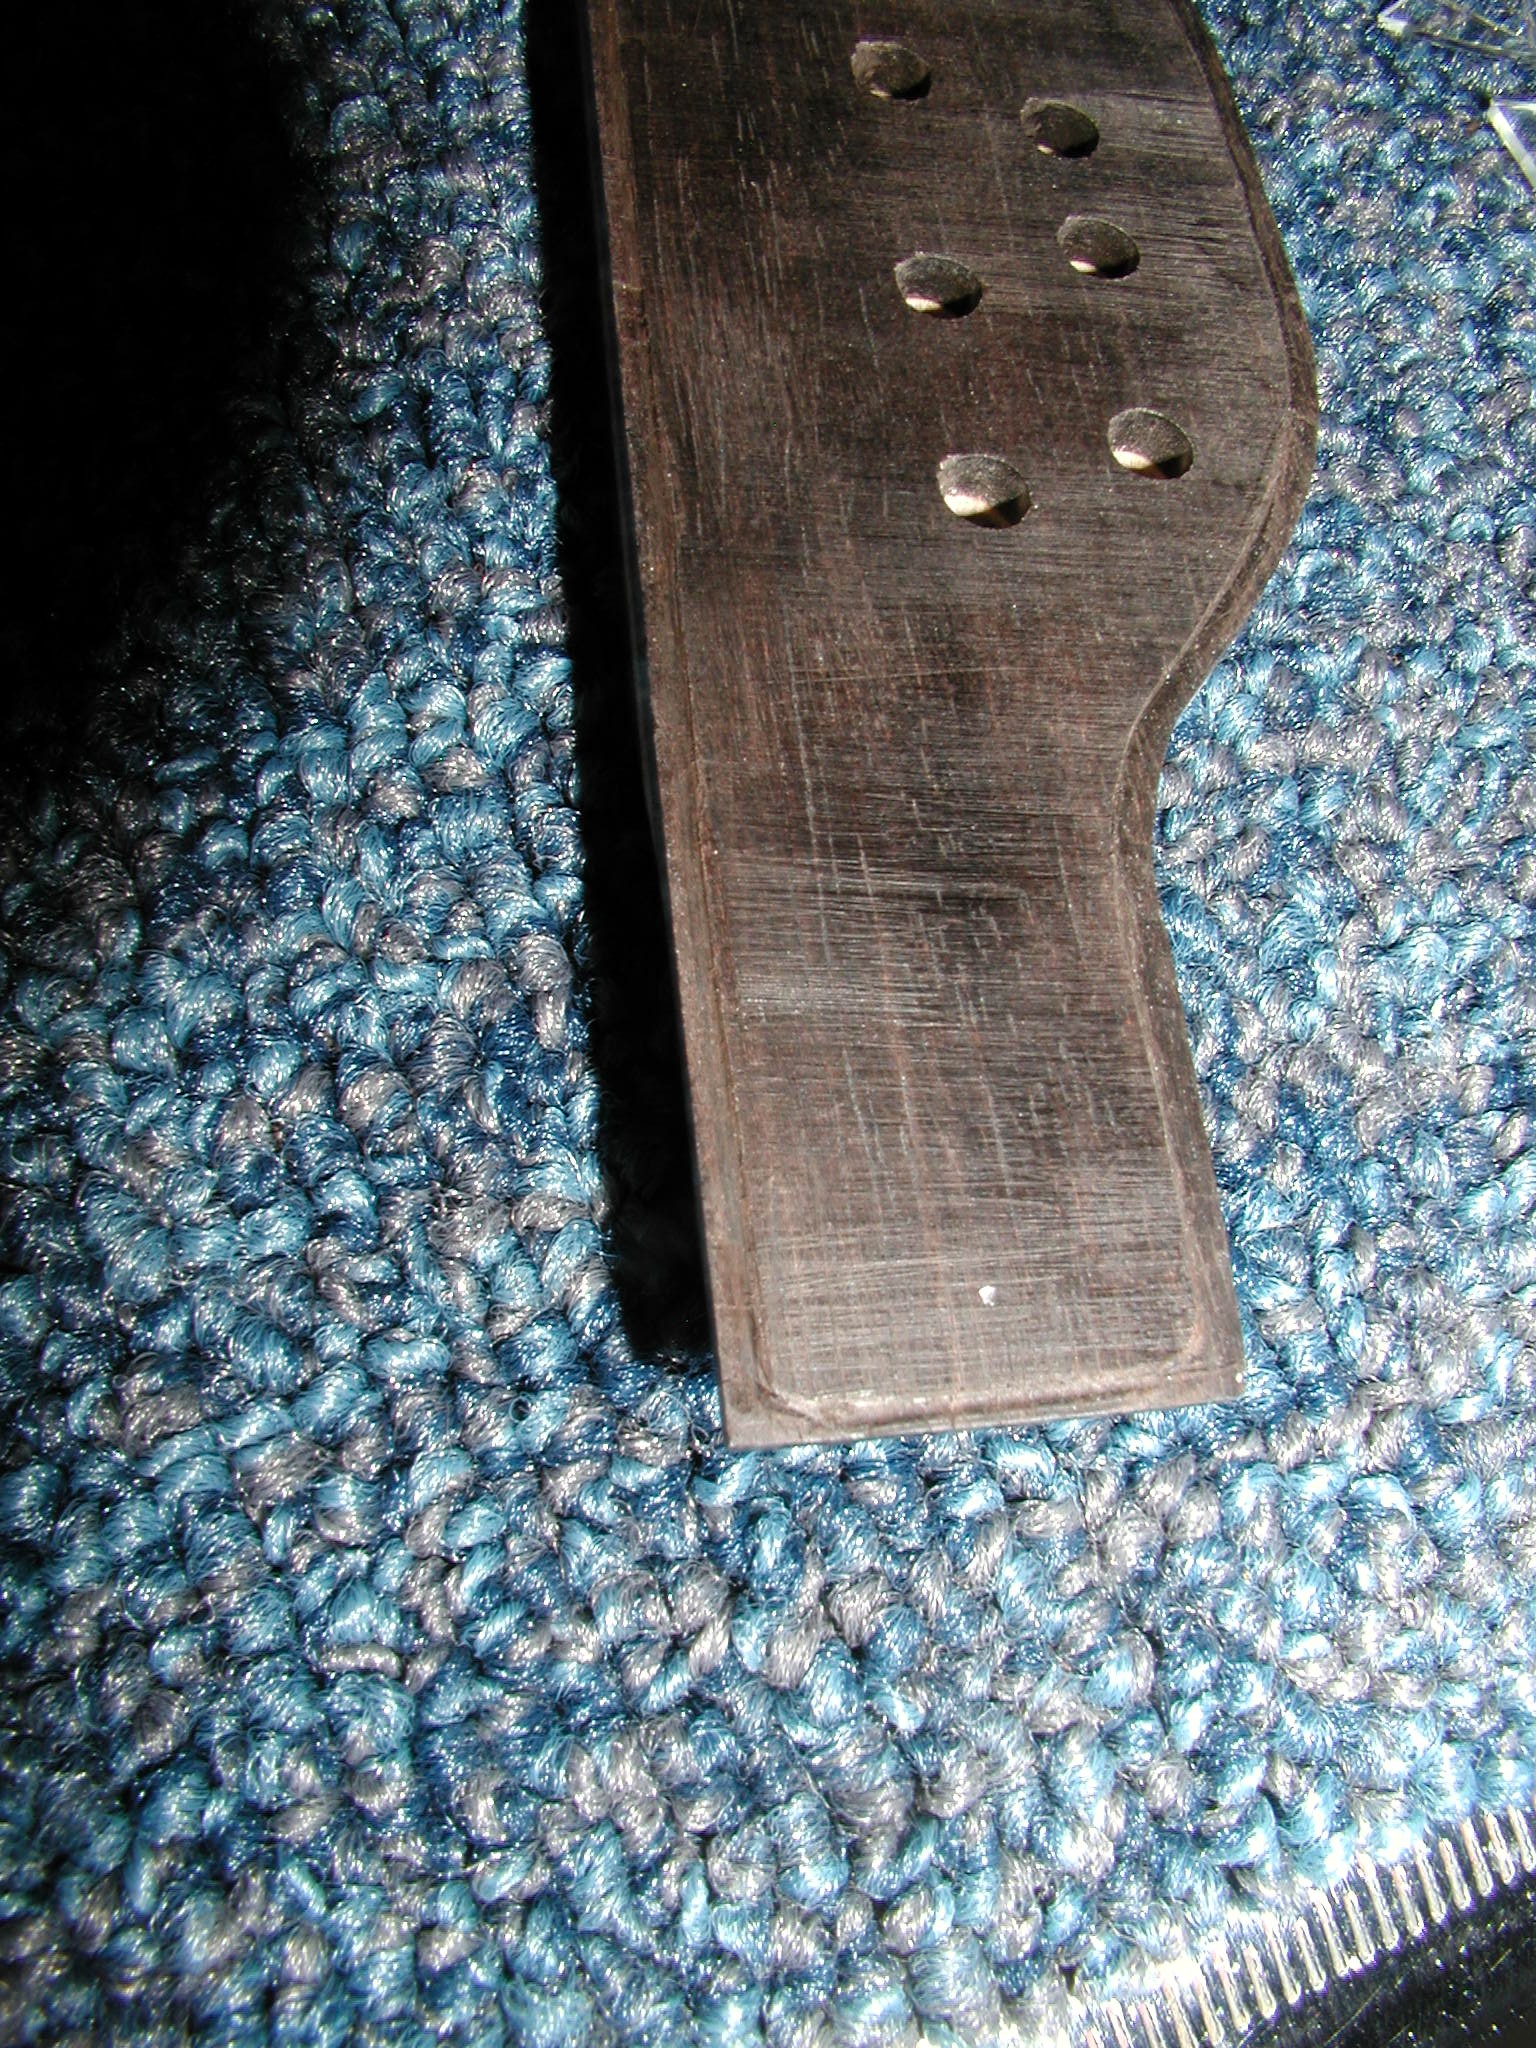
In order for the bridge to set over the finish I need to scrape away the perimeter just a bit equal to the thickness of the finish. I just do this by hand with a microscope slide. After I've dulled all the corners I break the slide, they break in a very well behaved way, and use the true edges of the scraps to get it done. This doesn't have to be beautiful, just an even depth all the way around. At this point I do all the finalization of the bridge. It doesn't get any finish. I just sand it out to 1000grit. Oh yeah, remember that little issue with the maple getting ugly? I use a microscope slide to scrape it clean. Then I buff it with a hard felt wheel and some rottenstone compound and this brings it to a high luster. It was necessary to do this a couple times along with scraping the maple to get it clean again until the ebony was sealed. It was a clever idea to do the two-tone bridge but I don't think I'll do it again unless I can come up with a way to keep the maple cleaner. Maybe some other wood or material.
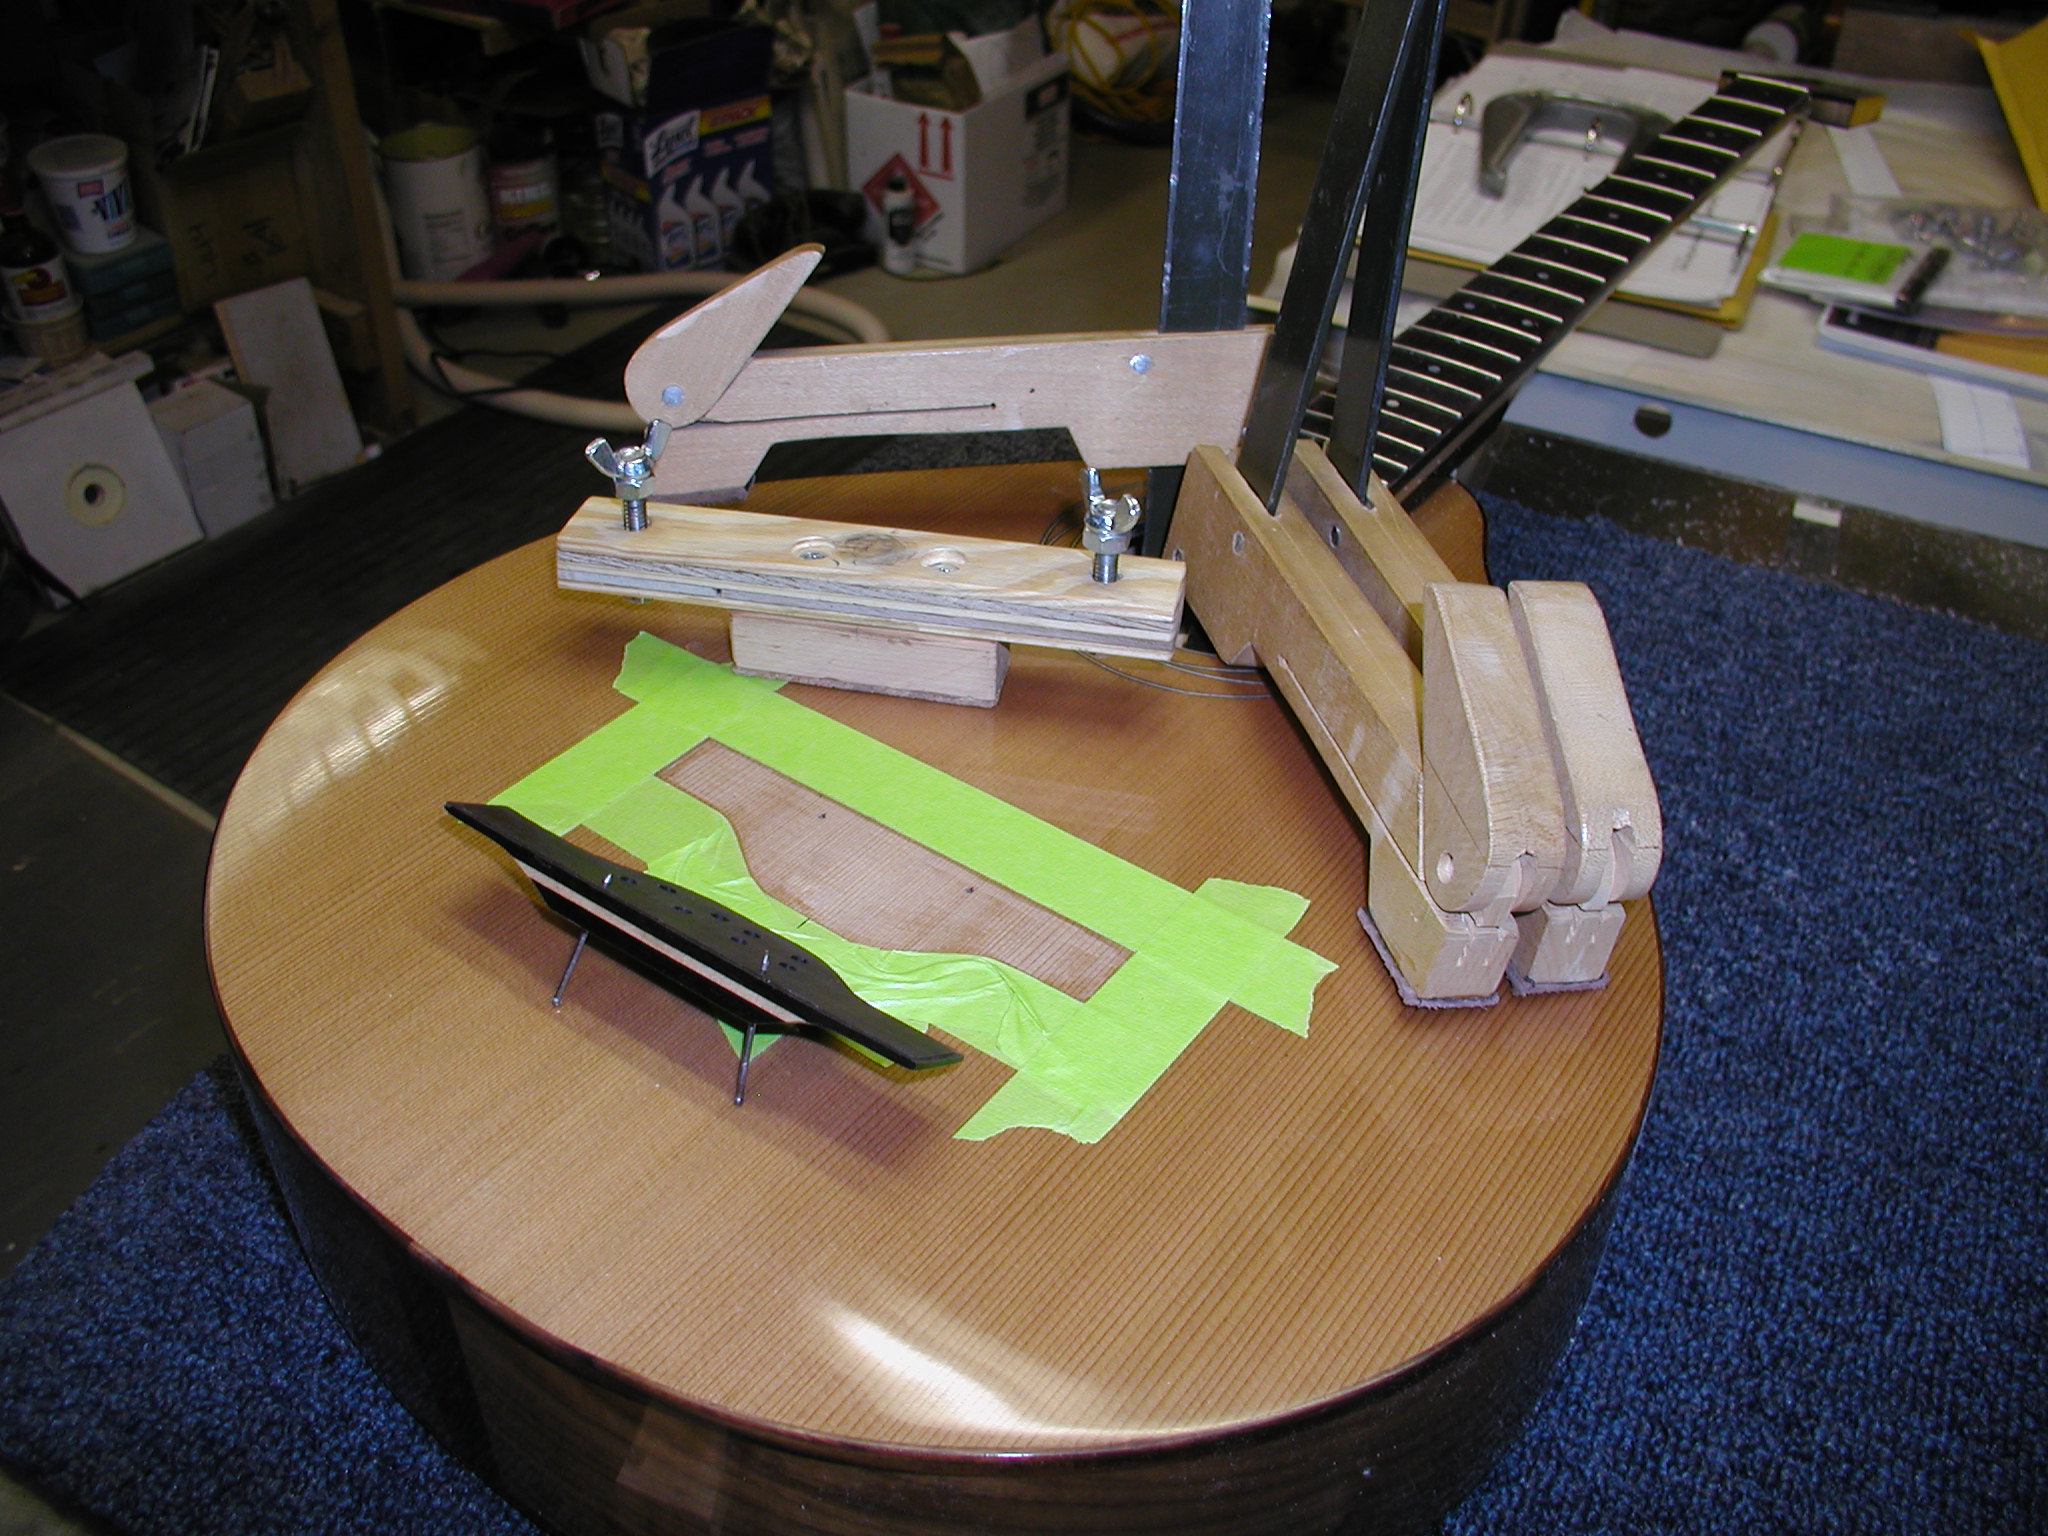
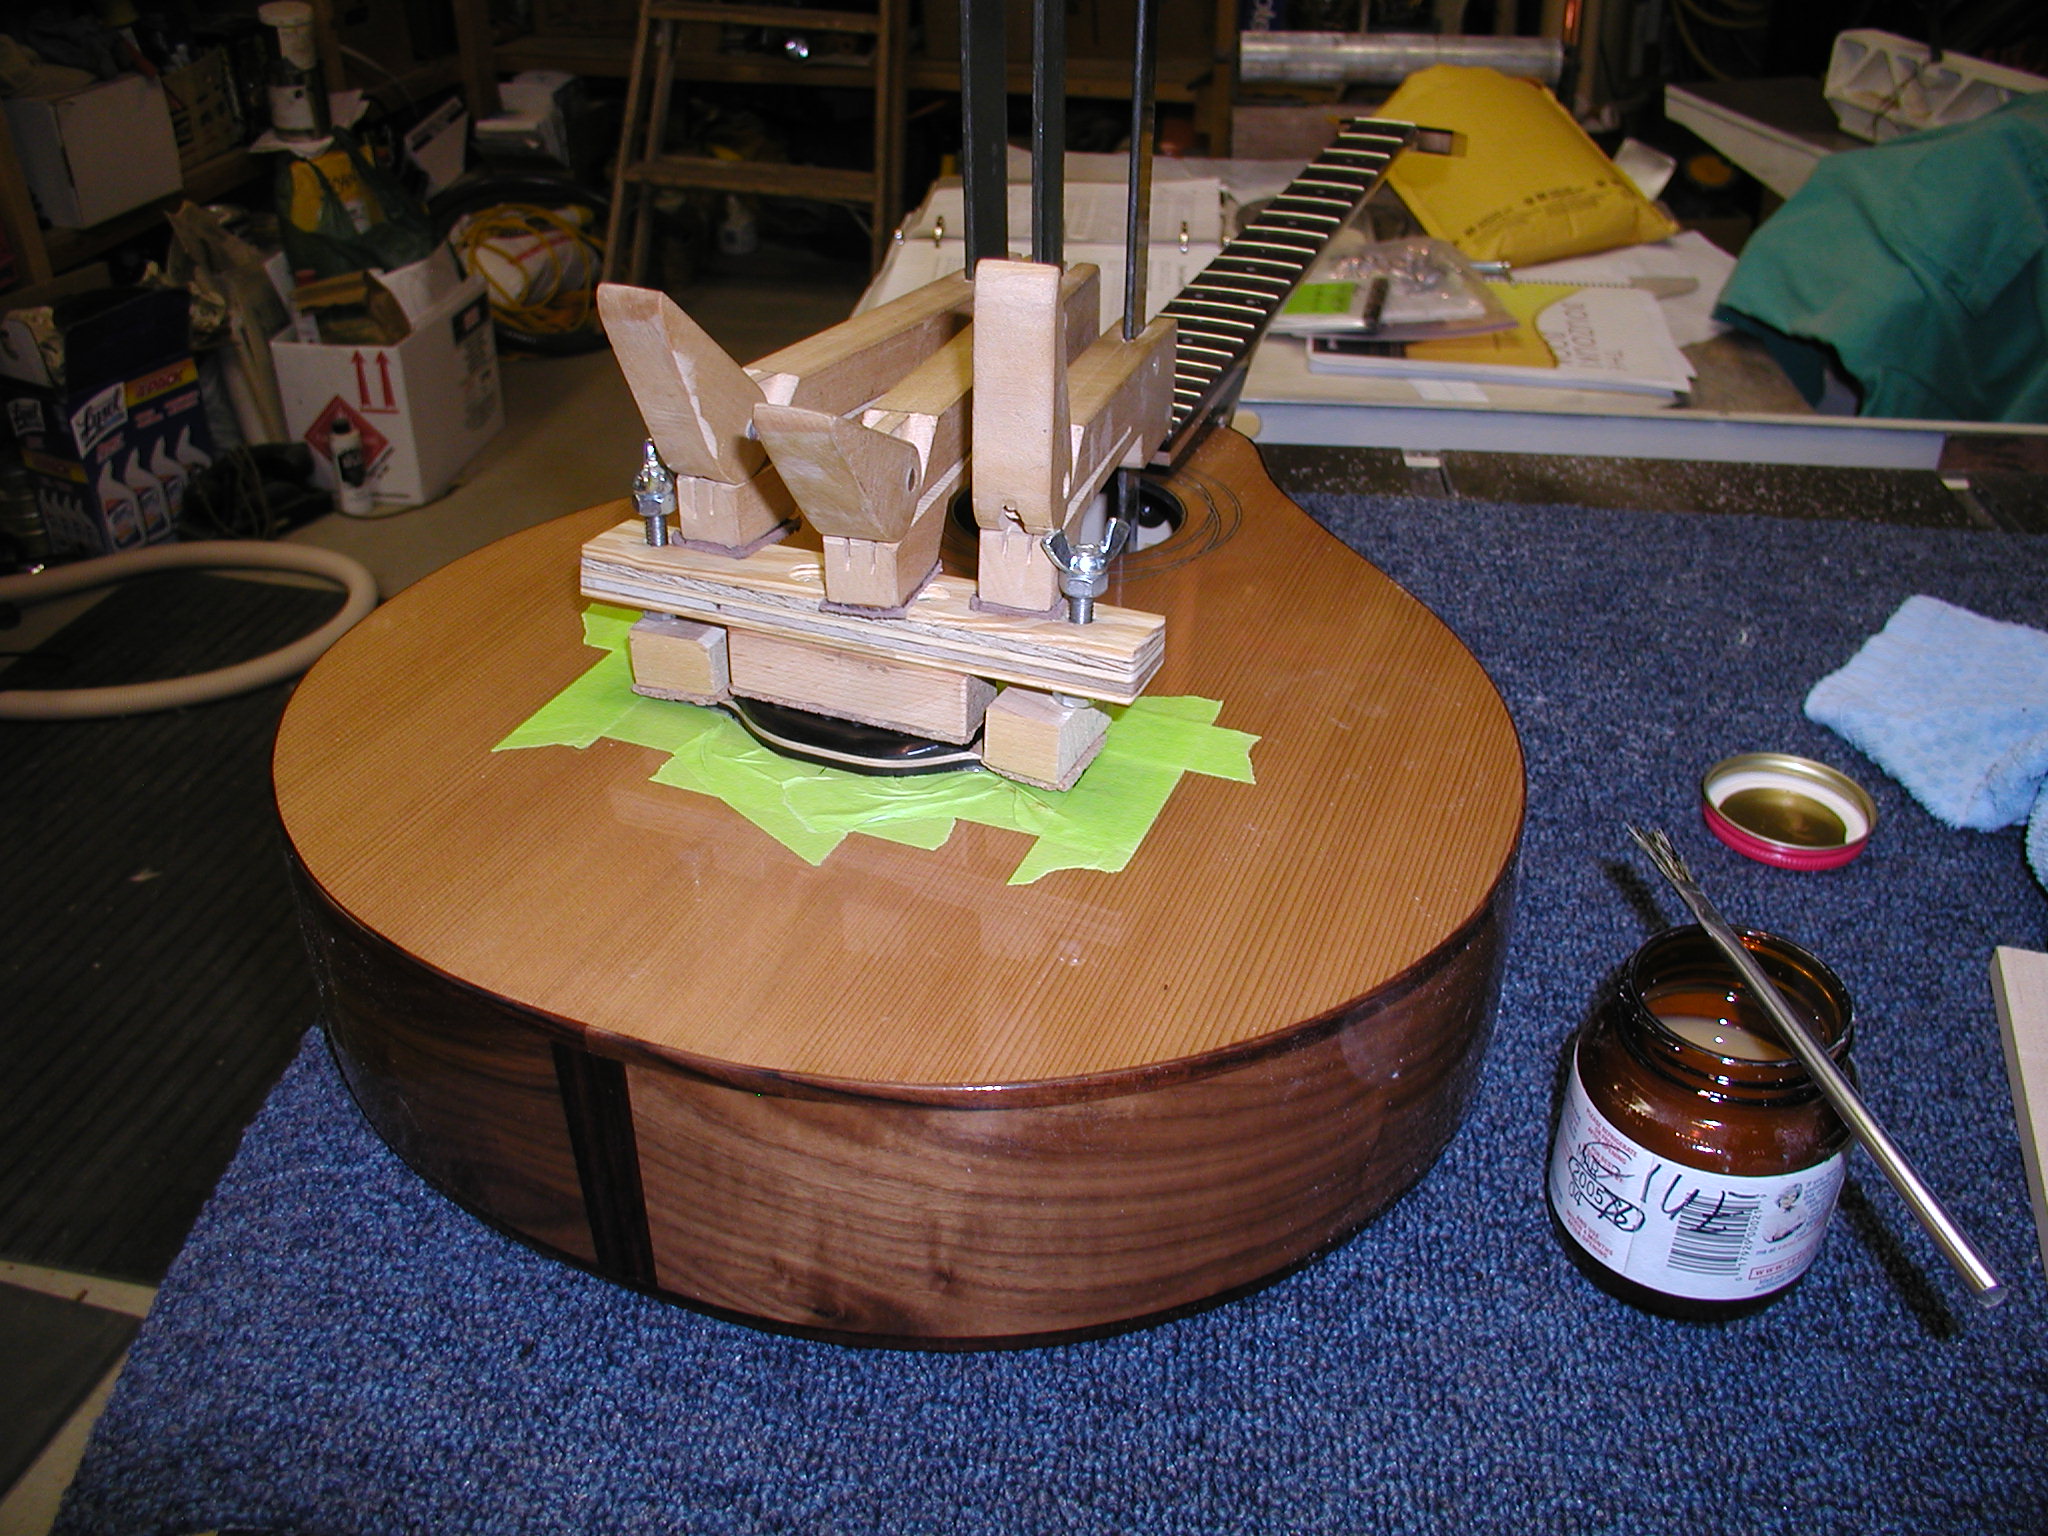
Glue up is simple. I pull the tape used for the finish removal, position the bridge and pin it using pins down through the saddle slot. Make sure you don't hit a brace! Then I build up two or three layers of tape around the edge of the bridge and wax the tape and the edges of the bridge. The jig is one I made years ago. I tried a vacuum clamp one for a while but came back to this one. Normally with a guitar I'd use a deep-reach C-Clamp for the center, but with the smaller soundhole and the fretboard extending into the soundhole it didn't quite work. The three cam clamps work just fine. The wing bolts on the end press down on cork faced blocks that keep the tips well down. Not seen here is the clamping caul I mentioned to make back when we finished the top bracing. It is on the inside double stick taped to the bridge plate so the clamps have something to rest against and not damage the braces. I like to tie a string to the caul to make it easier to pull it lose from the bridge plate later.
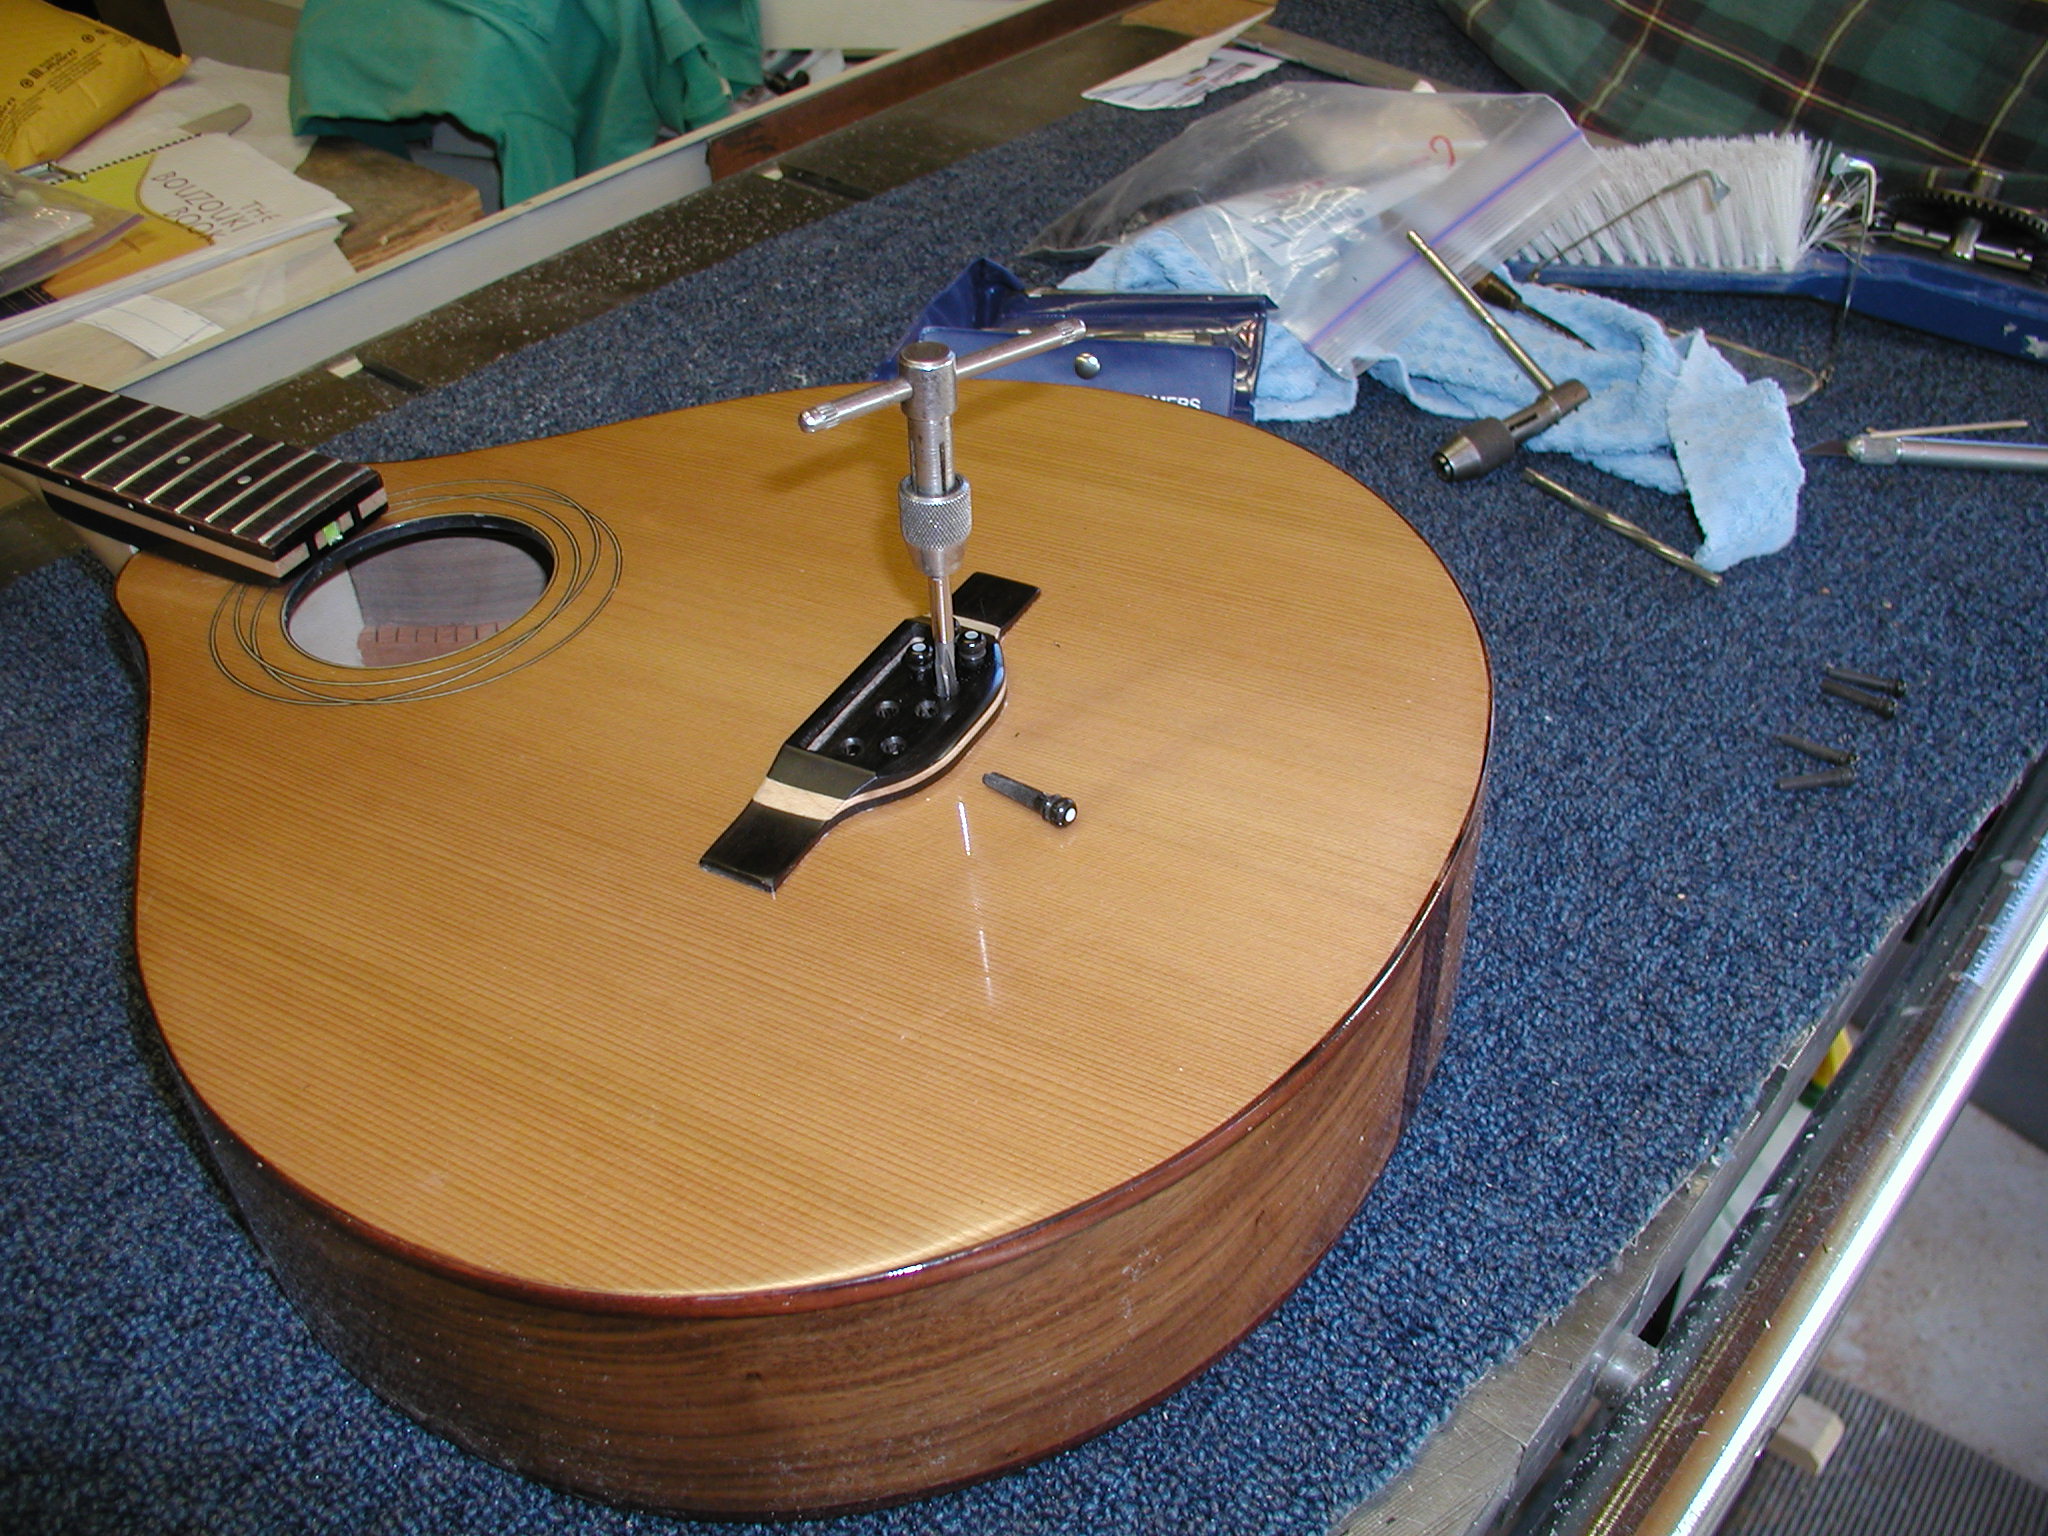
The (almost) last step for the bridge is to taper ream the pin holes and fit the pins. Let them in to where they are low and even across the tops. Don't go too low, the holes will expand just a bit and/or the pins will crush a little letting them seat in. You should be able to fit a pin-popper under them easily. I like to make little "ticks" with a file on each pin to number them to match the holes. They can sometimes be a bit different in diameter even from the best suppliers and this keeps them associated with the hole they were fit to. The last step will be to notch the pin holes and we will do this when we string up for the setup steps.