Let's Build A Bouzouki (Page 4a)
3-Point Adjustable Neck Attachment
Last Modified - December 2017 (©Alan Dunwell 2009)
In Page 4 I show a method of neck attachment that uses a simple shim of wood for adjusting the alignment of the neck/body for side to side and vertical alignment. That is a fairly simple method. Here I show a way using three set screws along with the bolt on anchor screws for these adjustments. This is not a new thought with me, I first saw it on an instrument that Boaz made that he said was going up on the Space Shuttle and needed to be made so it could come apart and be assembled easily.
Here I am skipping all the neck prep steps and focusing only on the neck/body attachment steps. Further, these necks are being attached to arch top bouzoukis, the settings are a bit different than shown for the flat top instrument for the rest of this Toot.
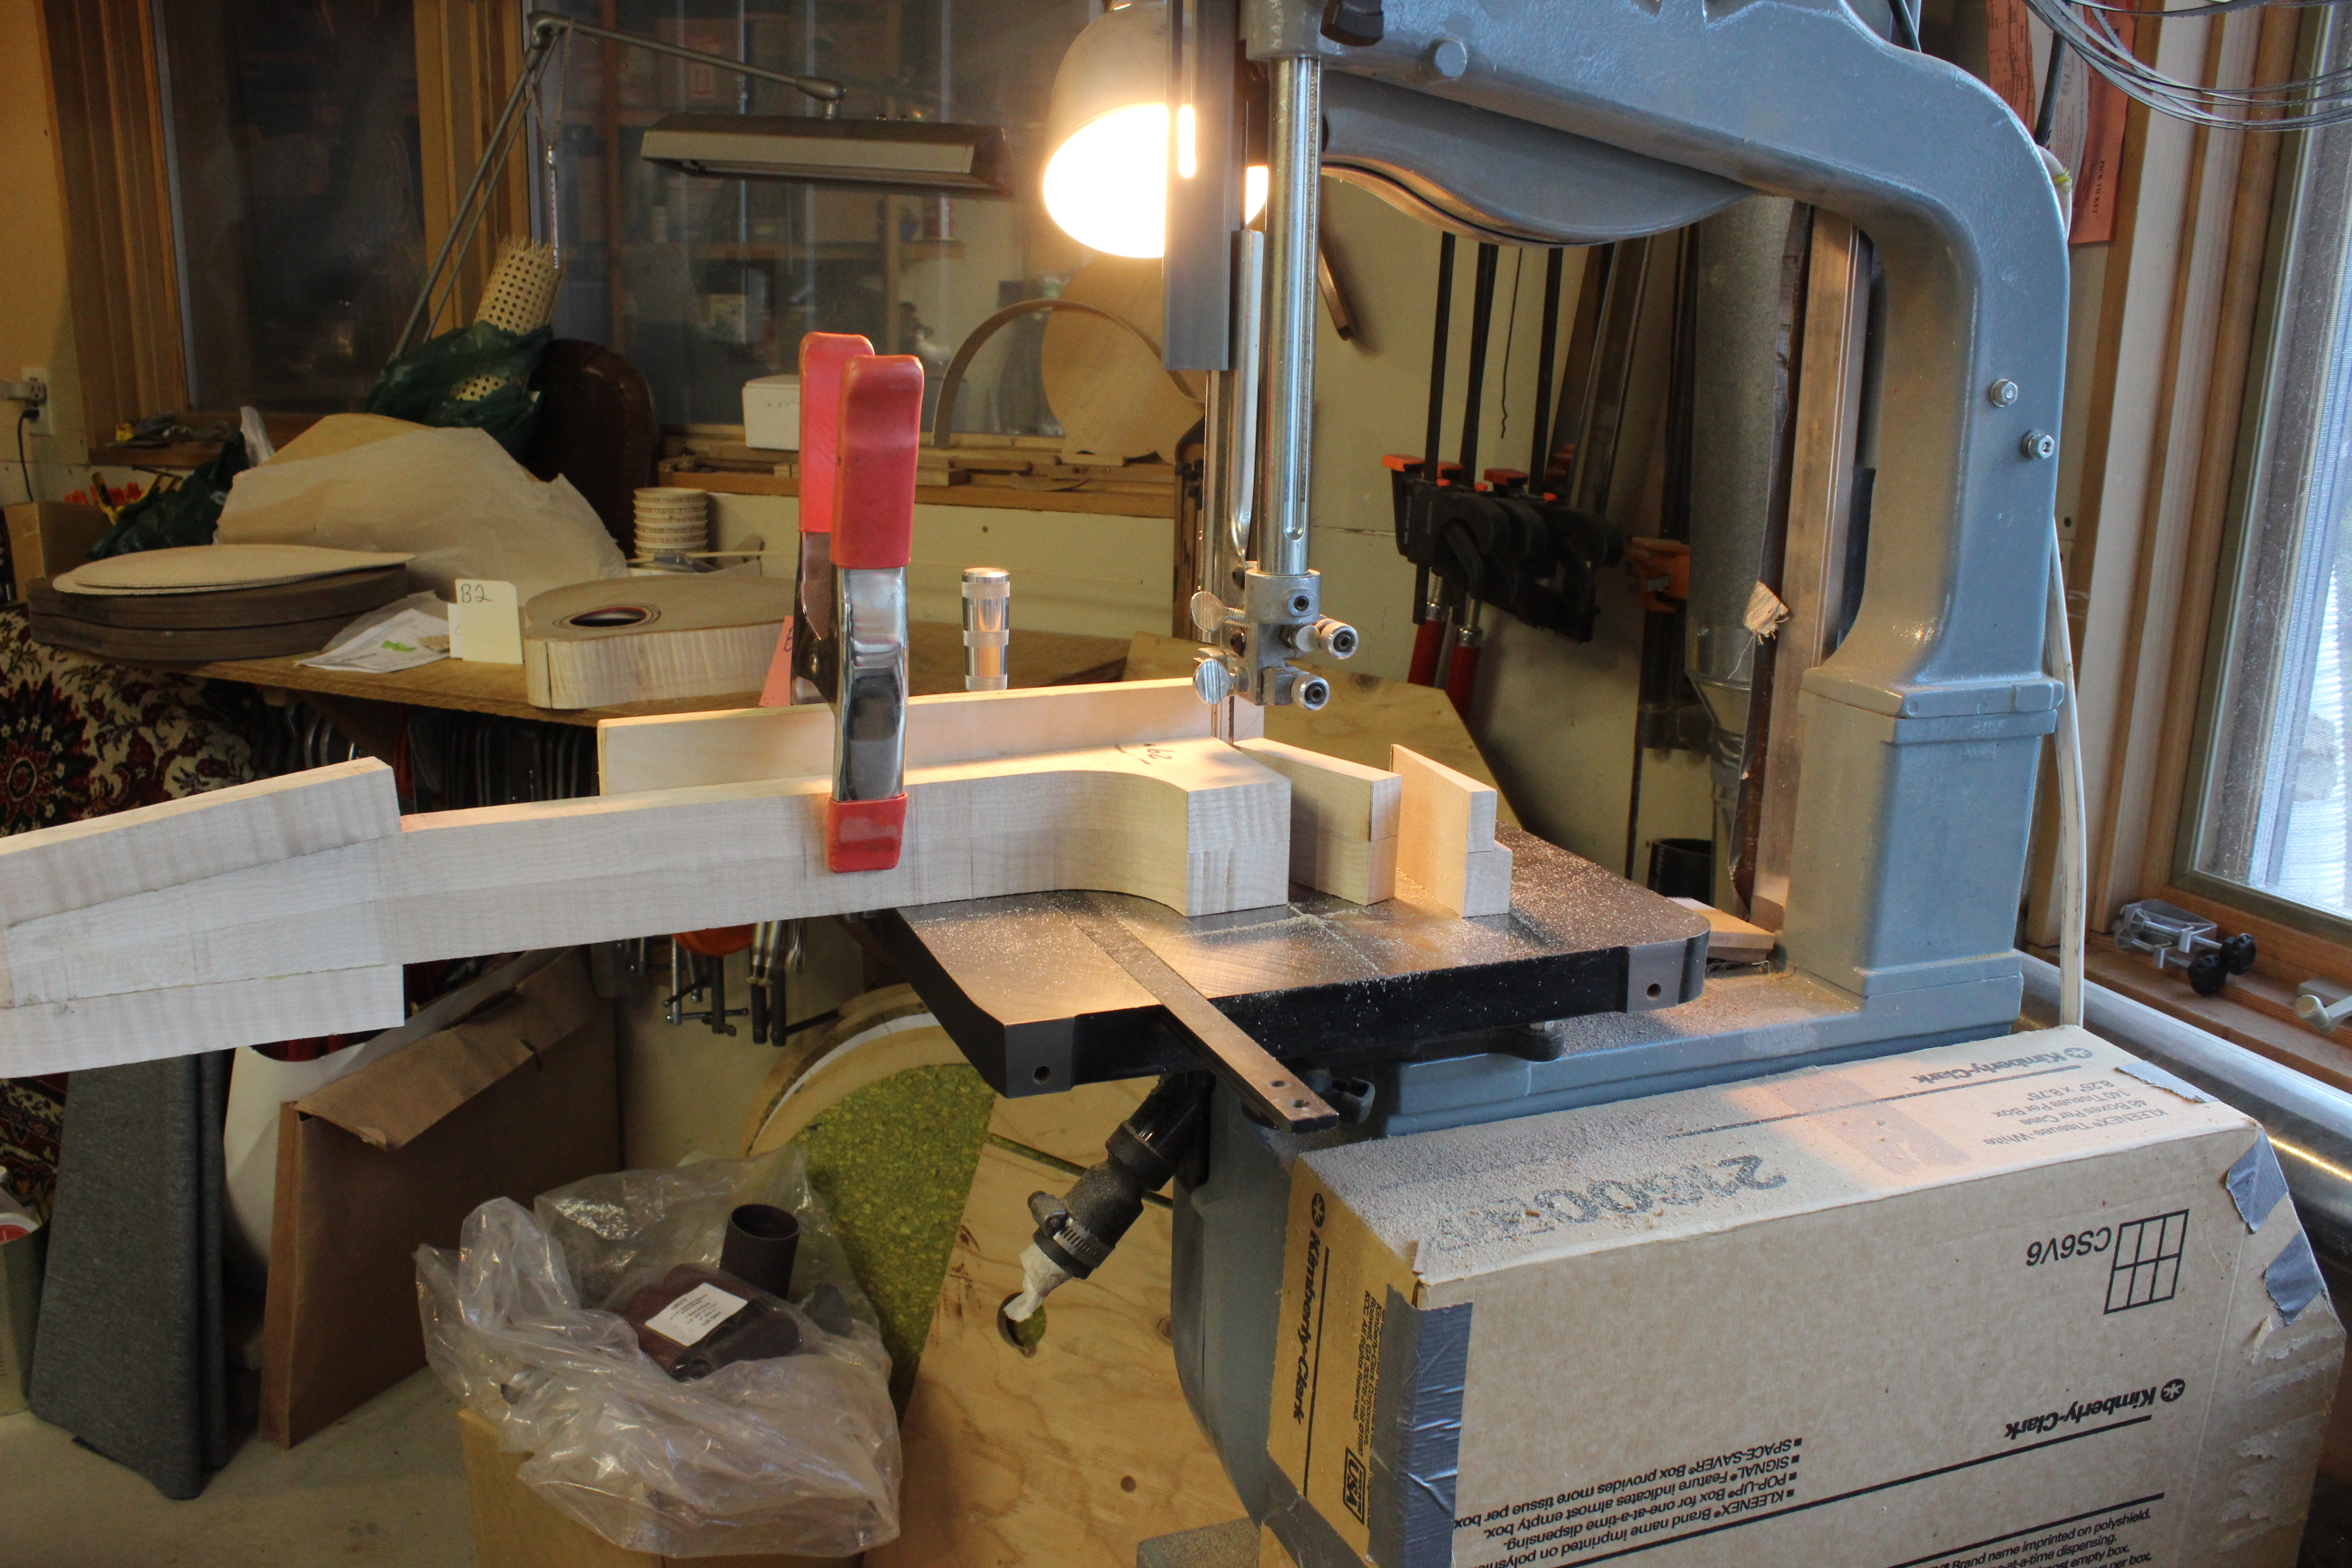
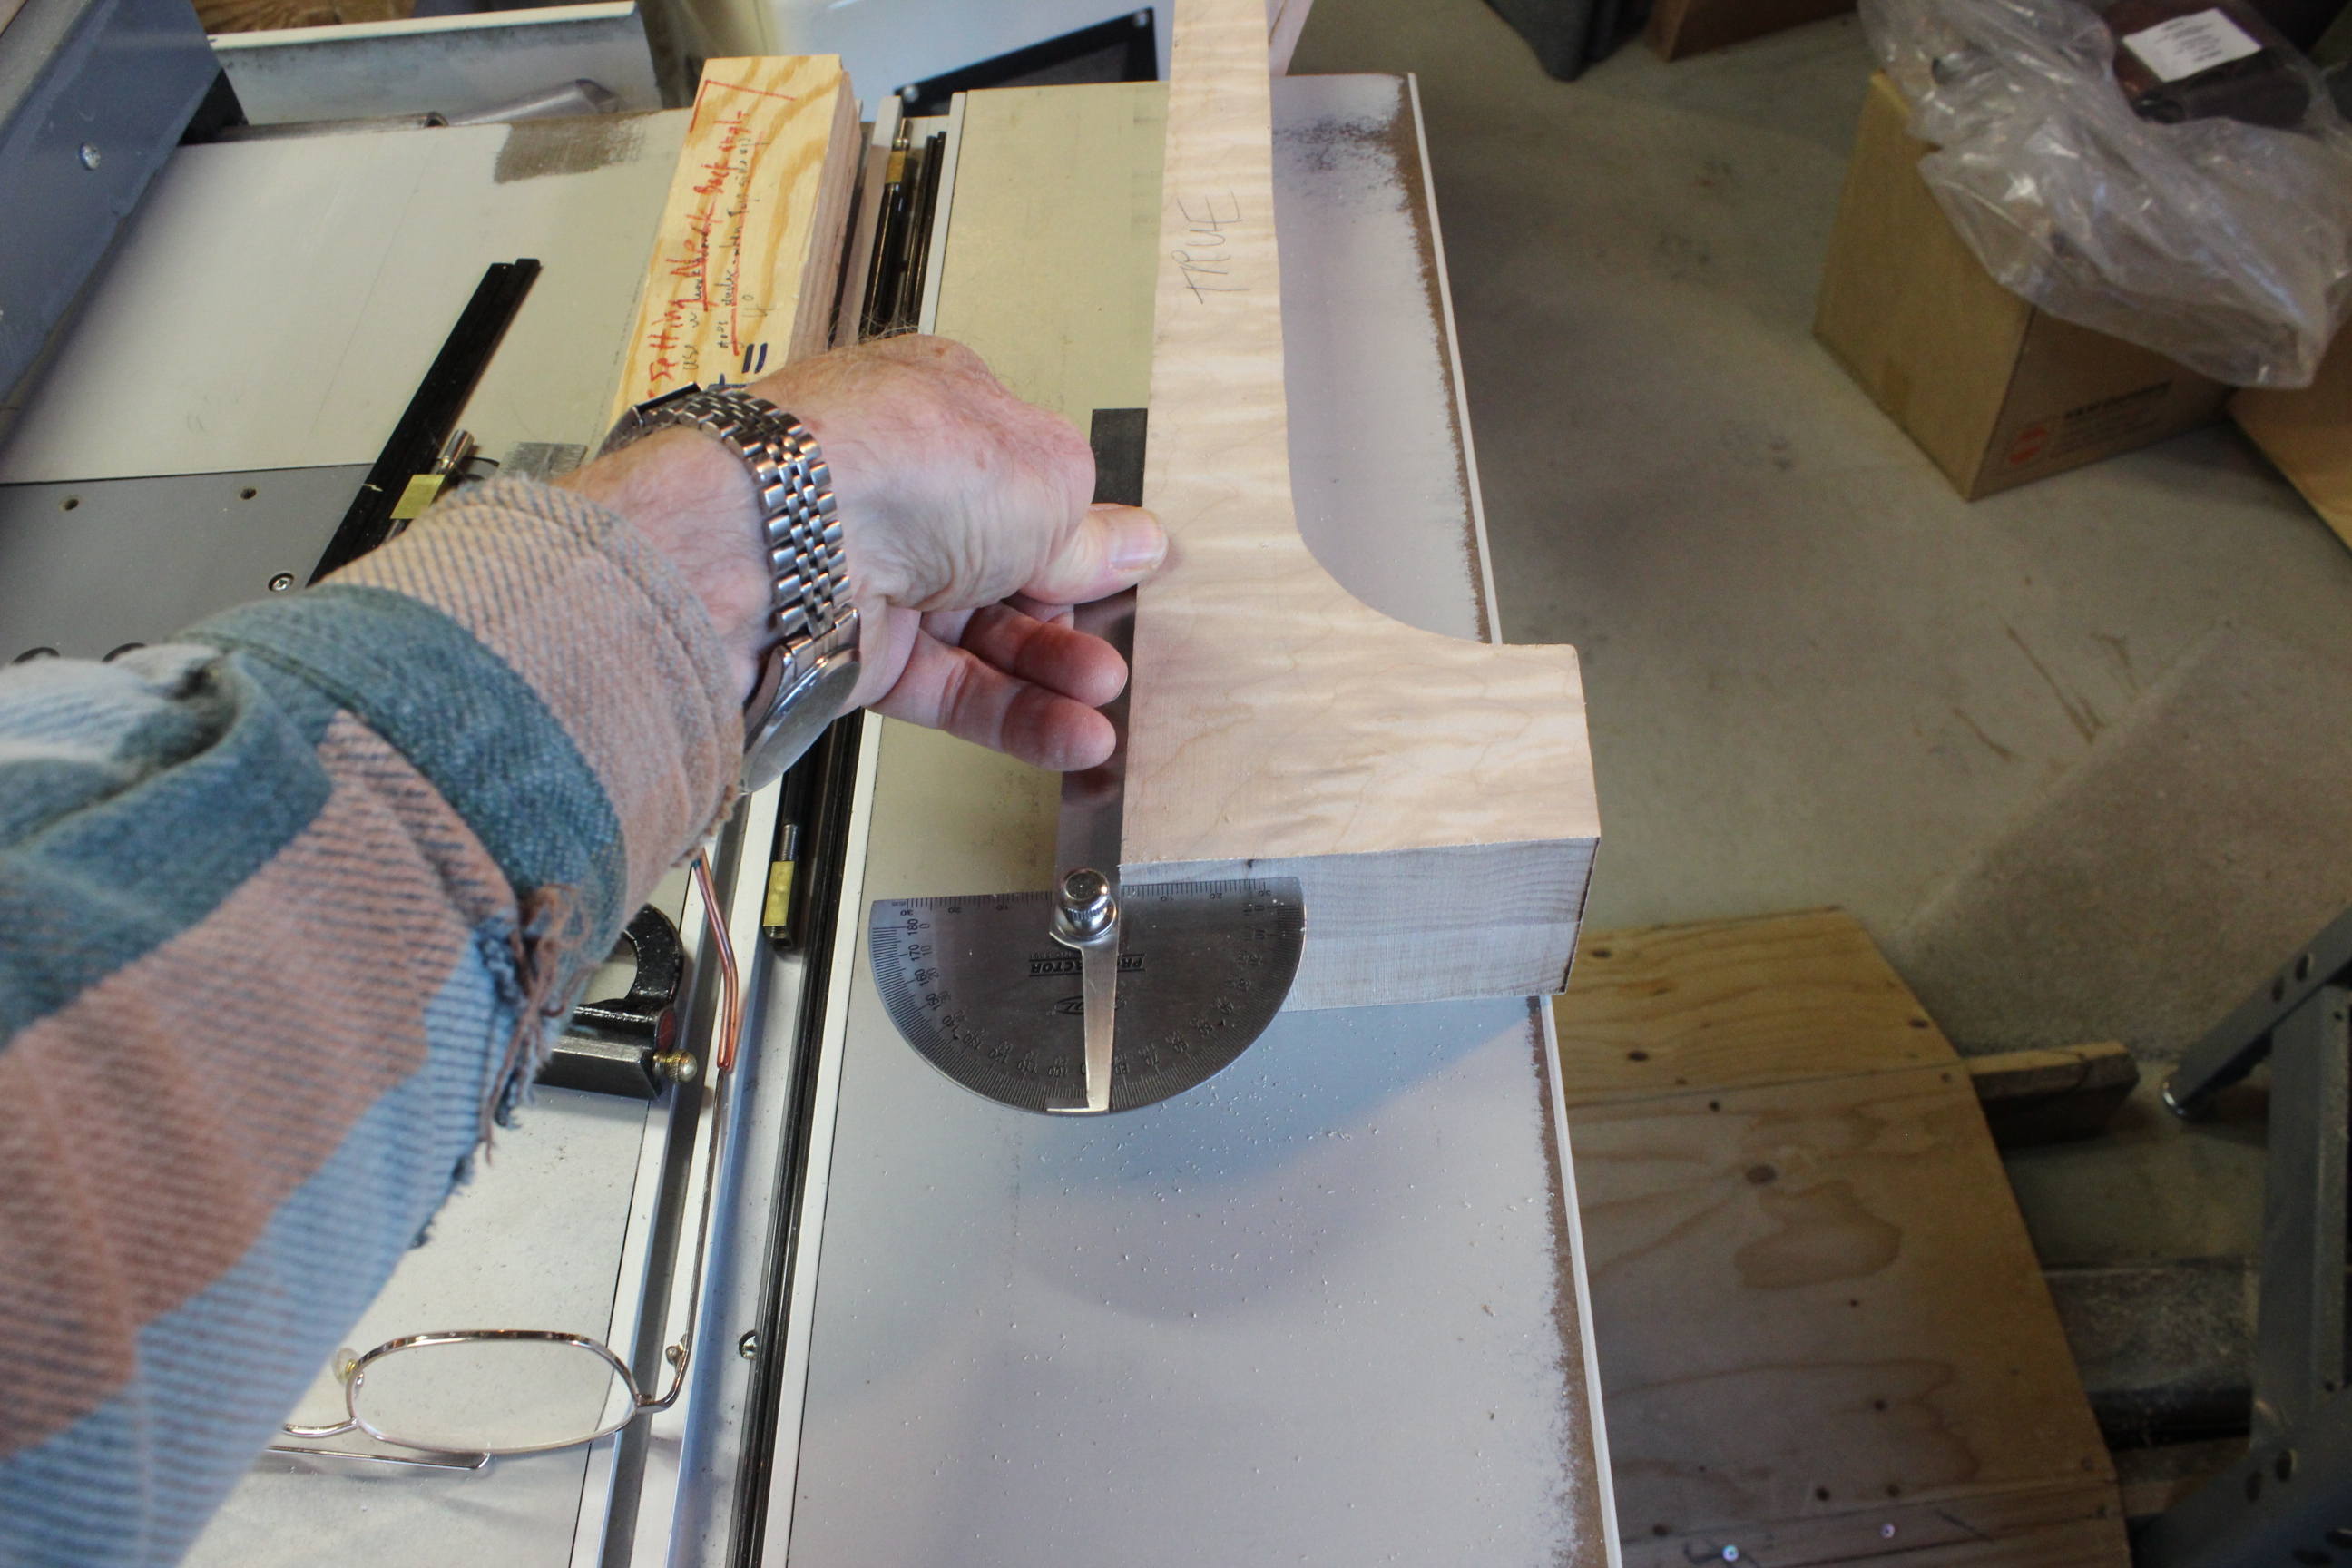
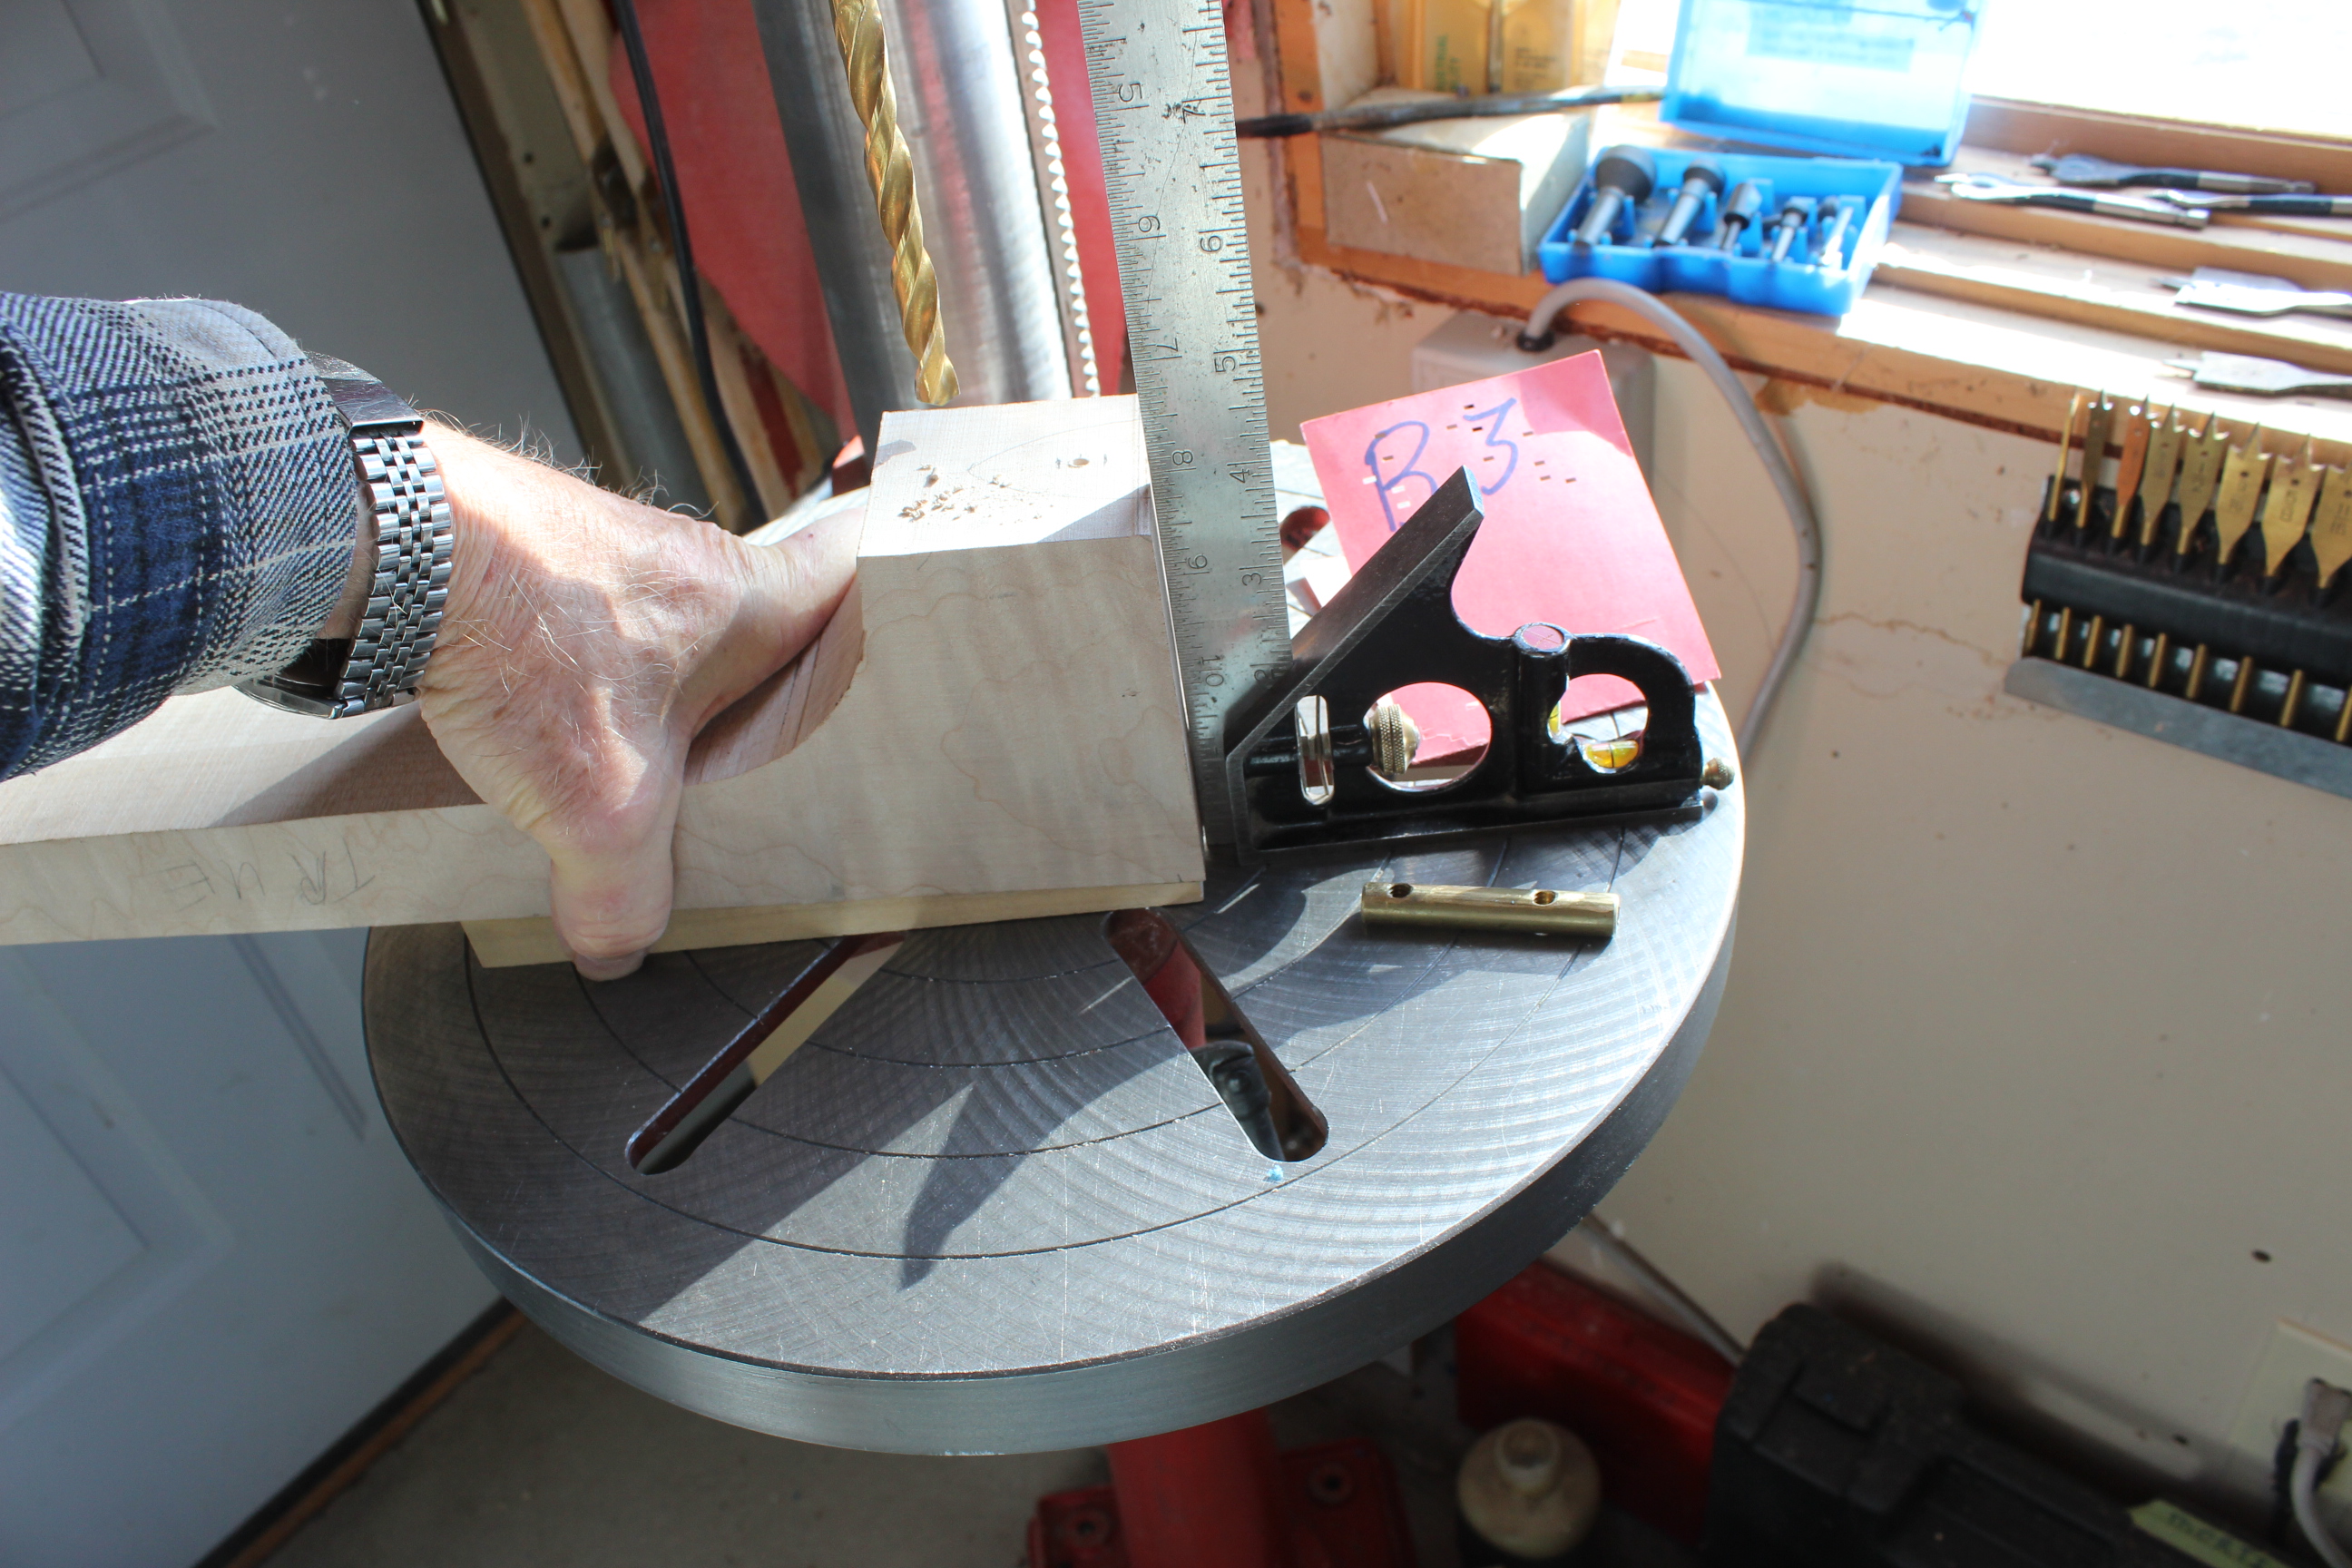
I measure the amount of back angle that I want, usually about 3 degrees for an arch top, and set that into my miter fence for the bandsaw. I do a few test cuts first of course and then mark and trim off the butt end of the neck.
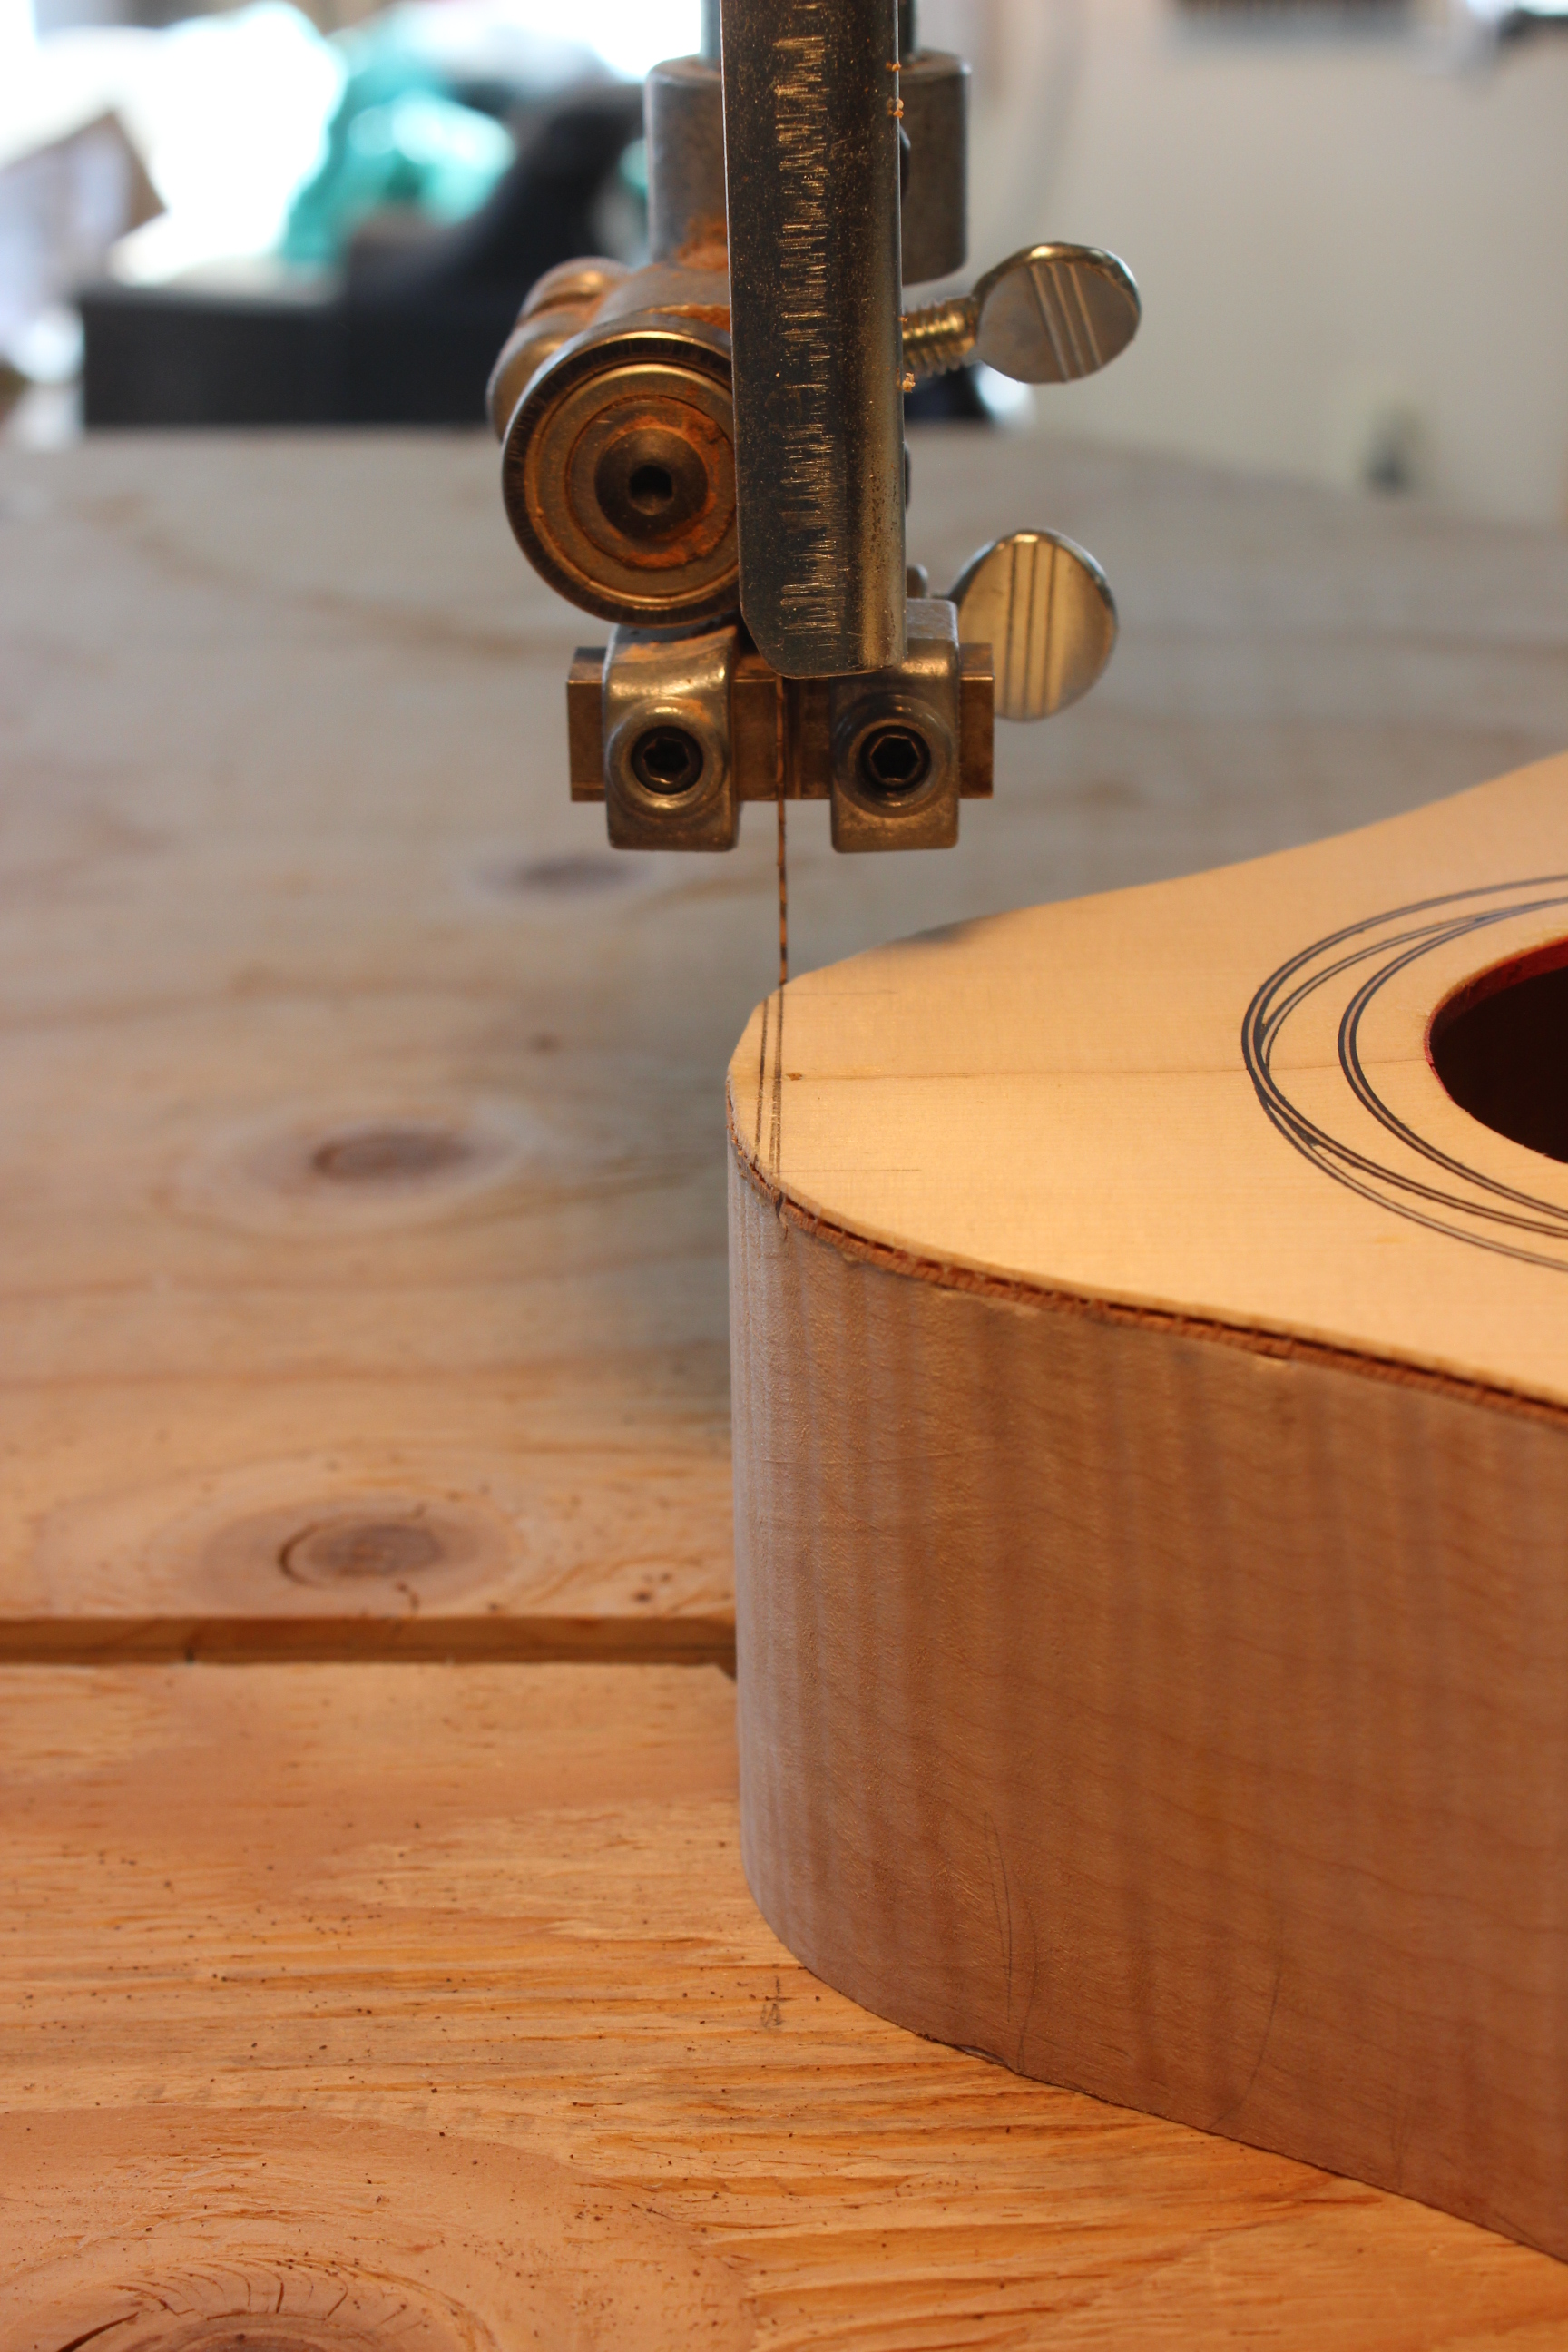
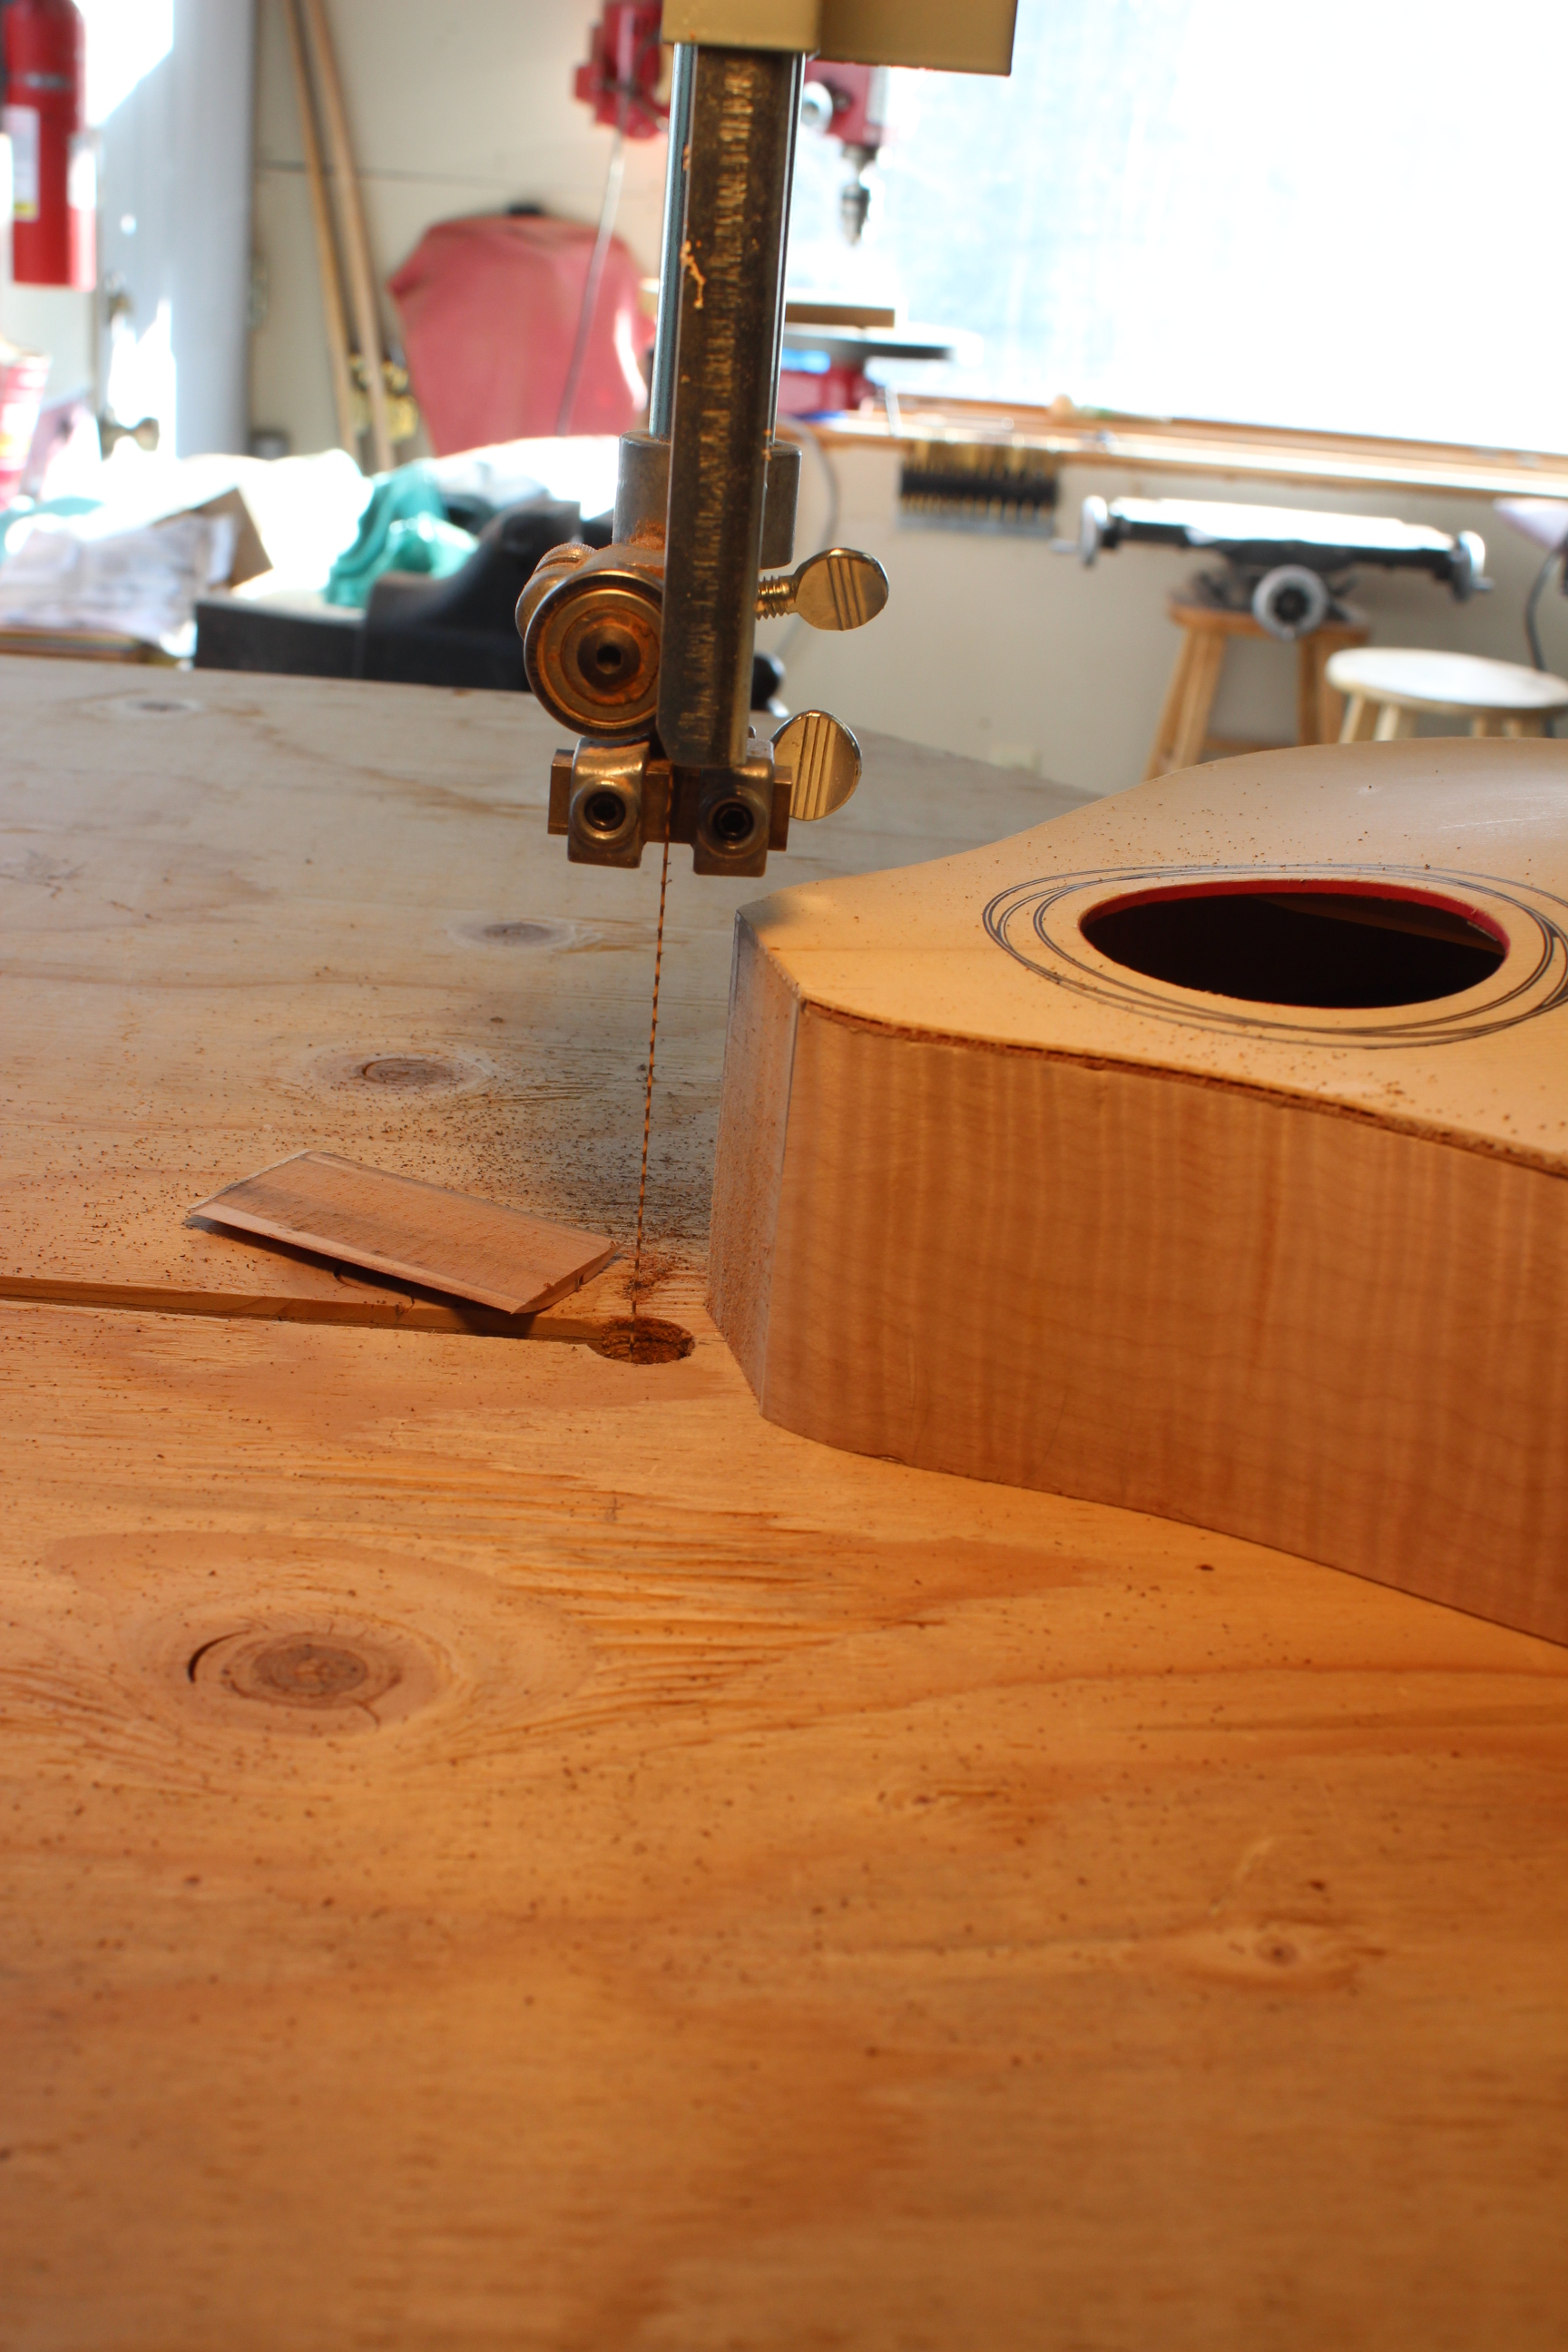
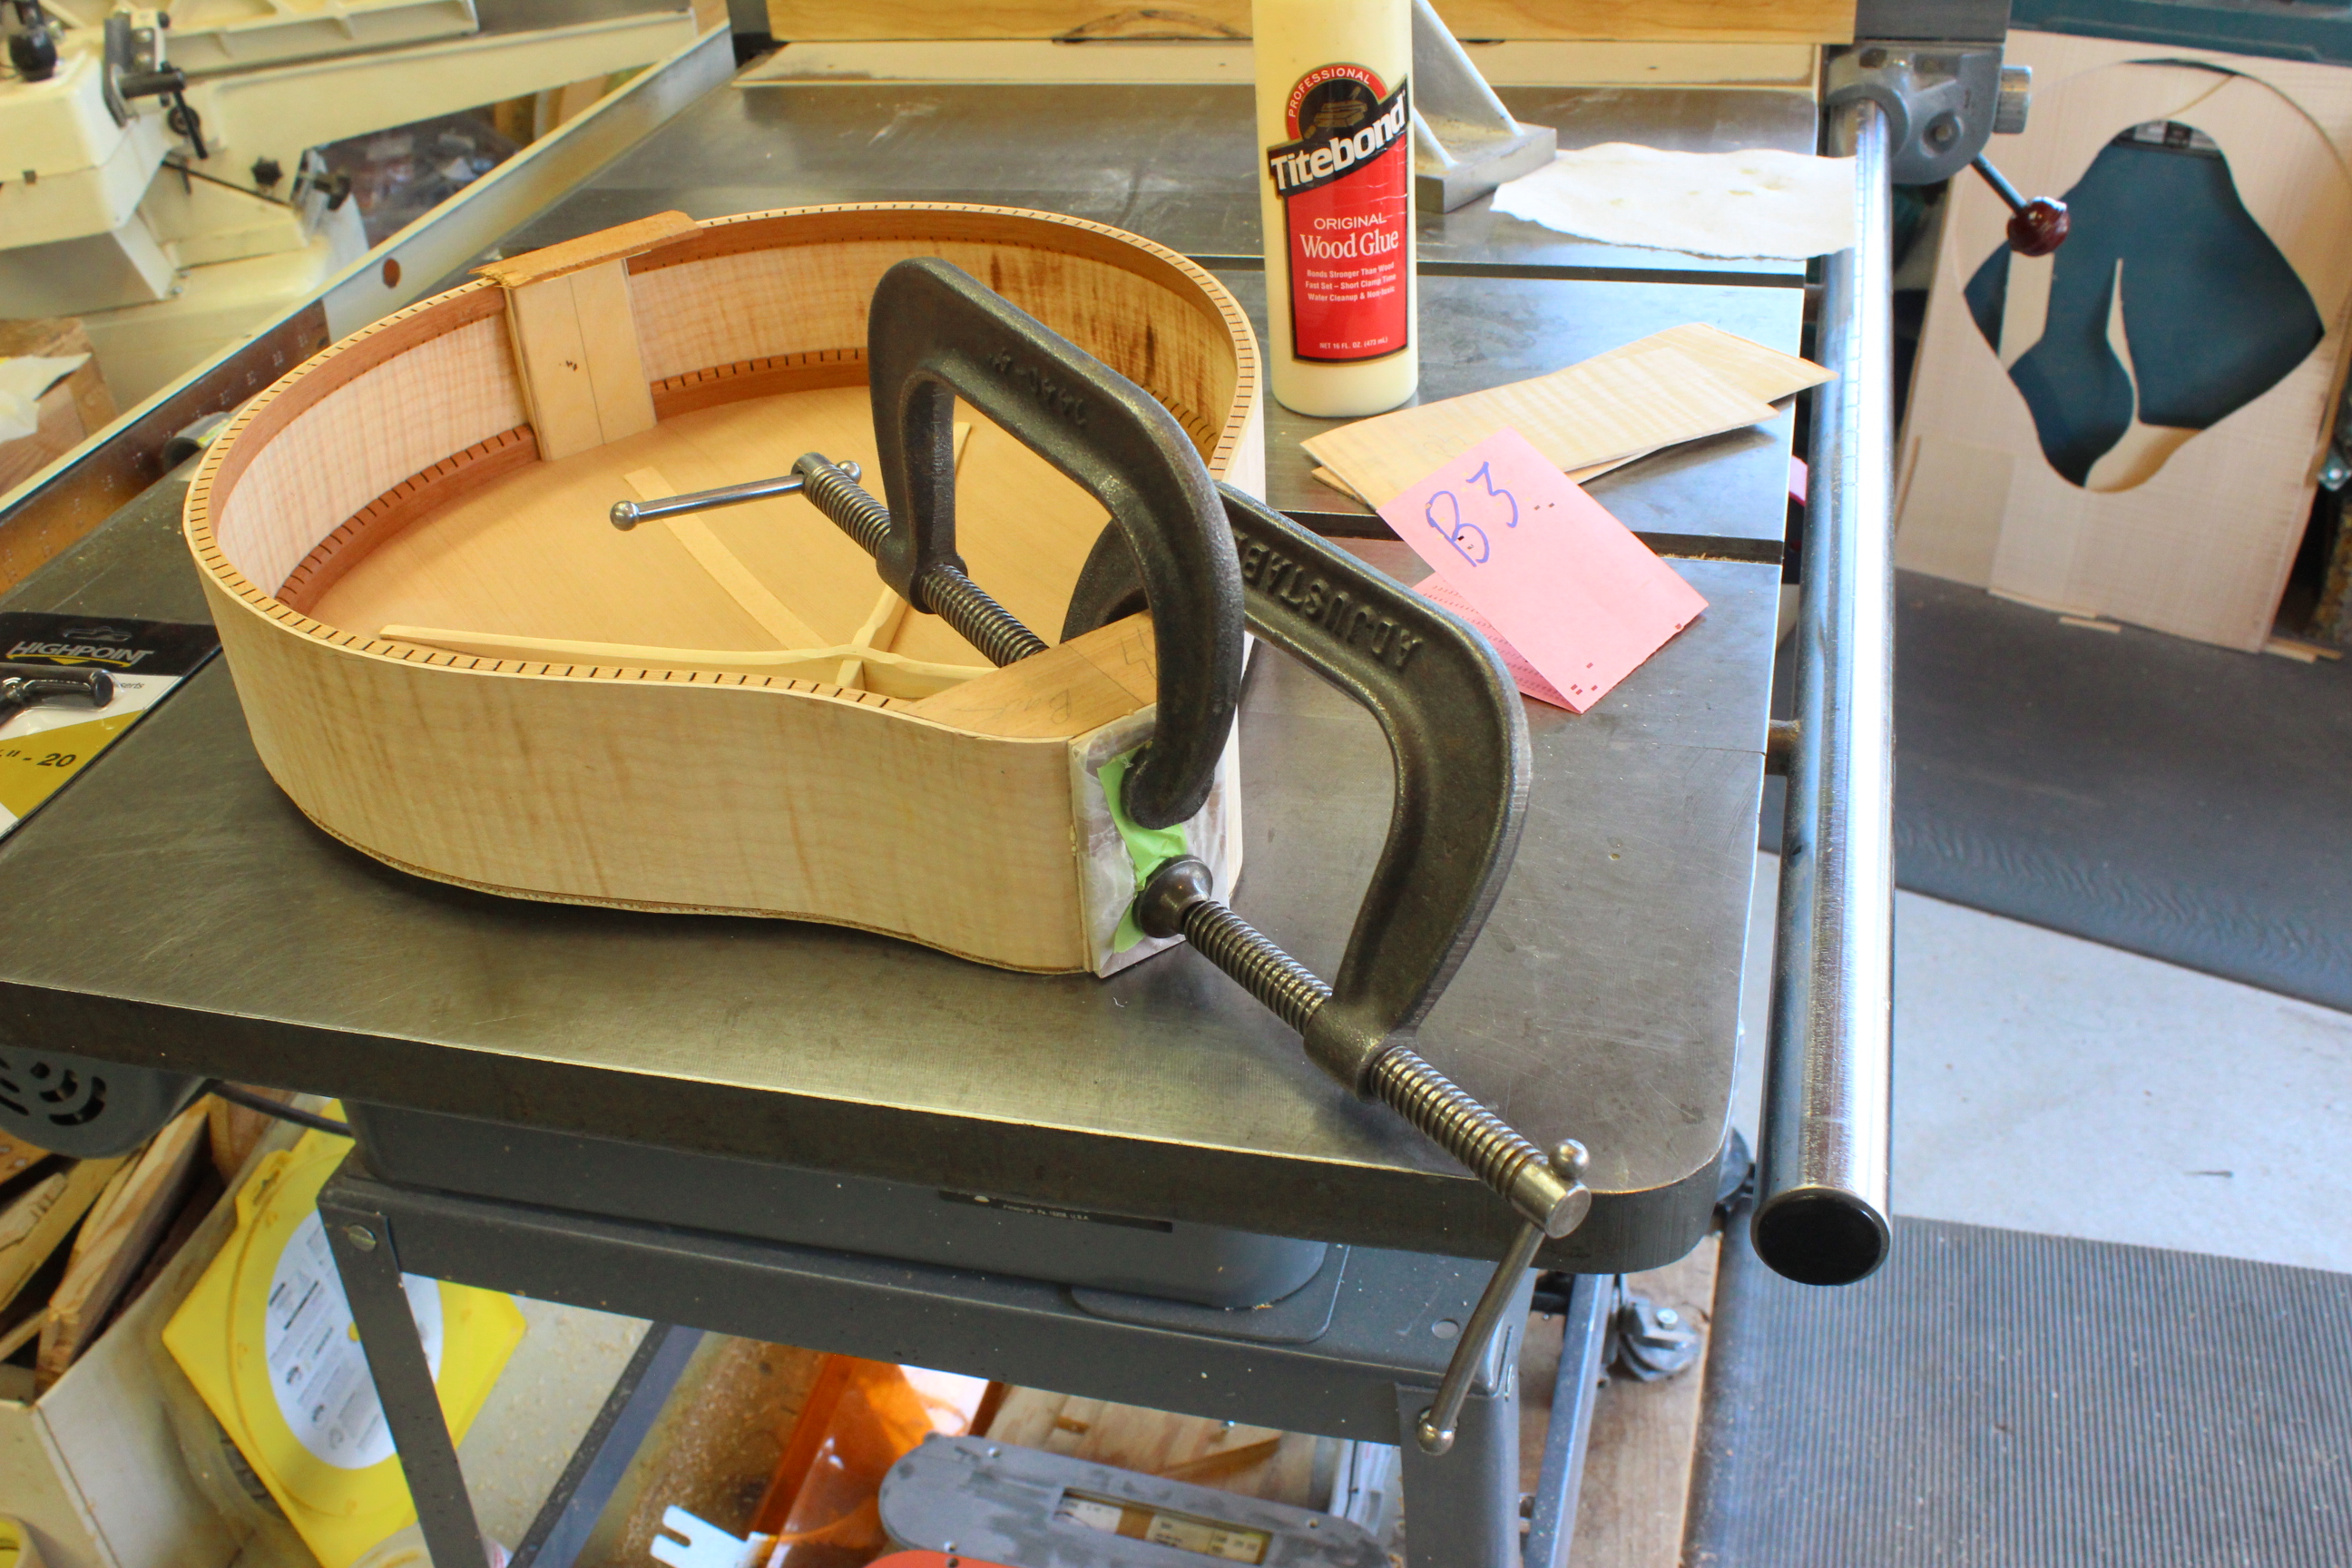
Next I cut off the body as square as I can. I've marked the cut line on the top trued to the center line of the instrument. Since this exposes the raw surfaces of the head block and the sides I cover that with a matching piece of side material off-cut.
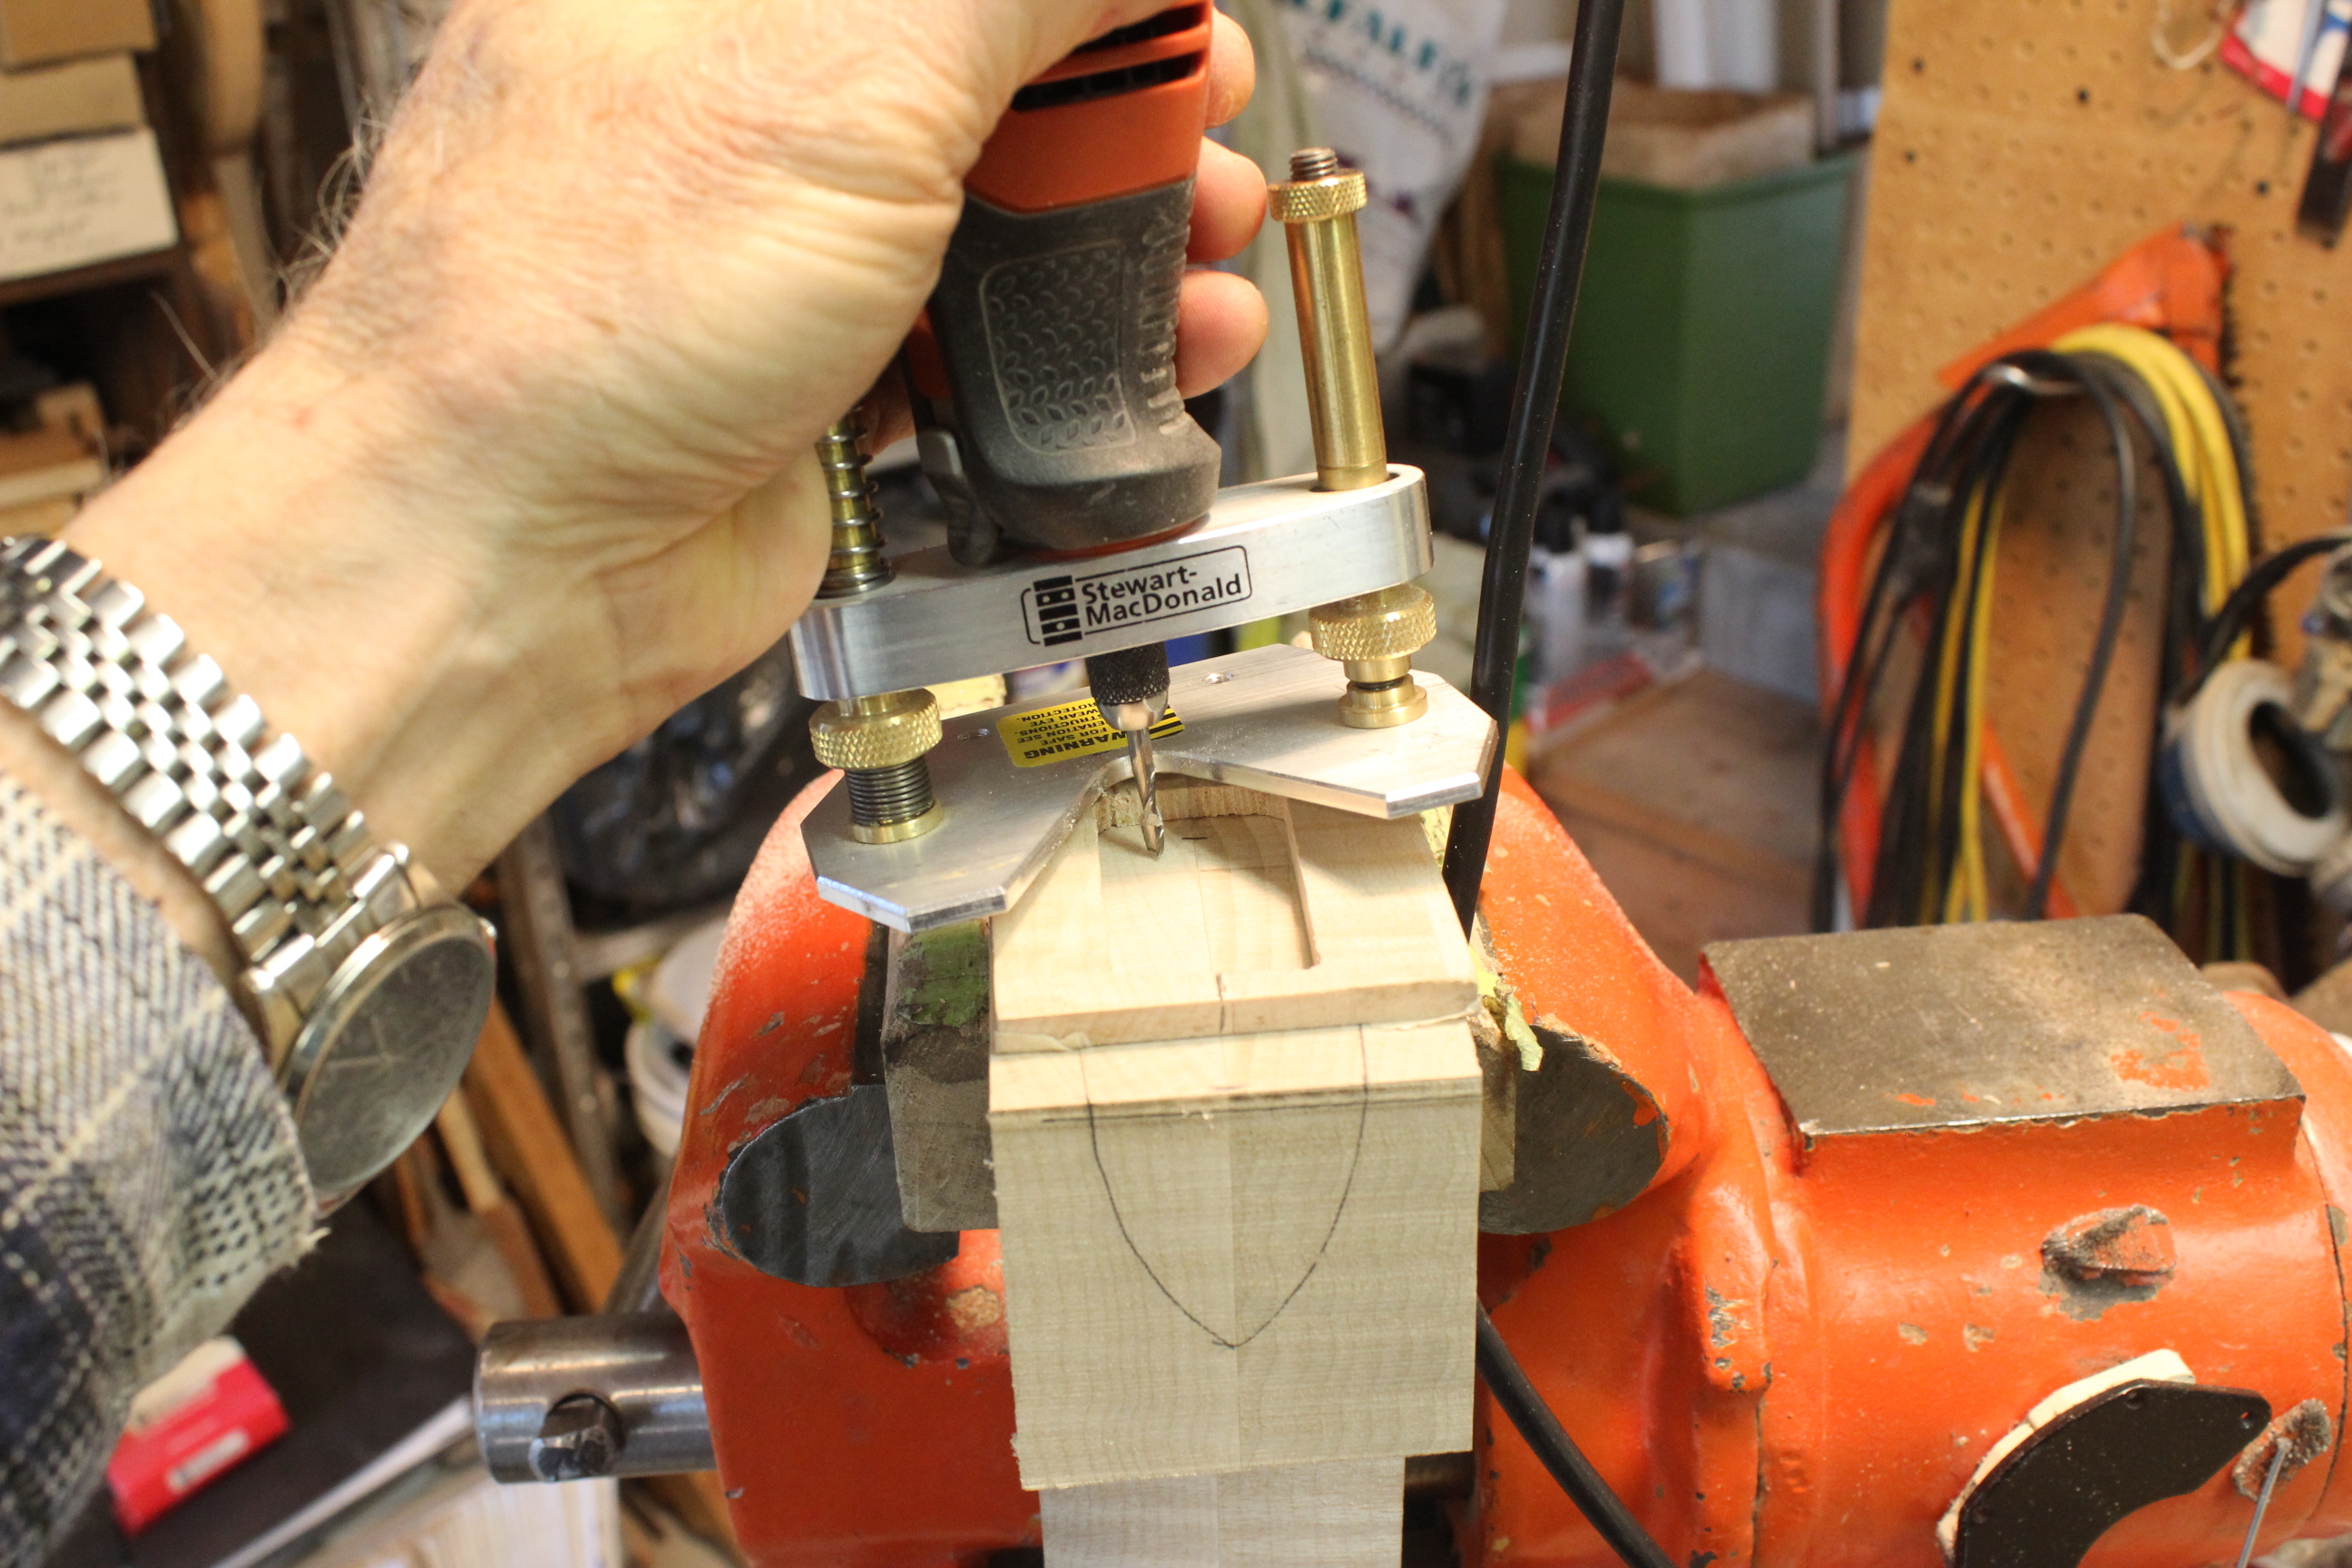
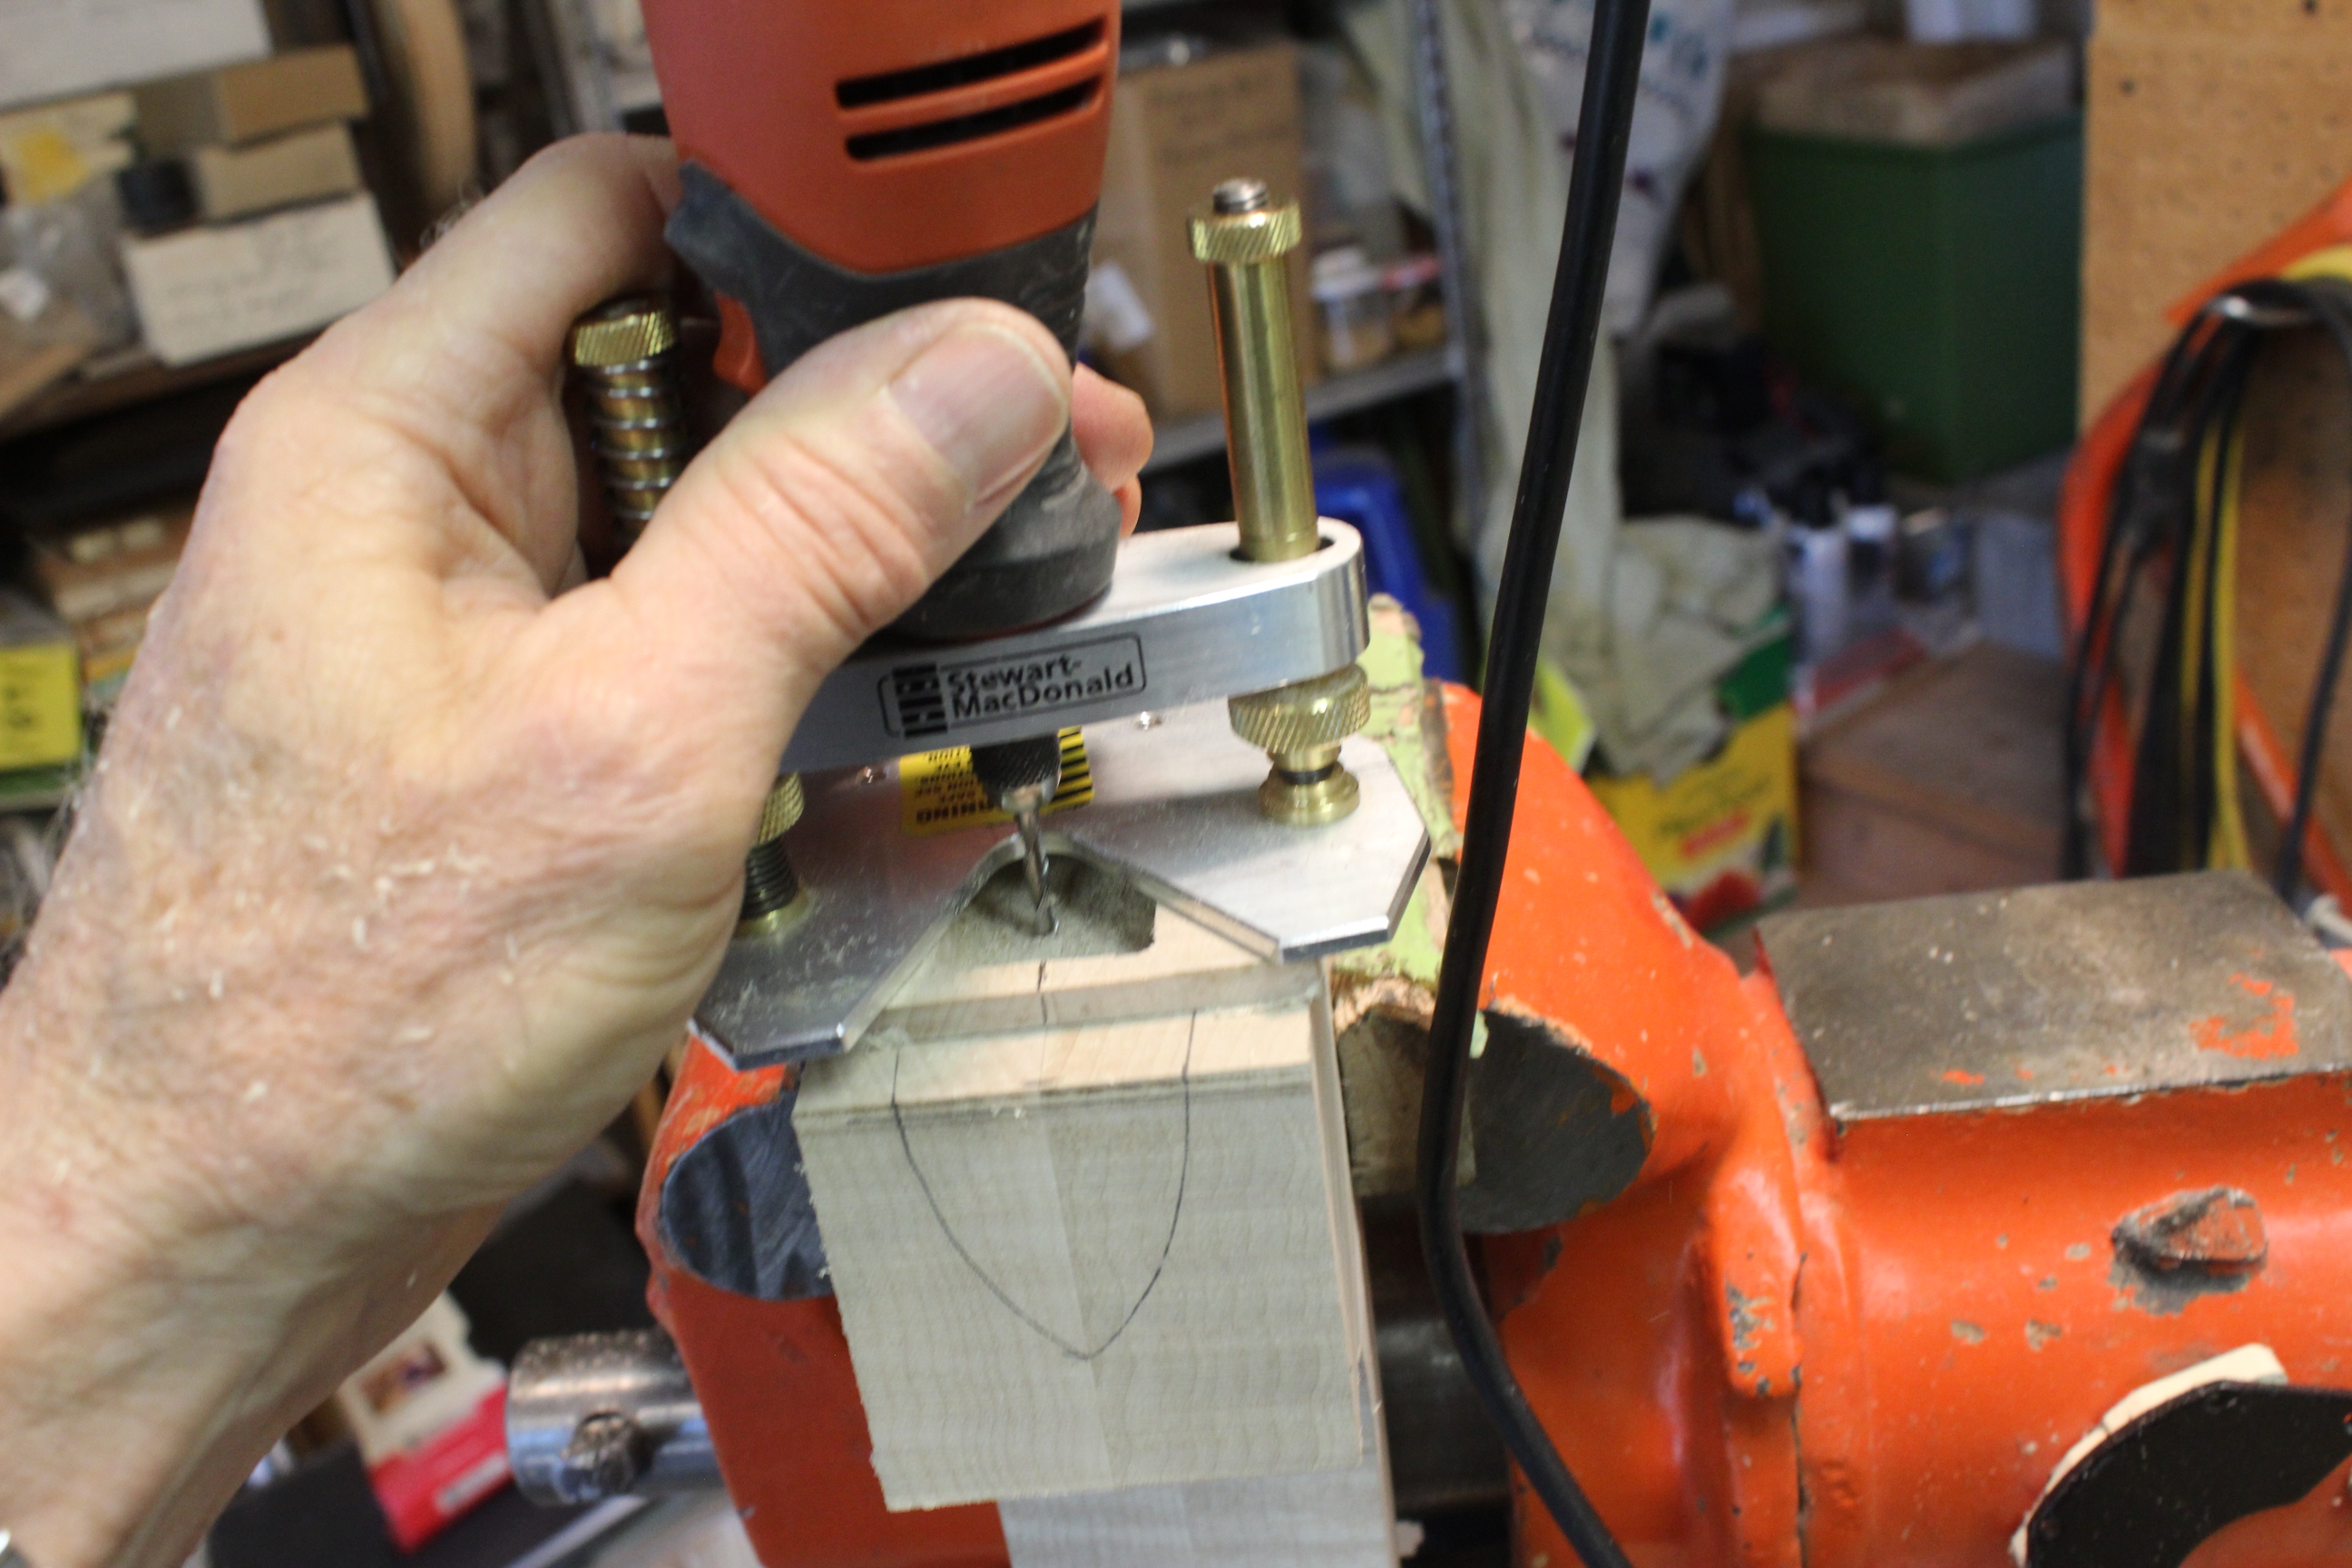
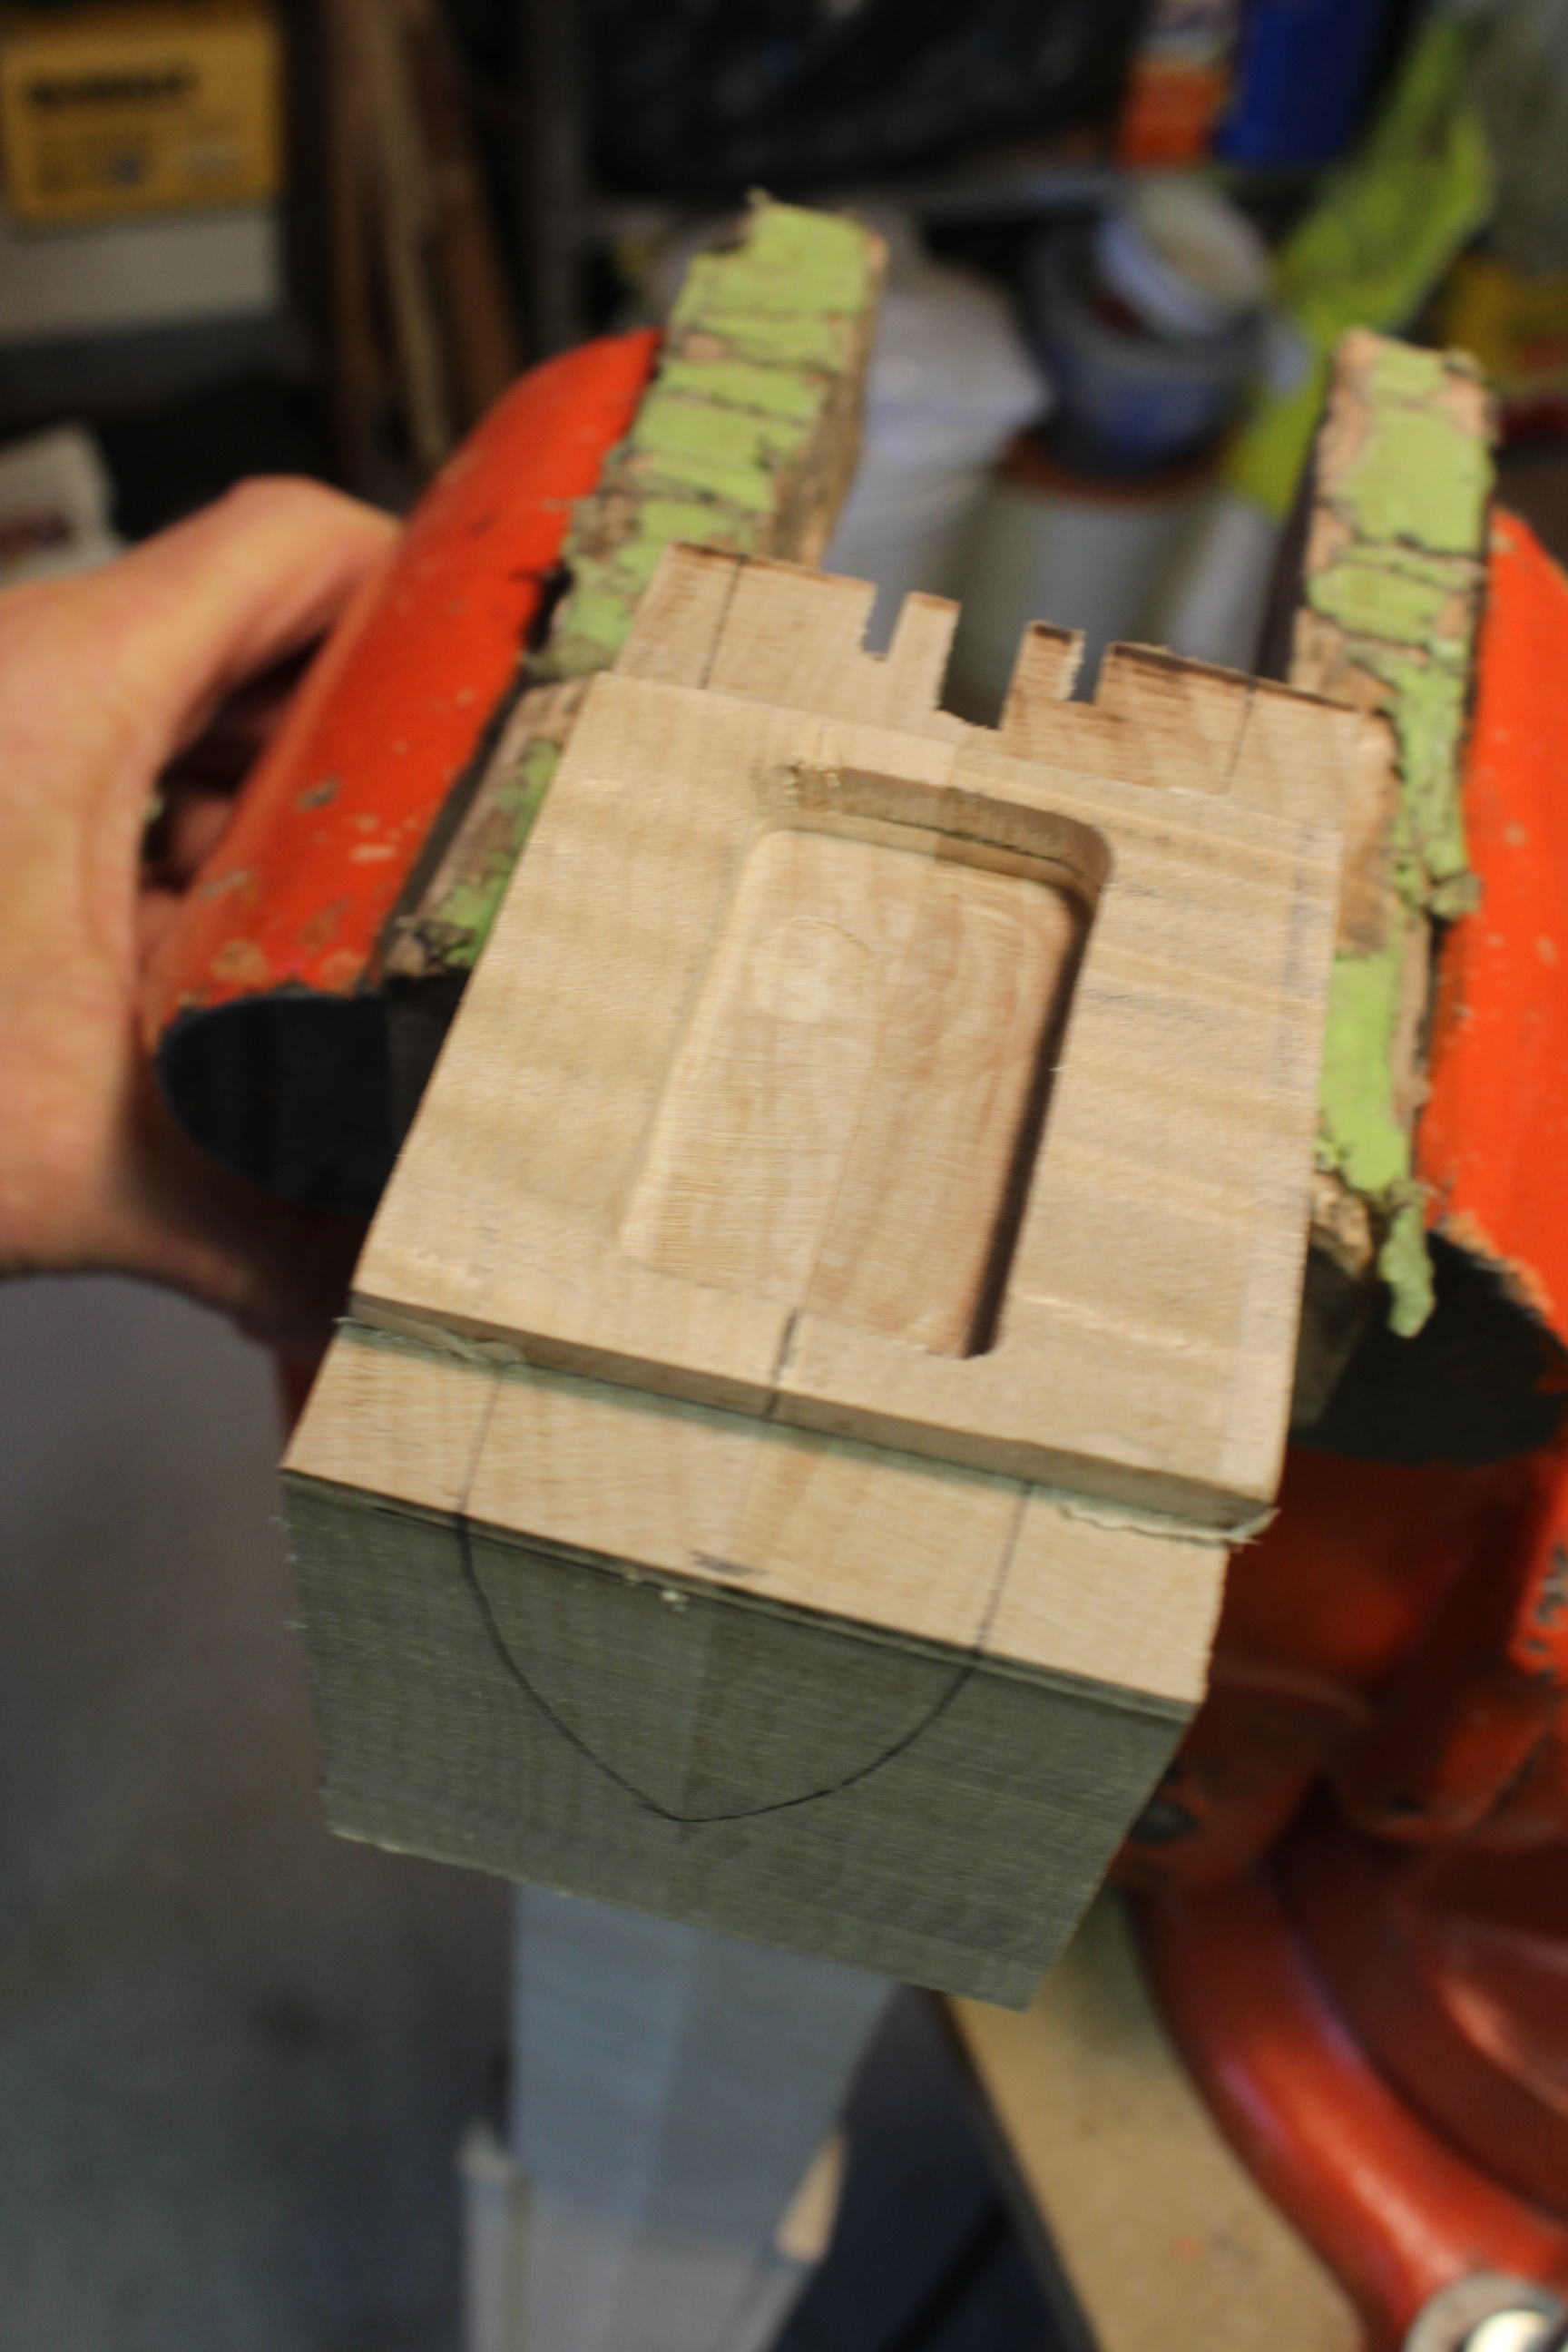
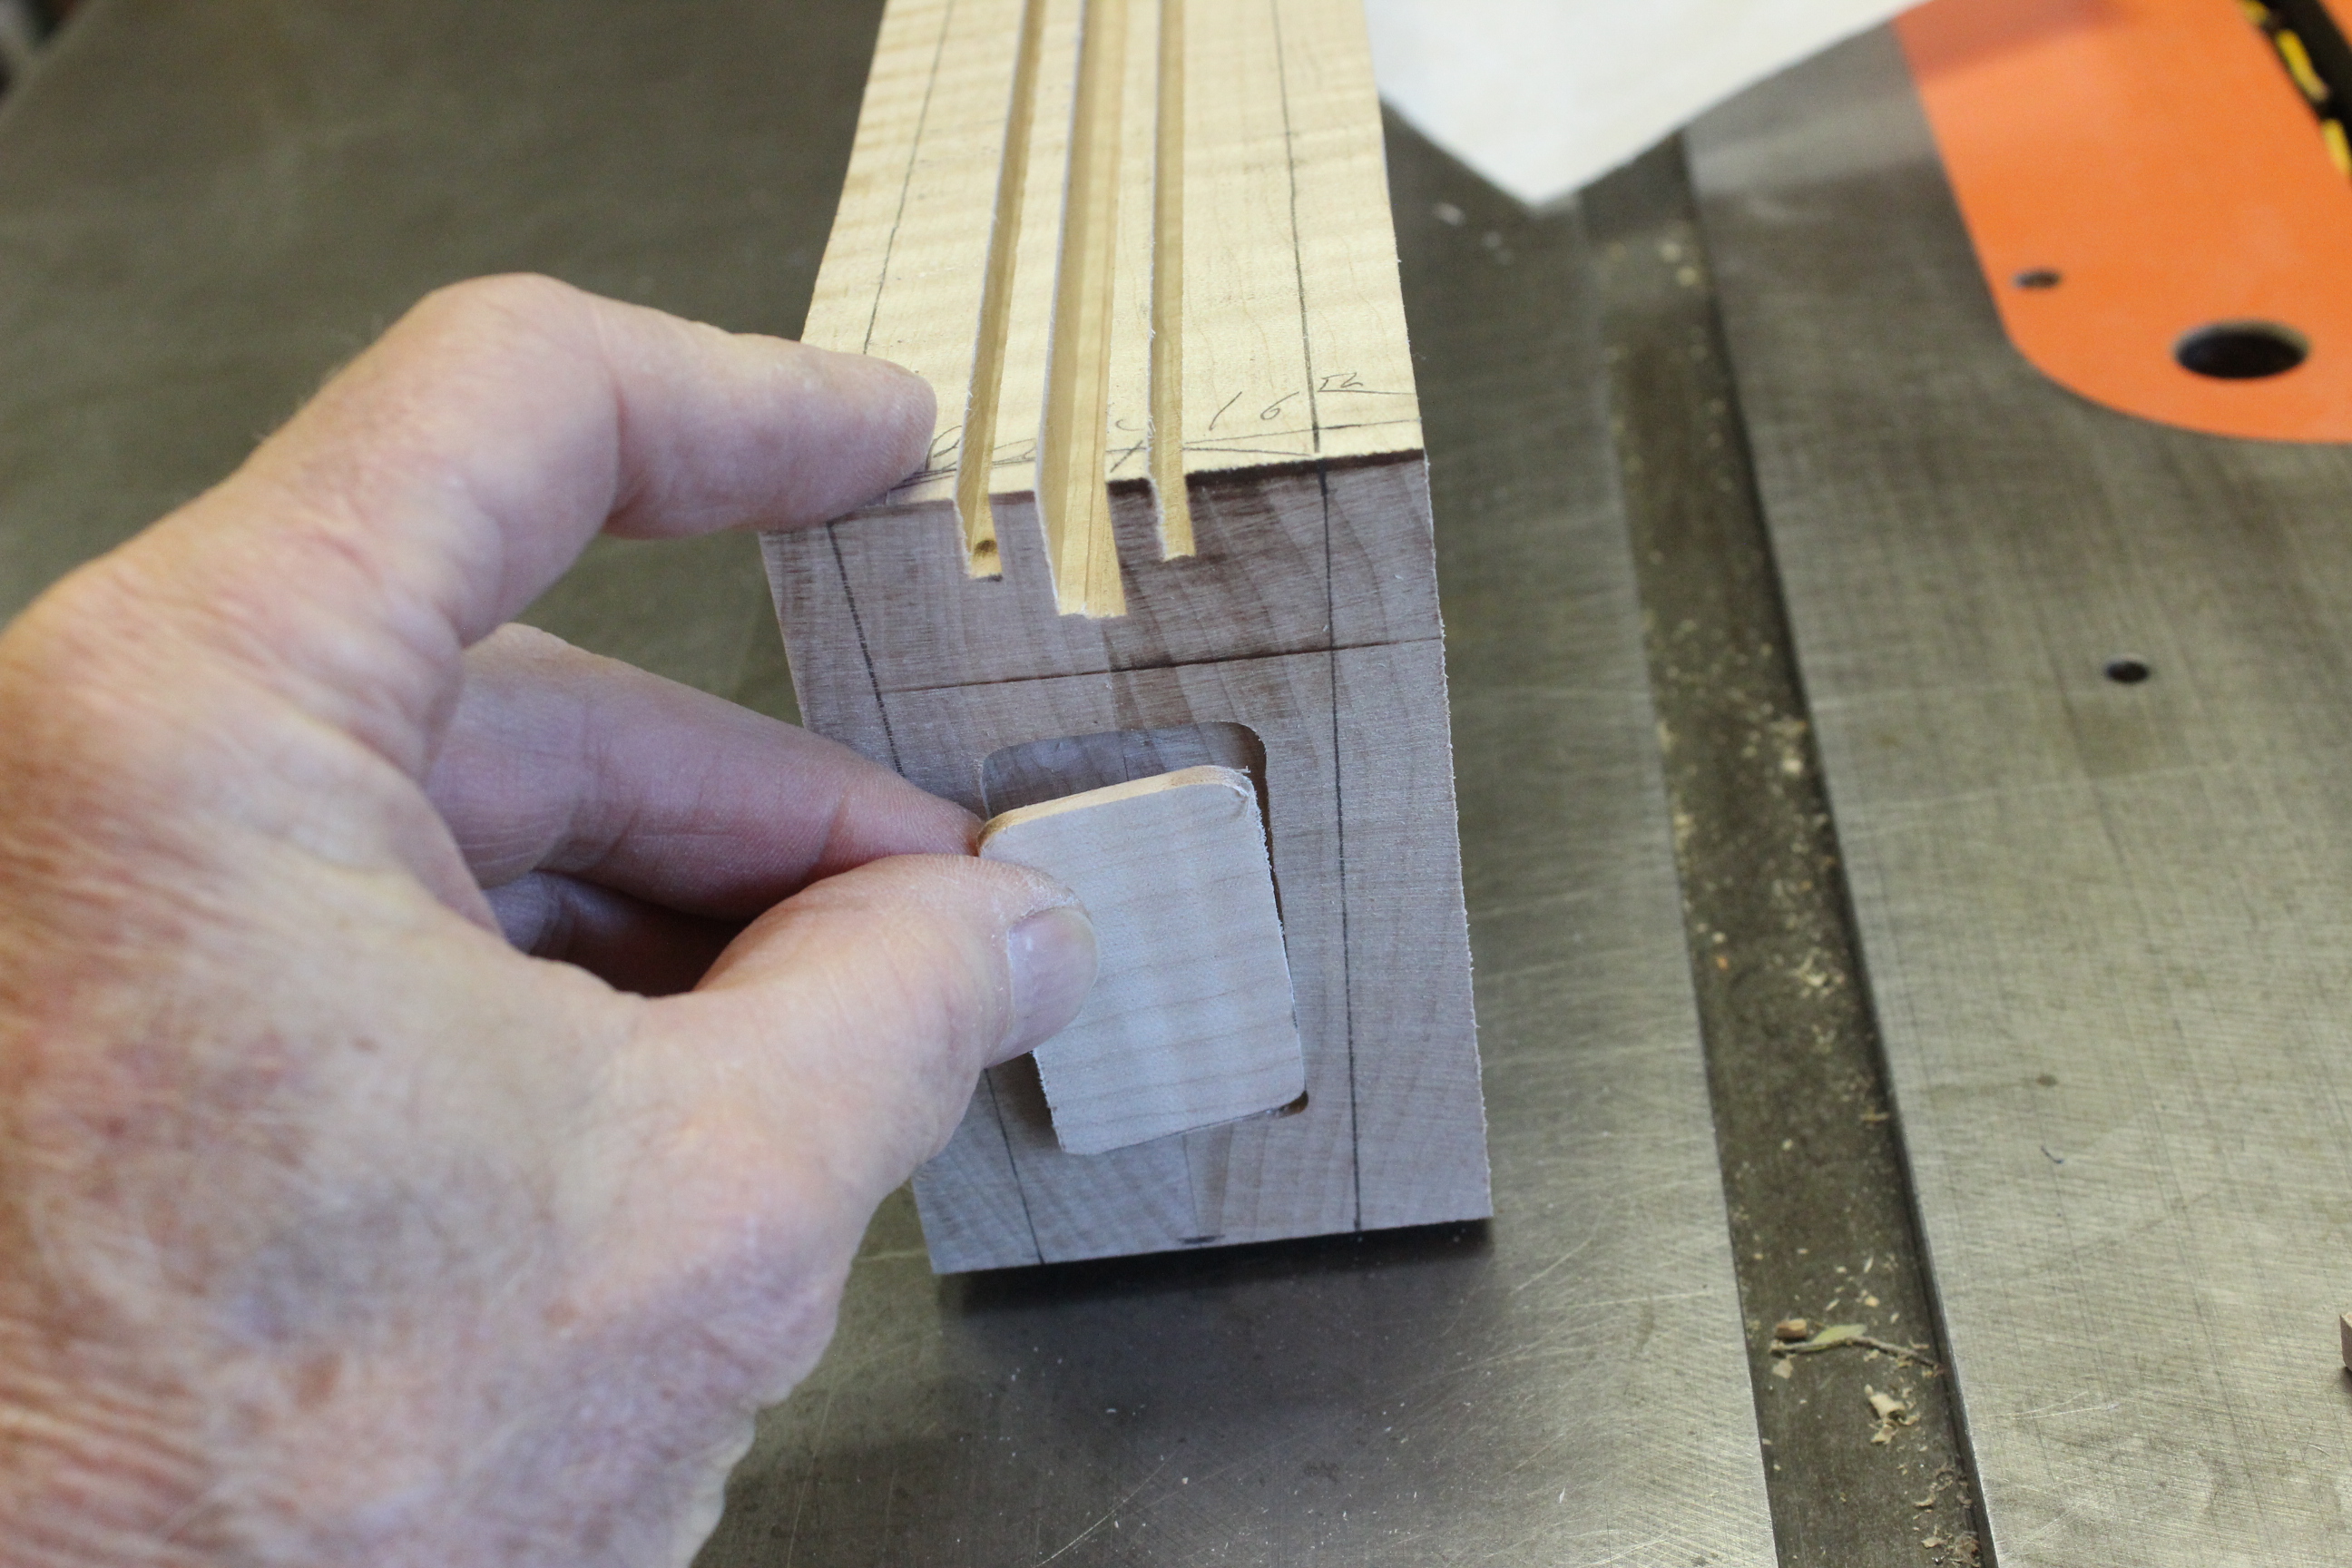
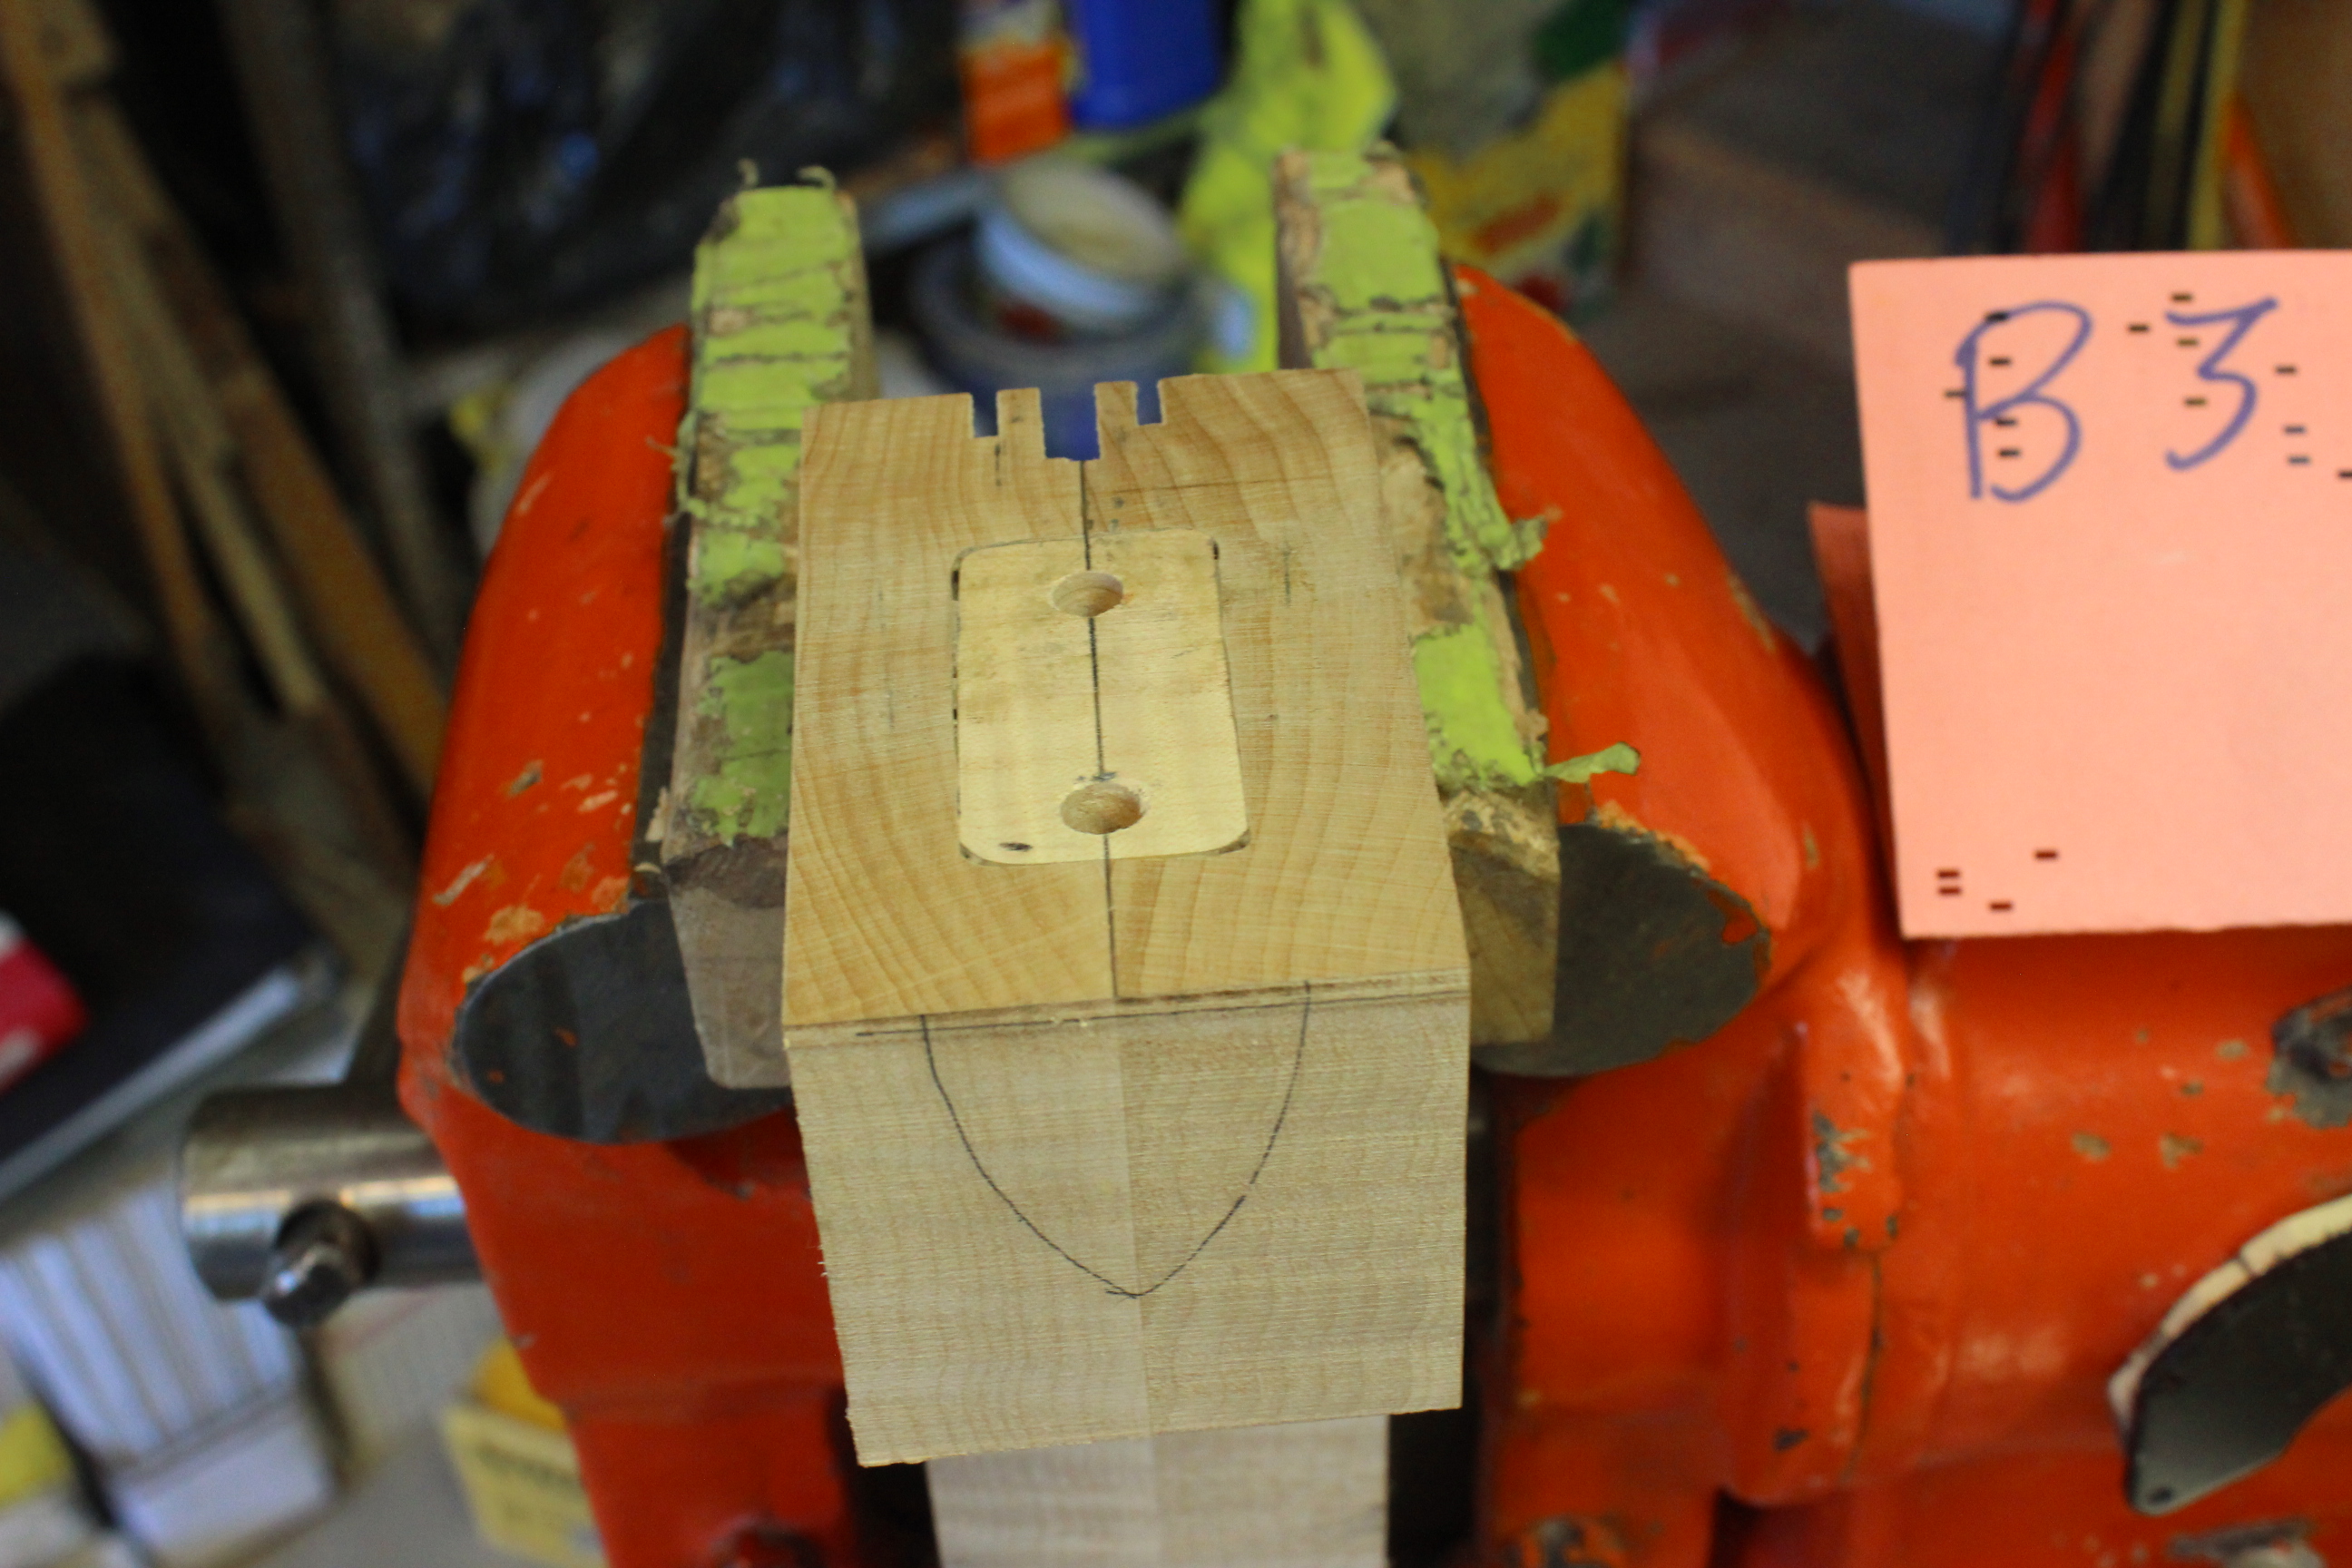
The neck wood at the butt is end grain so there is a chance that it might pull out or crack with the type of anchor that I use. Therefore I put in a graft of cross grain wood that reinforces that area. I'm using yet another Super-High-Teck router guide jig for this that I just double-stick tape in place. Here I just run the smooth part of the Dremel bit up to it to act as a guide and run around and cut out some material.
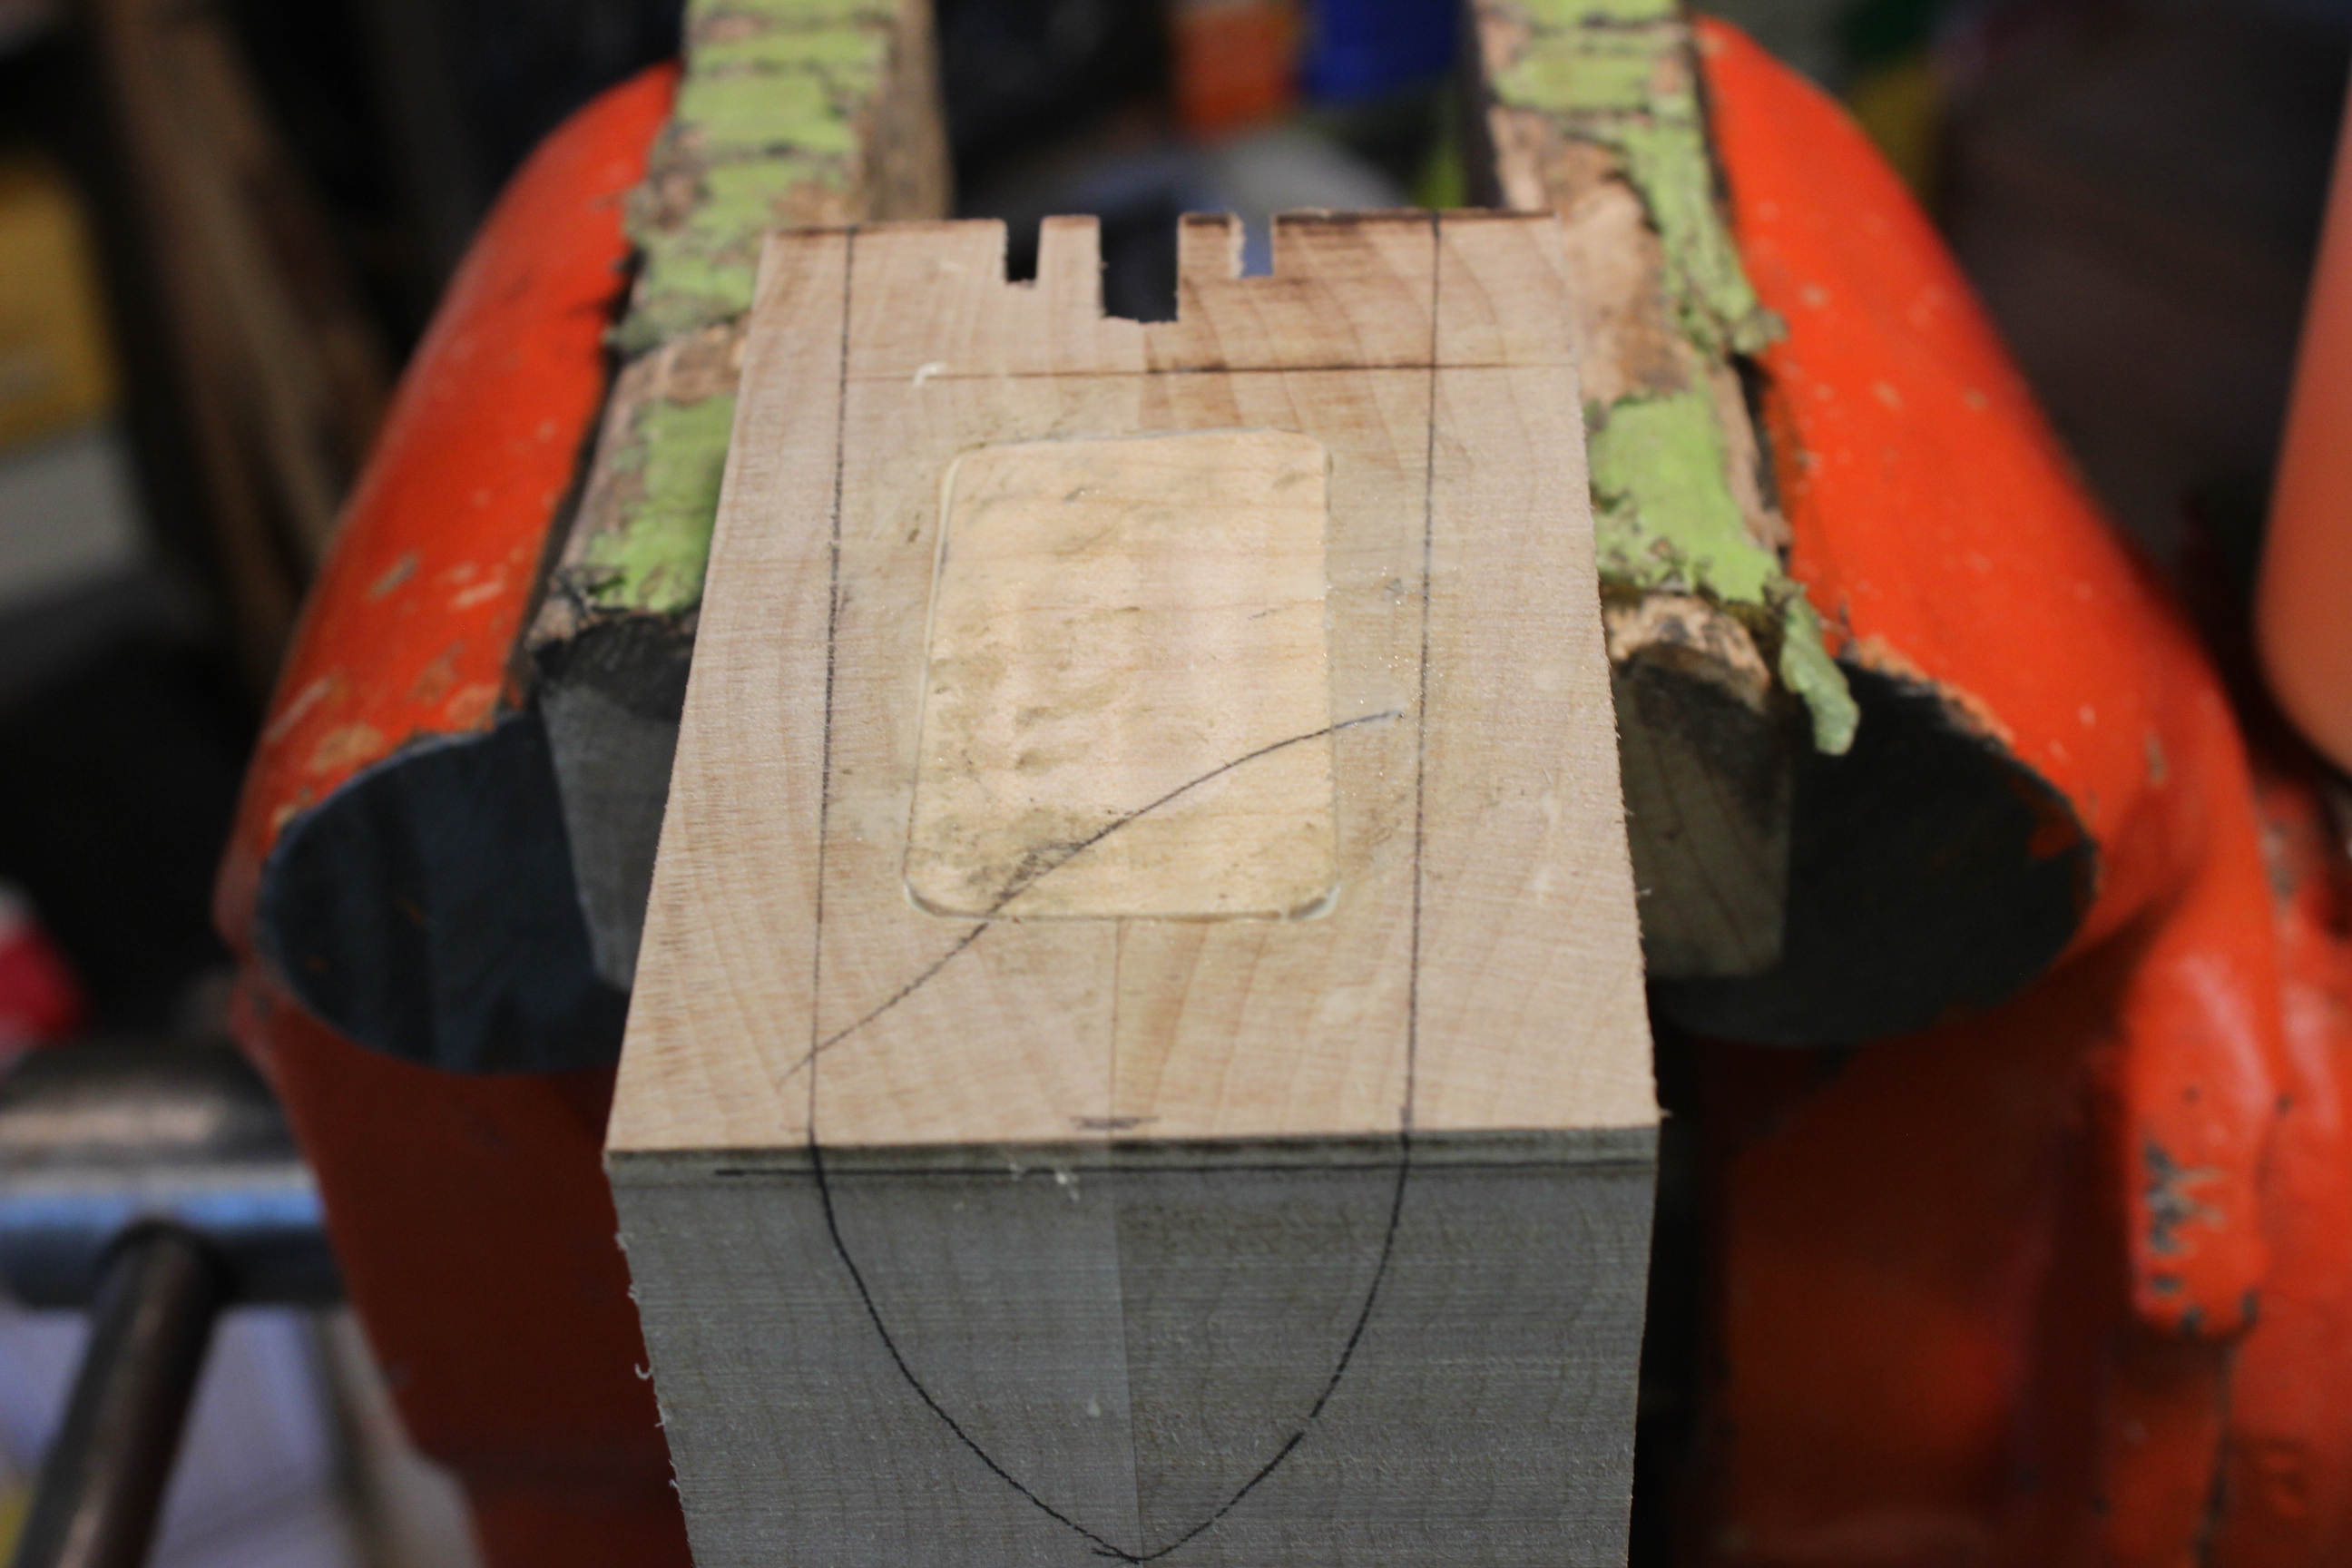
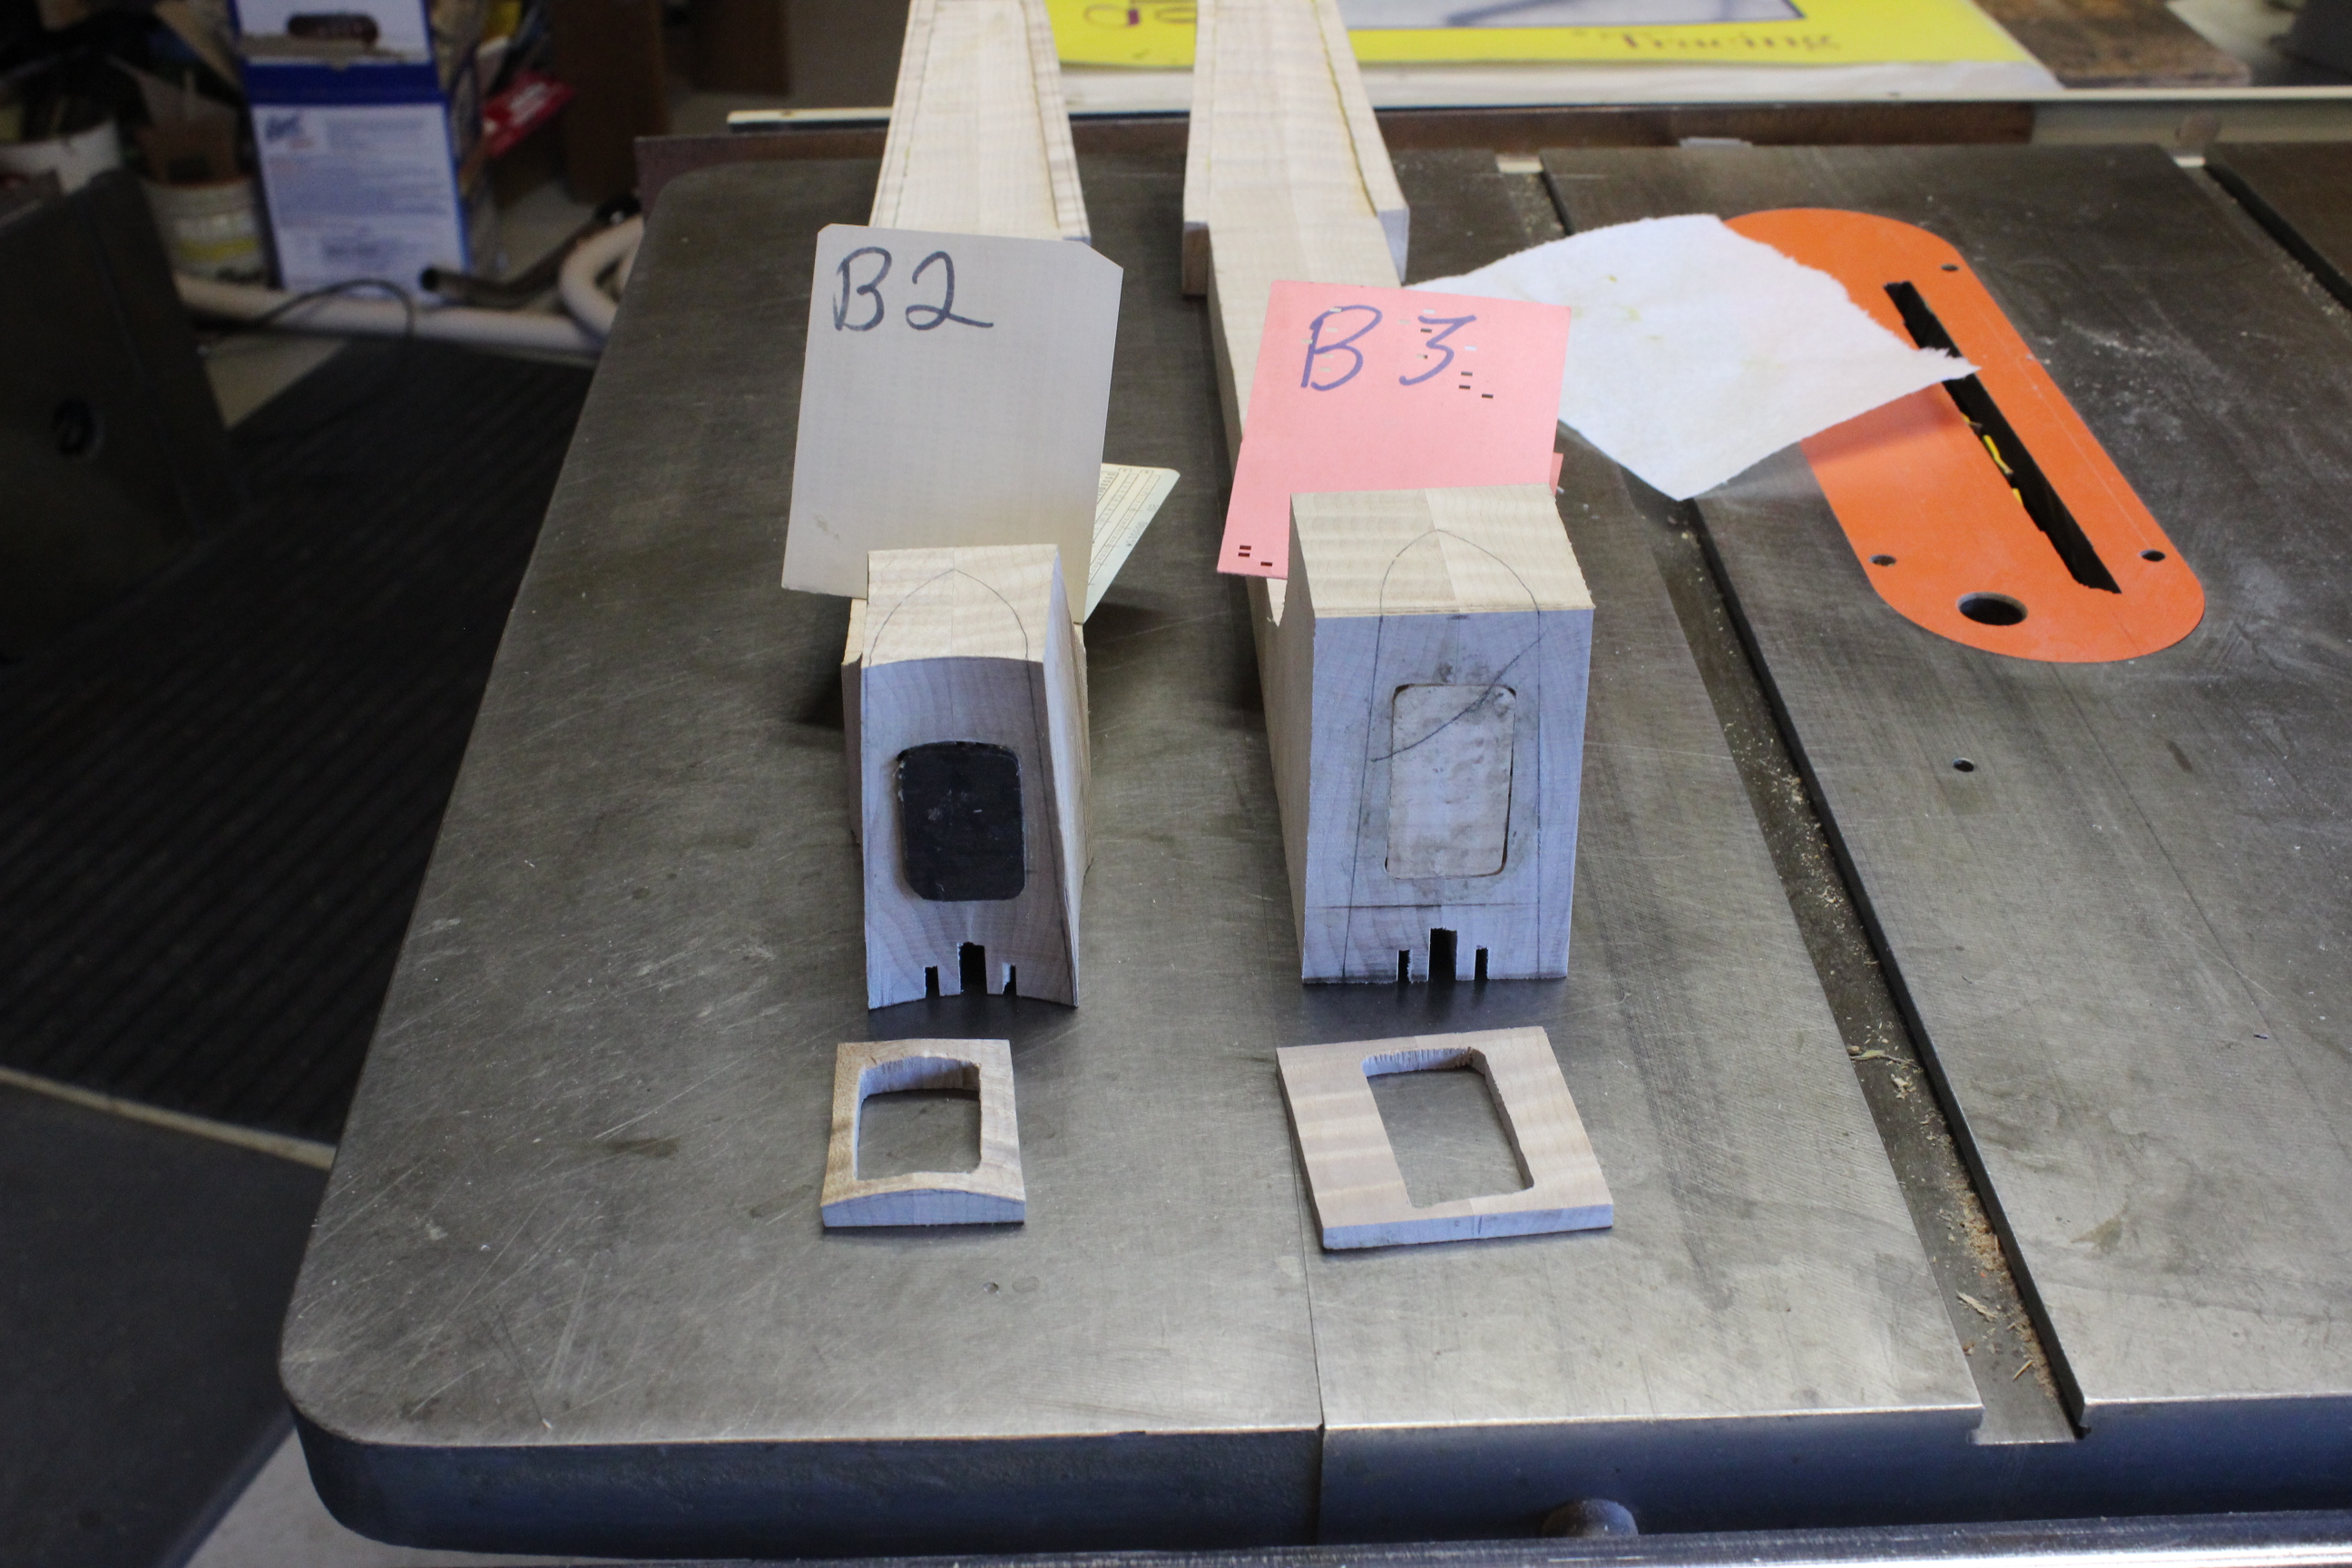
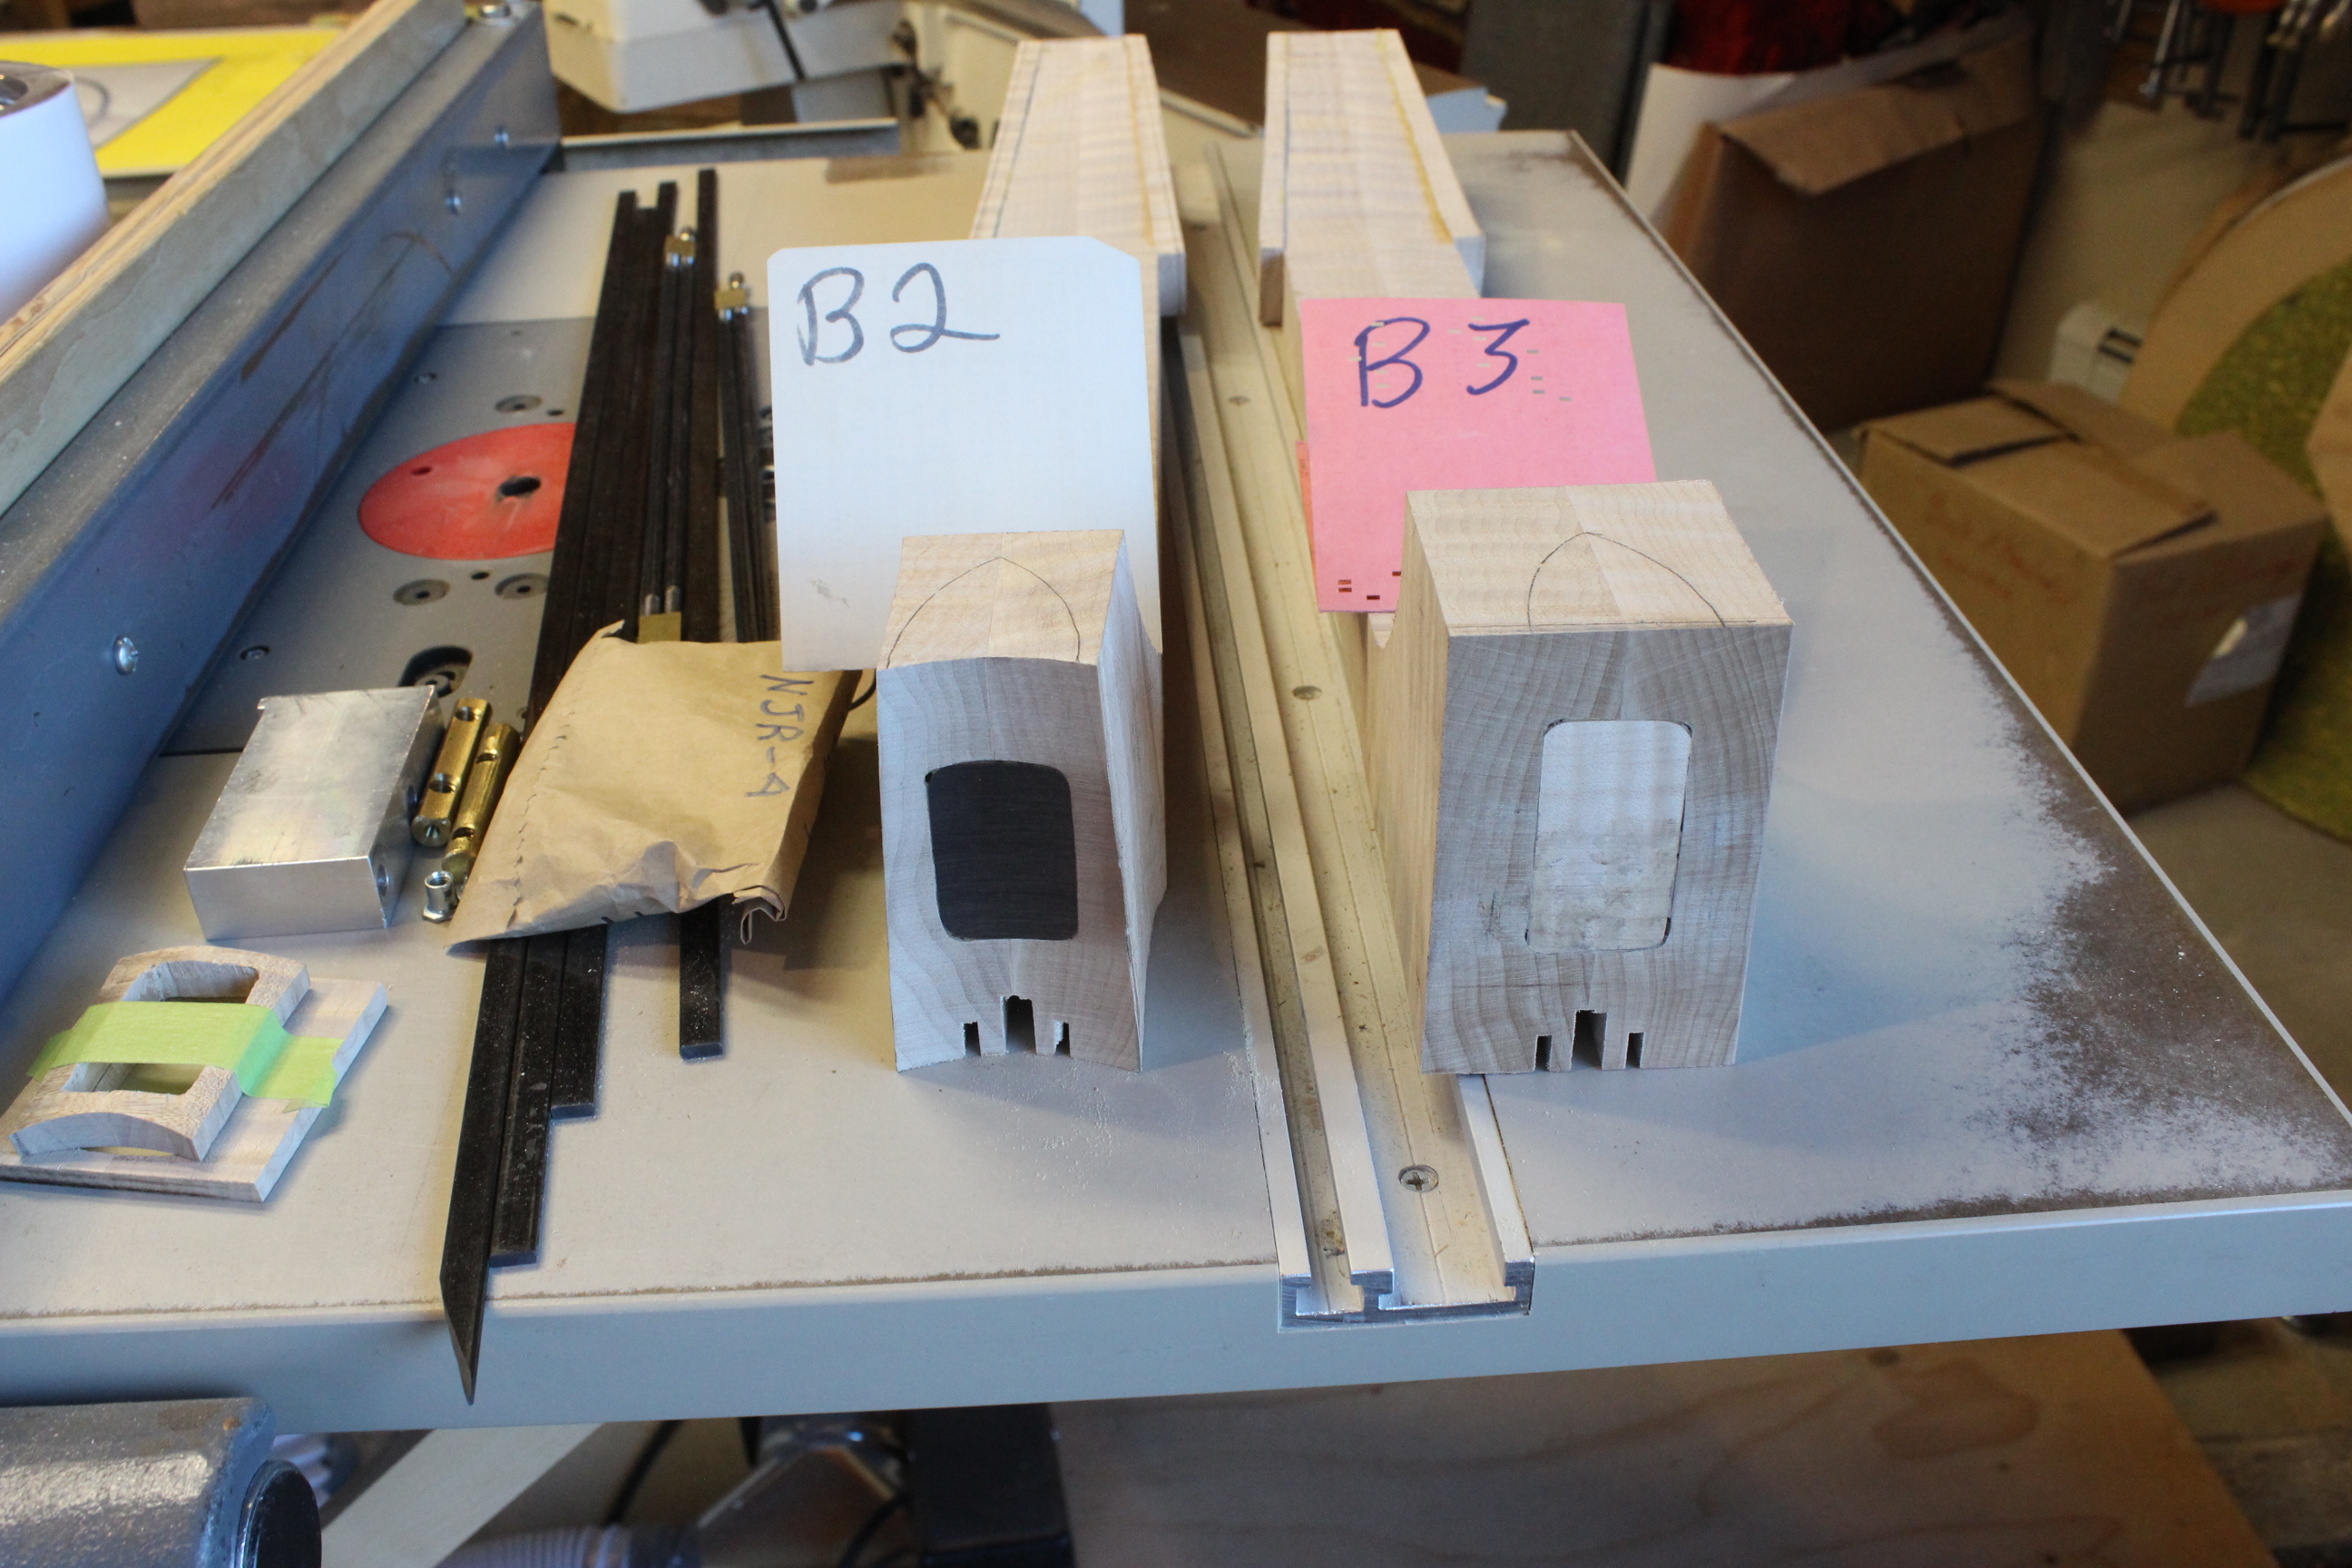
The cross grain piece is shaped and fit and glued in a bit proud. Then I sand off the butt end again being careful not to lose my angle and the flat. The next two photos just show two types of little jigs and the hardware for the upcoming steps.
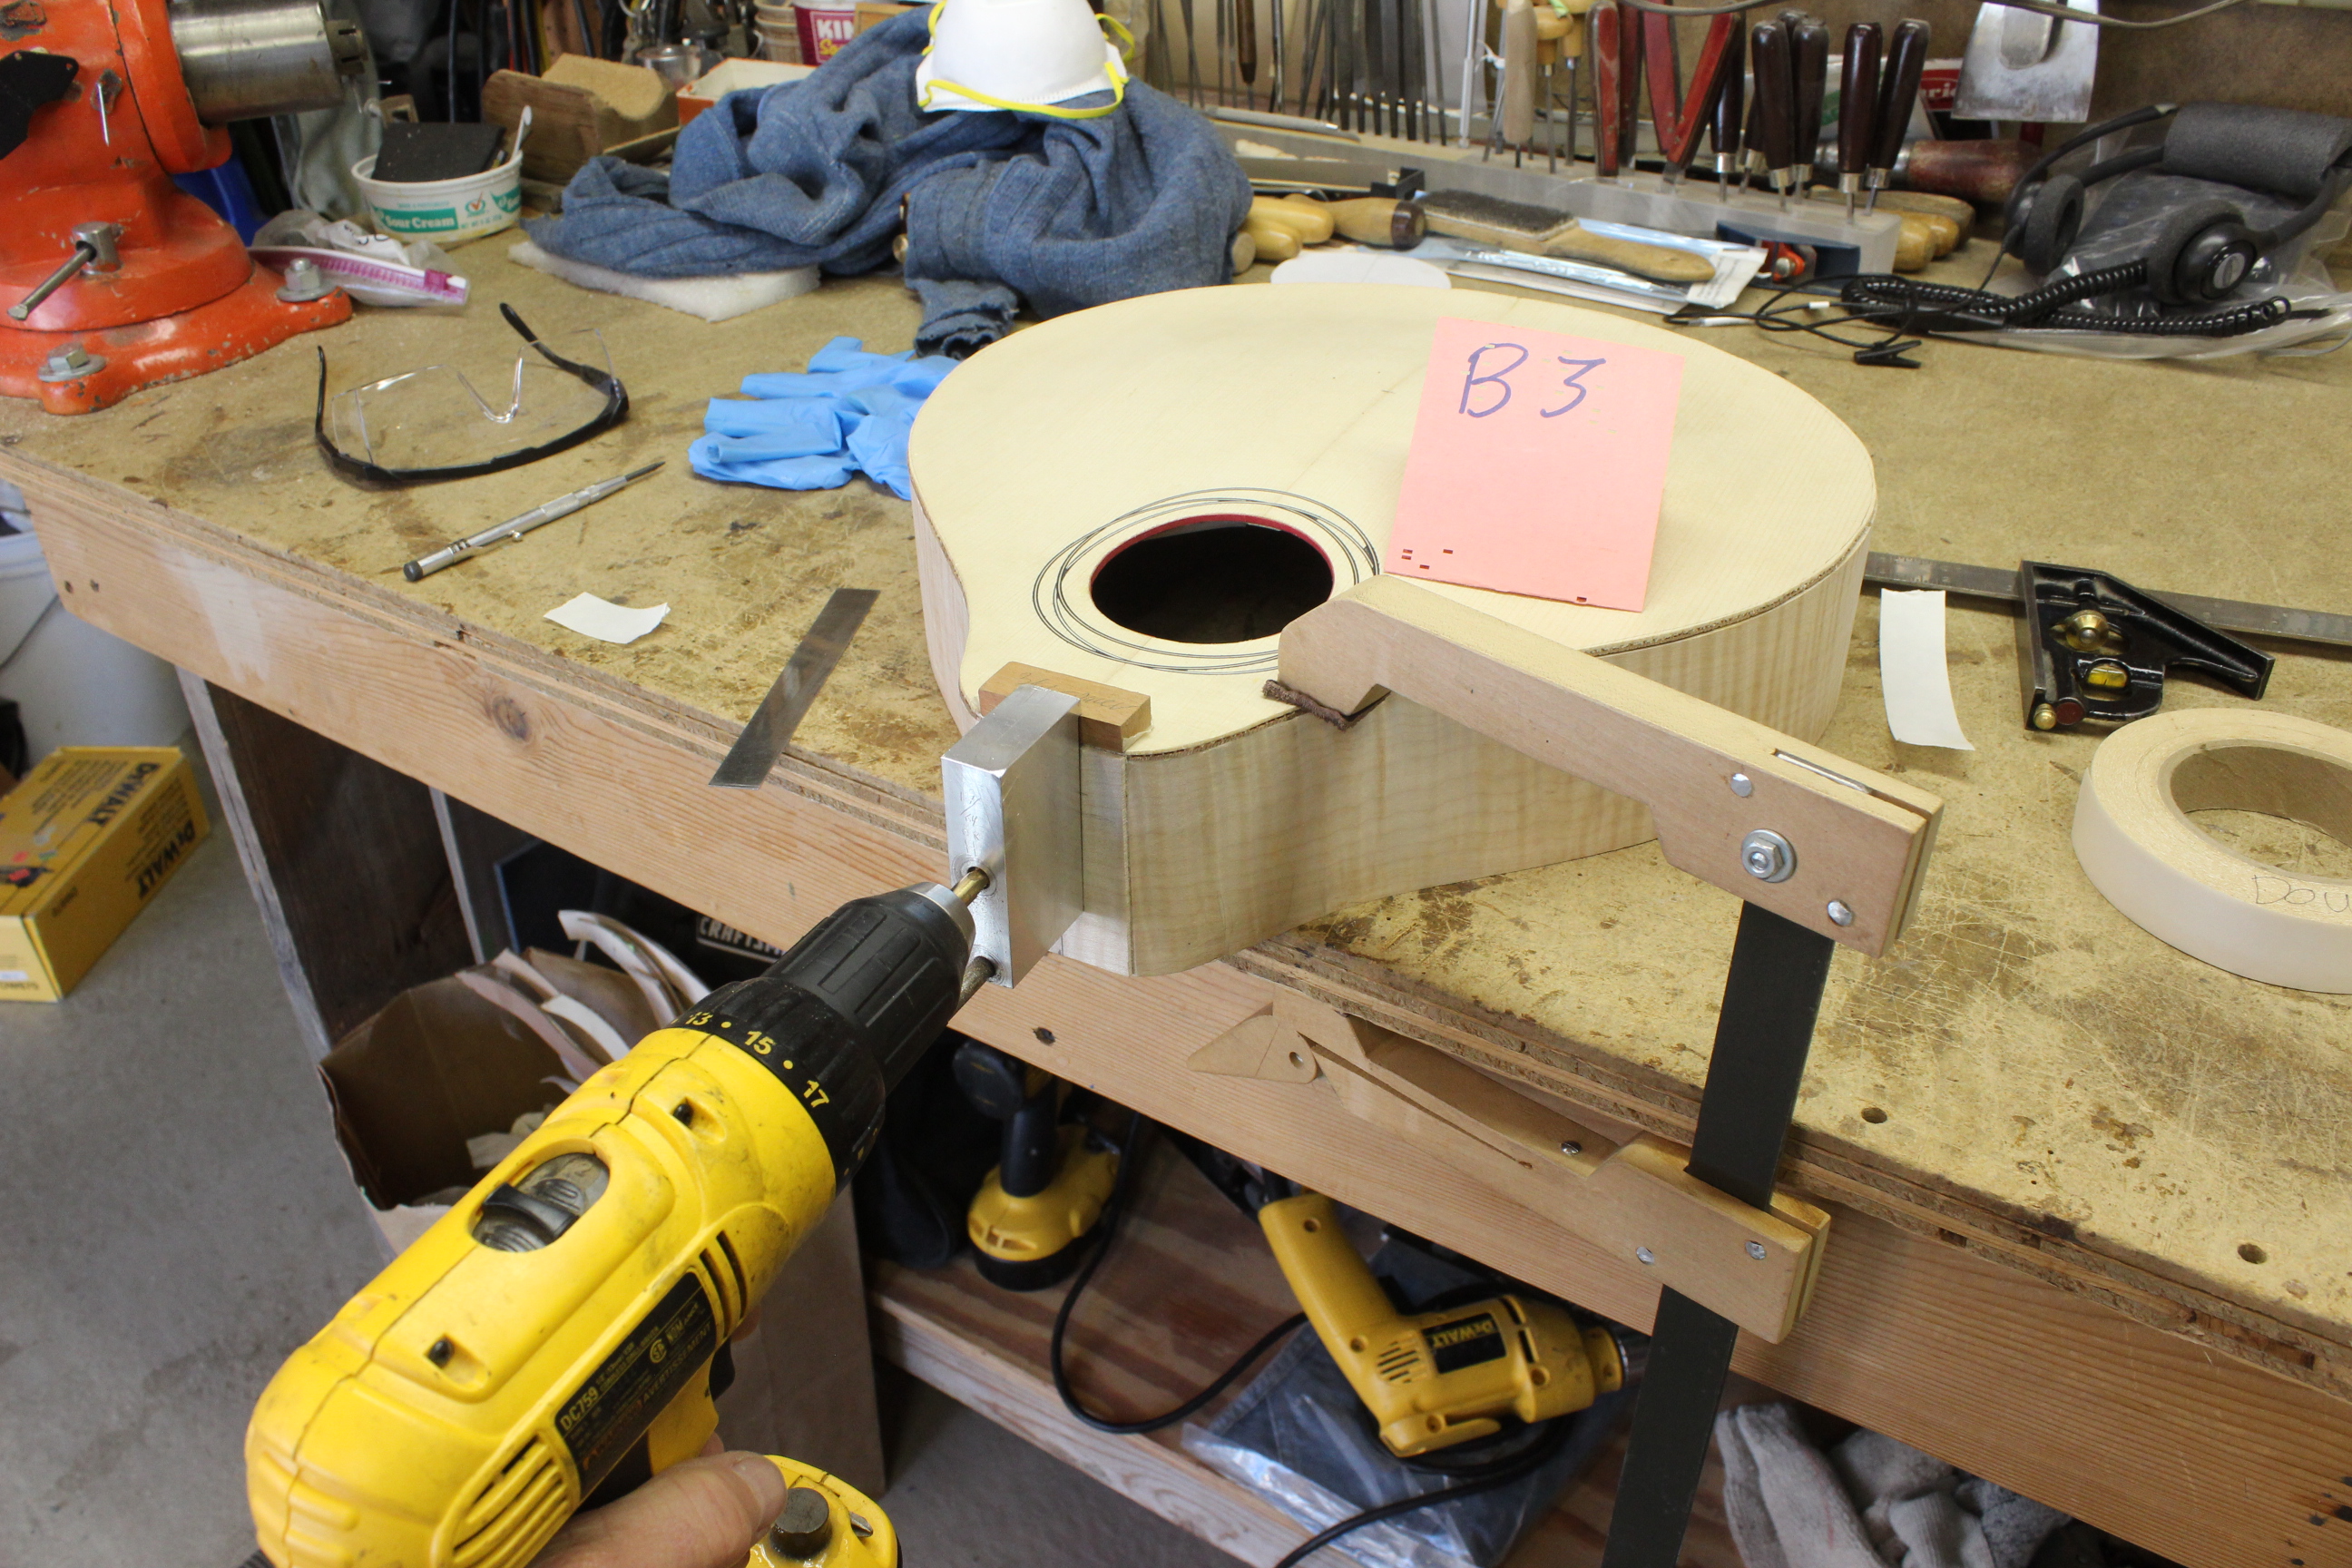
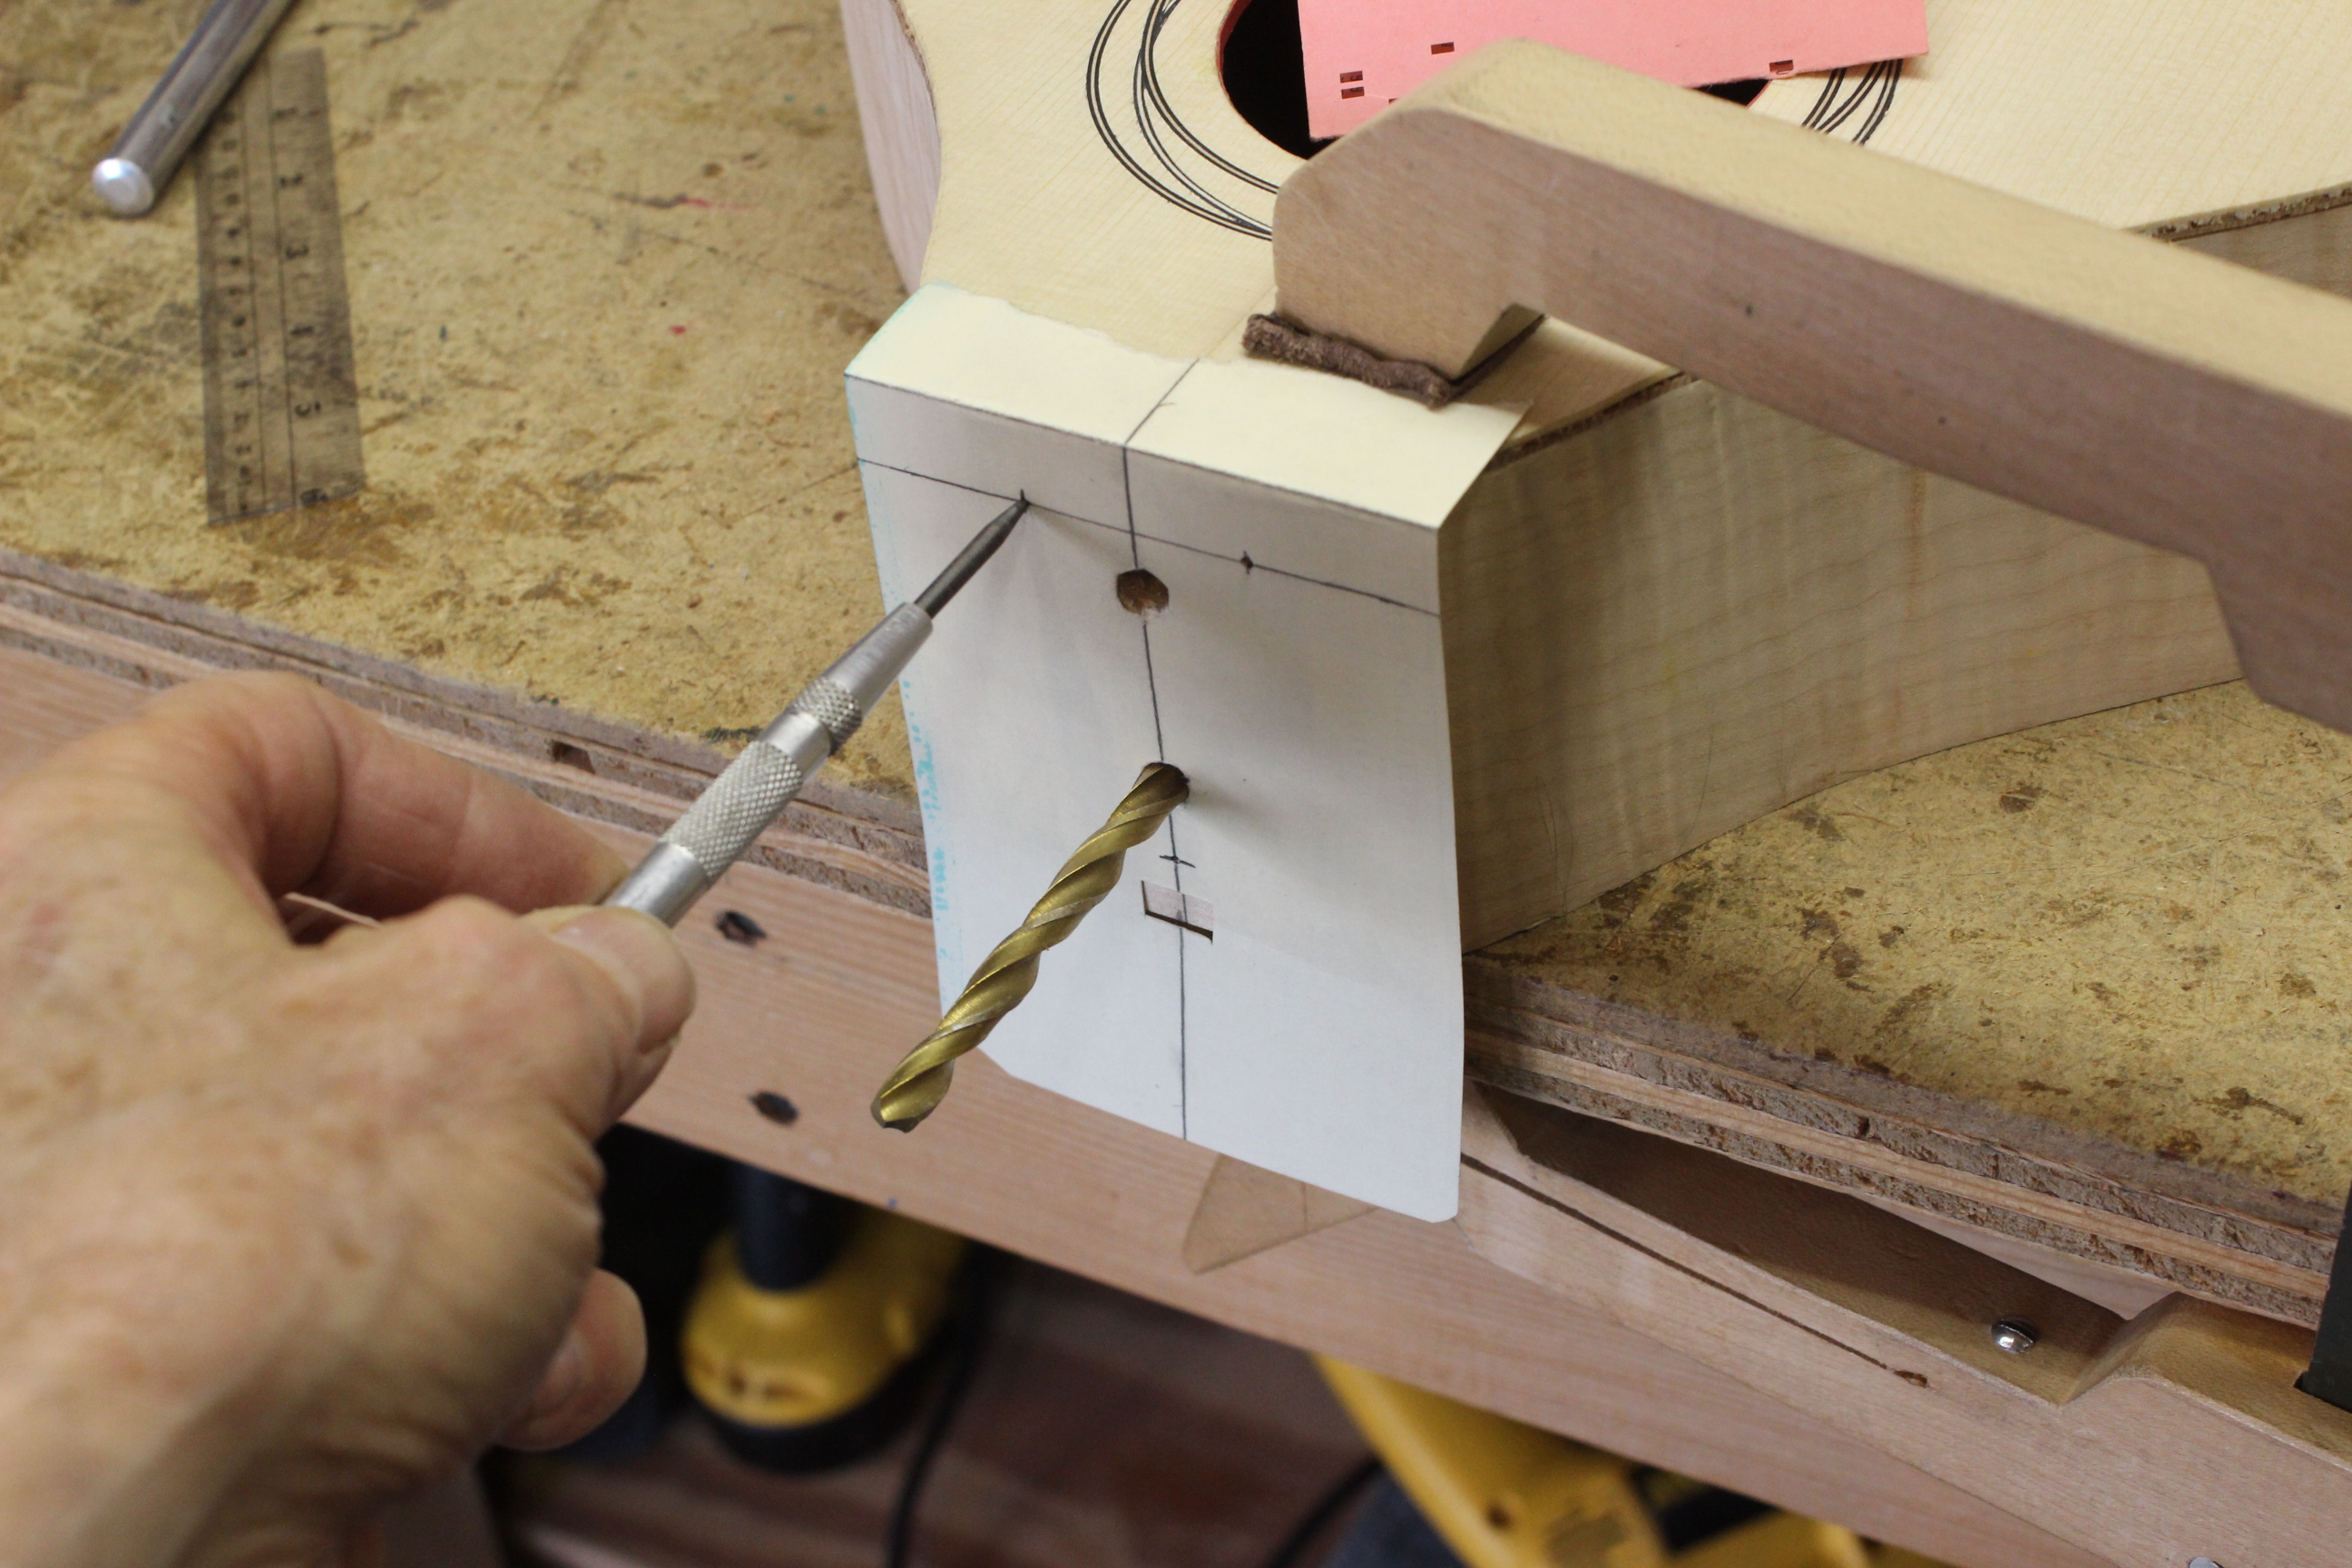
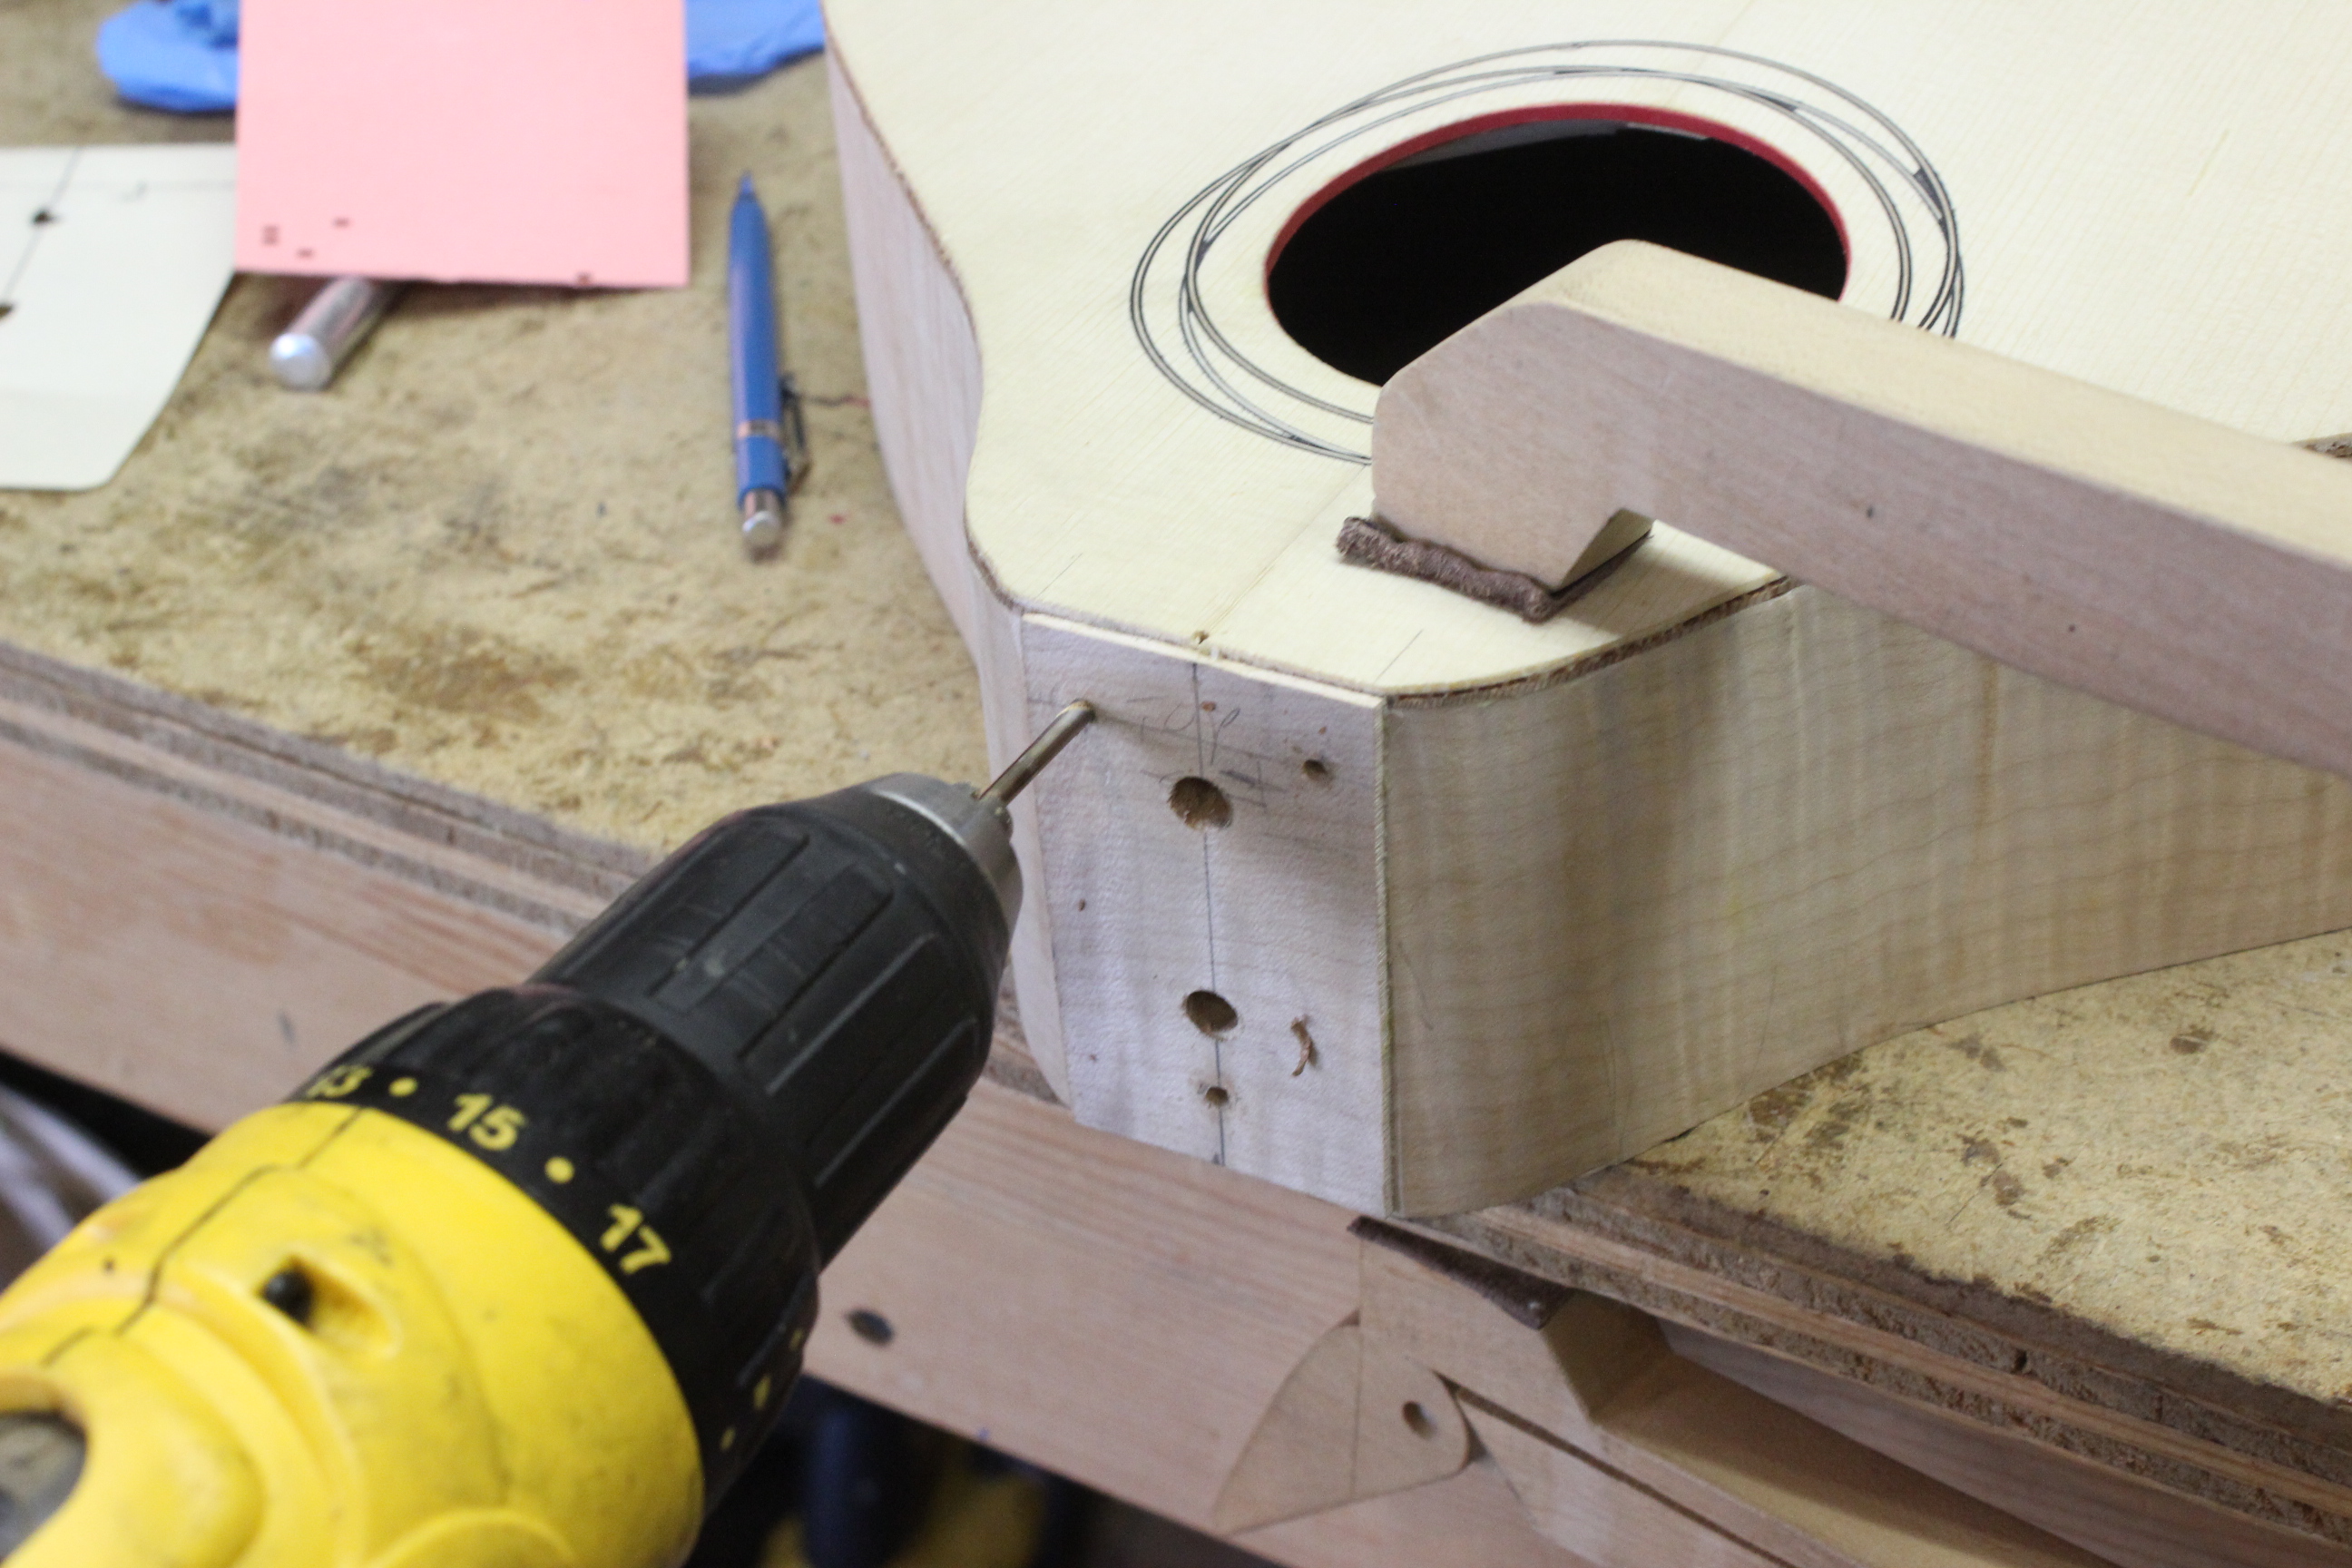
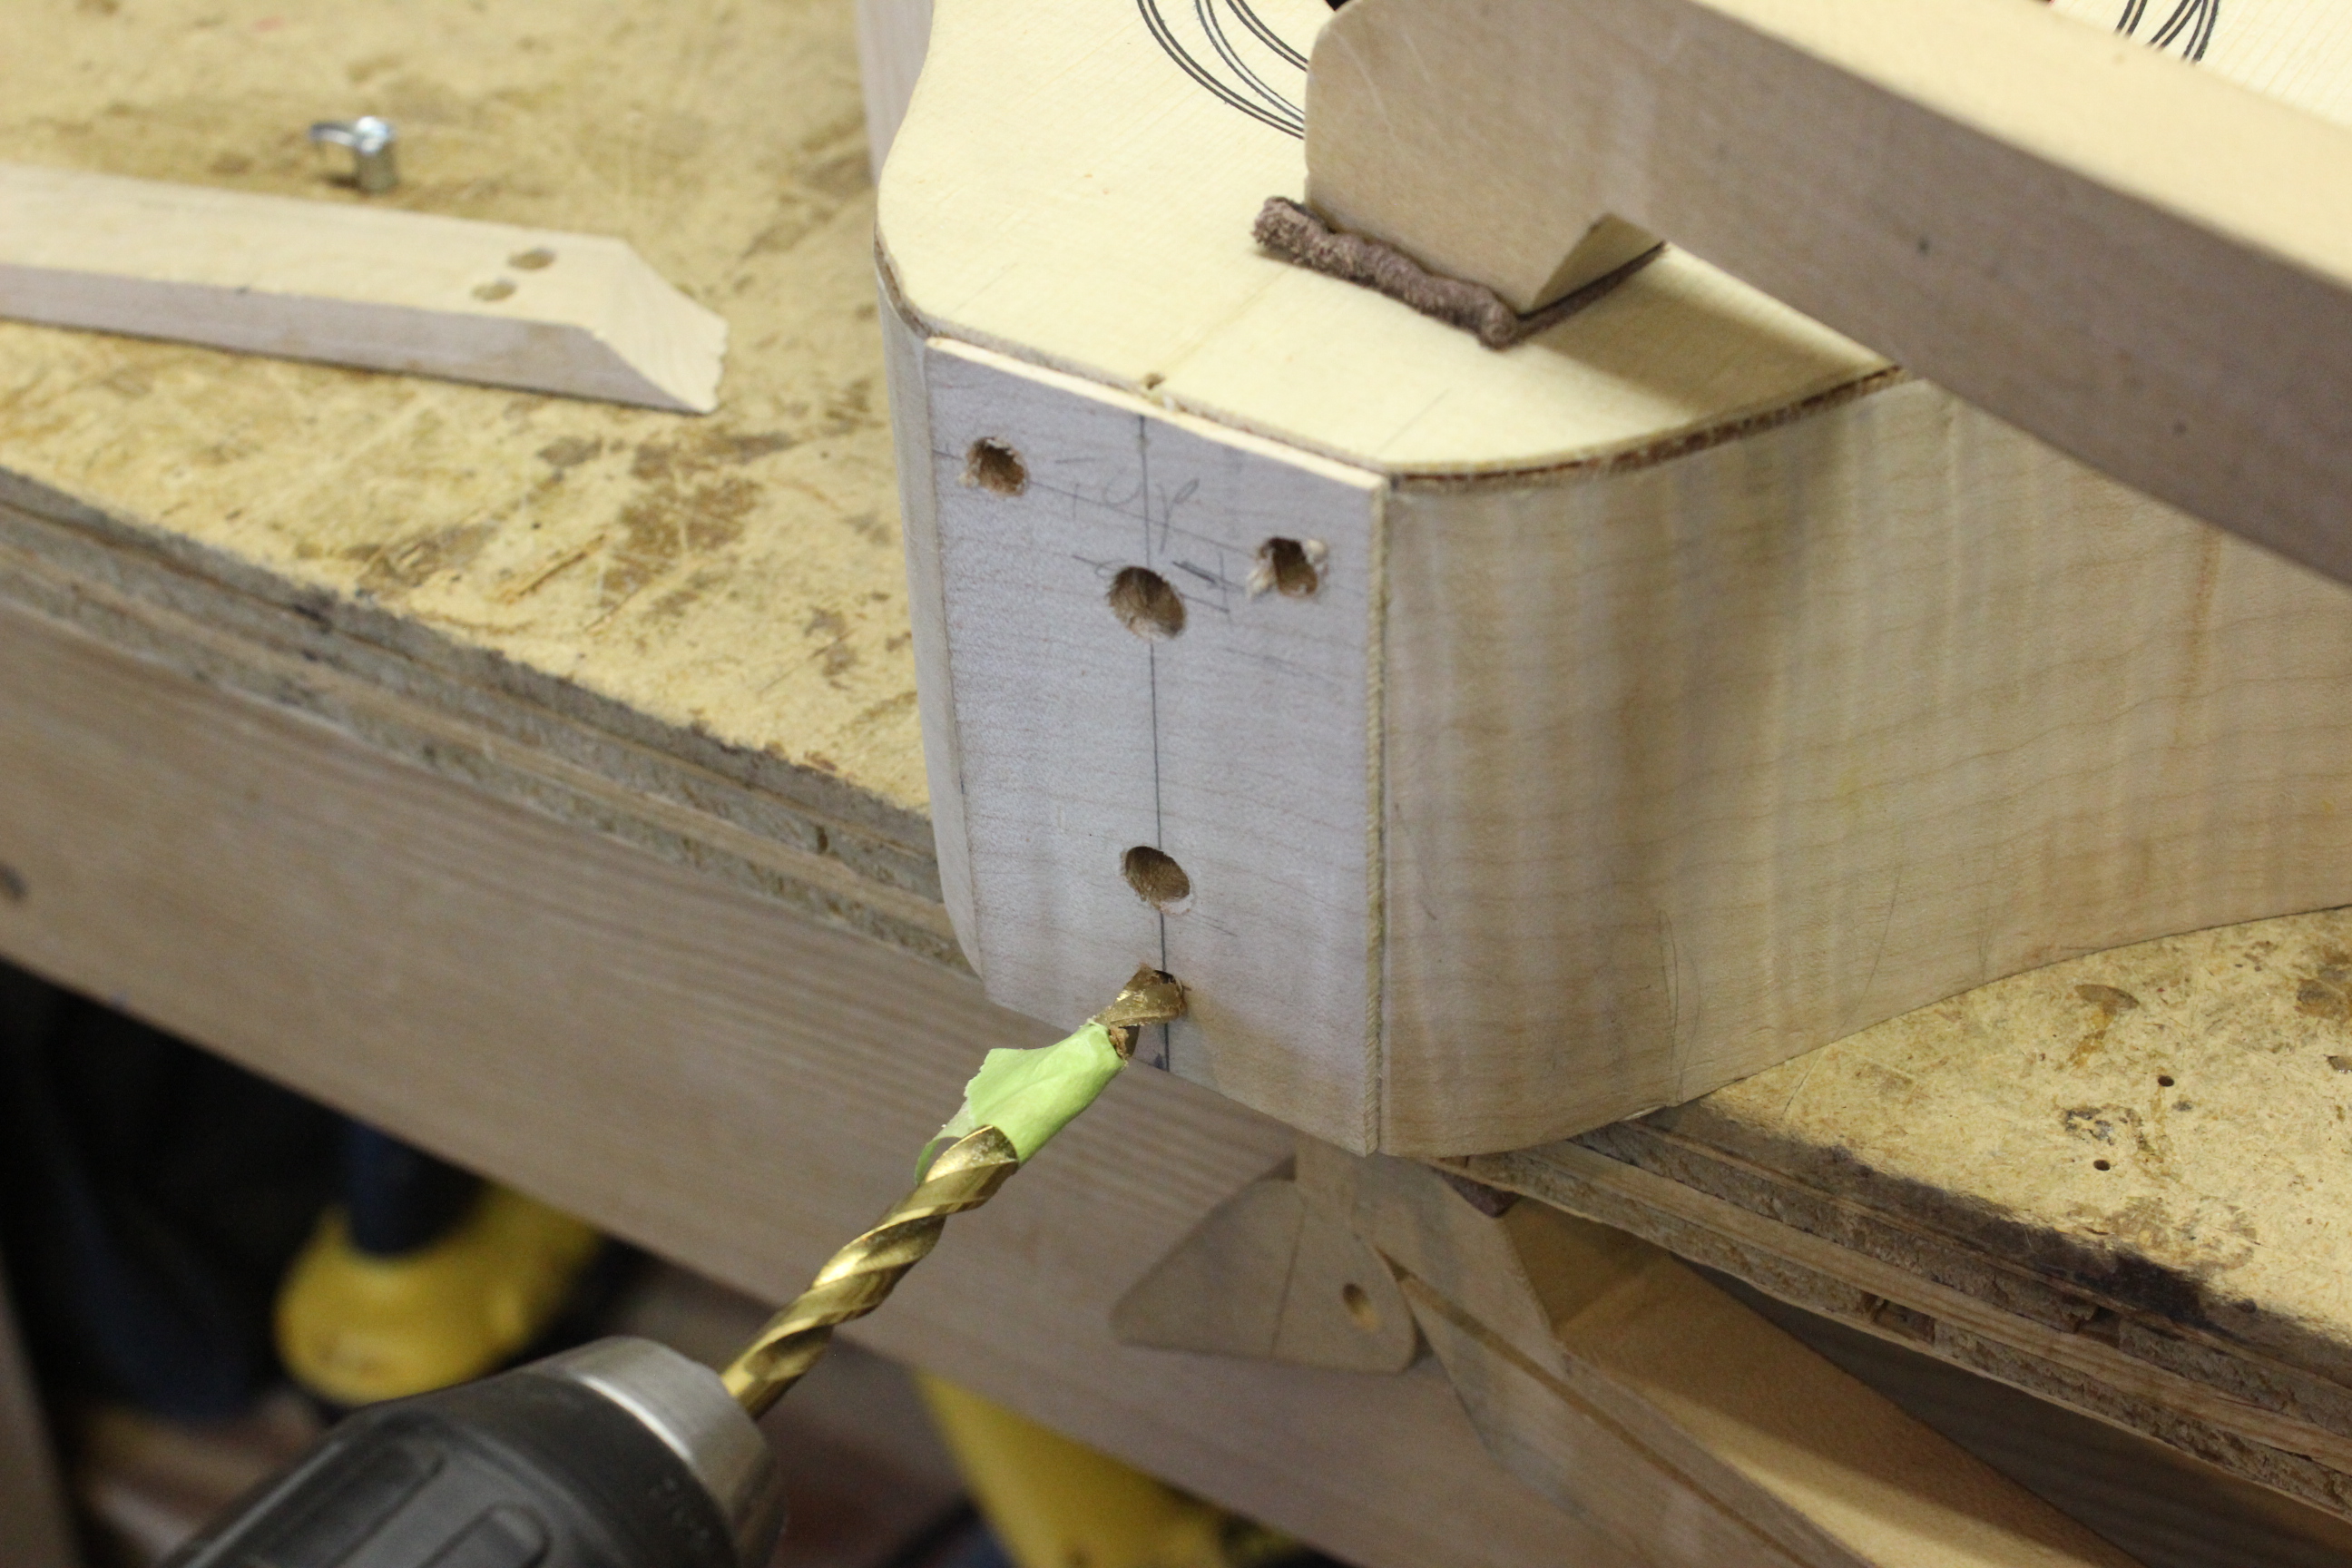
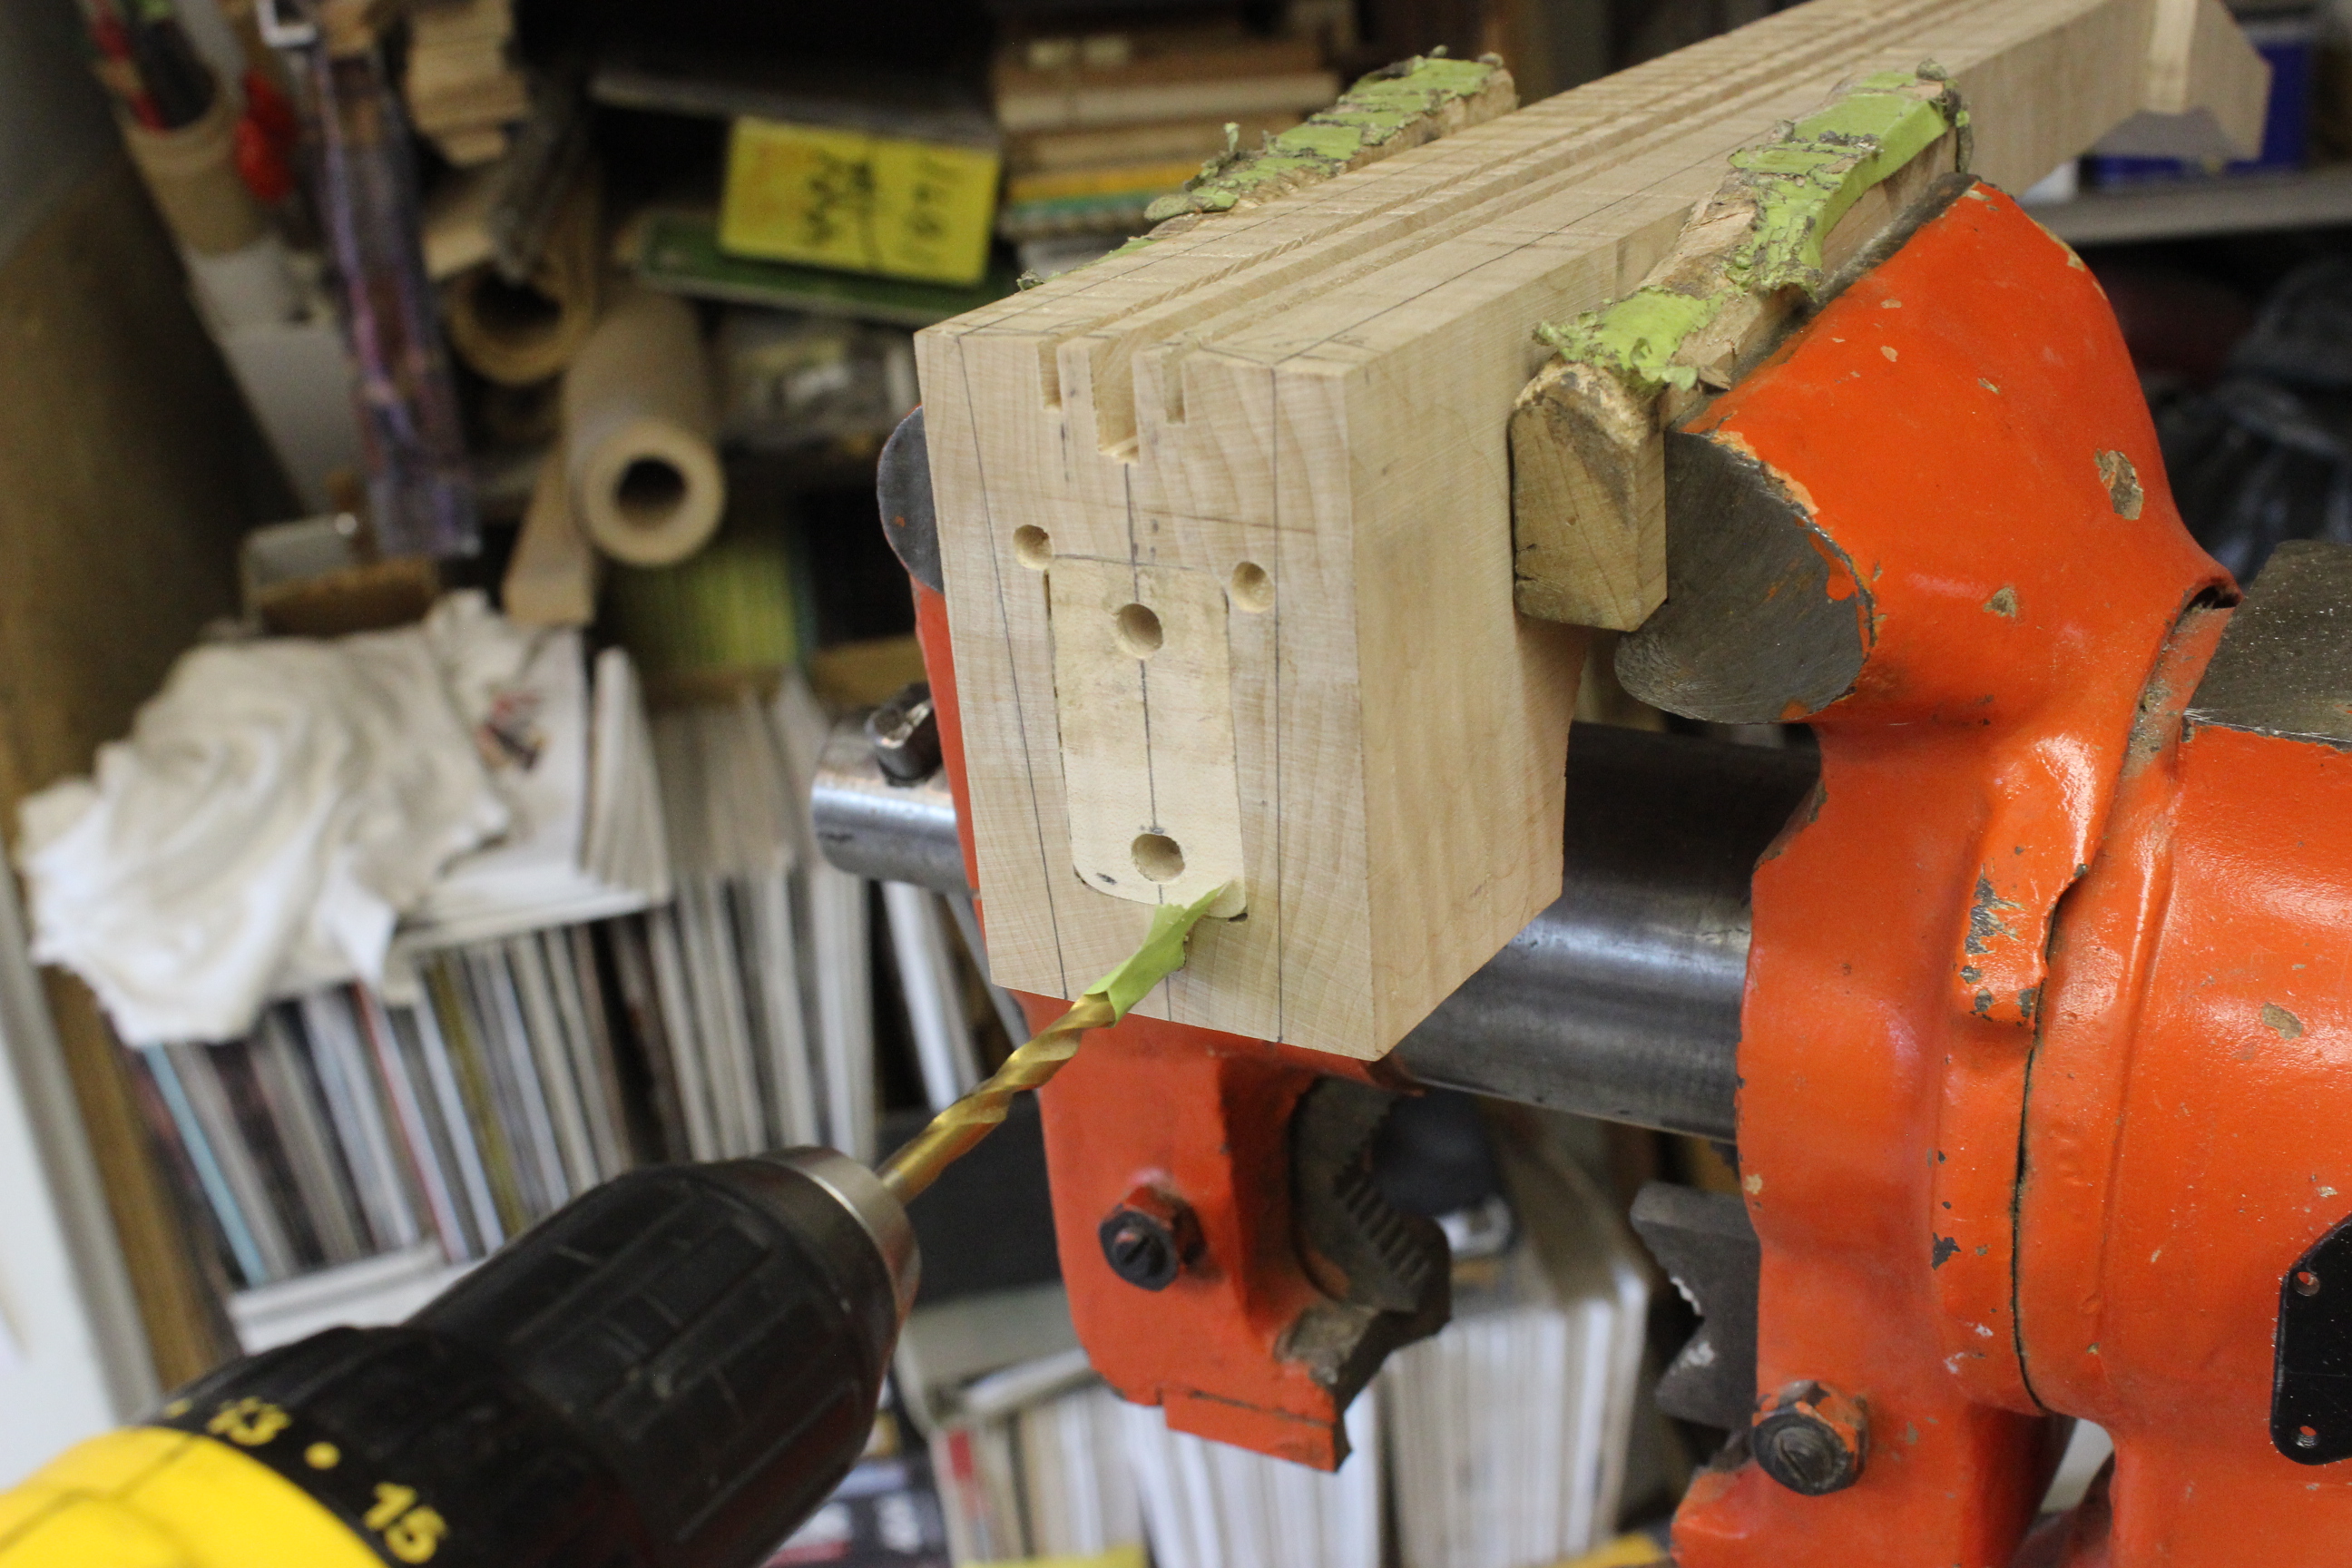
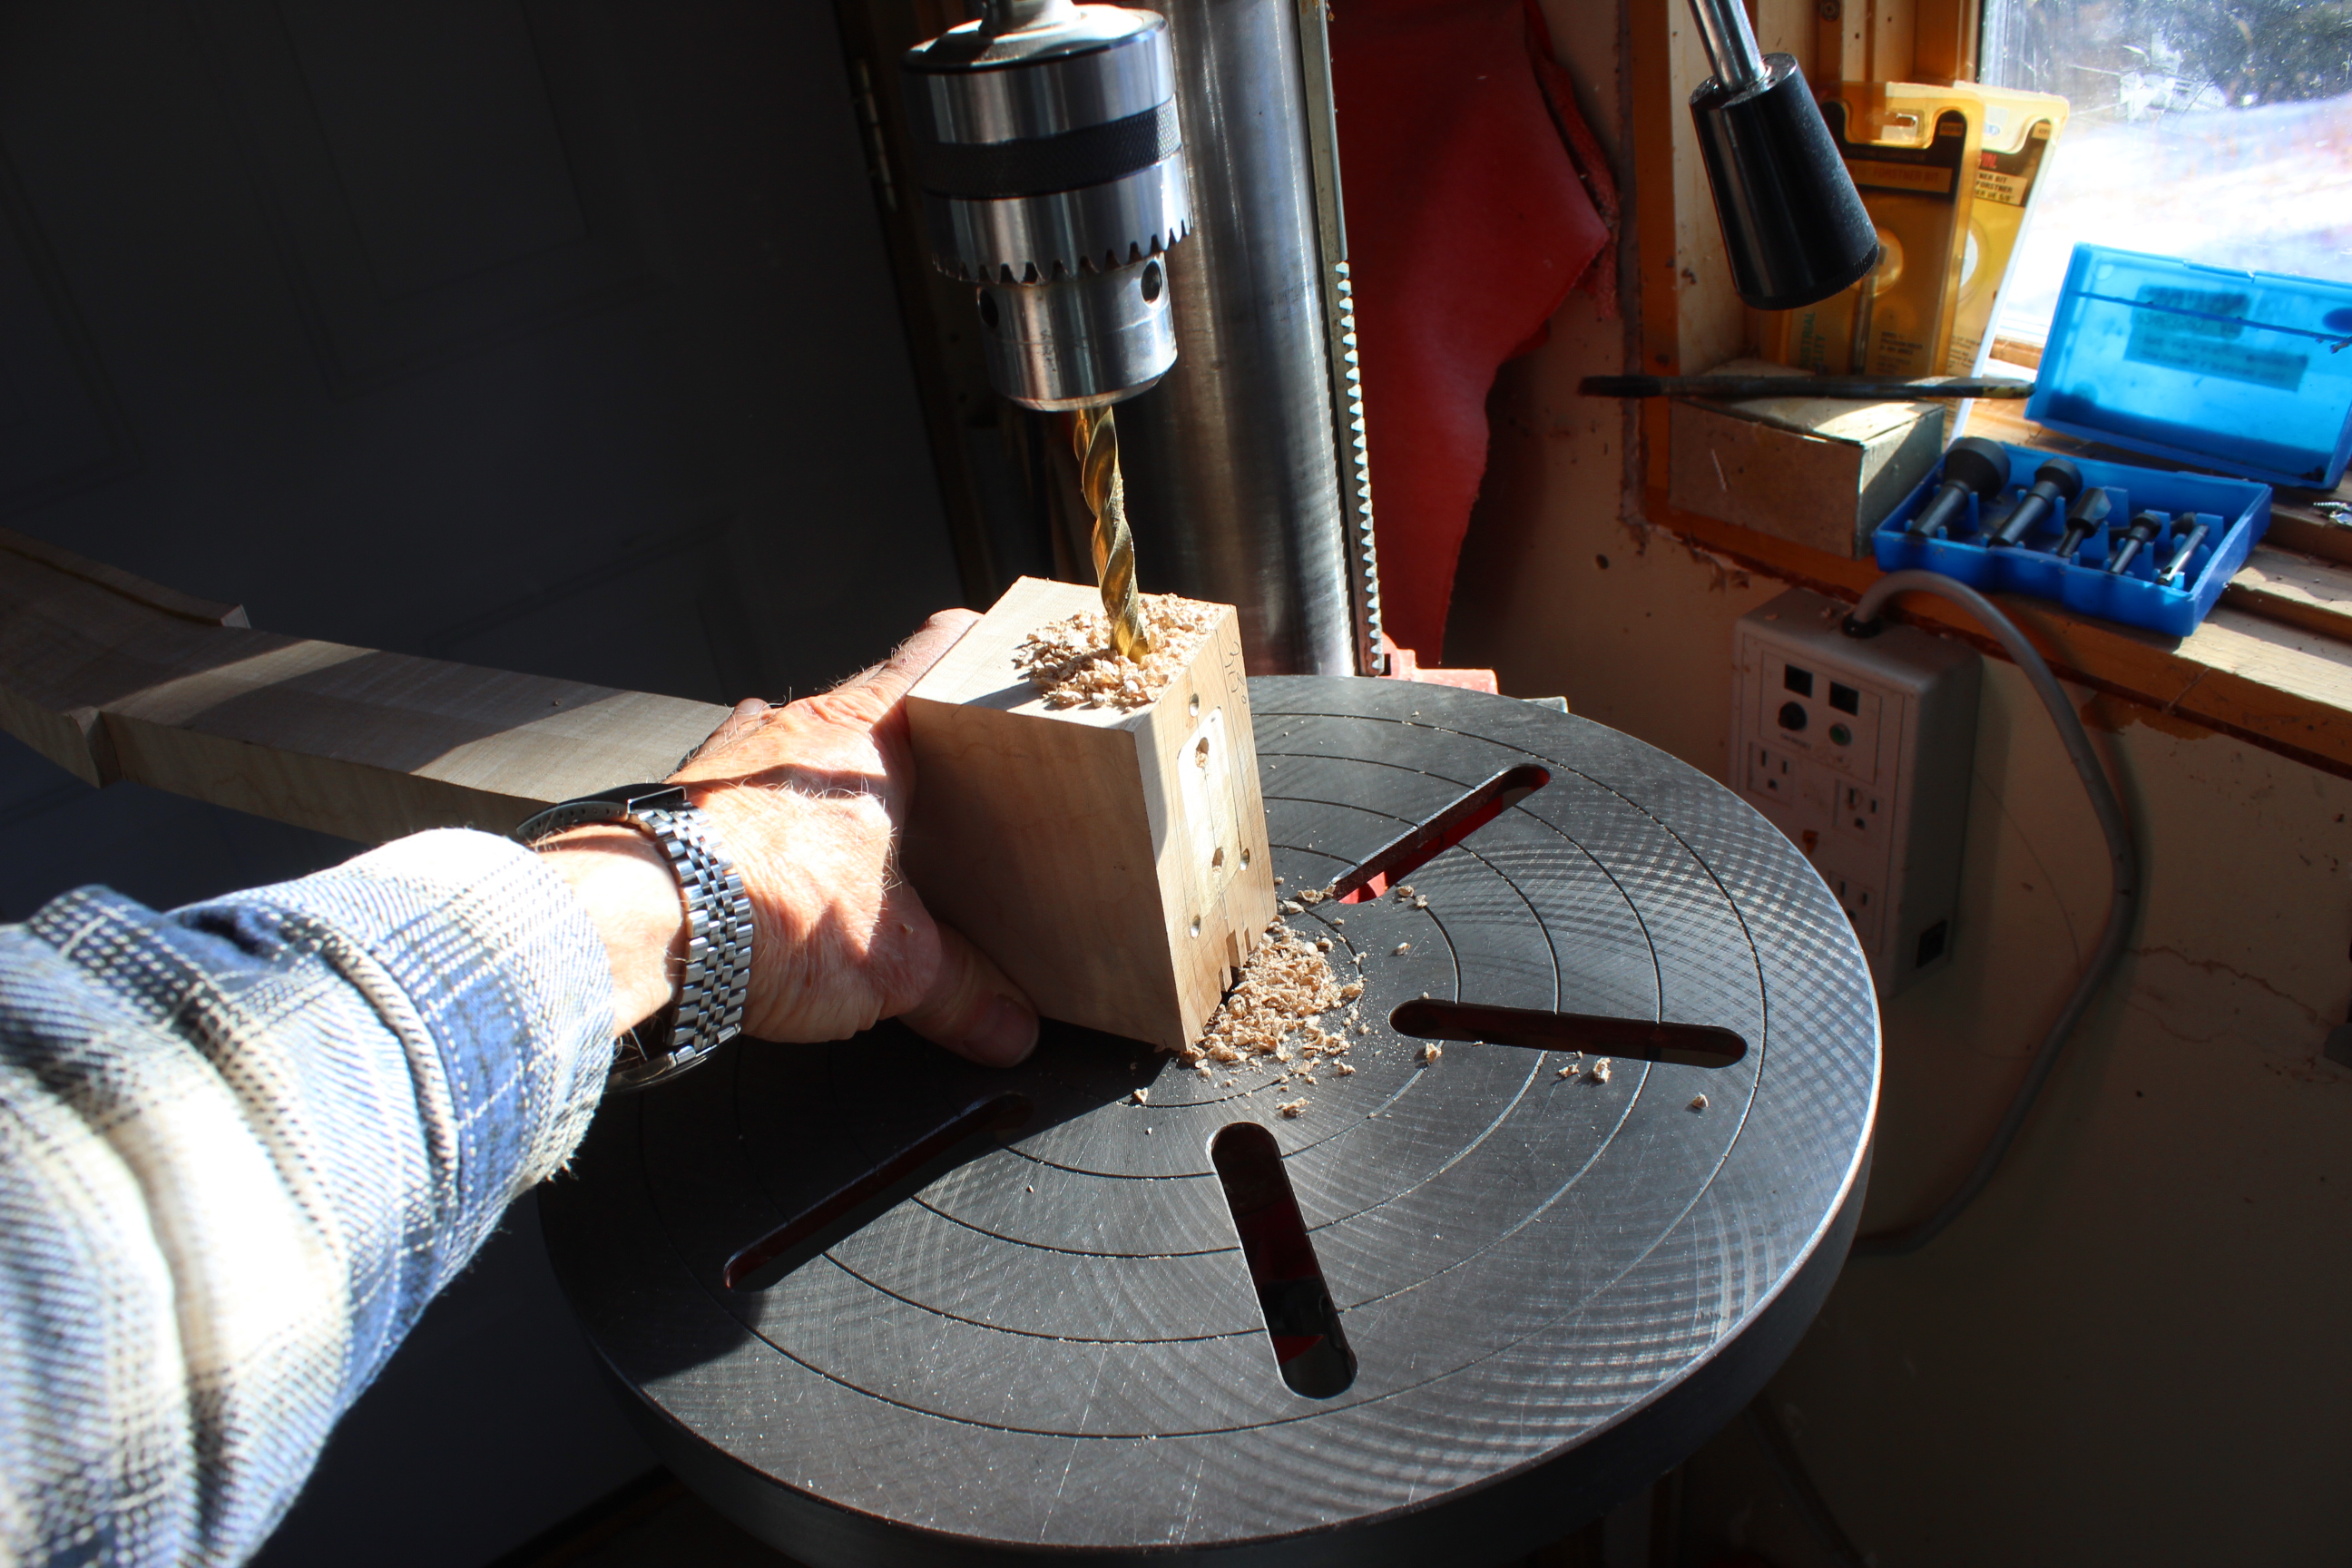
We return now to the body and drill the bolt holes for the anchor bolts. I then uses a simple tab-card template to locate the adjustment screw anchors. Here I'm using a snap-type center punch, you just position it and press in and it SNAPs and make the dent. Then I drill the guide holes. My drill has a bubble level and I've leveled the body by clamping it to my bench which is dead level too. Last of all, I transfer the hole locations to the neck butt end. I align it with a drill bit in the anchor bolt holes and then just use a finishing nail to tap the dents into the neck.
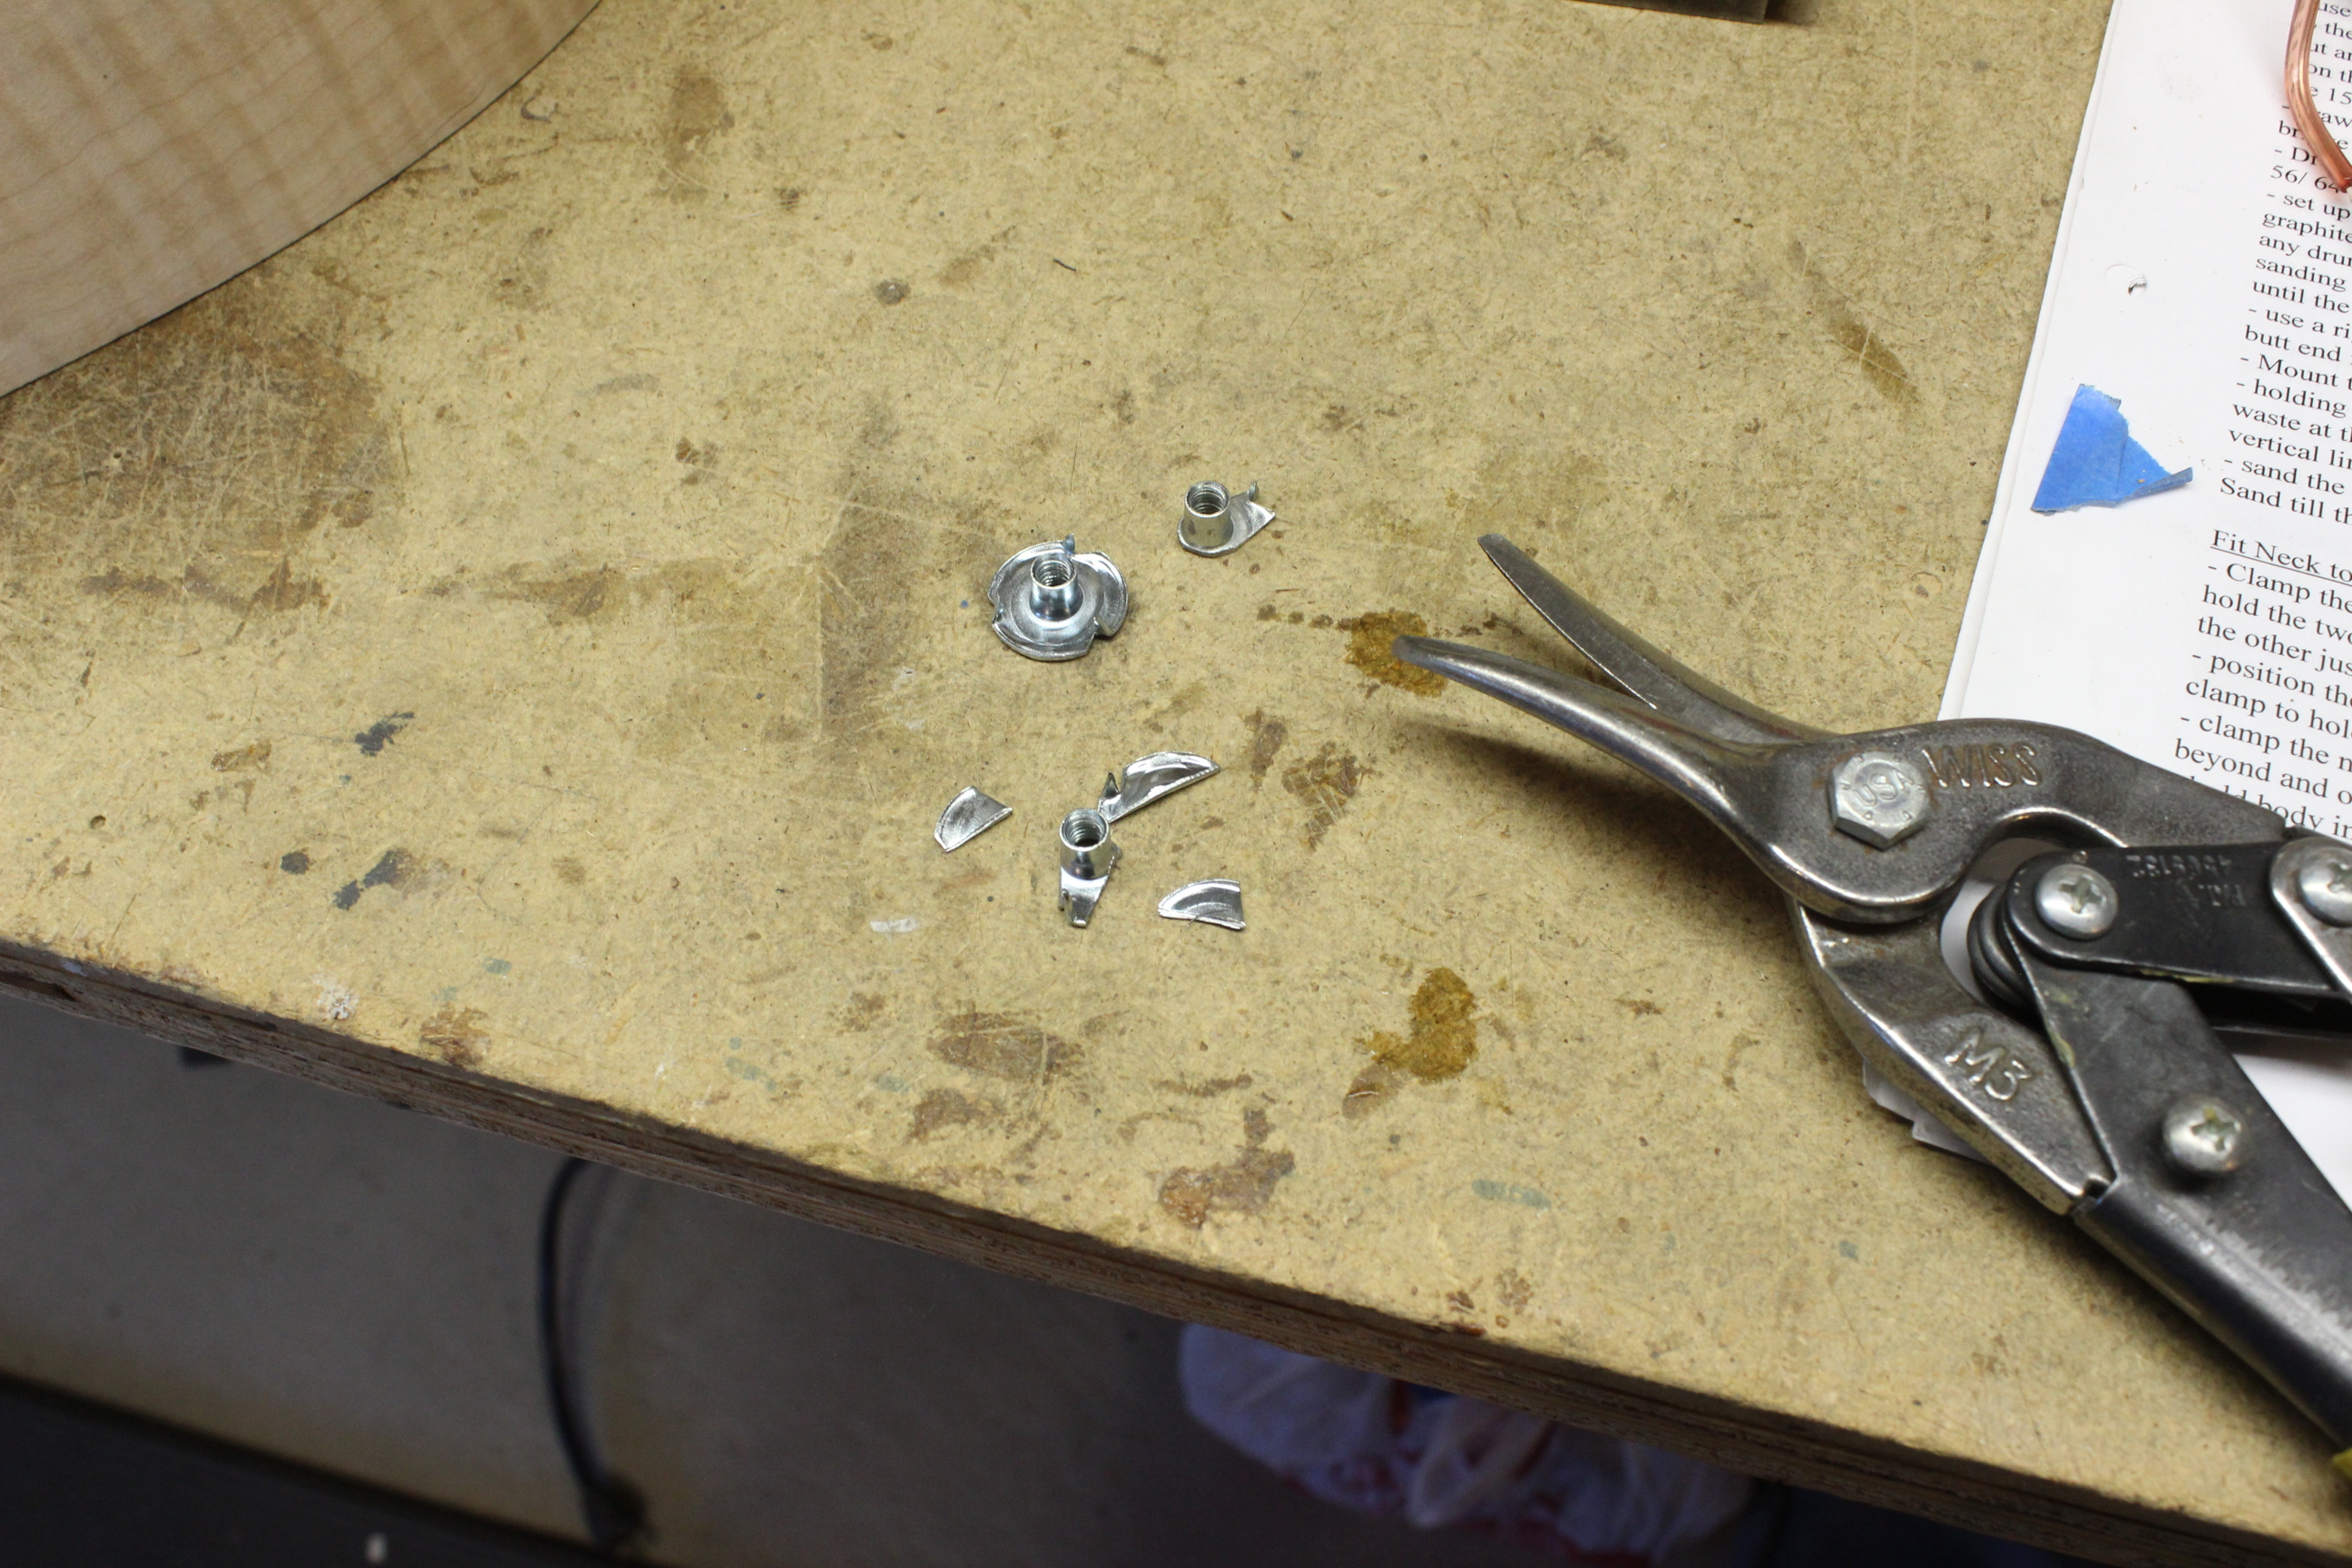
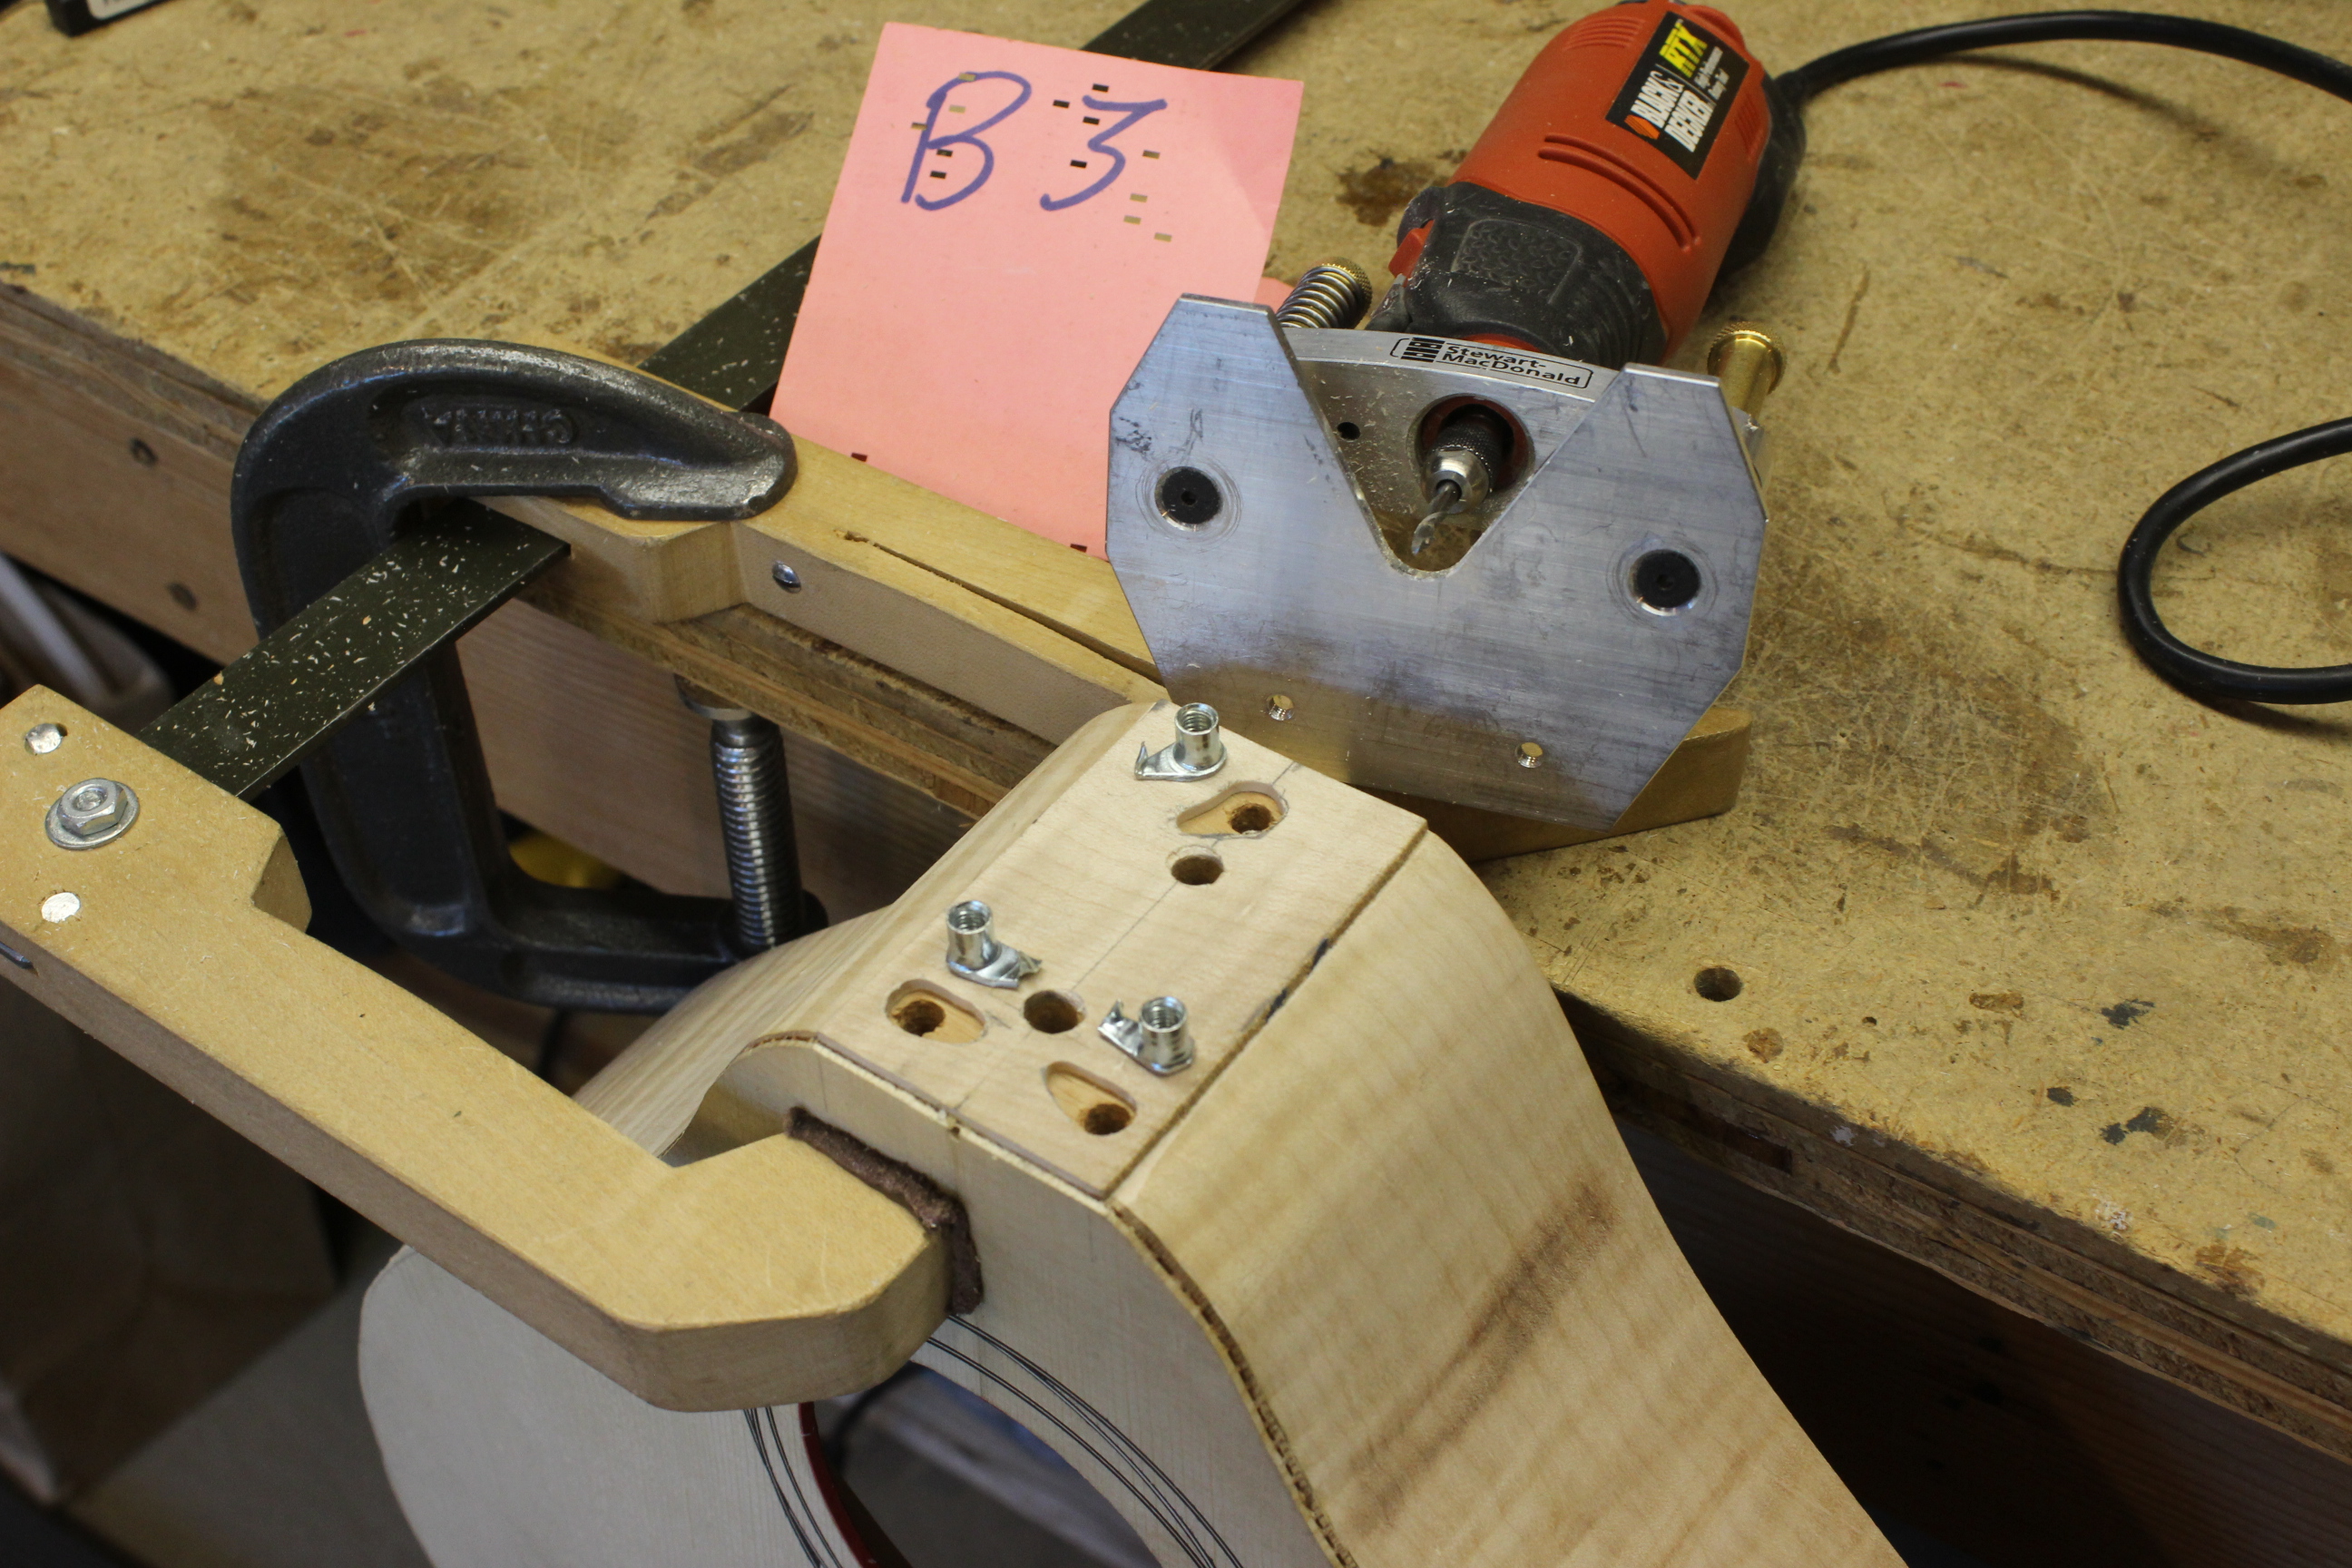
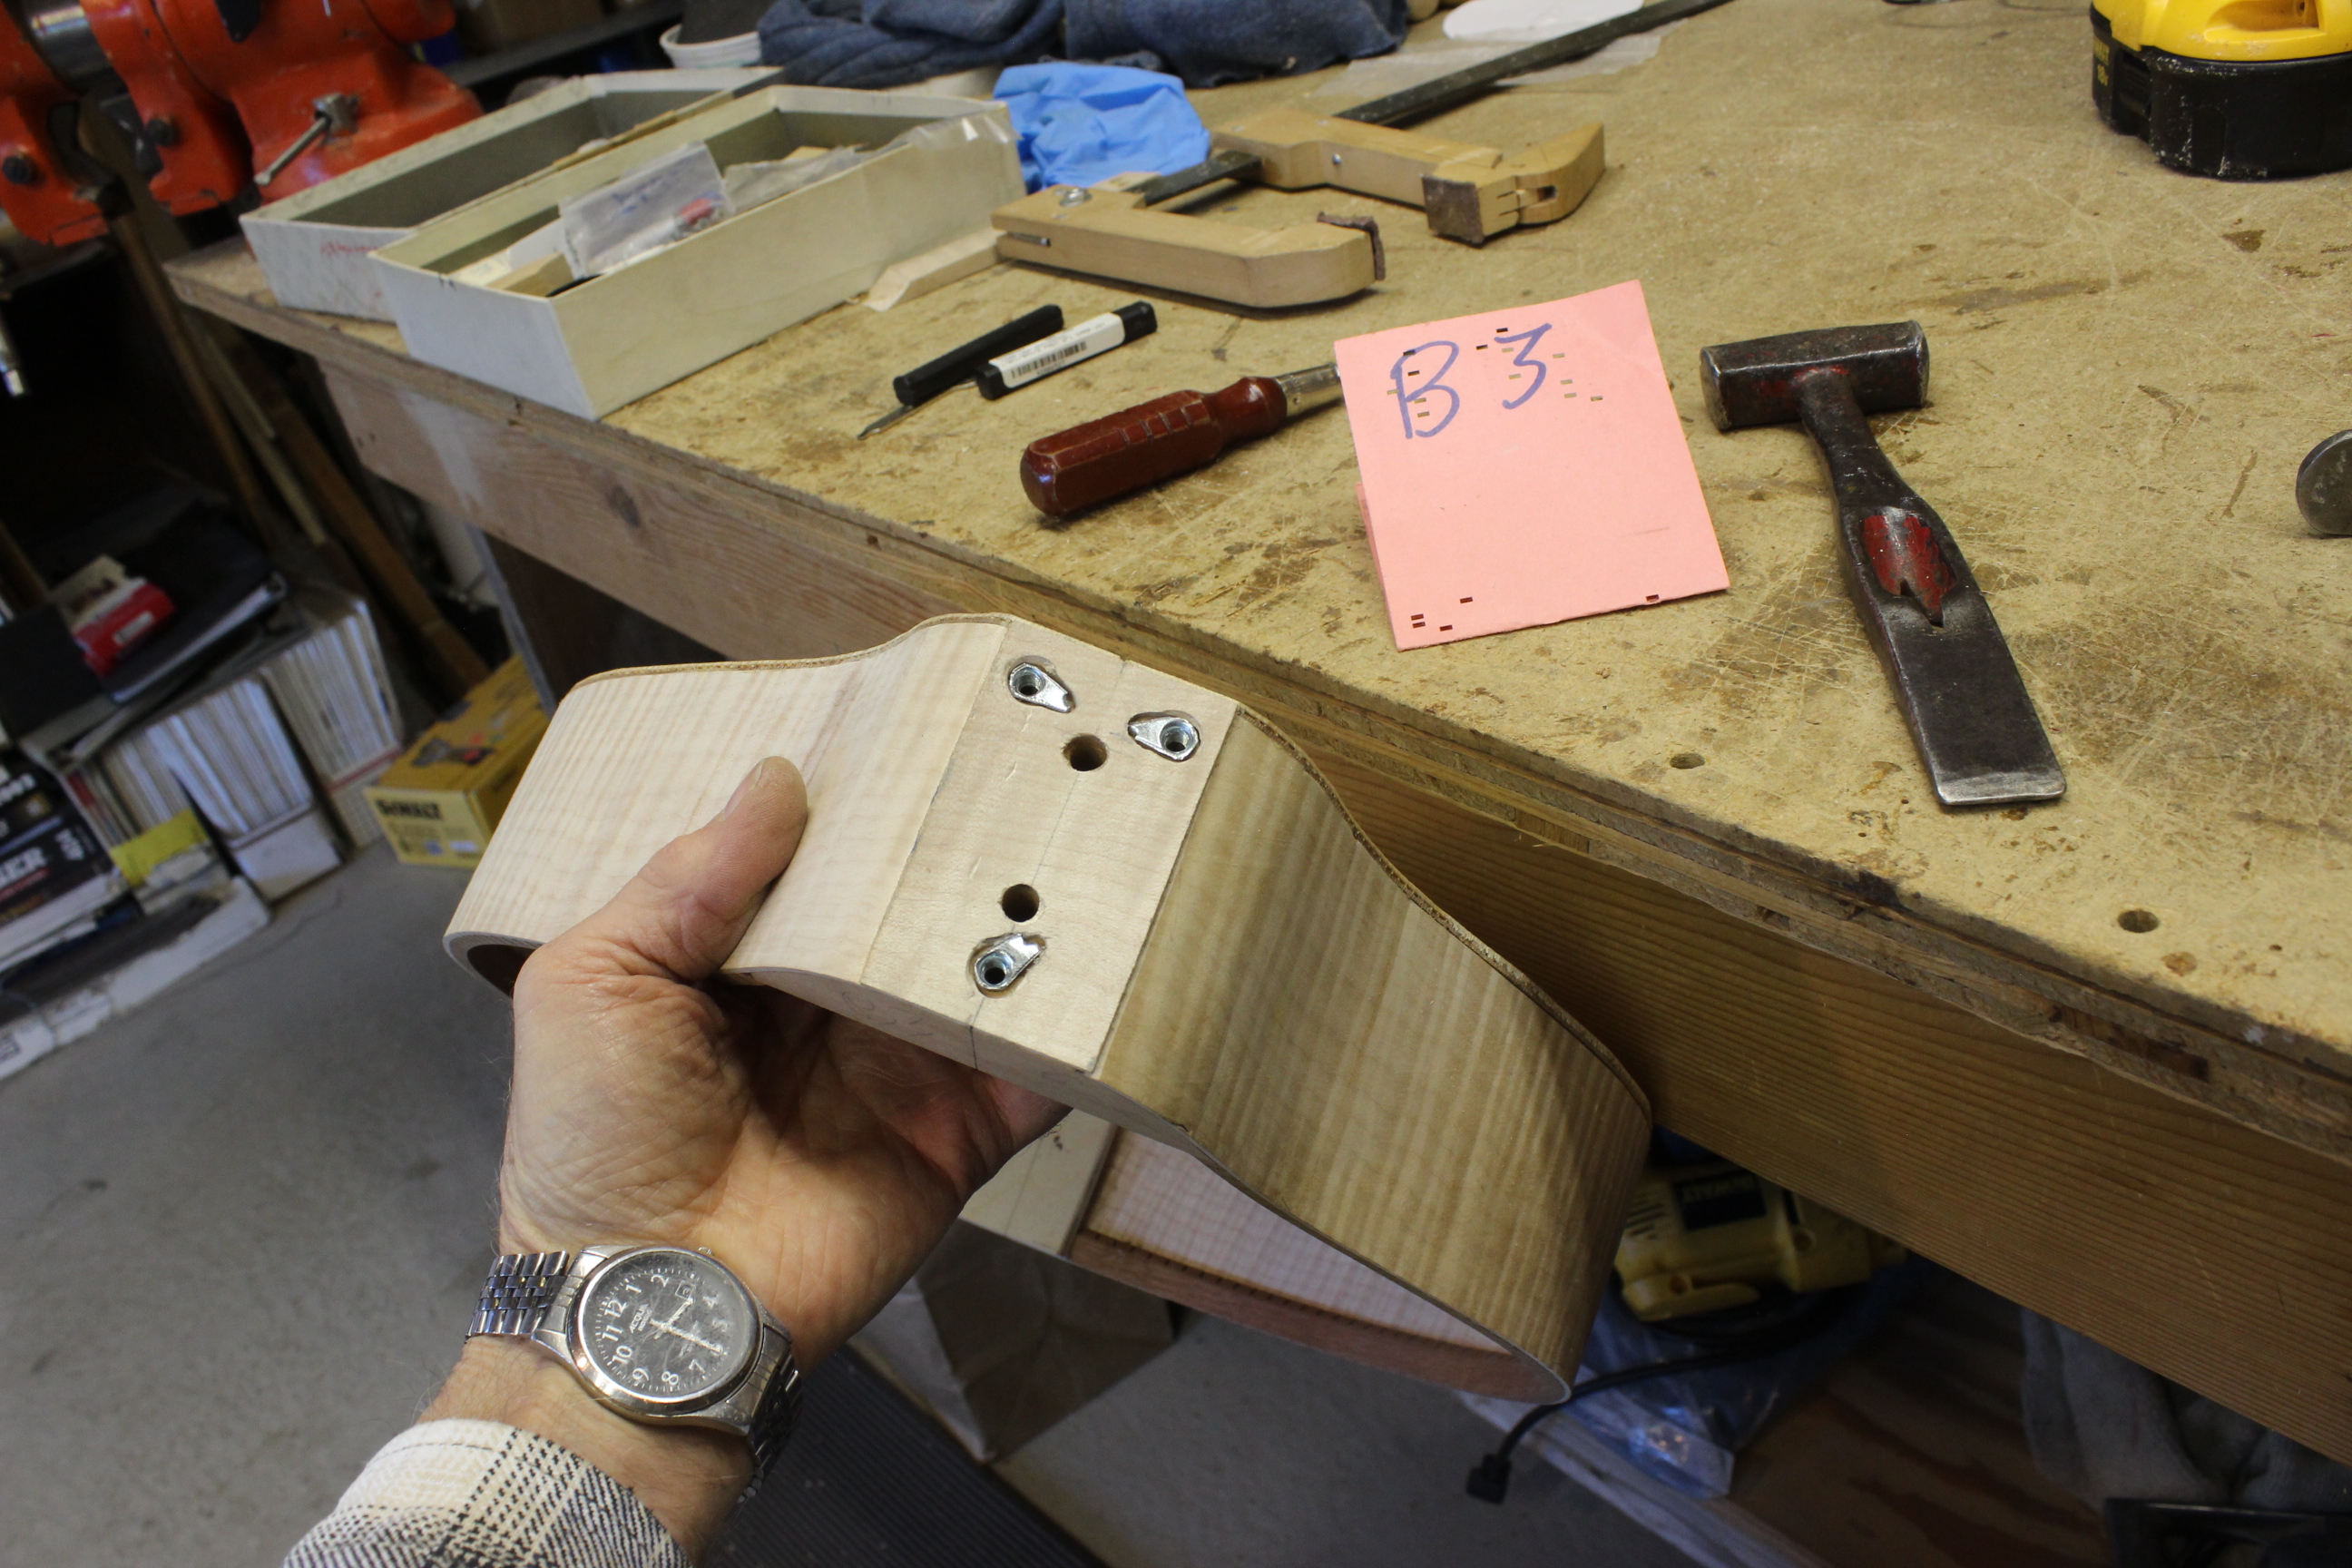
There are all sorts of threaded anchors that one can use but I am just using simple T-Nuts that I modify. First I clip off all but one of the points. Then I drill a hole just deep enough to take the T-Nut. You could drill all the way through but if you leave a bit of the guide hole it makes it easy later on when working though the sound hole to locate the set screw with the allen wrench. I use my Dremel again and route out spacing for the T-Nut and then press them in.
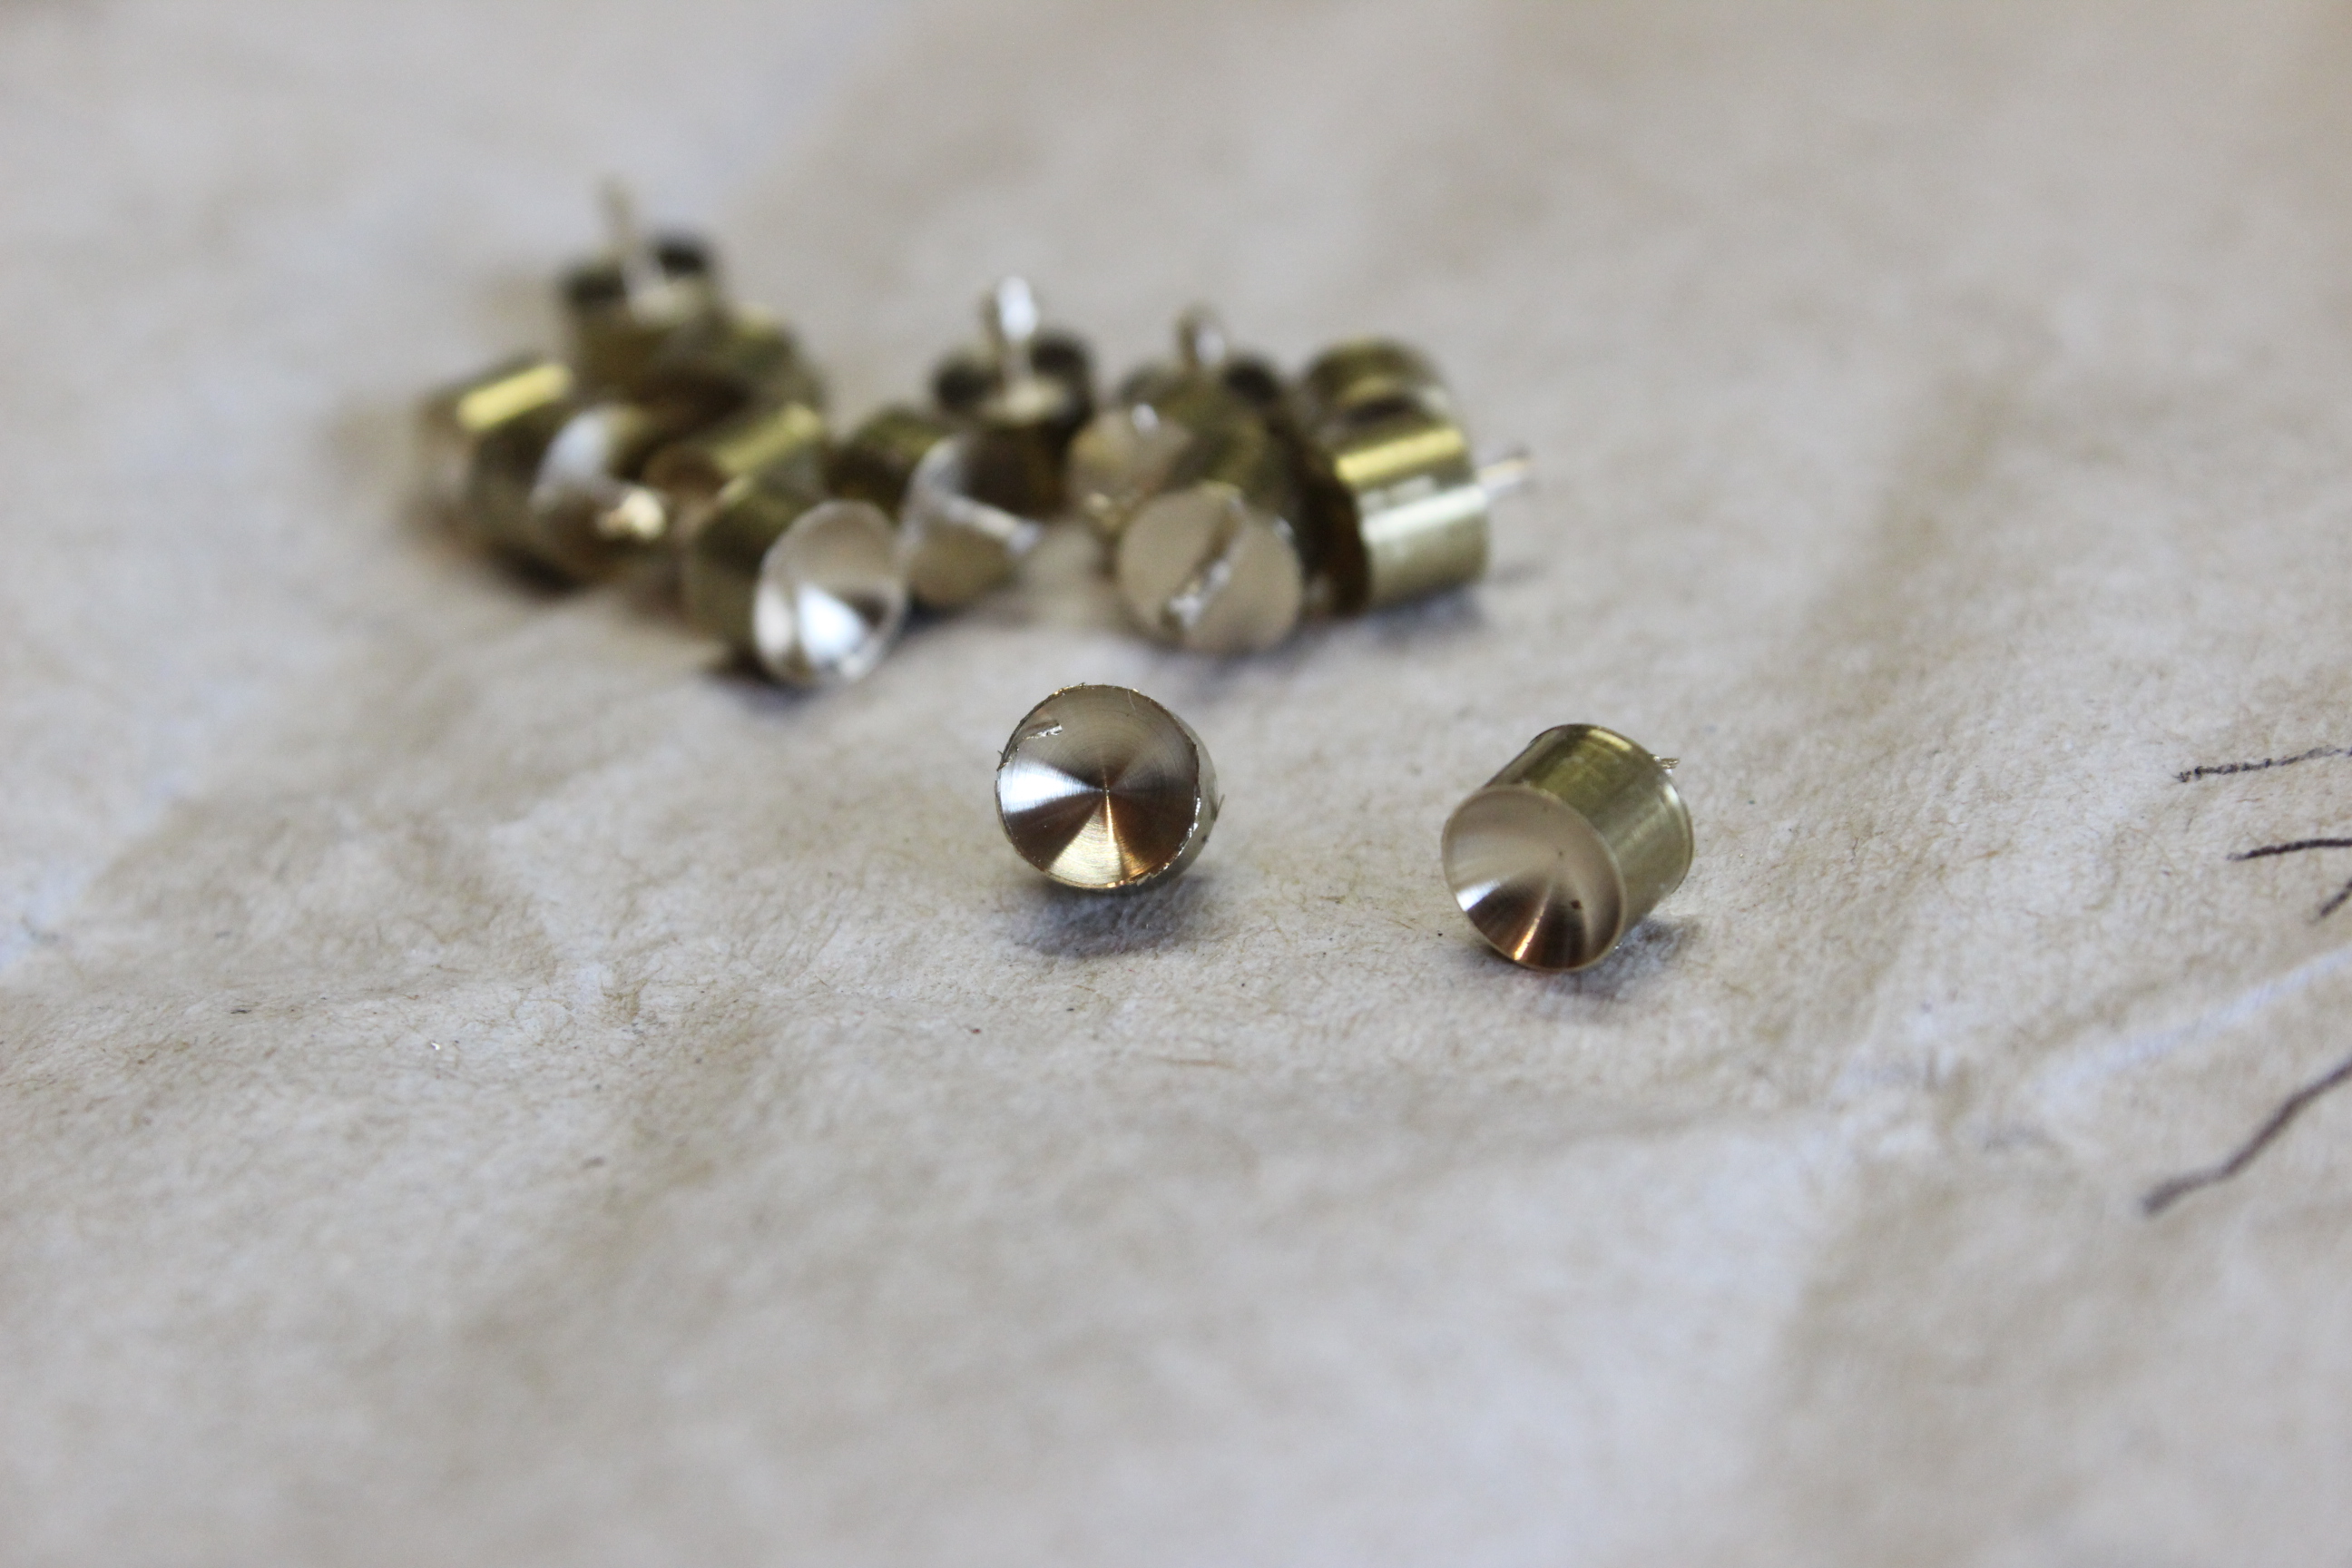
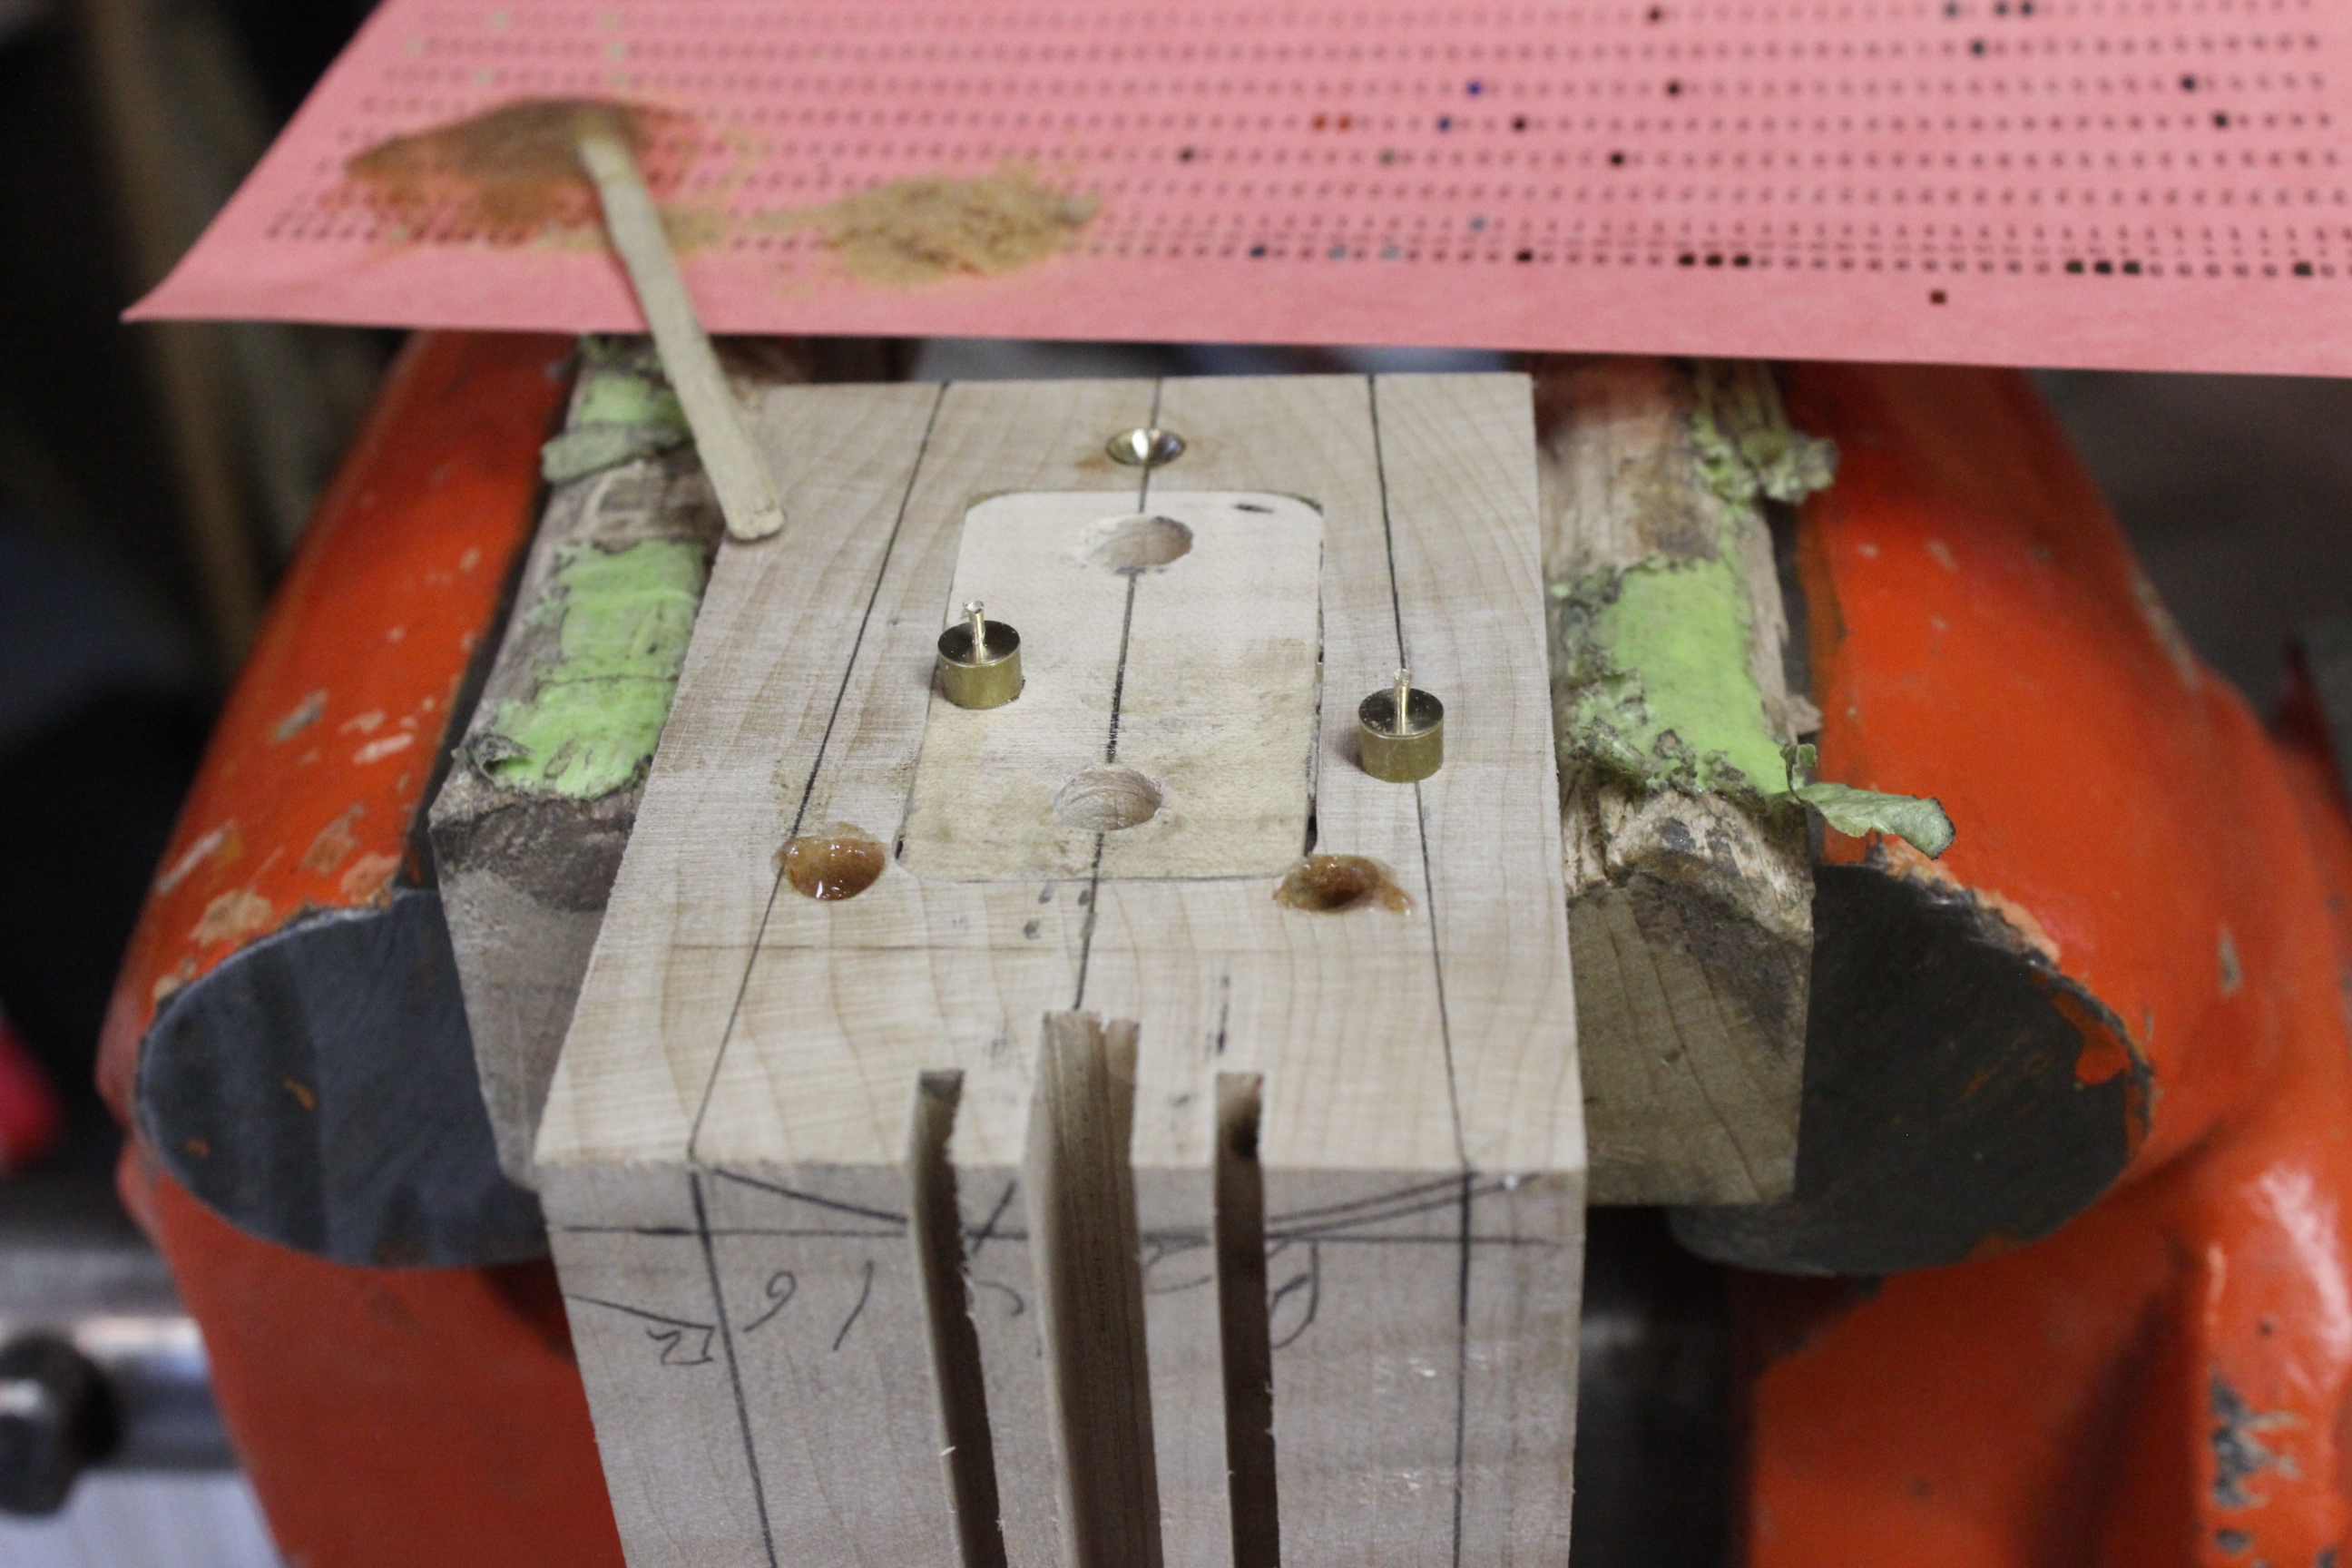
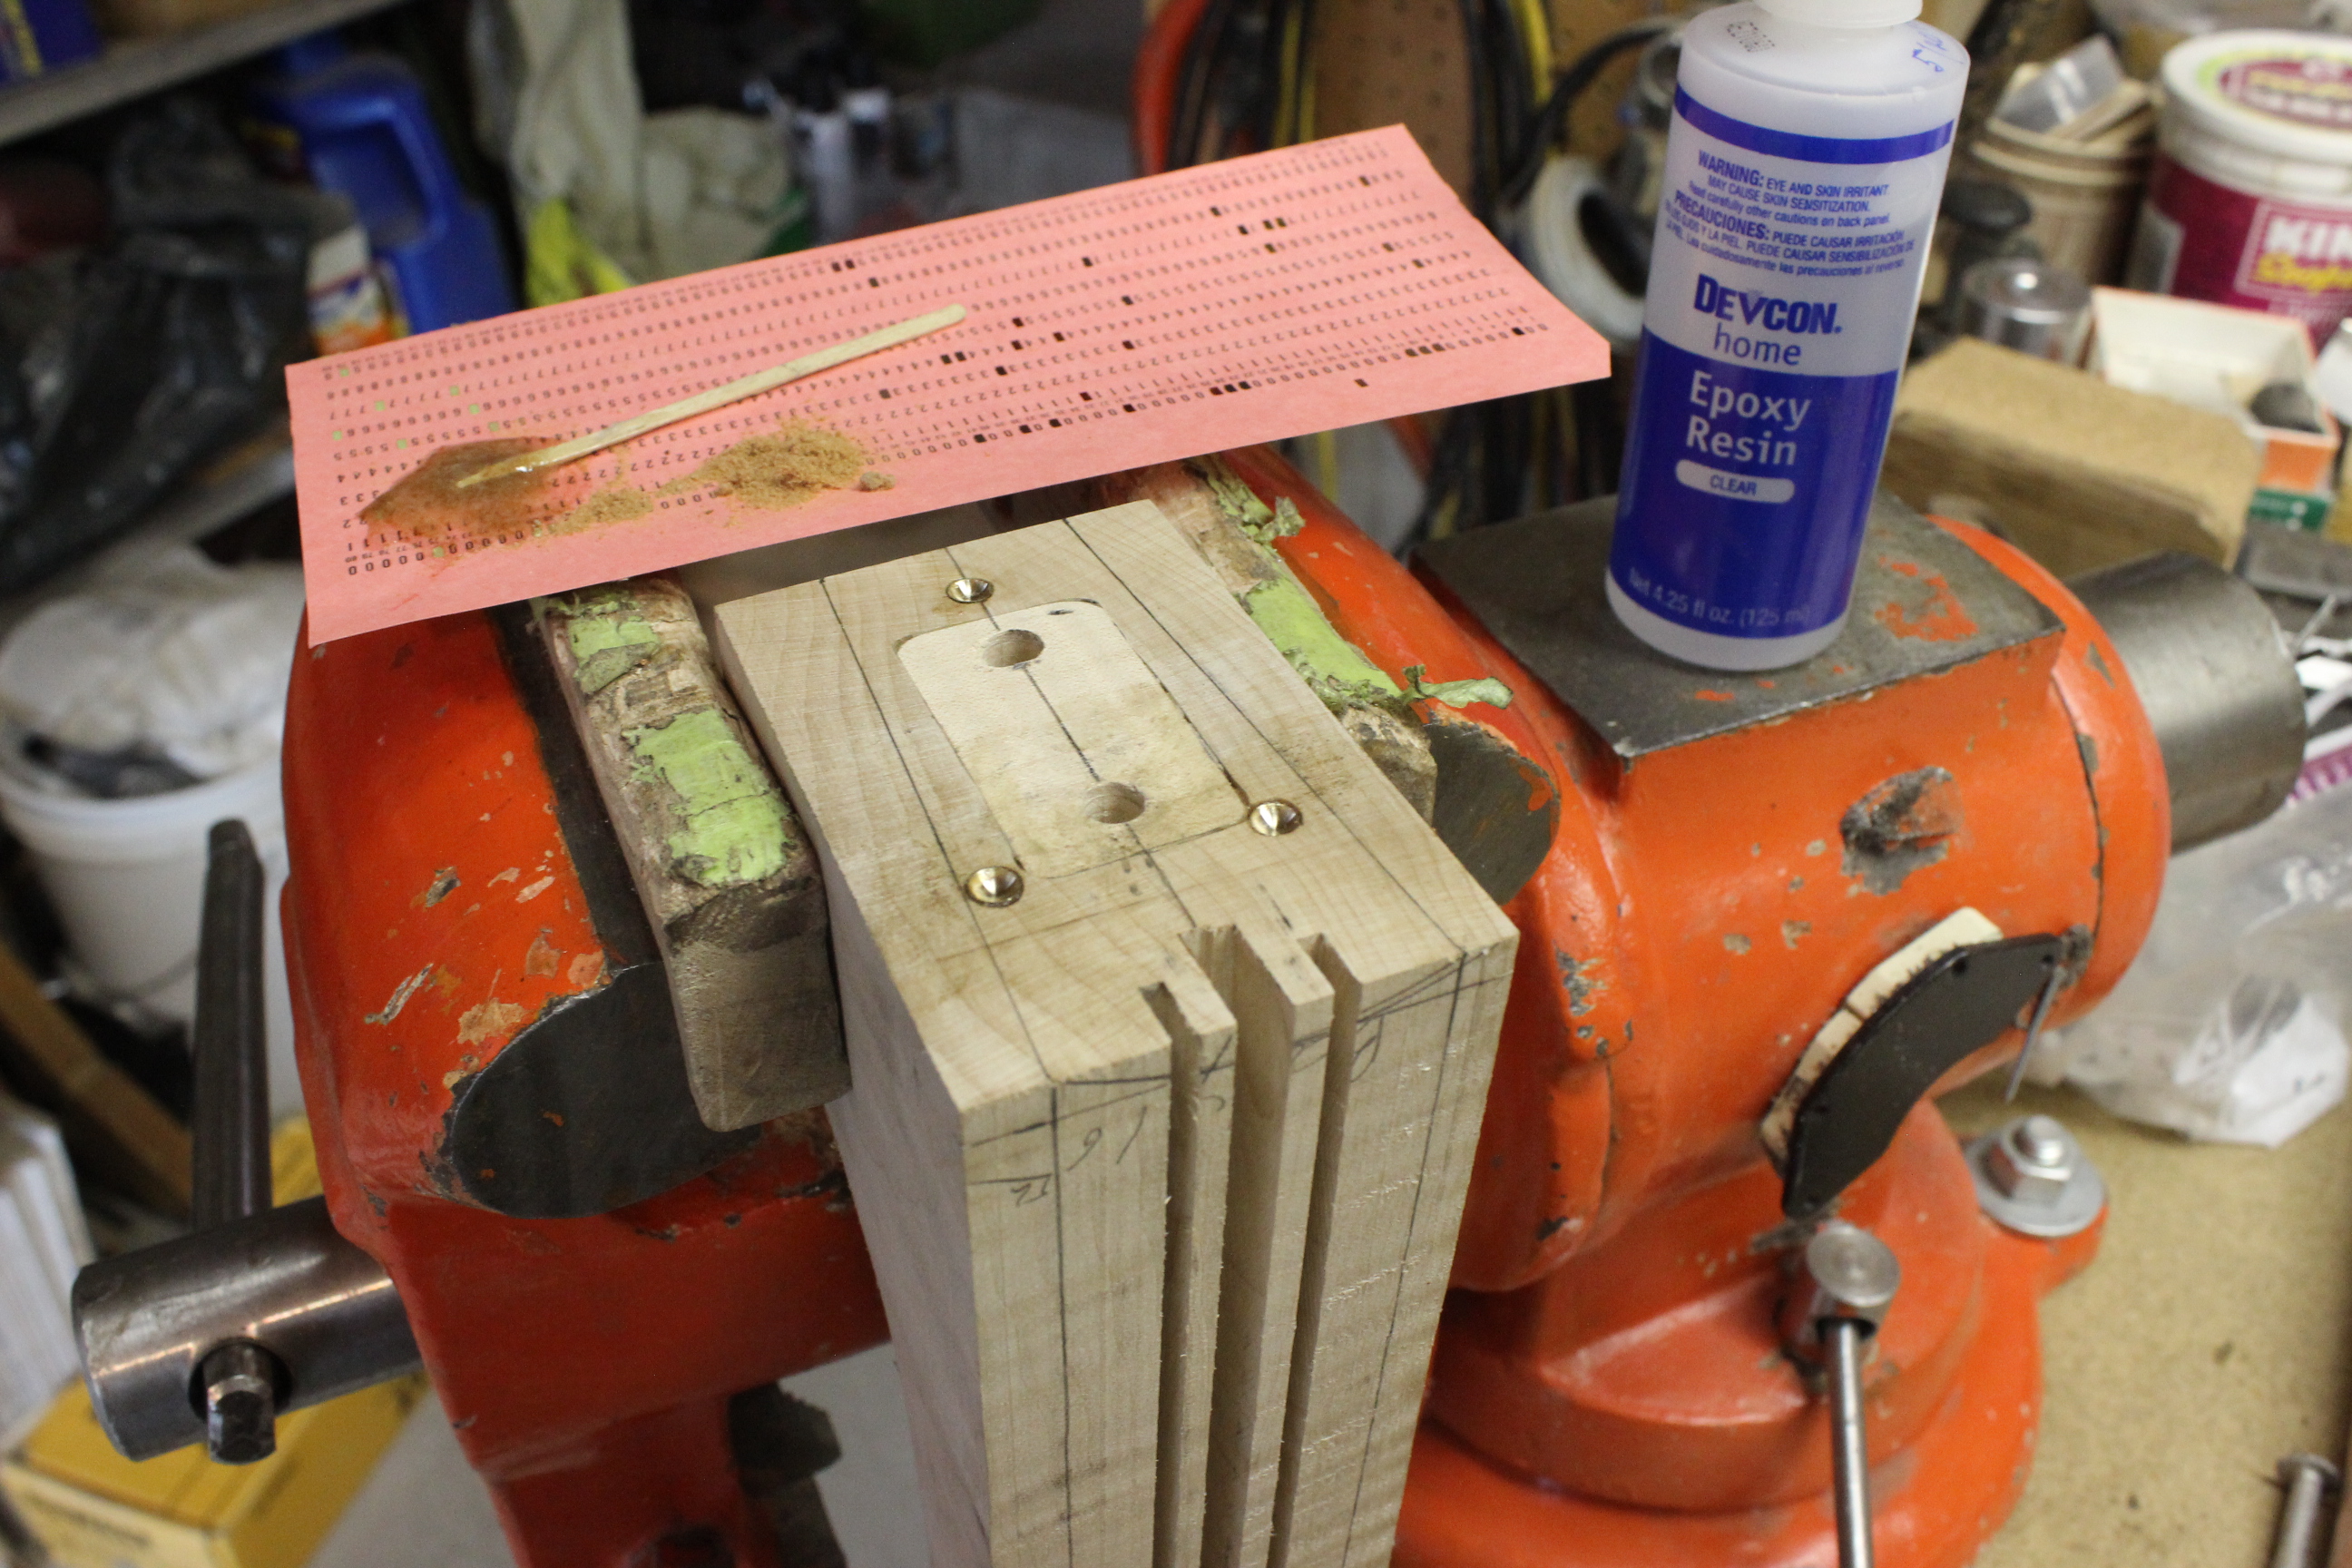
Back again to the neck butt end. I now need something for the set screws to push against. I used a lathe with a ball-end bit and some brass rod of various diameters to make the screw seats. When I used the parting tool to cut off each one it left a bit of a nipple so I just left that on. The cup end will receive the set screw. Another alternative I thought of was to just make a thin sheet of stainless steel the same size as the butt end but a little smaller all around and screw it to the neck and not worry about exactly where the screws would hit. Advantages and disadvantages to that method. I again used a depth marked drill to make the sockets and then epoxied the brass seats in the holes just flush.
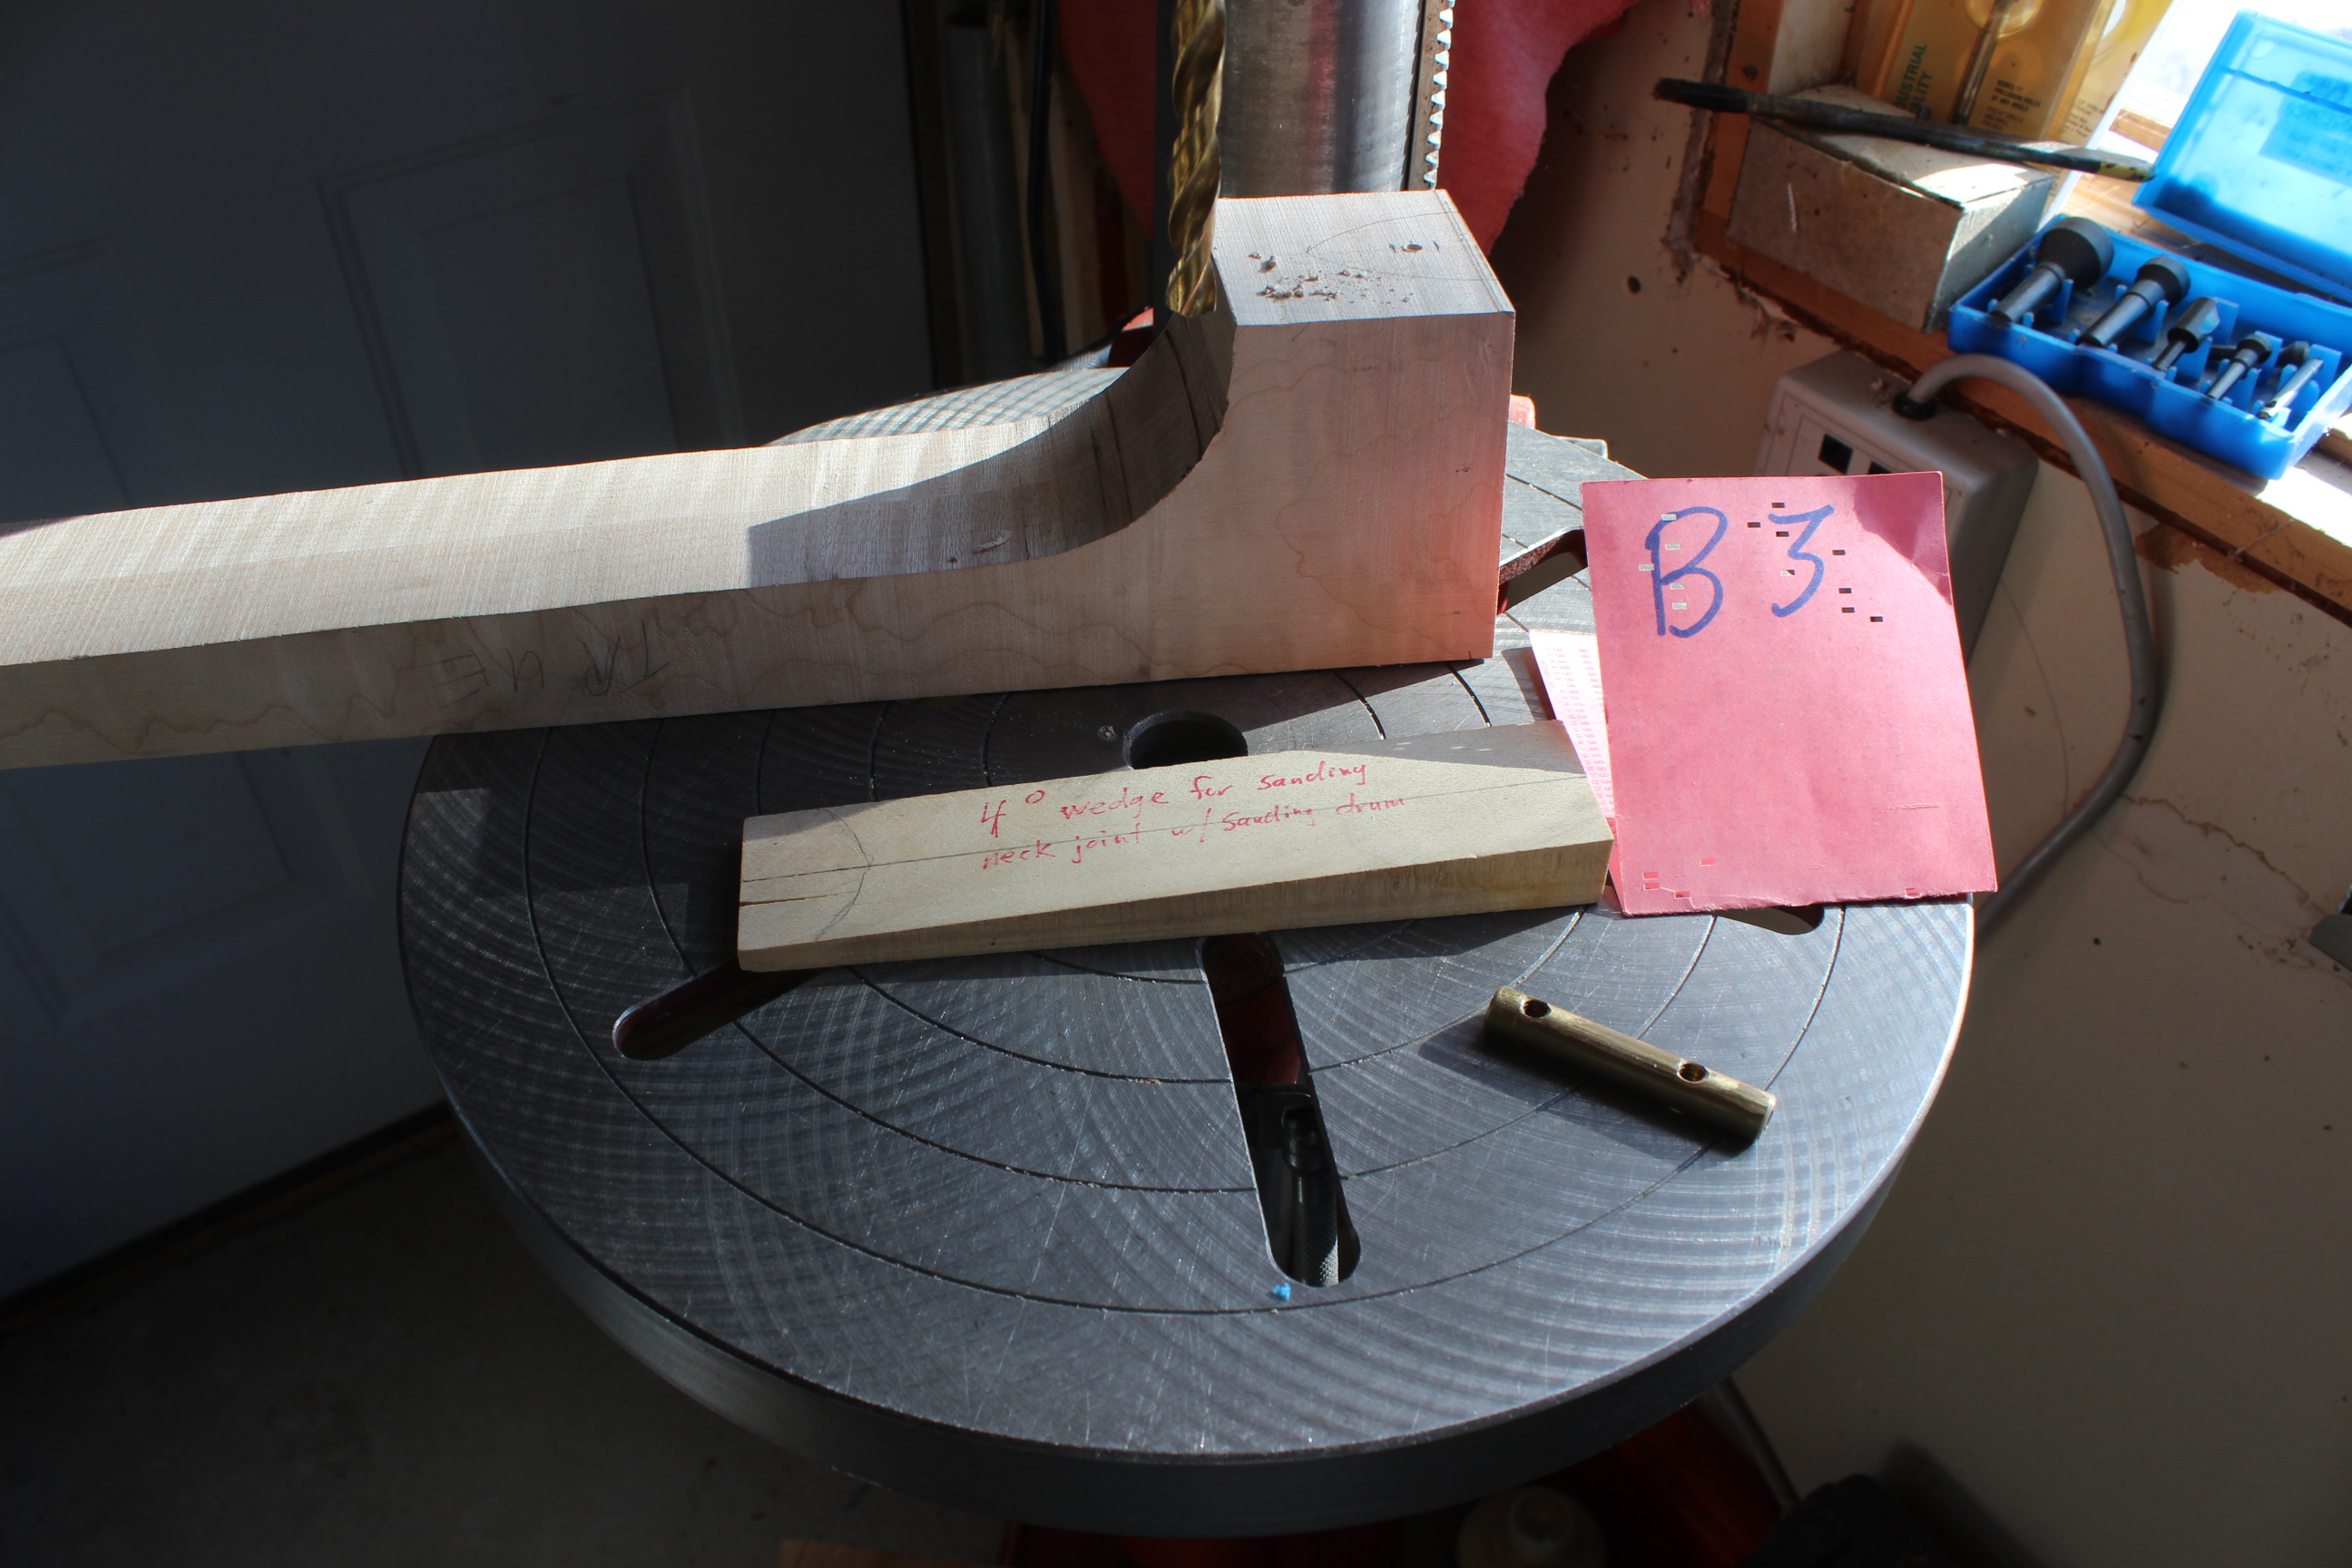
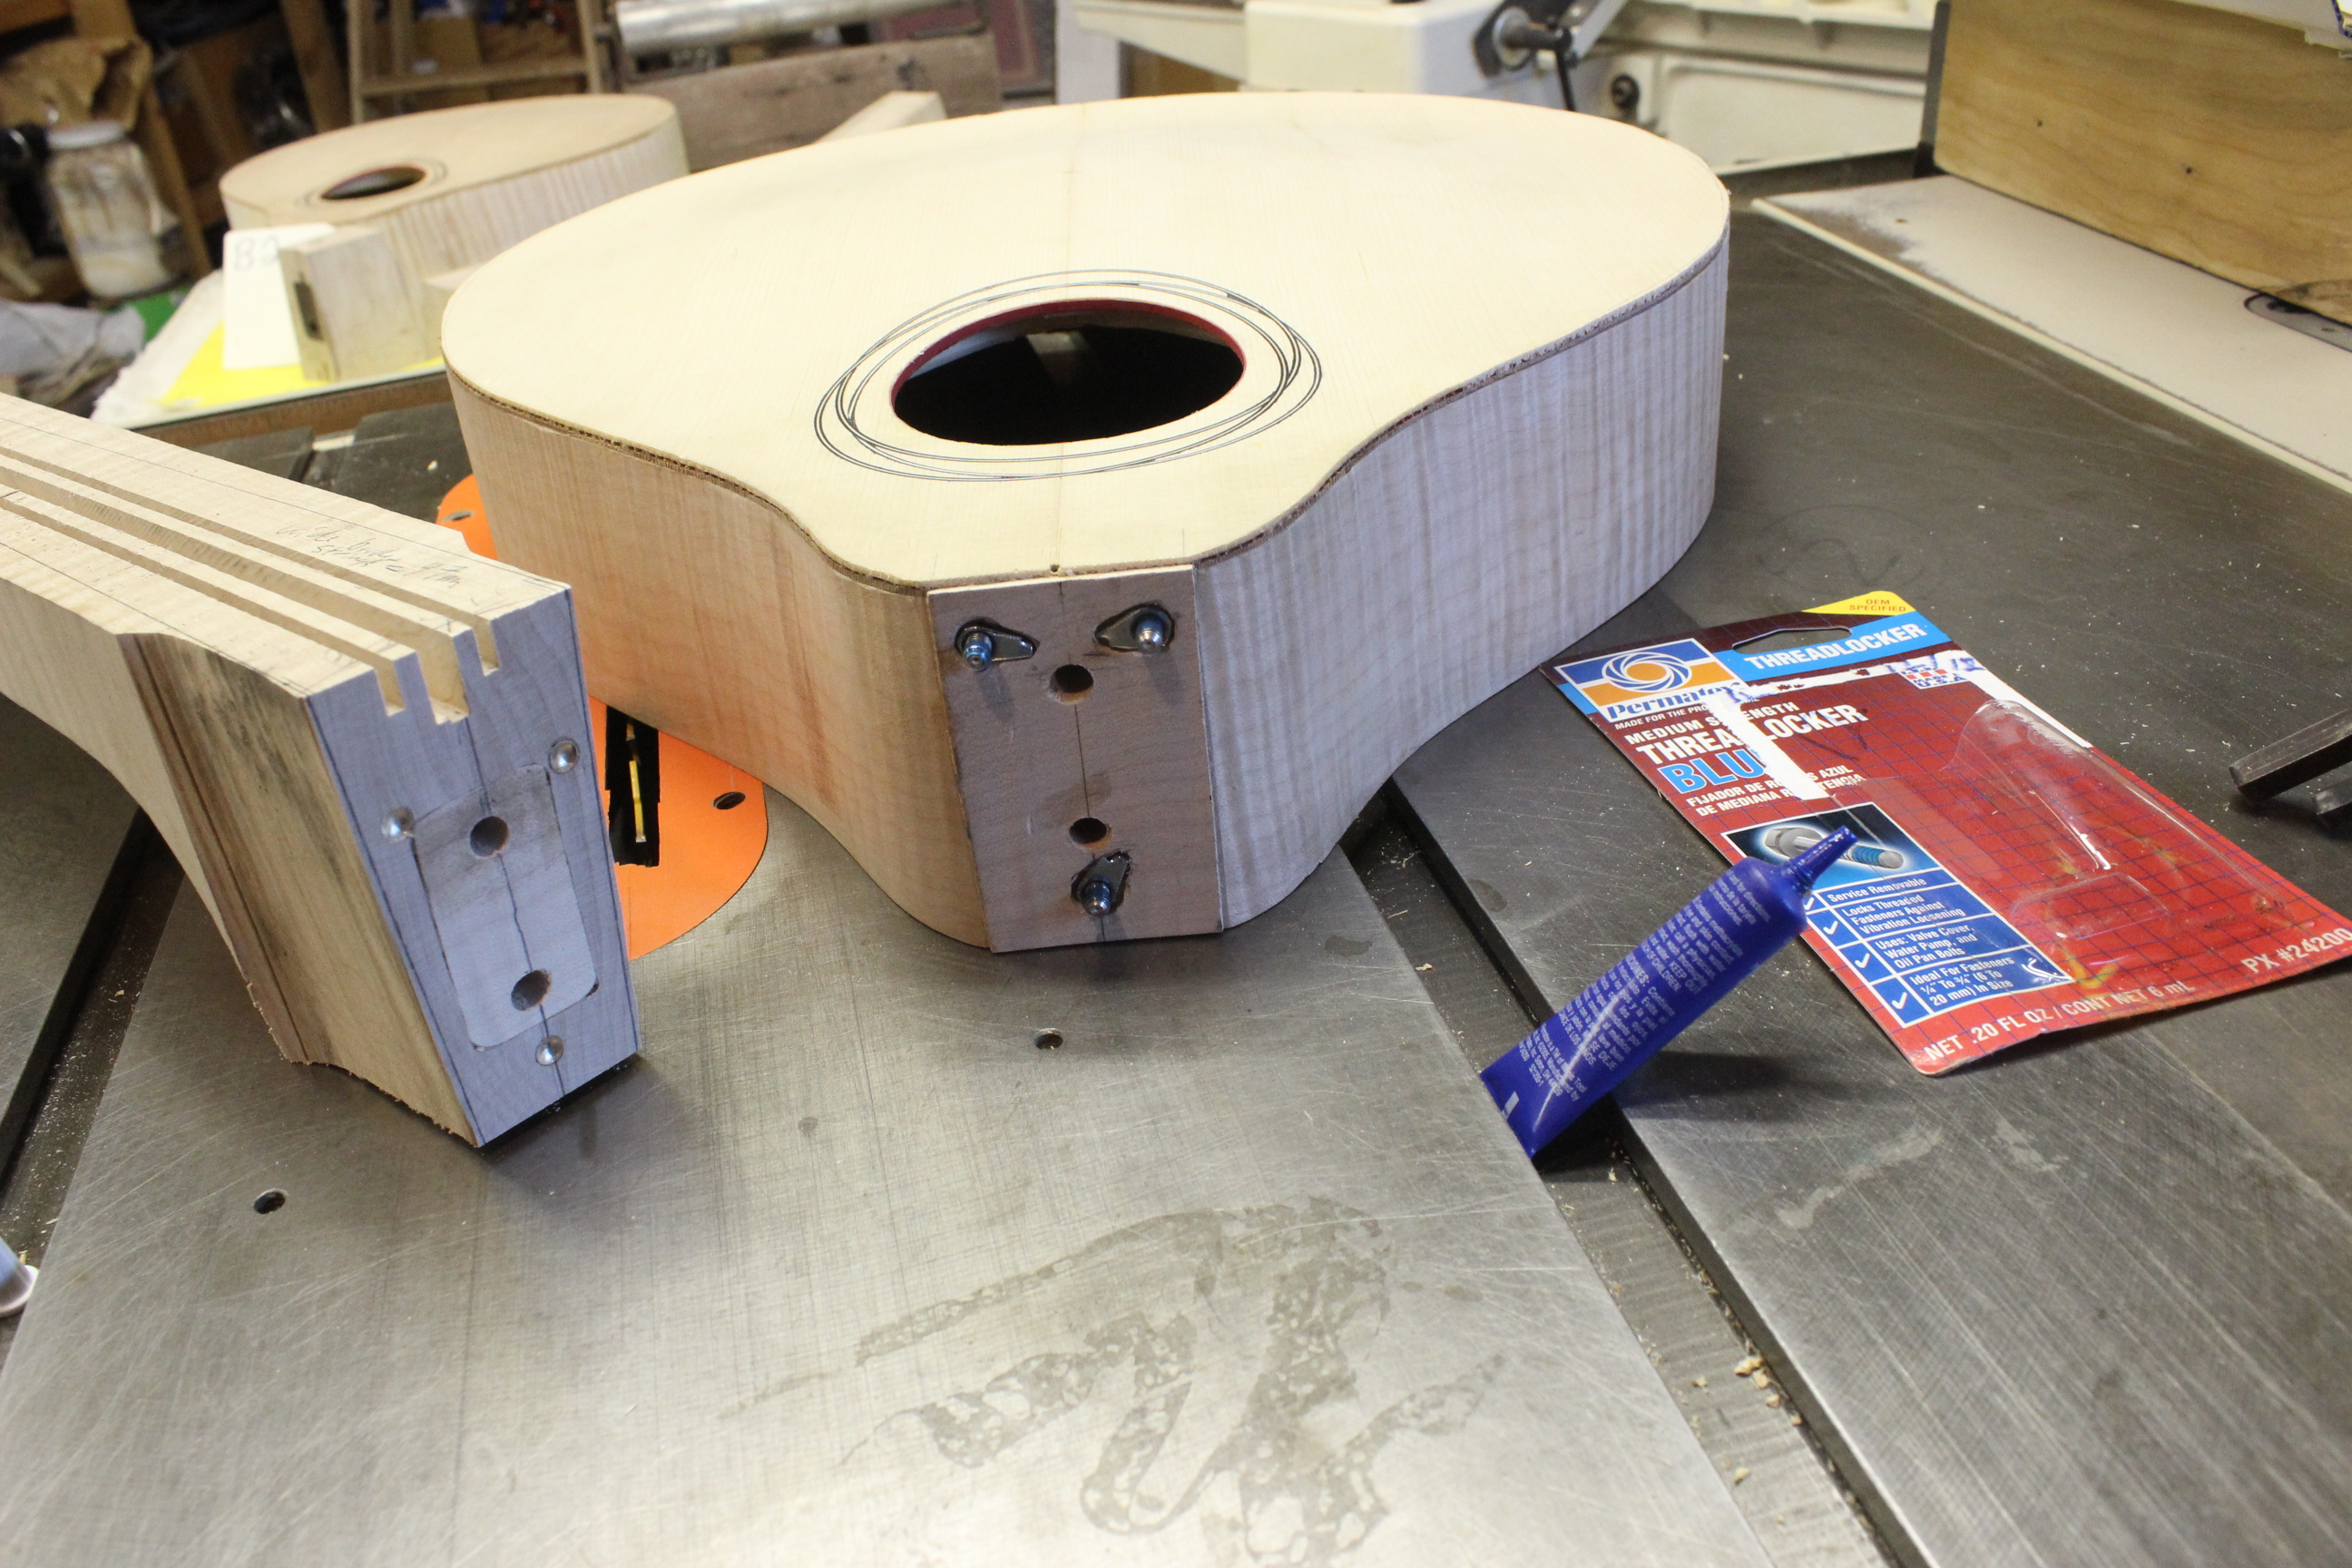
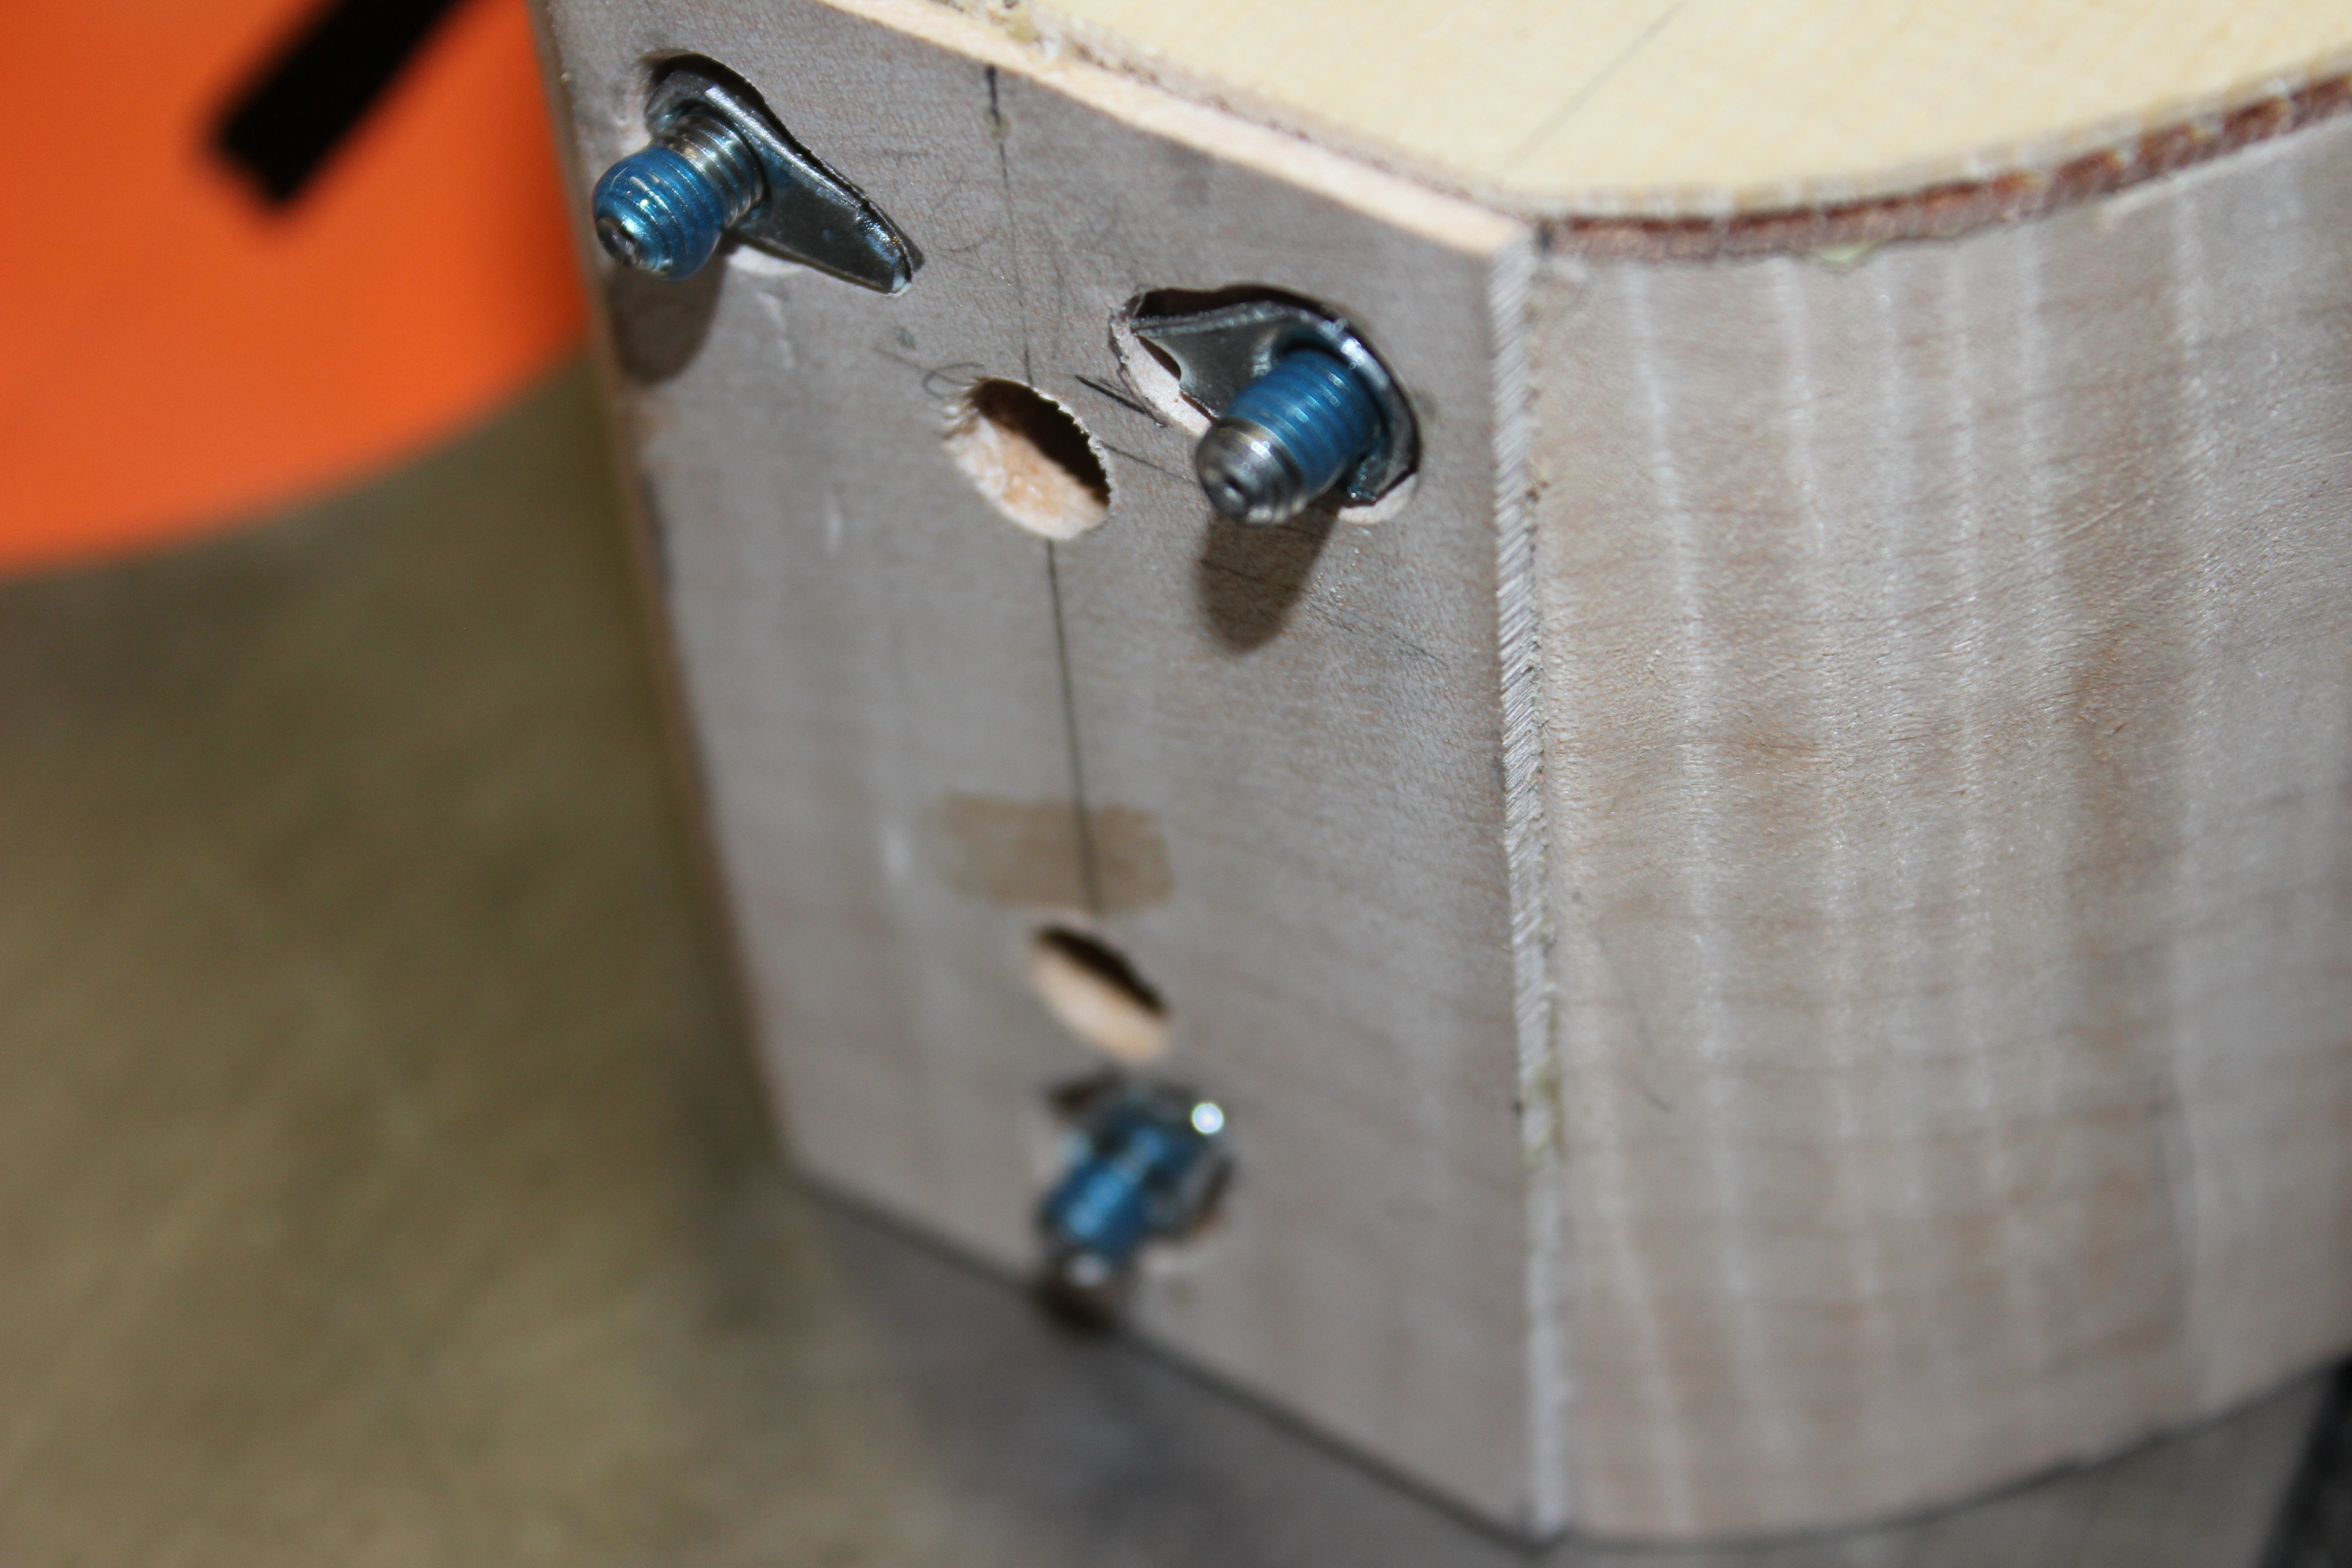
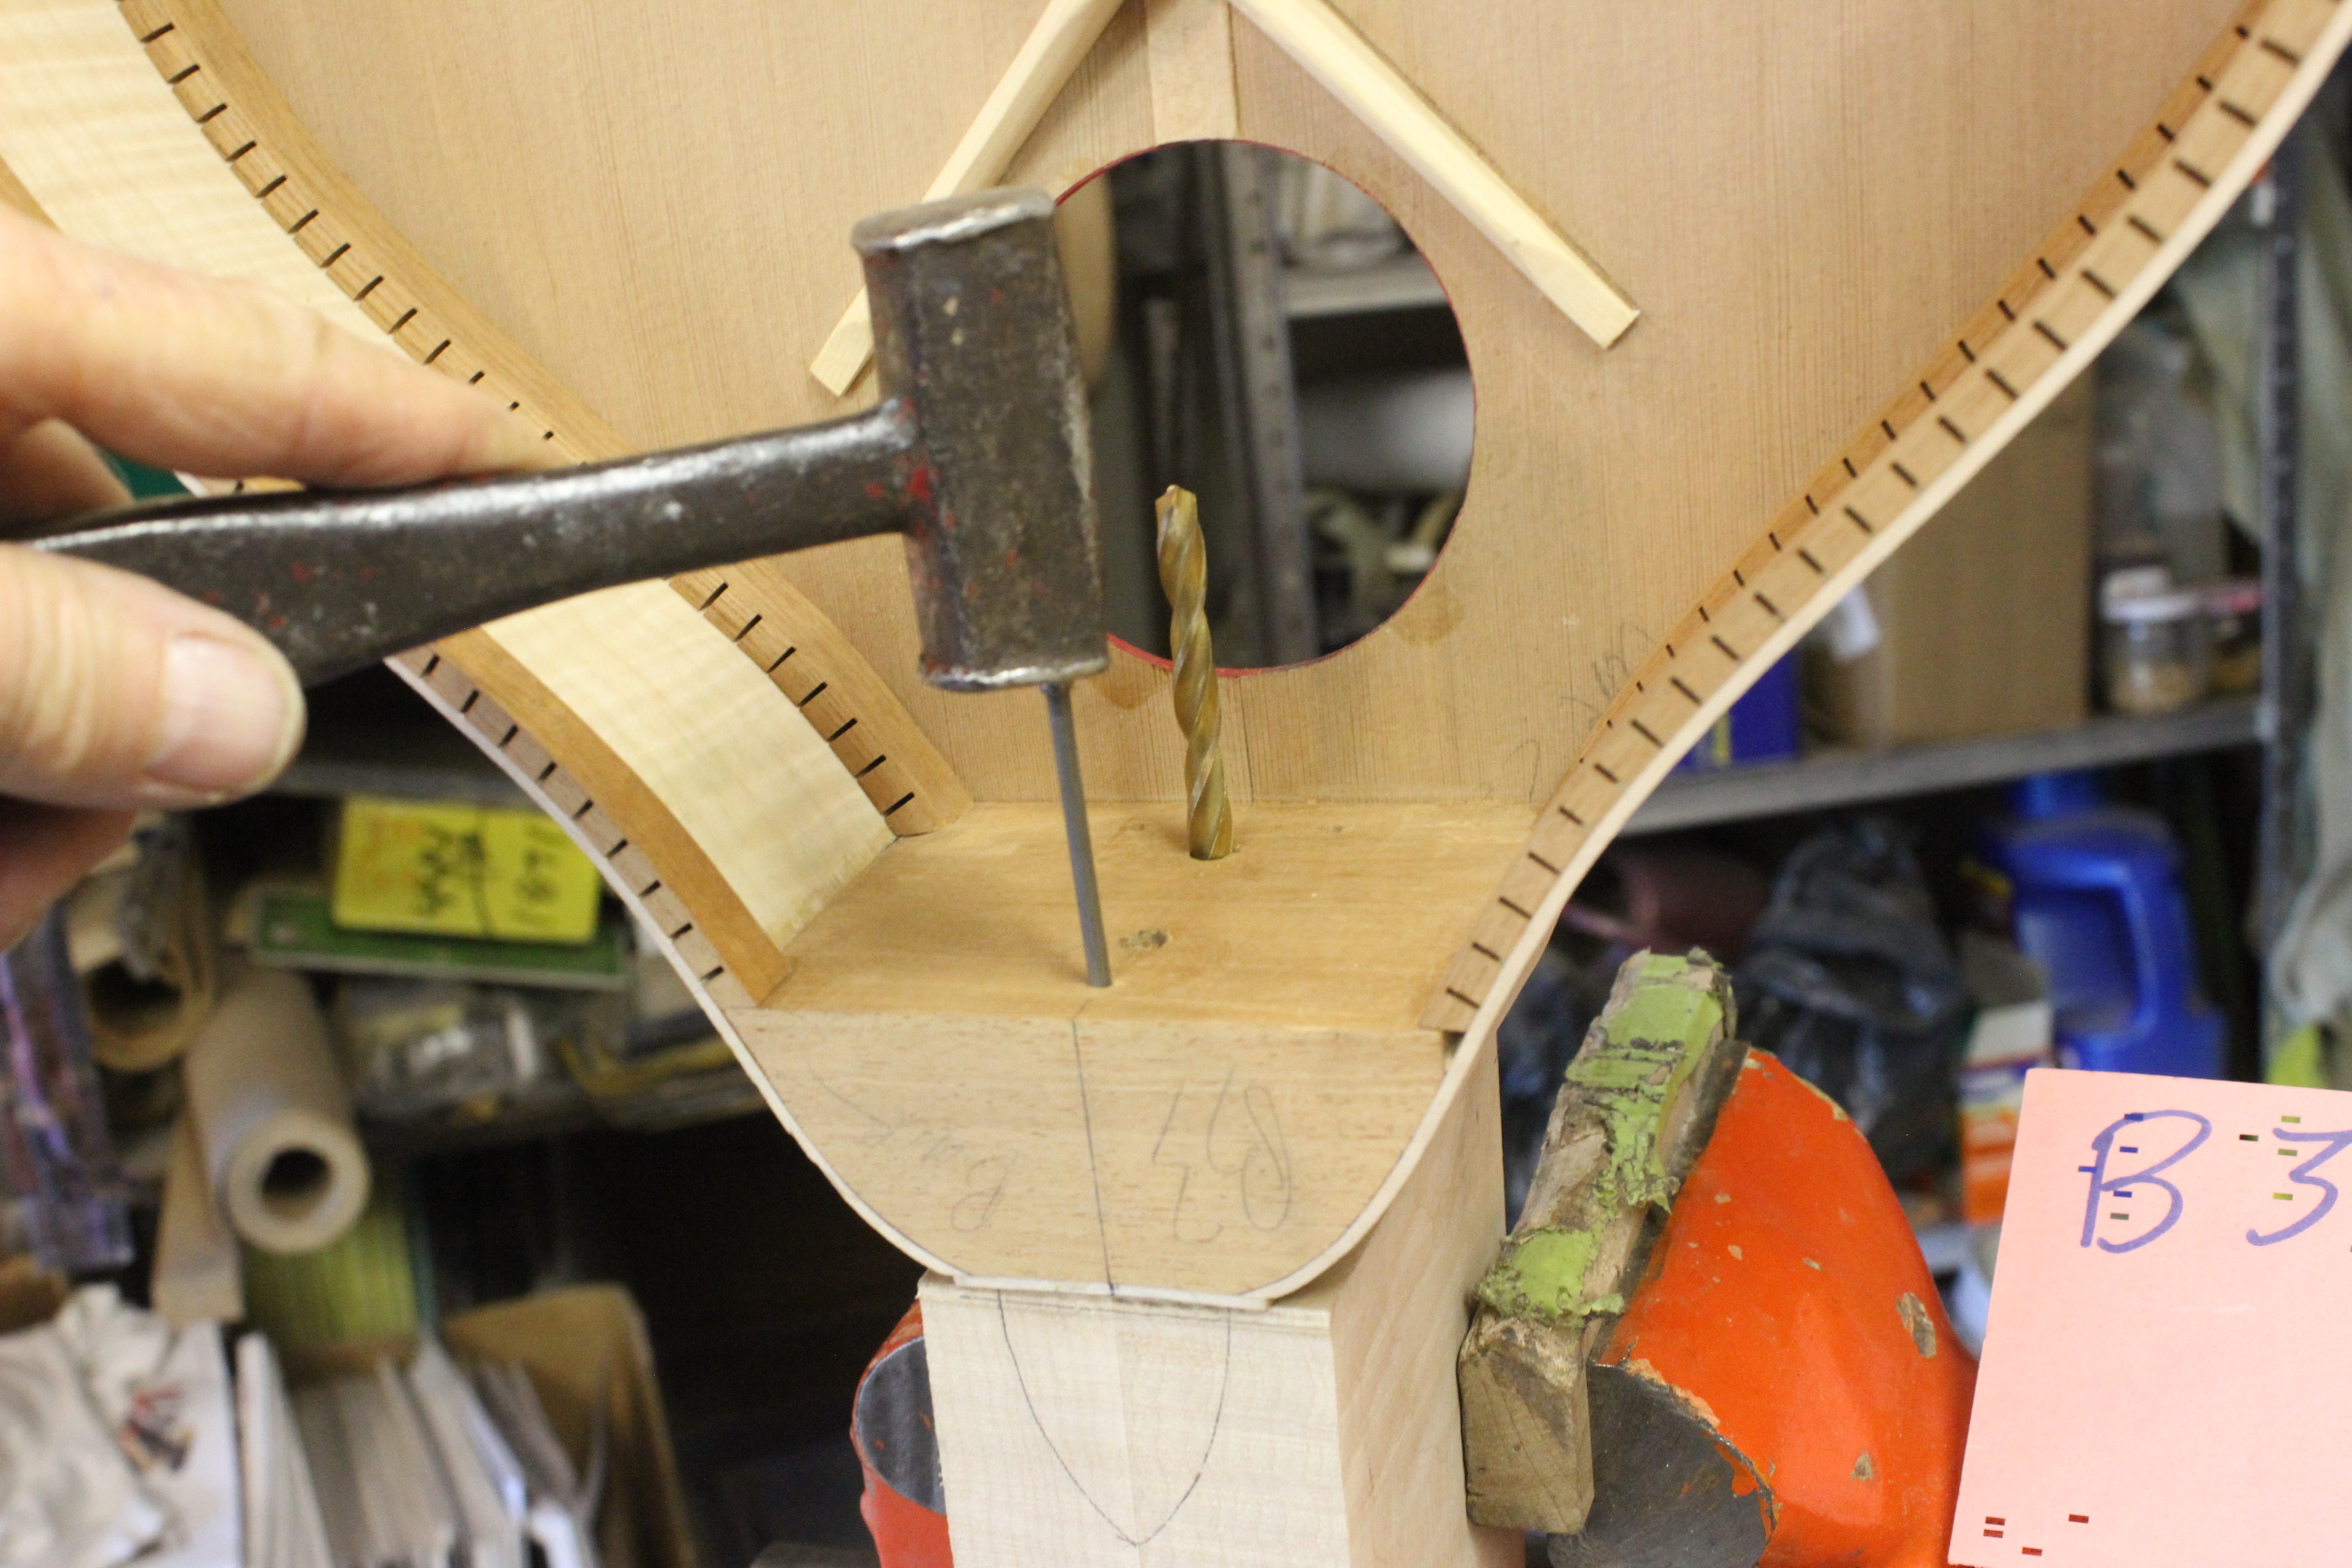
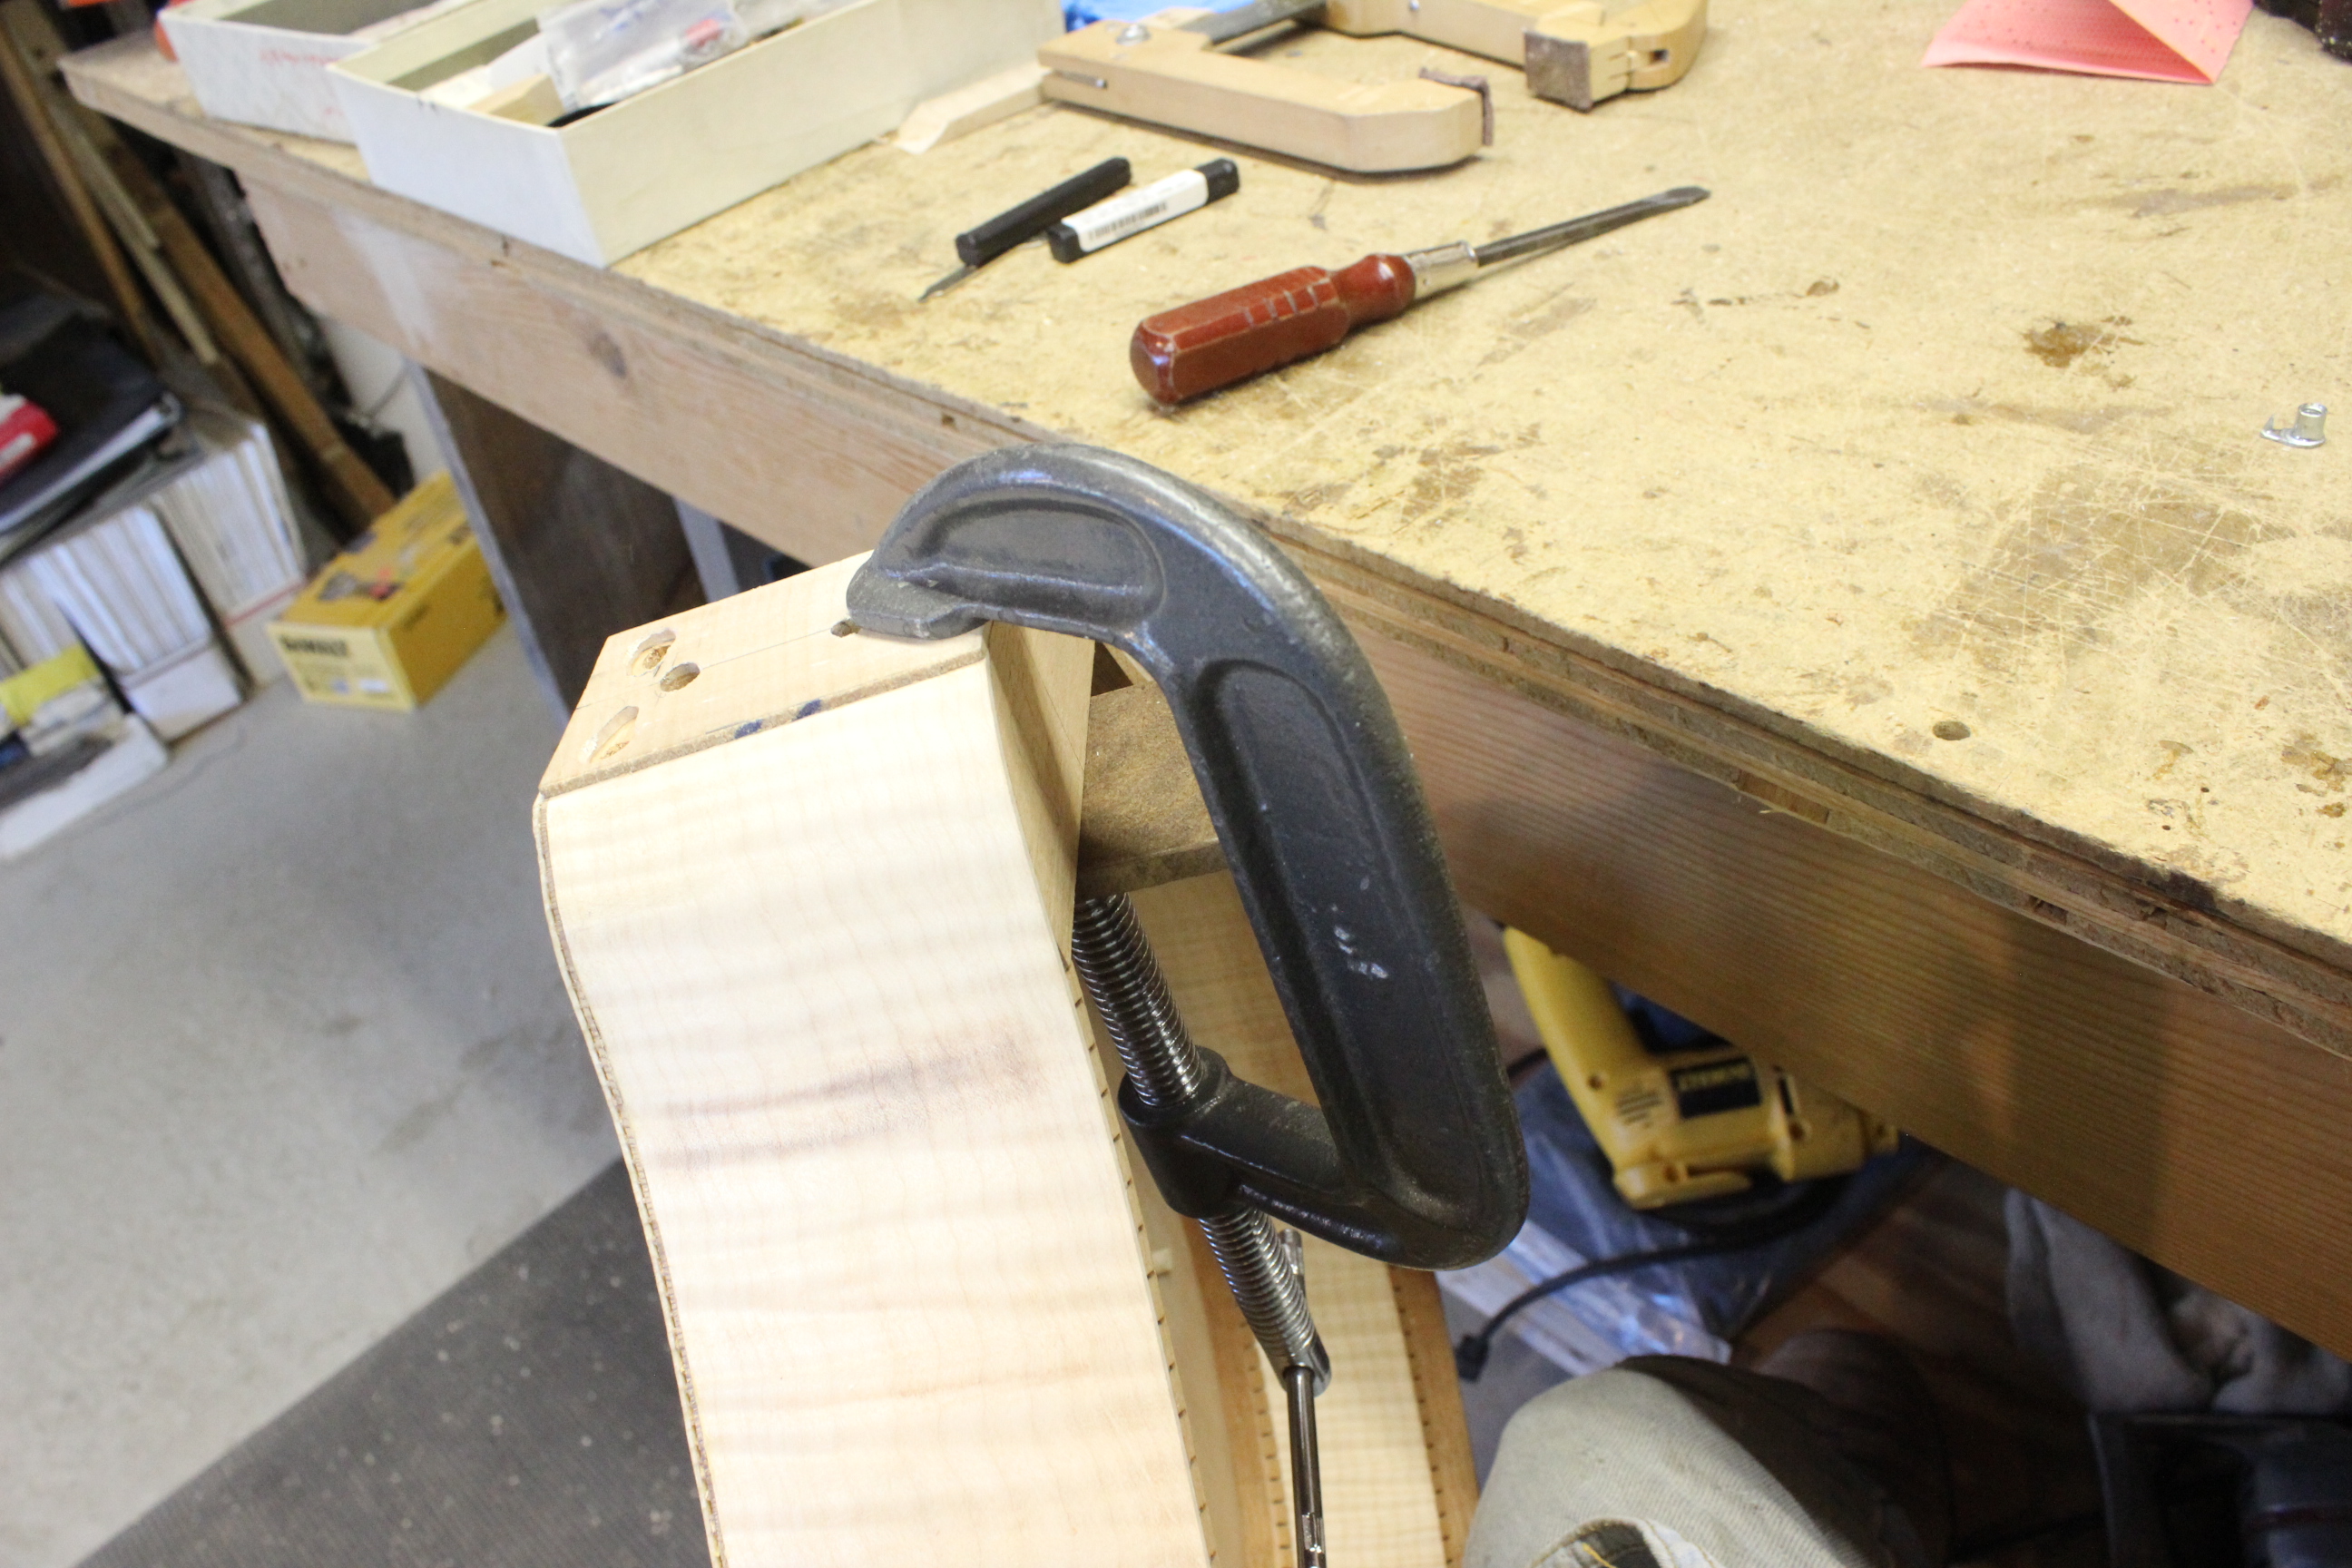
I install the anchor bolt the same way as I do for other neck joints. I put the neck up on a wedge shim so that the butt end is vertical and drill the hole to take the anchor. You can see the brass anchor in the first two photos, it is cross drilled and tapped to take 1/4-20 furniture bolts. It goes down in the hole and the anchor bolts come across and thread into it. The stainless steel cup tip set screws are now threaded into the T-Nuts and a dab of blue nonpermanent Locktight added. This was because I could not at the time get set screws with the nylon shake-proof inserts. Go with those instead if you can. I backed the set screws into the T-Nuts and ran them in/out a few times and then let the Locktight set a bit. Then I broke the bond by moving them again after about an hour and again the next day. That way they are movable but not apt to change position.
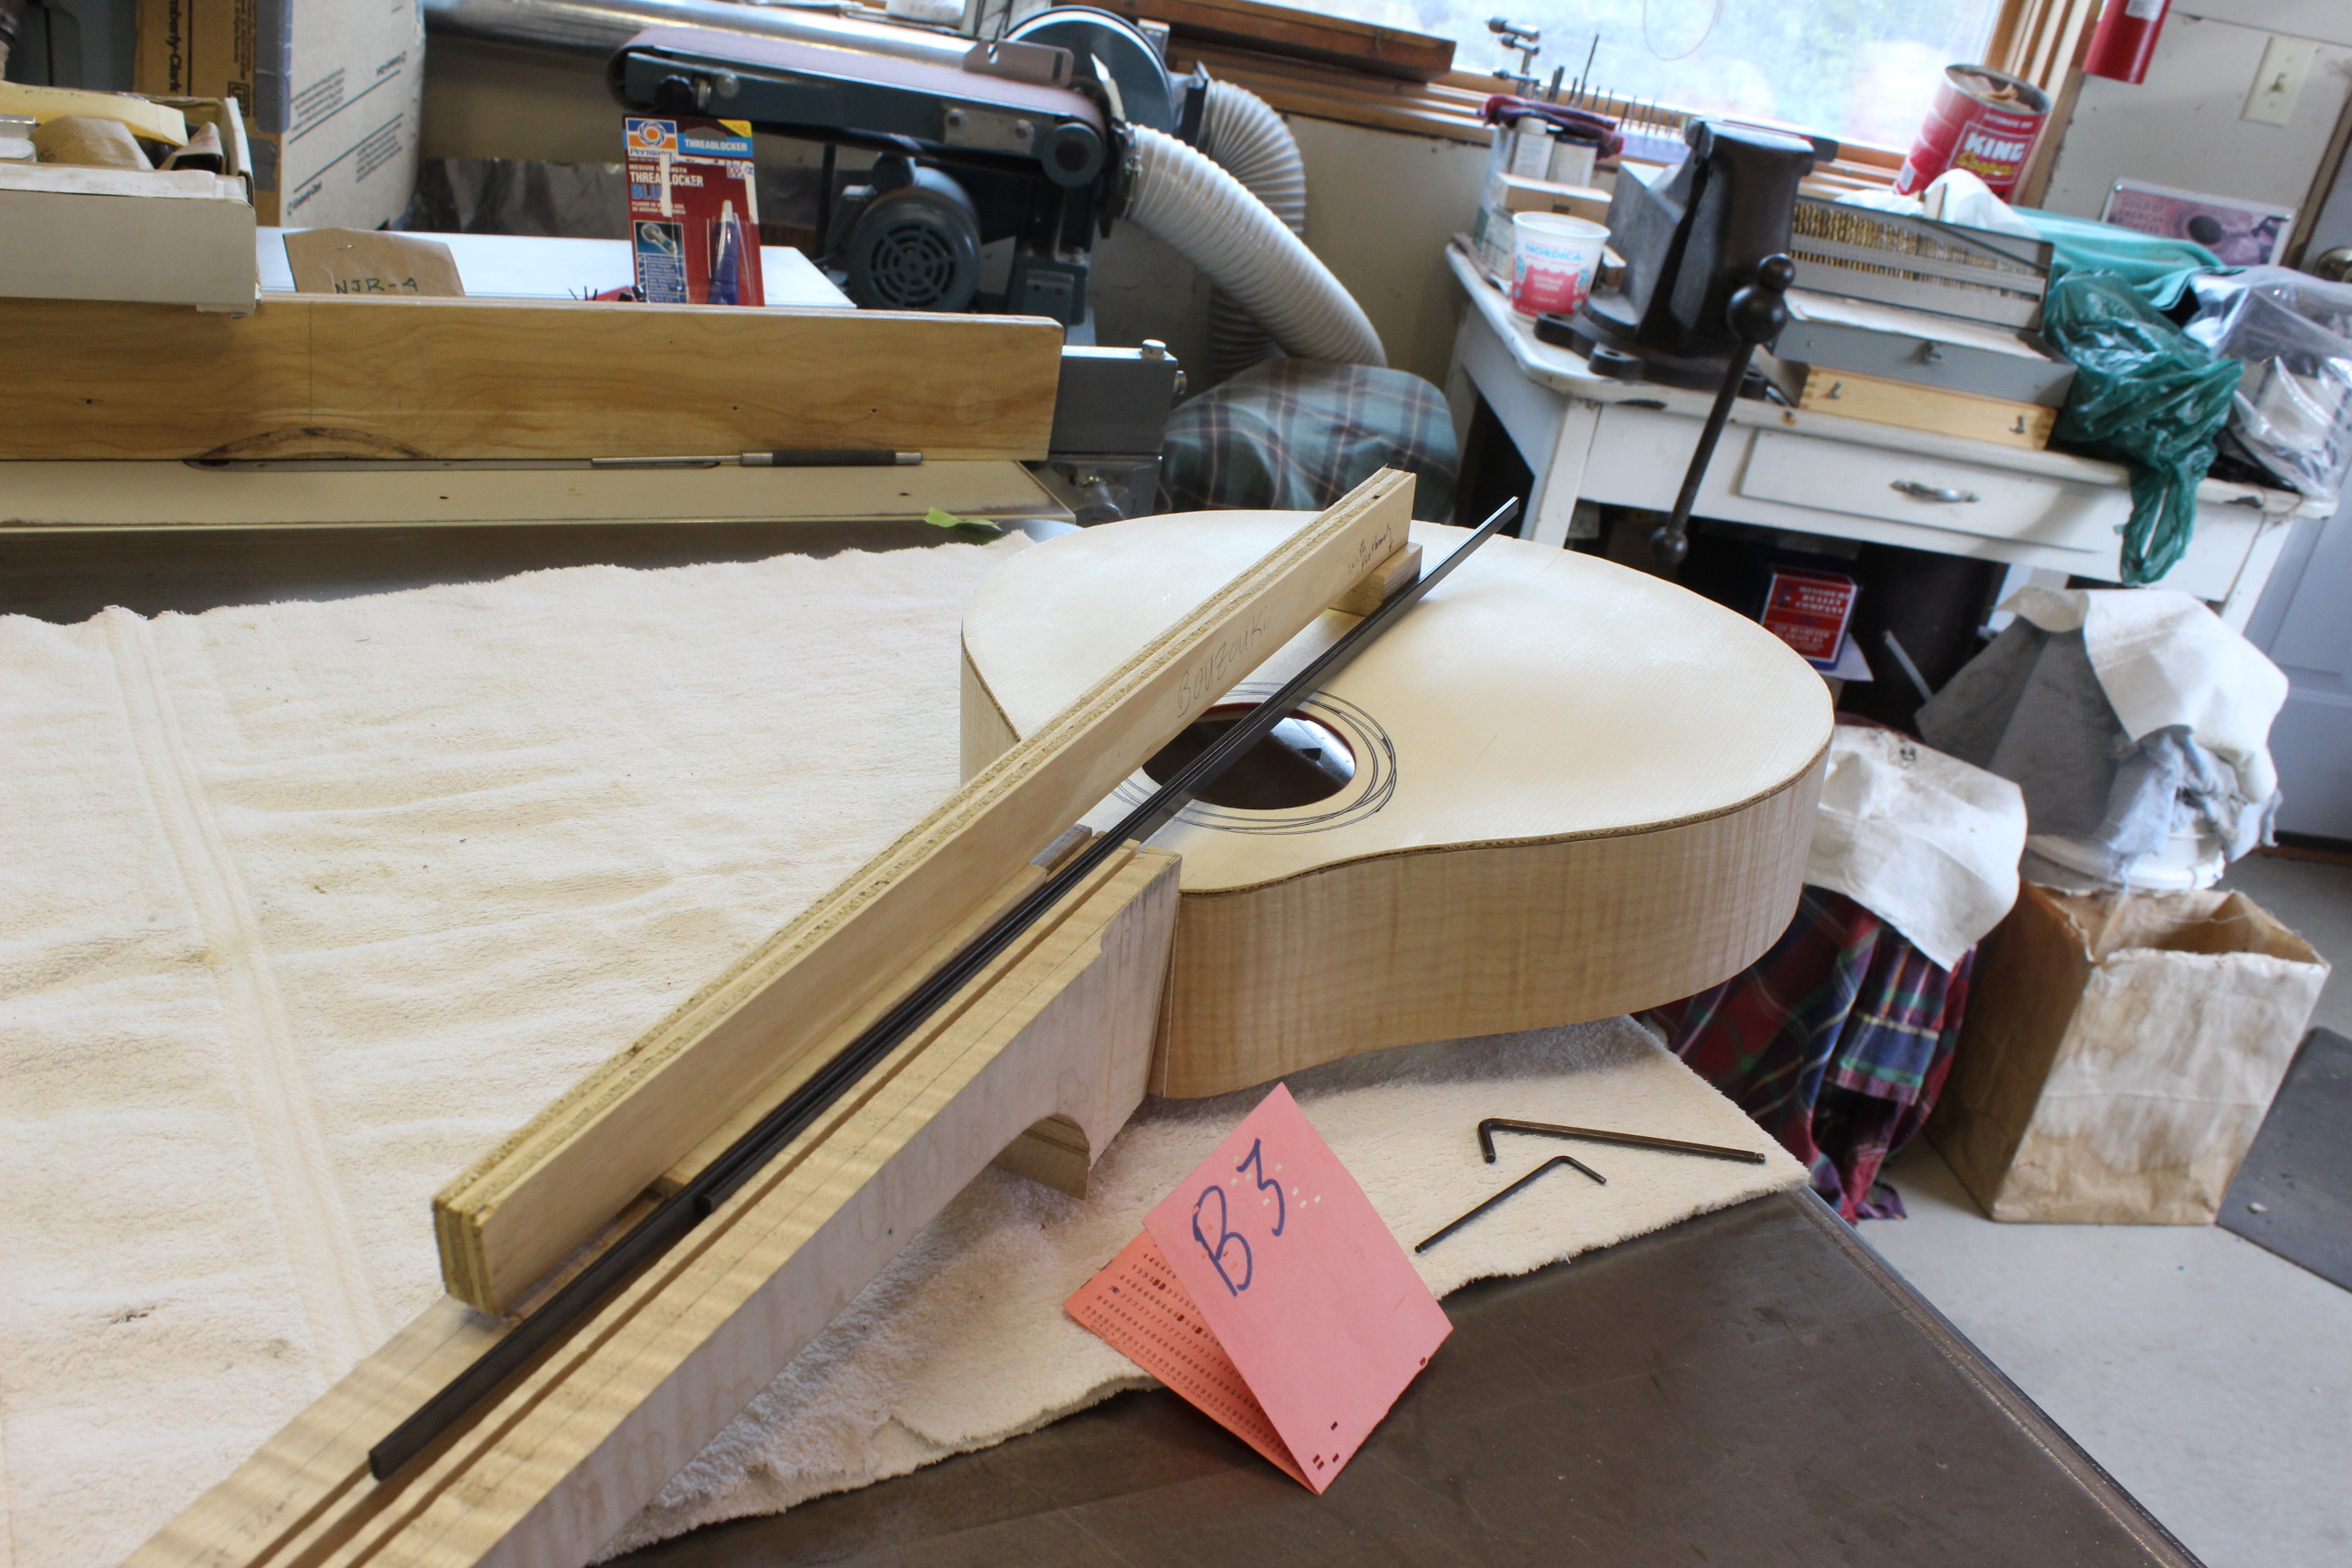
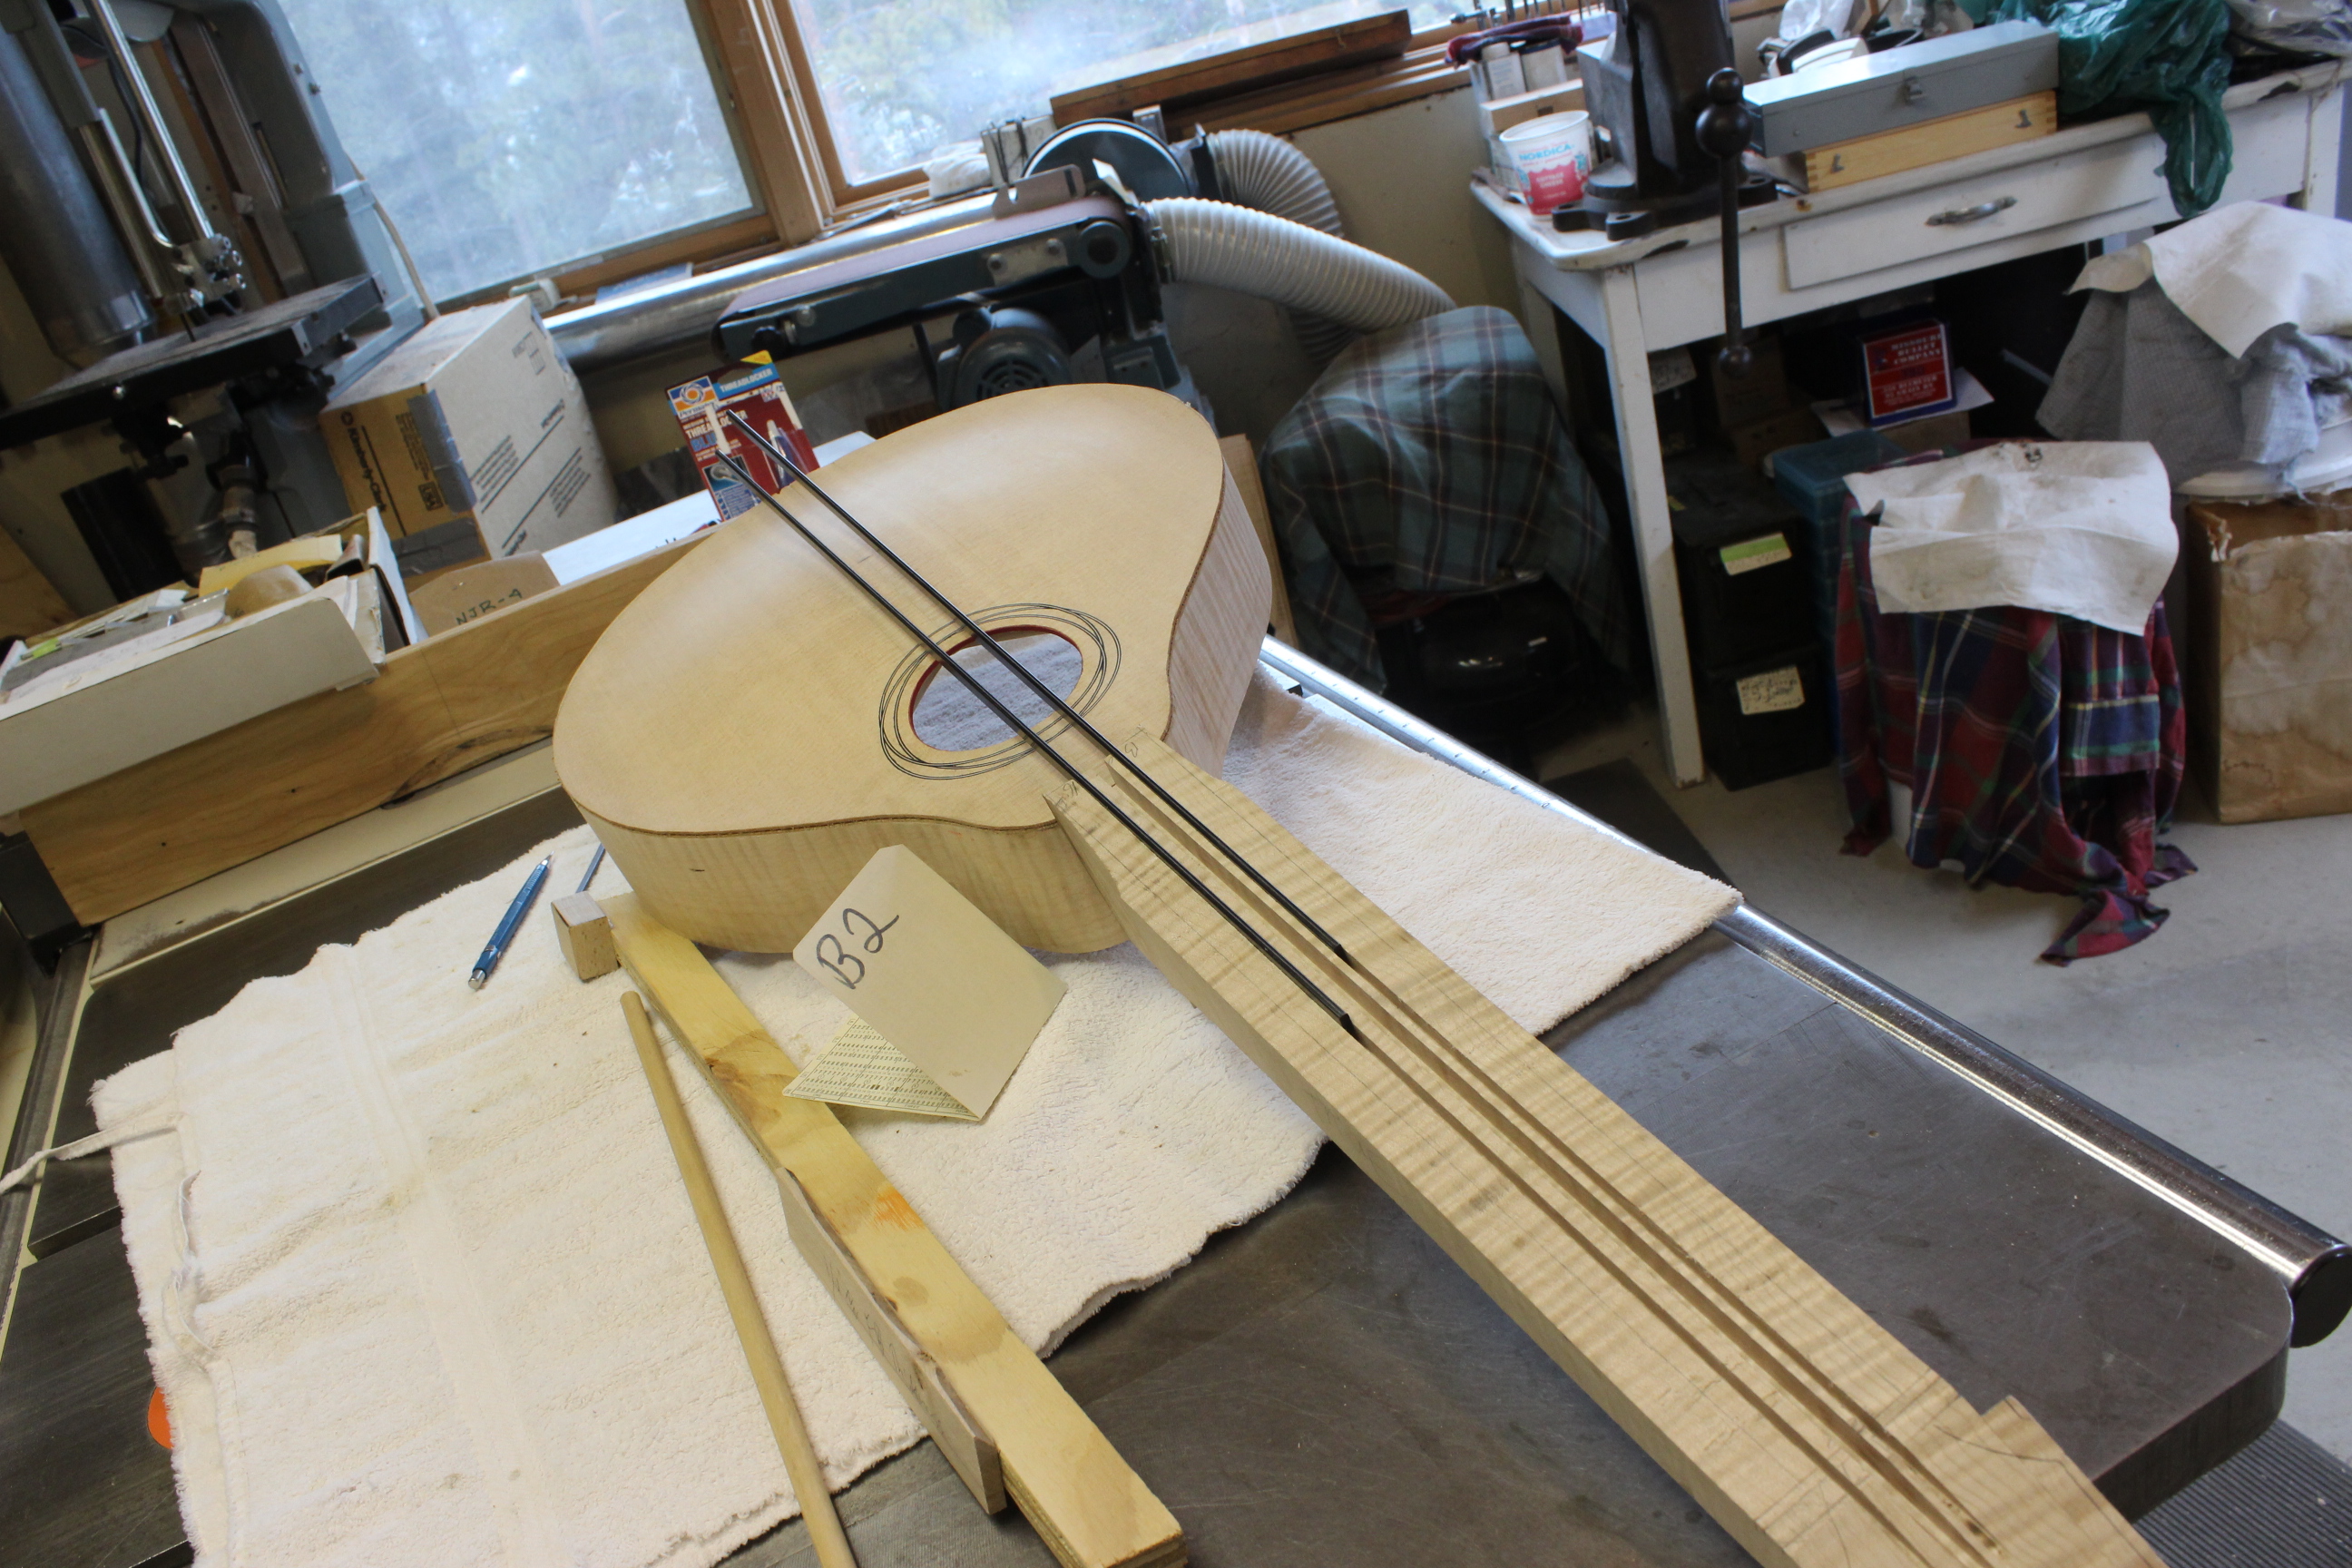
Once the neck is attached I just barely snug up the anchor bolts and use my alignment tool to adjust the back angle so the bridge height is correct. Then I put two long graphite bars in the slots and tweak the left/right screws to get it aligned true to the body center line. I tighten the anchor bolts hard and see if all is still true. Loosen the anchor bolts and tweak as needed, then Lather/Rinse/Repeat till all is true when the anchor bolts are fully tight.
Note here that the fretboard extension has not yet been attached. For this neck attachment I just use the same sort of extension as I do in my mandolins so see the Toot on building mandolins for more detail on that.