Let's Build A Guitar (Page 8)
Last Modified - November 6, 2012
In Page 7 we finished up with all the fretboard parts. Now it is time to do the fun part of carving the neck and then make the bridge.
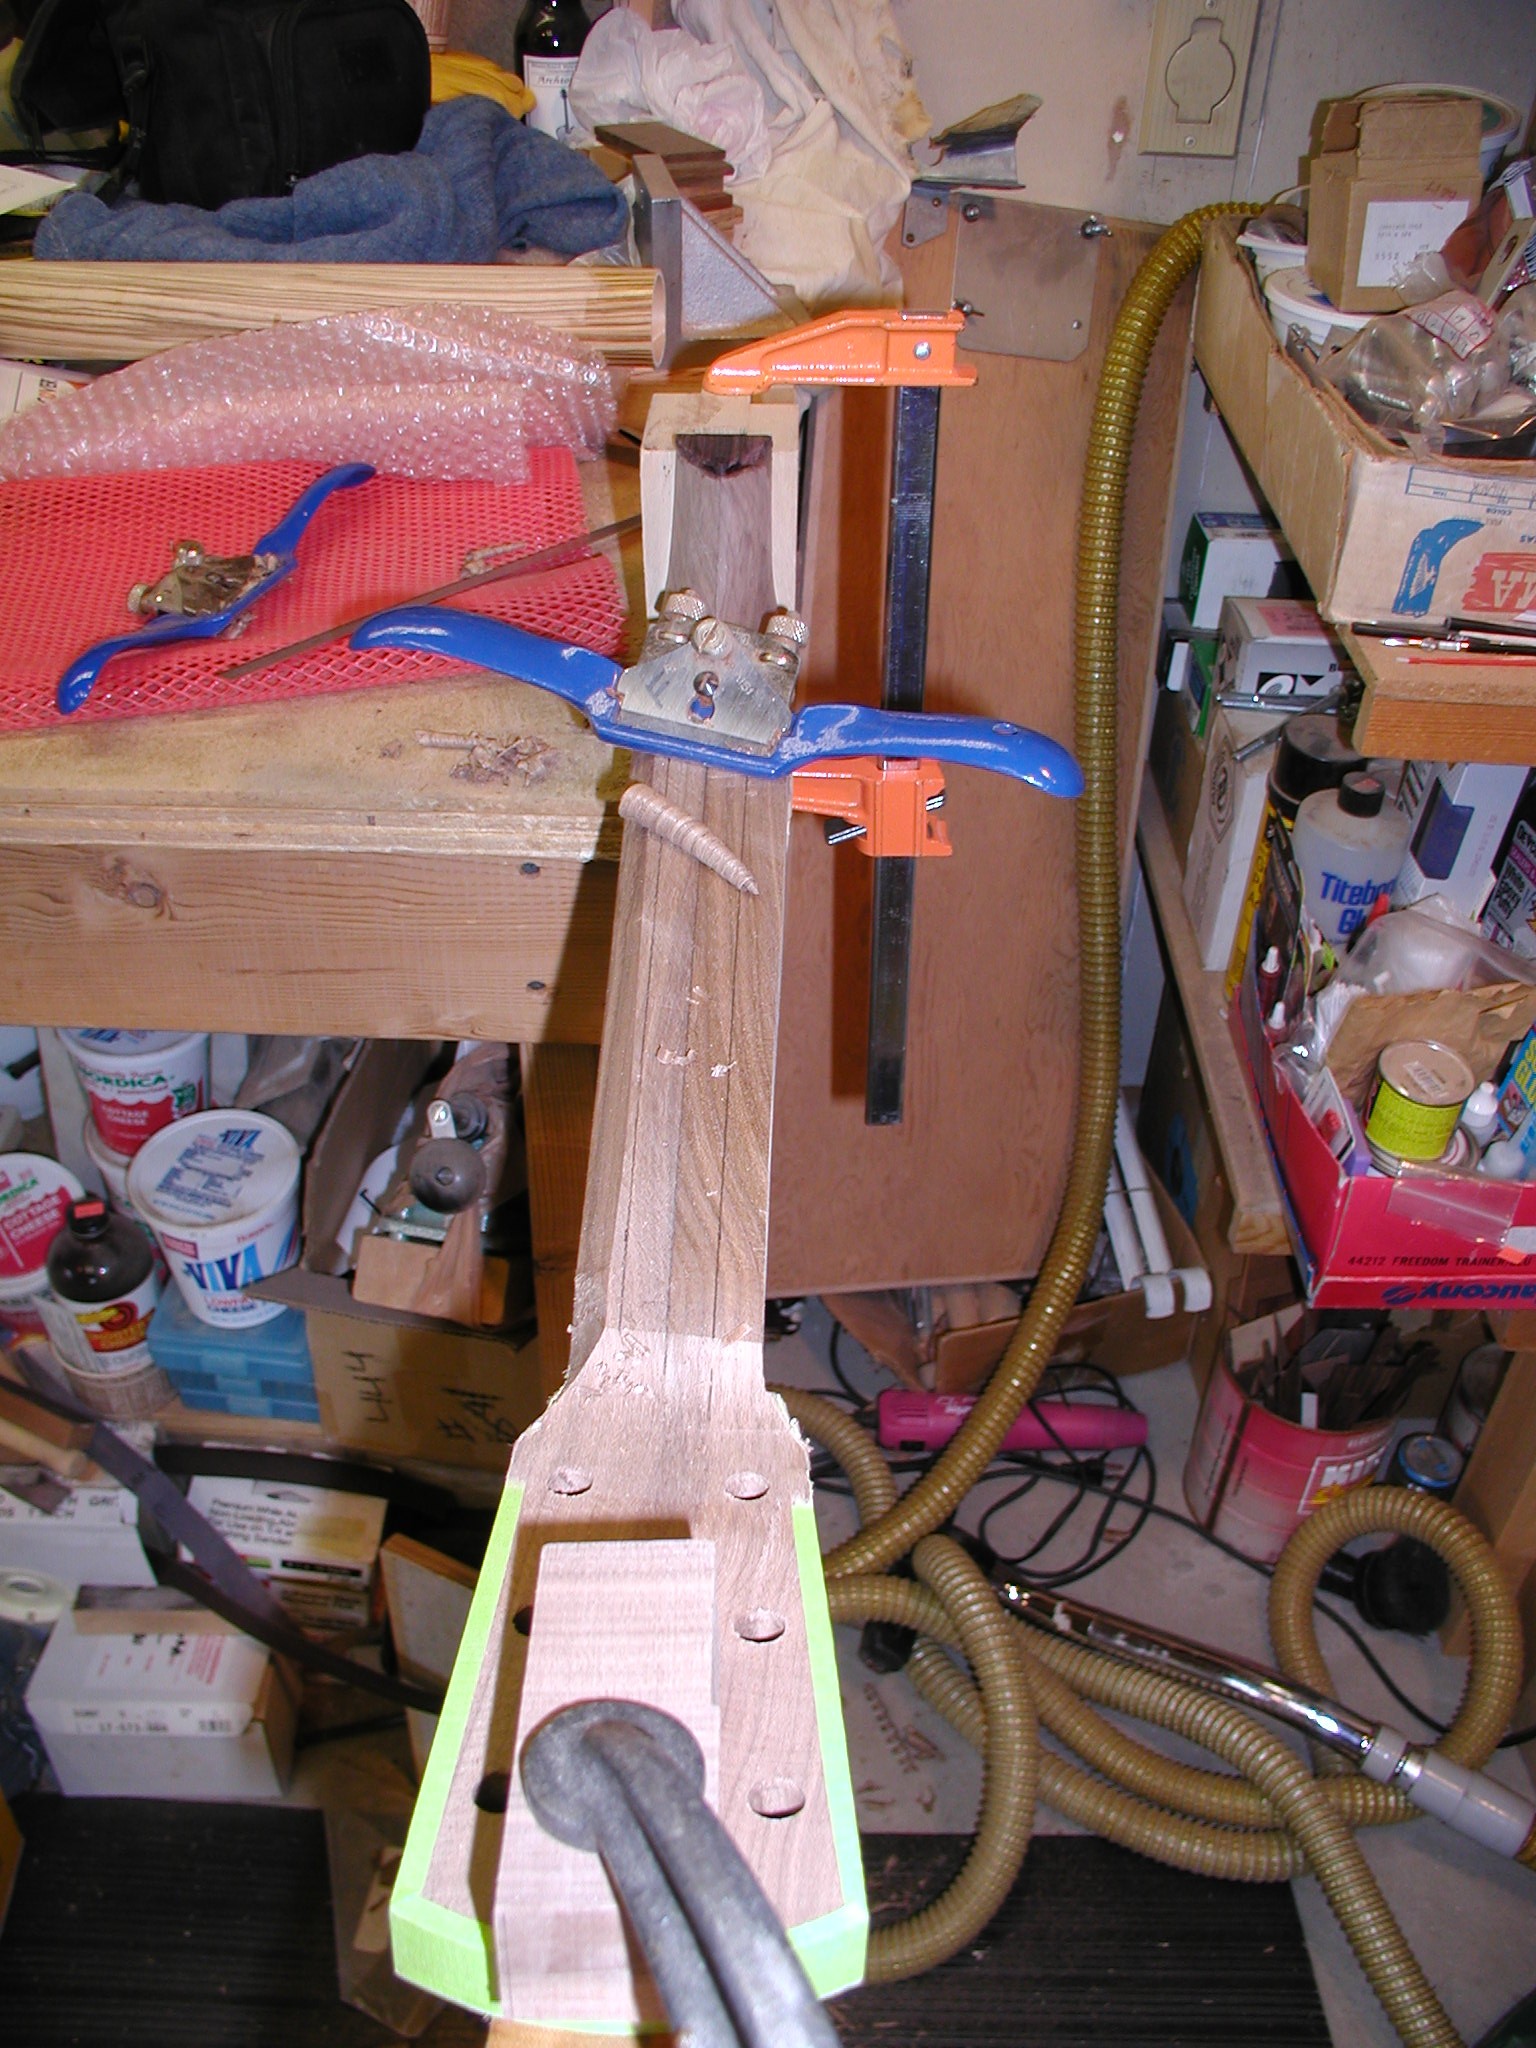
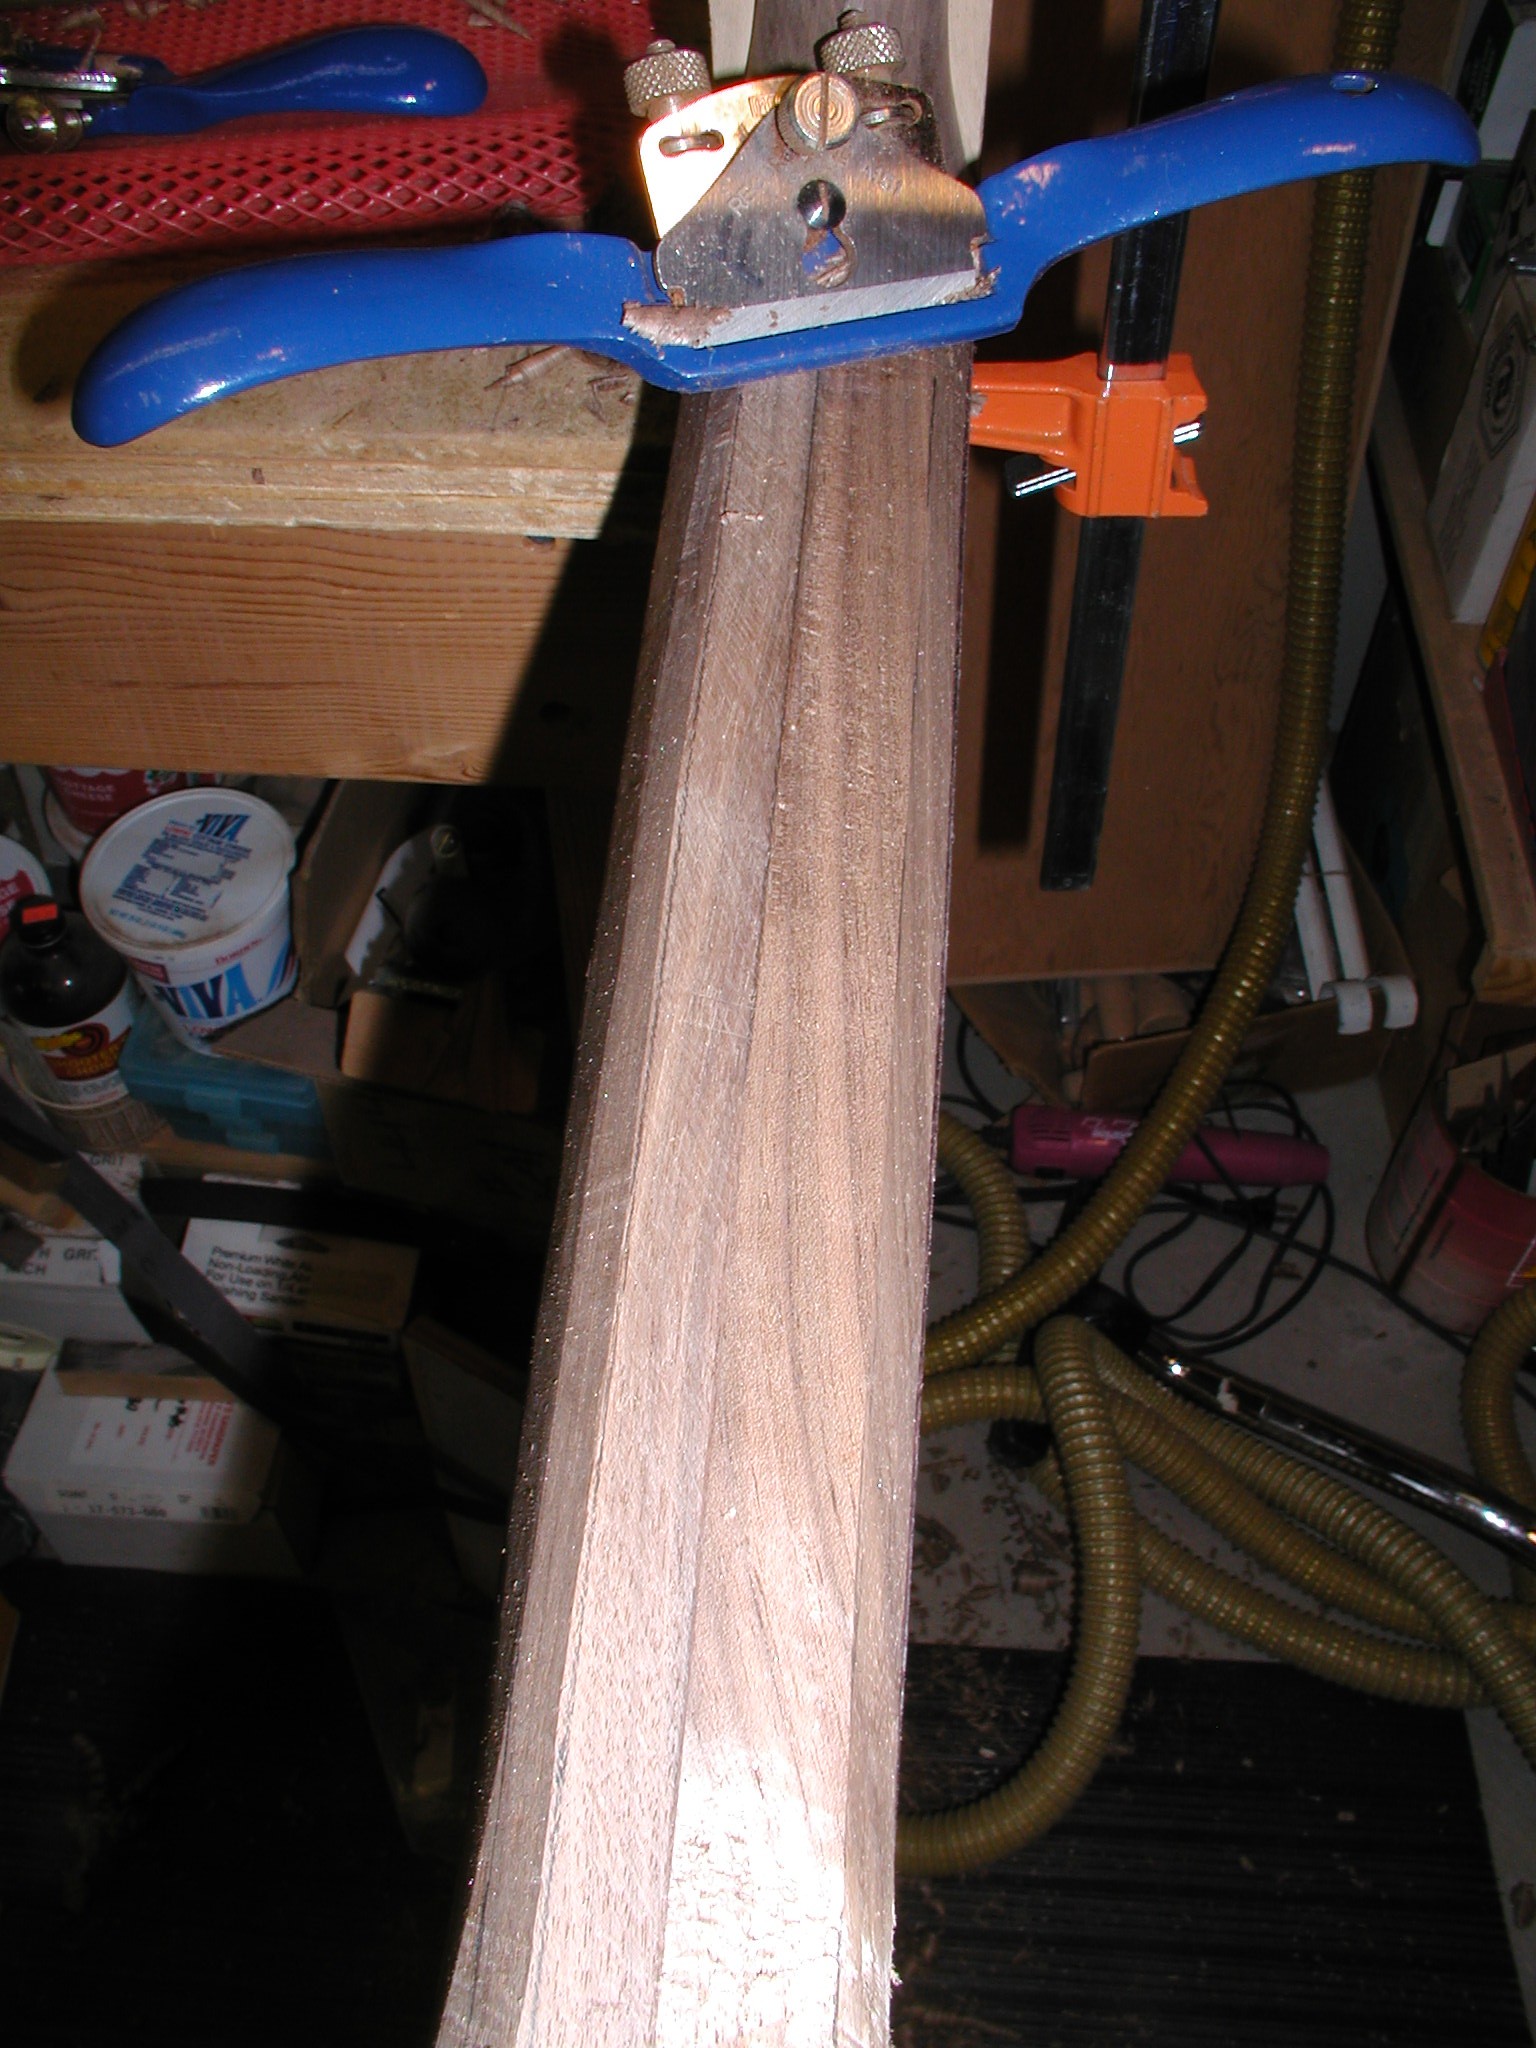
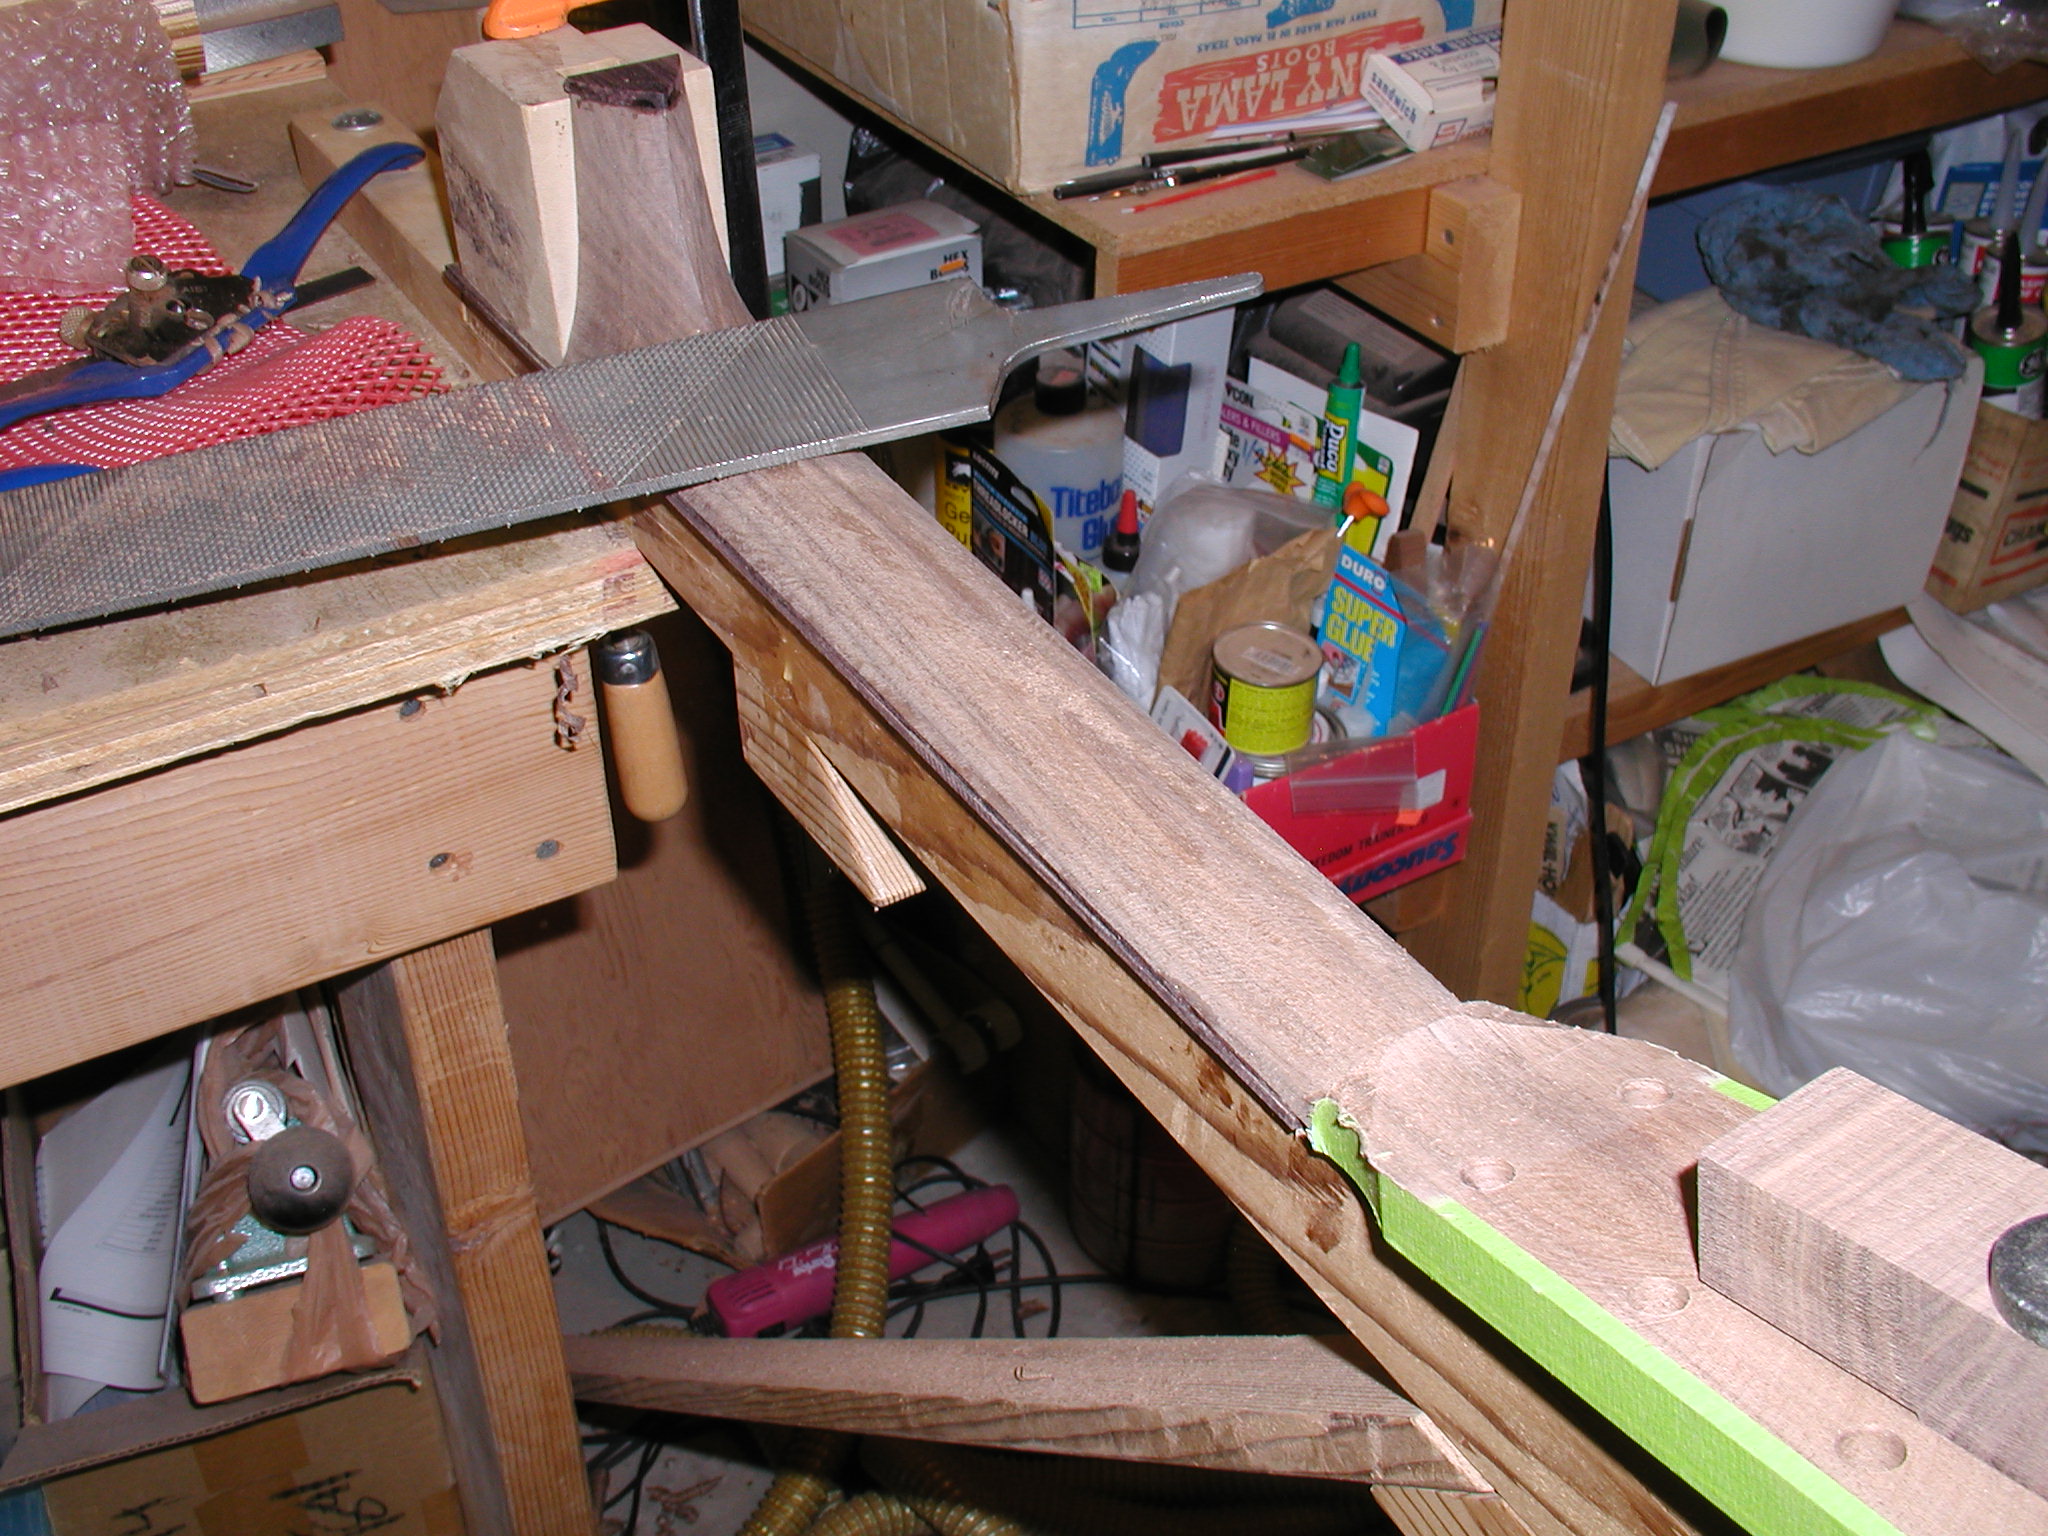
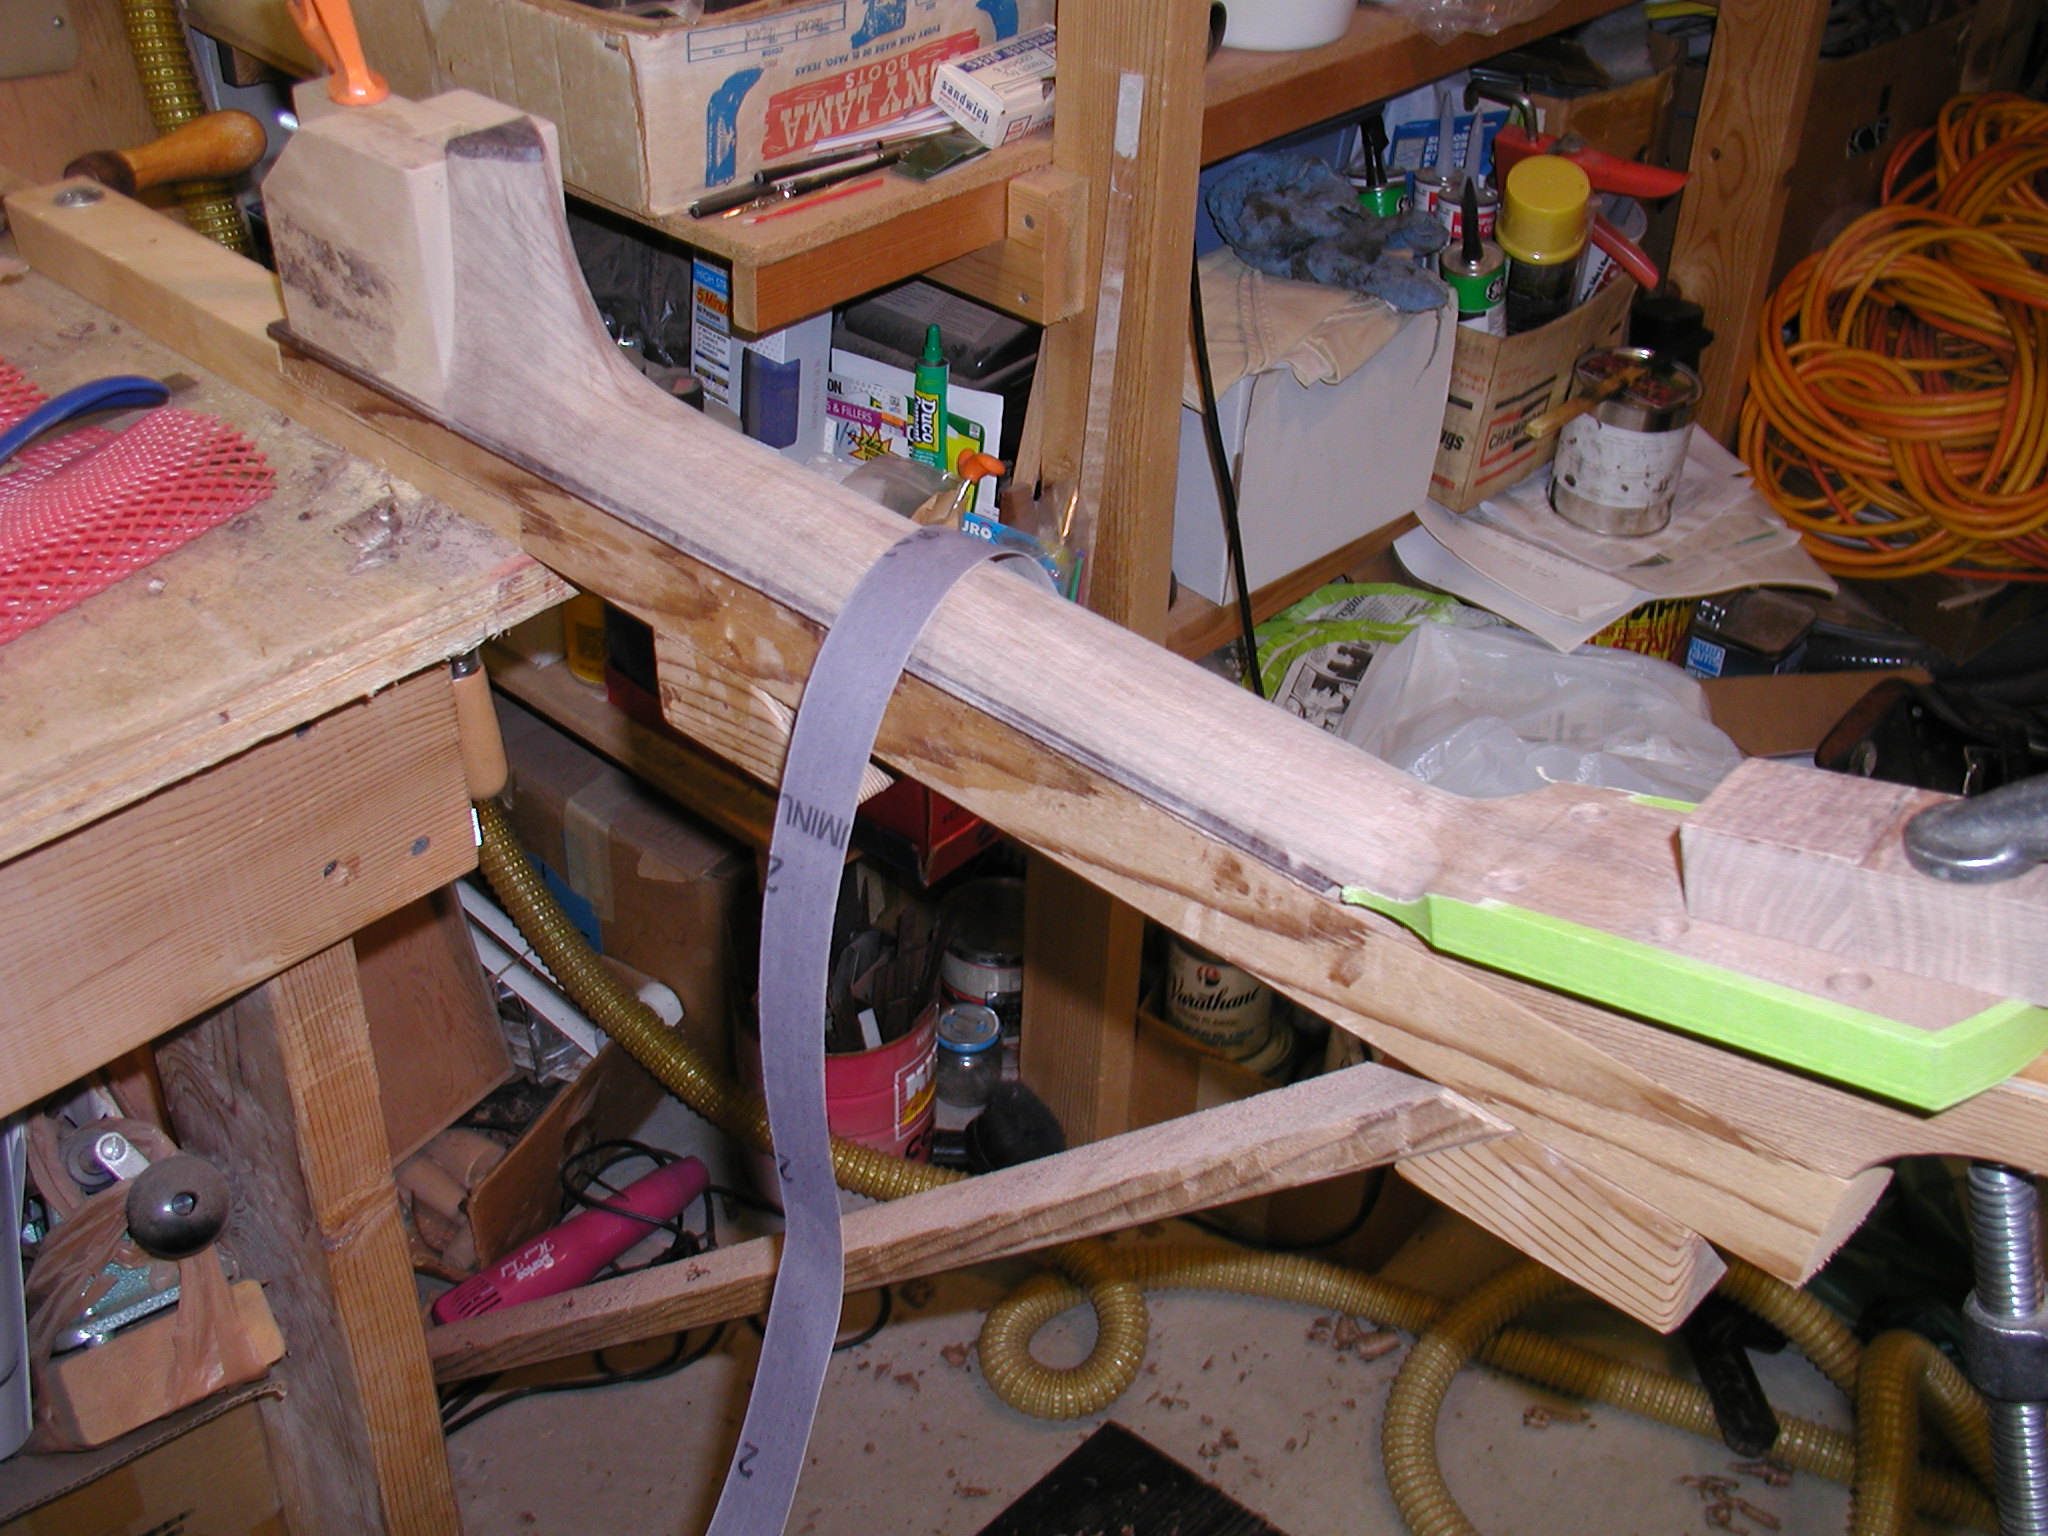
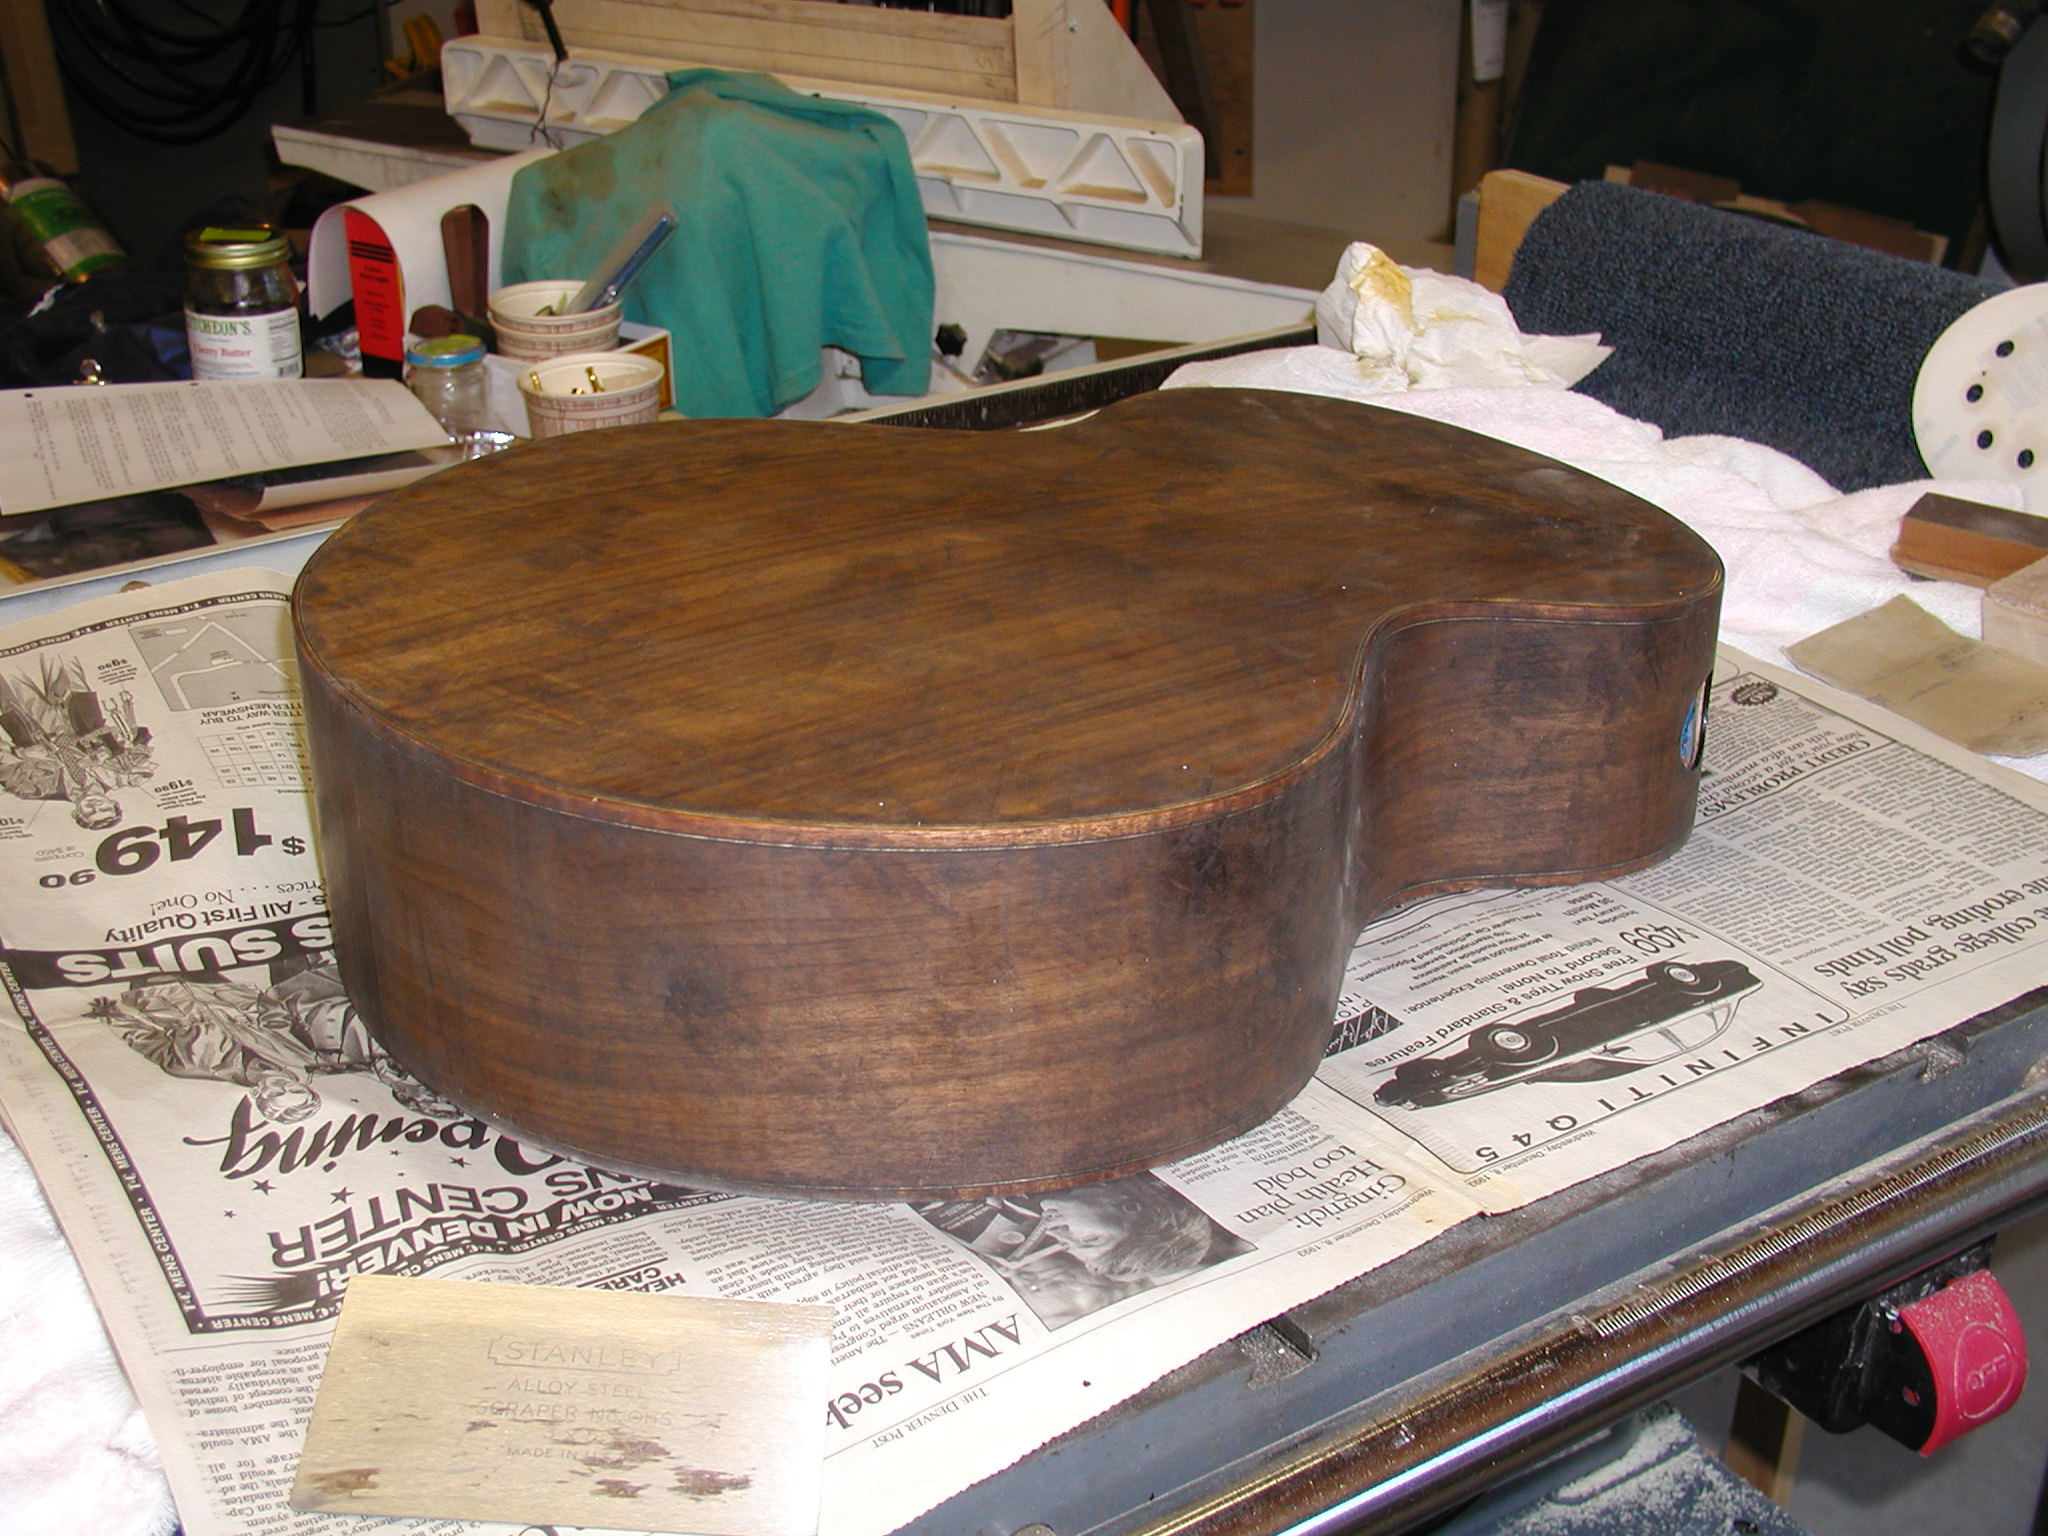
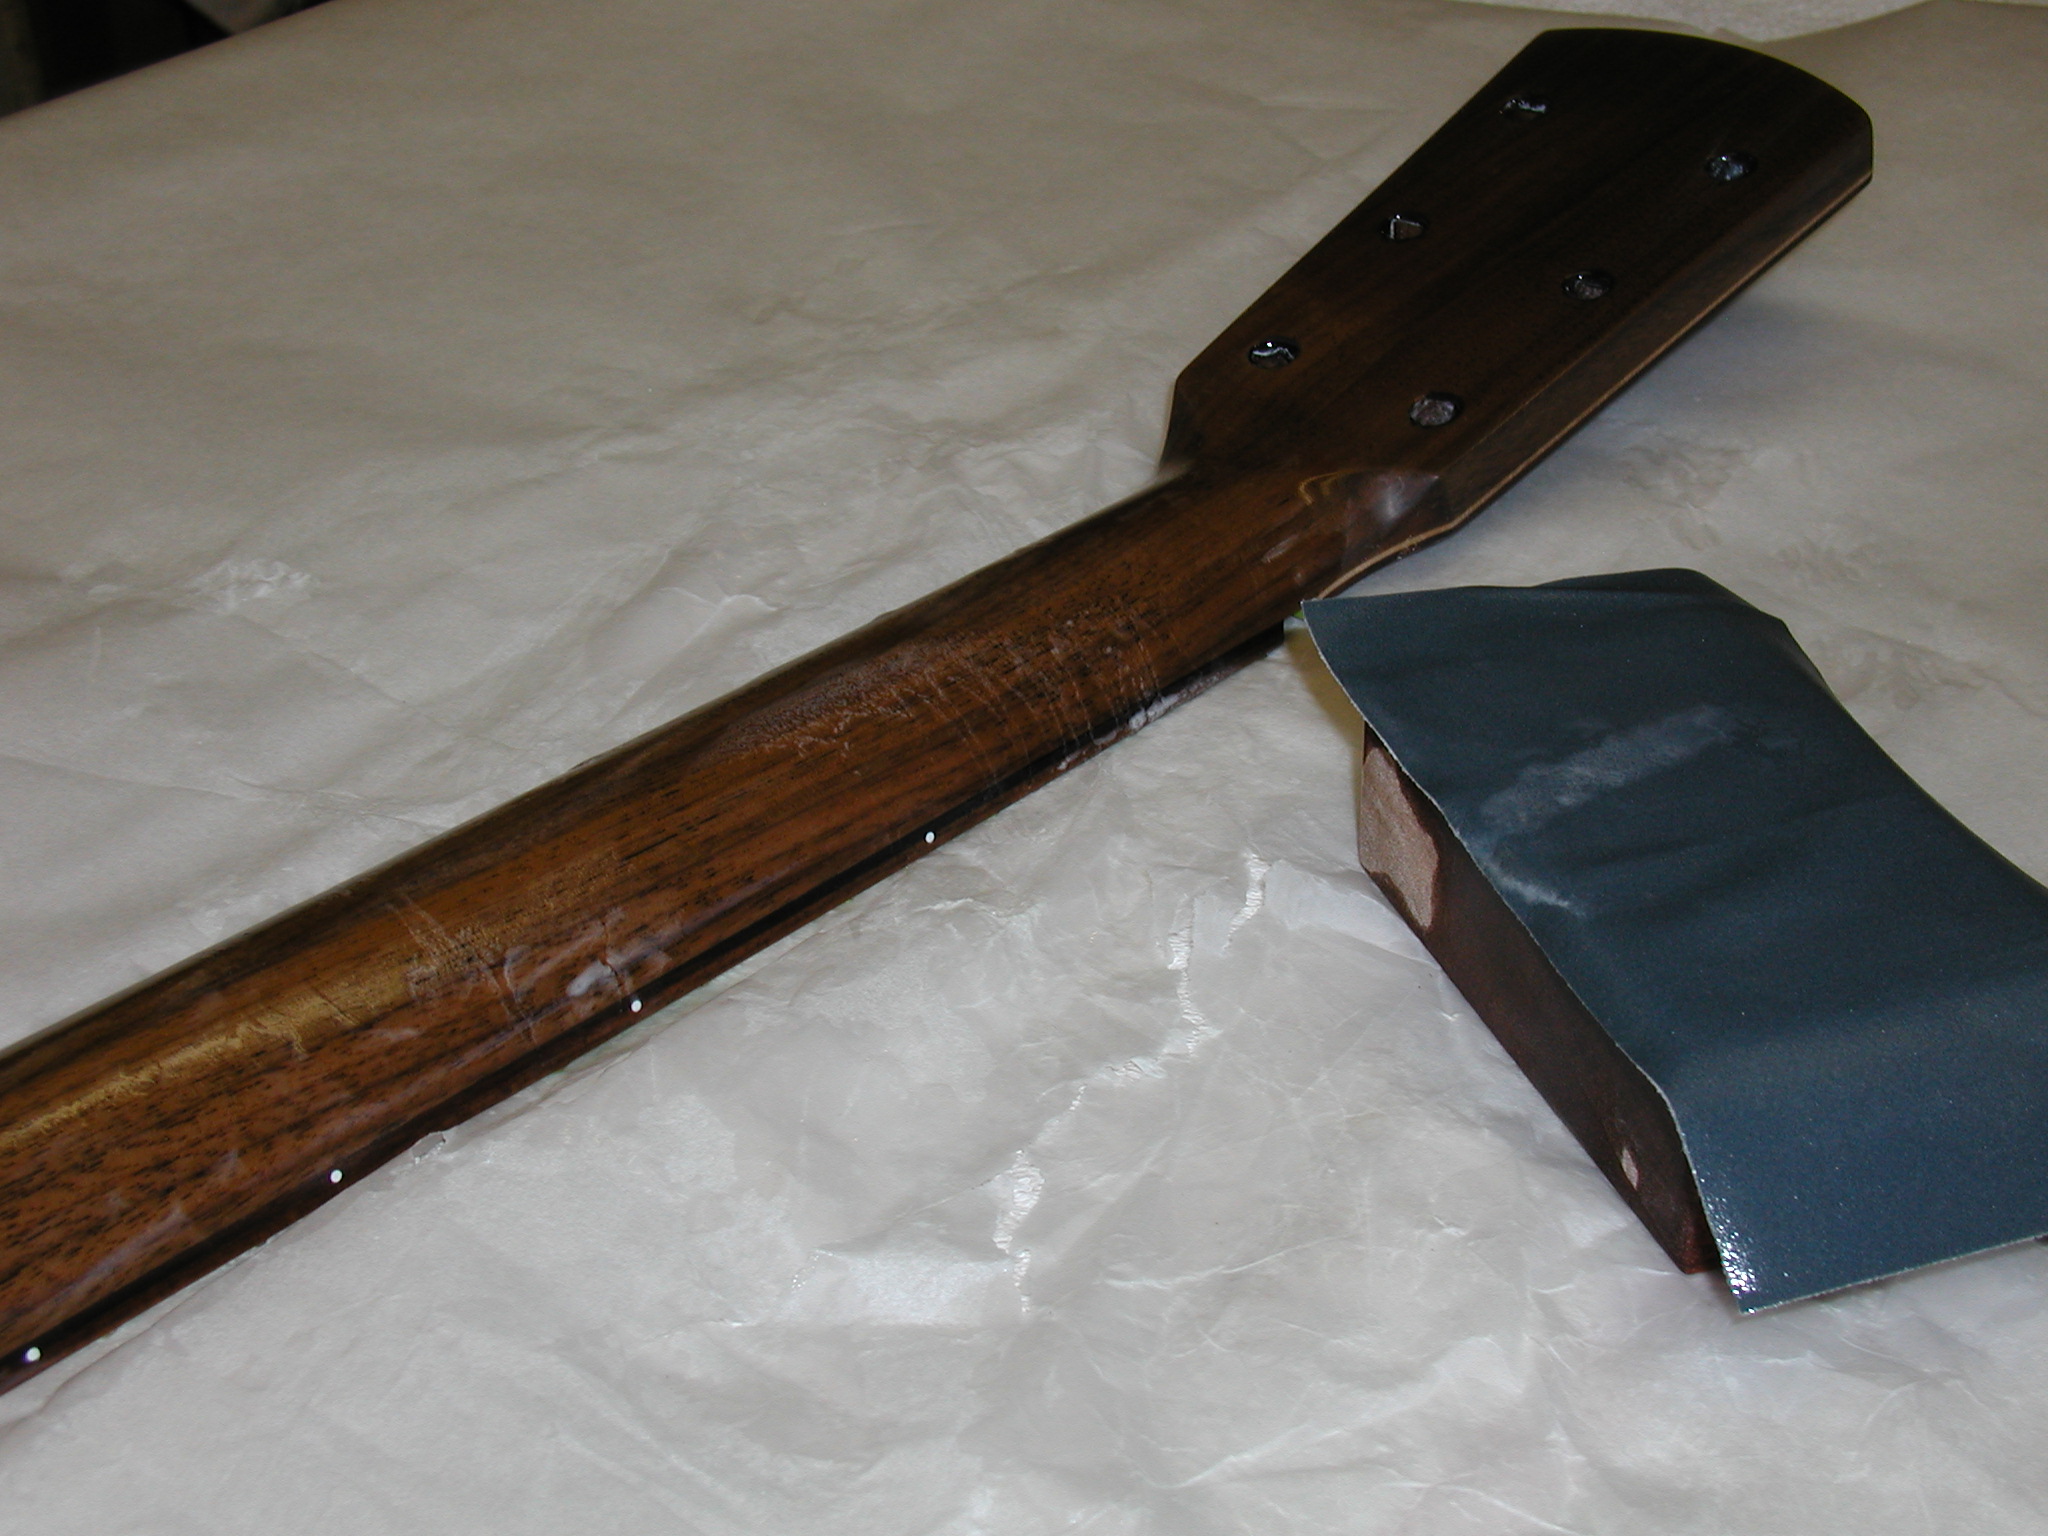
Carving the neck shaft is just a process of progressive approximation. You can see that I have whacked off the big side chunks on the band saw and filed the edges flat but just a little way away from the fretboard, using the fretboard for my template. Then I flat the back of the neck using thickness at the 1st and 9th or 10th fret locations keeping it all true and square. Then I draw some tapering layout lines, in the first photo you can see some of my initial layout lines. Using a spoke shave I then draw out flats to these layout lines. Then I re-draw lines down the centers of those flats I just created and then use the spoke shave to draw off the peaks between making new smaller flats and peaks. At that point it becomes a process of doing it by feel and using straight edges to avoid bumps or dips. Not shown but included about here is the final carving of the heel with a chisel and smoothing with sandpaper. I use the heel cap as the template and fair the curve into the neck shaft. When the neck shaft profile is close I use my "Patented World's Best Neck File" (a.k.a. a farrier's rasp) to get it really smooth and true. This involves removing the neck from the holding jig and feeling with my eyes closed, then marking and re-shaping as needed. Repeat as above ad nauseam till it feels just right. Last of all I run some small flats down each side of the center line to make it have a "Soft-V" profile, this is my default neck. I do have some templates I made years ago and sometime I use them if a person wants some specific profile, otherwise it is pretty much by feel. I shoe-shine it with emery paper strips to smooth the radius profile and show any strange dips or bumps I might have missed and then sand along the shaft to smooth out to 320 grit. Man, I love carving necks!
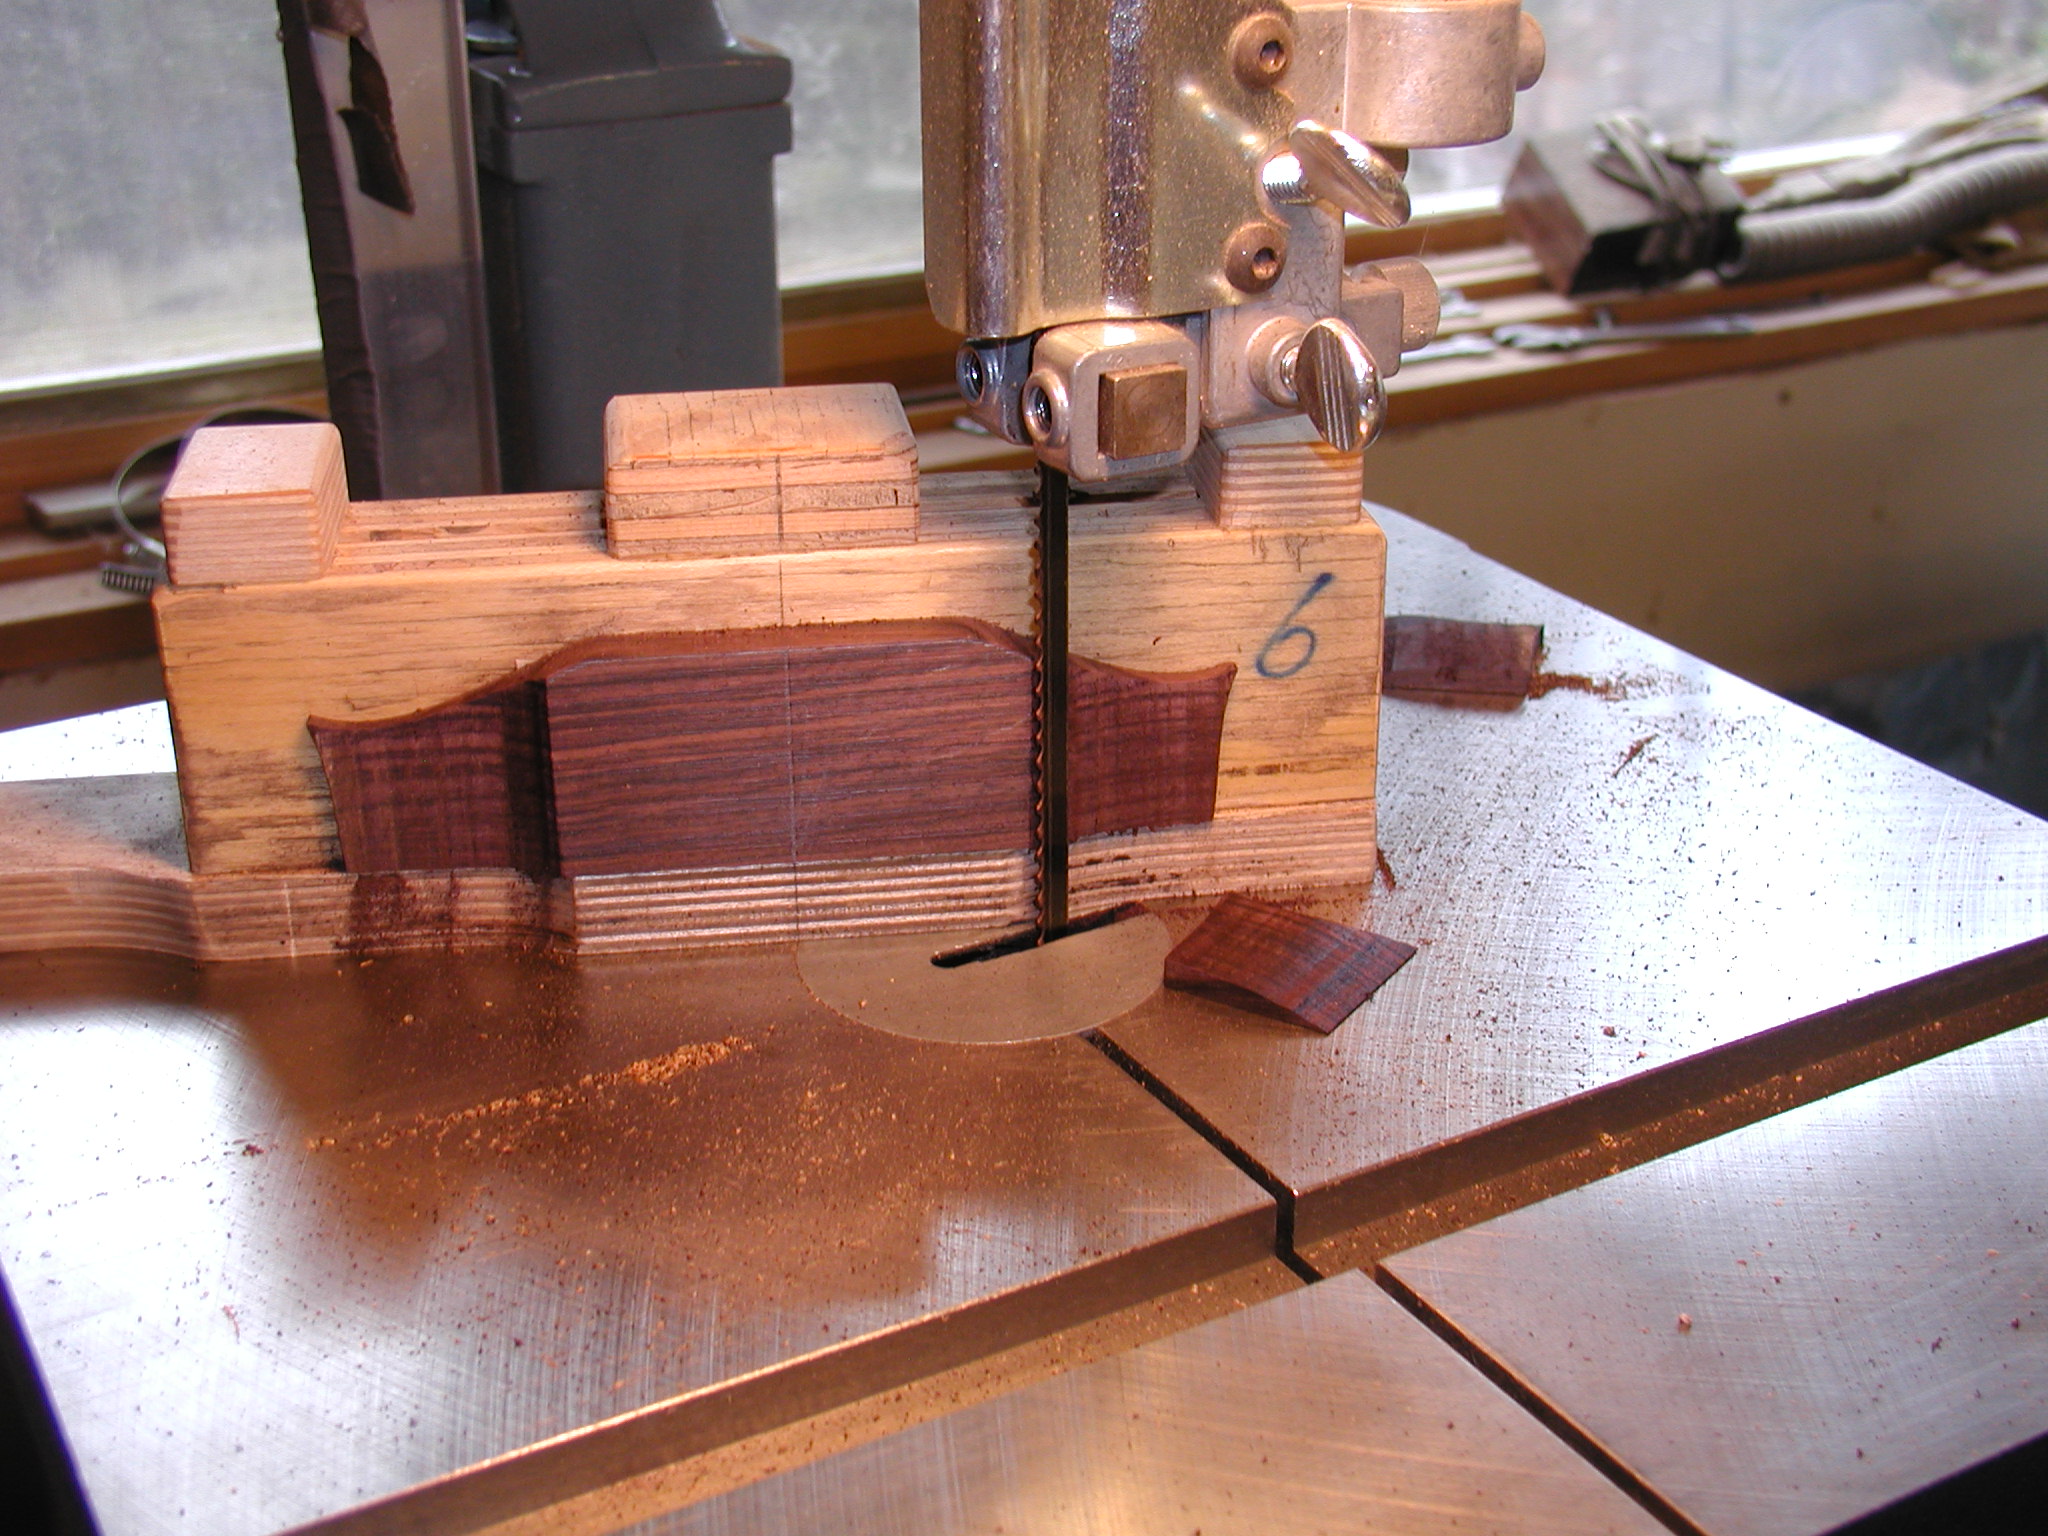
The bridge is made from a blank, in this case rosewood. I thickness it and true it on the jointer and with my drum sander. Not shown here, I then using an aluminum template similar to what I used for the headstock profile, and go around with the pattern following router bit to cut the perimeter profile. Now I double-stick tape this to a holding jig shown above. This has a pattern cut in the base part that matches the desired top profile of the bridge, one side for six string, the other for 12 string. I rough it close with the bandsaw and then use a Robo-sander to sand it to the profile jig. The Robo is a cool little tool that has lots of uses, it has a bearing mounted bottom rubber roller that follows the pattern while sanding drums of different grits can be used to sand the work.
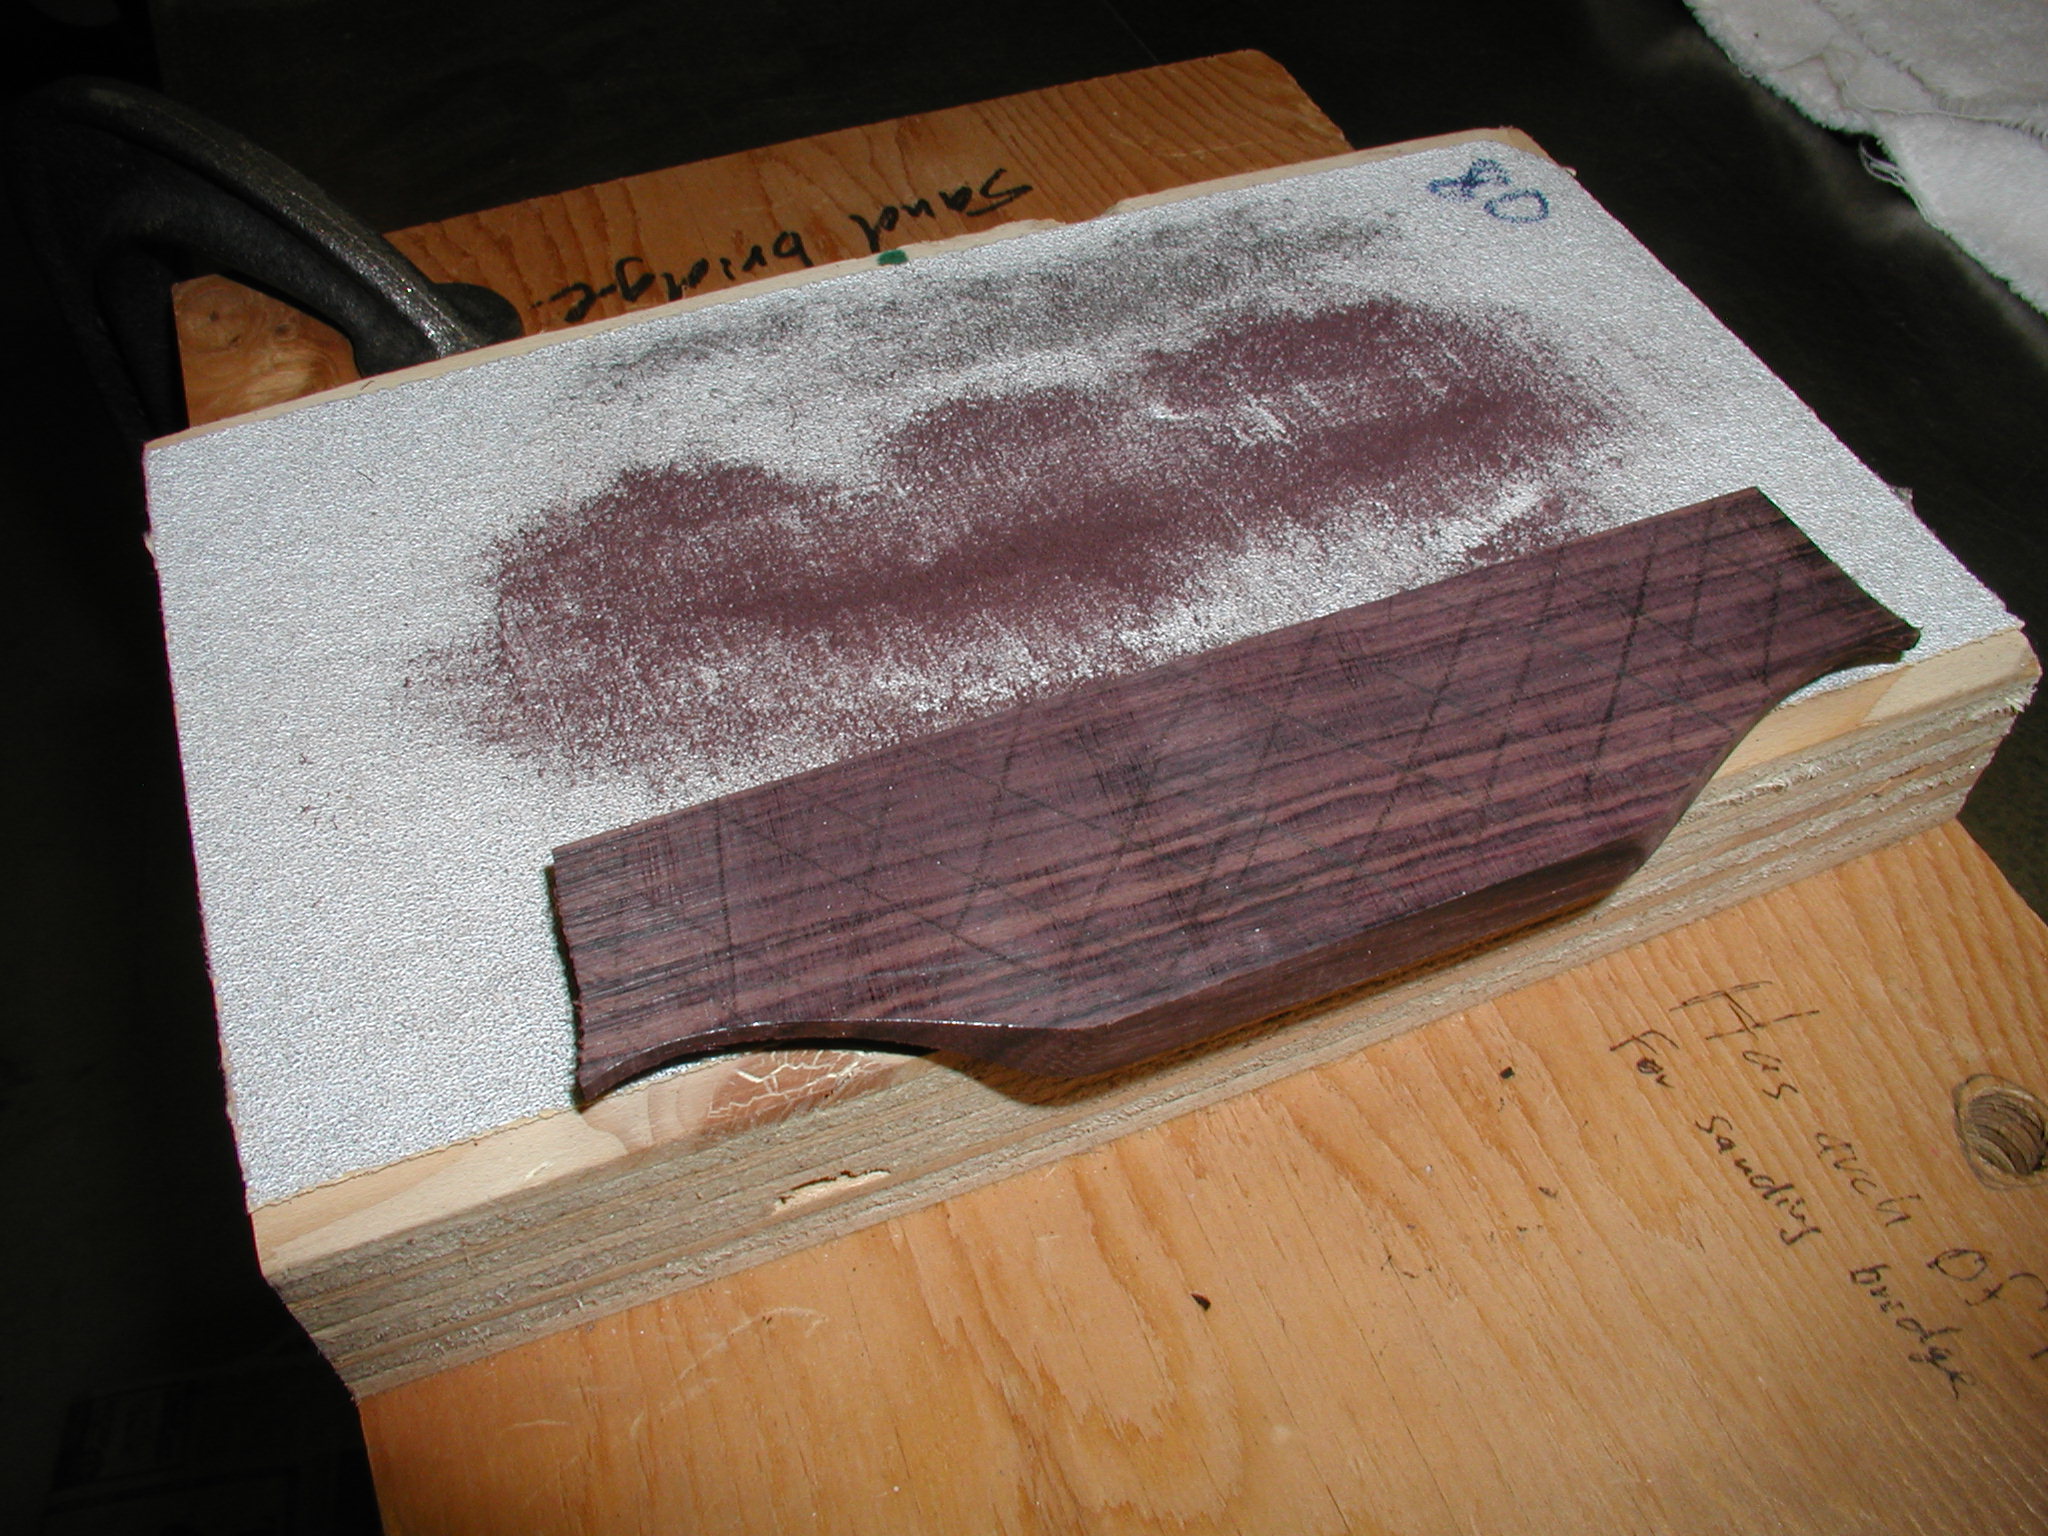
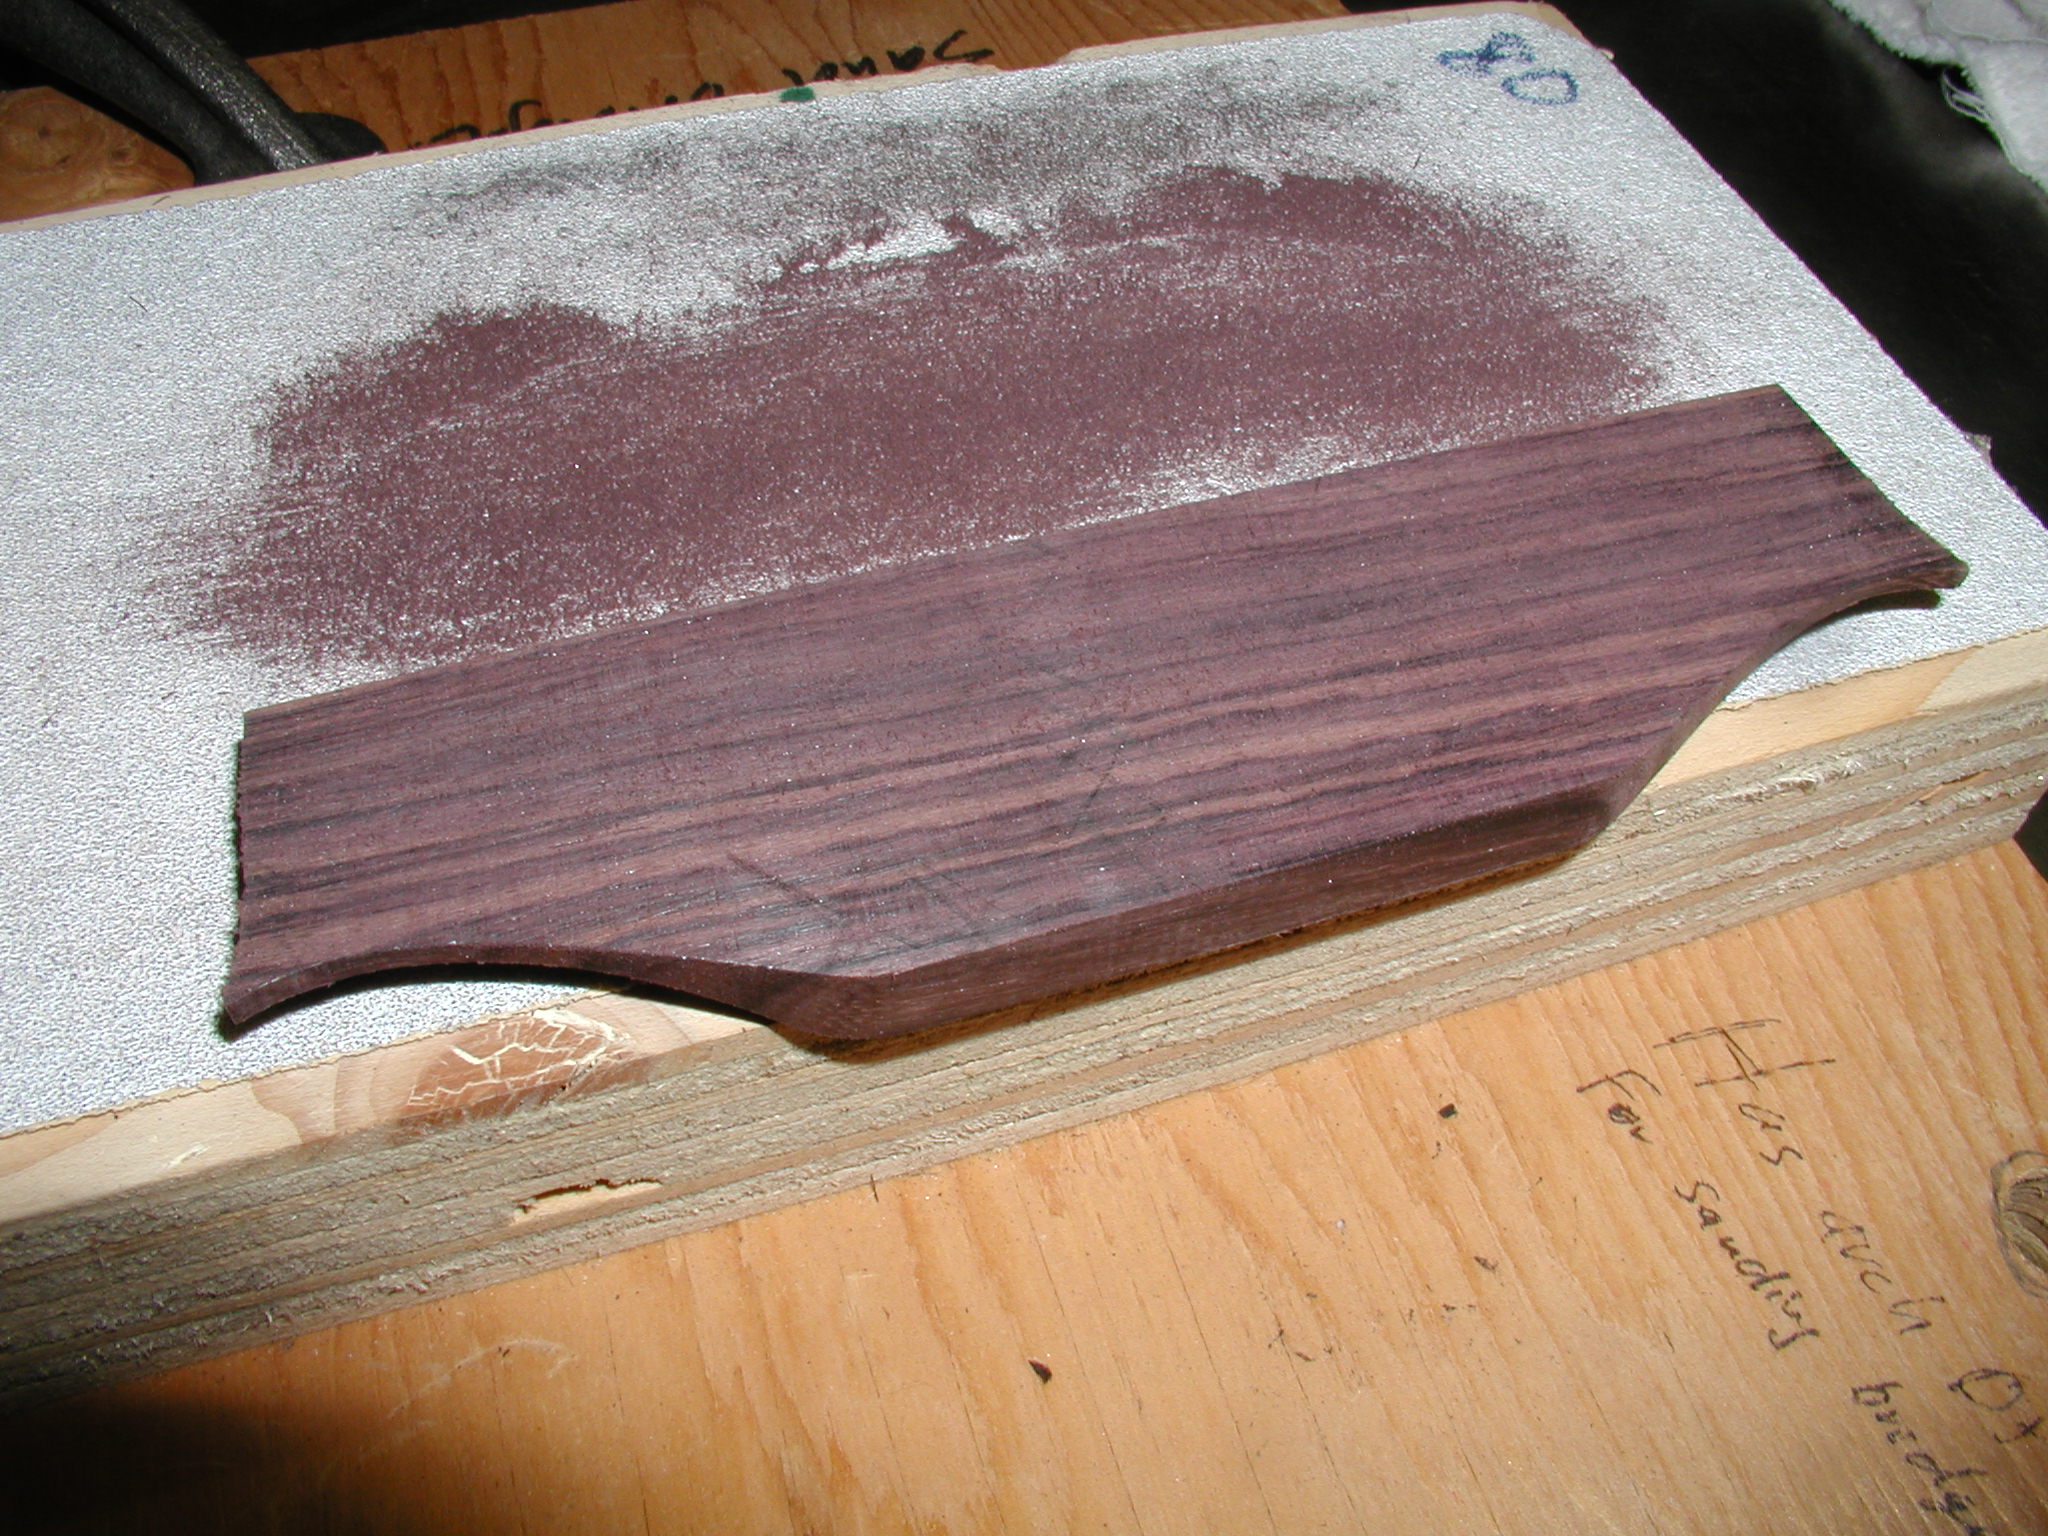
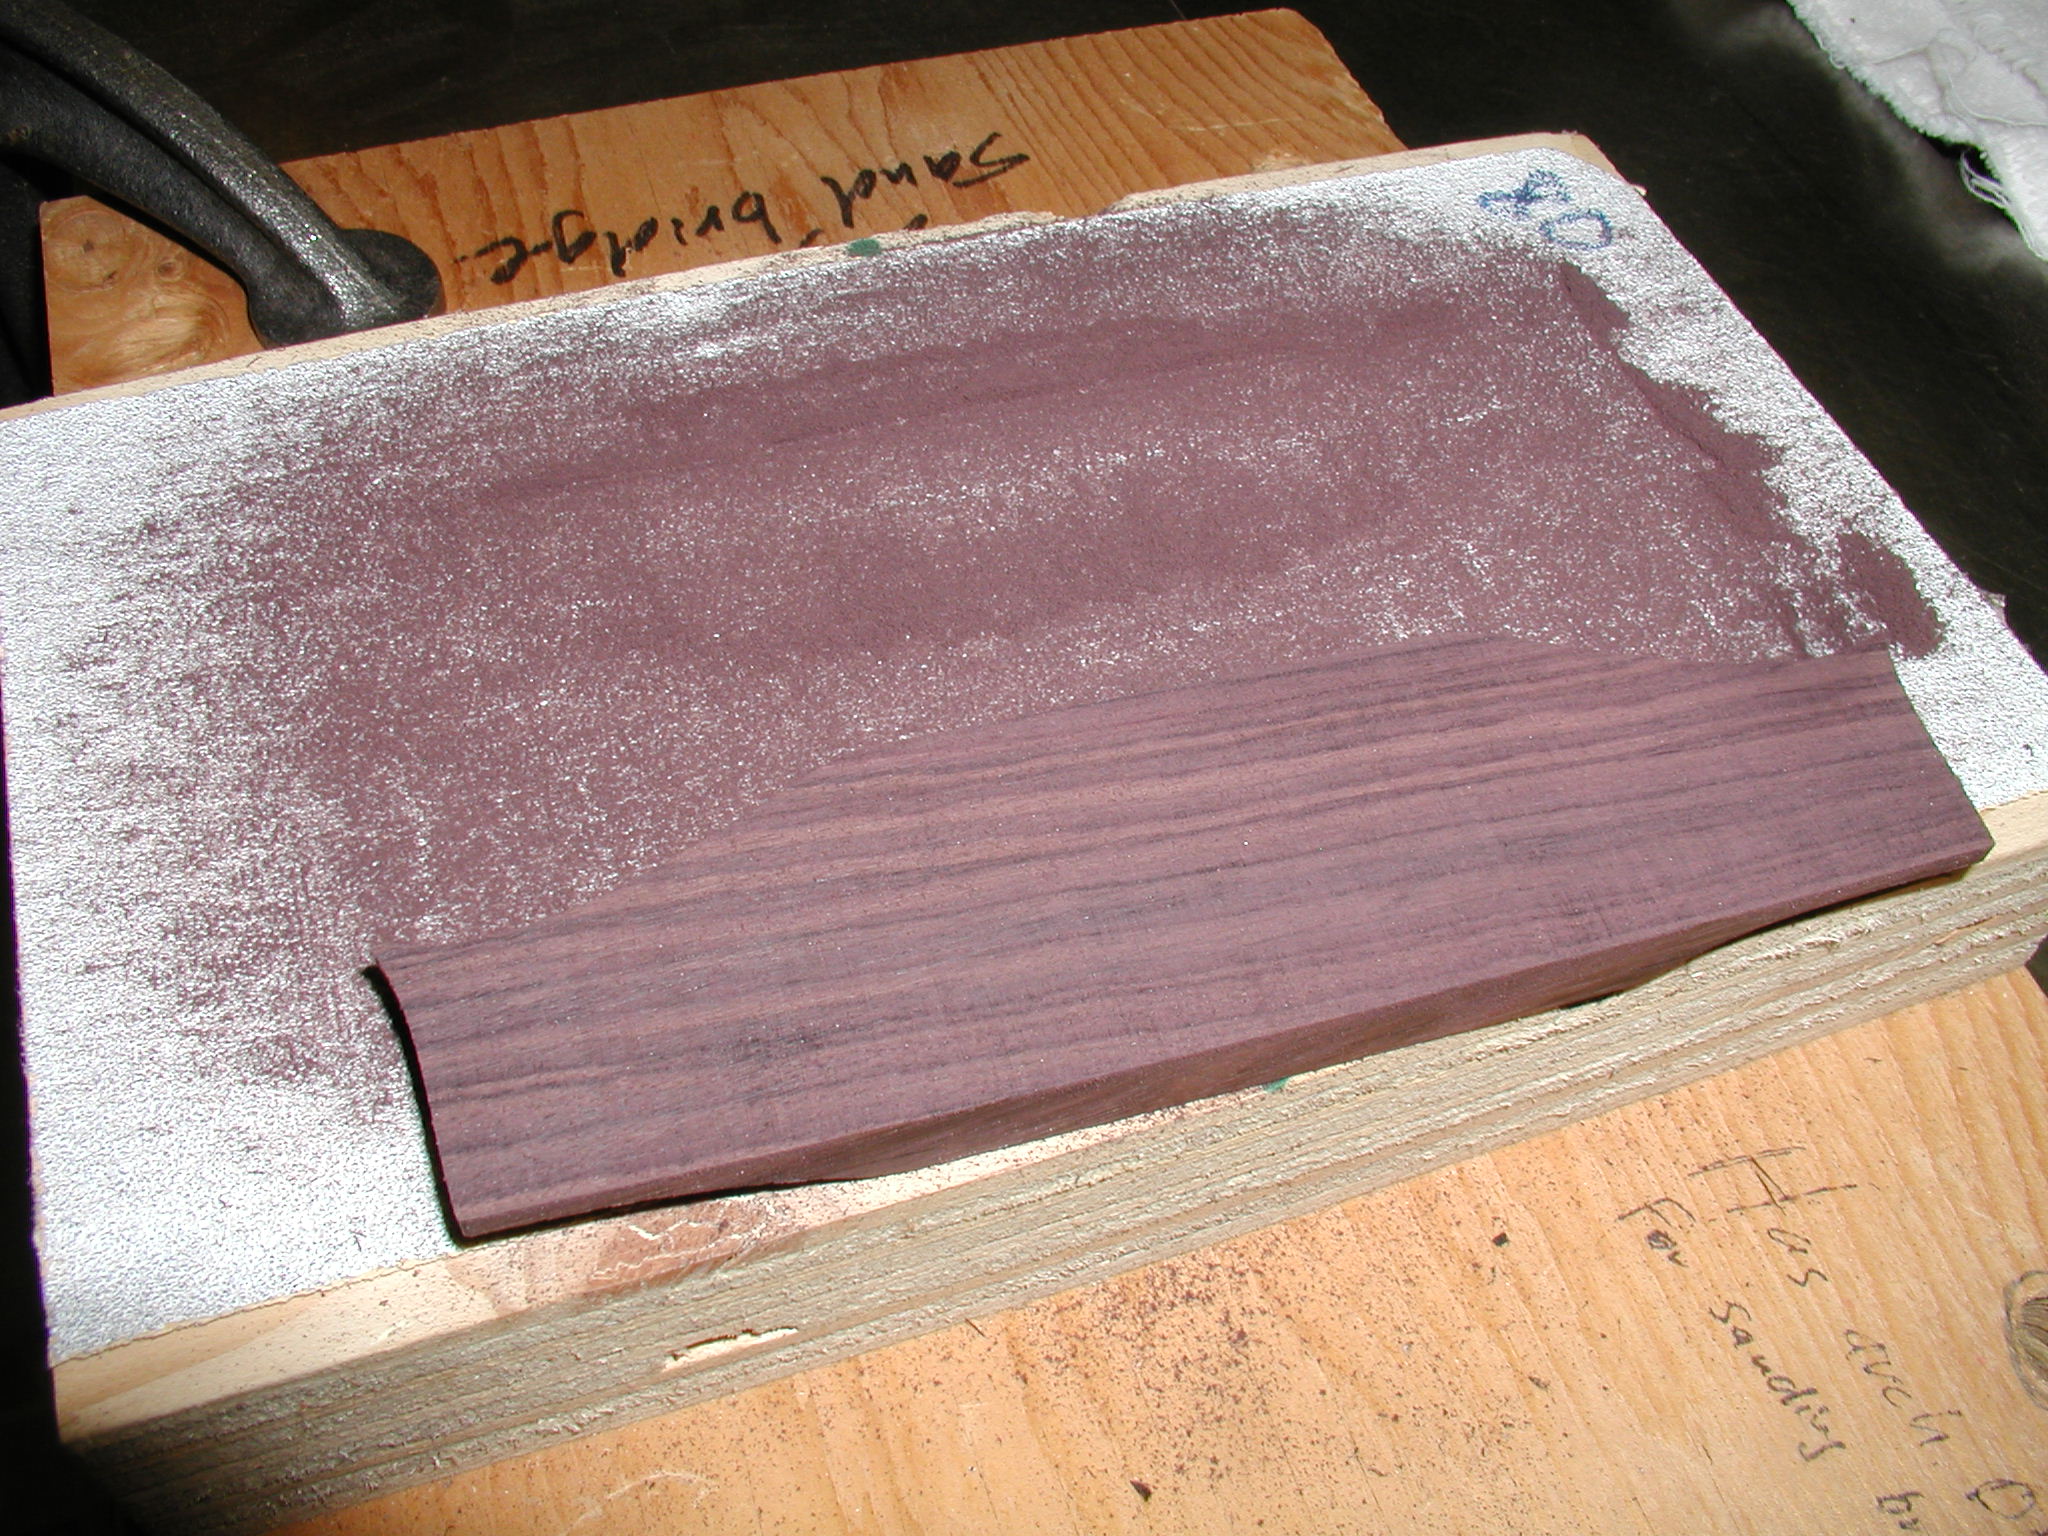
Since the top has a hemispherical curvature, it is necessary to curve the bottom of the bridge to match. I rough it out first on my stationary belt sander, then go to a sanding block I made that has the top radius curvature and 60 or 80 grit sandpaper. I can really lean on this and get the bottom of the hardwood bridge sanded true. I just make hash marks and sand till they are all gone. This is followed by a true fit to the individual top since all are just slightly different.
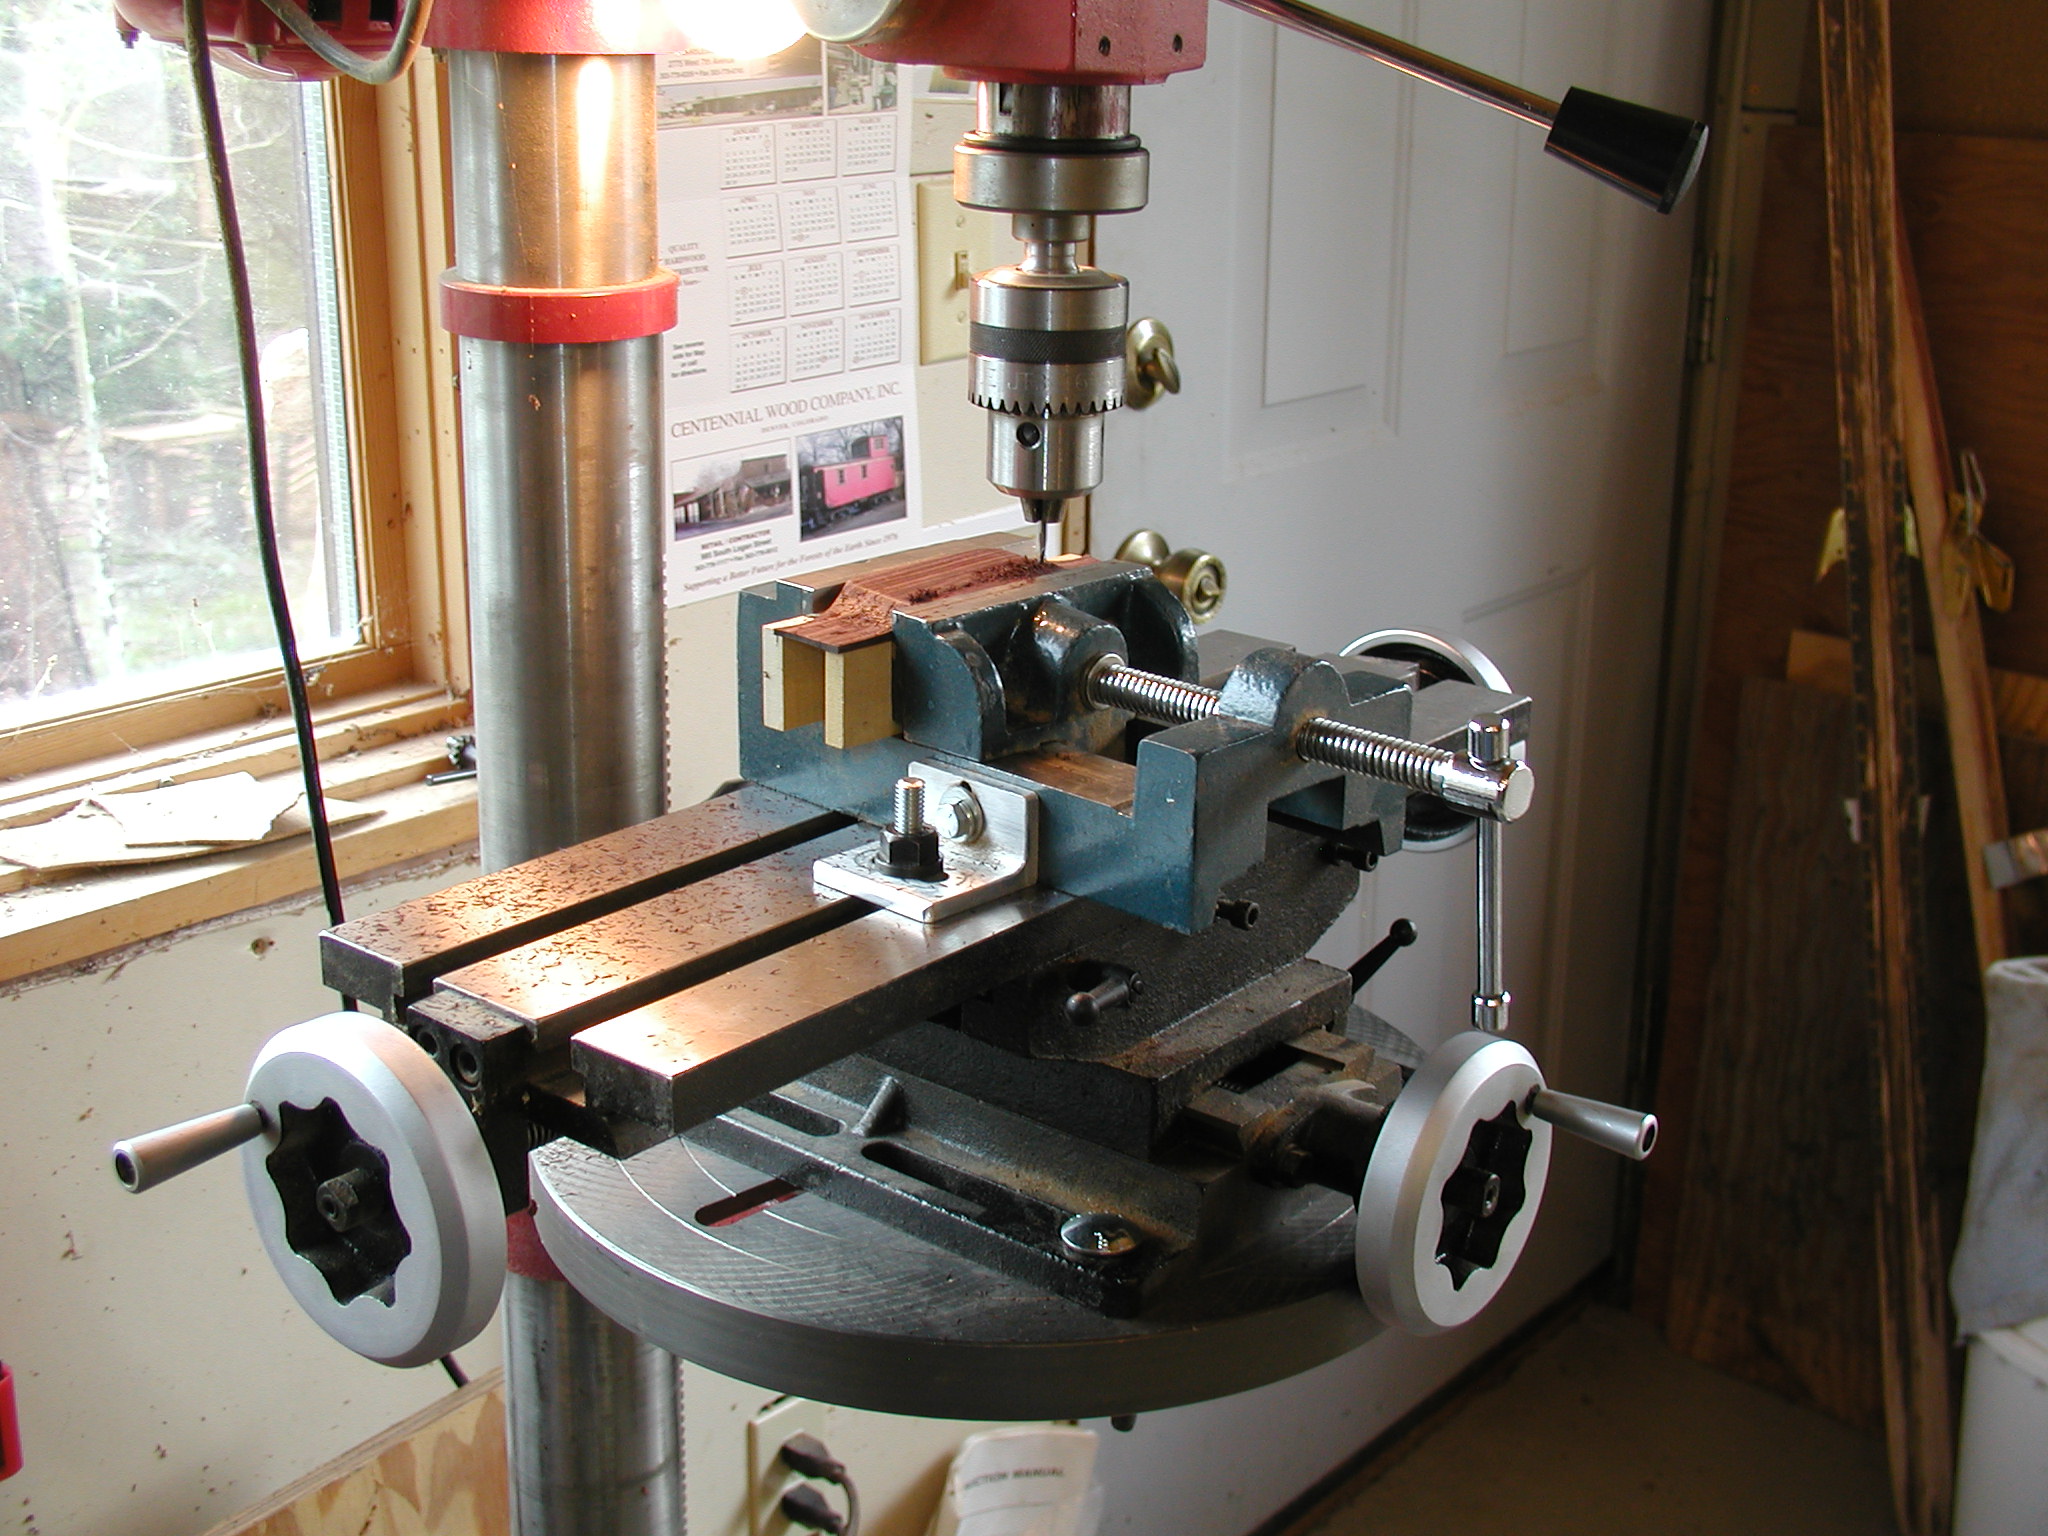
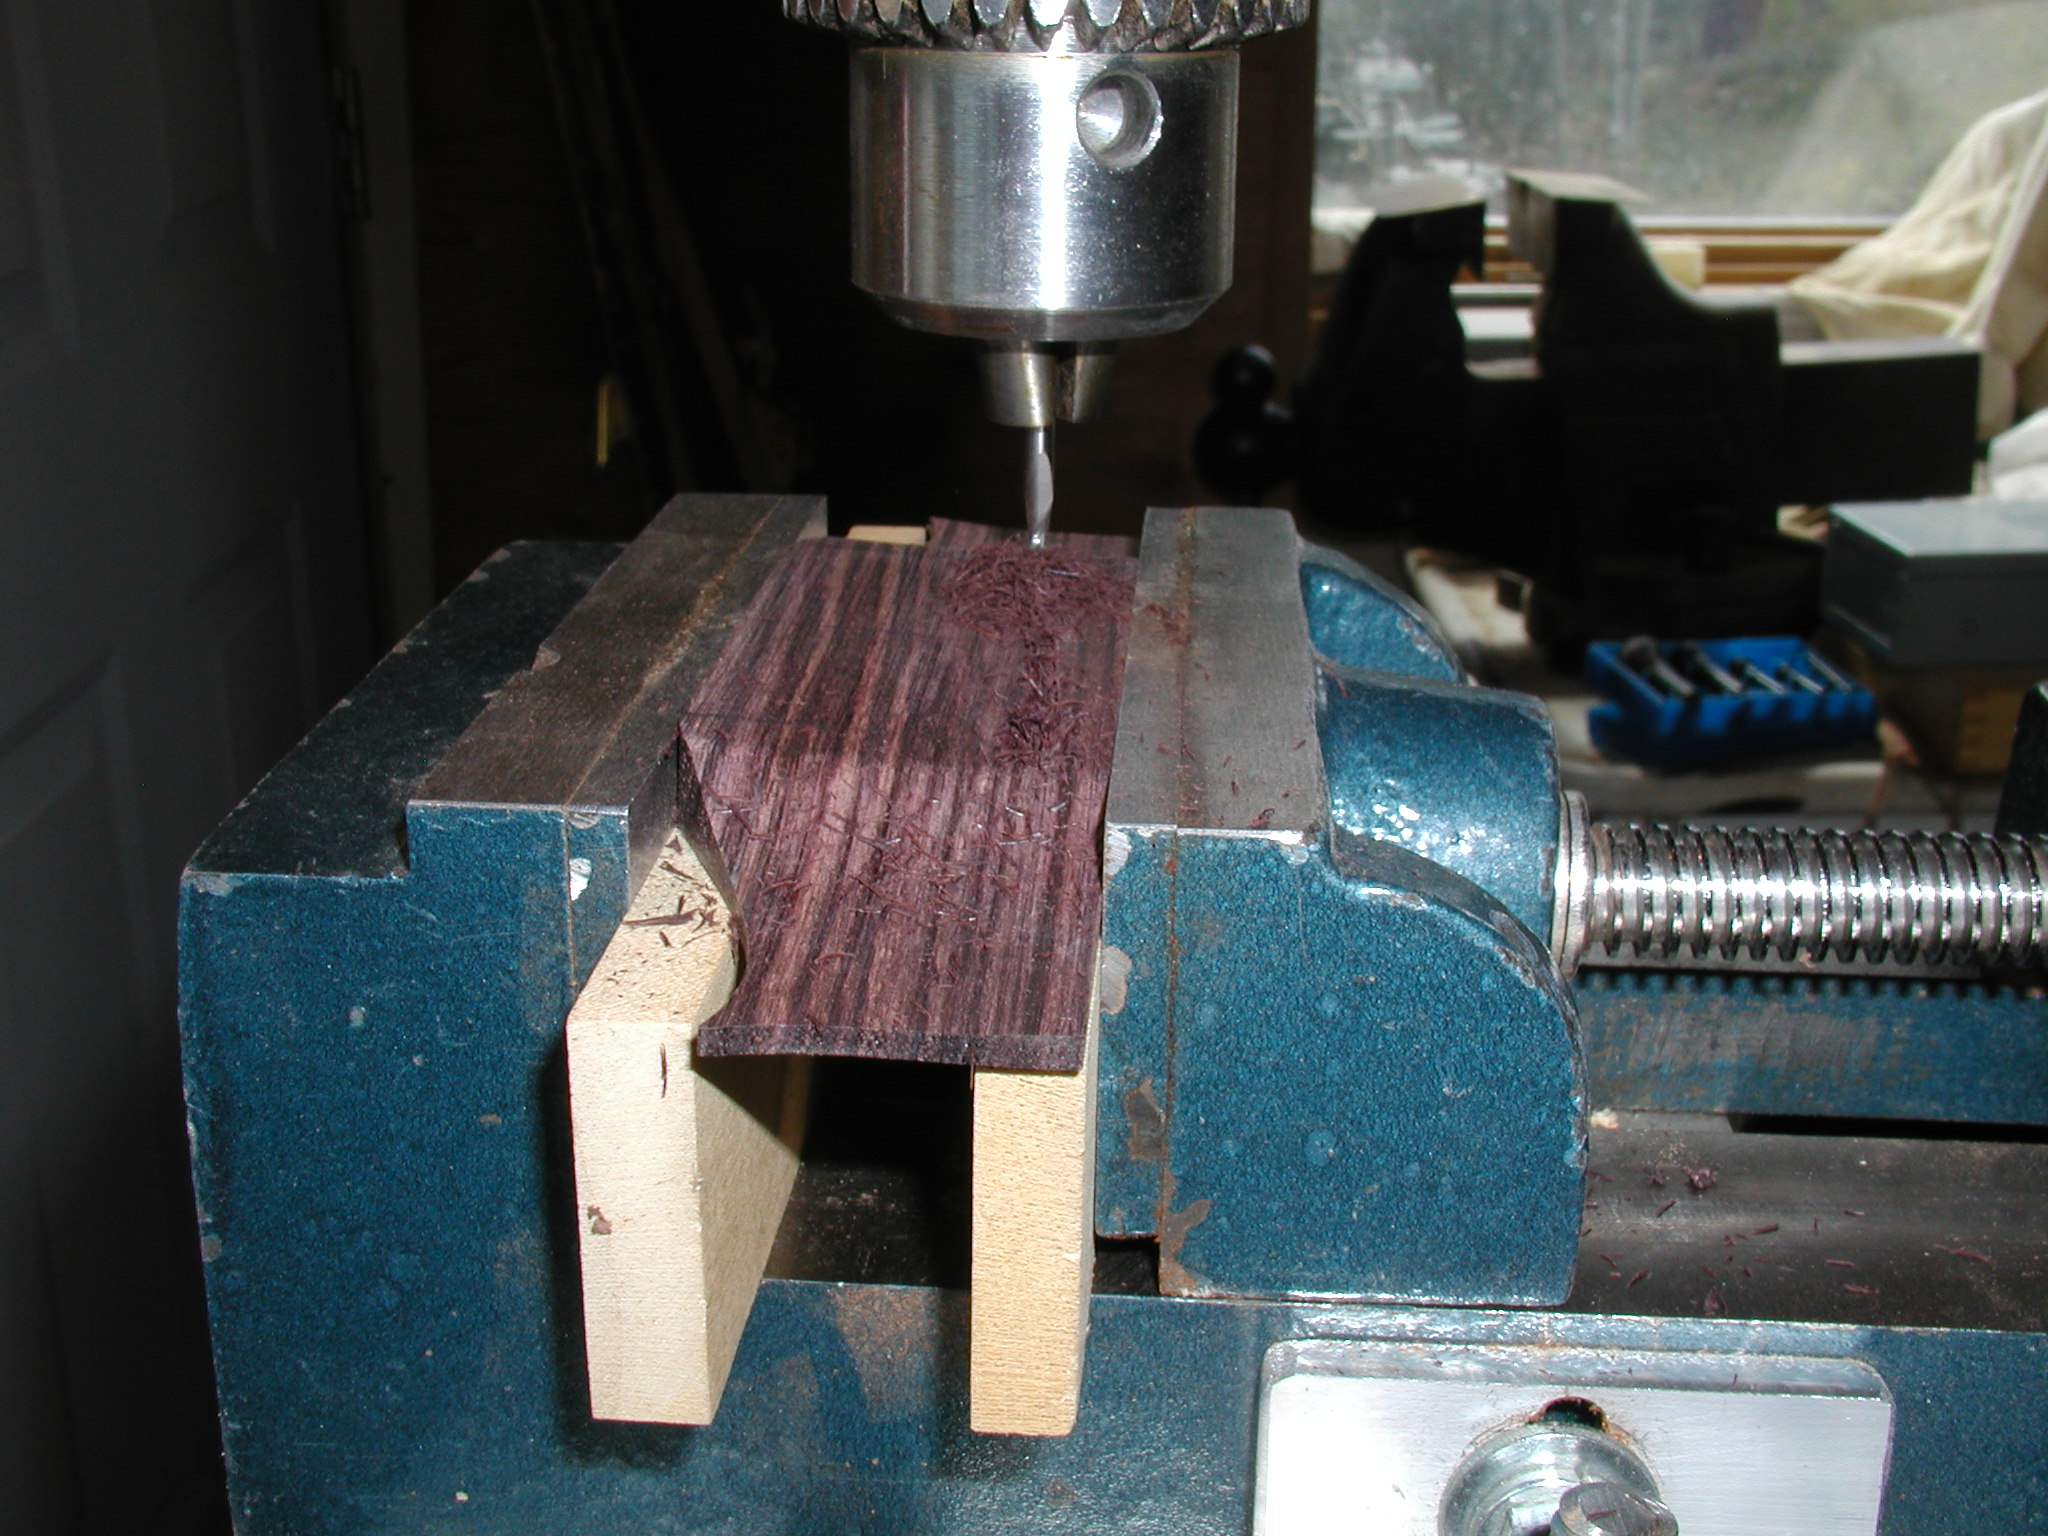
The saddle slot then gets cut. I use my mill/drill cross-feed table for this and set it at an angle for the compensation of the bridge. Notice that the two parallels in the bottom of the vise are of different heights. This tilts the bridge so that the slot is cut with about a six degree back angle. This keeps it more directly under the string load vector as it breaks over the saddle and goes to the bridge pin.
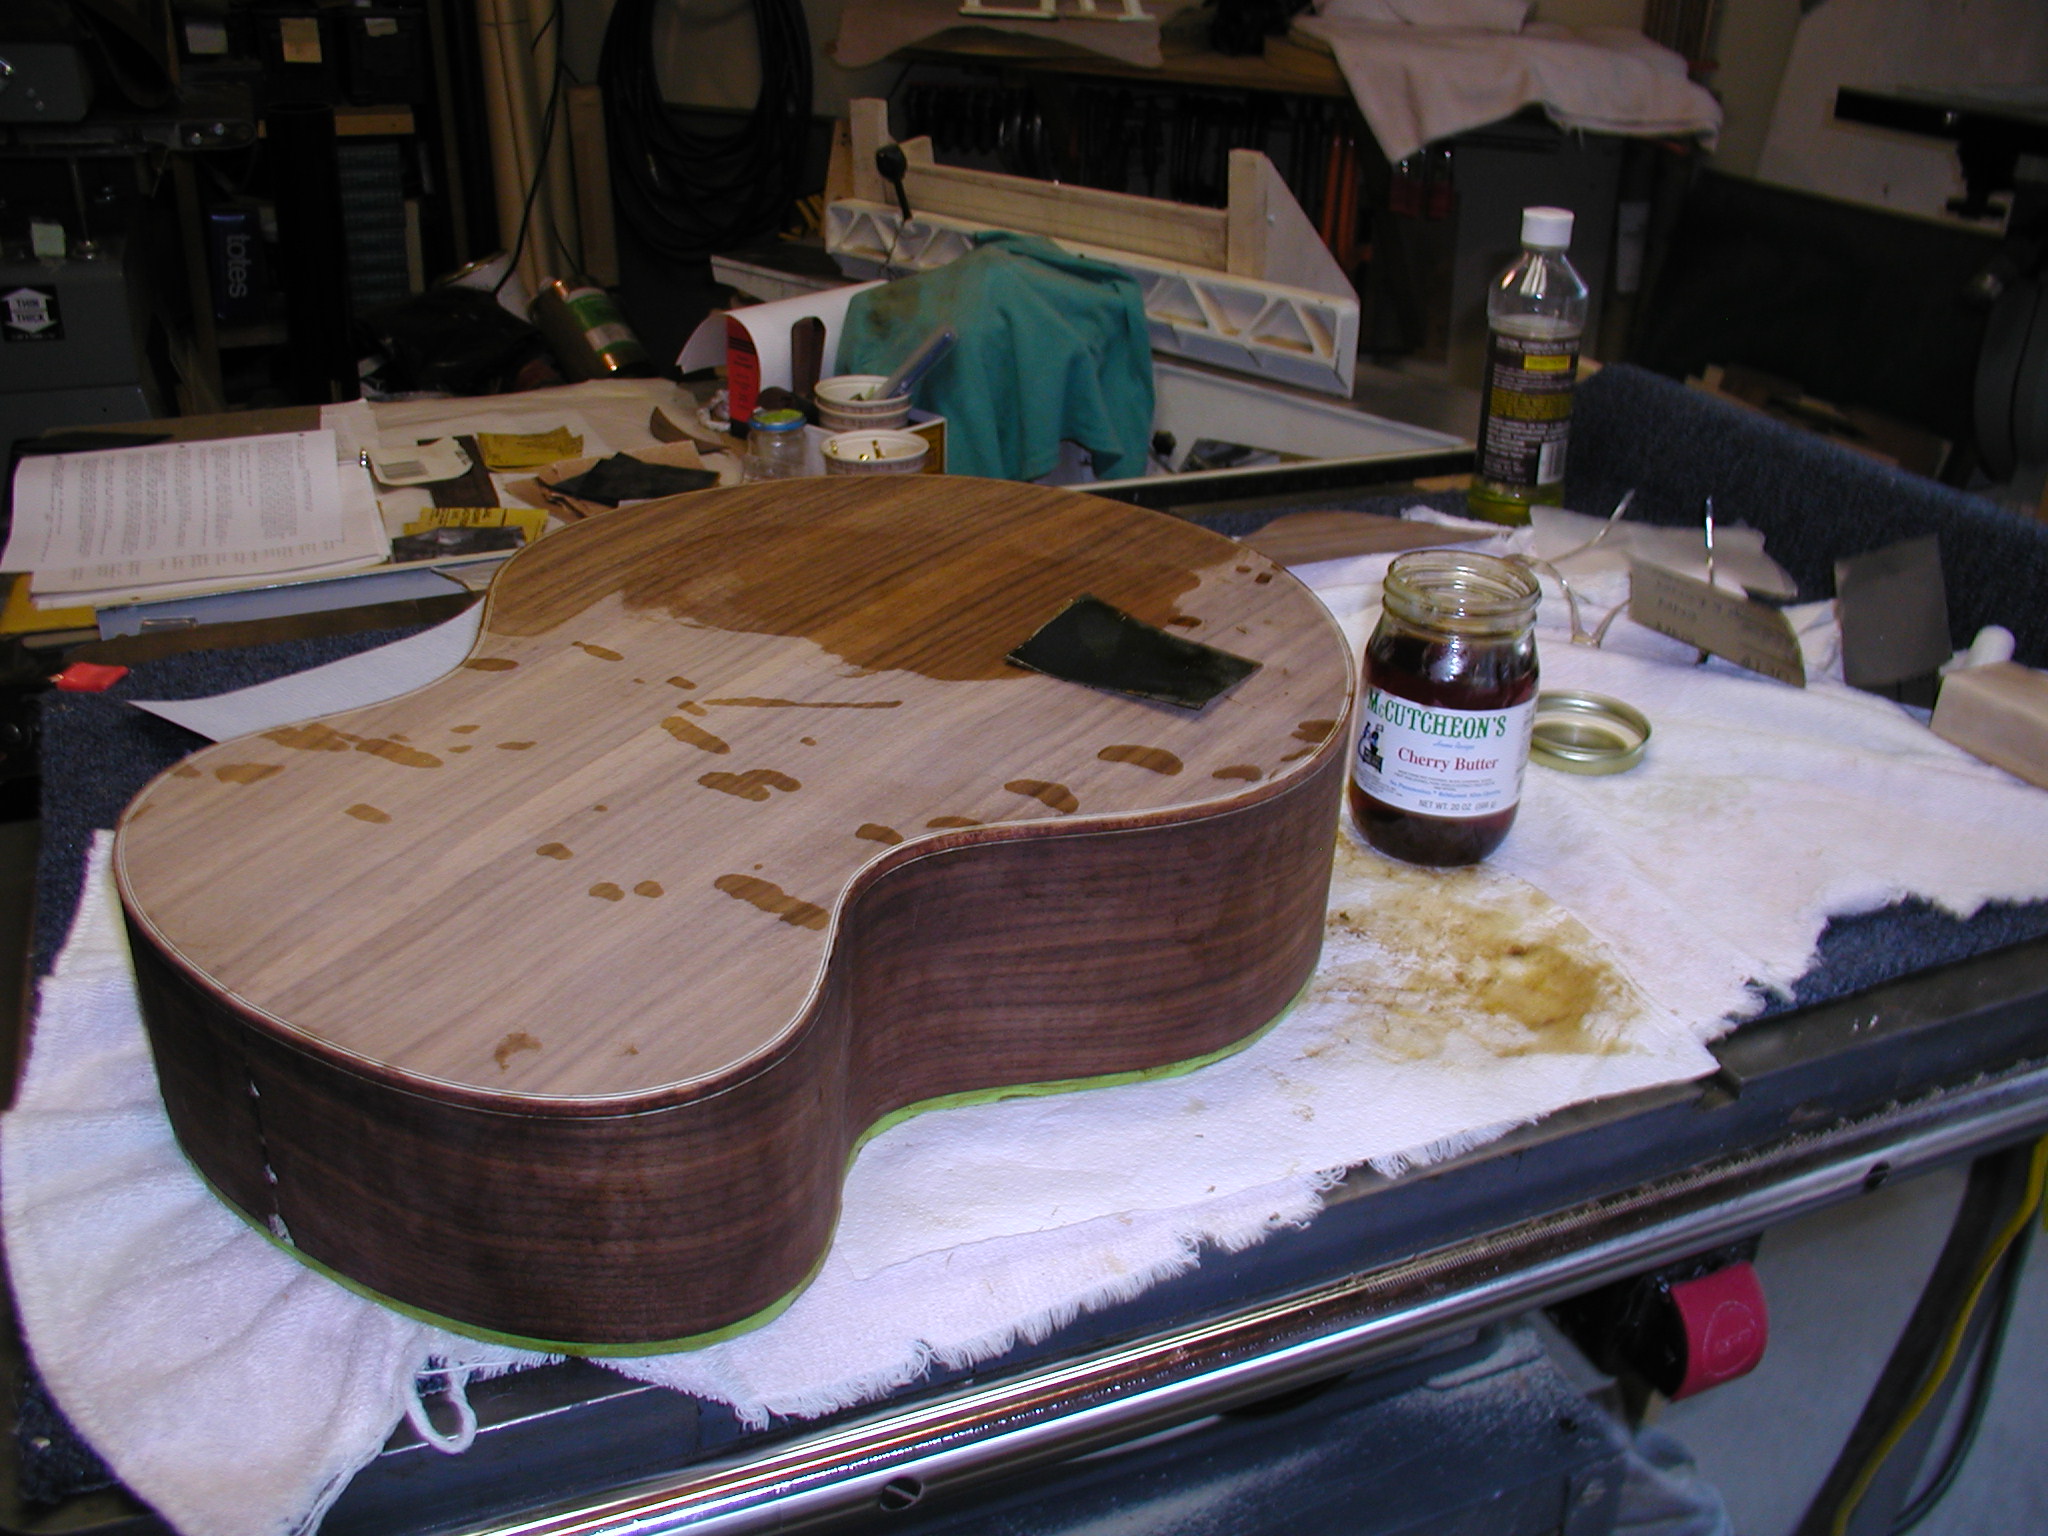
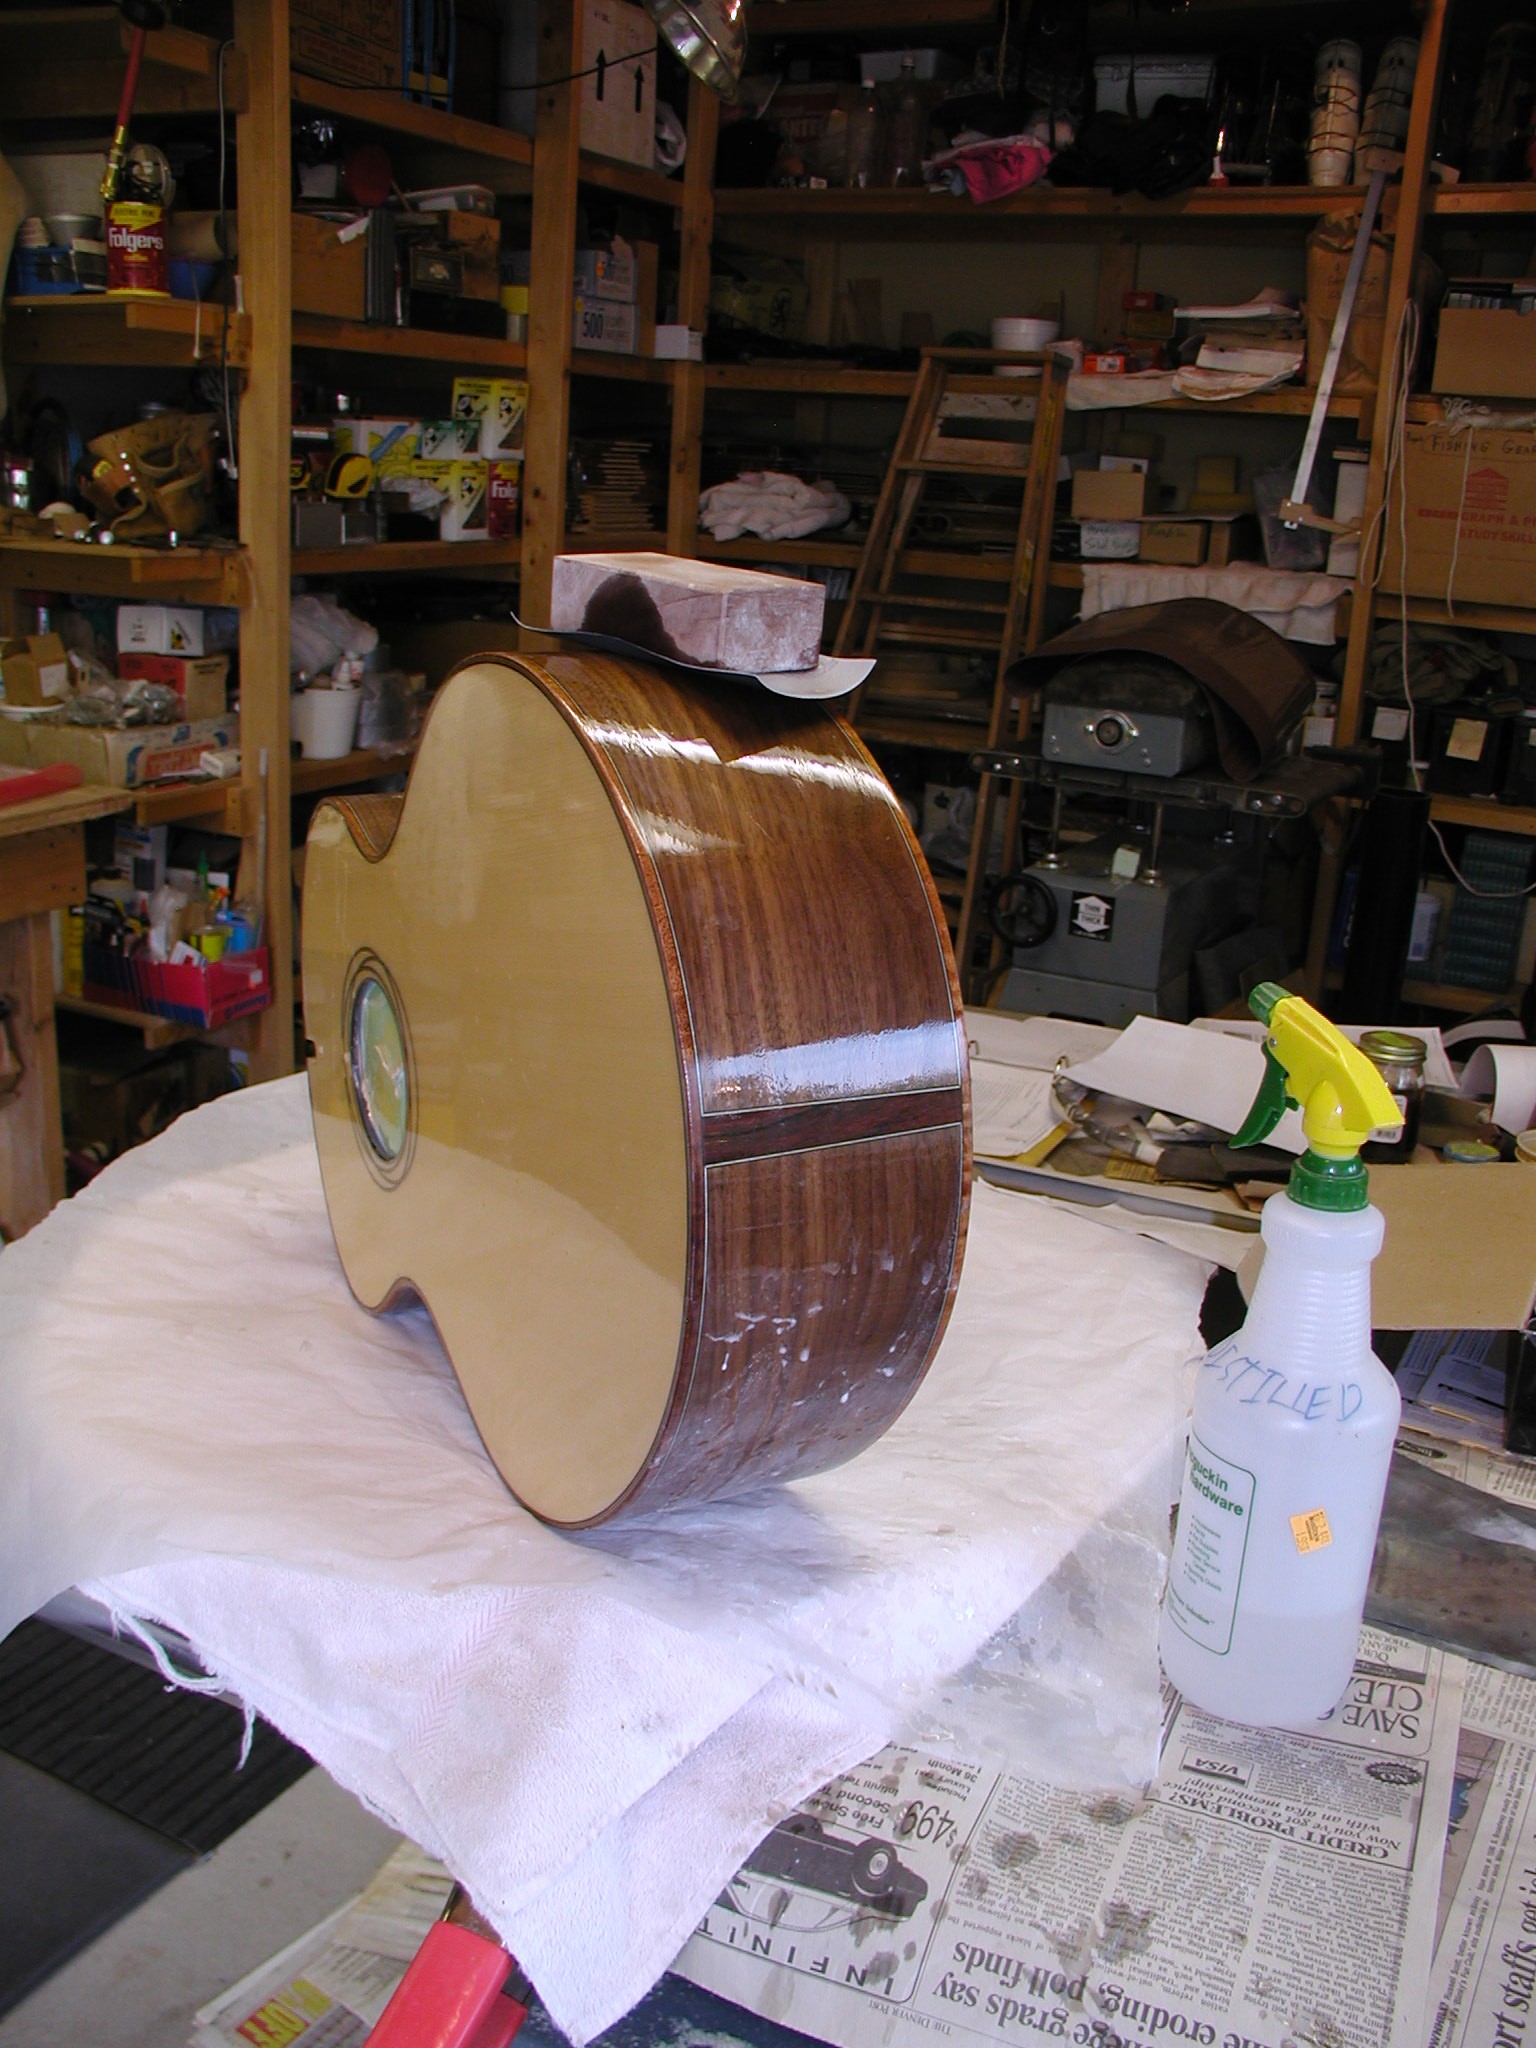
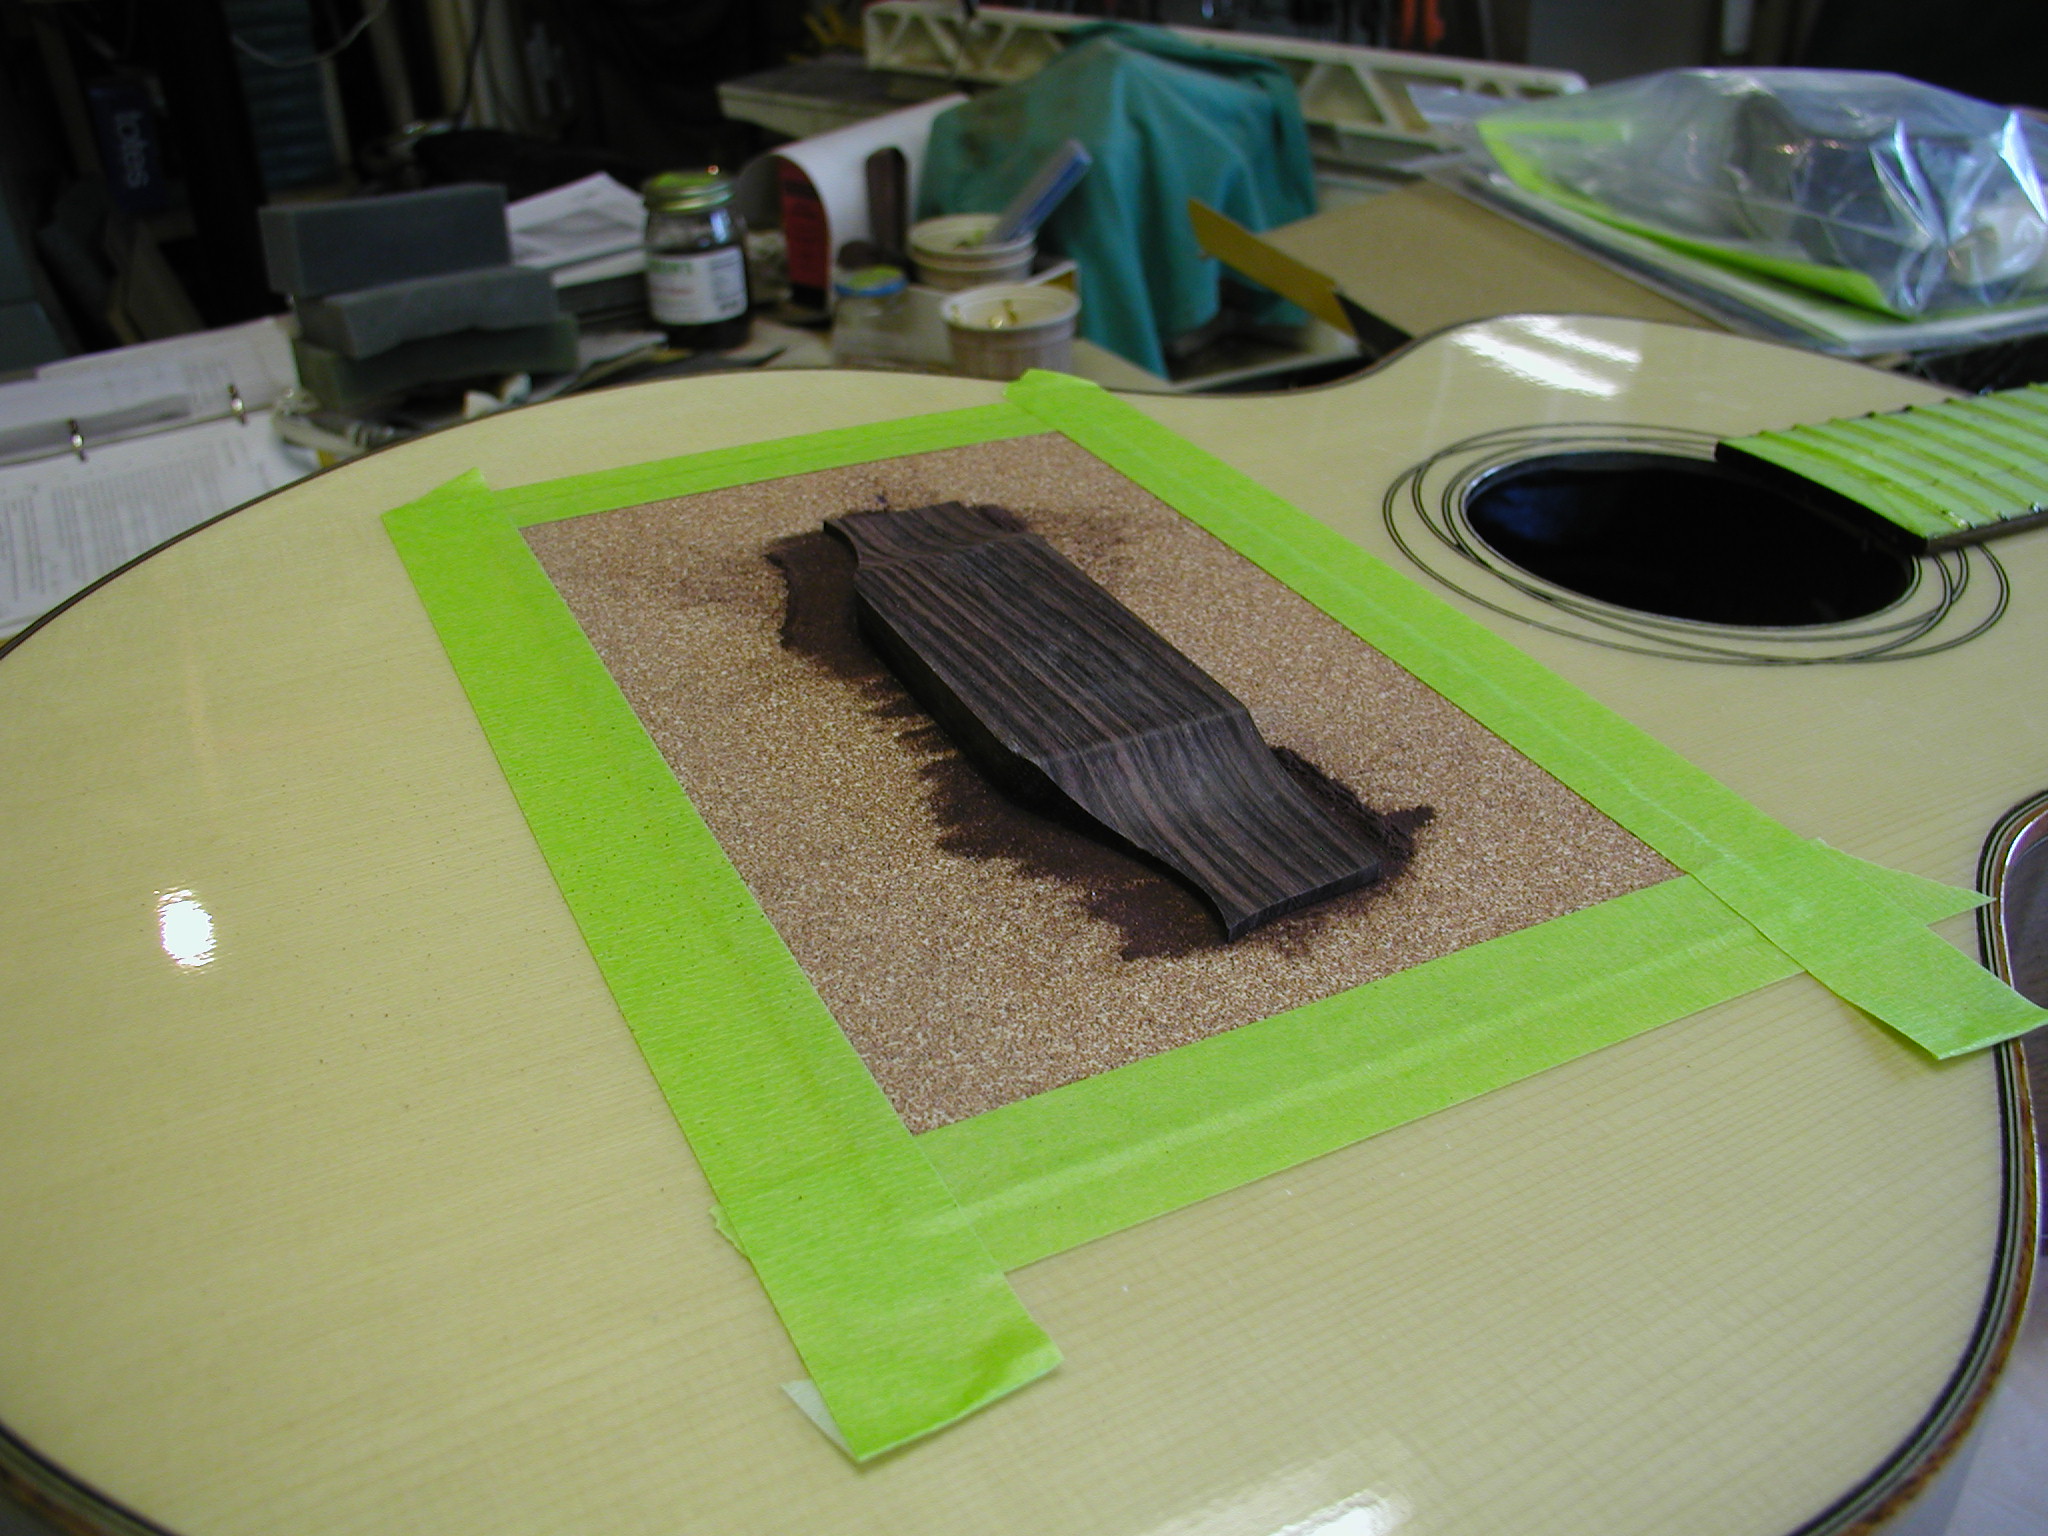
At the same time I'm working on the bridge I am also doing the finishing. This is kind of the builders last big chance to really screw up the instrument. The first image is pore filling, all the gunk dries and then is sanded back to the raw wood, but the gunk is still down in the pores and keeps the lacquer finish from sinking in. I seal that off with a wipe coat of shellac. Then I spray some vinyl sealer followed by the build coats of lacquer. After I have about four coats on I wet sand it level. If necessary I put on more build coats and re-level sand. Then one flash finish coat to level. That gets leveled off with 800 grit the next day and the it hangs for at least two weeks, preferably three. My relative humidity here is very low so it cures out well in that time. Then it gets a final wet sand out to 4000 Micro Mesh grit and buffed with medium and fine compounds. Then hand polish with car finish polish. Whew! Lots of hours in that process.