Let's Build A Guitar (Page 5)
Last Modified - November 6, 2012
In Page 4 we finalized the sound box, now it is time to start on the neck.
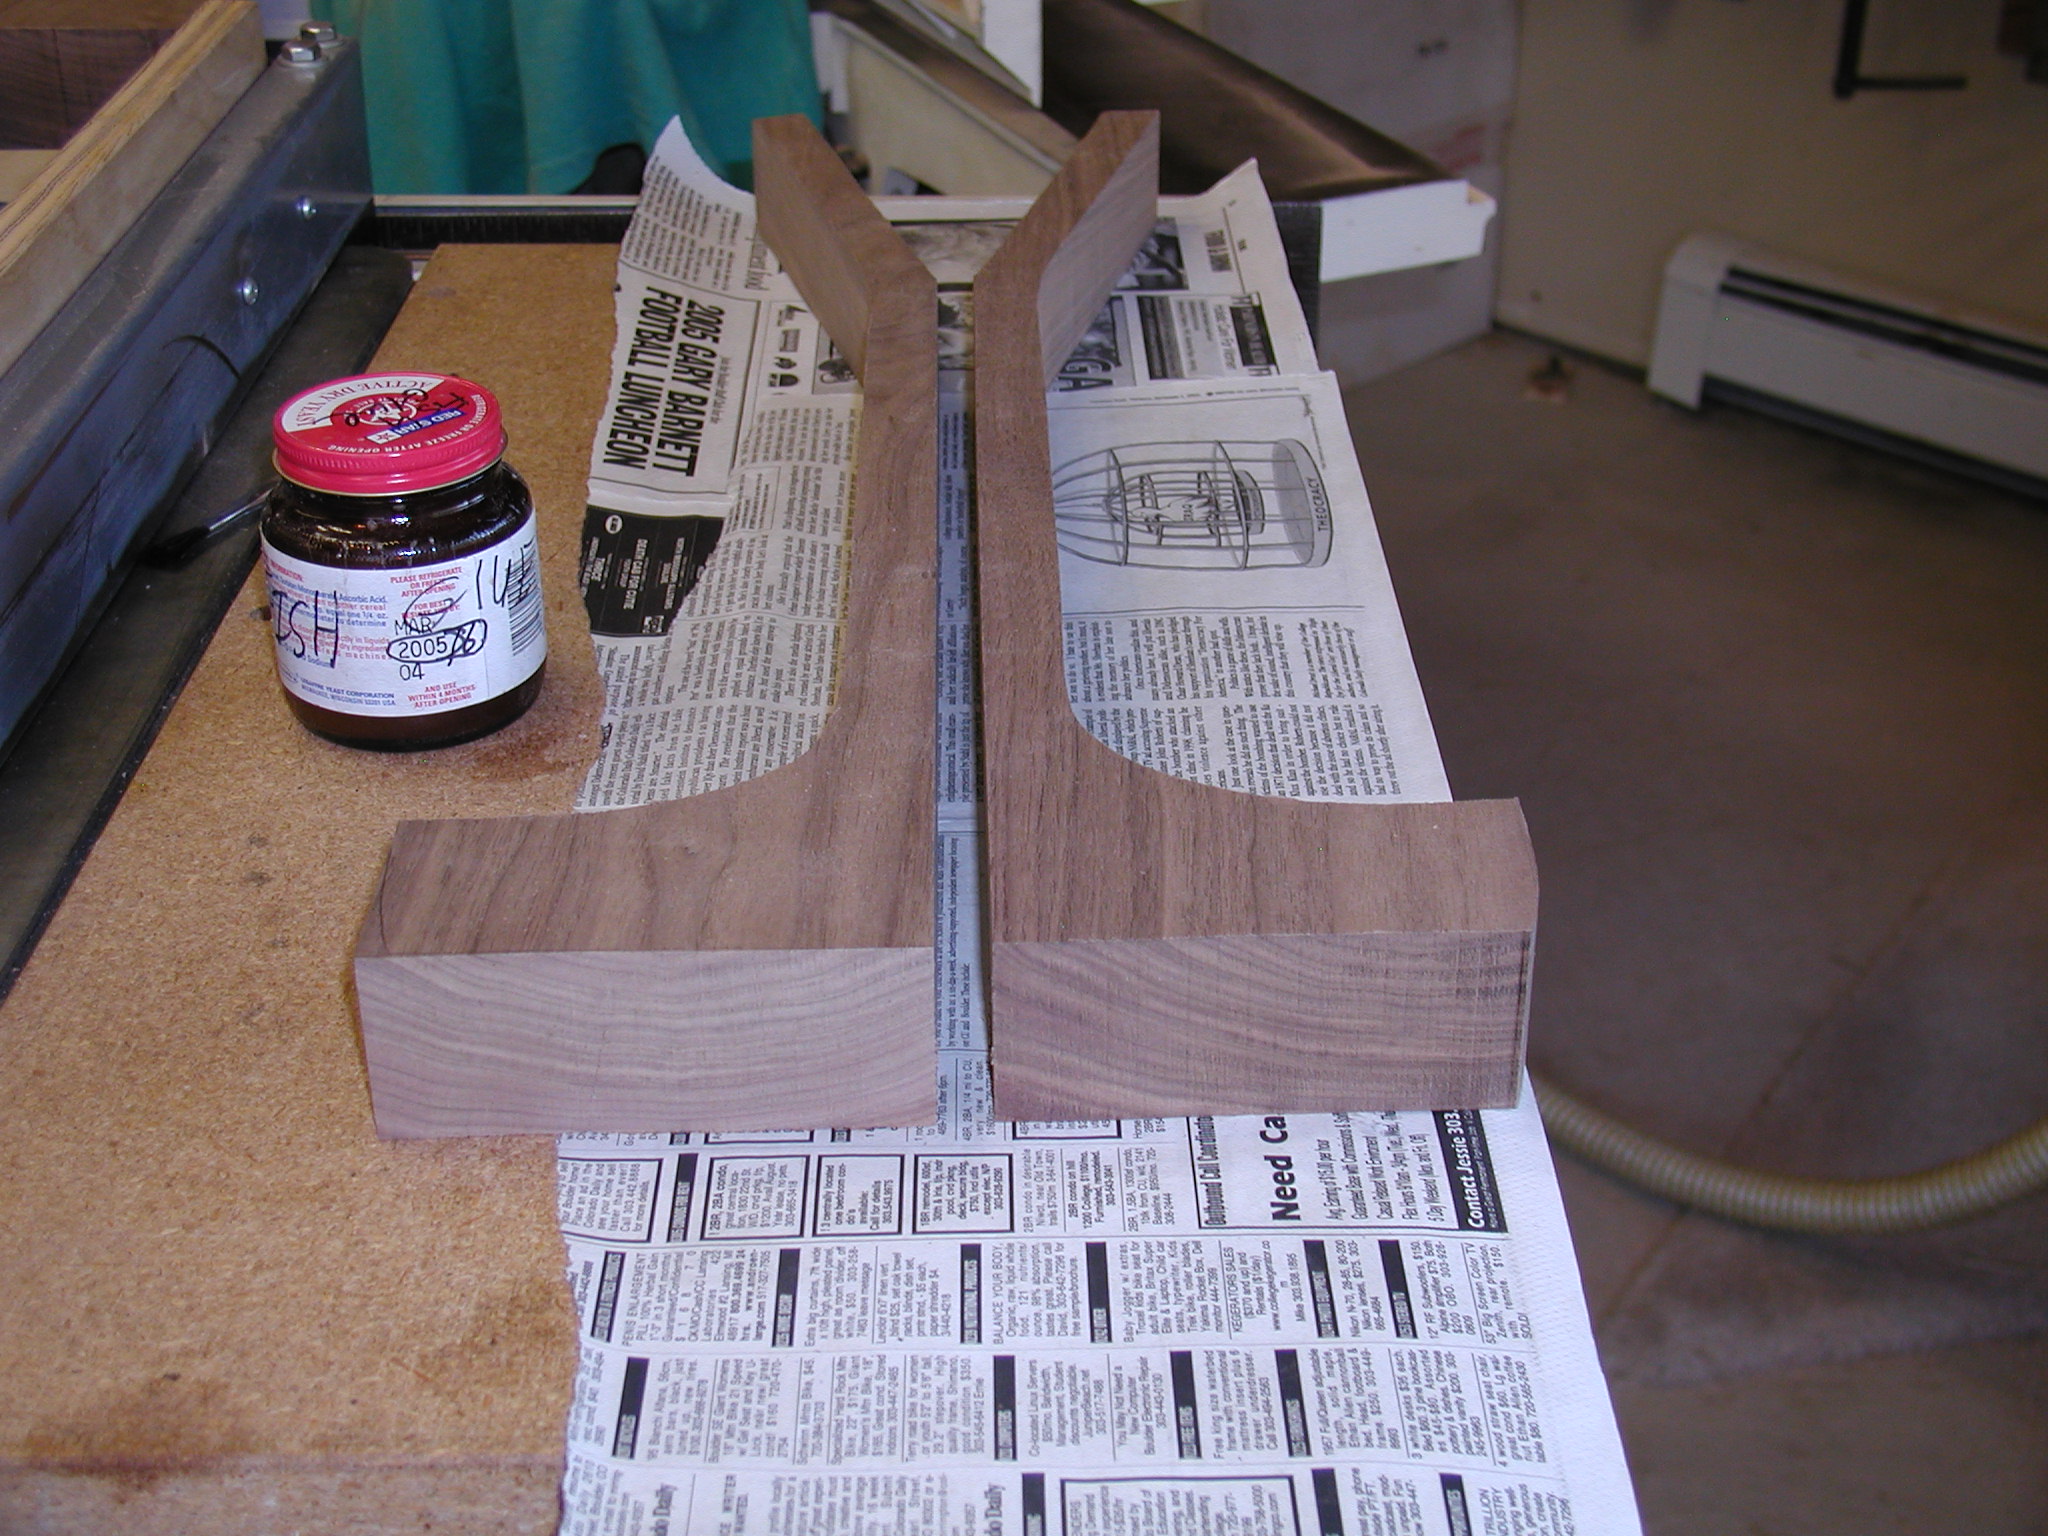
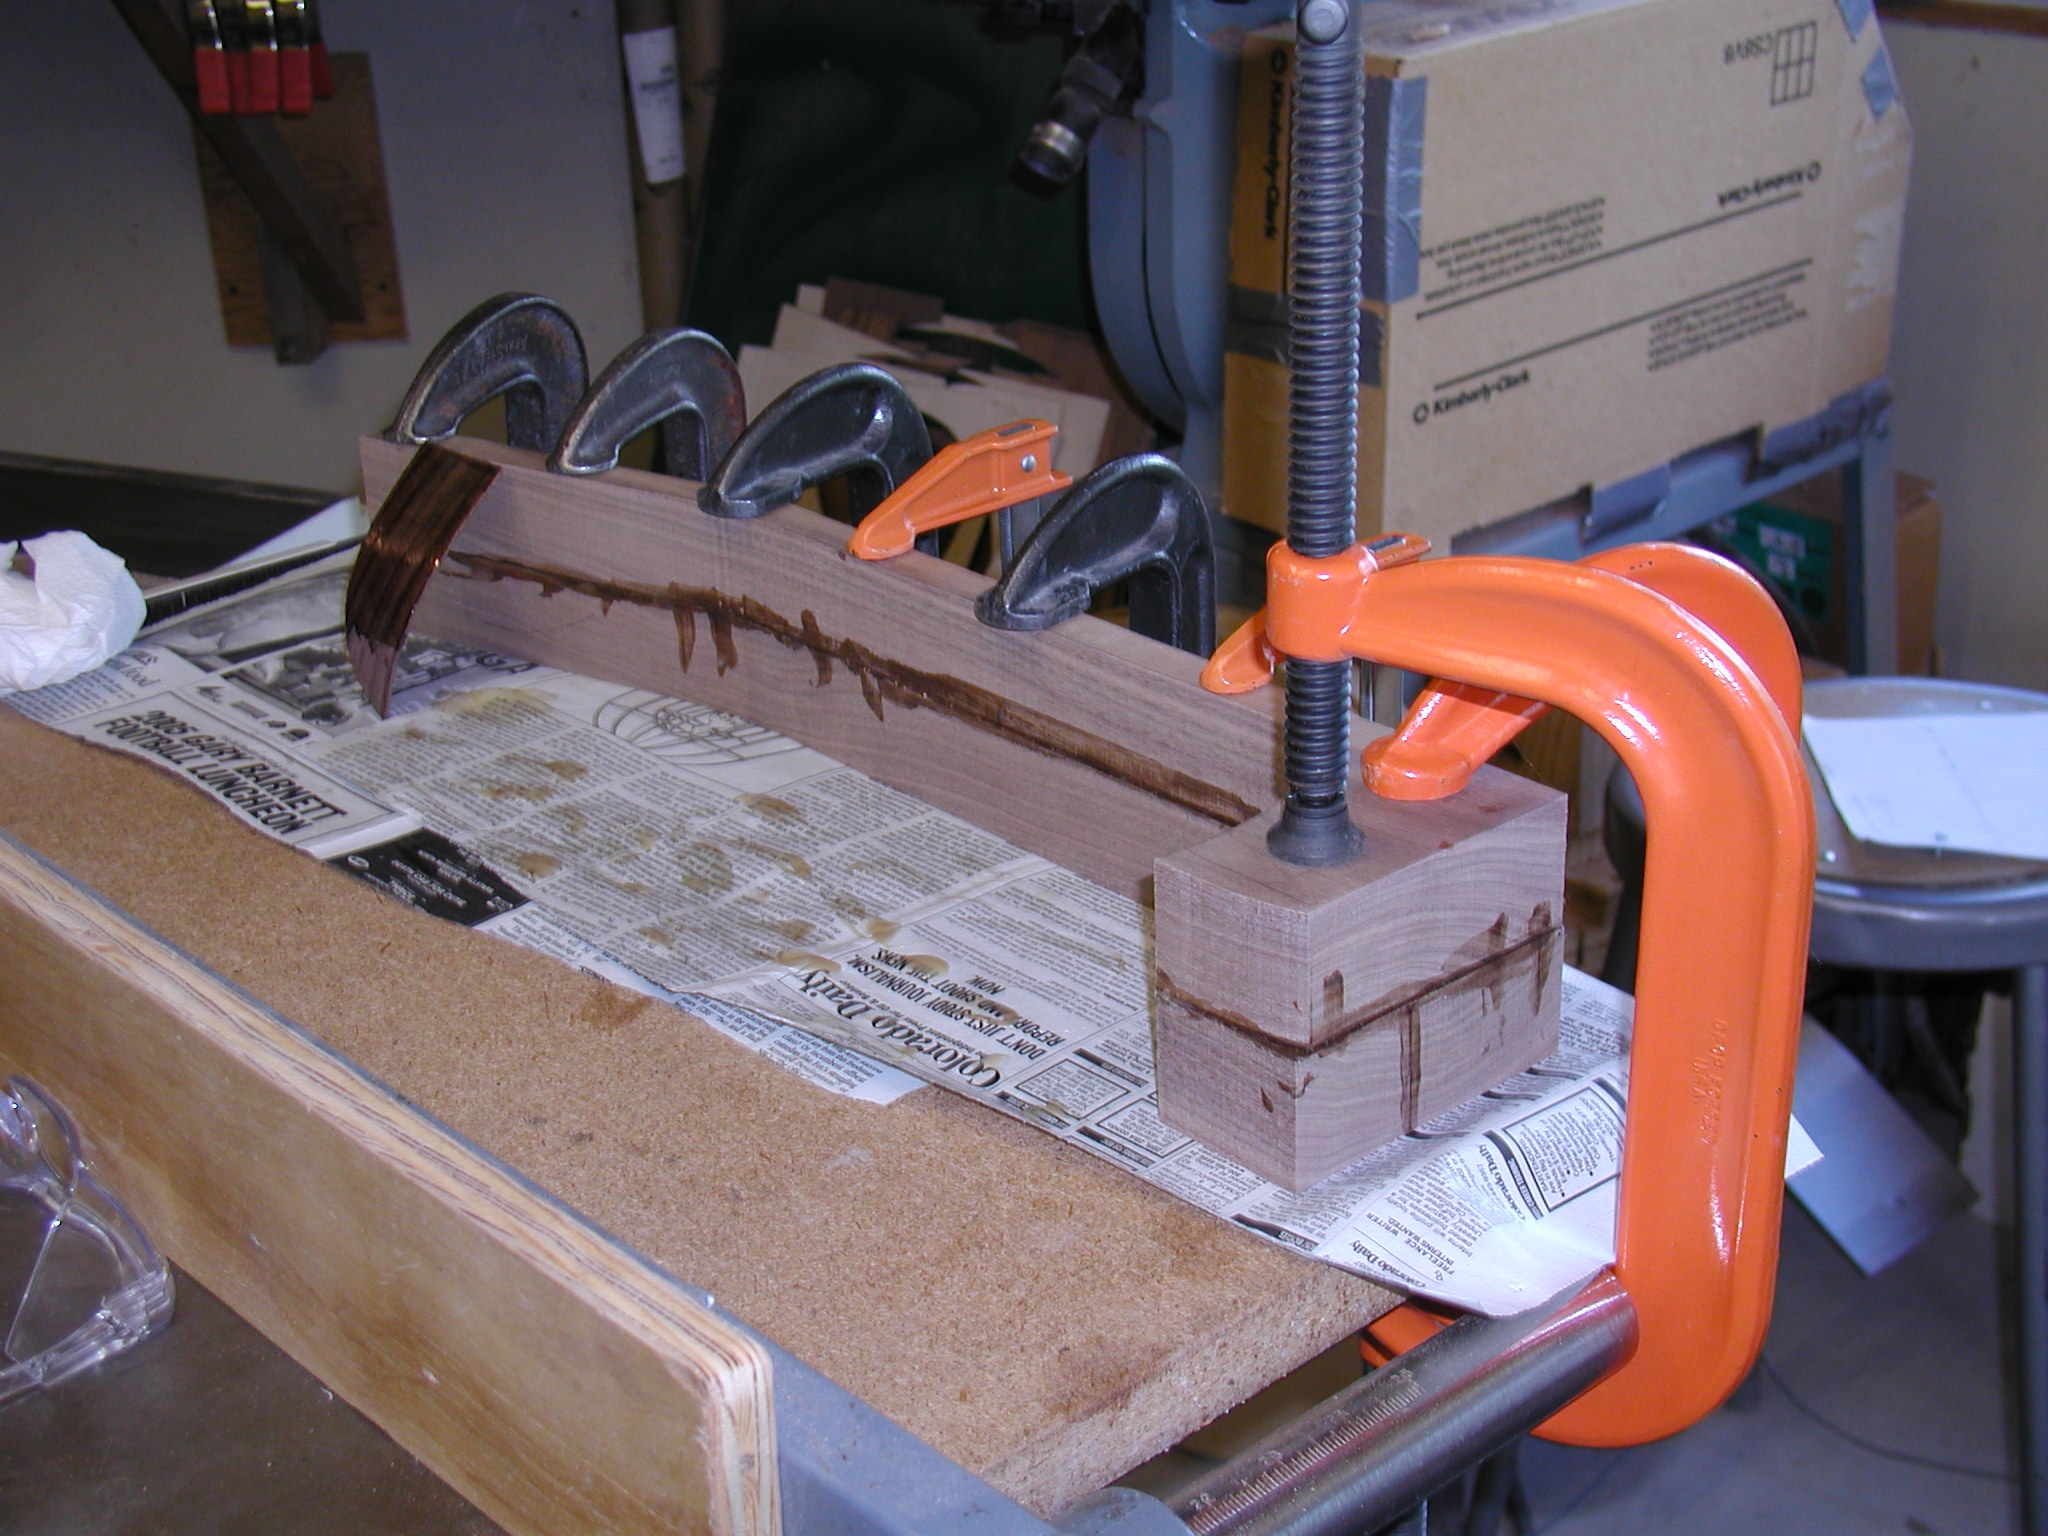
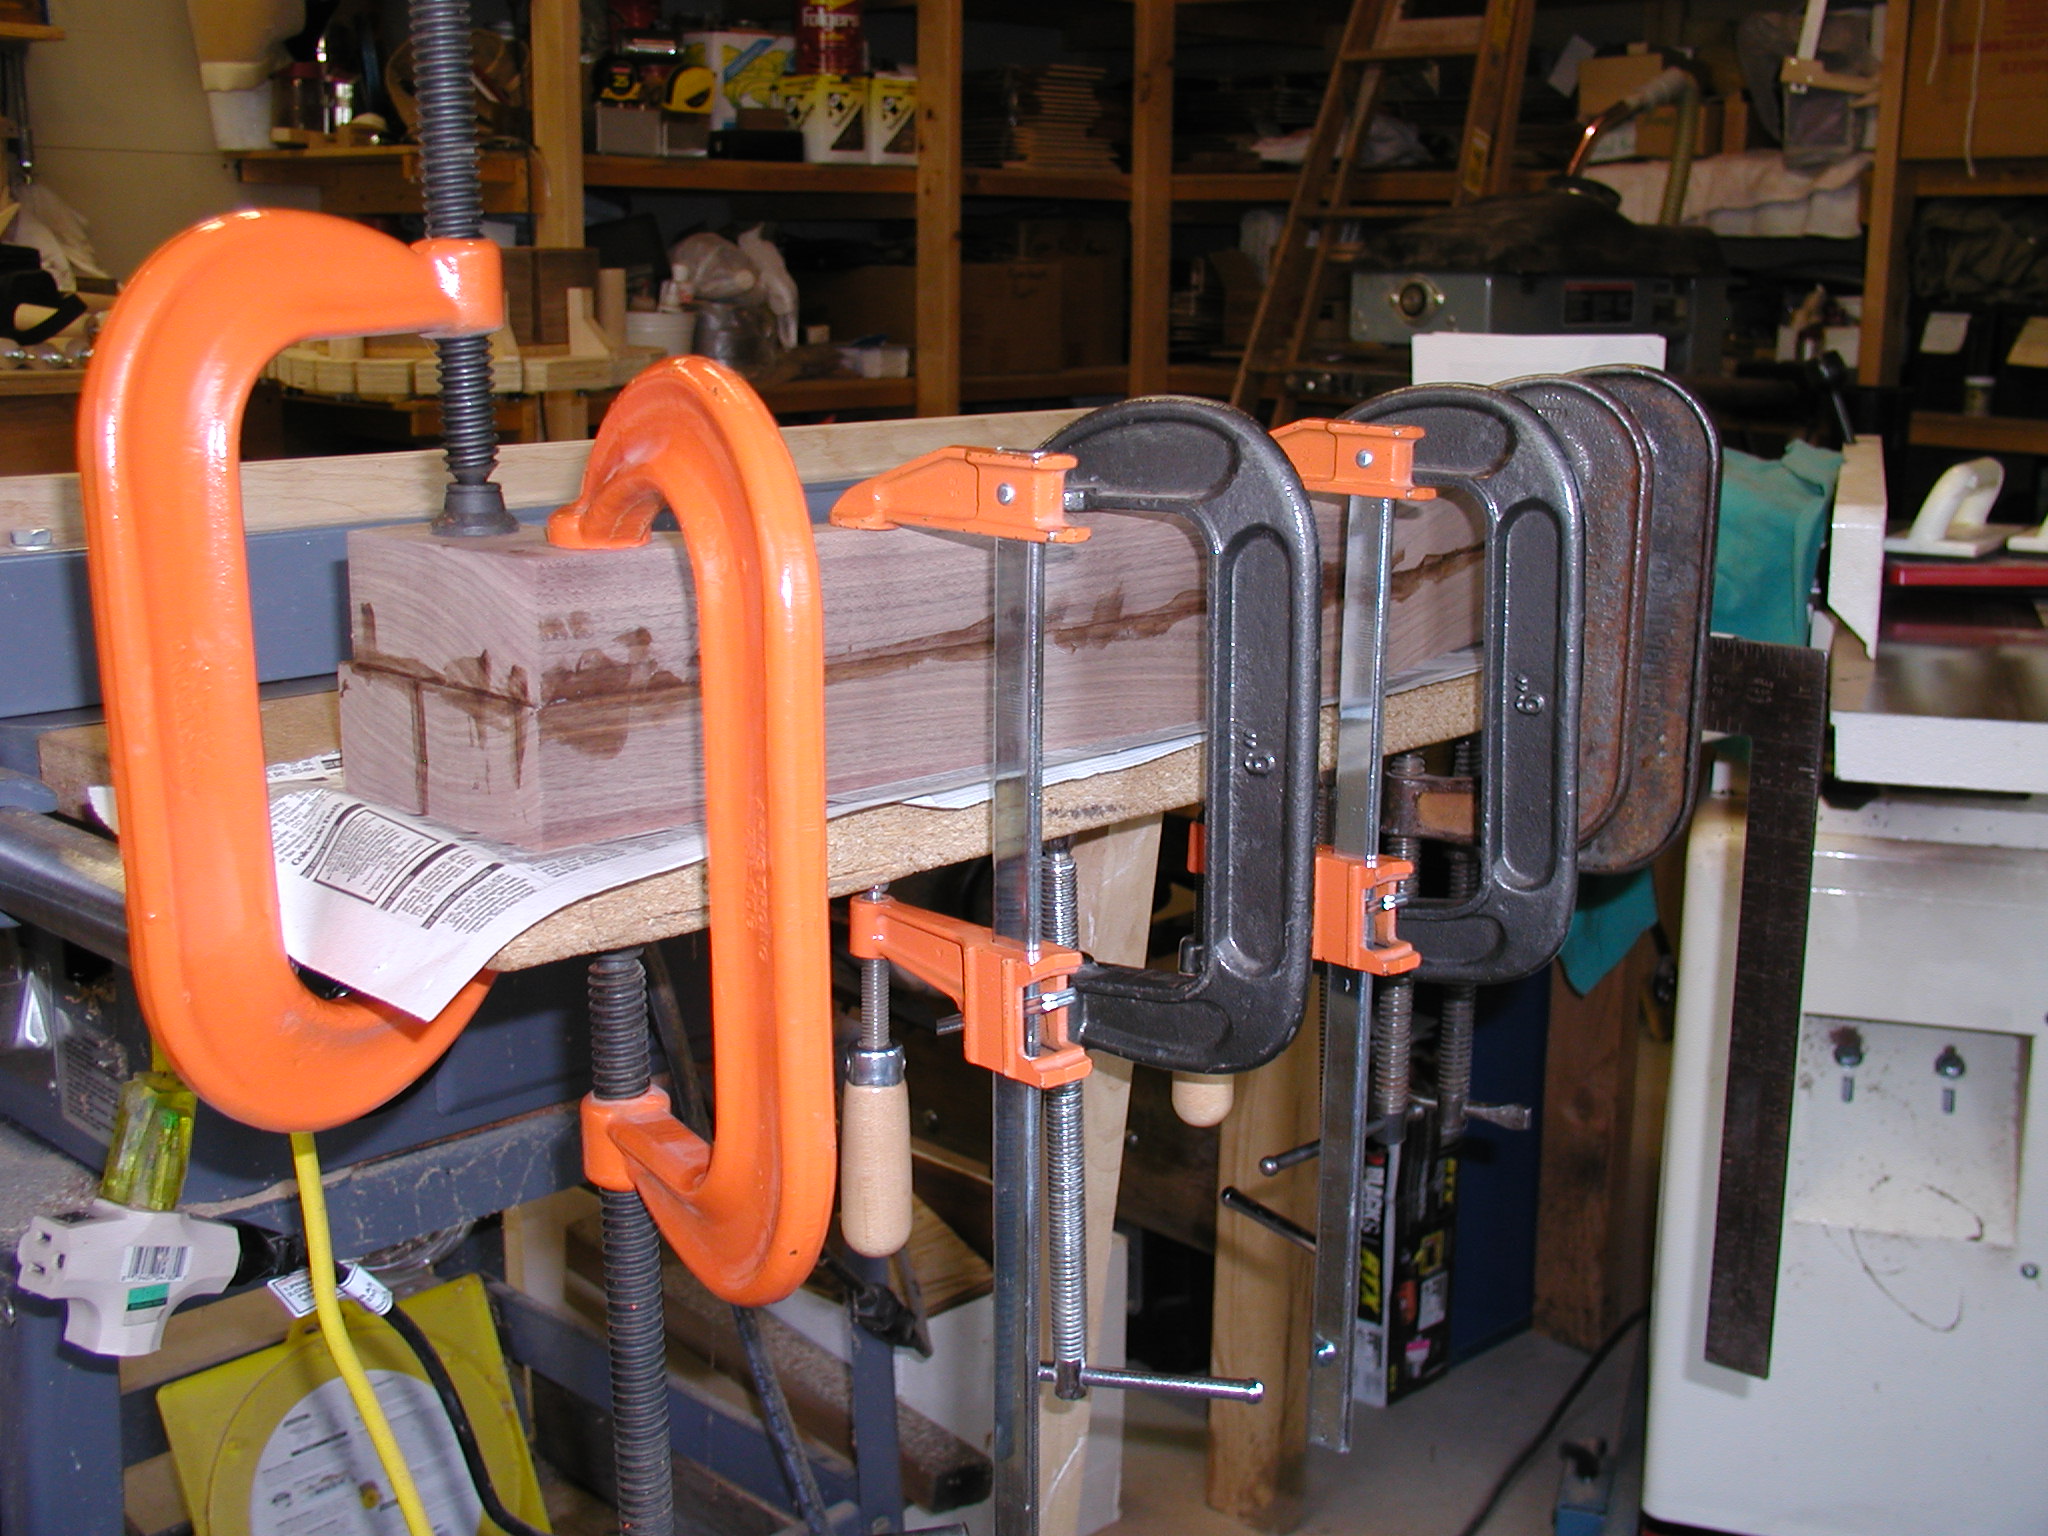
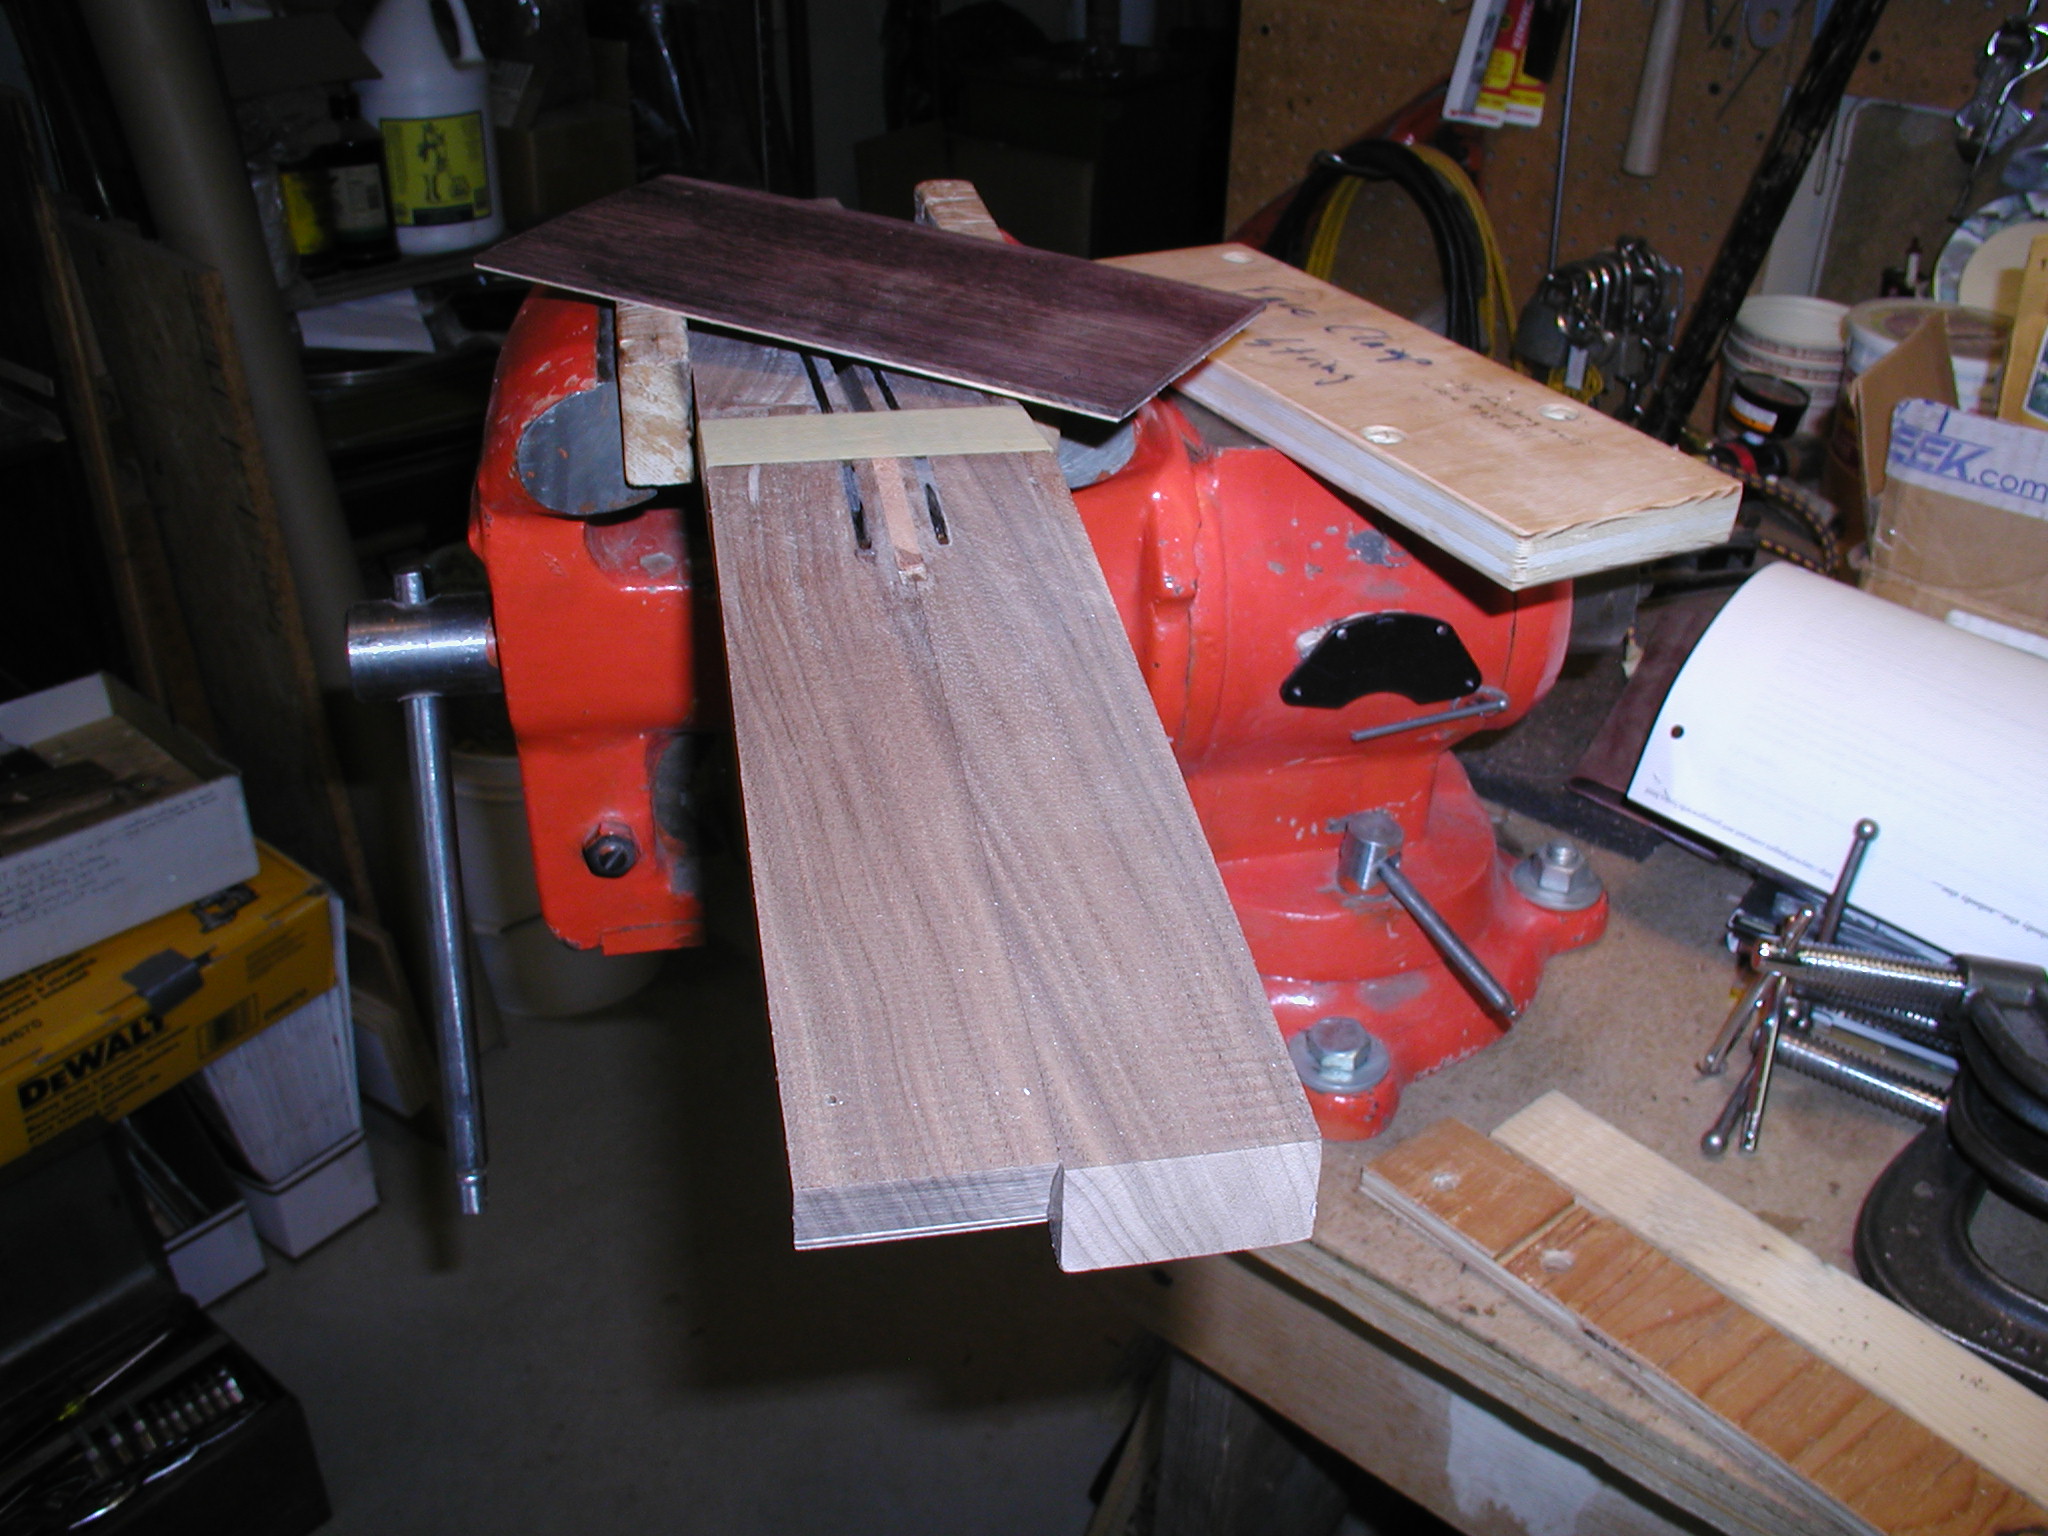
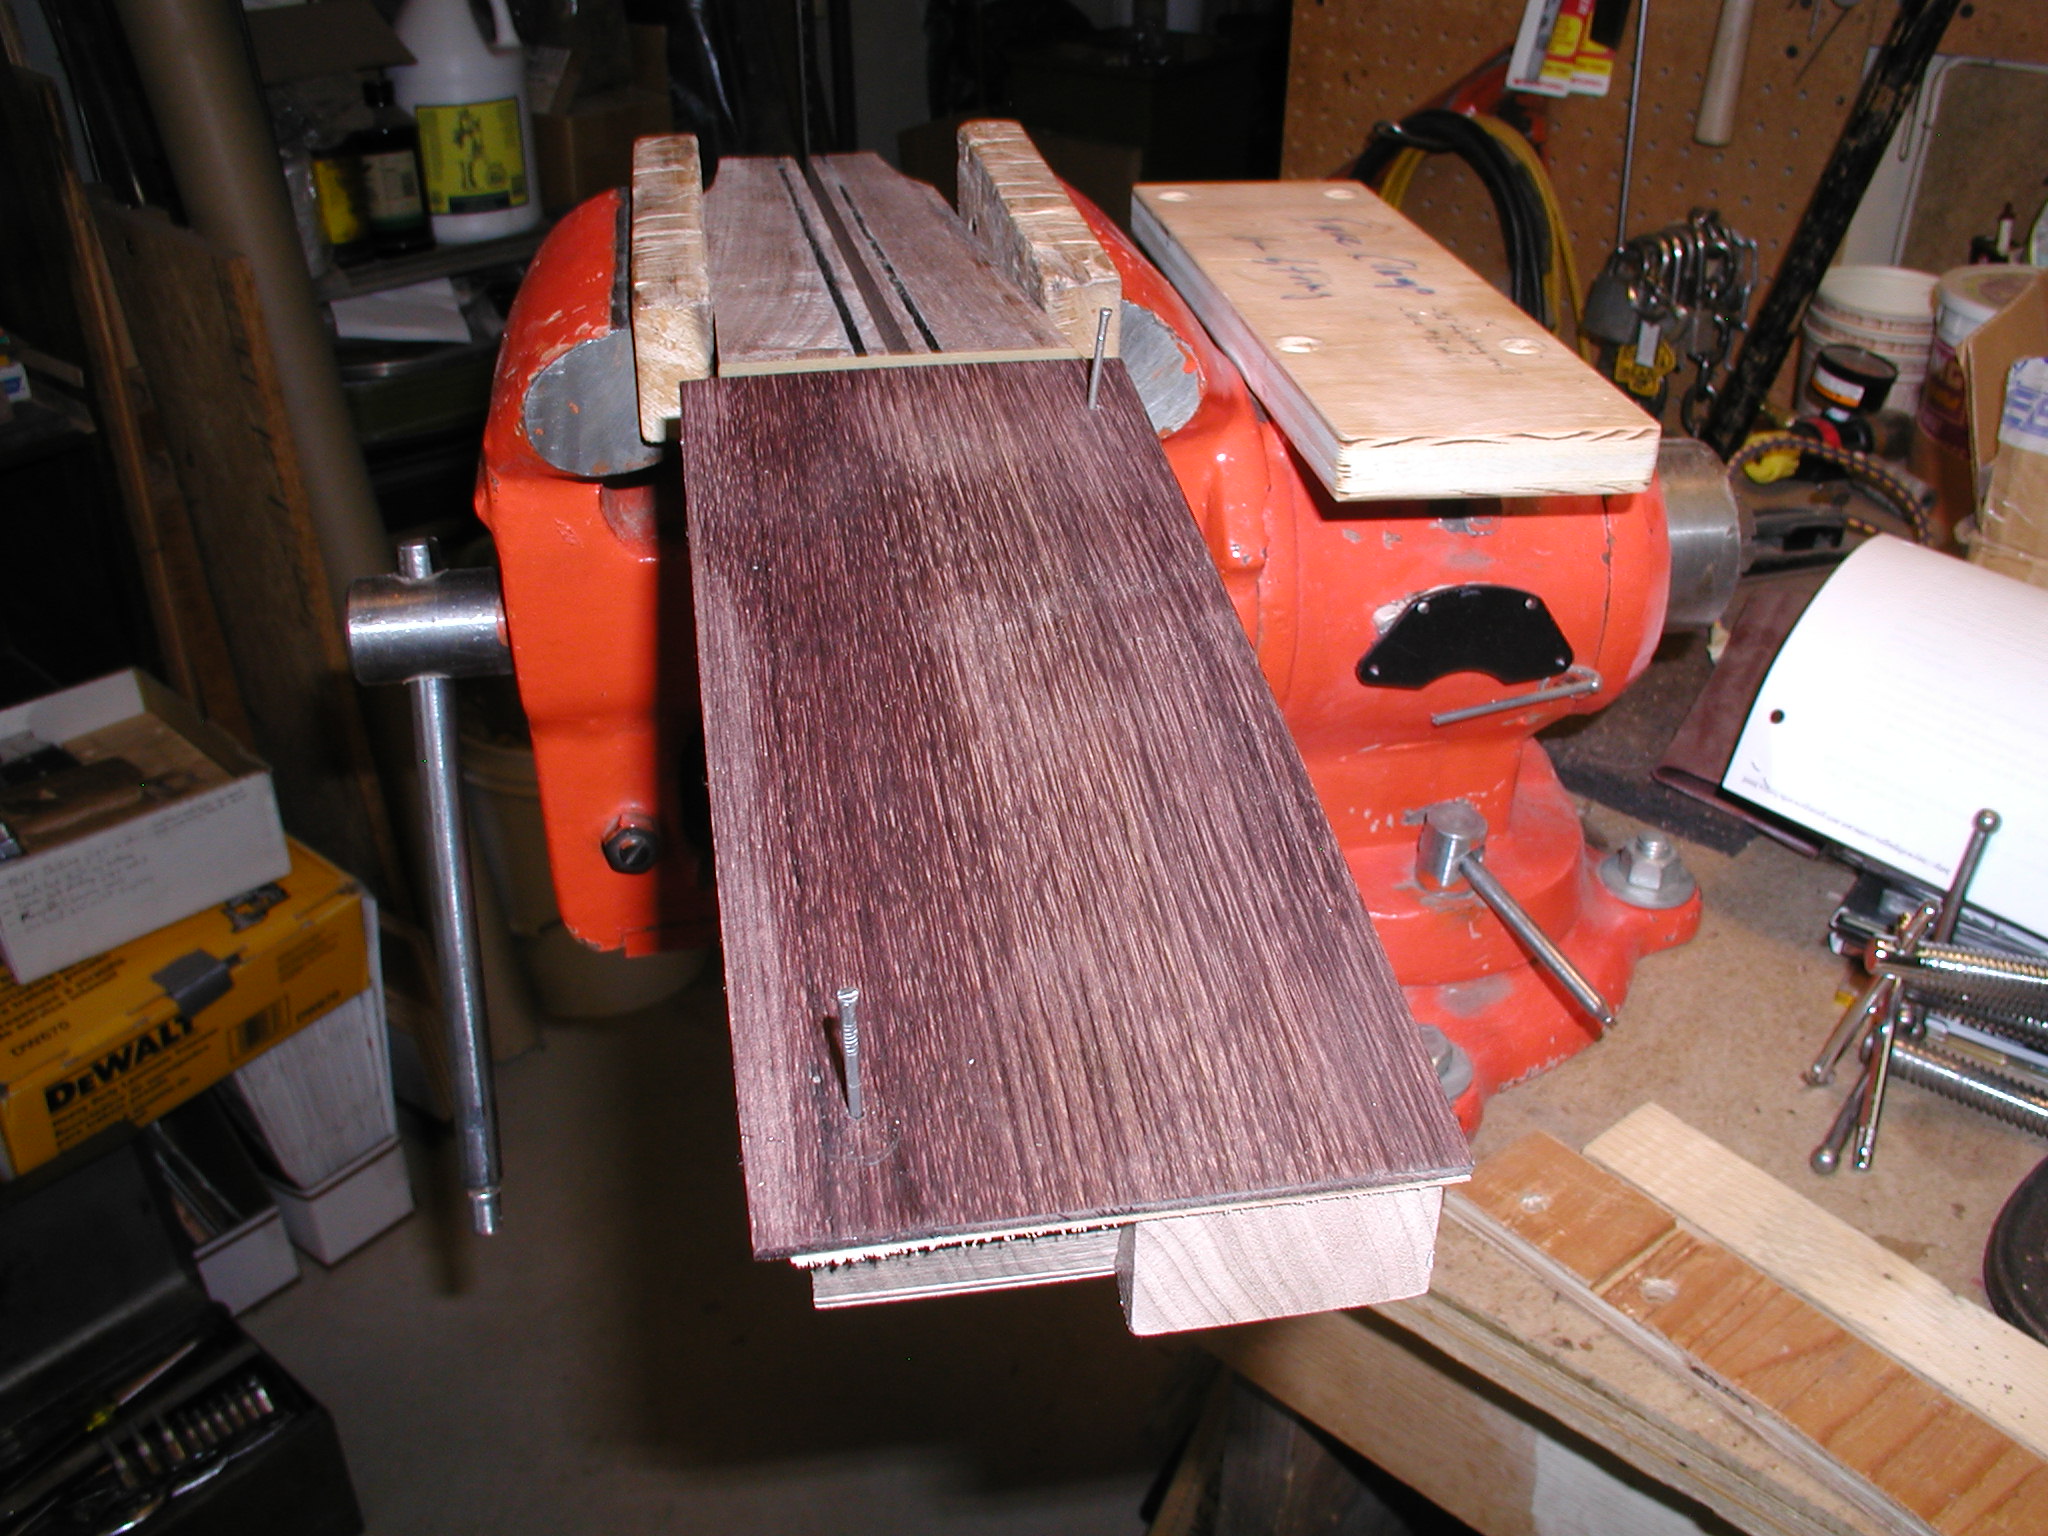
It gets harder and harder to find good quality quarter sawn mahogany for necks.This becomes even harder if you don't do a stacked heel block, to try to get the grain vertical all the way through the neck blank into the heel. I prefer to make a two (or three or five) piece neck which needs slab sawn wood to start with. The two (or more) pieces are cut from the same plank and grain matched so that any grain off vertical when glued up is matched on each side of the center line. Any stress will balance out with this arrangement. You can see this plainly in the second photo. Lots of clamps for this step and try to keep the fingerboard surface as true as possible. Not show next come the truing up of the fretboard surface and the headstock face. I use a jointer for this but in the past I have used a plane and have used a stationary belt sander. All have their strong points, but the jointer is more controllable for me and leave a good clean cut surface ready to glue.
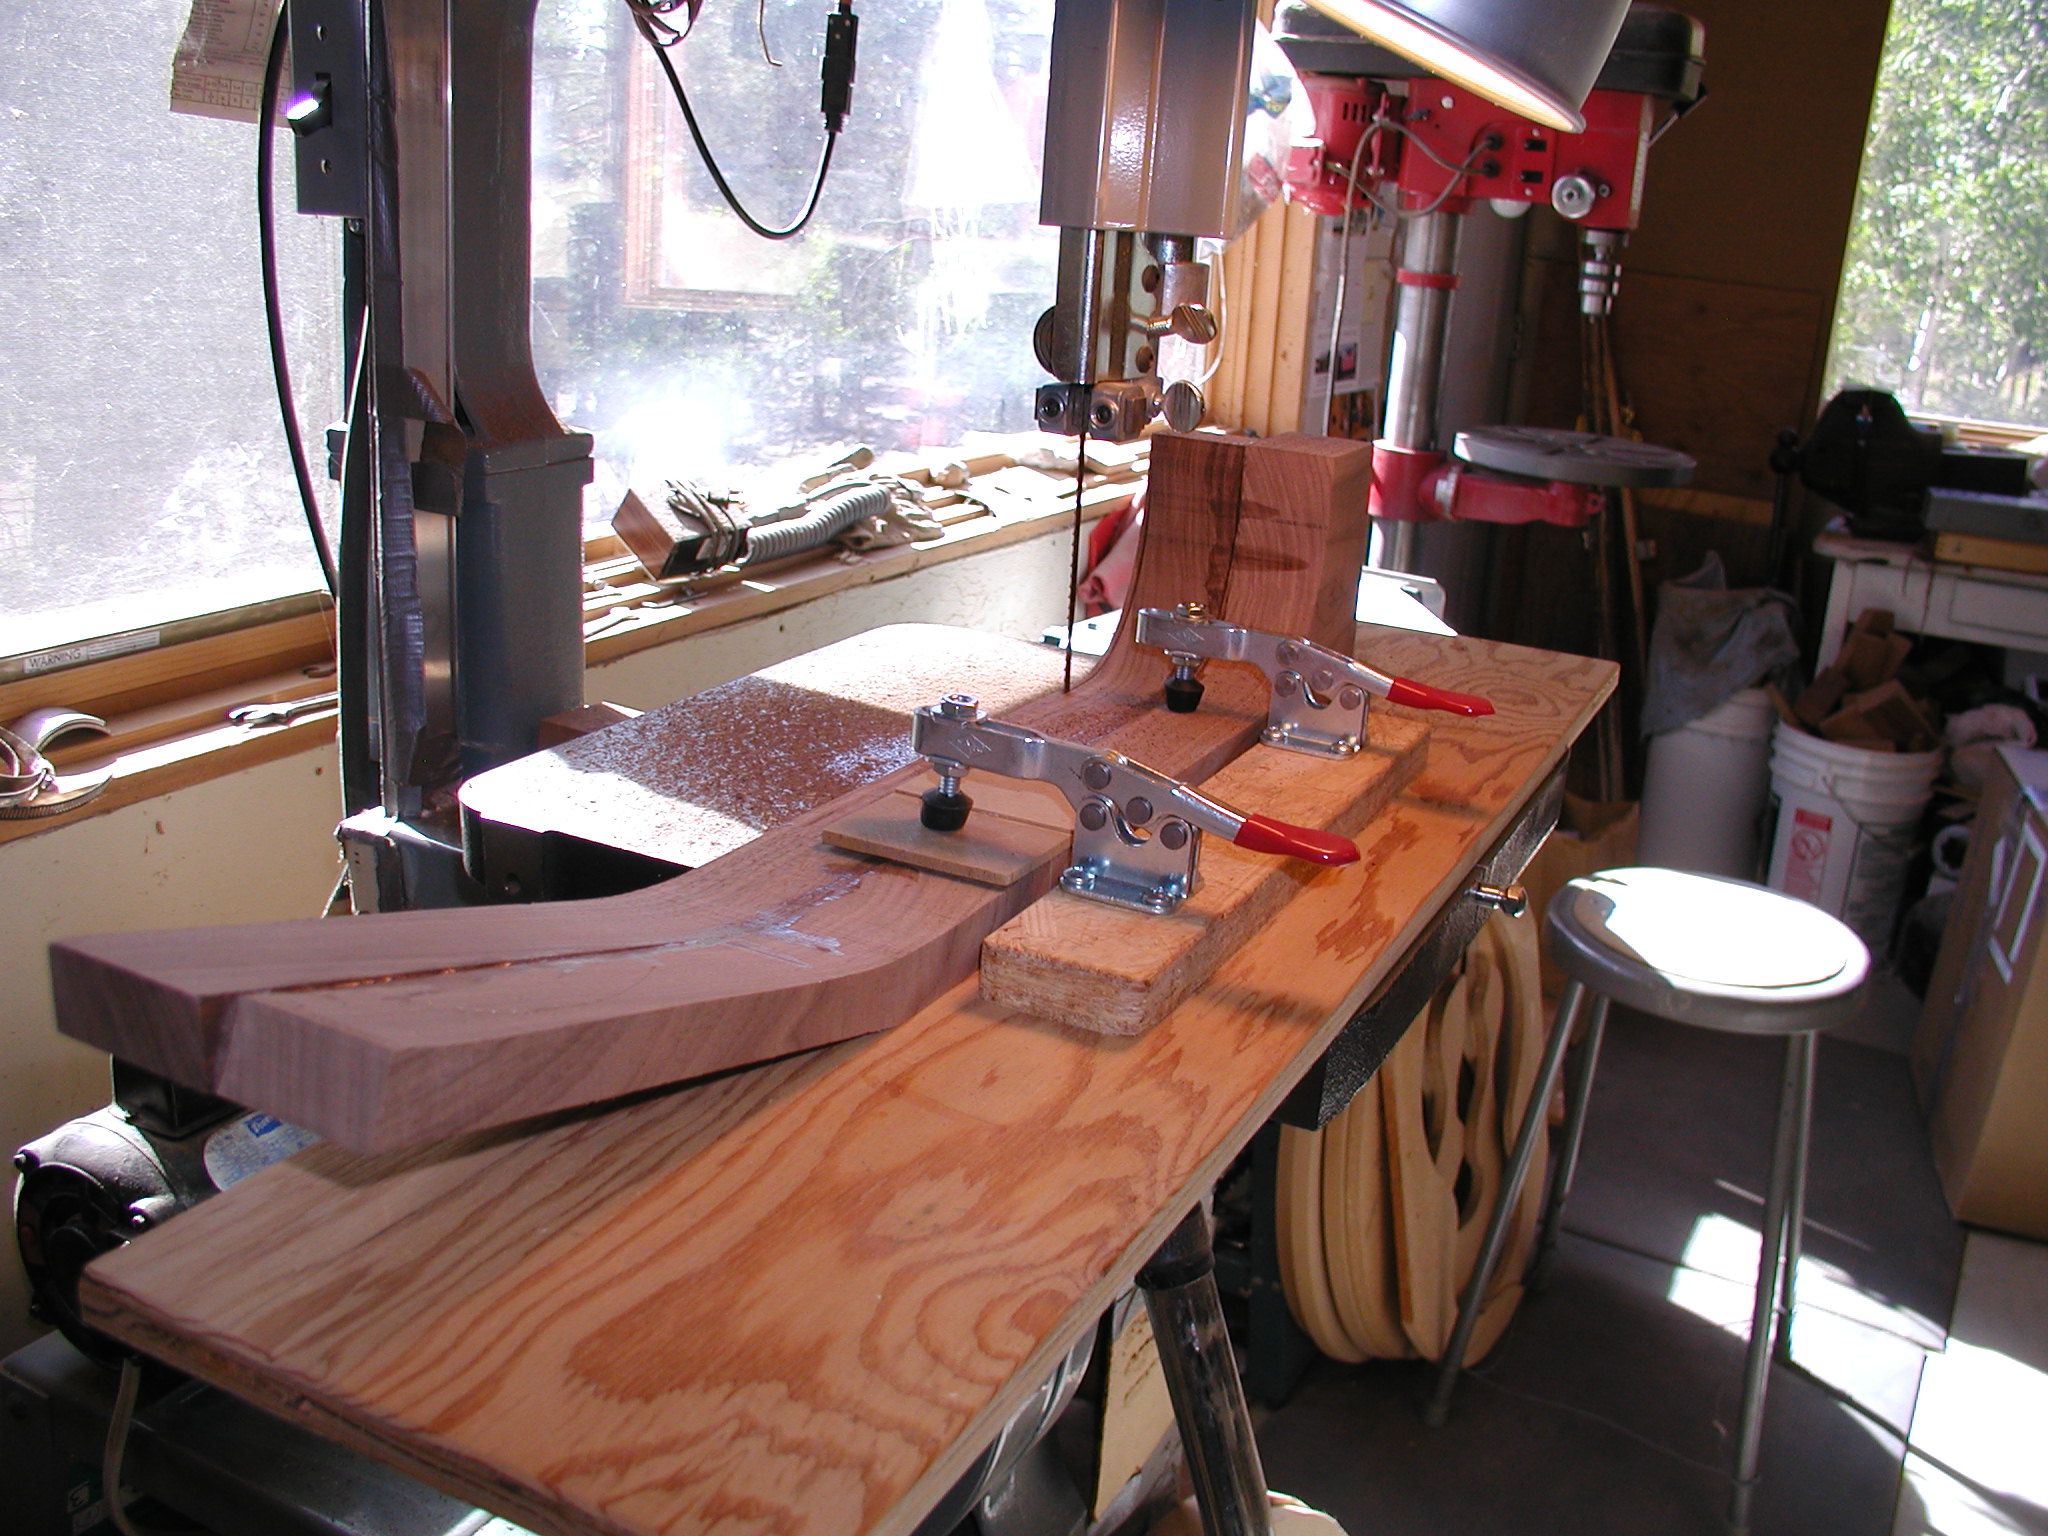
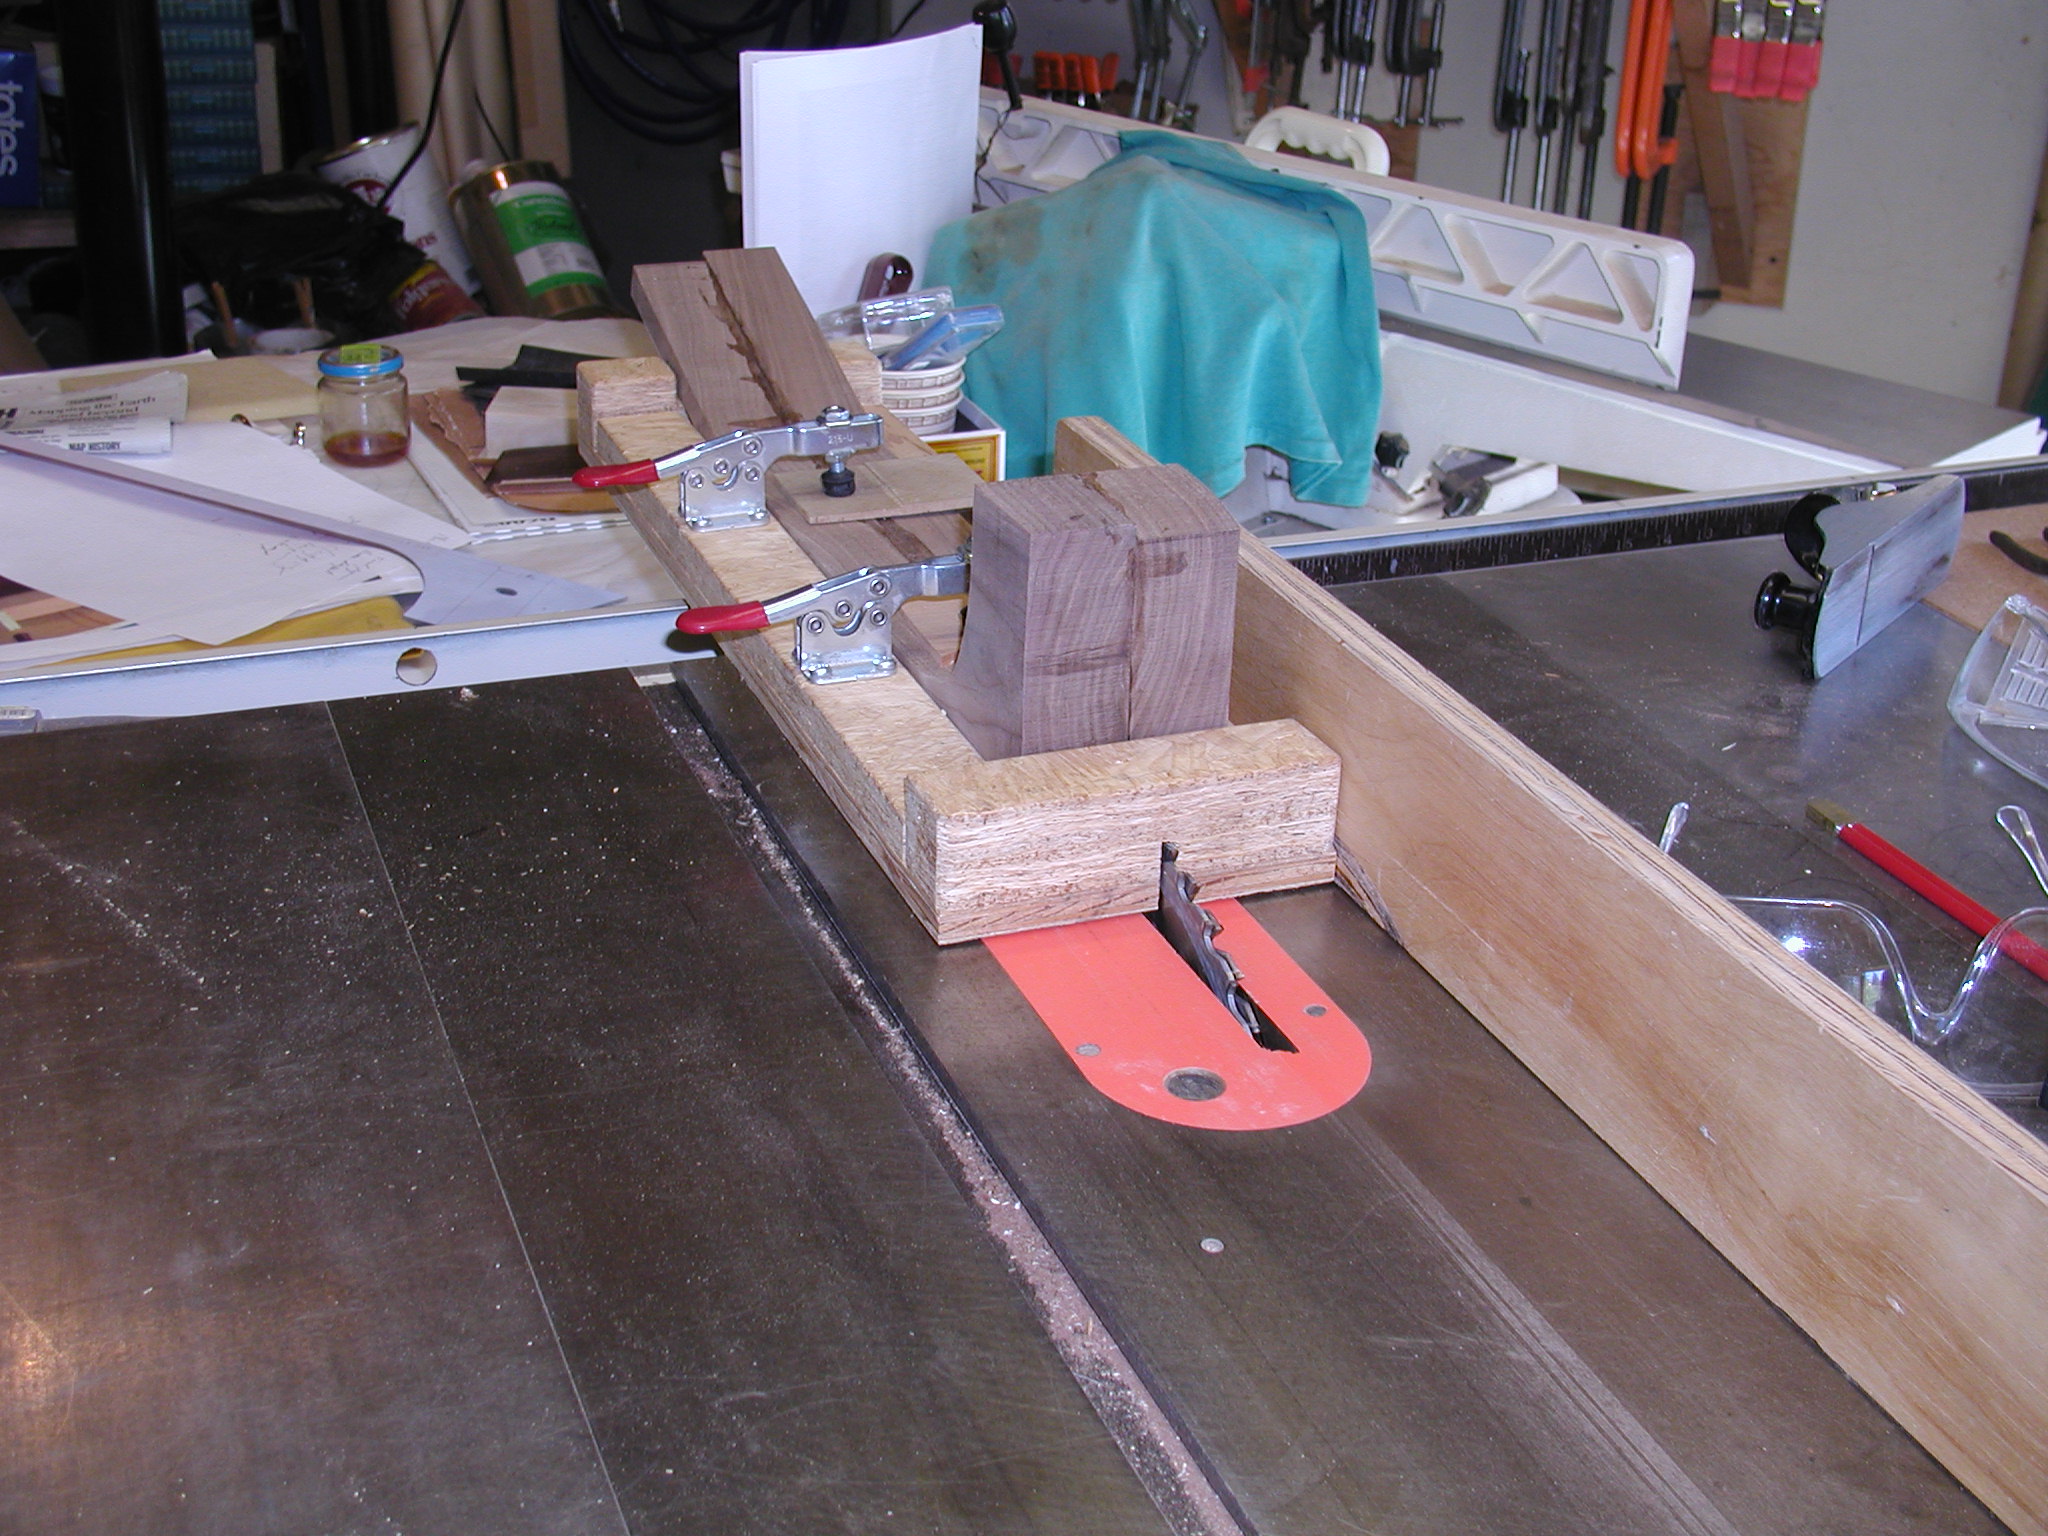
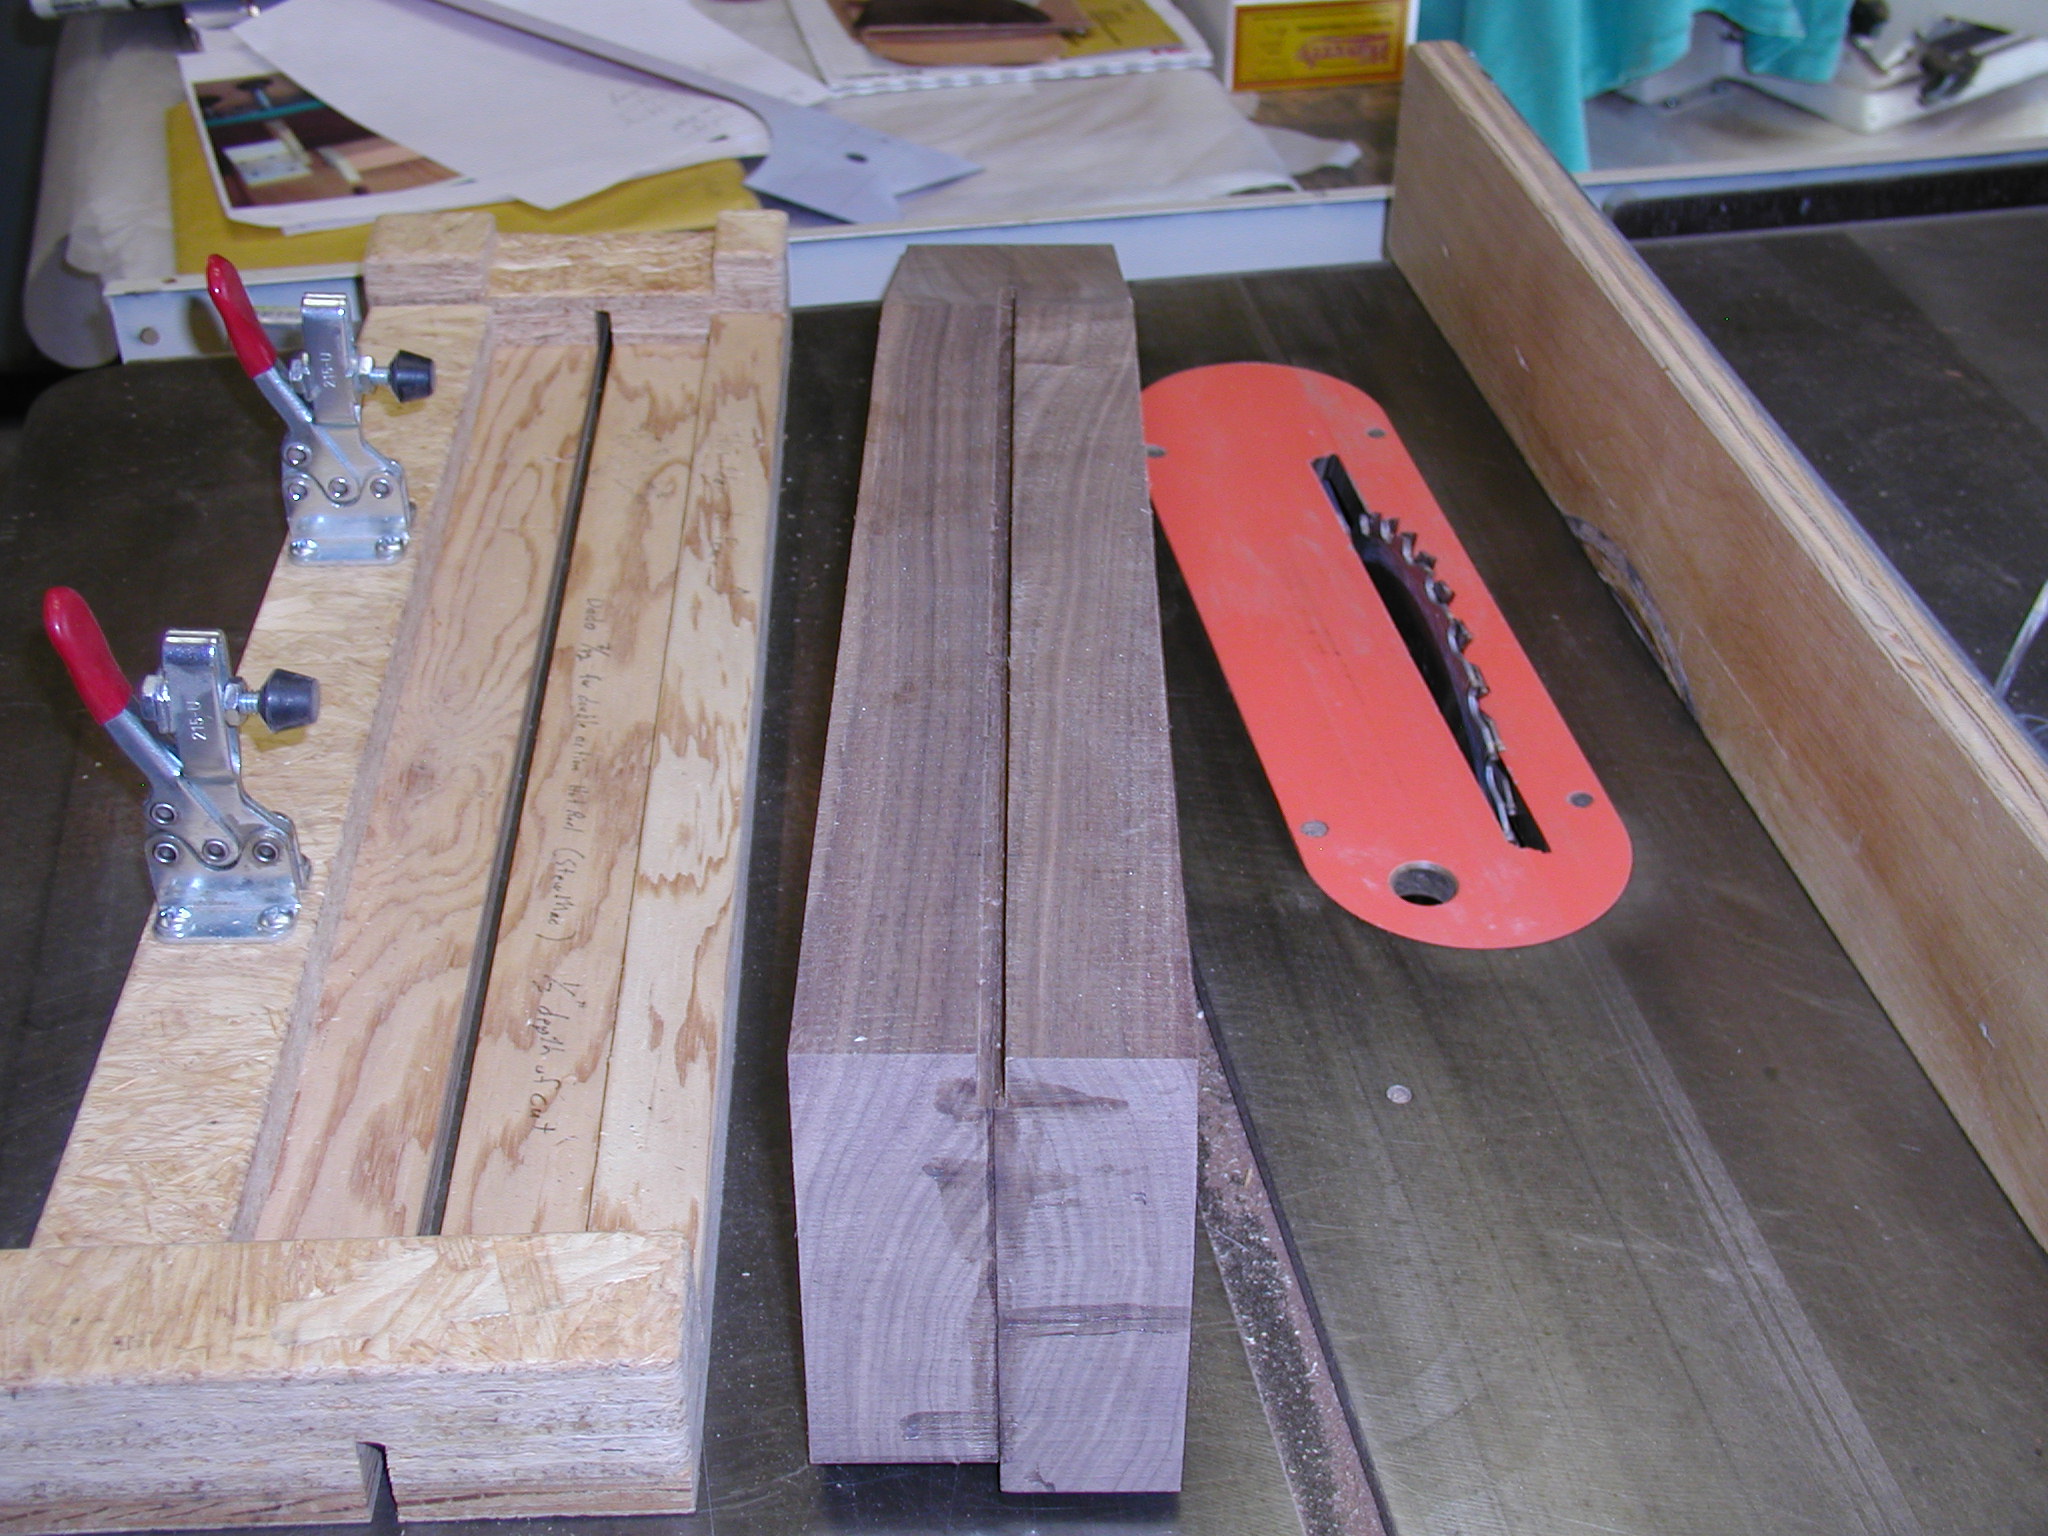
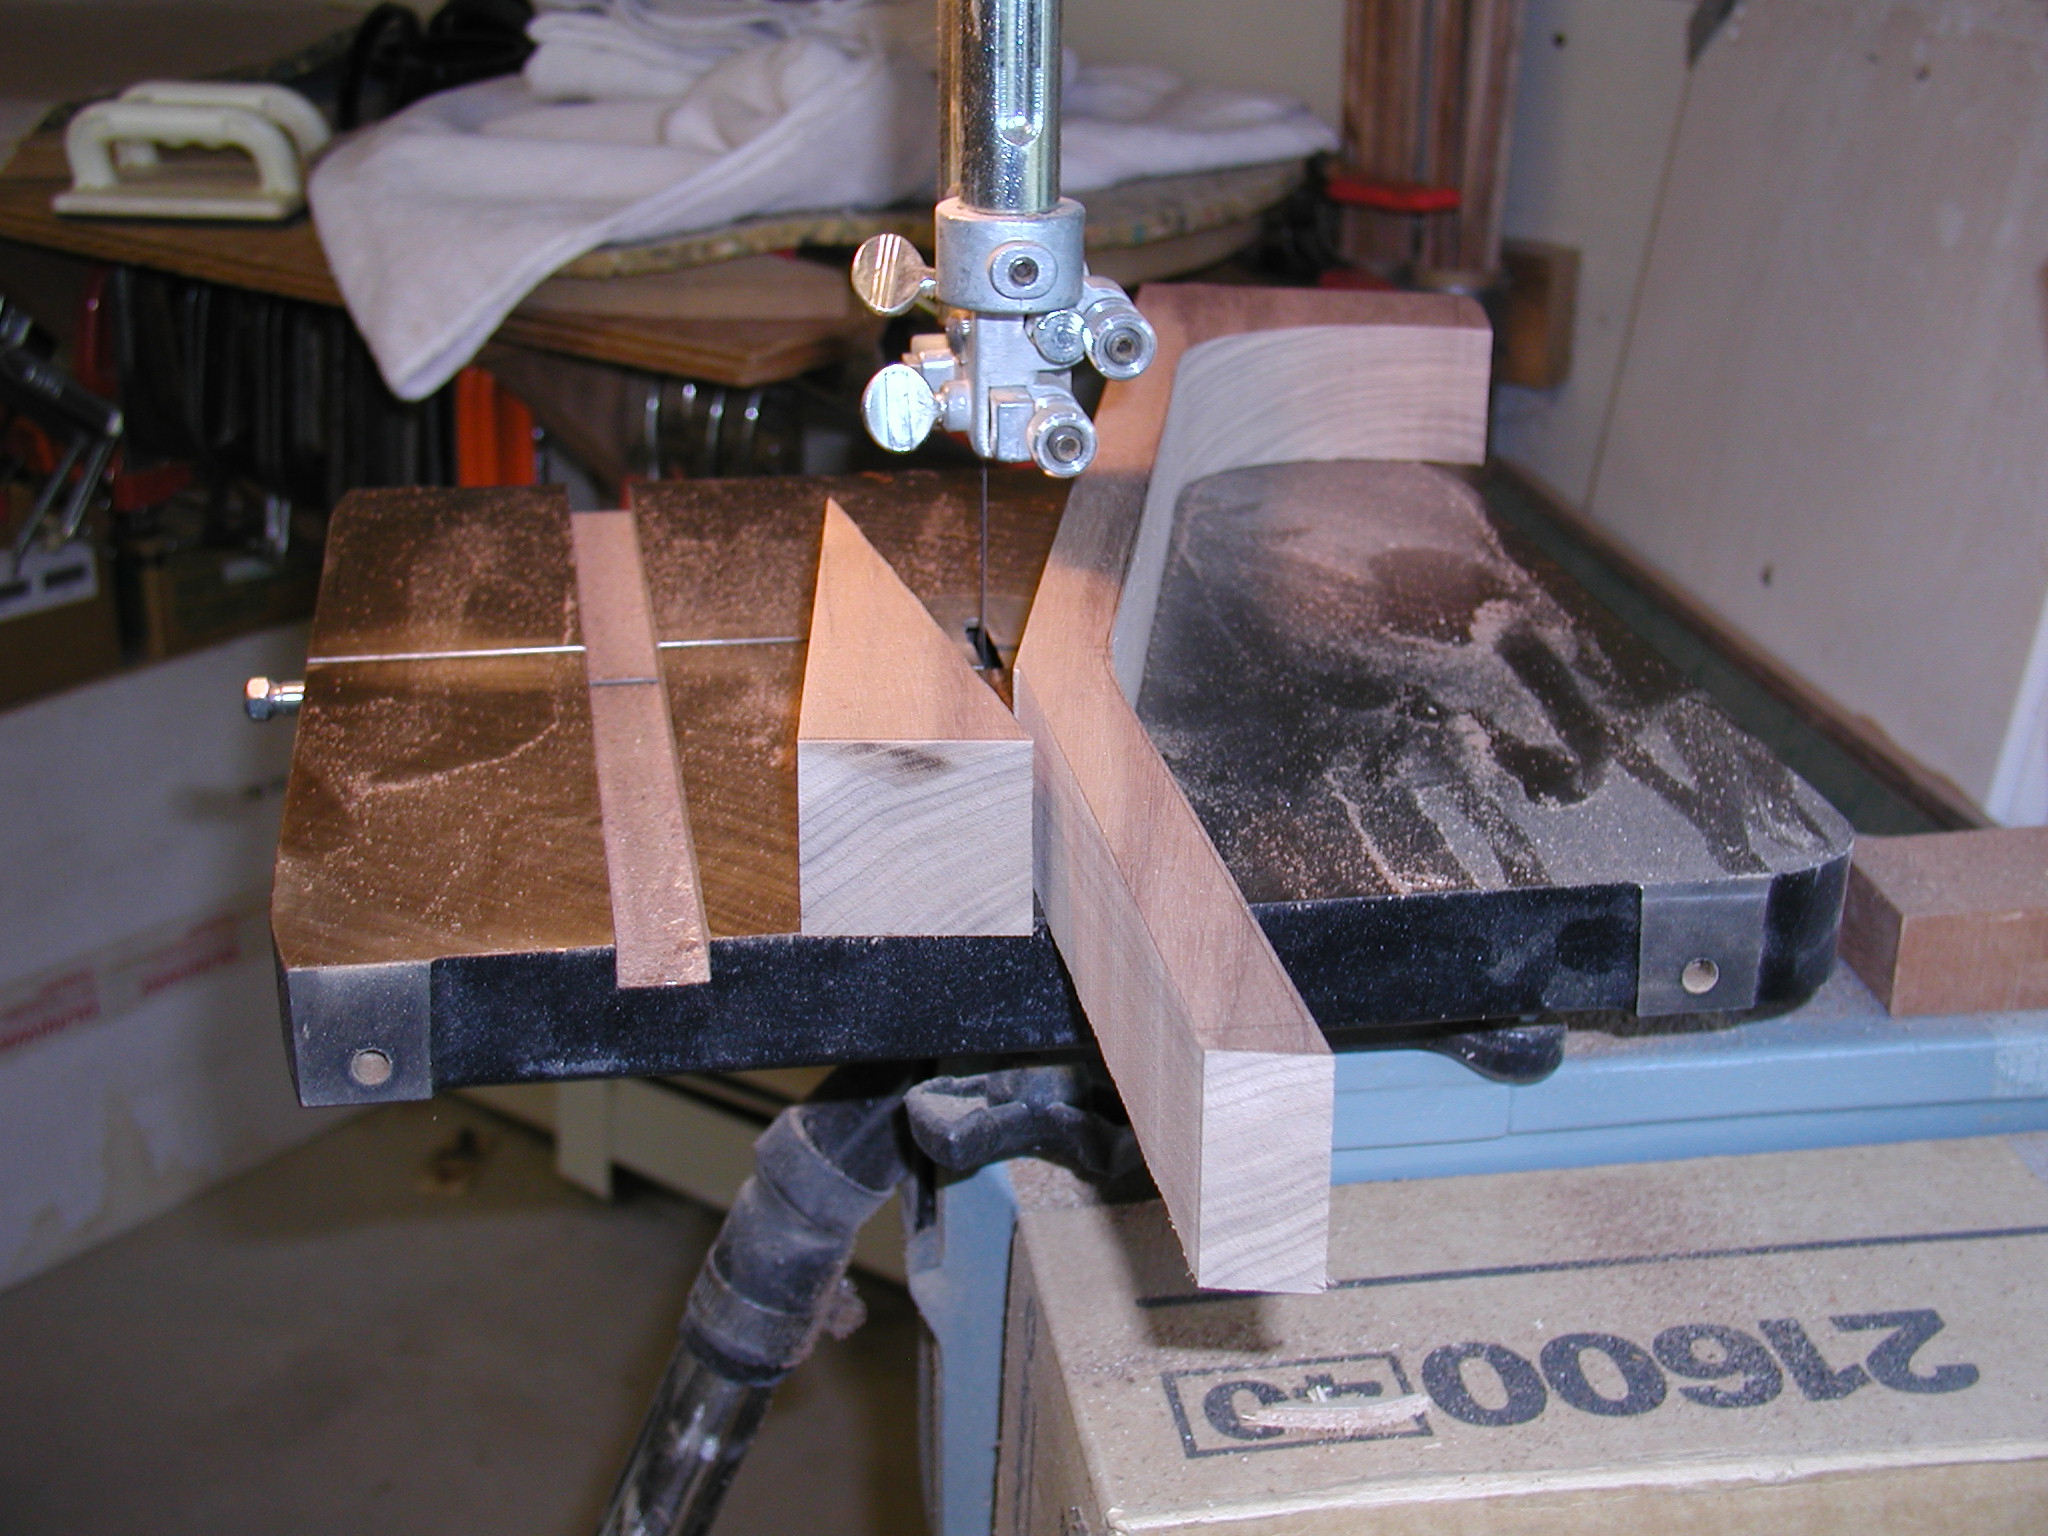
Up to this point you haven't seen too many specialized jigs. There are the Fox Bender and the binding router, but most has just been by hand. The next steps need to happen on every neck and be done to great accuracy so it makes sense to use a jig here. The first is a sled rig that cut the sides off the neck relative to the centerline. The neck has two small holes drilled at the centerline that then slip over pins in the sled. The bottom of the sled has a key that rides in the miter slot of the table so by making a pass, reversing the neck and taking a second pass I now have both sides exactly the same distance from the center line. Then it fits into a table saw jig that is just as wide as the neck, it is a press fit. This jig is then positioned center on the stack of dado blades with the rip fence. The blades are just the width of the truss rod that I use. I make a pass forward and back and it is done.

At this point I do a first pass at getting the neck-to-body butt joint angle set. I have tried lots of different ways, but have settled on this process. I use an angle gauge to see what the angle is on the body side/top joint. There will be an angle because we radiused the top. I then transfer that angle to the miter jig that fits both my table saw and band saw and take a cut off the neck. The to the body with a straight edge and measure the height over the to at the saddle position. Adjust as needed and take more test cuts. Once it is correct, I then mark off the exact location for the butt joint, measure it again, and again, and make the cut. I then take a couple shots of single malt, take a couple deep breaths, and check to see it I got it right.
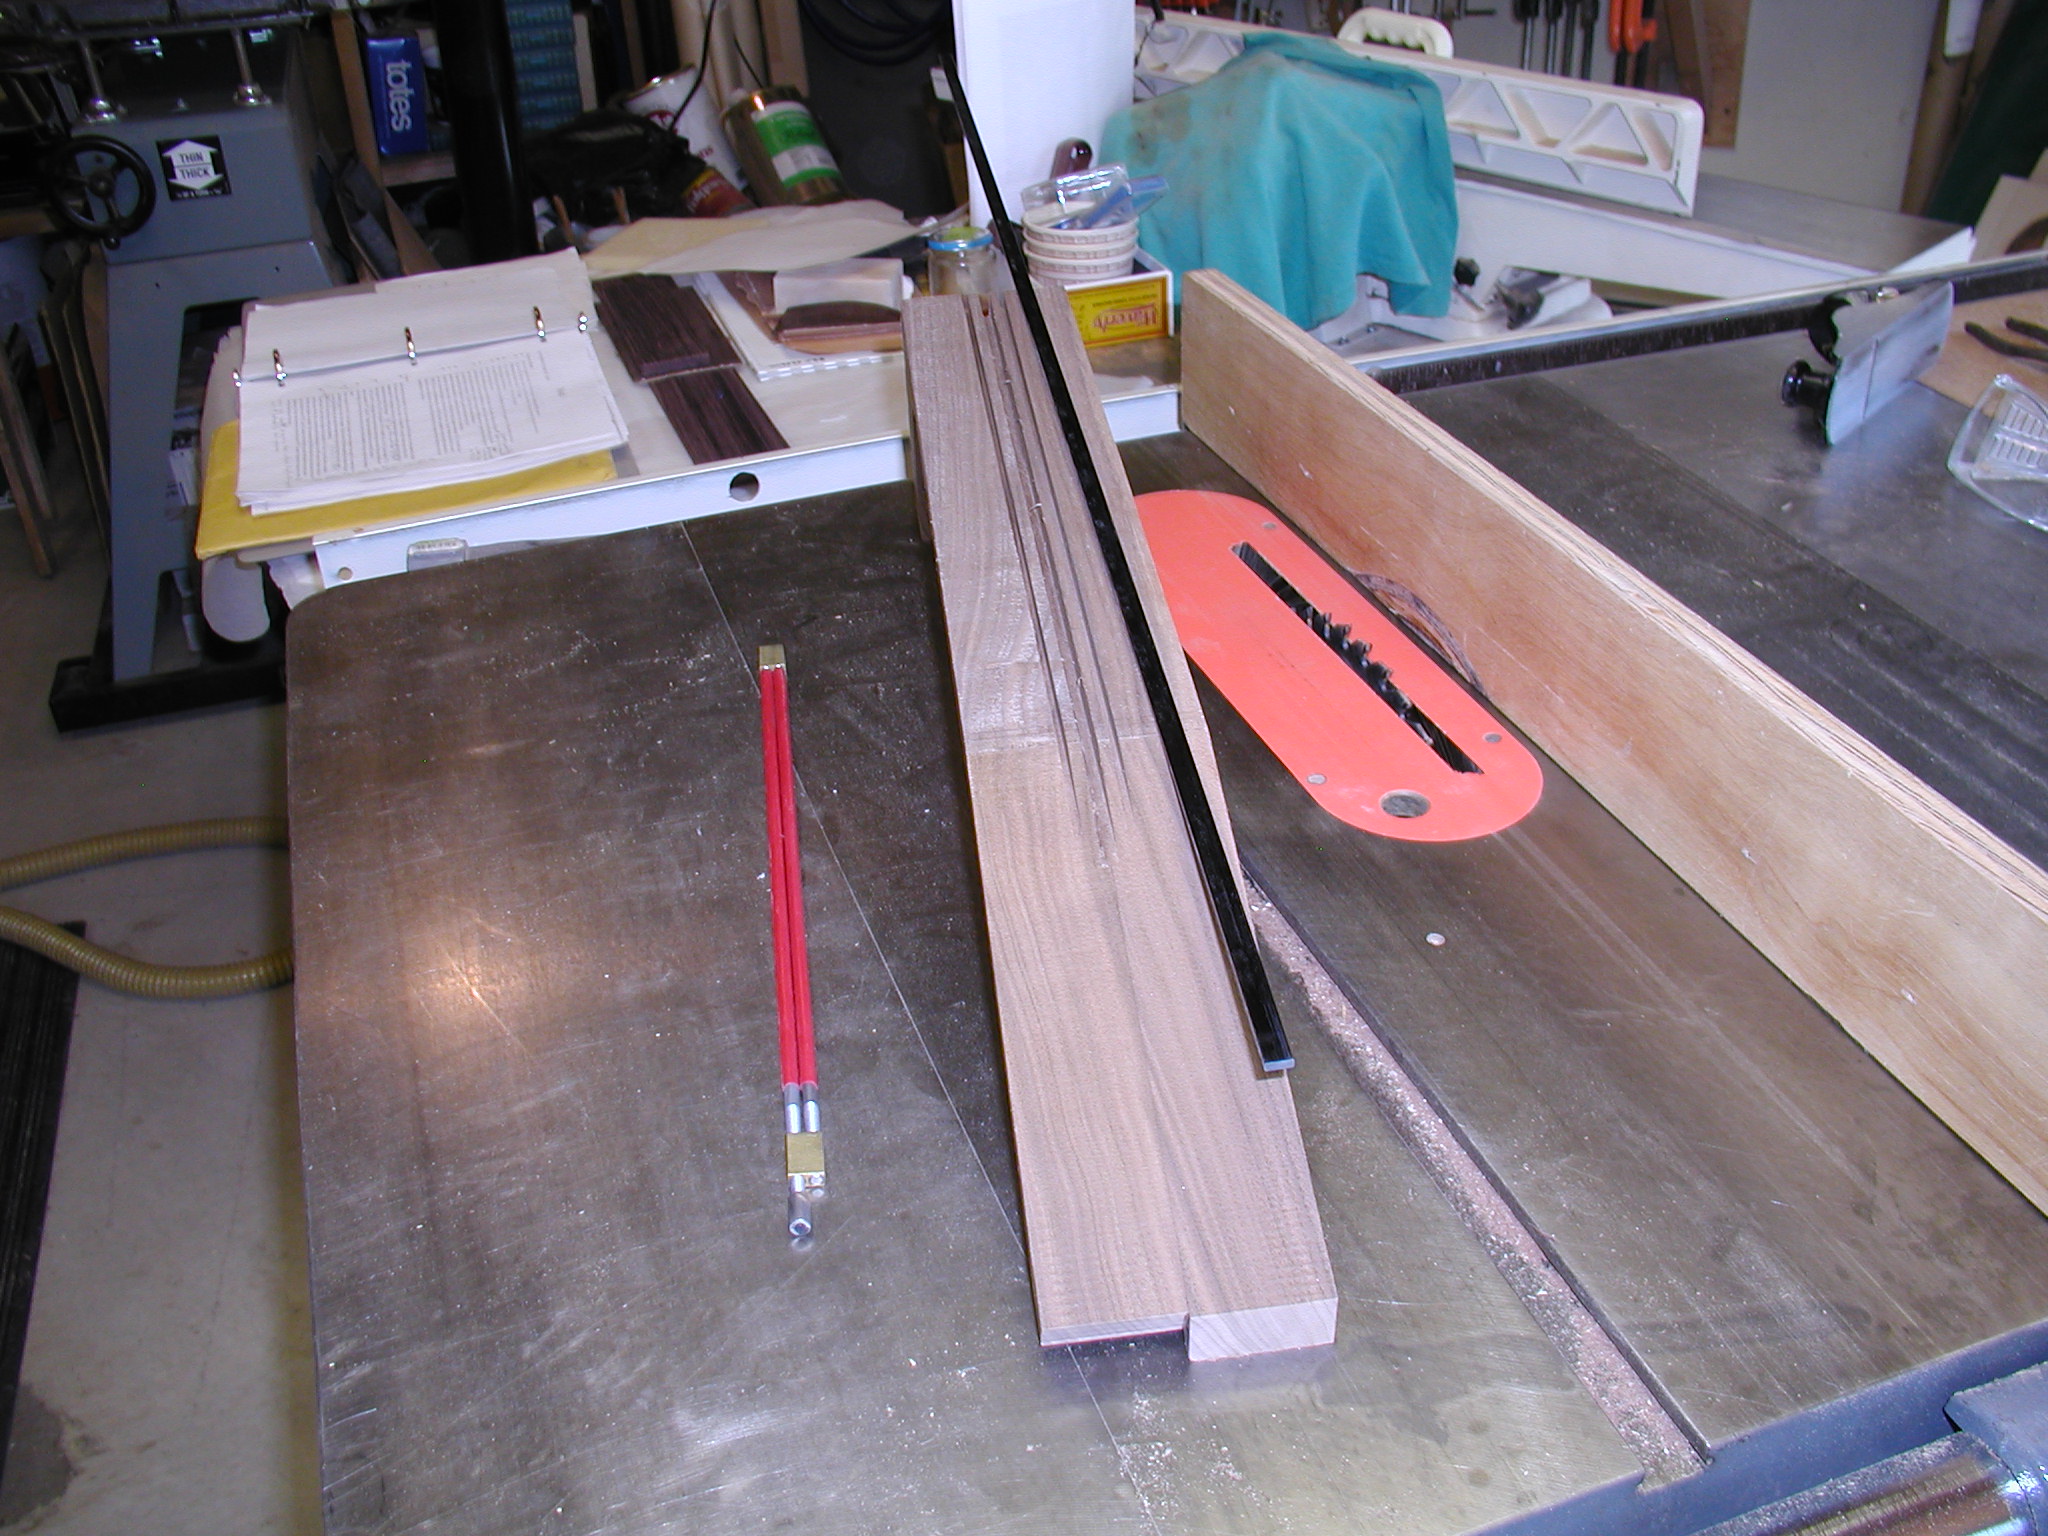
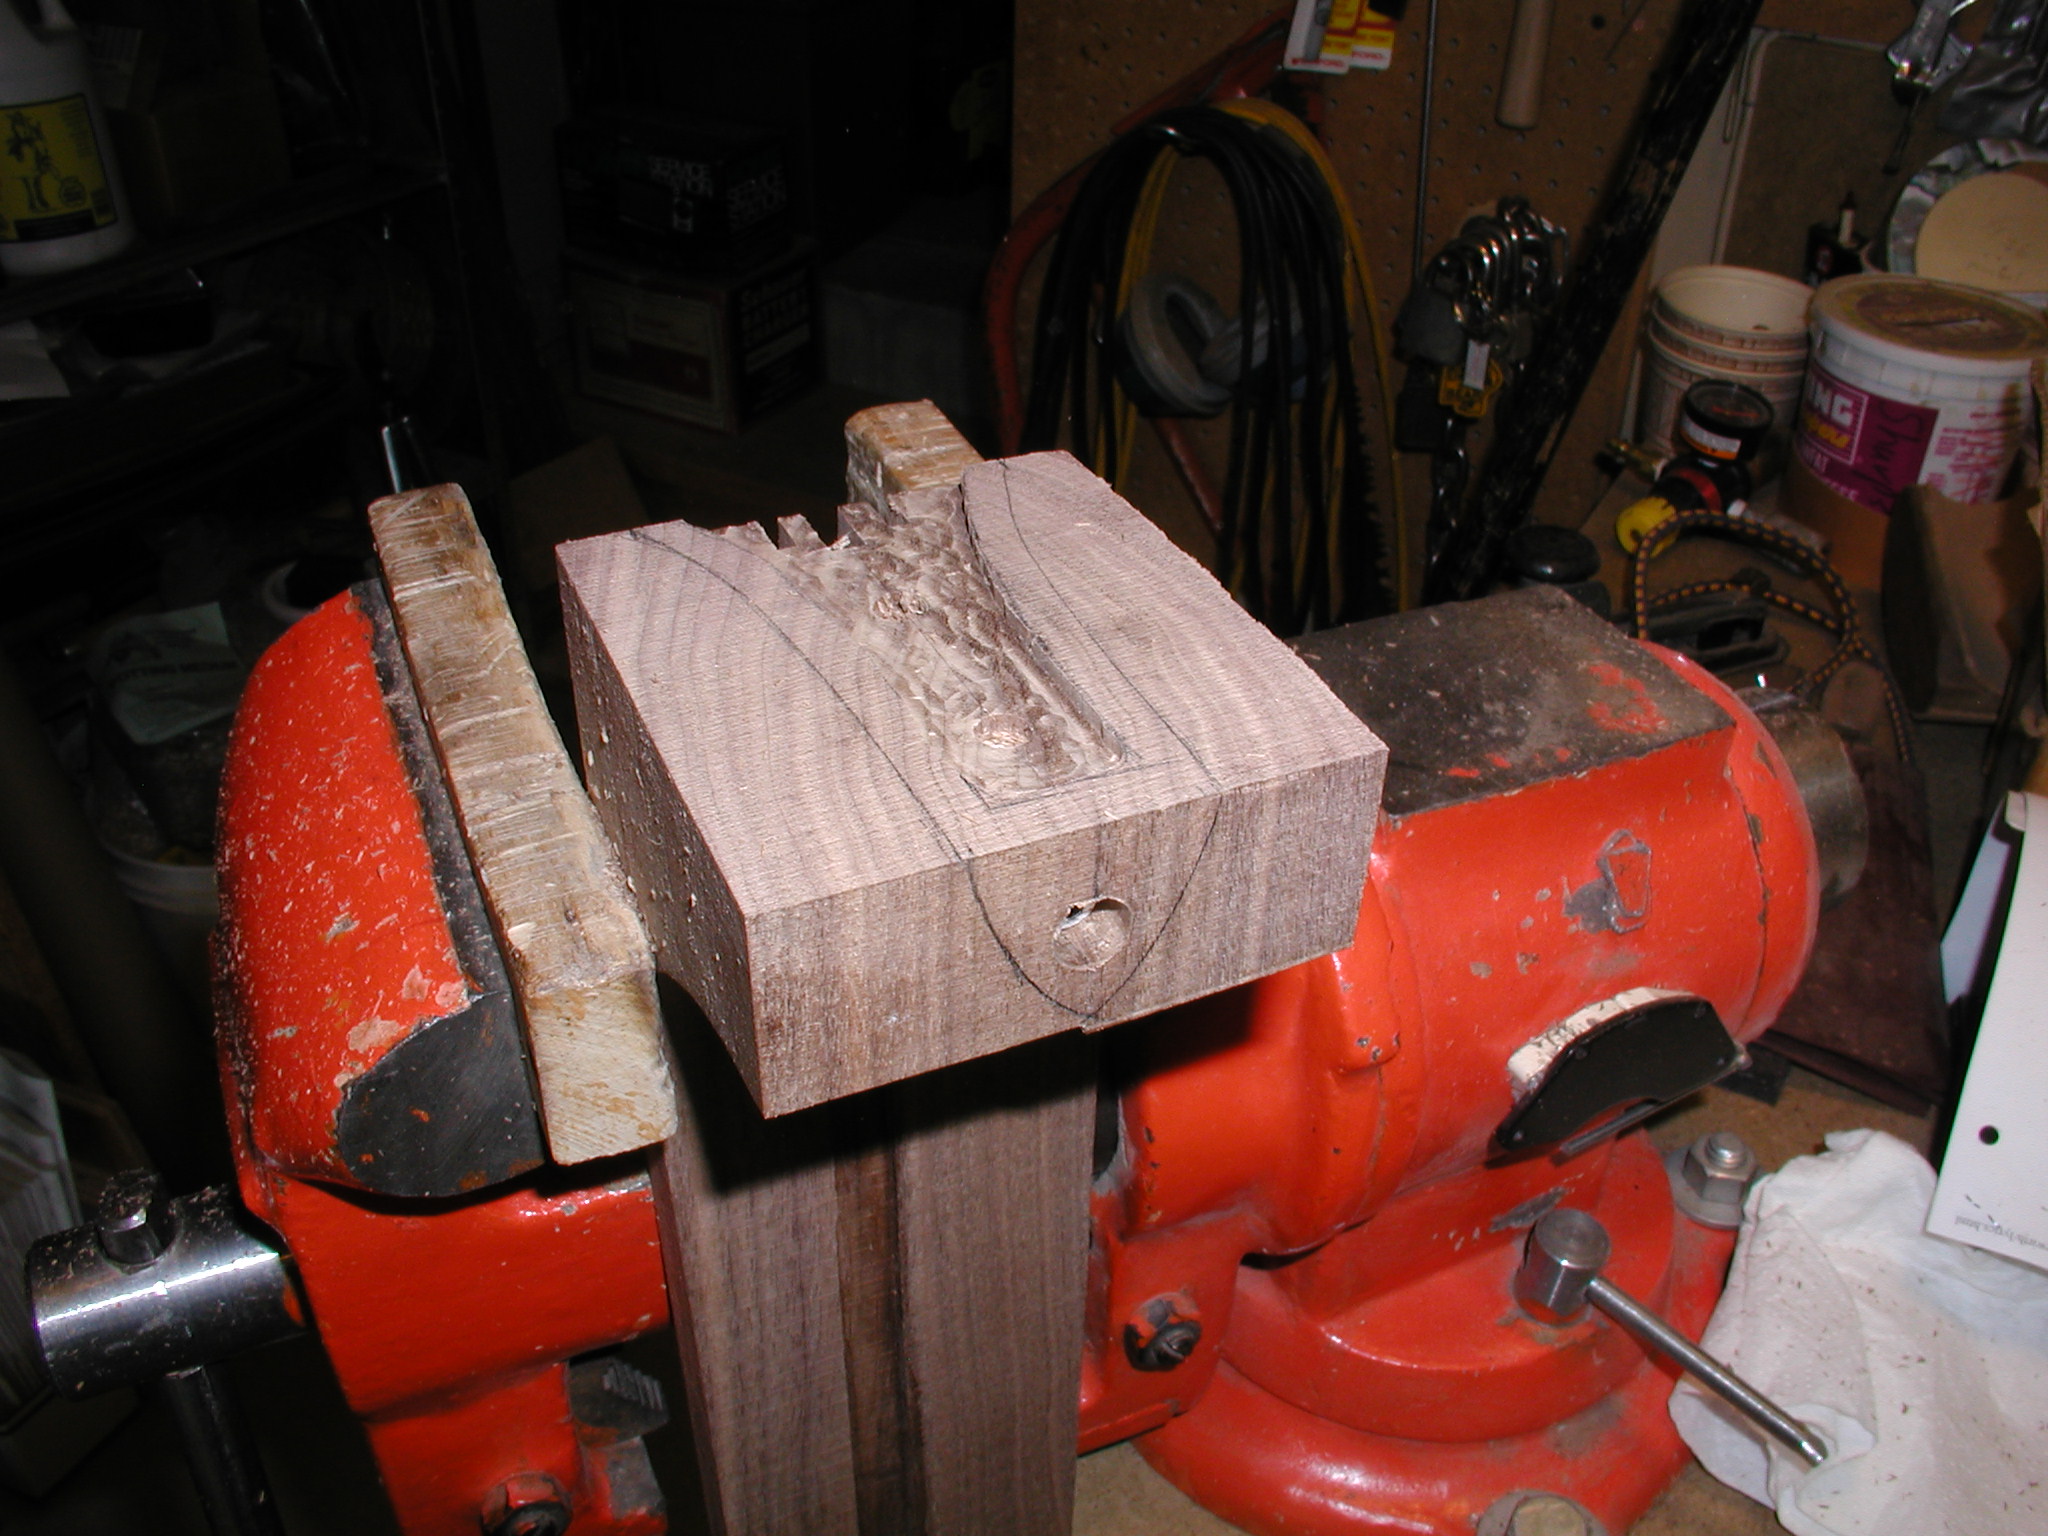
The slots for the two graphite bars could have been done at the same time the truss rod slot was made, I just did it here this time. These can be cut by positioning the rip fence, take a pass, reverse the neck and take another pass, and you are done. They aren't that critical for location, I just set them about 1/8" away from the truss rod slot and make them deep enough that there is about 1/32 of space above them when fully seated. The heel gets trimmed off by first positioning the neck to the body and marking the location and angle of the back on to the neck blank. I subtract the thickness of the heel cap and 1/2 the thickness of the binding for the cut location. This cut is not square to the butt, but is set to follow the curvature of the back. If you are doing a classical type heel where the cap ends up flush with the back, then just cut it off at the back position and we will shave away later to fit the cap.
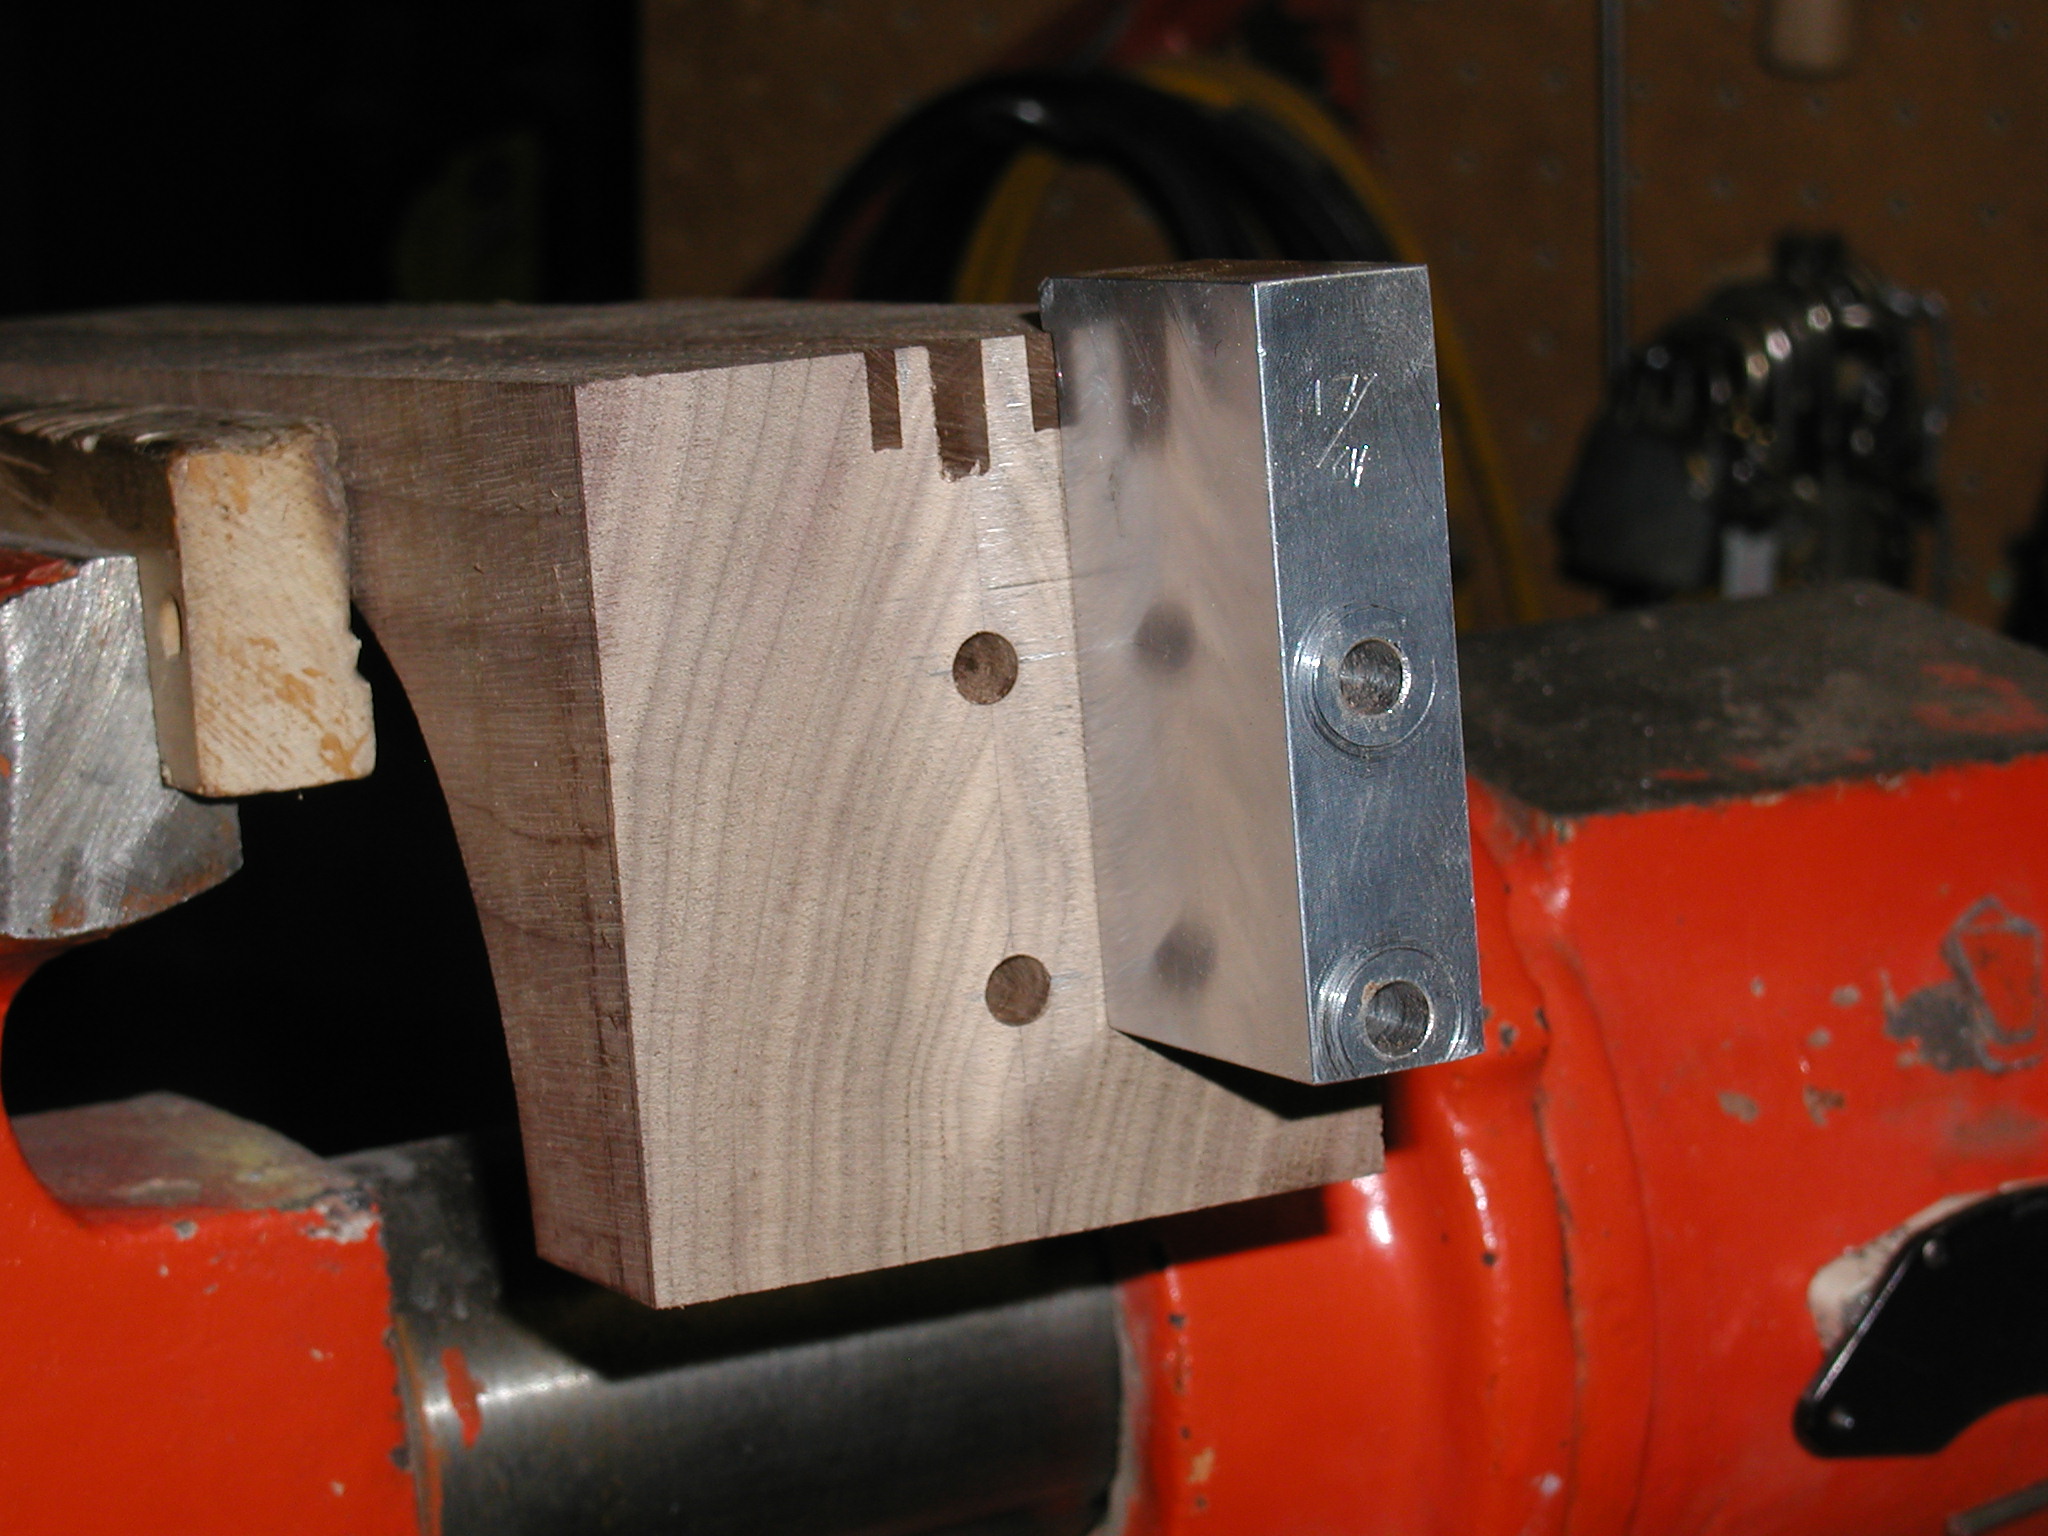

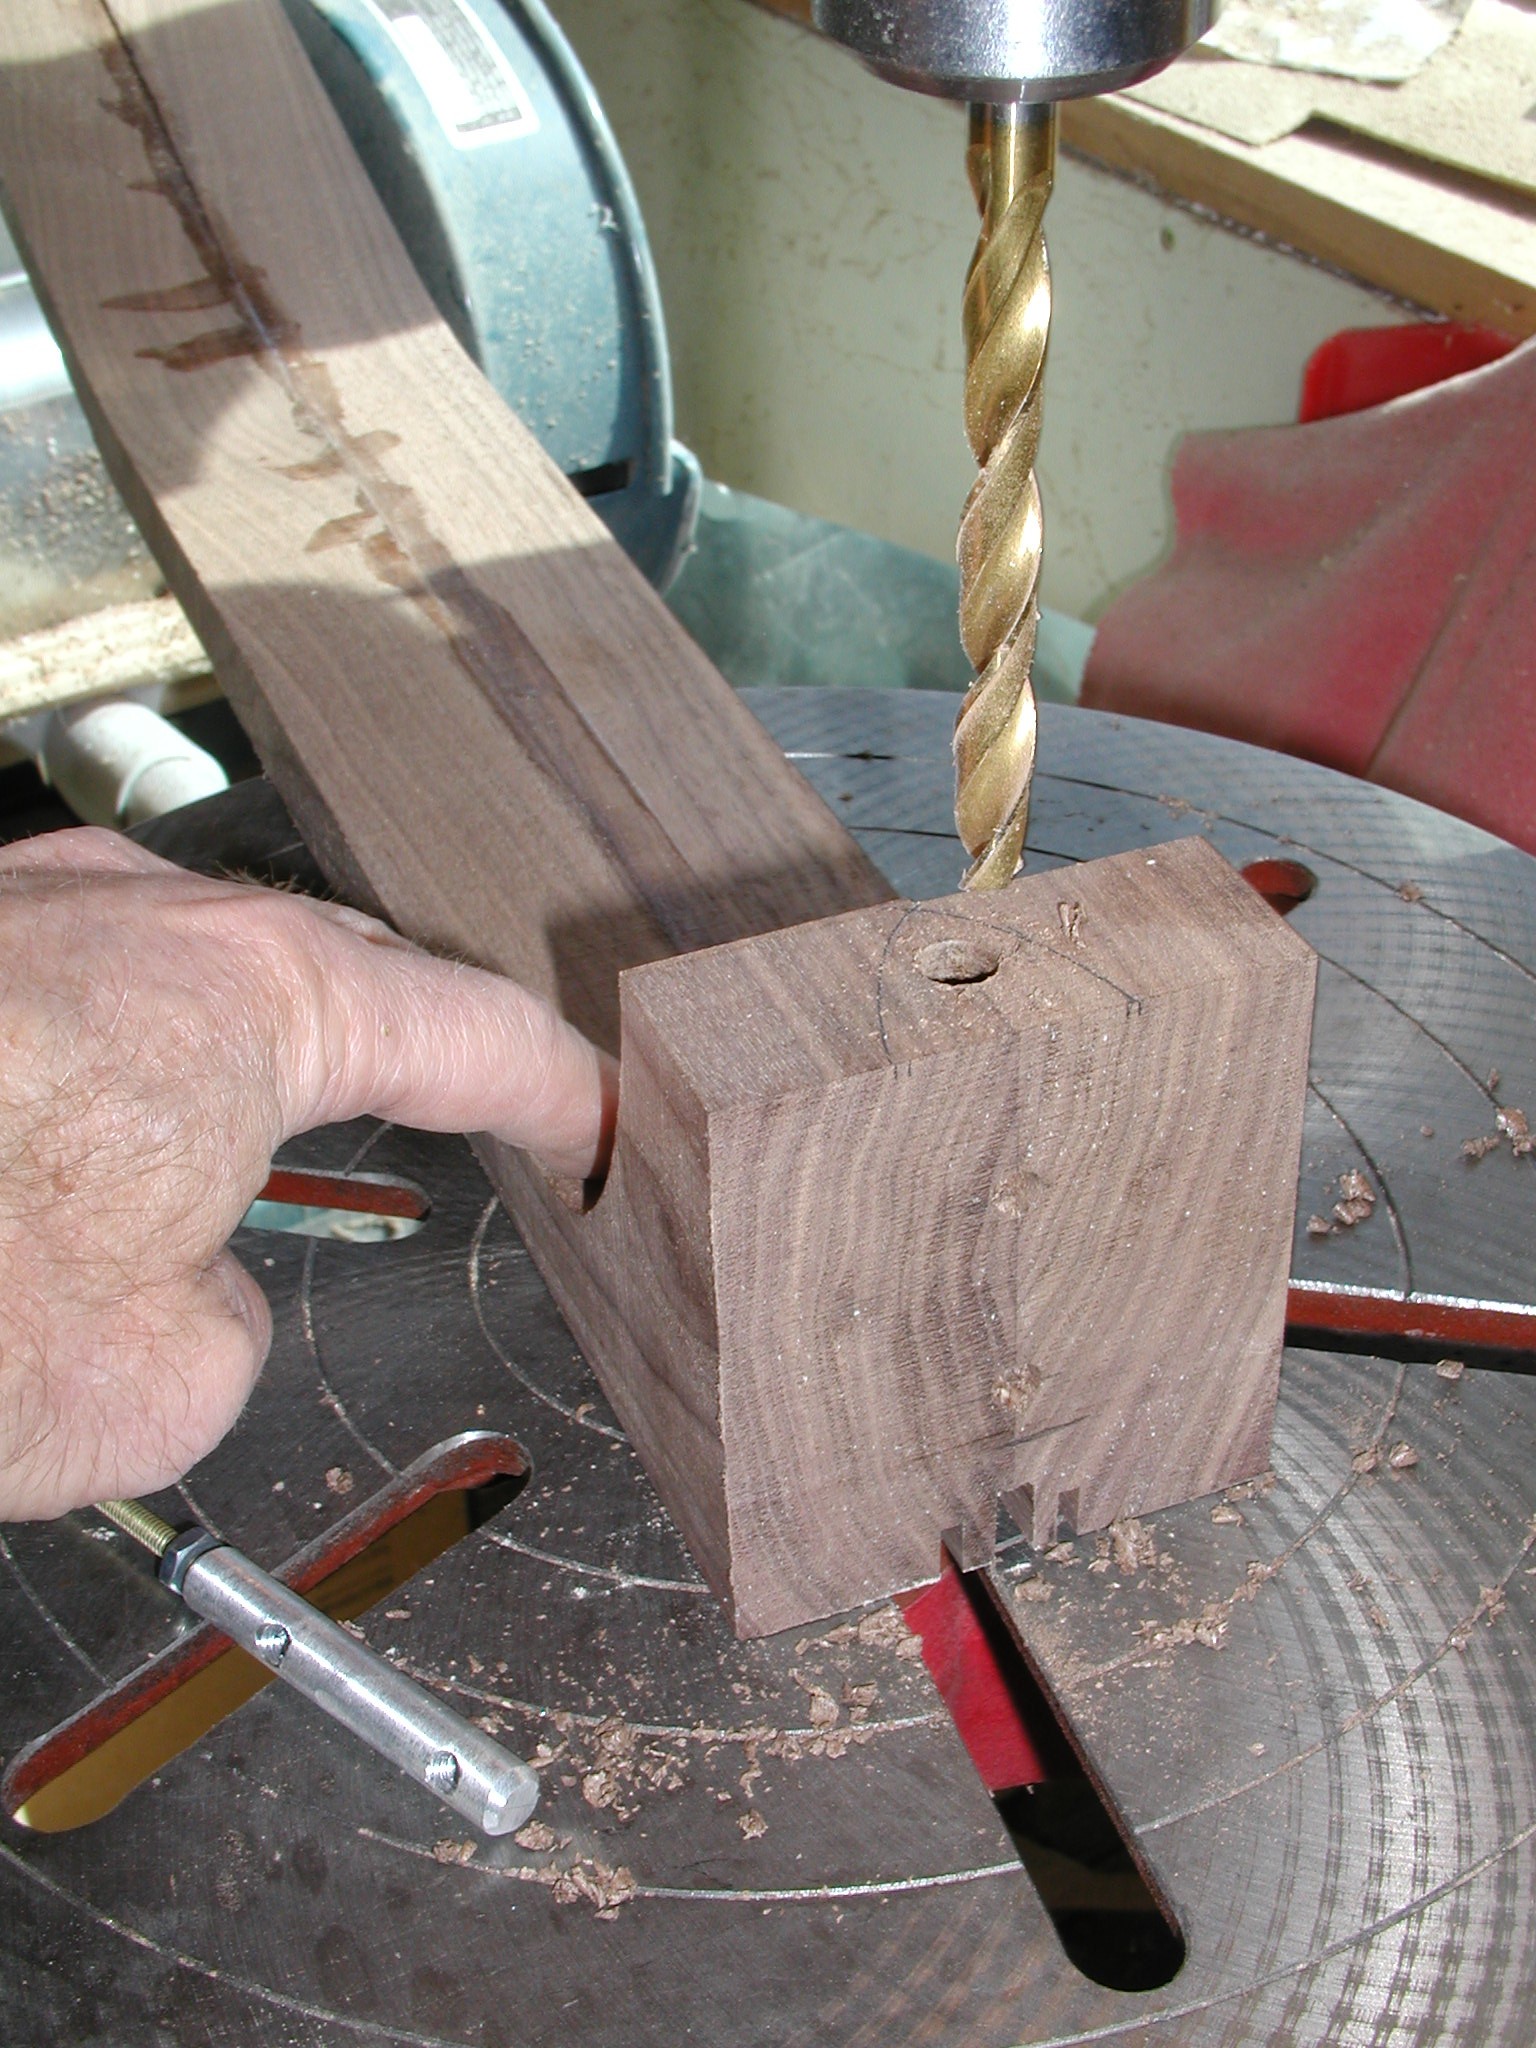
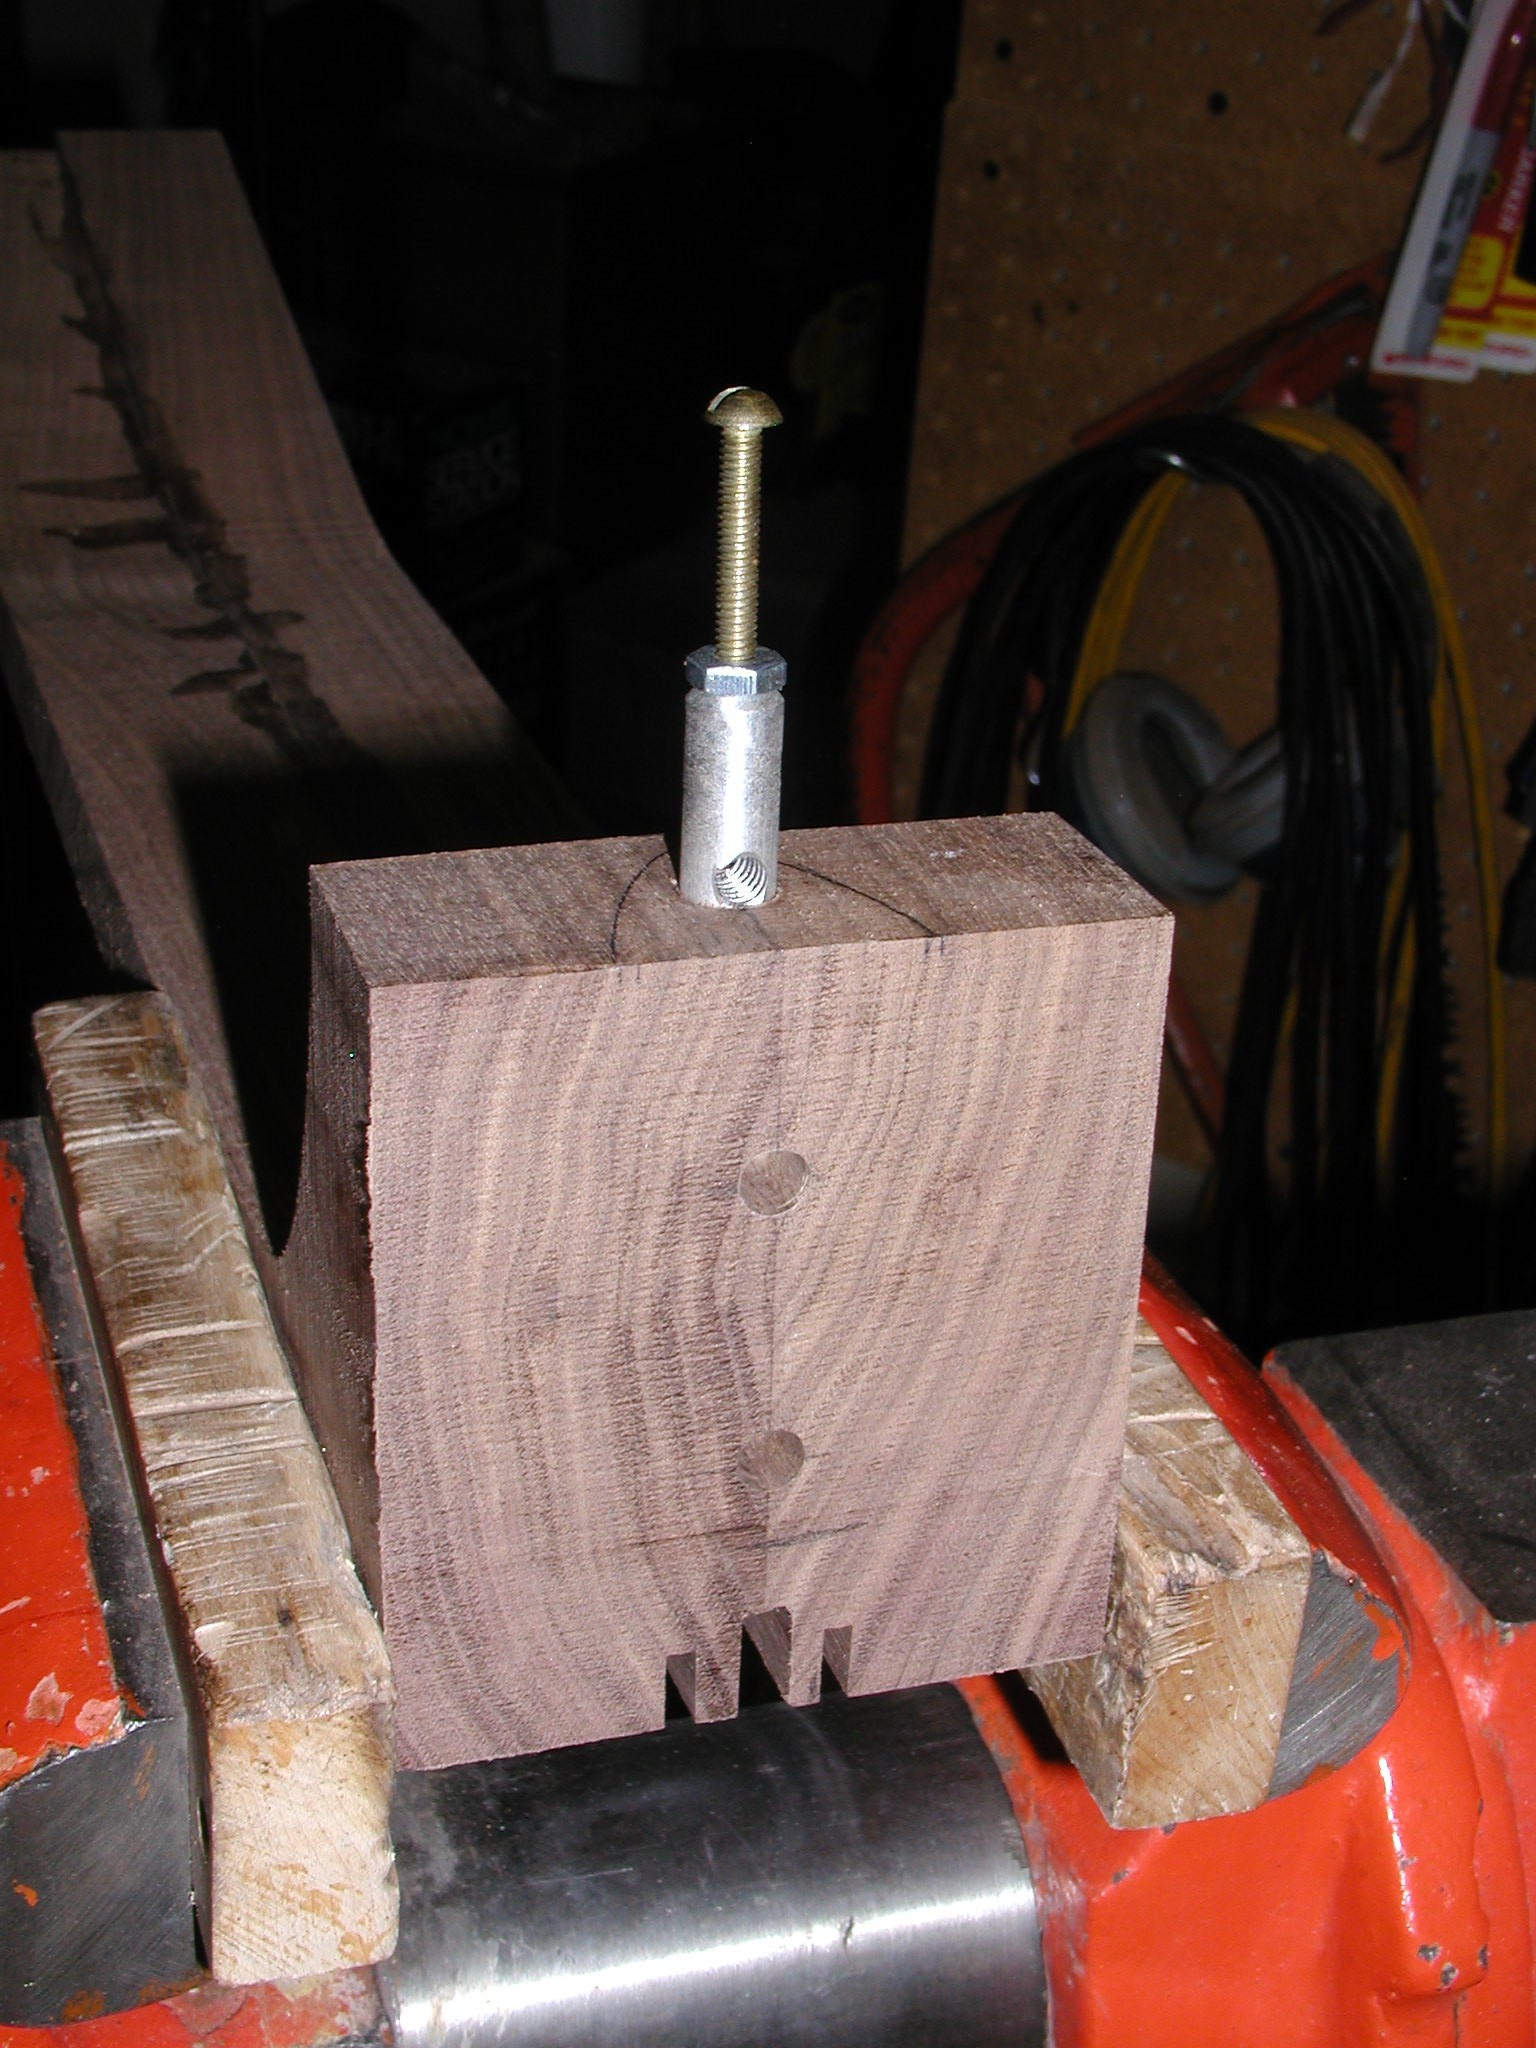
The neck to body joint is one that can generate hours of fun and debate in a gathering of builders and players. I have at various times and on various instruments tried a compound dovetail, straight dovetail, taper-pinned mortise and tenon, bolt-on mortise and tenon, and butt joint. There are a multitude of others including one I have recently seen by Herb Taylor that I may have to try. Currently I am using a bolt on butt joint. How it bolts on is yet another topic for hours of fun and debate. You can use hanger bolts, bolt anchor, etc. I currently use a blind dowel system of my own design that it a take off on an early 20th century design that I saw. In this case I use a metal dowel that is cross drilled for 1/4 x 20" screws. I originally used steel, but after testing with some T-6 aluminum and being unable to strip it out I switched to that to reduce the weight. The jig in the first photo is the same I use for the body when making a bolt on M&T joint. Here I use it to locate the holes exactly from the top edge and on the center line. Then I drill up from the heel parallel to the butt end so the bolts go through straight. You can't see it but the FB surface is shimmed in the photo. The anchor is also drilled and threaded to 10/32 on the bottom end and a screw is used as a handle to insert and locate the anchor. It could also be used later to extract it if the threads ever became damaged. Very simple and very strong.
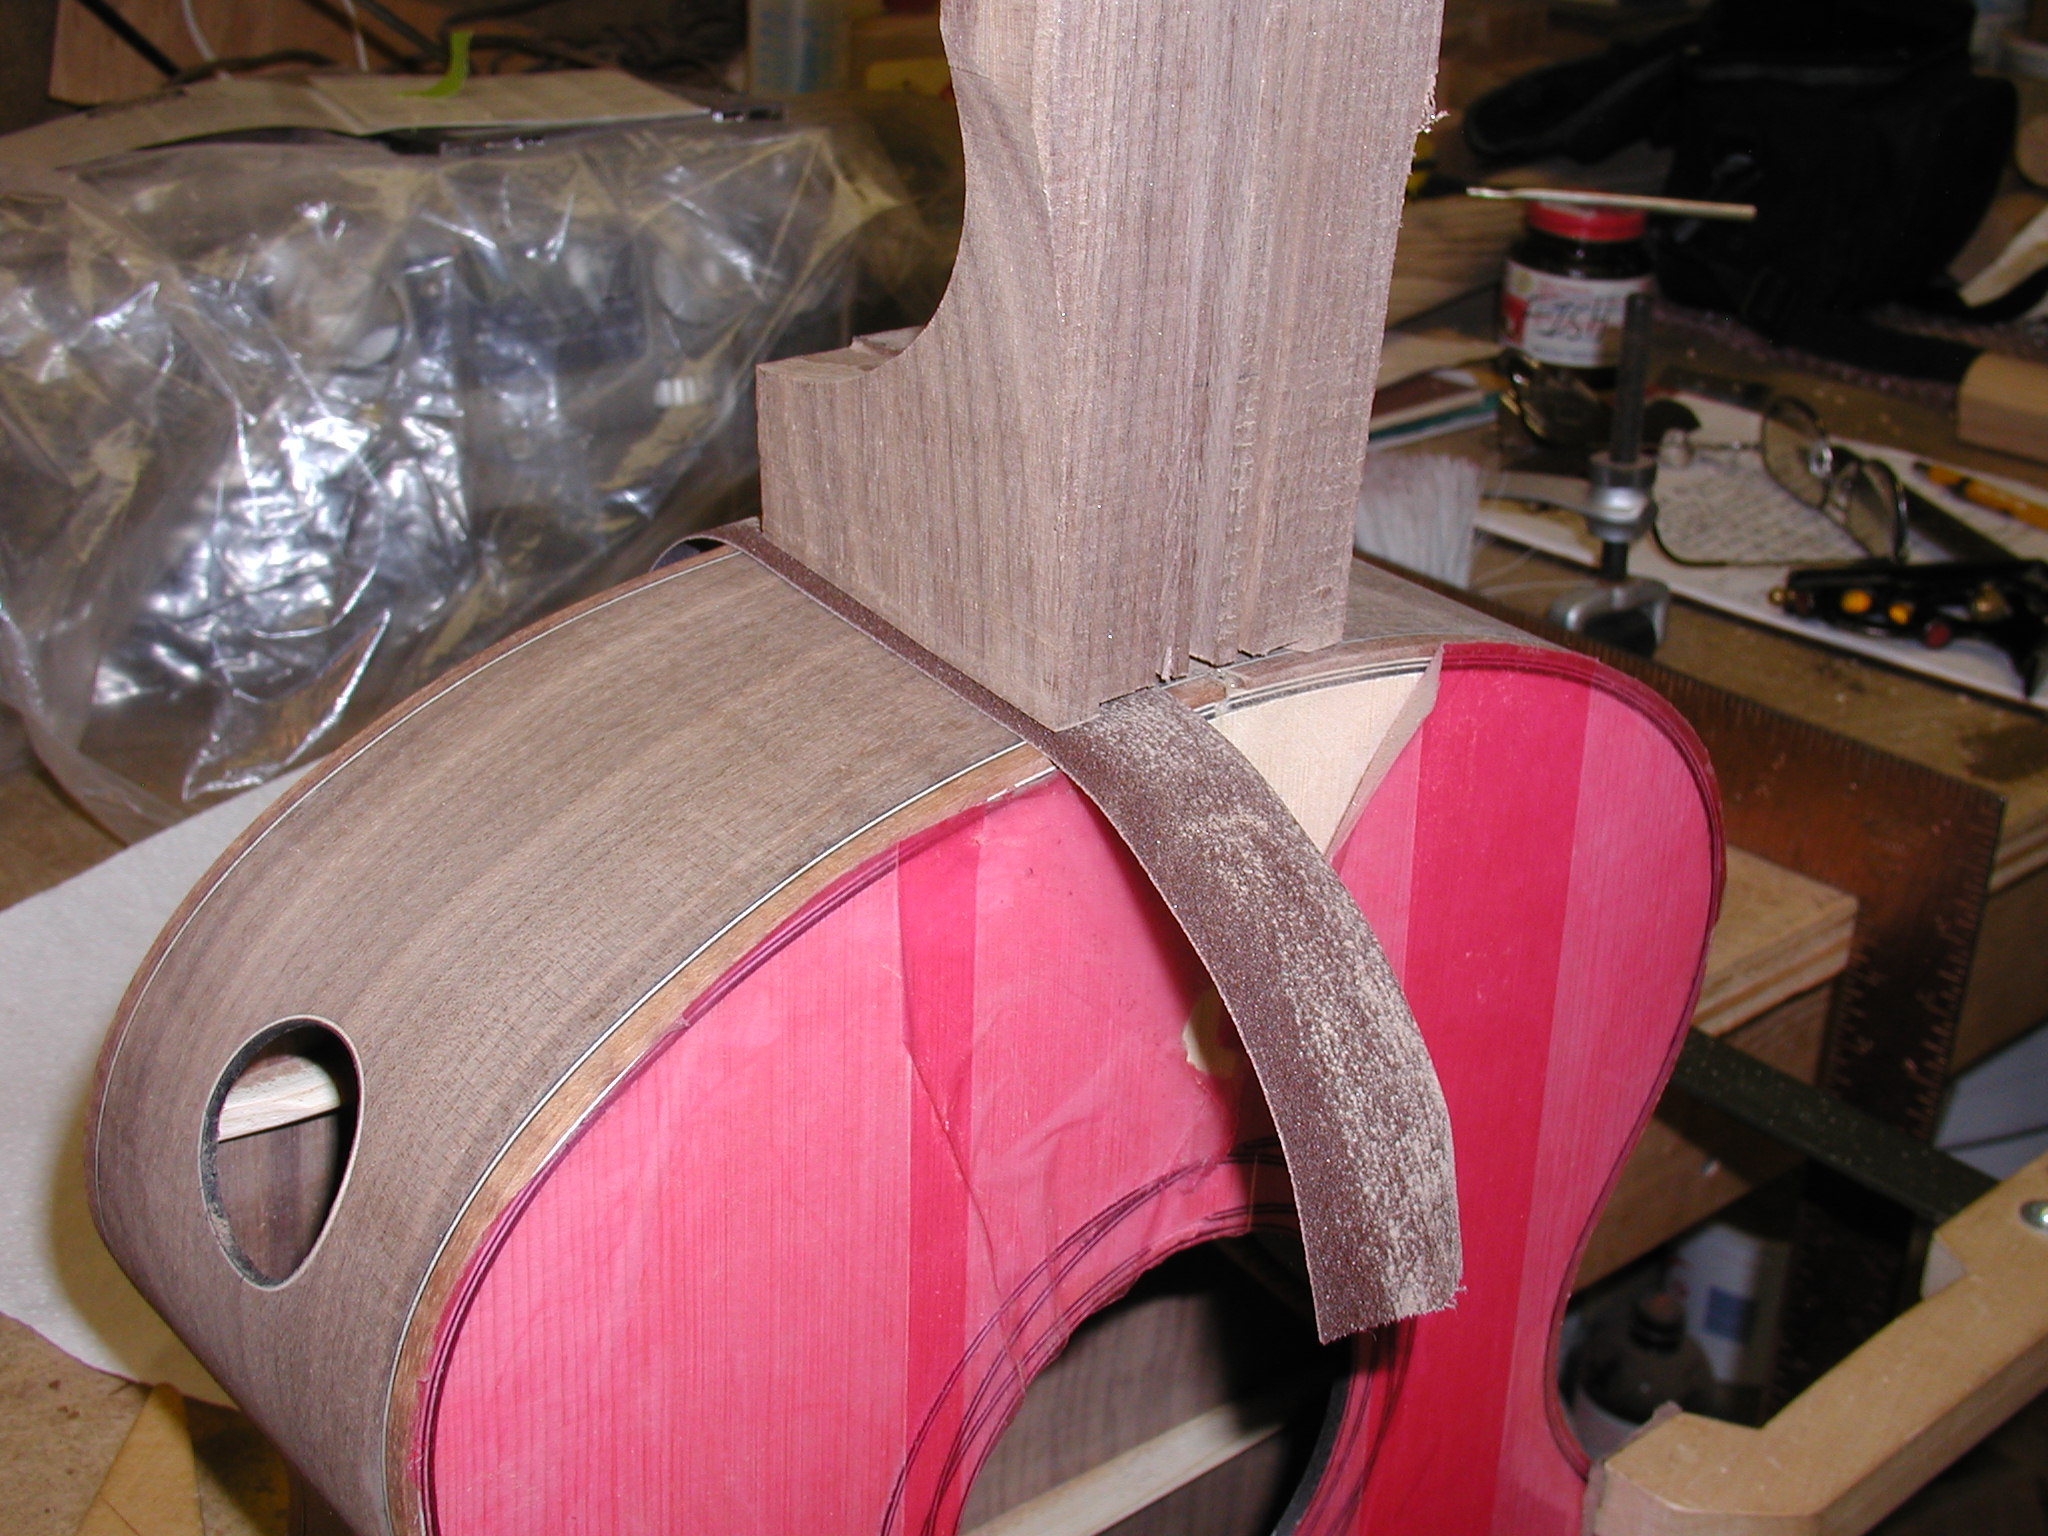
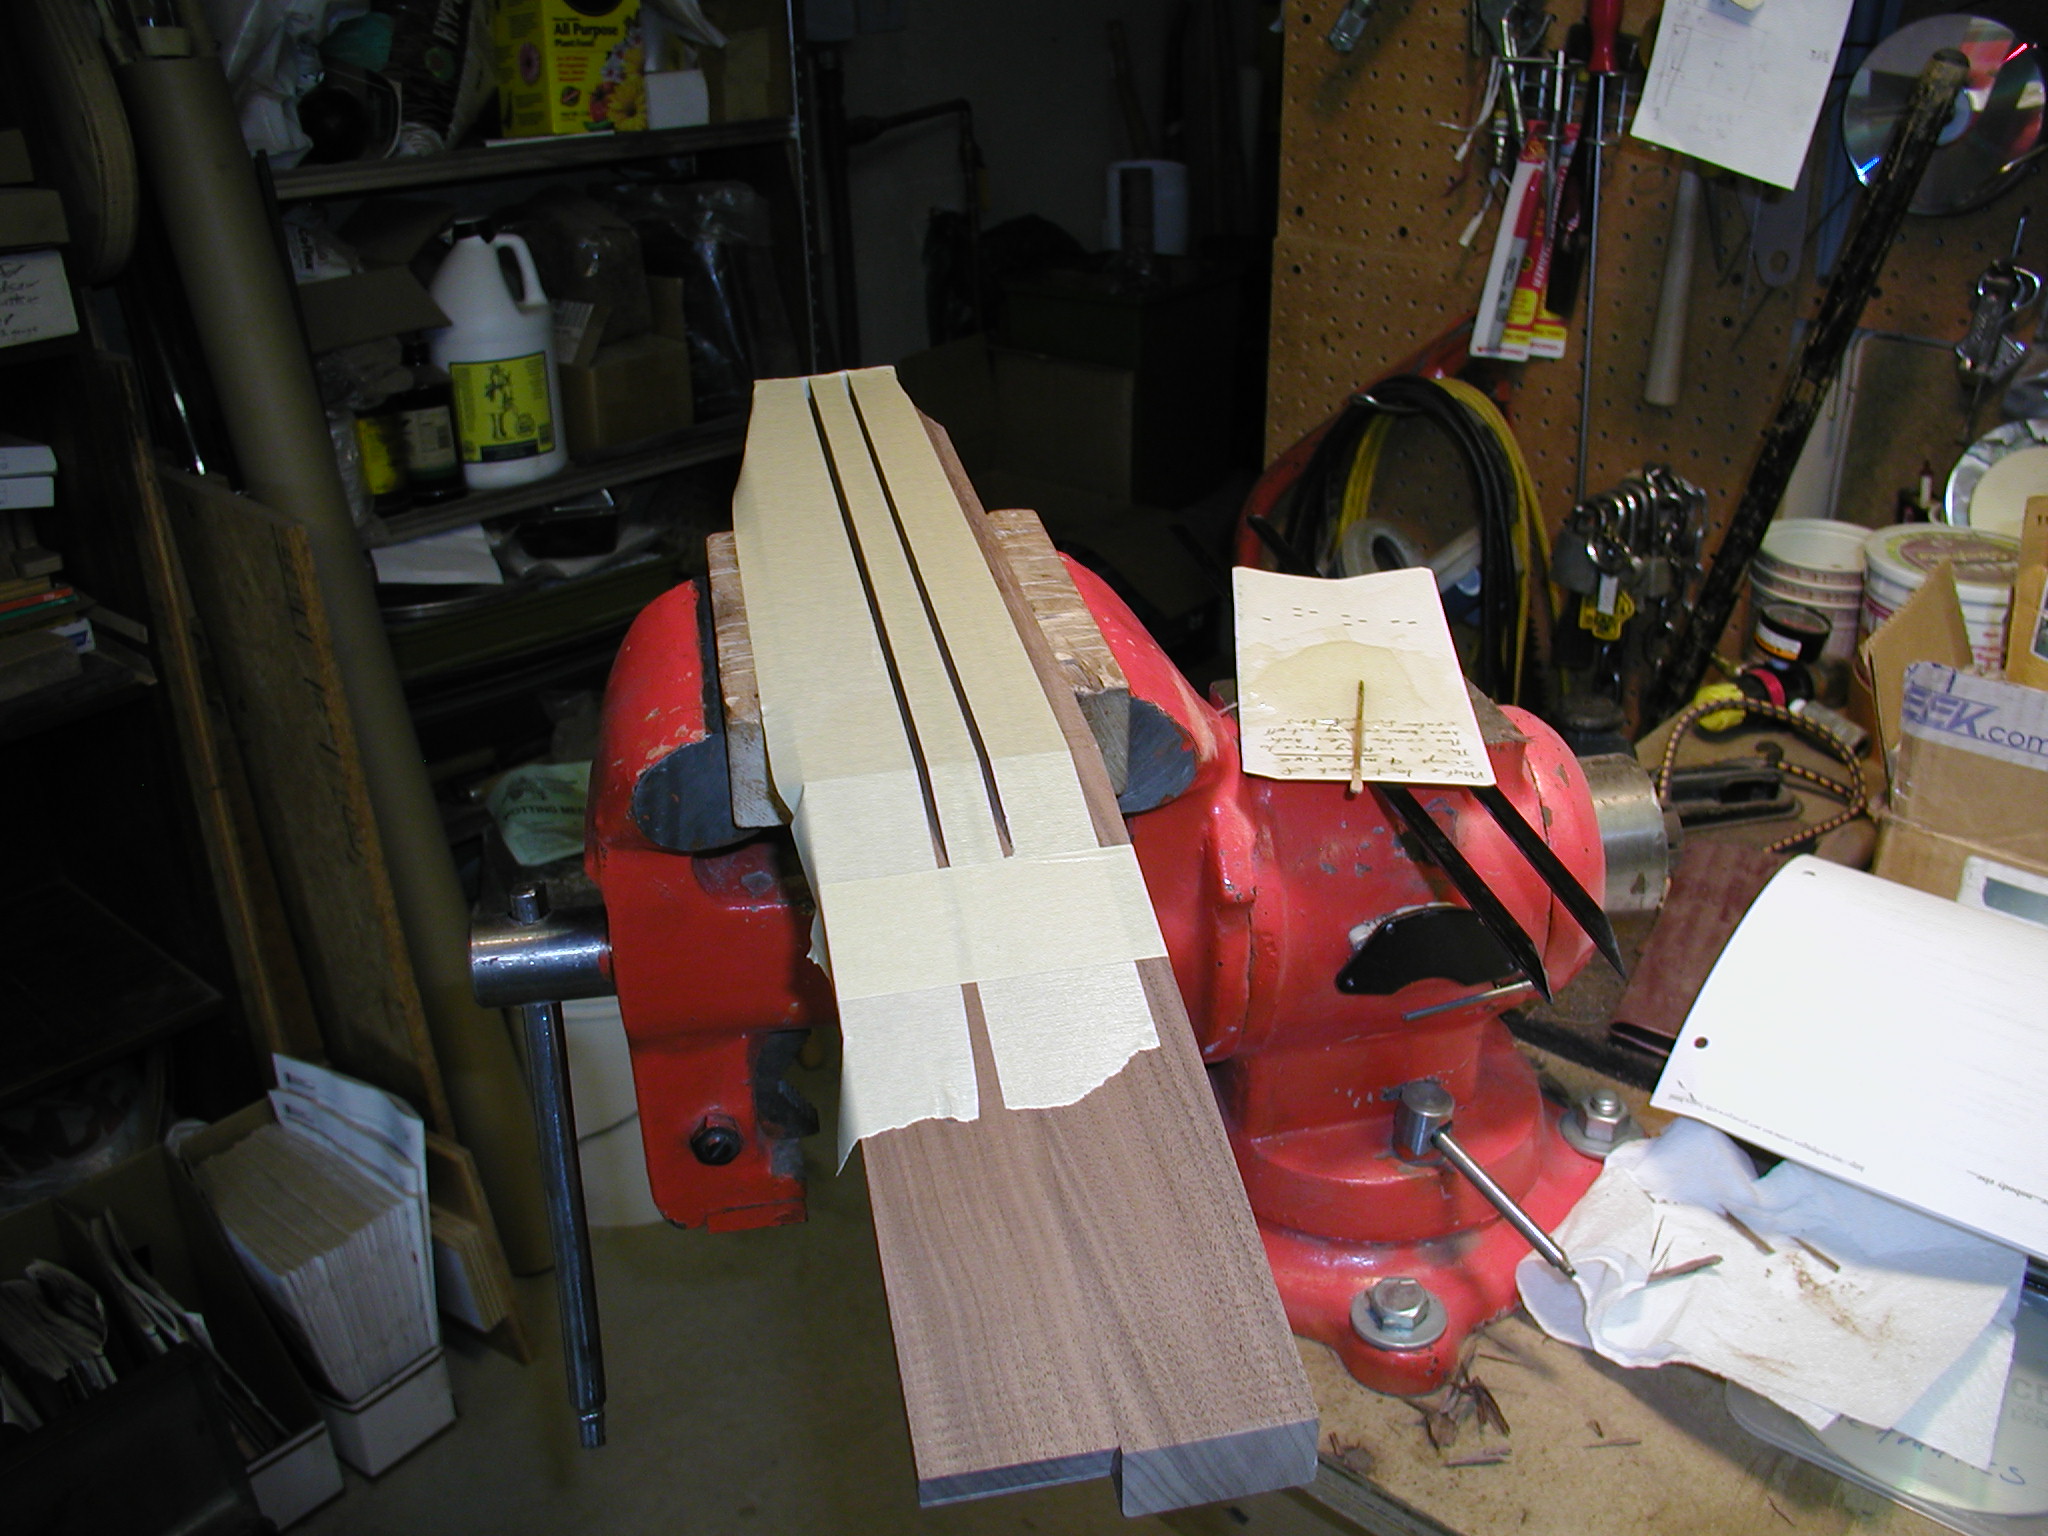
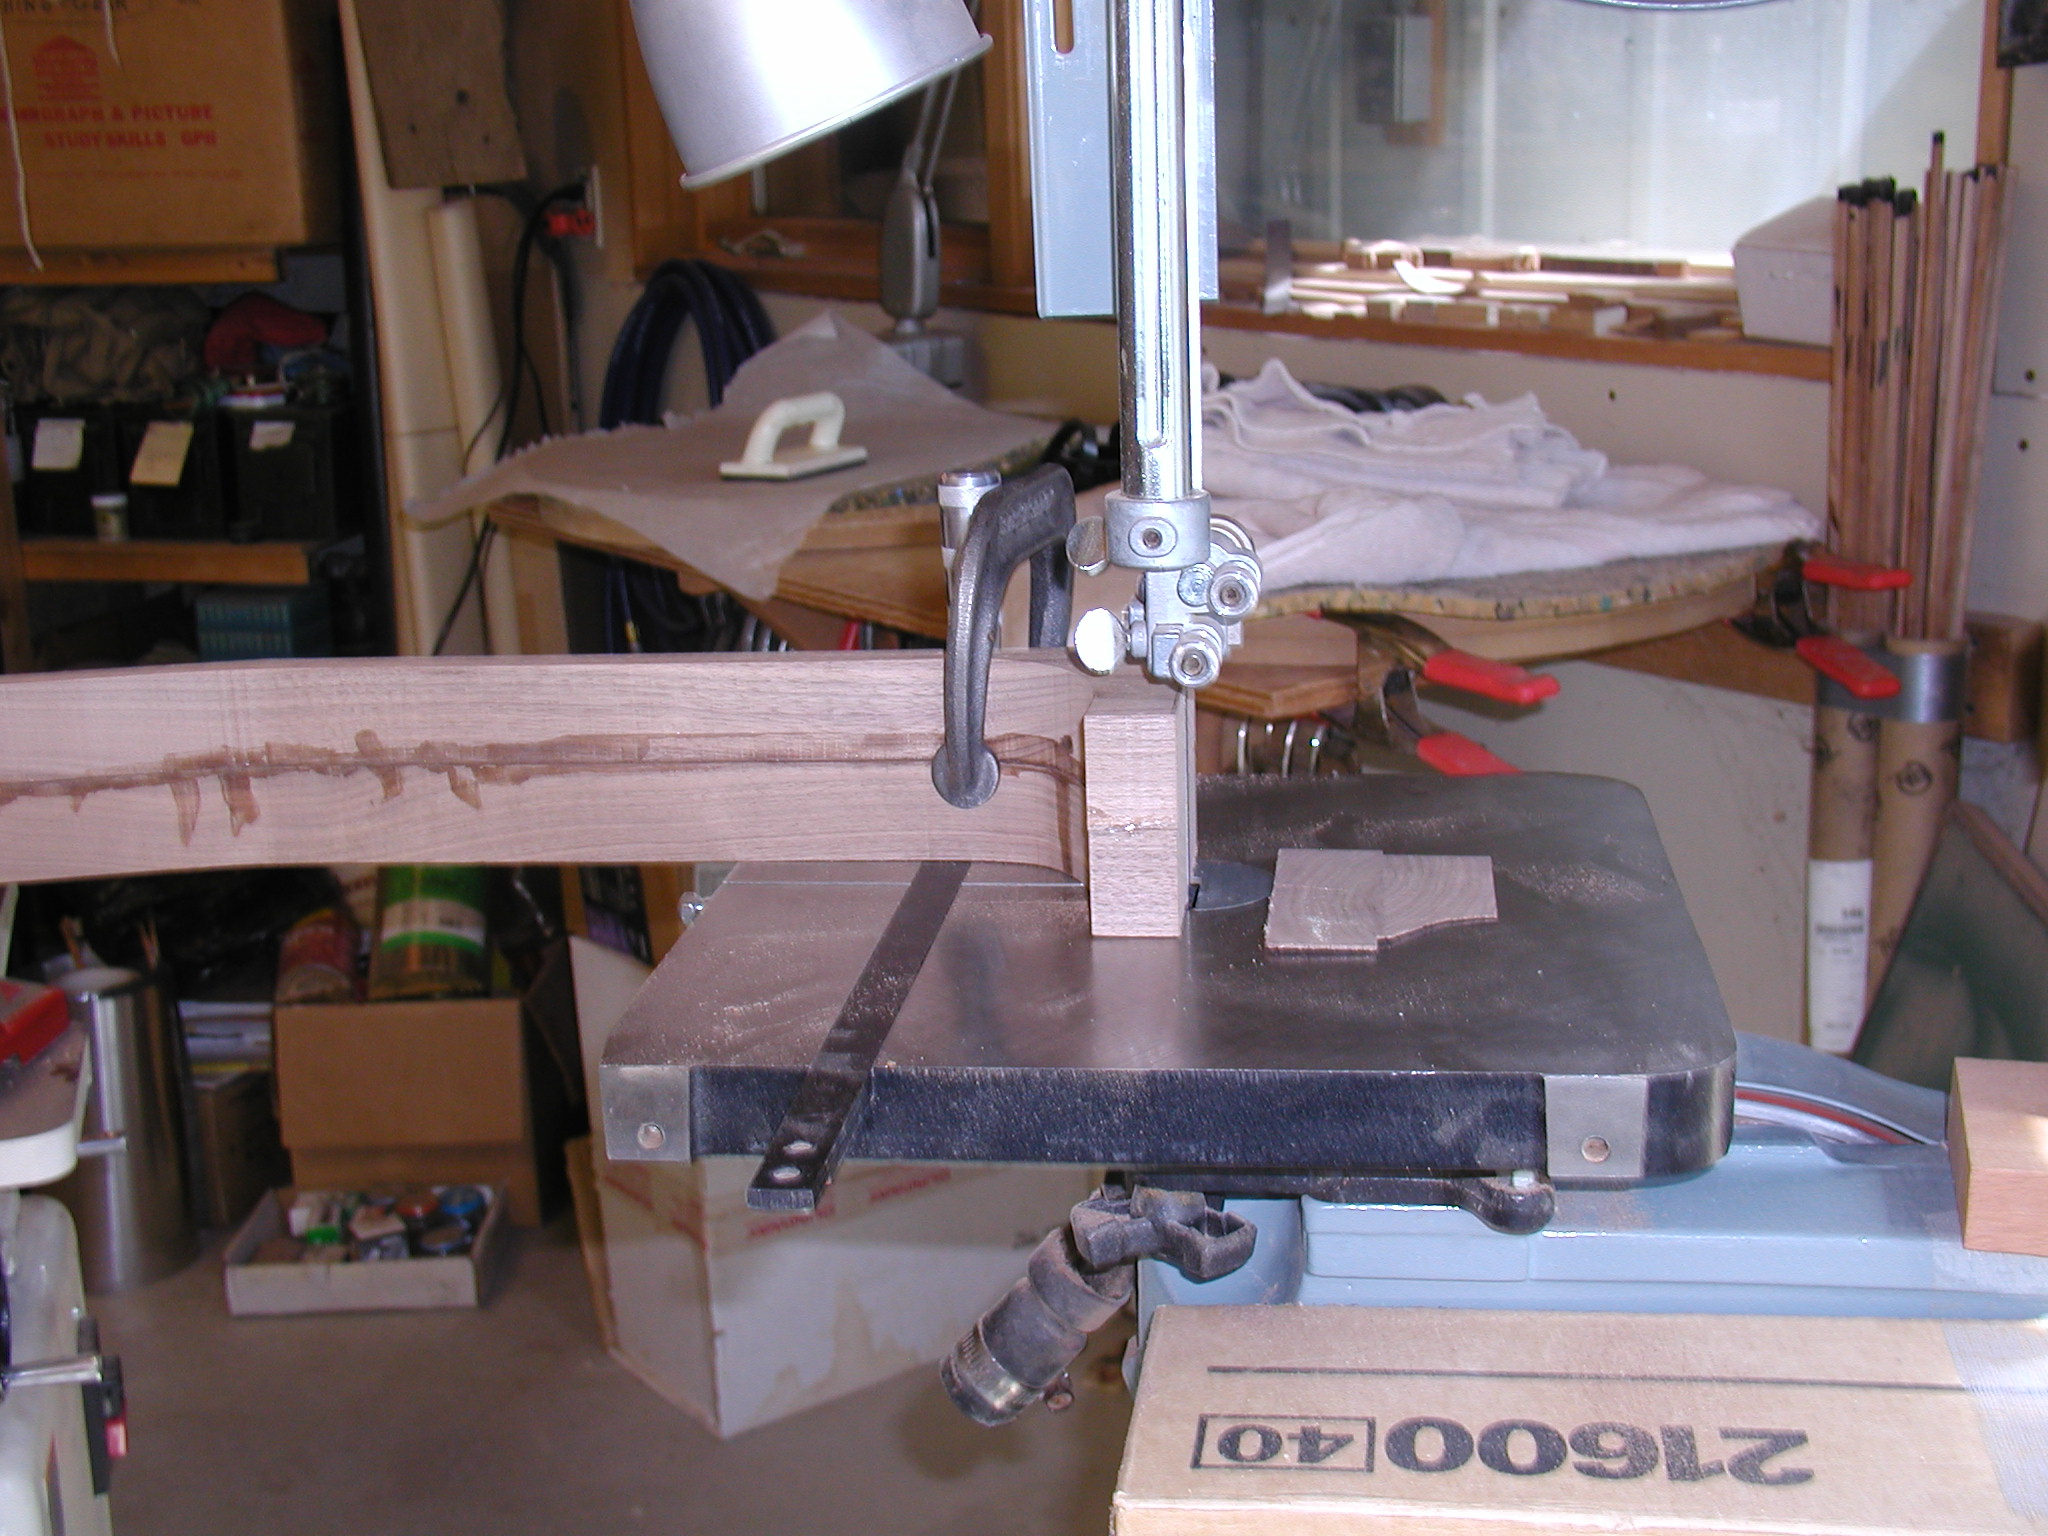
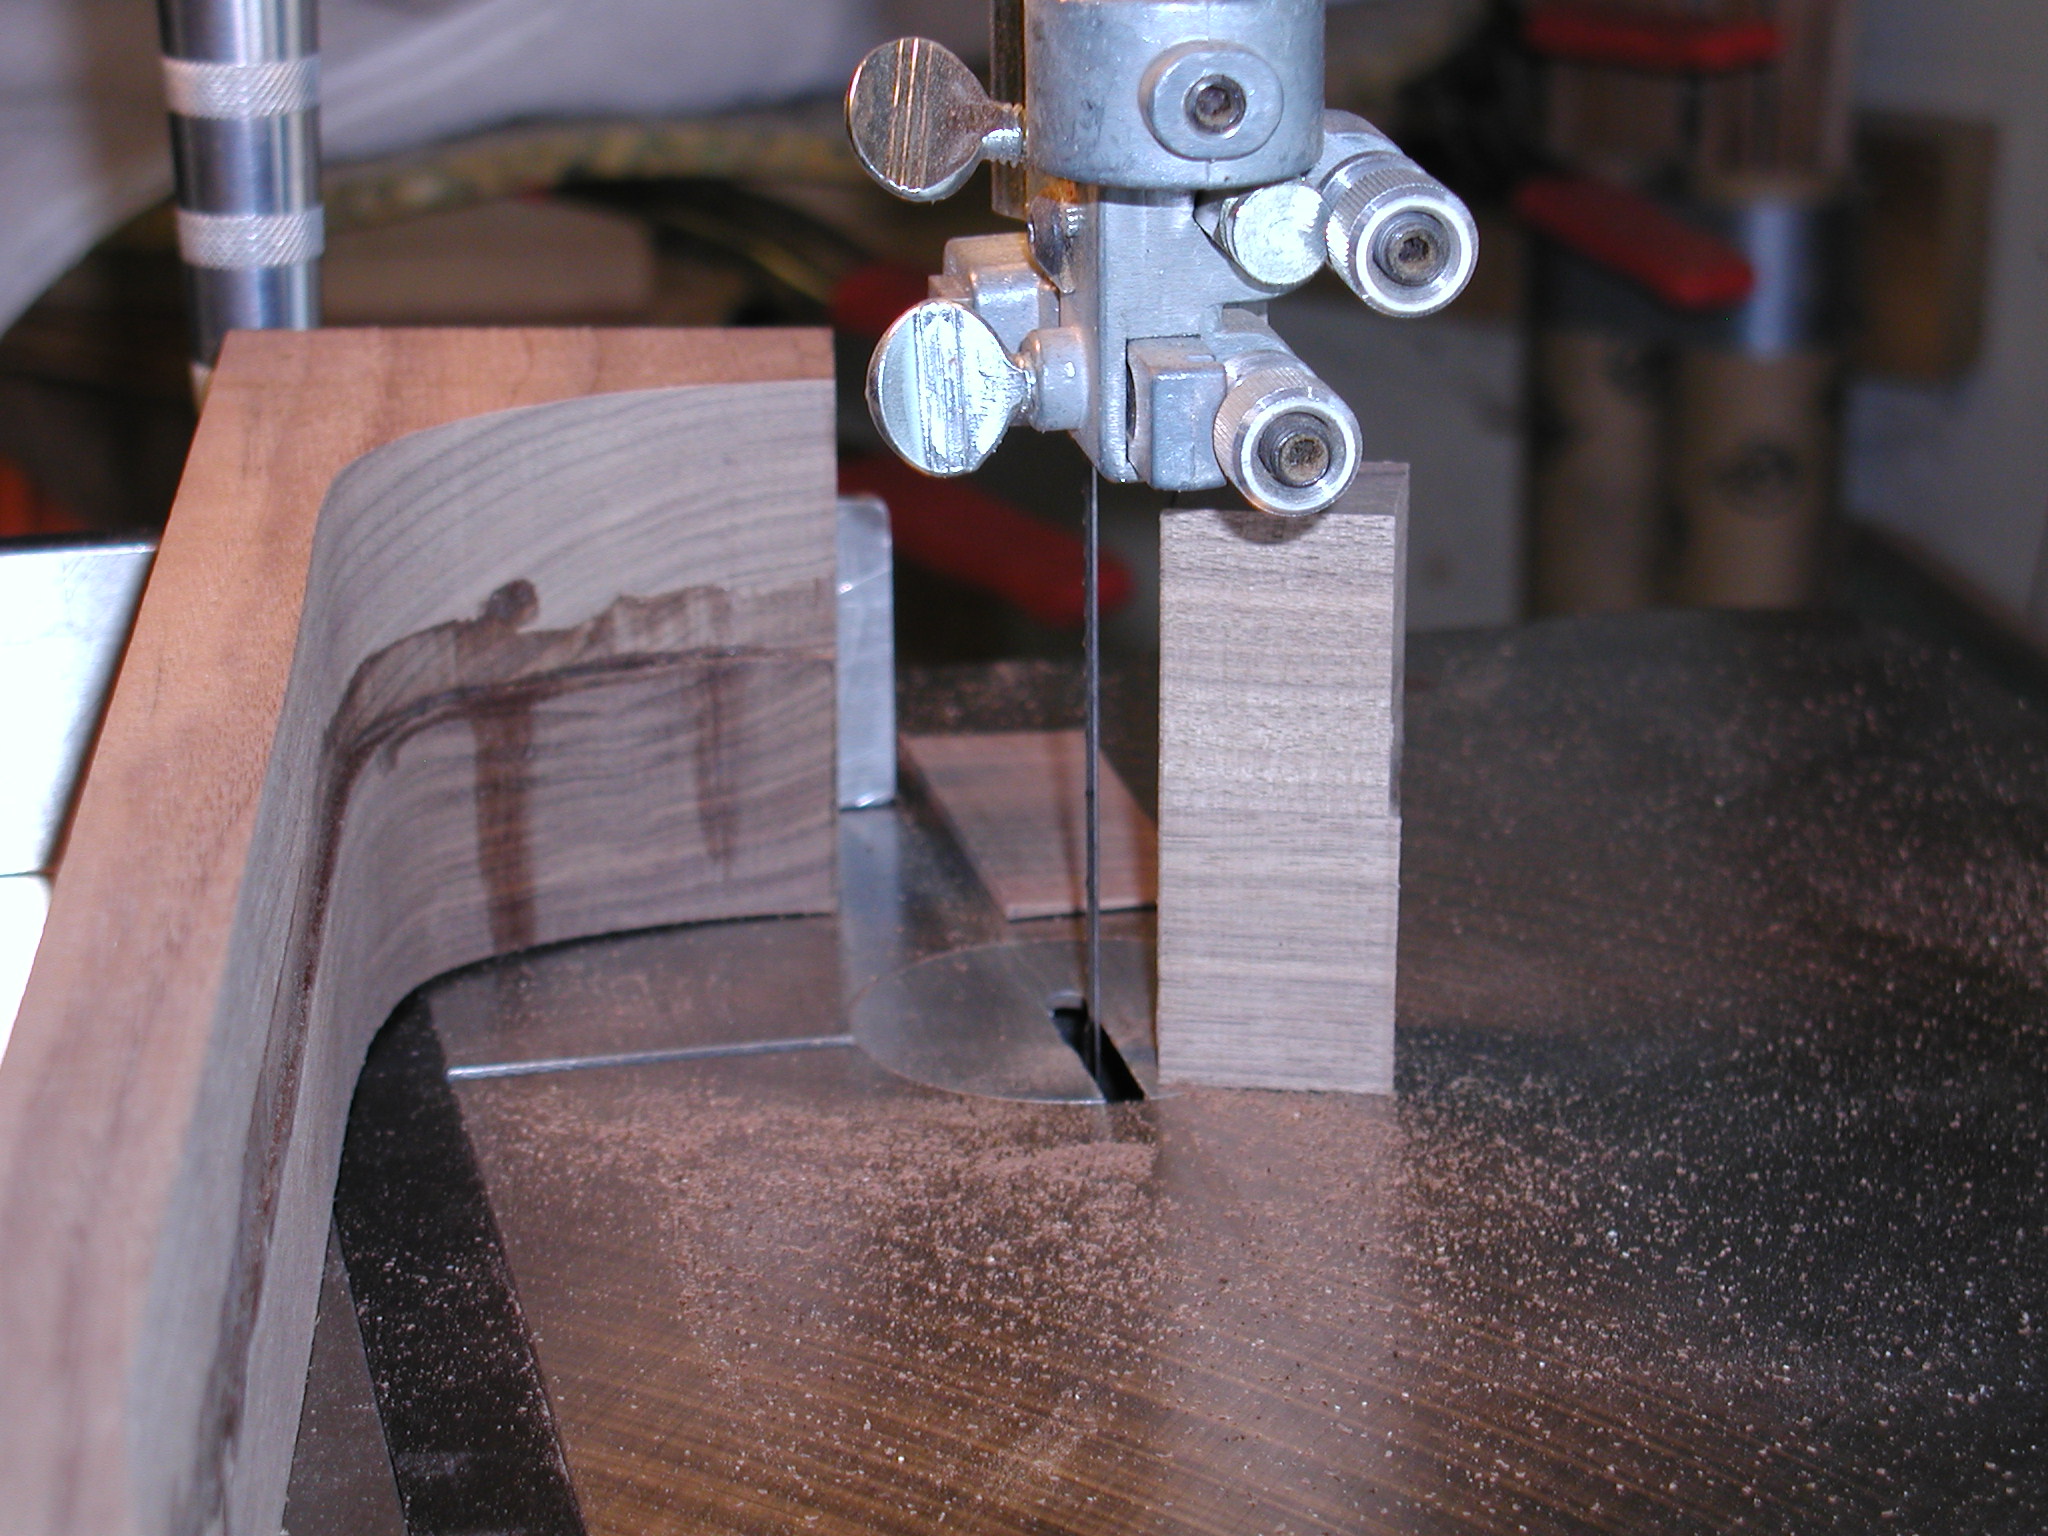
At this point I lay out the heel curvature and saw off the excess of the cheeks on the bandsaw. them I rout away part of the inside area of the heel. This allows an easy and good, tight, fit of the heel to the curvature of the body. I get it close with sandpaper. Here is an example of how things change over time. In the photo I am using strips of emory cloth that I pull to sand the neck butt joint. I no longer do this because it it too easy to pull up or down a bit and that sands a curvature at the corners that leaves a gap. So instead I now tape a piece of 80 grit sandpaper onto the body and scrub the neck against it. This works great and goes a lot faster too. I will do the final fit after I have carved the heel. Now I epoxy in the graphite bars using solvent resistant tape to mask the fretboard surface.
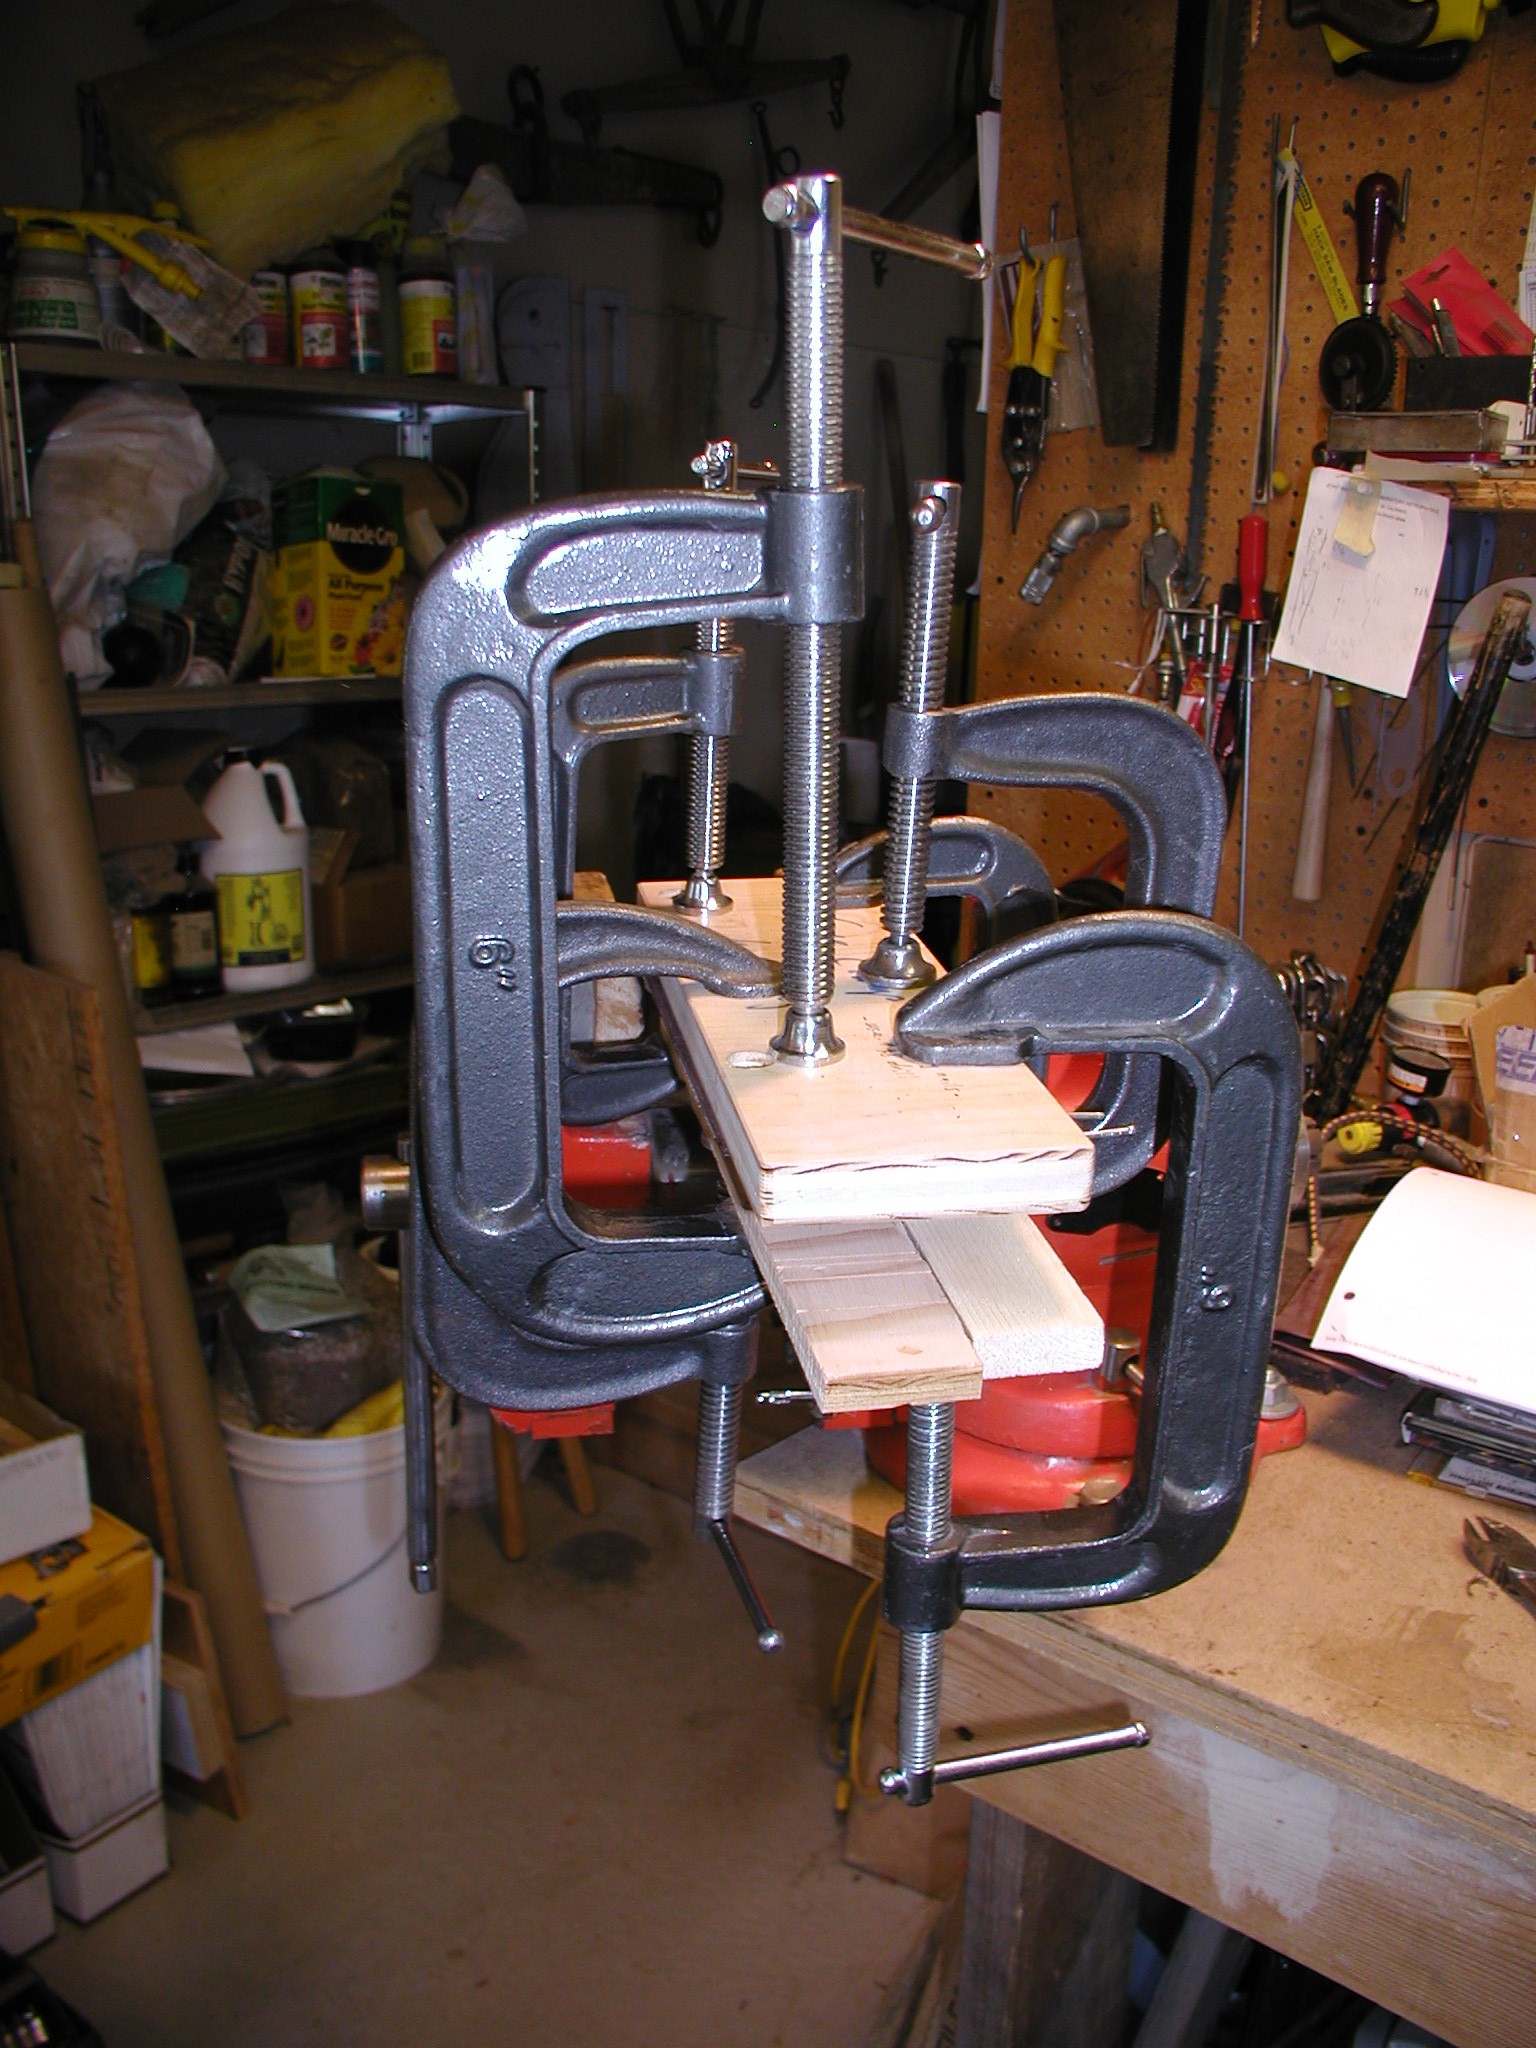
Not to the headstock end and put on the faceplate. First I lay a piece of solvent resistant tape across at the nut line and wax it, this makes glue cleanup easier. Then lay out the faceplate for looks and drill some pin holes in the waste areas. Then apply glue and the clamping caul and a bunch of clamps.