|
I started out by looking at the current designs of violin bridges with the idea of morphing them into mandolin bridges. Here is a sample page from the International Violin Company that shows their products. Also a great company for other supplies. Notice that the basic design consists of a heart in the center, some "egg shaped" holes that are cut with a horizontal slit. This whole thing is designed to be able to not only flex vertically but to also be able to twist as is needed in an instrument that is driven and has a sound post. This may not be the exact design we want for a mandolin that it plucked and doesn't have a post. |
| Rather than make just one bridge I figured that I might as well get a technique for making the bridges in larger numbers. So I first cut out some blanks of Hard Maple and Shedua, a relative of Bubinga. These are thicknessed to a little over 1/4". | |
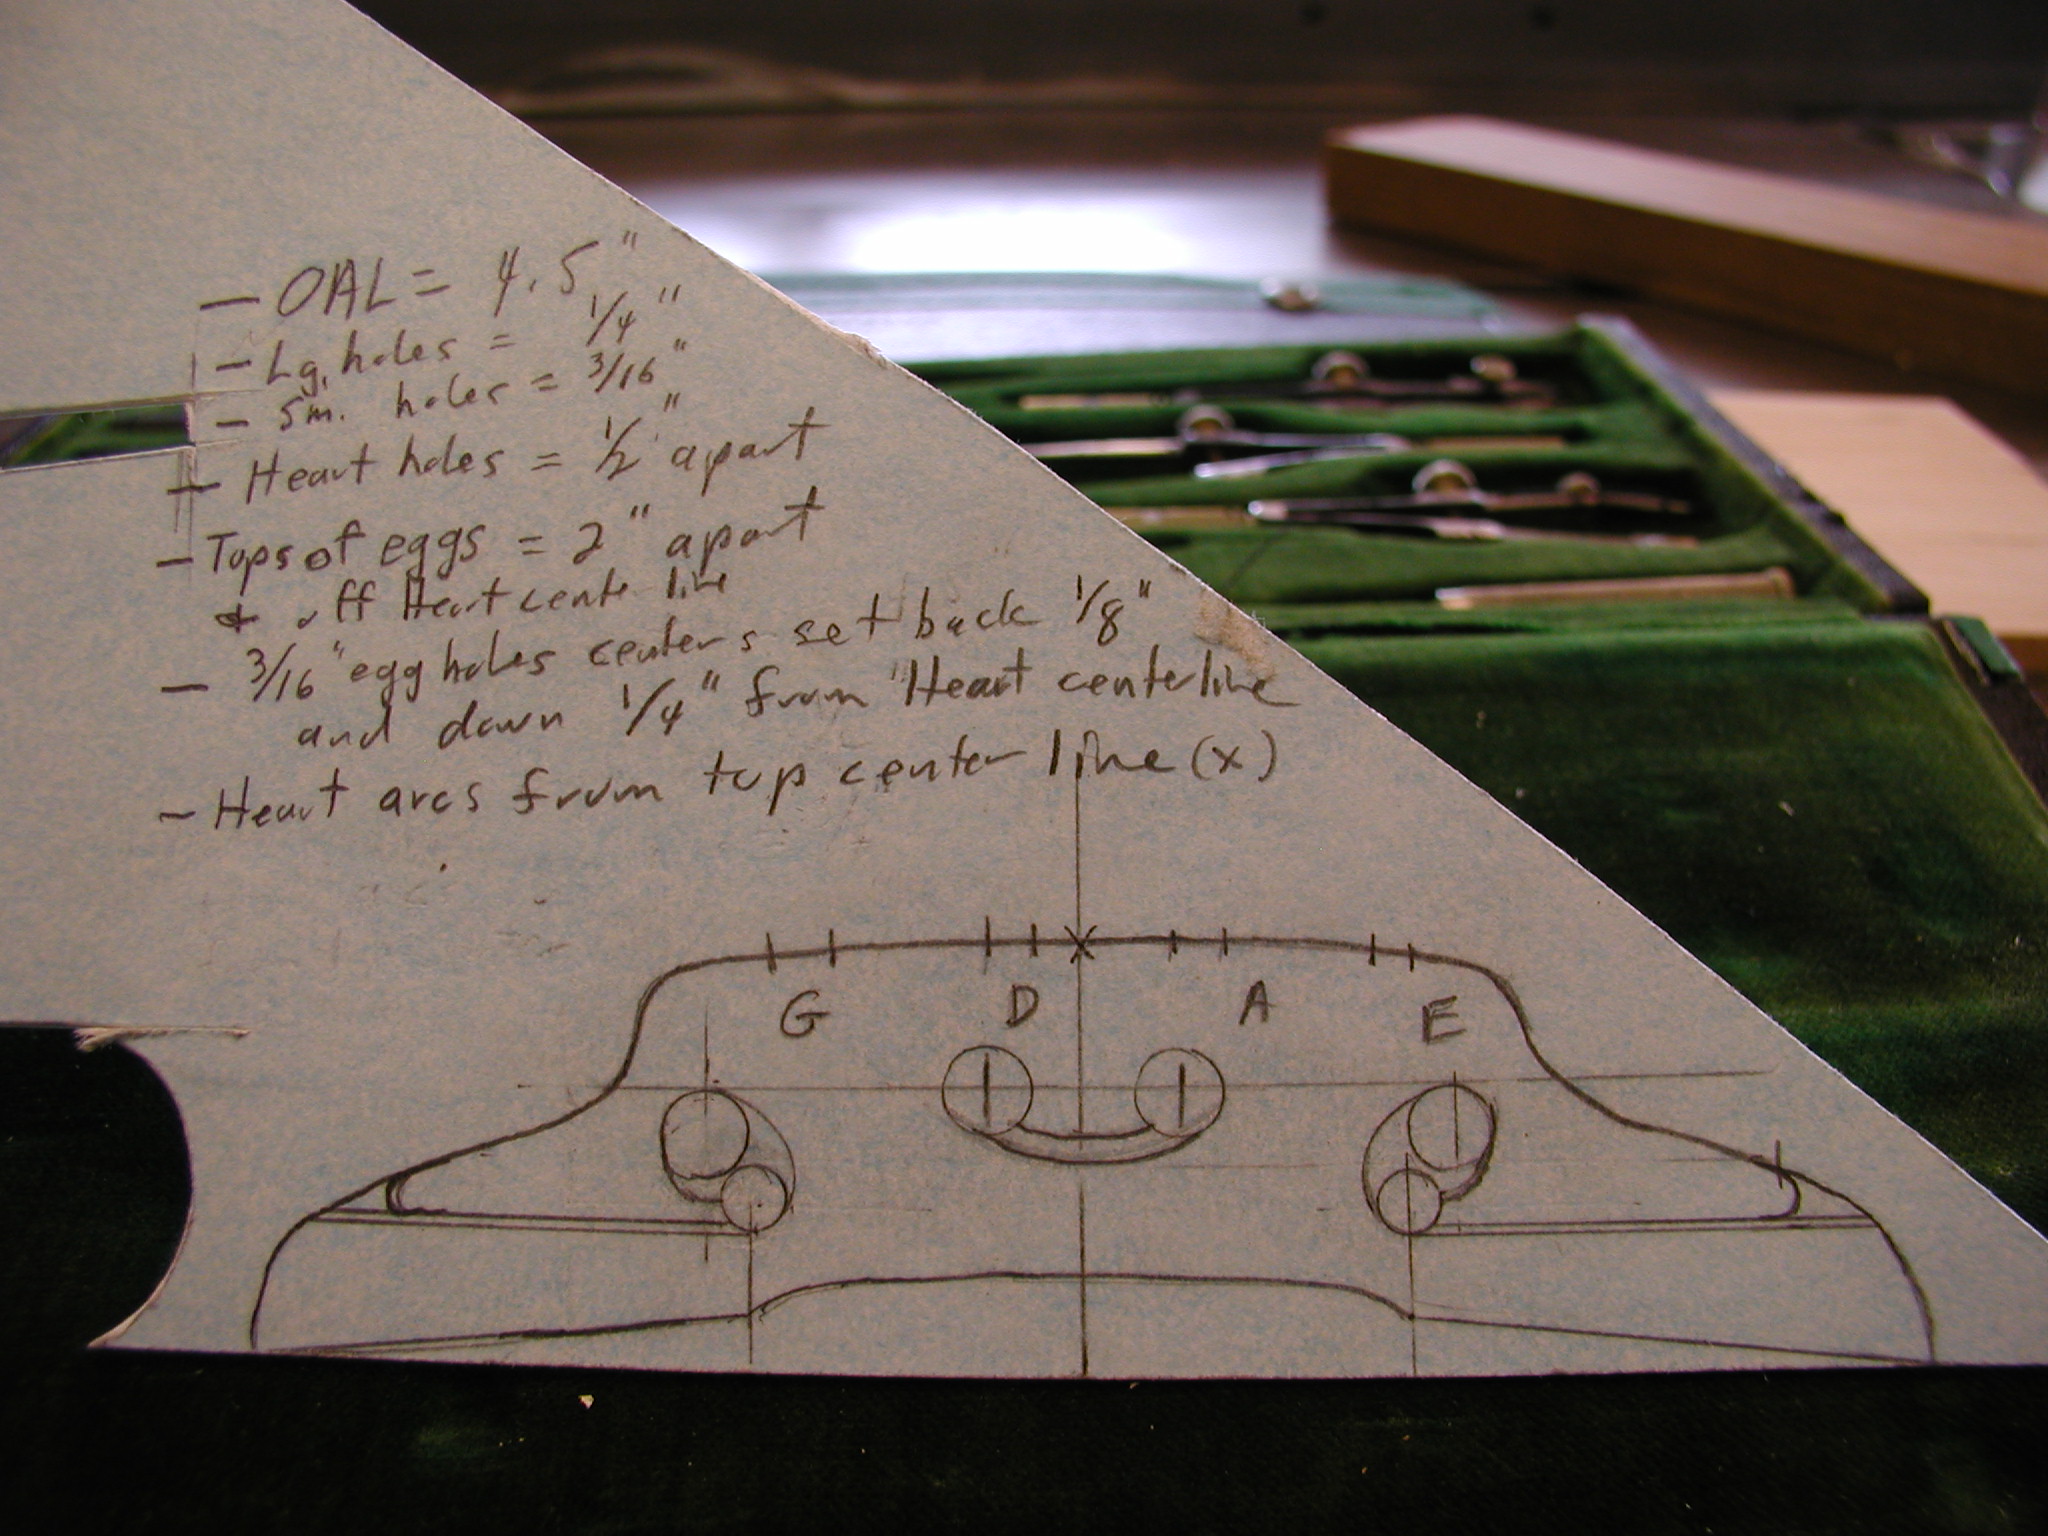 |
The Plan. Here is my first mutation of the violin bridge into a mandolin bridge. I didn't bother to try to get the feet cutaway and I sort of squashed the violin design down and made it wider. I kept the heart and egg-shaped holes. I'm sure there must be an official name for those but I call them the eggs. WARNING! Danger Will Robinson!! Do _not_ use these dimensions they are flawed, see my later design changes. |
 |
Here I've cut out my template and used it as a pattern to trace on the top piece. Cheery little guys aren't they. I used a spring loaded center punch to transfer the hole centers and then highlighted them with the pencil. I then assembled the stack of pieces with double-stick tape while aligning the bottom edges. |
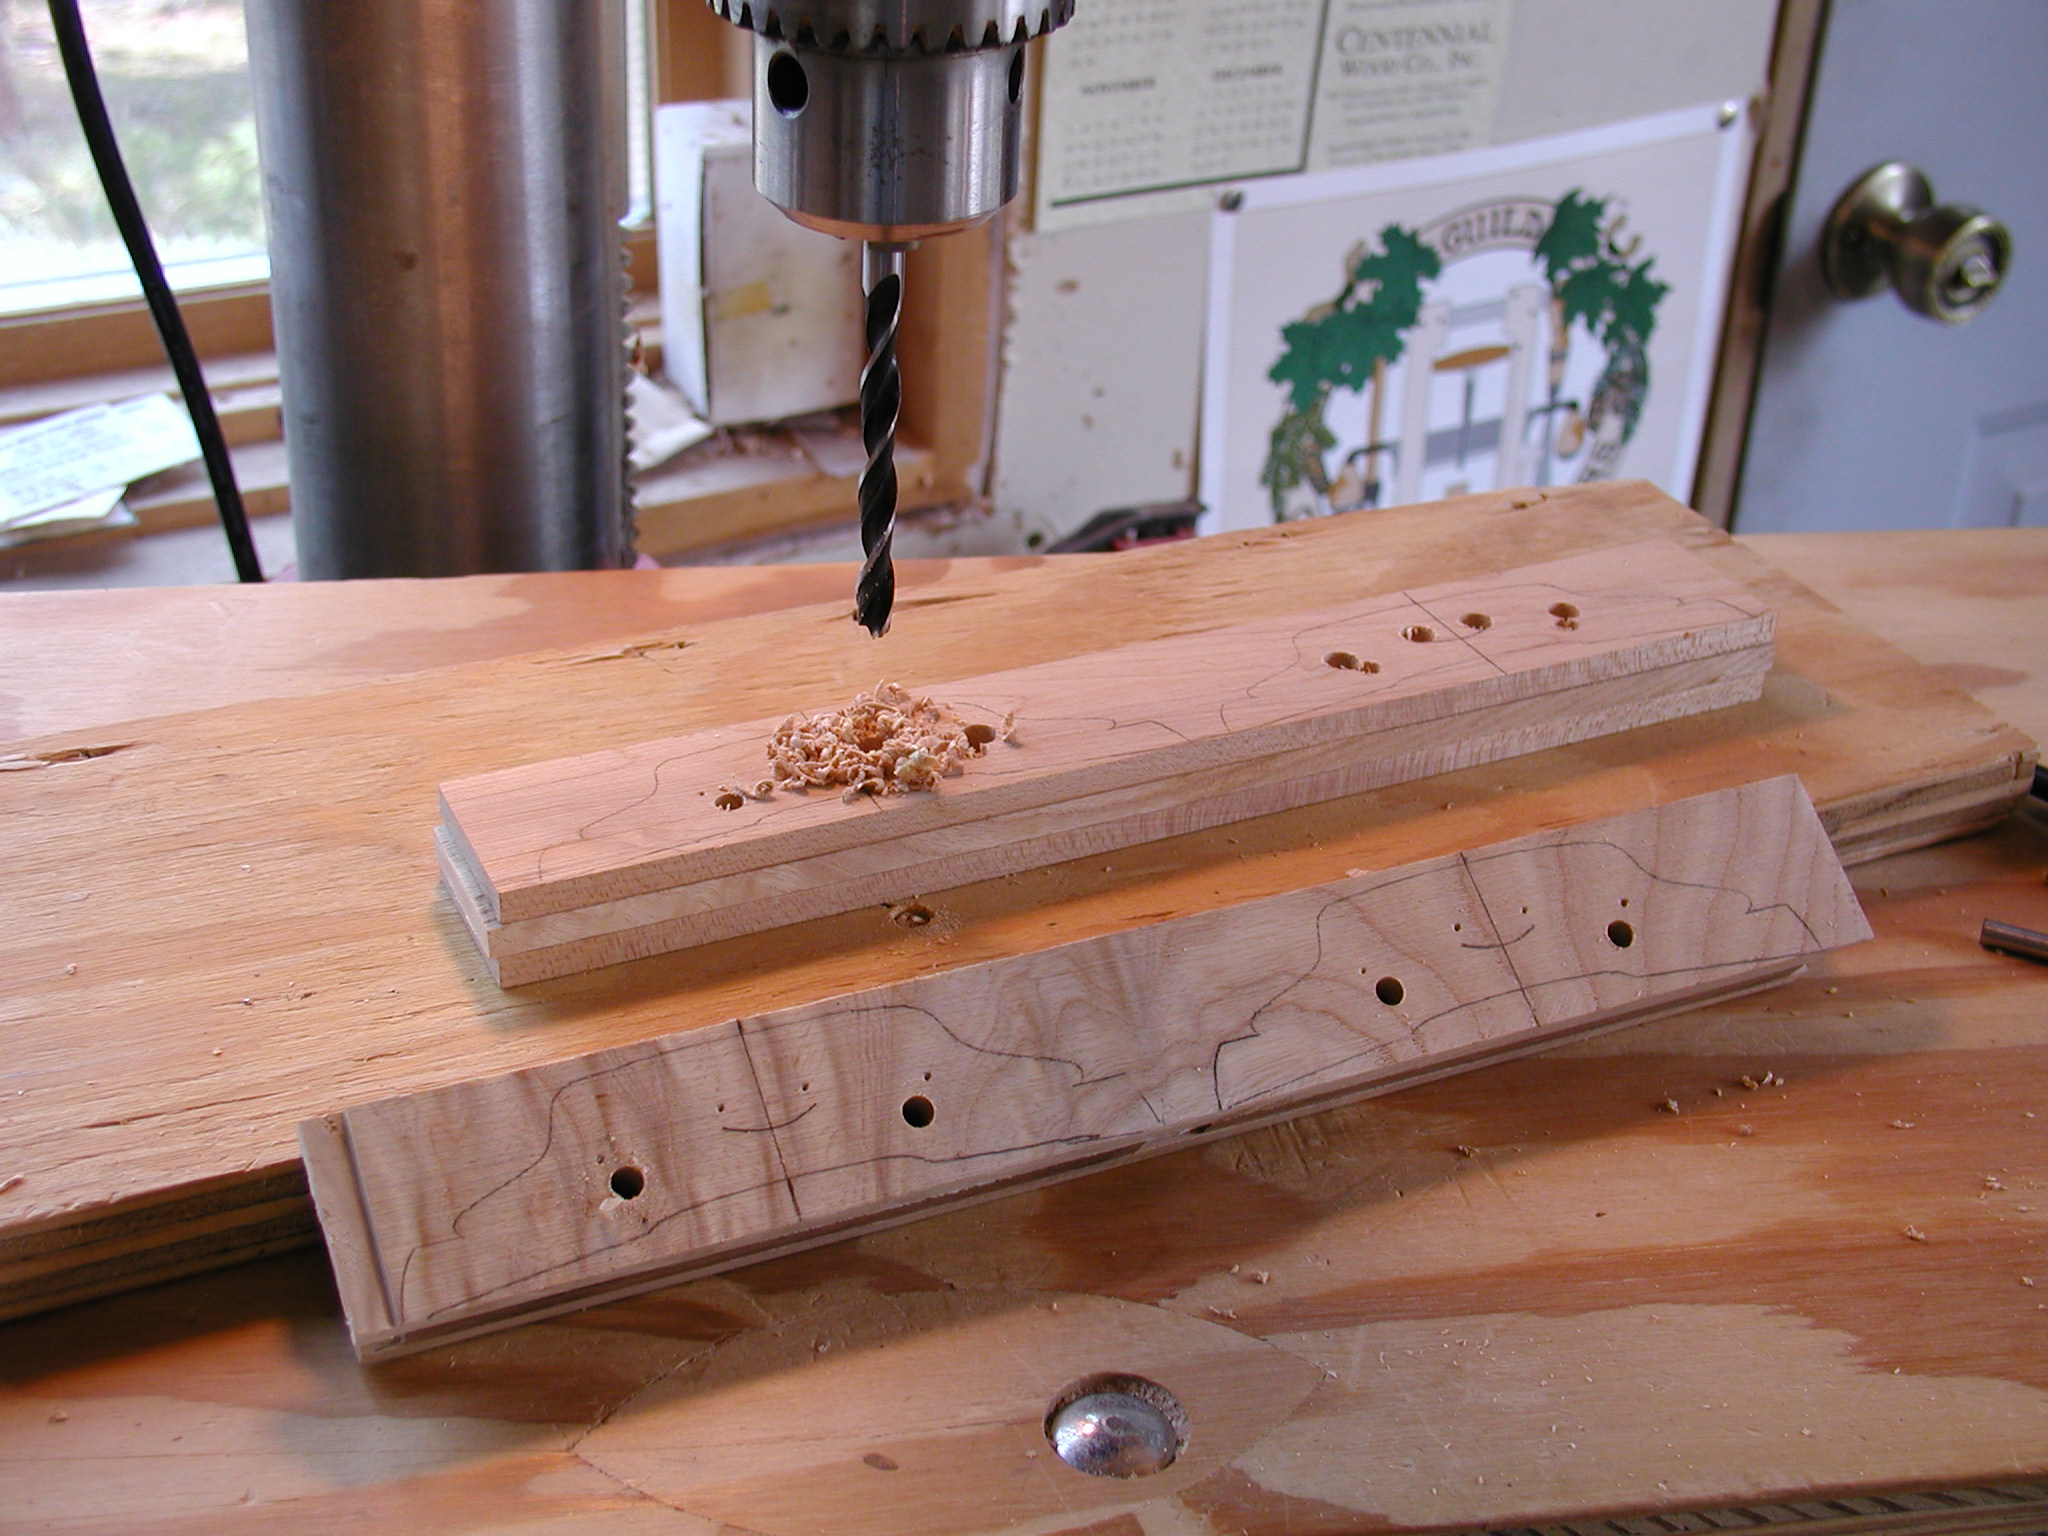 |
Here I'm drilling out the holes with a brad point bit. The brad point keys into the punched center marks and cuts a clean hole. However, with the maple it still wanted to chip out on the bottom side a bit. In the future I will also include a scrap piece double stick taped to the bottom of the stack. Alternatively I could drill a #50 guide hole first and then use the brad point bit from both sides of the stack. I drilled the small 3/16" holes first and then drilled the 1/4" holes which just cut into the 3/16" holes in the egg. |
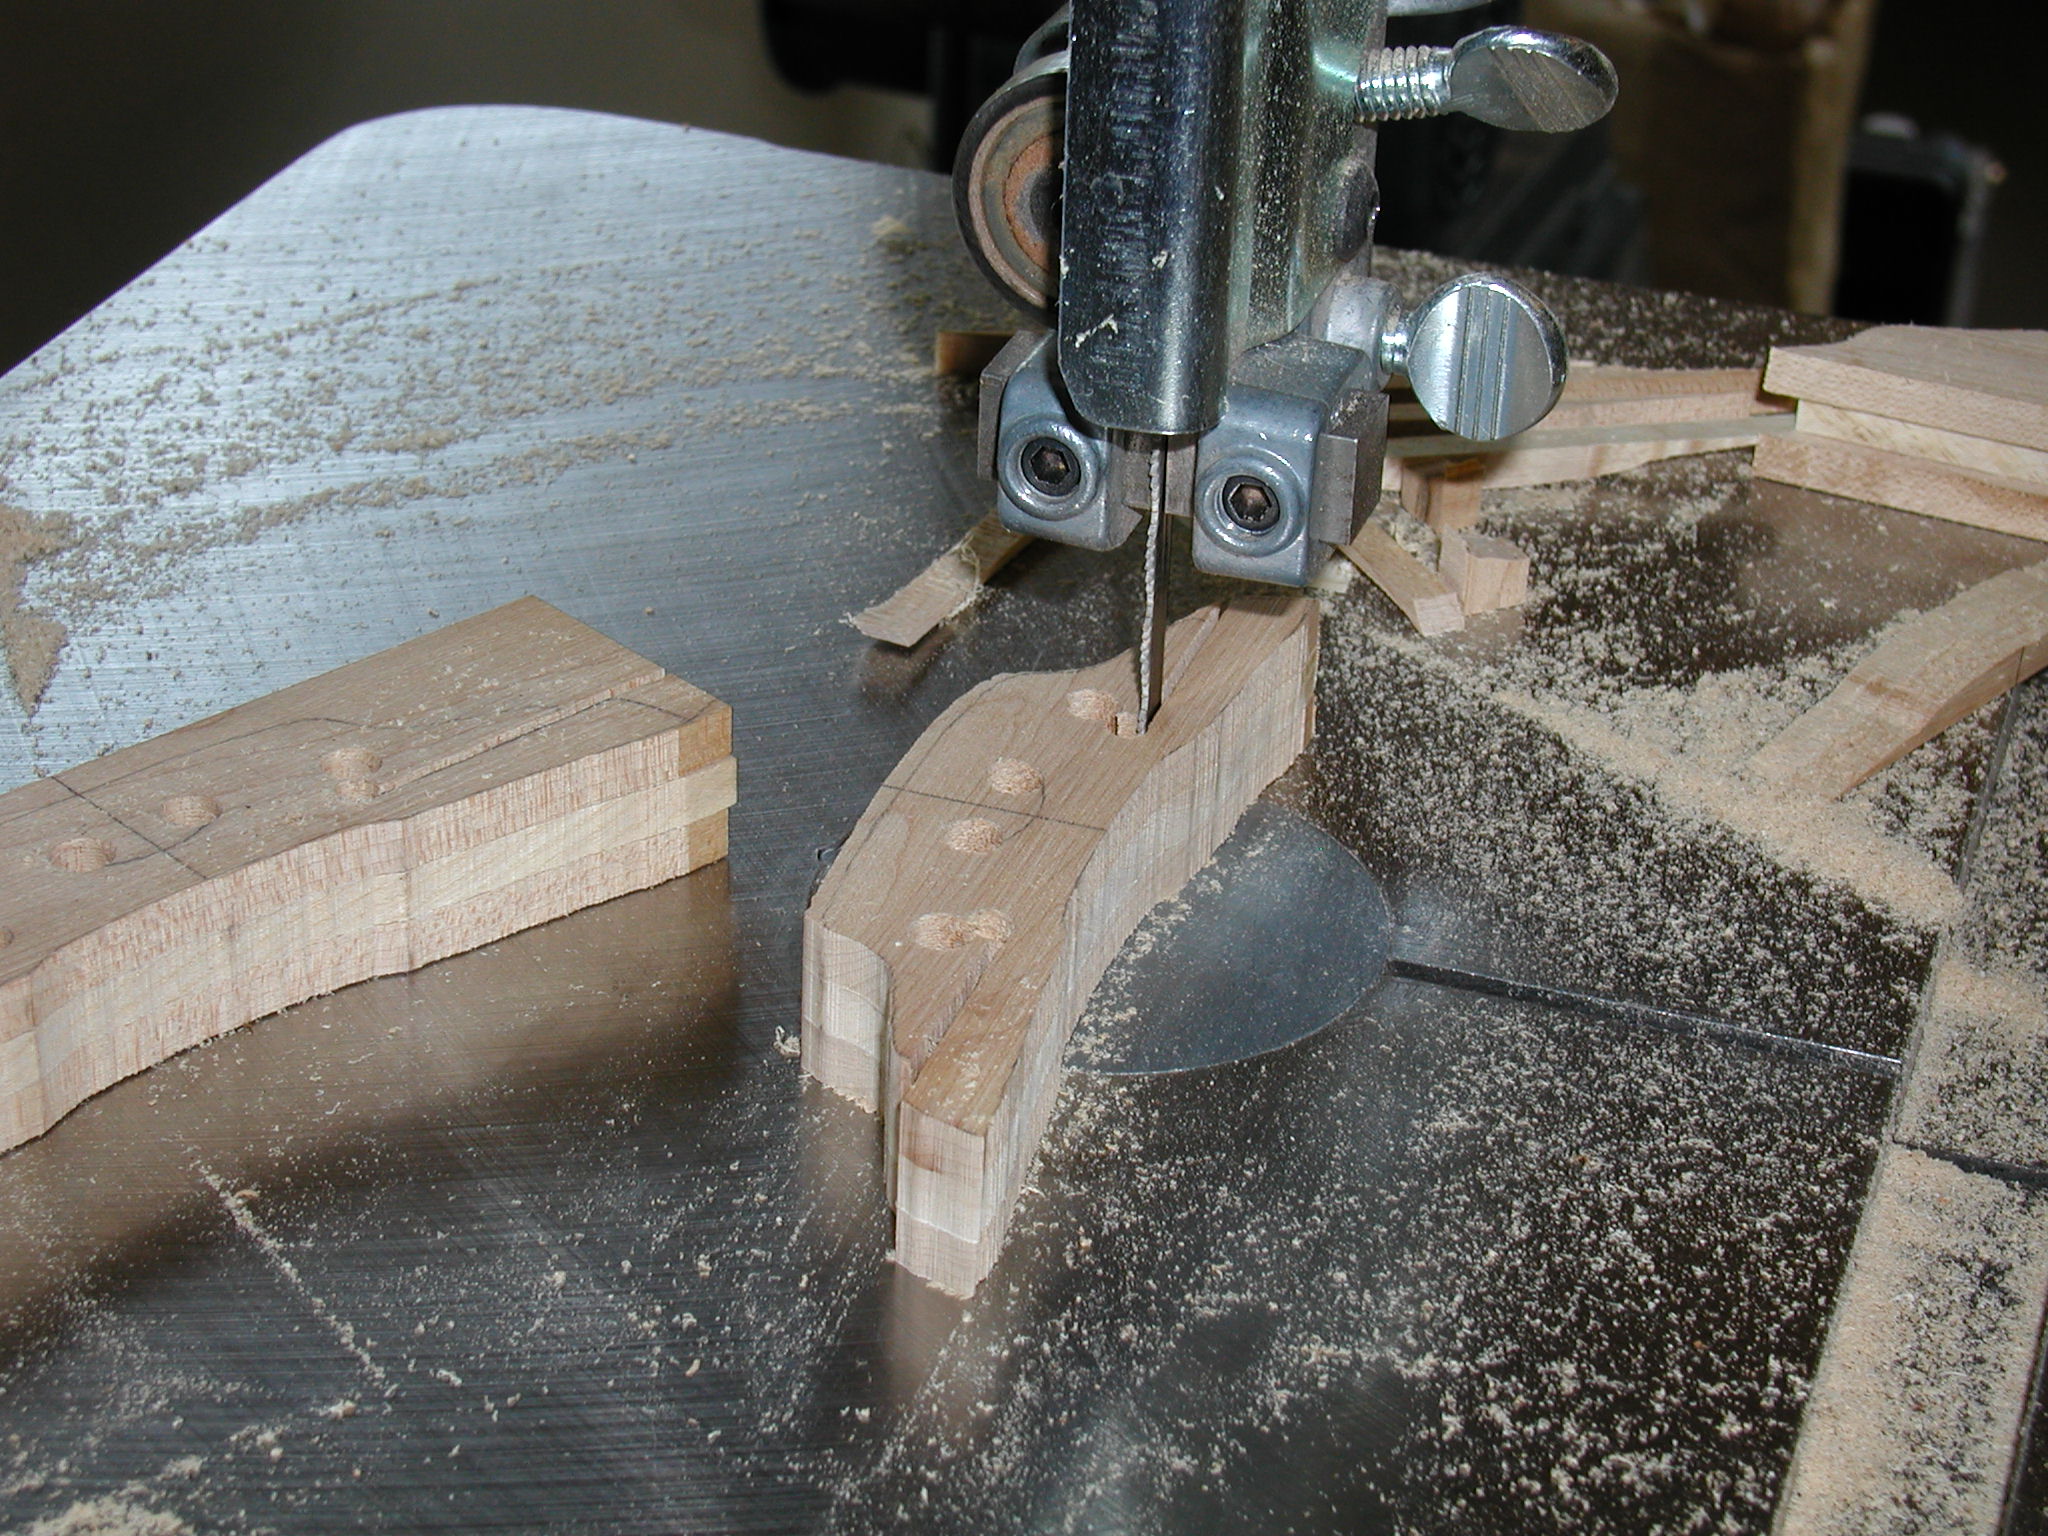 |
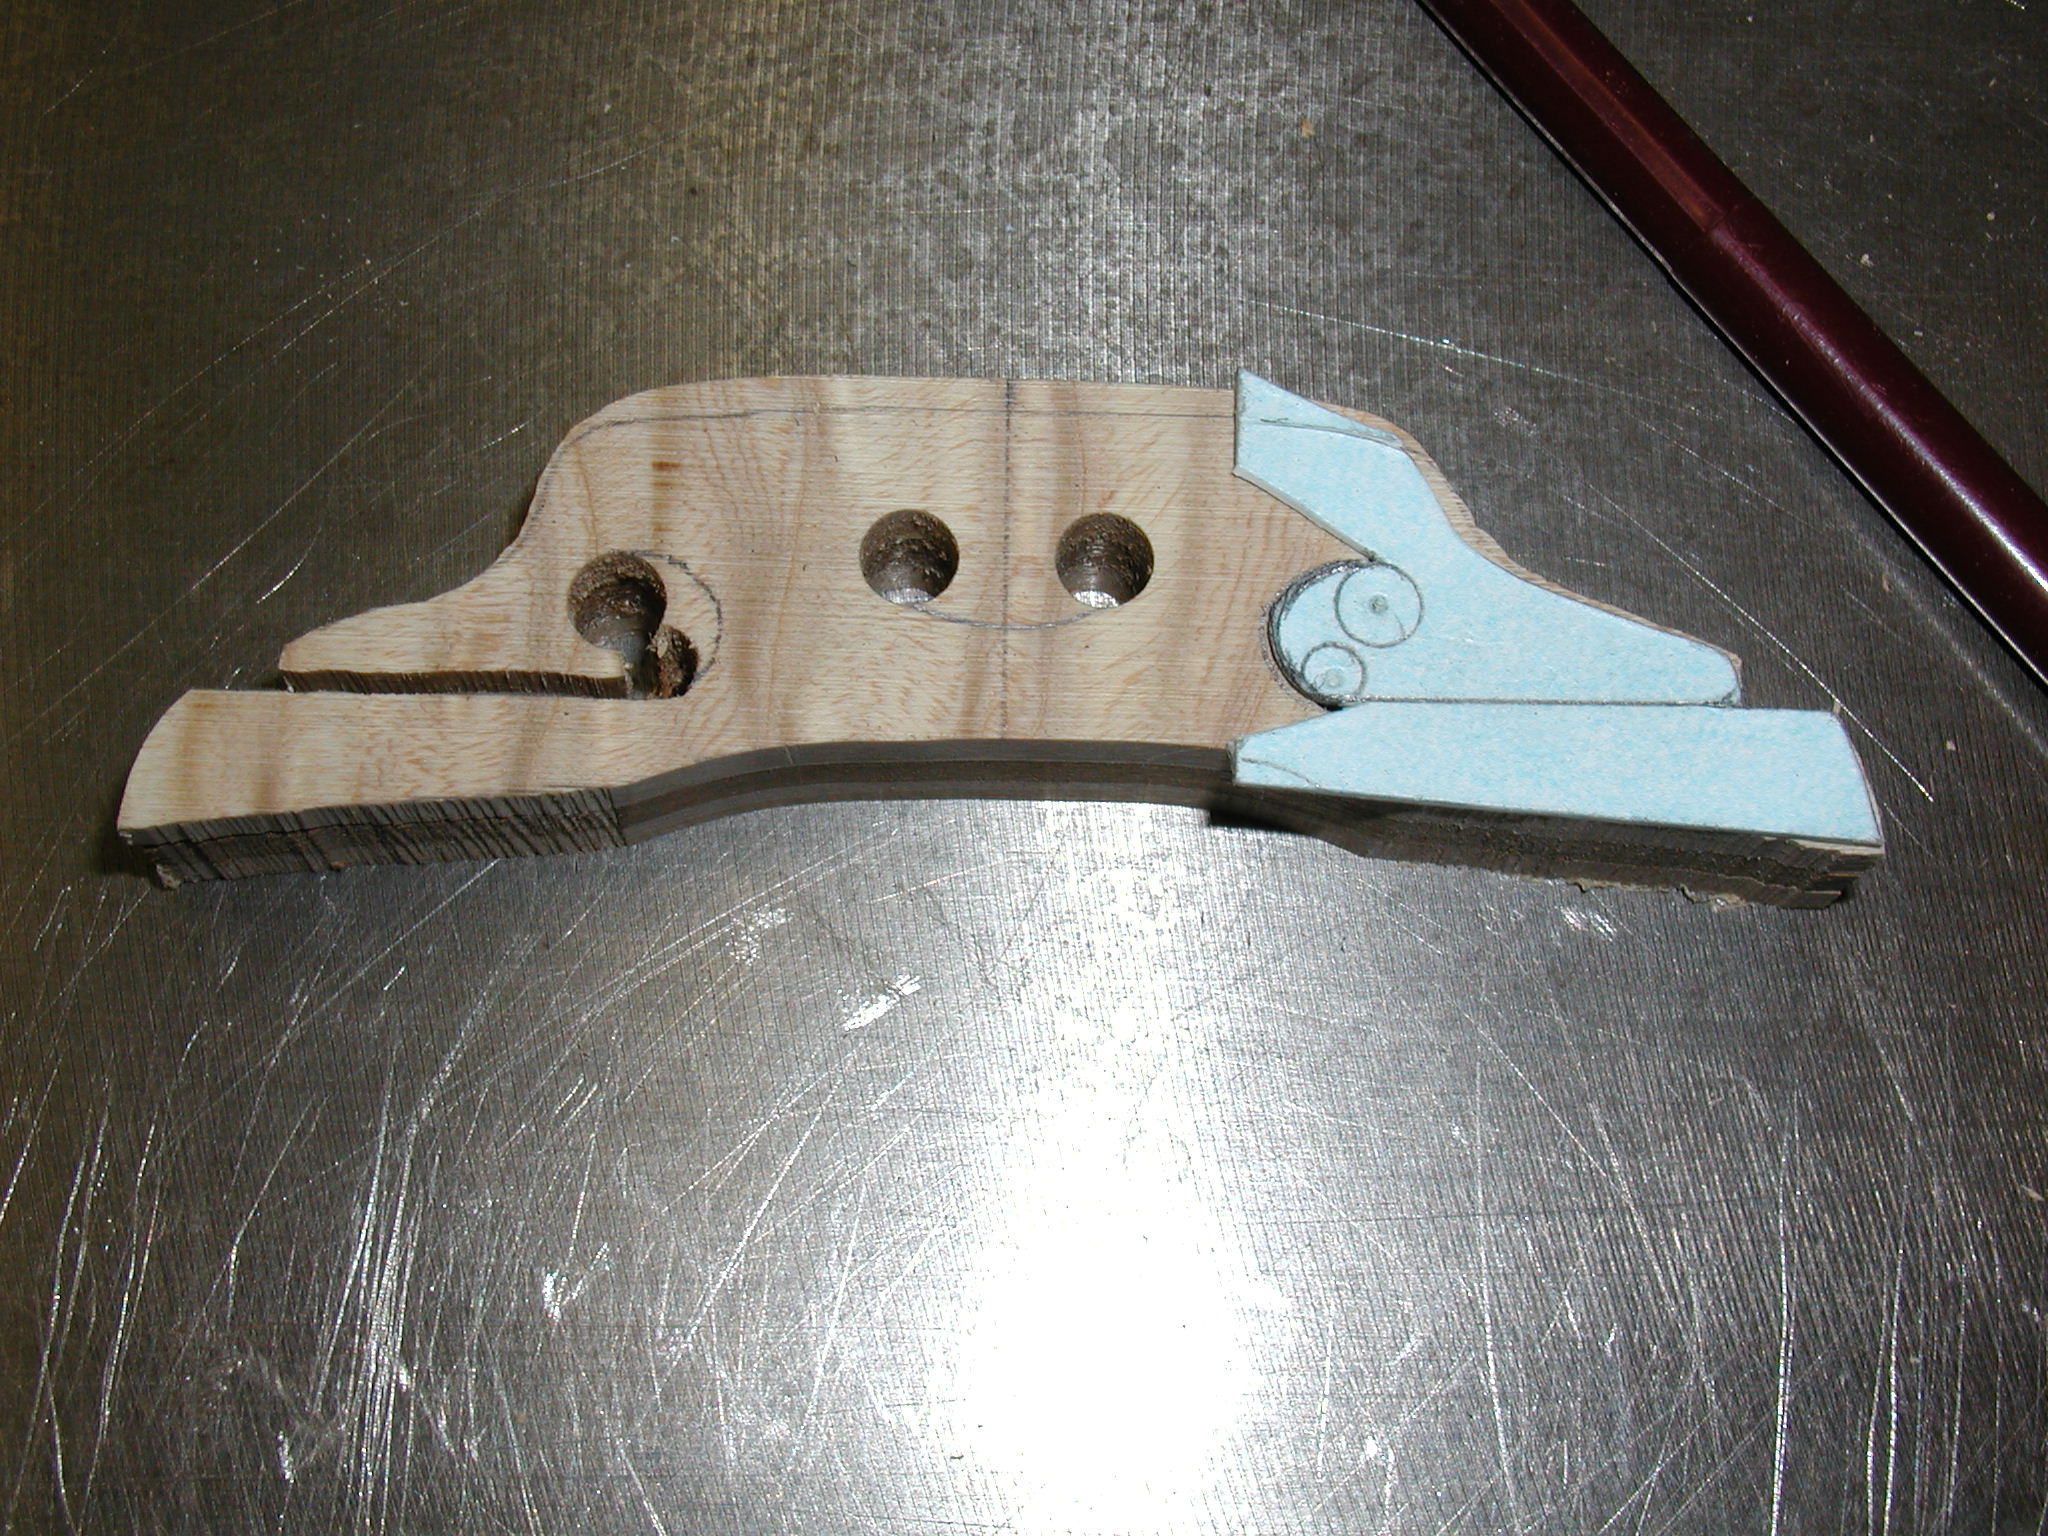
Now I am rough sawing out the bridges. There is a step skipped where I drew in the line for the horizontal slot. I just used a straight edge aligned on the side notch areas, This just touched the bottom of the egg holes. I am sawing to the top and leaving the line on the bottom. I used a wave-kerf hacksaw type 1/4" blade and that seemed to give a pretty good cut. My slot lines were a little wobbly doing it freehand like this. I think in the future I'll make sure that the line to cut is true to the bottom of the blank. Then I'll cut out the profile but not the bottom part of the feet. That way I can use a fence to get the slot lines true and later cut the bottom feet relief. |
 |
I wanted the egg holes to look the same so I didn't want to just file them out freehand. I made another template and trued the eggs with a small french curve. I then aligned this on the drilled holes and drew the curve to cut. |
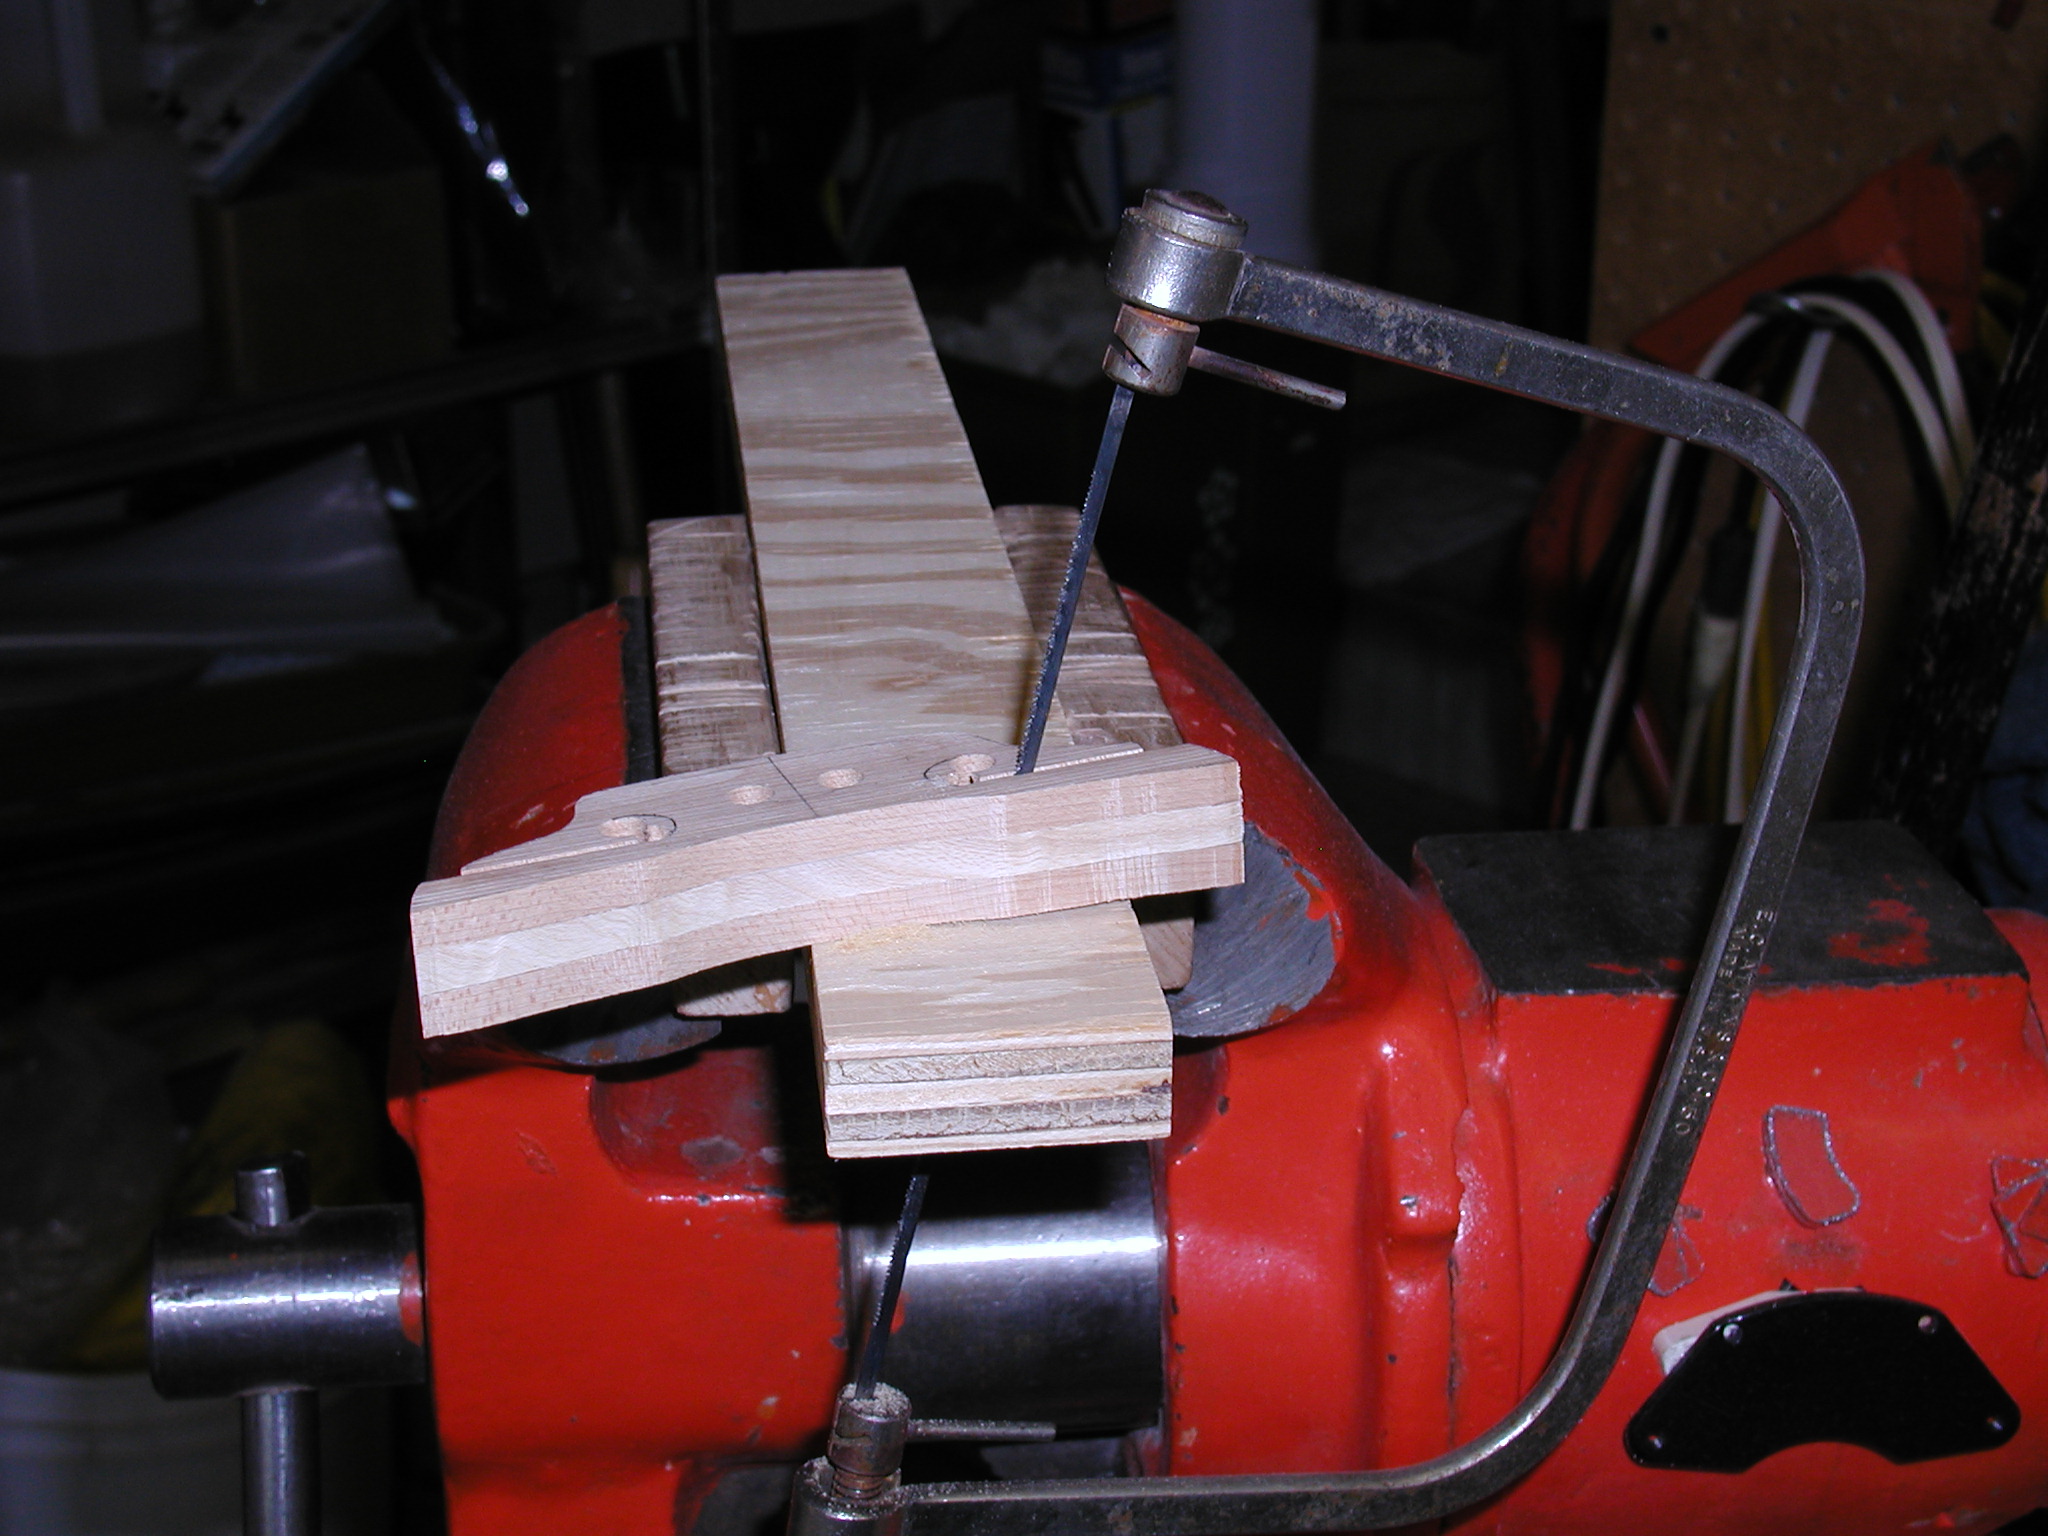 |
And now cut out the egg profiles and the slit for the heart. I am using a regular coping saw as a fretsaw. The teeth cut on the down stroke and I have a piece of wood in the vise that has a central hole and a slit cut to the hole. This way I can thread the saw blade into the heart hole, slip the blade through the slit in the board in the vise and cut it true with even straight down strokes. You can see that I have already smoothed them some on the belt sander. |
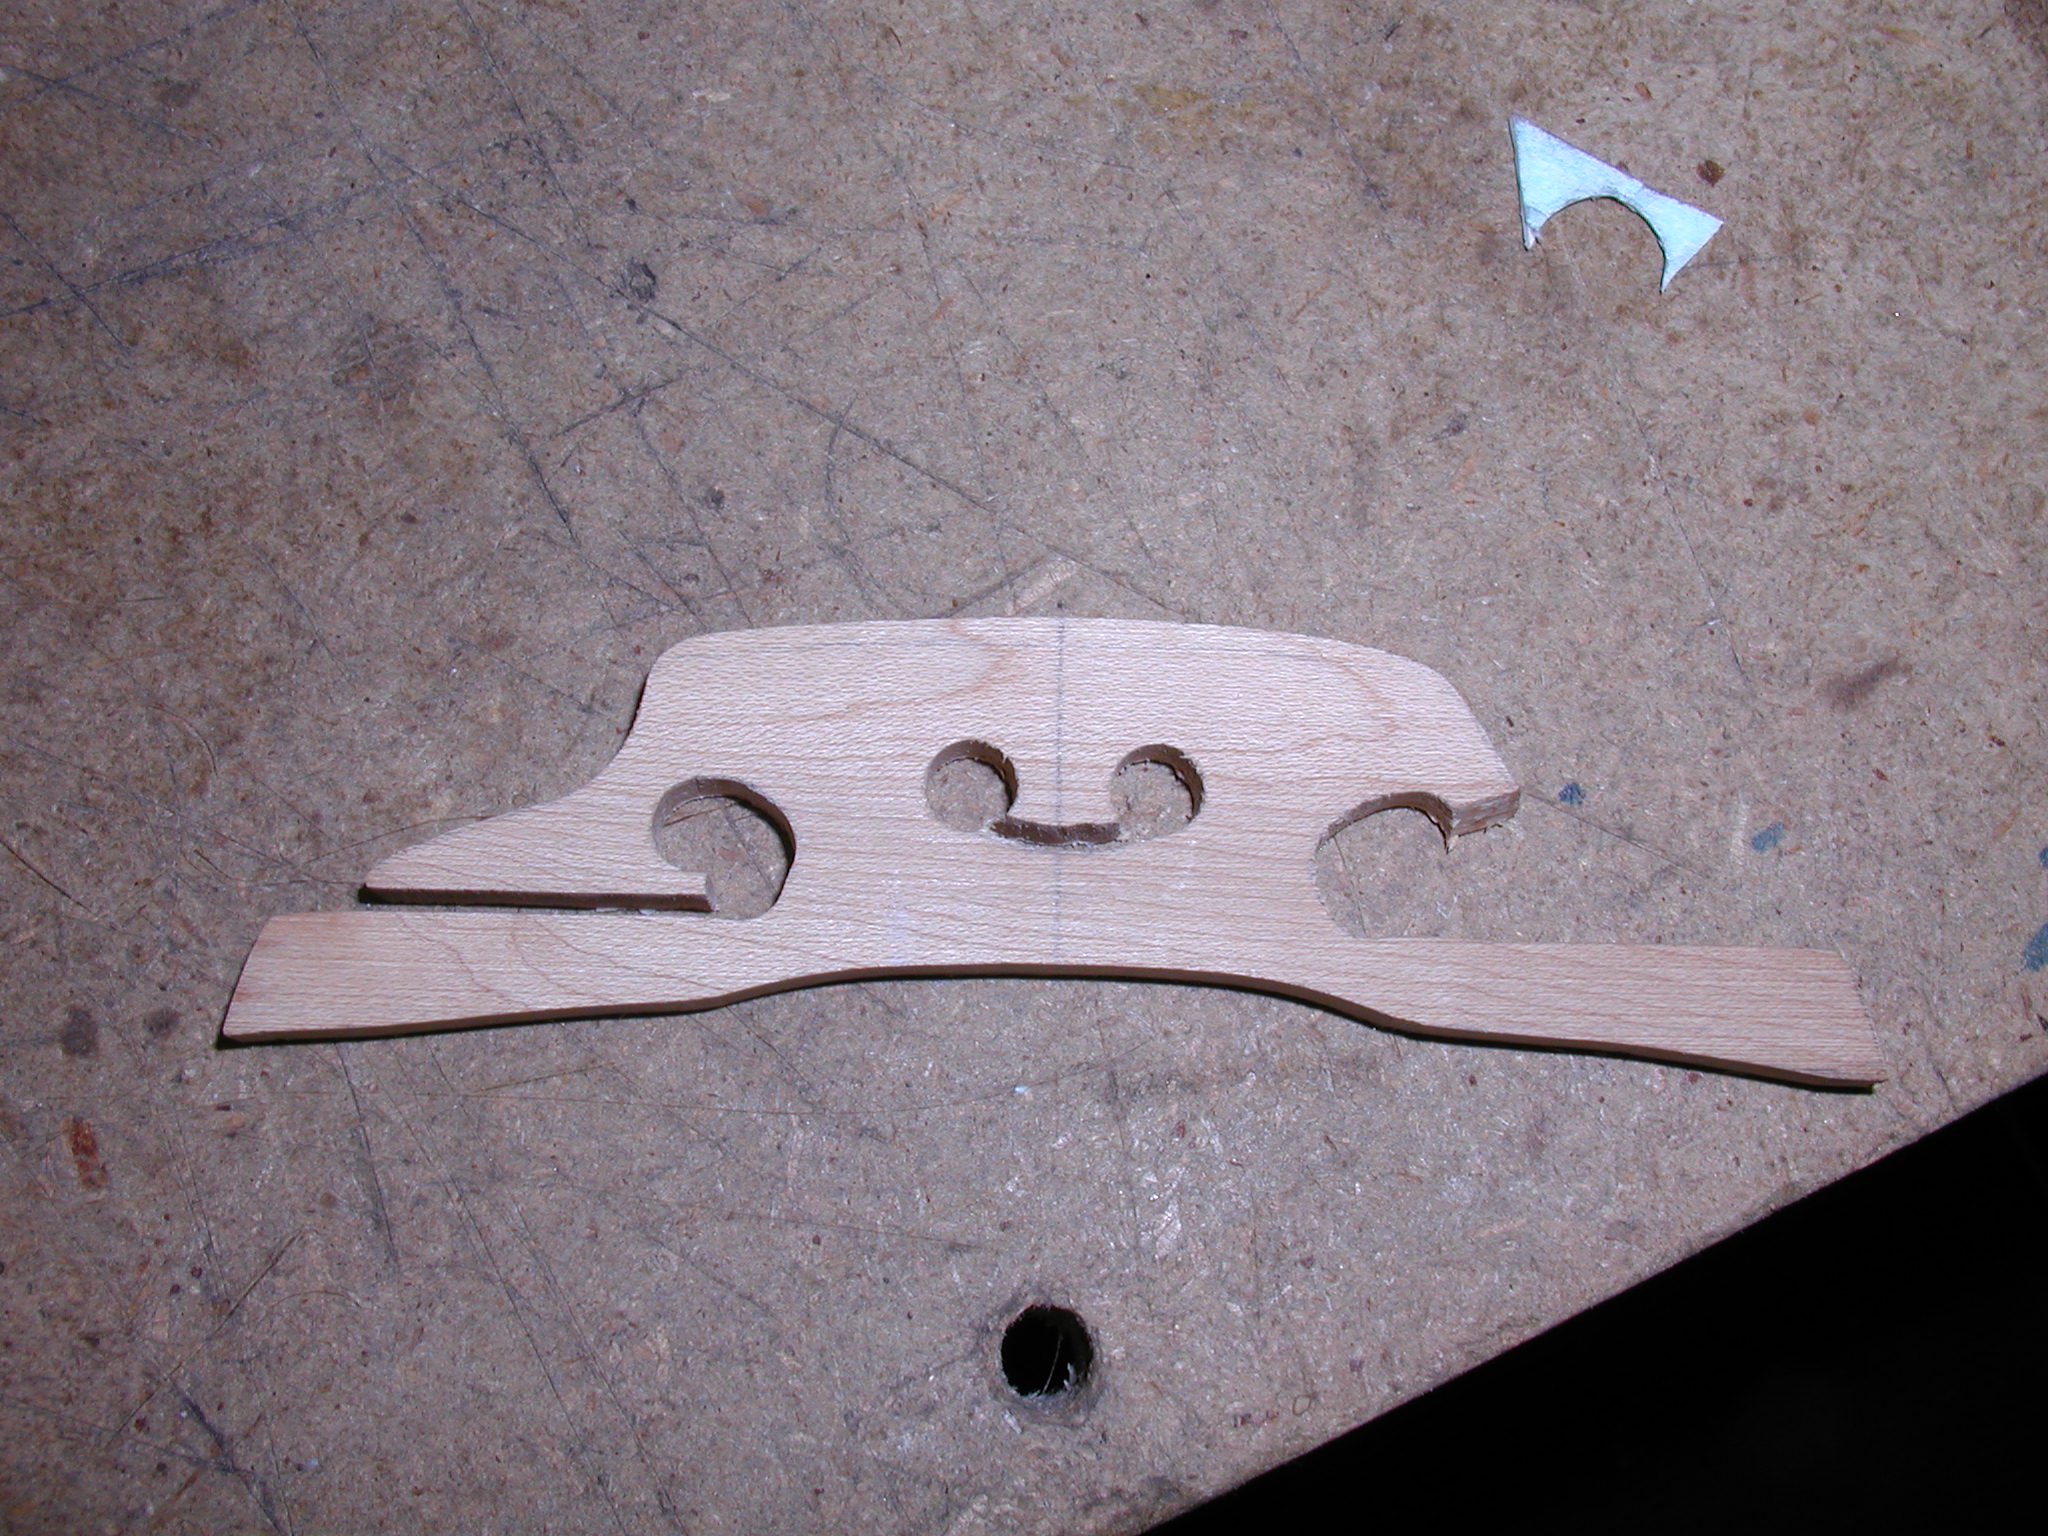 |
I then separated the individual bridge pieces. Hmmmmmm, that double stick tape is _strong_! You can't just pry them up or the wing parts will break off just like this. I had to use a pallet knife to slip in and slowly ease each bridge free. I could have also oozed some acetone in there to soften the glue but that makes quite a mess to clean up after the fact. One might get away with using double stick drafting tape since its glue is not so strong but the stacks might come apart in the drill and saw process. Better to just be a bit careful when taking them apart. Notice that this was one of the slab sawn pieces, the quartered ones didn't have as much problem. I rough smooth the whole thing but I don't do a real clean up yet. I want to file and thin it as part of the tuning process. |
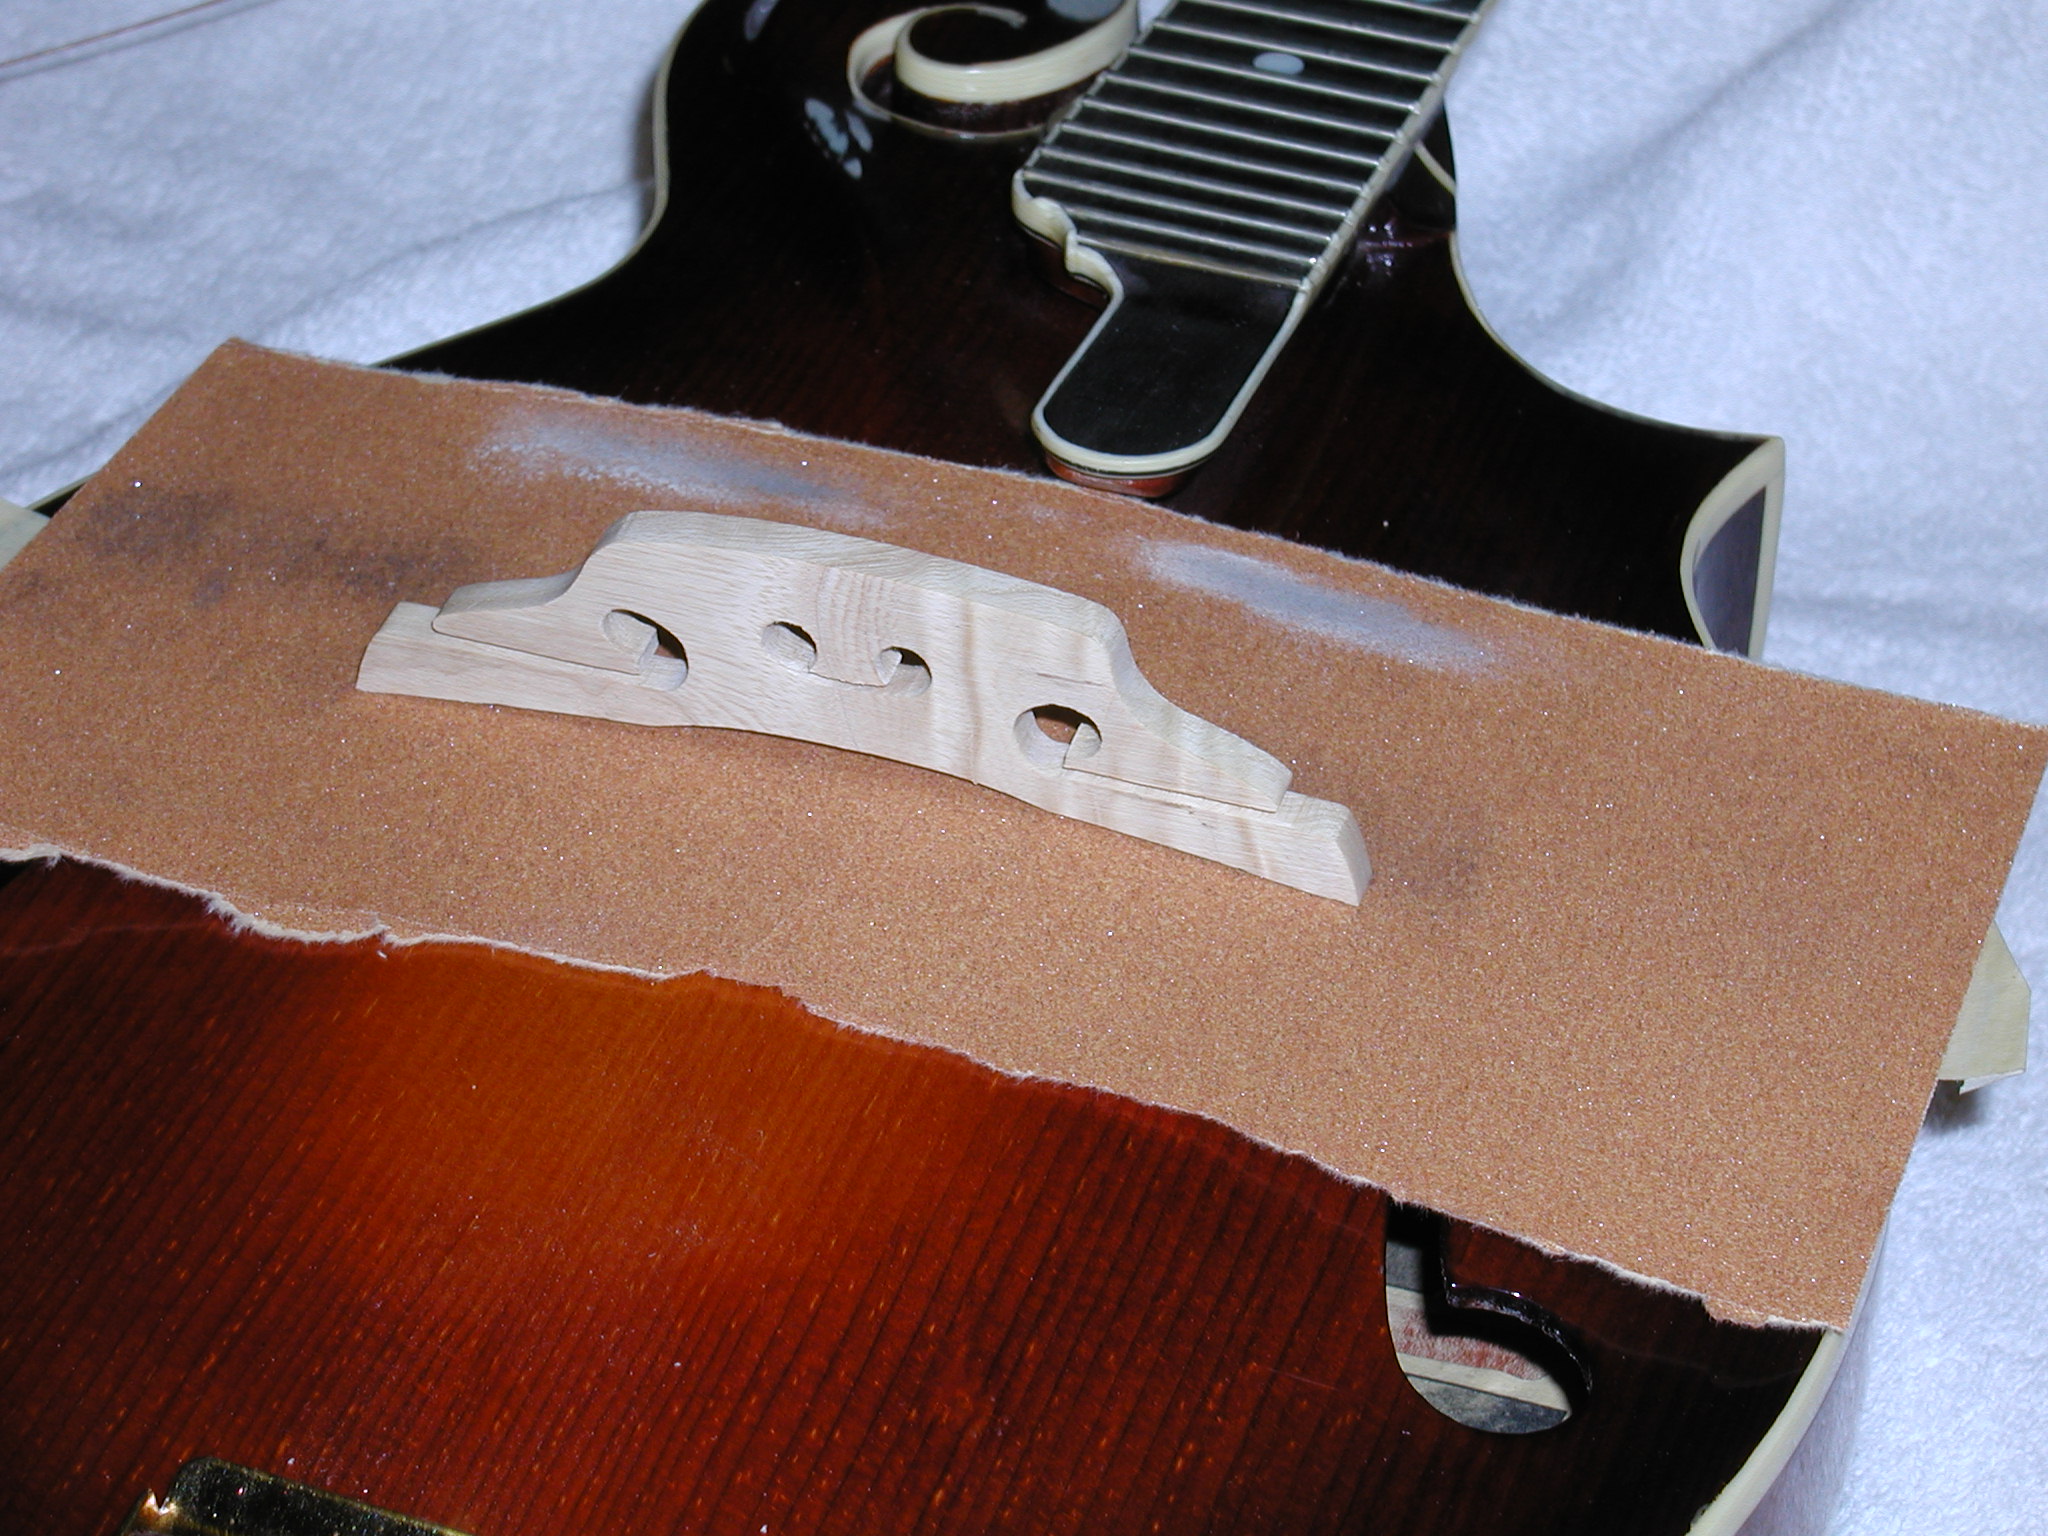 |
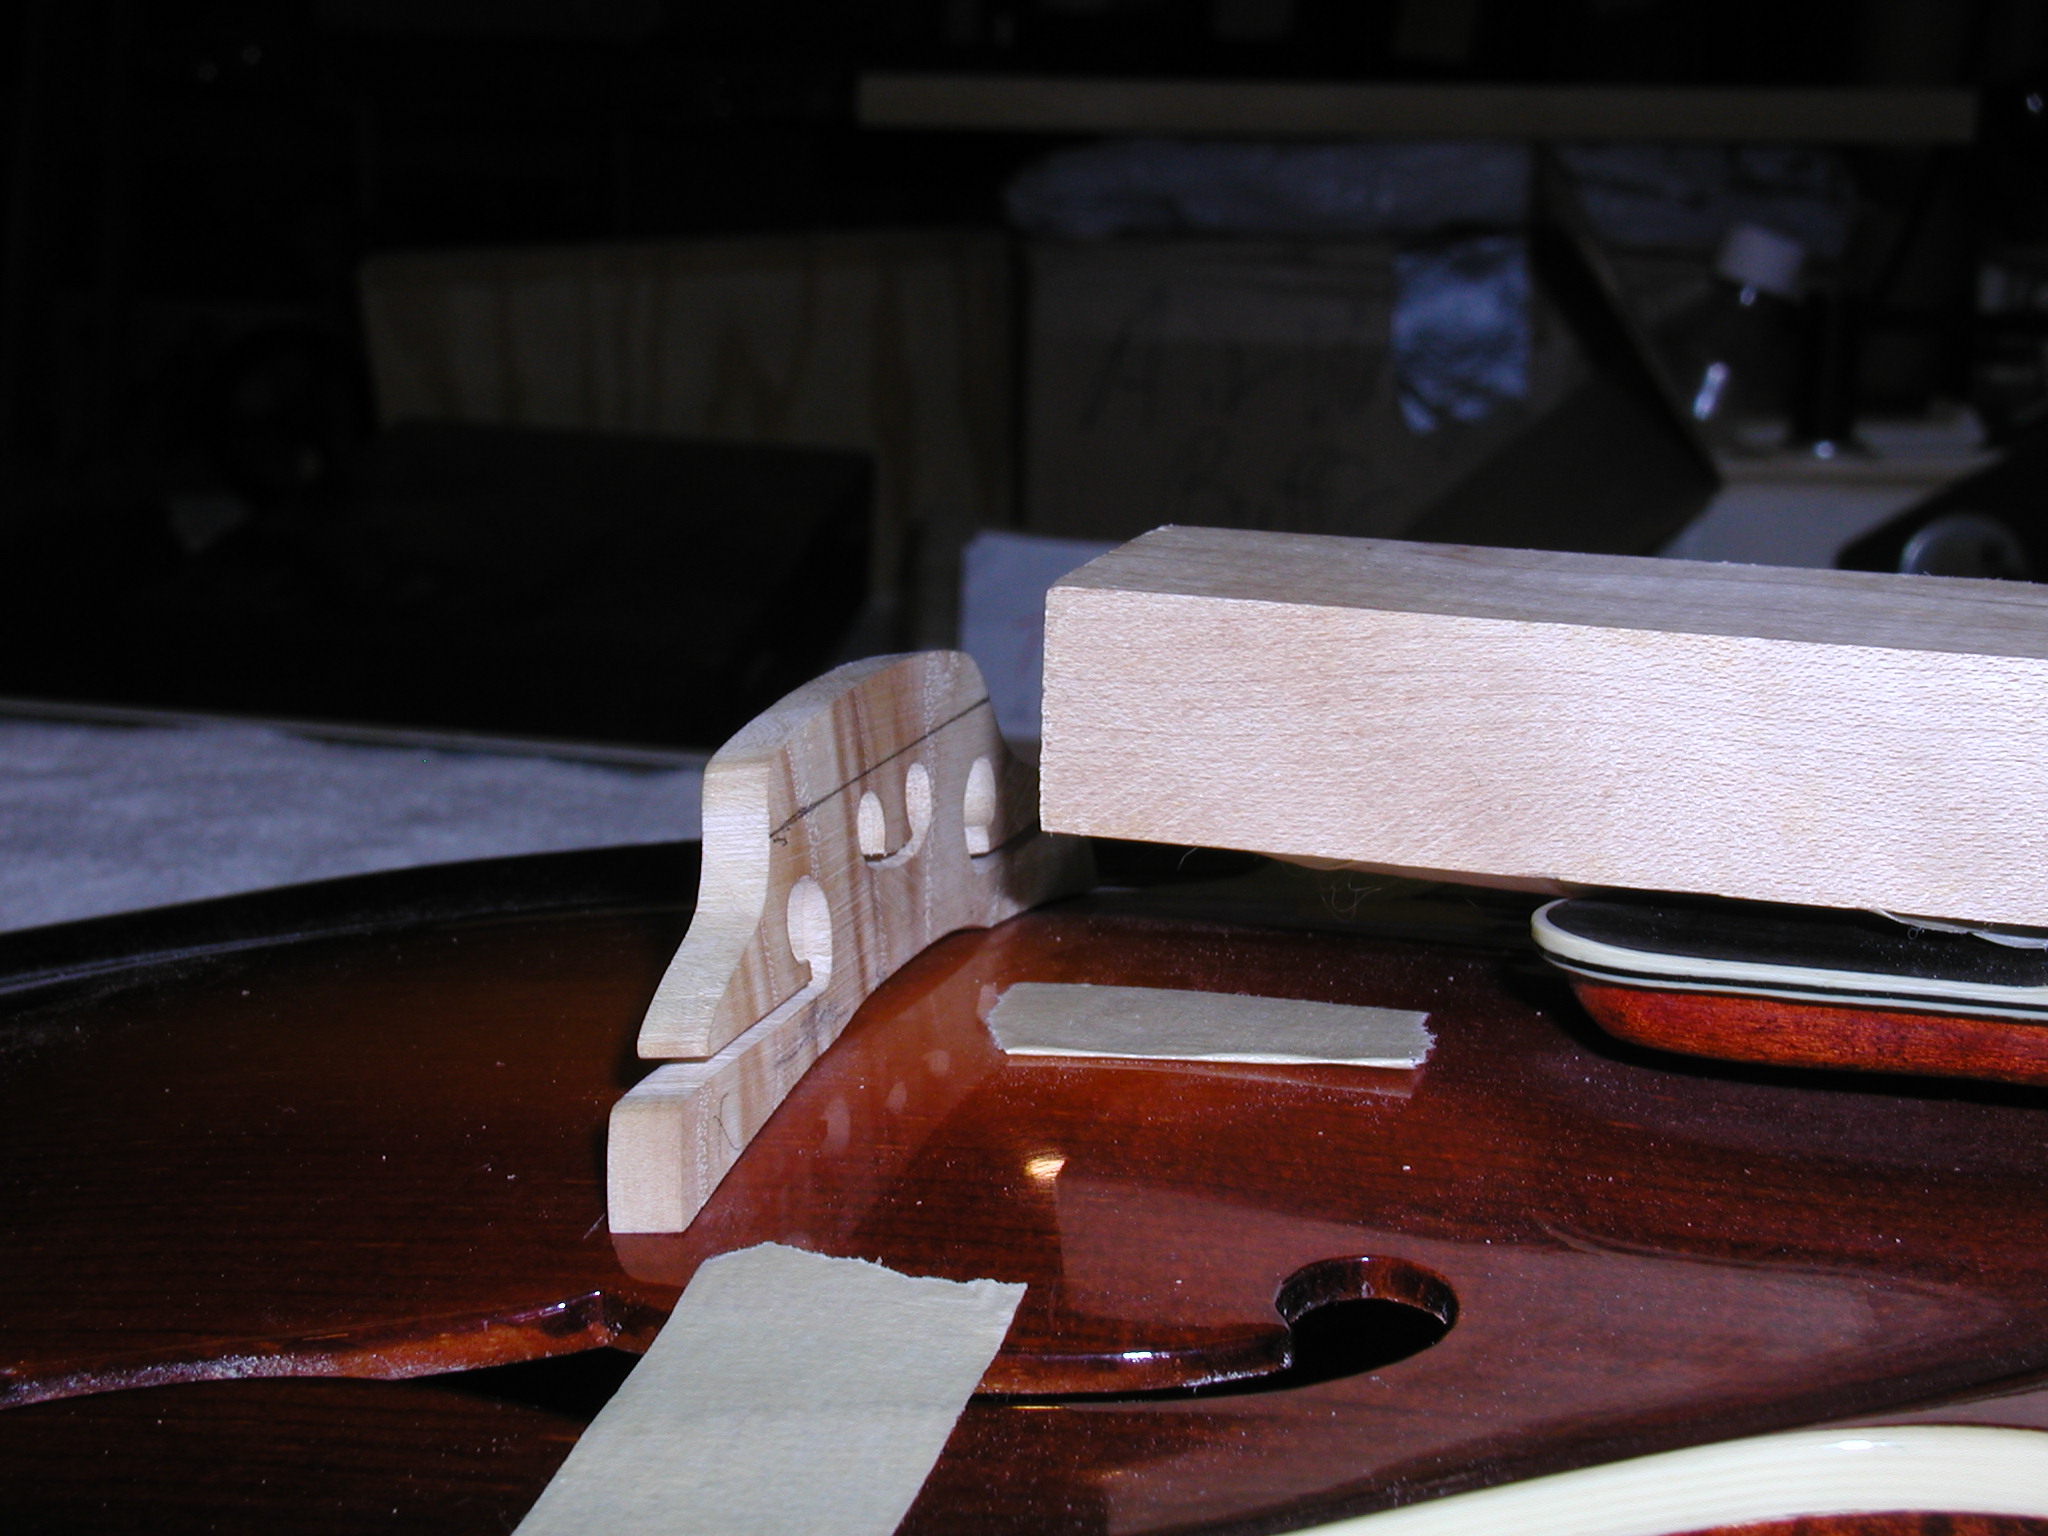
Fitting the feet to the top. There are several schools of thought on this and both seem to work. Some hold the bridge and wiggle it along the center line of the body. This way doesn't have to worry about getting the fit of the top radius but you have a harder time keeping it exactly aligned in the vertical without getting the bottom of the feet "rounded" due to letting the bridge tip as you slide back and forth. Sanding only on the push or the pull stroke helps this. I use the side-to-side method. You can see some tape sticking out under the sandpaper that indicate the bridge line. It is necessary to only slide it a short distance, a 1/4" or less or else the tip ends of the feet will not fit properly. I used 80 grit to rough it in with the side-to-side and then 120 grit and along the axis to get the final fit. I just scribble on the bottom with a pencil, take a couple strokes and check the bottom. I can then use a scraper to shape it faster than the sandpaper. Then "repeat as above" until the sanding indicates that it is true over the full foot surface. One last swipe with a scraper to get off any sandpaper fuzz and it is true. |
 |
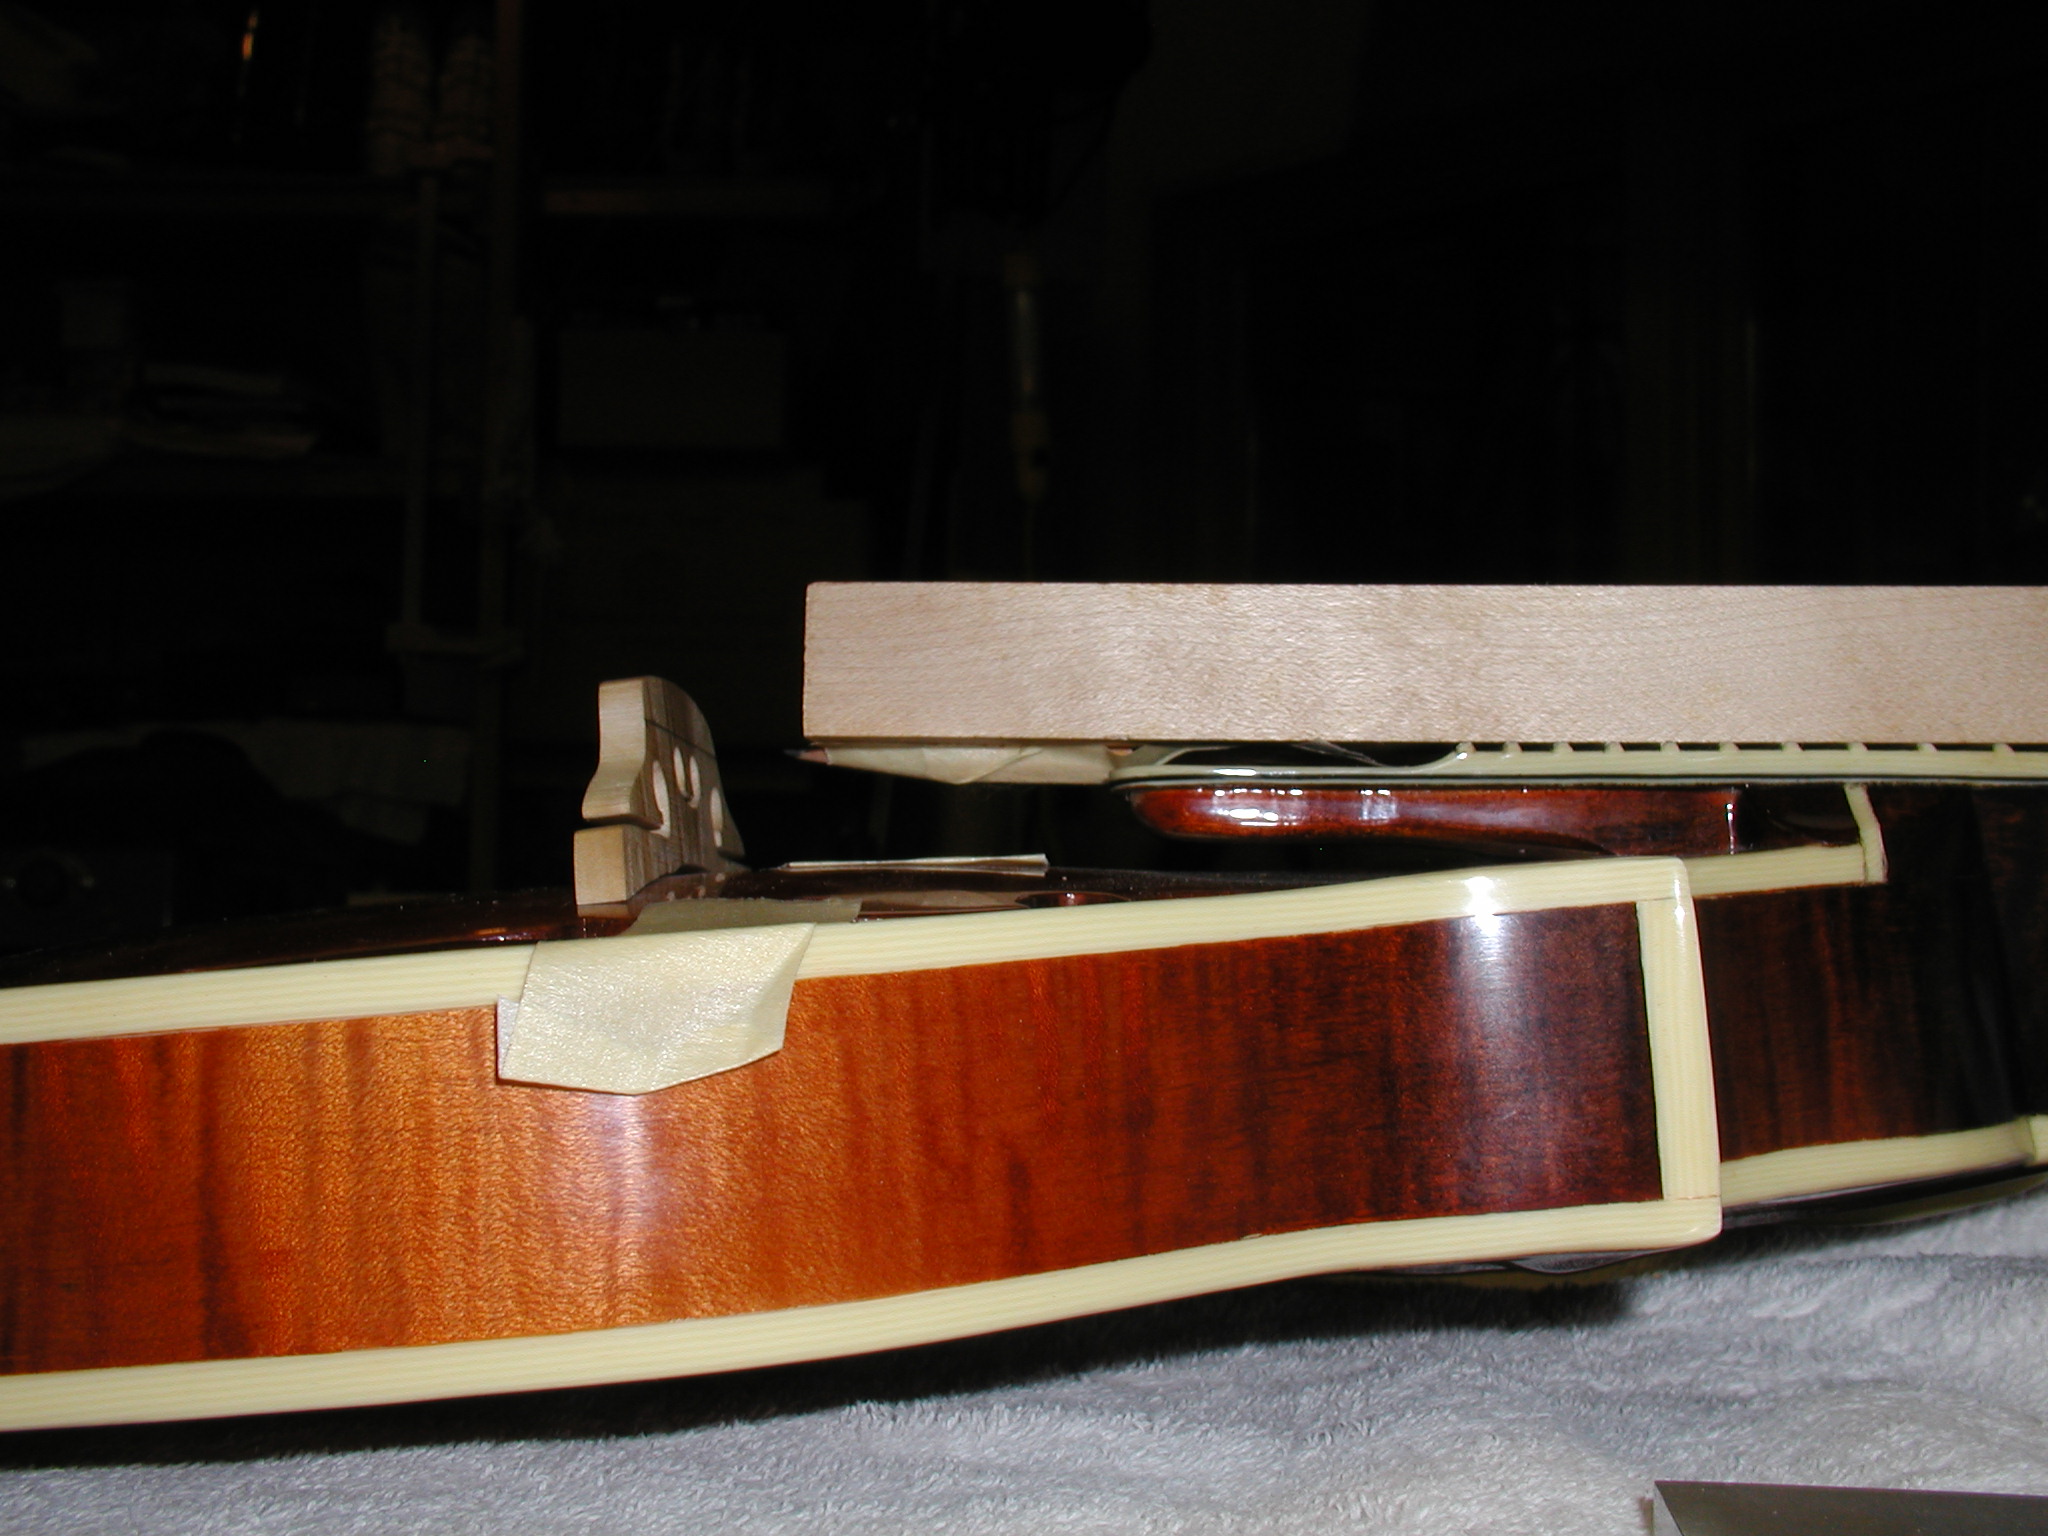
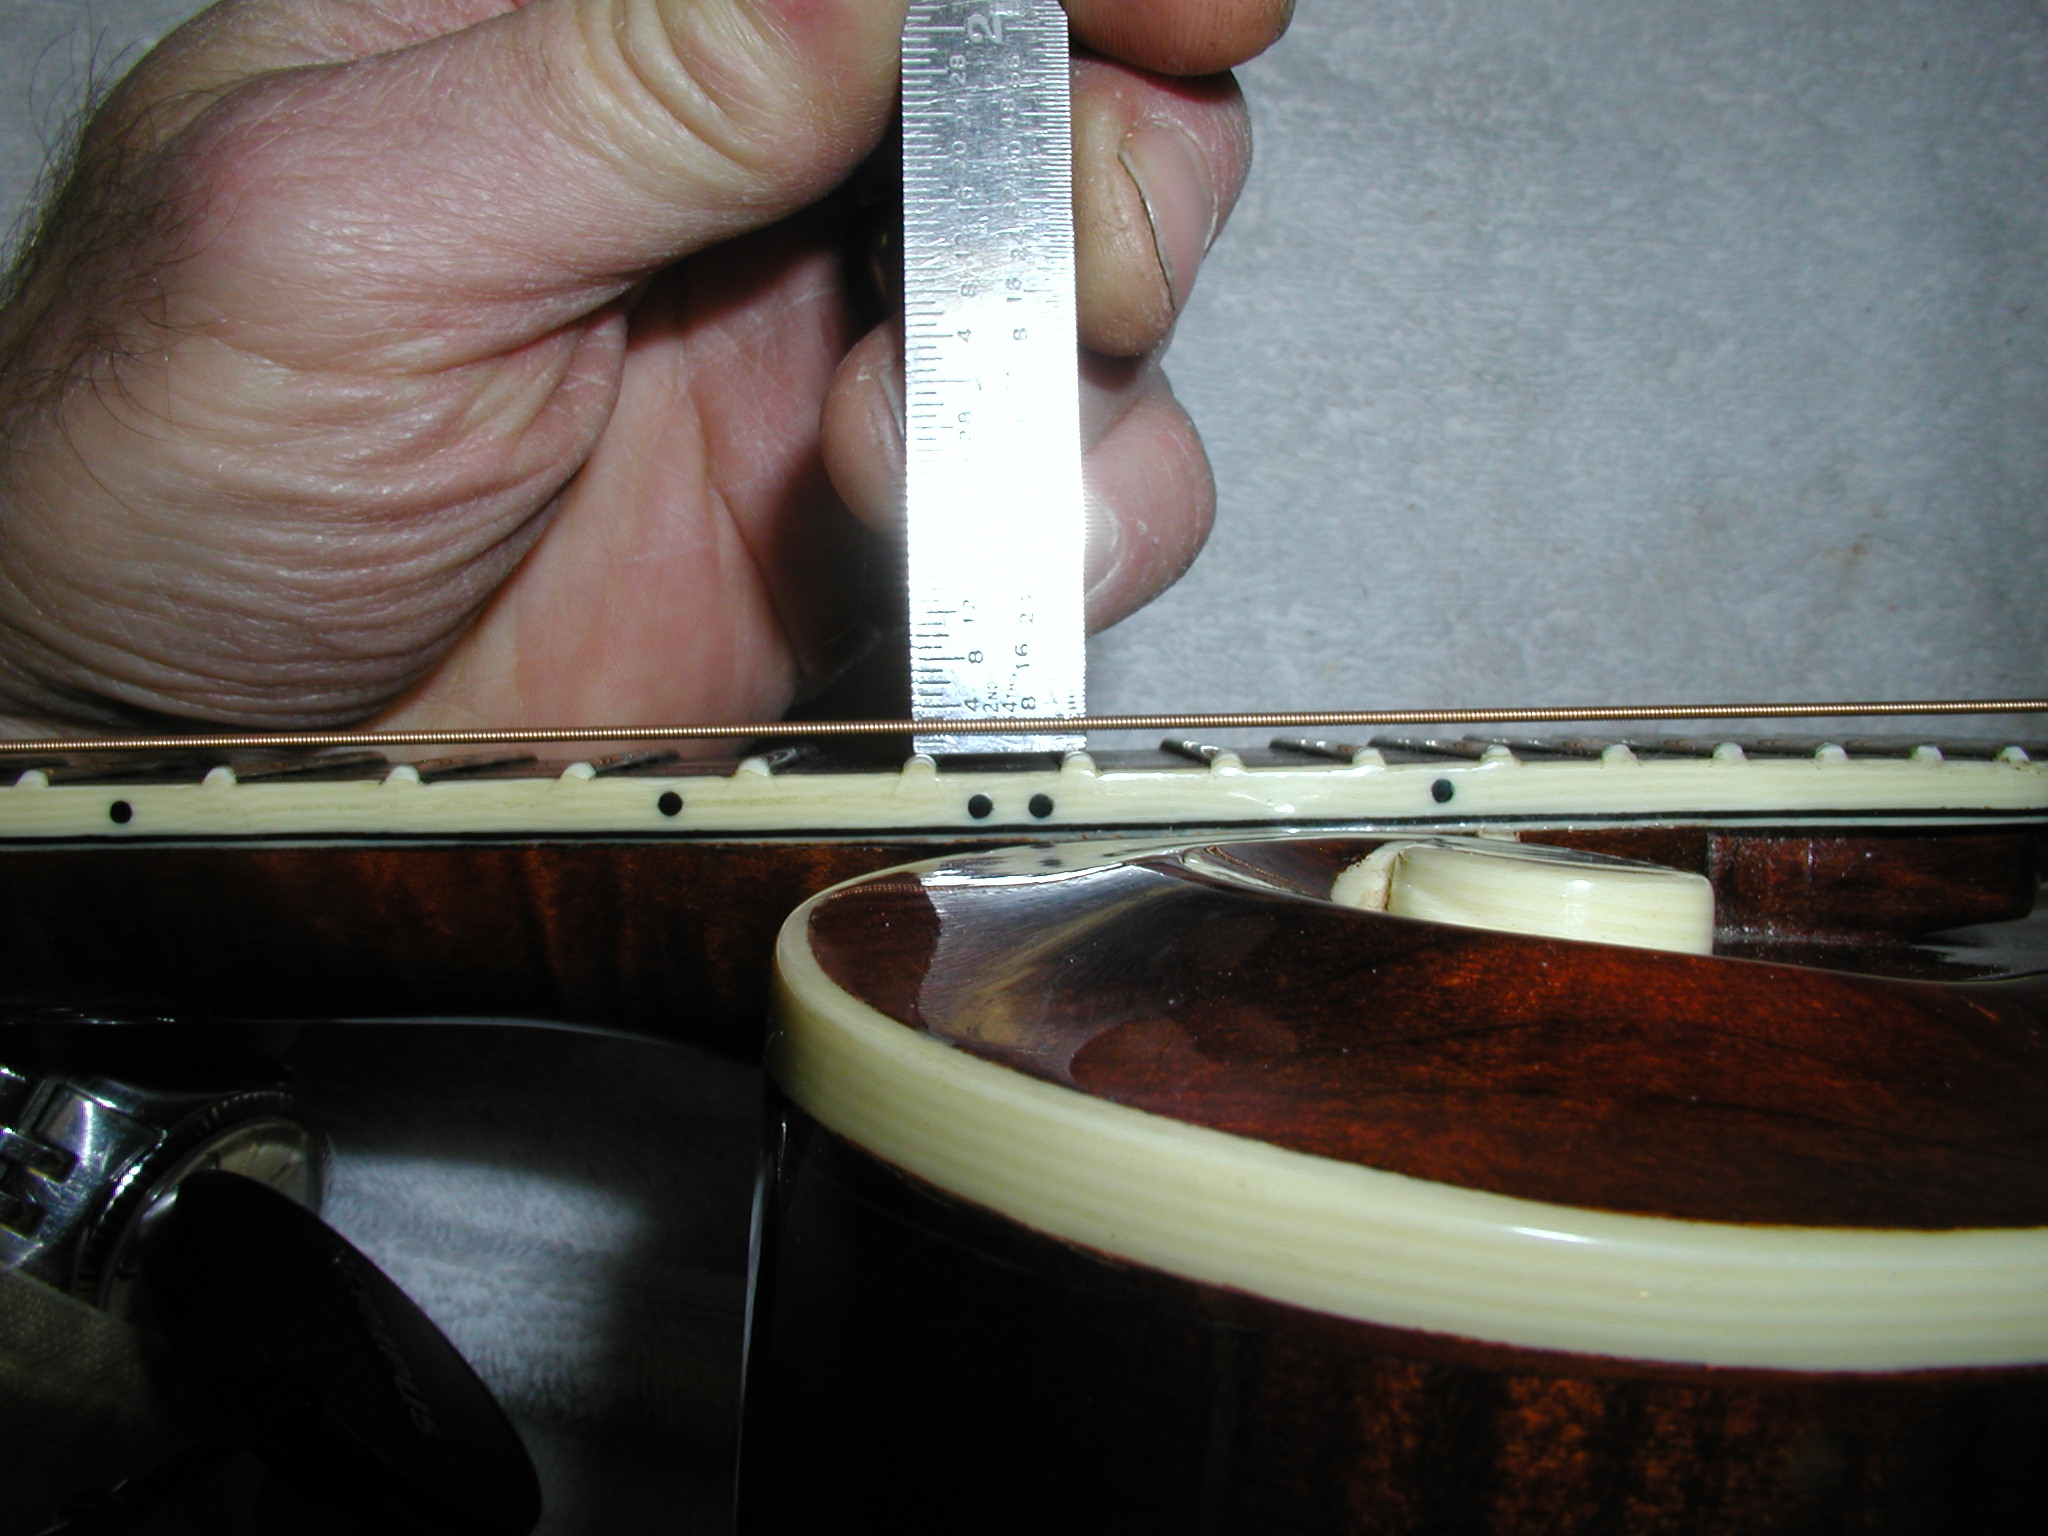
Now that the feet are fit to the top the next step is to trim the top of the bridge down to set the action height. To do this we need know where the fretboard height is. I use a simple stick of wood with a 1/2-pencil taped to the bottom to strike a line across the bridge. This marks the height of a line projected from the top of the frets to the bridge. You need to use a long enough stick that it is resting on the first frets too in case there is drop-away on the extension or as in this case the extension is scooped. You really should adjust the truss rod to get the neck flat too, but that is a bit much for what we are doing here, the final fit will be done in a later step. |
 |
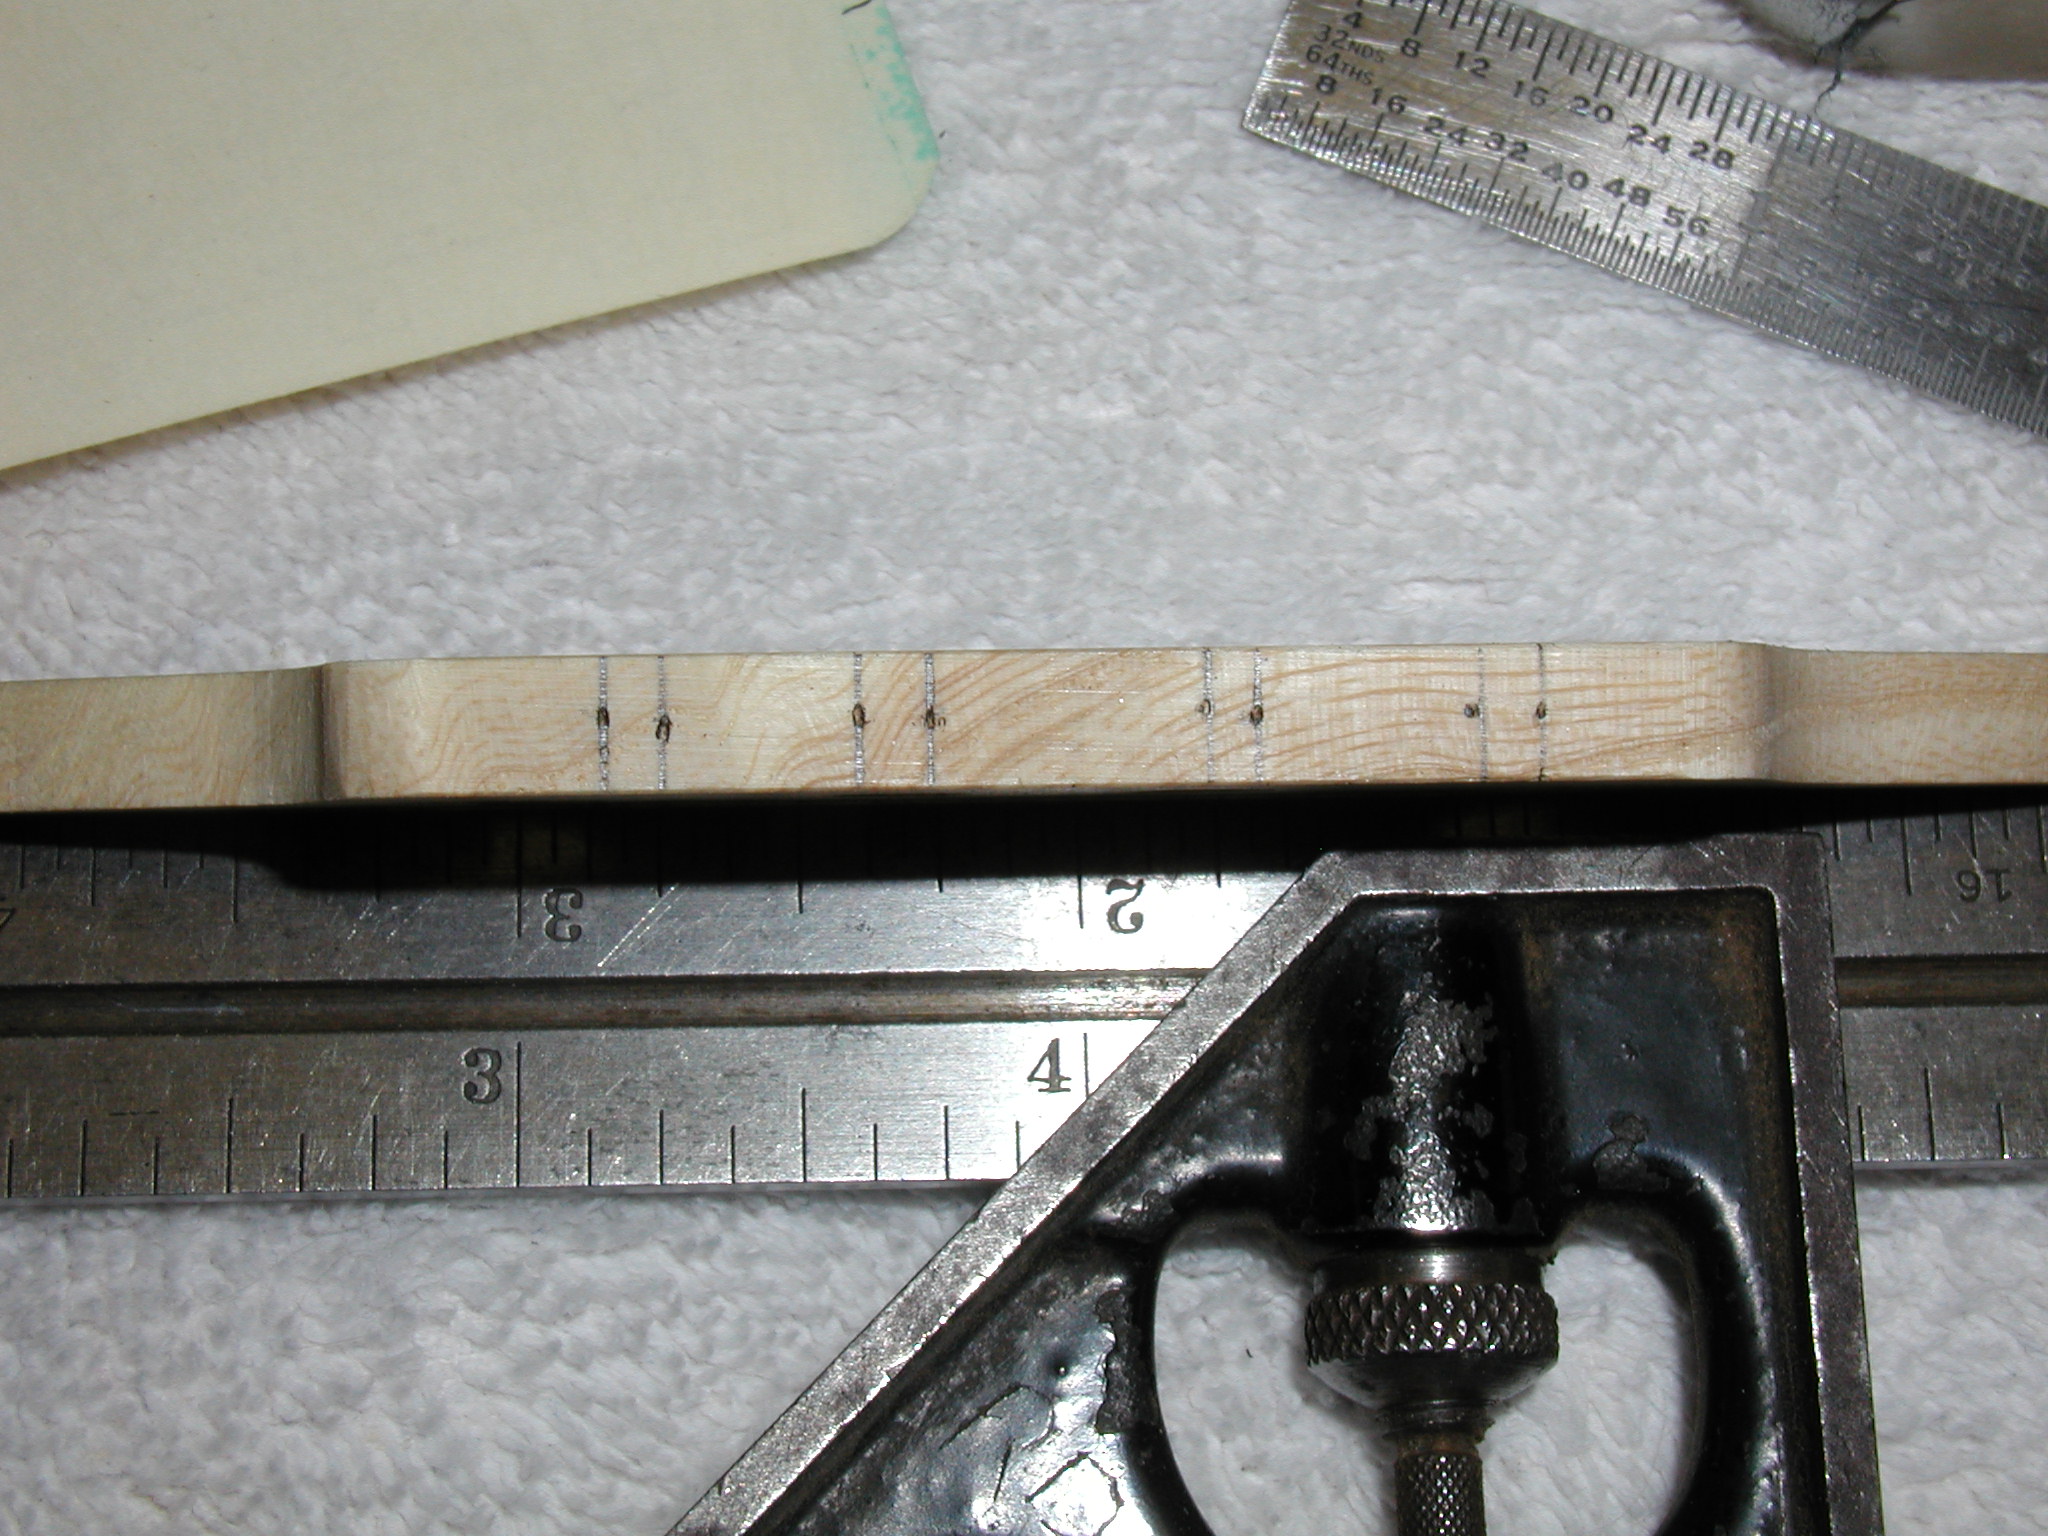
Here is another shot of the marker stick. Notice that this rig works for both flat and radiused fretboards. Now that we have the height of the frets we measure up another 3/32" or so and draw another line following the original. A quick hit on the belt sander and we have it close enough to start the action and intonation process. |
 |
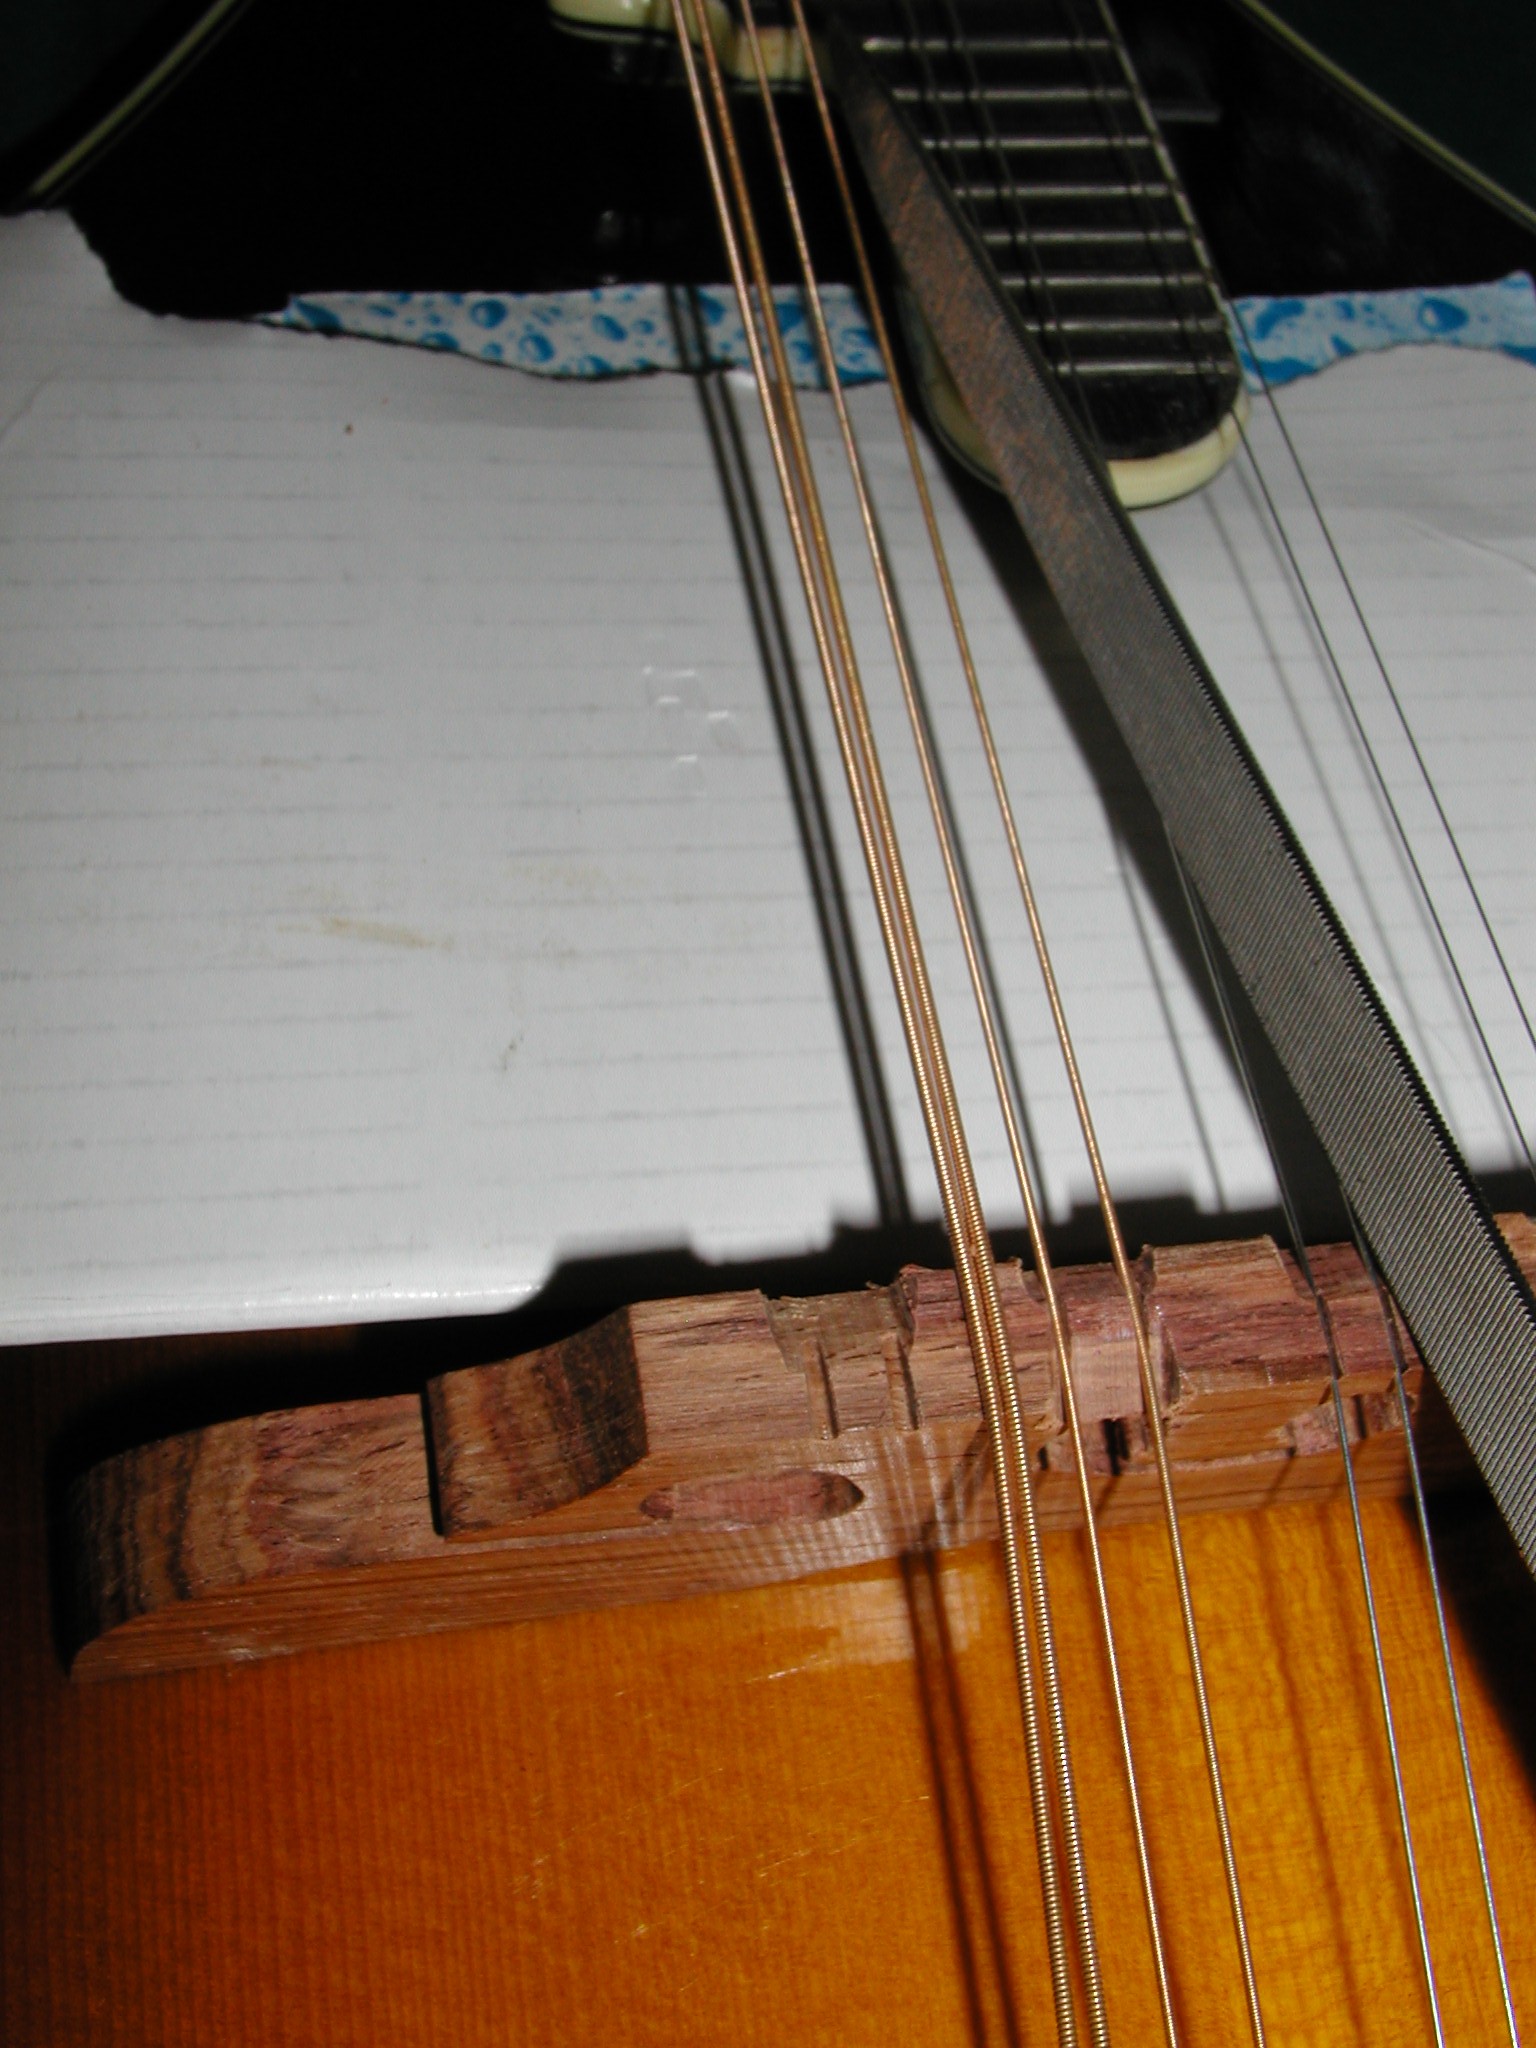
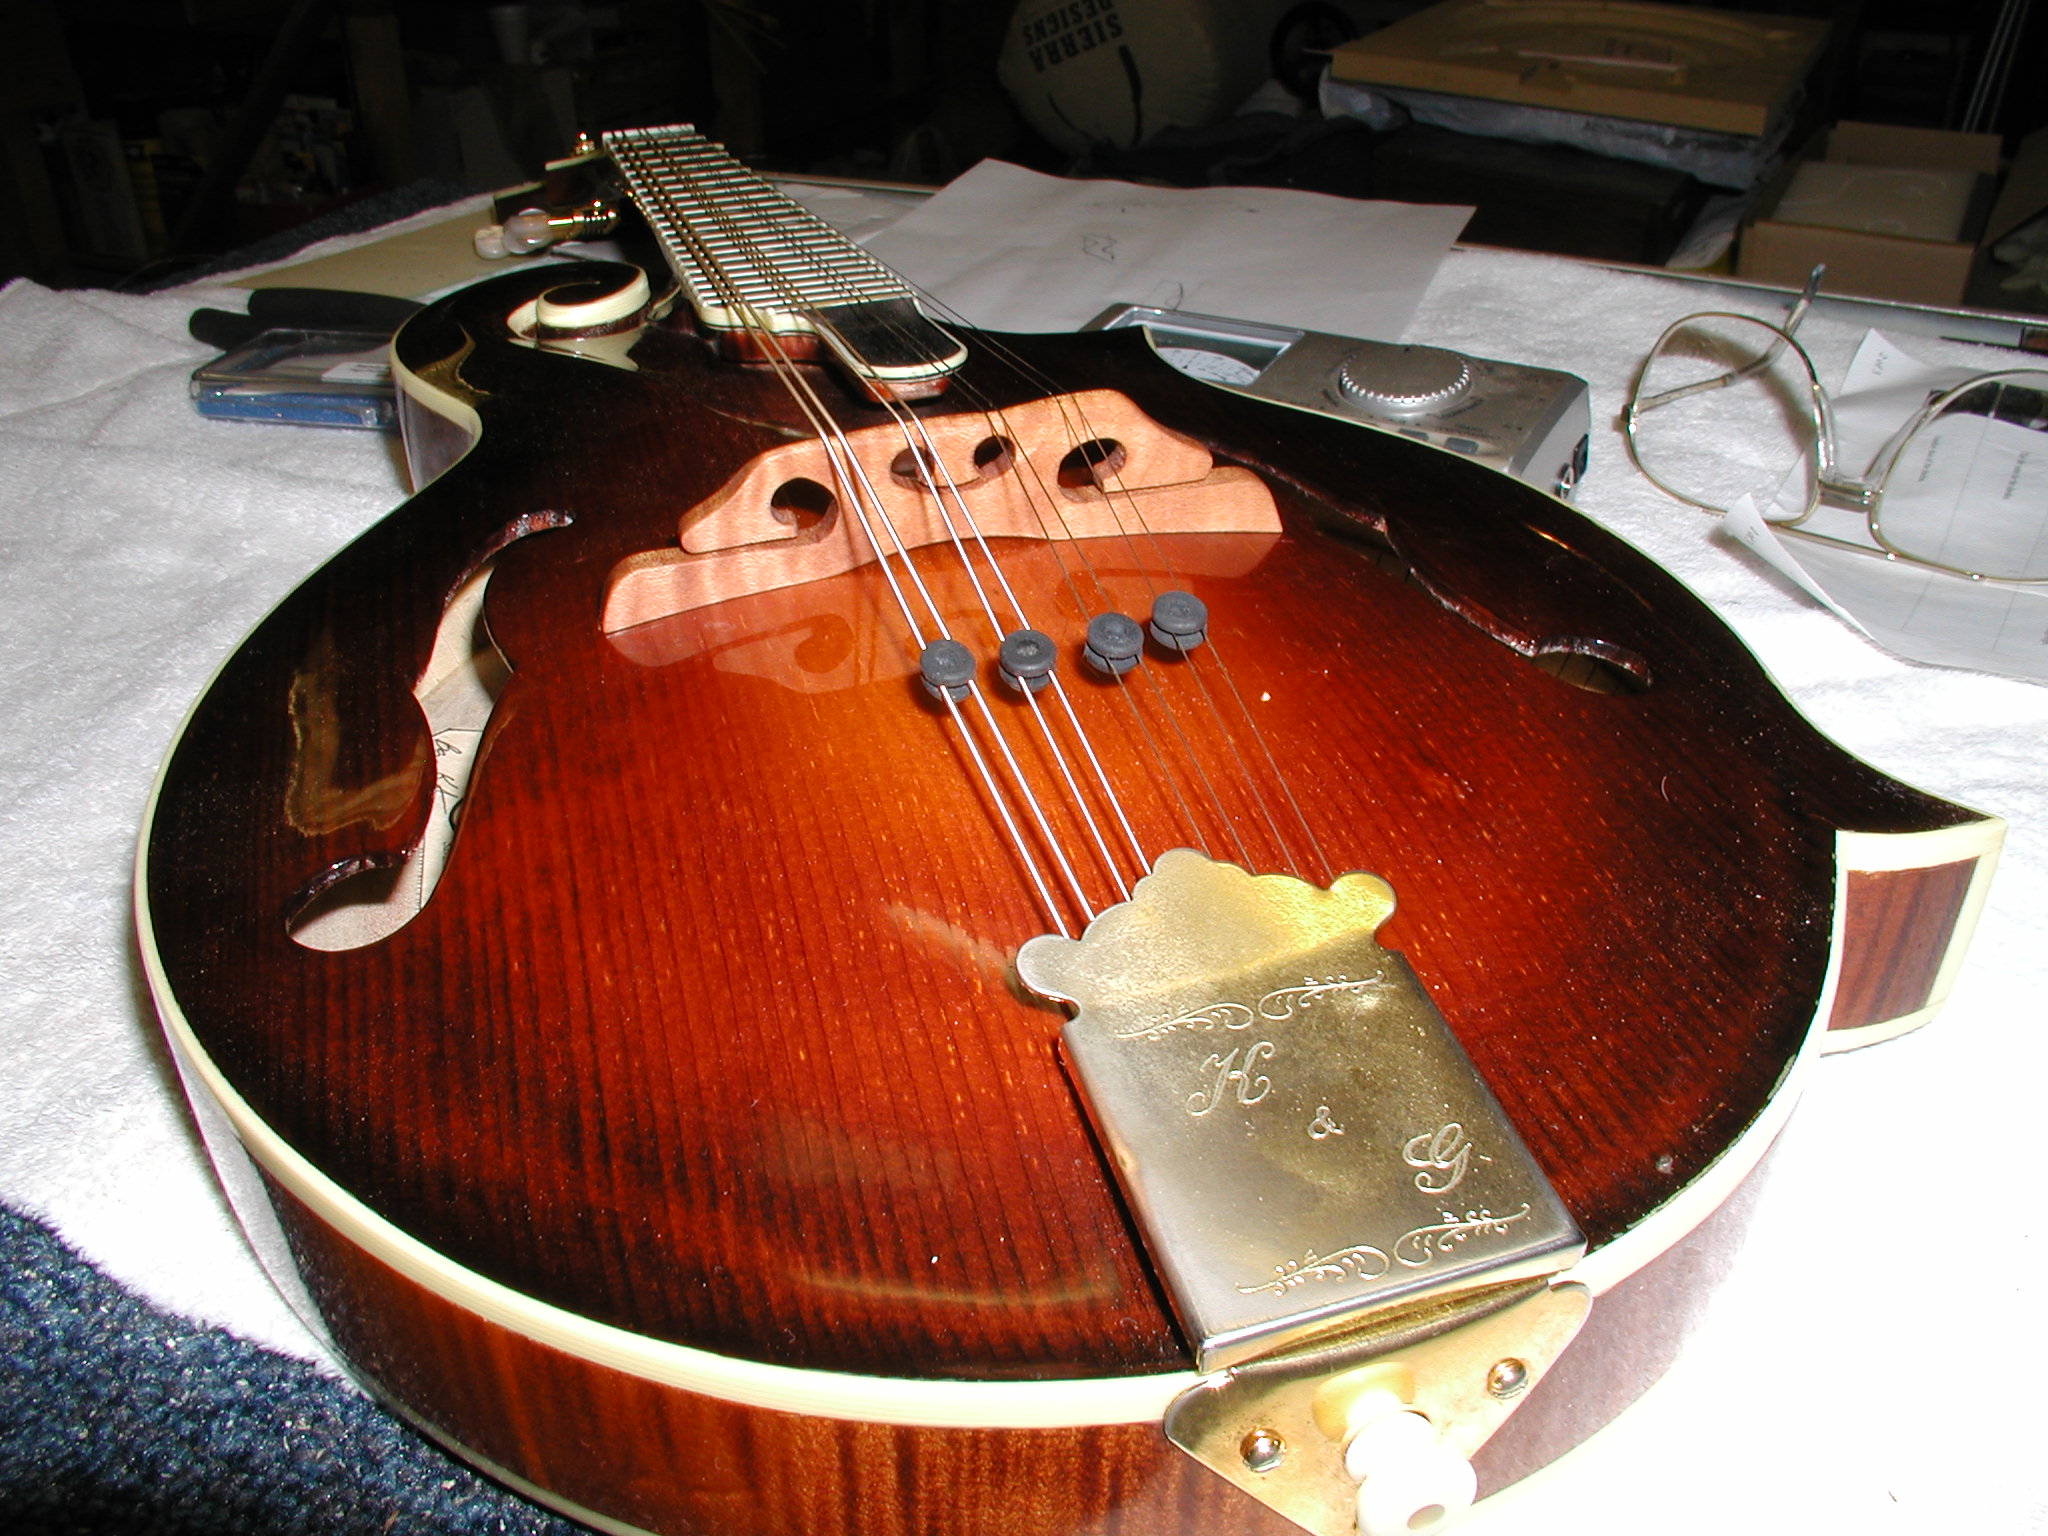
In order to string up we have to make nicks in the bridge to hold the stings in place. If you have the old bridge and are pleased with the spacing, just transfer the information to the new one. If this is a new mandolin or you want to make corrections, just position the bridge and use a long straight edge trued to each side of the fretboard to mark the outside limits. Then figure the desired set back and string pair separations and mark. Use an exacto razor saw or similar to make the nick just deep enough to hold the strings. String it up to pitch. |
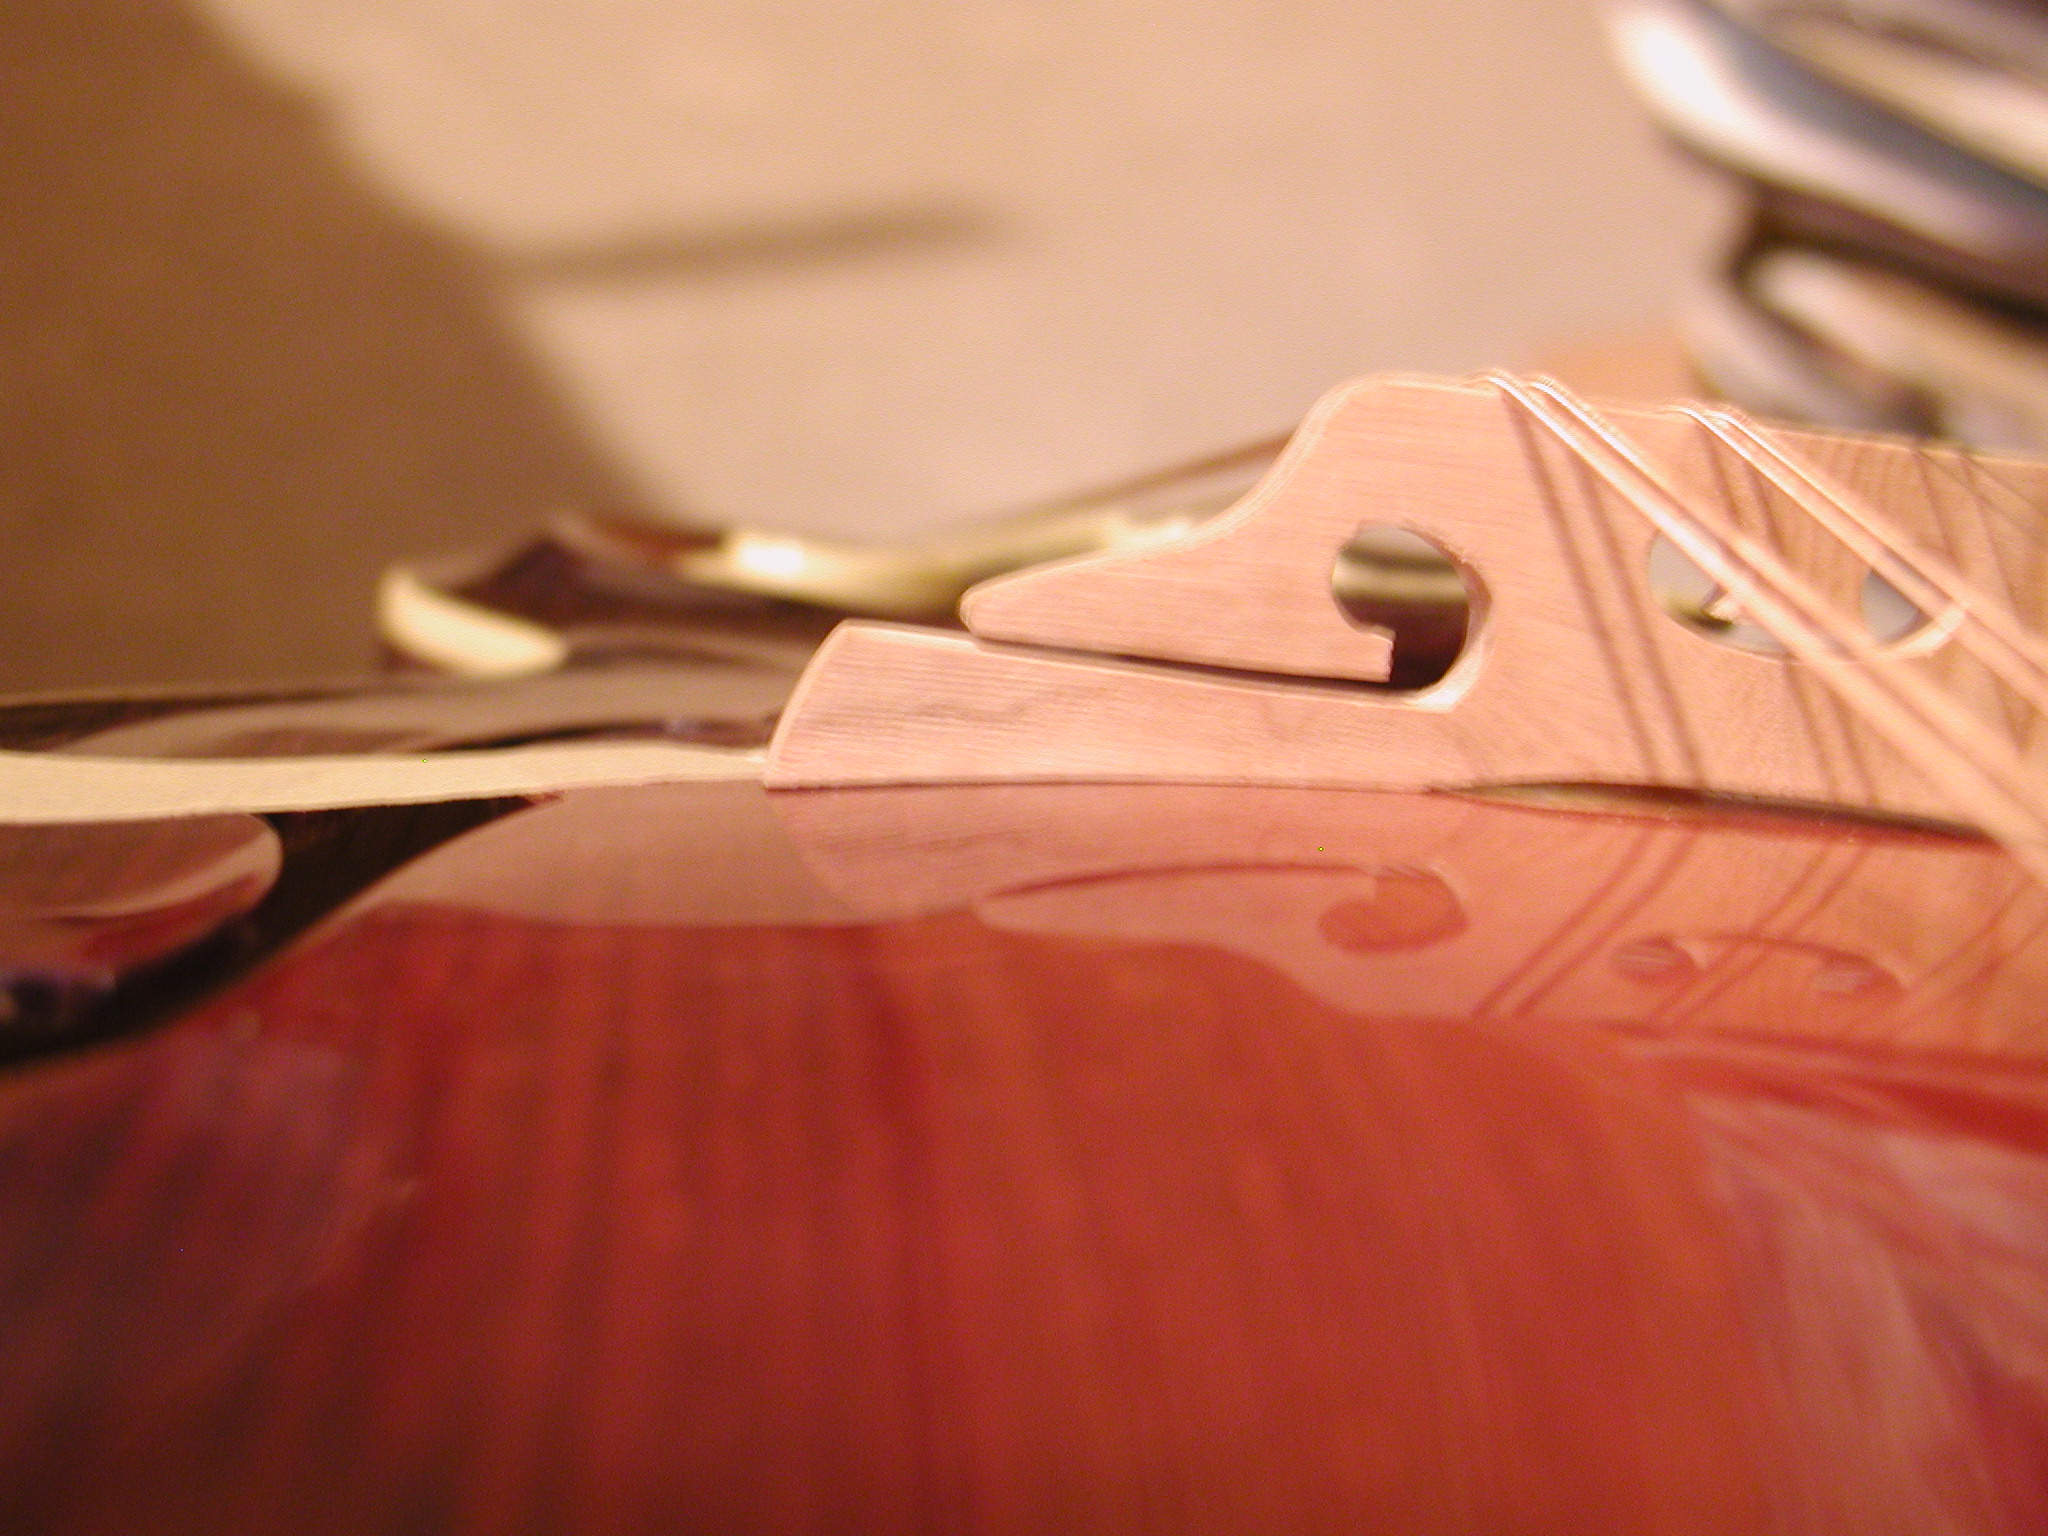 |
Ugh Oh!!! Lookie dem feet! With string pressure the cross slit has allowed the feet to wing up on the ends. This bridge is firewood now. This is why I said earlier in the Plan section not to use those dimensions. Back to the drawing board. Clearly I need to leave more meat at the bottom so that the feet are stronger and/or make the cross slot shorter. I had a stack that I hadn't already drilled and cut out, so I just moved all the existing layout up 3/32" from the bottom and repeated the above steps. [See the last section for my current layout.] |
 |
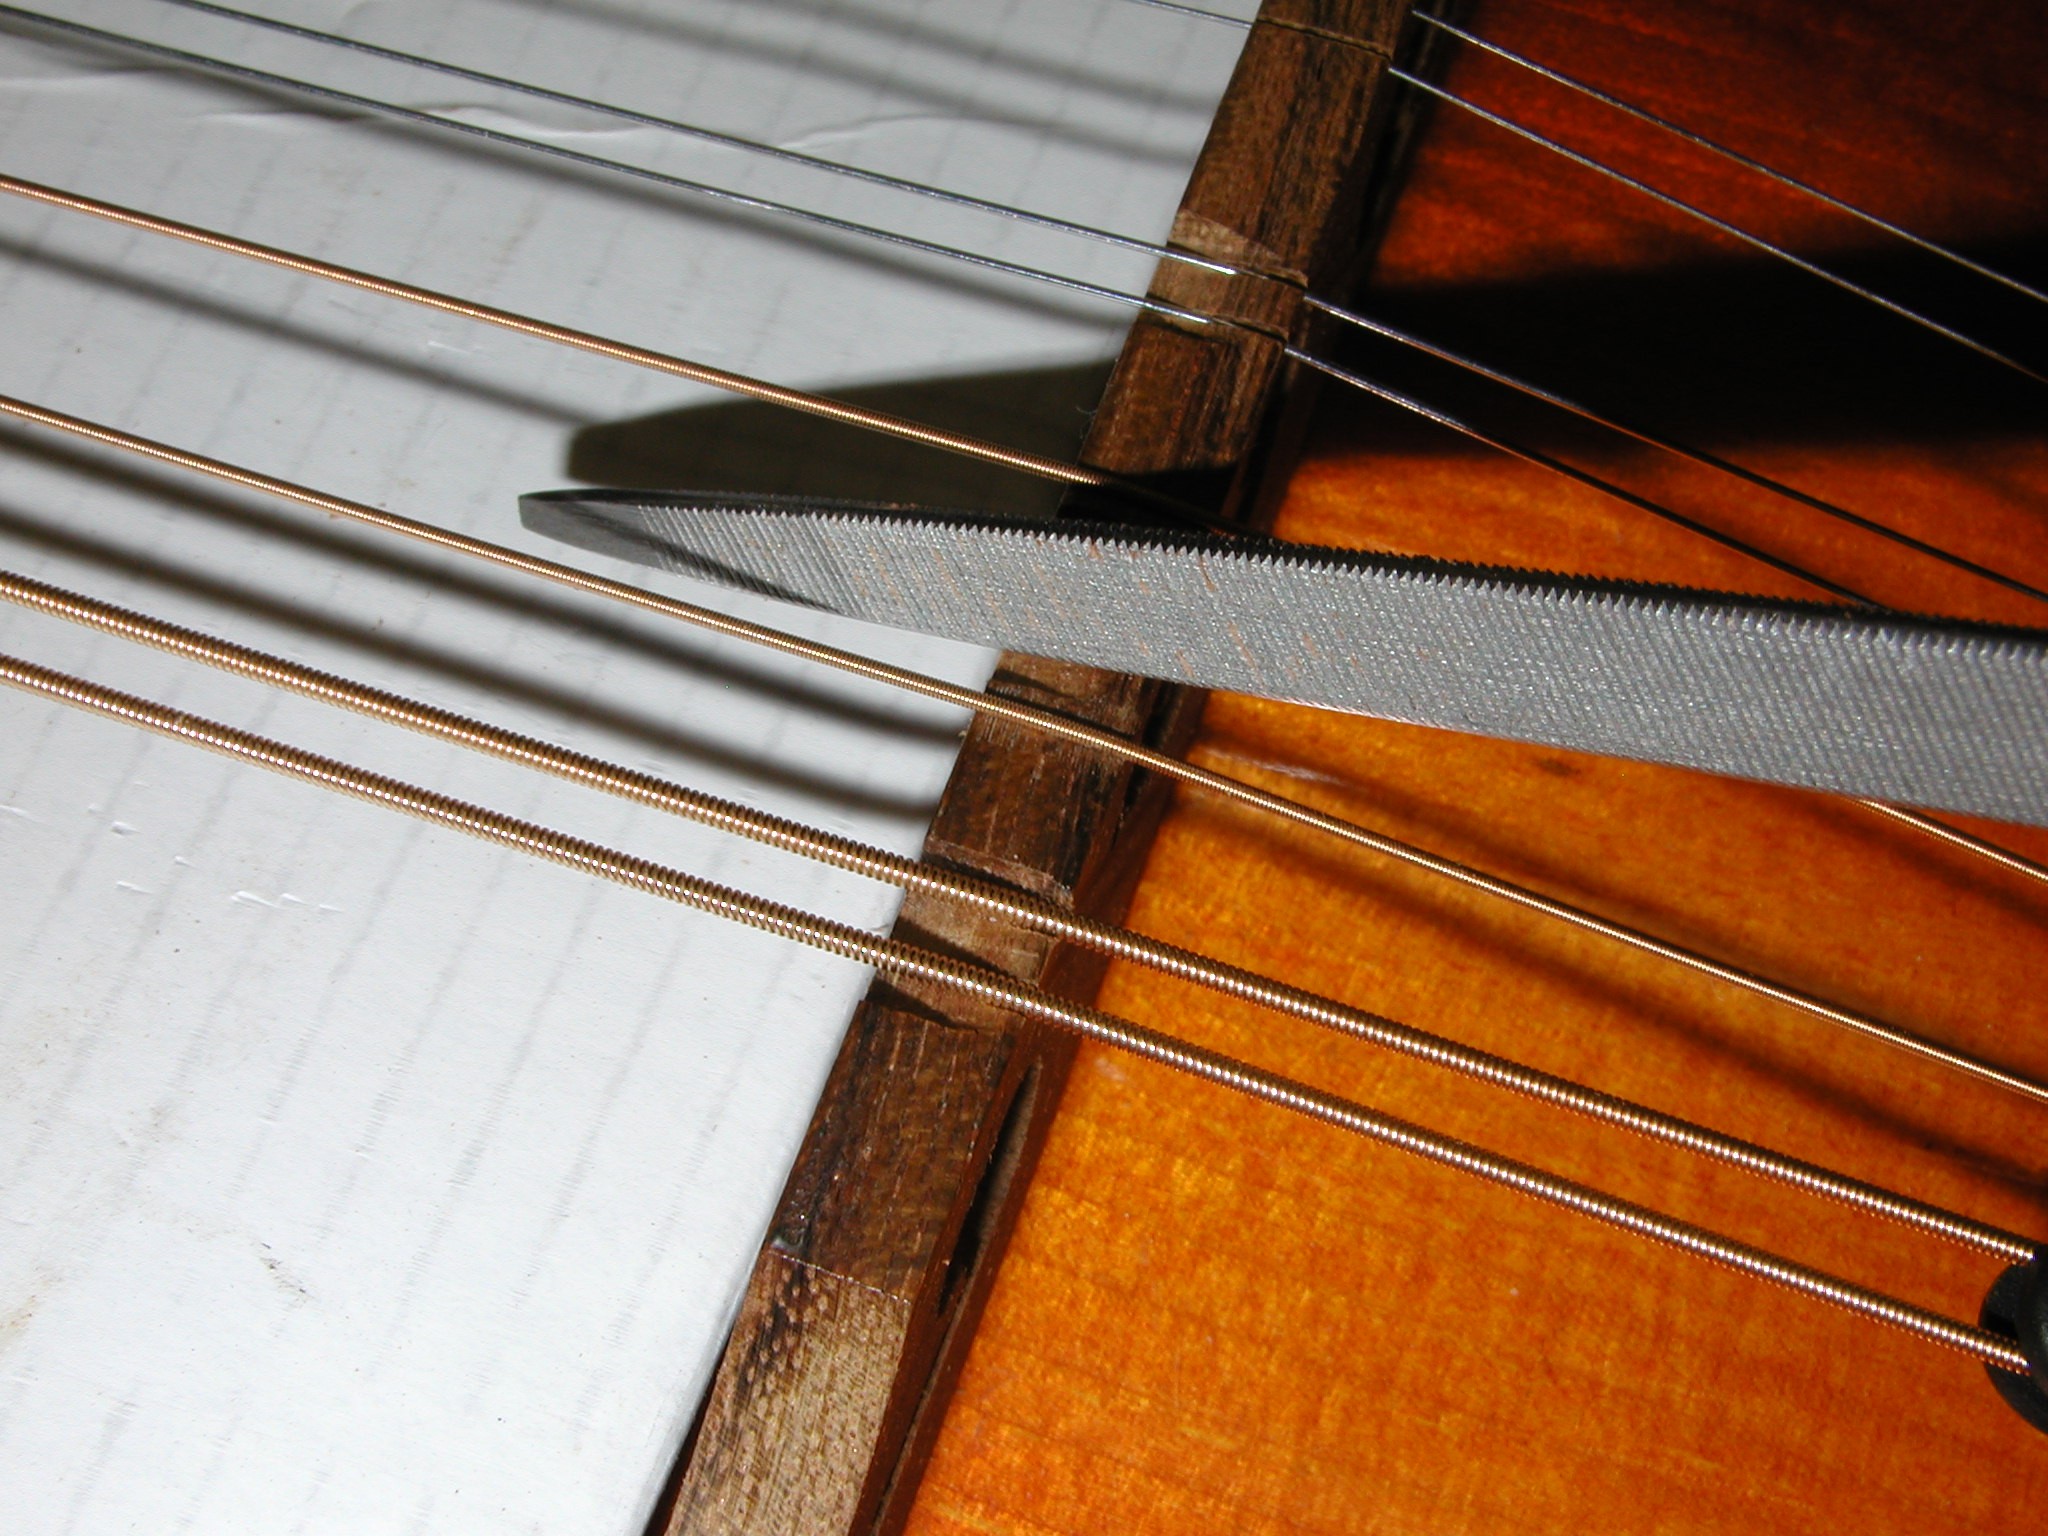
With the box strung to pitch I check the string height at the 12 or 14th fret. A good average action is about three or four sixty-fourths of an inch above the 12 fret. Start tall, you can always lower if you want later. Using a razor saw and nut slotting files I slowly work each string down to height. I lift the string out, cut a little, lift it back in place, re-tune and check. This takes a while to get right. (So why do them lute-in-ators get so much money for a simple action job?<g>) |
 |
Ok, the action height is right, but the
intonation is still trash. A couple comments on intonation. Your string
gauge, brand, age, orientation to the phases of the moon, etc. will change
the intonation. Decide on a brand and gauge at least and do the intonation
with a new set of strings. The process will kill them, but you want to
start fresh. To set the intonation you need to slowly file away the bridge
material to make the ramps. The break point will set the intonation. You
know from looking at other bridges that the general placement of the breaks
will be Forward, Back, Sort-of-Forward, Way-Back as counted from the high
E pair. Unless you have perfect pitch or perfect interval, use a tuner
that shows cents, preferably one with a sweep needle. Start with the E string and pluck the open string, then pluck it's harmonic. These should match. If they are off, slightly re-cut your notch with a bit more back angle. Now compare the harmonic to the fretted 12th fret note. It should be sharp. If not, slack the strings a bit, move the bridge forward and re-tune to pitch until it is a few cents sharp. You need to start sharp so that you can remove material to move the break point back and increase the string length. Repeat for each string till you have all the break points. Remove the bridge and ramp the backsides at a lesser angle. Leave some meat at the top to support the strings, especially the wound strings so they don't cut into the bridge wood too much. |
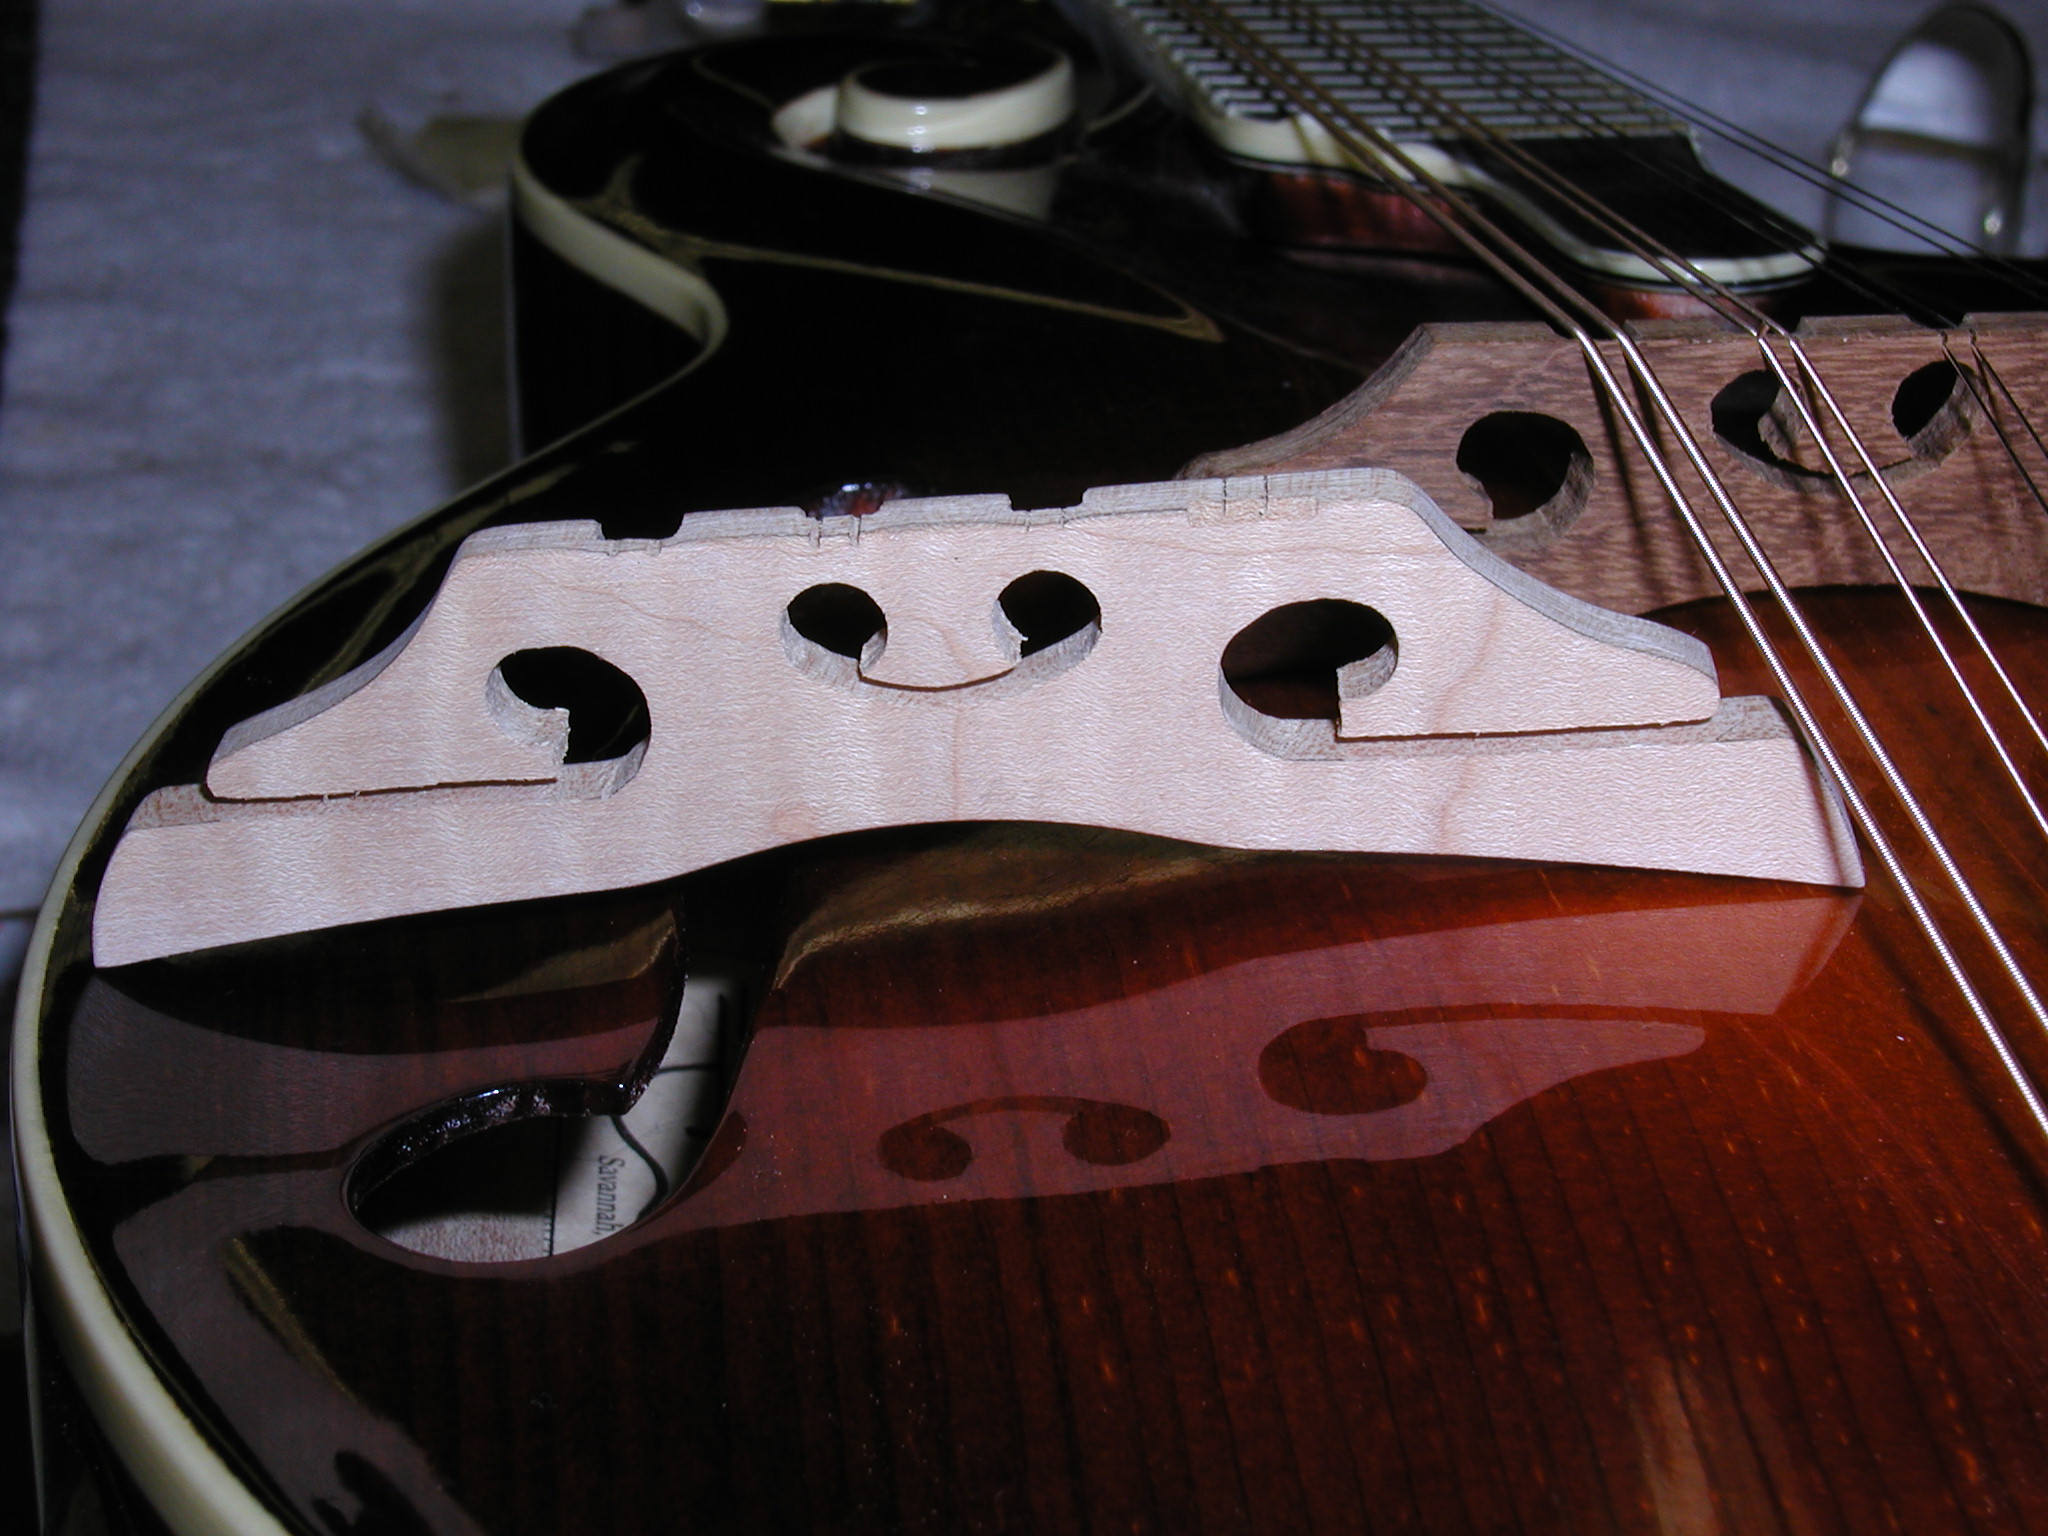 |
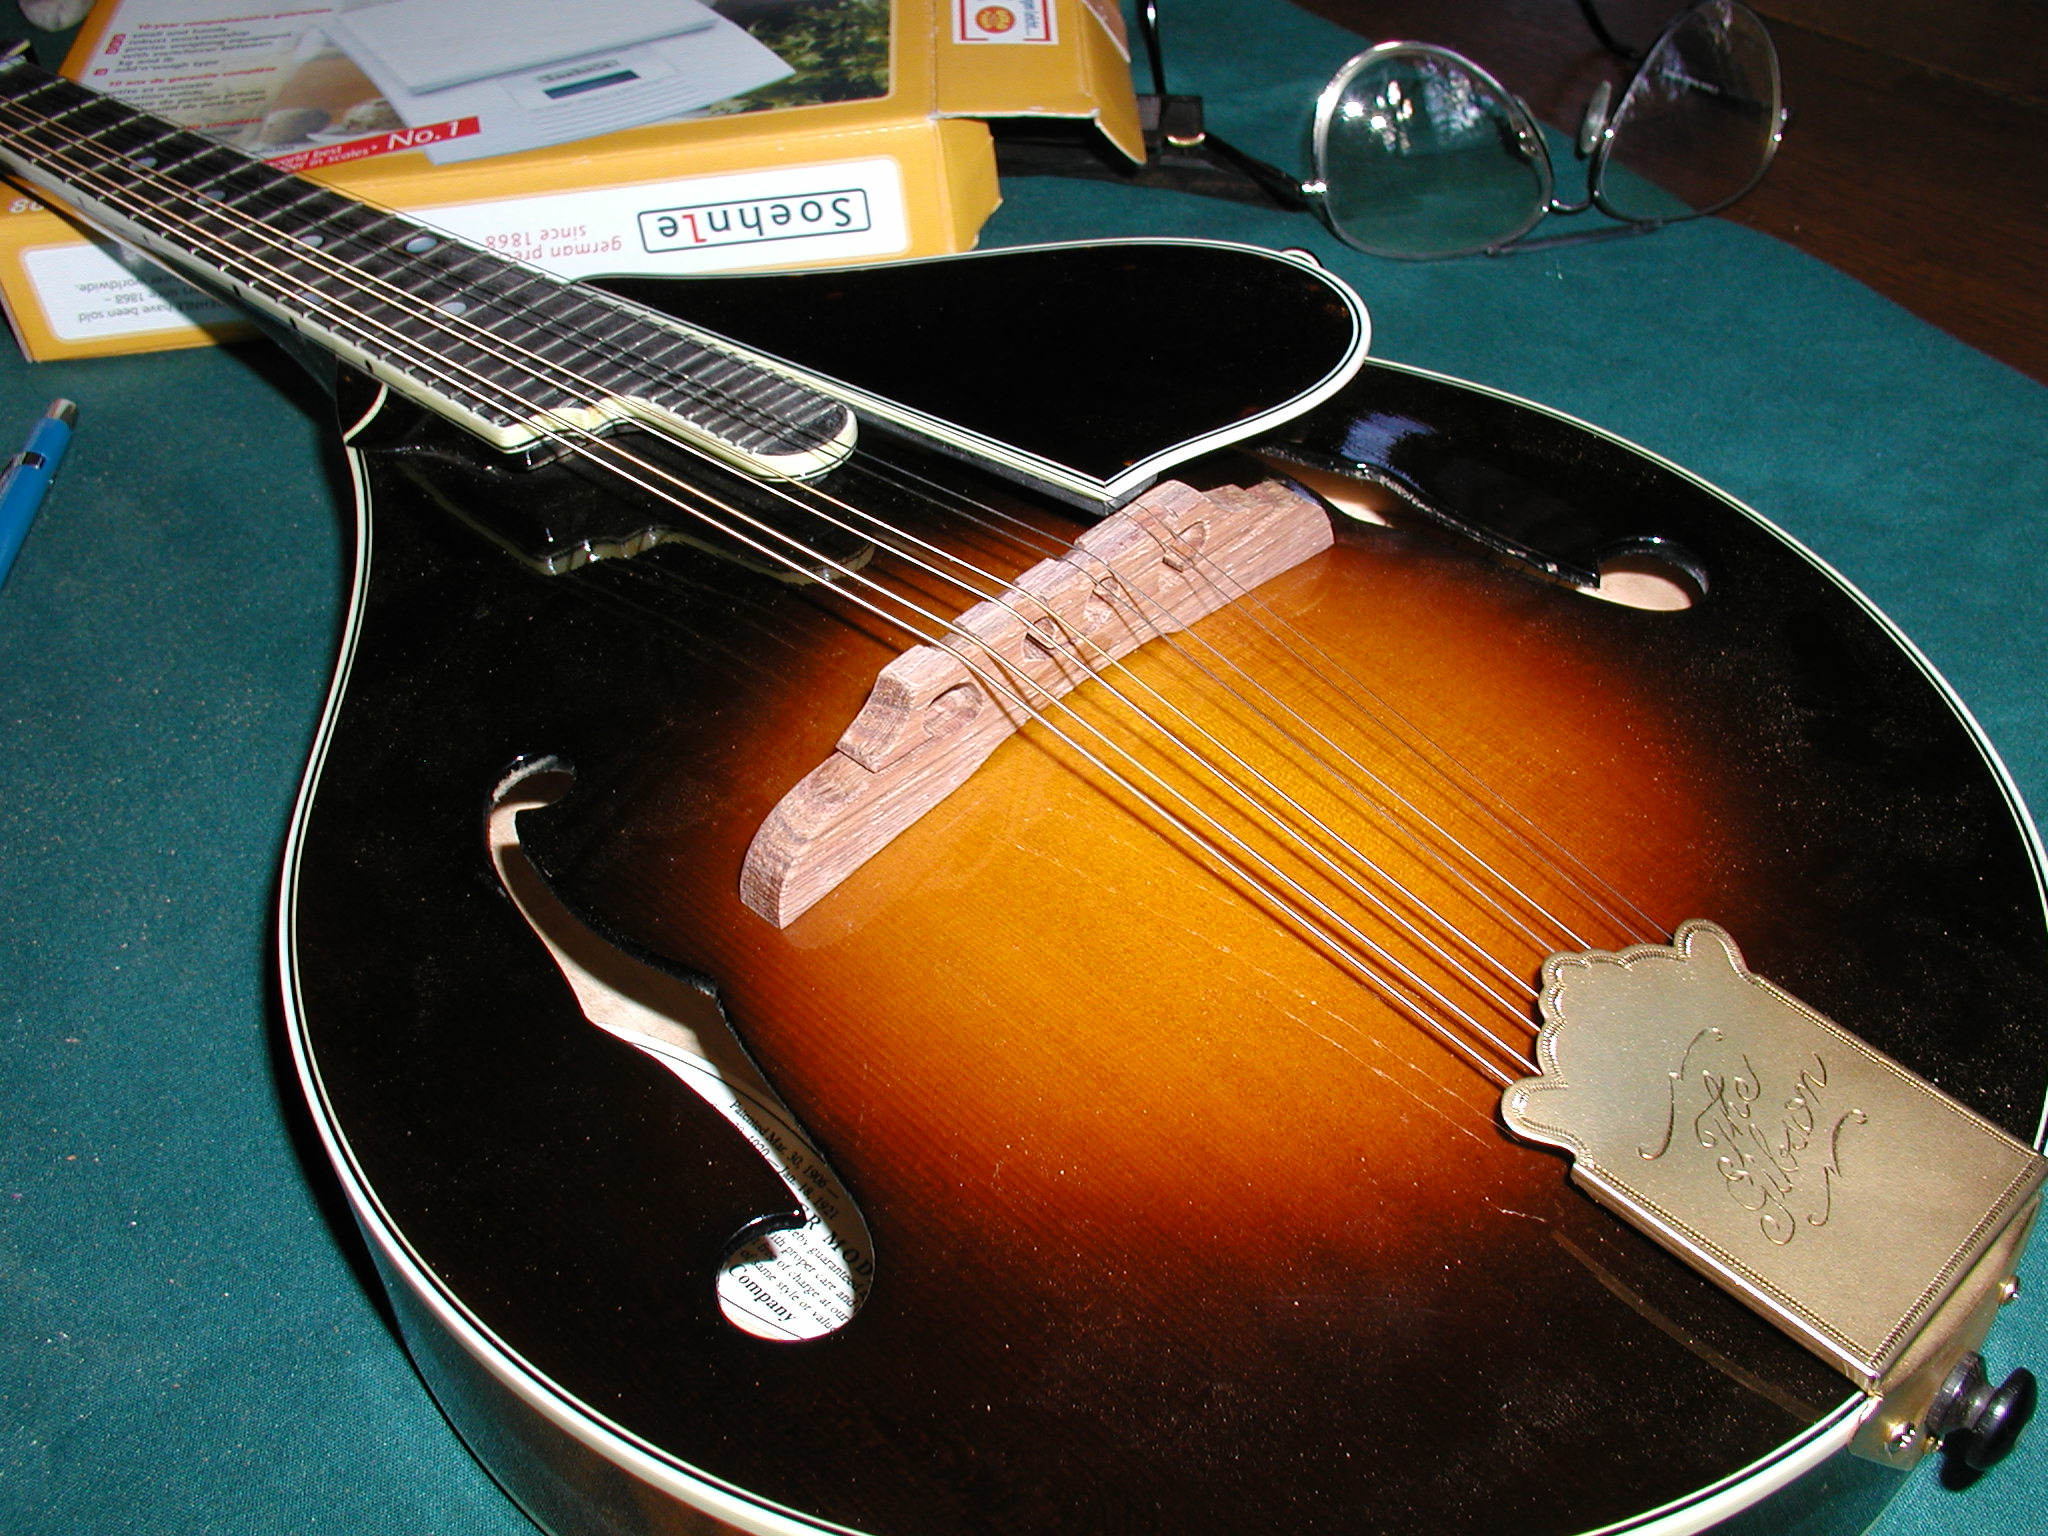
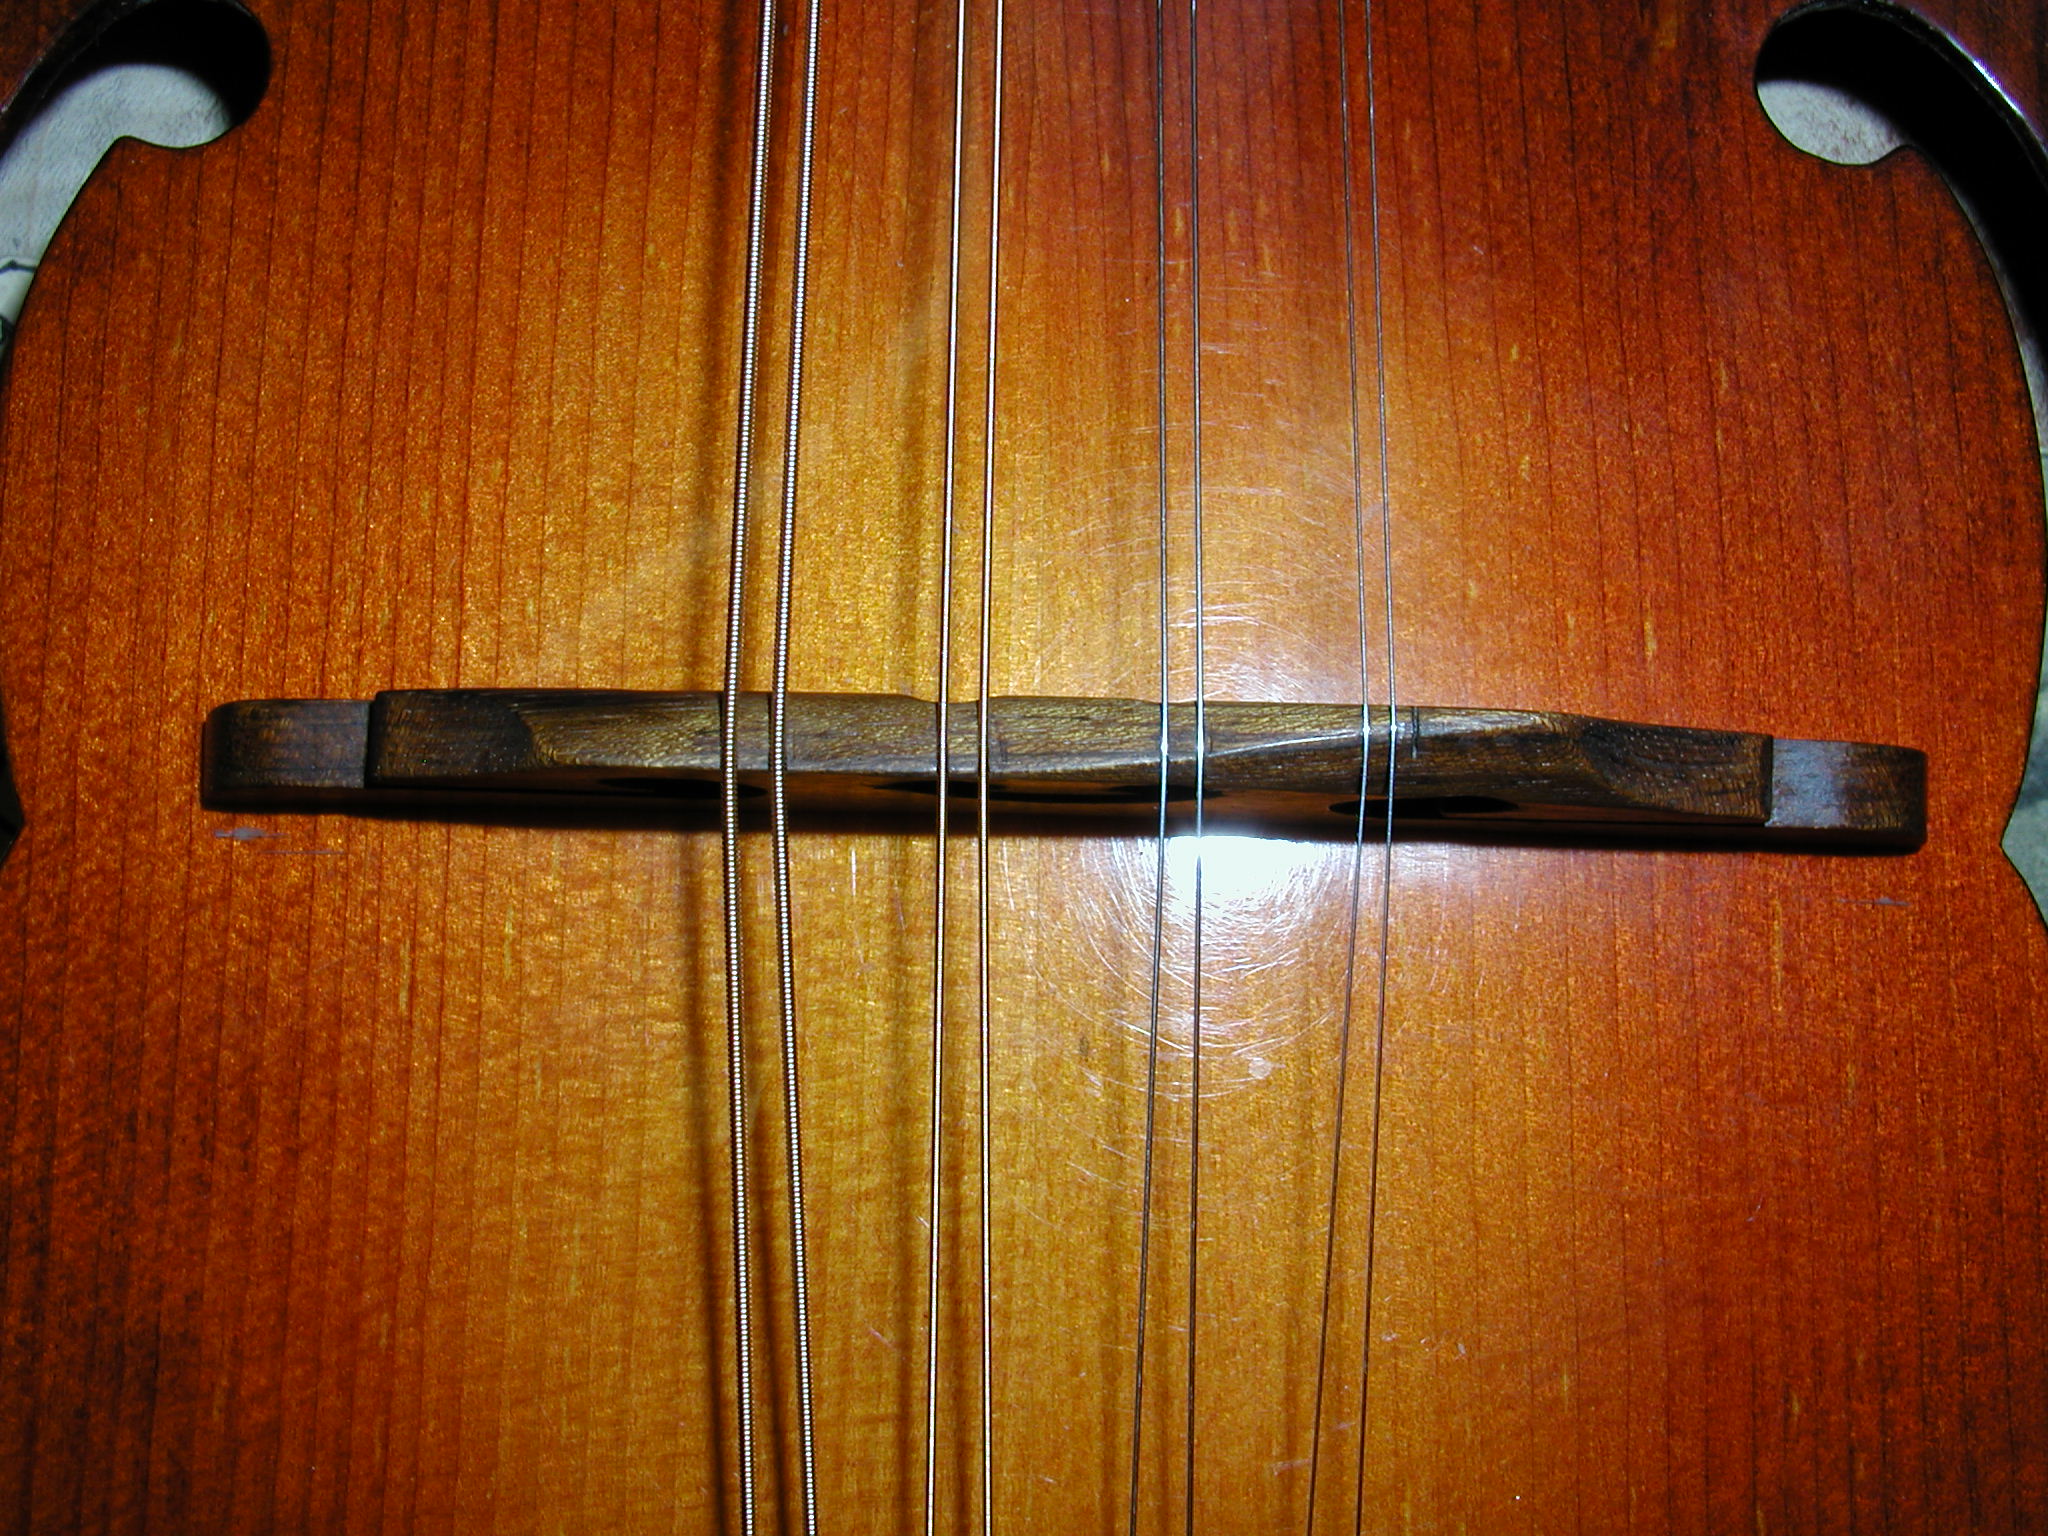
Here is the rough completed maple bridge sitting free. Notice that the bridge is not yet refined, it still has rough edges. |
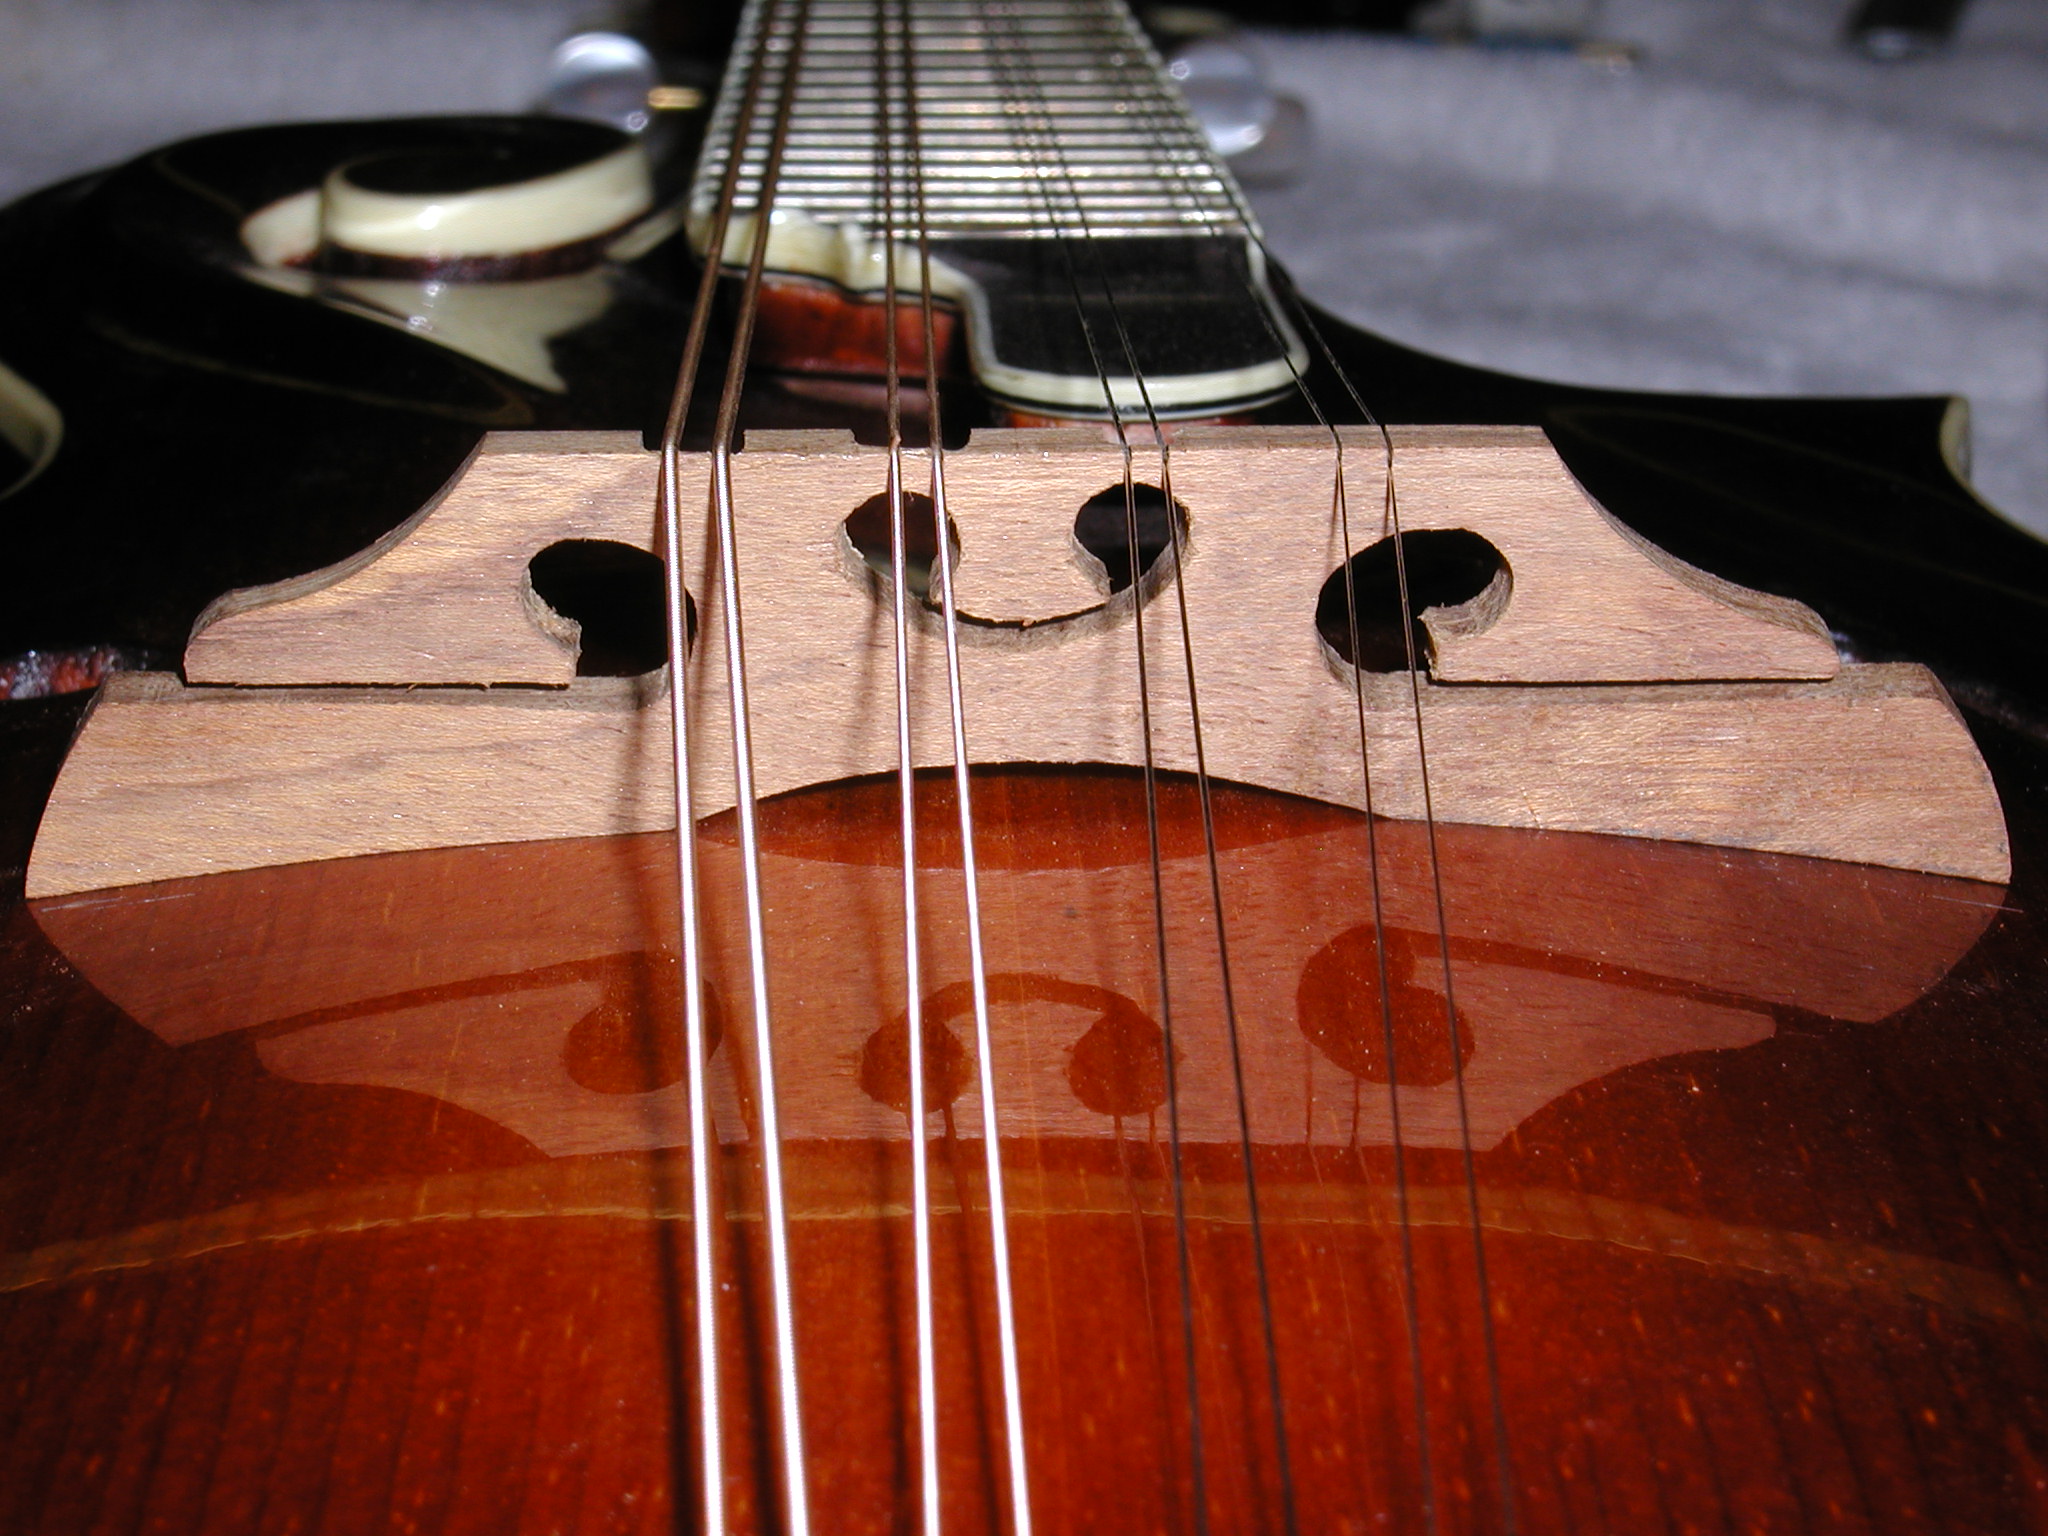 |
This the same for the shedua. |
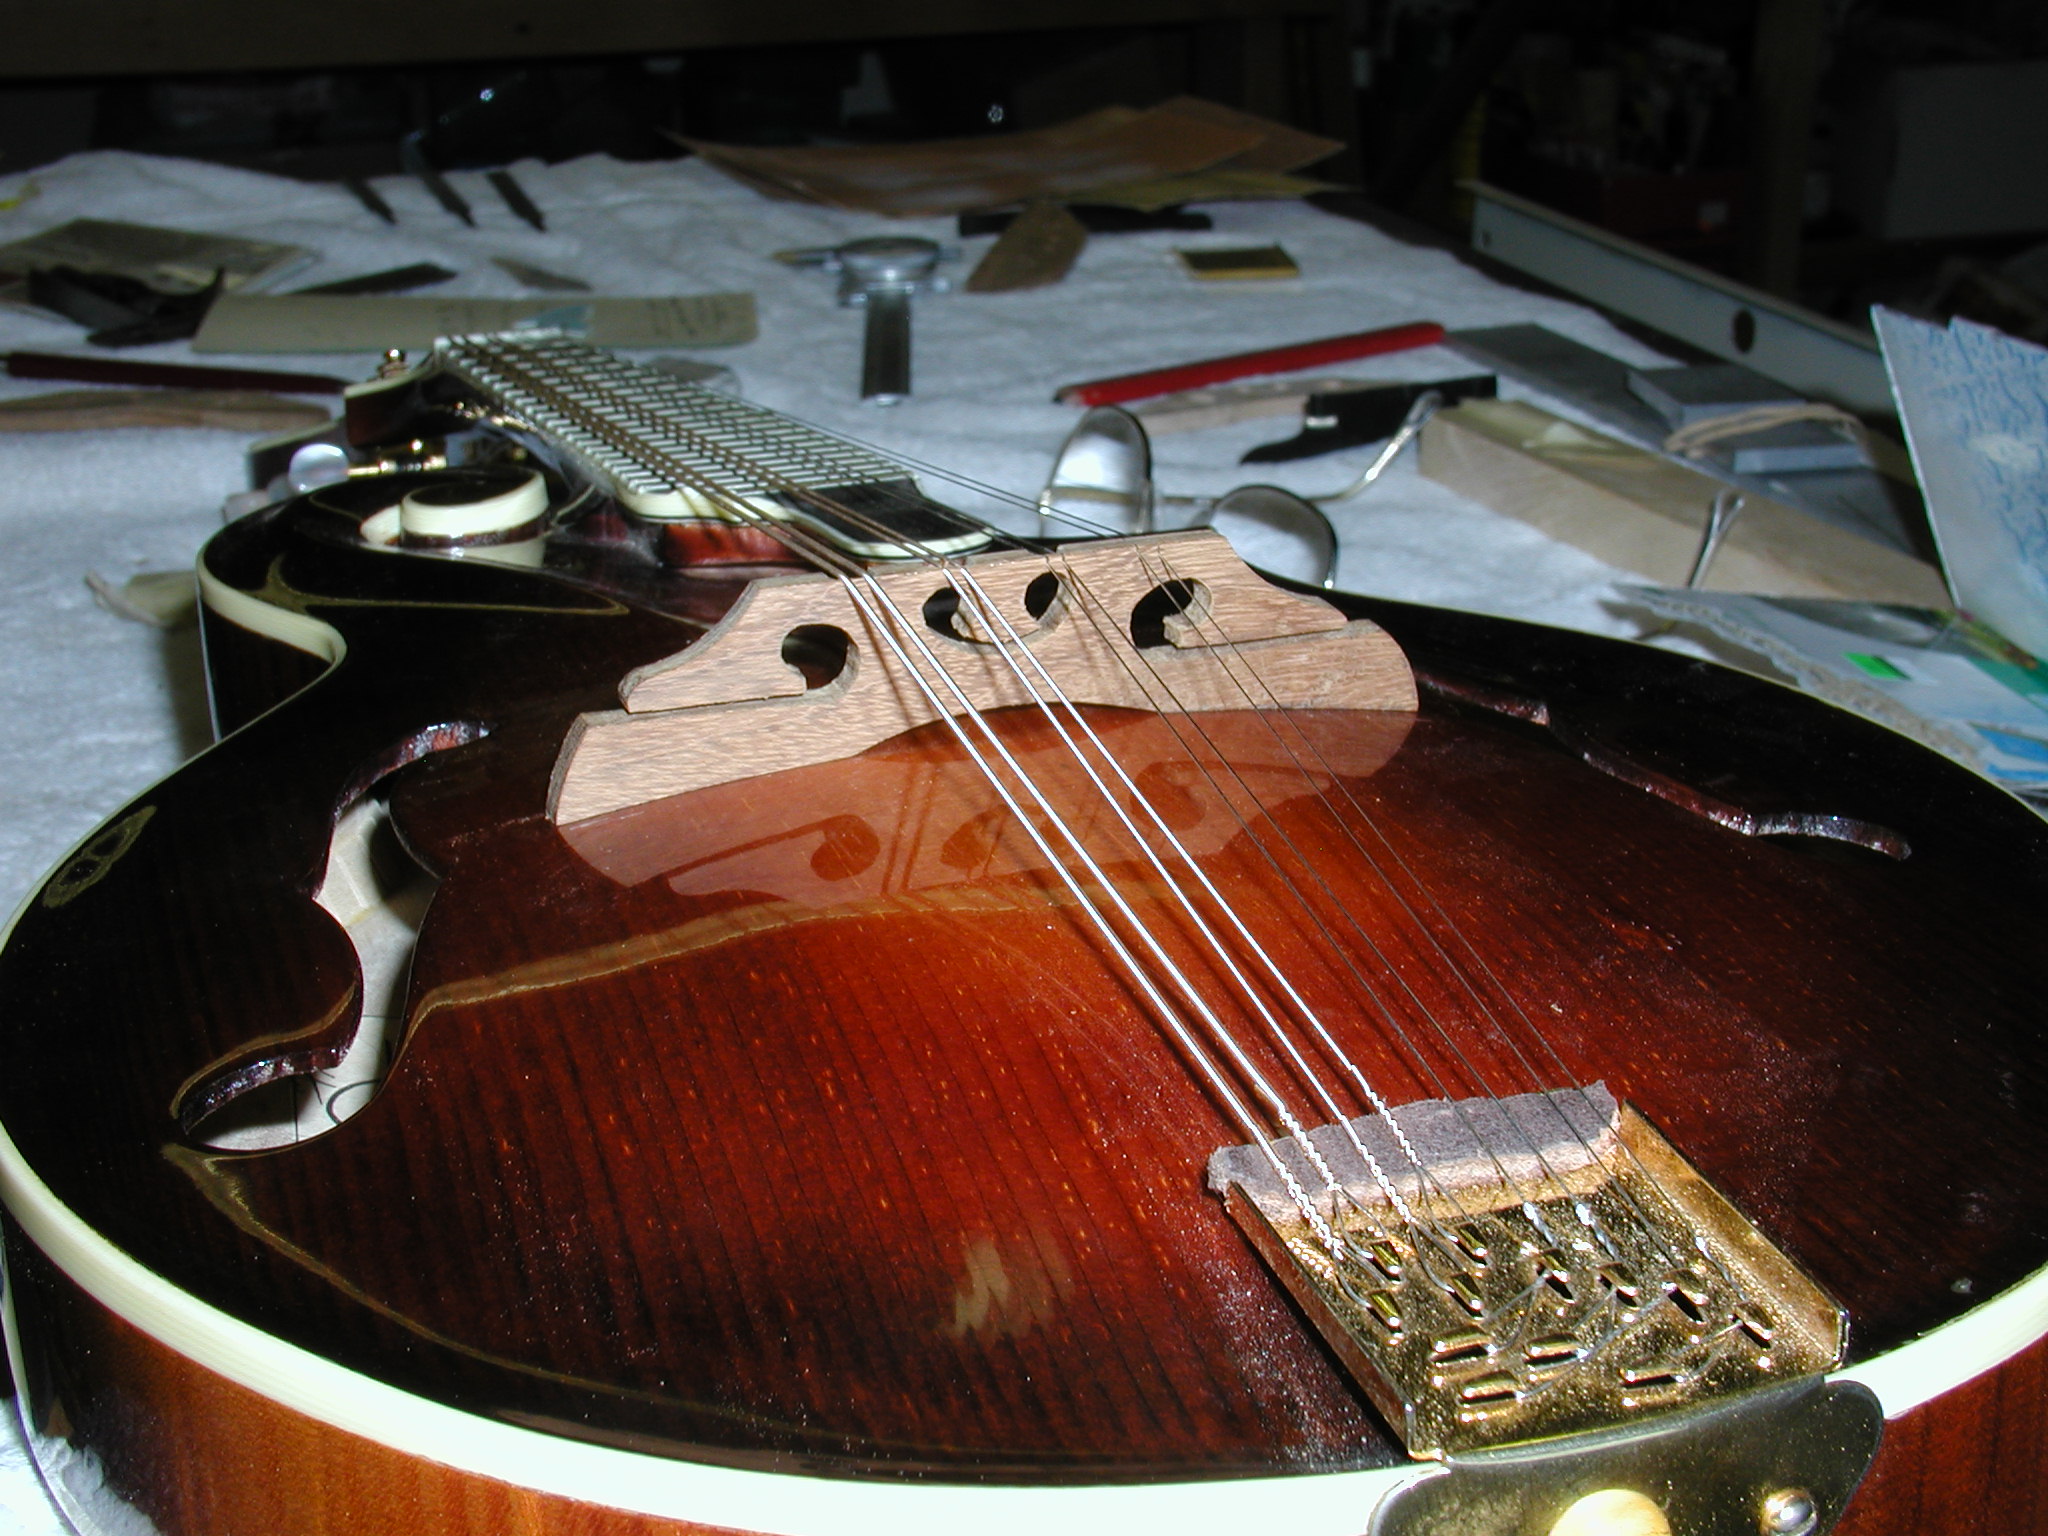 |
Another shot of the shedua. [See the initial notes below dated 9/30/2002 for Brian's assessment at this stage] |
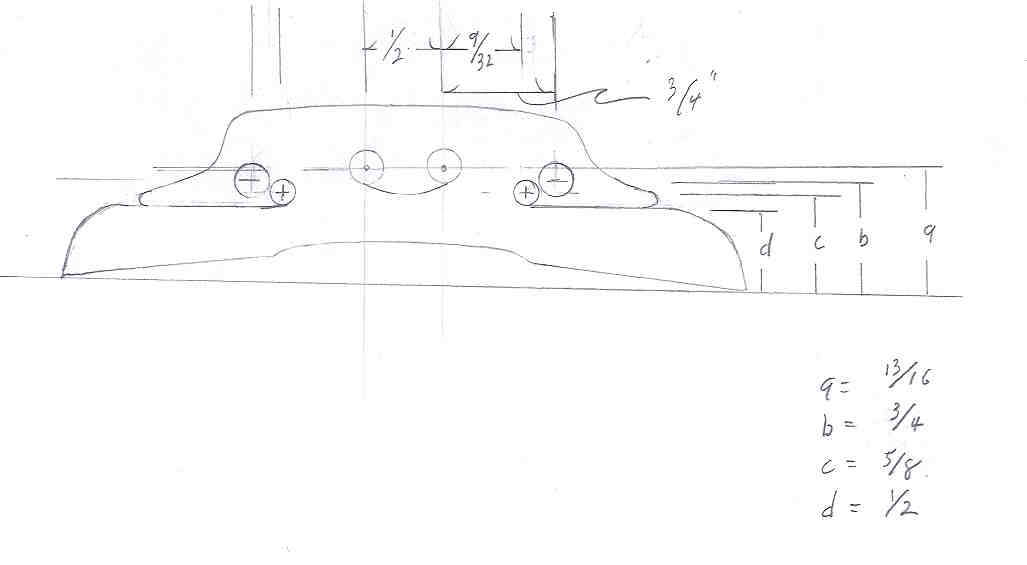 |
Here is the information on my current version. This is a project in progress and this information will change over time. Look at the "Last Modified" date at the top of this page to check for changes. Notice that I have kept the heart area pretty much the same. I moved the egg holes up and out a bit but also rotated the smaller holes for the egg towards the center. This moves all the egg and side slits up leaving a thicker leg NOTE: This has not yet been tried. Watch for an update and information later. |
 |
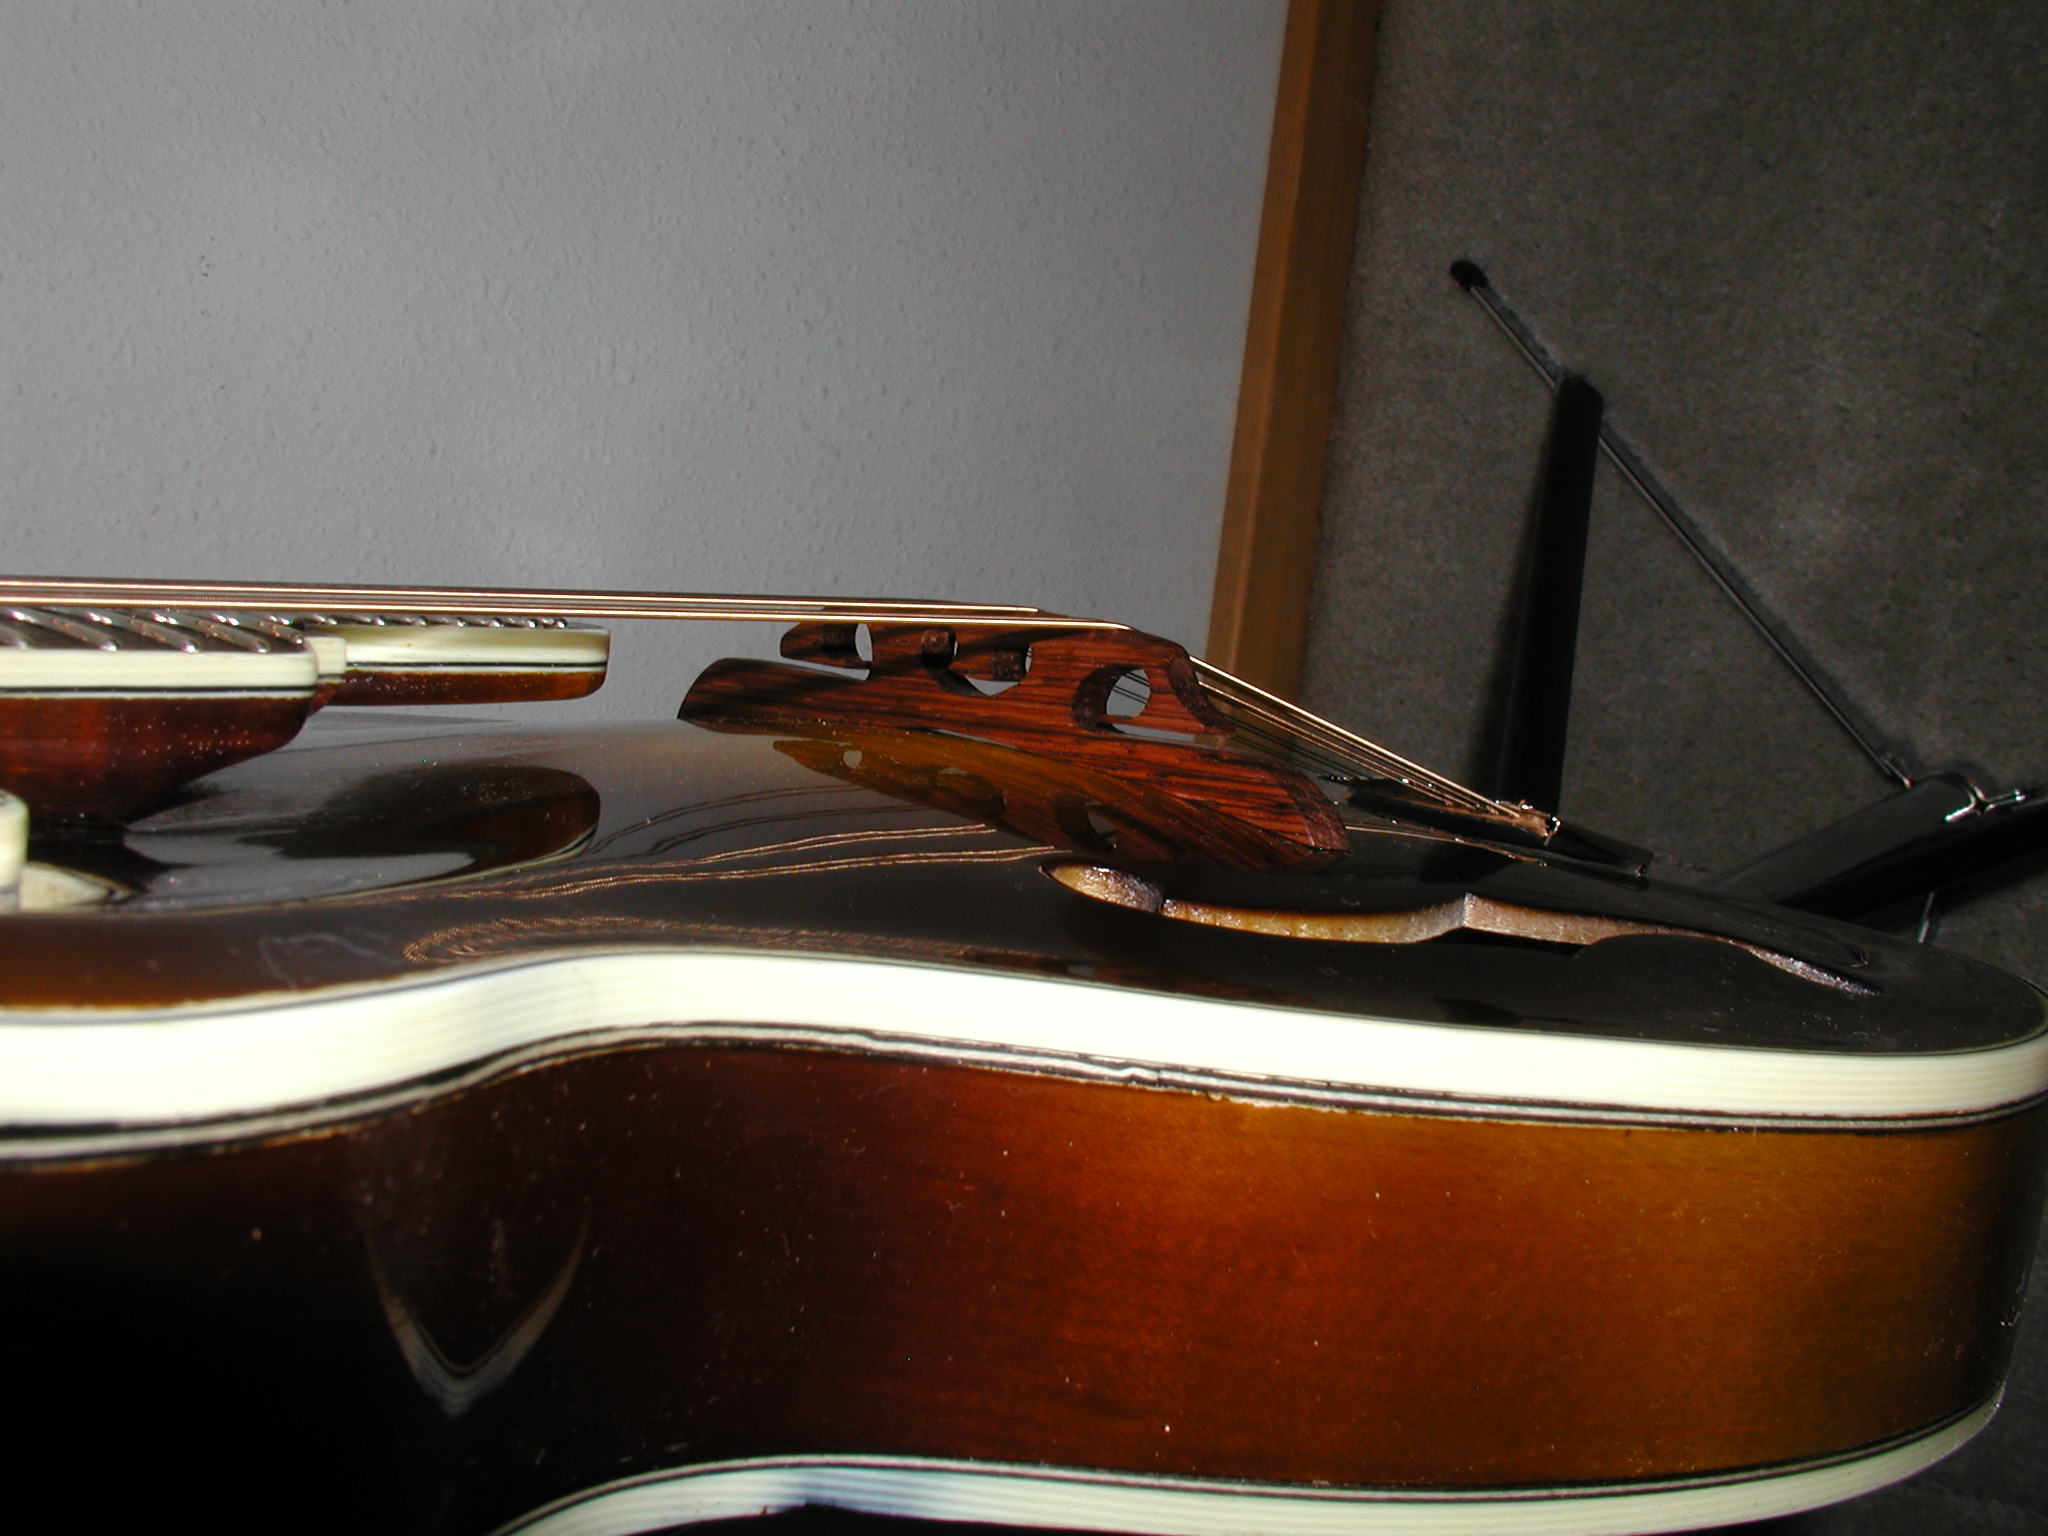
Brian returned the mandolin to me
after several weeks of play. He preferred the Shedua bridge because of
it's more woody sound but was still disappointed with the bass in both.
It just didn't seem to be very punchy on the low G strings. I started
trimming off the end of the bass side wing with a razor saw and this seemed
to bring up the bass a good bit. I kept trimming till I didn't hear a
change. I then tried this on the treble side and noticed a small reduction
in volume of the high E so I didn't remove any more. I then proceeded
to remove mass on the top of the bridge taking off any wood that didn't
need to be there for holding or intonating the strings. I then sanded
out to 600 grit and sealed the wood and finally applied lemon oil as a top protector. Note that you need to mask off the bottom of the feet when doing any seal or protection steps. You want raw wood on the bottom so it has a good grip and fit. |
 |
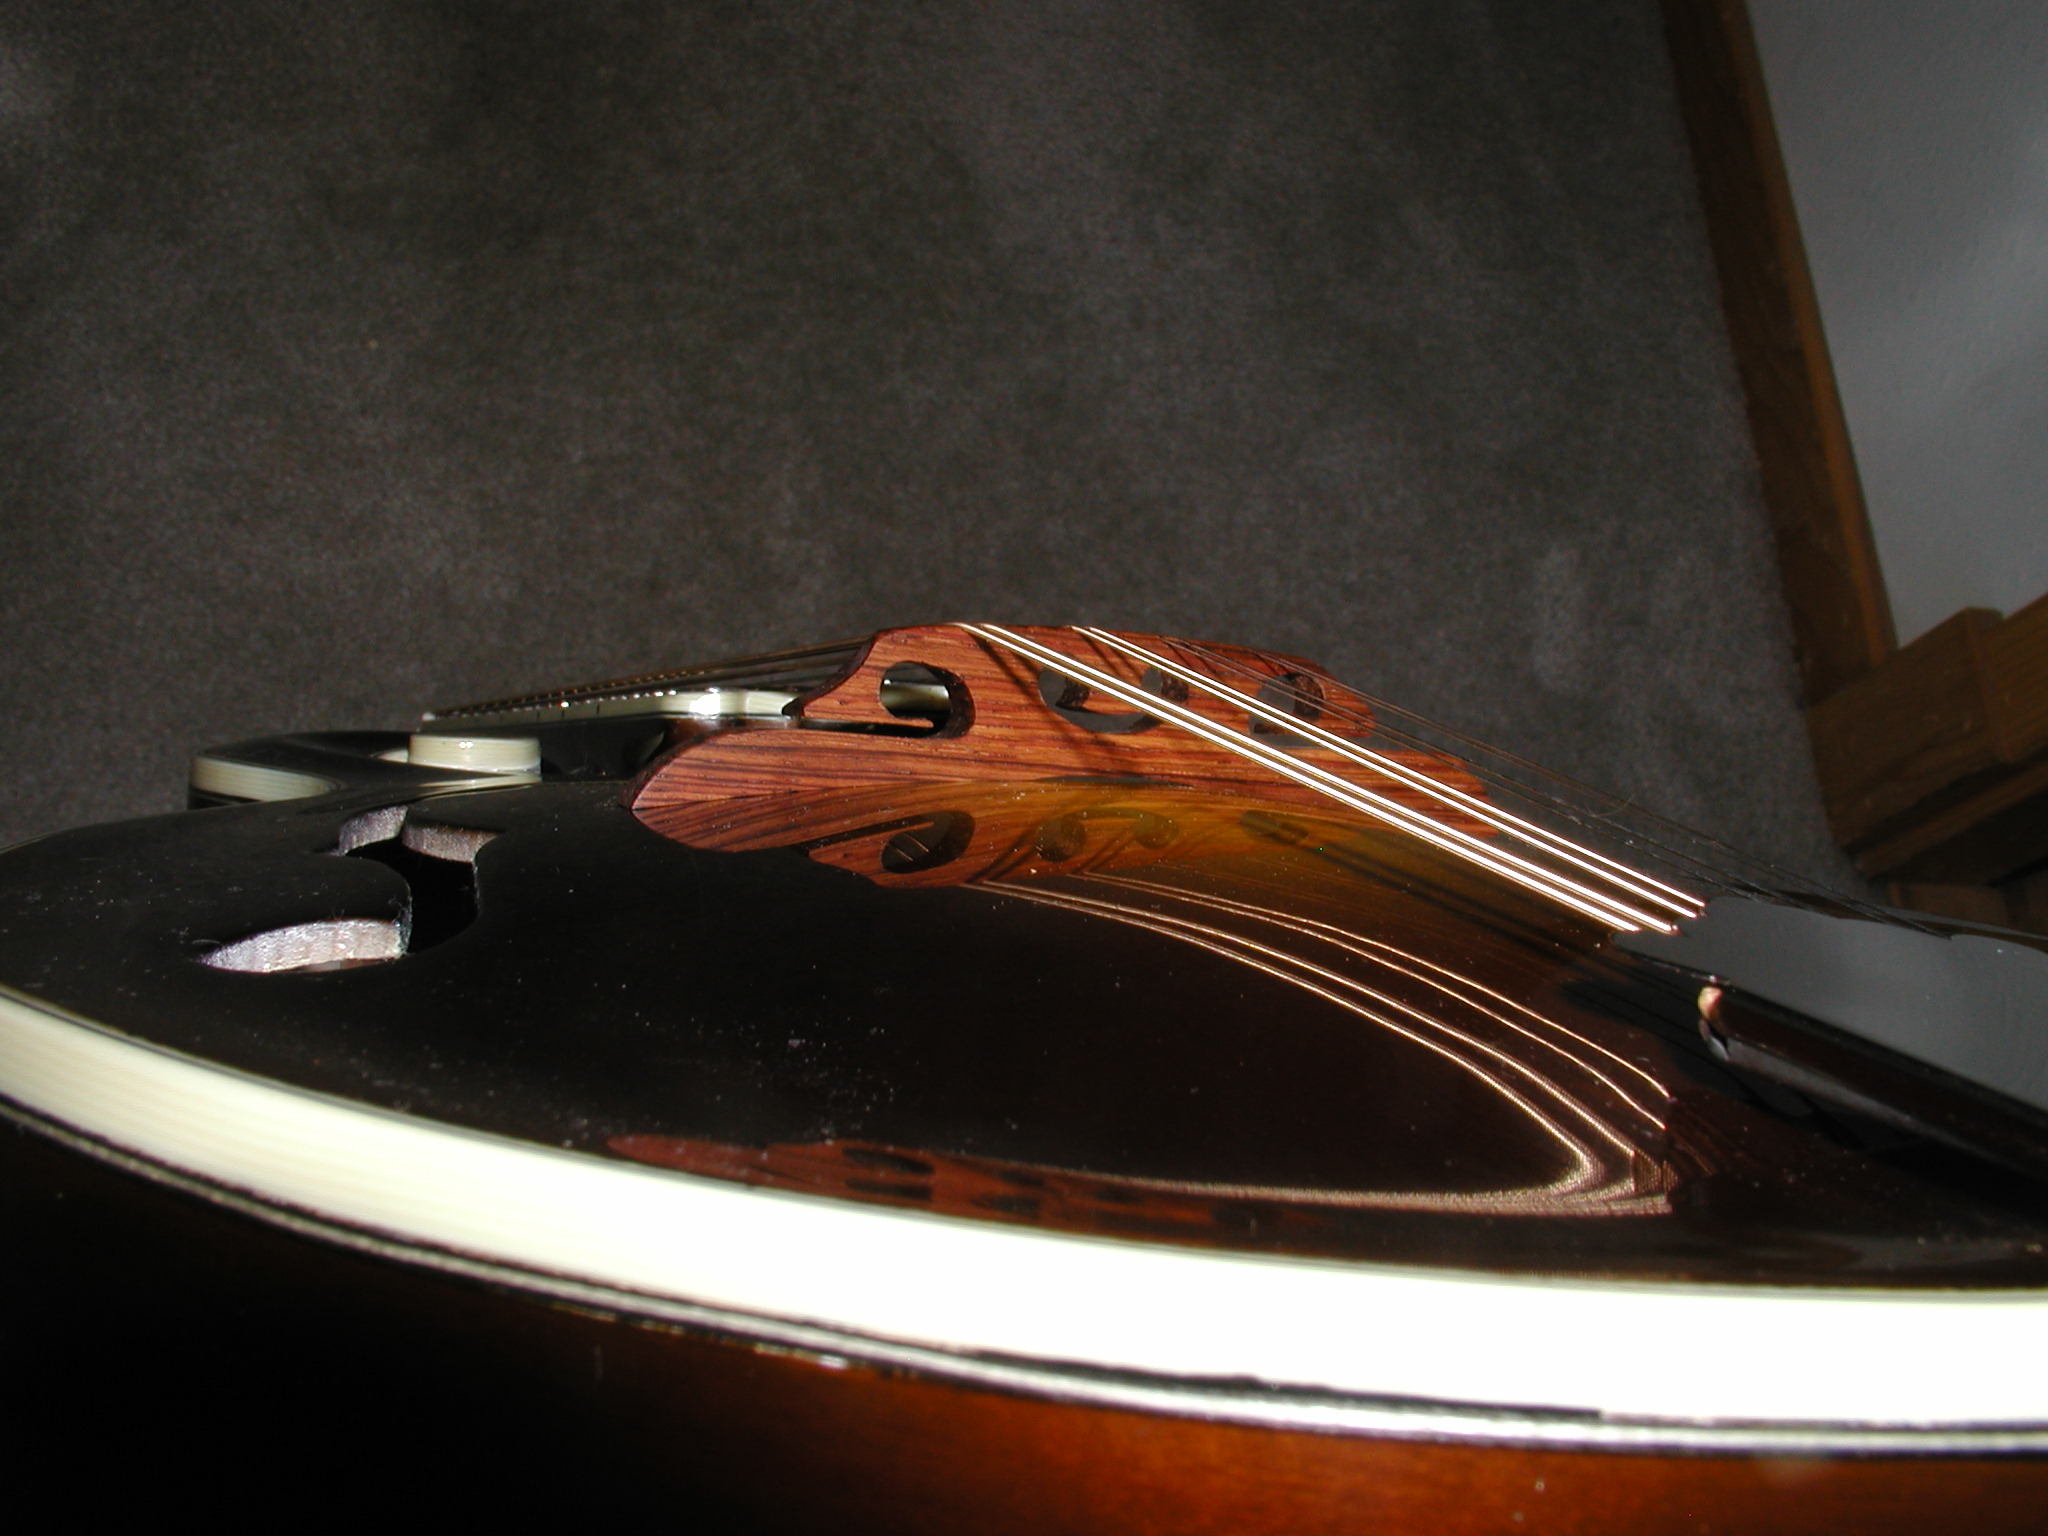
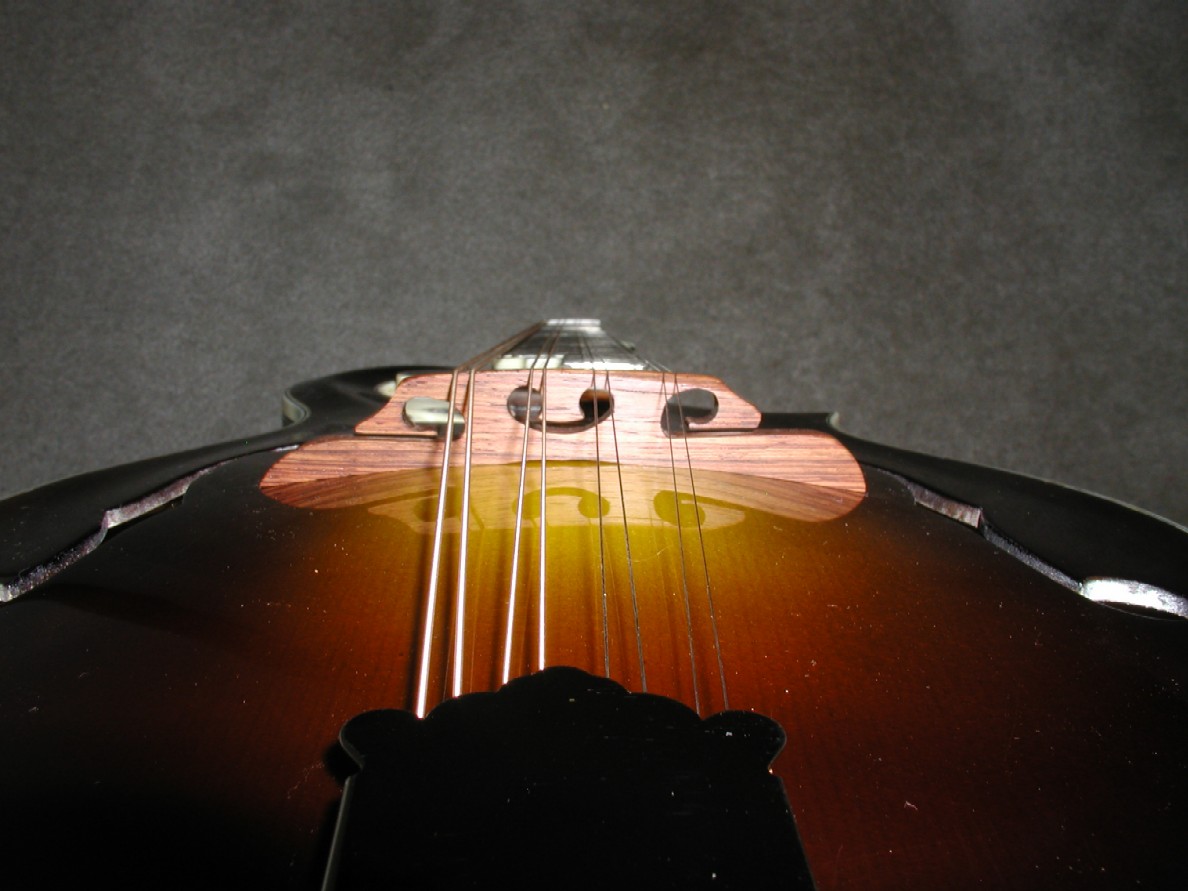
Here are the final bridges, Shedua on the Left and Maple on the Right. Final weights are 6grams for the Maple and 7 grams for the Shedua. |